
Once upon a time, long ago, Sergey saw these pictures.
And his nature is very creative and he decided to try to make such a funny model.
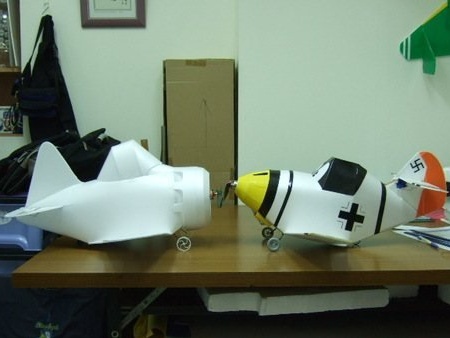
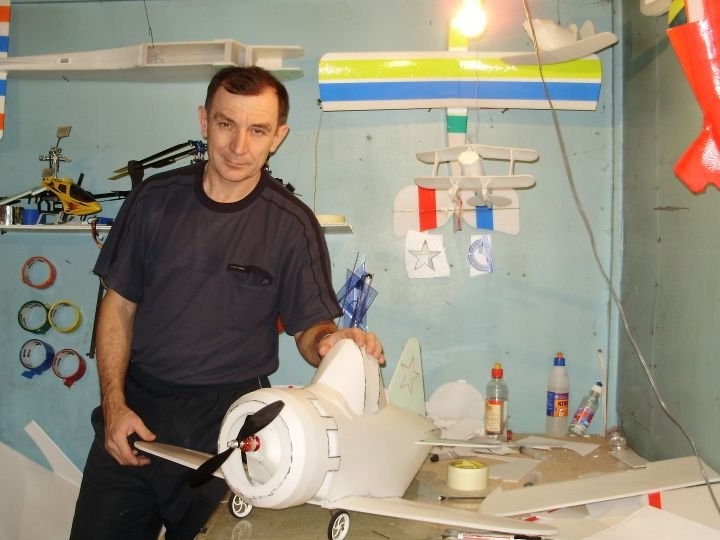
The first model that I will tell you about was the model of the Yashka fighter plane.
Sergey, a man not verbose, made a model, shot some photos, but I have to tell you about the process of creating the model.
I will try to comment in detail on each photo.
As usual, model creation begins with wings. Most importantly, Sergey did not have any drawings, he looked at photographs of similar models and made his own.
On a cut blank, two wing consoles, a wooden rail is glued. The rail acts as a spar and gives the wing a V angle. To make the V corner, we cut the slat from the middle to the edges. You can use the technology that is used in the manufacture of the spar from wooden rulers, in the construction of the model "Cessna".
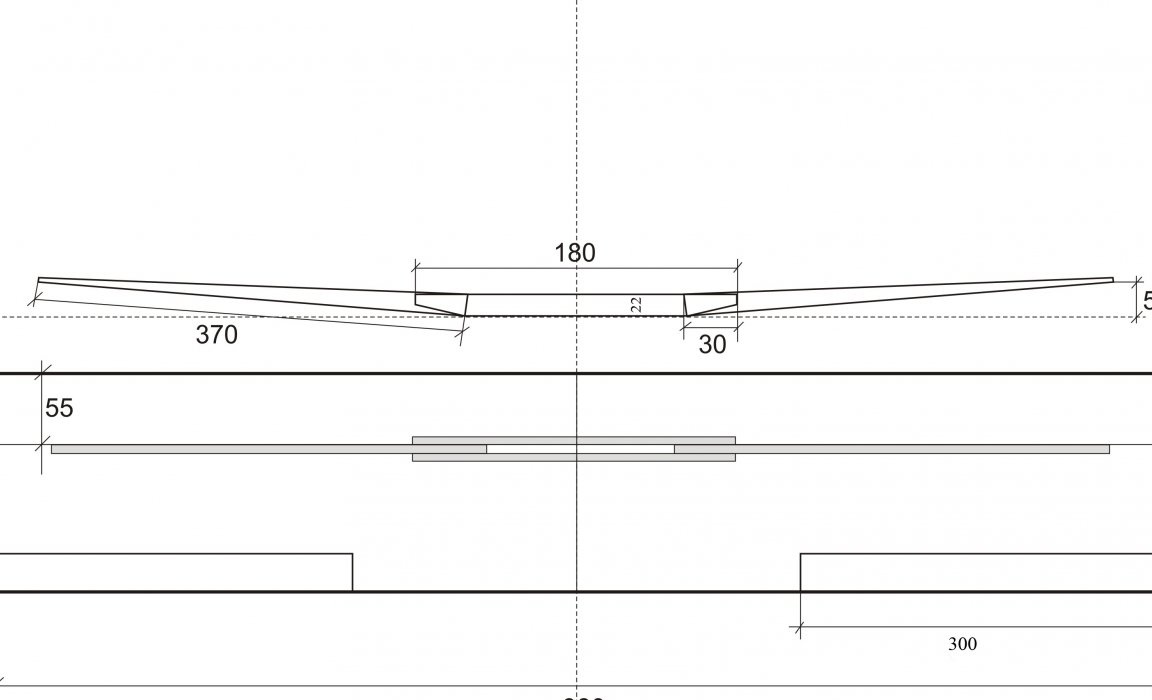

Moreover, the rail creates a specific wing profile.
When the rail is glued and the glue is dry, we glue the upper skin of the right wing console, after gluing pieces of double-sided tape, instead of loops, for hanging ailerons. In the photographs, gray patches are pieces of double-sided tape.
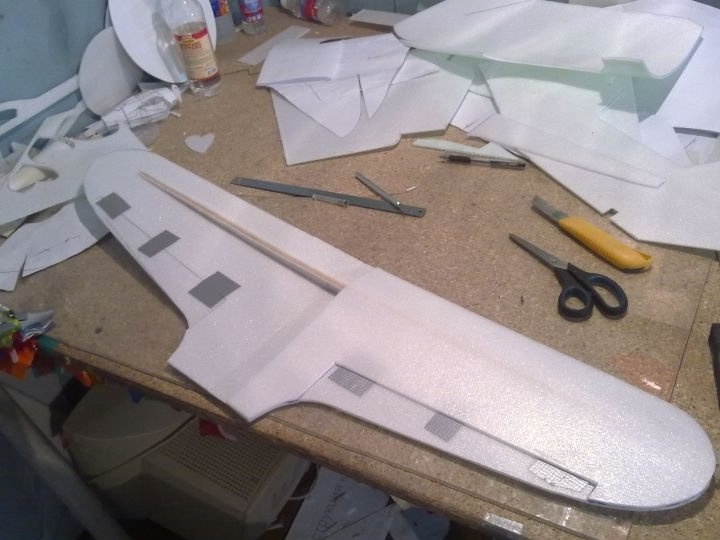
We also act with the left console.

Remember to cut the ailerons in each wing.
Since the wing itself is made of two layers of the ceiling, the ailerons are also obtained from two layers of the ceiling. After both wing consoles have dried, you can hang the ailerons. At first, the lower layer of the ceiling falls into place, the upper layer of the ceiling is glued to it, and the double-sided tape is sandwiched between them, a hinge is obtained. Before installing the ailerons, do not forget to cut the front edge from above and below at an angle of 45 degrees.
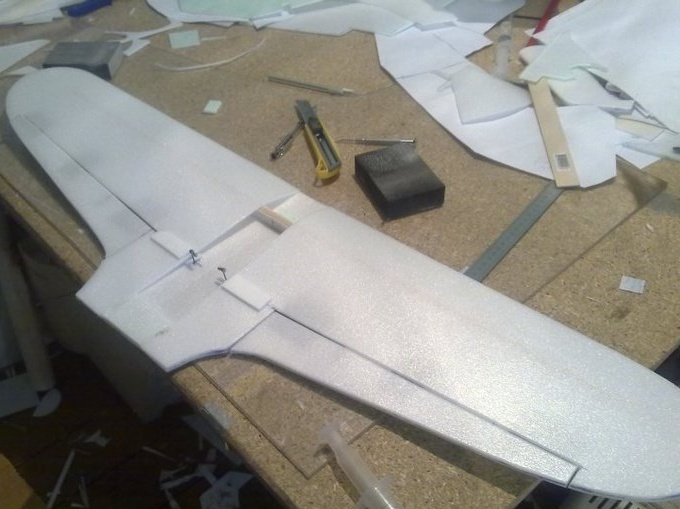
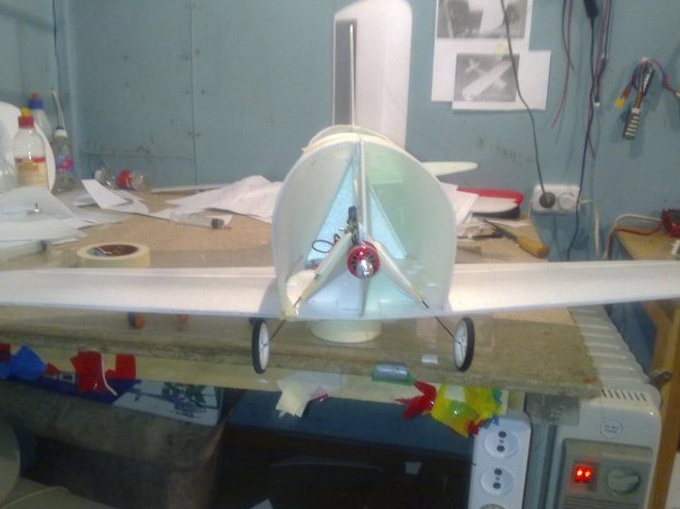
Next, the author cut a blank of the axial plane of the fuselage along with the keel and glued it to the wing. For durability, the axial plane is strengthened behind by glued corners, and in front by two scarves.In the photo, everything is very clear.
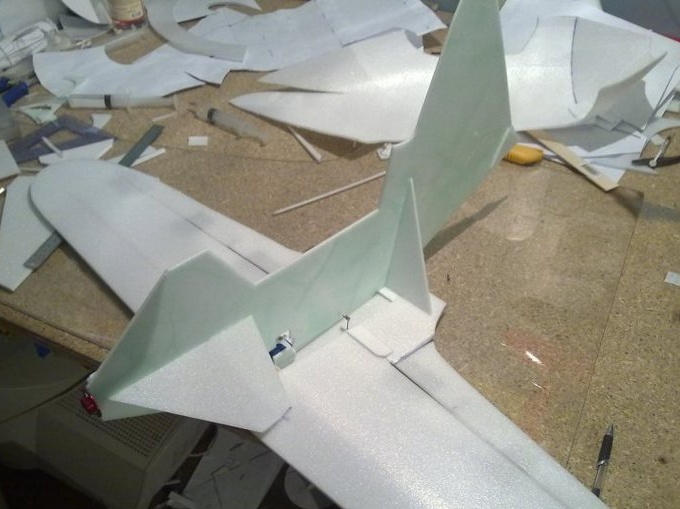
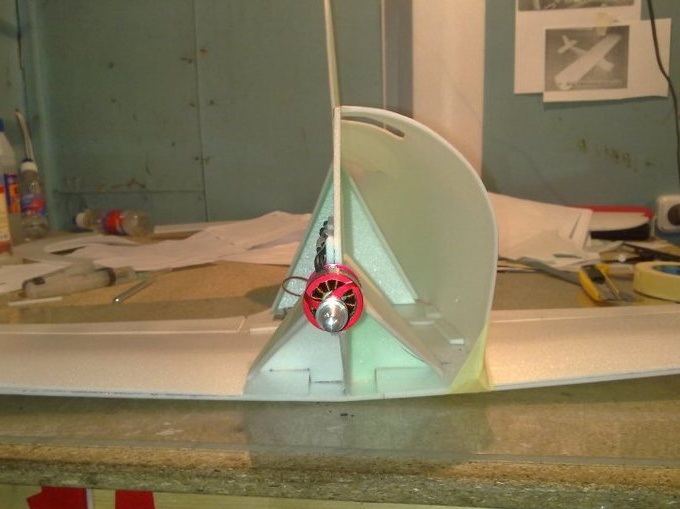
A piece of plywood from fruit boxes is glued to the nose of the fuselage, at the resulting intersection of the planes of the ceiling, and a motor is mounted on it.
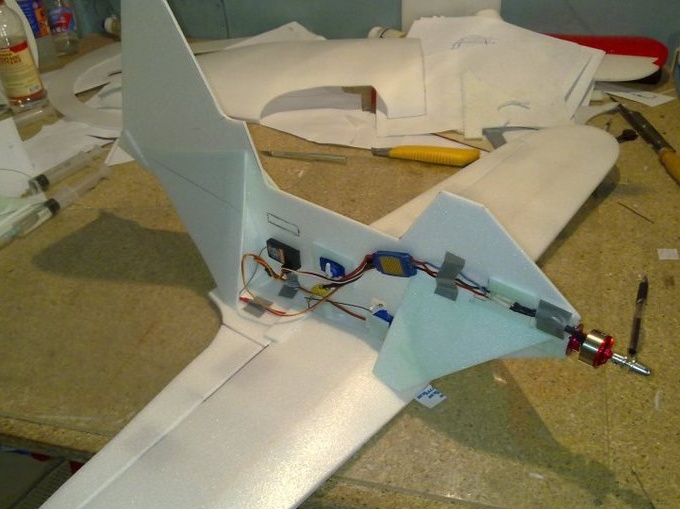
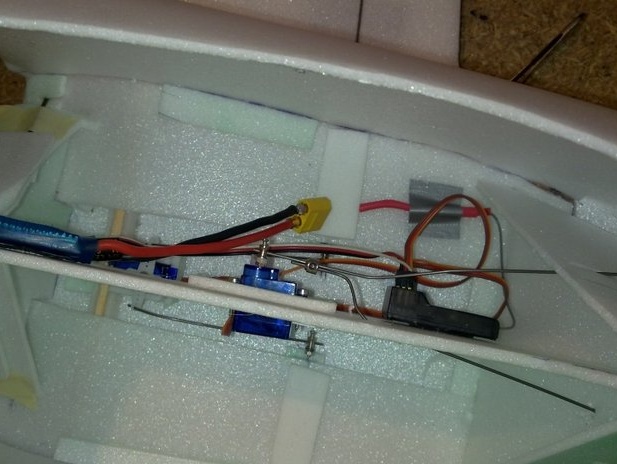
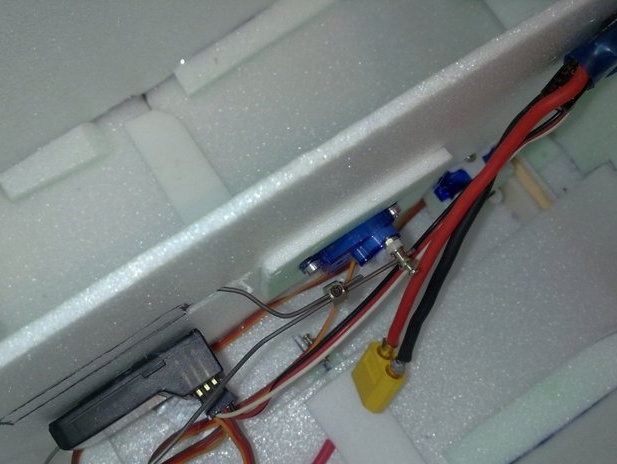
Until the outer fuselage skin is made electronics.
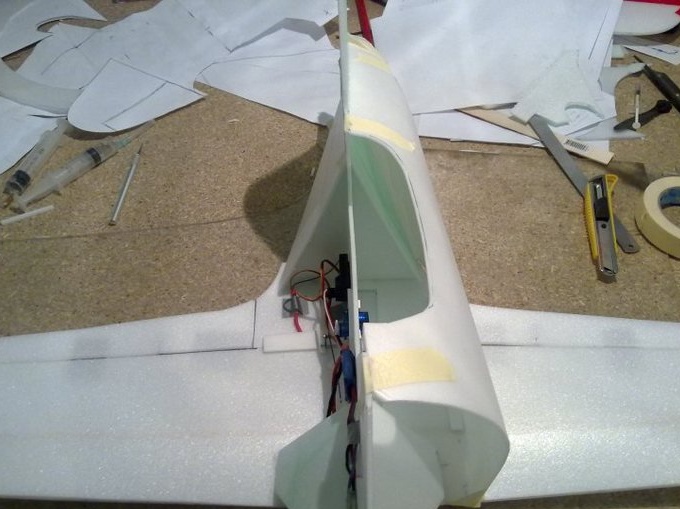
Next, the ceiling is bent and adjusted to the place of attachment of the upper side of the fuselage.

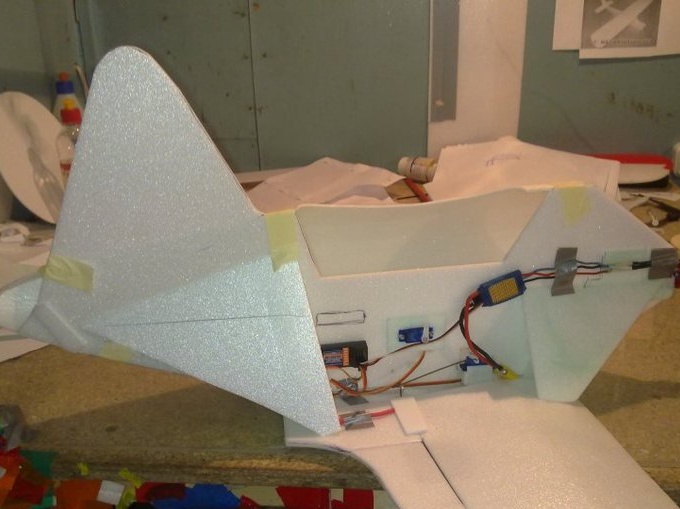
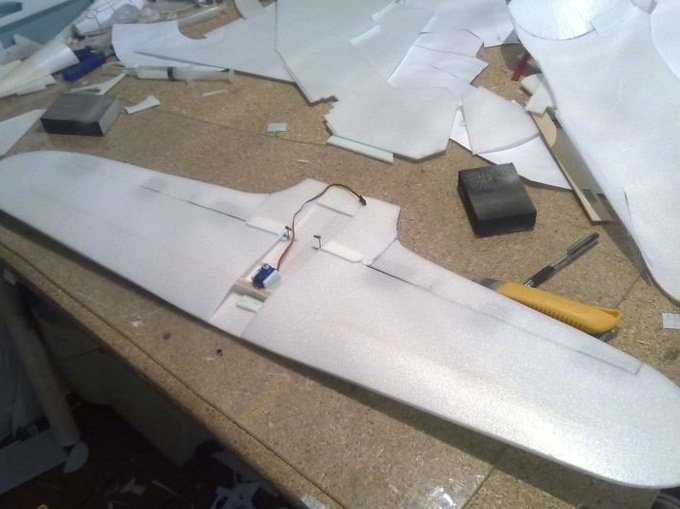
This is what the installed electronics look like.
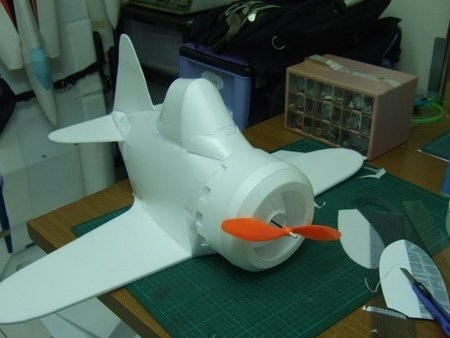
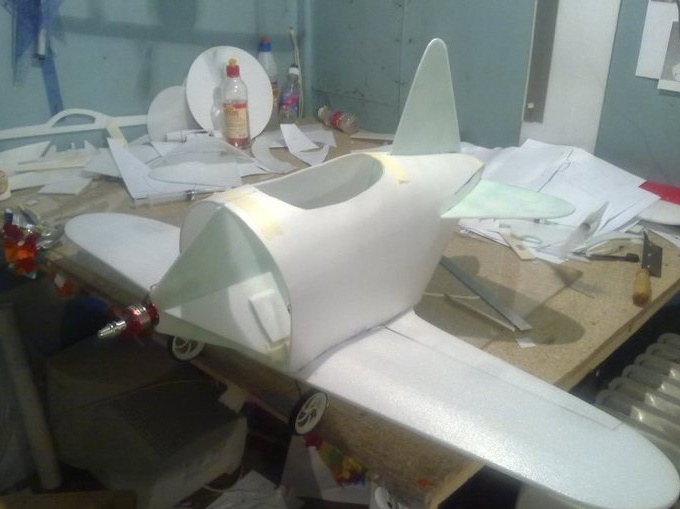
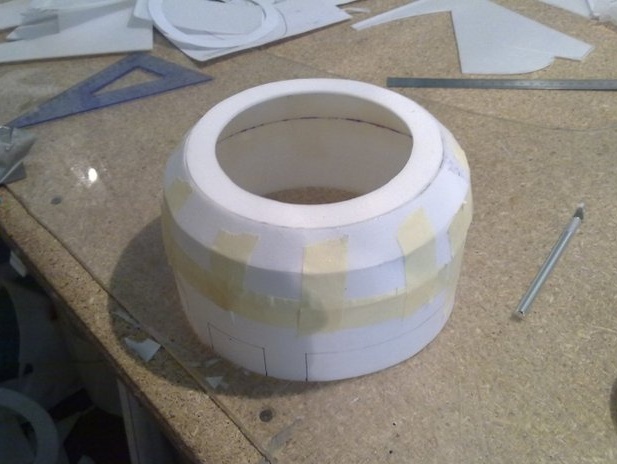
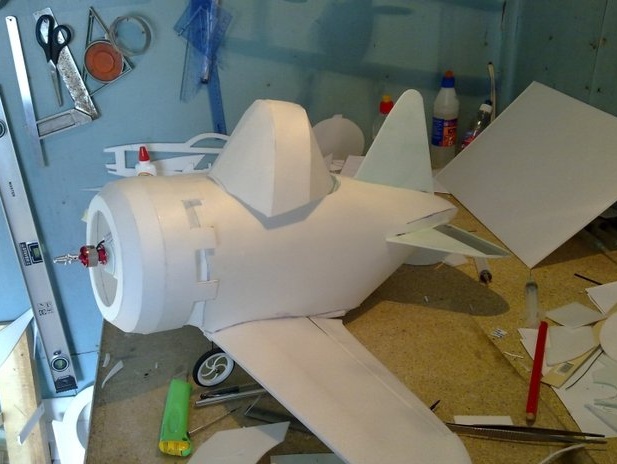
To cover the engine, a hood is made. The hood is made of three strips of ceiling, cut along the edge at an angle and glued together. During installation, you can apply masking tape.
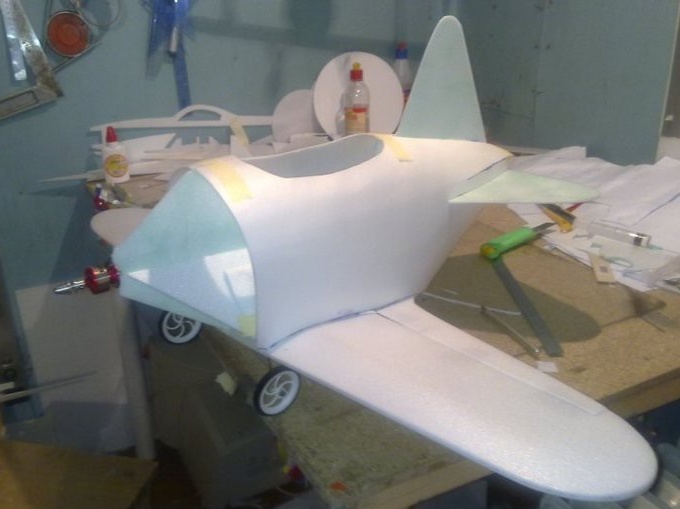
The hood is installed in its place.
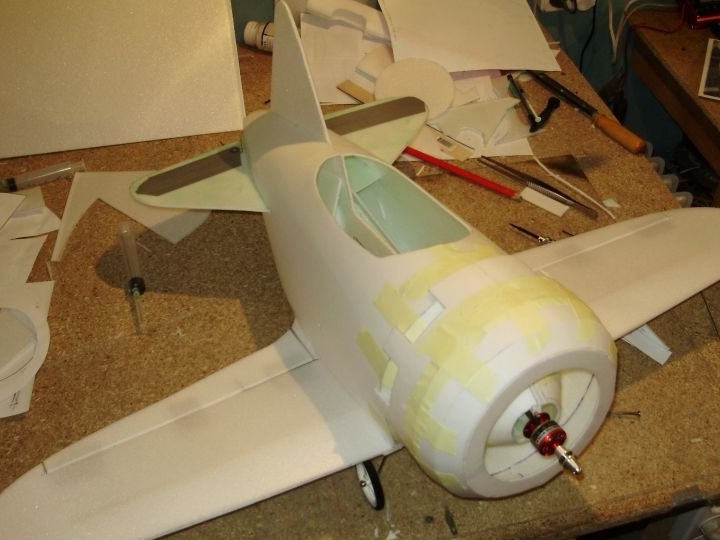
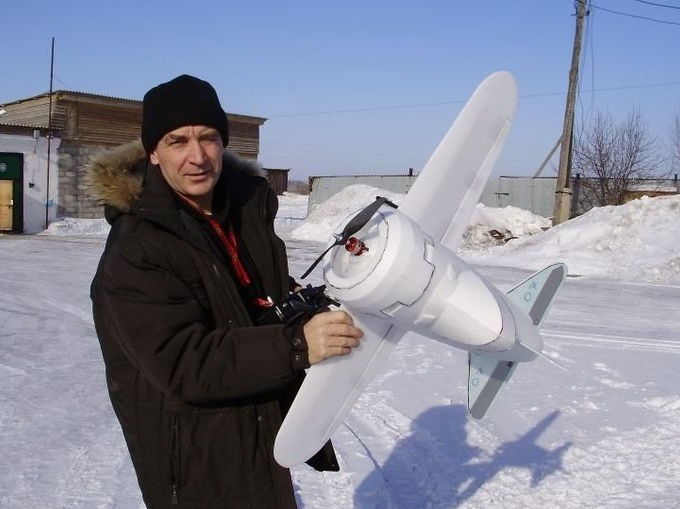
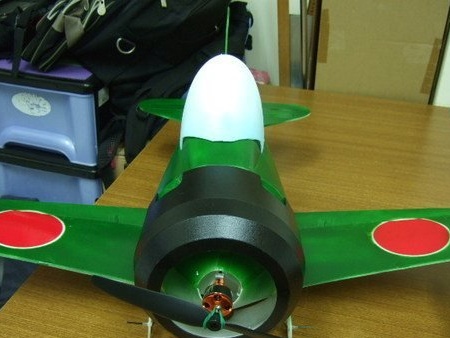
That's probably all that can be added to the photos. The model is ready.
That's how she looks in the sky.
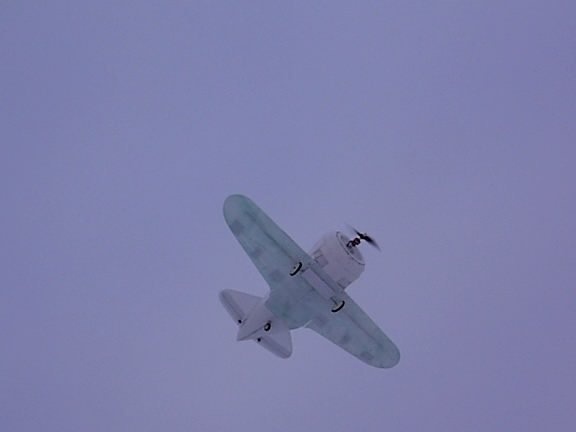
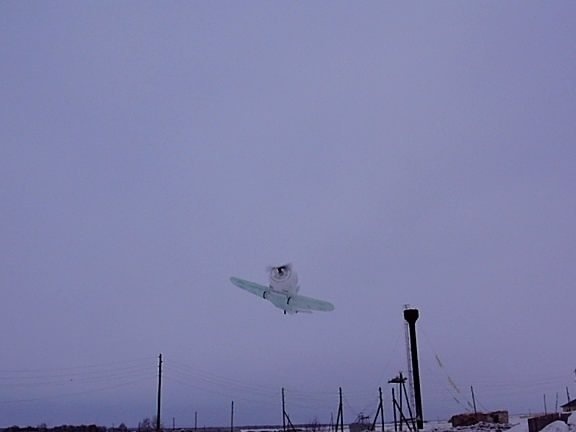
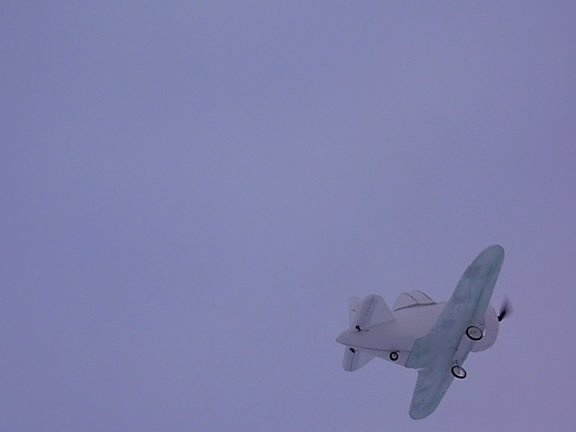
The flyby of the model was held on Sergey’s birthday!