
Good day. Today I will show and tell you about a very interesting and useful homemade. This homemade product will be useful, for example, for joiners in the manufacture of of furniture. Often you need to connect the boards with glue, and in order for them to stick together well, you need to press them well. The clamps are the best coping with this task, of course, you can press the workpieces with a load or clamps, but why such a mess if you can snap the clamp in one movement and snap open with the same movement. A homemade clip made by the author of the YouTube channel Sam odel is good in that it is not inferior to the factory one and in that it is made from trash. We can say that the clamp cost him for free. Due to their price, many craftsmen make them on their own. If one or two clamps would be needed, then the devil with it could be bought. But the fact is that the joiners have a lot more, up to several dozen. And they cost them a tidy sum.
Let's start, for manufacturing you will need:
1. File
2. Steel plates
3. Steel bar
4. Tools, such as grinder, drill or drill, welding machine, etc.
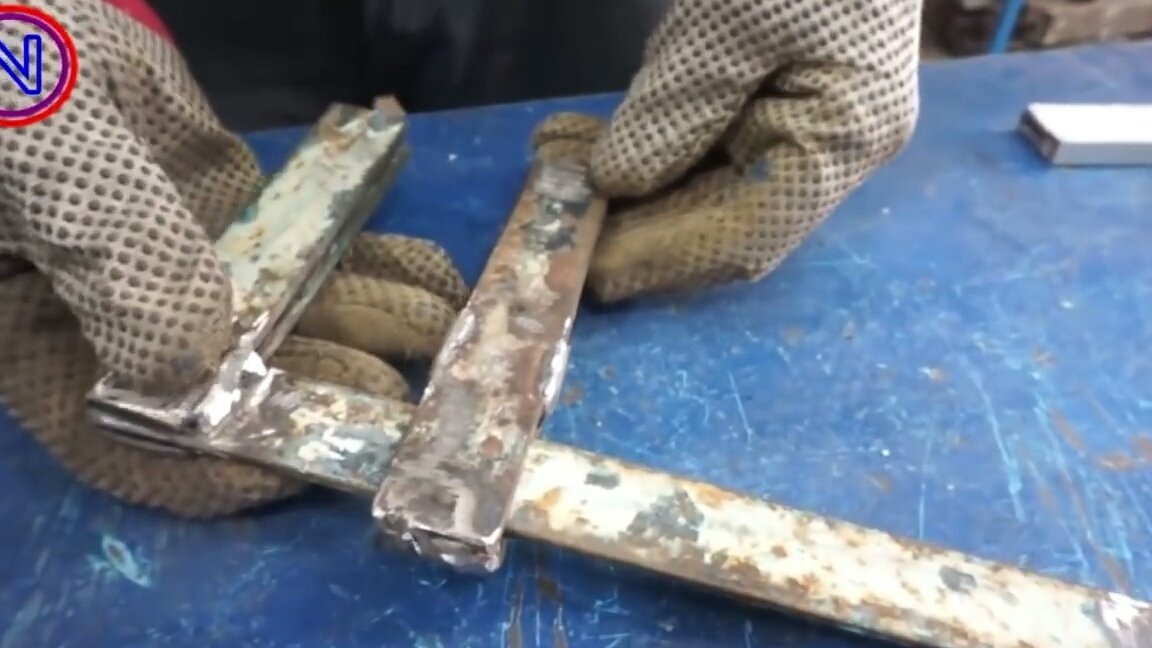
Step 1. Making a fixed bracket

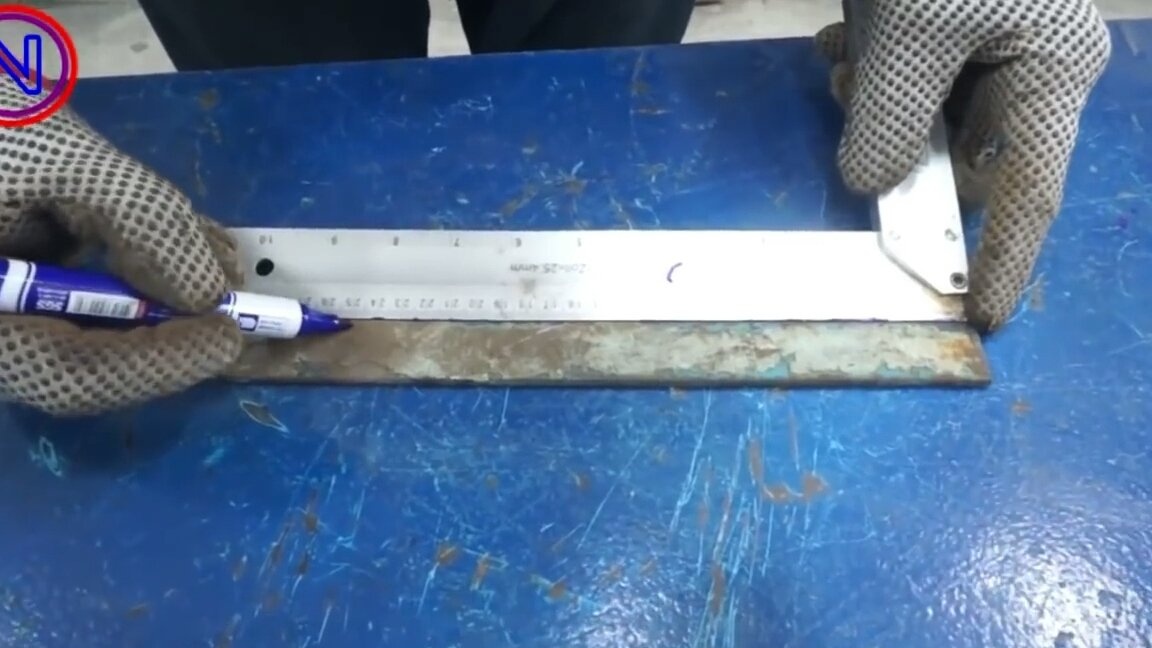
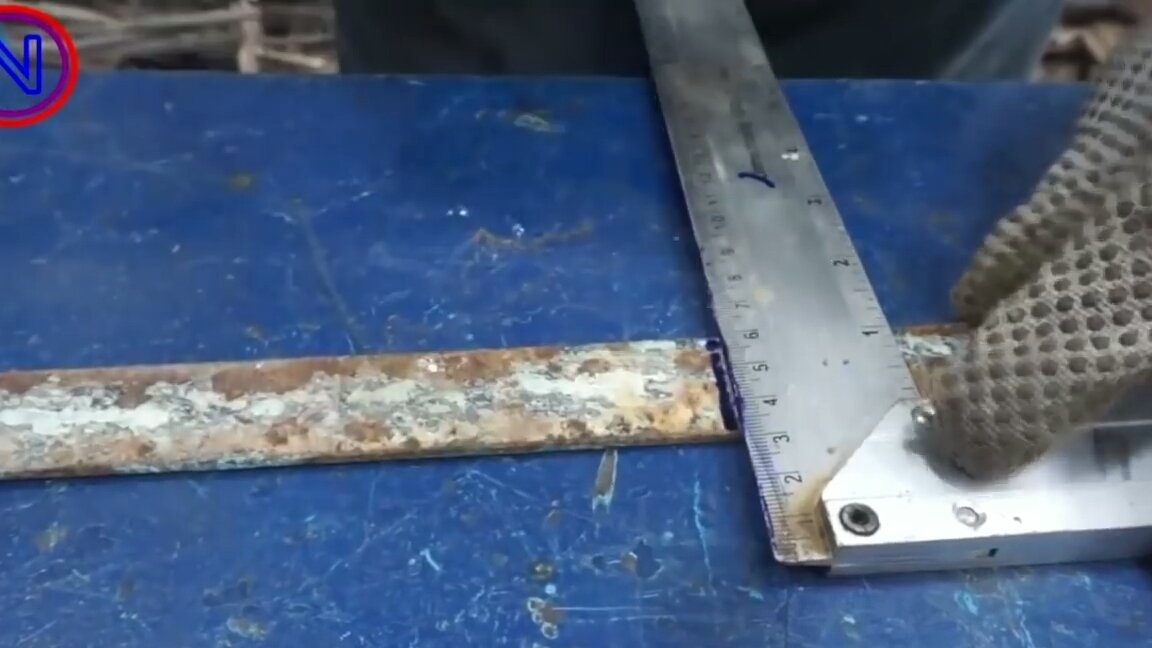
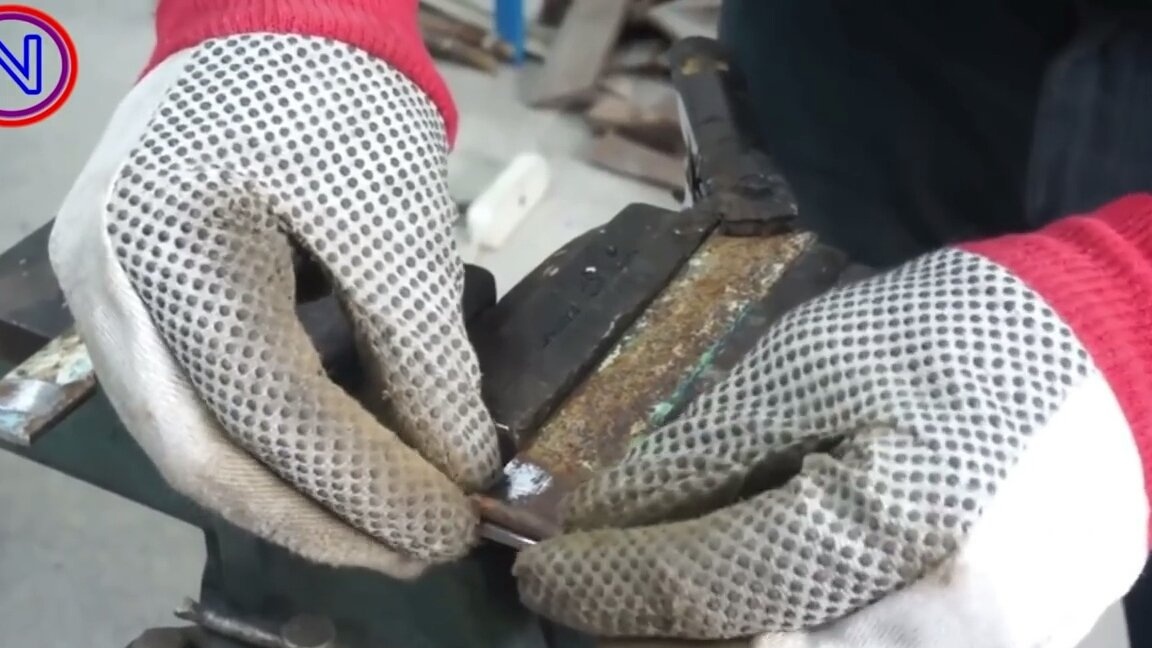
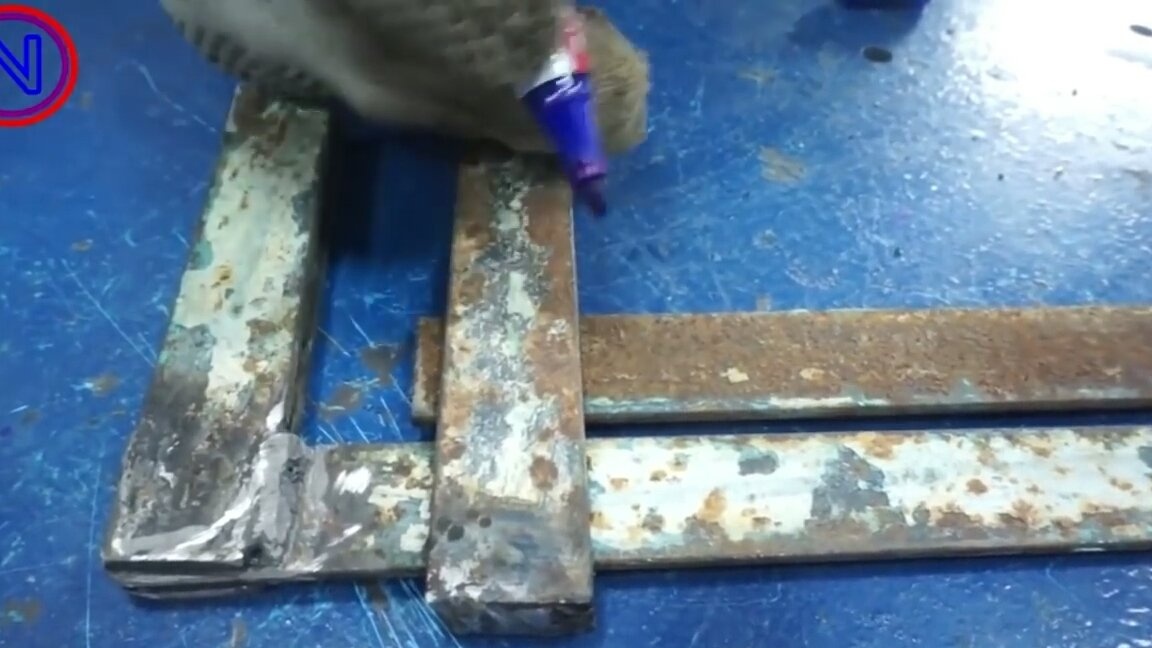
I want to say right away that the author does not give any sizes. So you have to choose the sizes for your needs. The structure of this clamp is simple, it is a guide rail, two brackets and a lever for squeezing. The guide rail is made of steel plate. At one of the edges of the tire, two plates are welded as seen in the photo (this is the first fixed bracket).
Step 2. Making a moving staple
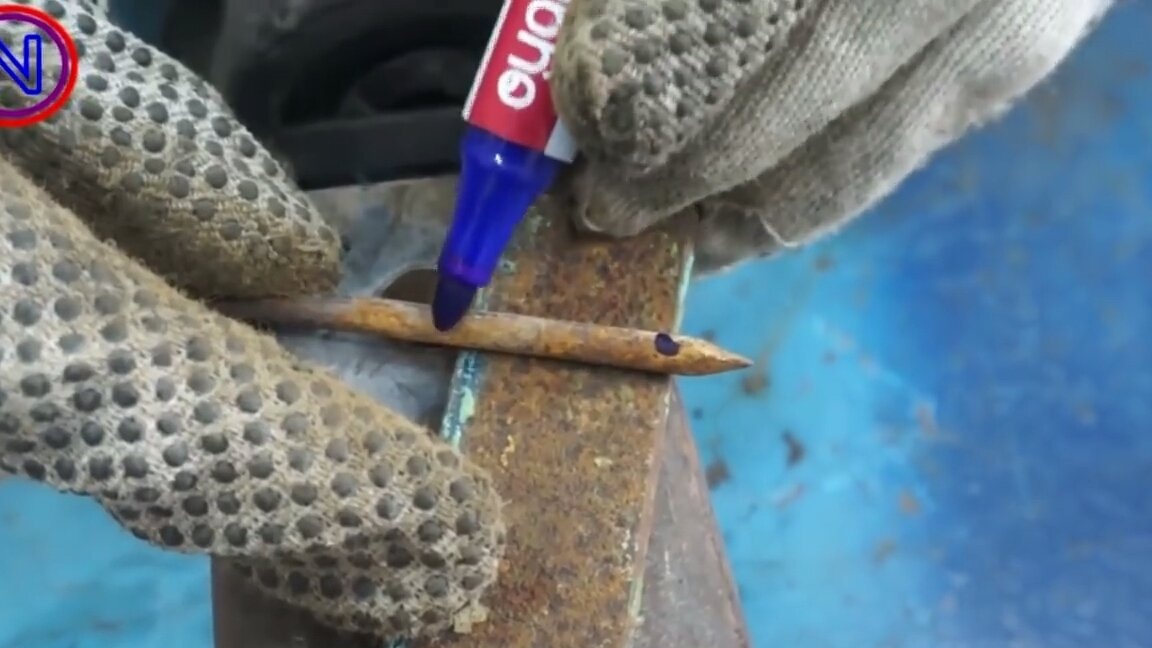
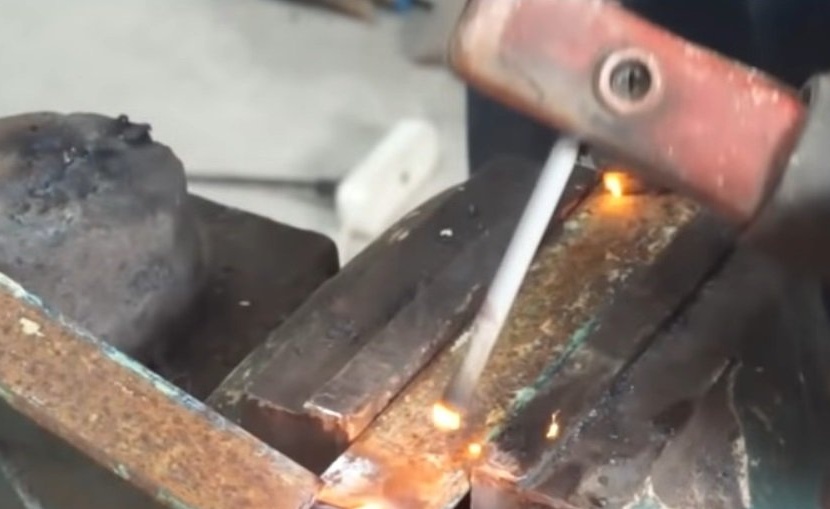
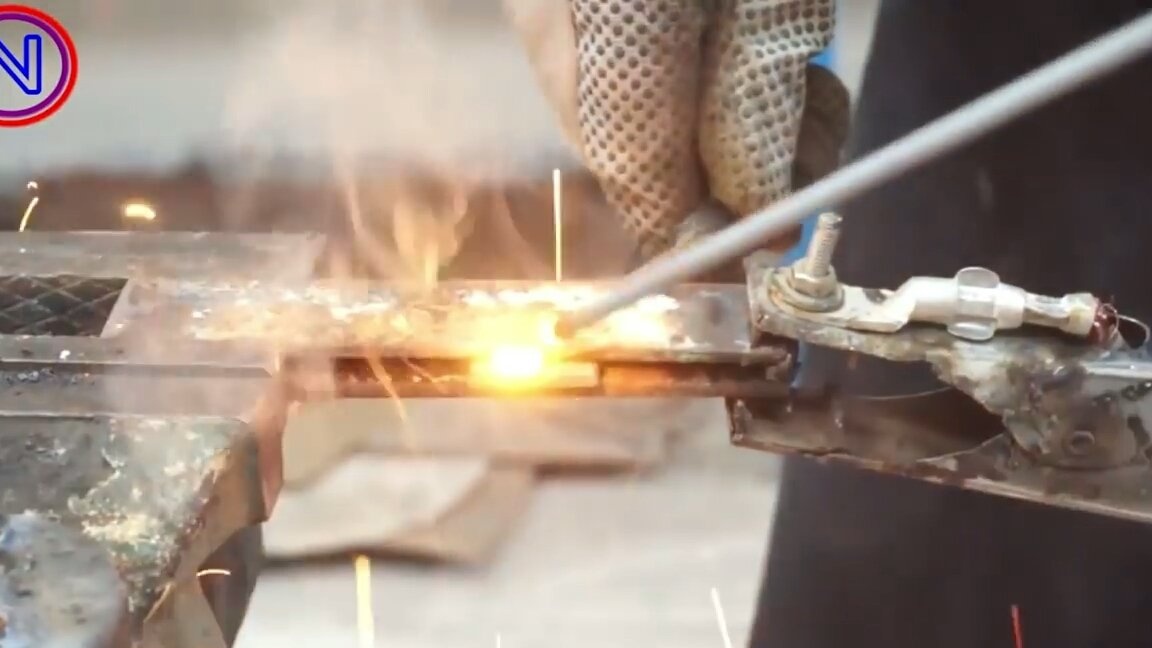
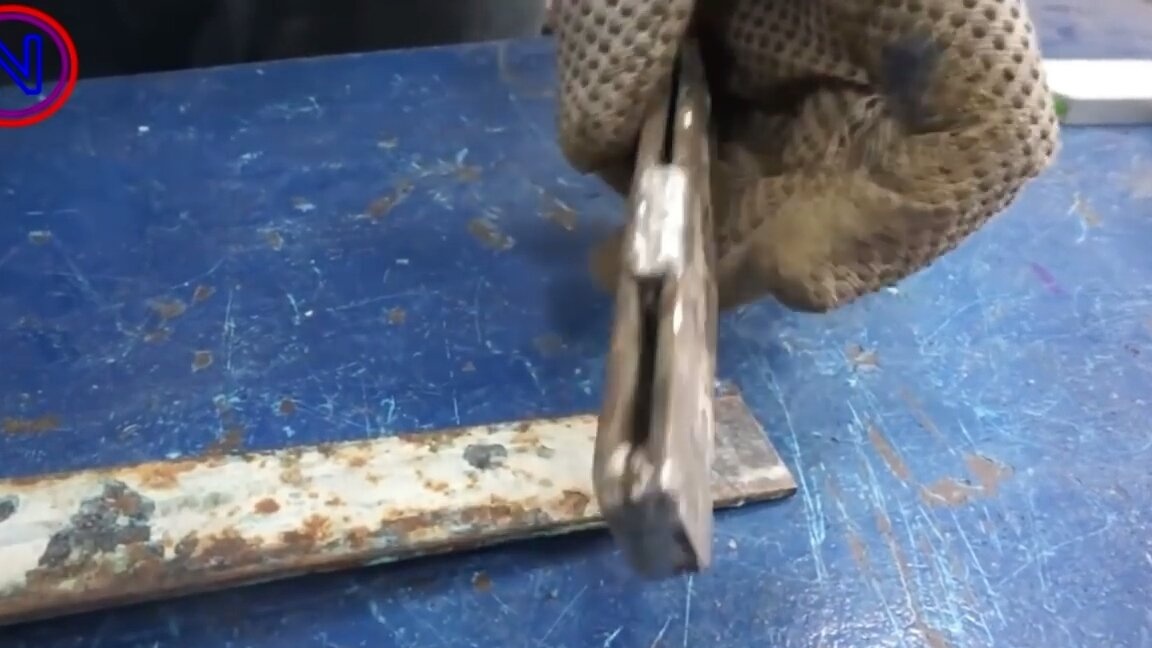
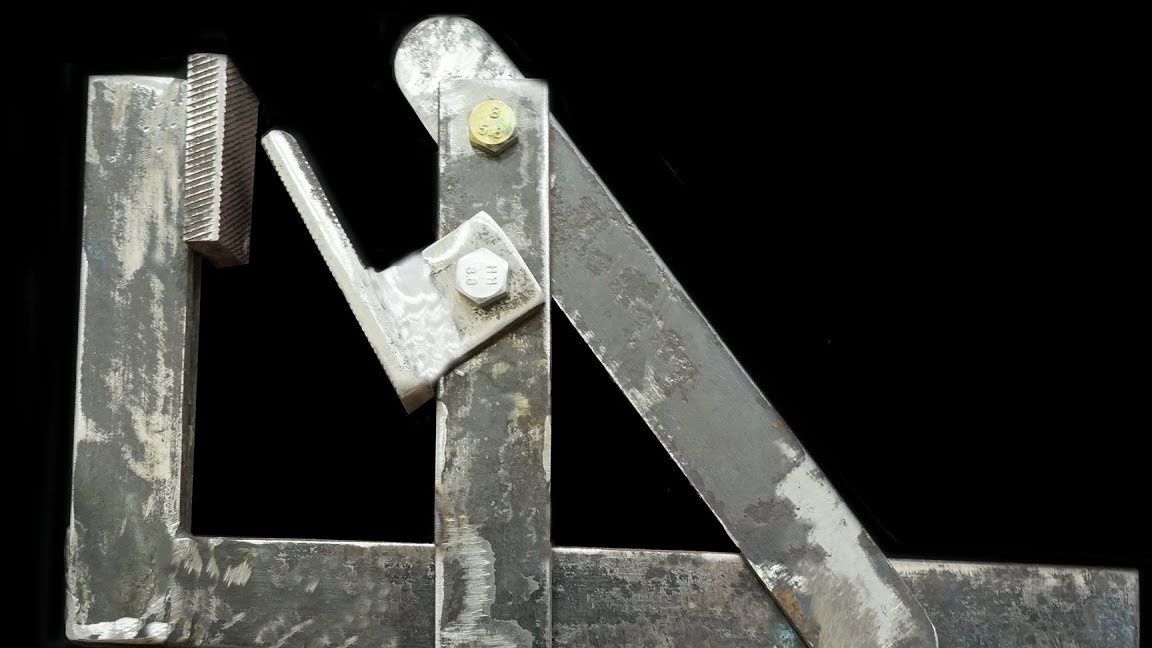
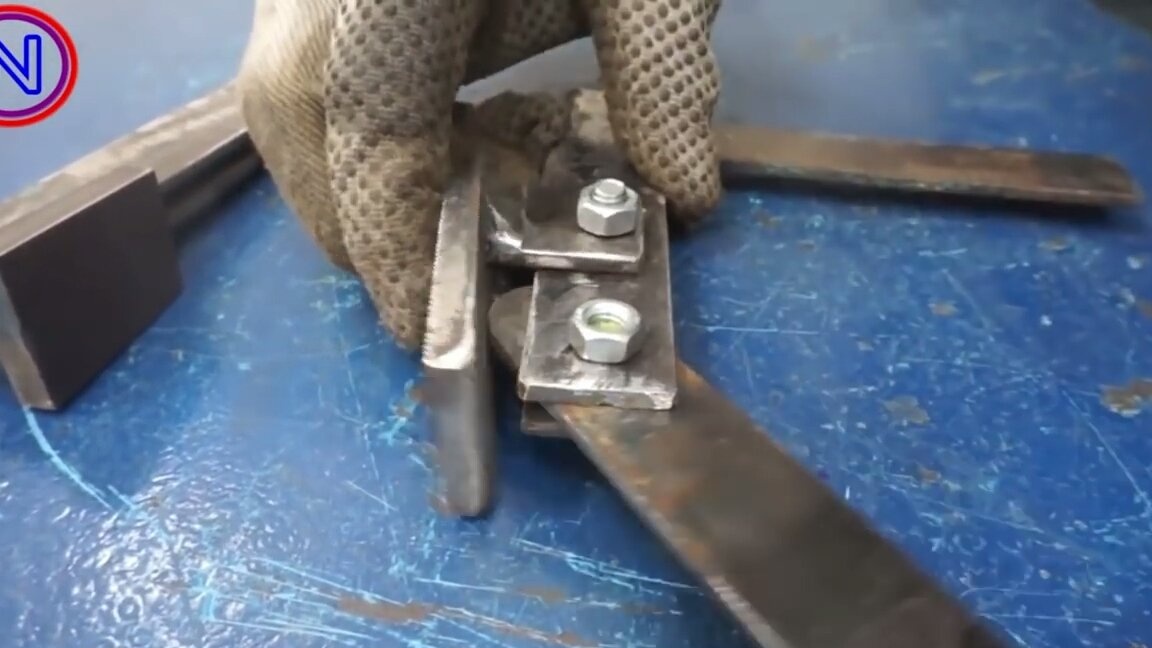
Now a movable bracket is made. A piece is cut from a steel bar and welded to the plate. Then a small piece is cut from another plate which is also welded to the plate parallel to the bar and another plate is welded on them (seen in the photo). Thus, a movable bracket was obtained.
Step 3. Final touches
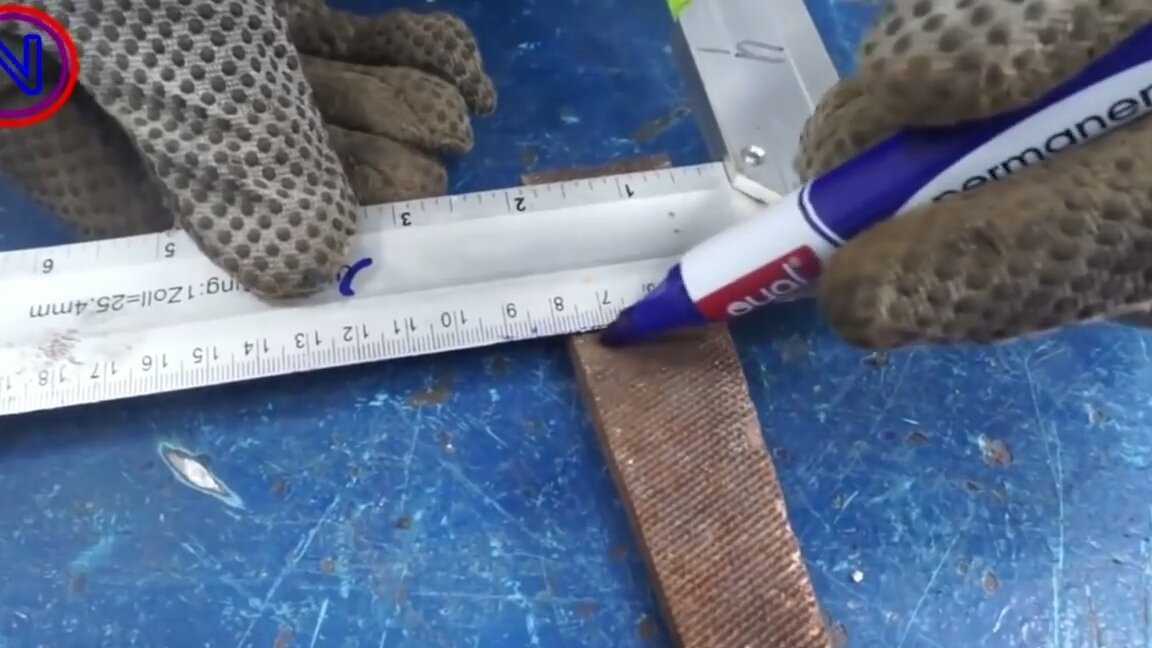
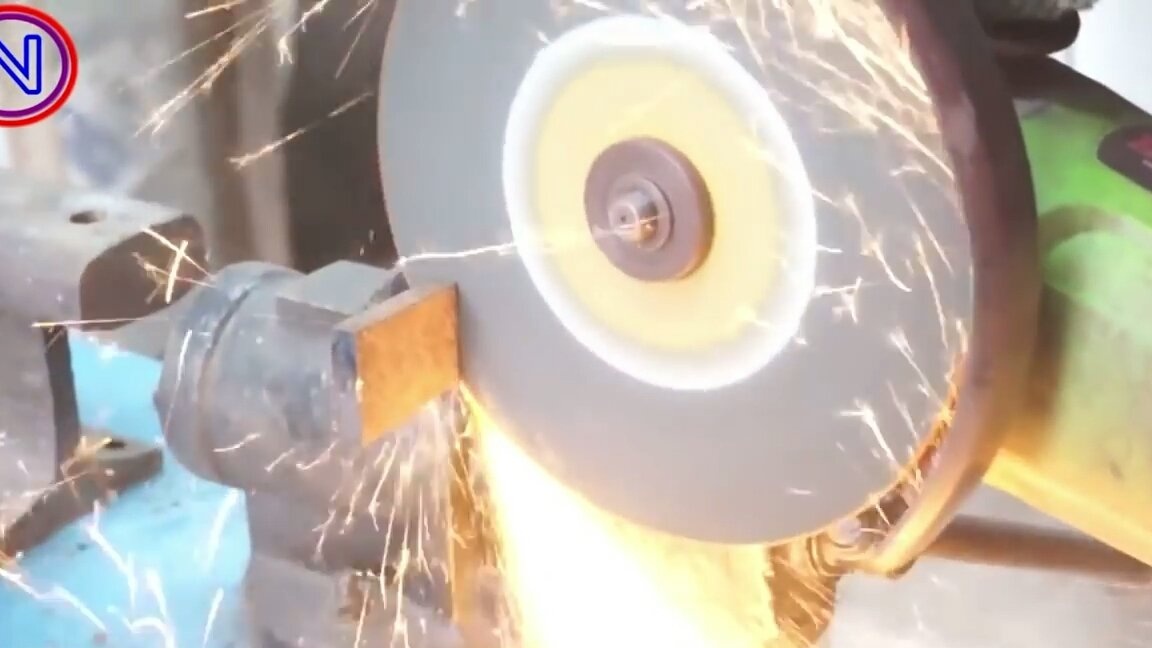
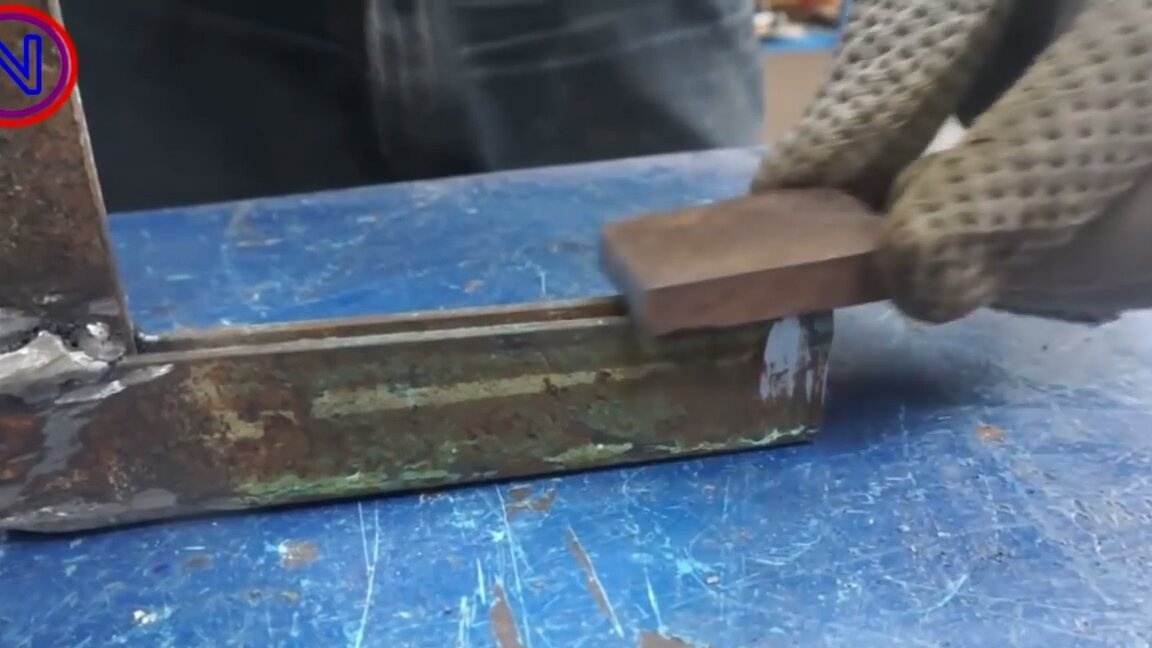
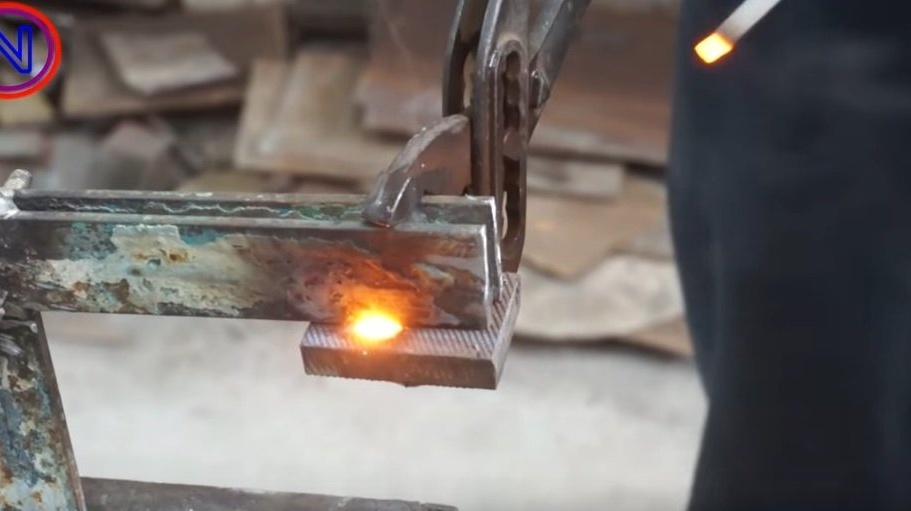
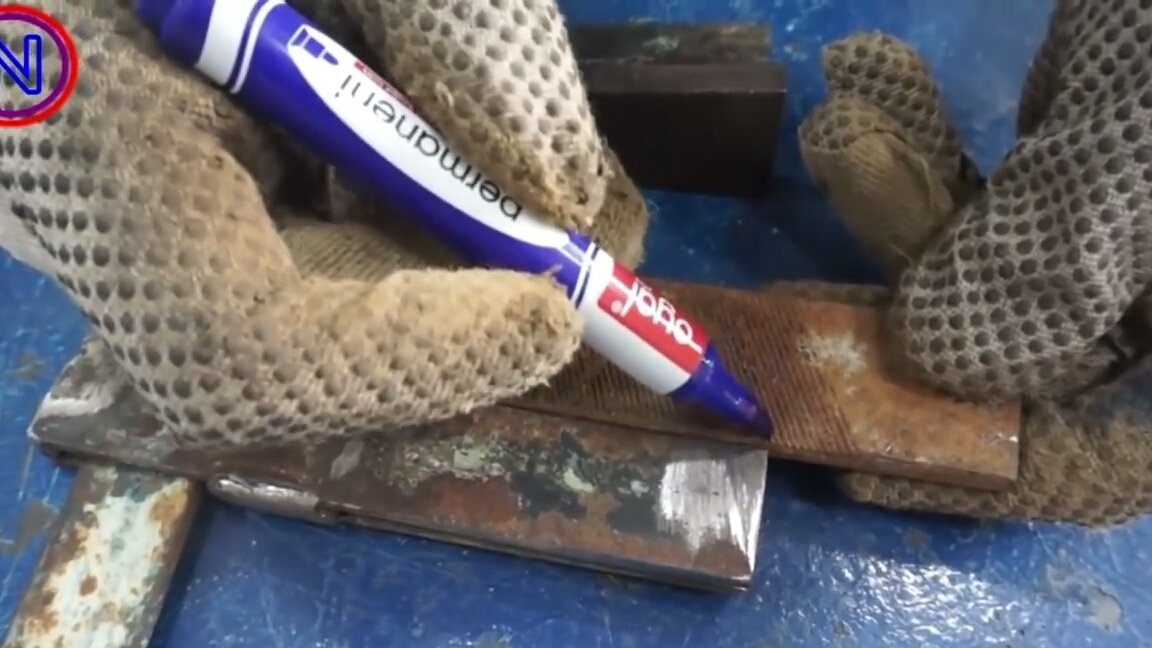
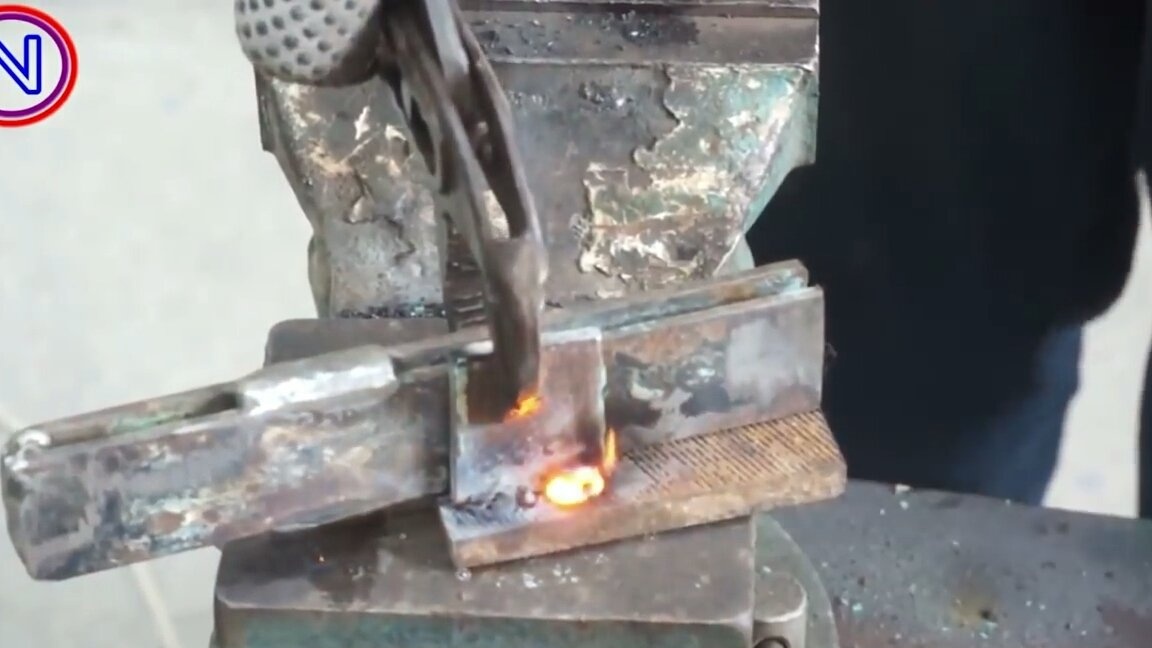
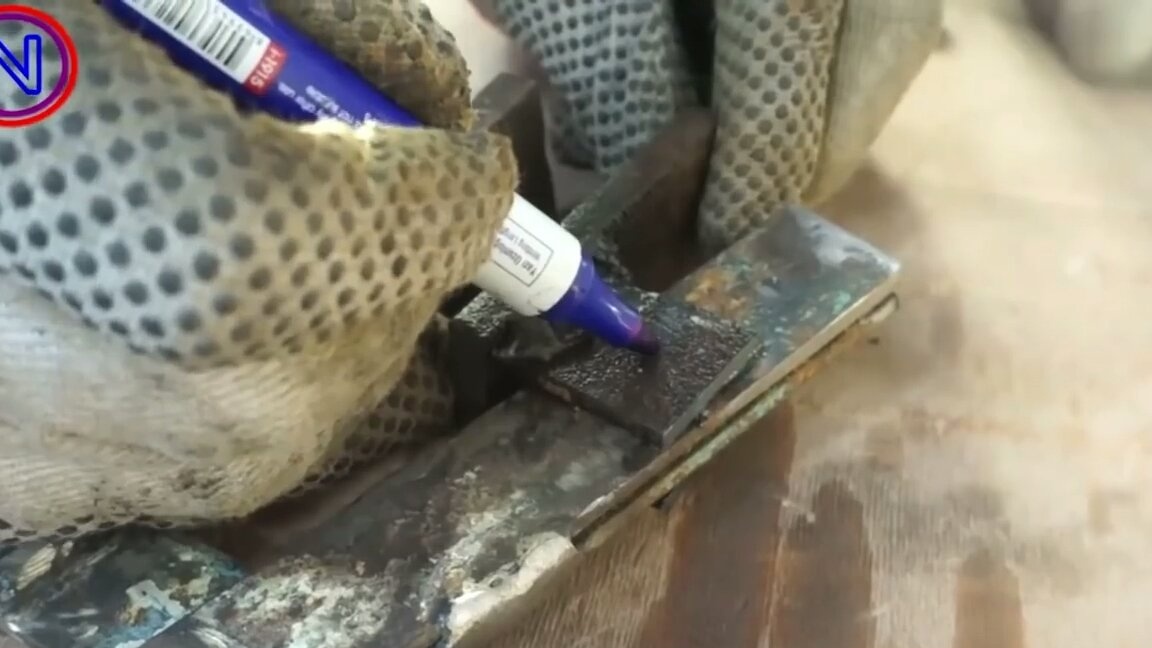

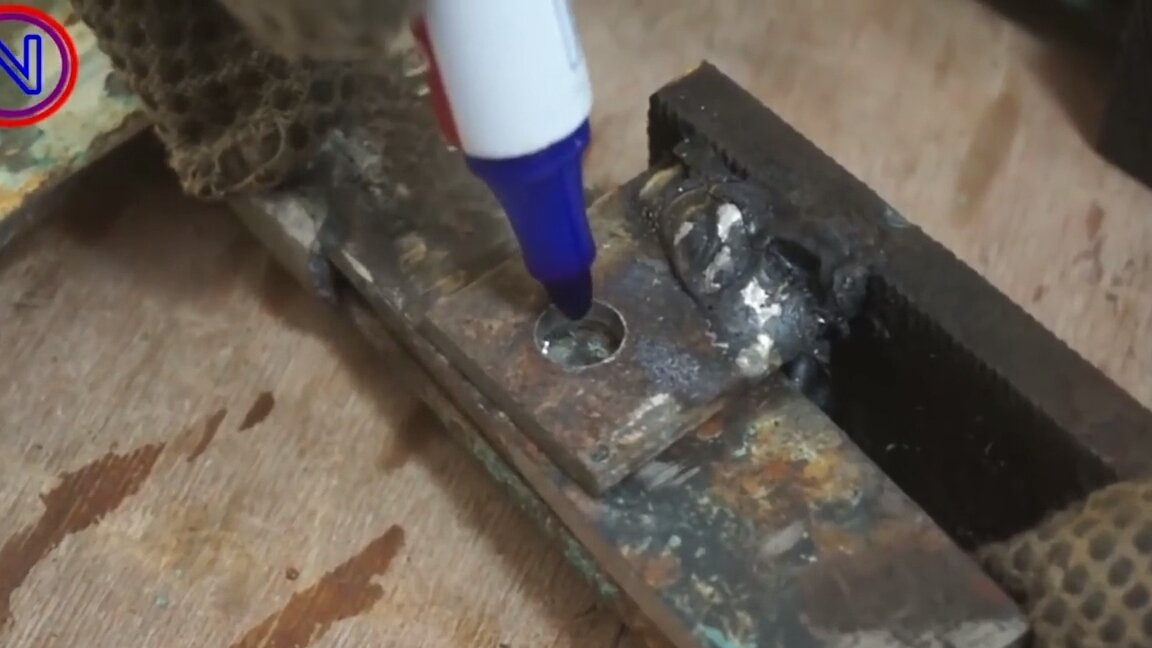
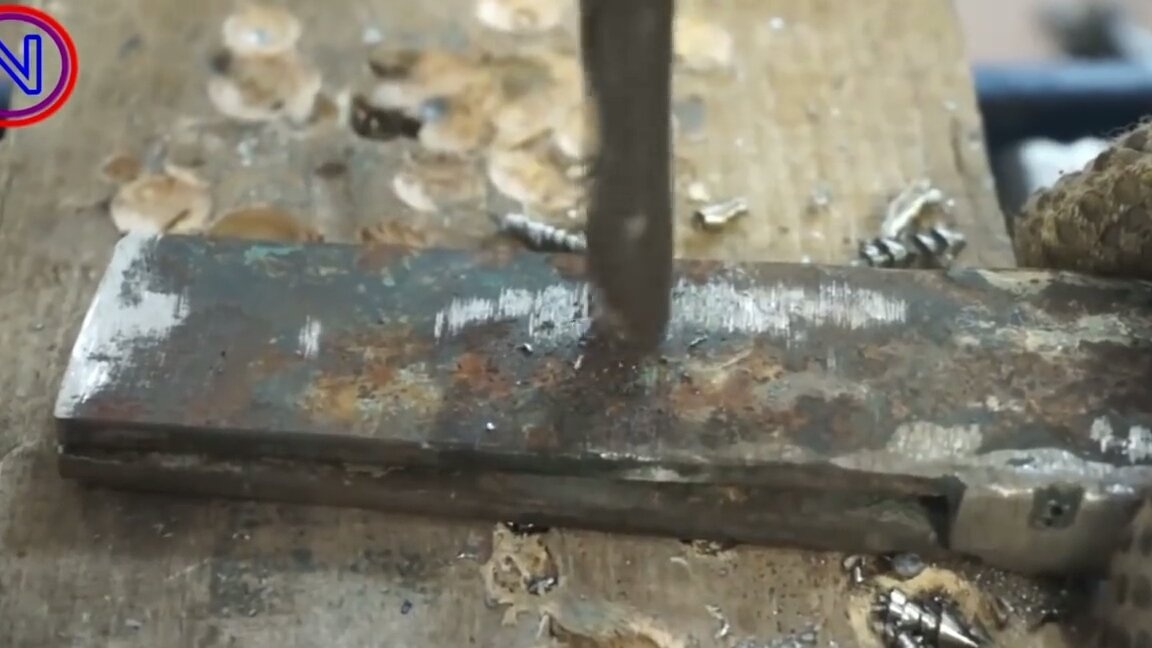
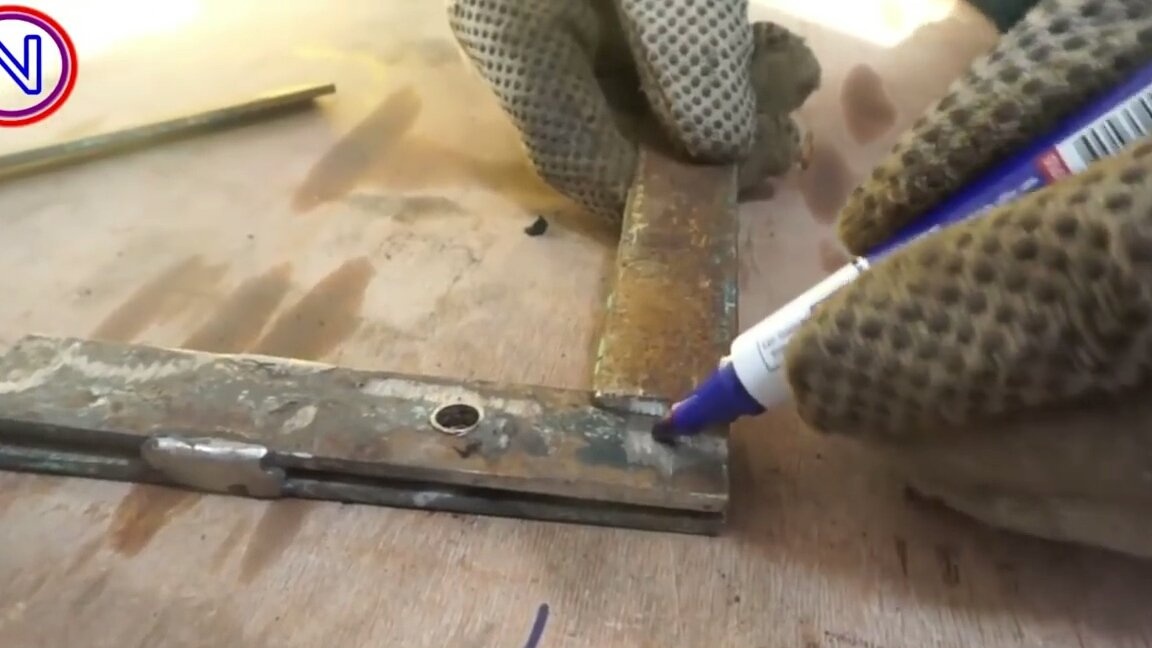
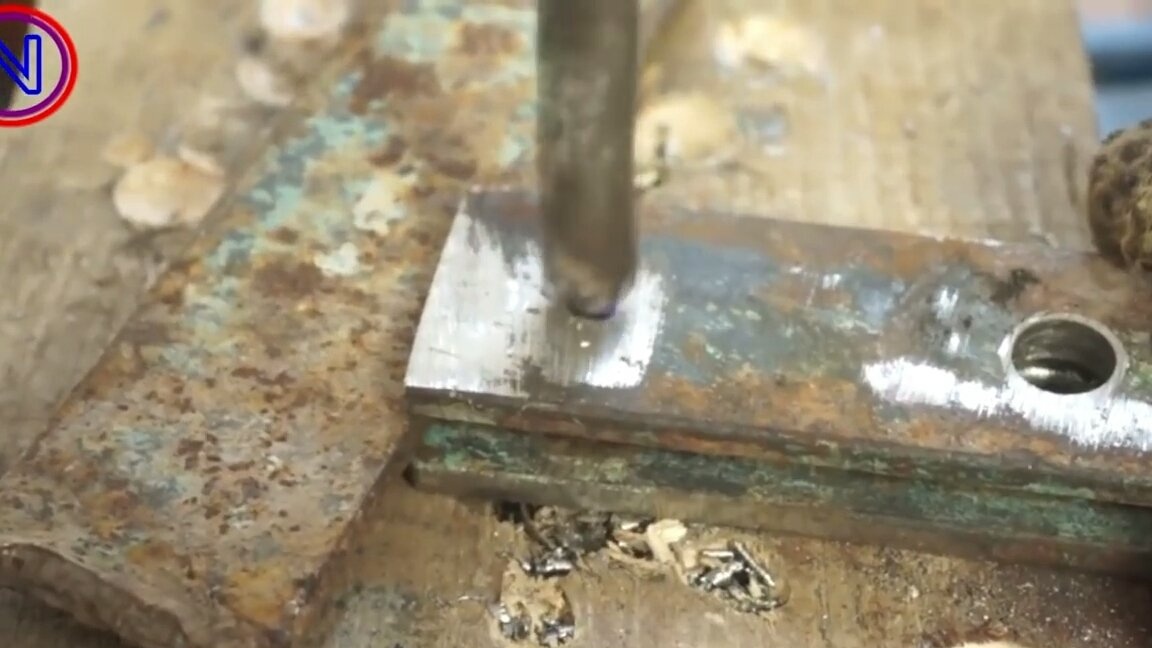
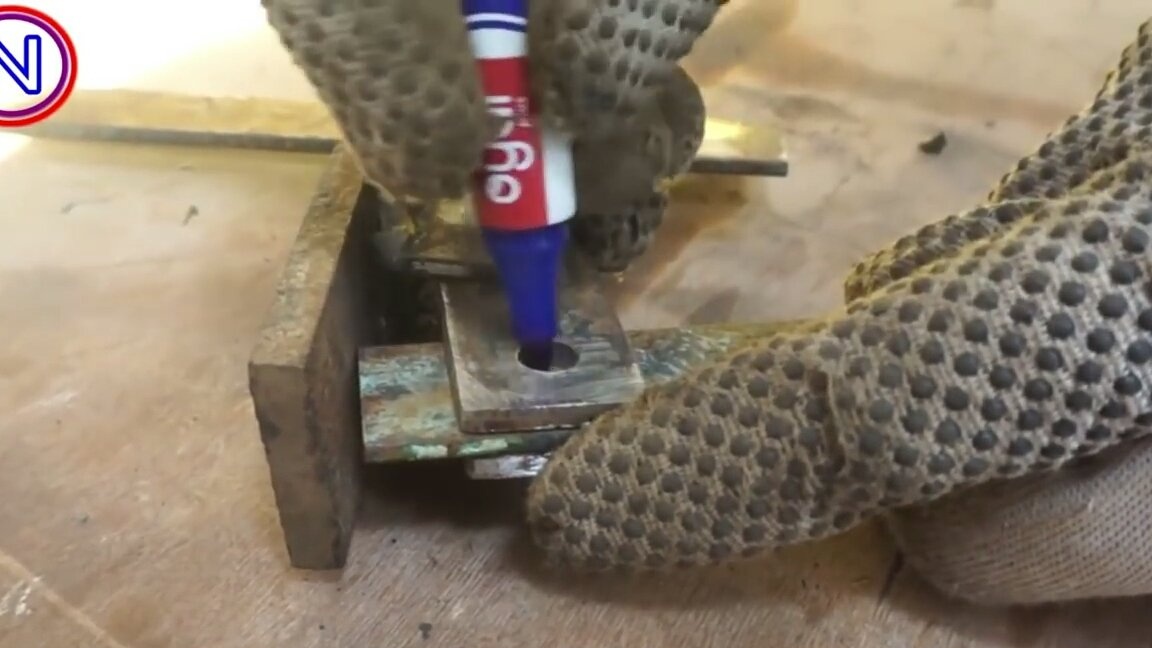
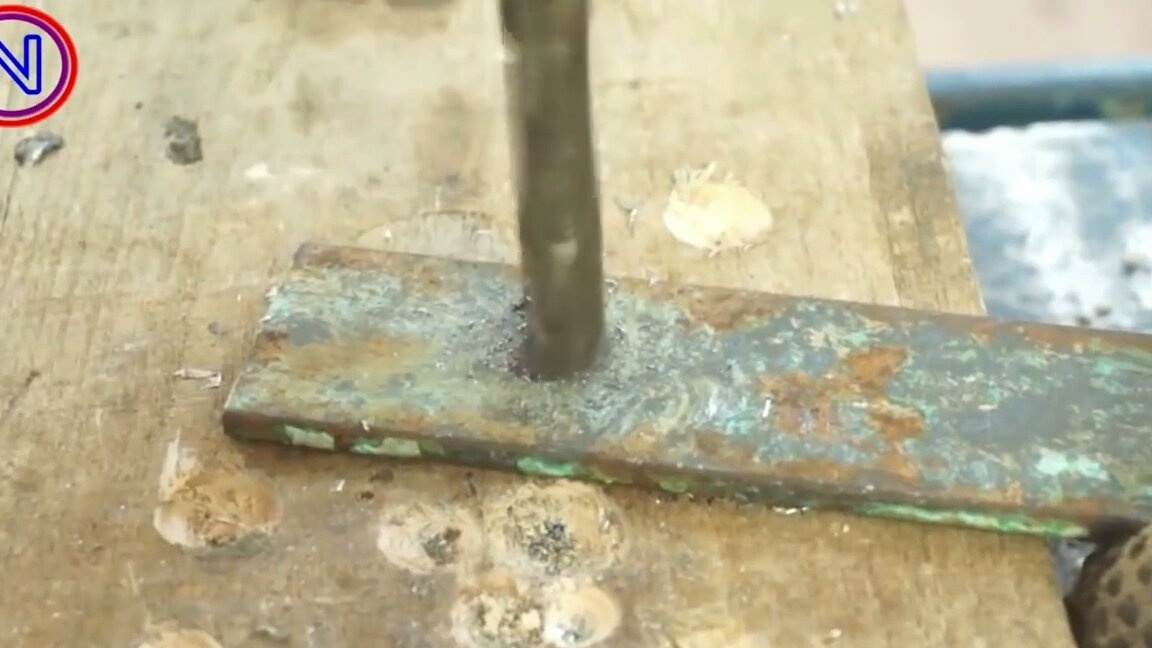
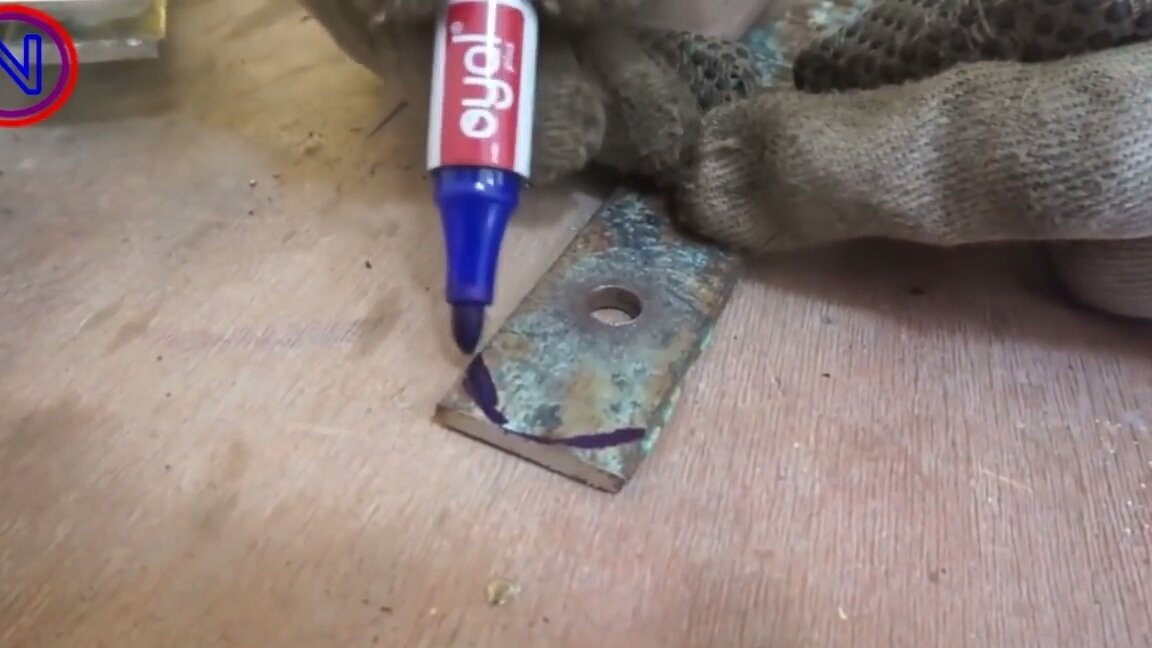

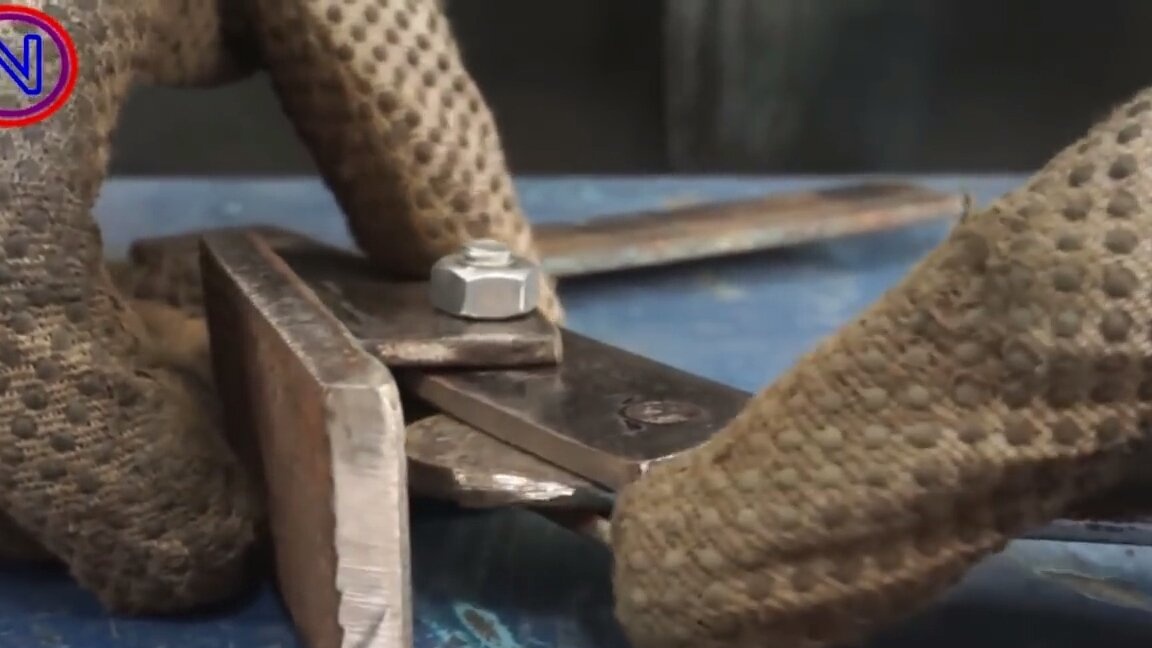
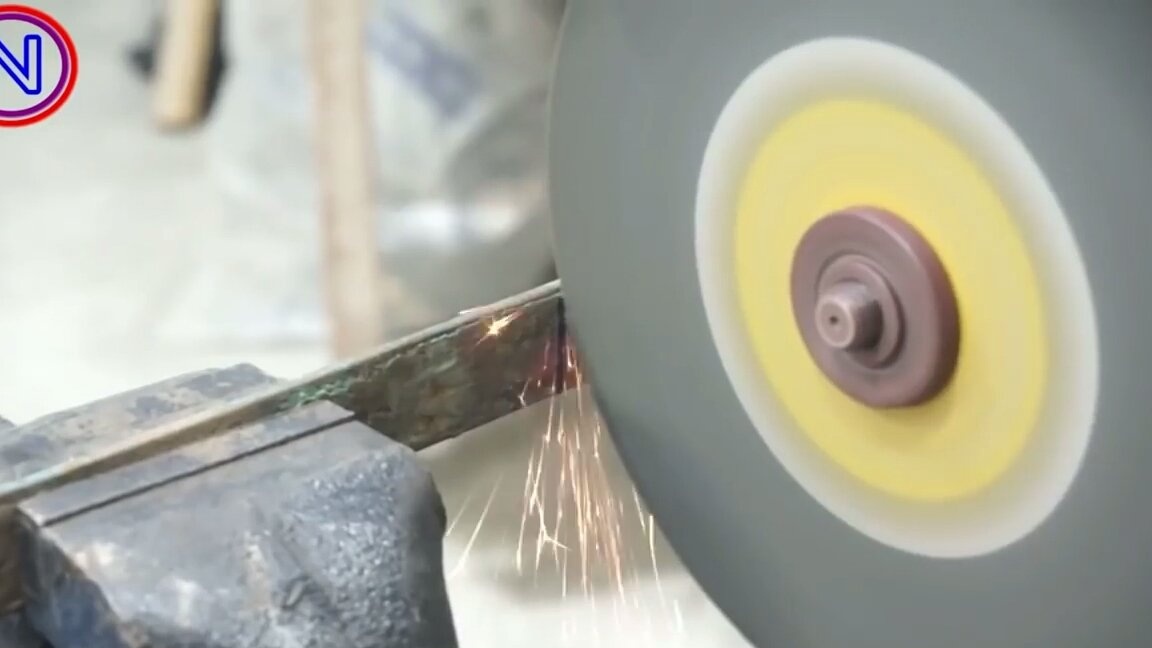
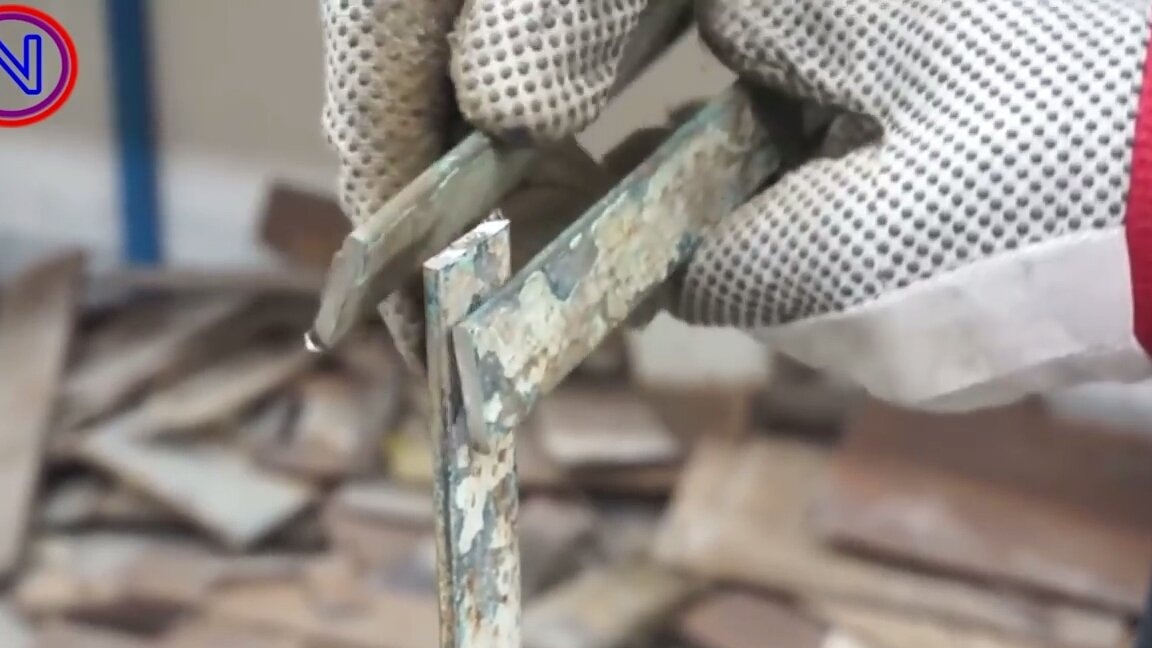
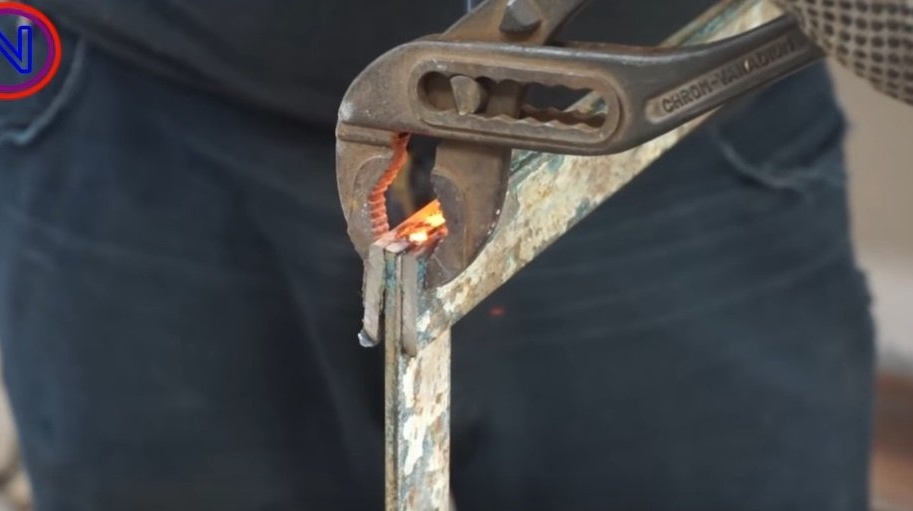
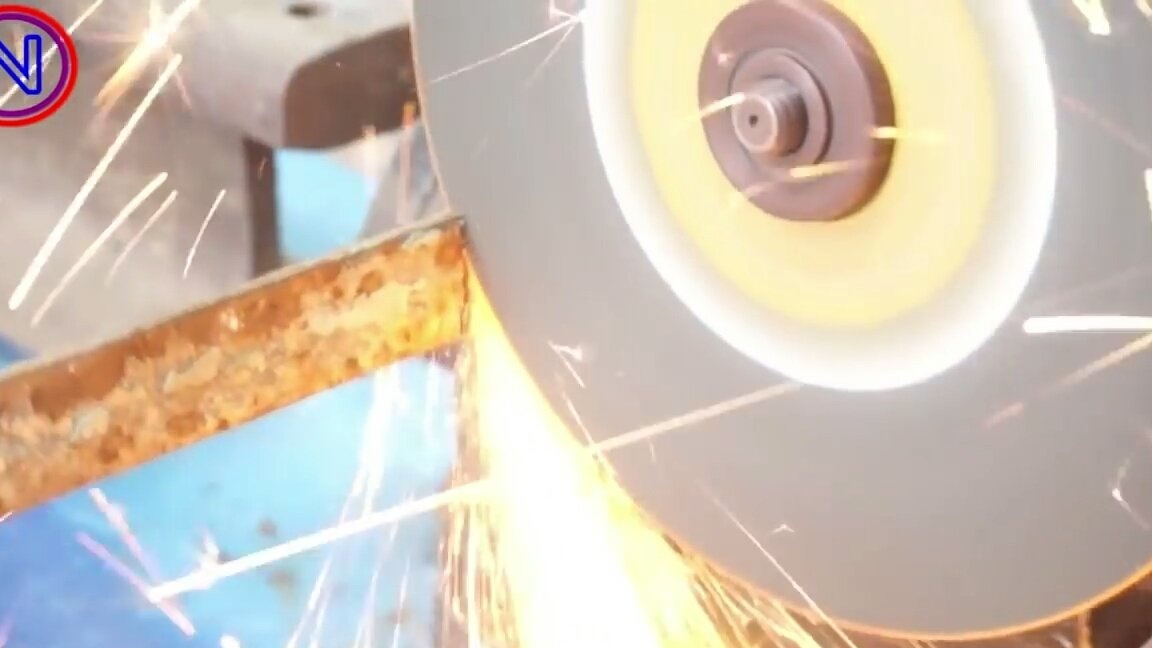
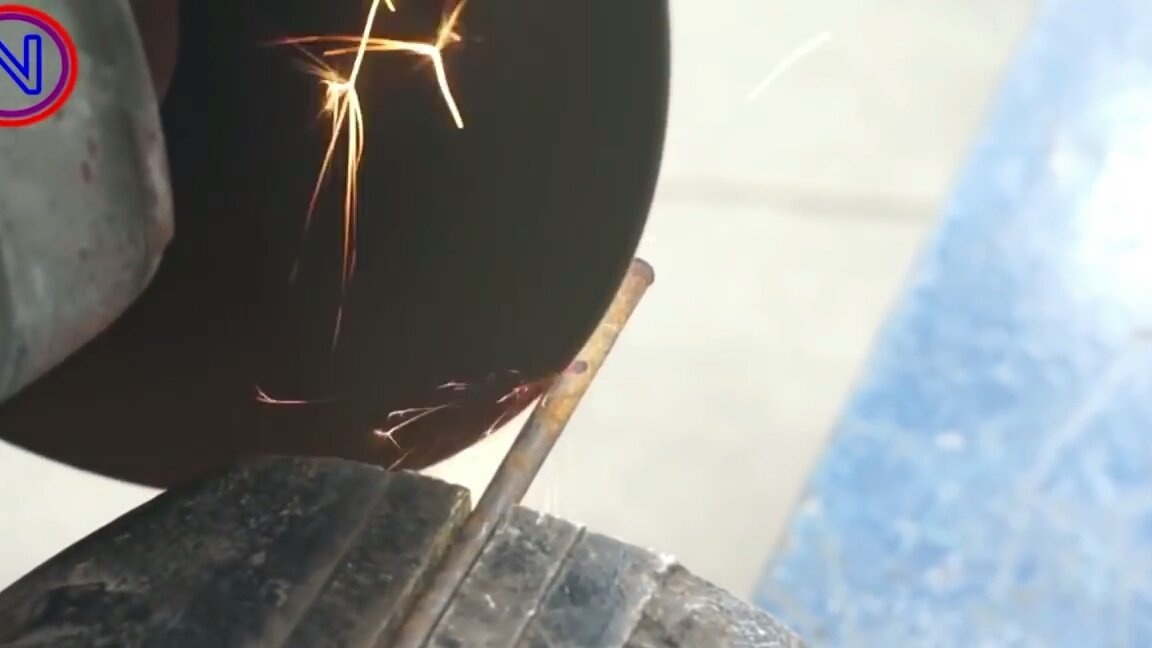
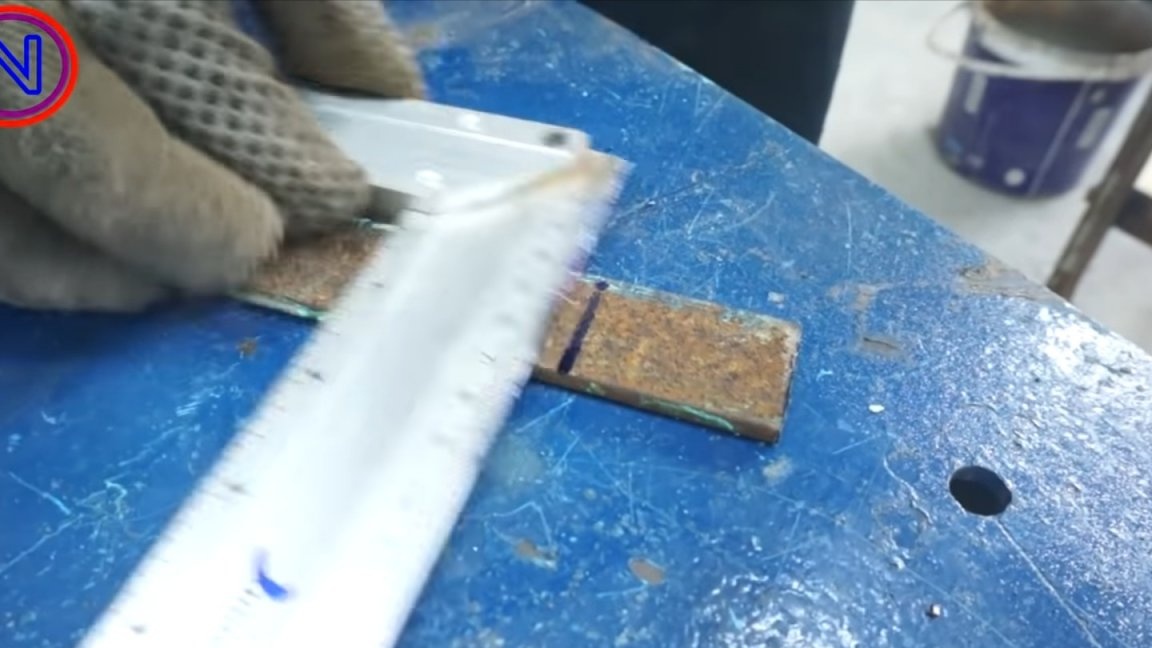
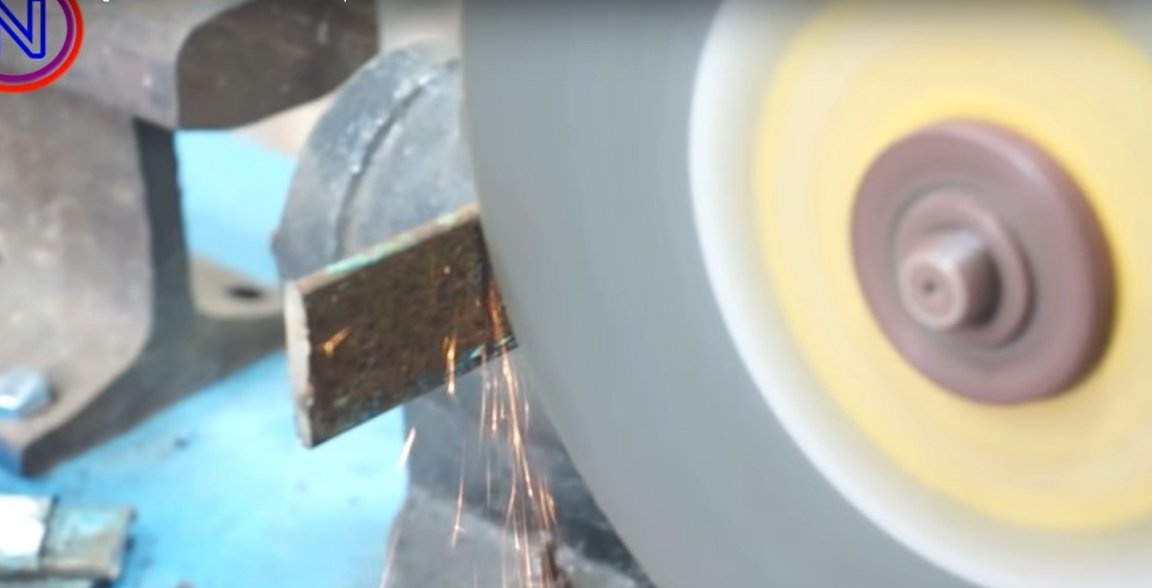
At this stage, two pieces are cut from the old file, which will serve as paws for the clamp brackets. One piece of file is welded to the fixed clamp bracket. On another piece of the file, two pieces of the plate are welded in parallel to each other and drilled.Two holes are drilled on a movable bracket and a foot is attached to one hole. A lever from the plate is attached to another hole (the edges of the plate are pre-rounded on an emery).
Step 4. Testing
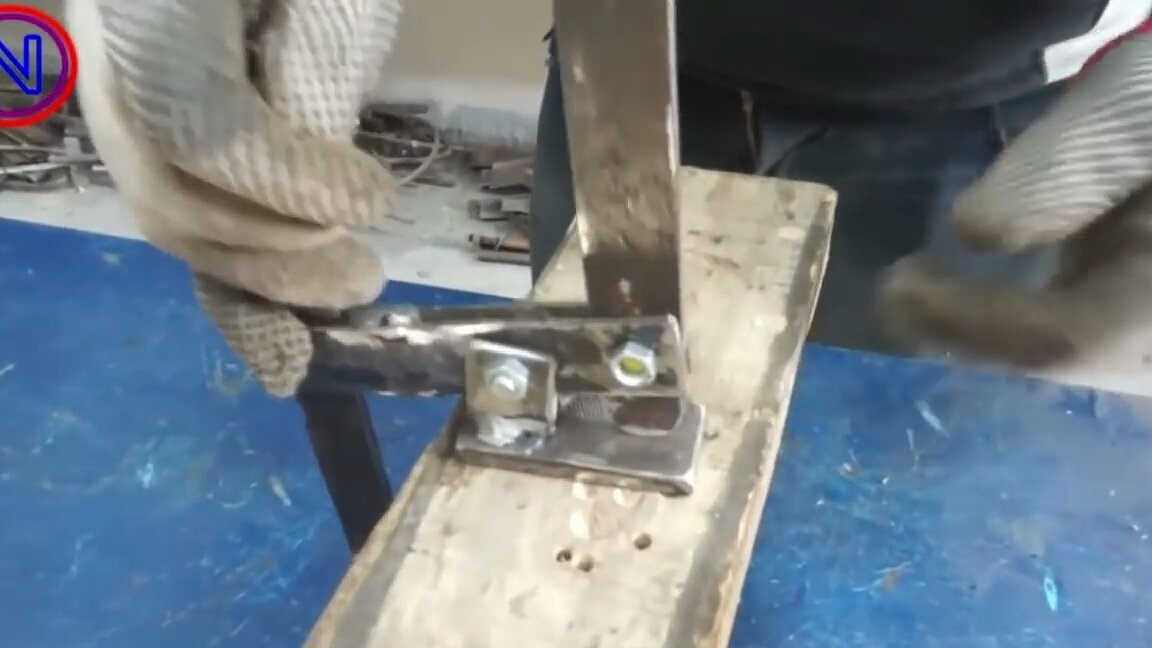
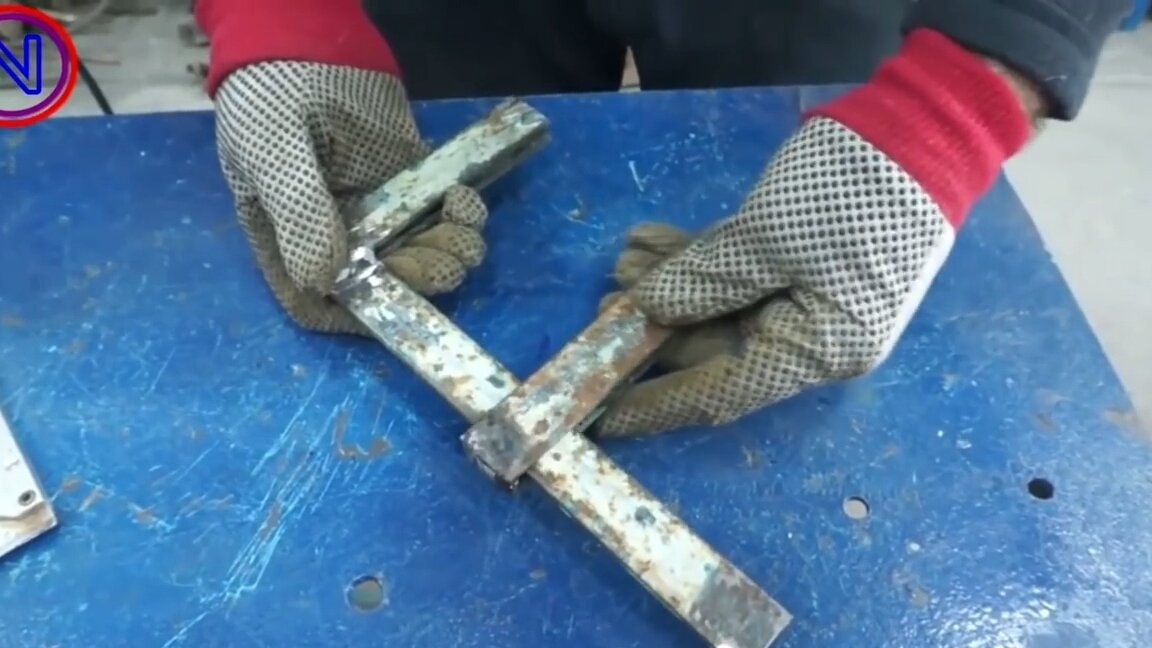
The clamp is ready, you can work. This clamp is an improvement on the F-shaped clamp. The clamp must be tightened by turning the screw, it is long and not convenient. And this home-made is clamped with one movement of the lever. To clamp, tightly pull the movable lip to the part and squeeze the lever. The angle of the bracket changes and it can no longer slide. Homemade testing and the entire assembly process can be viewed on video. That's all, thanks for watching. Do not forget to like.