
The author of this homemade studying in an engineering class in high school. His knowledge allows him to make a snowboard, as he always wanted him to. In addition, all tools and equipment are available, including a press. This is a very long and complicated process, but nothing is feasible.
Step 1: Tools and Materials Required
Materials:
Maple wood (birch or other types of wood)
Black P-tex plastic for sidewall
P-Tex Hardener Epoxy for Polyethylene Plastic (Base)
fiberglass
7 mm insert
Snowboard mounts
metal strip for edging
Instruments:
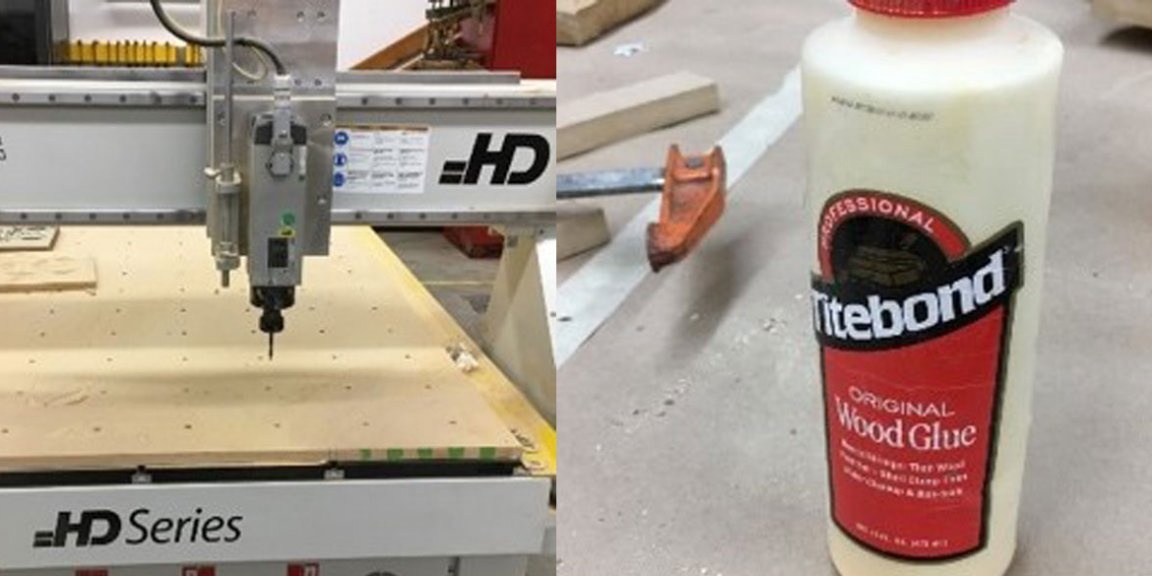
CNC milling machine
Table saw
Drilling machine
Glue
Clamps
Calipers
Press
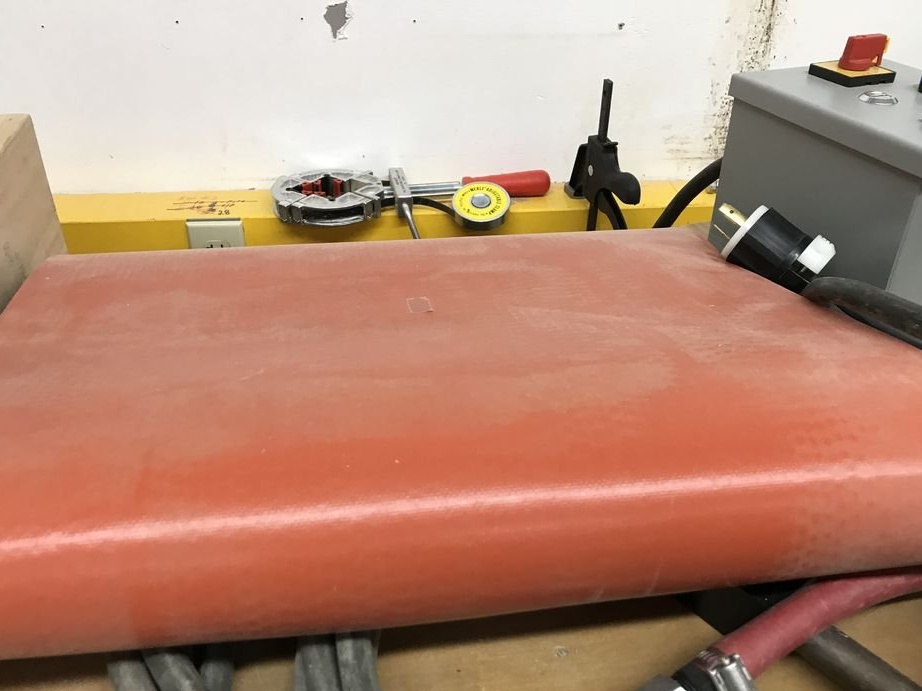
Thermal blankets
Metal sheets
Upper and lower snowboard mold
Wrench
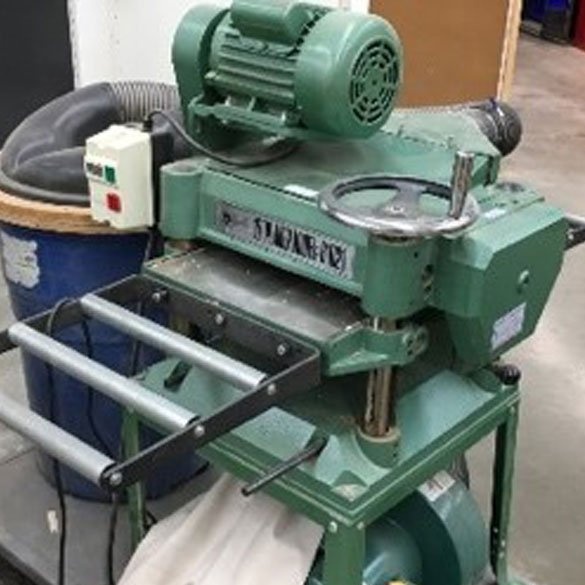
Grinding machine
CAD and computer
angle grinder
Conductor
Step 2: Design a Snowboard Board
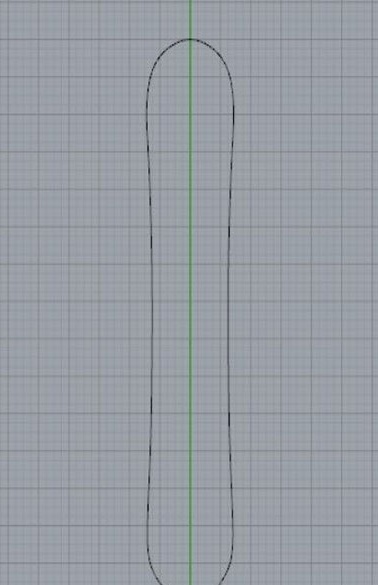
The size of the board is selected individually. It should be appropriate for height, weight and riding skills. The author used the CAD program Rhinoceros-5. The snowboard of his dreams turned out in the following sizes: 150 cm long and 24 cm wide.
Step 3: cutting wood strips
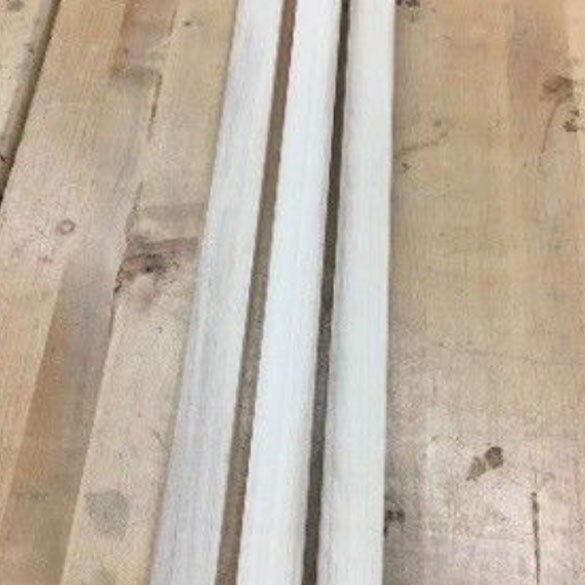
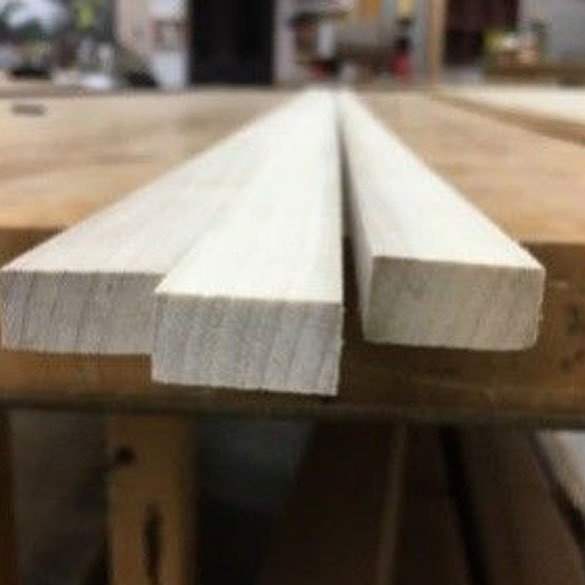
Using a table saw, a maple board is cut that is longer than the length of the snowboard. A maple board should be 1.9-2.0 cm thick. Each strip is 1.3 cm wide. This is the thickness of the core.
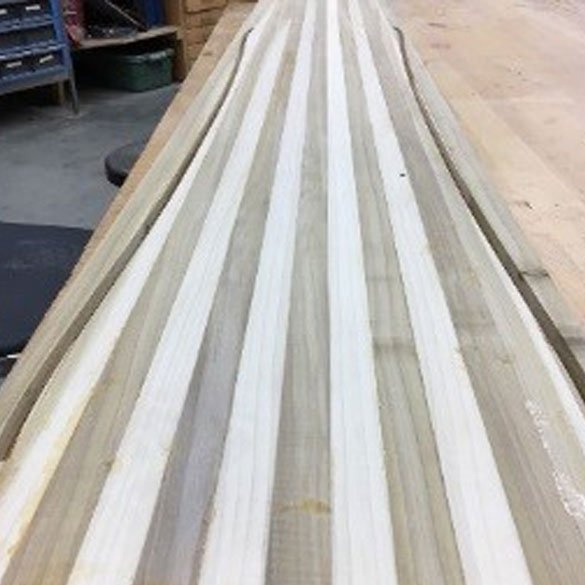
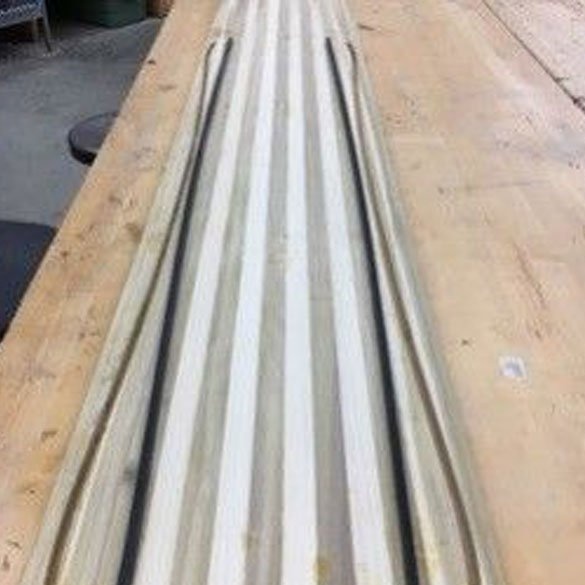
Step 4: Bonding and clamping in clamps
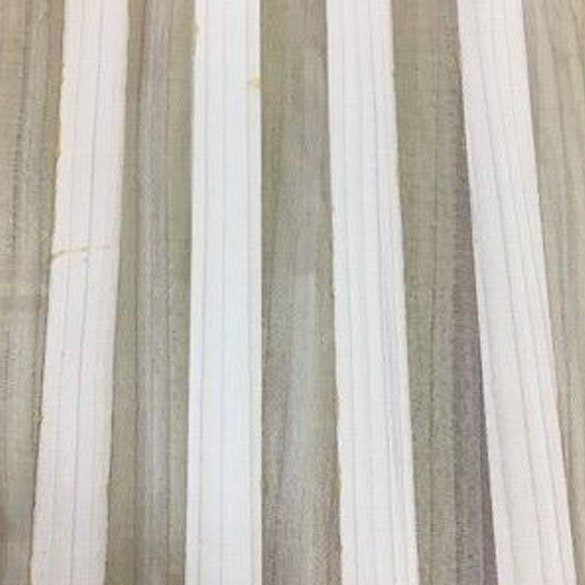
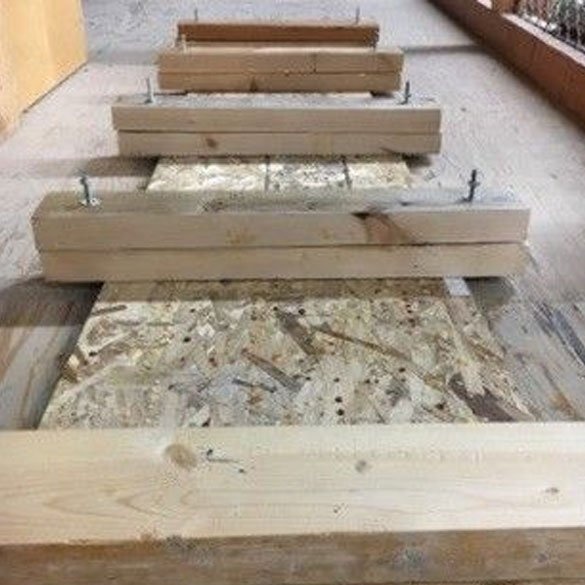
Then follows the process of gluing wooden strips using wood glue, usually PVA. In total, the author got 12 bands. This is much more than is necessary for the width of the snowboard. Then he clamped the glued strips in clamps that look like a wooden block with nuts and bolts. This type of clamps provided uniform gluing of strips along the entire length. Once the strips have dried, you should scrape off the remaining dry glue from the board.
Step 5: Sidewall Design
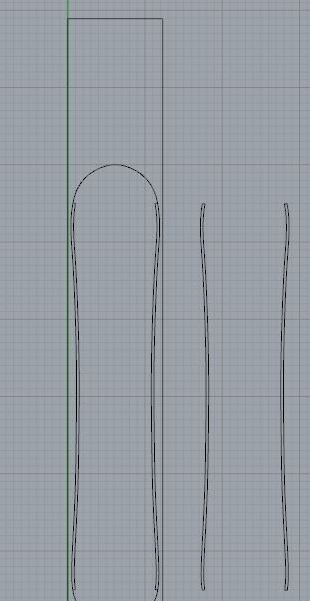
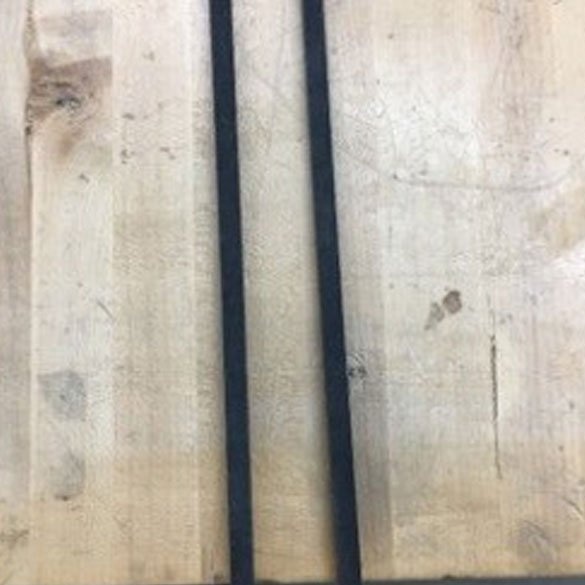
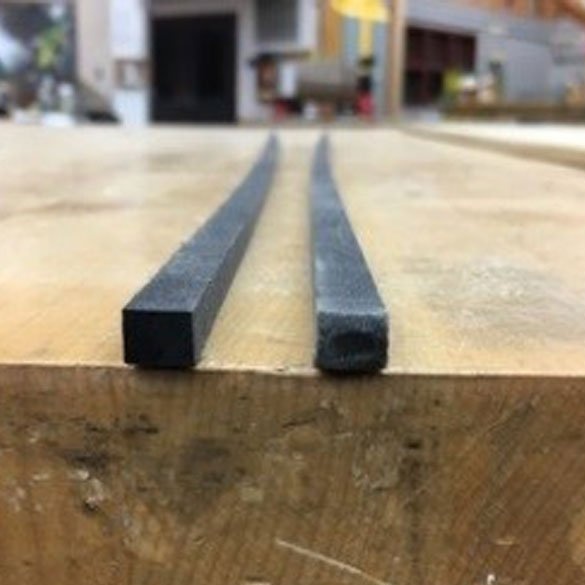
The side edge, along the outside of the snowboard, the author also designed in Rhino. Later, the side wall will be glued to the edge of the snowboard with epoxy. This is followed by measurements of the sidewall with a caliper. The thickness of the side wall should be 8 millimeters.
Step 6: Trimming the Sidewall
After creating a shape in Rhino, the file is saved in .dxf format, which can be opened using the V-Carve router program. Using this program, the author compares the trajectory of the future board. After the path is created, saves it on the flash drive and connects it to the router.Next, screw the snowboard onto the waste board covering the CNC milling machine. Set the path to the router and set zero (the point where the cutter is located) in the left corner of the board. A control run of the trajectory over the part will make sure that everything is correct. After that, you can start cutting the shape of the side wall.
Step 7: Core Profile Testing
Using the Rhino program, a profile is created for the core with the desired dimensions. A suitable wooden board is selected with the same dimensions as a snowboard. Then the Rhino file is loaded into the Cut 3D program. After setting the cutter path, the same process is used as when setting up the cutting on the CNC milling machine (step 6). It remains to start the machine along the path and wait for the result.
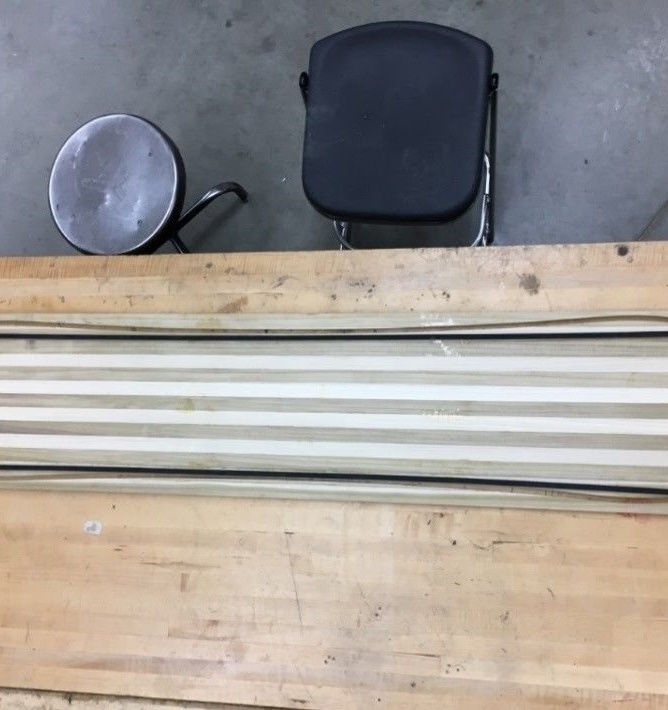
Step 8: Cut out the main profile
If the test was correct, then the same CNC toolpath file is used to cut out the main profile of the future snowboard. The setting is similar to step 7. The author of the test profile for the snowboard core was incorrect. He corrected it by adding thin layers of wood to the core, and then, using a belt sander, he sized the profile.
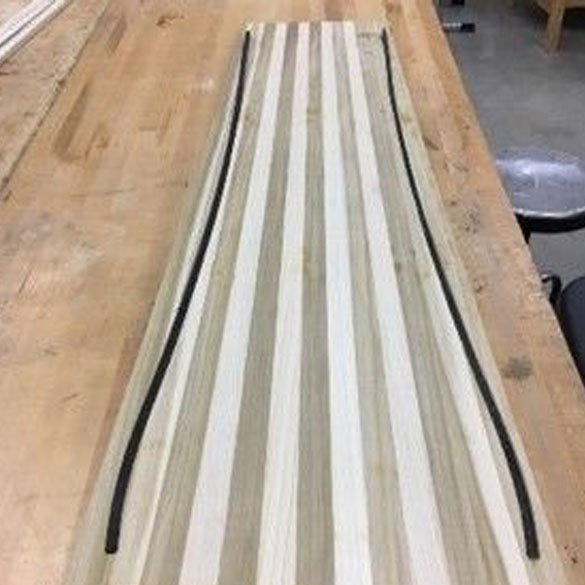
Step 9: Cut Out the Outer Material
P-Tex plastic is the main material for snowboarding. A workpiece is cut out of it using scissors or a razor blade. The boundary of the edge is pre-marked with a marker. The shape of the snowboard should be slightly reduced, as there will still be steel edges. A mold made of plastic is placed on the bottom of the main material so that dirt and other objects do not get on it. It also prevents epoxy from getting onto the board during actual material pressing.
Step 10: Steel Edges

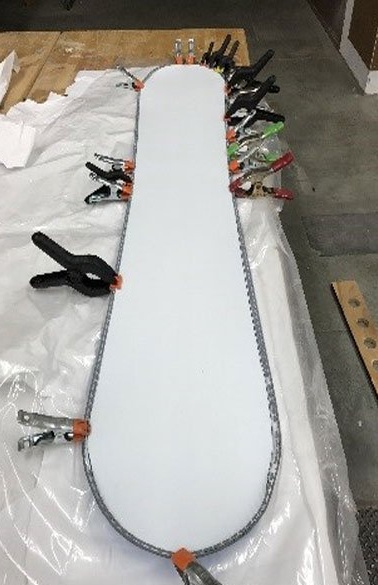
Then the steel tape is bent around the base material. The author used a tool specifically designed to bend steel to the desired curvature (pliers or other tools can be used). Curvature should be as accurate as possible. After that, the steel edges are trimmed with a grinder. The ends of the metal strip should meet at the center of the tip and tail of the snowboard. Then the protrusions are glued to the base material using superglue. For complete drying, clamps or clamps are used.
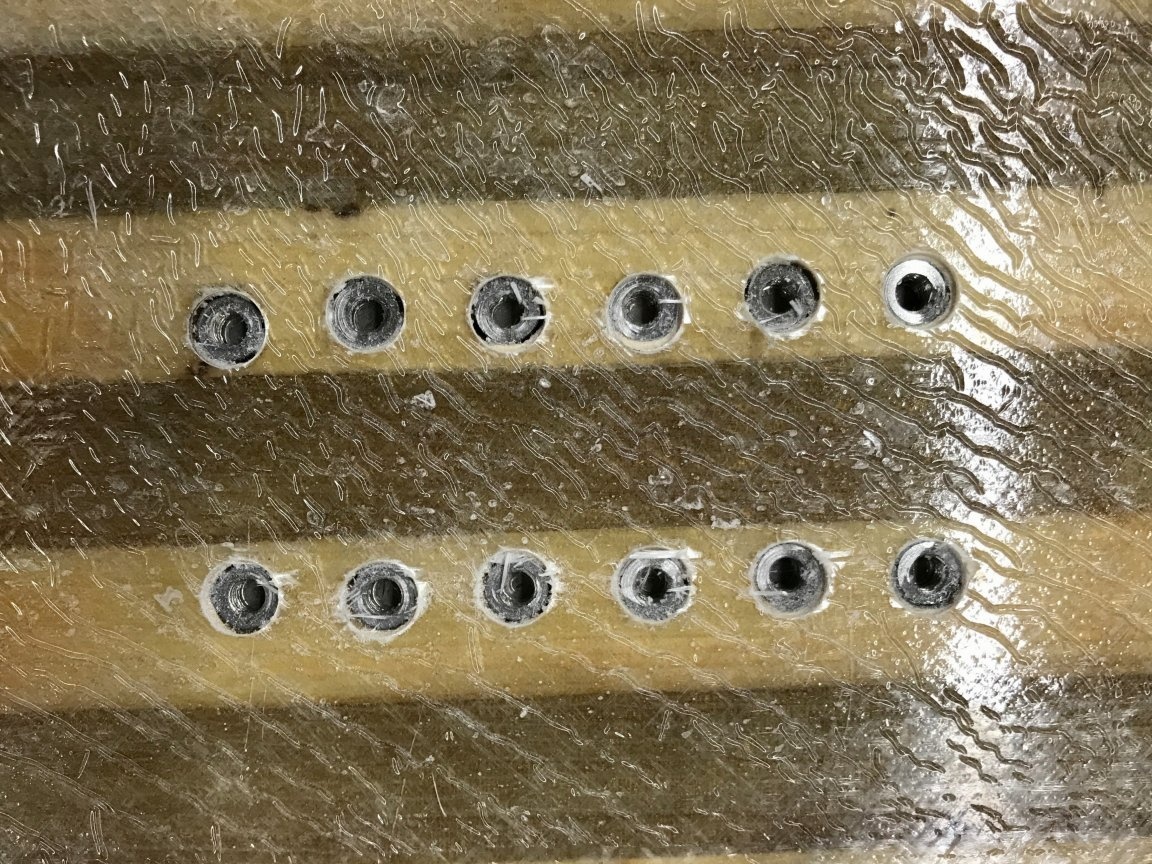
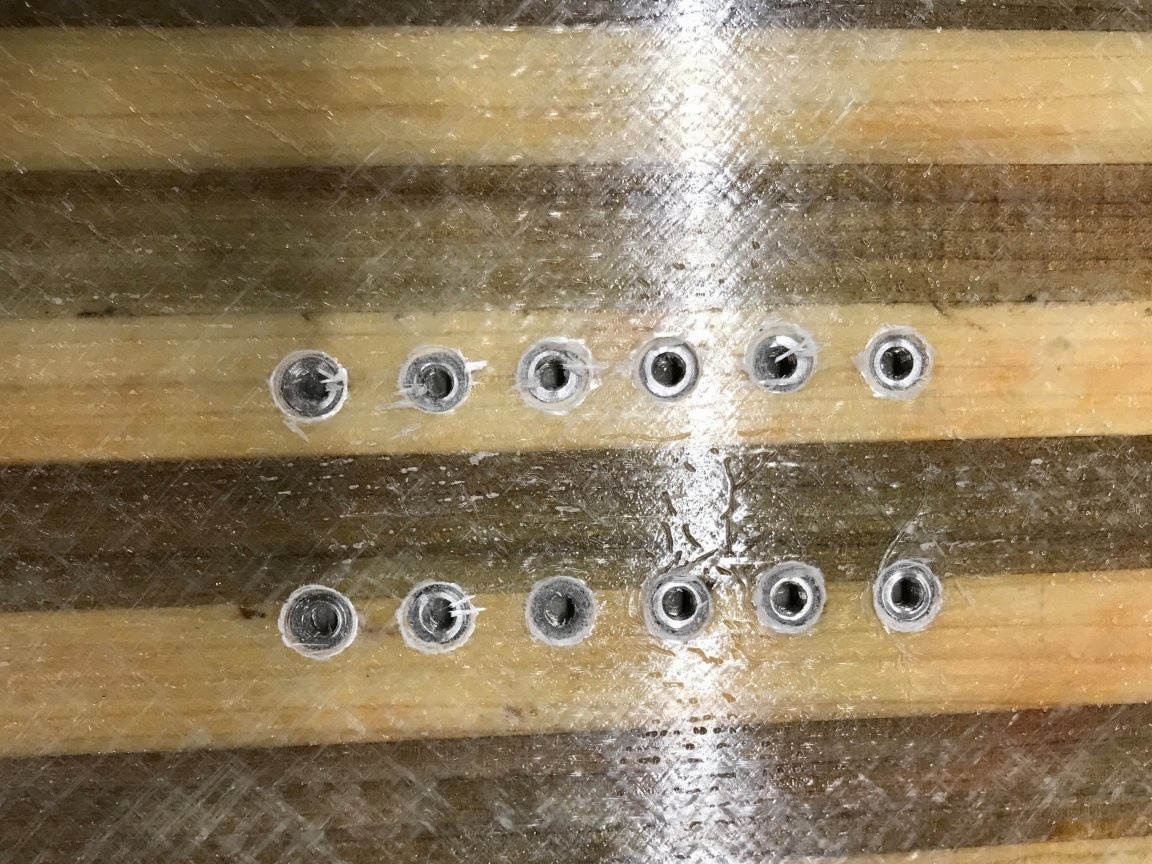
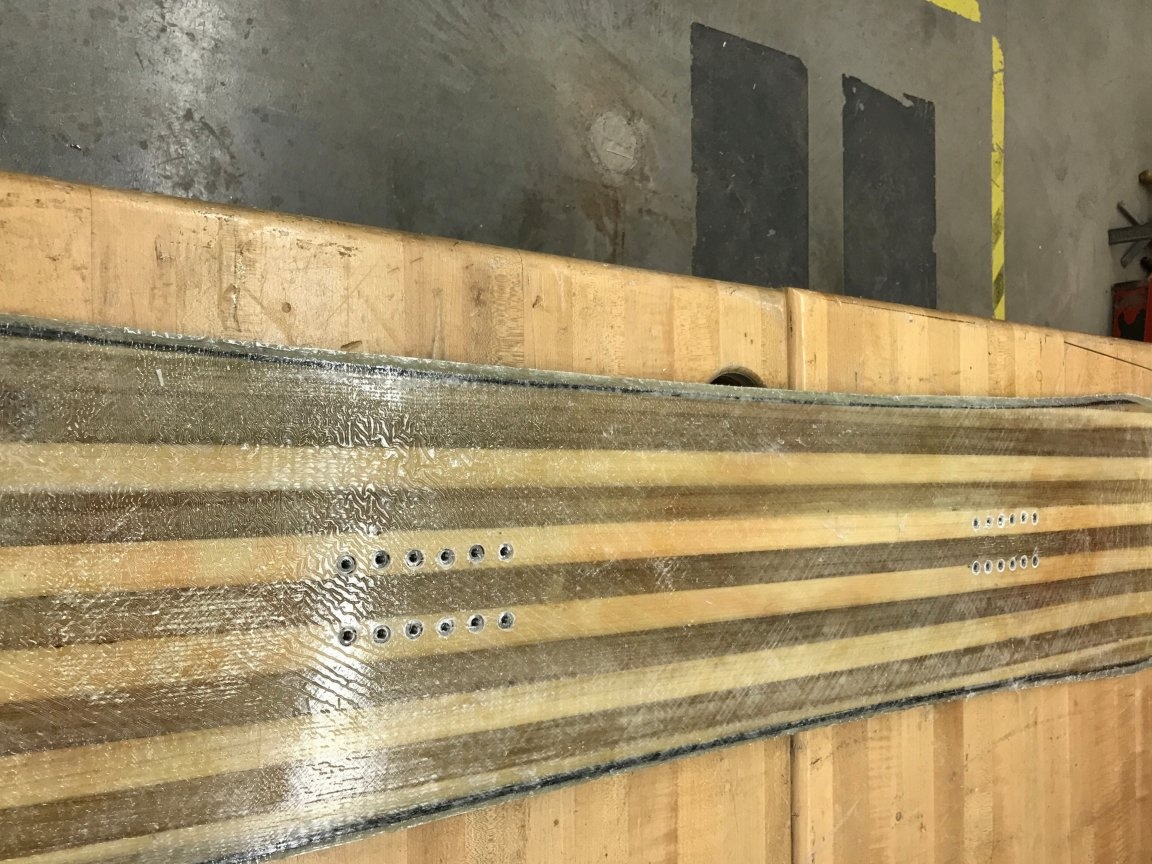
Step 11: Drilling Insert Holes
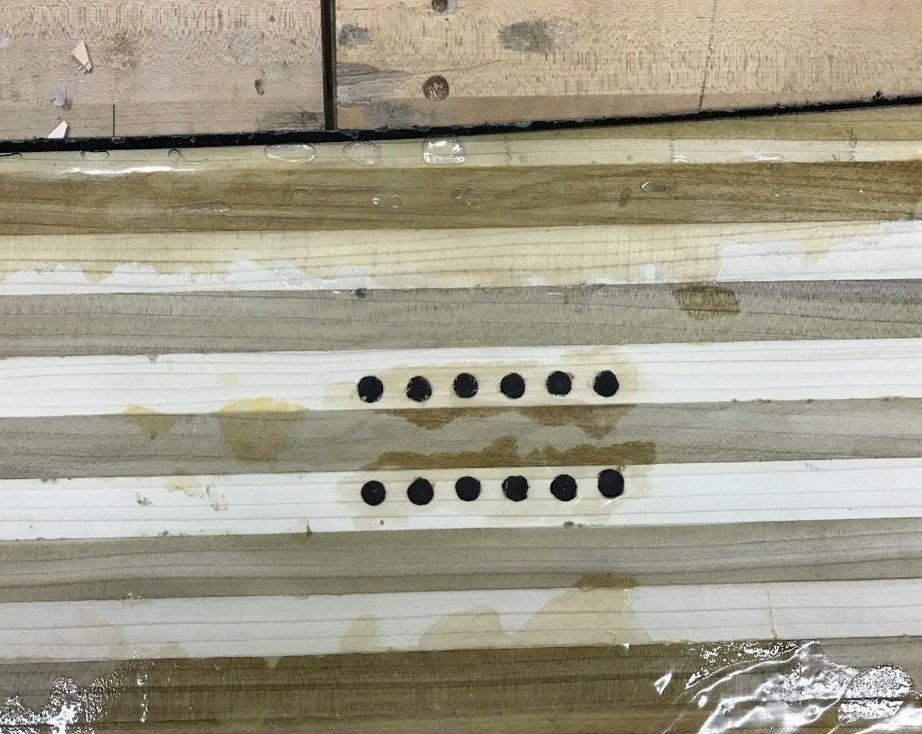
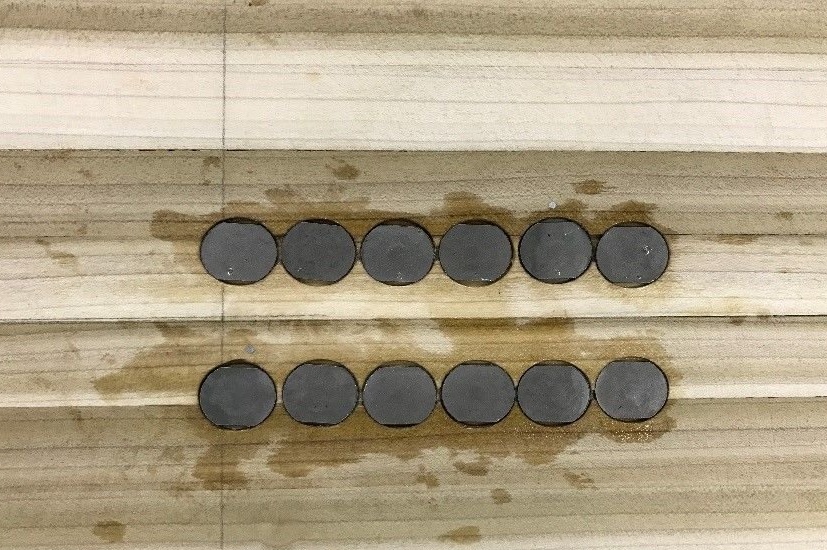
The hole patterns for shoe fasteners are very diverse. The one you want to see on your snowboard is chosen. Using a Forstner drill, a hole of the desired diameter is drilled. The diameter of the drill and the drilling depth is selected depending on the base of the liner. Then another hole is drilled, the diameter of which corresponds to the diameter of the insert. The thickness of the board should correspond to the height of the inserts. All of these measurements vary depending on the type of insert. The one used by the author was equal to 7 mm. After that, the upper part of the liners is sealed with adhesive tape and epoxy is applied to the board.
Step 12: Prepare and Cut Fiberglass
2 layers of fiberglass are cut a little more (with a margin) than the length and width of the board itself. The use of gloves is mandatory so as not to get injured by fragments of fiberglass.
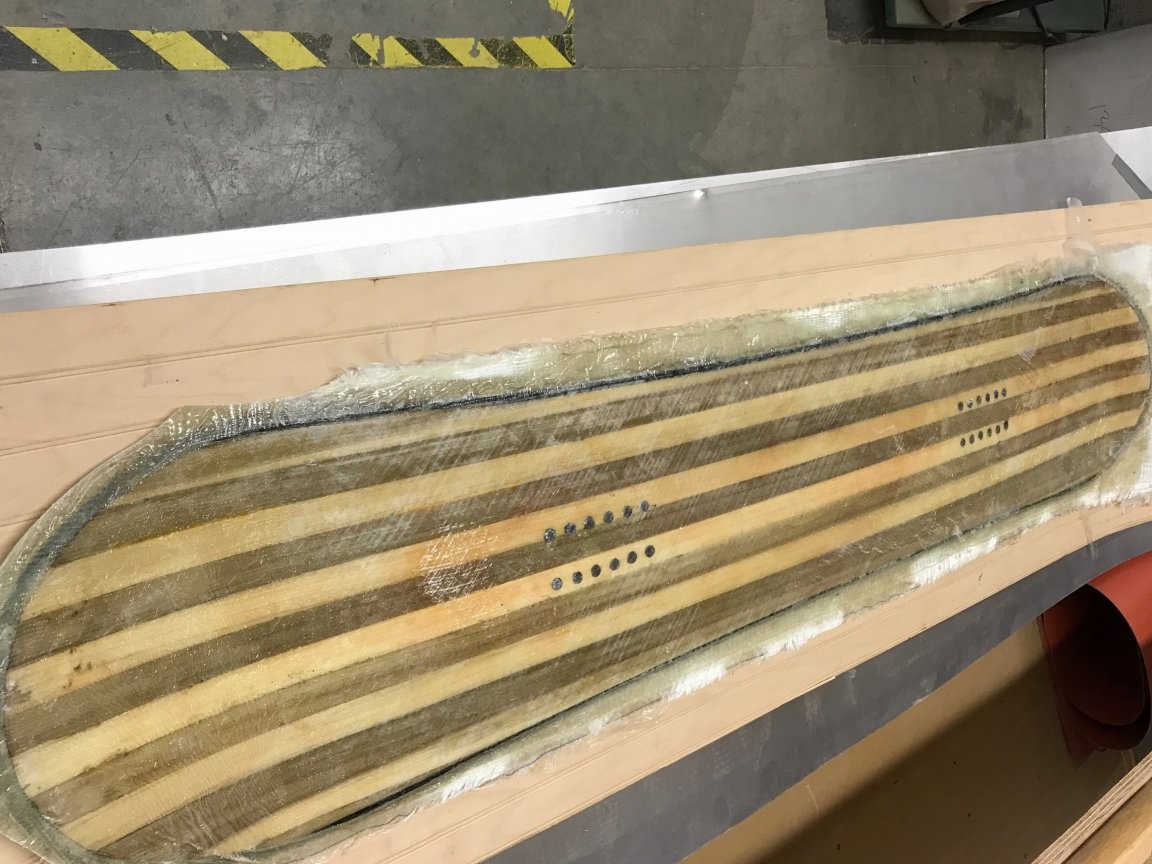
Step 13: Creating a Layout
A layer of fiberglass is placed on top of the base and an epoxy resin is applied on top of the fiberglass using a mop, broom, or something like that. It is necessary to ensure that the core of the board enters the base and does not extend beyond the steel edges. Otherwise, for adjustment, it is necessary to use the belt grinder. Then, the epoxy is again distributed on both sides of the core and the next sheet of fiberglass is placed on top of the core. You must make sure that the core abuts against the base and side wall. After these procedures, the layers are vacuum cleaned so that there is tight contact during pressing.
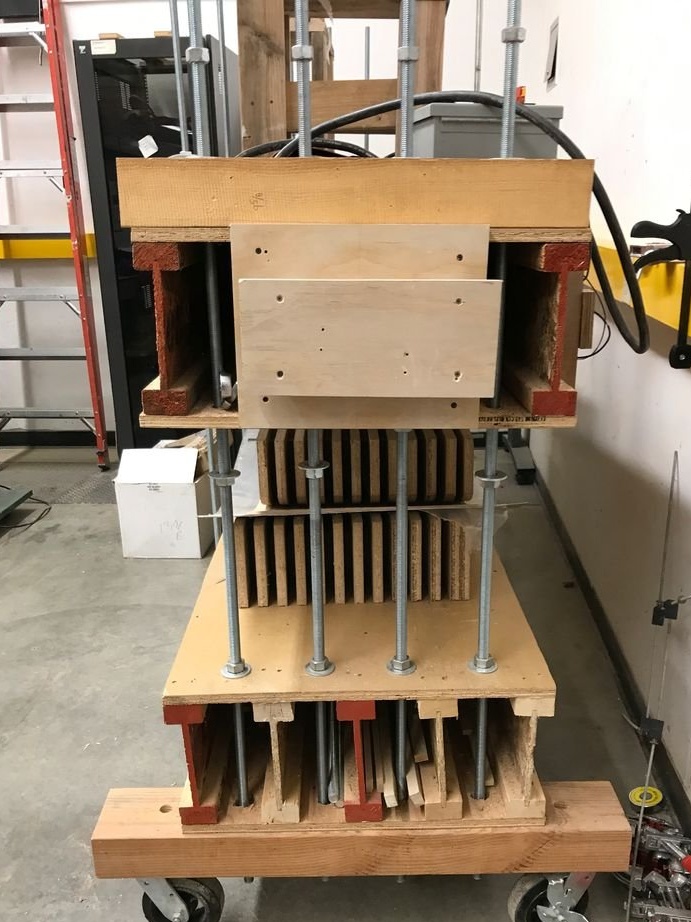
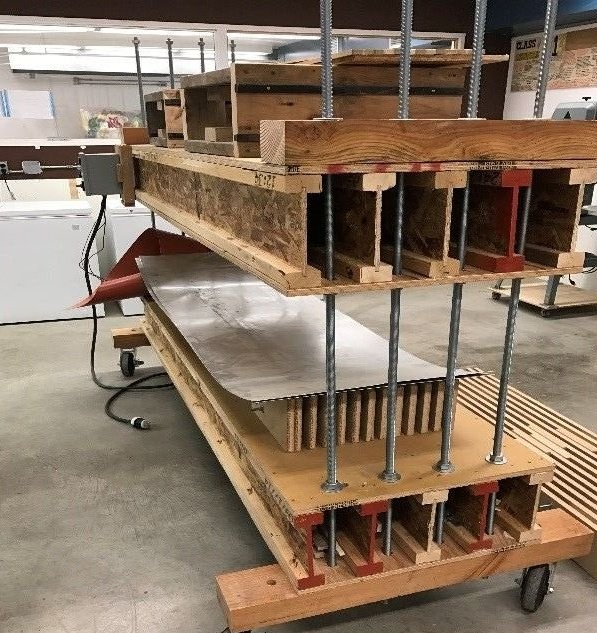
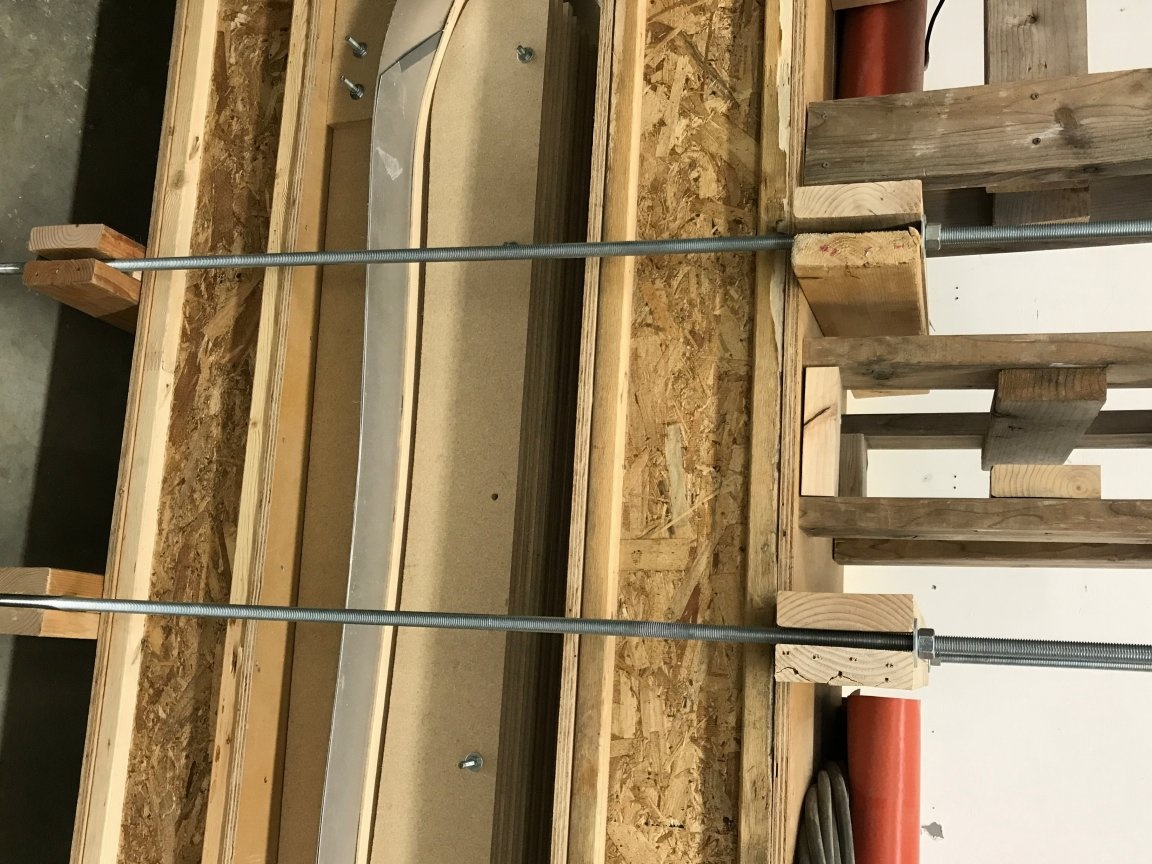
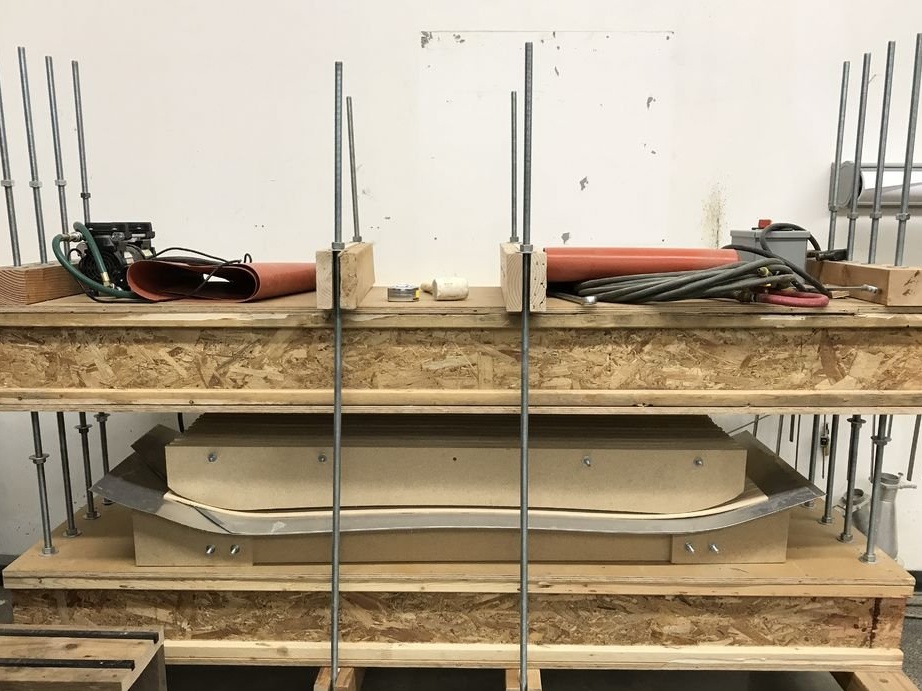
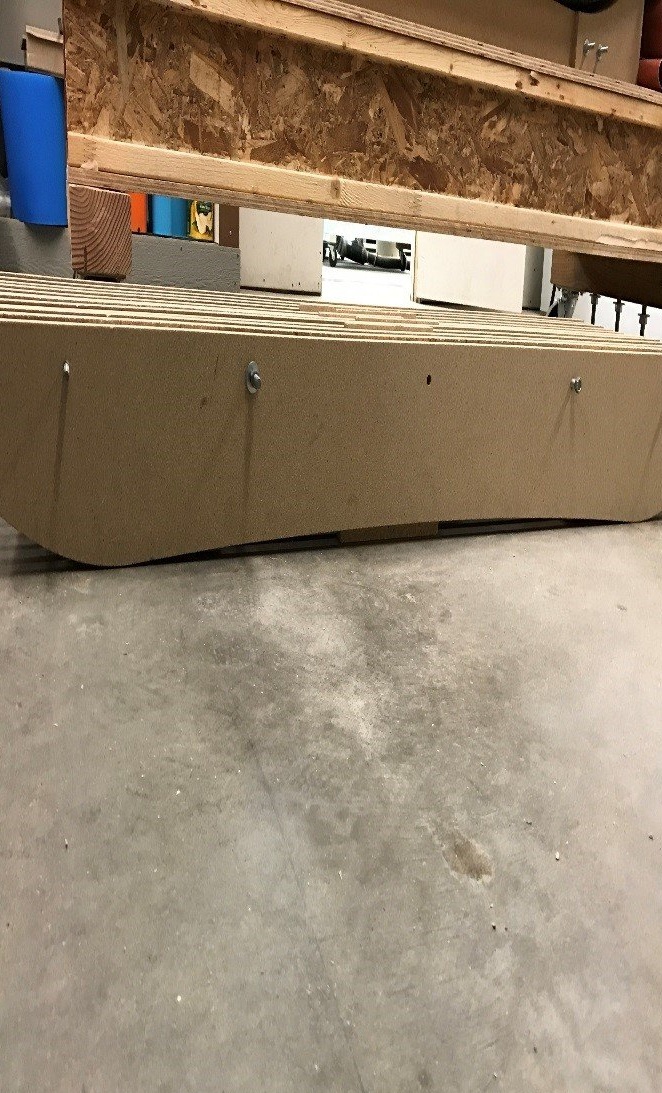
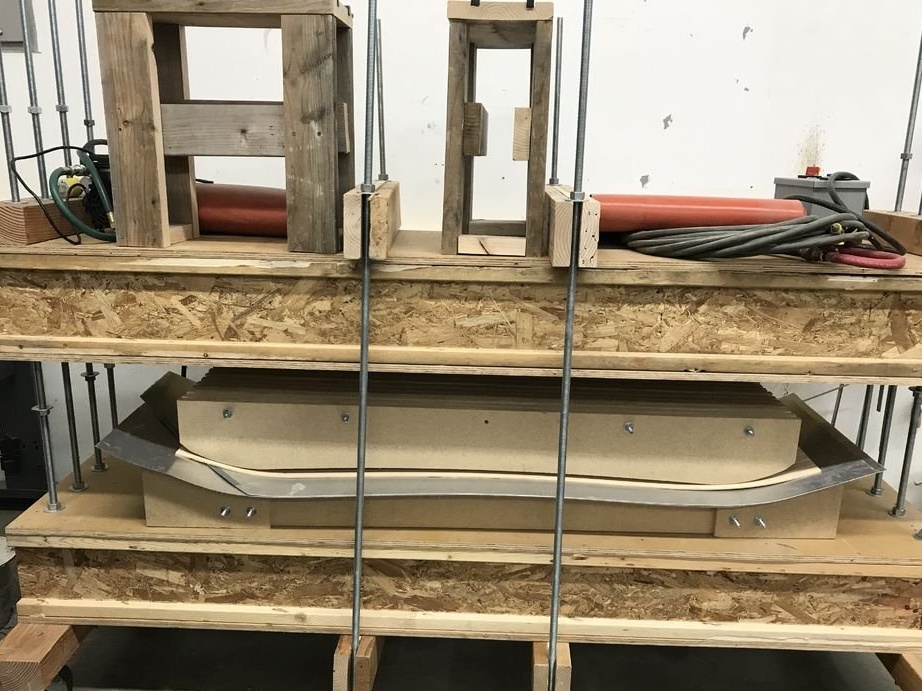
Step 14: Using the Snowboard Press
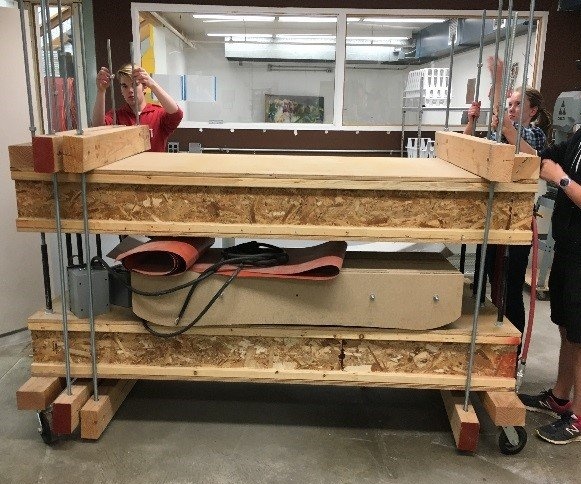
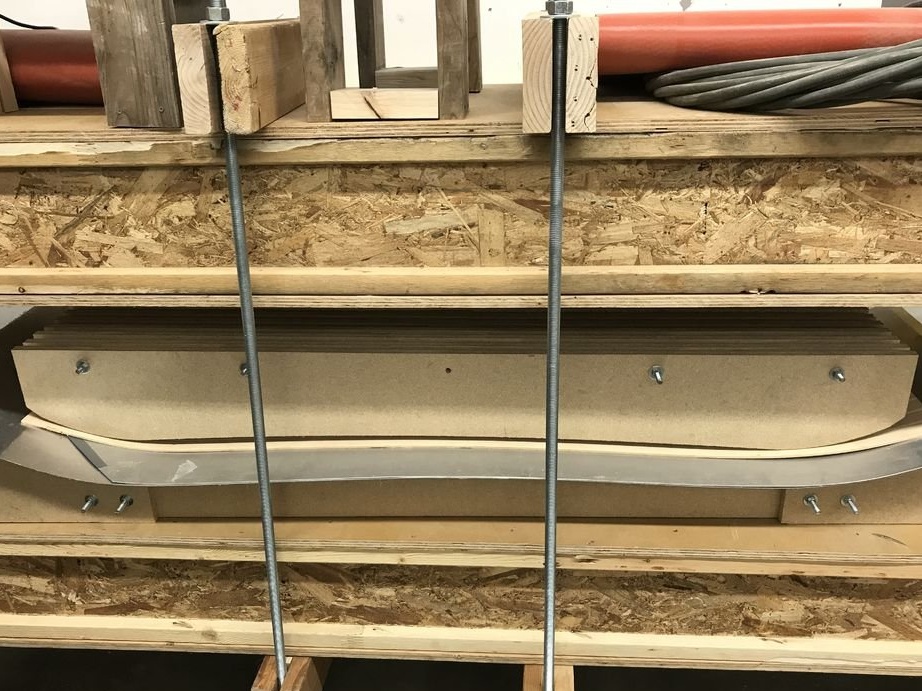


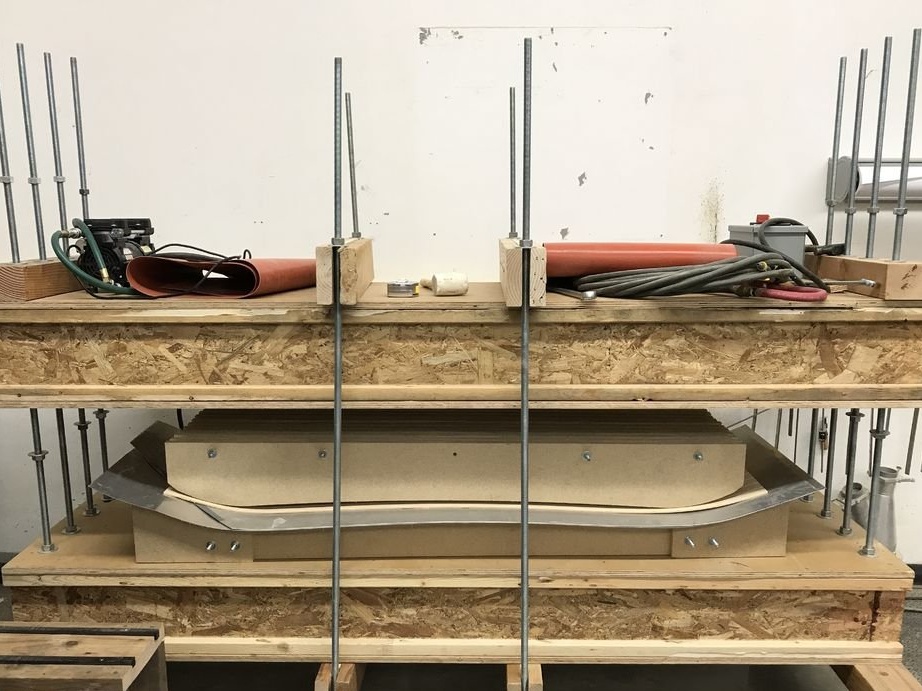


Using the supports (which correspond to the height of the lower part of the center of the press), the layout for the snowboard is placed in the following order: bottom form, metal sheet, thermal insulation, metal sheet, vacuum snowboard, thermal insulation, metal sheet and wooden sheet, and then the upper form. After that, all the bolts and clamps on the press are tightened. Then turn on thermal blankets at 180 degrees. In this state, everything is left for about a couple of hours.
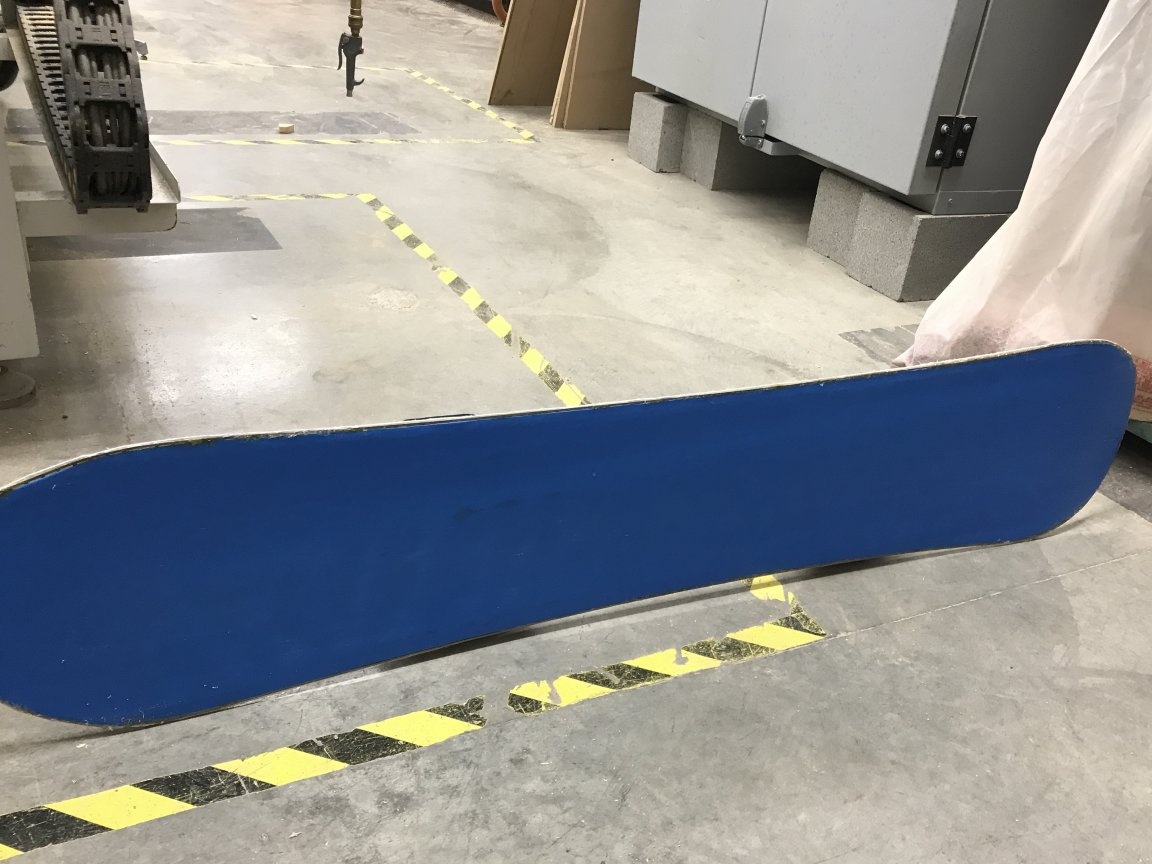
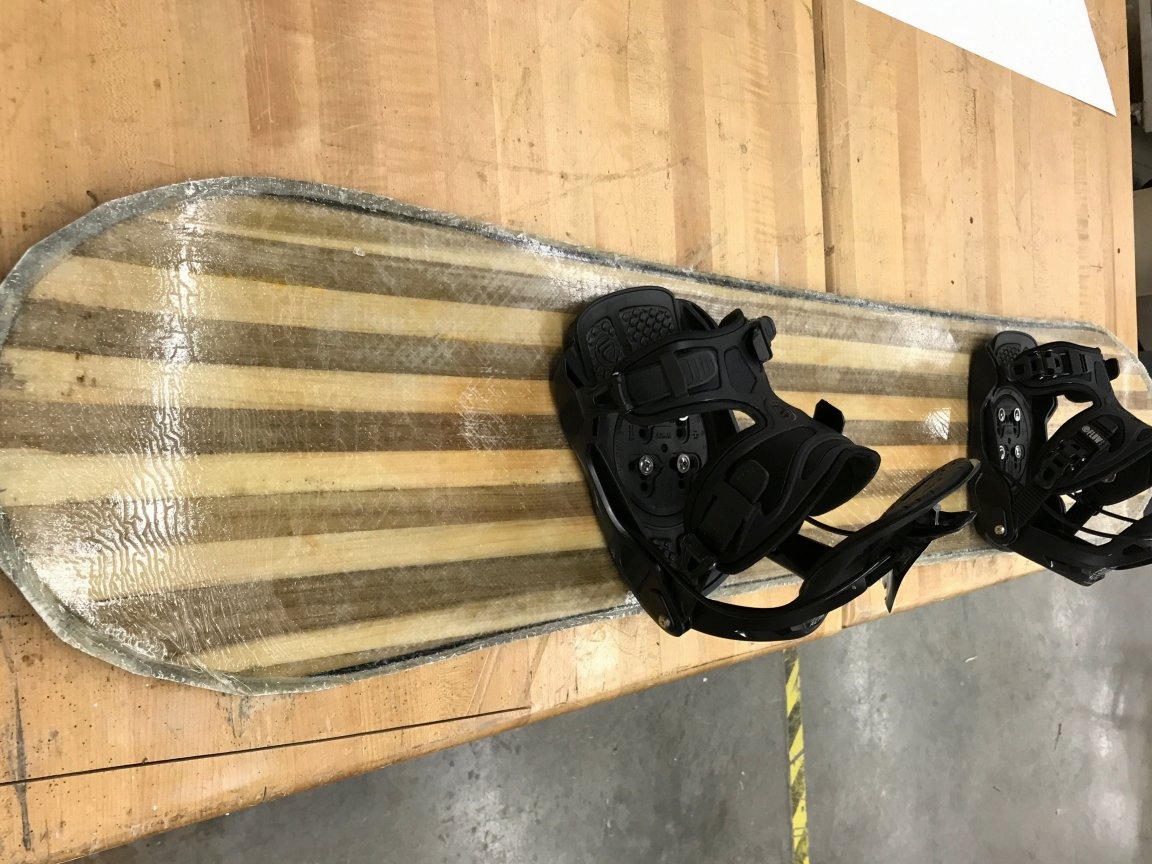
Step 15: Cut off the excess
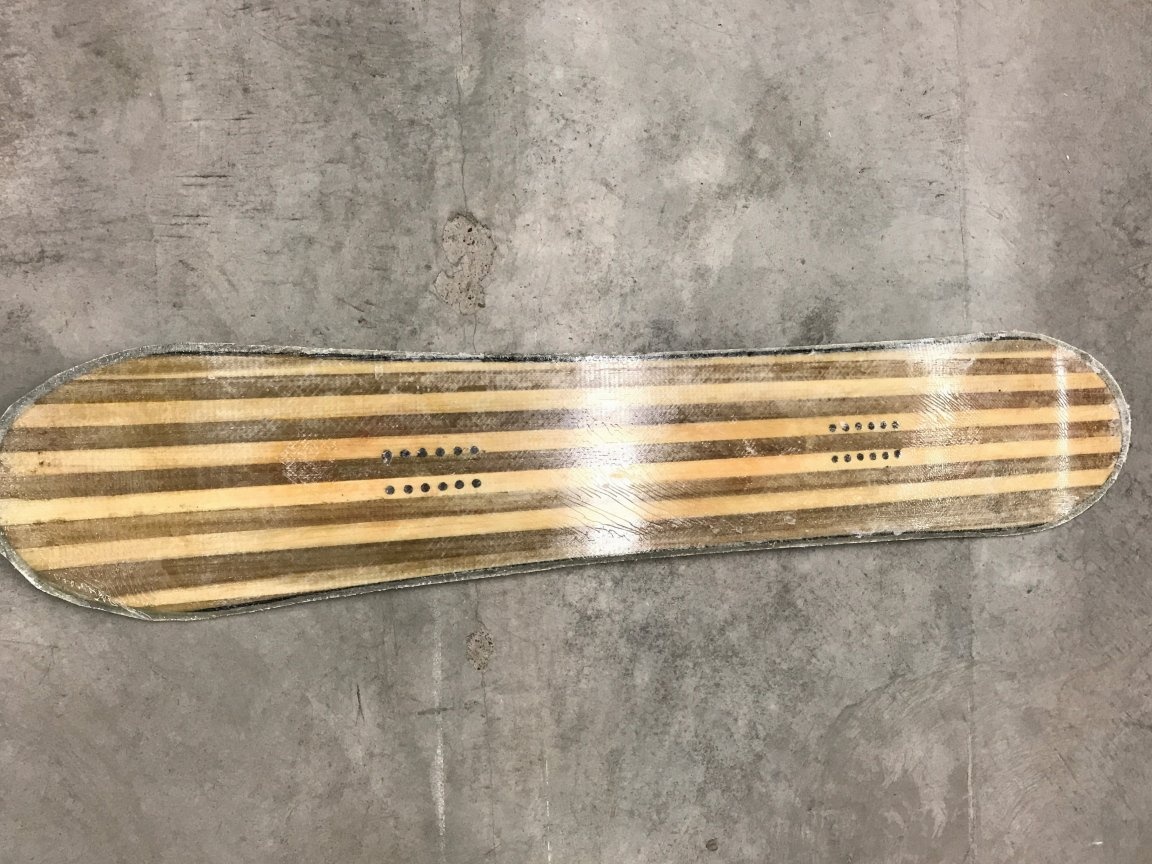
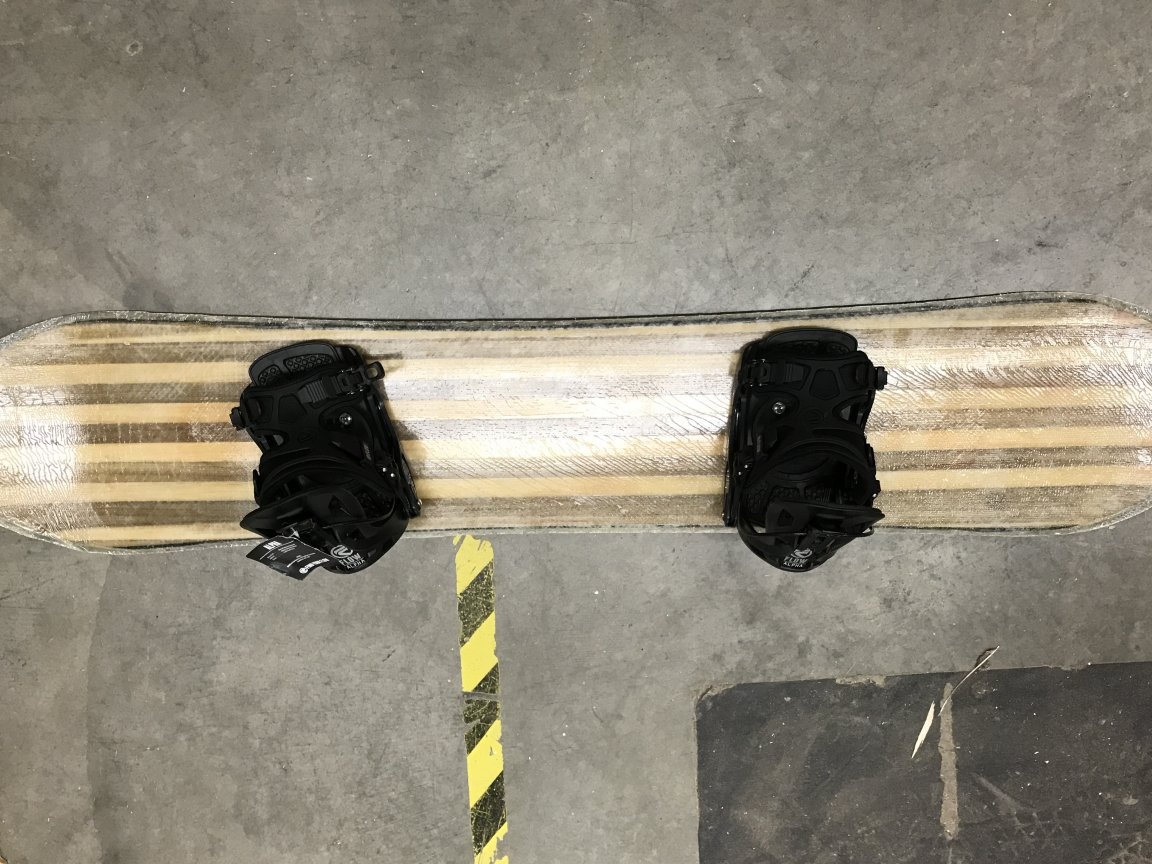
Excess fiberglass is cut off with a jigsaw to the border of the steel edges. As a result, the finished snowboard came out.
Step 16: Install Mounting Inserts
The plates are drilled using a 12 mm nozzle and drill.
Step 17: Install the boot mount
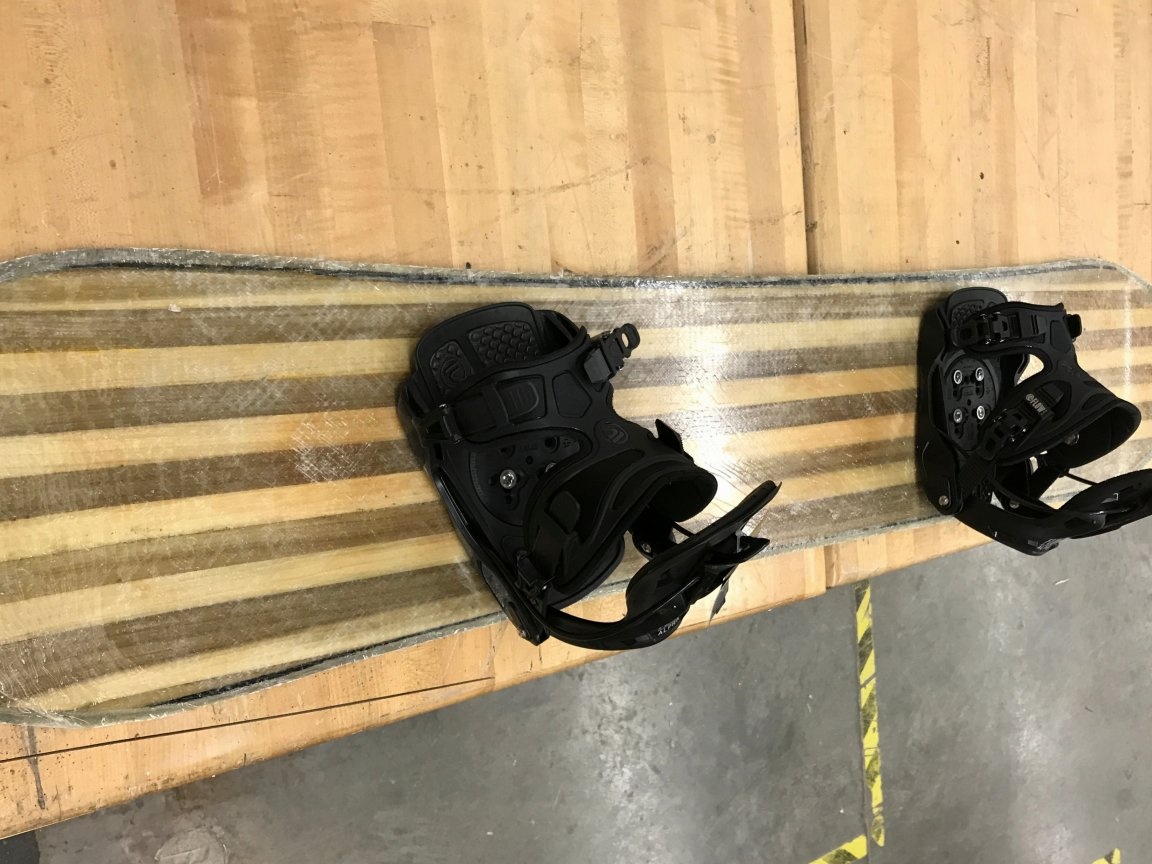
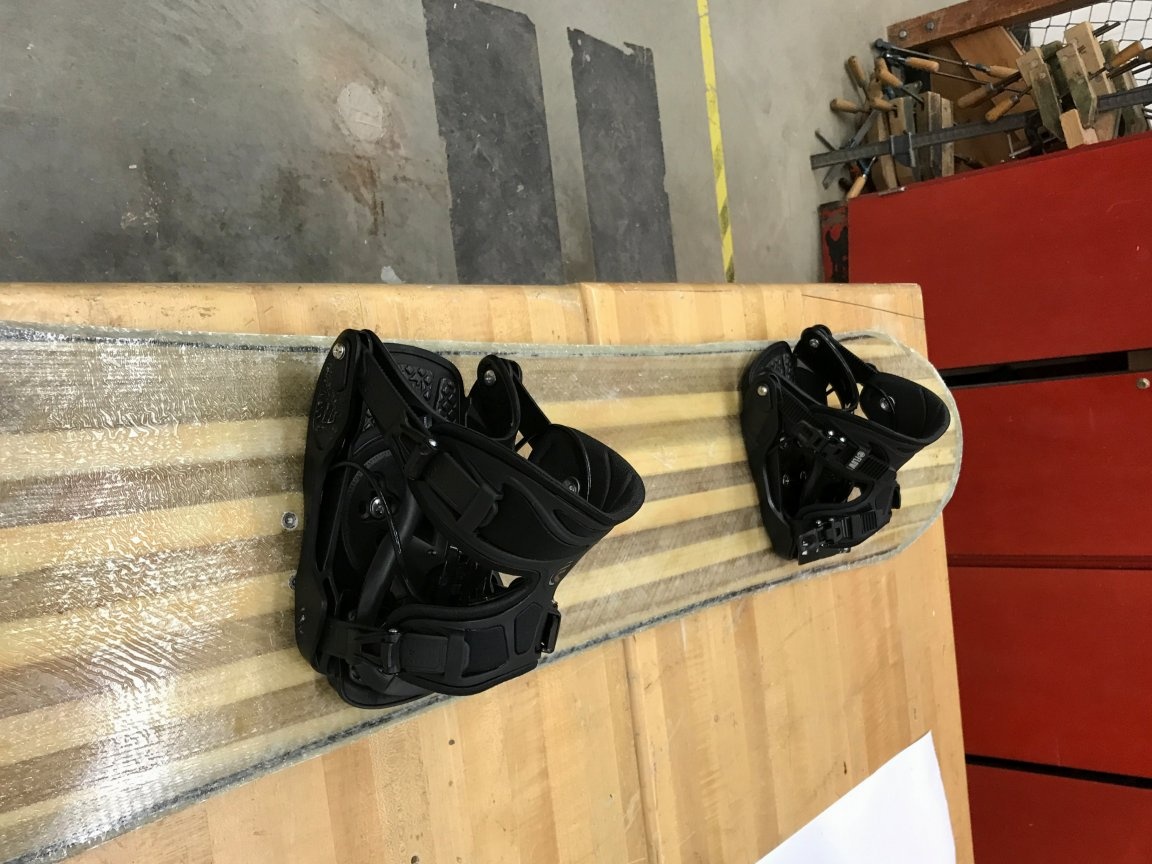
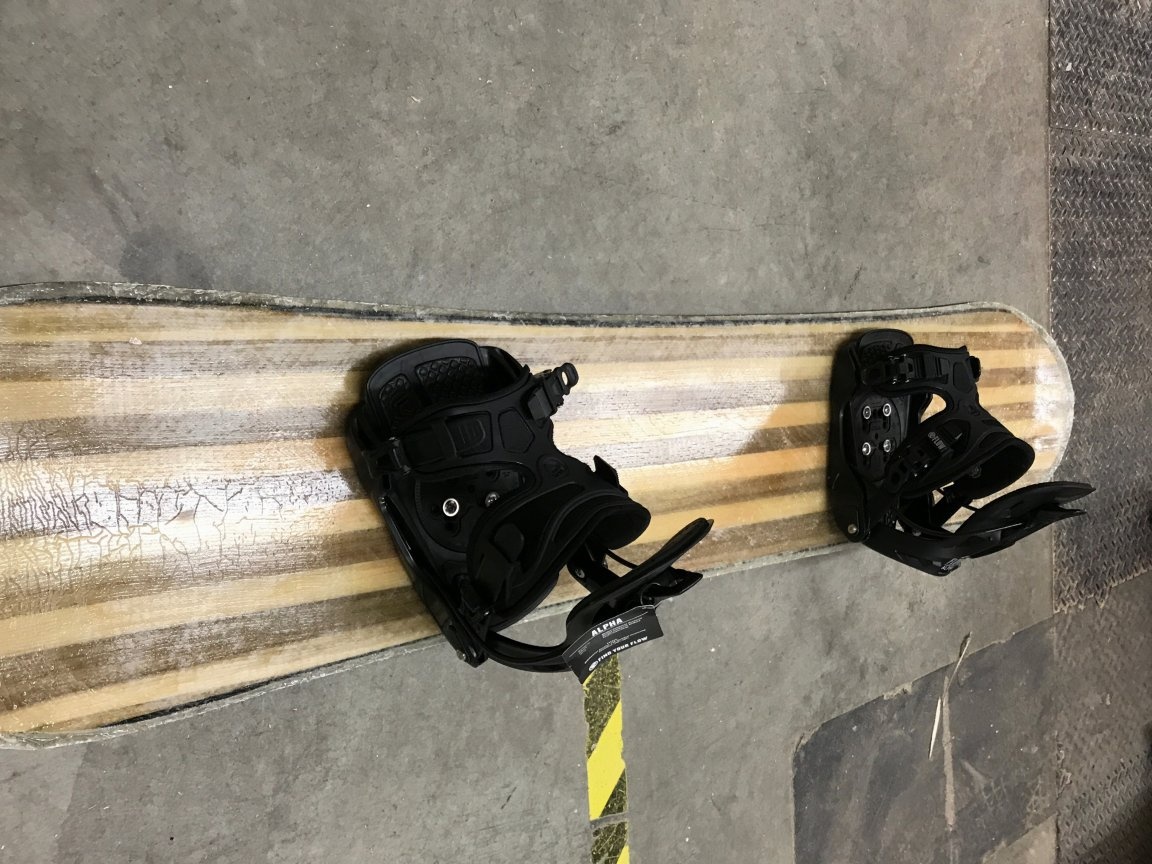
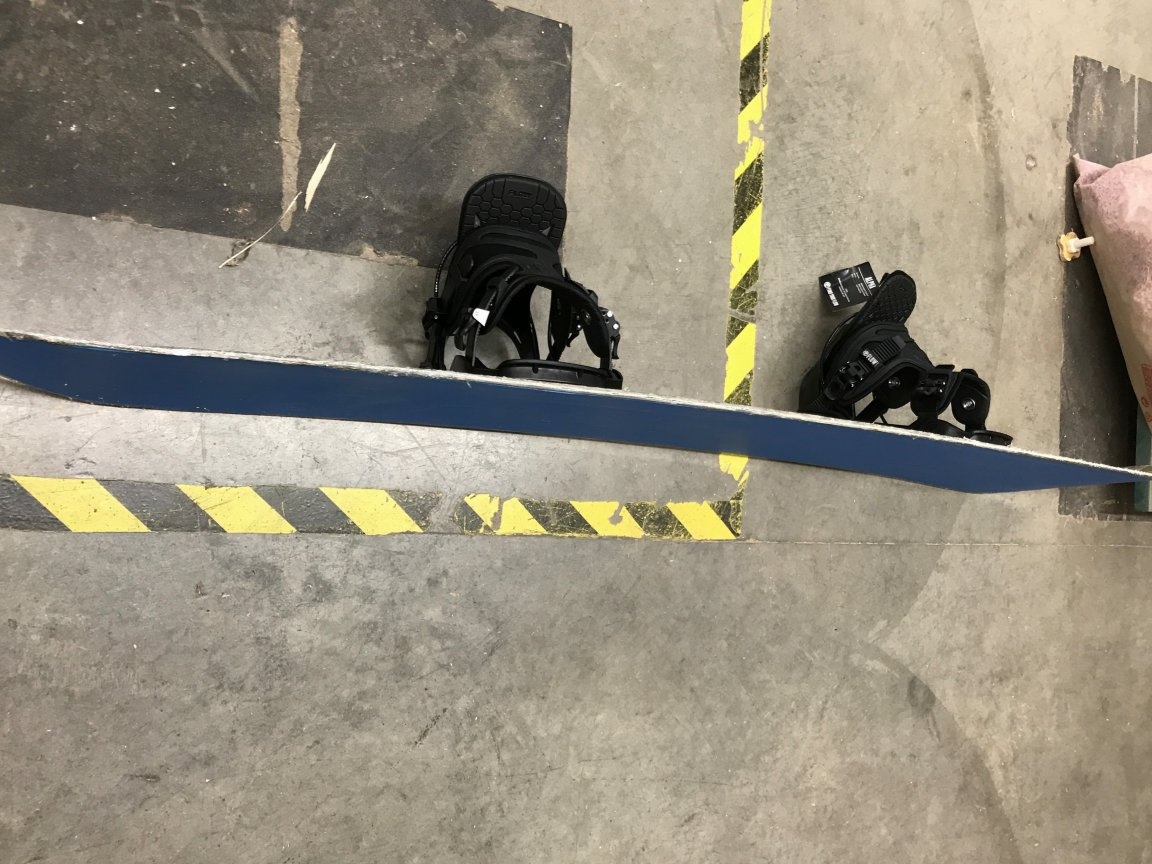
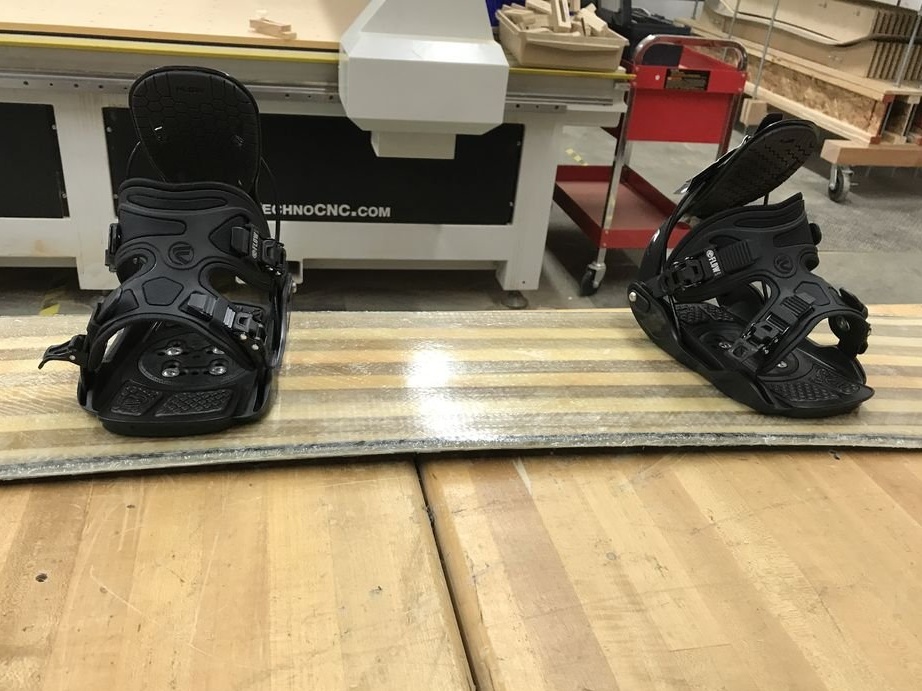
To install the mount, you need to find the desired rack and follow the instructions for installing the mount for the snowboard.
After that, it remains to ride!