
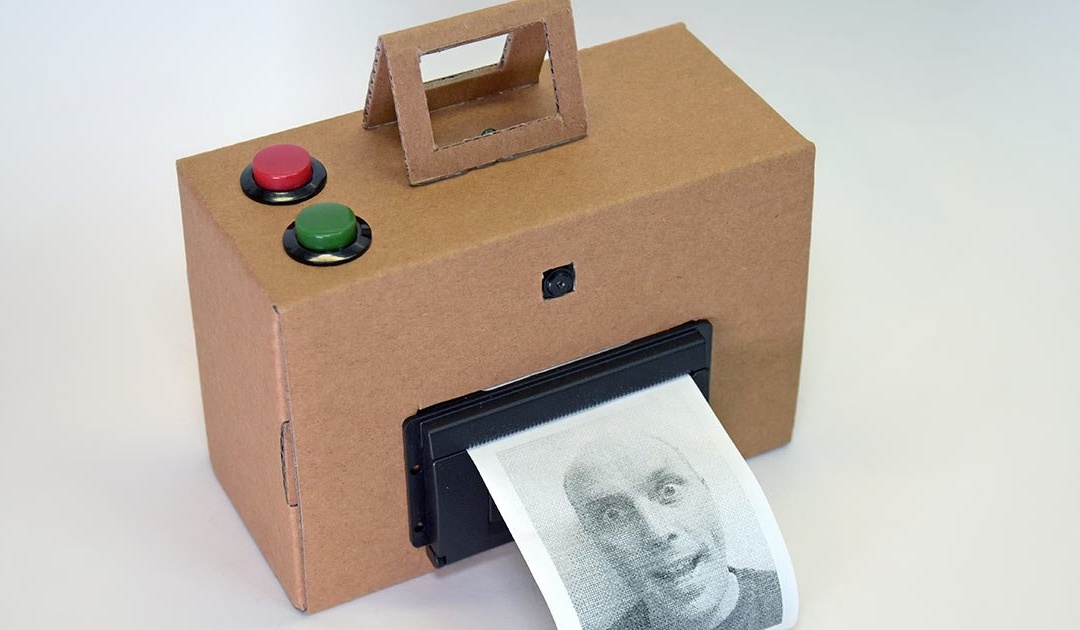
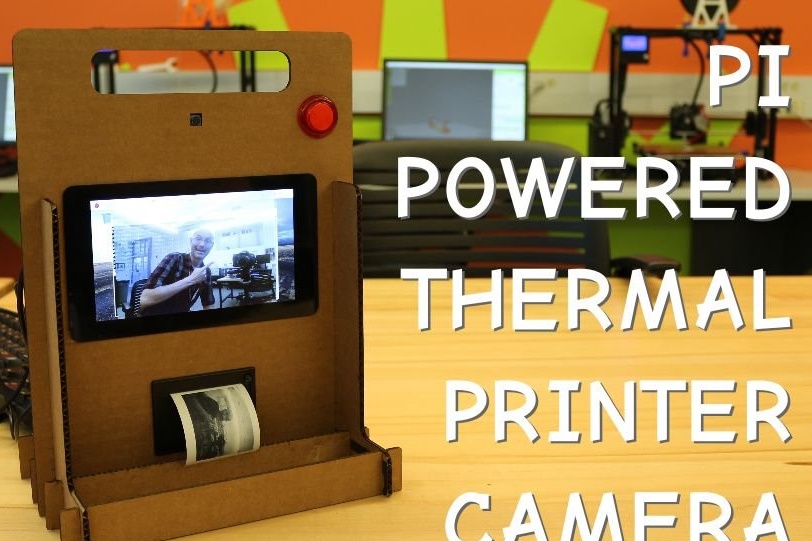
At one time, Polaroid instant cameras were very popular. Install the cassette in the camera, press the button and immediately get the finished photo. Their main drawback was the high cost of the cassettes, and they could not stand the competition with cheaper film. The master offers modern model thermal printer-based snapshot machine running Raspberry Pi. Of course, the polaroid produced a color photo, and the thermal printer was black and white, and they will be stored an order of magnitude smaller (remember the checks from the store), but if you have accessories, why not assemble such a device.
Materials and tools:
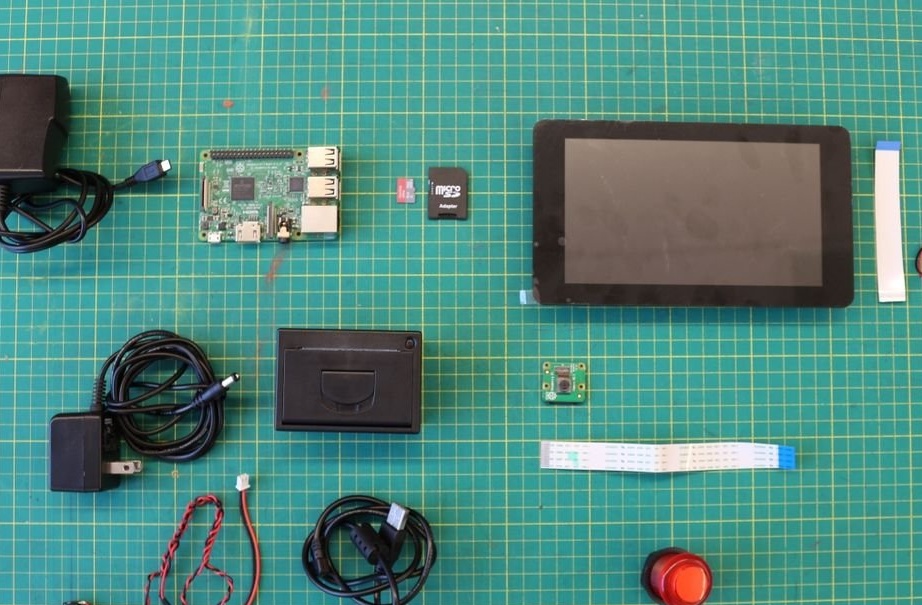
-Raspberry Pi 3B MicroSD;
-Camera module;
- Power supply 3A 5V;
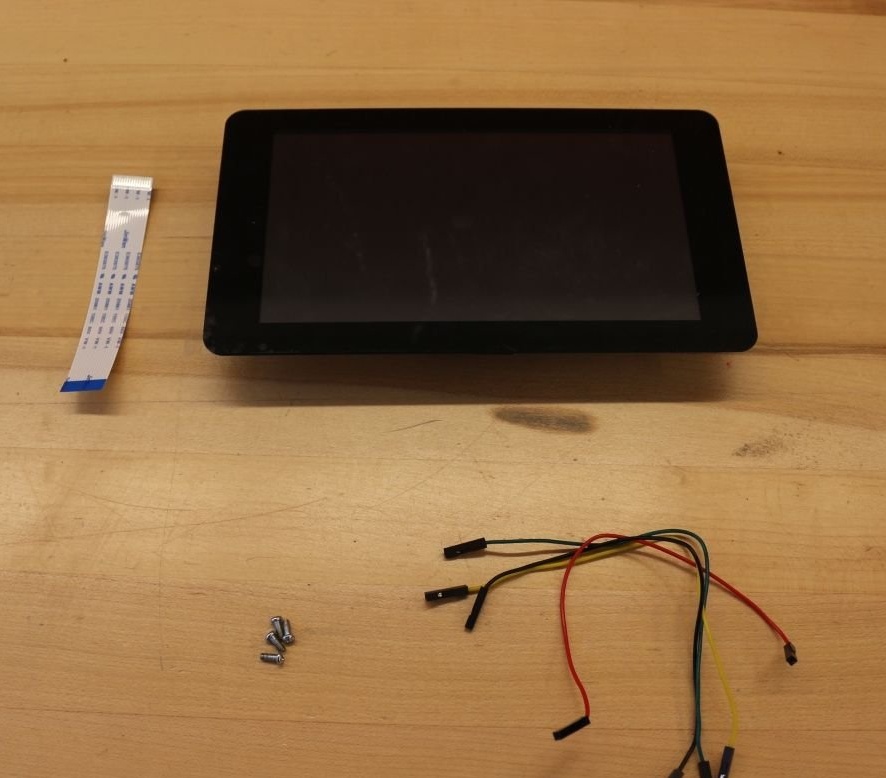
-Raspberry Pi touch screen;
-Switch;
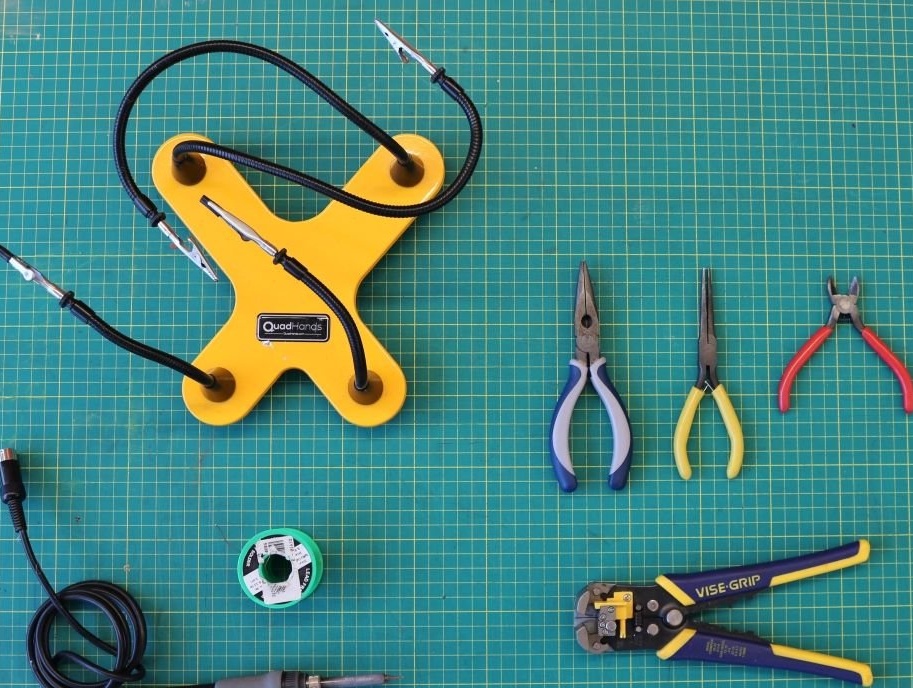
-Pliers;
-Soldering accessories;
-Cardboard;
-Wires and loops;
Step One: Prepare Raspberry
If you do not have experience with Raspberry, then you can go to where the author explains the basics of working with the device.
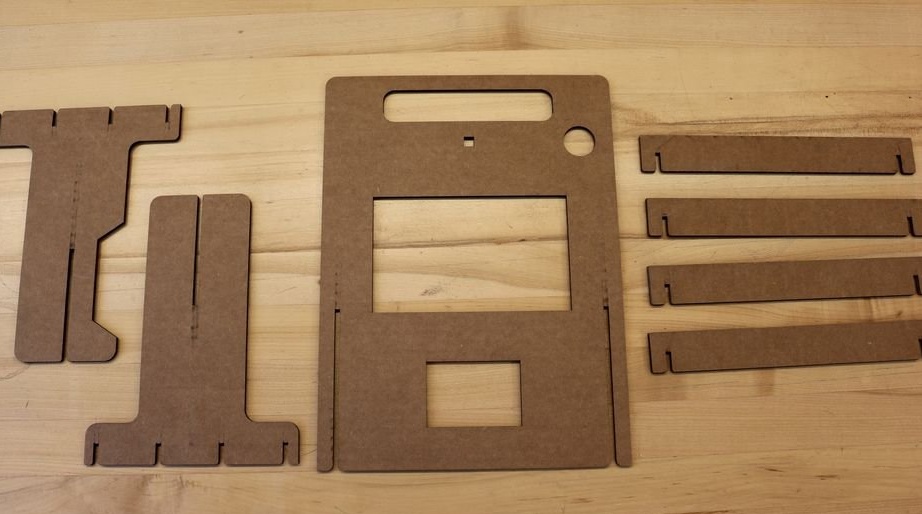
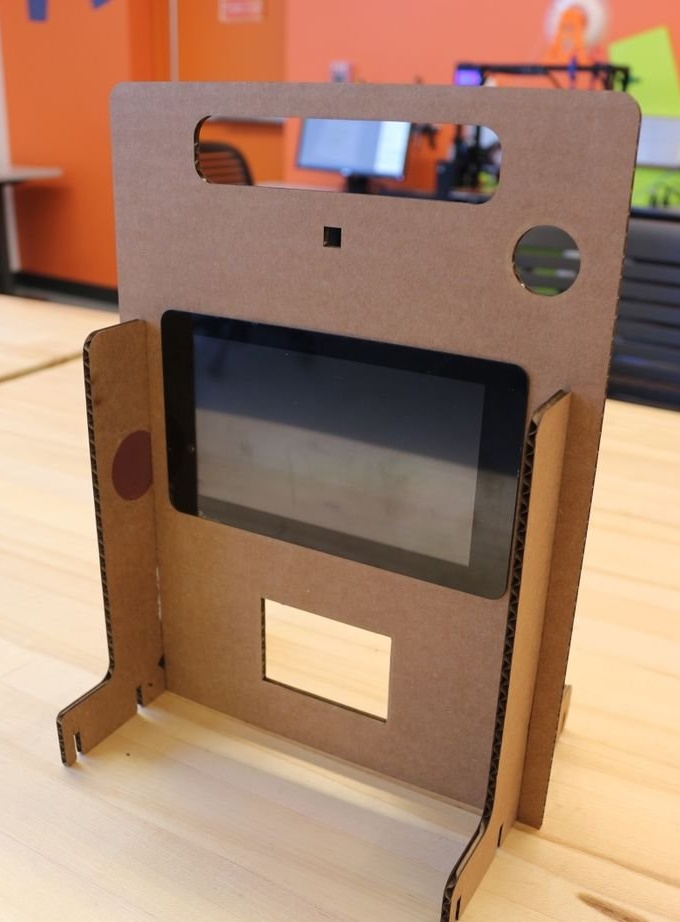
Step Two: Case
The body of the device is made of thick cardboard.

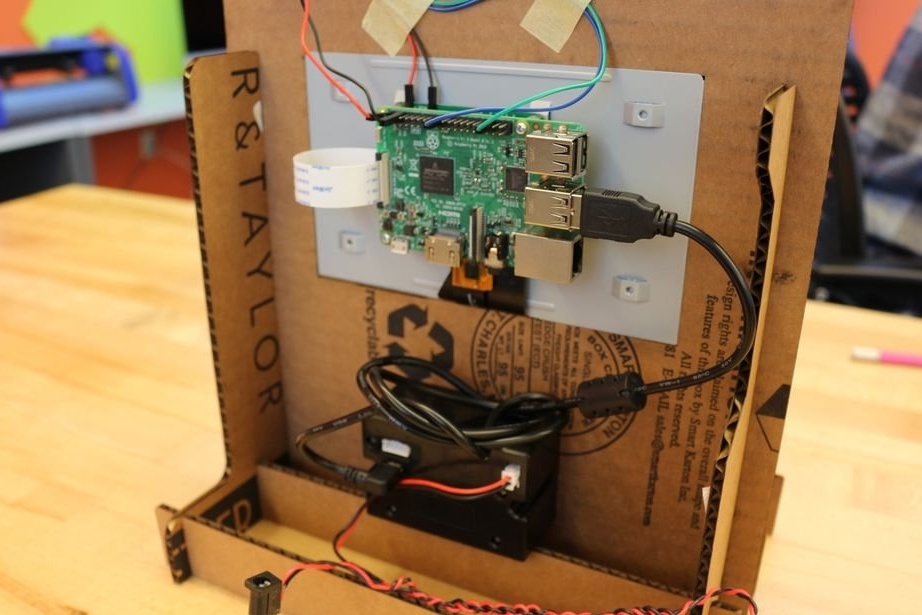
Step Three: Install the Raspberry Screen and Board
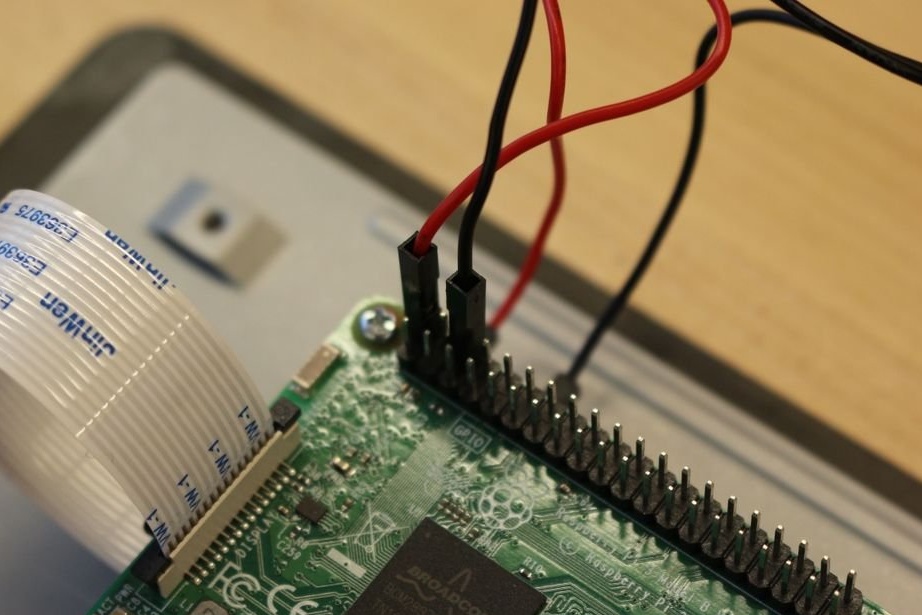
Connects a cable and a loop to the screen board. Screws the Raspberry and connects the wires from the screen.
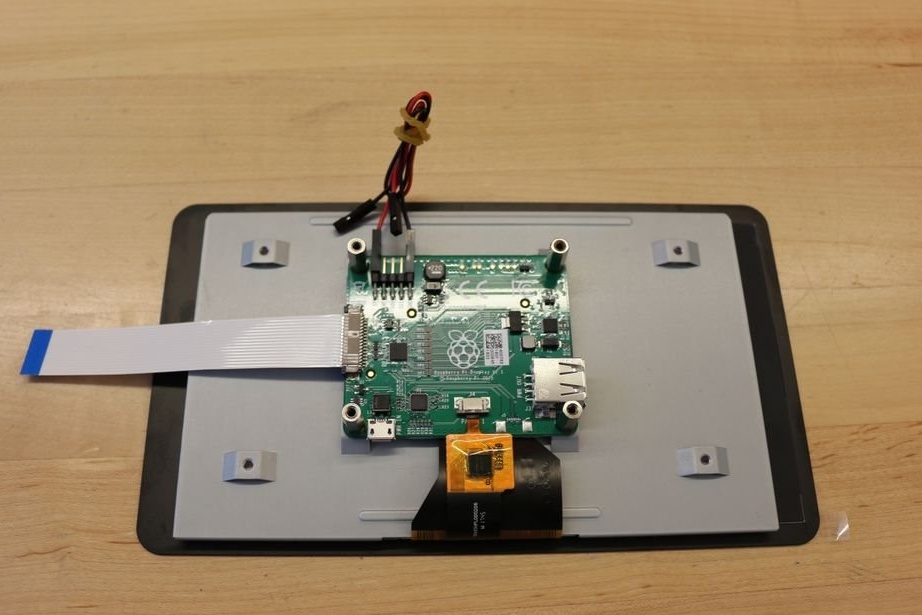
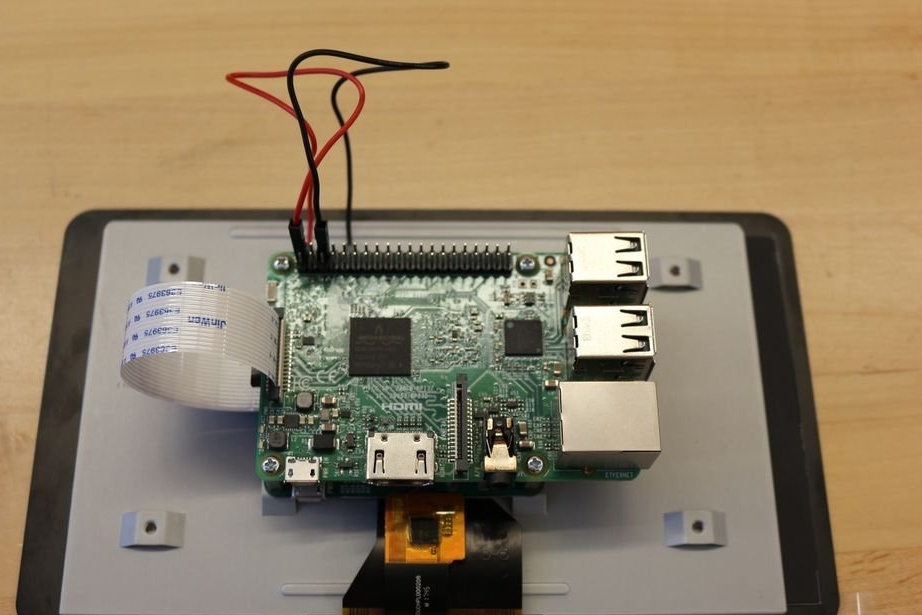
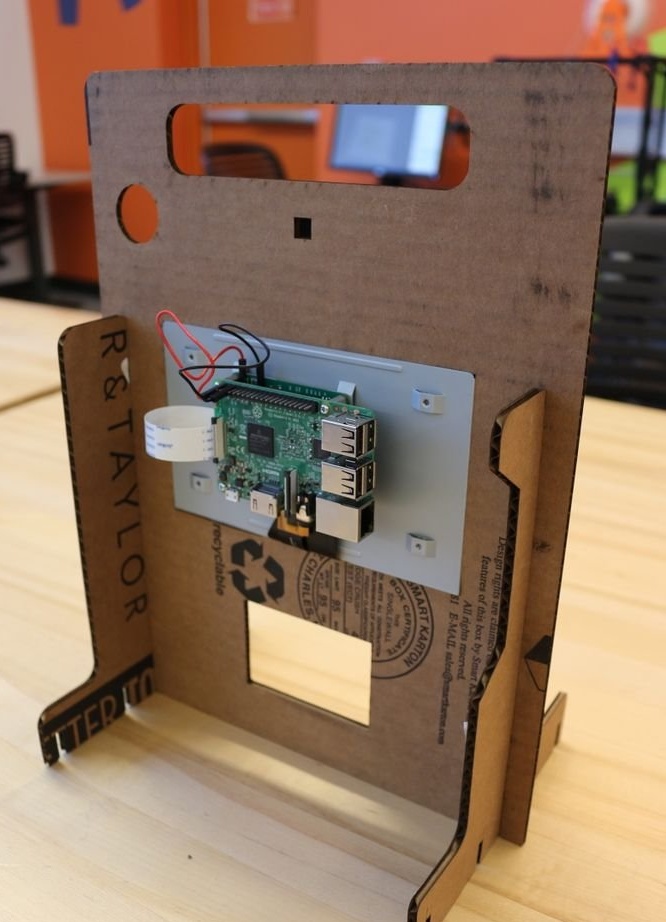
Mounts the screen onto the chassis.
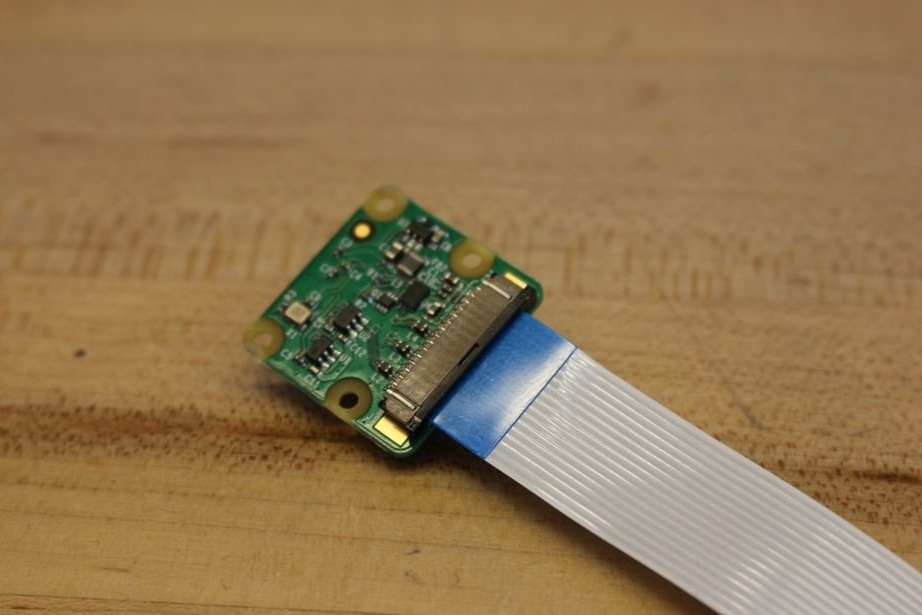
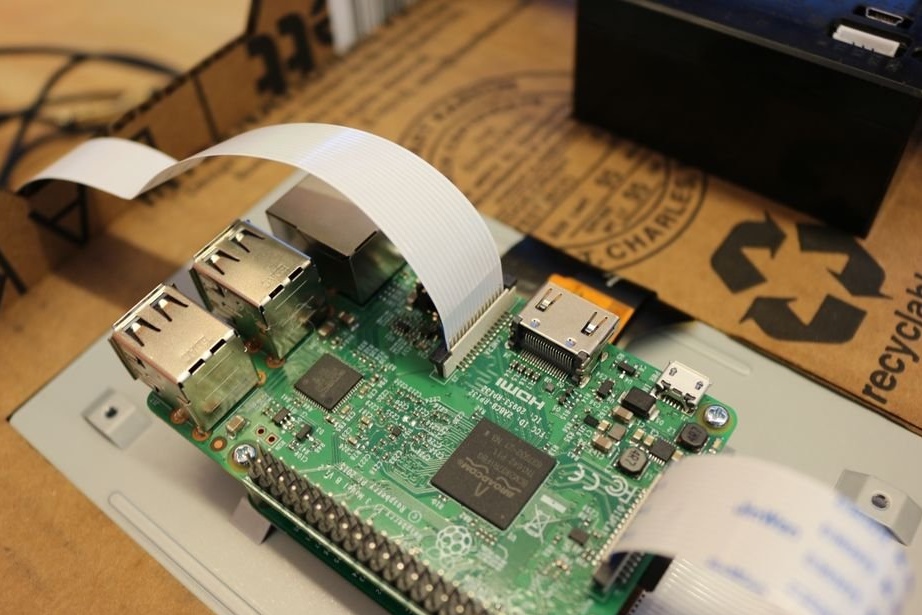
Step Four: Camera
Connects the camera to the Raspberry and secures it to the case. The wizard warns that the module is sensitive to static and must be removed when working with it.

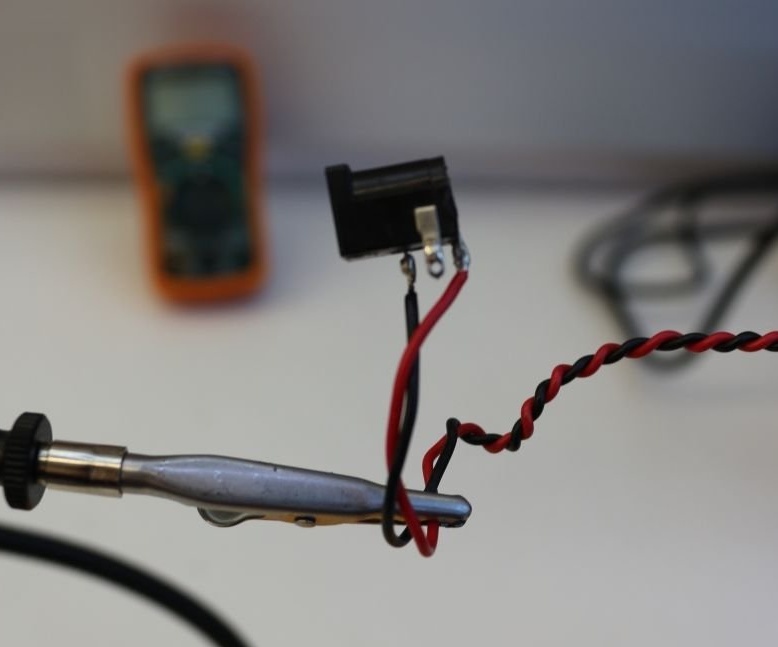
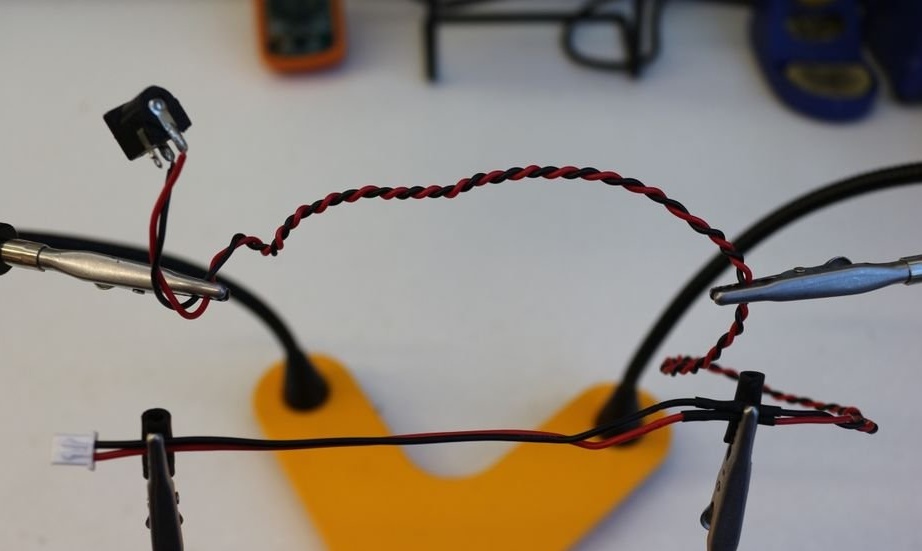
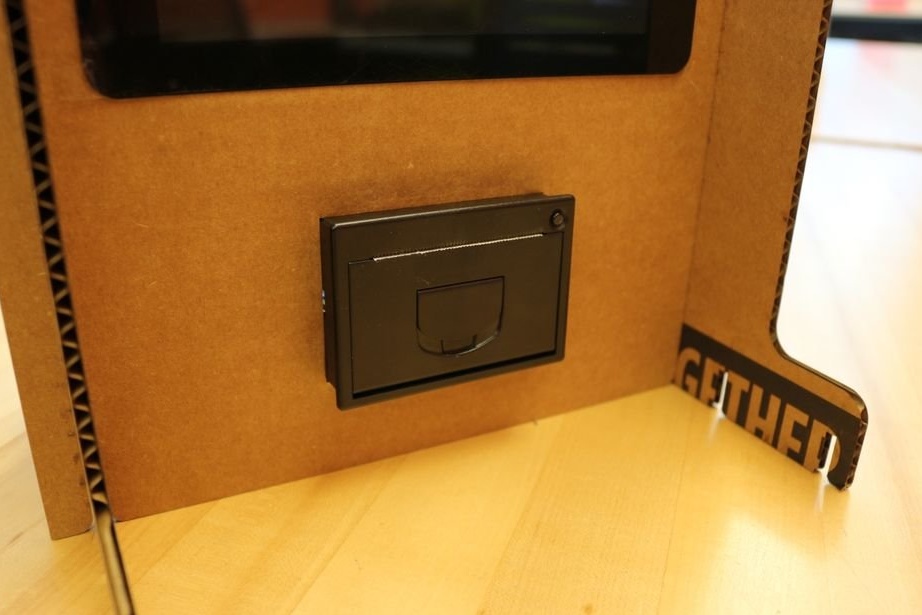
Step Five: Thermal Printer
Prepares the power cable for the thermal printer.
Secures the thermal printer to the case and connects to the Raspberry.
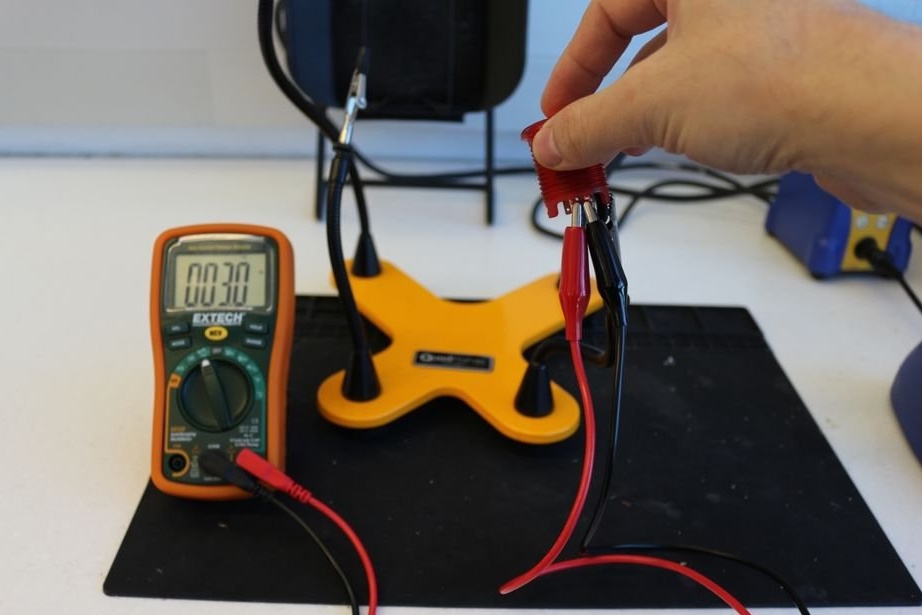
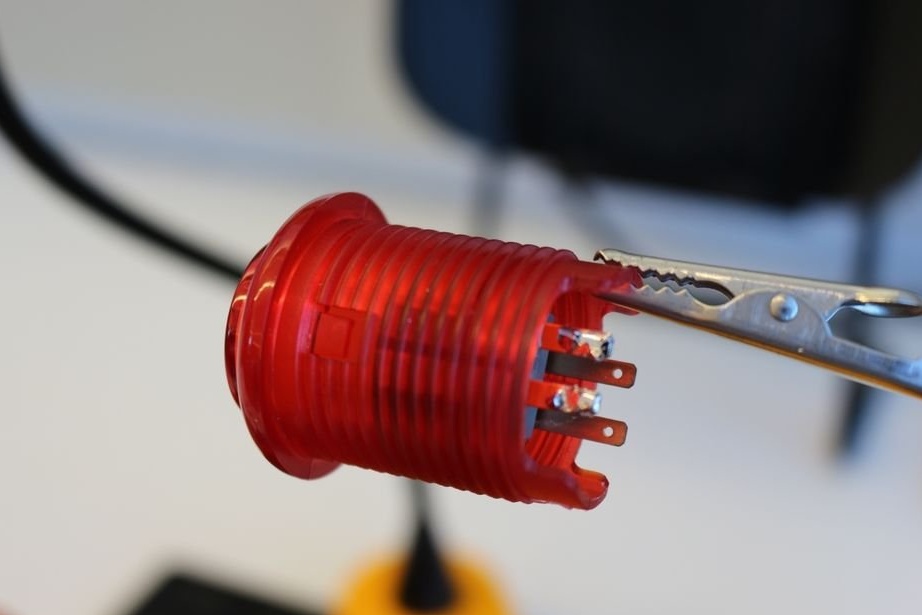
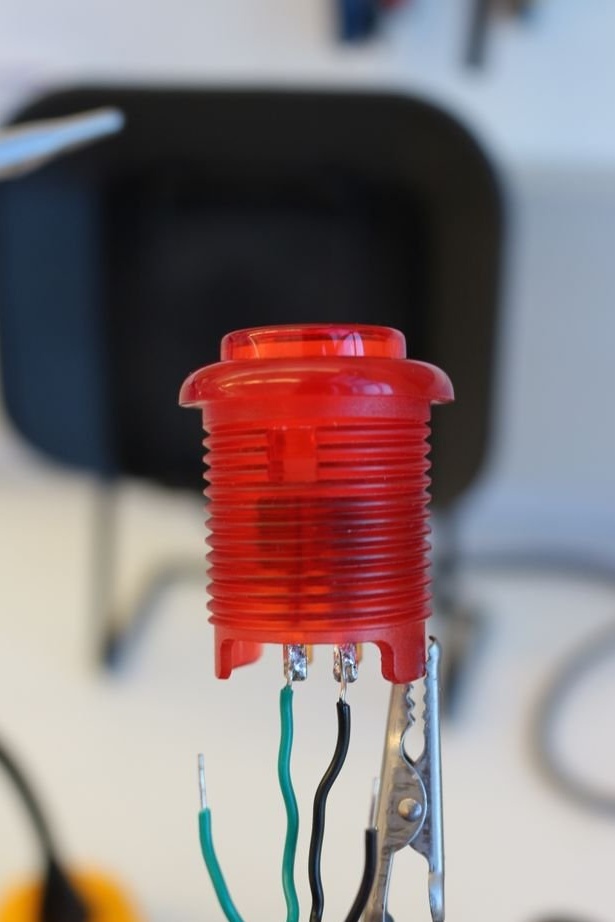
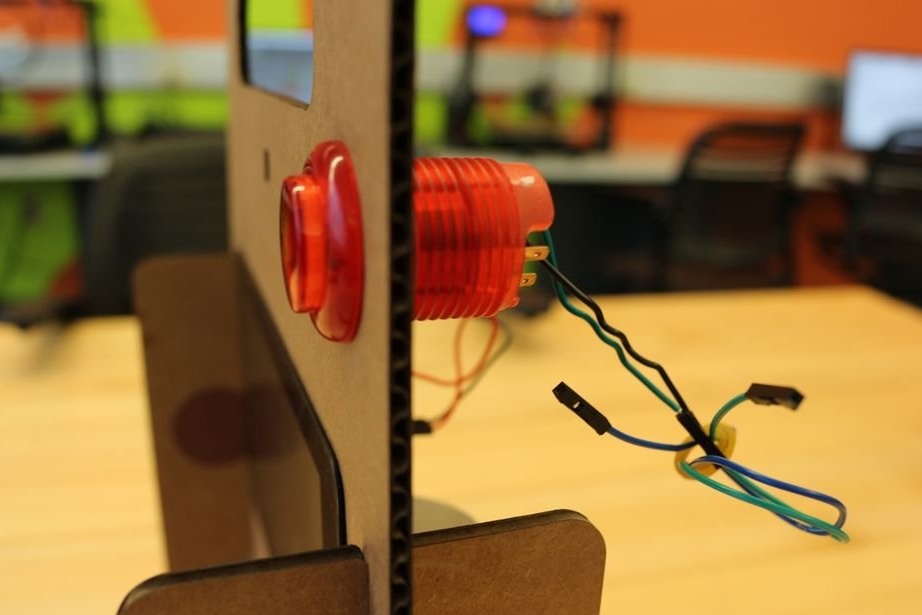
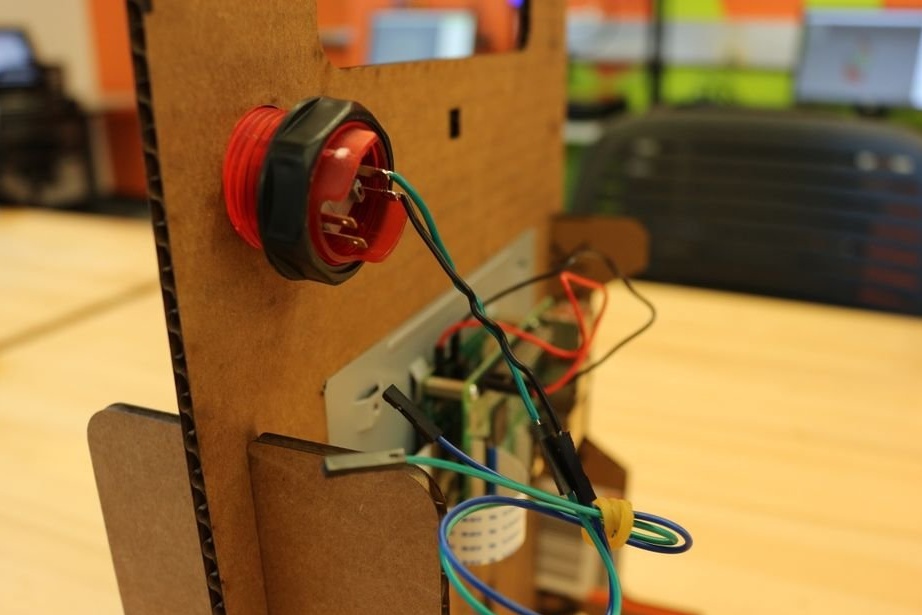
Step Six: Button
Call this button, by analogy with the camera button - the shutter button. Well, there’s nothing complicated here. The button is mounted on the case. Two wires are connected to its contacts, one from the ground, and the other from pin 16 of the Raspberry.
Seventh step: setting up the device
We connect the device to the Internet and enter:
sudo apt-get update
sudo apt-get upgrade
After update:
sudo apt-get install git cups wiringpi build-essential libcups2-dev libcupsimage2-dev
Installs software (raster filter):
git clone https://github.com/adafruit/zj-58
cd zj-58
make sudo
./install
The printer should now print the receipt. Remember the numbers in the check after BAUDRATE, usually it is 9600 or 19200.
Creates a profile:
sudo lpadmin -p ZJ-58 -E -v serial: / dev / ttyUSB0? baud = HERE WRITE DIGITS FROM THE PREVIOUS STEP -m zjiang / ZJ-58.ppdSets the default printer:
sudo lpoptions -d ZJ-58The script for the camera can be downloaded by writing the following address:
git clone https://github.com/jocolibrarymakerspace/thermal_printer_cameraThen go to the thermal_printer_camera folder and write:
sudo chmod + rx thermal_printer_camera.shThen the command:
./thermal_printer_cameraTo start the camera when loading the device, we prescribe:
sudo crontab -eBefore the last line, insert:
#crontab @reboot /pi/thermal_printer_camera/thermal_printer_camera.shAll installed, it remains to reboot the system.