
Hello friends. Today I will show you the manufacturing process of one interesting homemade. The name of this homemade product is a plate-grinding machine. It is needed for polishing, grinding and for leveling the planes of large materials. For example, you need to smooth the edges of the timber and polish it. On a grinder, emery or grinding disc, etc. with tools and machines, you are unlikely to reach a perfectly flat surface of such material as timber or plywood for example. To make this machine is not difficult if there are the necessary materials. If there are none, then it does not matter. On almost any metal receiver you will find the necessary materials that will cost you a penny.

So for the manufacture you need
Materials:
1. Profile pipe 20 × 20 × 1.5mm
2. 15mm plywood sheet
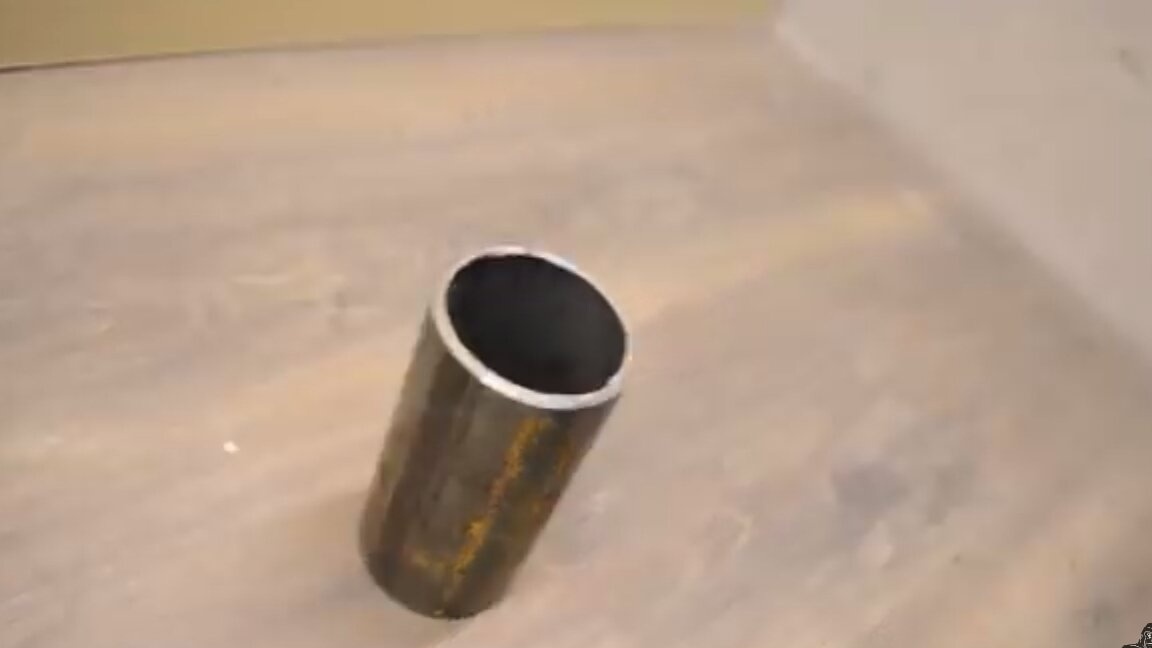
3. A piece of water pipe 50mm
4. Motor bearing 20 × 47 × 14
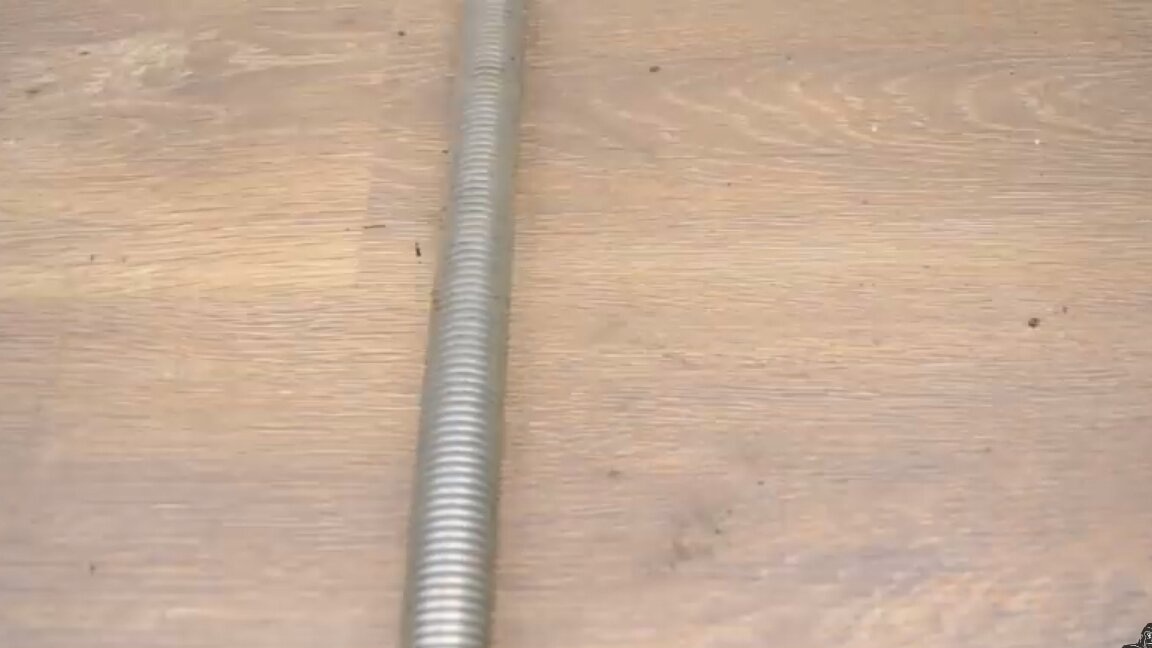
5. Hairpin M20
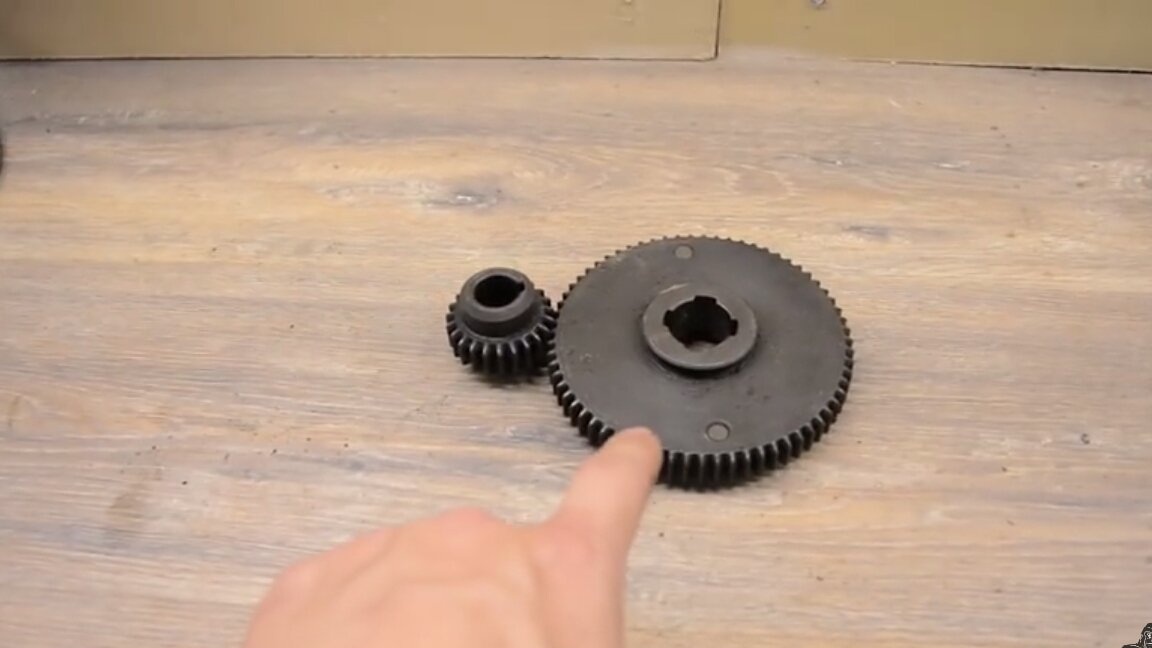
6. Gear from efficiency
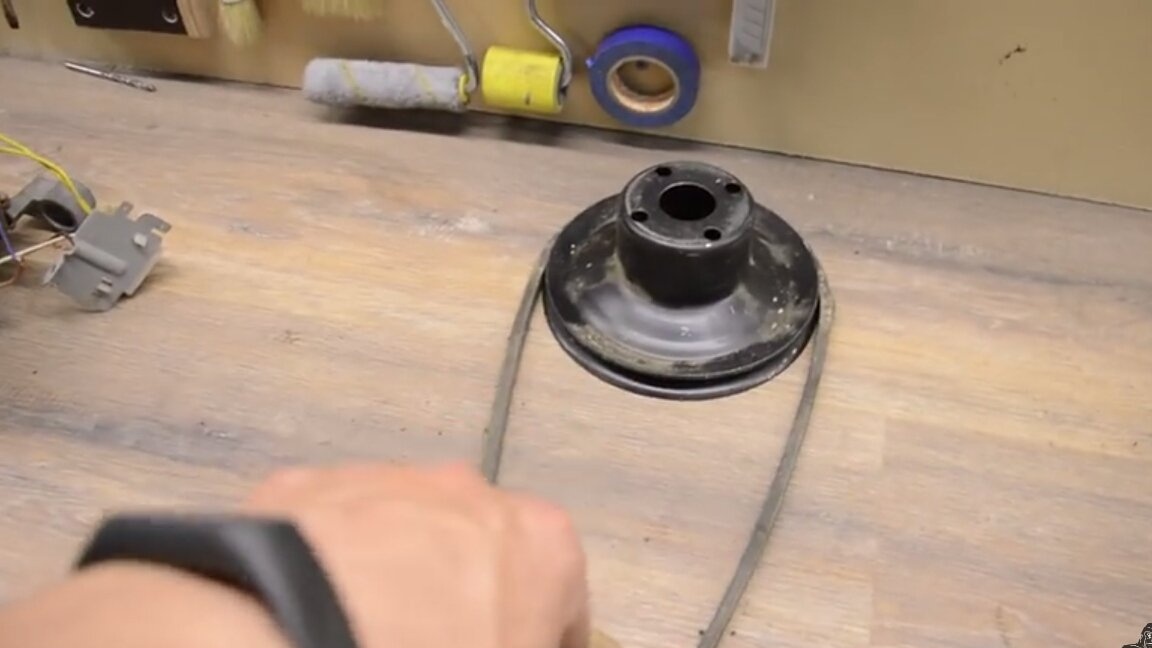
7. Pulley and belt on them
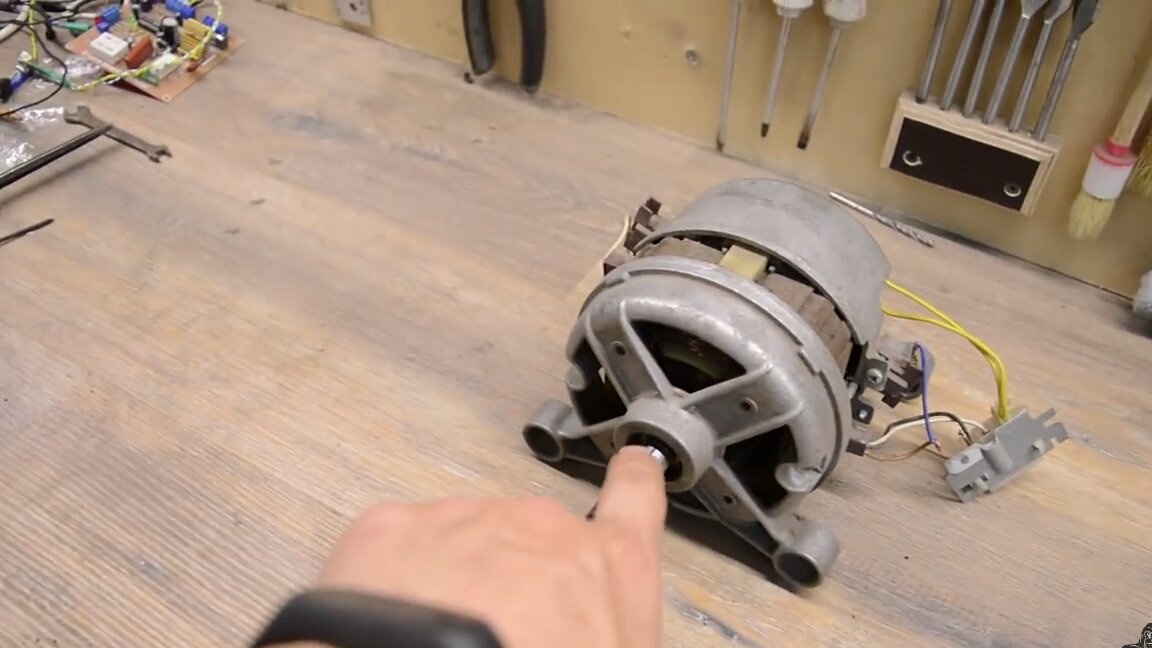
8. The engine from the washer
9. Bolts and nuts
Instruments:
1. Welding machine
2. Bulgarian
3. Drill or drilling machine
Step 1. Production
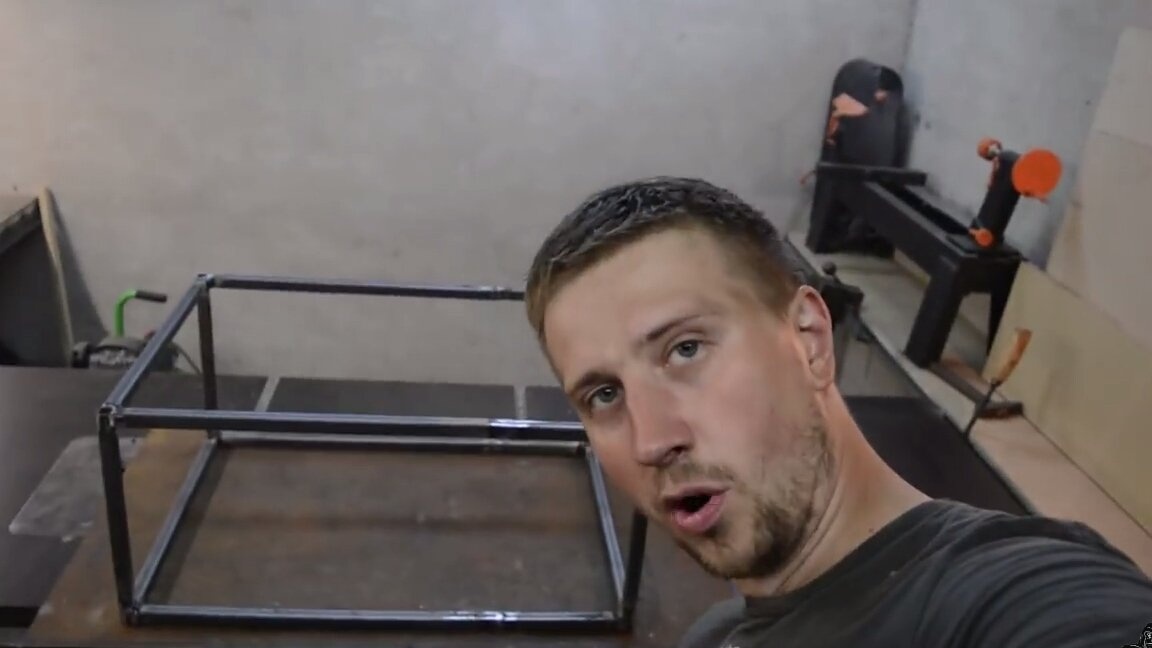
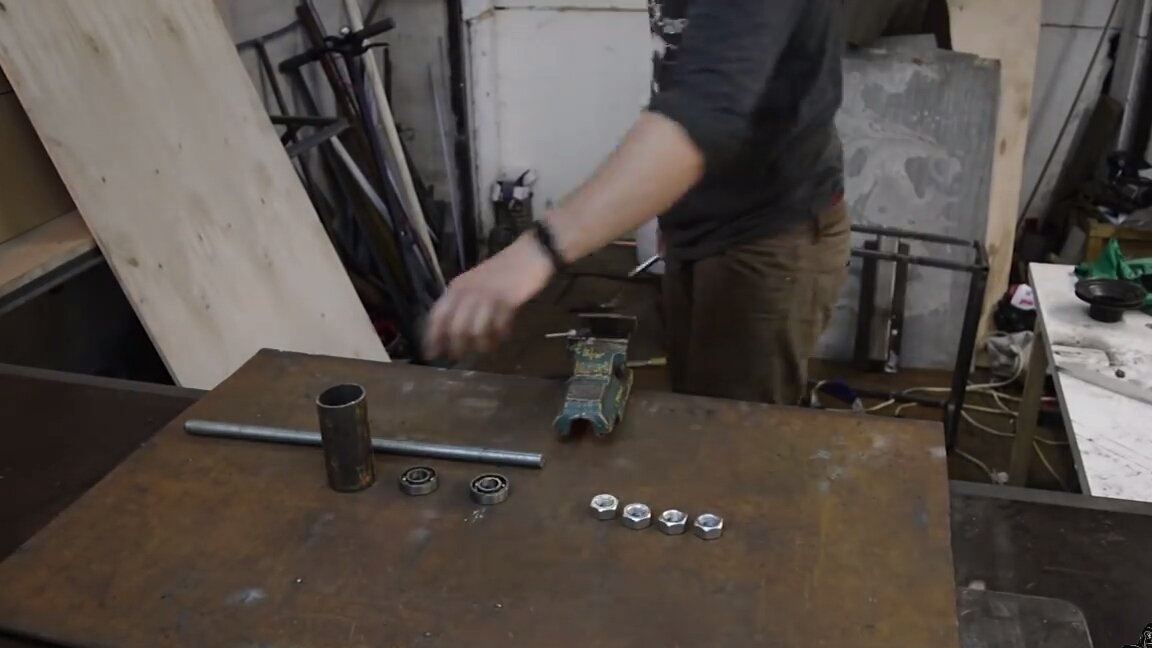
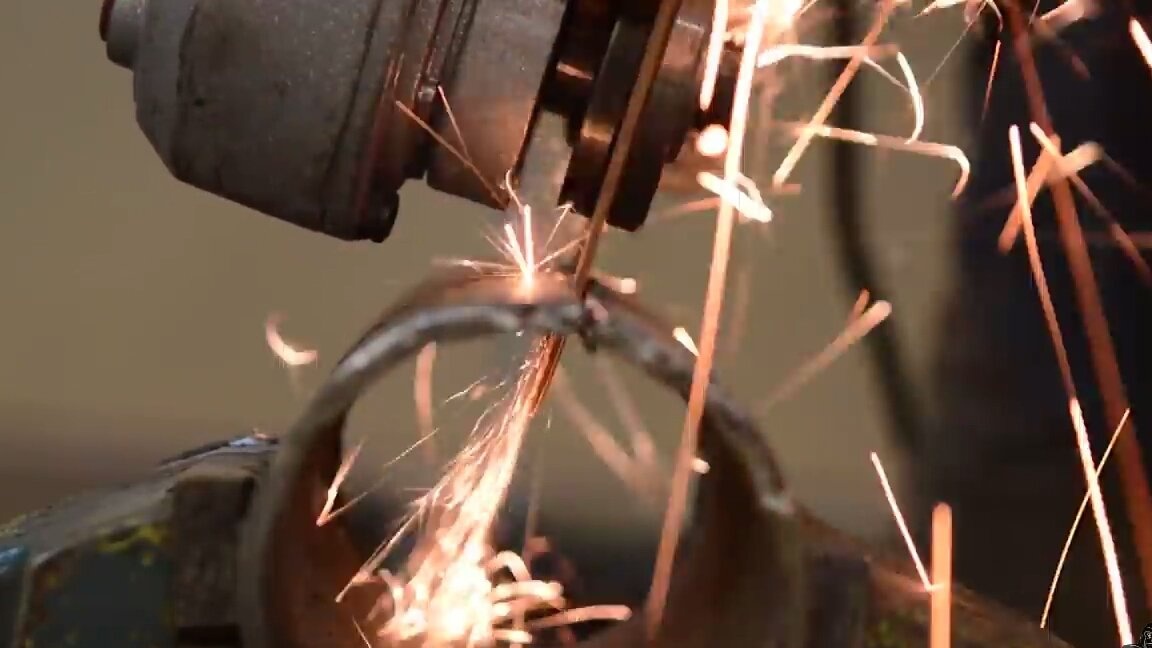
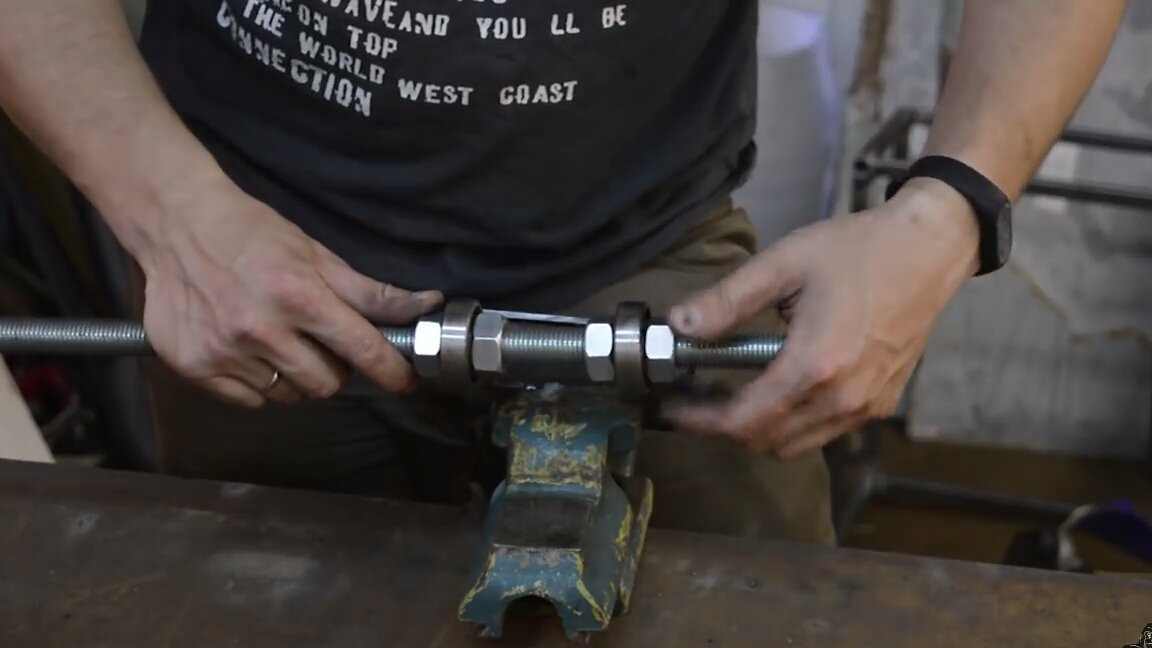
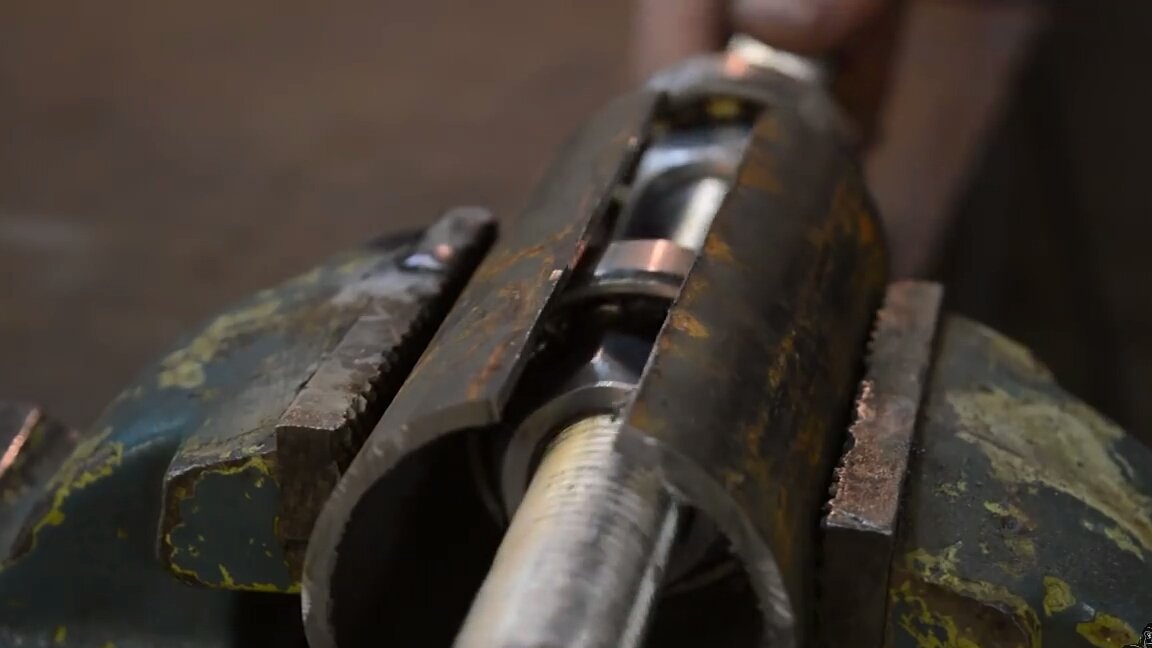
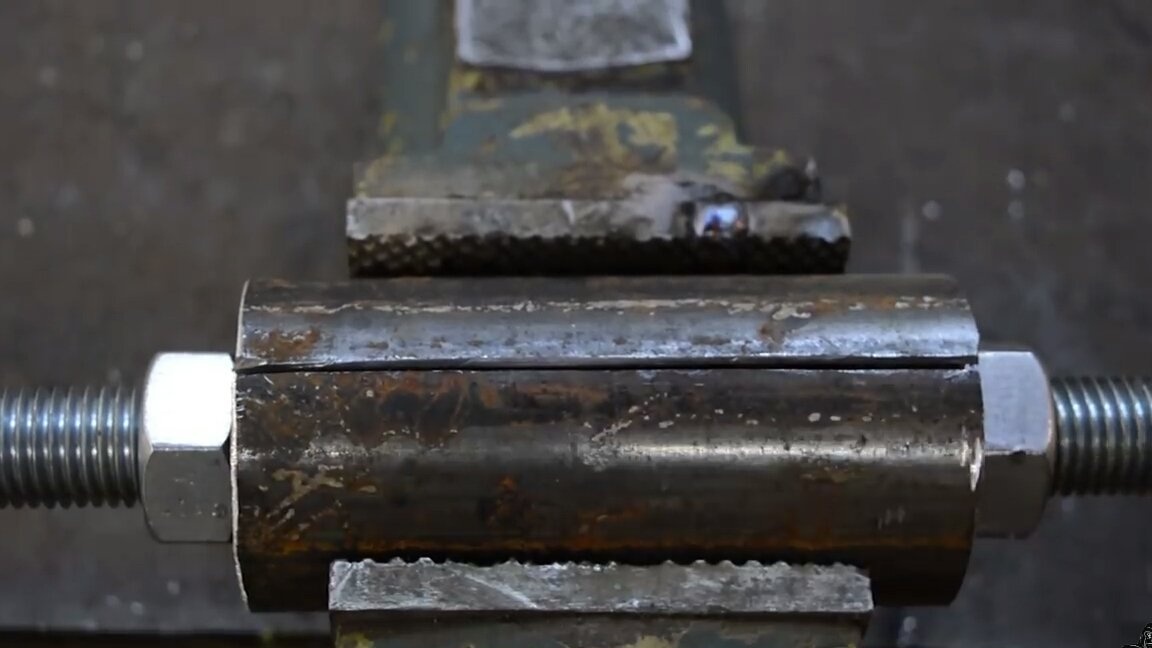
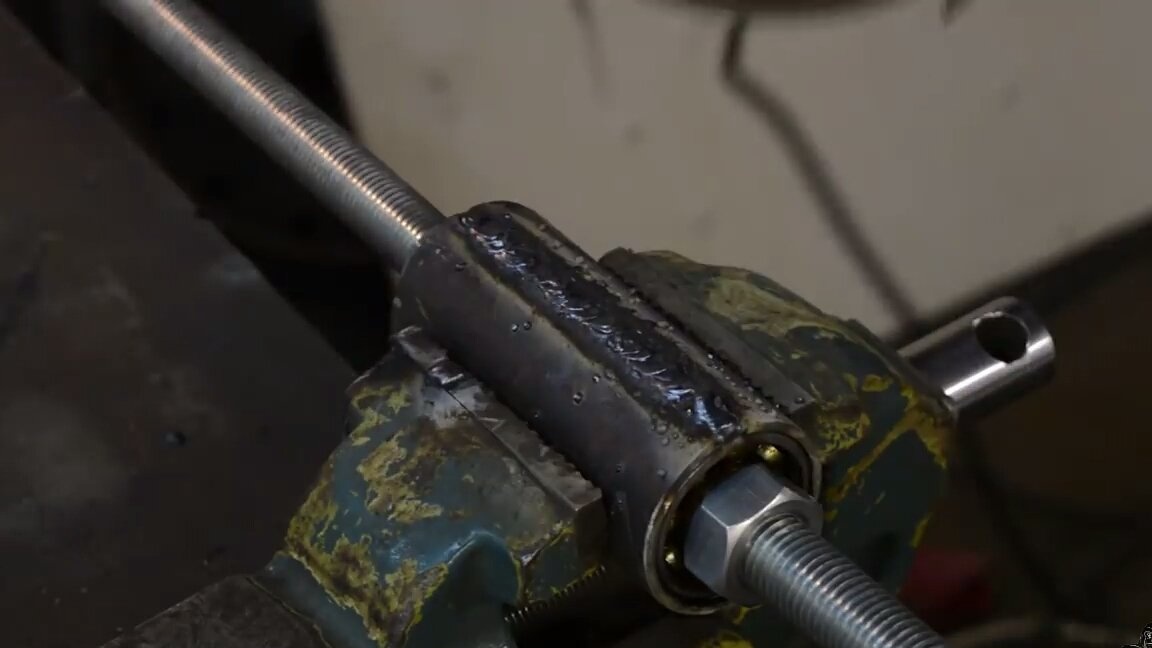
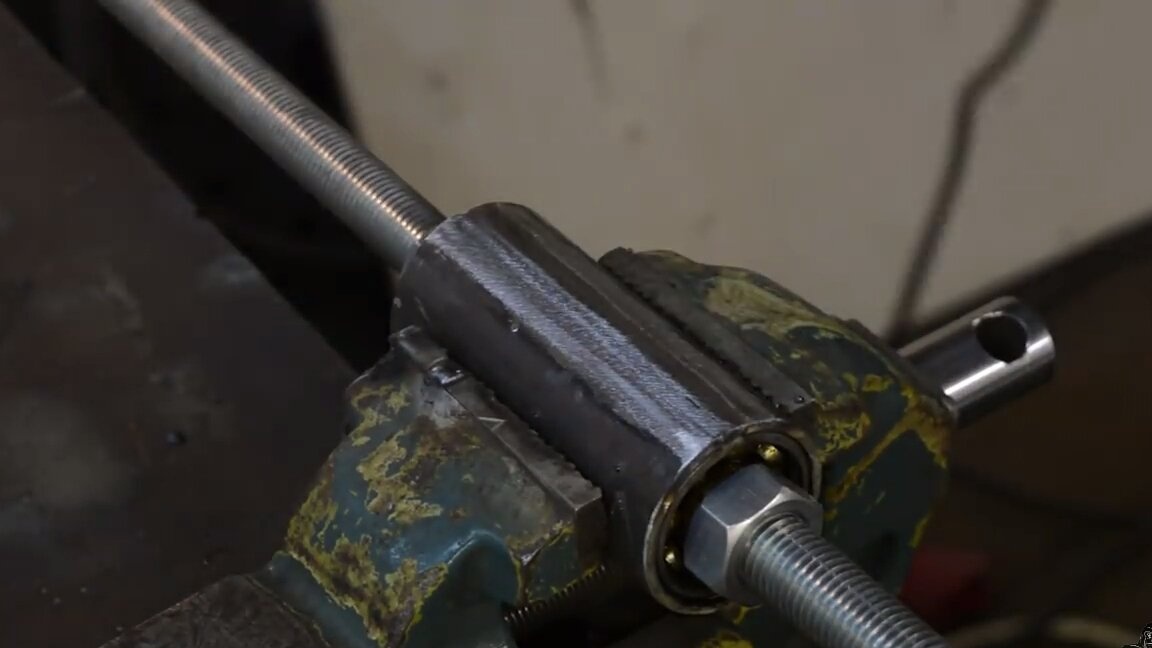
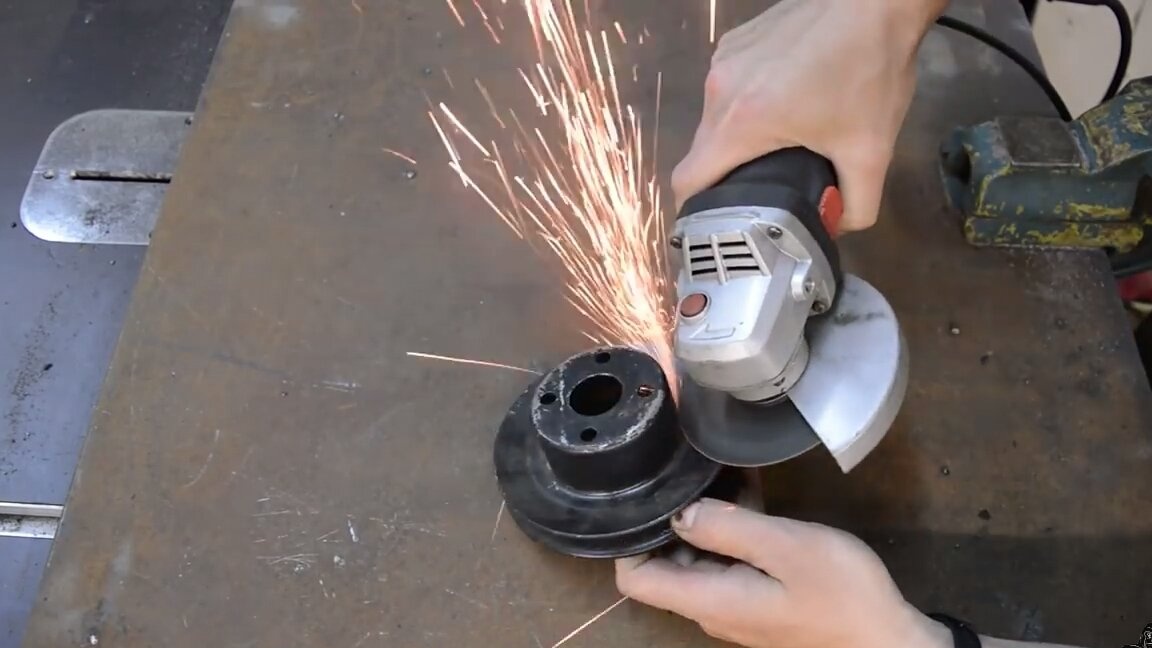
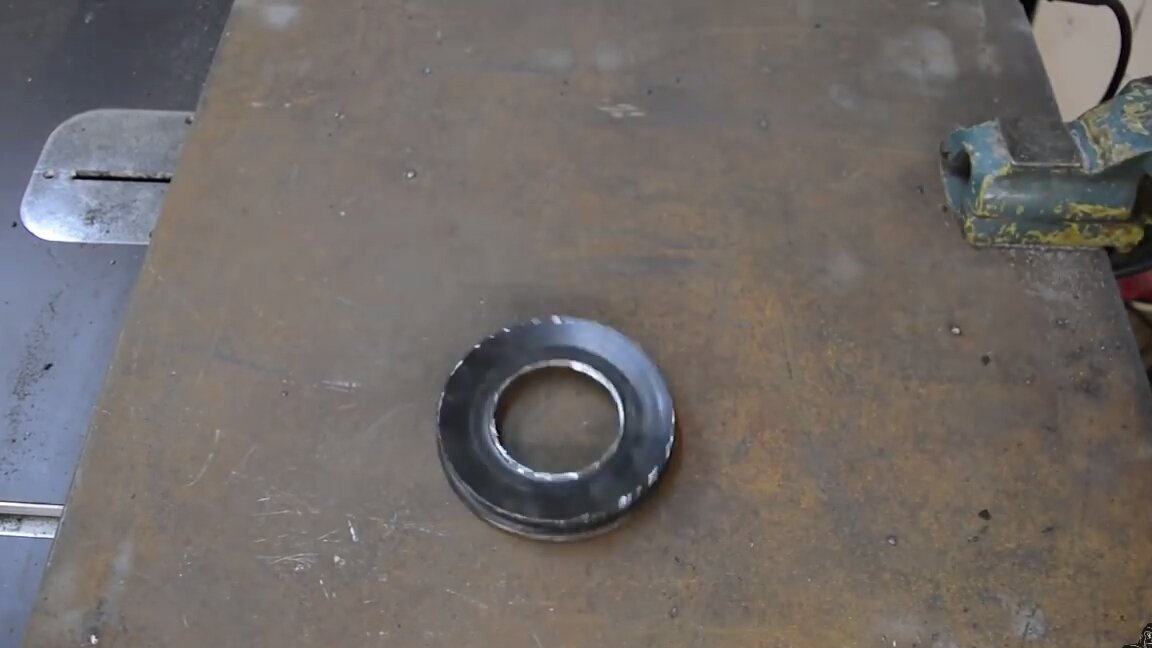
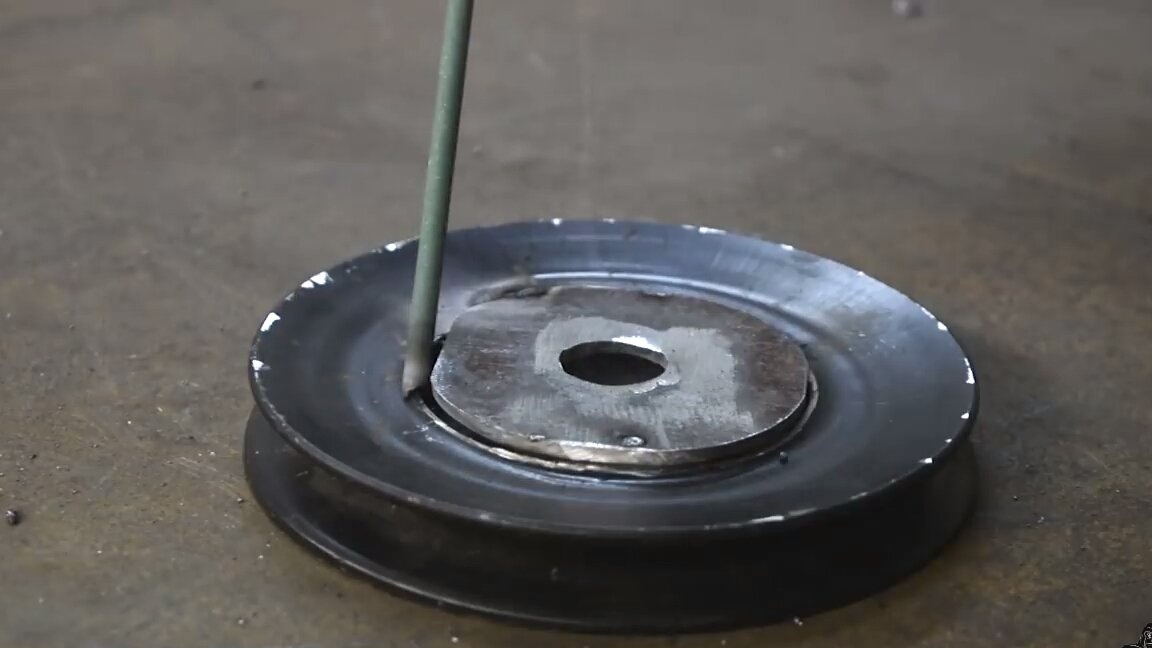
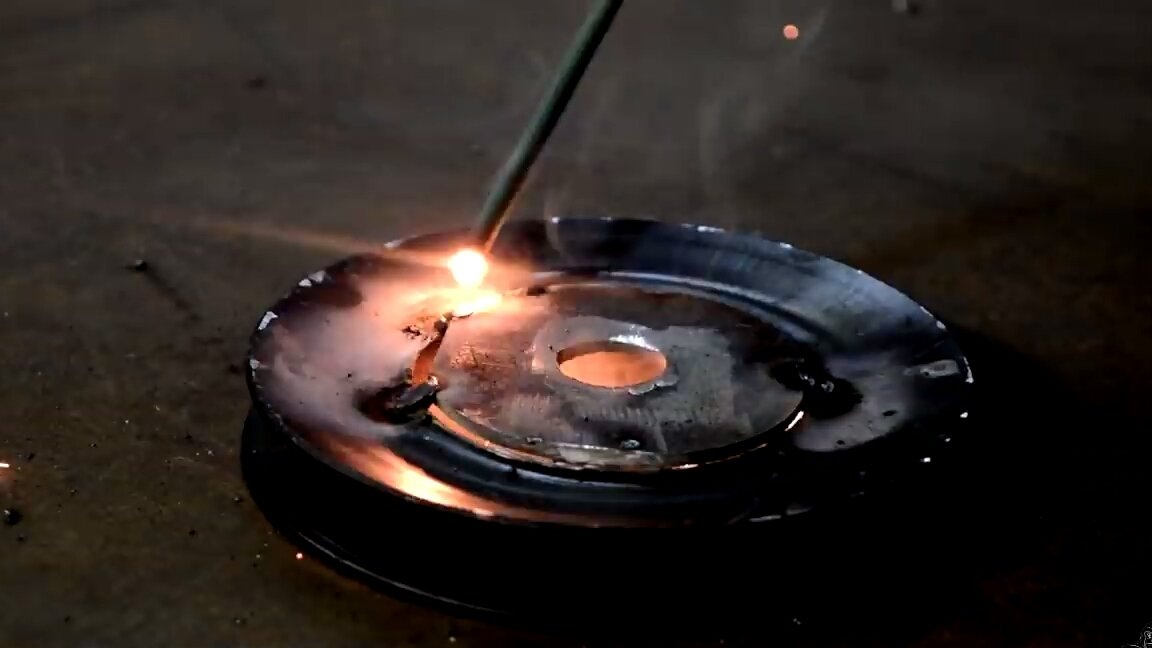
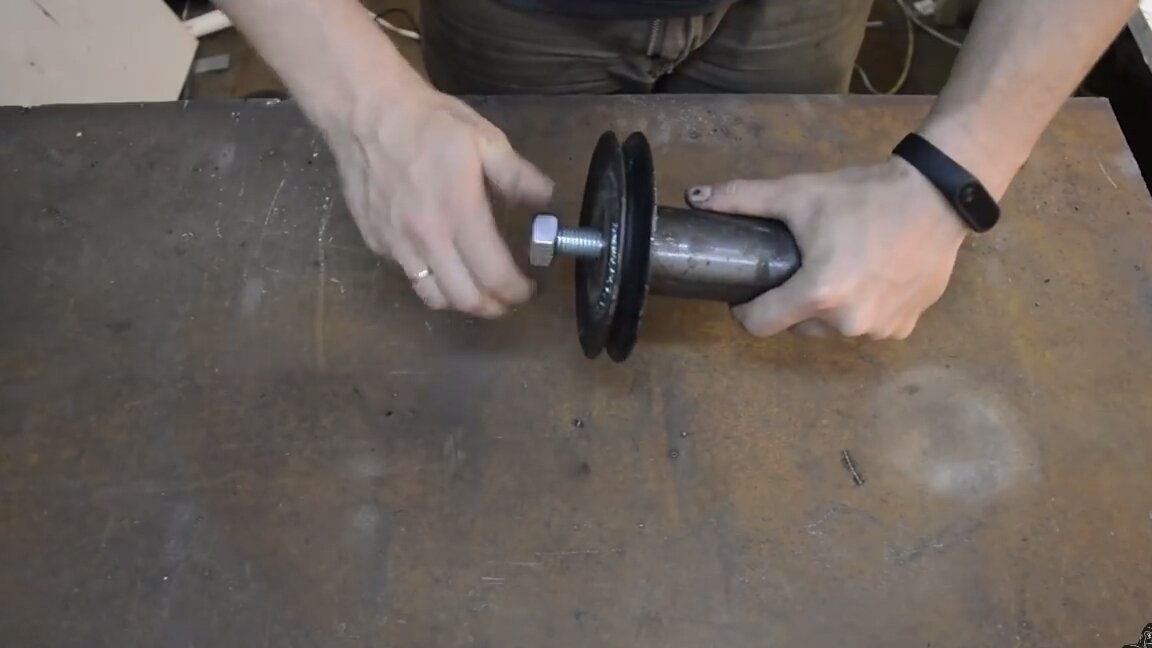

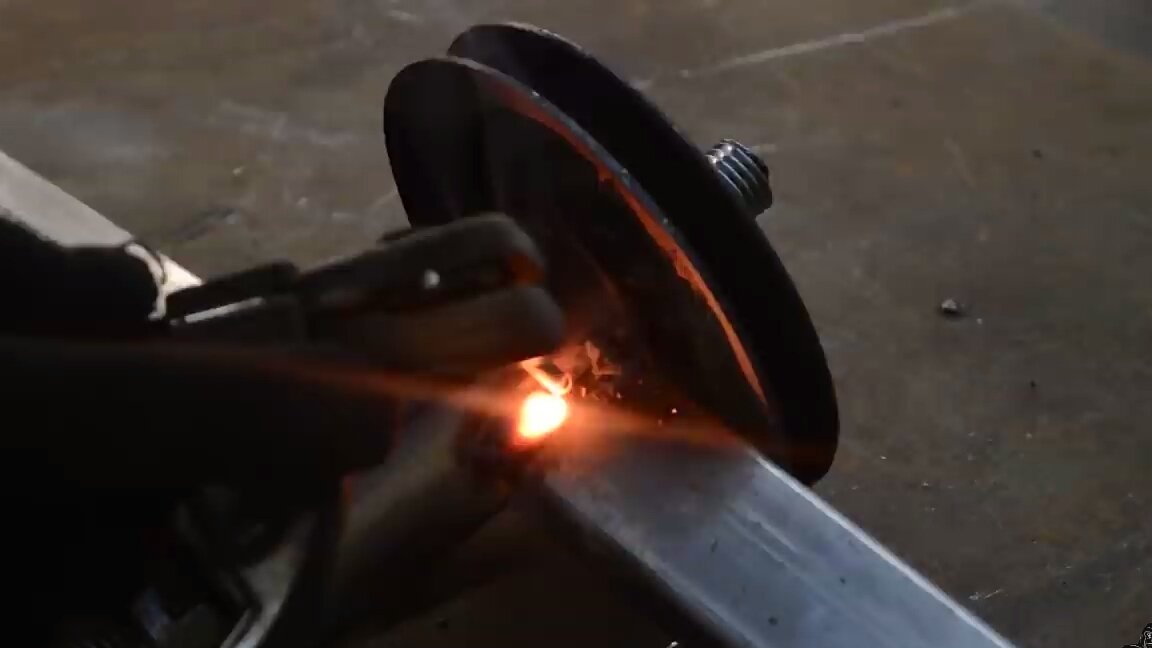
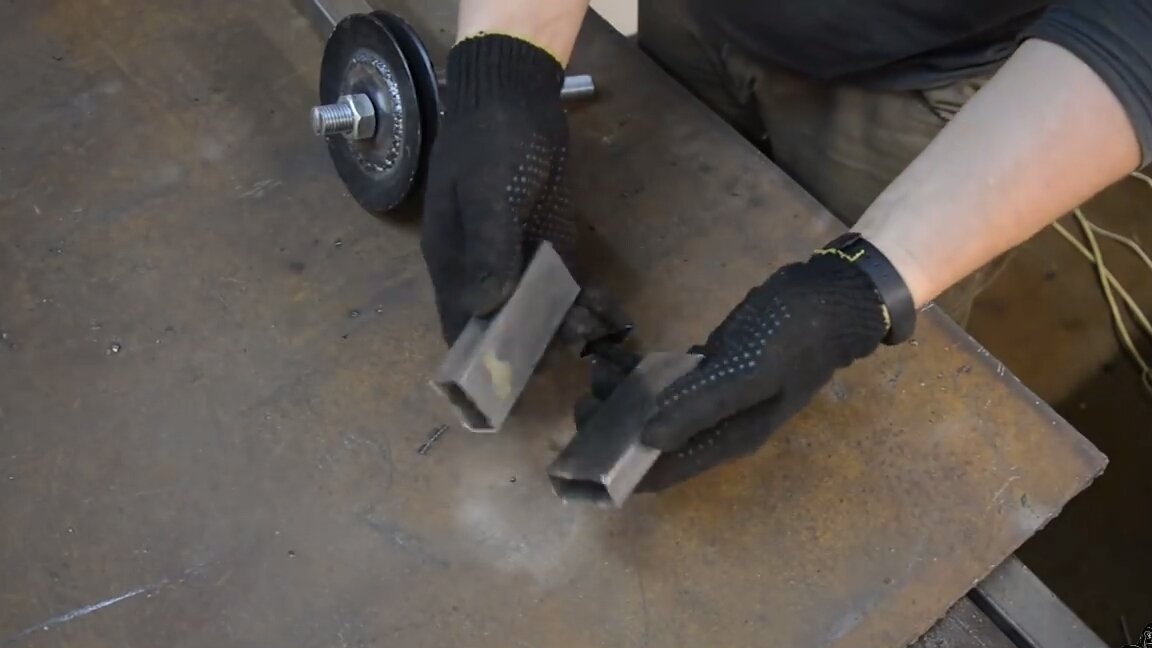
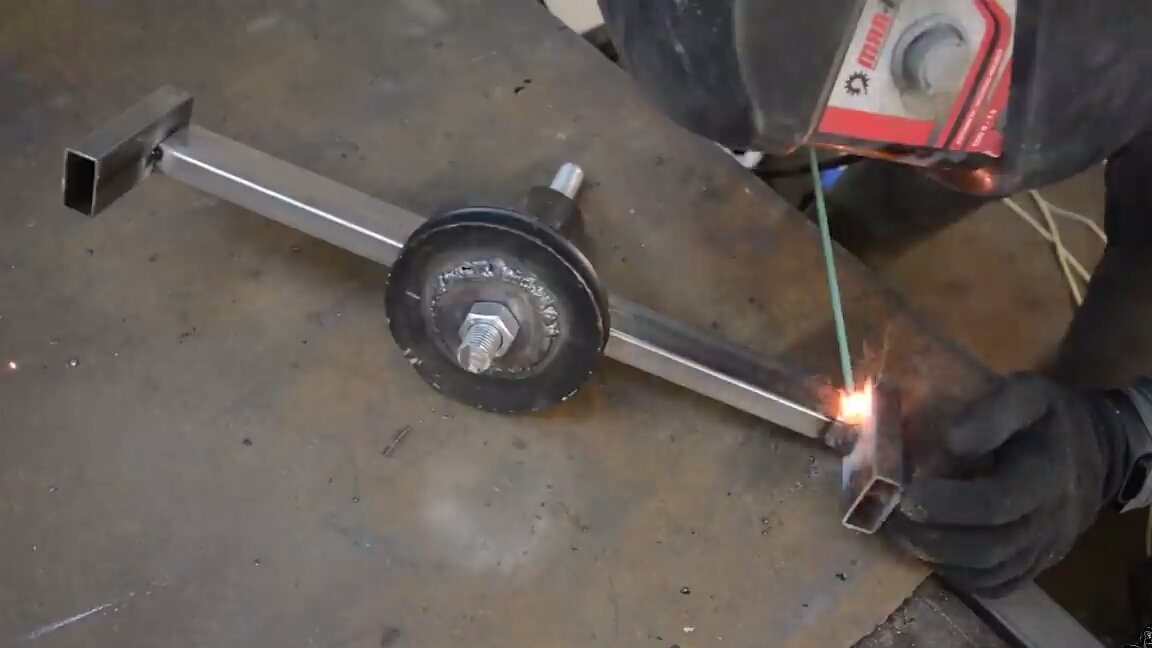
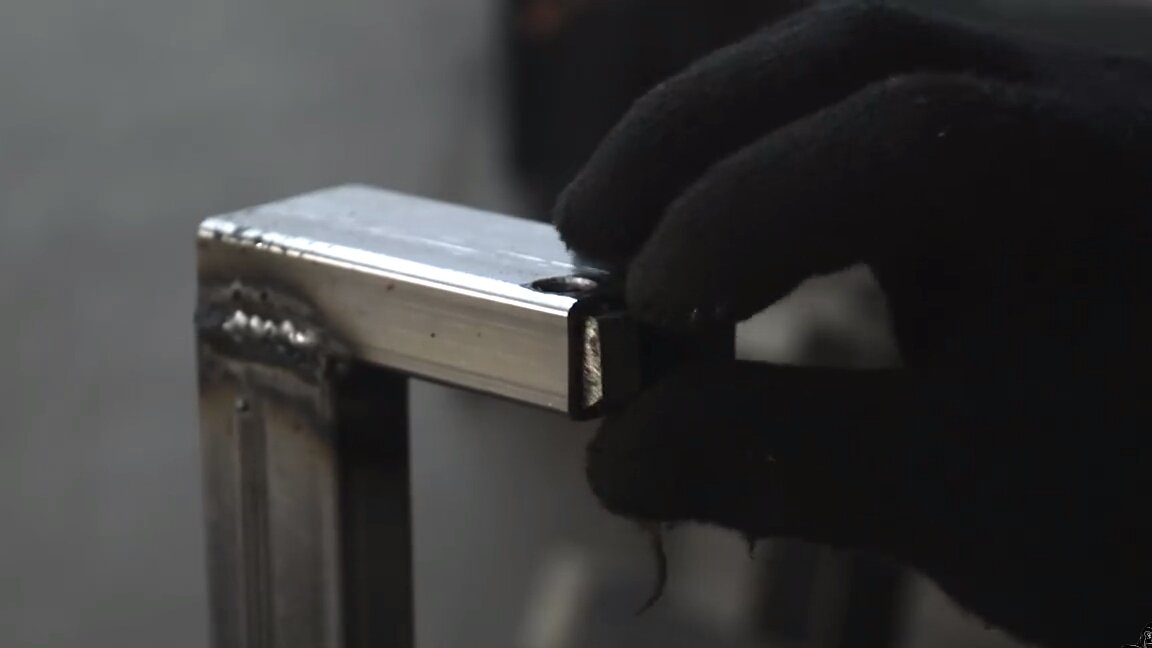
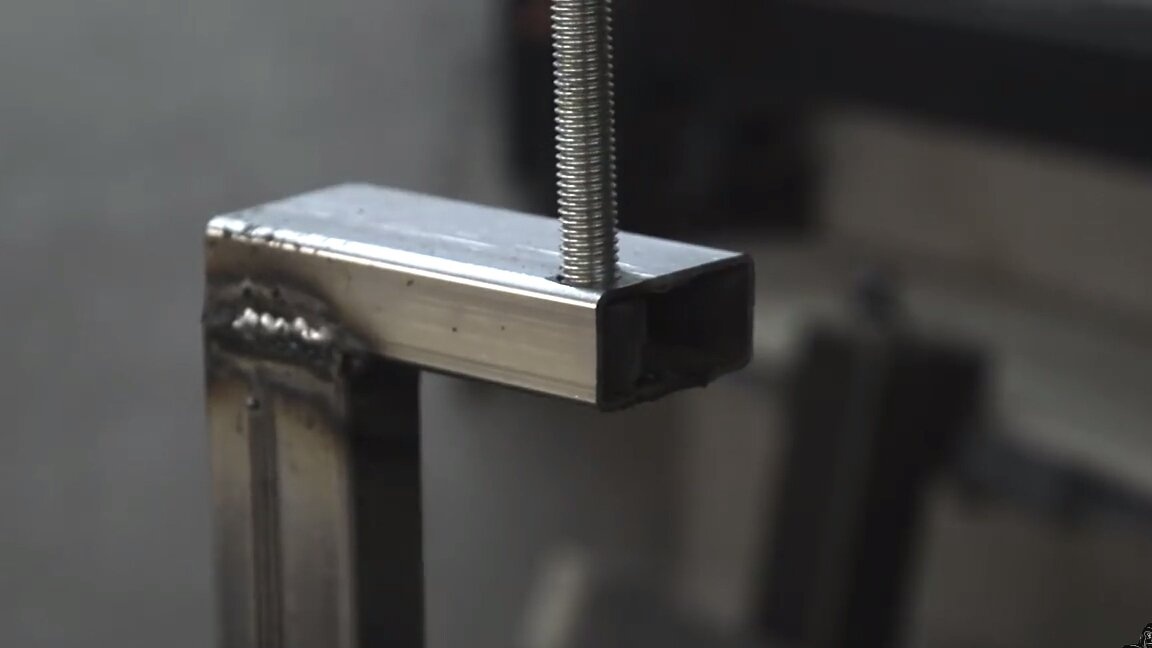
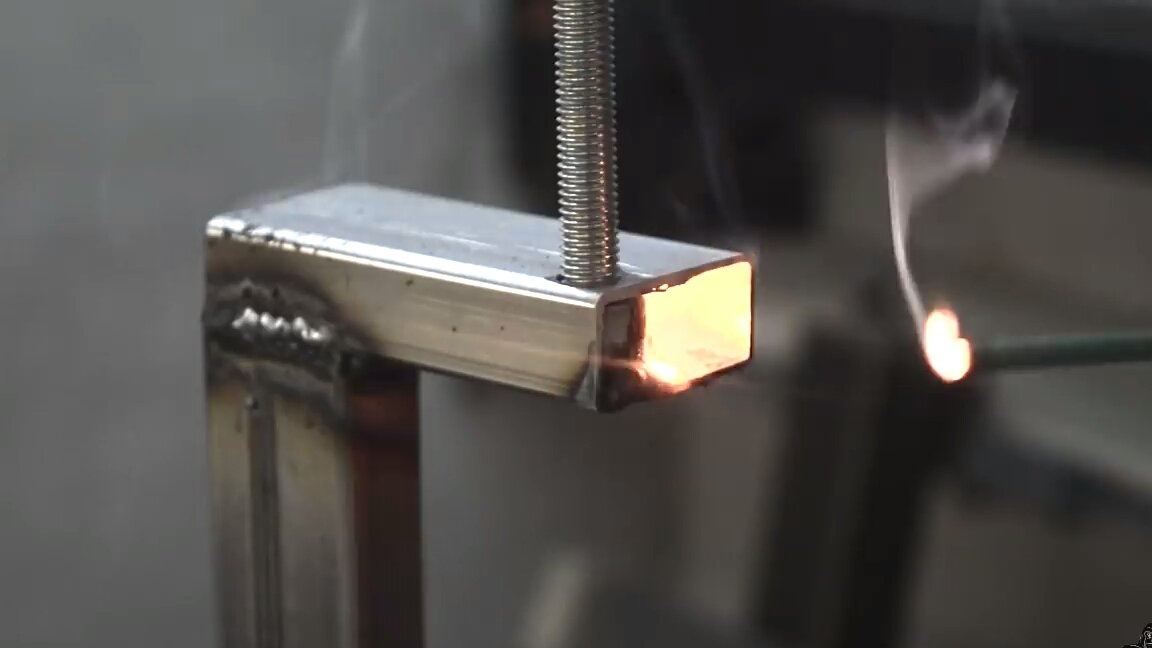
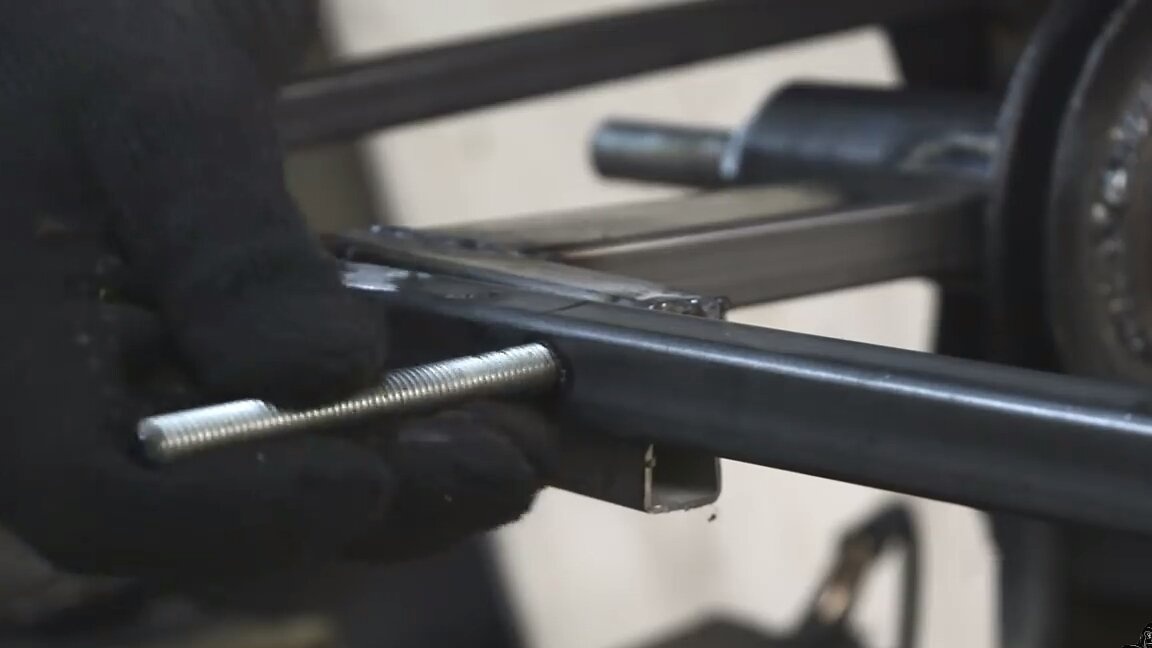
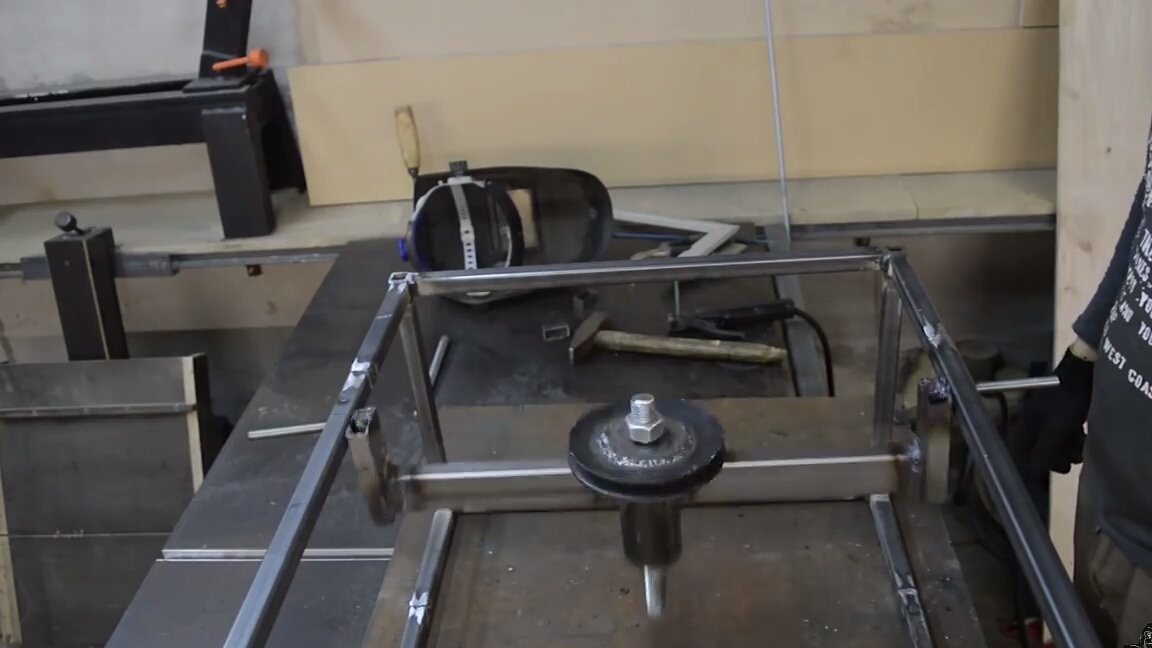
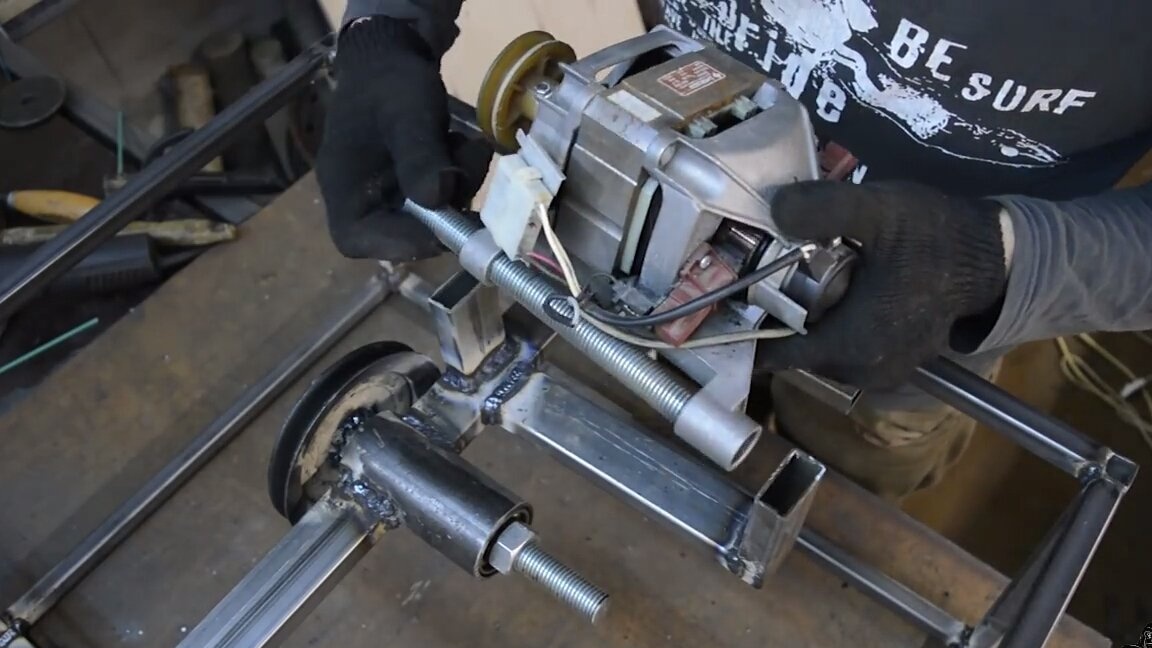
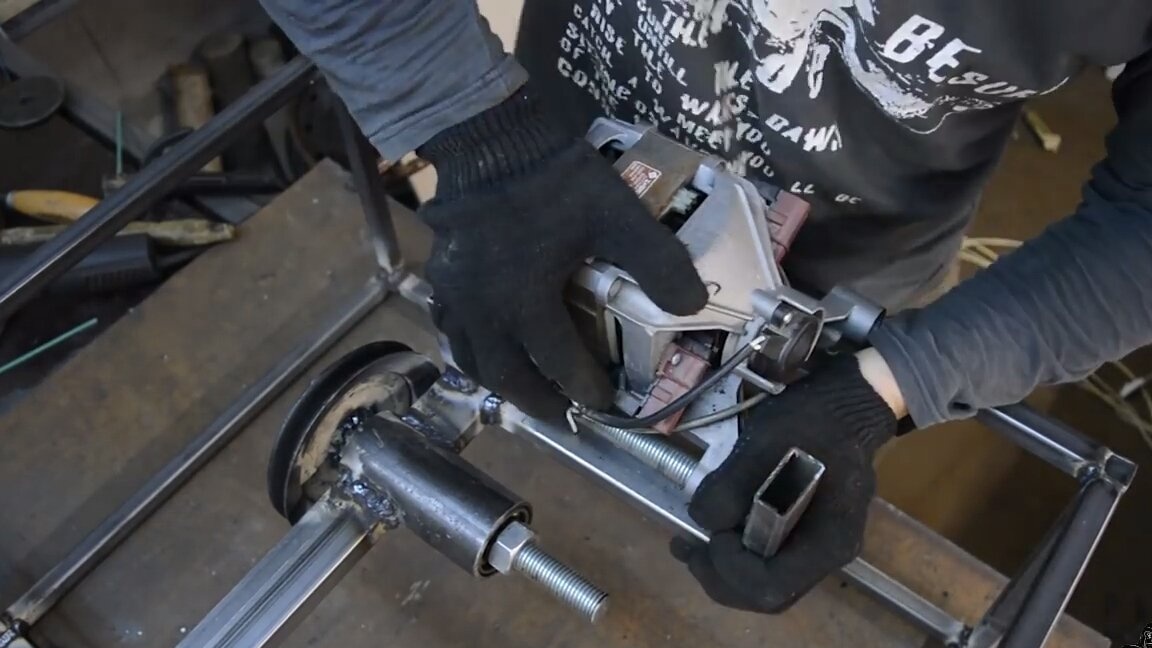
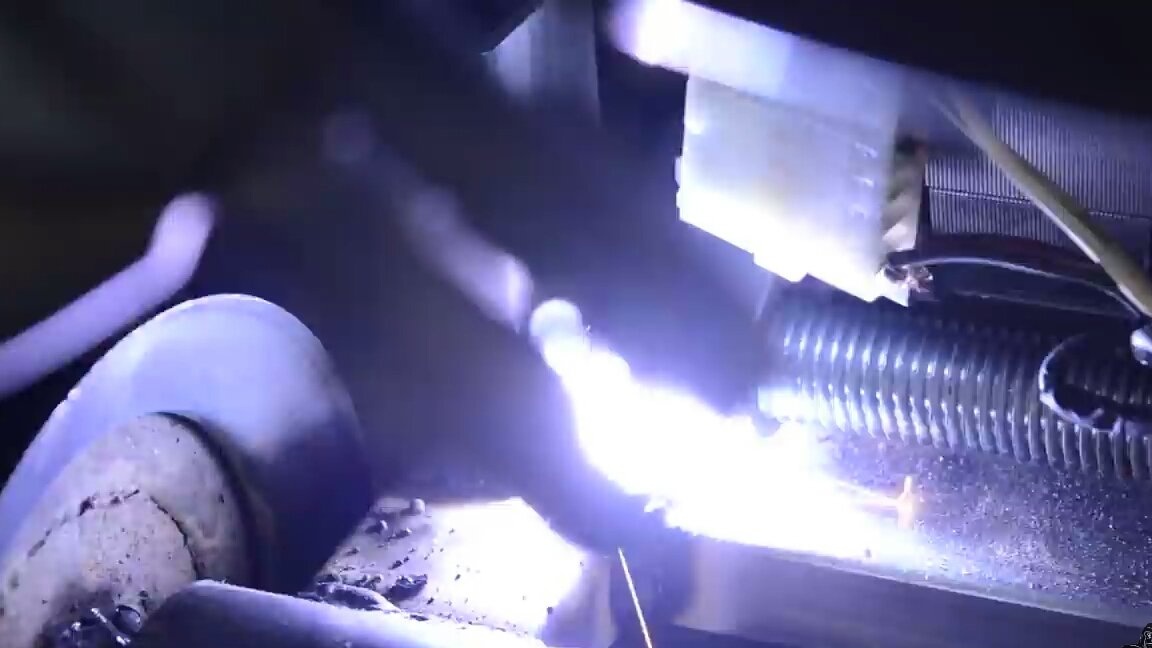
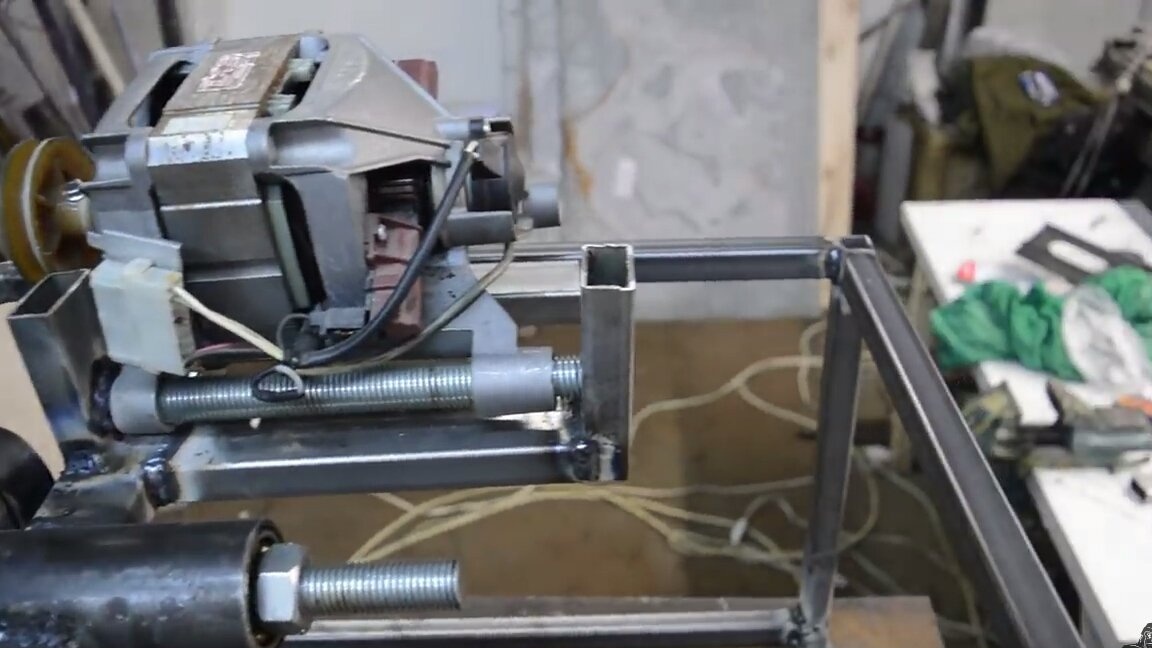
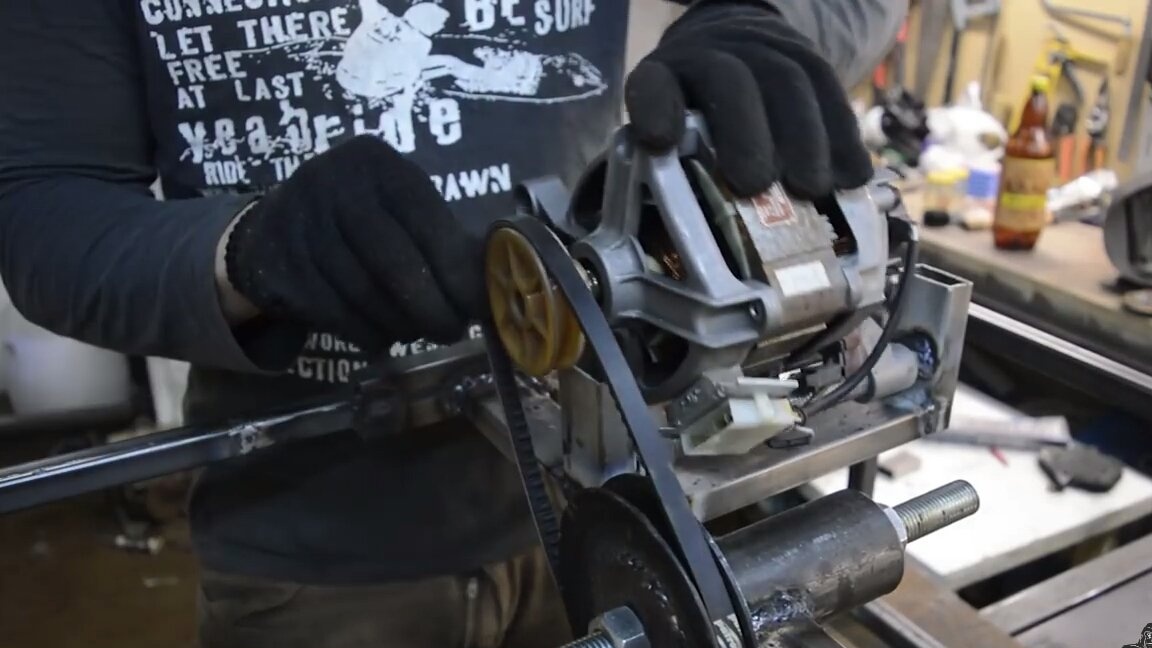
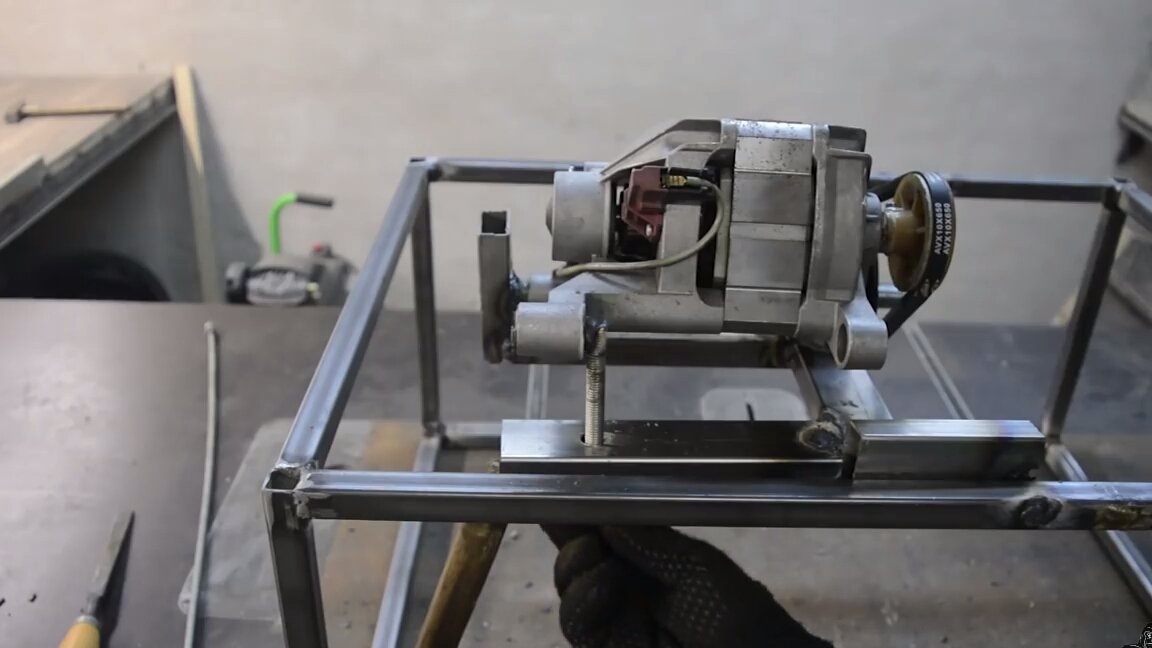
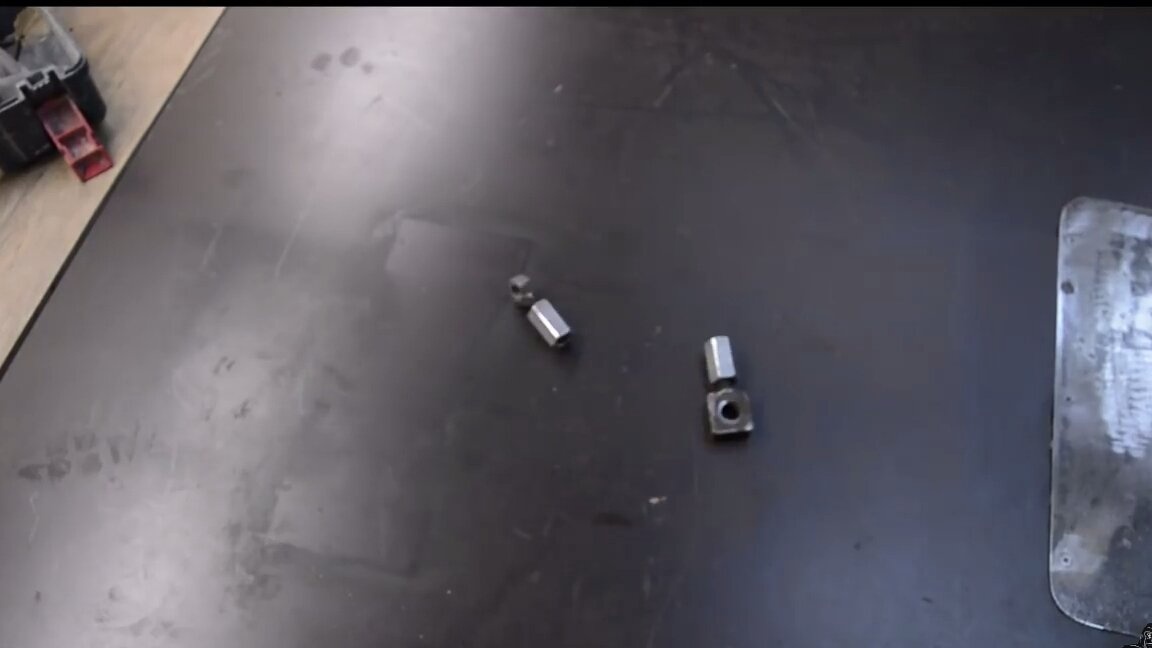
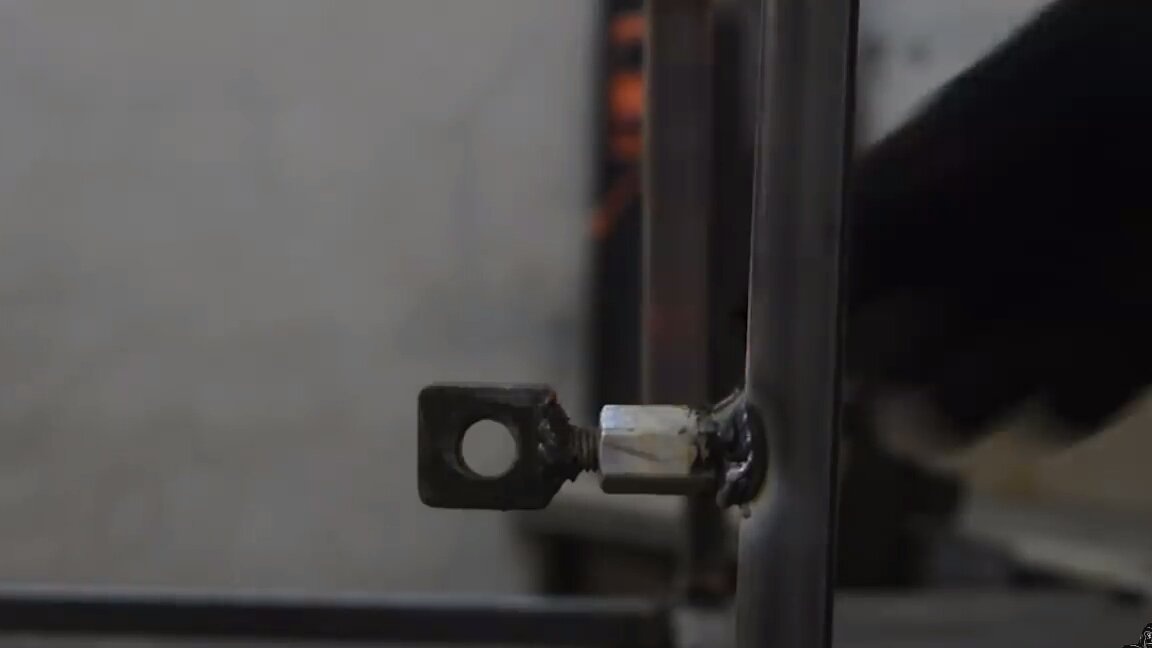

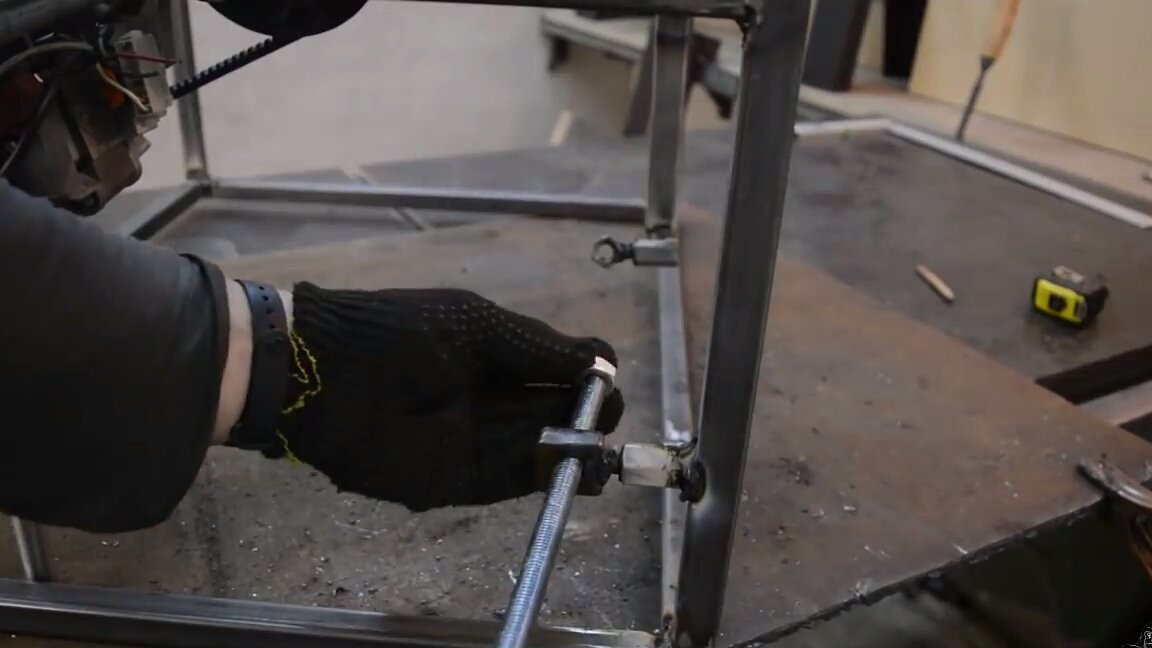
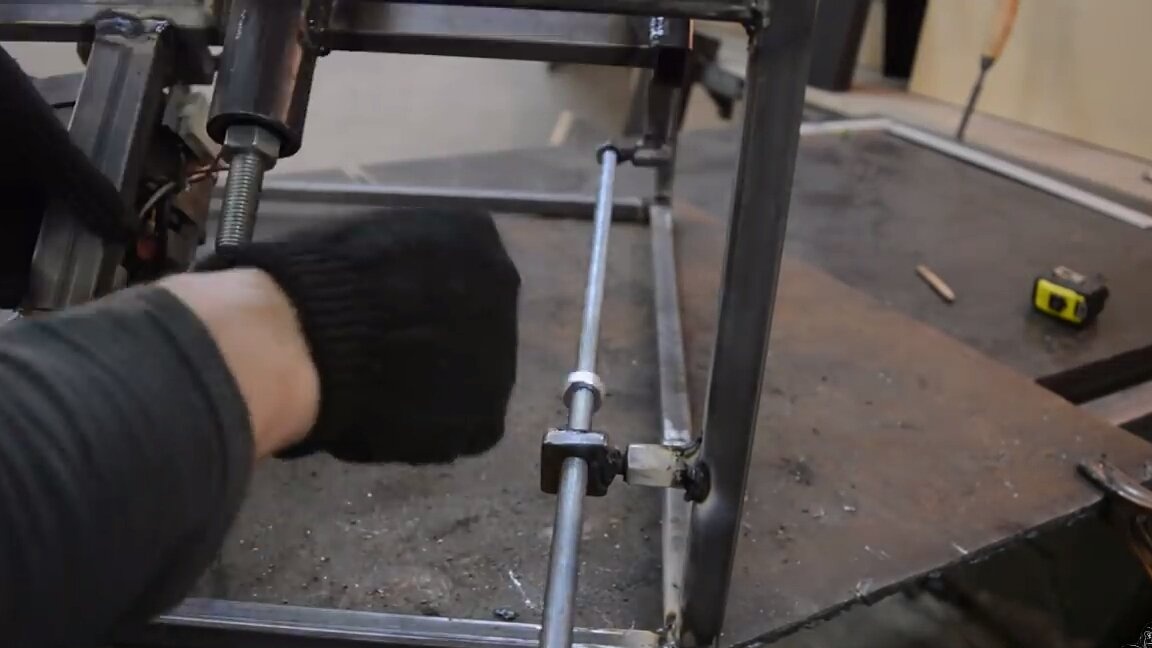
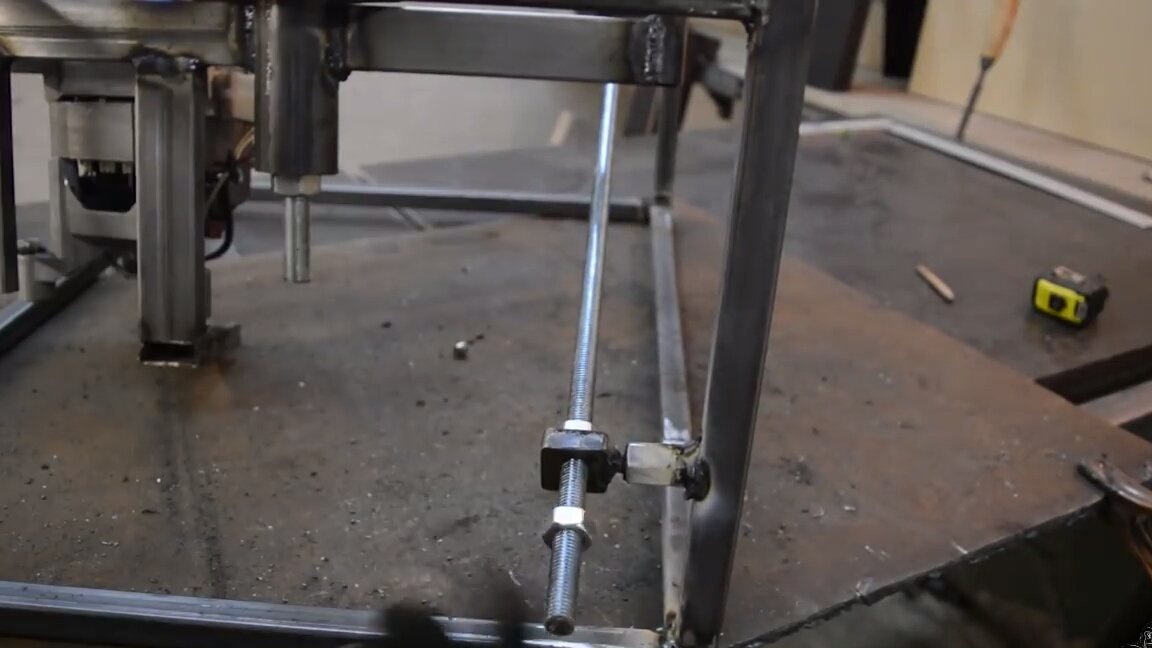
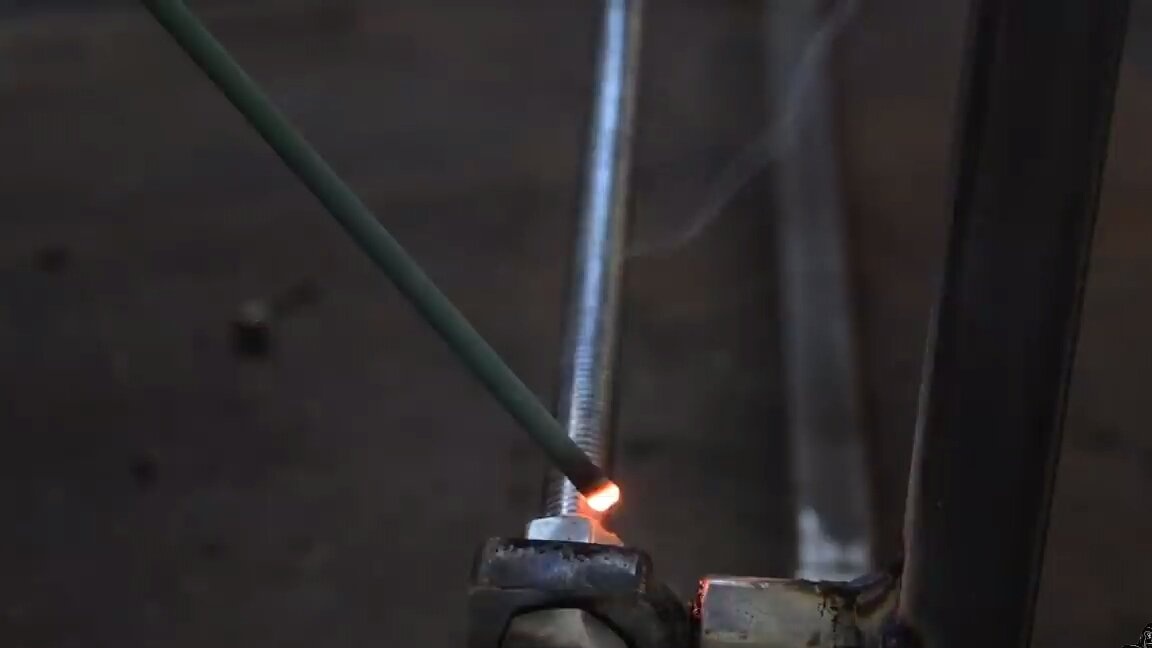
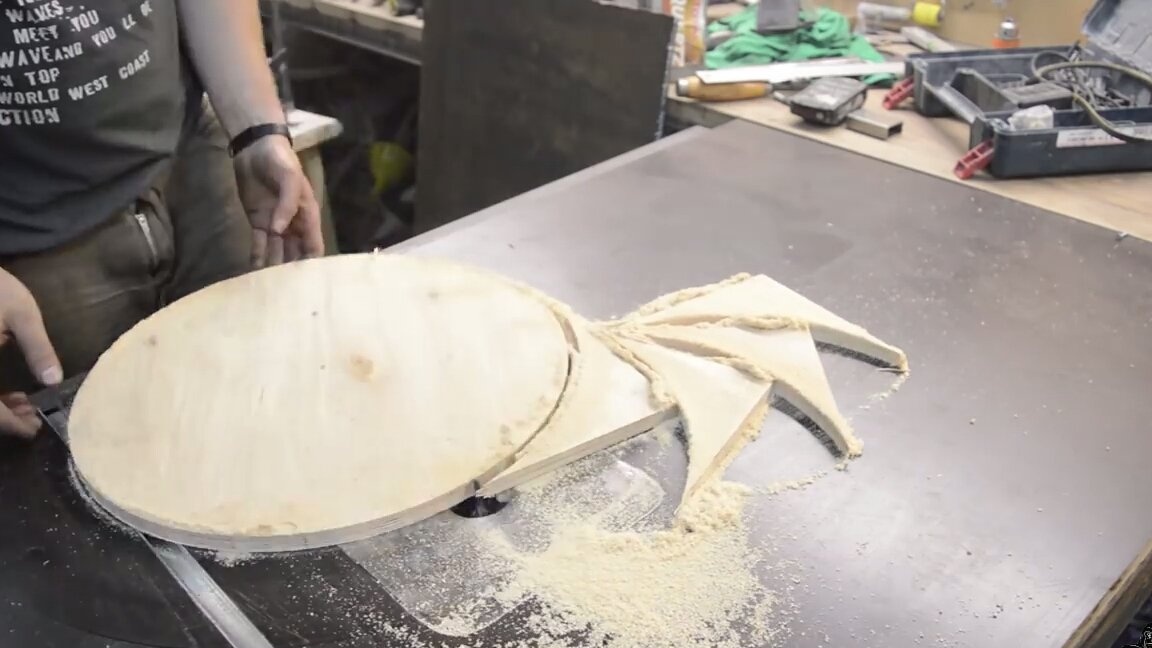
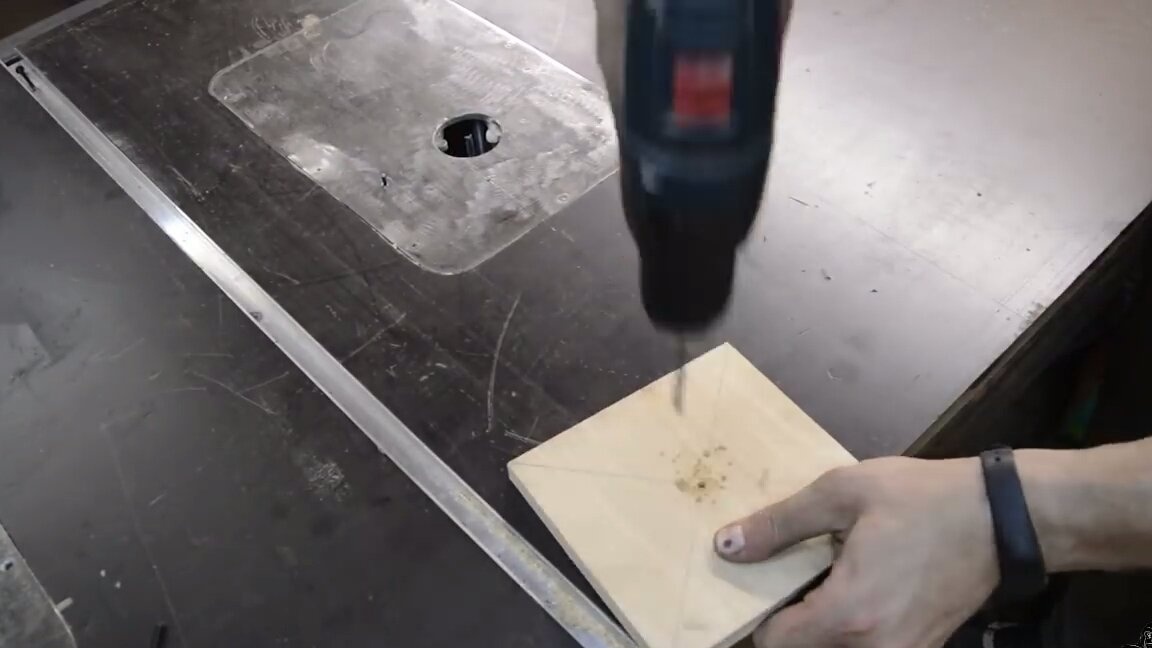
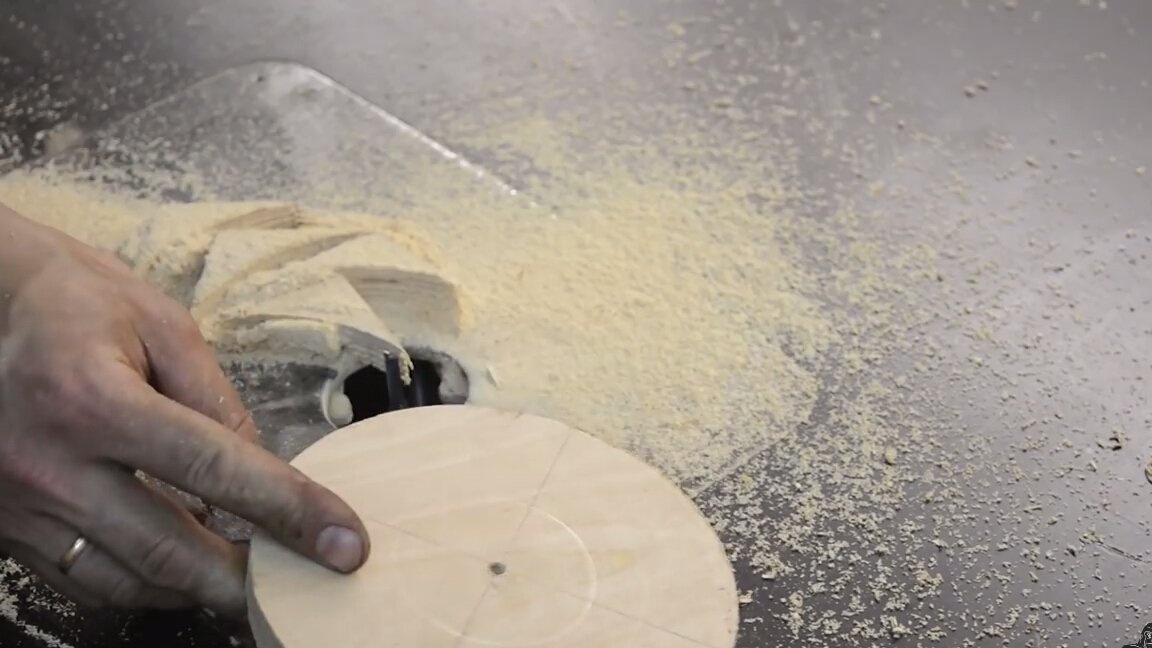
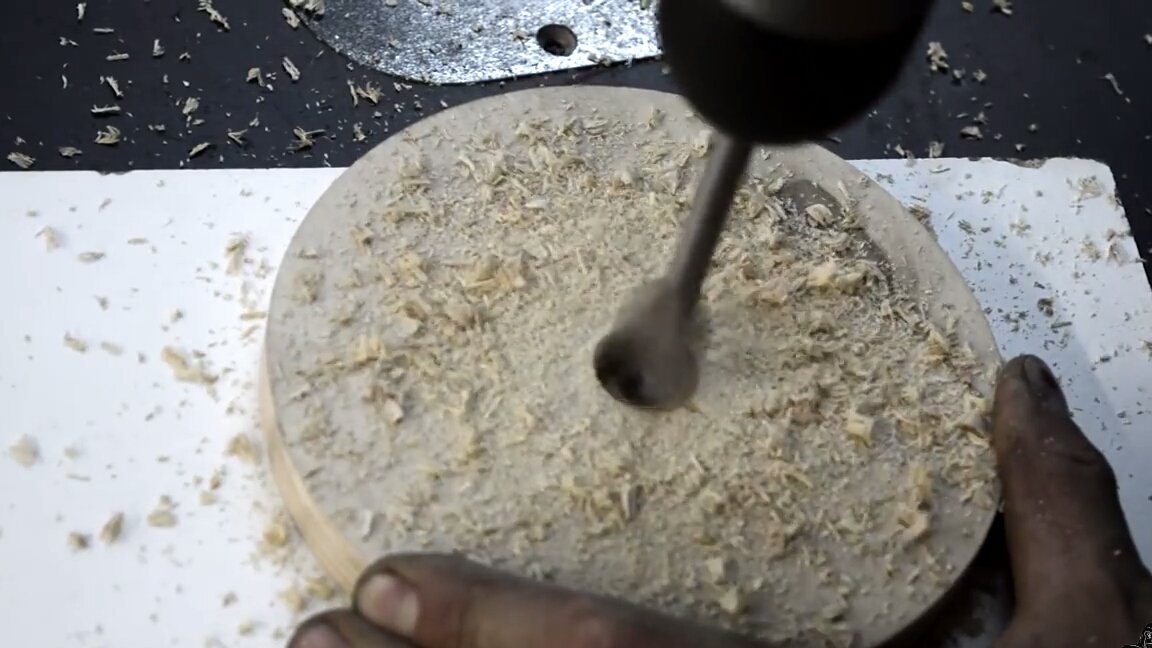
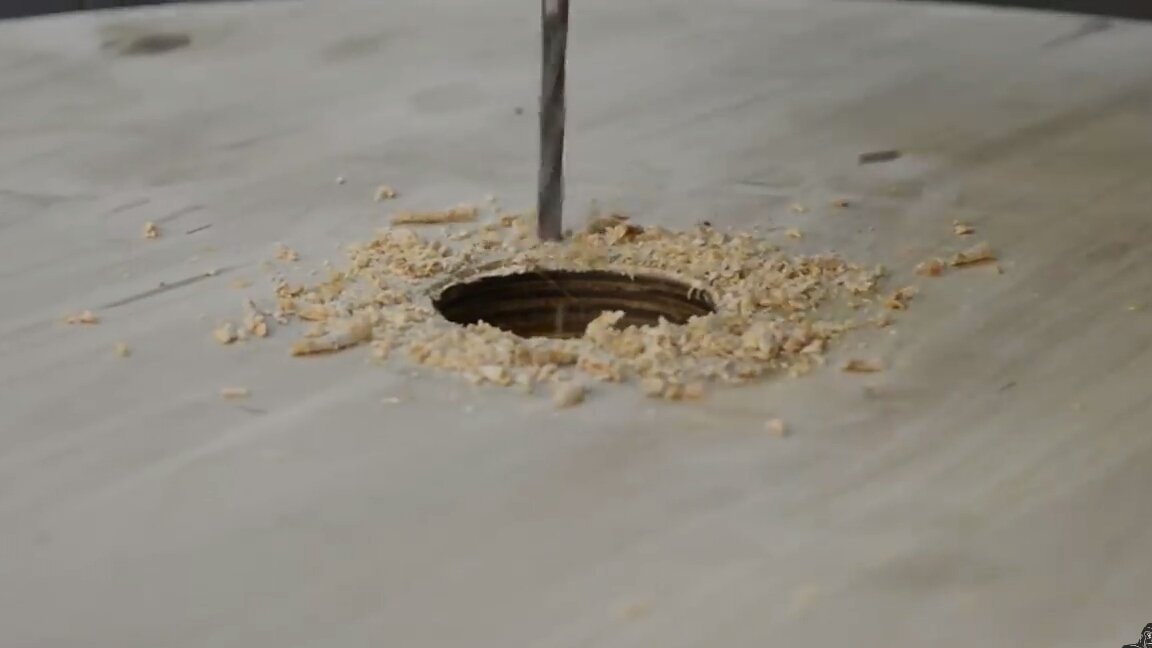
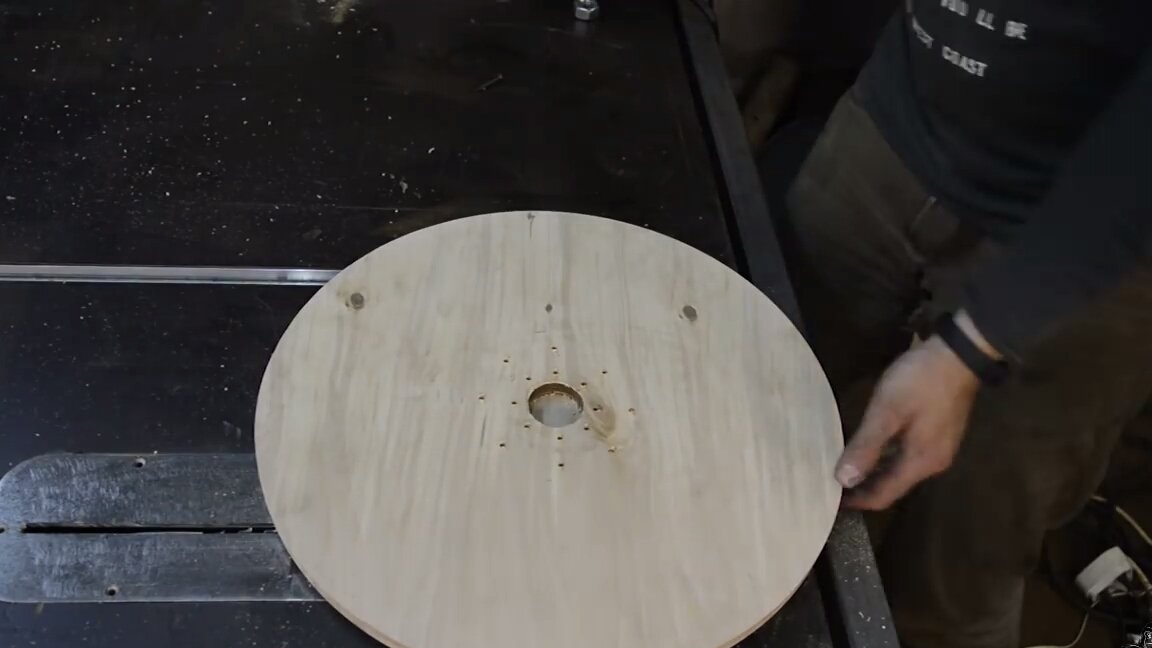

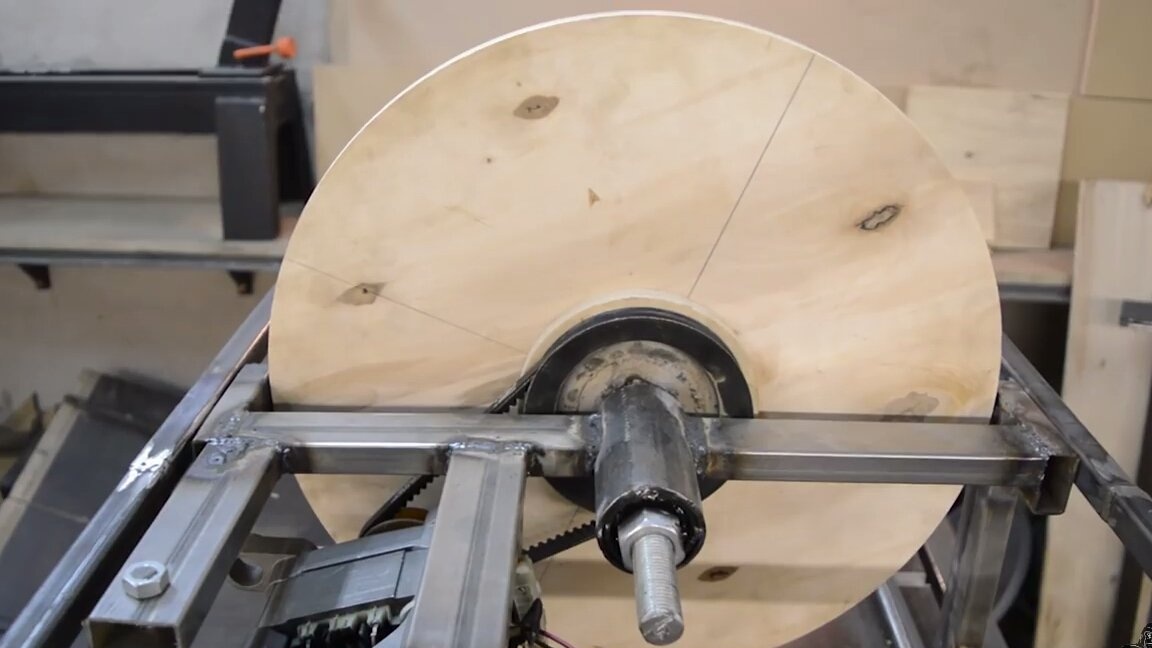
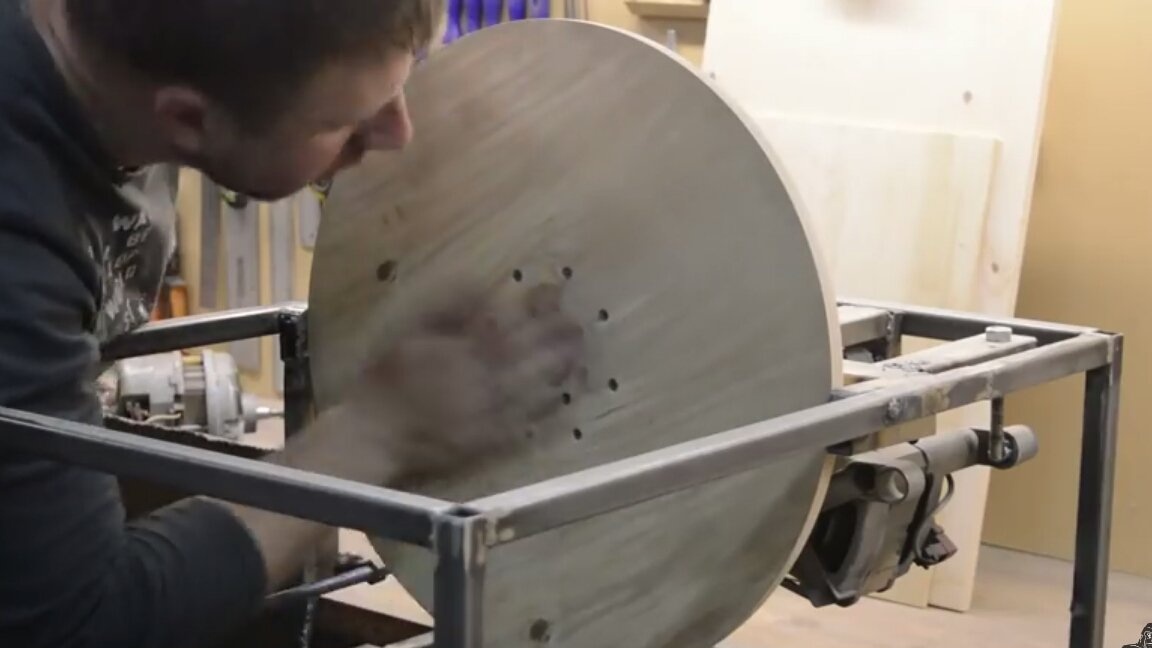
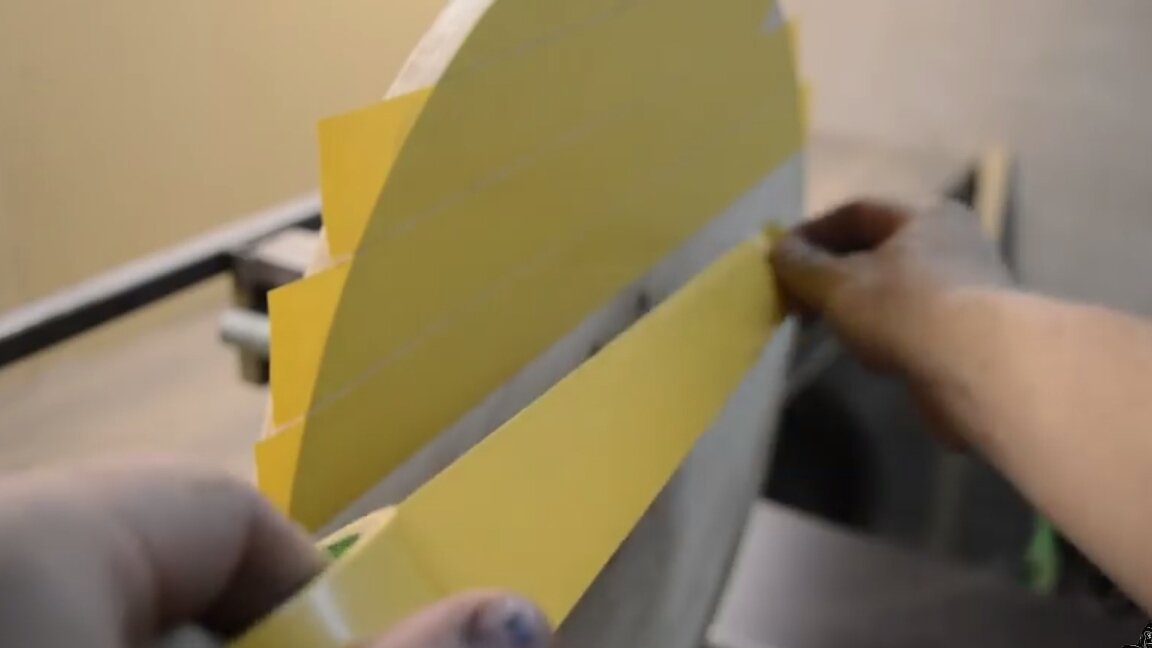
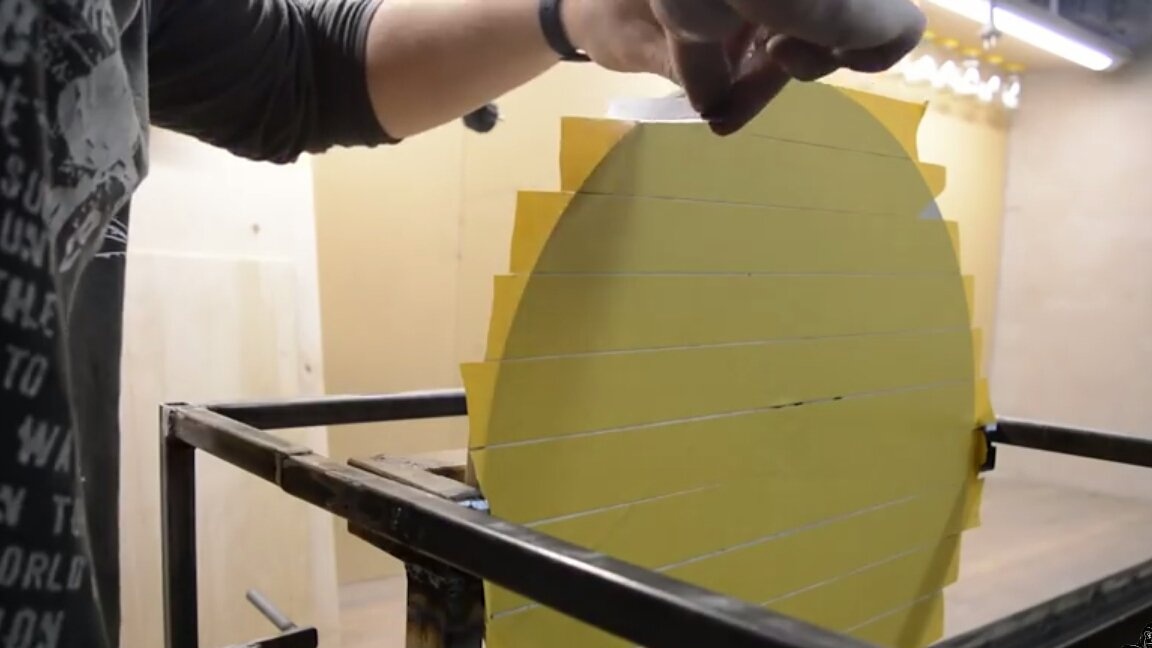
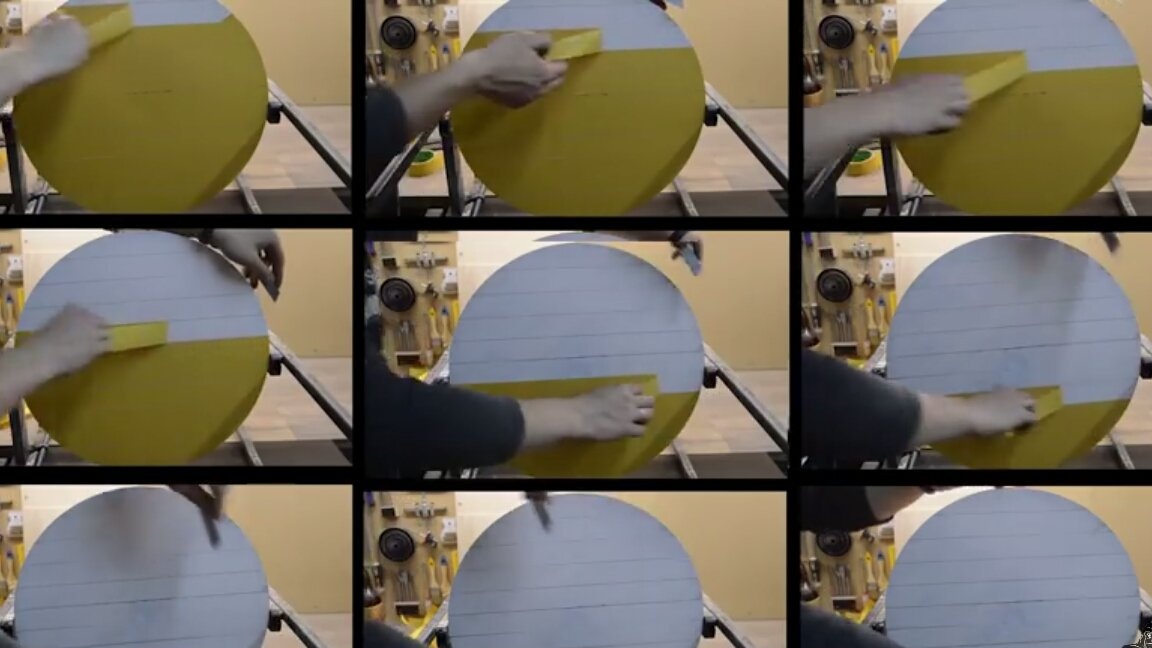

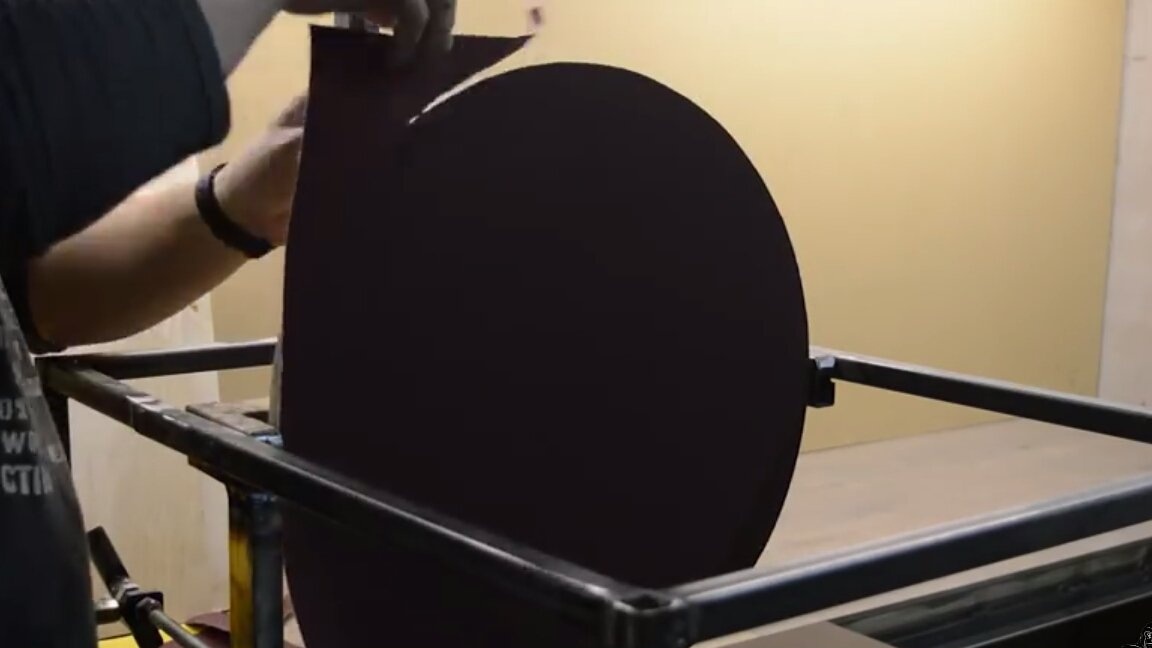
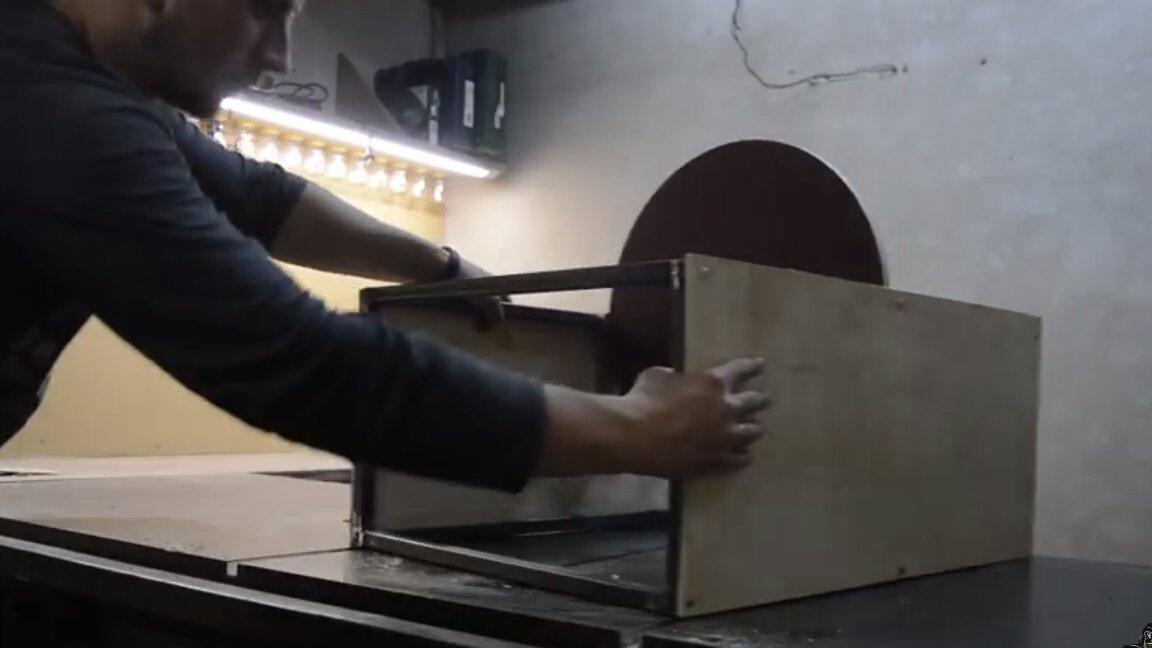
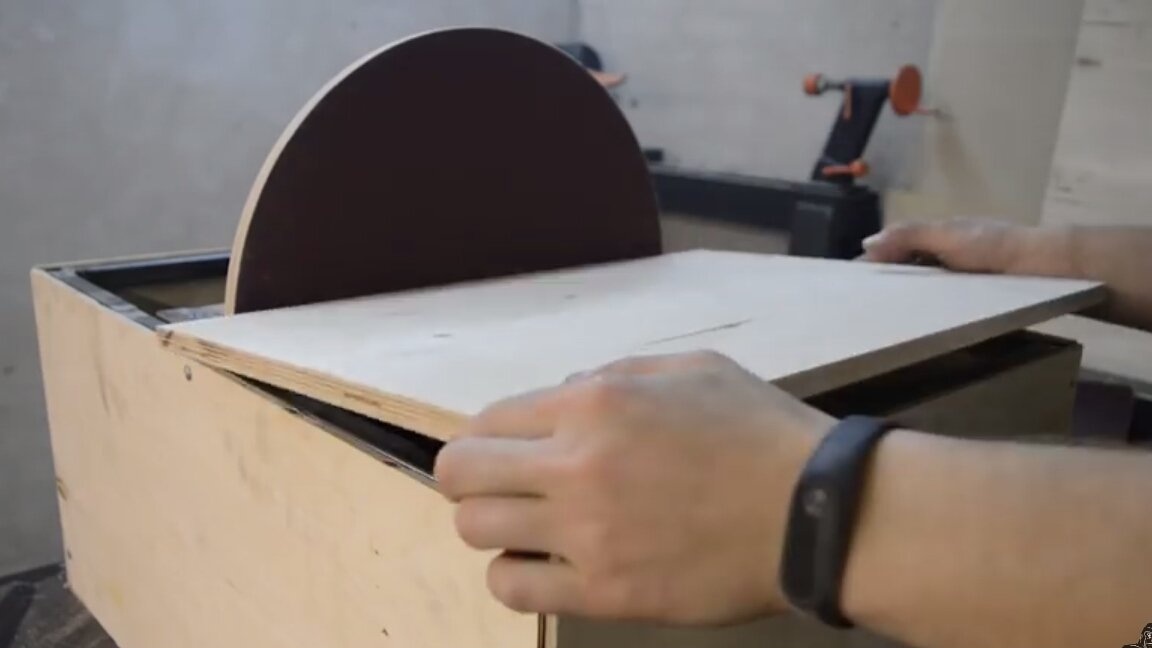
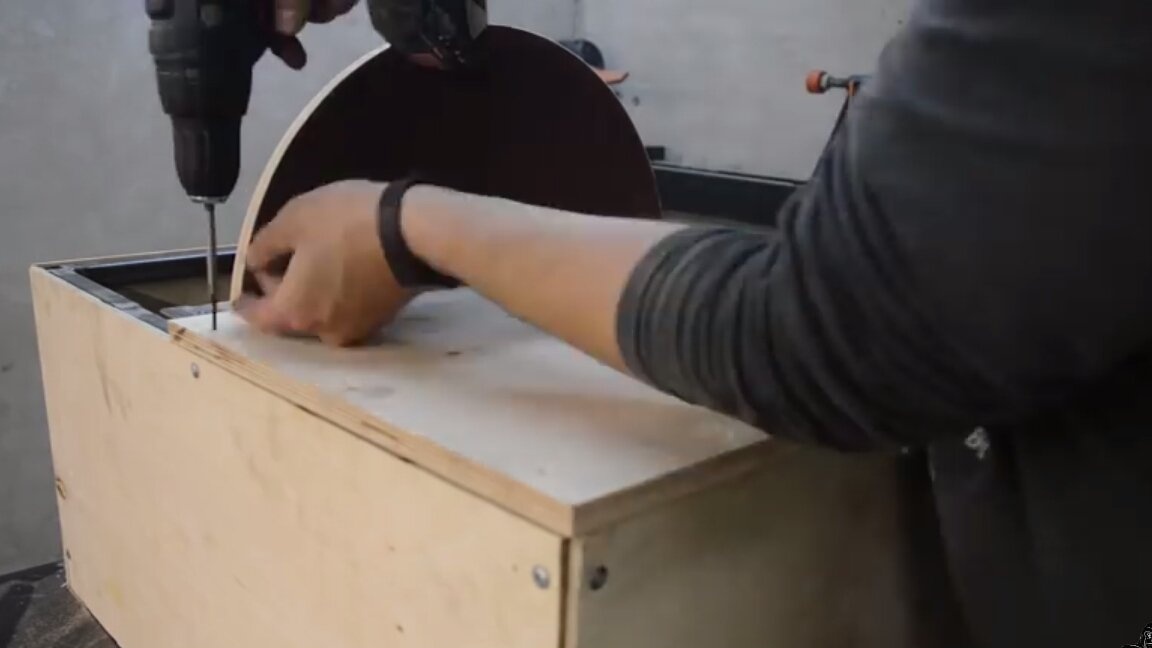
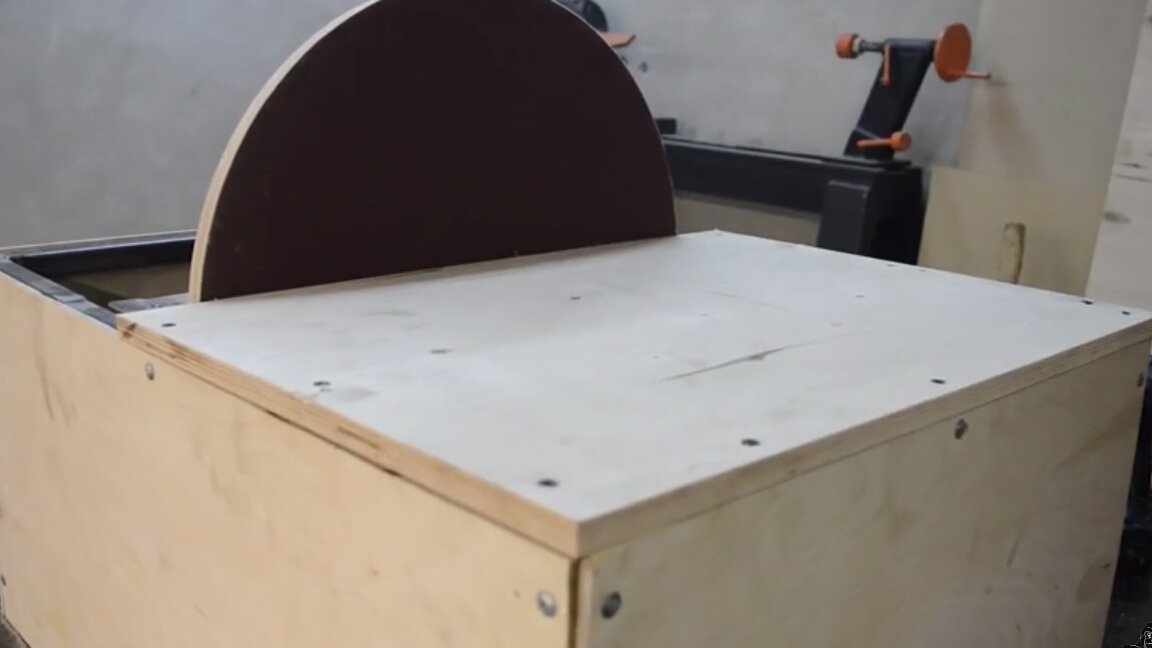
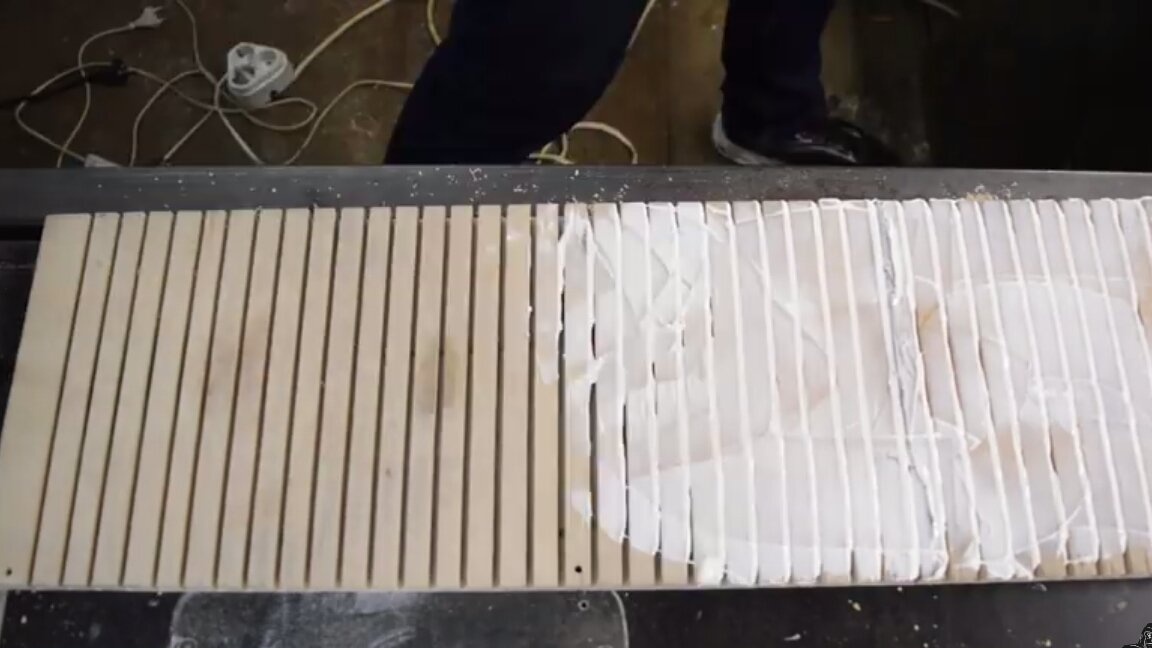
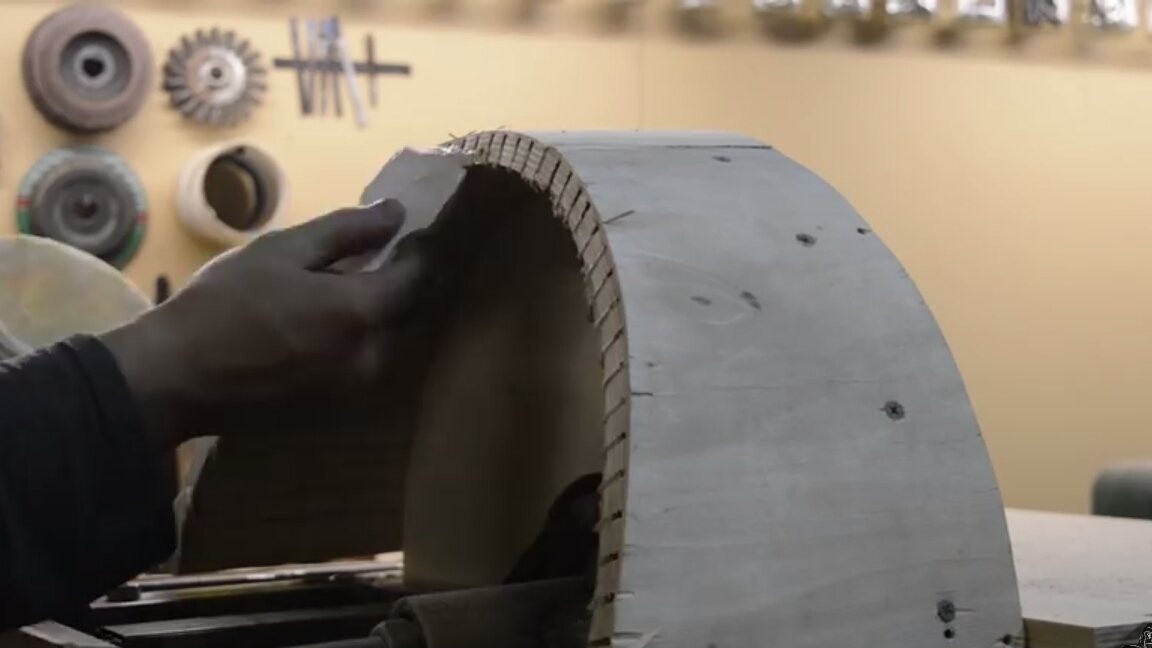
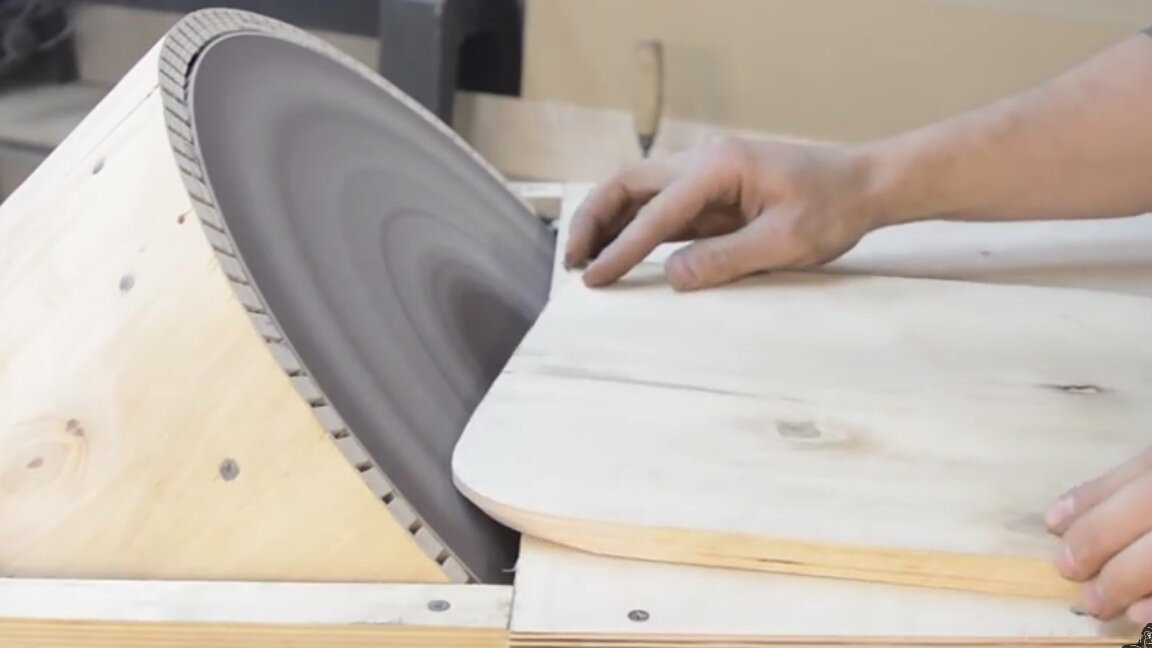
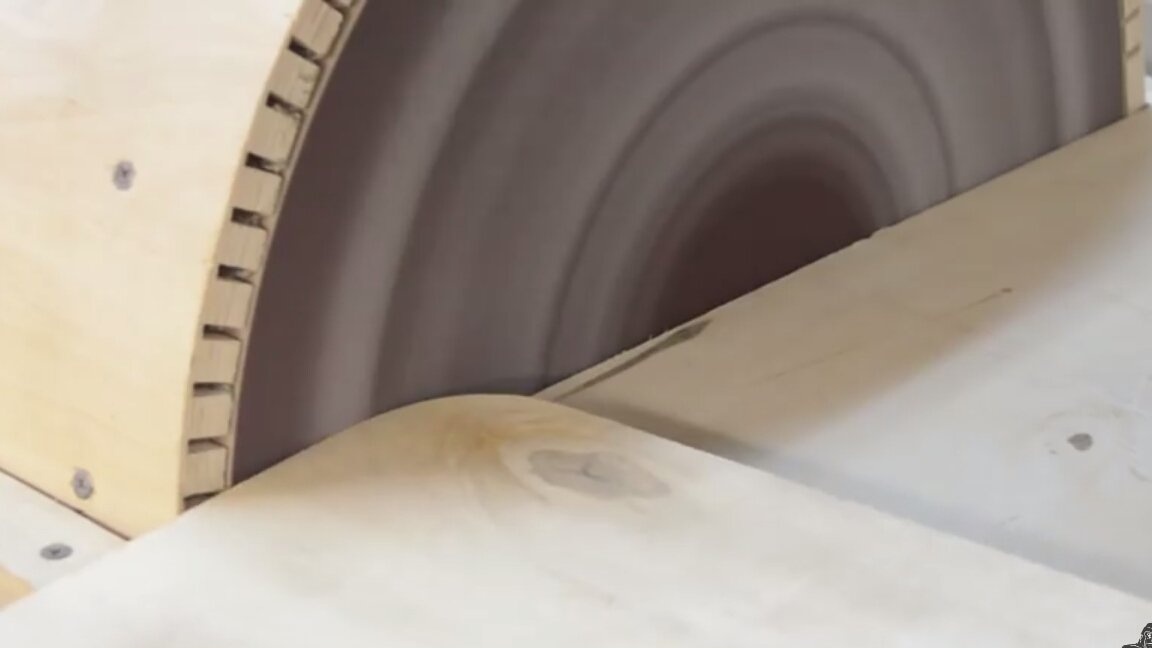
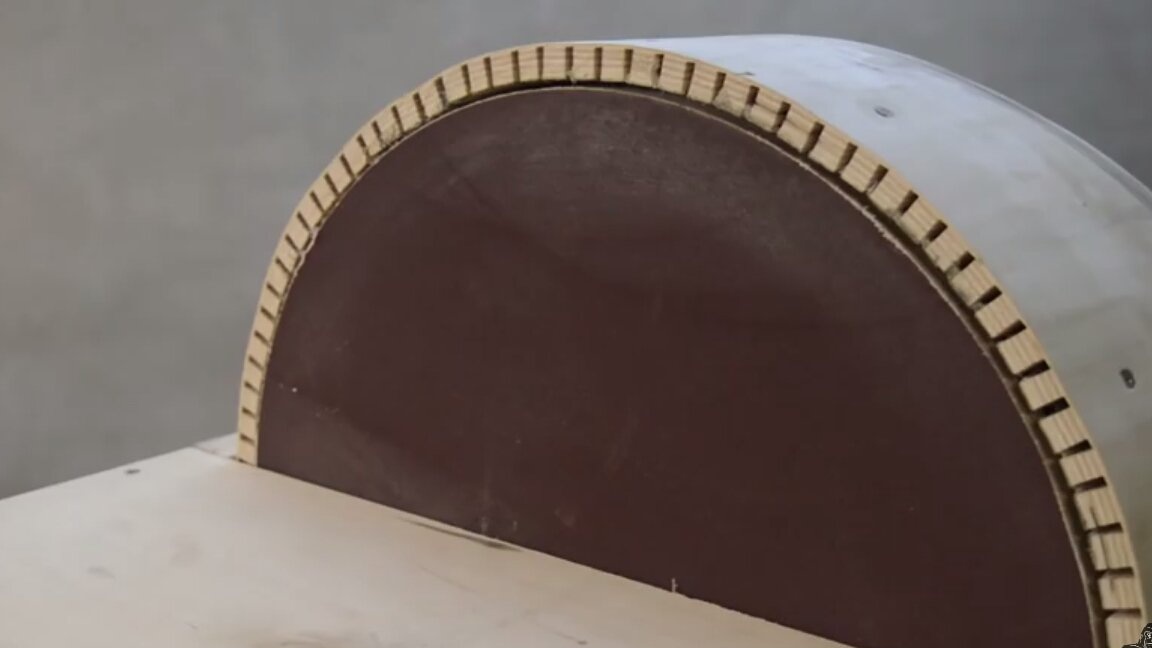
A rectangular frame is made of a profile pipe. A piece of 20mm pipe is cut lengthwise; bearings are bolted to the stud. The hairpin is placed in a cut pipe, the pipe is compressed in a vice and welded (this is how the shaft turned out). The protruding part is cut off from the pulley. After the washer is brewed in its place. The pulley is mounted on the shaft and profile pipes are welded on the shaft. After the resulting workpiece is fixed to the frame, bolts. Now the platform is made of a profile pipe. The engine is regulated and mounted on the platform from the washer. A fixture is made of bolts, nuts and studs, which will adjust the angle of the grinding disk. At the last stage, the disk itself is made of plywood, which is fixed to the pulley (disk diameter 45cm). With double-sided tape, sandpaper is glued to the disk and a body is made for the entire machine. Also for greater aesthetics and functionality, a button is installed to enable and disable.
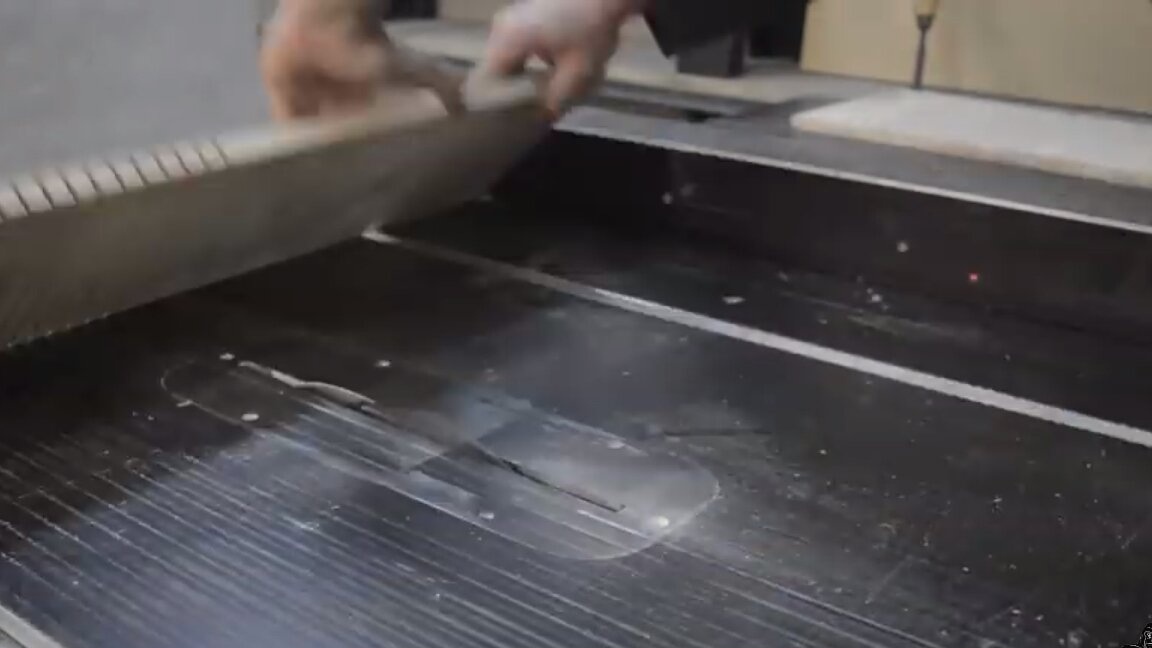
Step 2. Testing

At this manufacturing machine can be considered complete. Testing and manufacturing can be viewed on video.In the manufacturing process, the author decided not to use gearbox gears, but put another engine with a lower number of revolutions. I’ll add from myself that if you make the table extendable, you can easily remove and put on new emery circles.
If you have a good think, you can come up with a lot of cool solutions for modification, expansion of functionality, etc. It all depends on your patience, ingenuity and experience. Write about your ideas and possible problems and their solutions in the comments. If you started this project, I wish you good luck and less mistakes. The idea is not mine, but the author of YouTube channel madman. You can visit his channel or subscribe if you wish. The author is really handsome, his homemade products are worth it. But it’s not like a burda, a brilliant homemade product - come on in, look, and there is a burda where the handles are unscrewed from the pliers and again welded in a different way.
Well, this can be finished.
ATP for viewing and if the article is suitable, then it is unforgettable to like it.