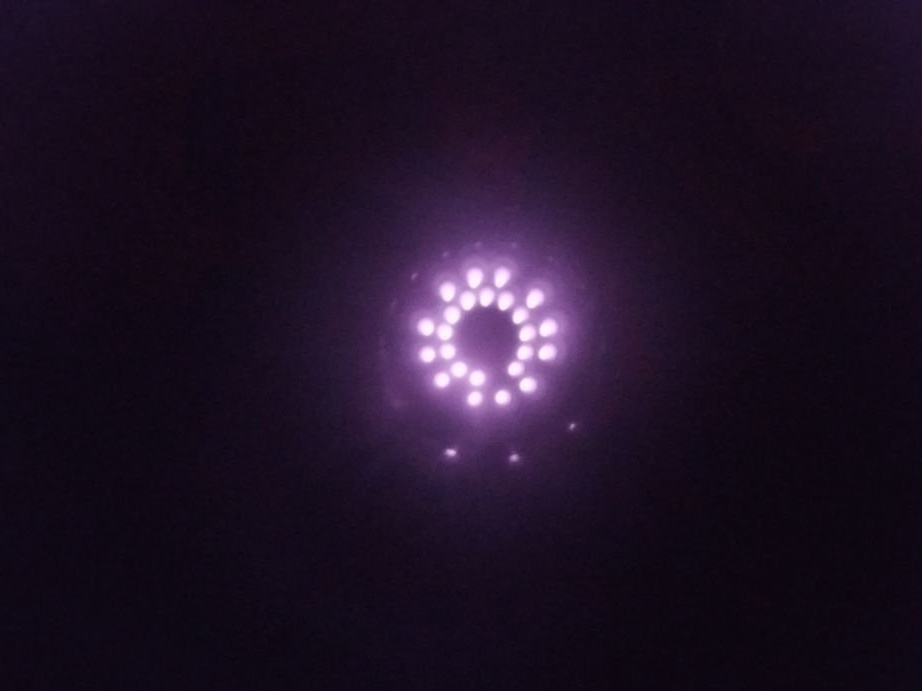
In this article, we will look at how the Master assembled an outdoor CCTV camera. The camera has the function of night vision and motion detection.
Tools and materials:
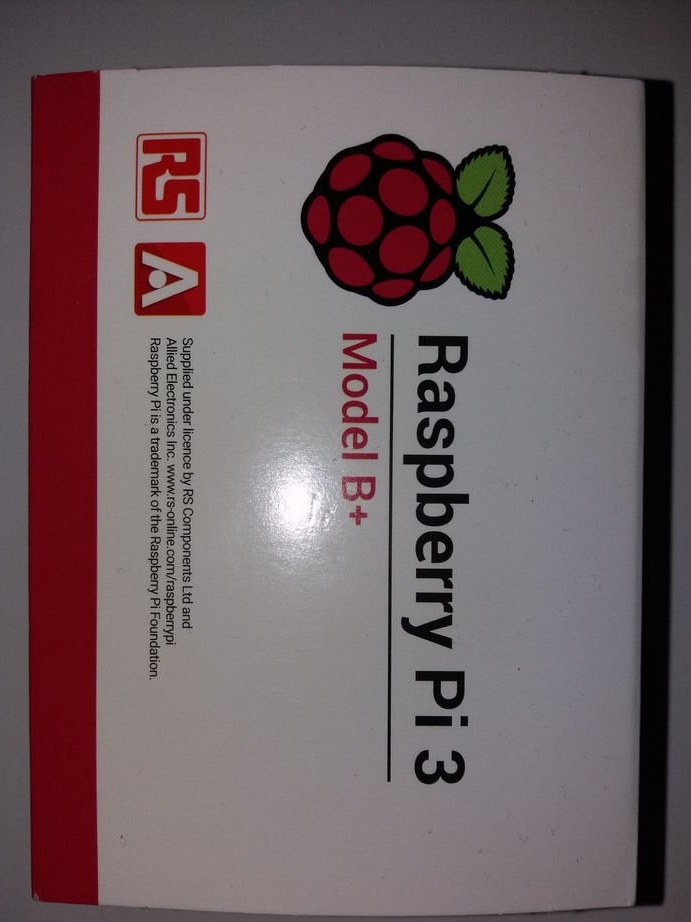
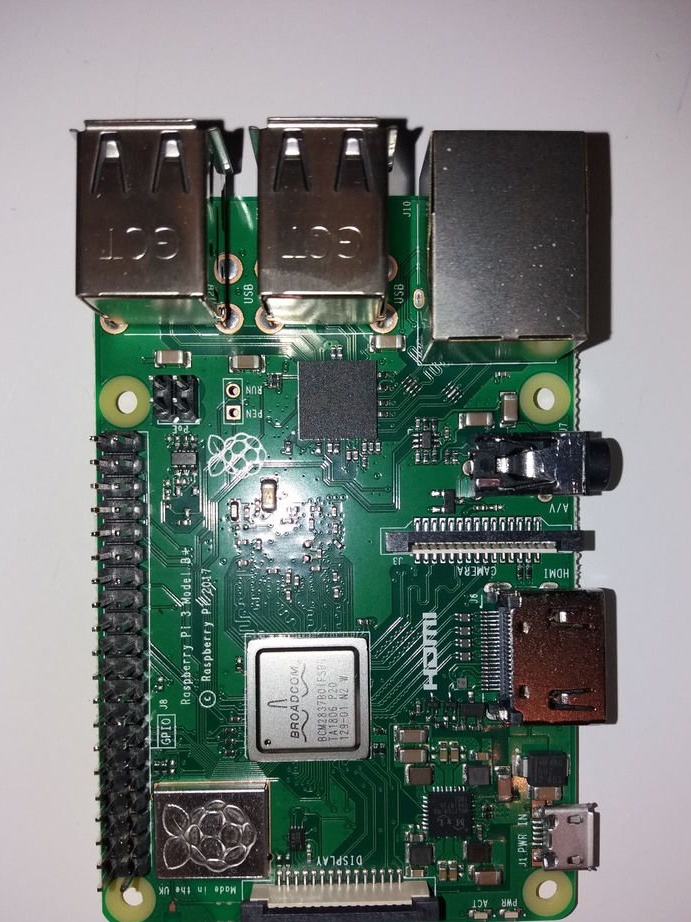
-Raspberry Pi 3B +;
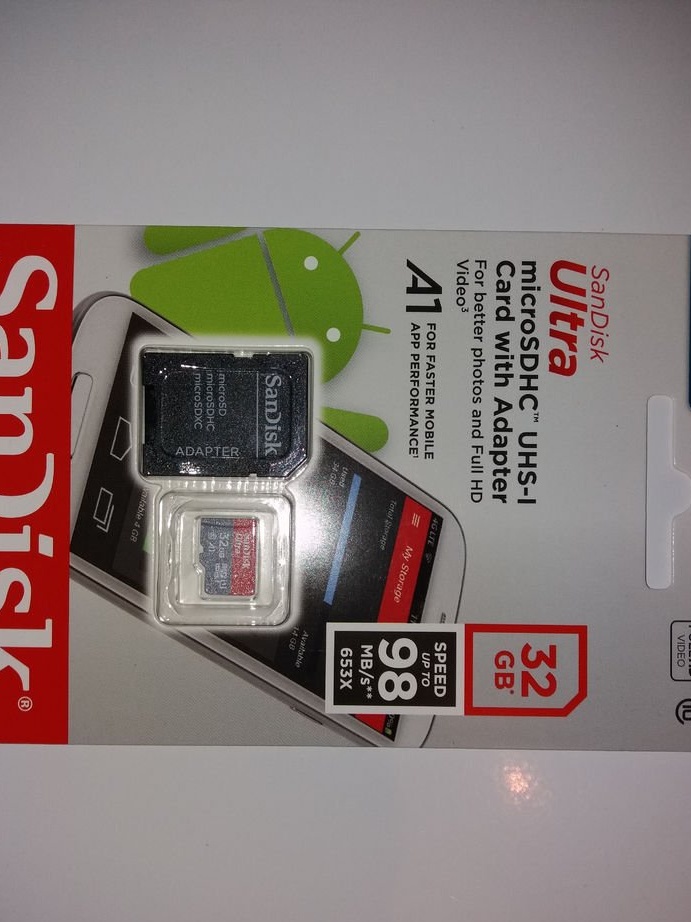
32GB SD card
- Voltage stabilizer LM2596;
-Radiators;
- Thermal paste;
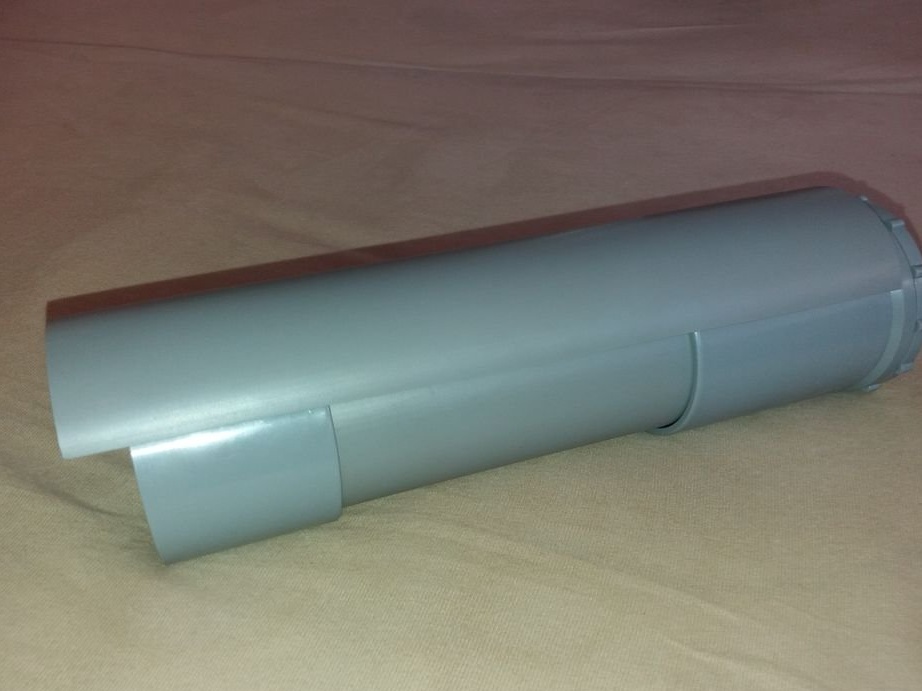
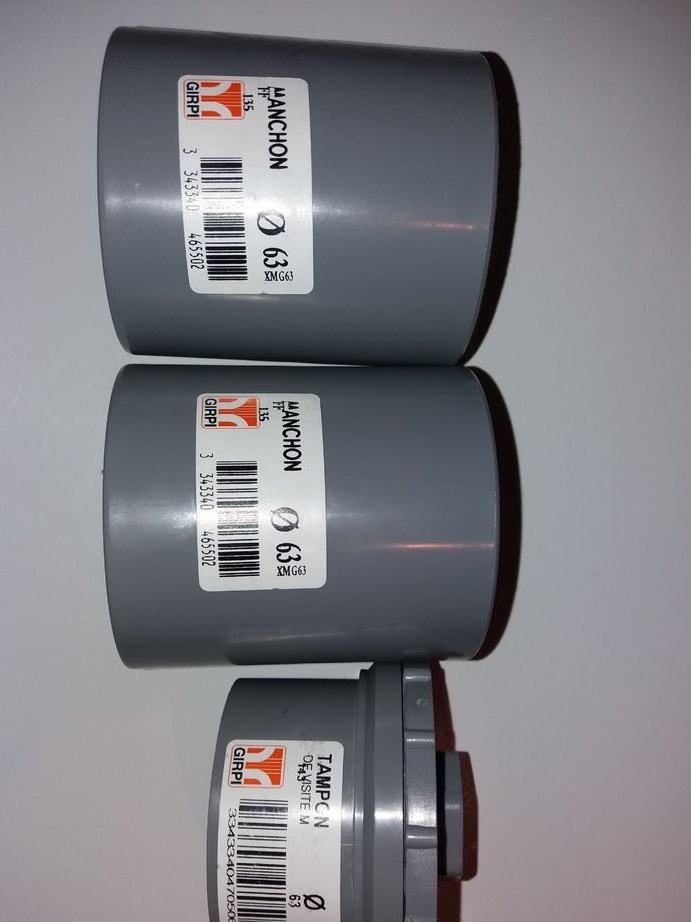
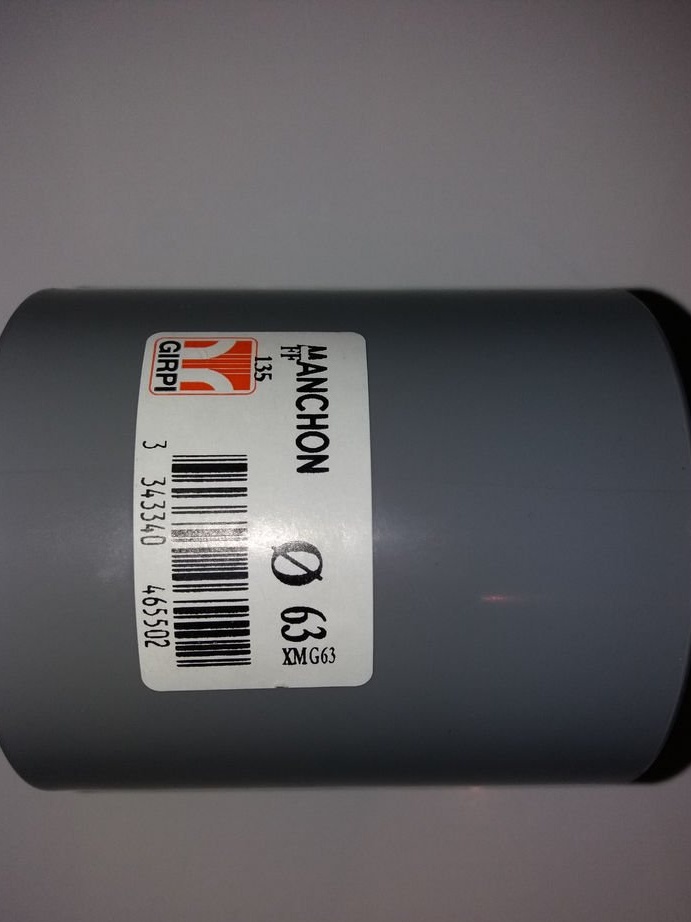
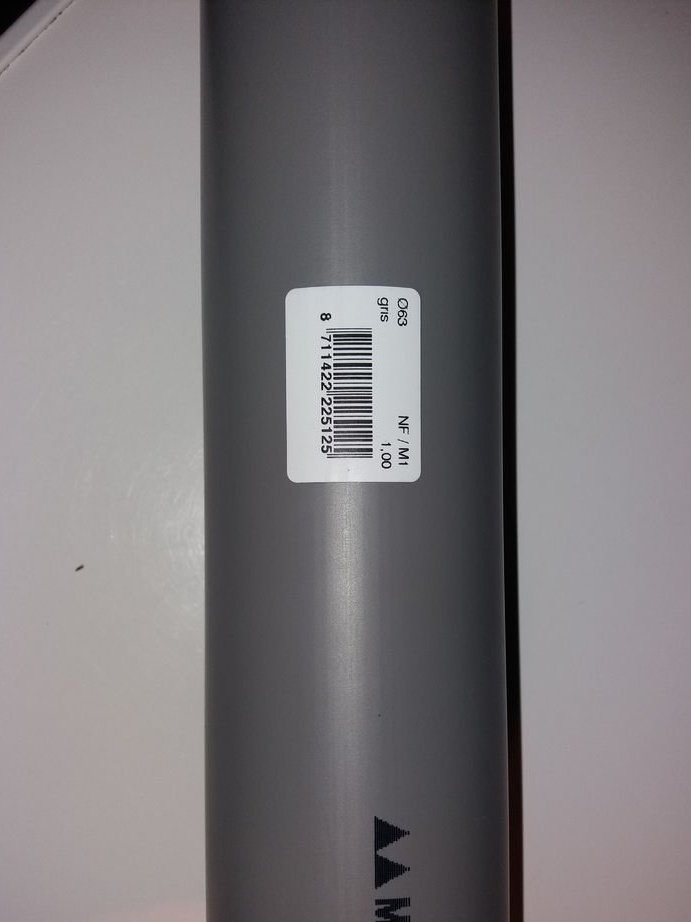
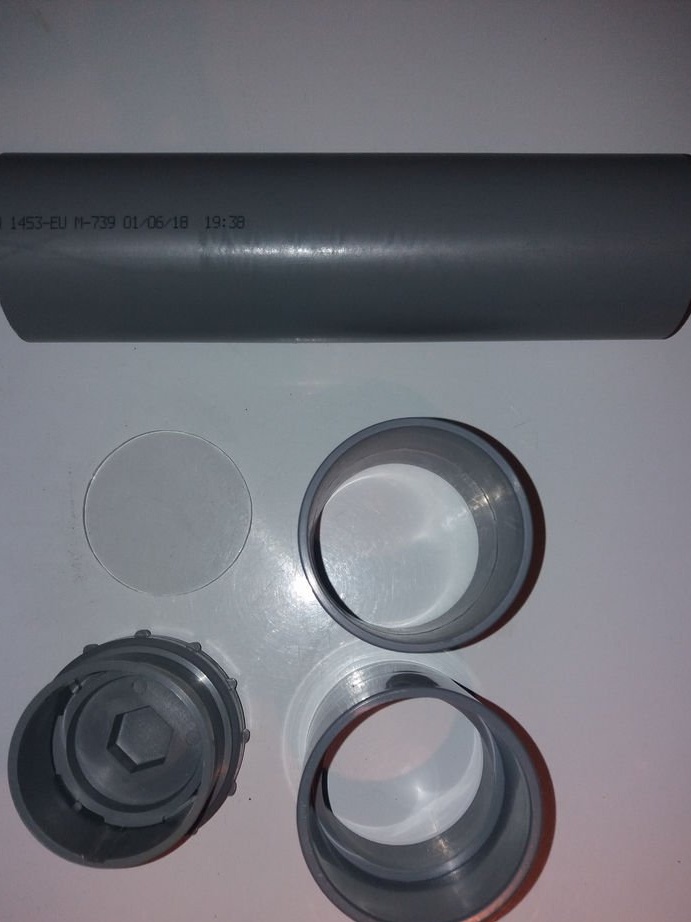
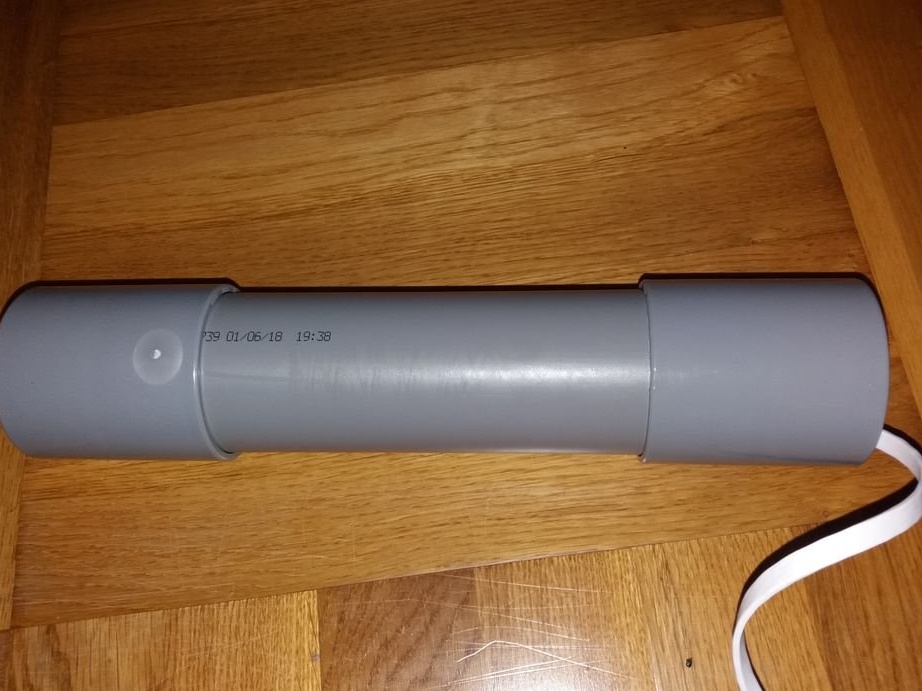
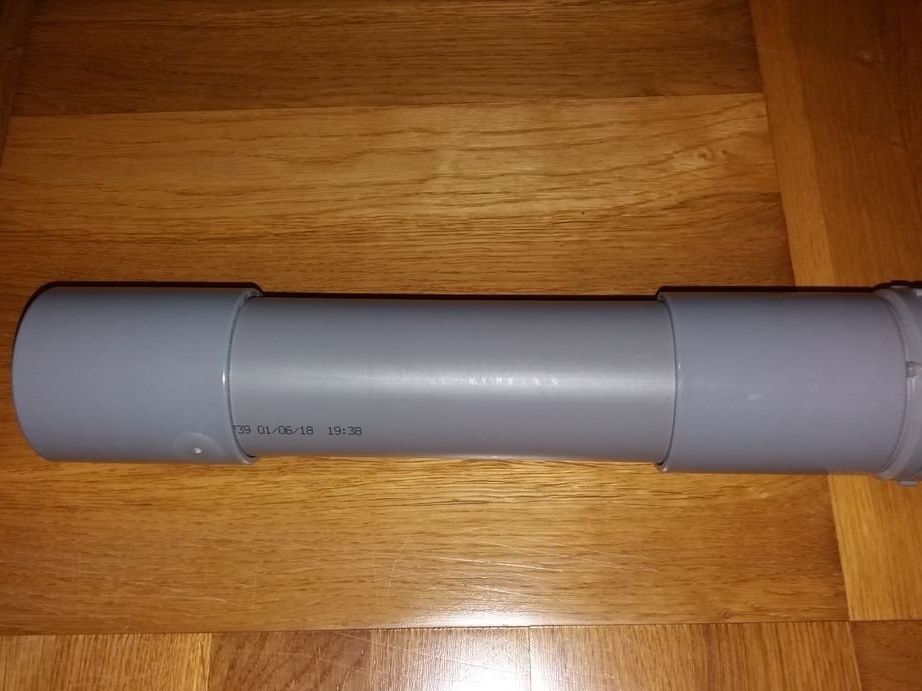
- PVC pipe 63 mm, length 20 cm;
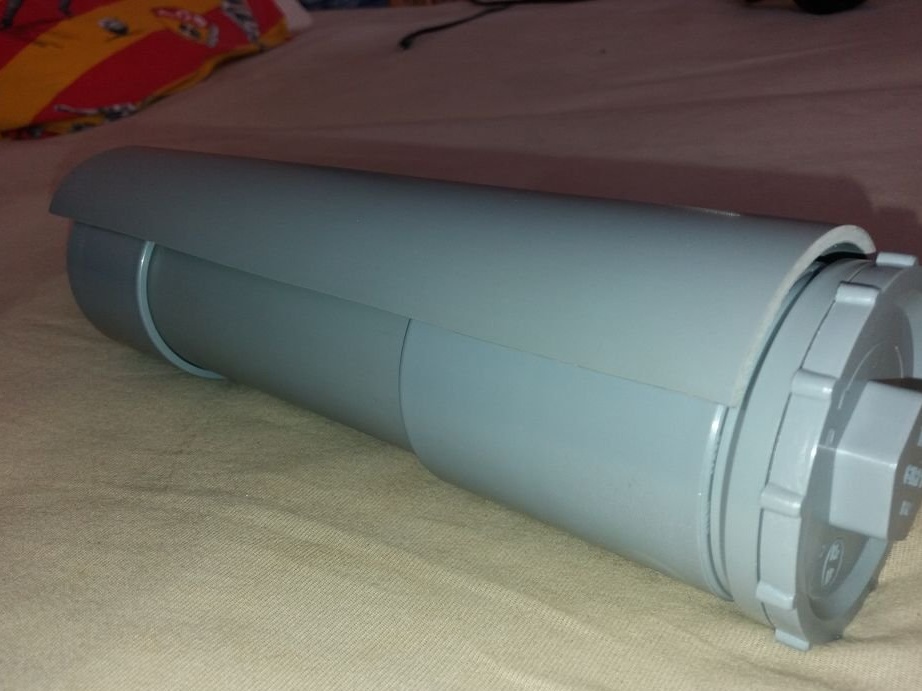
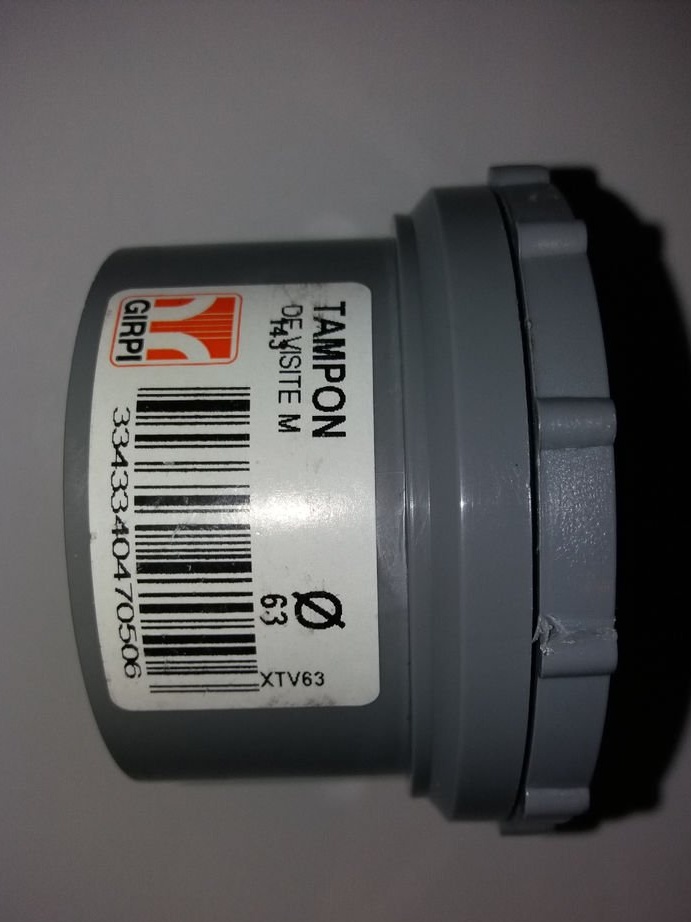
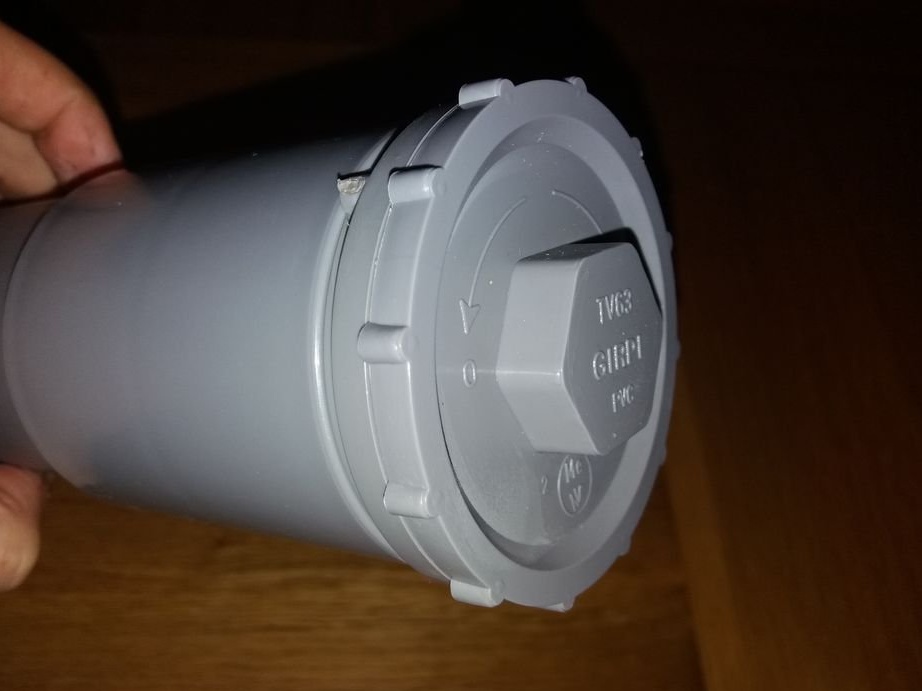
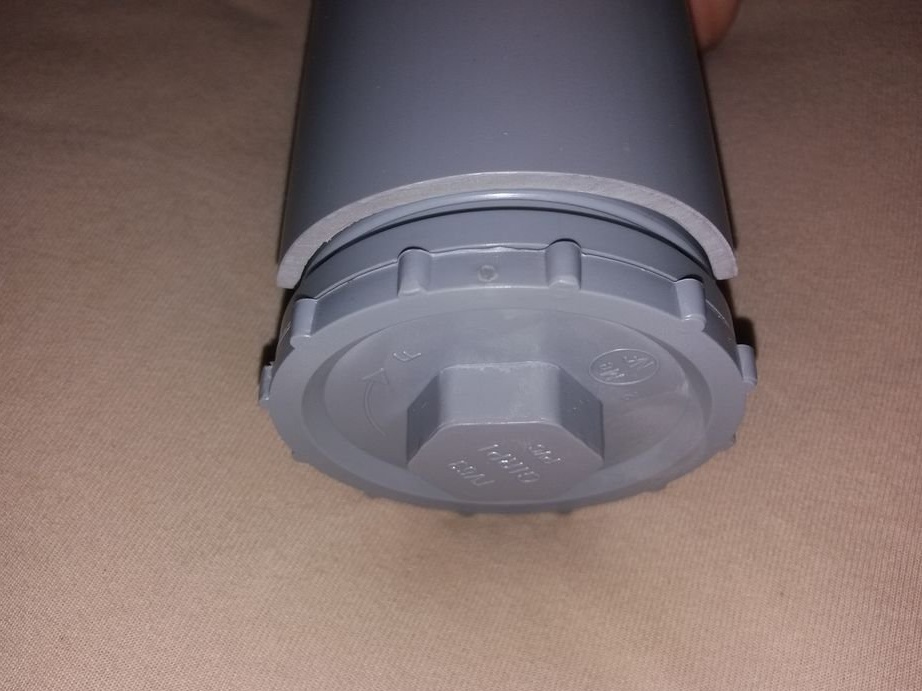
- PVC adapter with a cover of 63 mm;
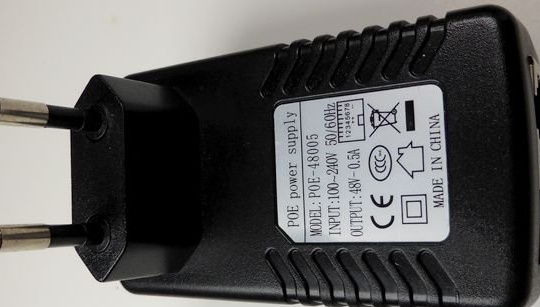
- Power supply 48 V;
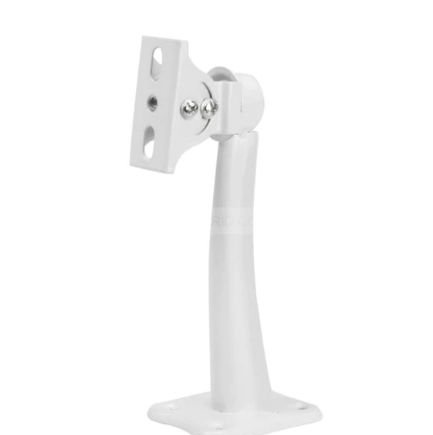
-Mounting bracket;
-Glue;
- moisture absorbing package;
- Orgsteklo;

Step One: Prepare Raspberry
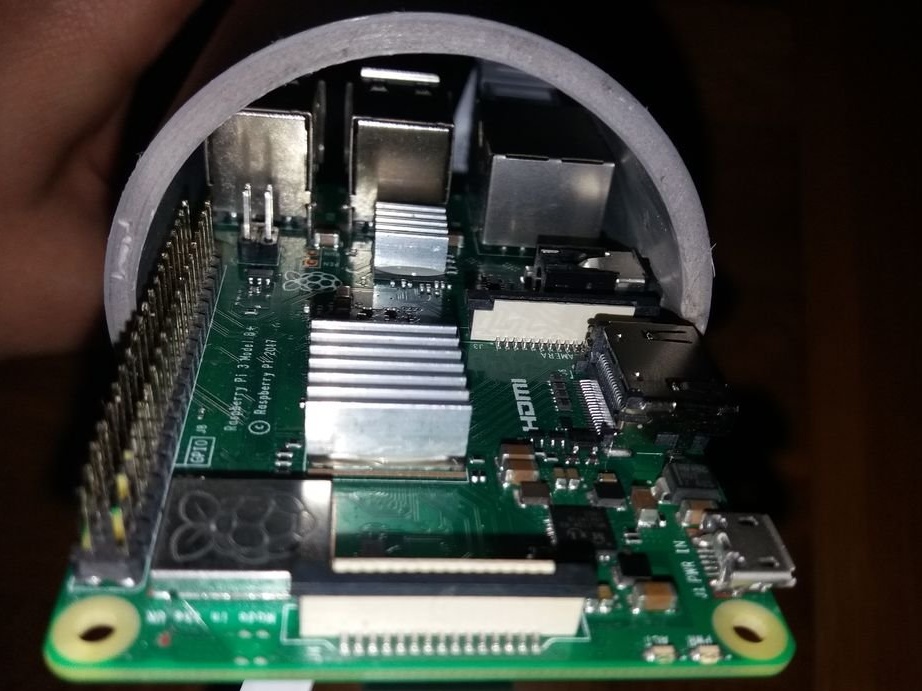
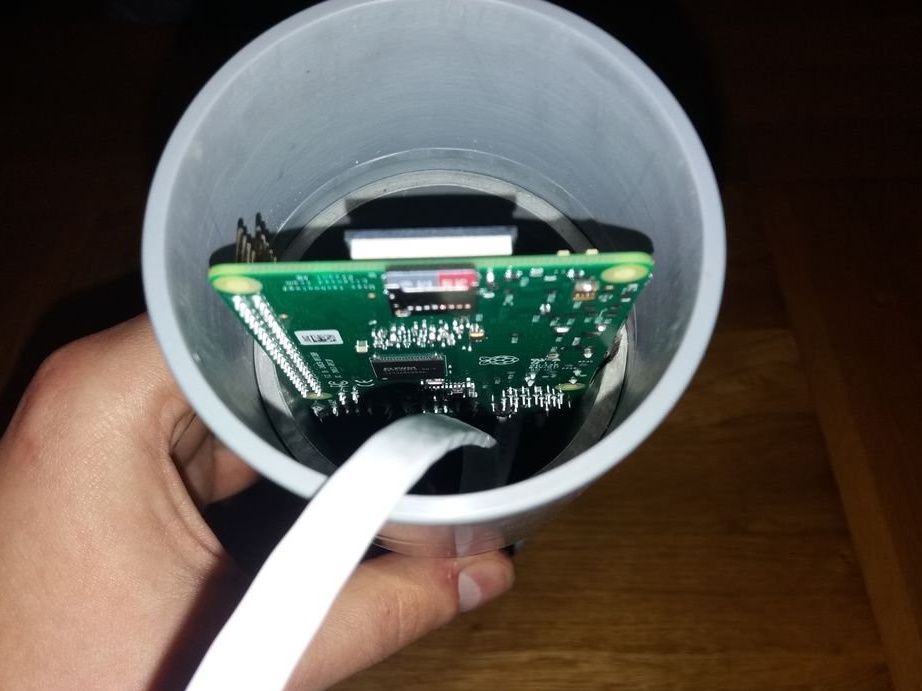
First, the master installs aluminum radiators using thermal grease.
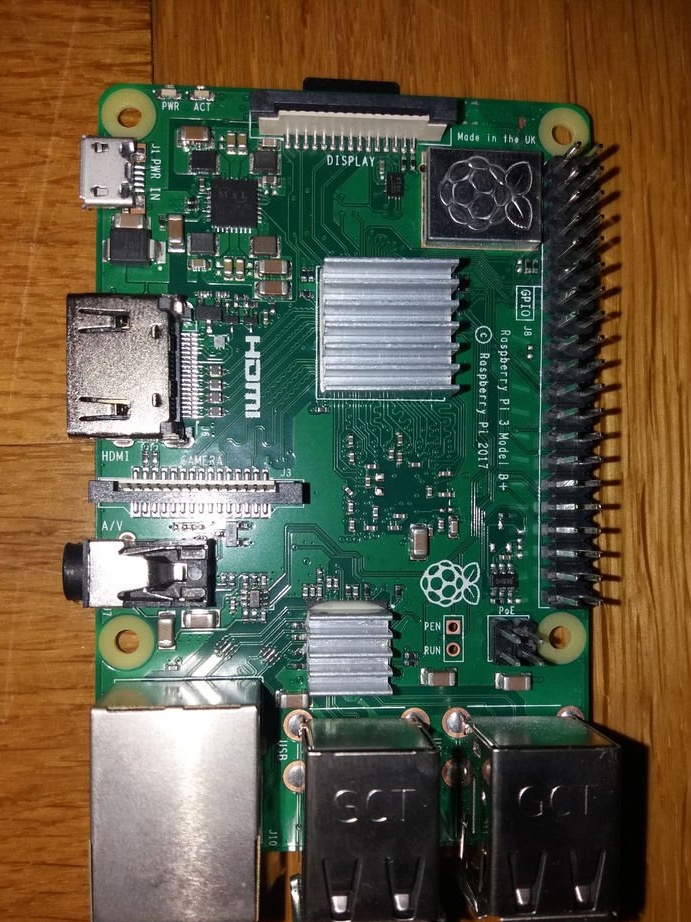
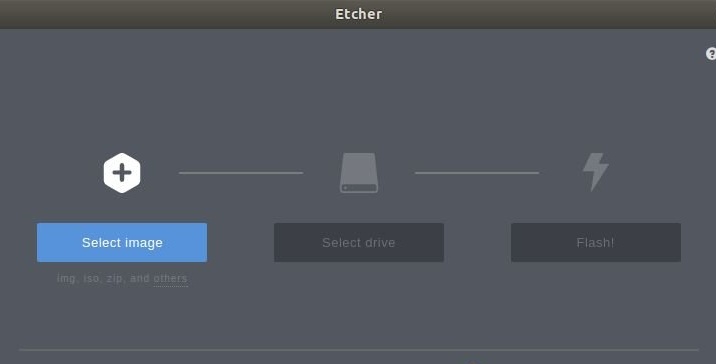
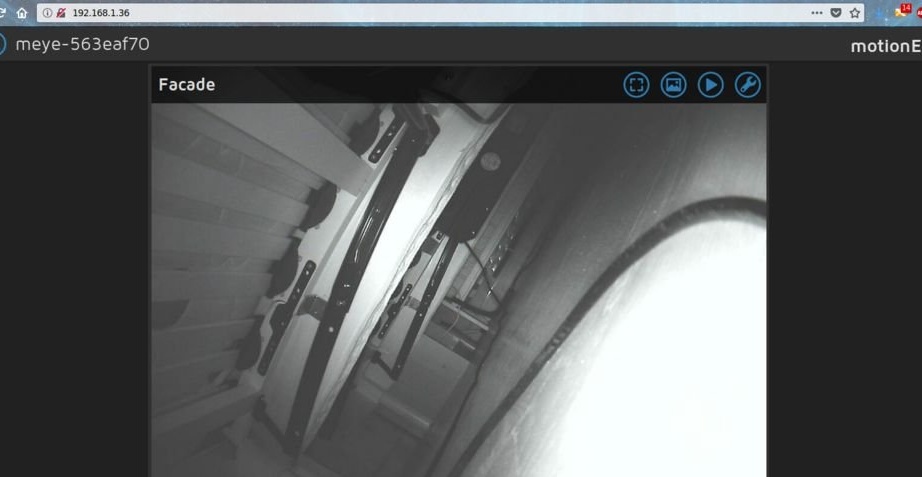
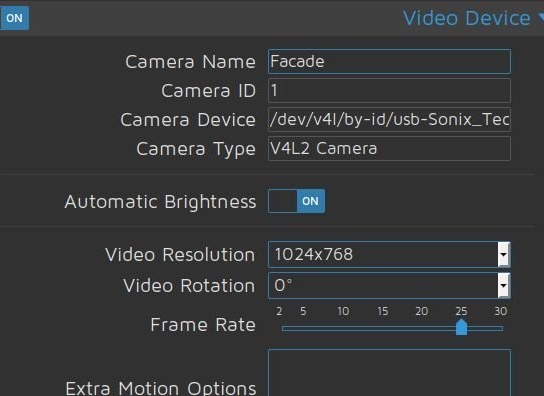
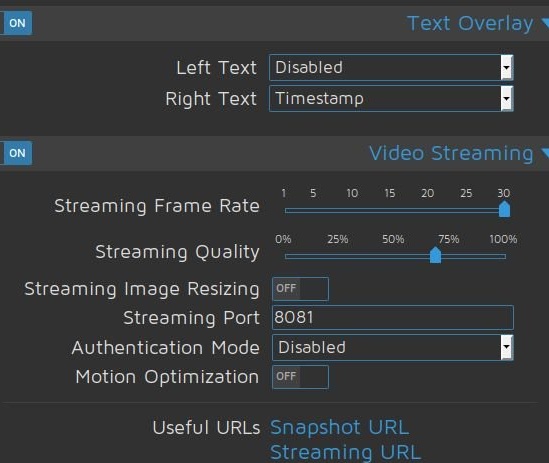
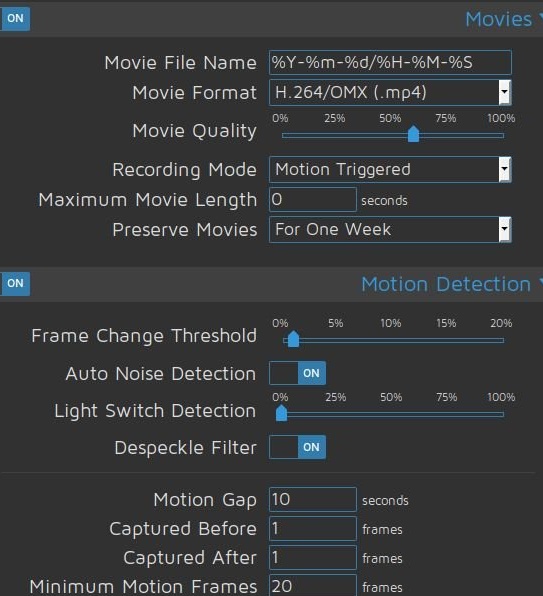
Next, install the MotionEyeOs open source distribution on the SD card.
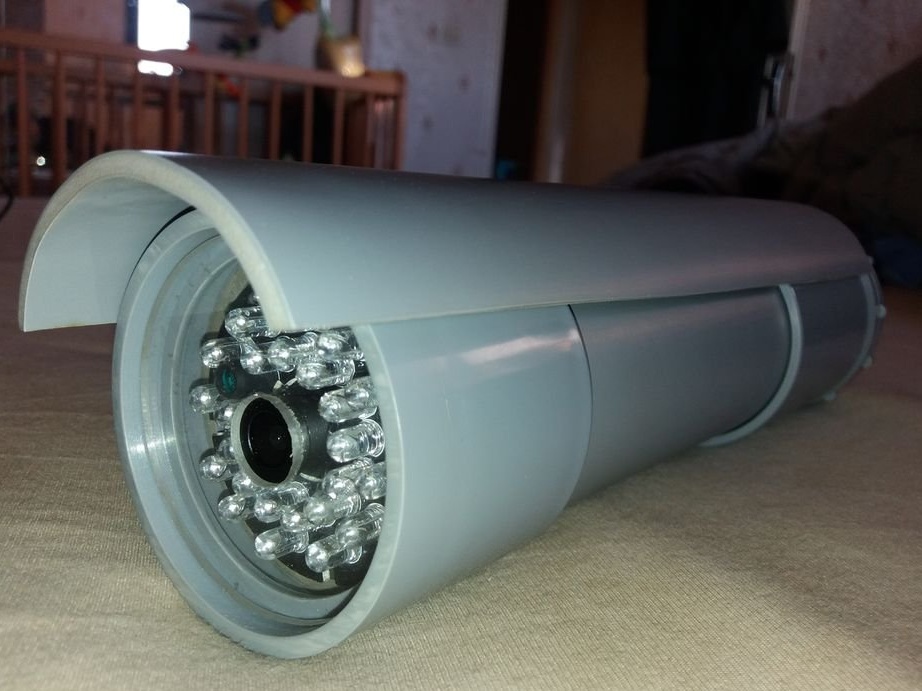
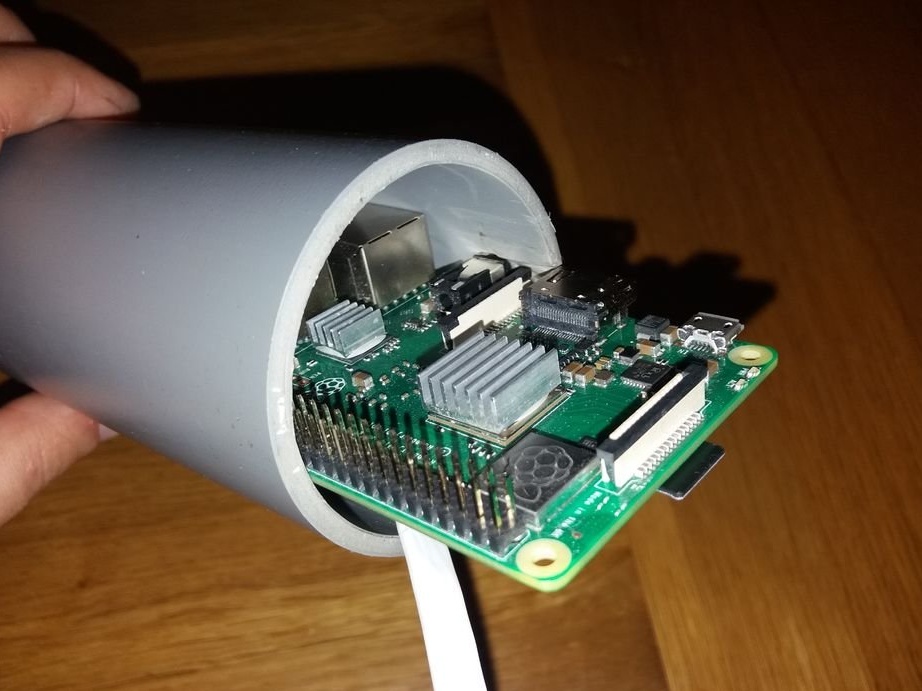
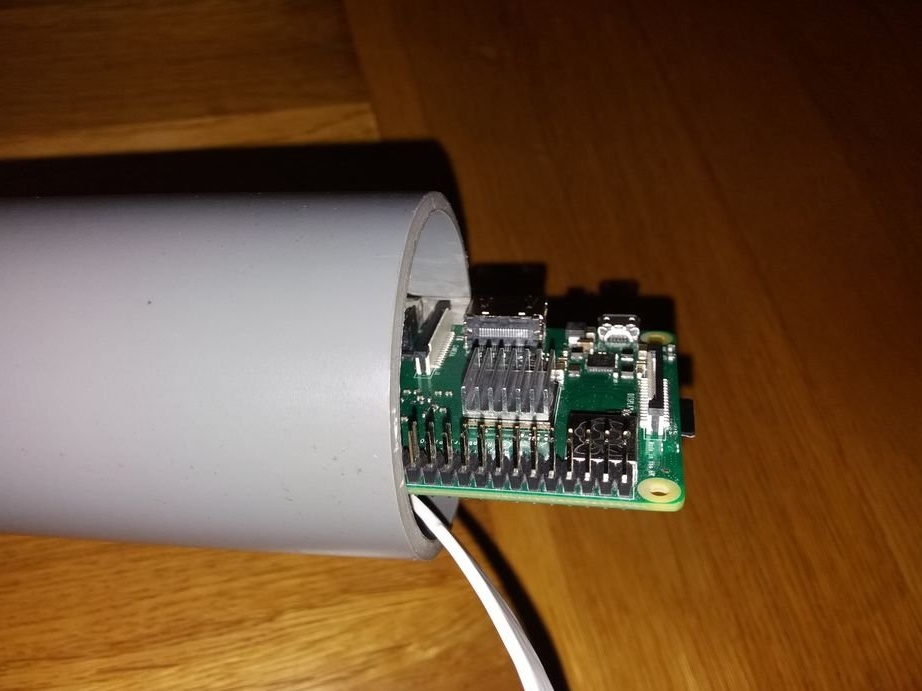
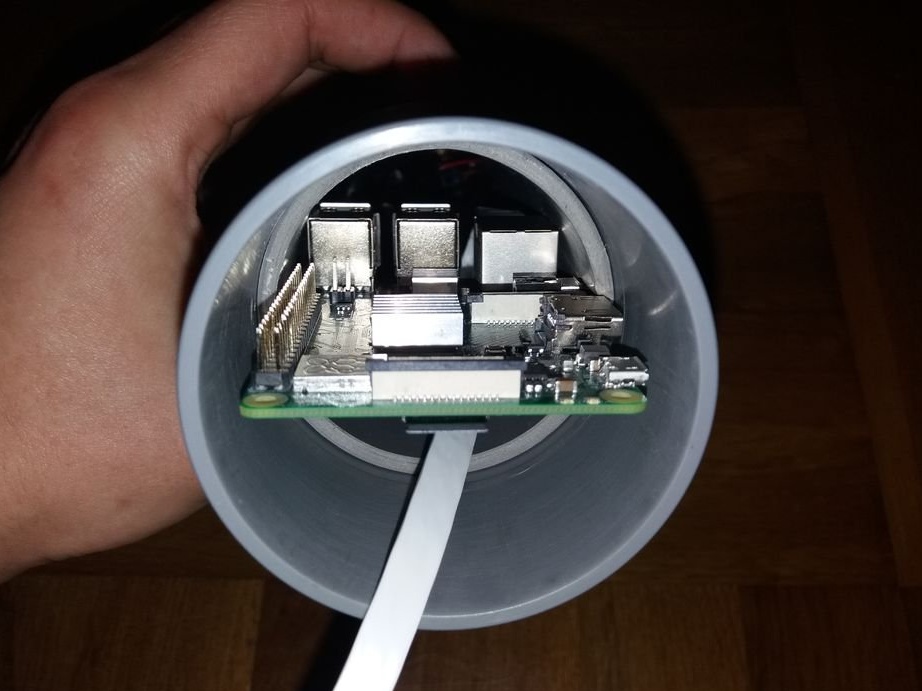
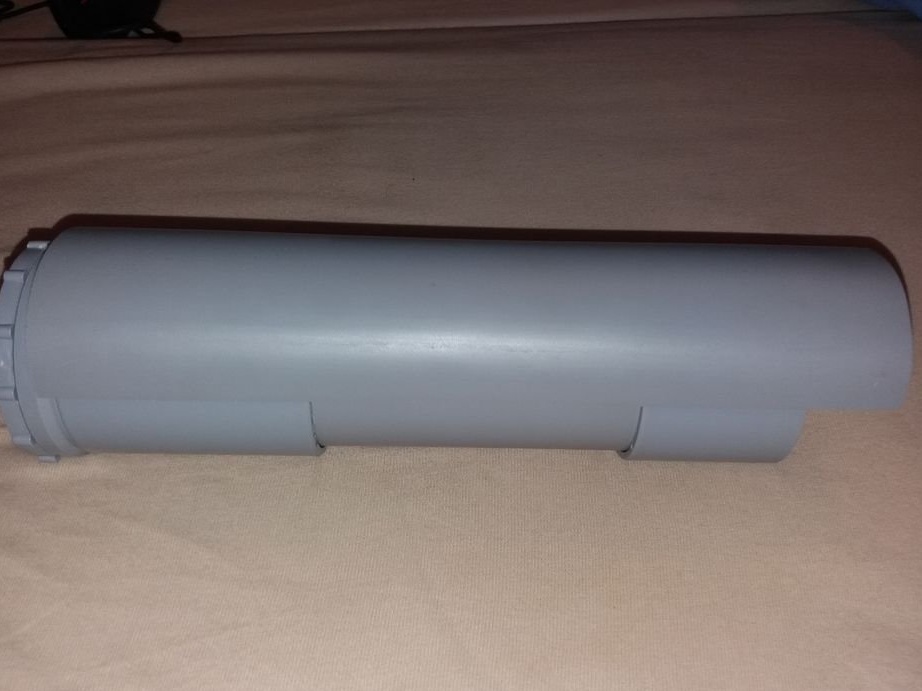
Step Two: Case
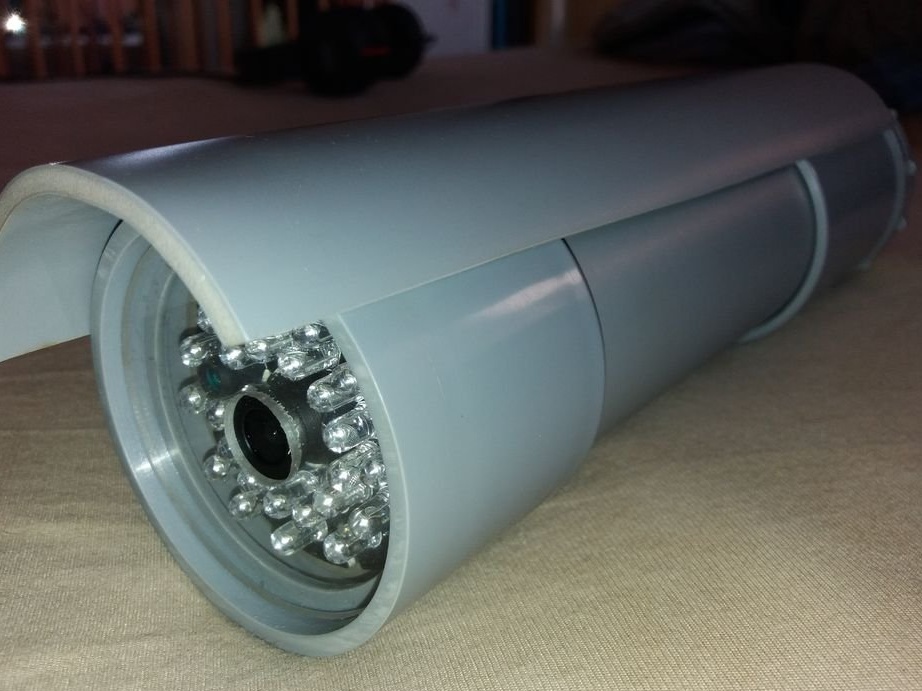
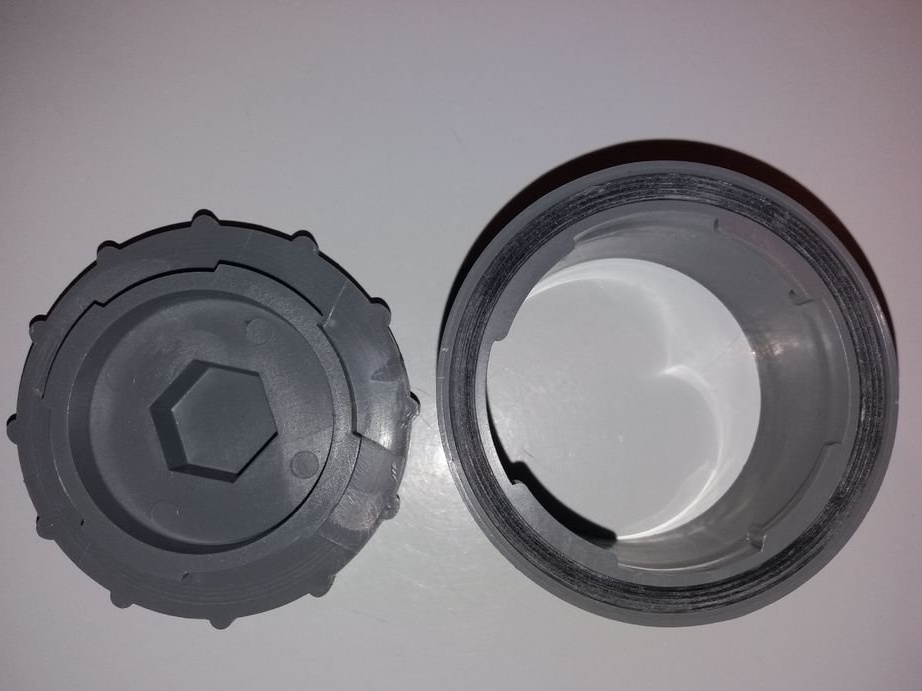
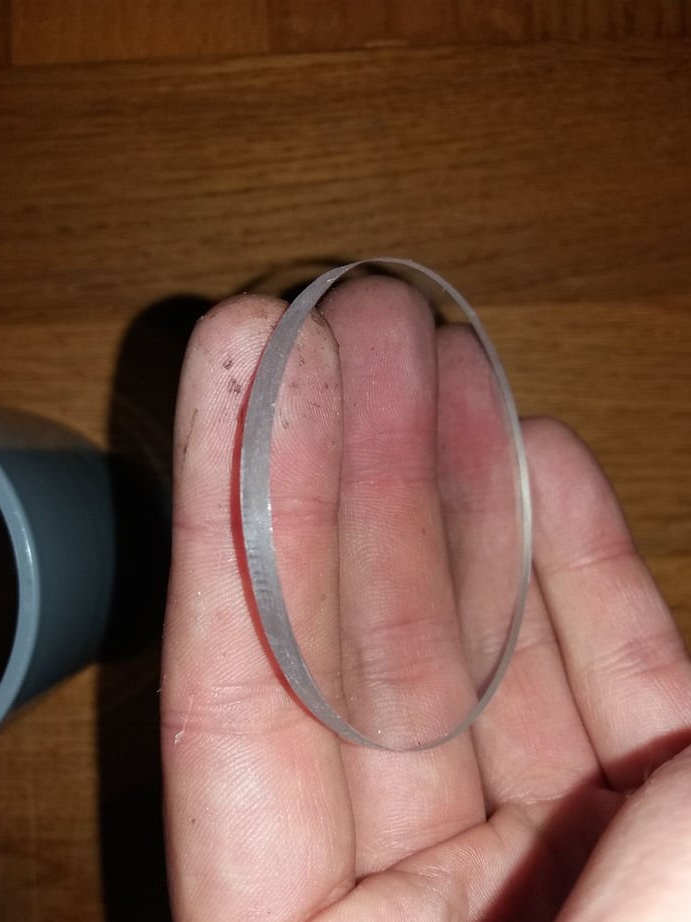
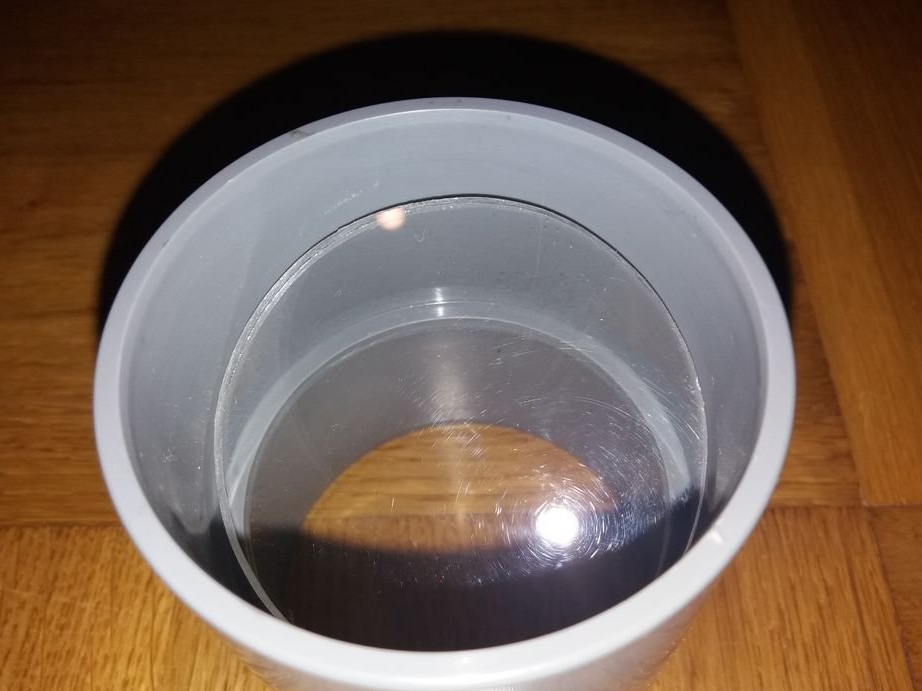
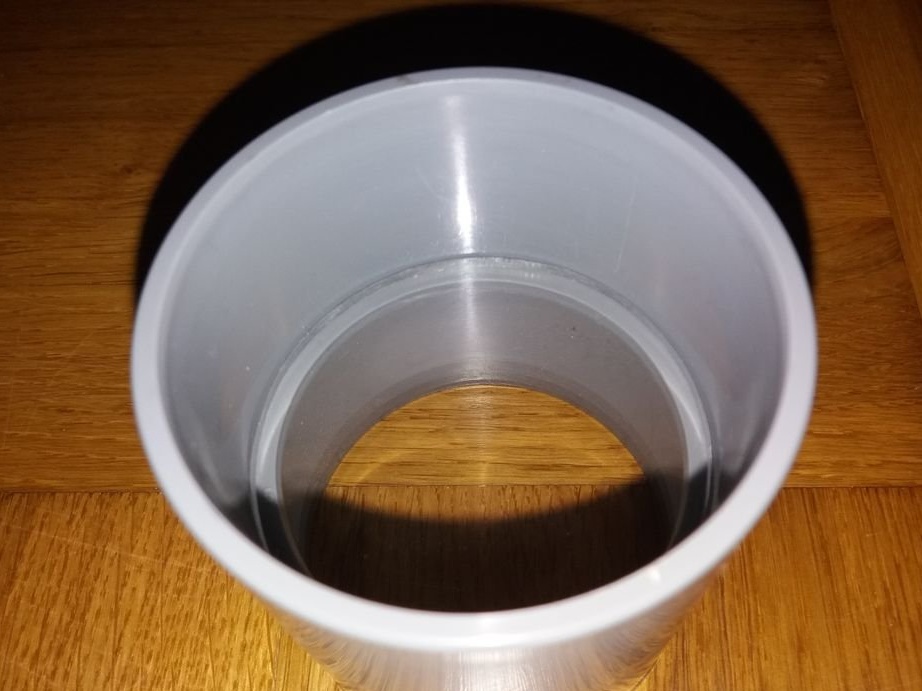
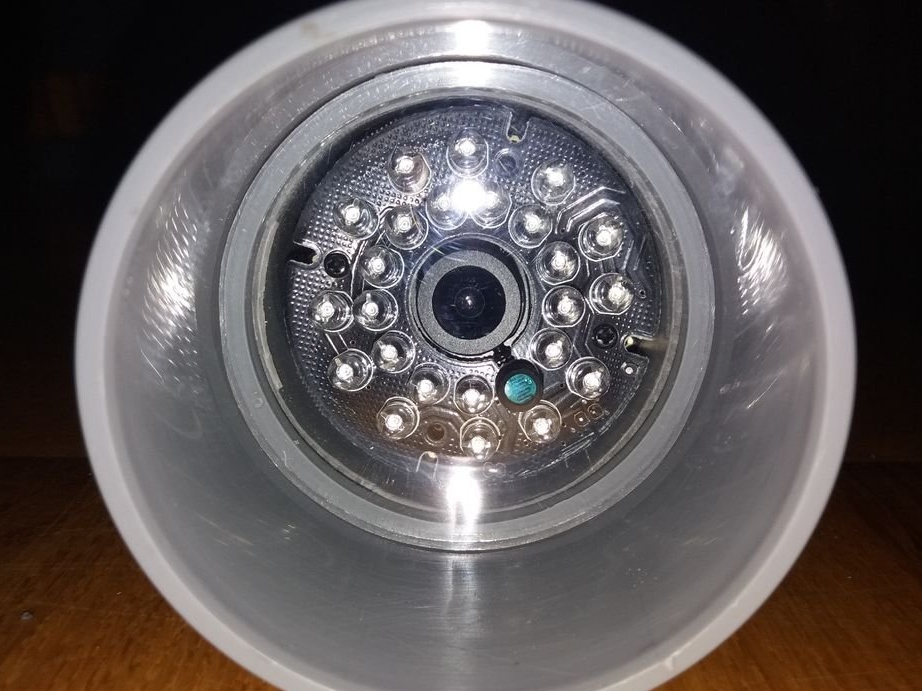
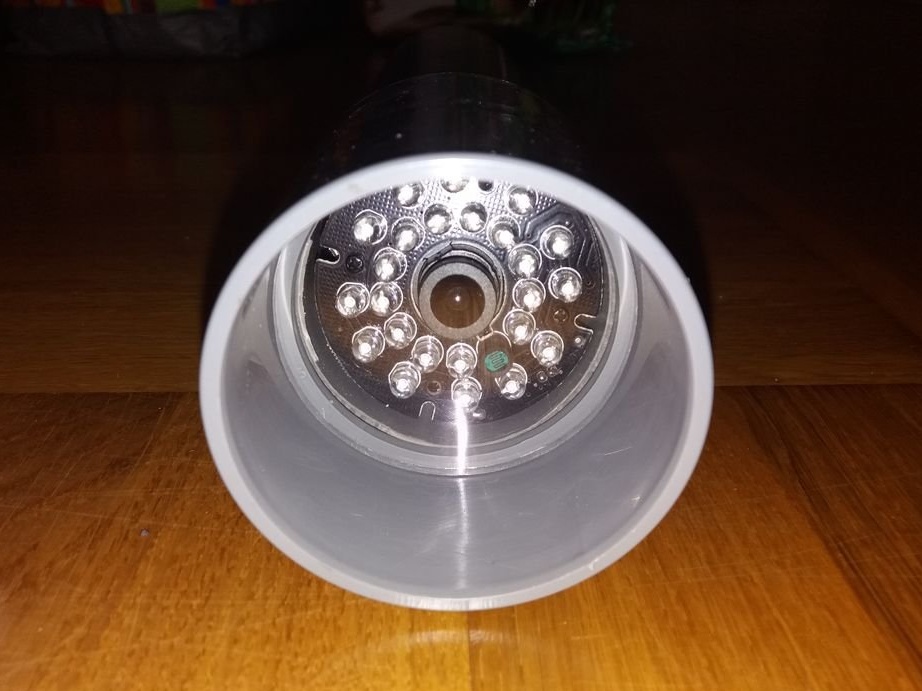
The housing consists of a PVC pipe. In the front of the case, the master glues plexiglass (later the master made a hole in the glass for the camera, otherwise the LEDs give glare to the image). An adapter with a screw cap is put on the pipe.

Step Three: Build
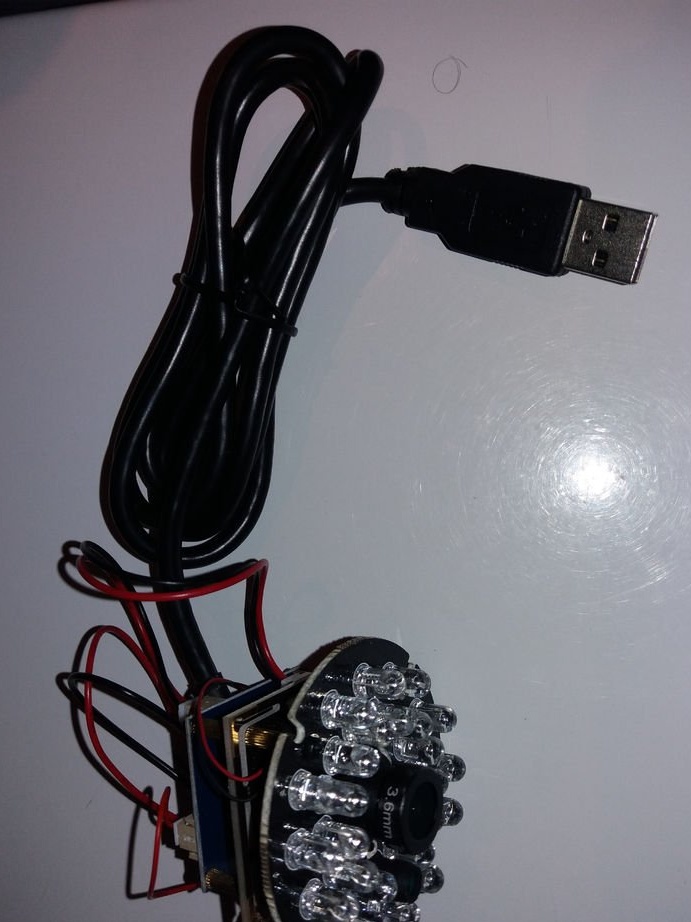
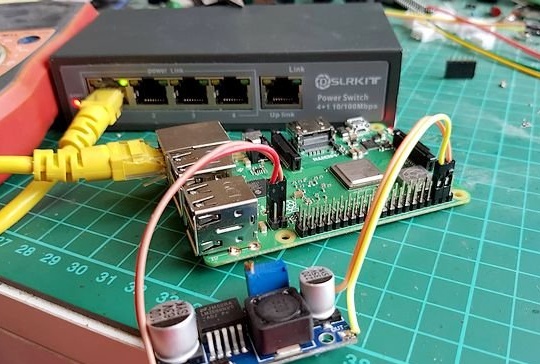
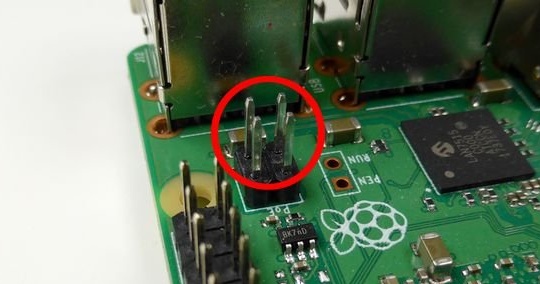
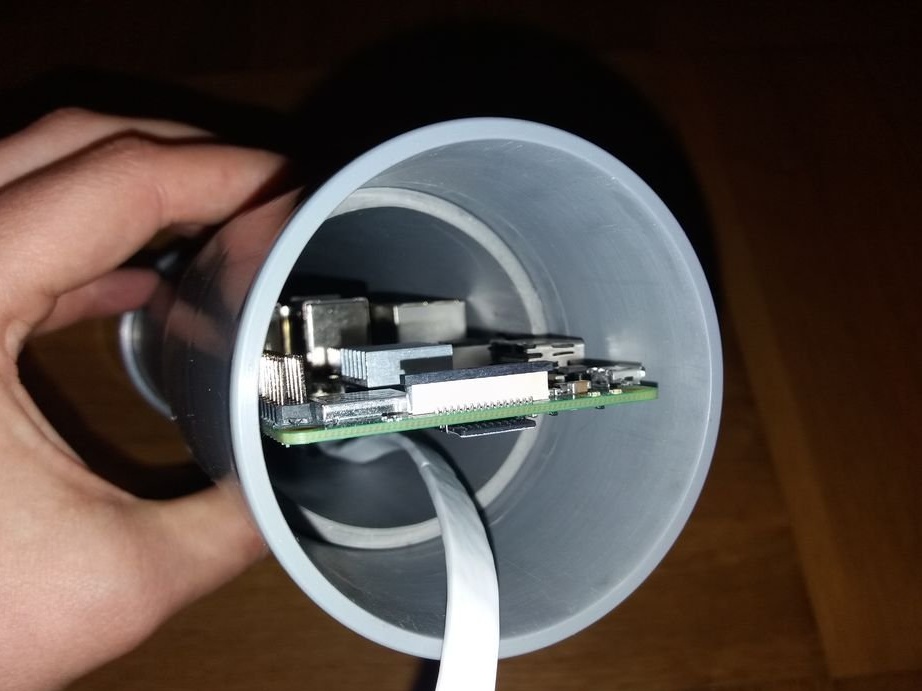
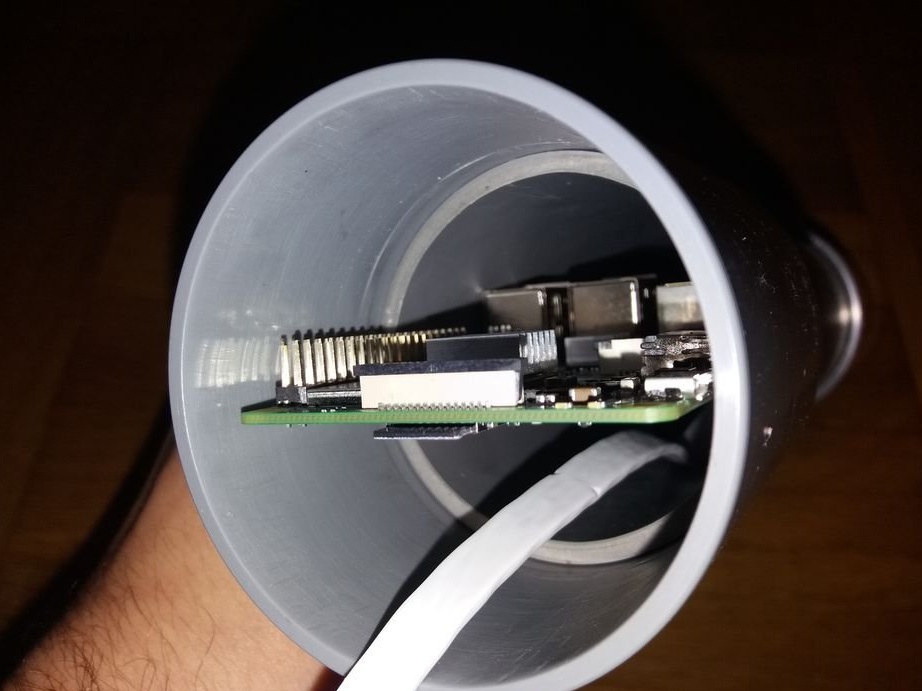
The master chose the camera as close as possible to professional models. Connecting and powering the camera with the Raspberry goes through a single USB cable. To power the Raspberry, the master uses a power supply with an RJ45 connector. To lower the voltage to 5 V, the master uses the LM2596.


After installation, installs everything in the housing.
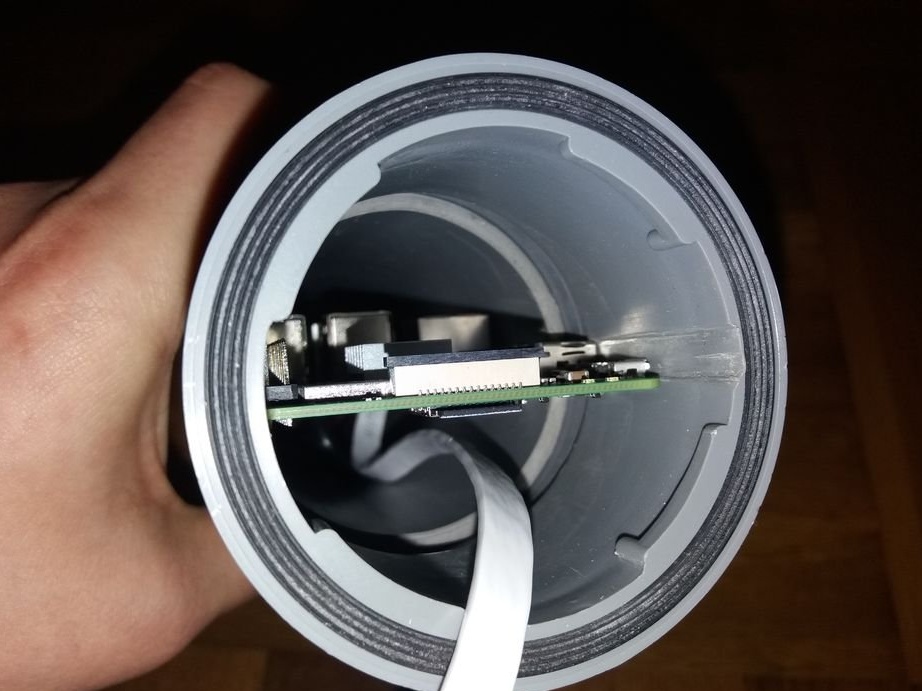
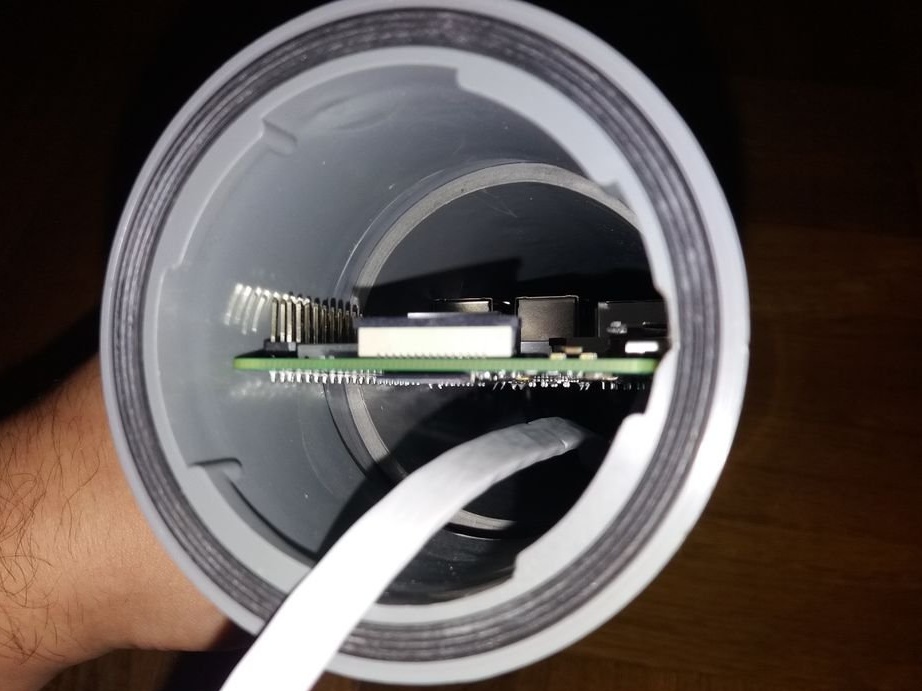
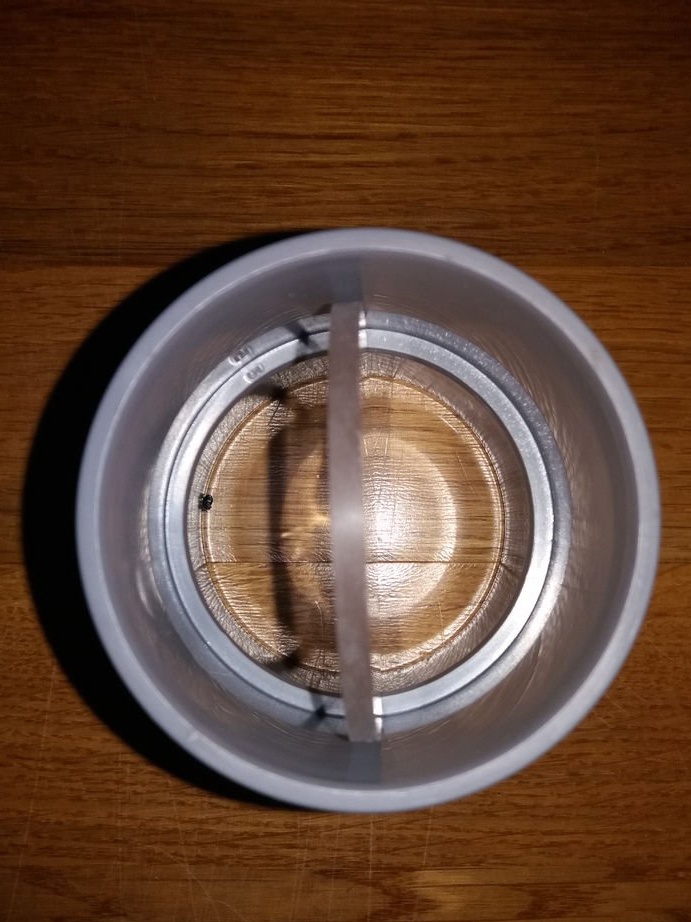
To prevent the camera from hanging inside, the master pressed it with such a spring plate. A moisture-absorbing bag was placed inside the case.
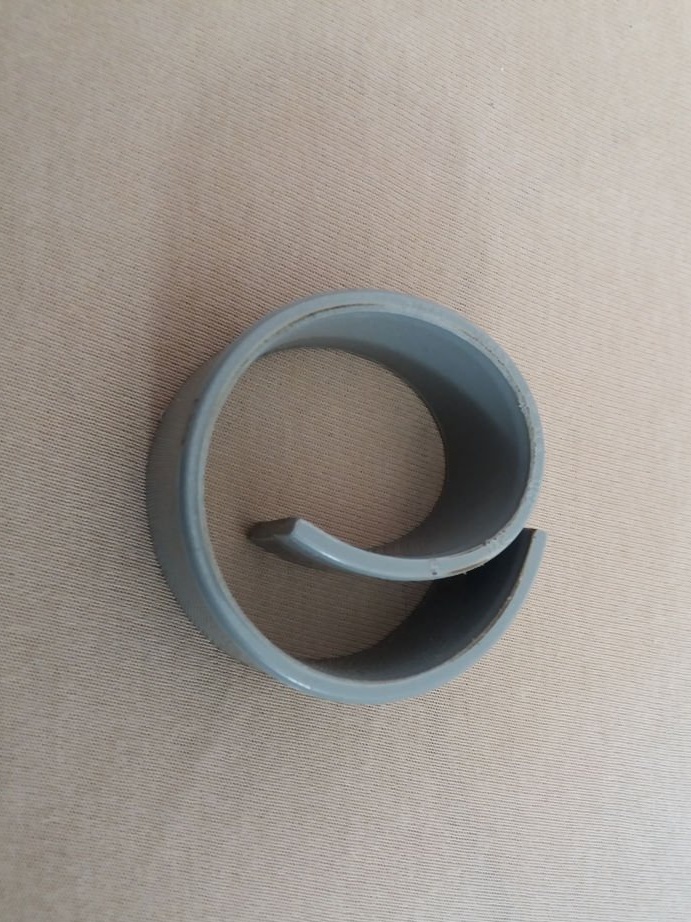
Cutting another piece of pipe lengthwise into two halves, the master secured one piece on top of the body.
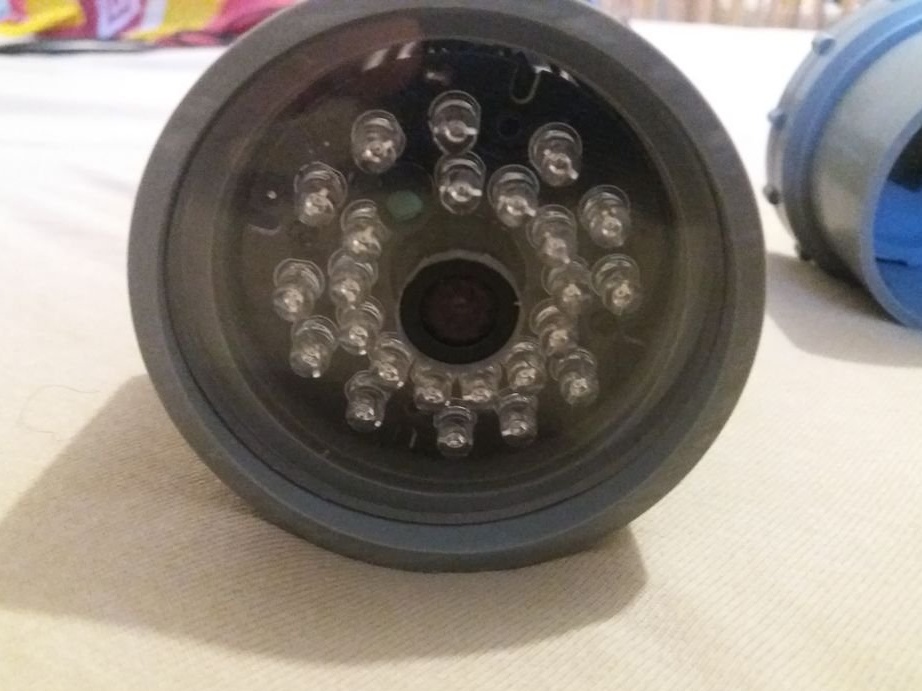
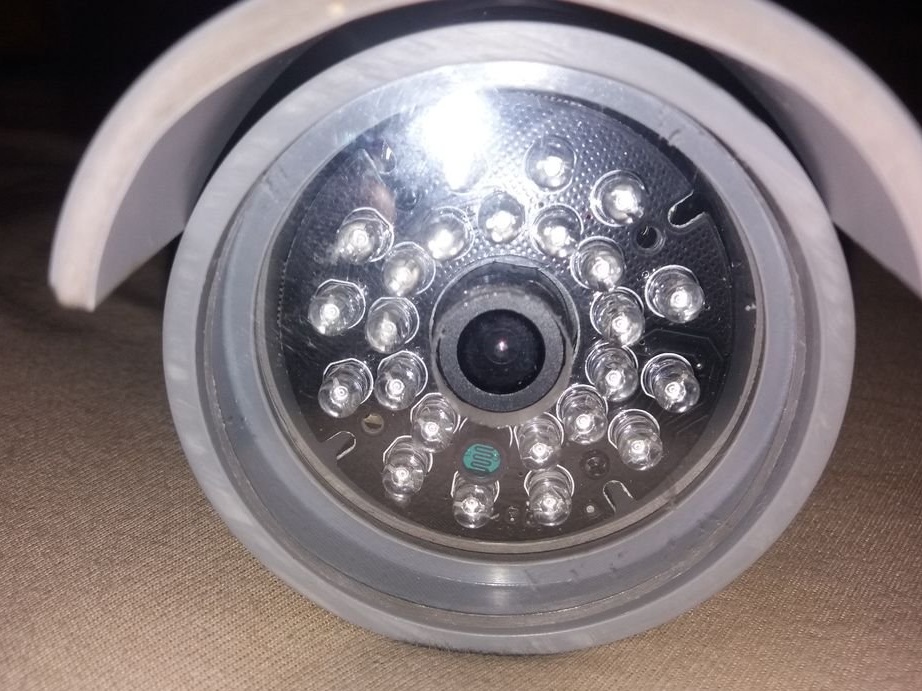
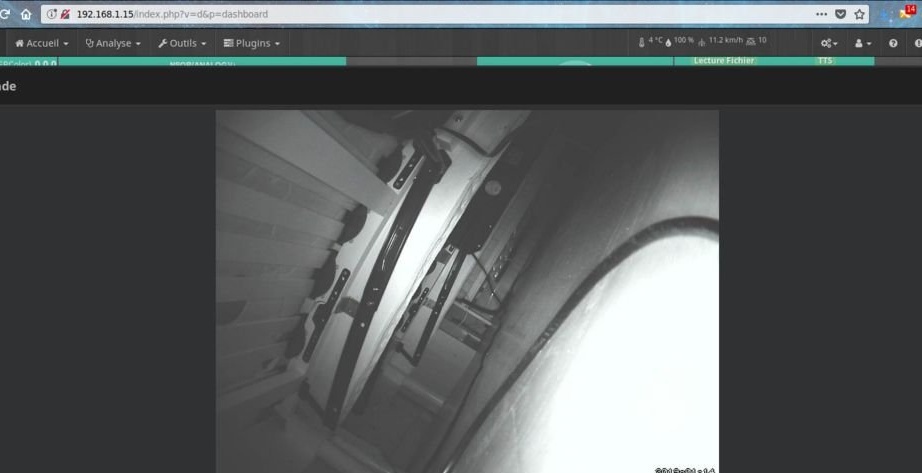
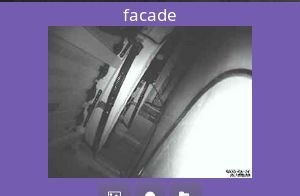
There is no motion sensor in the device. Motion recognition is provided at the software level using MotionEyeOS. Makes the required setting.
Everything is ready, now you can install the camera in the right place.