
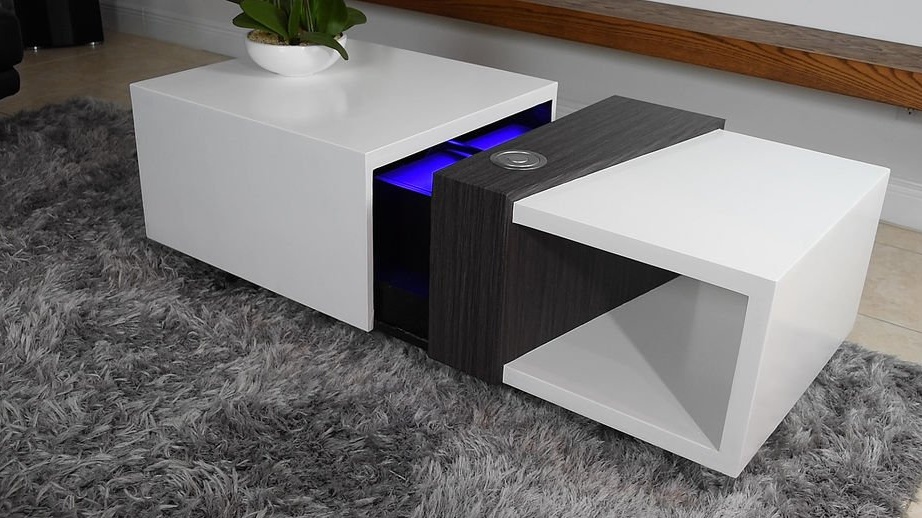
The author of this homemade a big fan of simplicity. He also prefers to keep things that he does not use daily, away from the eyes. When he got a 4K projector in his hands, he began to frantically search for an interesting solution to combine simplicity and mystery. He spent hours searching the Internet whether there was anything to catch, but he couldn’t find anything. This does not mean that there are no interesting ideas, he just did not find it. That's all. So, it's time to sketch something. Scaling the design and drawing it, an idea was born, ready for implementation.
Materials used:
2 sheets of plywood 18 mm.
Furniture legs
Magnetic furniture lock
Vinyl film
Guide profile for drawers
Electronic parts:
Linear electric drive
LED lights and power supply
LED channel kit
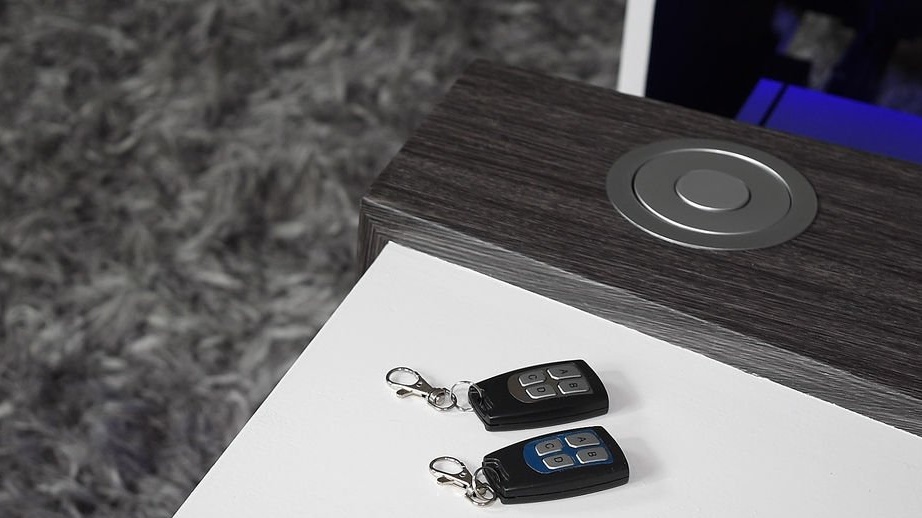
Wireless receiver and remote
Step 1: getting started
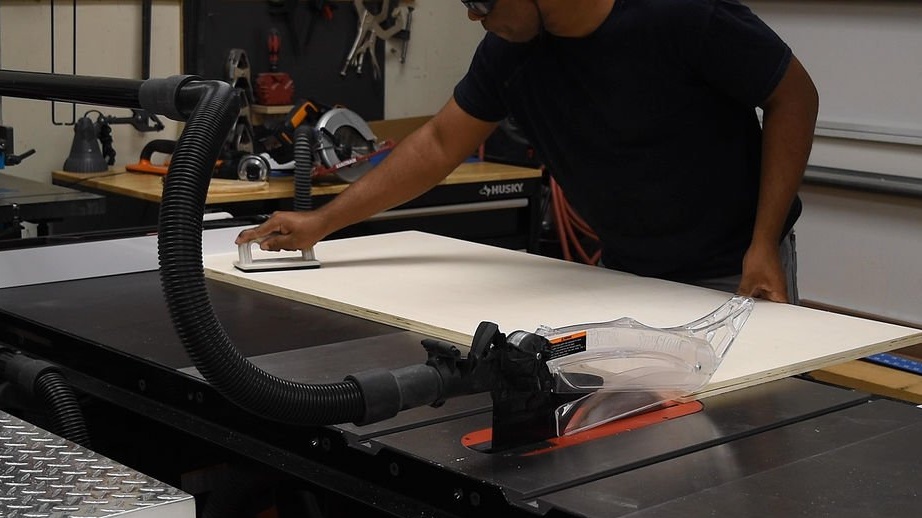
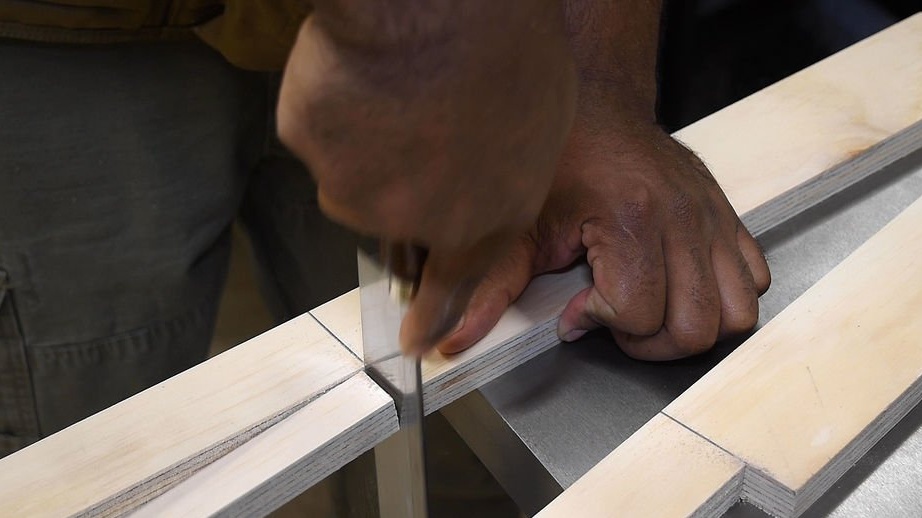
After acquiring the materials, it is time to cut the plywood sheets according to the previously created drawing. Plywood was sawn with a hand saw.
Rough cuts took place on a table compass. It allows you to make a more accurate cut. Of course, a table saw can be used to cut all the plywood, but it will take a lot more time.
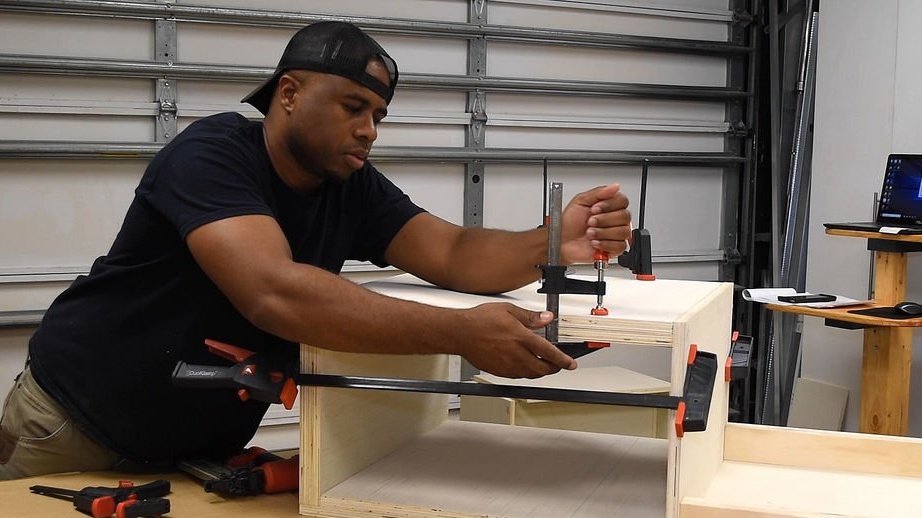
Step 2: Bonding the moving part
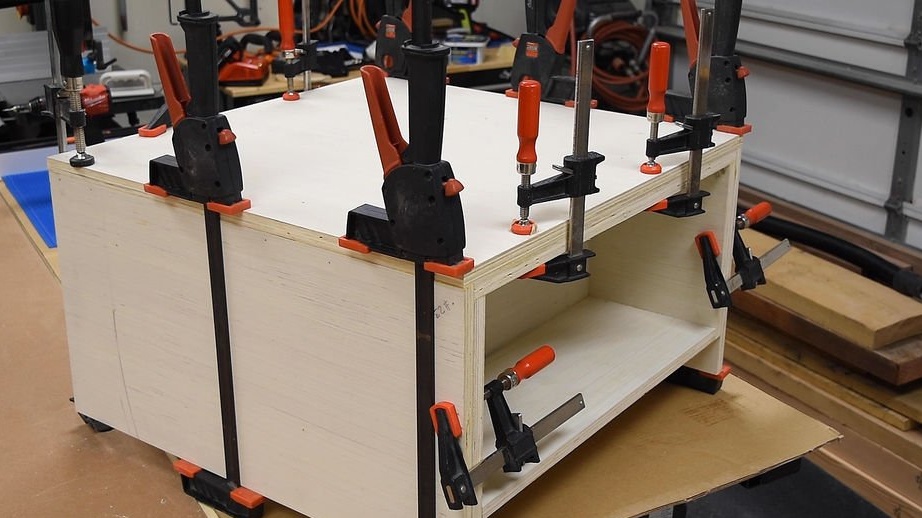
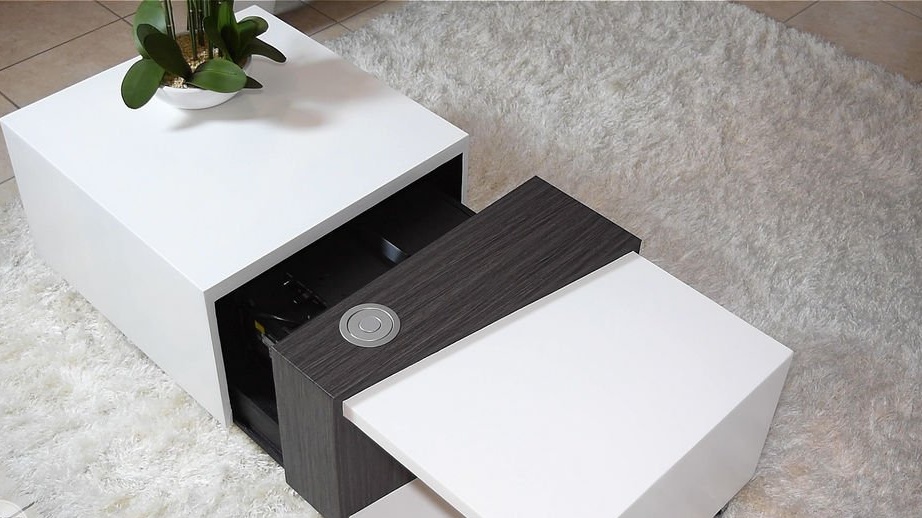
The author began the manufacture of a coffee table with the creation of its moving part. Most of this double-panel coffee table has a more impressive appearance. Bonding occurred using wood glue. After which the whole structure was compressed with clamps.
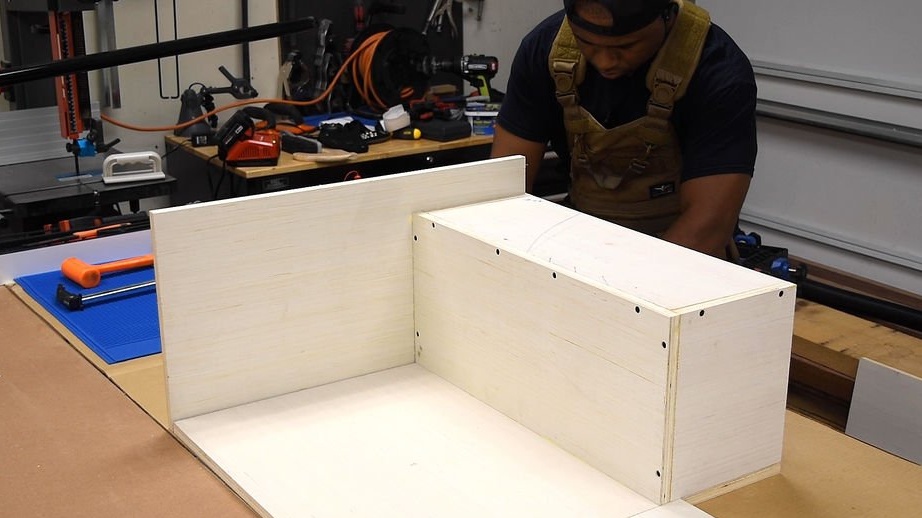
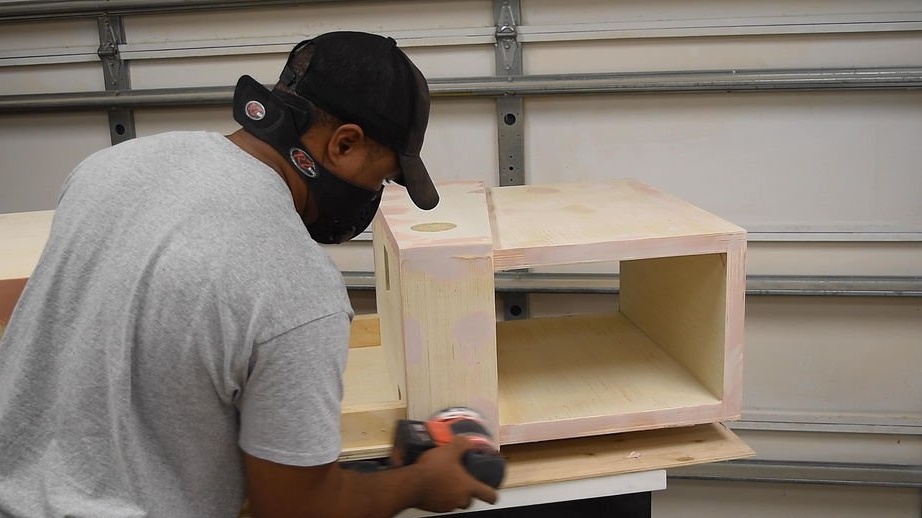
Step 3: Building a Fixed Part of the Coffee Table
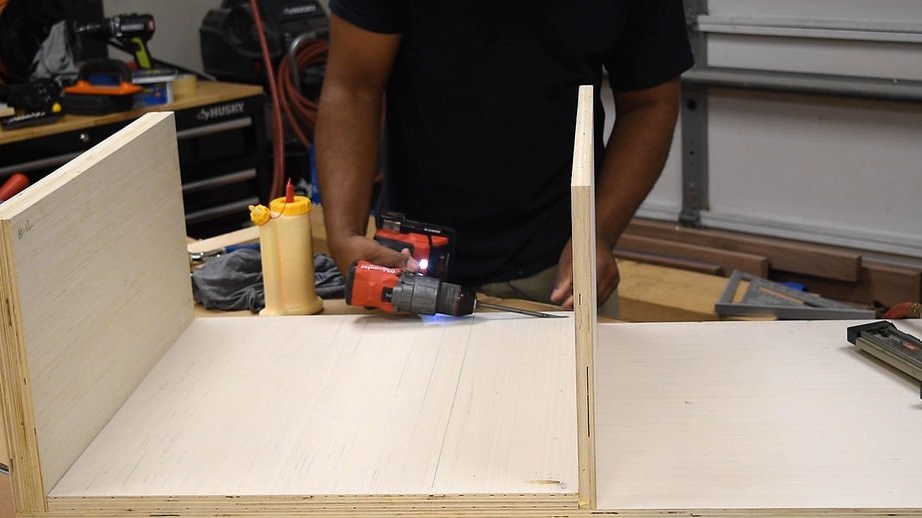
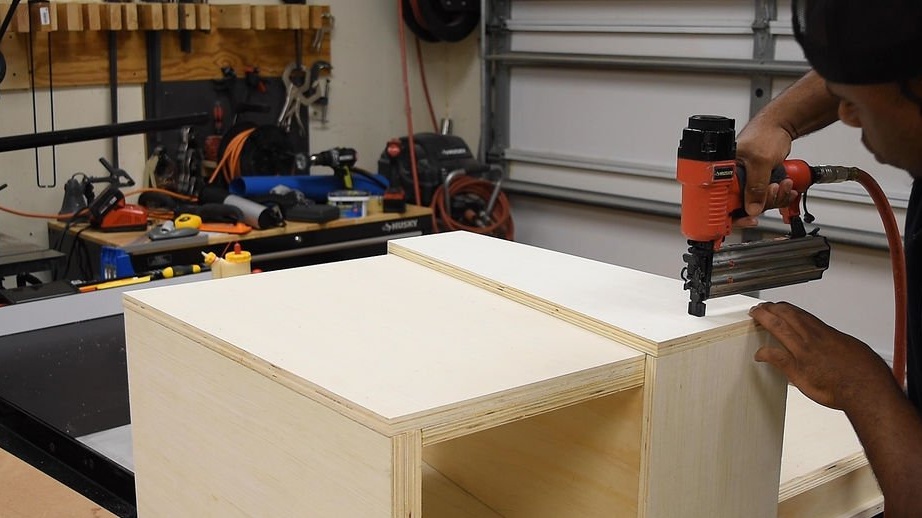
The author again doubled each panel, those areas that should be visible. However, this time he nailed the plywood in some places. One side and the bottom were also glued with wood glue. After that, everything was fastened with clamps. Then several holes were made. The inner panel was fastened with countersunk screws.
The next step was the manufacture of a guide carriage for the moving part. This slider was also made of plywood and later moved inward. Lastly, the top cover of the coffee table was glued.
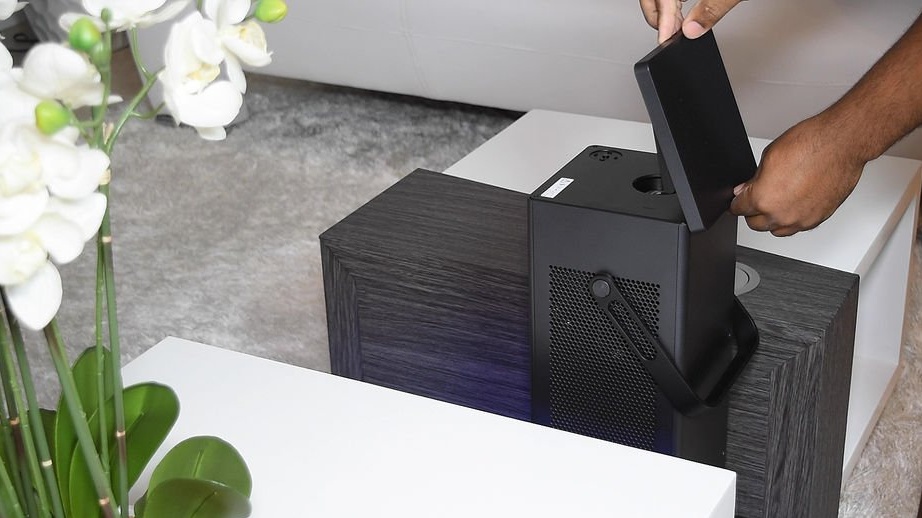
Step 4: Creating a Panel for Covert Access
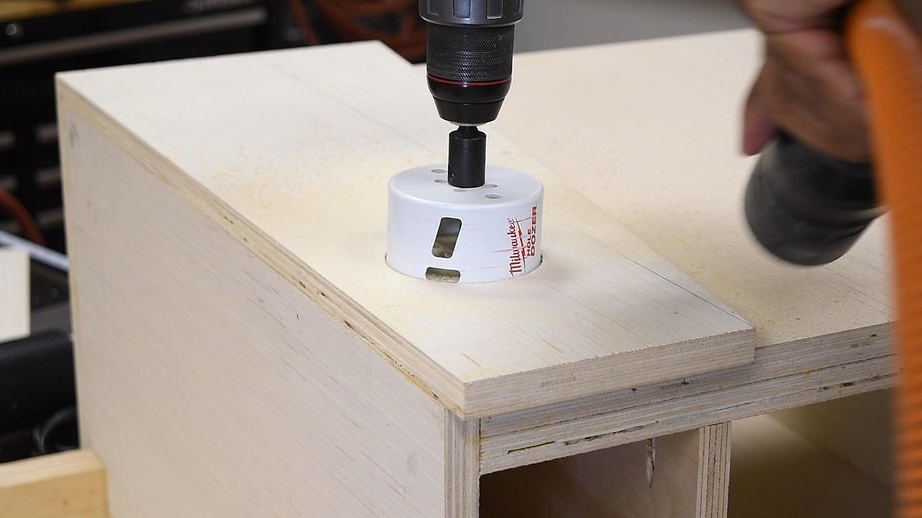
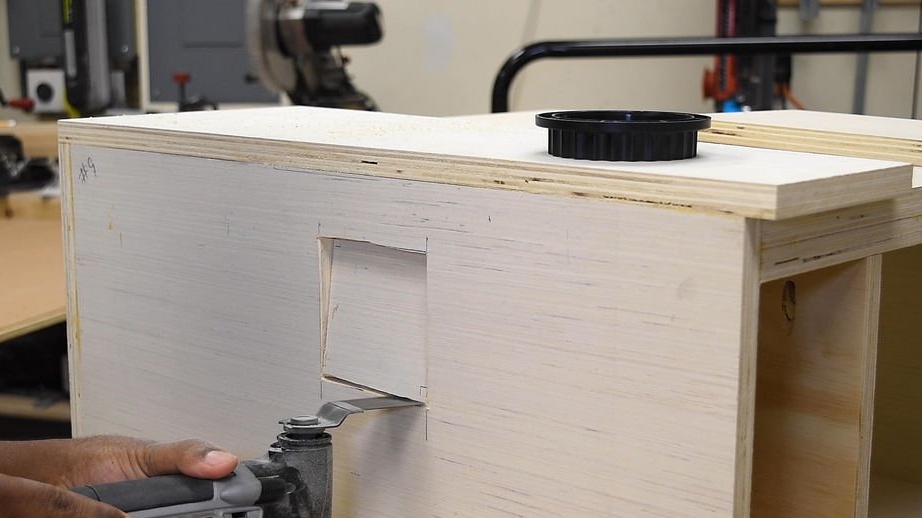
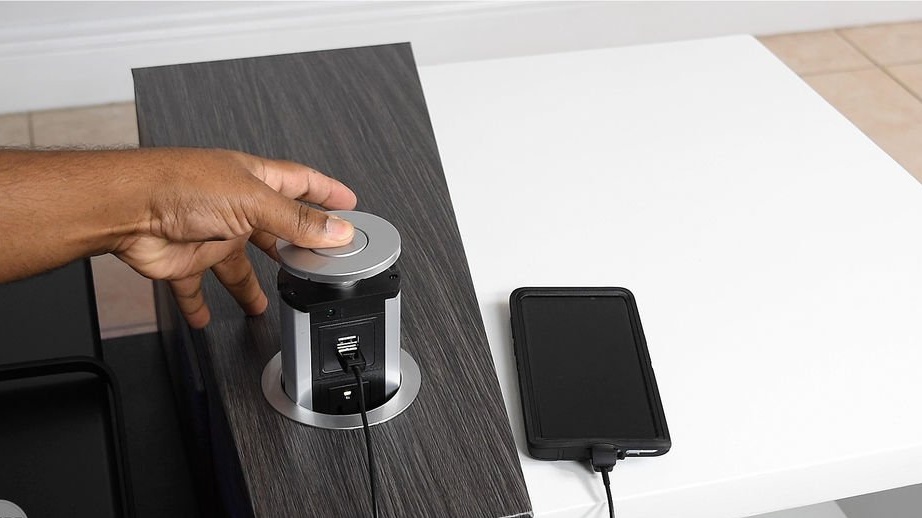
The author added a separator for the two halves of the coffee table in the middle, which created an empty space that would hide the electrical part of the table.Next, a conical part was installed along the upper part of the table, which added depth to the design. Then a hole was drilled for the outlet, this is completely optional, but the idea of having electricity nearby is very impressive. Then a hole was cut out for the access panel. Also cut a hole in the bottom for the power cable.
Step 5: Install Retractable Profile
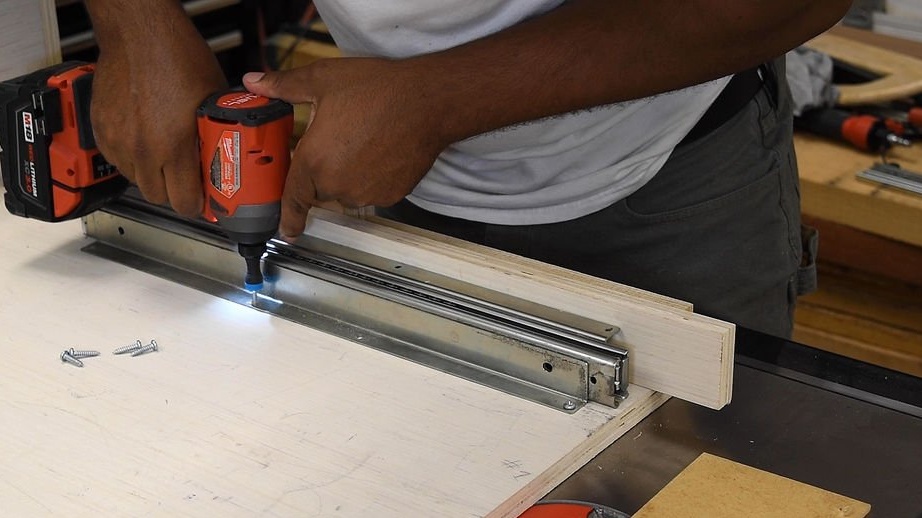
It took a lot of time to struggle with the position of the drawer and its alignment. Since the retractable profile was acquired a little later, I had to tinker with its correct location.
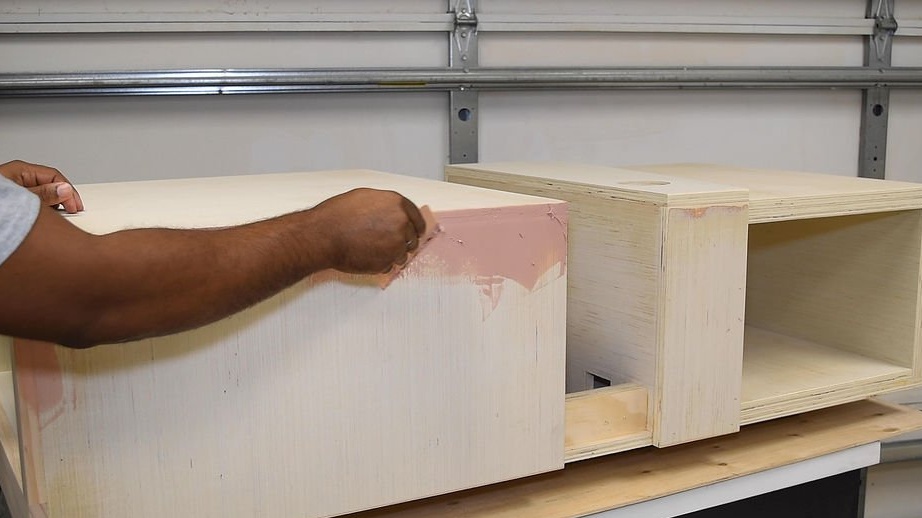
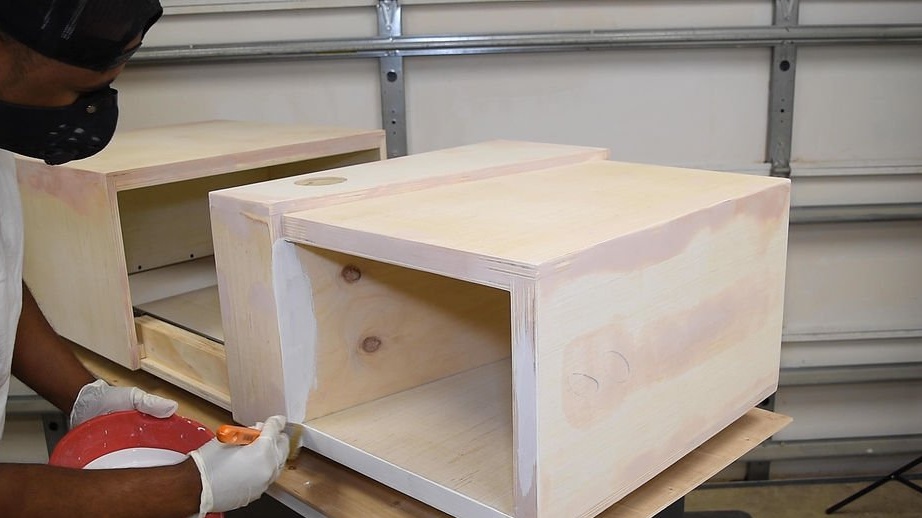
The next step was the filling of all visible joints with subsequent drying. After the putty had completely dried, the grinding step was followed.
Then the entire coffee table was primed with wood primer. This was followed by painting. For a more durable and wiped surface, white glossy oil-based paint was used.
Step 6: Vinyl Sticker
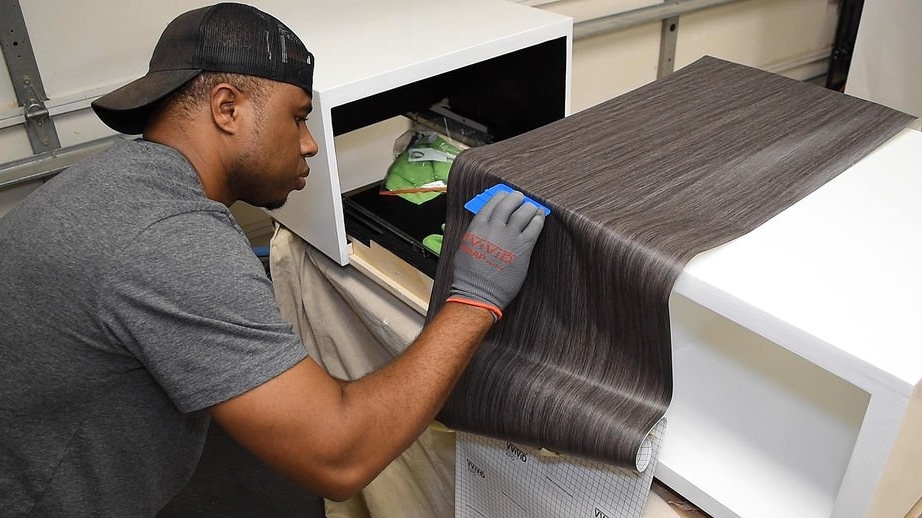
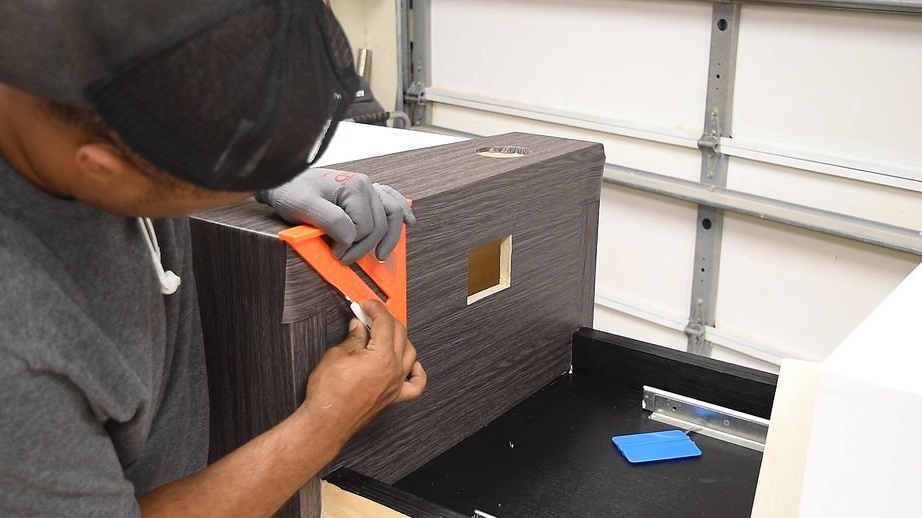
The author is not a great expert in the field of vinyl sticker, but this did not stop him from trying. He went through numerous trials and mistakes. As a result, the result was achieved. The most important thing at the initial stage is to clean the surface of dirt and dust. Then proceed to sticker the film. First you need to smooth the film from one side to the other, and then smooth it alternately to the edges and more complex areas. The appearance of this vinyl is very impressive, it is much thicker than usual.
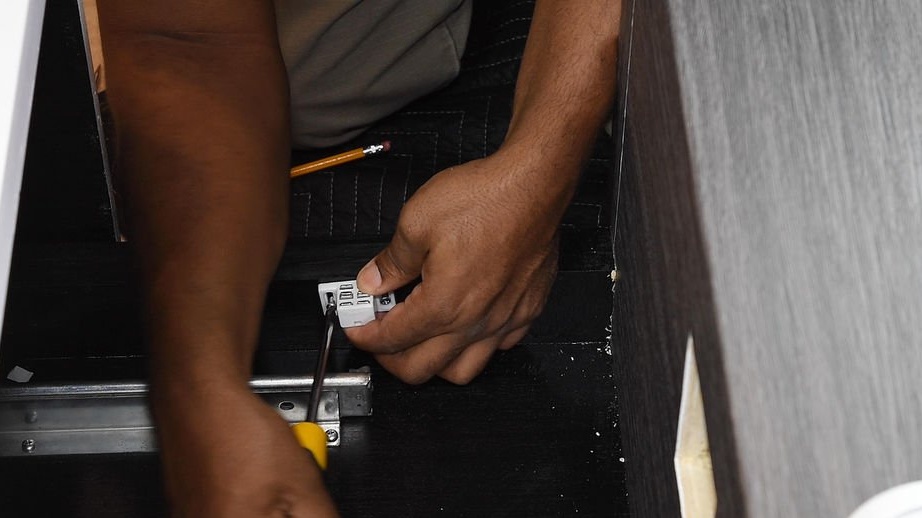
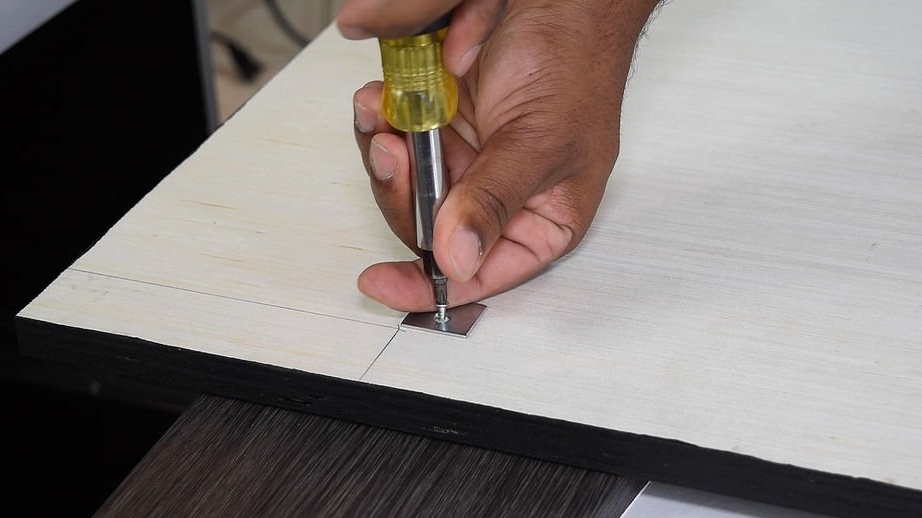
Step 7: Add Electronics

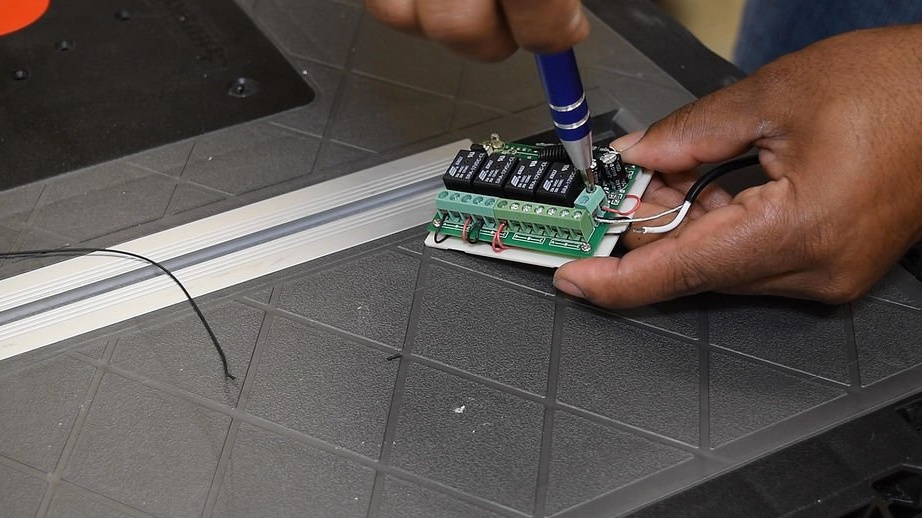
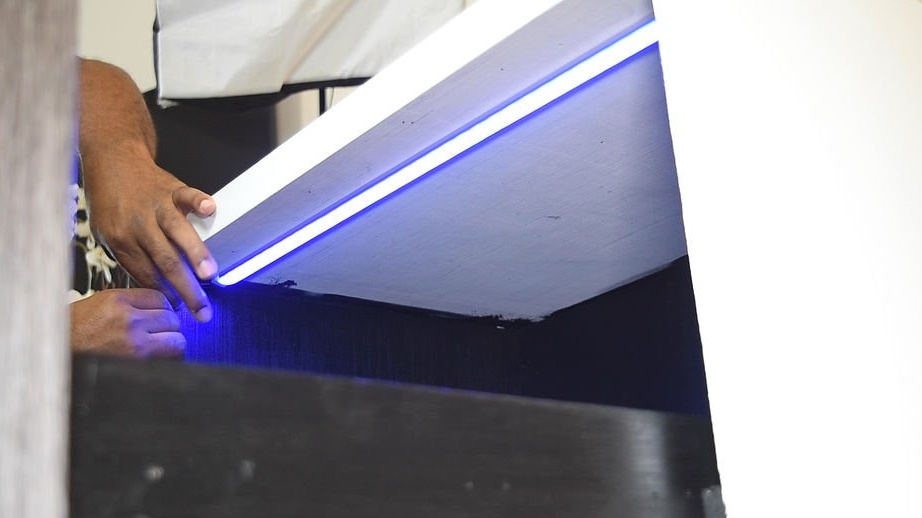
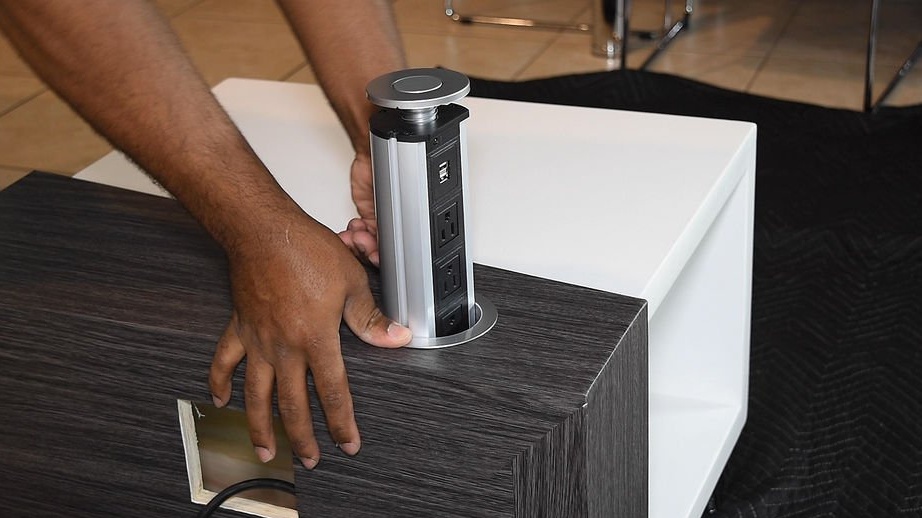
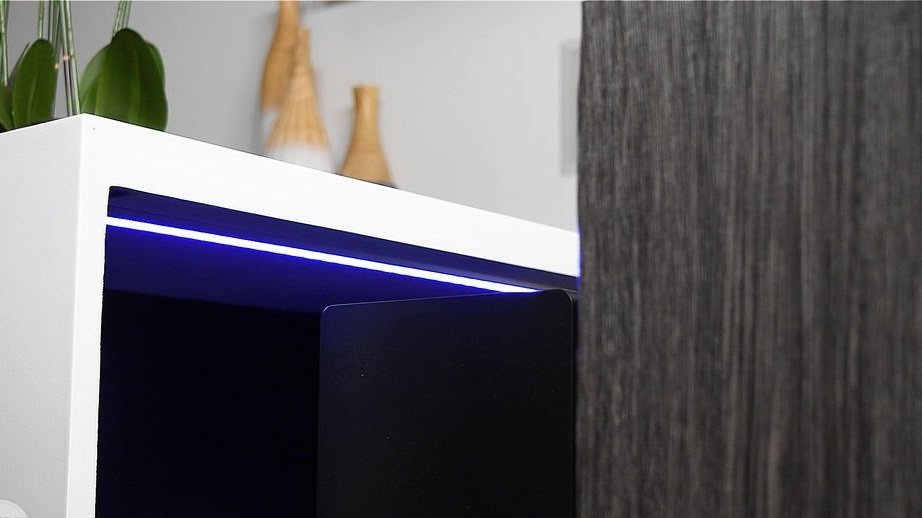
There are a lot of electronics hidden in the table. In short, the drive is installed in the center of the table. One end of the motor is secured from below with a nut and bolt. At the opposite end, a bracket with a metal plate 0.3 mm thick was used to secure it to a moving part. The drive was connected to a 4-channel wireless receiver, which is also connected to the LED strip. The best option would be to use a set of LEDs as a separate device so that you can control each color. The LED was installed in a special channel for deeper light. A power outlet with USB ports was installed in the upper hole for charging a variety of equipment.
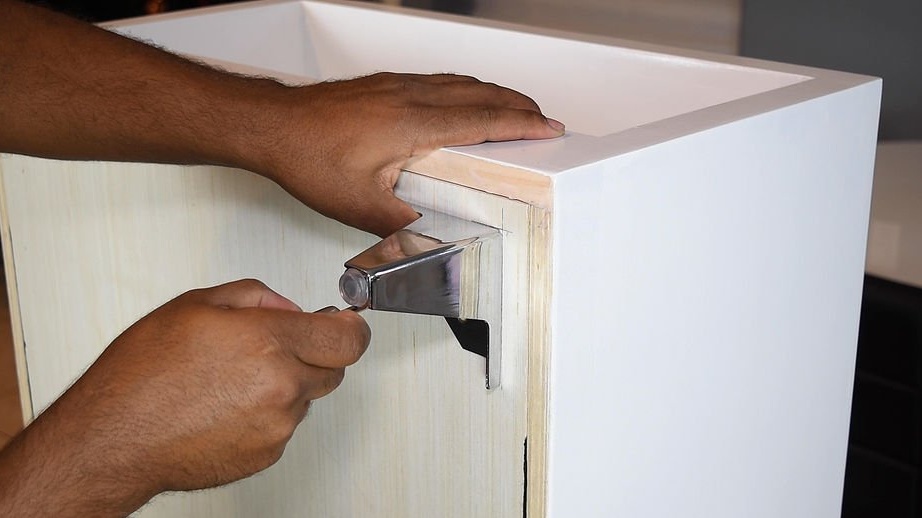
In the final, chrome legs were installed.
Step 8: Final Touch
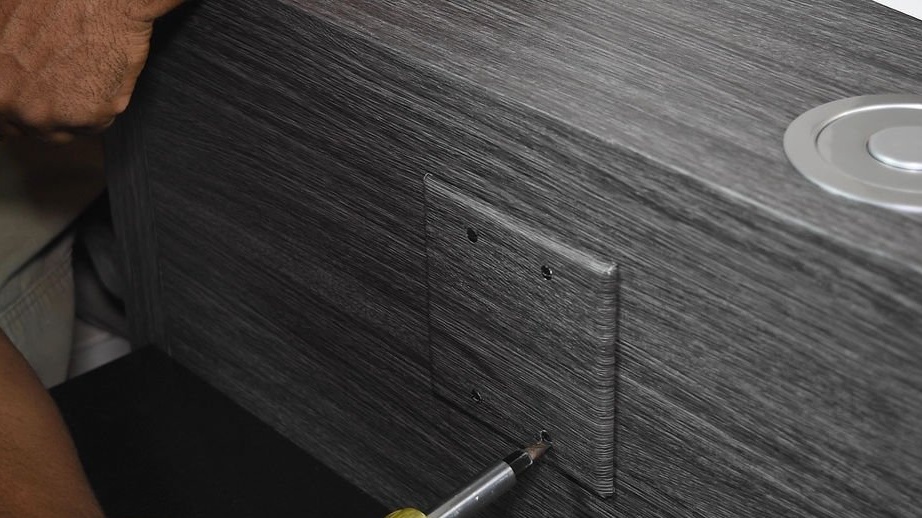
To finally finish this homemade work, a set of magnetic latches was added to the cover panel for quick access. A cover was also wrapped in vinyl to merge with the access panel.
Step 9: New Multimedia Installation
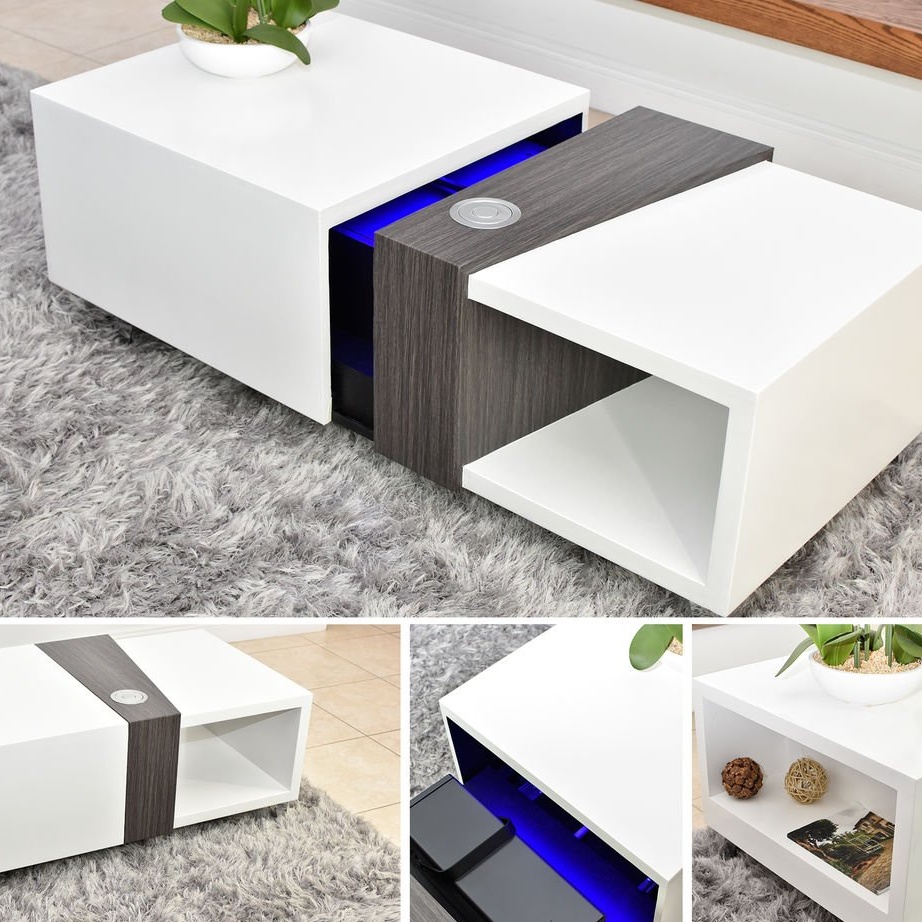
For the author, the creation of this table was a very exciting experiment. After all the trial and error, we can say that it was a success. The embodiment of ideas - that is the essence.
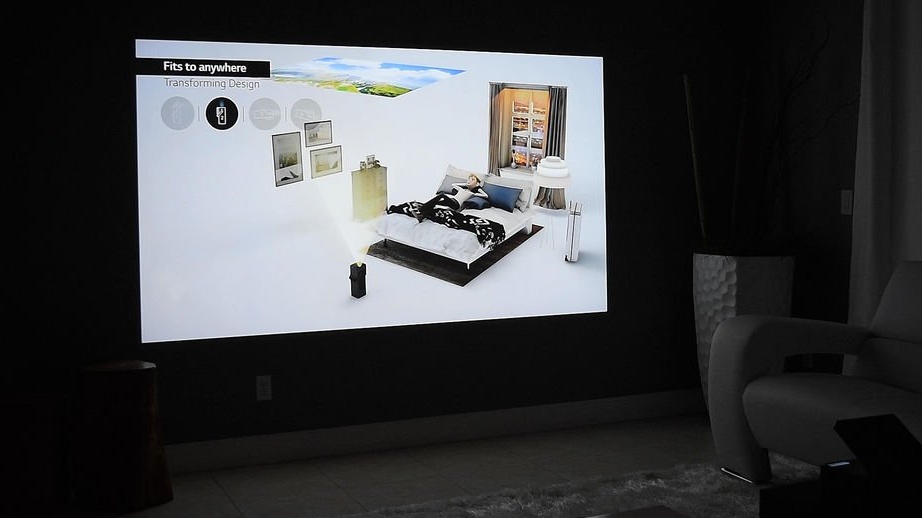
This multimedia installation based on a coffee table has the following components:
4K projector
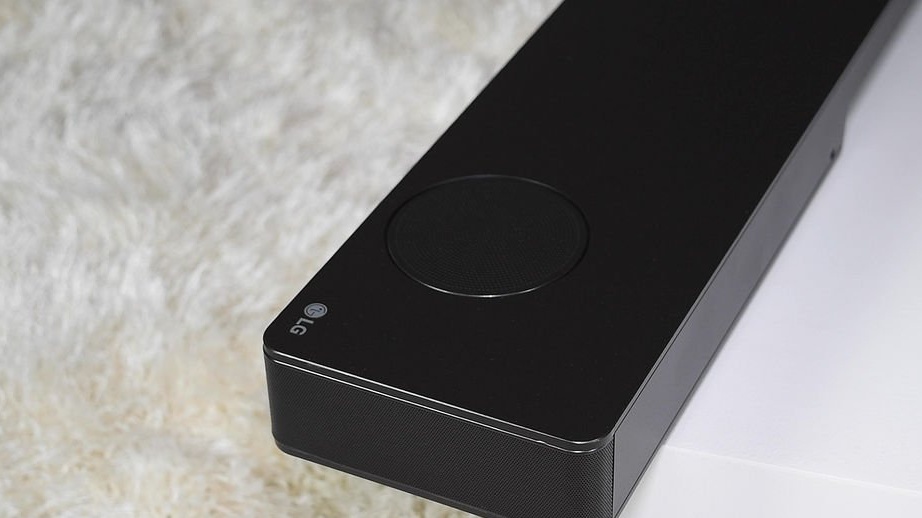
Sound bar and sub
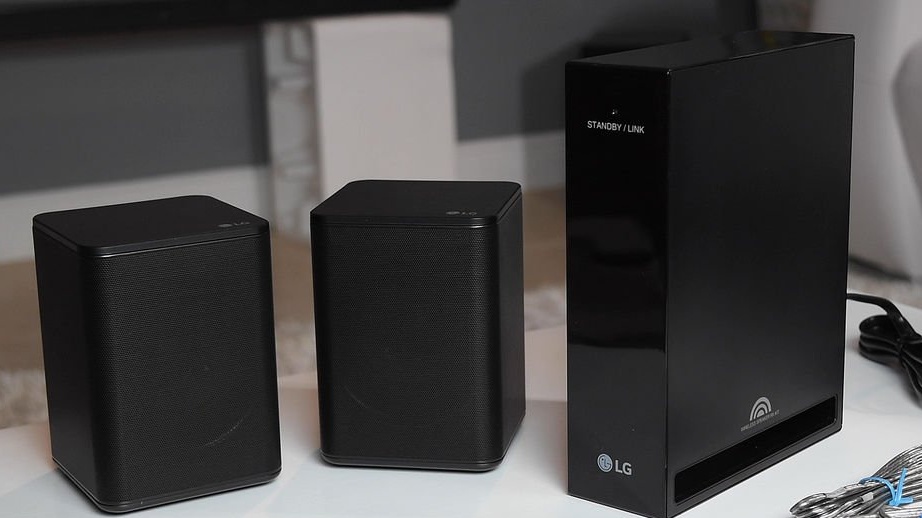
Soundbar Rear speakers
Amazon cube
Playstation 4 pro
The table allows you to expand this multimedia package to a larger number of incoming components.