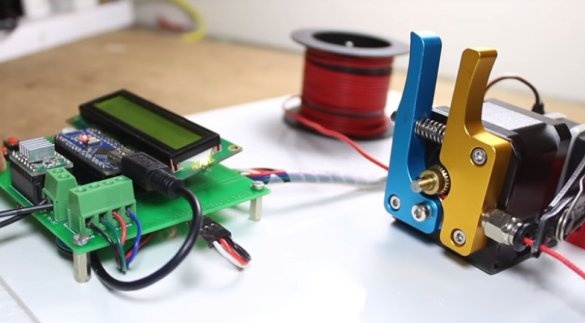
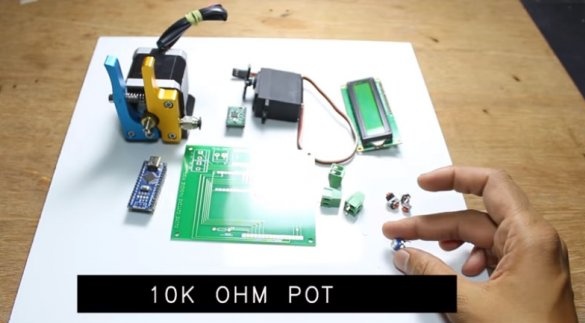
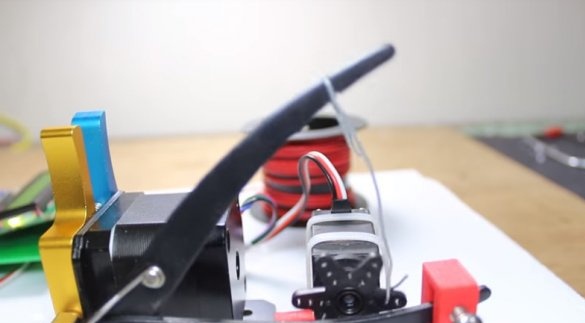
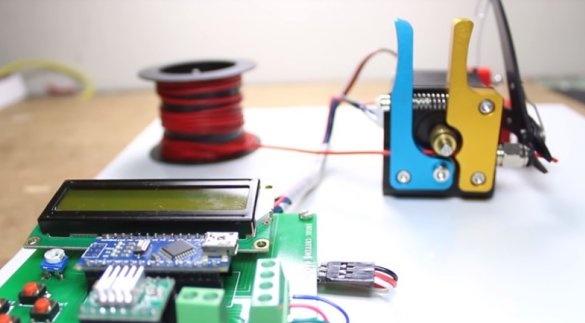
In this article, we will consider the manufacture of a device that cuts a wire of a given length and quantity. Immediately make a reservation, this article presents materials from various sources. Links will be indicated at the end of the article. For the manufacture of the device, the master used the following
Tools and materials:
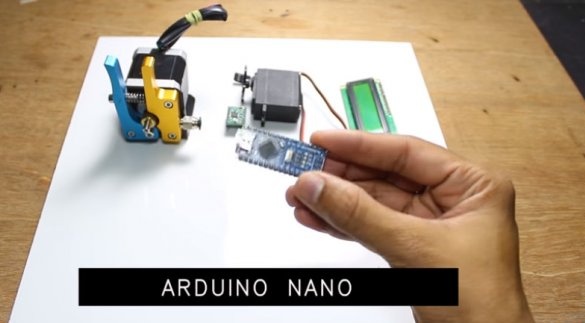
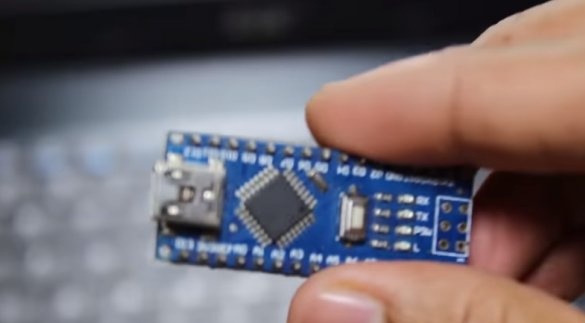
-Arduino nano;
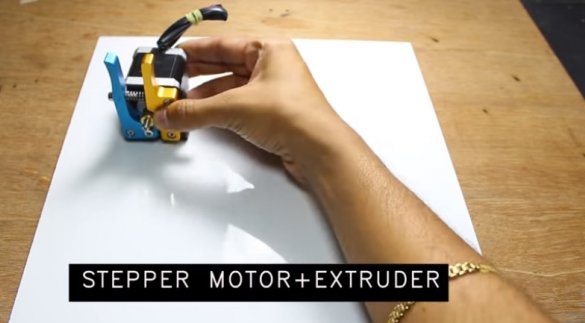
-Step engine Nema 17;
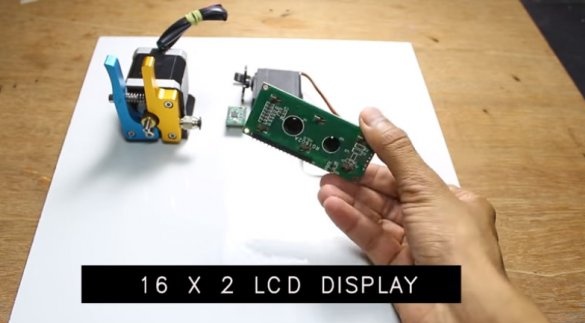
-LCD display;
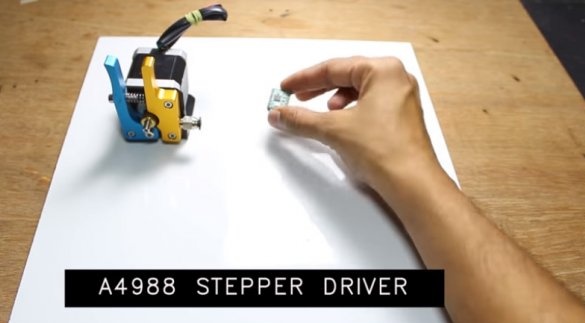
-A4988 engine driver;
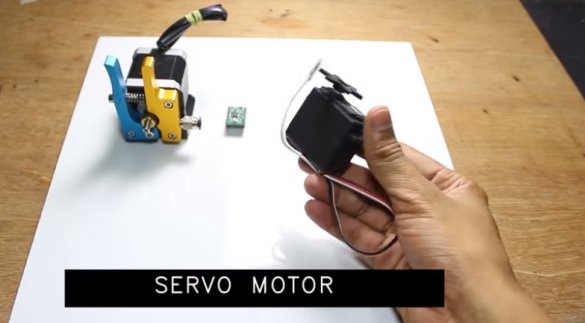
Servo MG996R;
-Nippers;
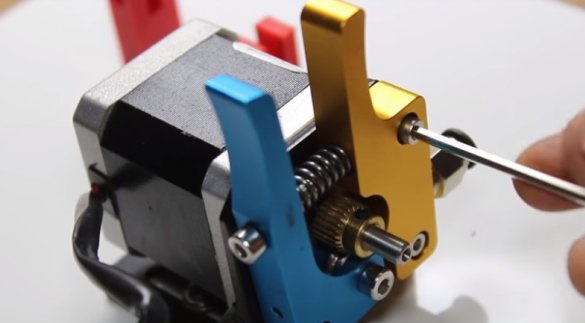
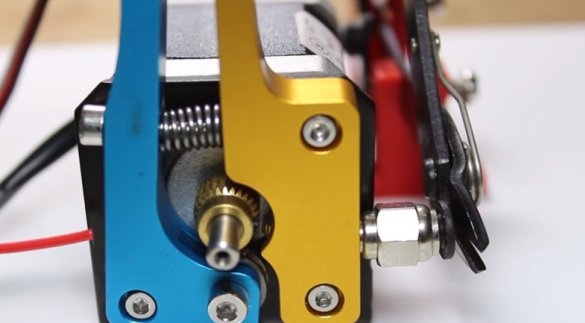
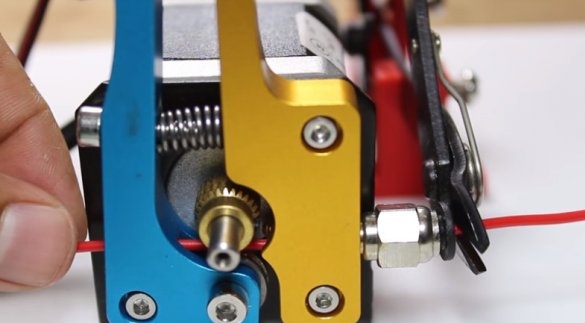
-Extruder for a 3D printer;
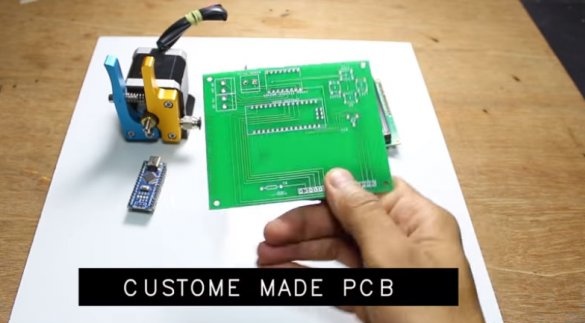
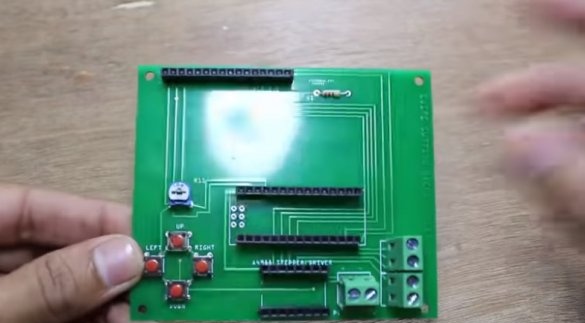
-Printed circuit board;
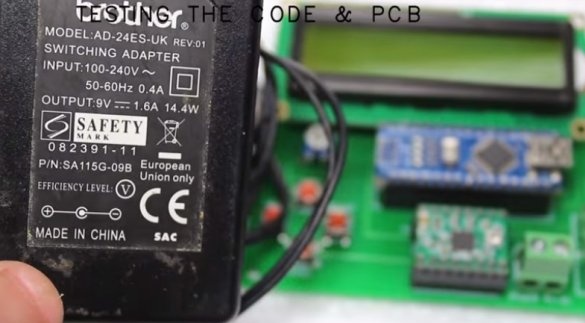
-Power Supply;
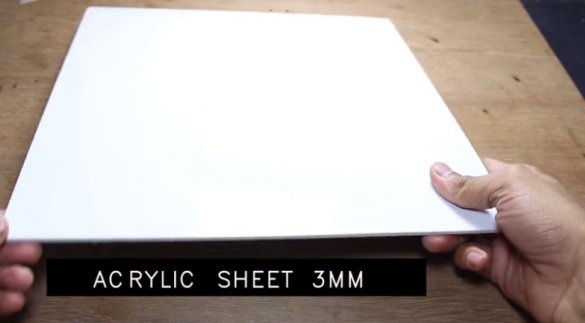
- Acrylic sheet 3 mm;
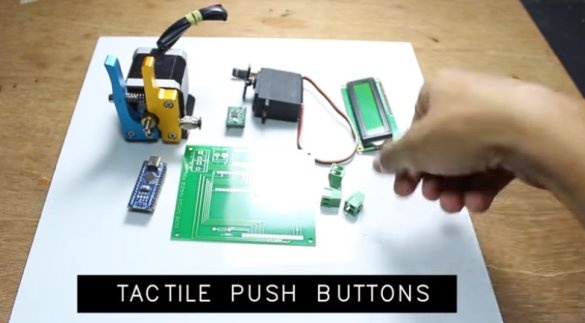
-Buttons;
- Resistor 10 kOhm;
-Screws;
-Screwdriver;
Step One: PCB
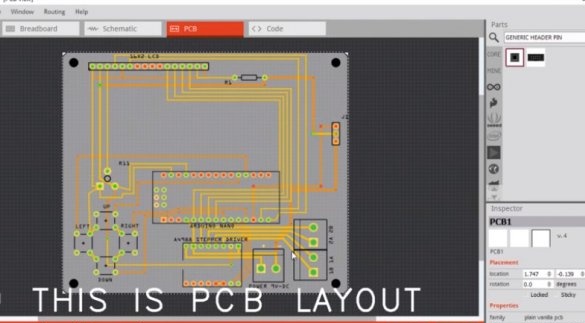
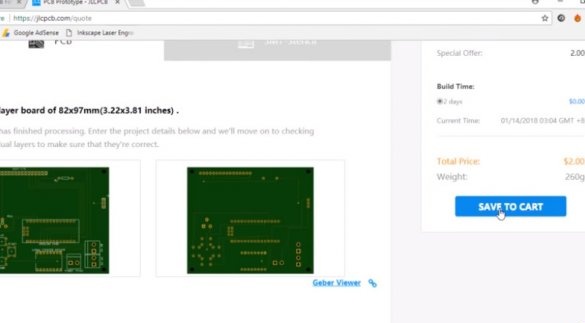
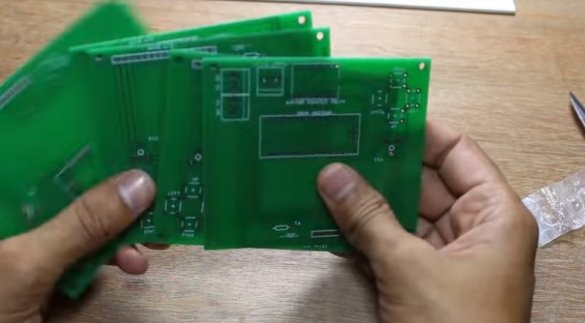
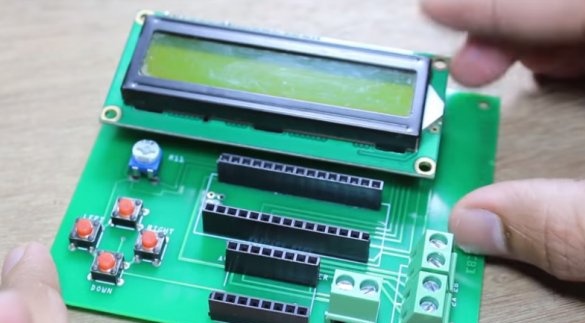
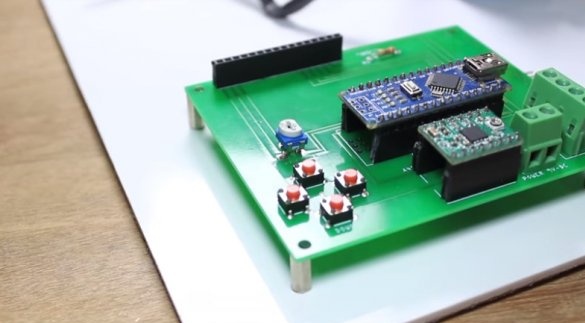
First, the master develops a printed circuit board. After development, it distills it to the desired format and sends it to a company that manufactures circuit boards.
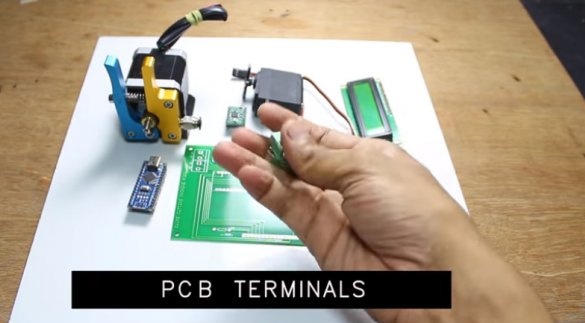
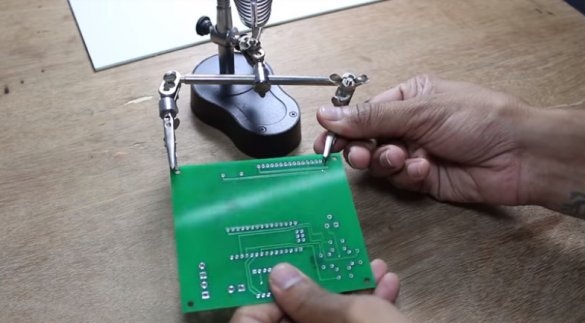
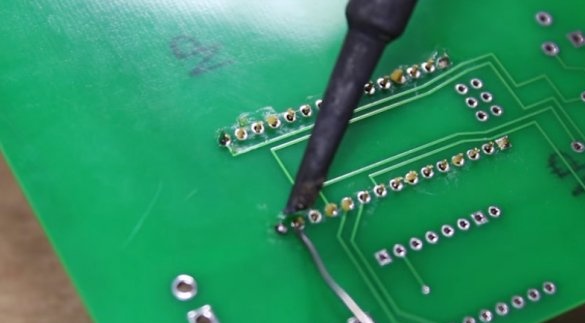
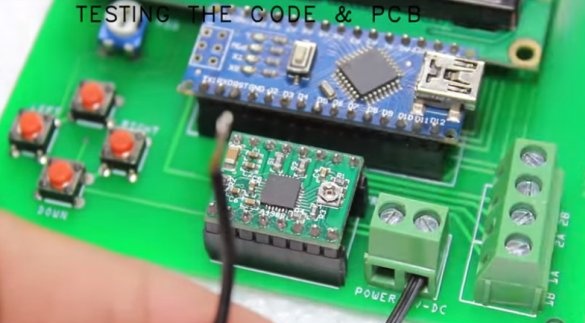
After the board has been manufactured, it is necessary to solder the connectors for installation electronic details.
Step Two: Details
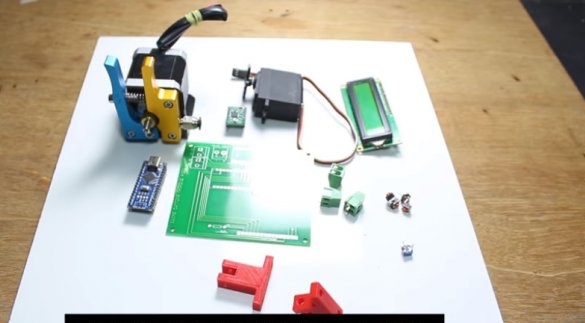
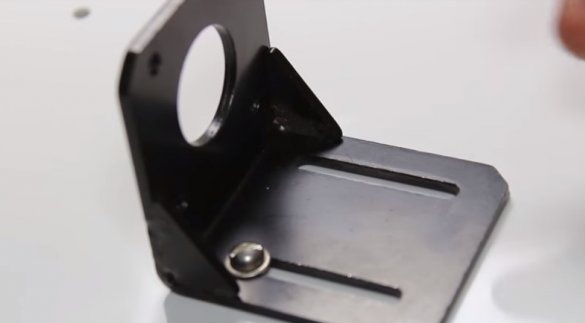
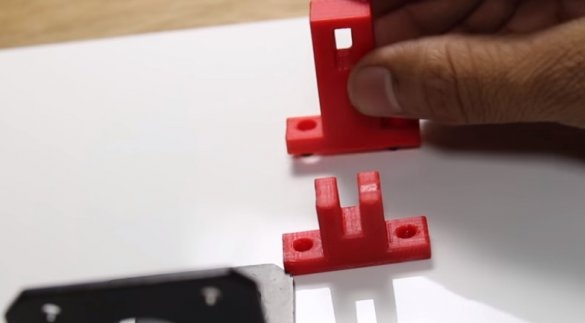
The master printed some details of the mount on the printer. You can download here.
Step Three: Board Assembly
Starts assembling the device. .
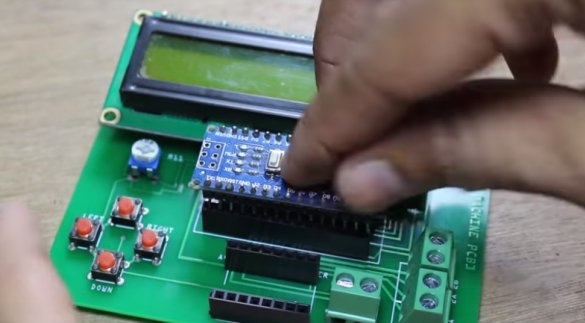
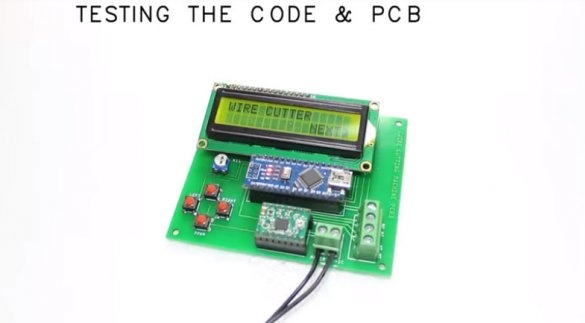
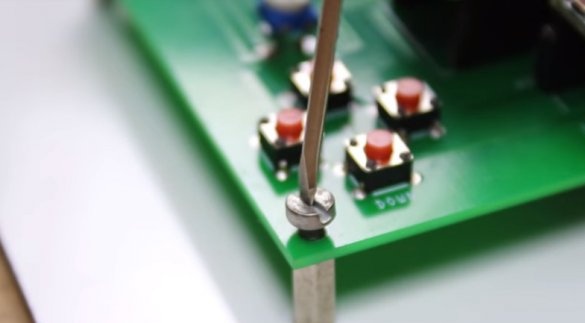
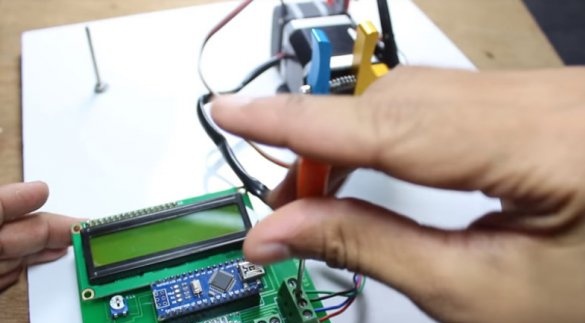
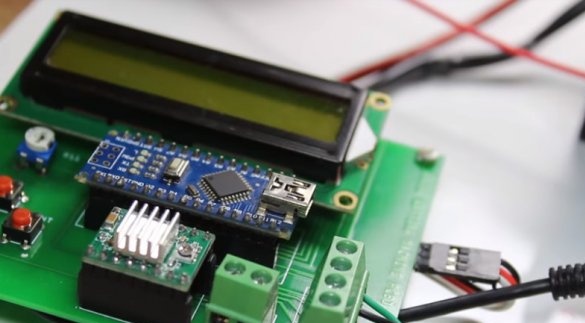
The base is an acrylic sheet. Secures the board. Installs parts on the board according to the diagram.
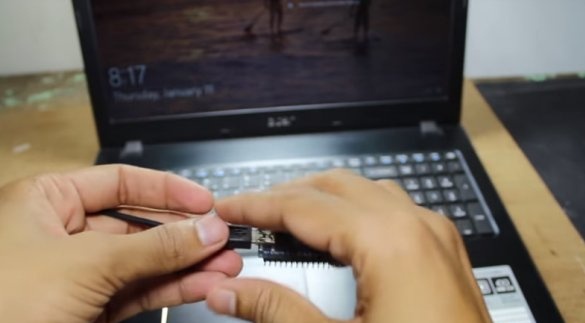
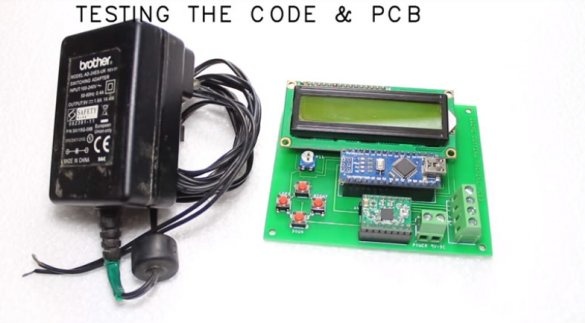
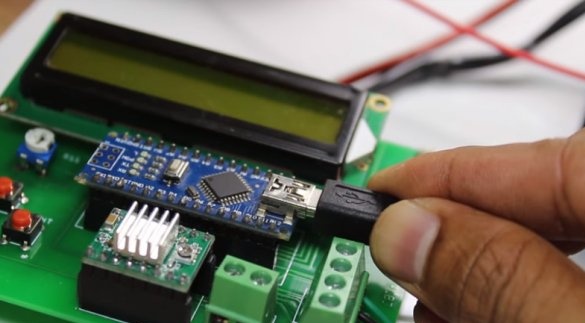
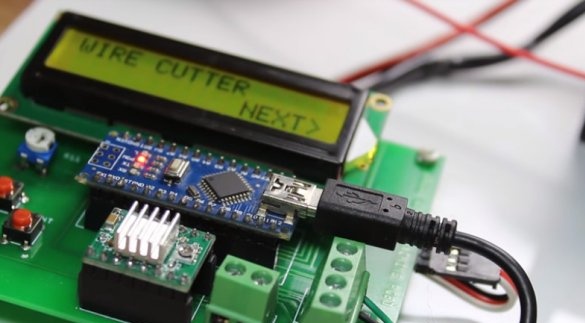
Checks the work of Arduino.
Step Three: Mechanical
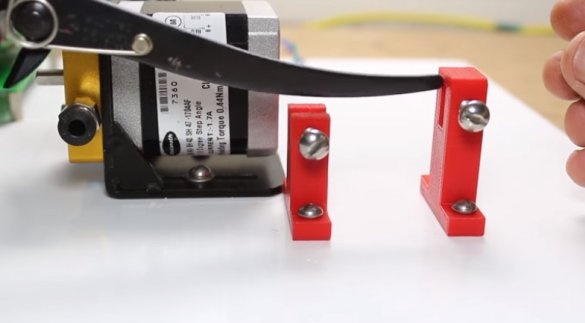
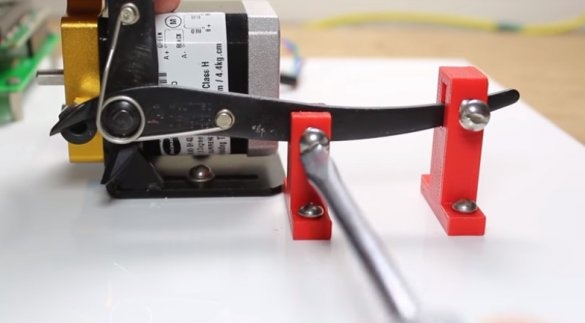
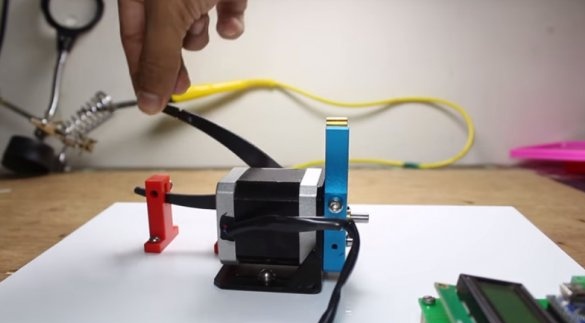
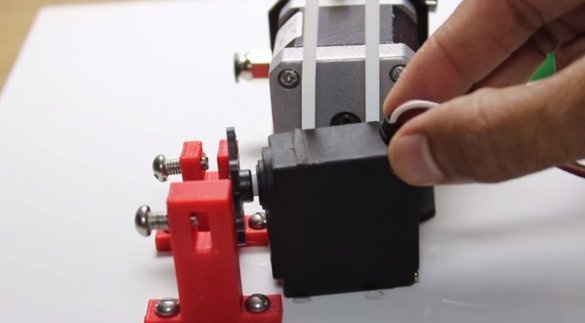
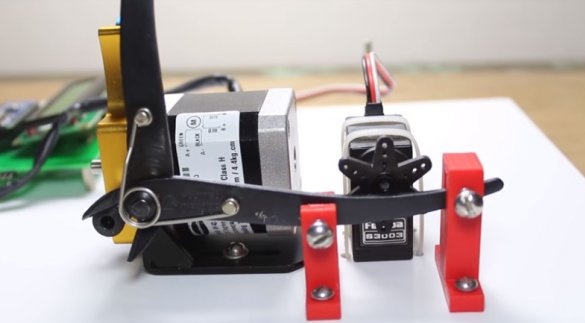
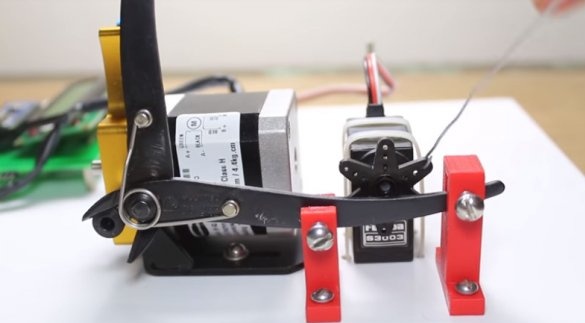
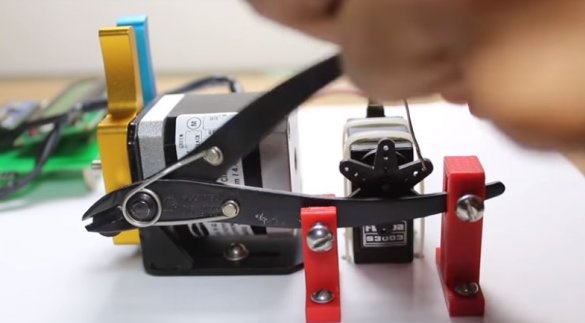
Installs mounting parts, stepper motor, servo. Secures nippers.
Servo and the upper handle of the wire cutter connects with wire.
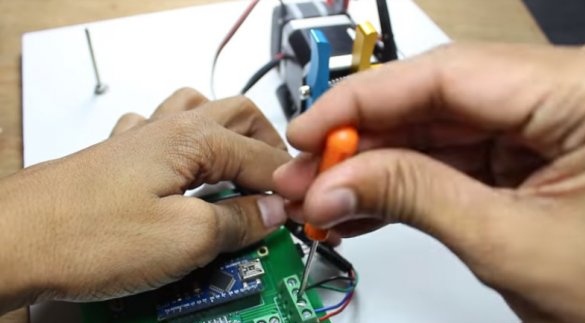
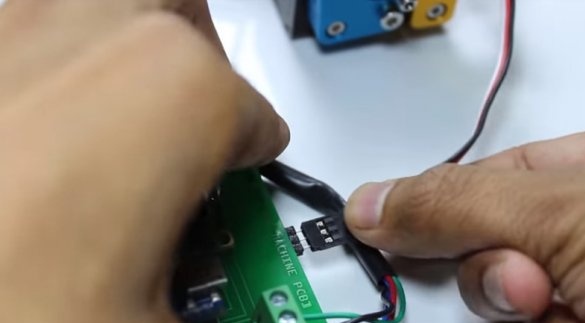
Connects wires.
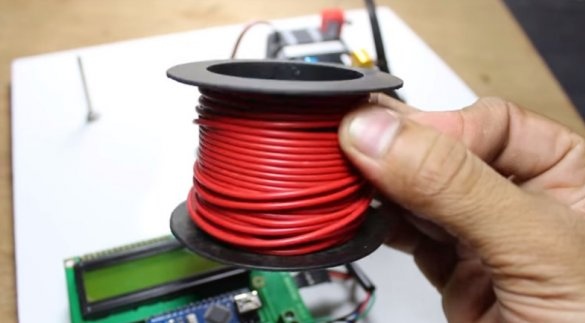
Installs a coil with a wire. A wire pulls through an extruder drive.
Step Four: Setup
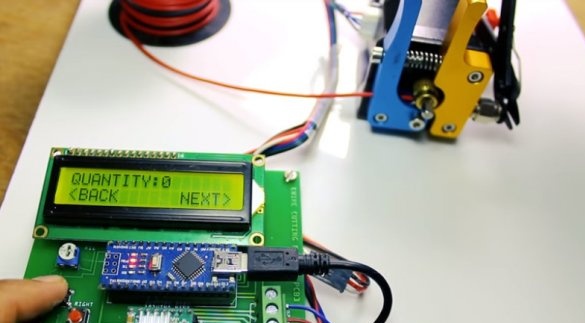
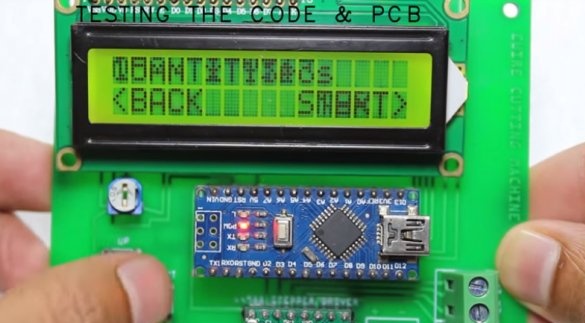
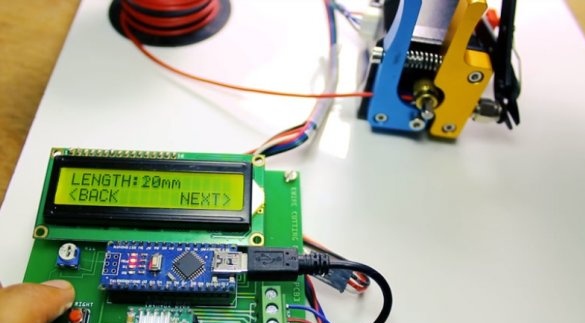
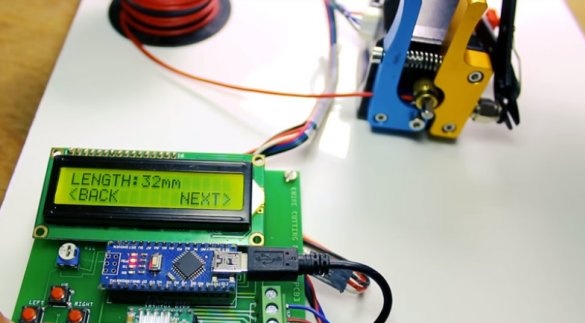
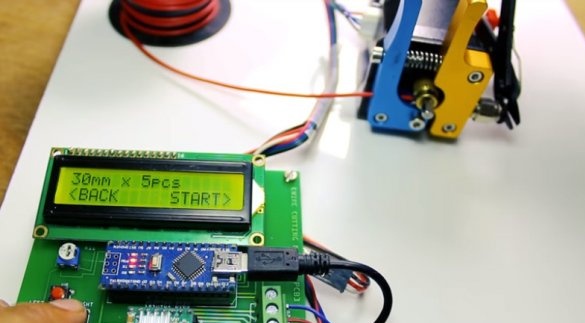
Now you need to select the wire length and quantity
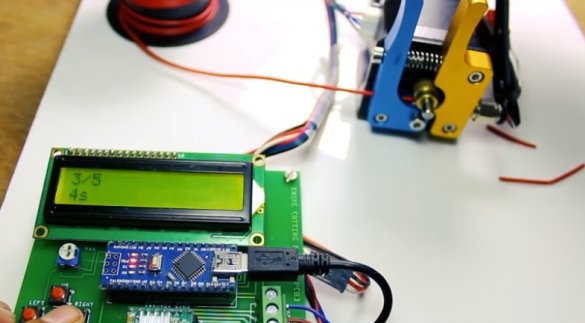
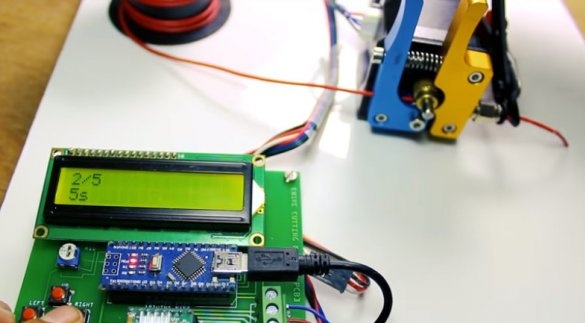
and press the start button. During operation, the number of preset lengths, the number of pieces of wire cut, and the time until the end of the operation are displayed.
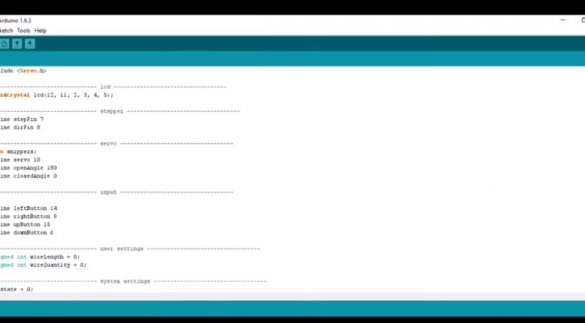
The code and files for the 3D printer are taken.
The rest of the material is from the source link.

