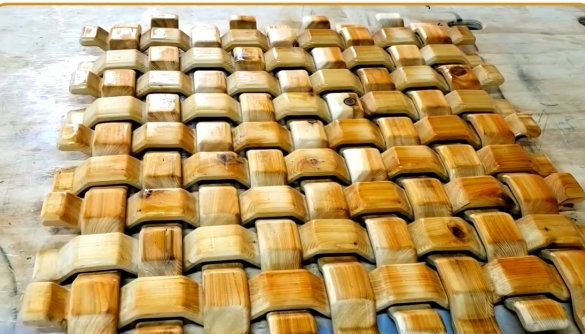
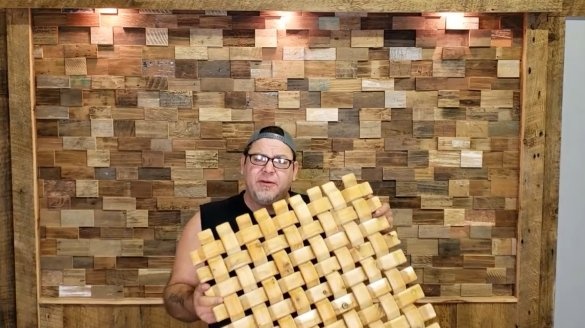
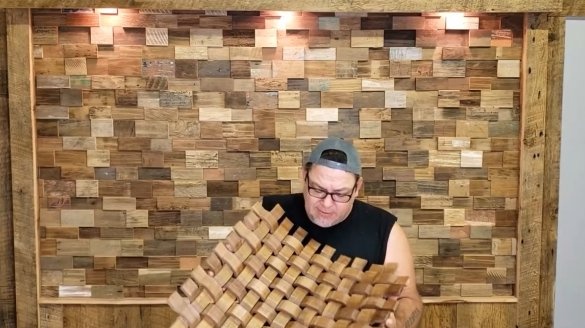
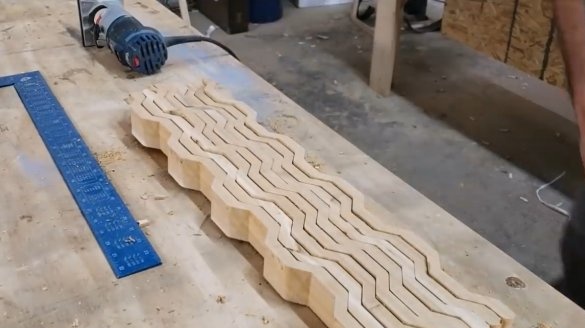
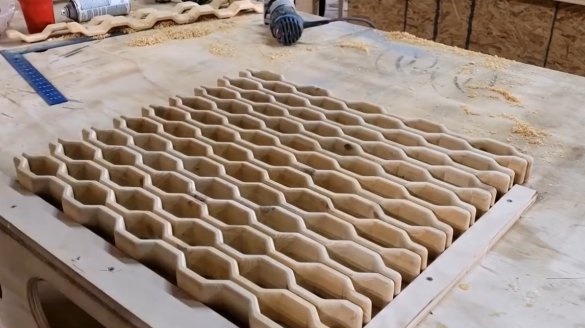
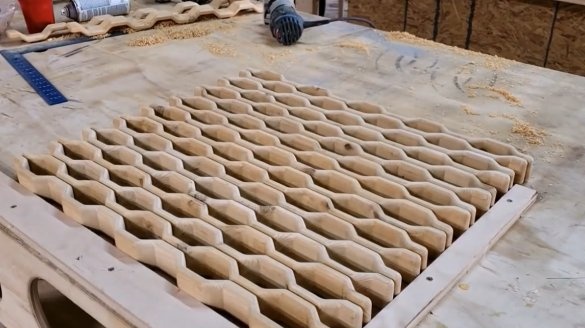
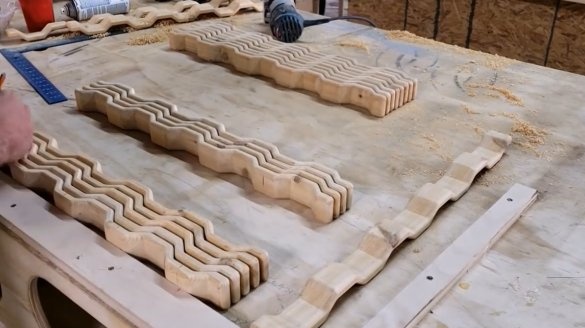
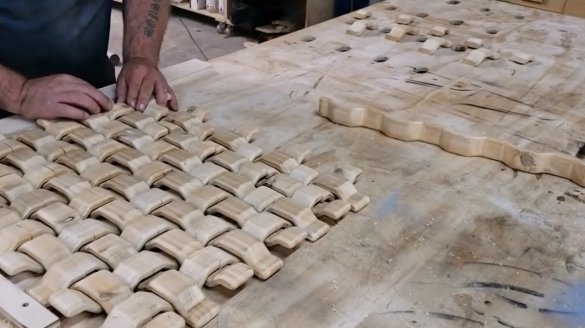
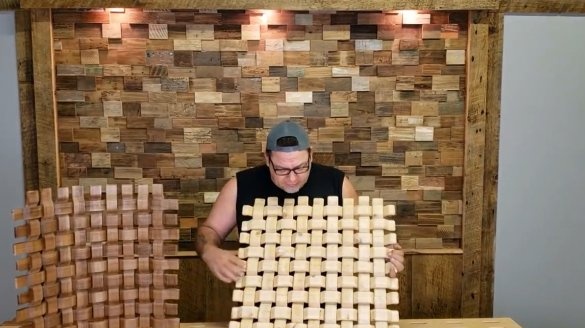
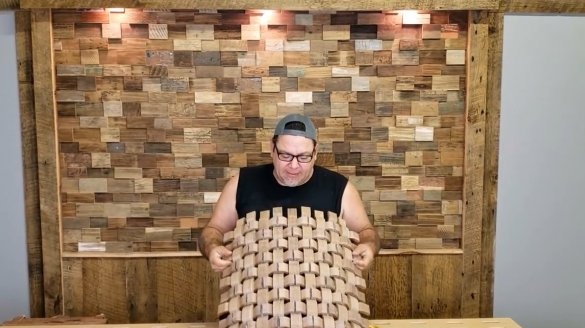
Here is an amazing wicker wooden panel that can be used as a bedding, stand or just a decor element.
In this article, the author of the YouTube channel "izzy swan" will share with you the secrets of its manufacture. Before that, he made a similar panel with a curved shape.
Materials
- Cedar boards
- Aerosol varnish for wood.
Instruments, used by the author.
- CNC milling machine
- Grinding machine
- Neiler
- Manual frezer
- Face Saw
- Roulette, pencil.
Manufacturing process.
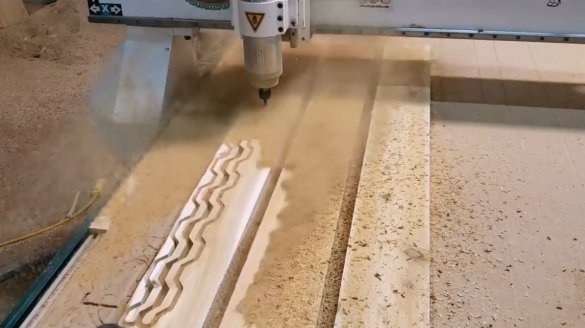
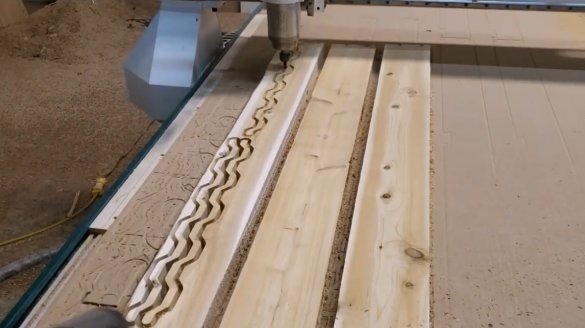
The author designed the main curly elements for this panel, and cut it on a CNC milling machine. But the same work can be done on a band saw using a template. True, it will take much more time and effort.
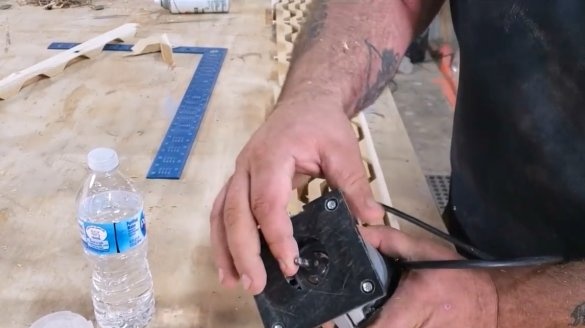
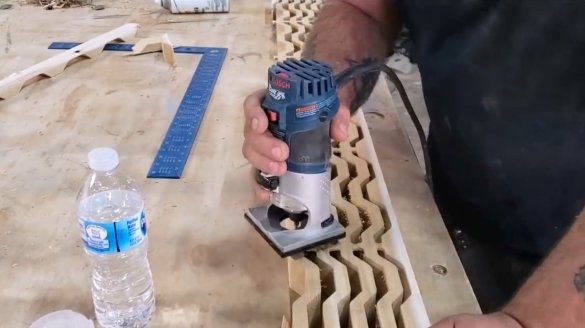
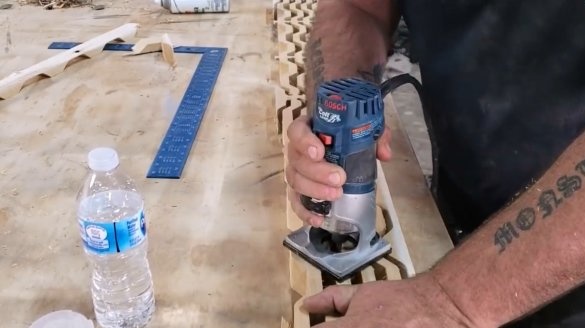
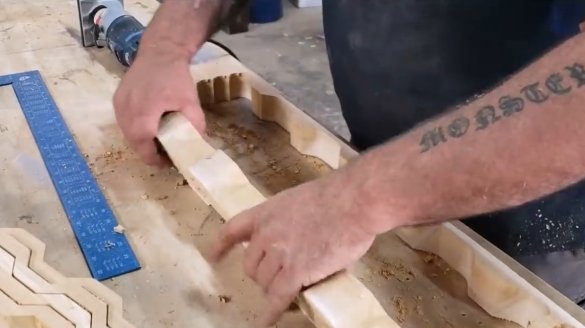
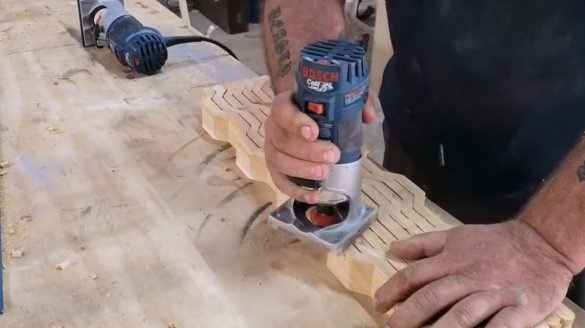
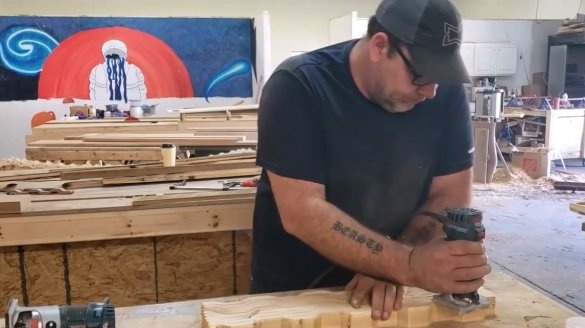
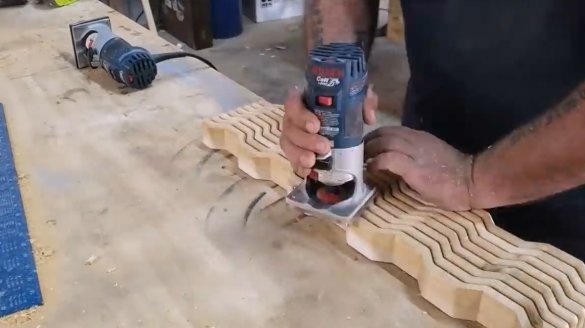
The author releases the cut parts using a hand mill and a milling cutter with a thrust bearing made specifically for the laminated surface of the countertops. Such a mill practically does not give chips.
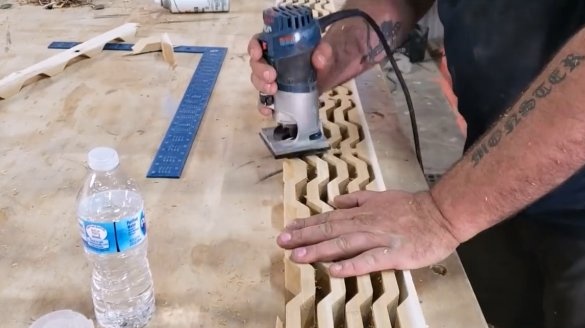
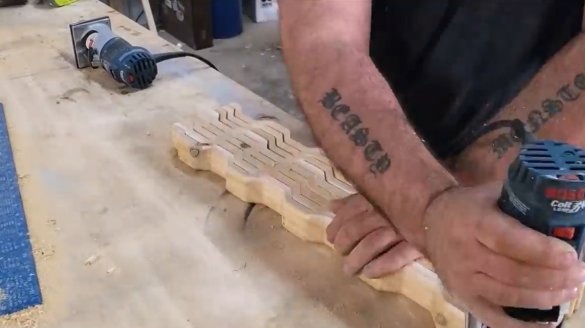
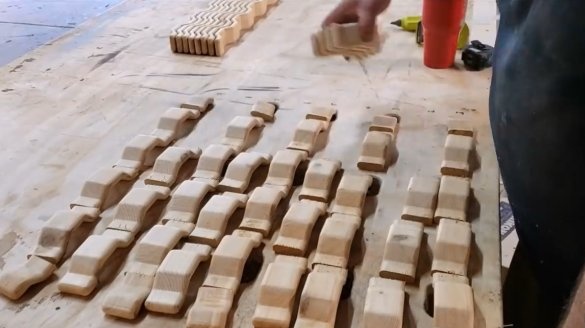
Then it rounds all four edges of each of the eighteen elements.
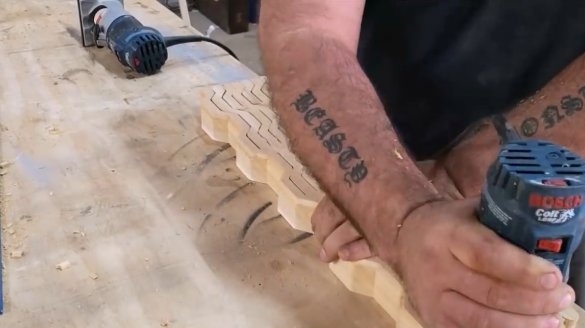
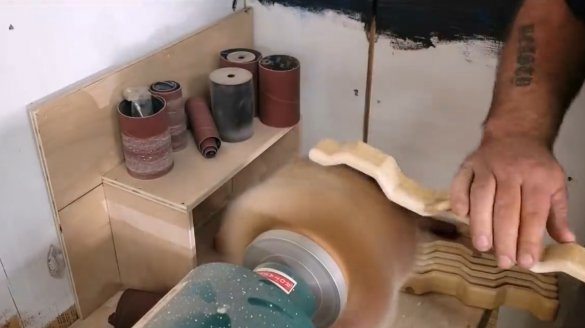
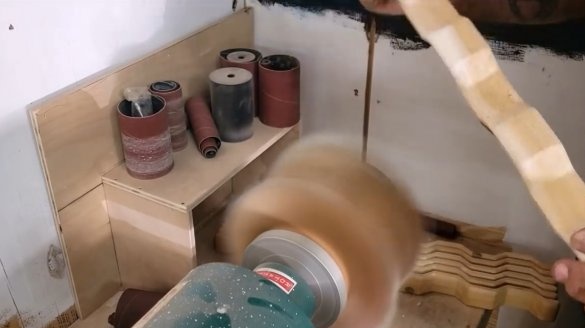
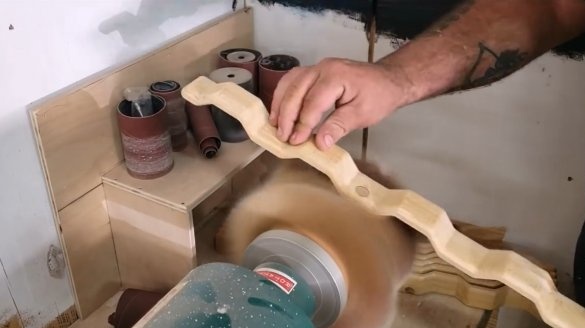
But that is not enough. CNC, as you know, does not give perfectly smooth surfaces at the exit. The author has to clean them on a grinding machine.
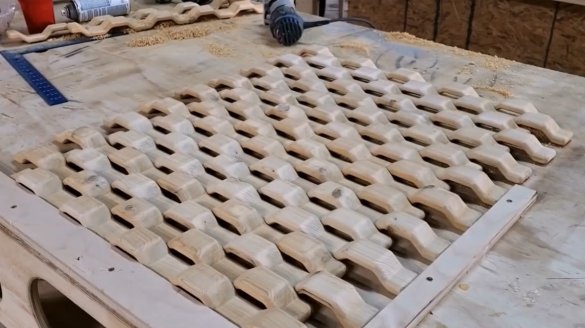
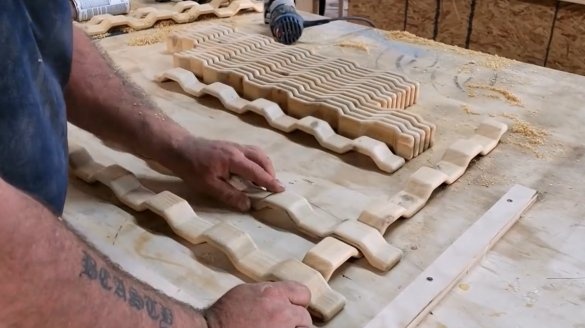
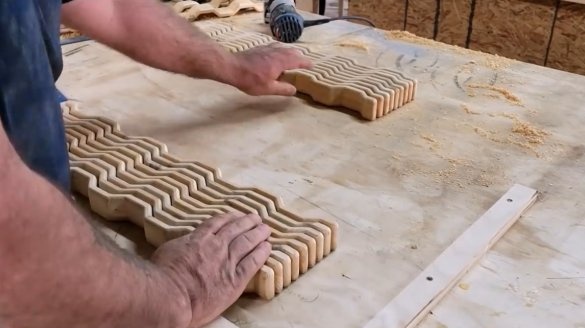
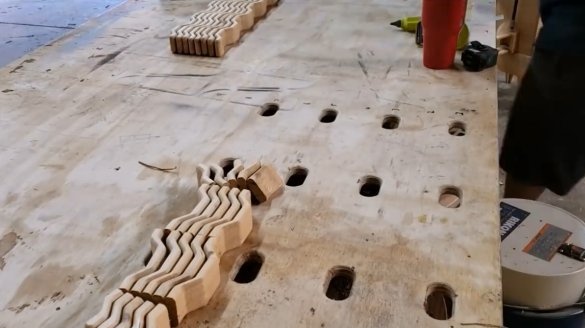
When all the elements are cleaned up, the master puts them on the workbench to see what options for patterns can be created from them.
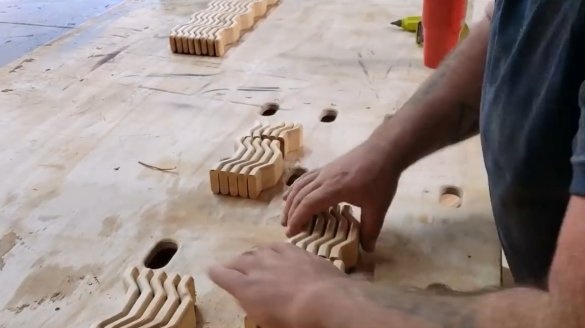
After the pattern is selected, the author proceeds with the assembly. But in this process there is one trap: you can wrap one detail around another only up to a certain point. As soon as you collect three rows - further advancement becomes impossible.
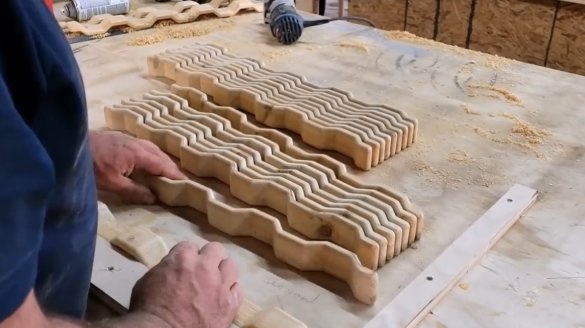
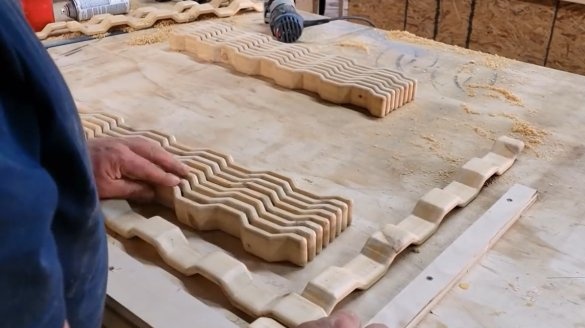
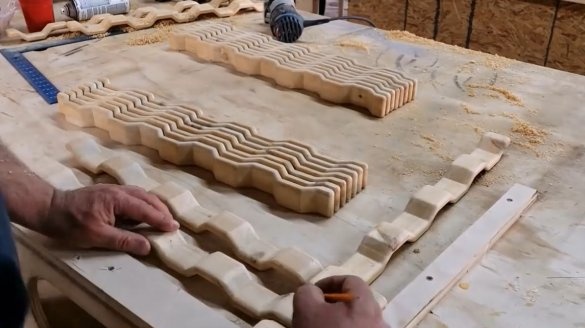
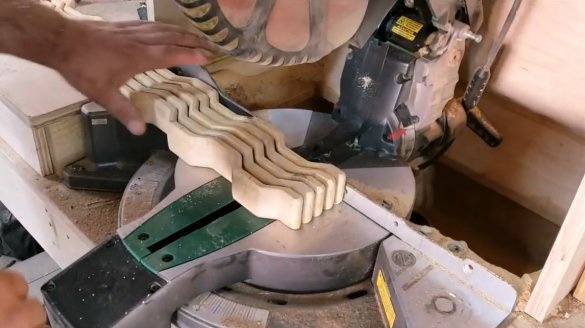
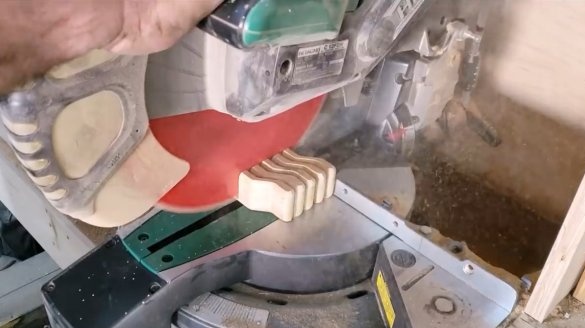
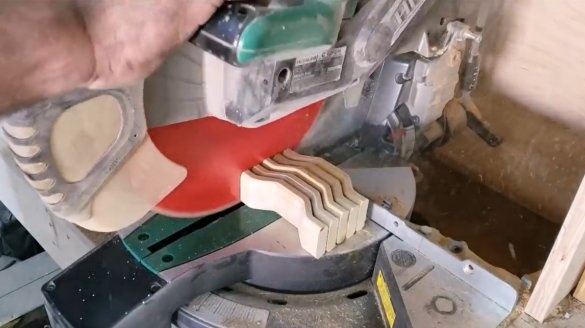
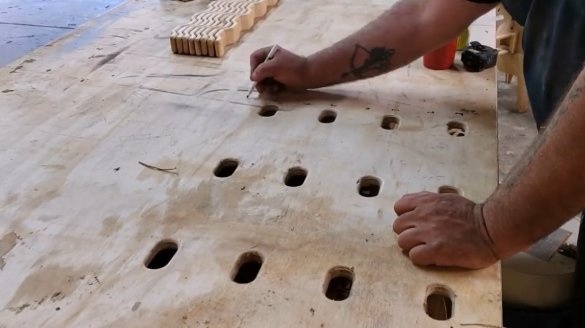
The way out, which the craftsman finds, is to cut half the details into sections. To do this, he puts together nine elements and cuts them in those places where the upper or lower protrusions coincide. He marks the cut areas with a pencil. And here you need to be very careful that all the details eventually line up in the planned pattern. The structure of the fibers in all strips is the same.One row is cut on one side at the height of the protrusion, and the next on the other ascent, and so they alternate.
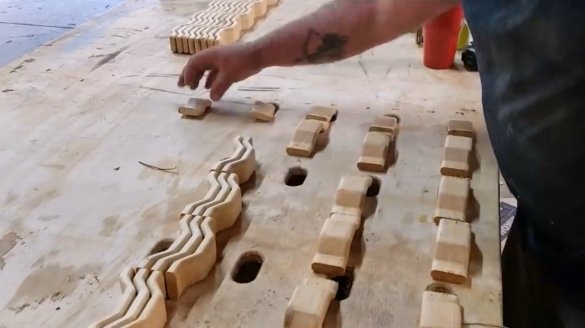
Thus, five rows are cut and arranged so that they start with a short segment, and the next four rows, when cut, begin with a longer segment.
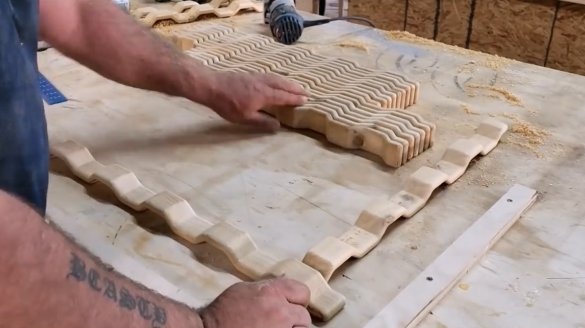
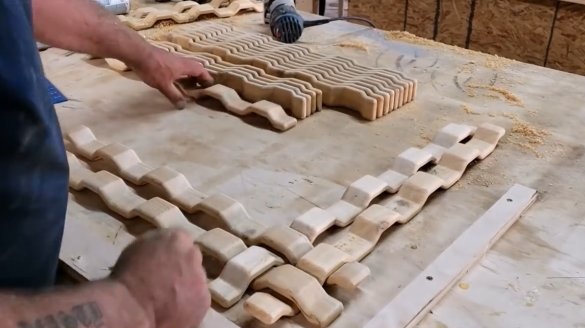
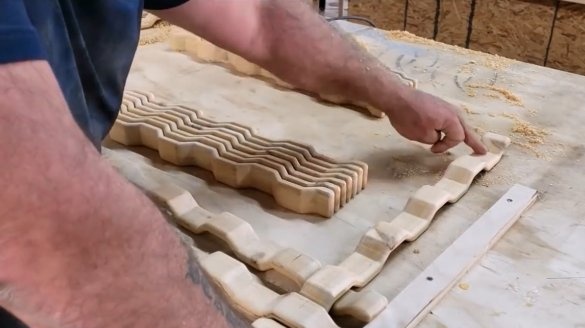
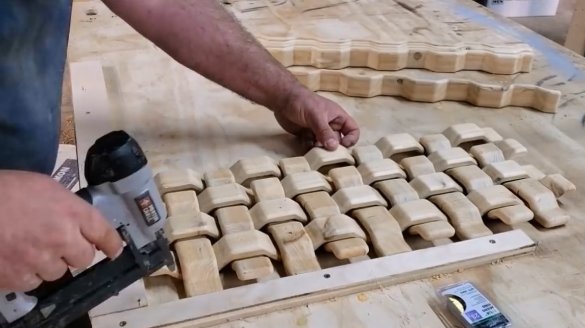
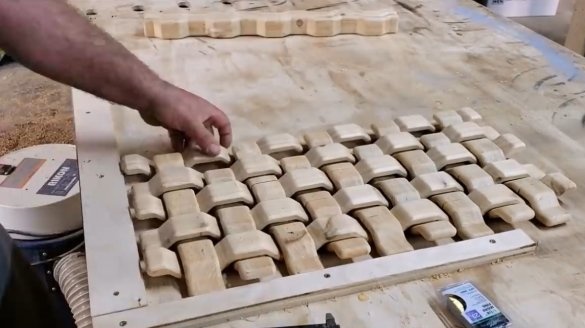
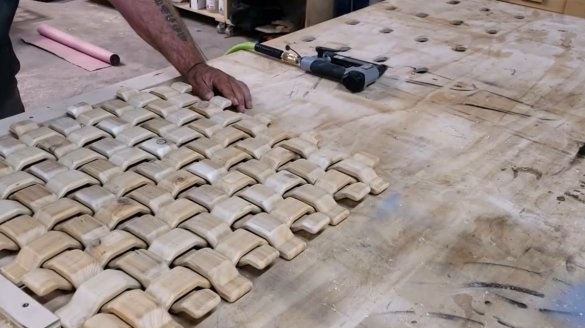
Then the author lays out the first 5 rows on the desktop, leaving spaces for the remaining four rows.
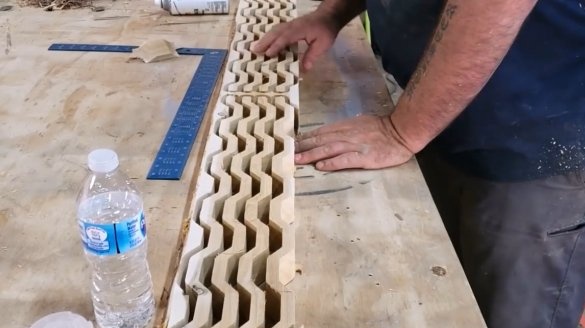
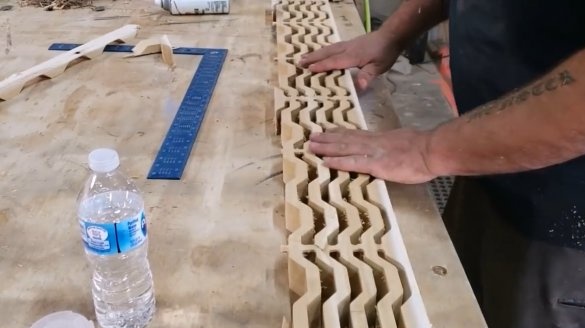
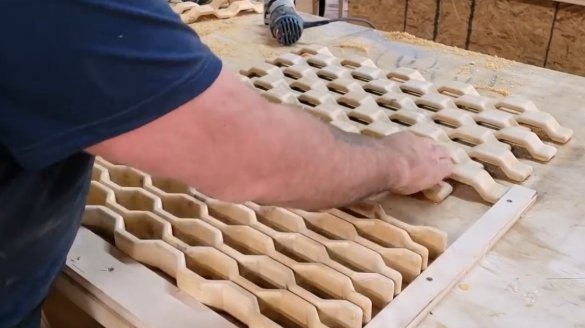
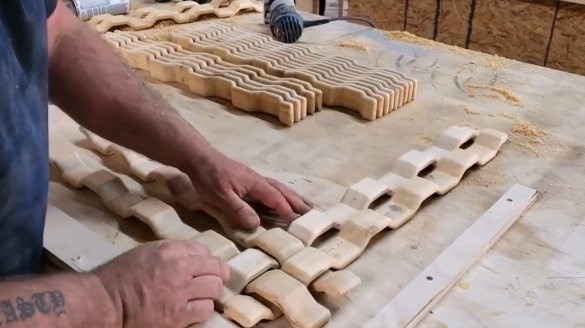
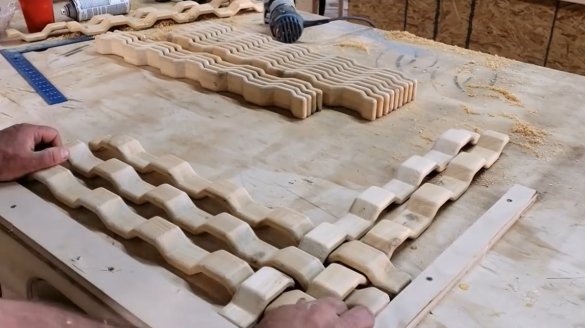
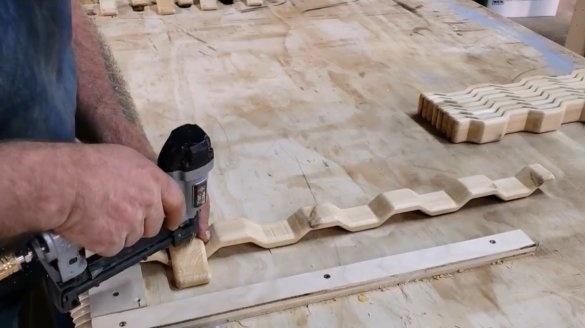
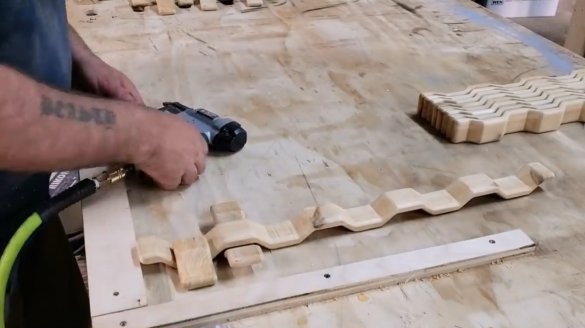
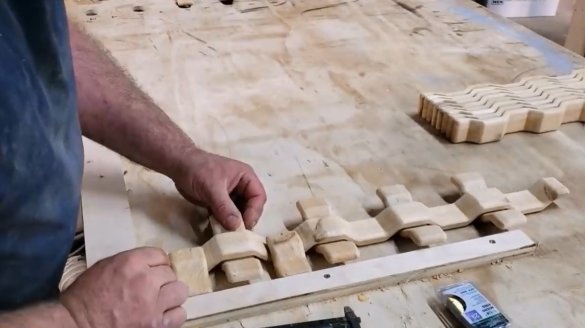
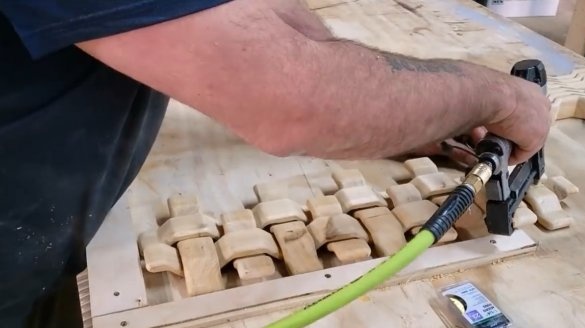
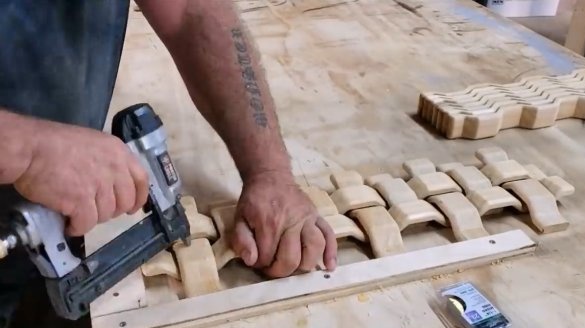
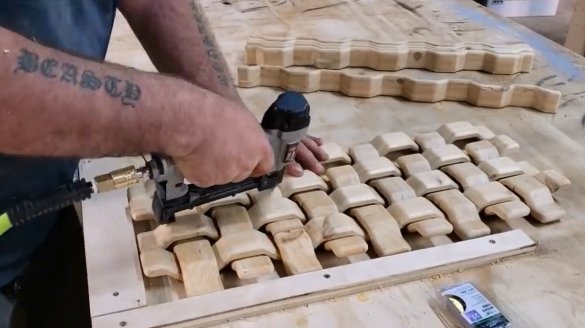
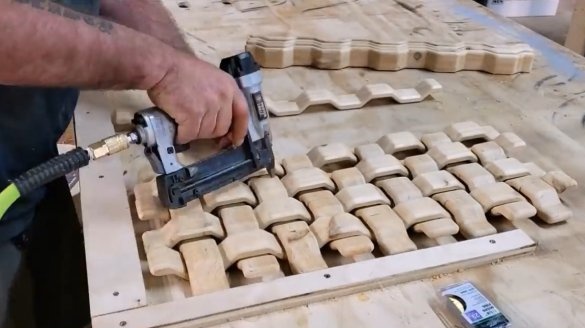
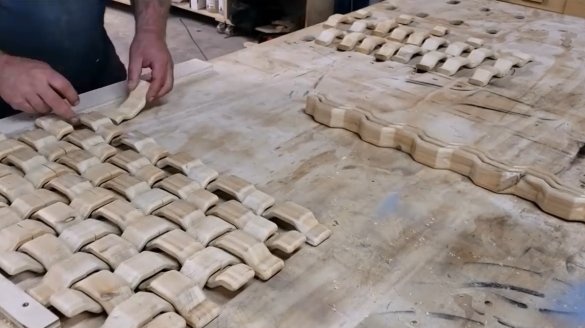
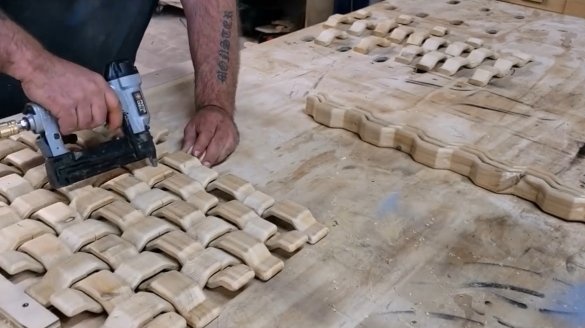
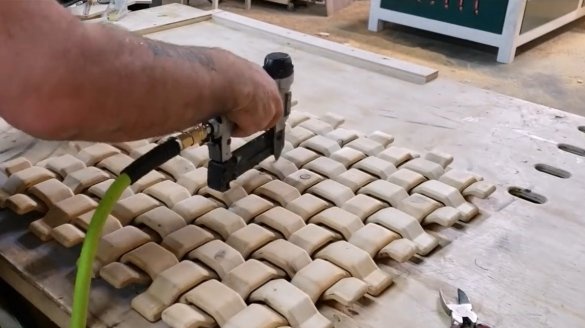
Then he shifts one row to another so that an imitation of weaving is obtained. To fasten the elements together, the craftsman uses an industrial neiler.
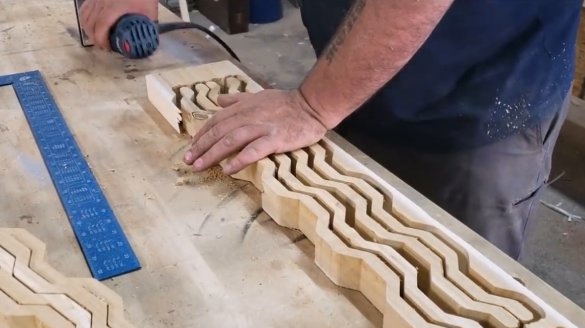
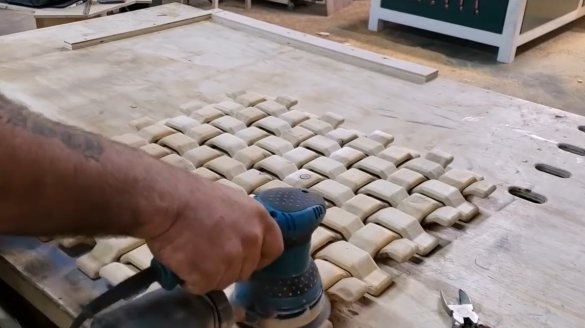
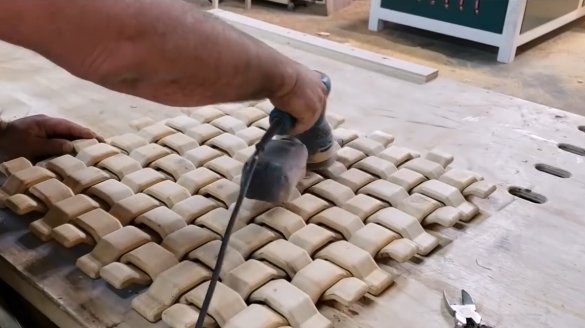
If he was sure of the success of the project, he would use wood glue. But this is just an experiment. After splicing all the parts, it additionally cleans the surface with an orbital sander.
All the work took about 45 minutes and required considerable attention. It was necessary to track so that the elements fit snugly against each other and there were no large gaps.
If you try to do the same work, but at the same time put all the elements on the glue, the process will last several times longer. According to the preliminary calculations of the master, in this case the project will take about 1.5 days.
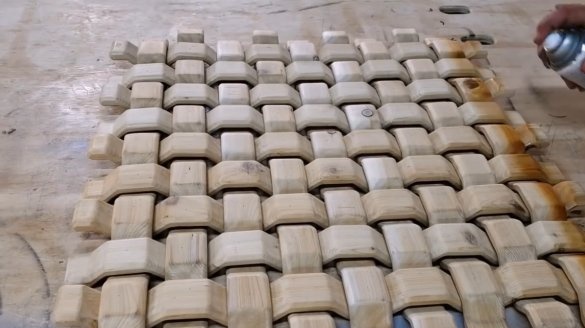
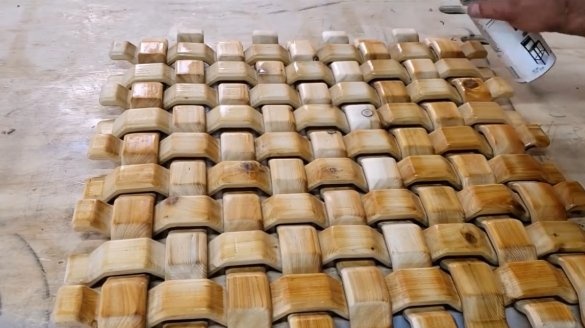
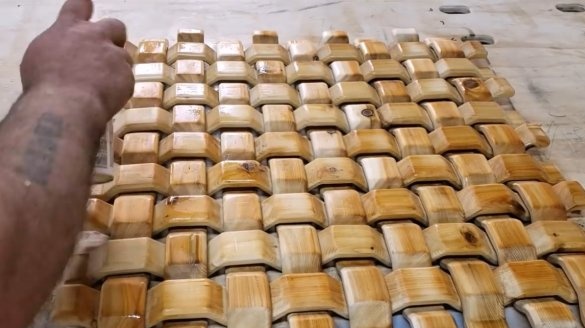
In conclusion, the author covers the surface with aerosol varnish. This is cedar wood, and it looks very impressive after finishing.
Thanks to the author for an interesting carpentry technology!
All good mood, good luck, and interesting ideas!

