Hi, the inhabitants of our site! When I translated the article on pseudo-wooden led watch, some readers thought: is it possible to replace the vibration sensor needed to switch the clock, thermometer and hygrometer mode with a homemade one? Of course you can, and the author of Instructables under the nickname ArifSae tells how.
The master uses a spring from a winding wire as a moving element of the sensor. In addition to a copper one, you can use a steel spring, for example, from a fountain pen with a button, but it is more rigid, which will affect the parameters of the sensor.
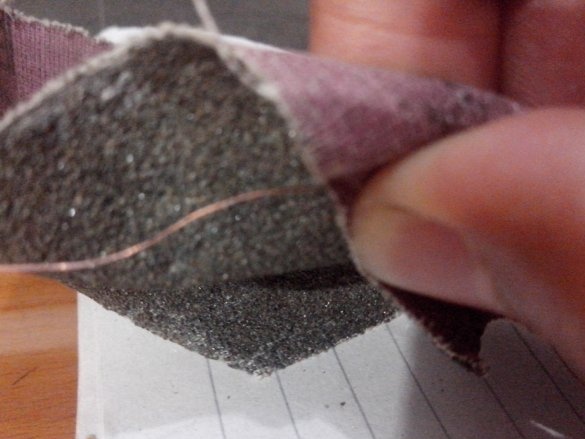
Since the winding wire is varnished, it must be stripped. To do this, ArifSae applies sandpaper:
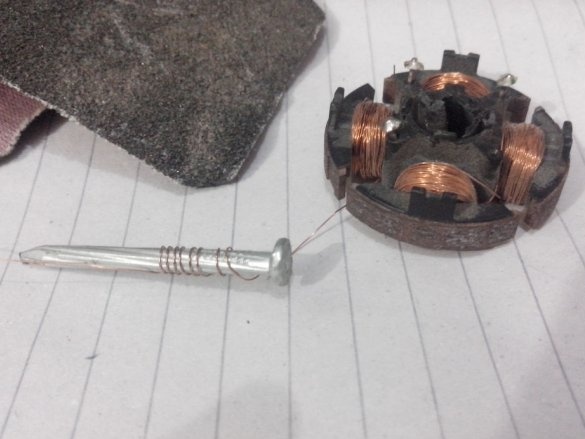
Winding a stripped wire (by the way, taken from the engine of a broken computer fan) onto a nail:
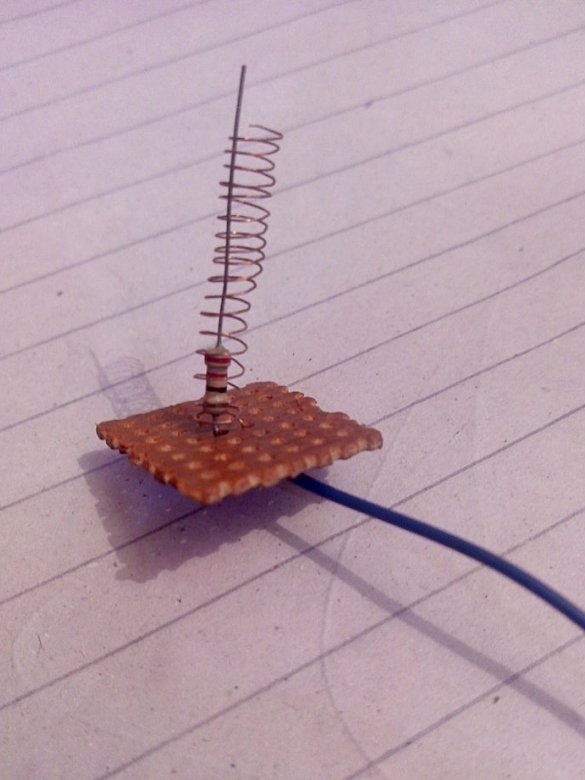
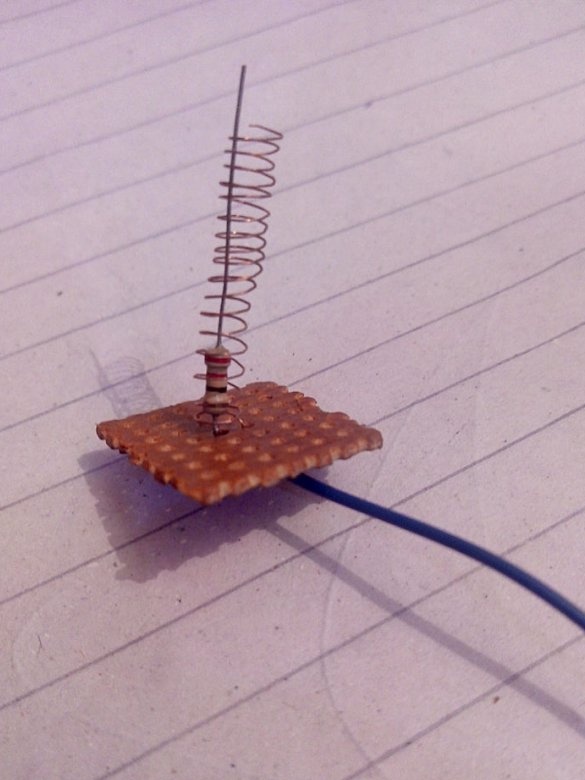
And it collects such a thing from a spring and a 220-ohm resistor on a perfboard type board:
If the spring is copper, such a vibration sensor should be positioned strictly vertically, otherwise the spring will tilt and touch the output of the resistor even in the absence of vibration. With a steel spring, the sensor can be operated in any position.
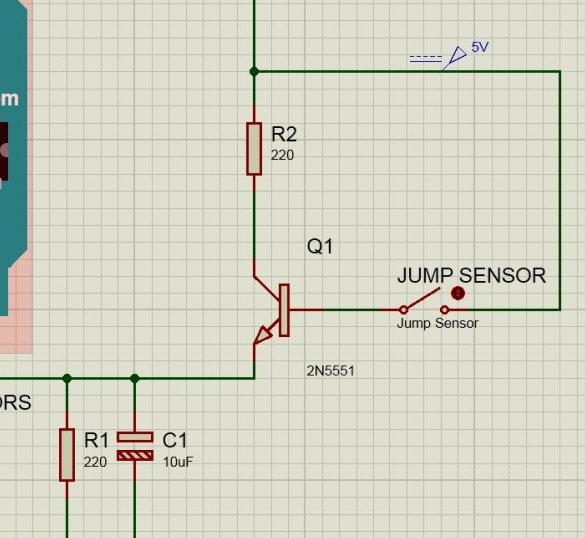
You can suppress the bounce of the sensor contacts both programmatically and hardware. The second allows you to simplify the program, while the electrical circuit is complicated slightly. One of the circuits for hardware bounce suppression is shown in the figure:
Such a circuit also lengthens the pulse with a very short contact of the spring with the output of the resistor. This helps the program detect a trigger, even if it is written using heavy libraries and “slows down”. You won’t have to climb into the firmware of the aforementioned pseudo-wooden clocks, with a self-made sensor, the modes will switch in a ring in the same way as with the ready one.
The developer has a vibration sensor connected to the analog input Arduino, which allows you to read its state with both the digitalRead command and the analogRead command. In the second case, you can turn off the capacitor, then there will be no hardware chatter suppression, and the program will be able to evaluate the intensity of vibration. Below are two sketch examples of using the appropriate commands. First:
int sensor = A5; // sensor pin
int led = 13; // default led on arduino

void setup () {

pinMode (sensor, INPUT);

pinMode (led, OUTPUT);

Serial.begin (9600);

}

void loop () {

int voltage = digitalRead (sensor); // read sensor here

Serial.println (voltage); // print voltage to serial monitor on pc

delay (1000);

if (voltage & gt; = 1) {// if spring contacts on shaking

digitalWrite (led, HIGH); // turn on led to show that vibration is sensed

delay (2000);

digitalWrite (led, LOW); // turn off led now

} // end if voltage

} // end loop
And the second one:
int sensor = A5;
int led = A0;

void loop () {

int sensorValue = analogRead (sensor);

float voltage = sensorValue * (5.0 / 1023.0);

Serial.println (voltage); delay (200);

if (voltage & gt; = 0.5) {// set sensitivity here, increase voltage 0.5 for less sensitive, decrease for more sensitive

digitalWrite (led, HIGH);

delay (2000);

digitalWrite (led, LOW); }

}
An advantage of a vibration sensor over a sensor is the ability to switch modes not by touching a specific point on the case, but by tapping it anywhere. In the second reading method, a different reaction can be achieved depending on the intensity of tapping. For example, to make the mode switching on the ring reversible: with a weak tap on one side, with a strong one on the other.

