

The author of this homemade I wanted to make some kind of lamp for a long time, but I could not decide what to use: LEDs or LED strips. Also, he could not decide on the power of the lamp, from the battery or from USB.
In the end, he decided to buy cartridges with a switch in the cable, so as not to worry about electronics and focus on design and manufacturing.
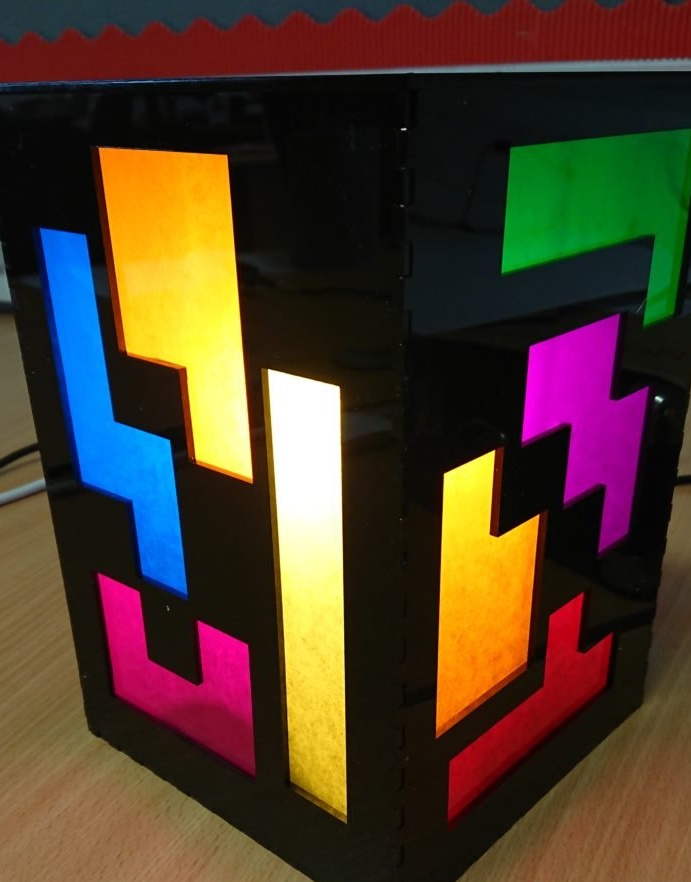
The famous Tetris inspired him to create this lamp. He decided to use black acrylic and heat-resistant filters to create colors.
For this, the following materials were required:
3, 4 sheets of acrylic
Super glue
2 bolts M6 x 80
6 x M6 nuts
heat-resistant filters of various colors
lamp holder with plug and switch
low power bulb
baking paper
Step 1: Design
The author used a computer program for constructing boxes to create a box without a lid. He wanted a tooth design to make it easier to glue the sides together. In order to fit 2 sides on 1 sheet of acrylic 300 x 400 mm, I had to stop at dimensions 175 x 175 x 250 mm.
This file was then exported as an SVG file in Inkscape / Illustrator.
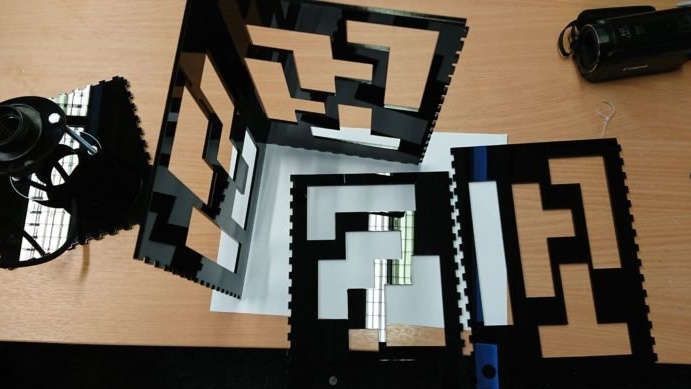
Then, Pentomino figures were created in the program. With this handy diagram, a simple 4-piece design was found. A different design was used for each side of the lamp, given the space between each shape. At the same time, a feeling was created that when combined, the puzzle would be neatly combined.
Note that there is a flat edge on each side, and there is a circle near the bottom of one of the sides that provides space for the cable to pass through. (Note: If you use a cable with a button, this space should be larger so that it matches the size of the button block, so add this to the project if you need to).
Use a laser cutter to cut all parts.
Step 2: lamp holder
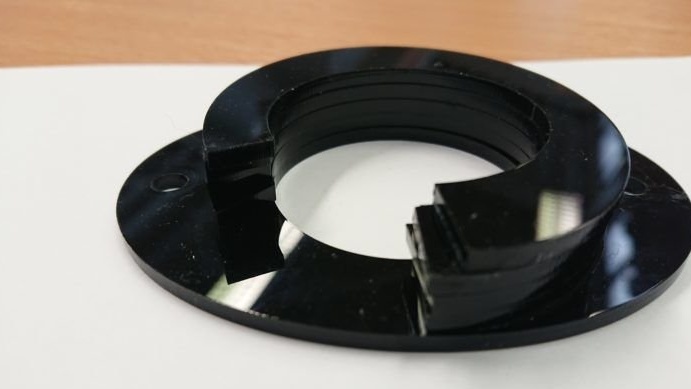
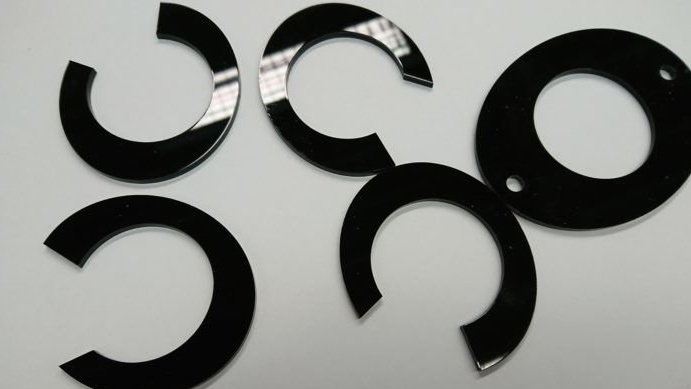
First of all, you need to decide how to fix the lamp holder on the lampshade. The holder comes with a ring that rotates around the outside of the lamp holder (about 45 mm).The author created a plate that attaches to the ring. The plate has 2 holes of 6 mm for the passage of bolts.
A second plate and 4 spacers were also made. They match the shape of the hole in the plate, but leave room for cable and bolts. This hole is necessary so as not to pinch the cable. And the bolts should be tightened from below with nuts.
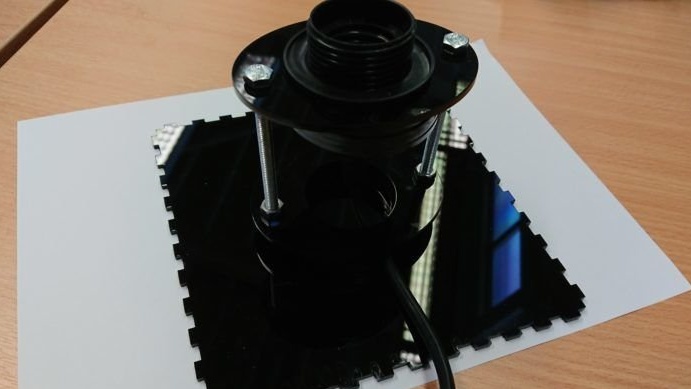
Using 2 bolts, the lamp holder was assembled as follows:
4 spacers were glued together to make room for the cable. This structure is then glued to the underside of one of the plates.
Next, pass the lamp holder through the base plate and single top plate. Then screw the ring and attach the top plate to the ring with a pair of superglue points.
Then the author passes the bolts through the plate and fastens them with nuts. Adds nuts to the ends of each bolt and screws them approximately 8 mm. Insert the nuts through the hole in the base plate and ensure that the structure is rigid with 2 nuts. By tightening or loosening the 2nd layer of nuts, the base plate is tightened between 2 sets of nuts.
Finally, when the cable is fed under the plate and through the gap in the spacers, the base plate should be glued to the bottom of the lampshade.
Step 3: Color Filters

Initially, the author wanted to assign a color to each shape, but there weren’t enough colors. Therefore, I had to find a way out of this situation in another way. The most effective method was as follows:
A filter is placed on top of the figure and markers are drawn at the corners, leaving a gap of about 5 mm. This must be done for each figure.
Next, apply a couple of points of superglue in the invisible part along the edge of the figure and fix the cut filter. Be careful, the glue neutralizes the color on the filter, so do not allow the glue to get into the visible parts of the filter.
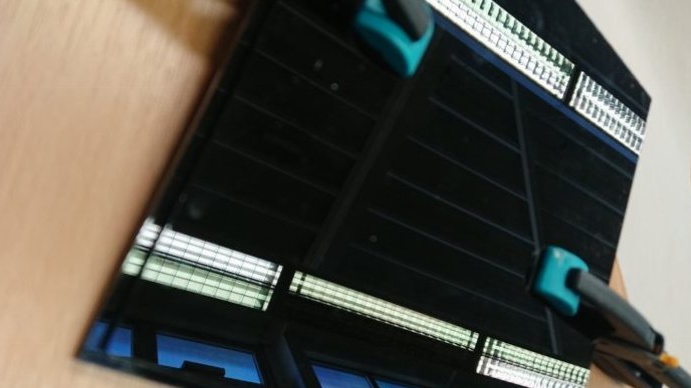
As soon as all the pieces are in place, you need to cut off a piece of baking paper - it is required to scatter the light, since the filter is transparent and a light is visible through it. The choice fell on baking paper, because it is heat-resistant. Using the superglue point on top and bottom of the lampshade, spread the baking paper over the entire frame.
Step 4: Assembling the sides of the luminaire
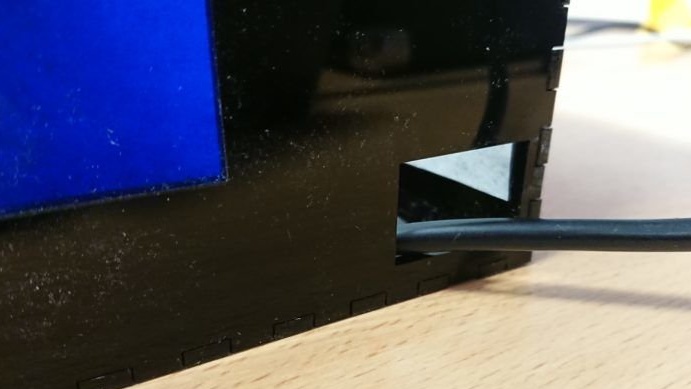
You must first bring the sides together to make sure where each side will be in relation to the base plate. You should start from the back, which has an additional hole for the cable.
You may have to remove the plug to pass the cable through the hole that has been cut for this purpose.
Then the sides stick together.
Step 5: Cover
This step is optional. When the lamp was tested, the author liked it, but did not like that everything was visible inside the lamp, baking paper looked dirty, so it was decided to add a cover.
Cut 2 squares and glue them together with superglue to make sure there is a clear 3 mm border. After drying, the lid will fit snugly against the top of the lamp.
Step 6: Finish
Add a light bulb and turn on the lamp. ;)