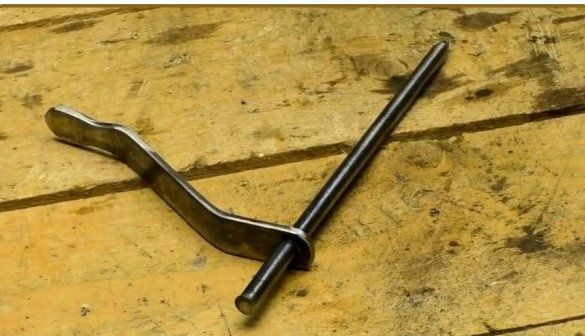
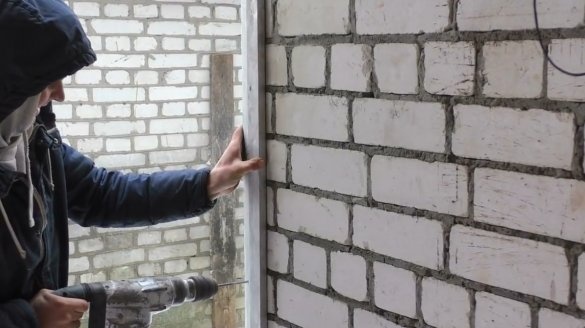
In this article, the creator of YouTube channel "Creates DIY" will tell you how he made a quick building clamp.
Materials
- Steel bar 10 mm in diameter and about 250 mm long
- Steel strip 25x4 mm with a length of about 200 mm.
Instruments, used by the author.
- Vise, hammer
- Screwdriver or drill
- Grinder, cutting-off and petal stripping discs
- Orbital sander
- Sandpaper
- Clamp, anvil
- Roulette, core.
Manufacturing process.
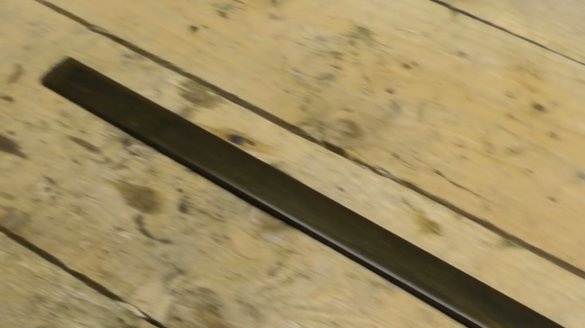
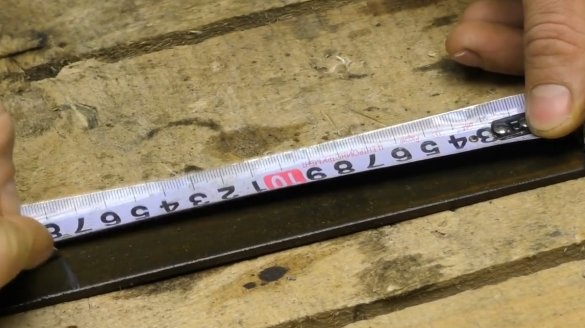
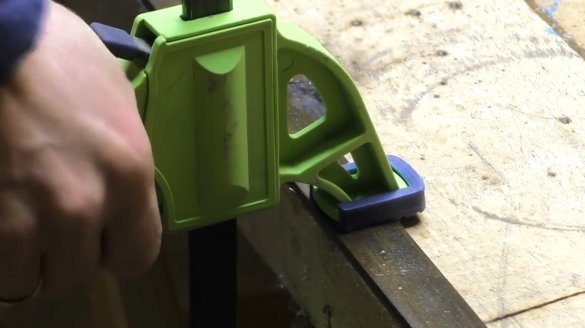
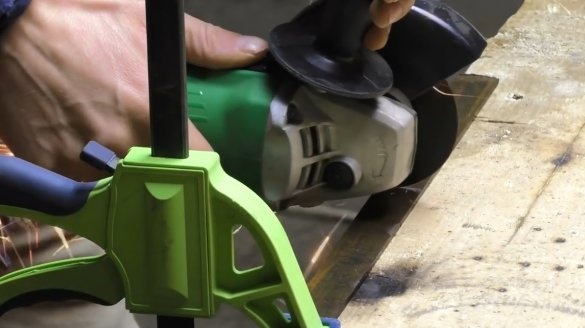
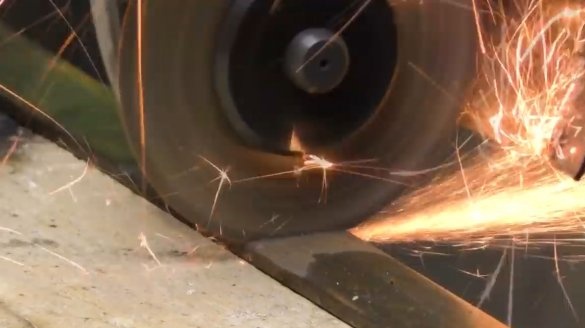
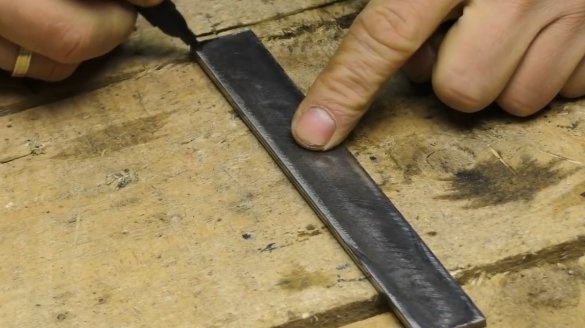
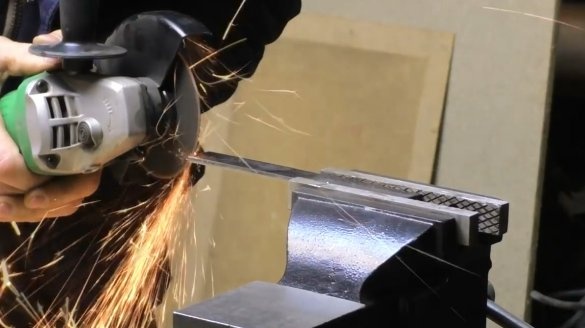
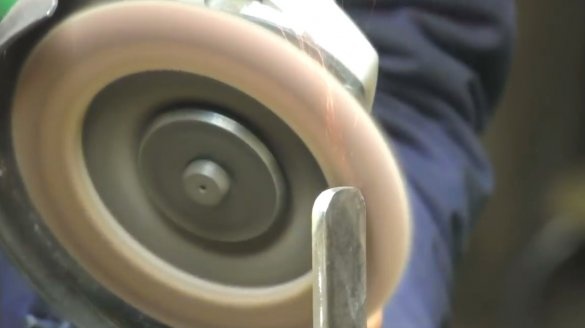
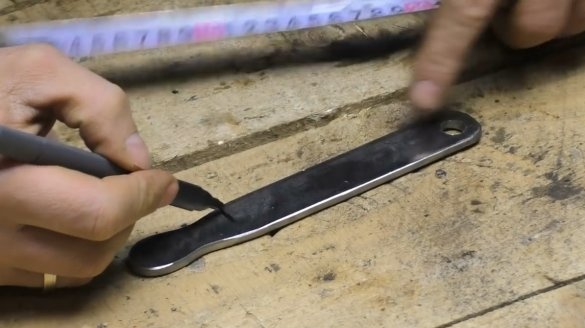
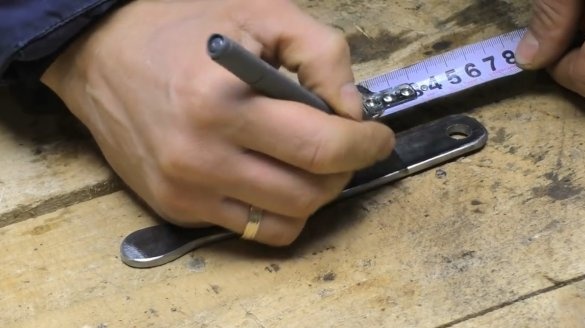
So, the author begins with the marking of the steel strip, he needs a piece of 180 mm. Then presses the workpiece with a clamp, cuts off the grinder.
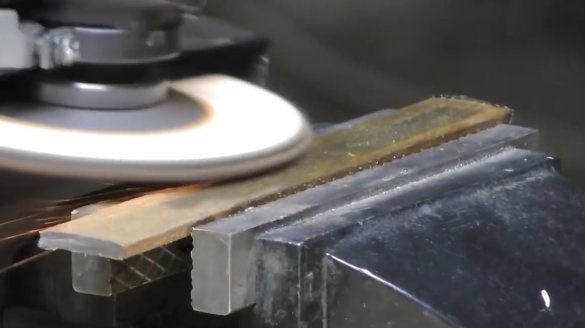
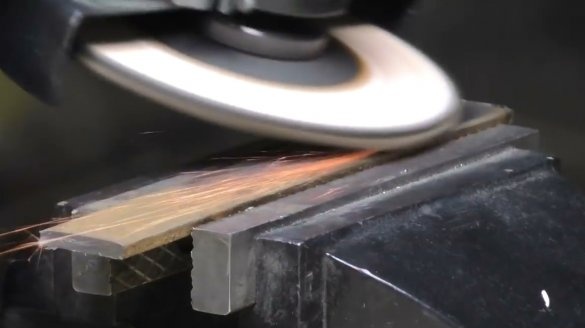
It fixes the workpiece in a vice, grinds surfaces, removing rust.
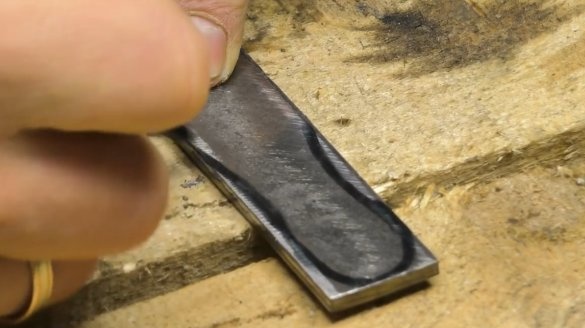
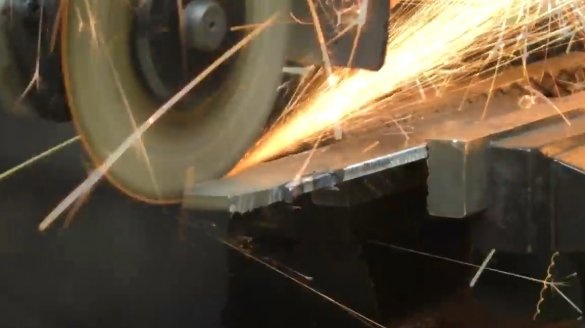
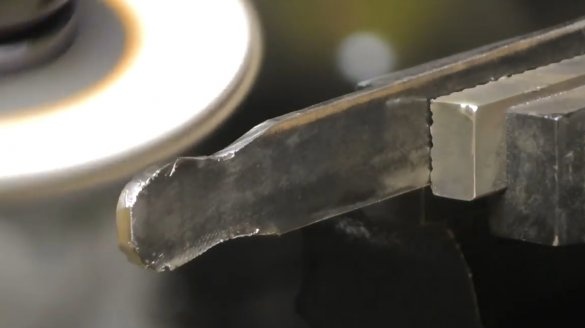
Then he marks out convenient shapes of the ends, and cuts off according to the markup.
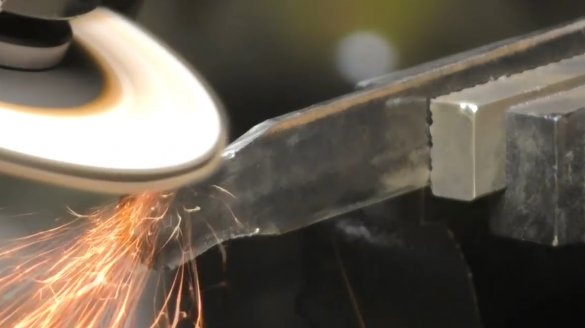
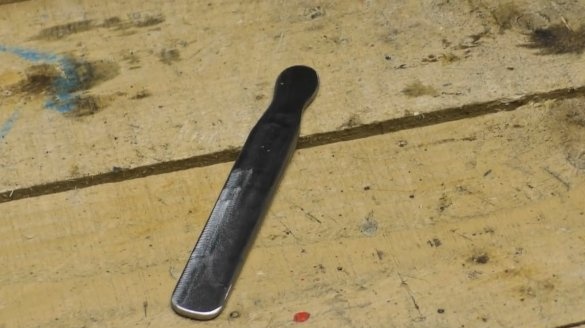
Now grinds the burrs at the edges.
Here is the first part and ready.
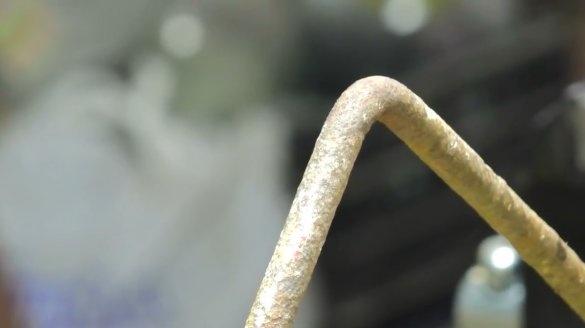
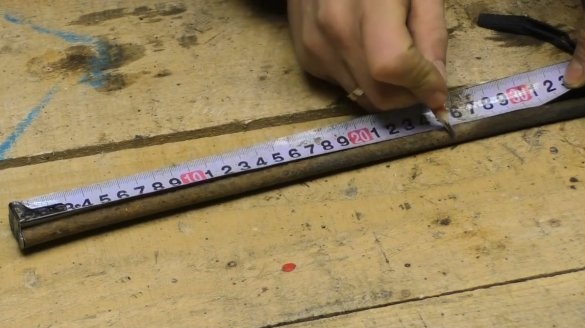
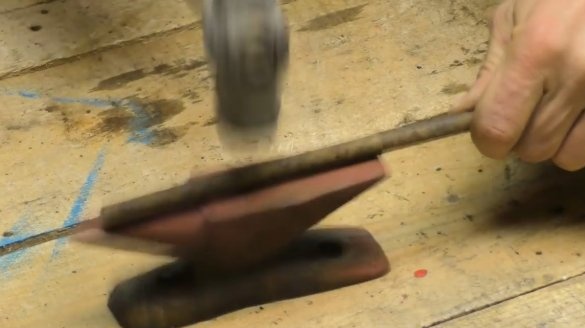
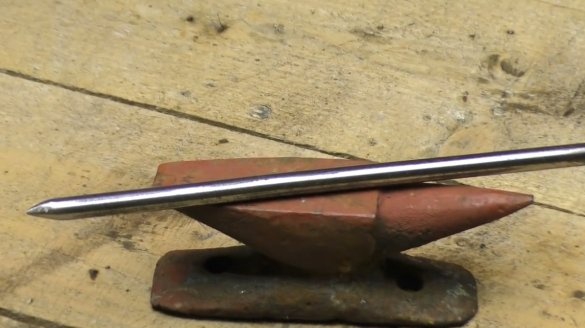
Marks 250 mm of steel bar, trimmed on the anvil with a hammer.
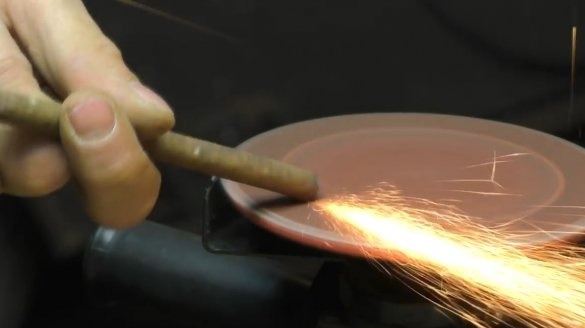
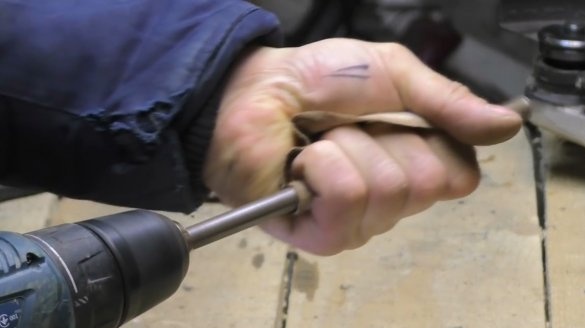
He cuts the bar, grinds one end on an orbital machine, and polishes it, holding it in the chuck of a screwdriver.
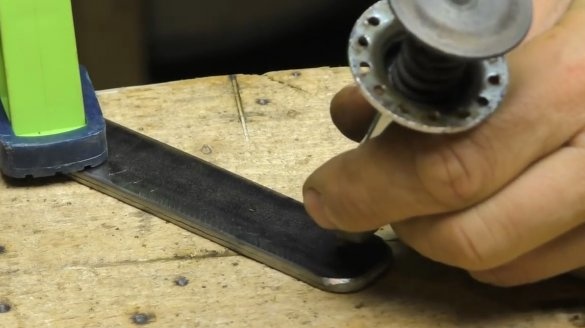
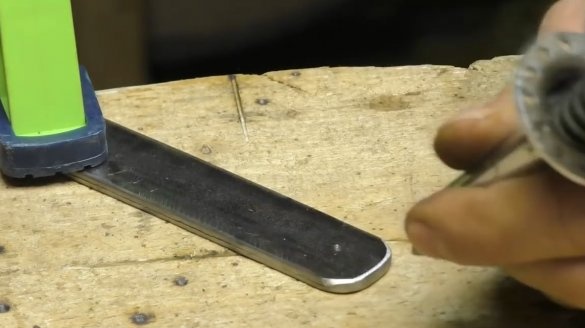
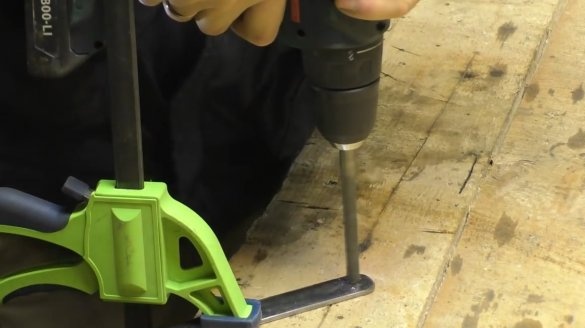
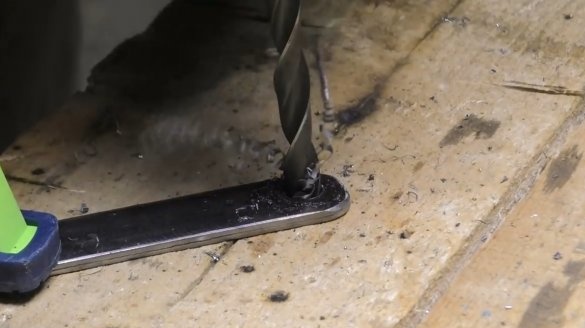
Now in the plate you need to drill a hole for the bar. Kernit fixes the workpiece with a clamp and drills a hole slightly larger than the diameter of the peg.
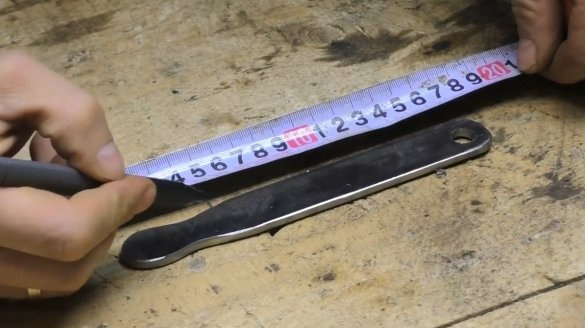
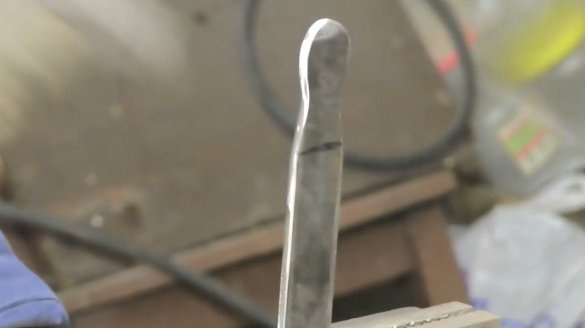
Marks future folds on a plate.
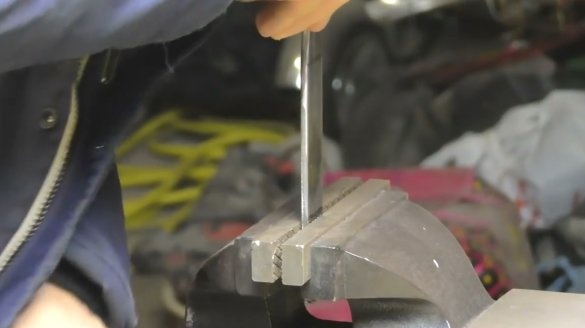
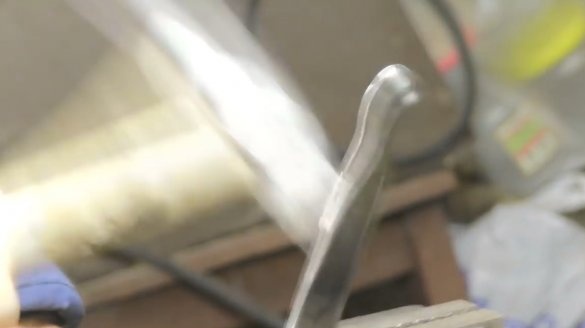
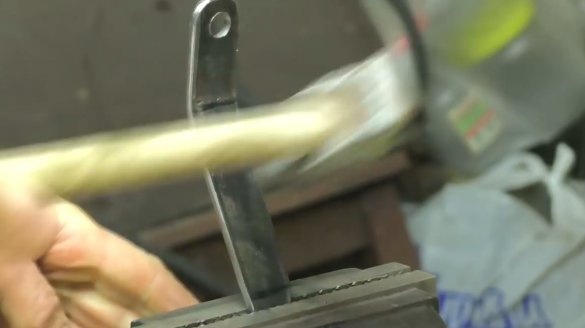
Clamps in a vice, bends a plate by blows of a hammer.
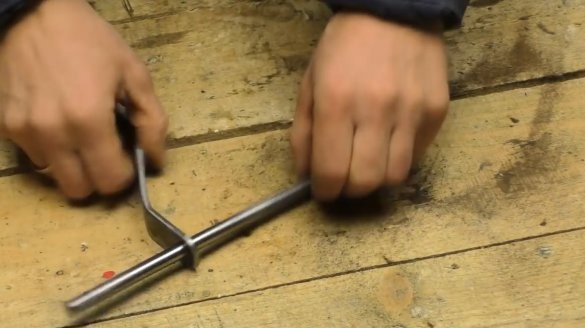
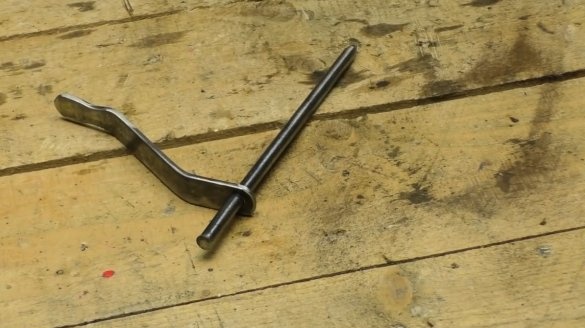
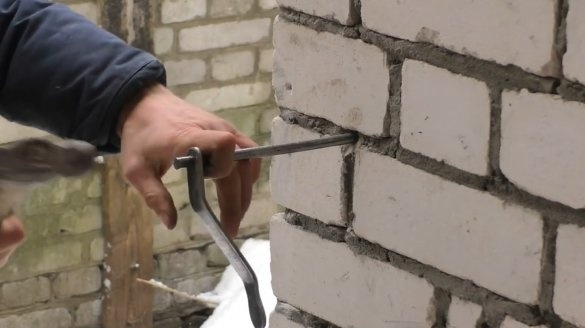
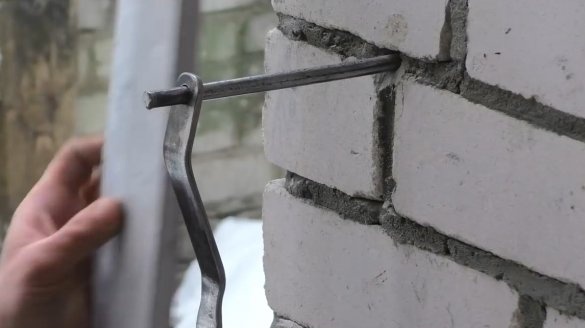
Inserts a peg into the petal, and the clip is ready.
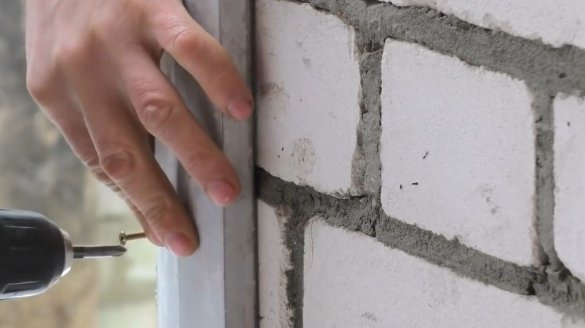
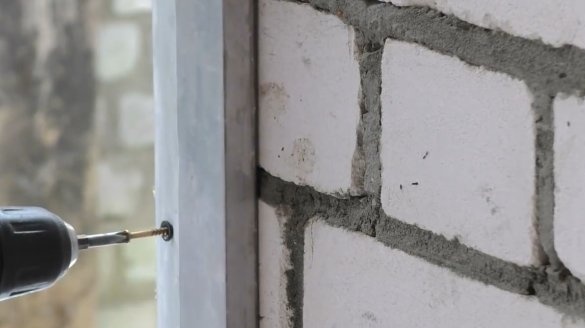
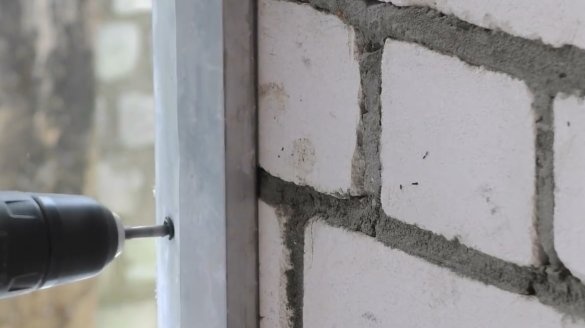
The standard method for temporarily fixing a part to a wall is highly unreliable.
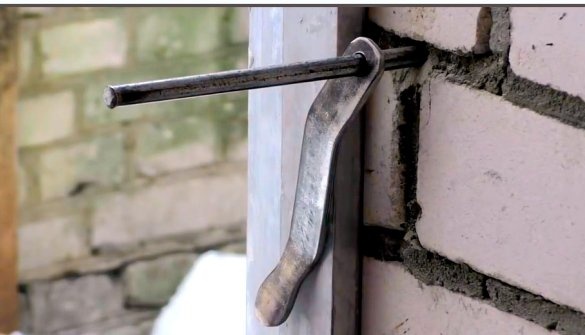
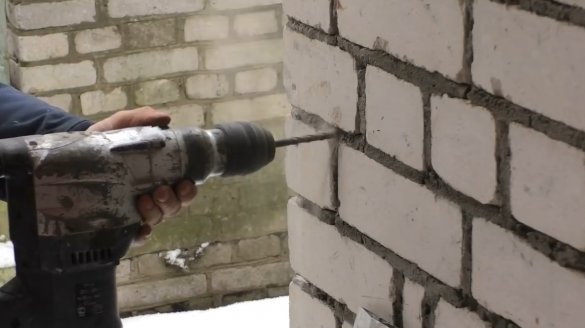
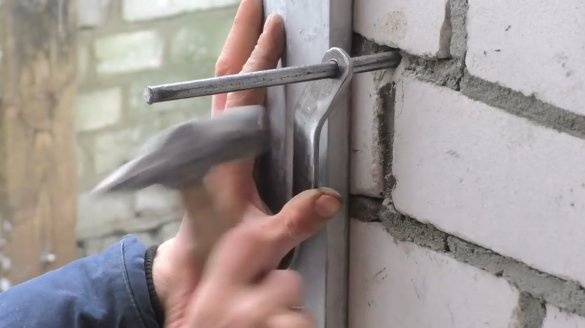
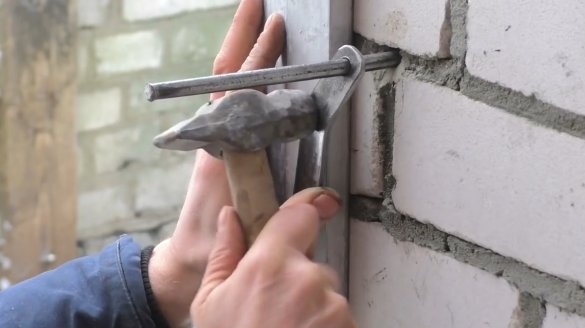
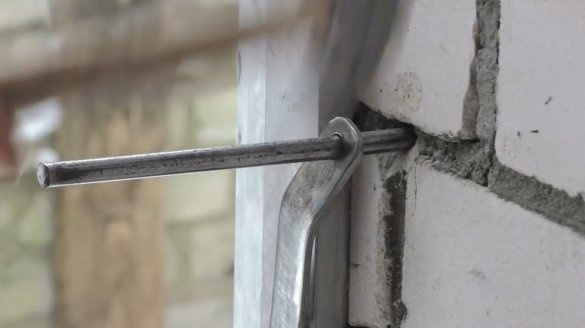
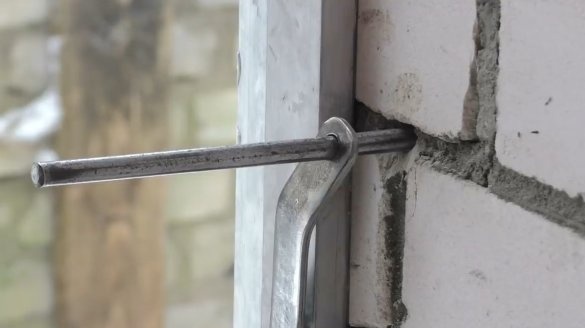
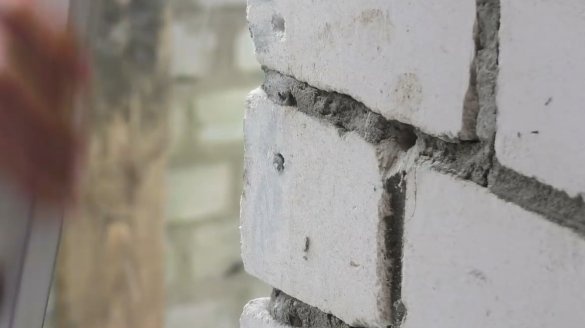
Drills a hole in the seam between the bricks, clogs a peg into it. Moreover, the petal must be put on right away, because the shank of the peg rivets over time, and becomes larger than the diameter of the hole in the plate.
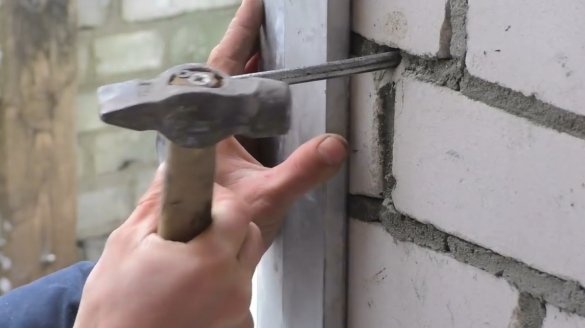
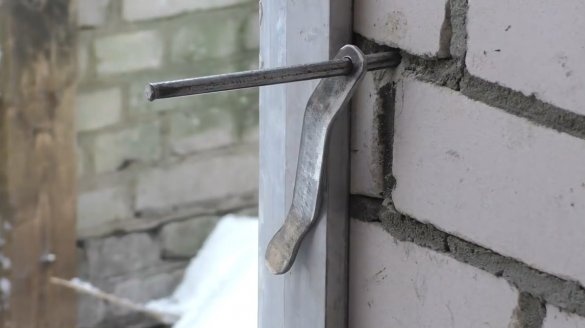
Installs a fixed element, pushes a plate to it, and clamps it with a few strokes on the upper part.
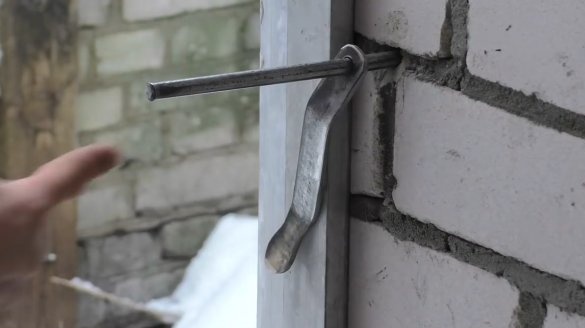
Now everything is securely fixed.
To remove the clip, just hit the peg and remove device.
Thanks to the author for a simple but useful tool for construction work!
All good mood, good luck, and interesting ideas!
[media = https: //www.youtube.com/watch? v = pE-CbQzOghc]

