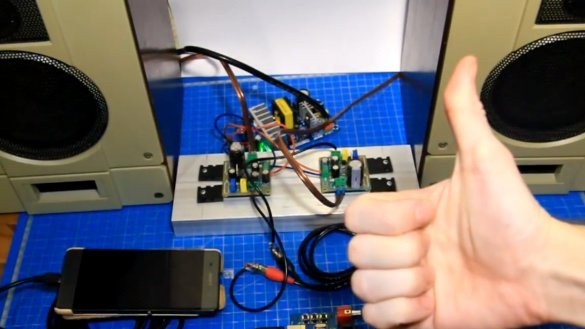
Greetings the inhabitants of our site!
Class A amplifiers have high-quality sound, but at the same time very low efficiency, more than 80% of the energy goes simply to the heating of the amplifier radiators. But thanks to the high sound quality, A class amplifiers are on sale and often the price tags bite them very much.
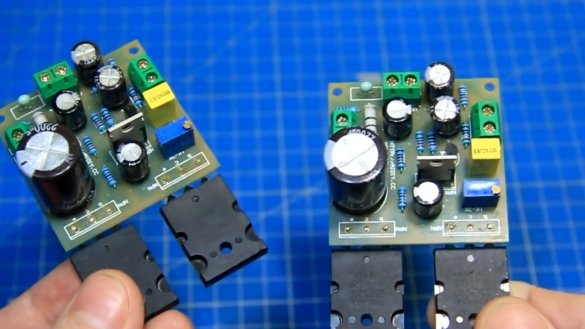
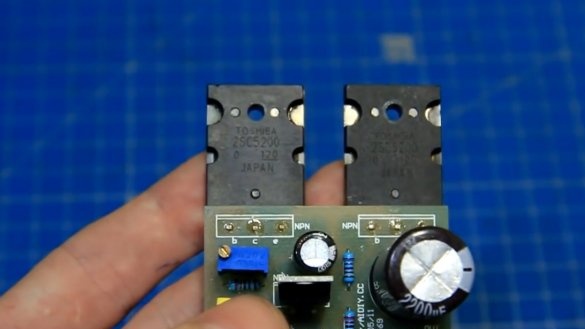
The author of the output transistors (YouTube channel "Radio-Lab") took Toshiba 2SC5200.
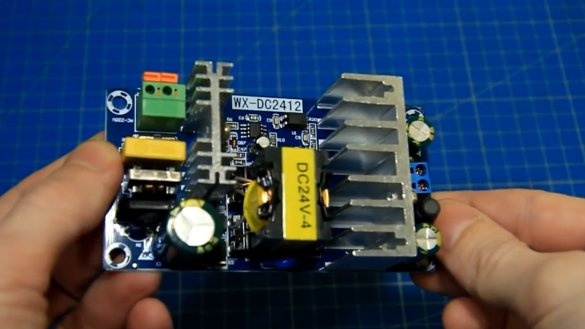
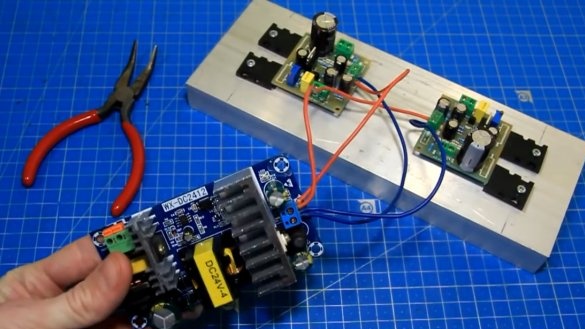
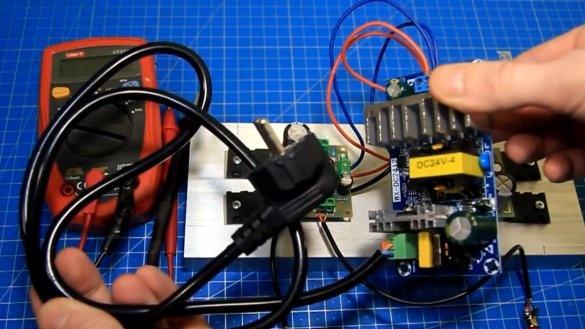
For power supply, you can use a transformer or switching power supply. In this case, we will use just such a switching power supply and see if everything will play normally.
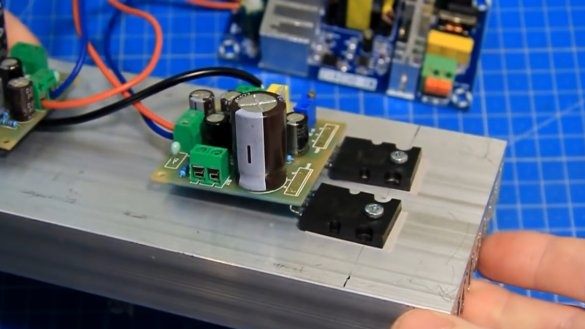
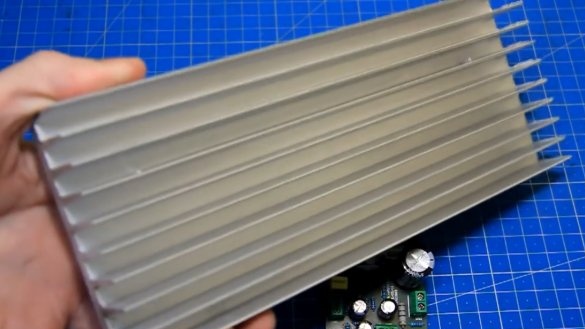
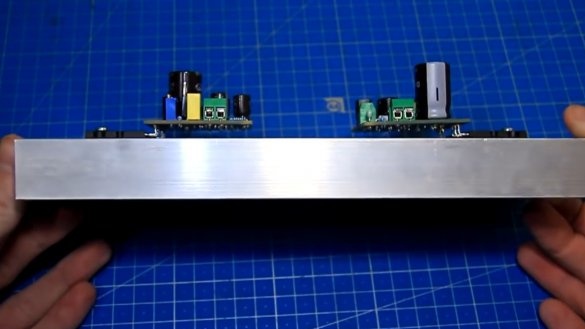
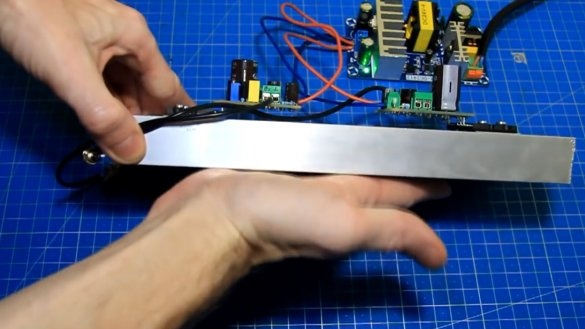
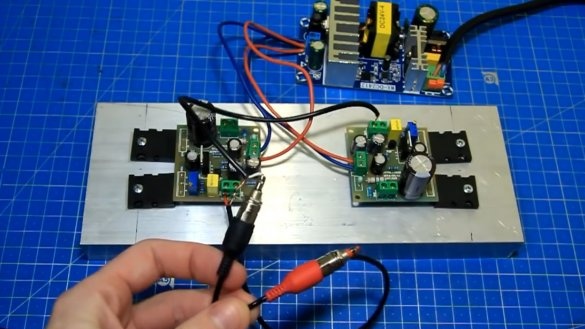
The power supply is capable of producing 24V voltage and 4A current. To power 2 amplifiers it is enough. Amplifiers of class A are very hot and for their cooling the author bought here such a U-shaped radiator on the radio market.
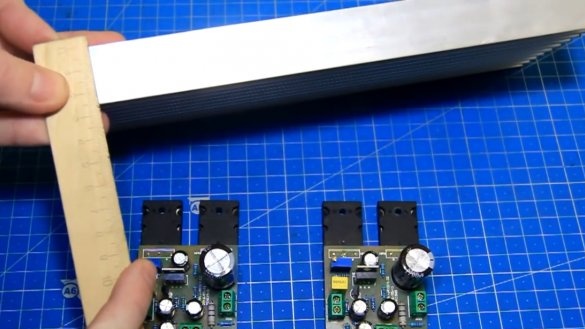
Its dimensions are as follows: length 245mm, width 90mm, height with ribs 25mm.
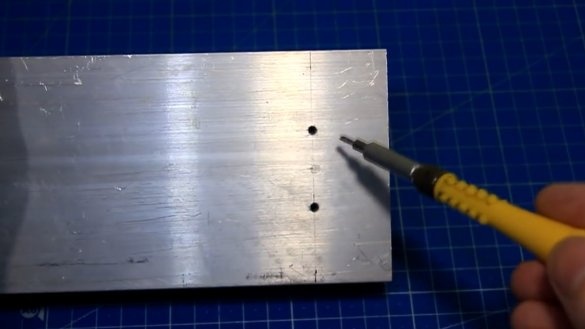
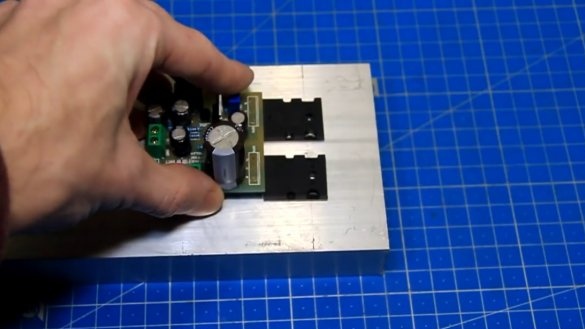
To mount the amplifiers, it is necessary to make holes and cut the M3 thread to press the power transistors. When installing, it is absolutely necessary to electrically isolate the metal rear walls of power transistors using insulating gaskets in order to avoid a short circuit between the transistor cases.
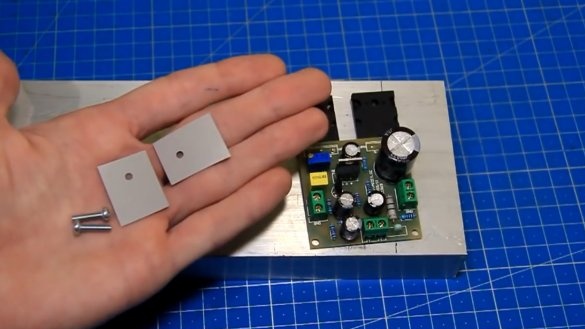
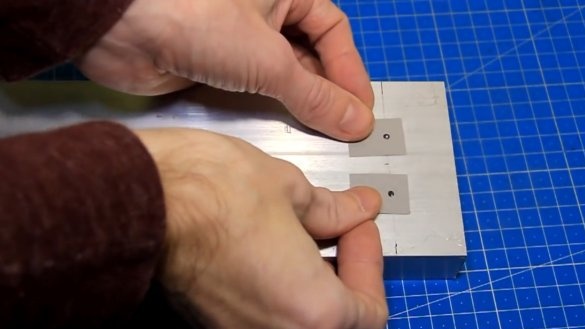
Further, the author installed insulating gaskets, which ideally on two sides need to be slightly lubricated with thermal grease for better heat transfer, but because This project is going to just show, for now, we can do without applying thermal paste.
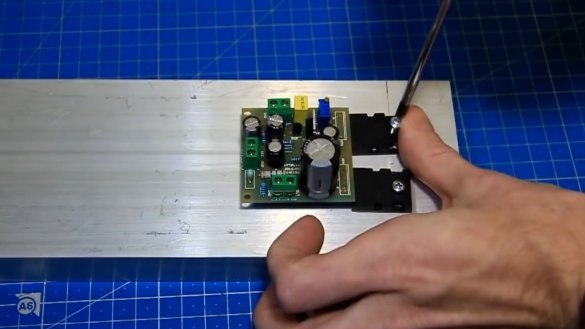
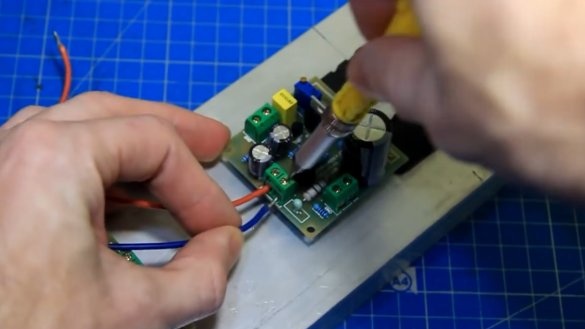
Then we fix the amplifiers with bolts and press.
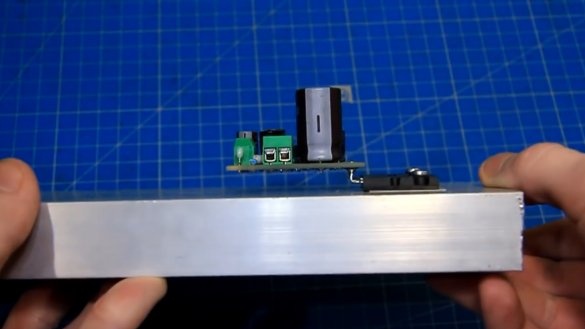
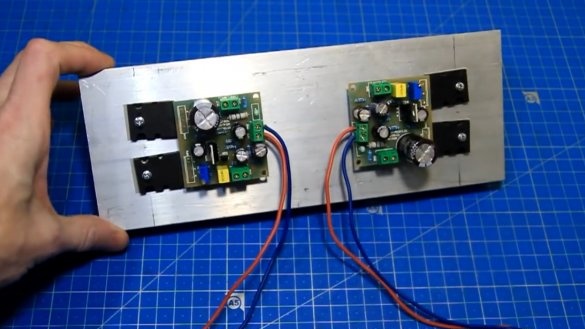
Done, one amplifier is fixed and similarly the second.
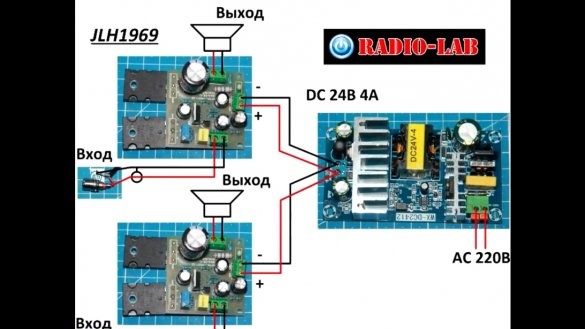
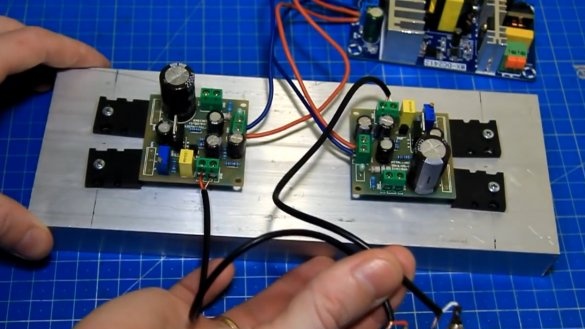
Then we will connect everything into one. For convenience, we will use this module connection diagram.
To connect the power, we will use these colored wires with a cross section of 0.75 square.
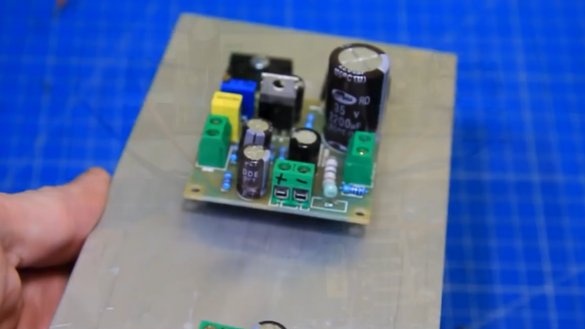
In order not to confuse the polarity of the power supply, the author signed on the amplifier boards where "+" and "-".
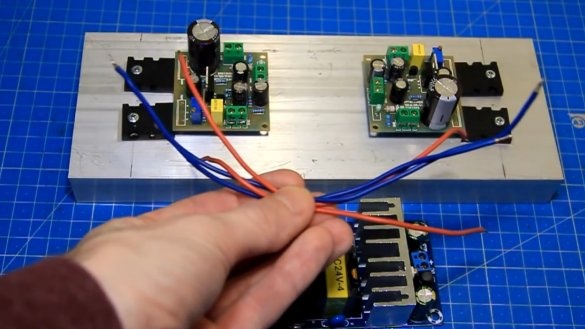
Now we connect the power wires to each amplifier. Then we connect the power wires in parallel and connect them to the power supply.
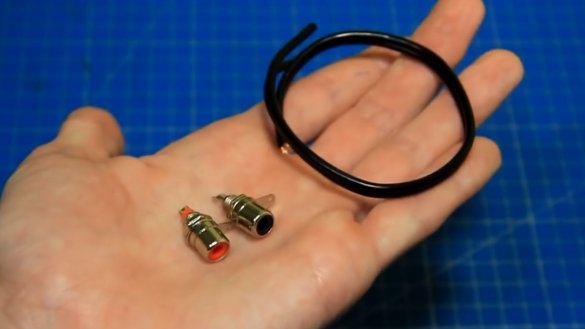
It is important, in order to avoid the appearance of extraneous noise, the power wires must be led from each amplifier individually and only then connect them closer to the power source. For the sound signal we will use a special shielded wire and RCA connectors, they are also tulips.
The wire is needed precisely with the screen, so that there is no interference and interference.
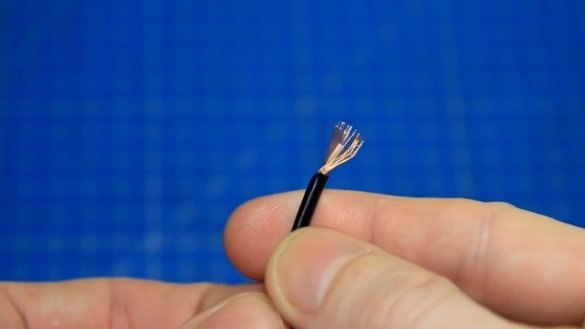
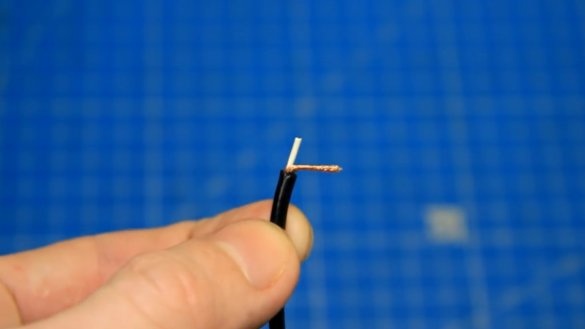
For convenience, we will do the soldering like this:
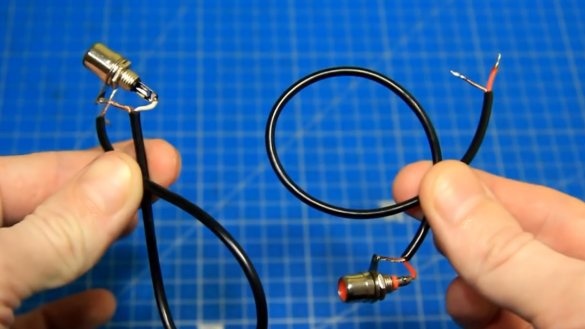
One wire with a connector is ready, well, and similarly the second, respectively, for the left and right channels.
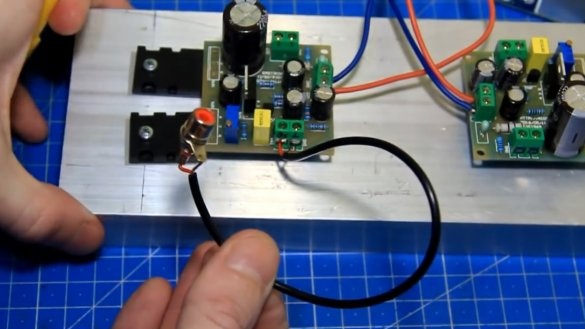
For convenience, everything is signed. Now, according to the scheme, we connect the input wires to each amplifier. Done, and that's how it looks.
Everything is ready at the entrances. But you still cannot turn on the power, first you need to set the quiescent currents on the amplifiers. First, by turning counterclockwise, the tuning resistors must be set to the minimum position so that the quiescent currents are not very large and do not damage the transistors.
Observing the safety rules, we turn on the power supply in a network with a voltage of 220V.
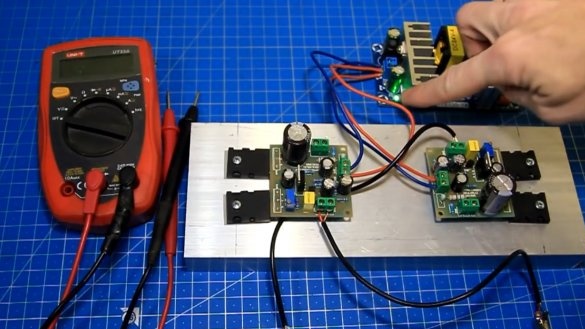
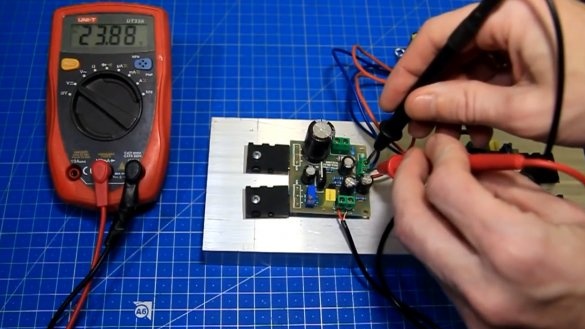
The indicator on the power supply is on, there is power. The supply voltage is almost 24V.
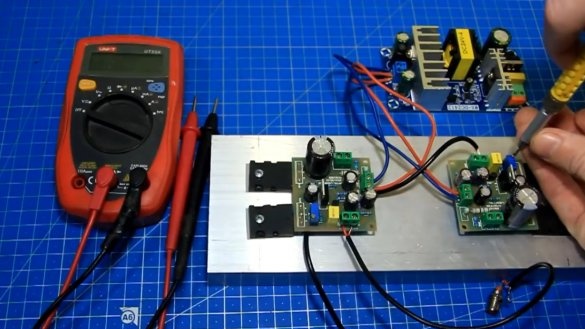
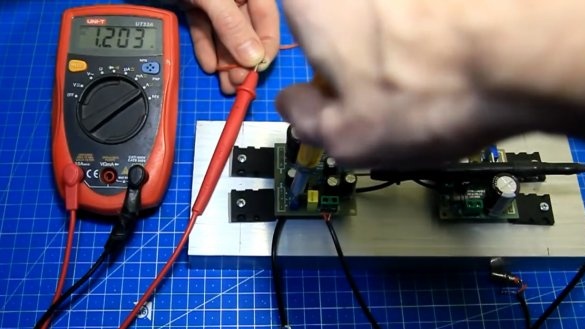
Now in ammeter mode, turn on the multimeter in the gap along the power pole of each amplifier. Then, by rotating the tuning resistor, we set the quiescent current of about 1.2A on each amplifier.
Done, similarly, and the second amplifier.
Now you can connect the power wires to the amplifier. After approximately 30 minutes of warming up, it is necessary to reconfigure the quiescent currents again. Well, everything is ready to configure the amplifiers. That's actually there is a minus of the A class amplifier - this is its heating, there was no music yet, and it’s not warming so weak anymore.
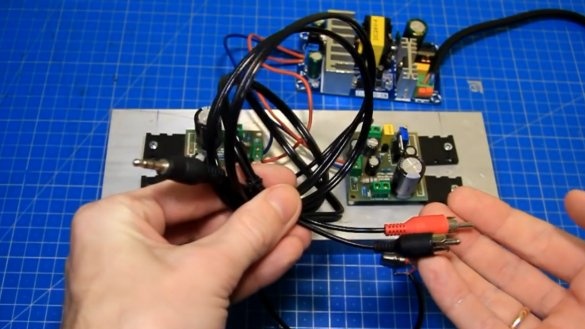
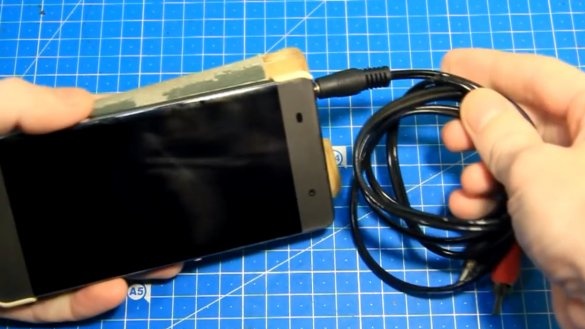
To supply the sound signal to the amplifiers, we will use this 3.5 mm audio cable in 2 RCA.
We connect it to the input of the amplifier.
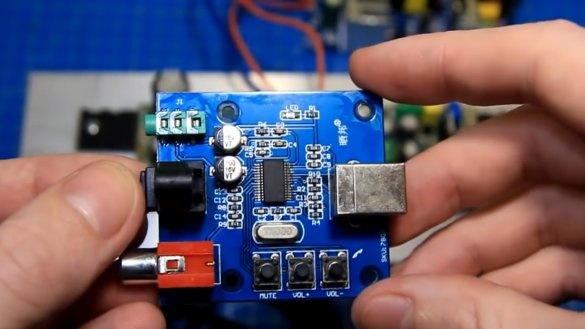
As an audio source, as an option, there will be such a USB DAC RSM2704.
Using the DAC is optional, and the 3.5-pin connector can also be connected directly to the audio output of the device.
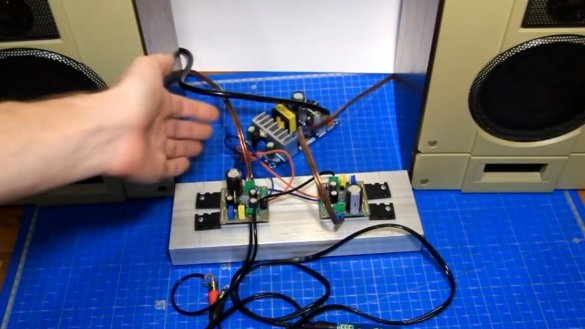
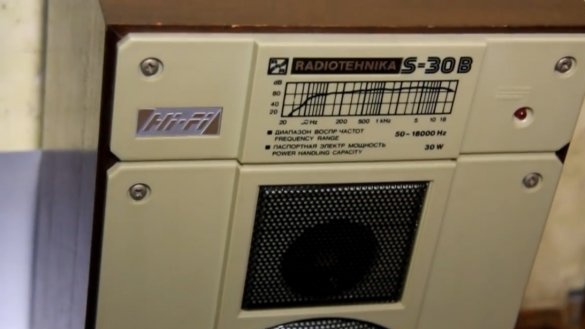
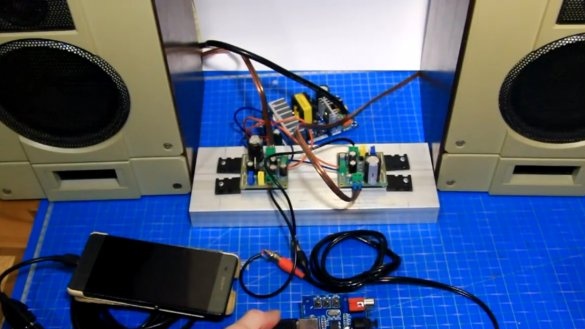
Everything is assembled and, observing the polarity, we connect to the outputs of the amplifiers of the column. Test columns Radio engineering S-30B.
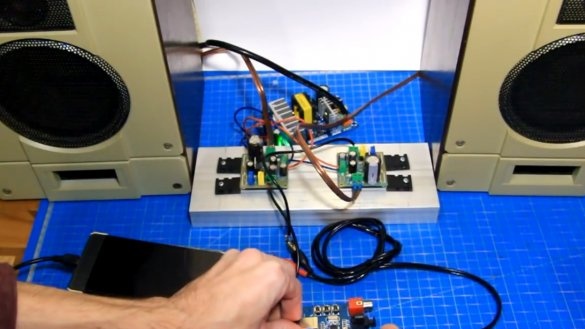
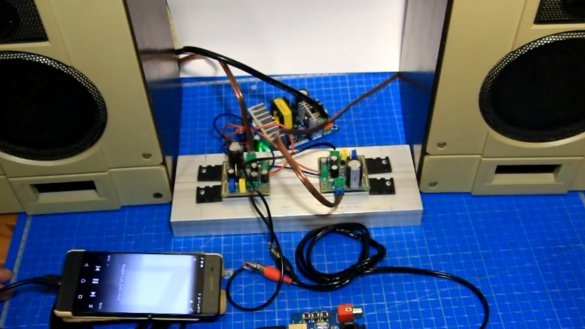
Everything is ready and assembled, we will try to include it. We connect the DAC to the phone and turn on the power supply in the 220V network. A background buzz appeared in the speakers, because the amplifier input is not connected anywhere. But you just have to connect the amplifier to the signal source, as the background has disappeared, the columns are completely silent.
We turn on the test track ... In more detail in this video:
As you could hear, everything works and plays perfectly. As for the sound quality, there are no complaints at all, the sound is pleasant and high-quality, it really surprised especially at the top, everything is audible in detail and even in the video, there are no hissing, whistles and other extraneous sounds, but only music. The author regrets because he can’t record video with normal music, YouTube immediately puts up a copyright claim, etc. A big minus, alas, is low efficiency and, as a result, strong heating. Accordingly, large radiators are needed for cooling. But despite the low efficiency, class A amplifiers will not go down in history soon. Power up to about 30W will be in demand due to their sound quality, and for high power there is an amplifier of other classes AB or D. And most likely all classes will develop in parallel and you need to select an amplifier class for a specific task. Now you can meet many different modifications and types of amplifiers of A class, but usually they are all similar, they connect in approximately the same way. In this case, one of the cheapest was used, and if there is money, then you can buy more expensive. Especially collecting do it yourself you can assemble an amplifier significantly cheaper.
It remains to install all this in the case, but this is another time. You can try to collect and repeat, everything works. And that’s all. I hope it was interesting. Thank you for attention. See you soon!

