
The master is engaged in the manufacture of various wood products to order. This bar counter is also made to order. The price of such a product is $ 999 on the master’s website, but after going through all the stages of this manual you can make a similar thing at a much lower price, and the experience gained in its manufacture is invaluable. Of course, the master uses some professional tool, but if necessary, you can find a replacement for him or do without it at all.
Tools and materials:
-Sleb (longitudinal saw cut of a tree);
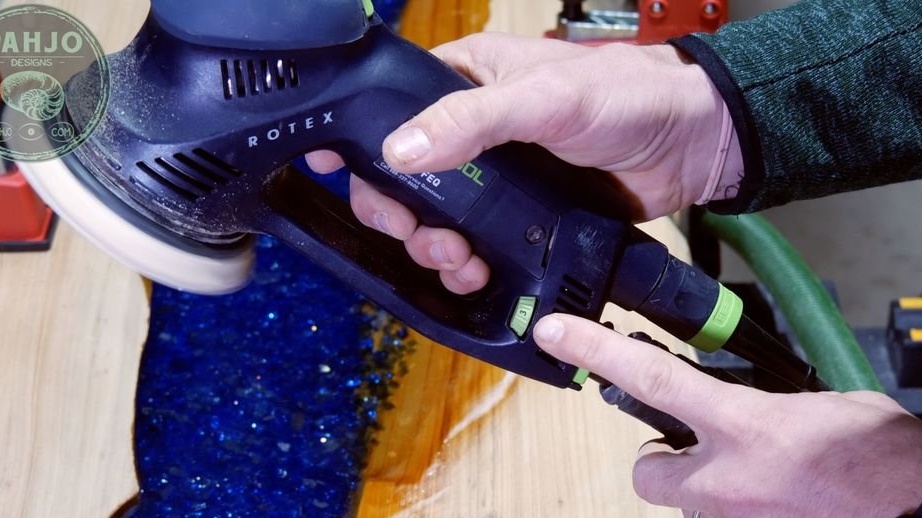
-Grinder;
-USHM;
-Circular Saw;
-Pencil;
- Electric jigsaw;
- Clamps;
Milling cutter;
-Profile;
-Squeegee;
Epoxy resin;
- fluorescent powder;
-Putty knife;
-Brush;
-Capacity for mixing resin;
-A screwdriver;
-Construction hair dryer;
-Burner;
-Back paper from 40 to 320 grit;
-Grinding discs;
Vaseline;
-Scotch;
-Plastic panels;
-Glue gun;
-Alcohol;
-Latex gloves;
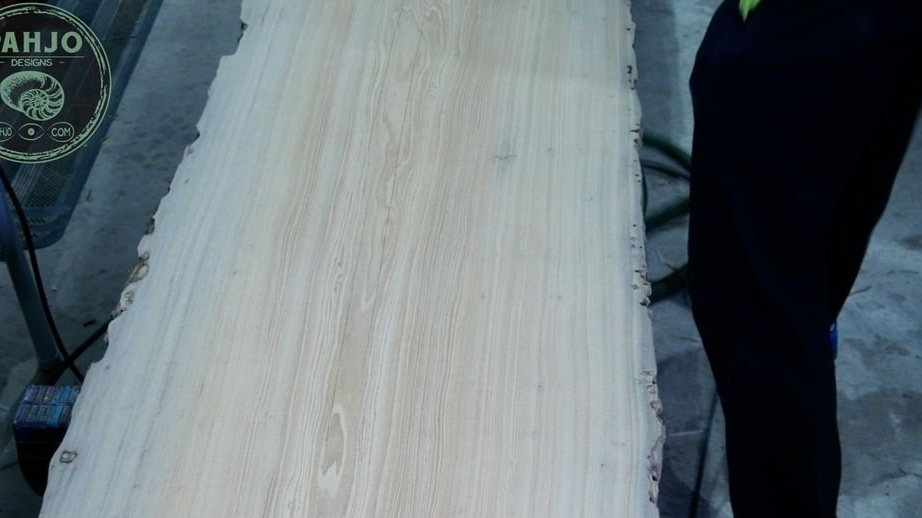
Step One: Choosing Wood
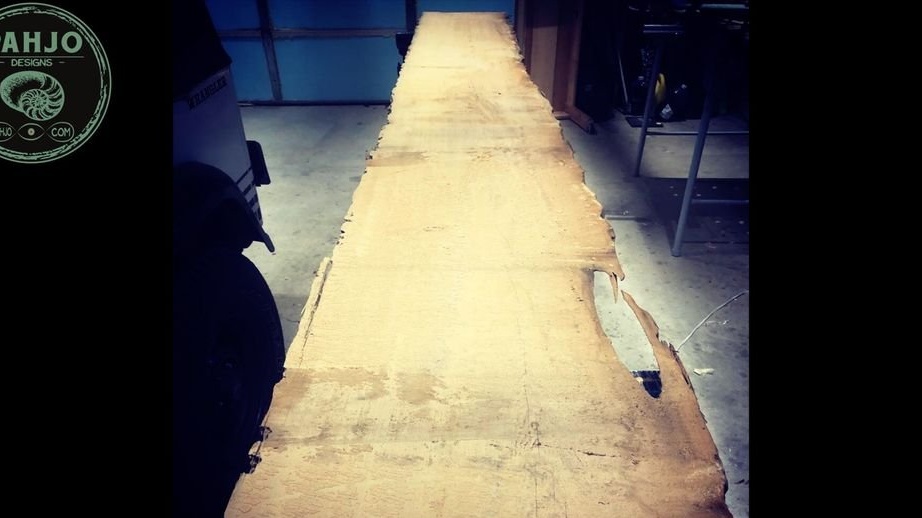
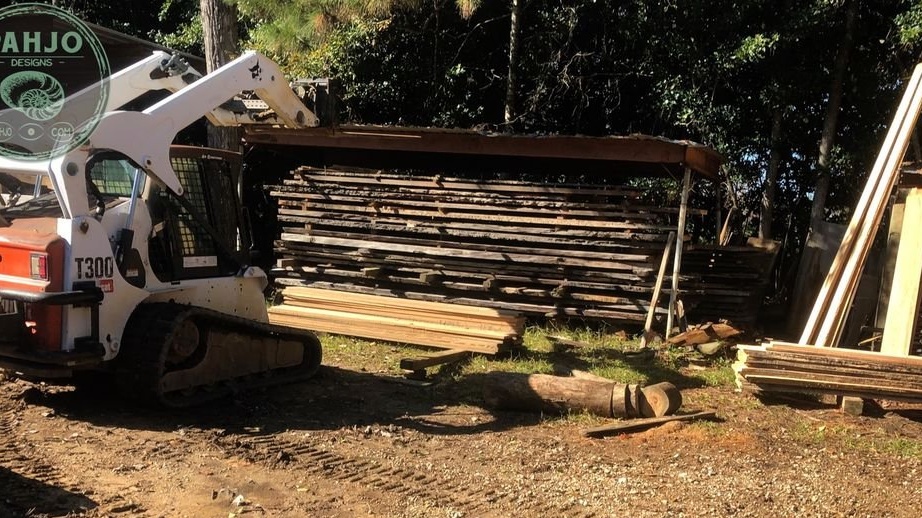
First you need to choose the right board. At the local timber base, the master chose a slab of cypress.

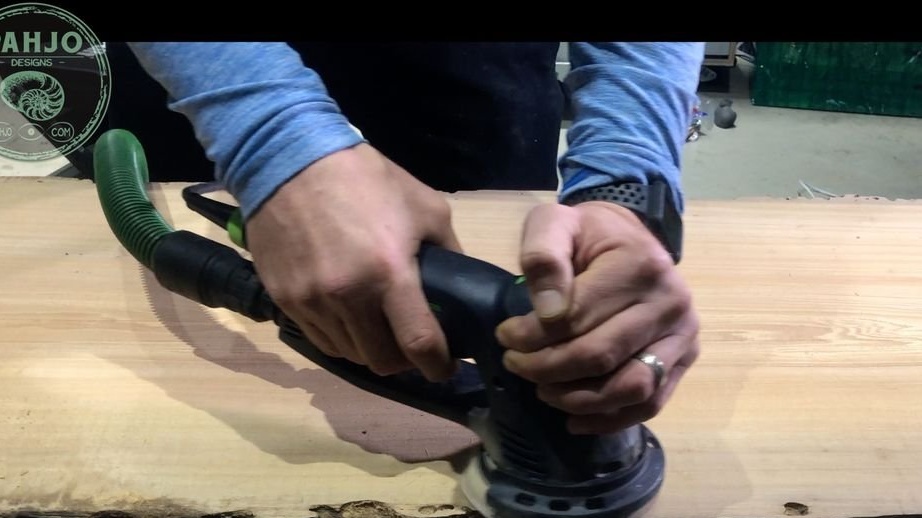
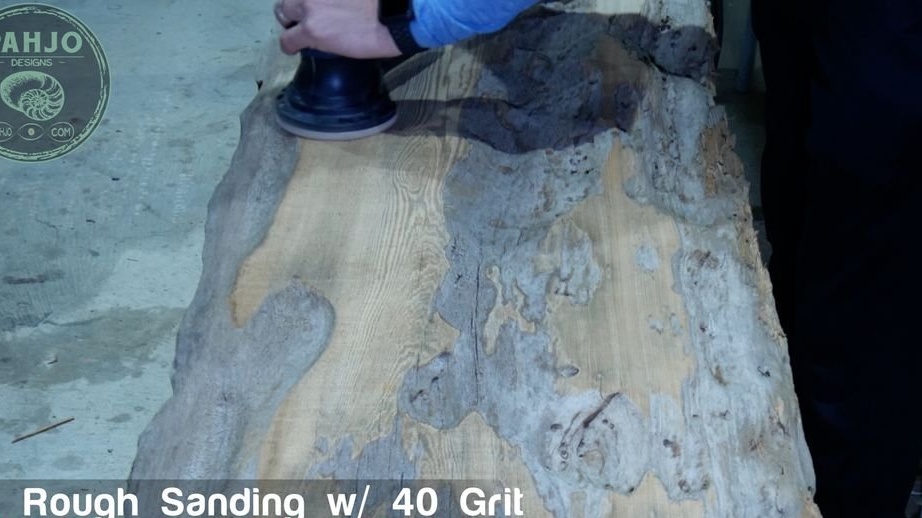
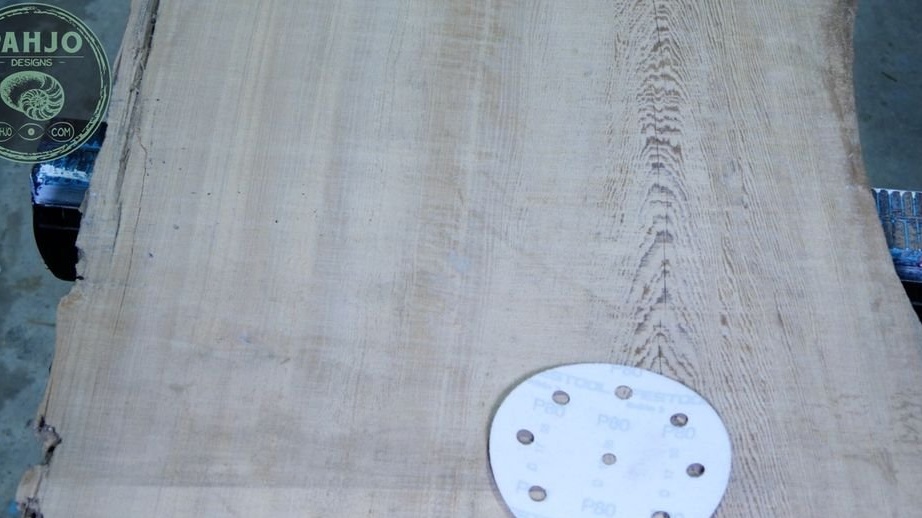
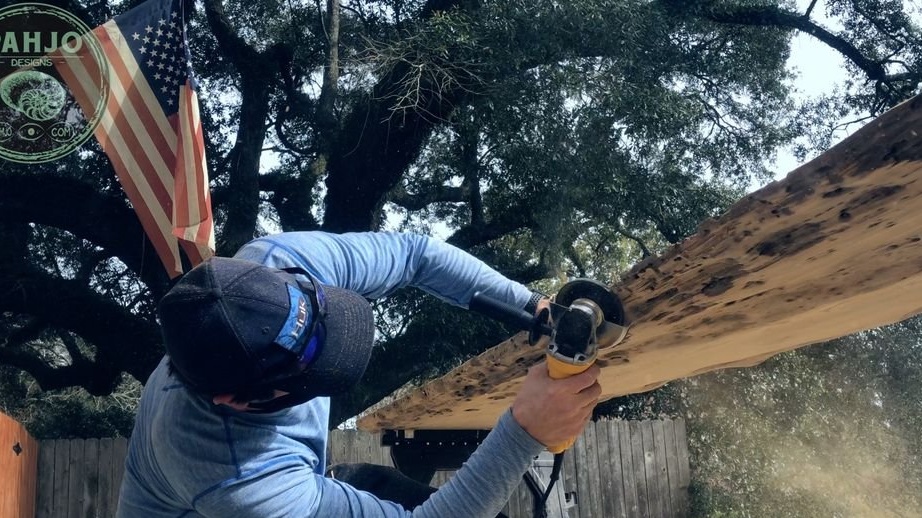
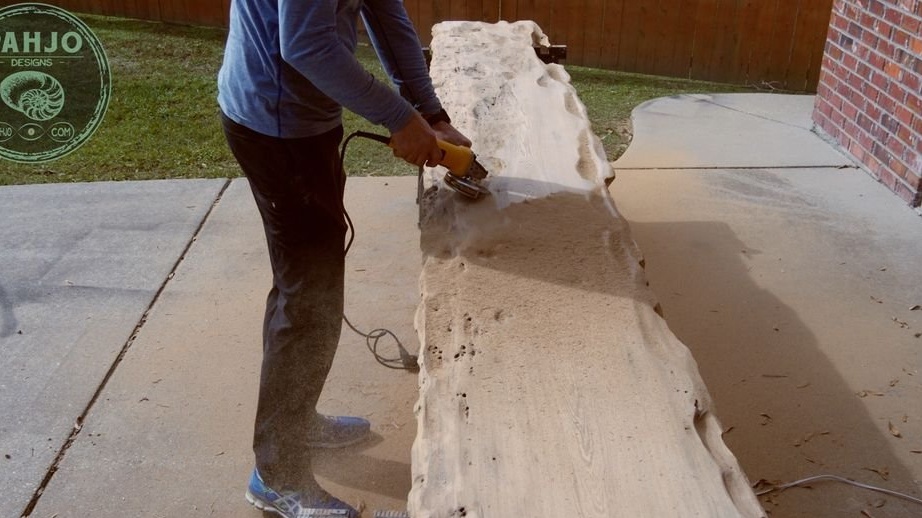
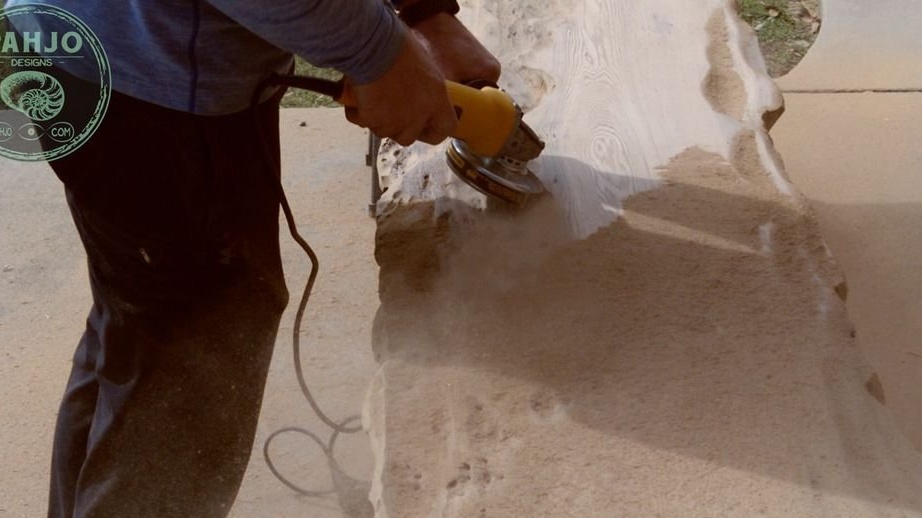
Step Two: Cleaning
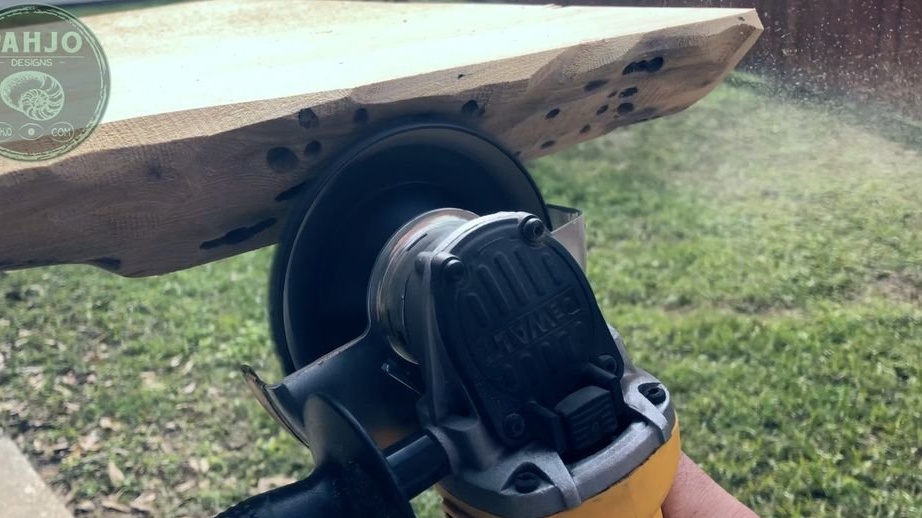
Now you need to clean the board from dirt, bark, loose areas. The master polishes the board with sandpaper with 40-80 grains.
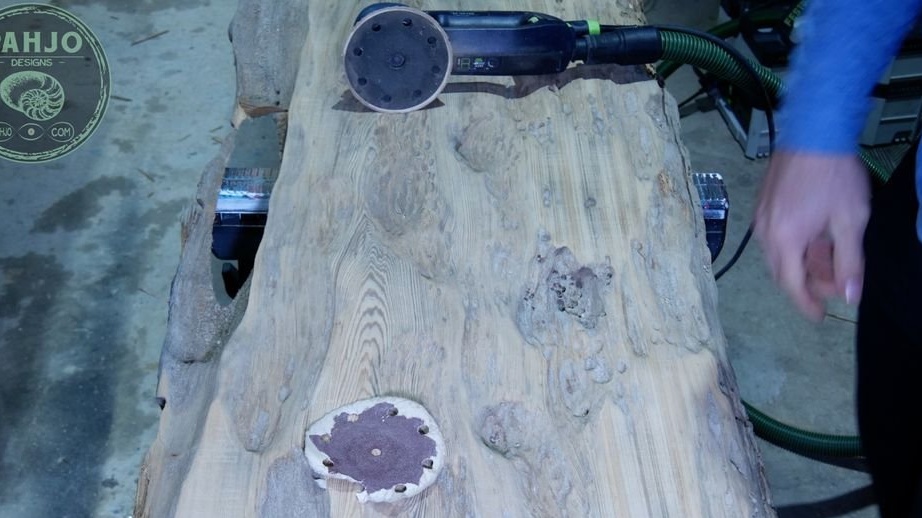

Next, the master takes a angle grinder with a special one and processes the wood with it.
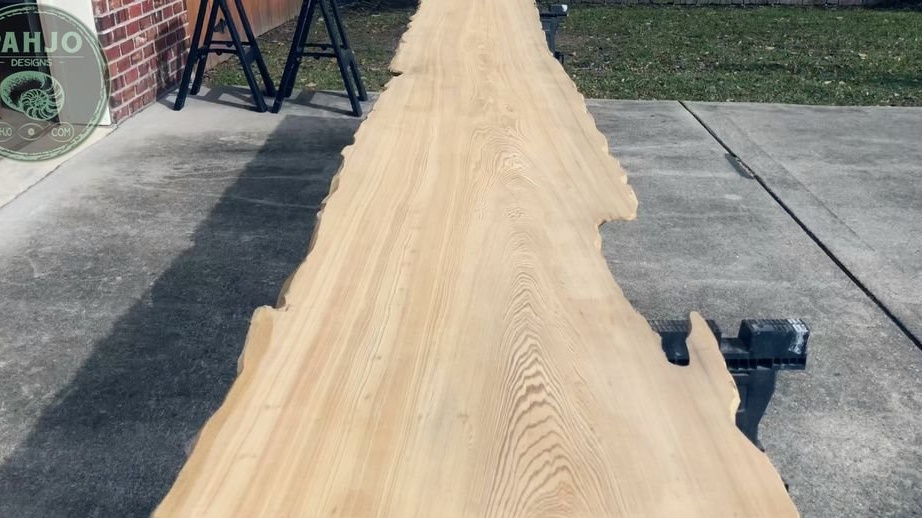
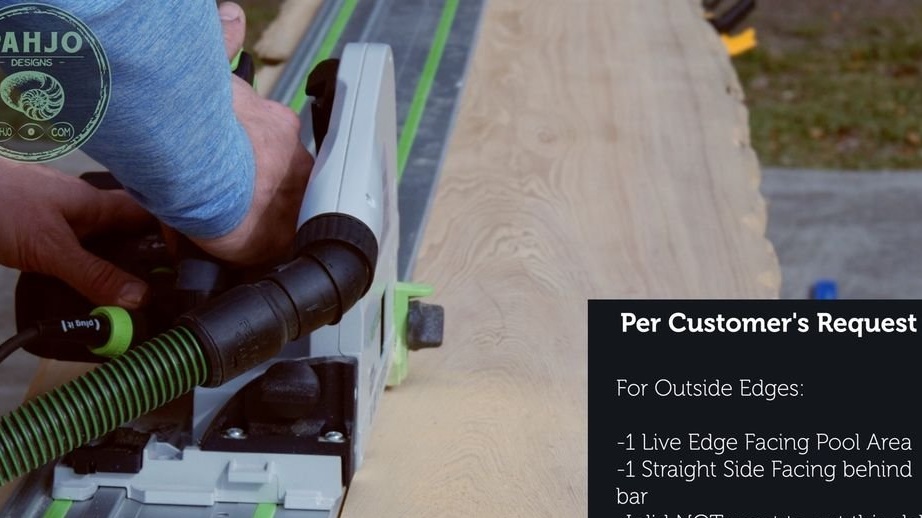
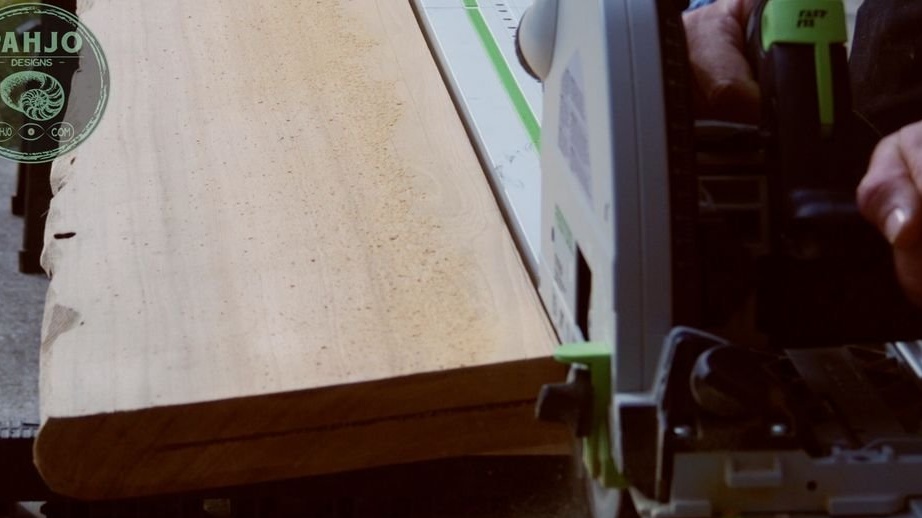
Step Three: Sawing
At the request of the customer, one of the sides of the product should be straight. The master cuts the board along.
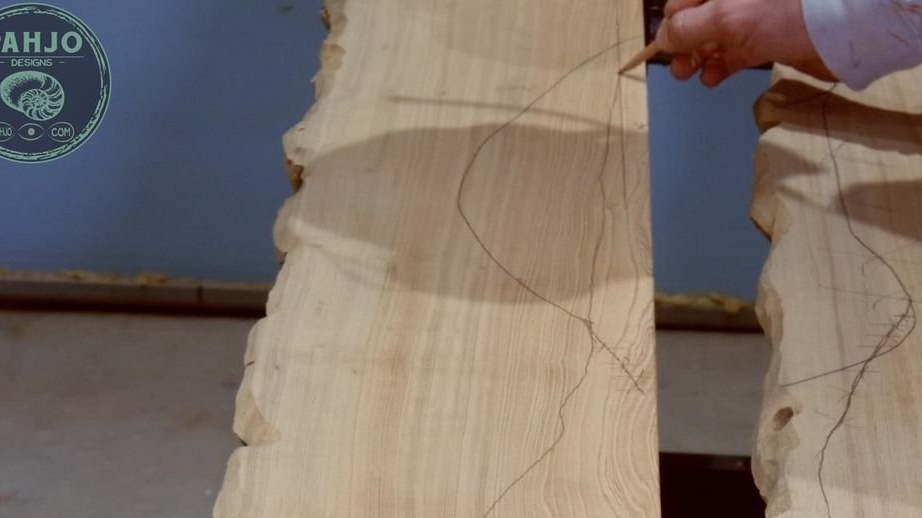
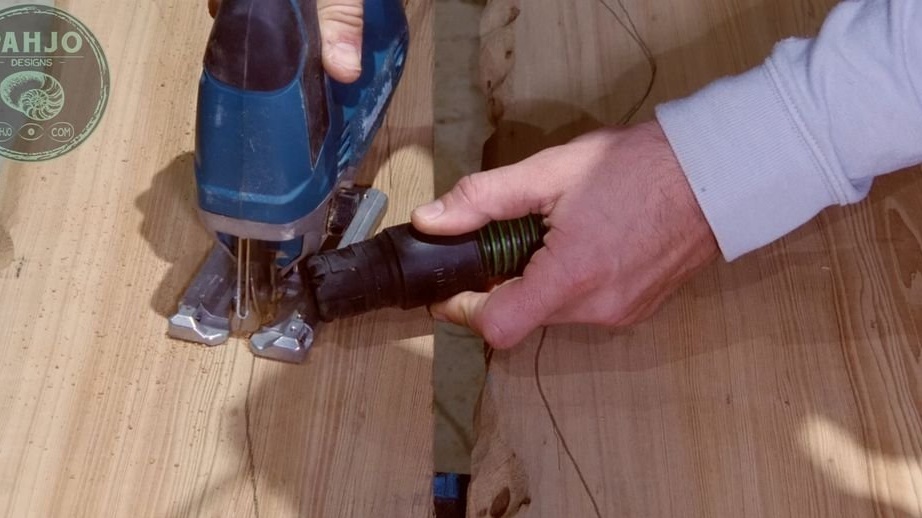
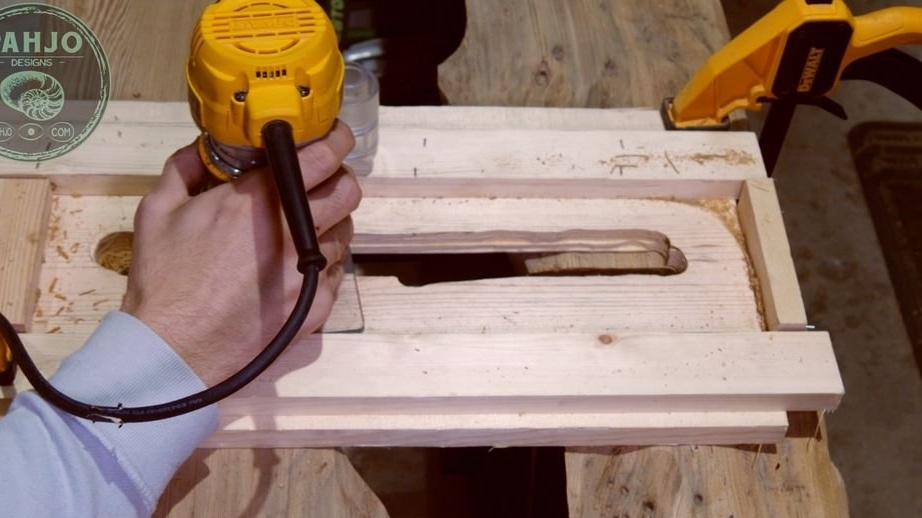
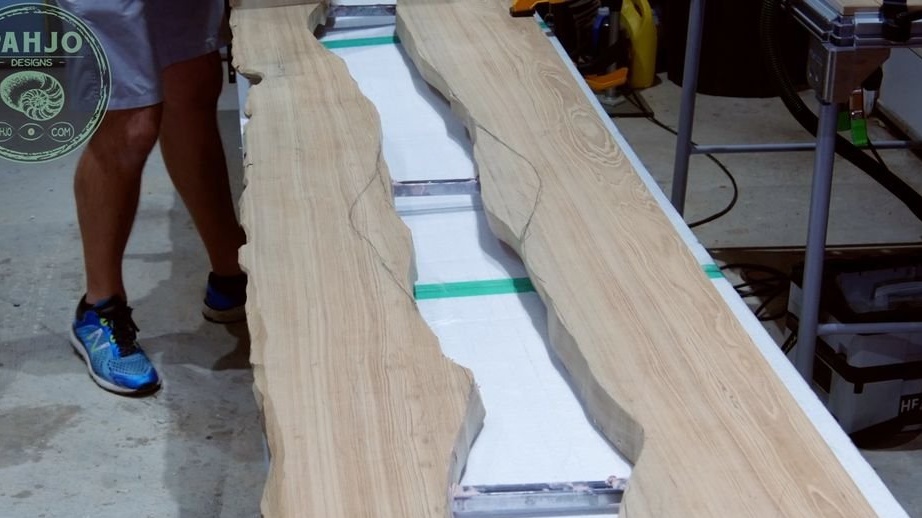
Step Four: Channel
After sawing, unfolds one workpiece with a straight edge out. Pencil draws a river bed. Cuts the bed with a jigsaw.

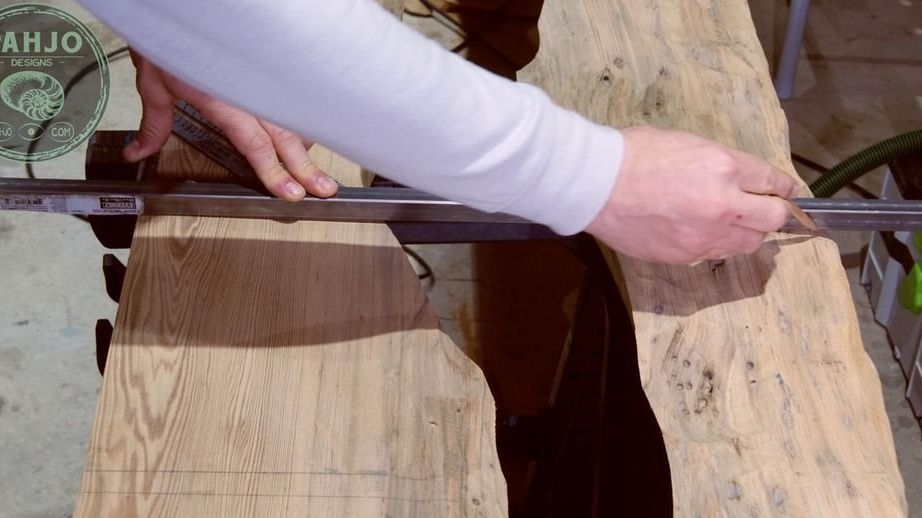
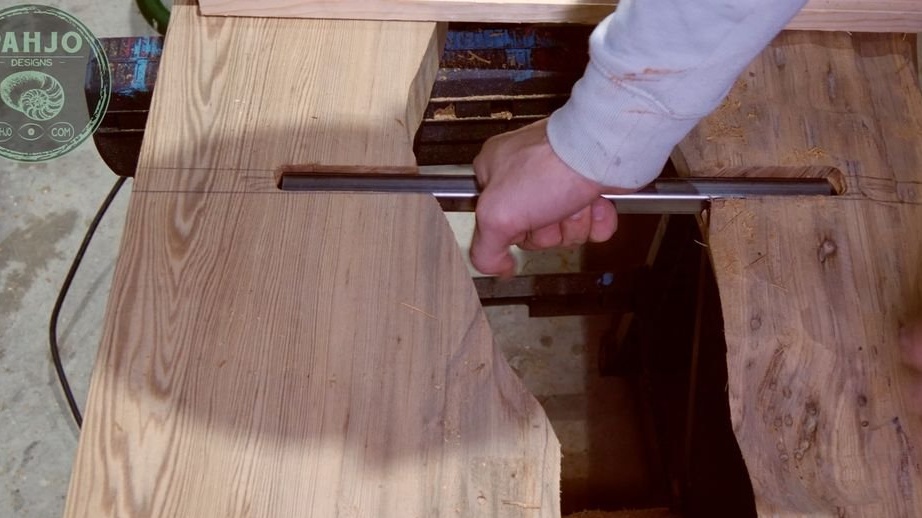
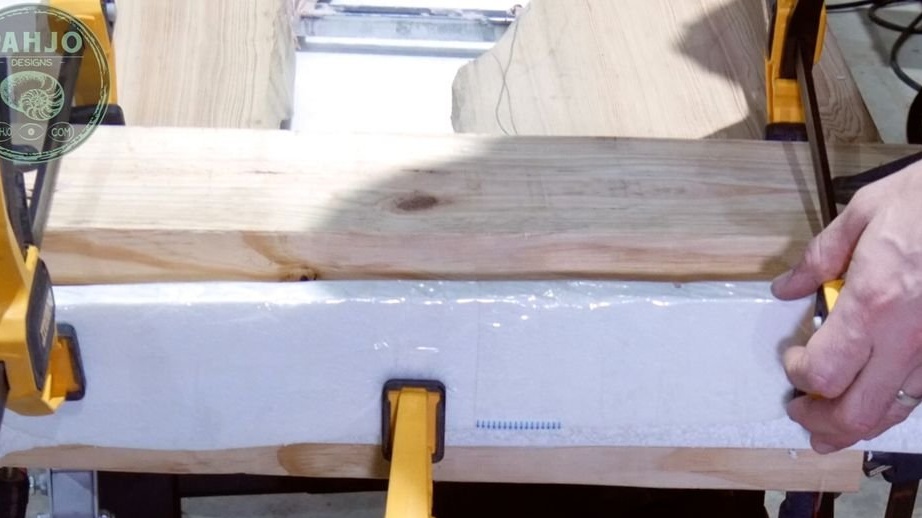
Step Five: Profile Tube
The pipe is needed for the rigidity of the connection of the two halves. The master flips the blanks. Aligns the distance between them. Using a template, a cutter cuts out grooves. Performs the same operation, on the other hand.
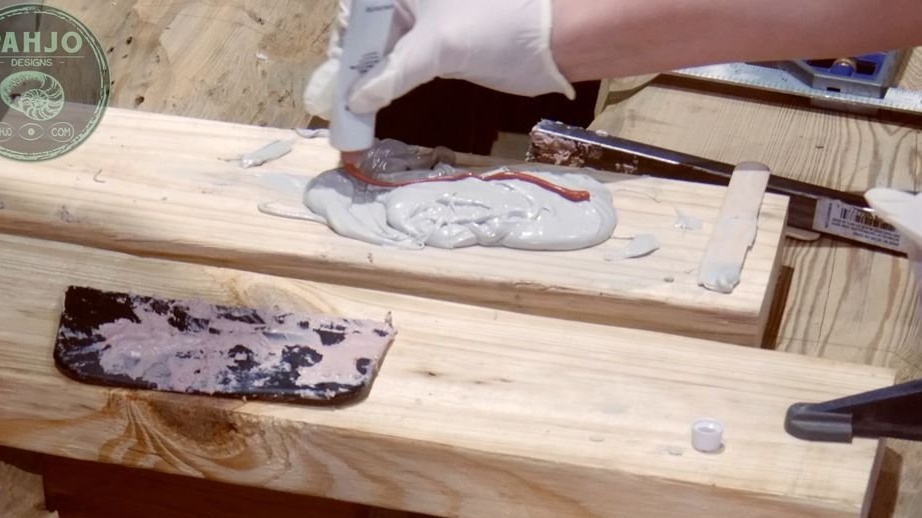
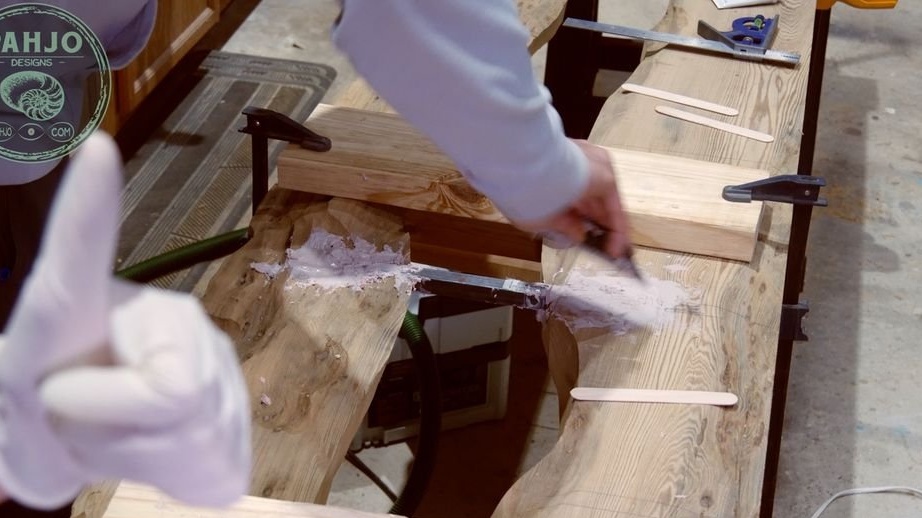
Knead two-component putty. Apply a small amount to the grooves. Installs profile tubes in grooves. Putty pipe installation sites. After the putty dries, it polishes the surface.
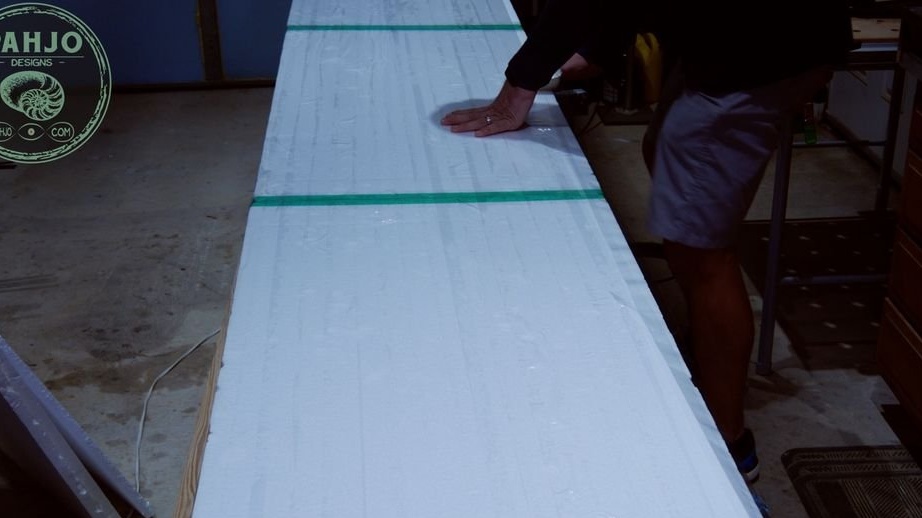
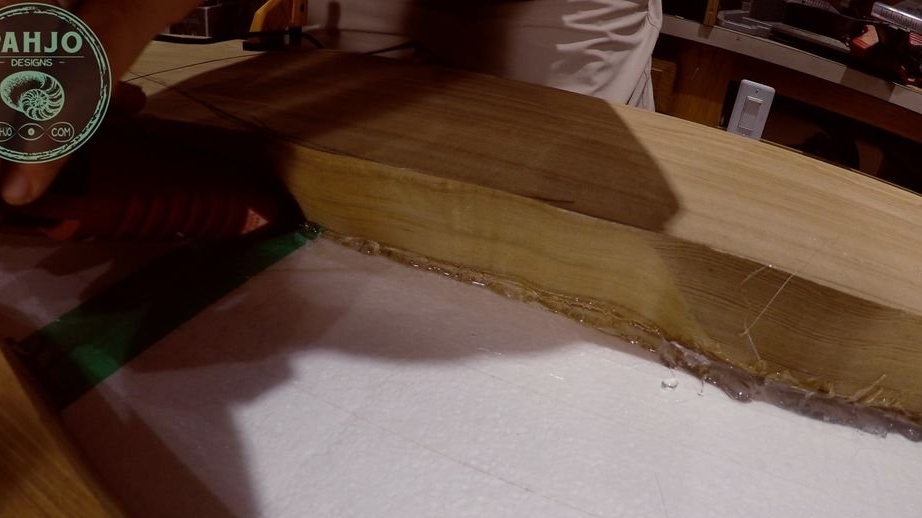
Step Six: Preparing for resin casting
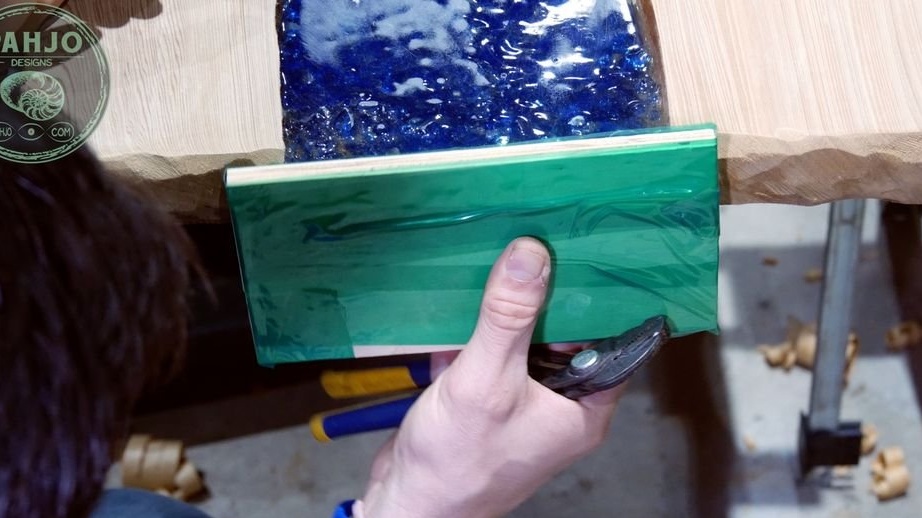
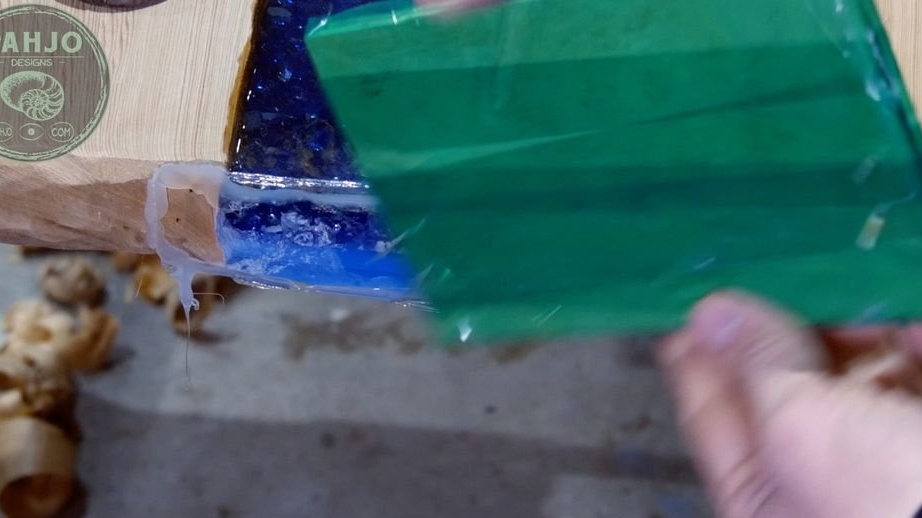
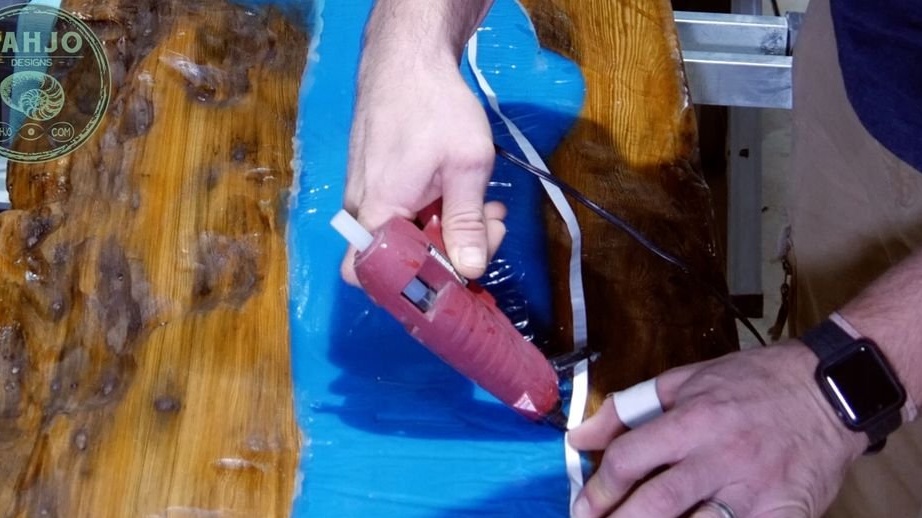
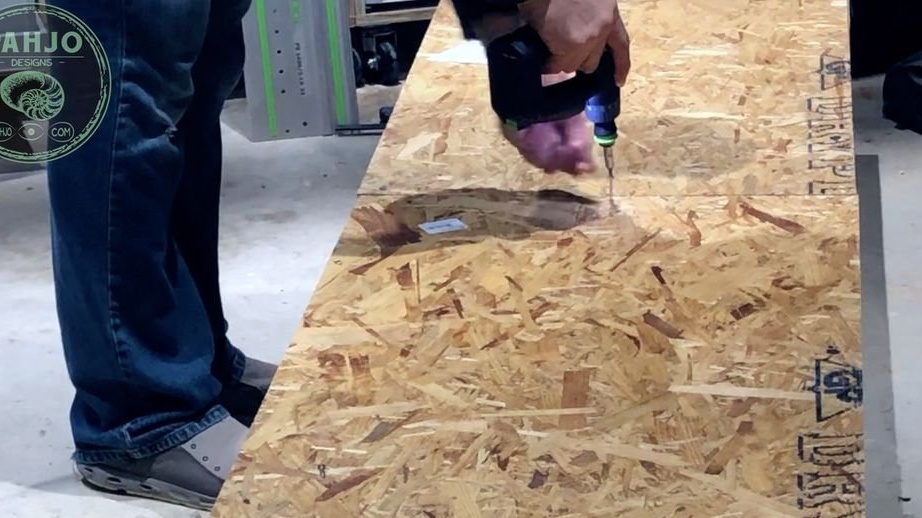
On the underside of the workpiece, the master secured three plastic panels. The panels were pre-fixed with tape. The inside of the panels was also completely covered with tape, and then covered with petroleum jelly. He sealed all the cracks with hot-melt adhesive. Also closed the ends.
Seventh step: first layer
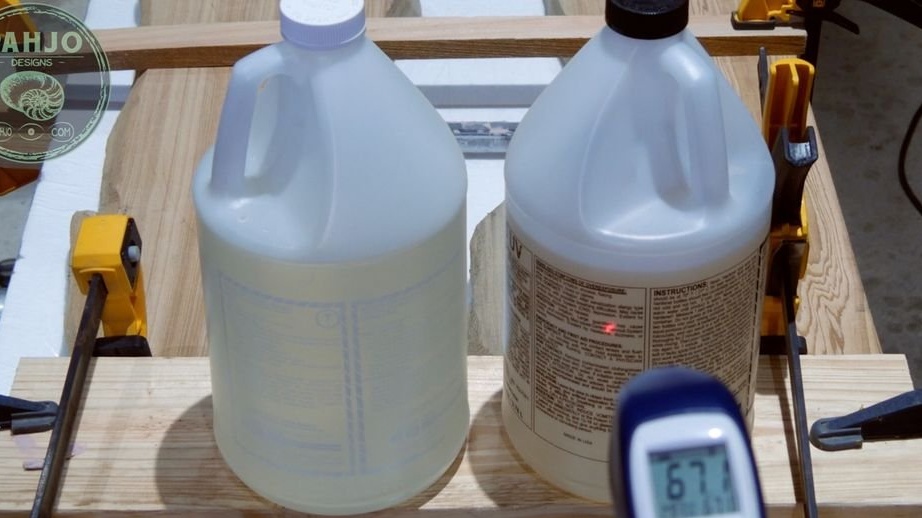
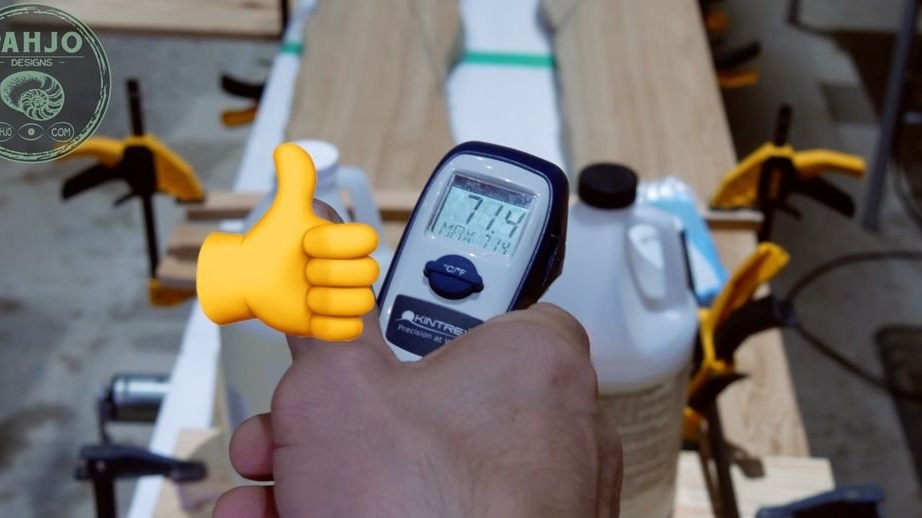
The temperature of the epoxy must not be lower than 70 degrees (read the instructions for the epoxy).
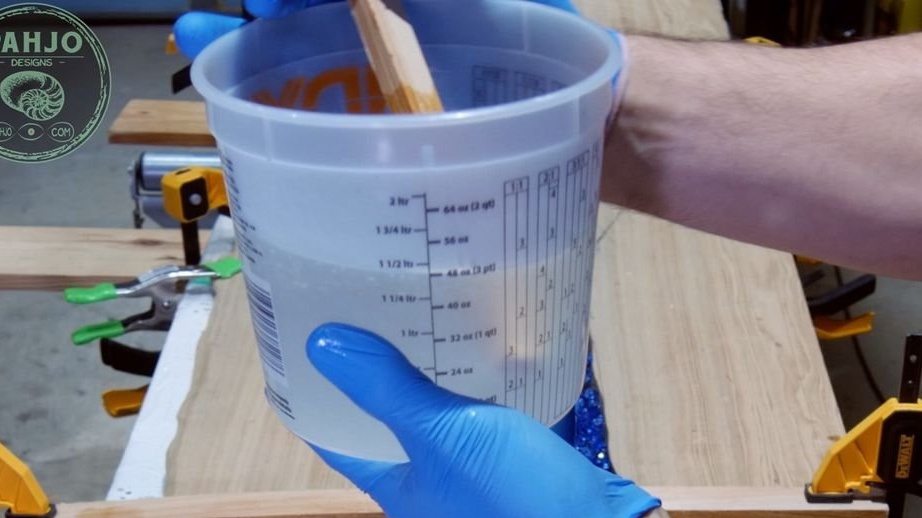
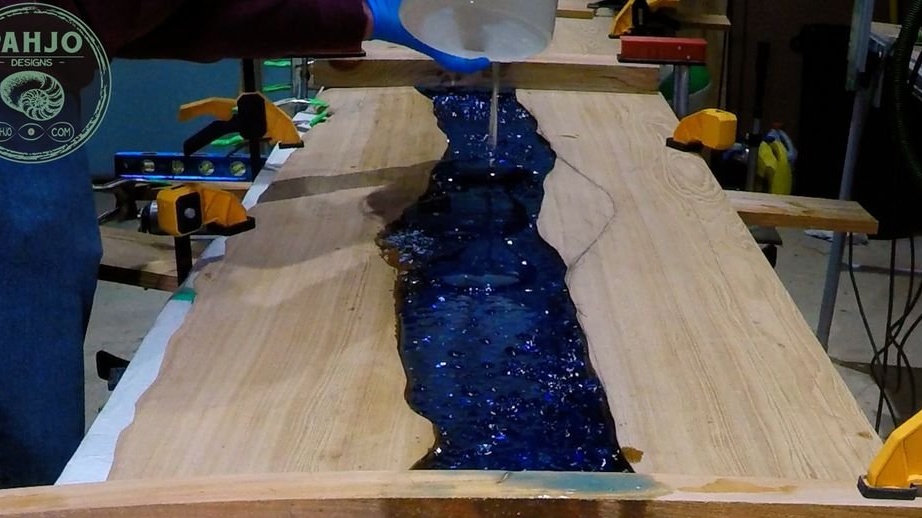
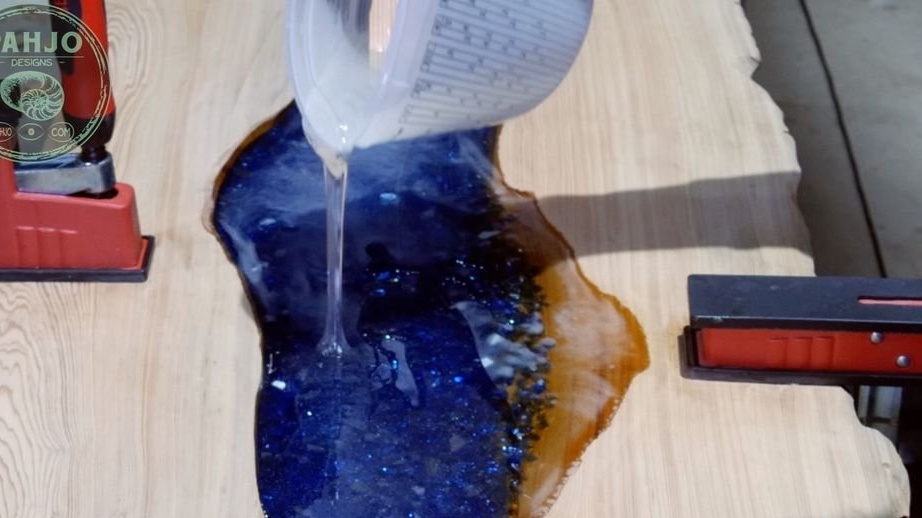
Knead the resin according to the instructions.Adds fluorescent powder there and stirs for another five minutes.


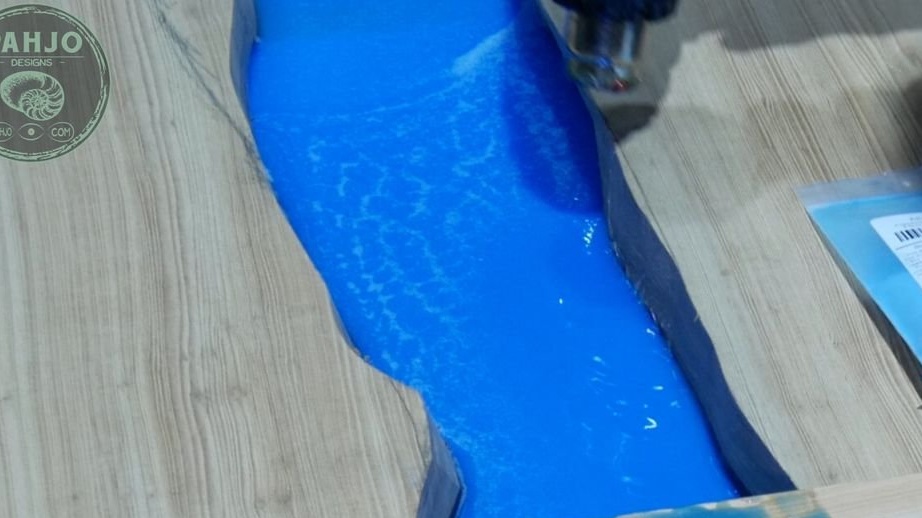
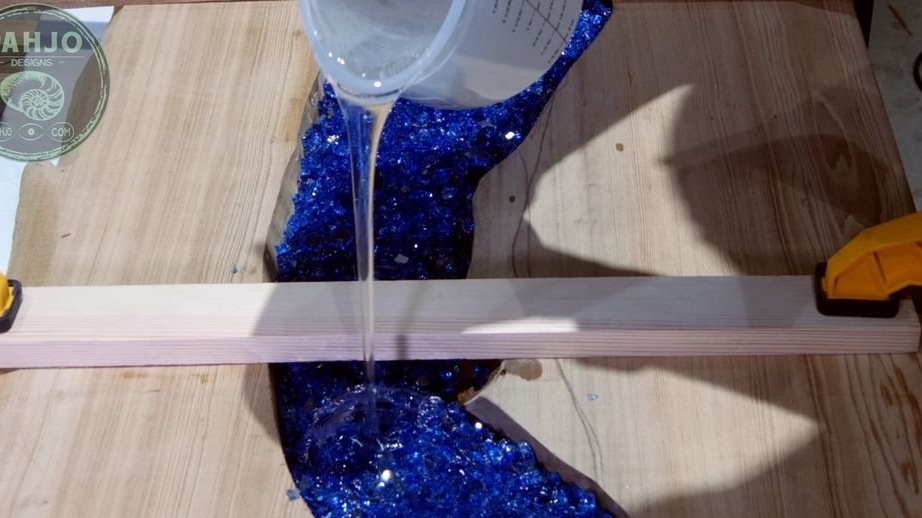
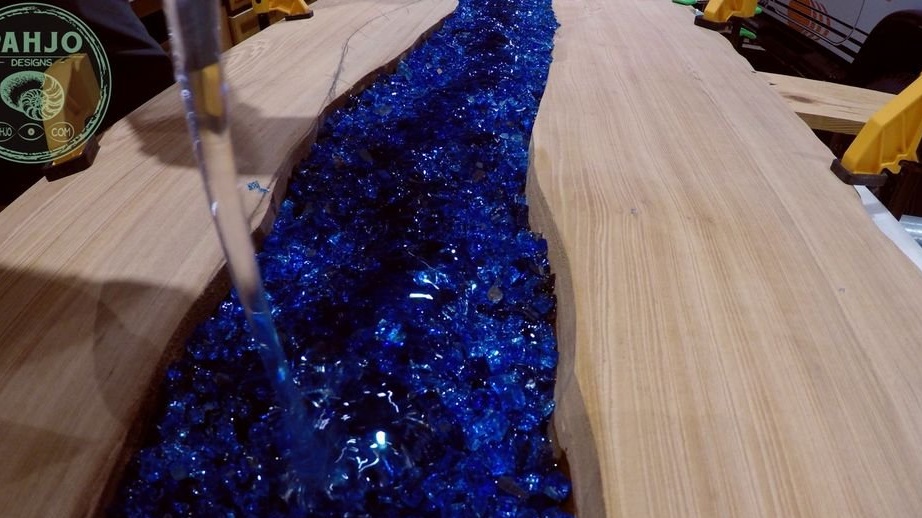
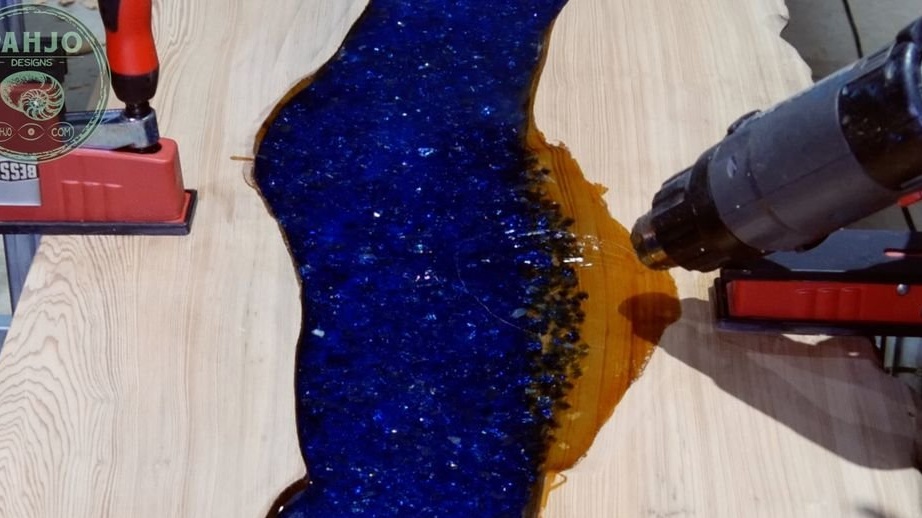
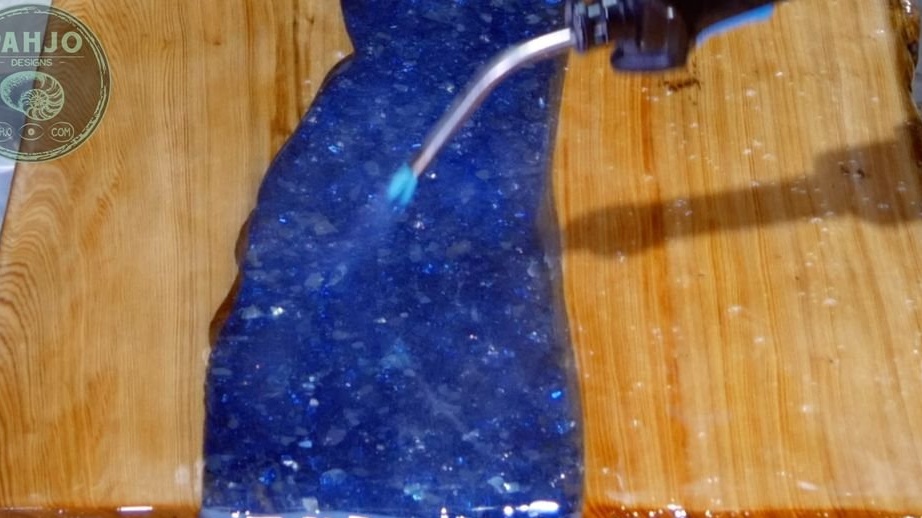
Fills the resin with an even layer. To remove air bubbles, the resin is heated by the burner.
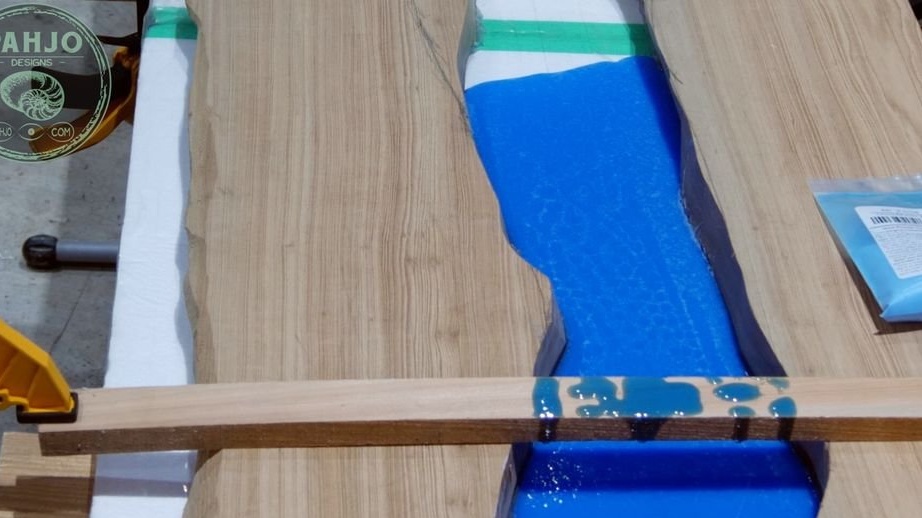
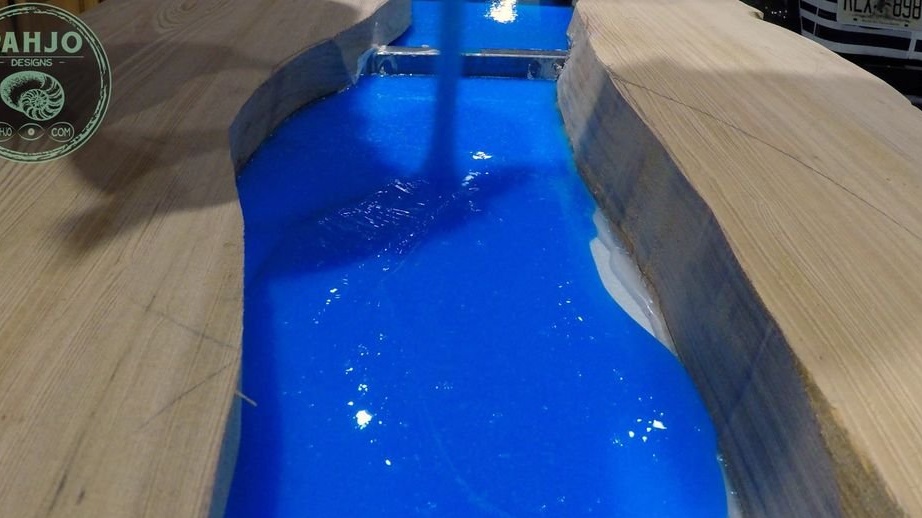
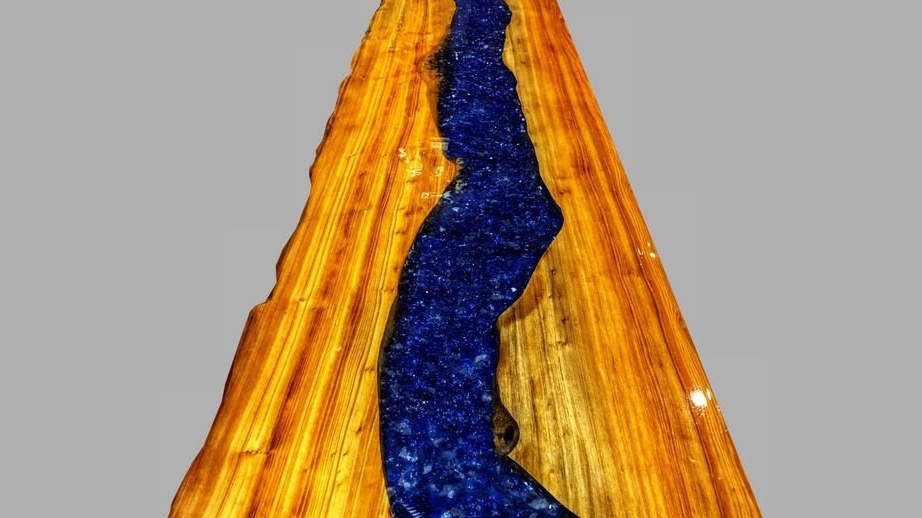
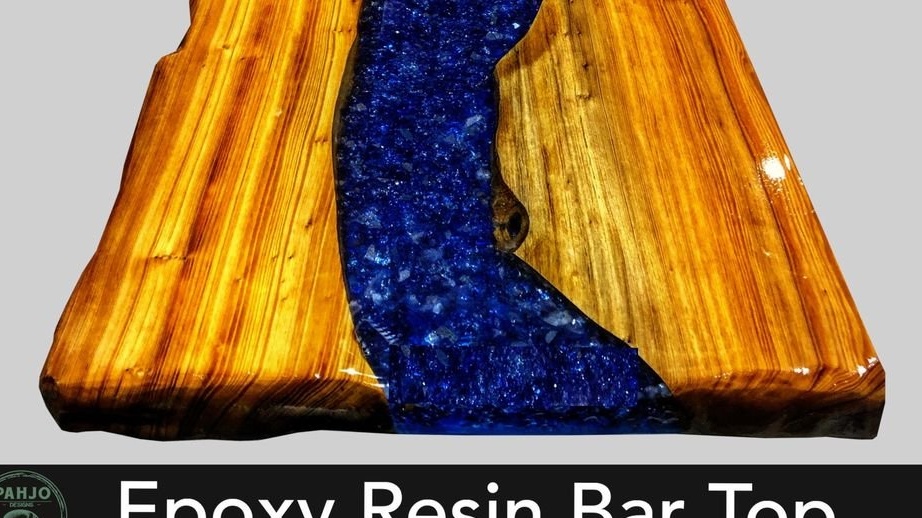
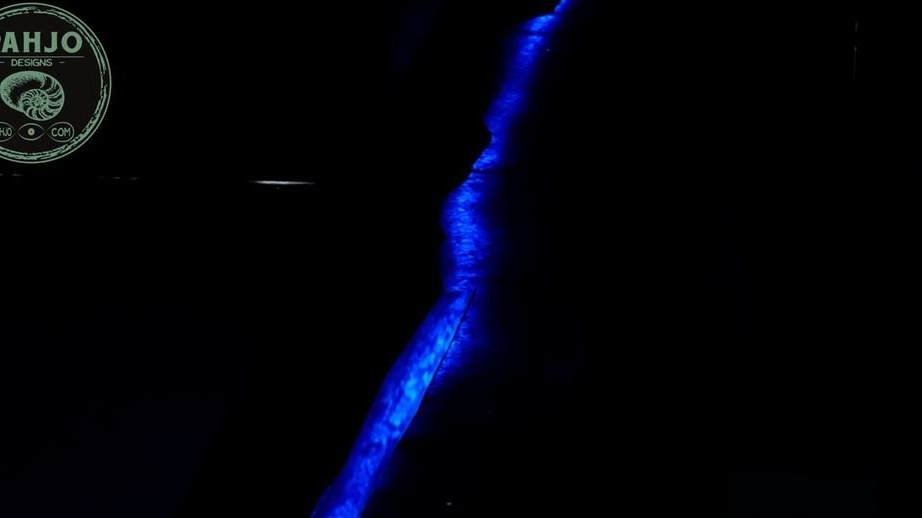
The photo shows that the resin is glowing.

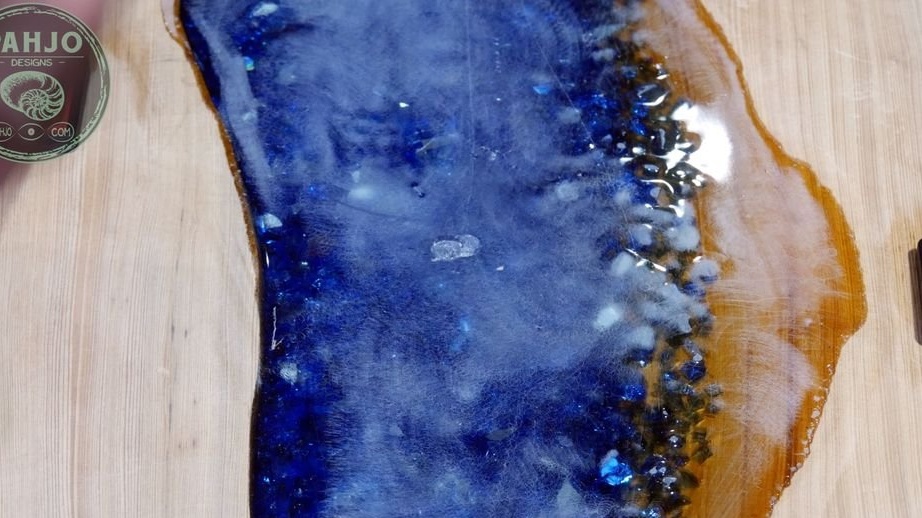
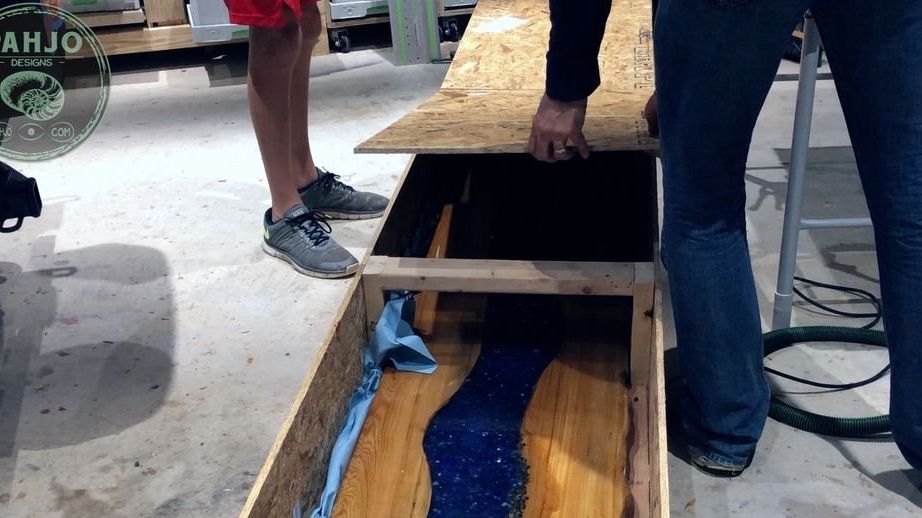
Step Eight: Decorative Glass
Washes the glass, dries and puts it in a niche below the upper cut.
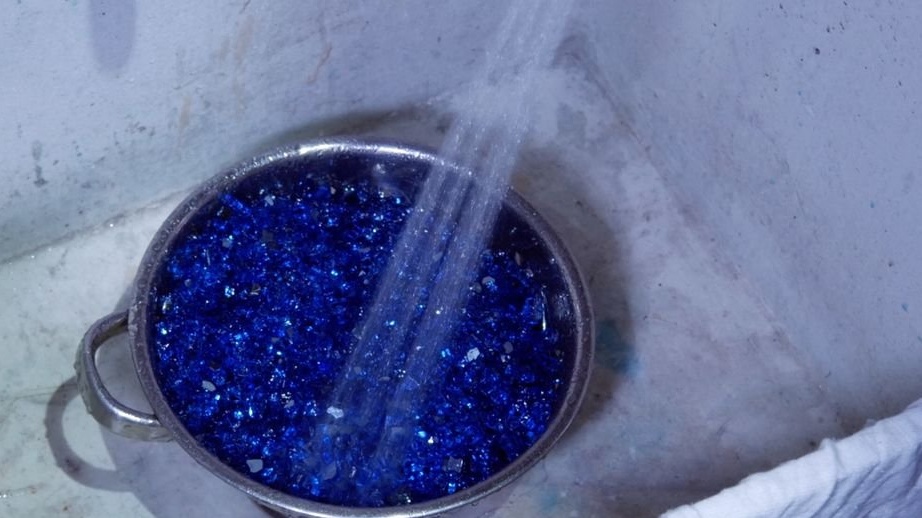
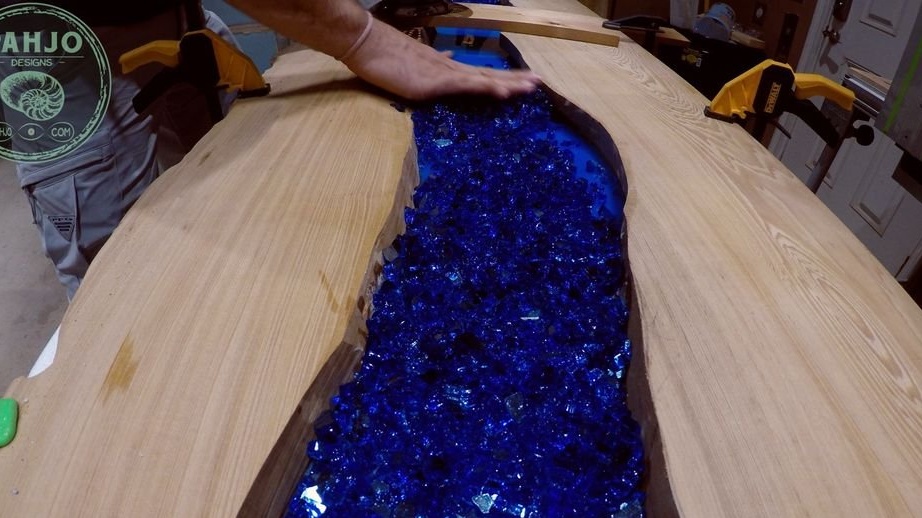
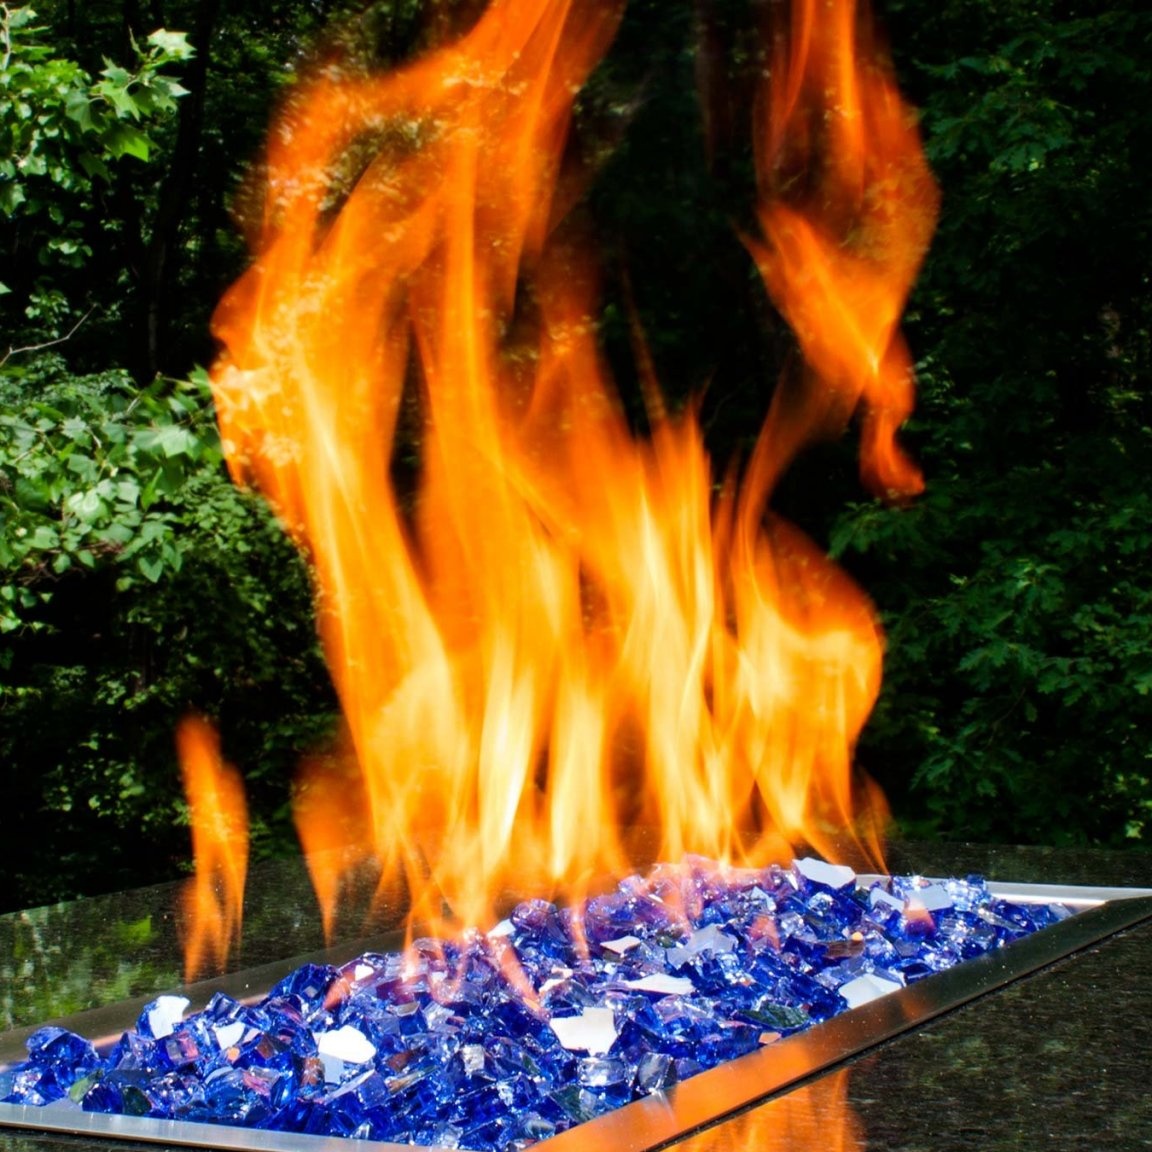
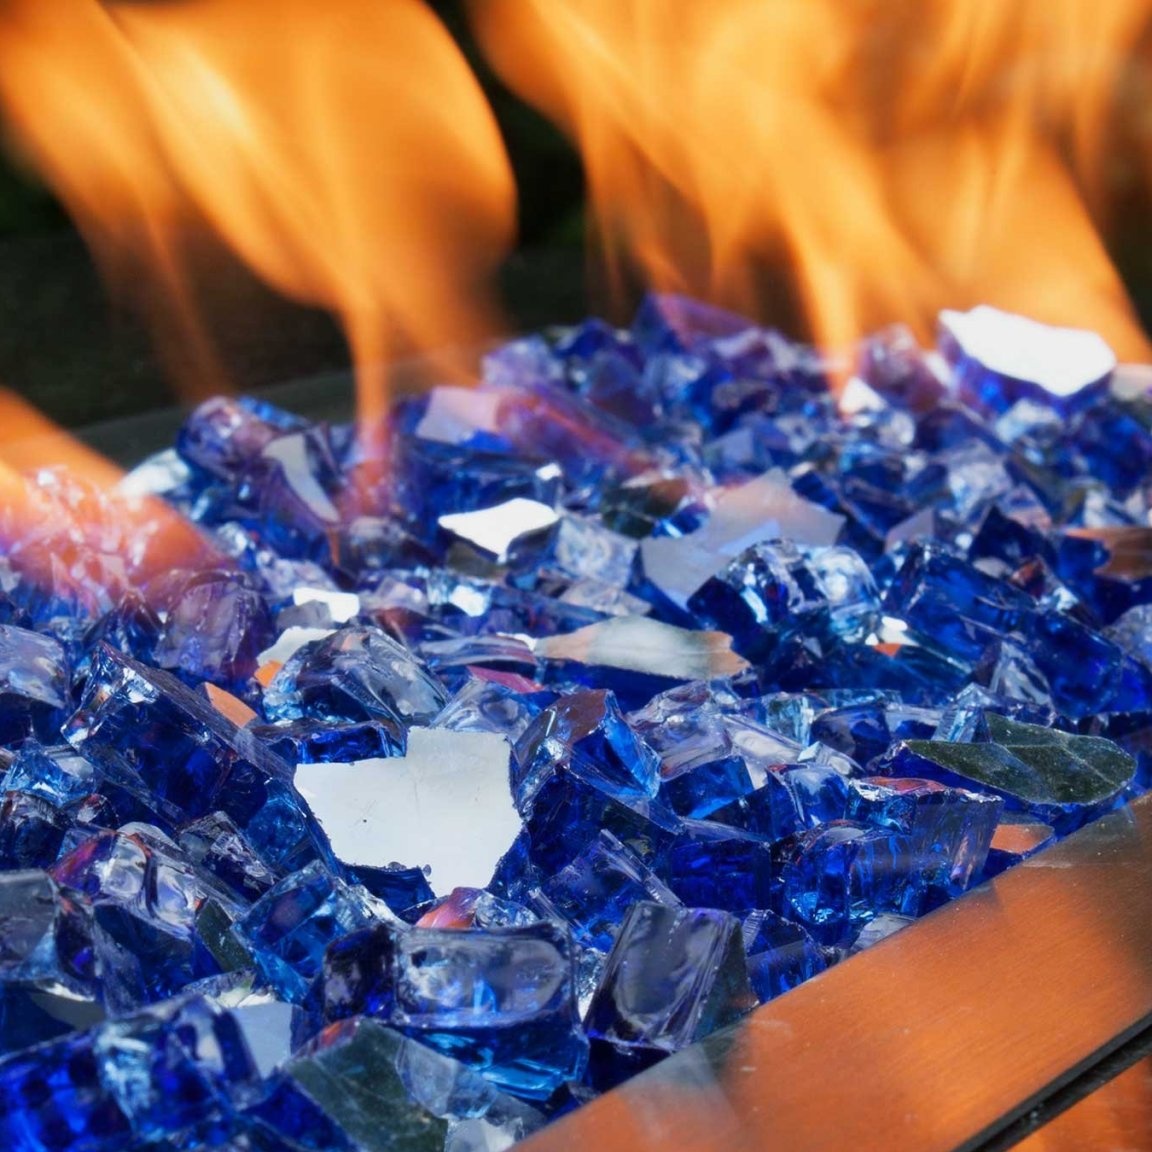
By the way, this glass is tempered and is used as a decorative decoration in fireplaces and hearths.
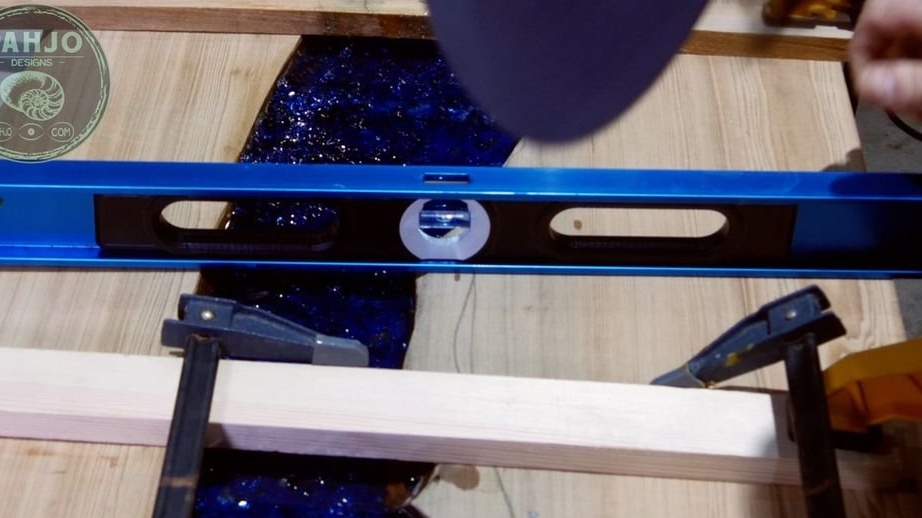
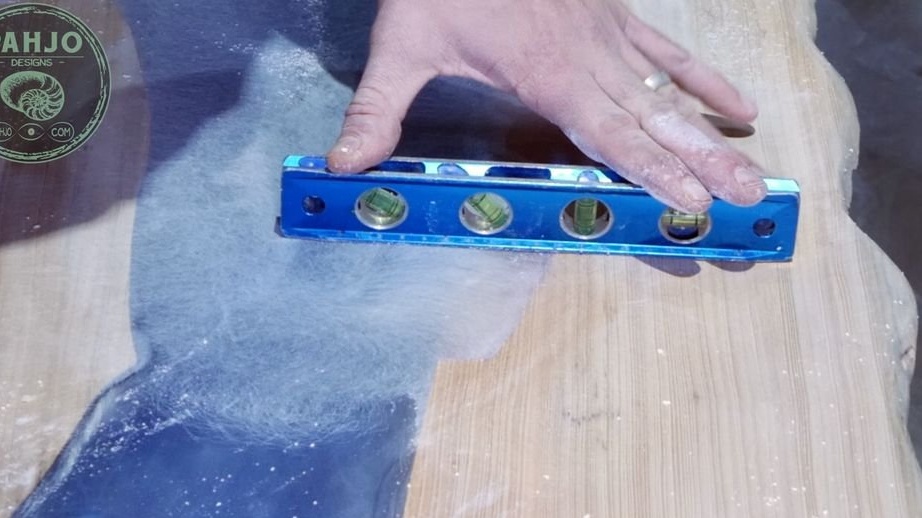
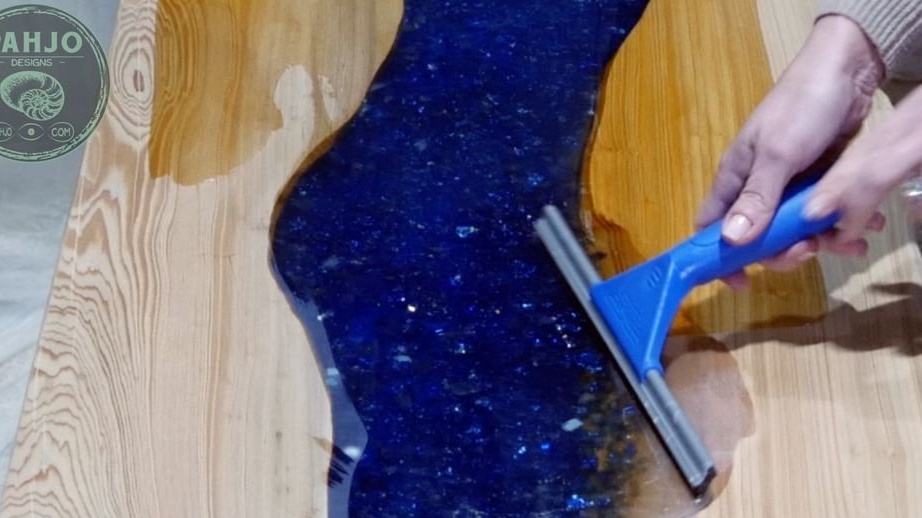
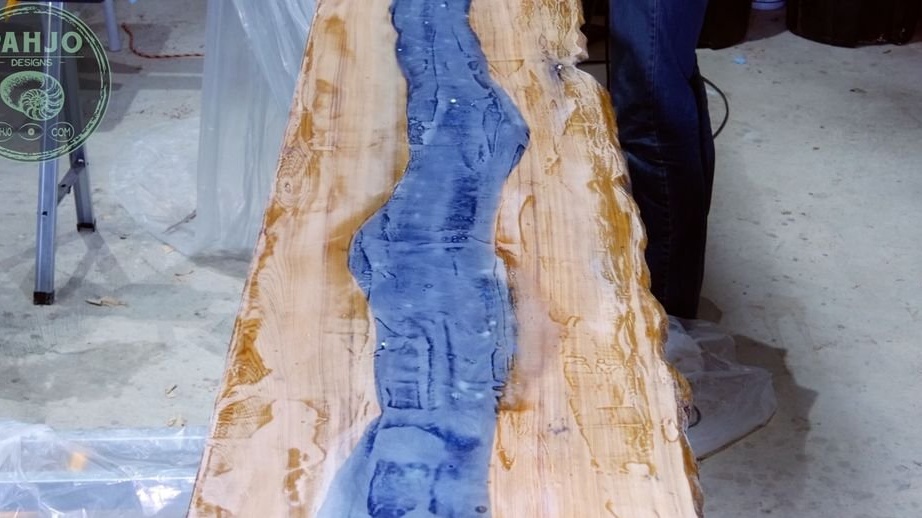
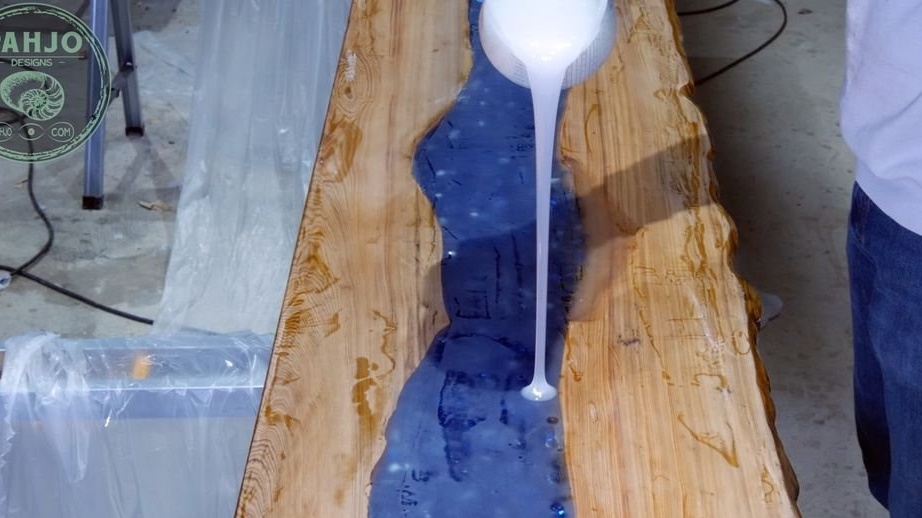
Step Nine: Second Layer
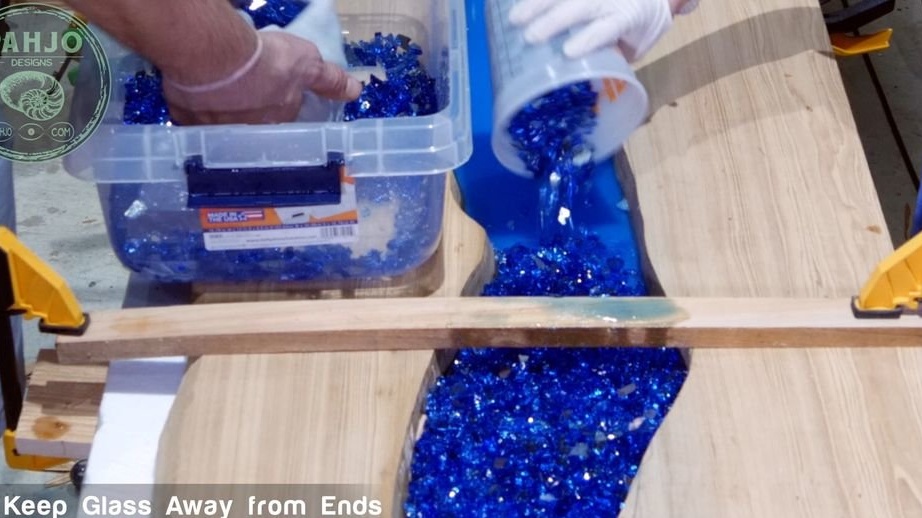
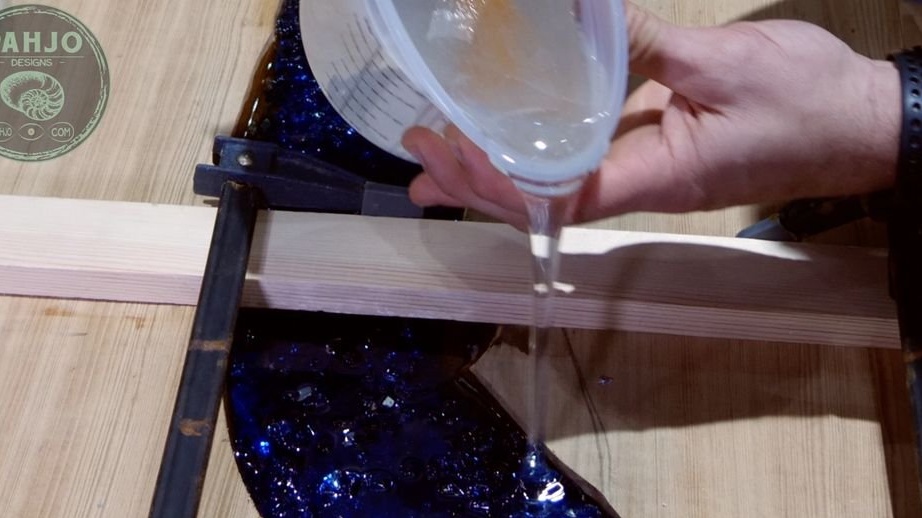
Levels the countertop by level. Knead epoxy and fill the second layer. The master poured in several steps, allowing it to flow into all the cracks between the stones. He periodically heated the resin with a burner.
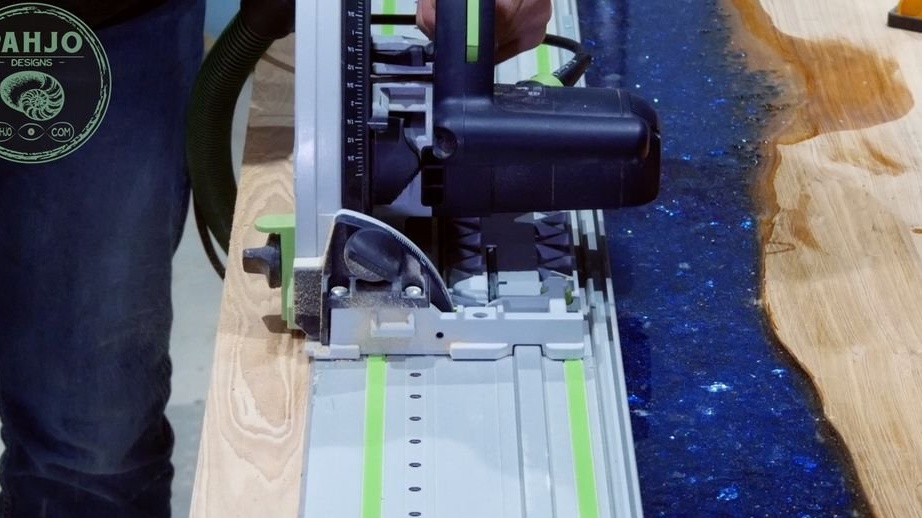
Step Ten: Cropping
Trim the ends of the product.
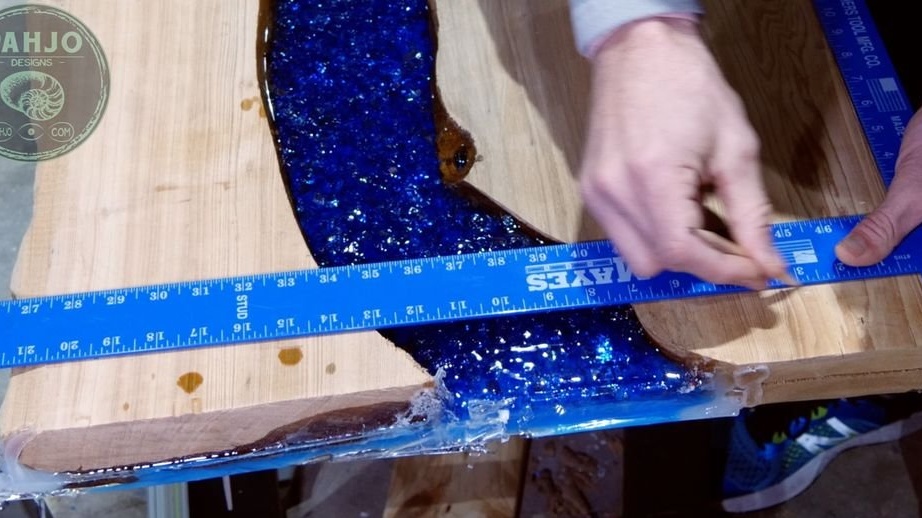
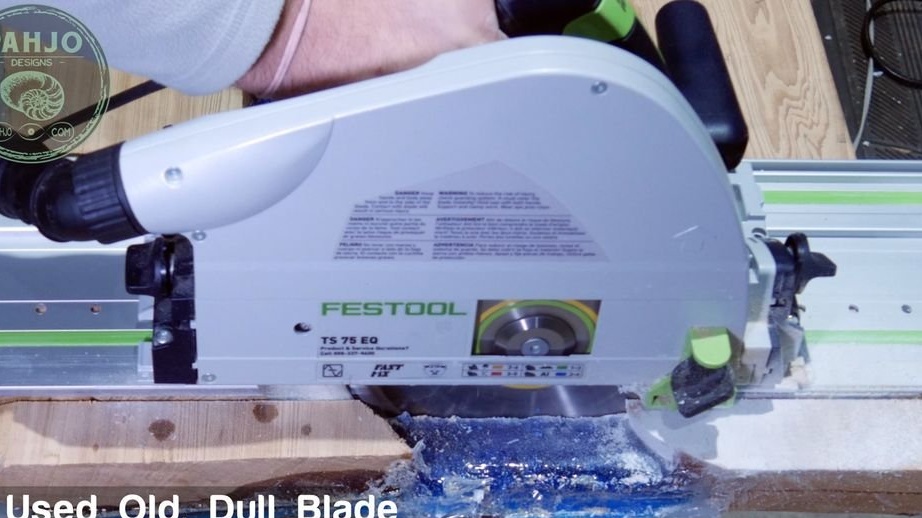
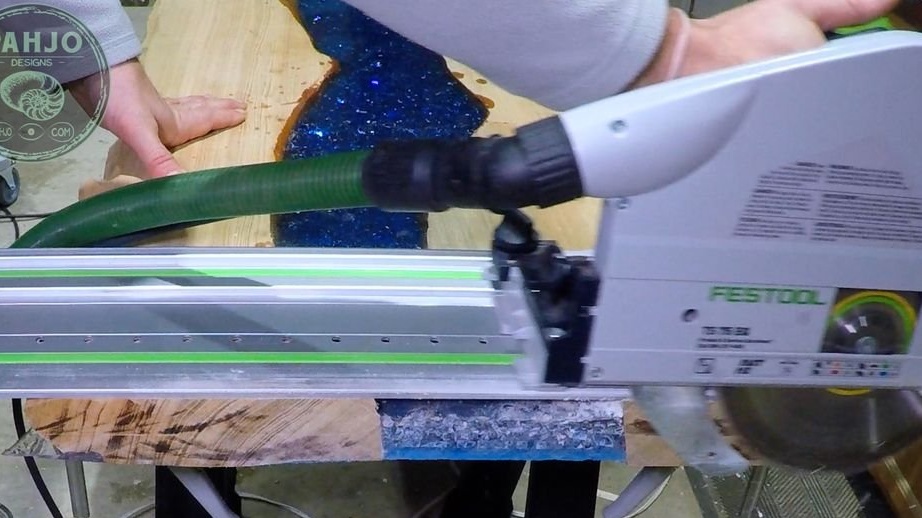
Cuts the product in width.
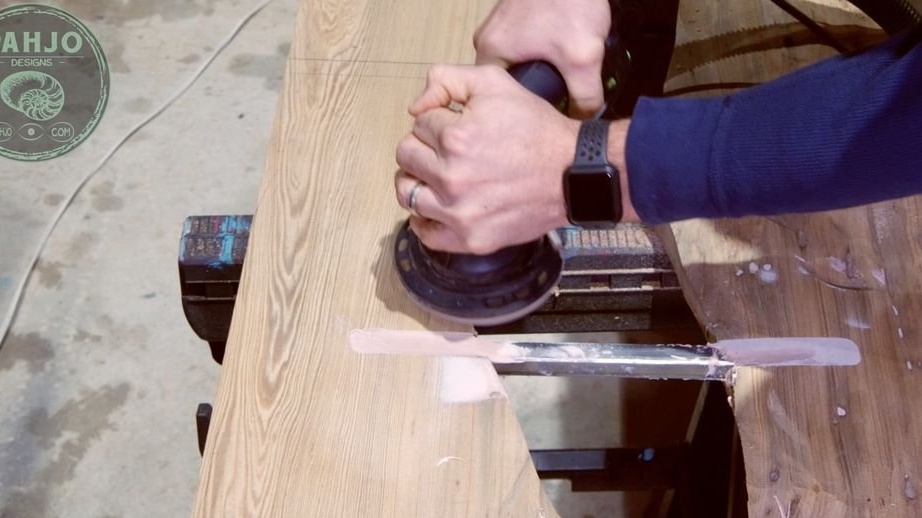
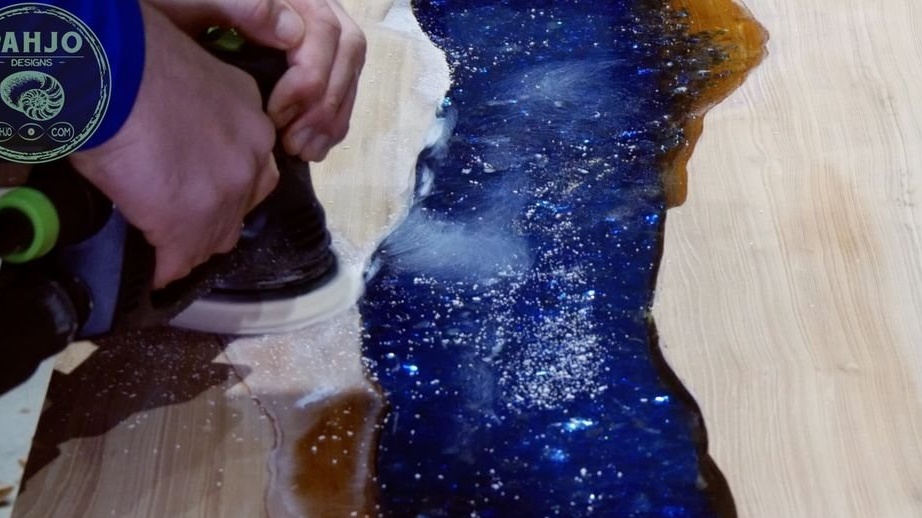
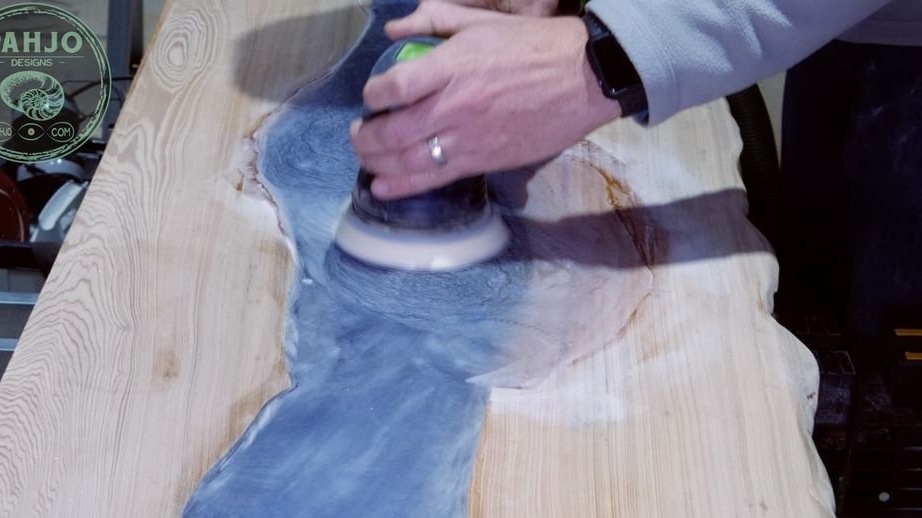
Step Eleven: Grinding
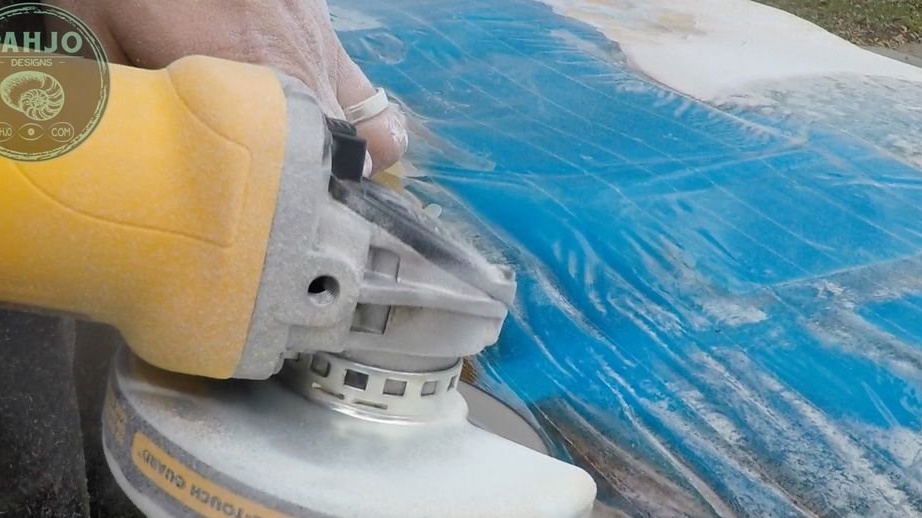
The master performs further work on the street.
Grinds the lower and upper sides. Cutting off the resin that hit the board.
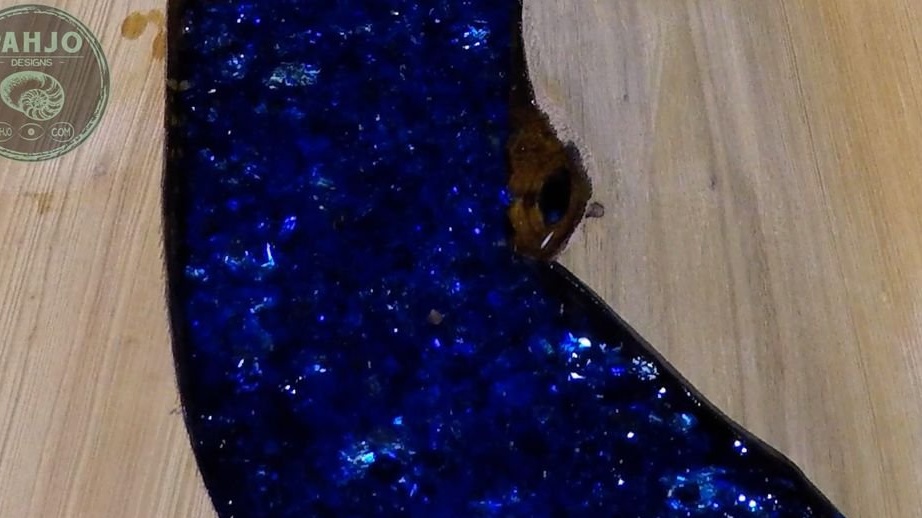
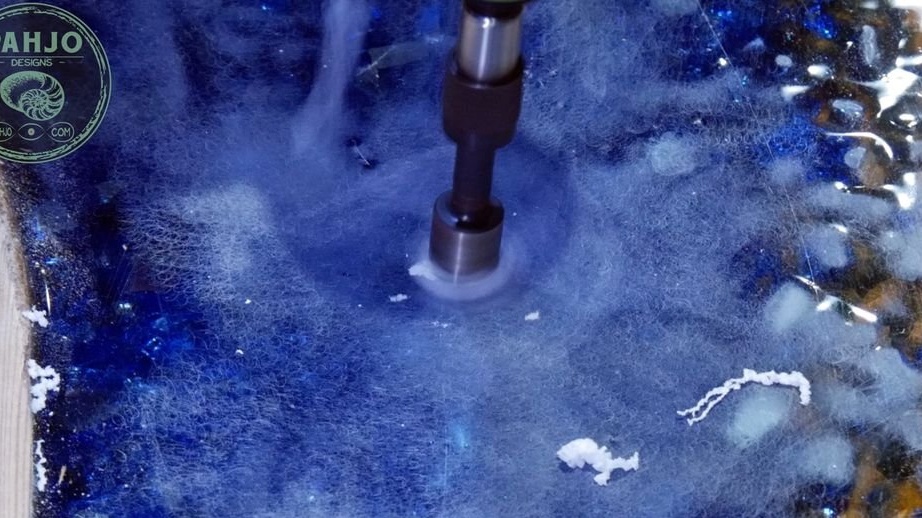
A few air bubbles remained in the resin. Drills holes and fills the sinks with resin.
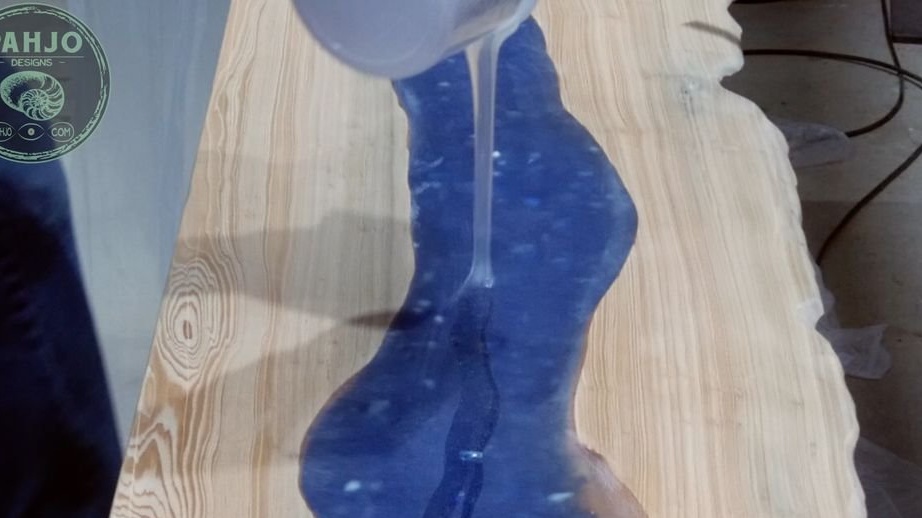
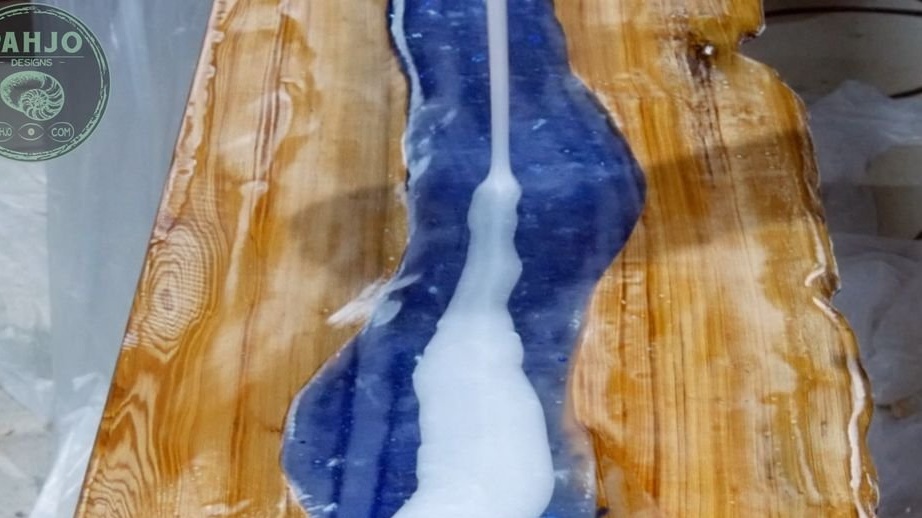
Step Twelve: Third Layer
Closes the ends again. Fills the third layer of resin. After rejection, removes the plugs.


Grinds the surface.

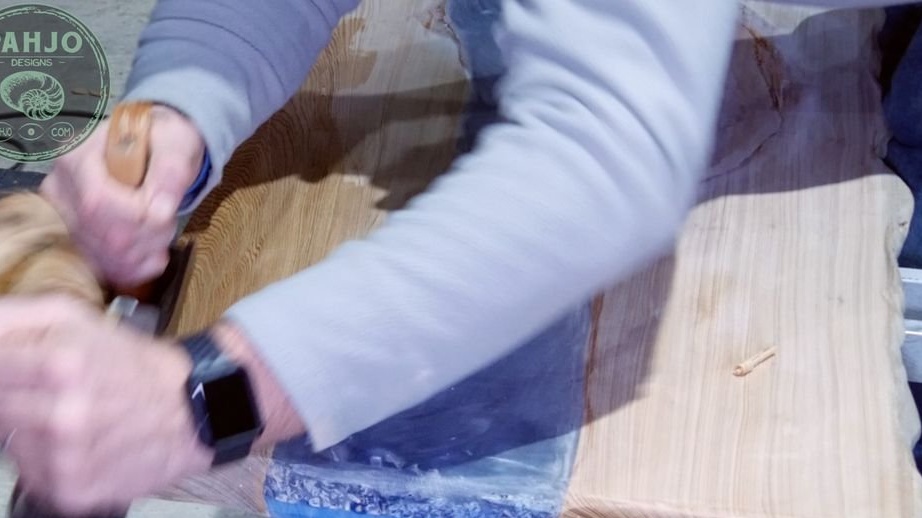
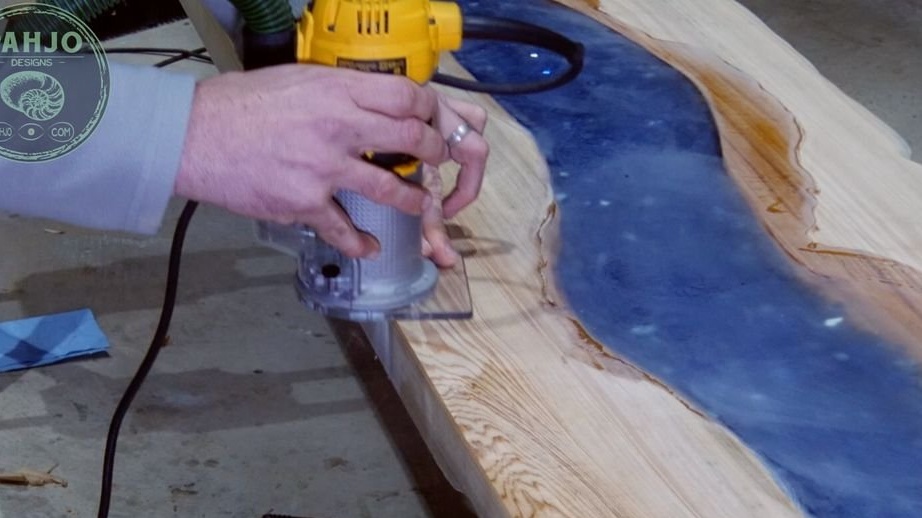
Step Thirteen: Edge
It processes the edge with a milling cutter so that it is not so sharp.
Step Fourteen: Third Layer
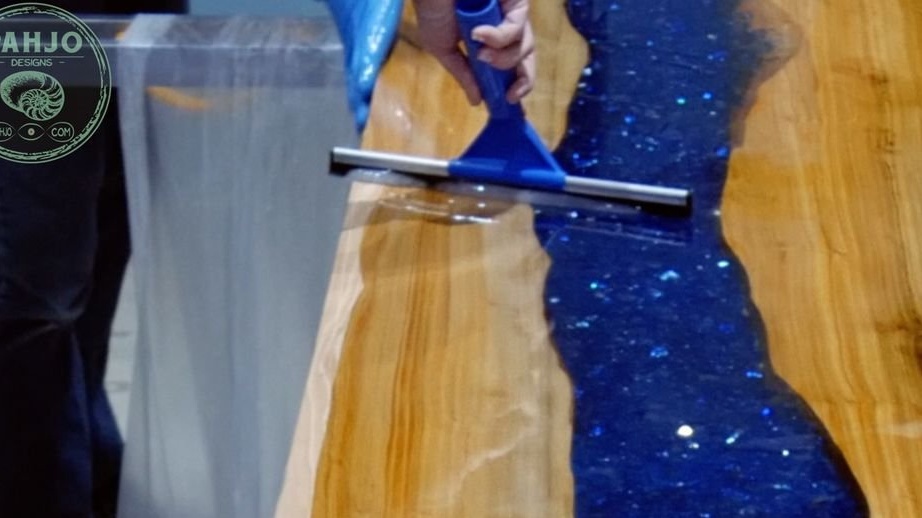
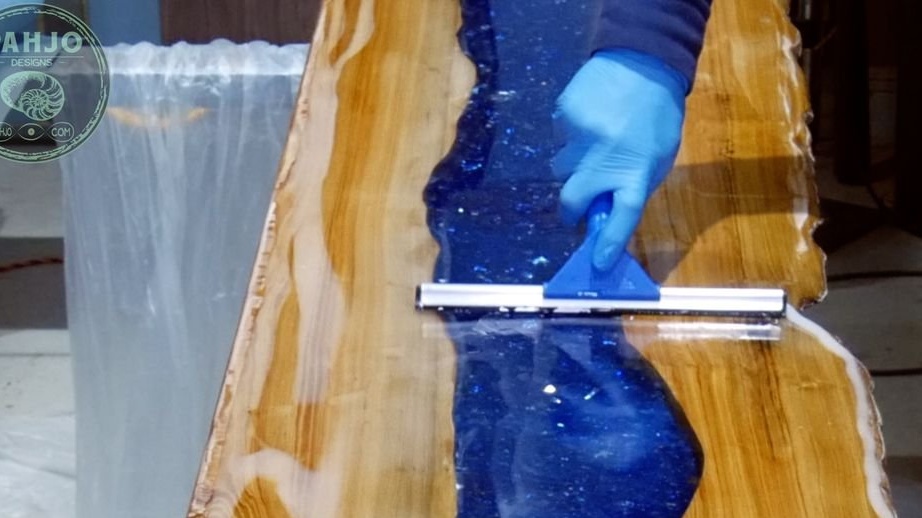
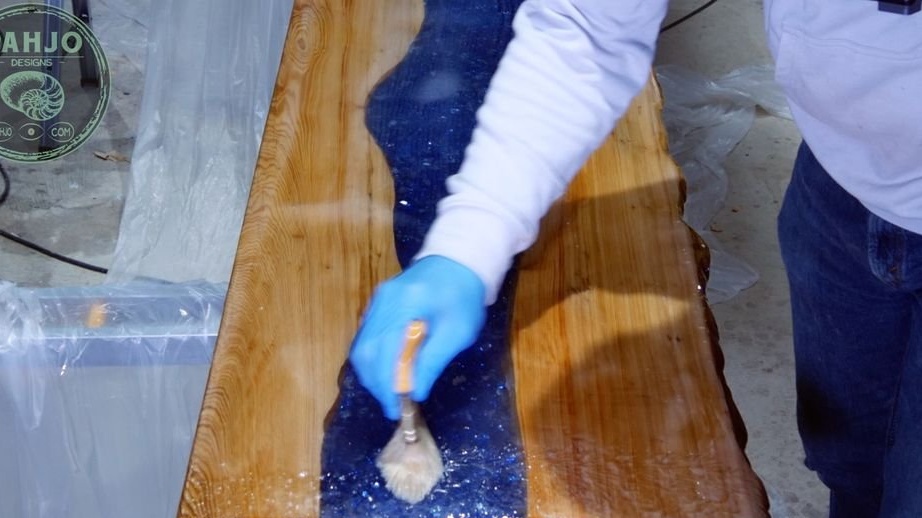
Thoroughly cleans the surface of dust. Stir the resin. Fills with a thin layer. This layer is spread by the master with a squeegee on all surfaces, and the edges are coated with a hand in a rubber glove. Heats up with a burner.
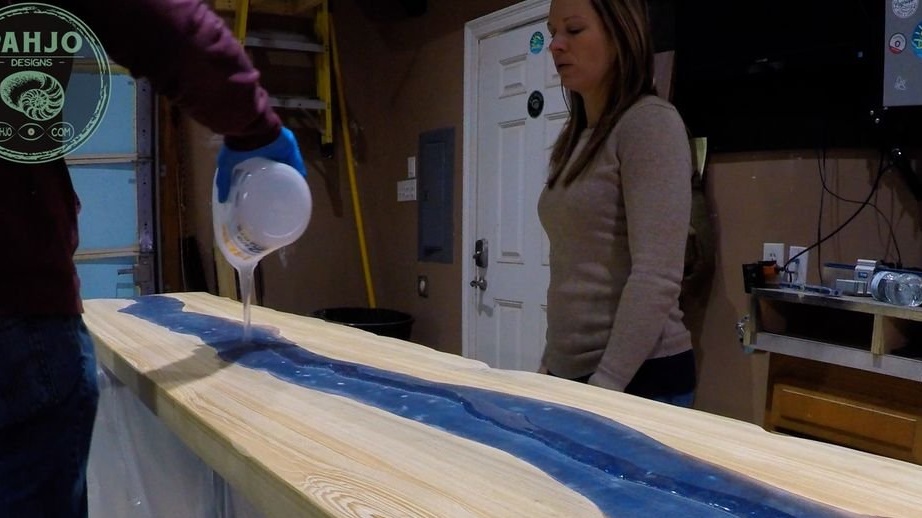
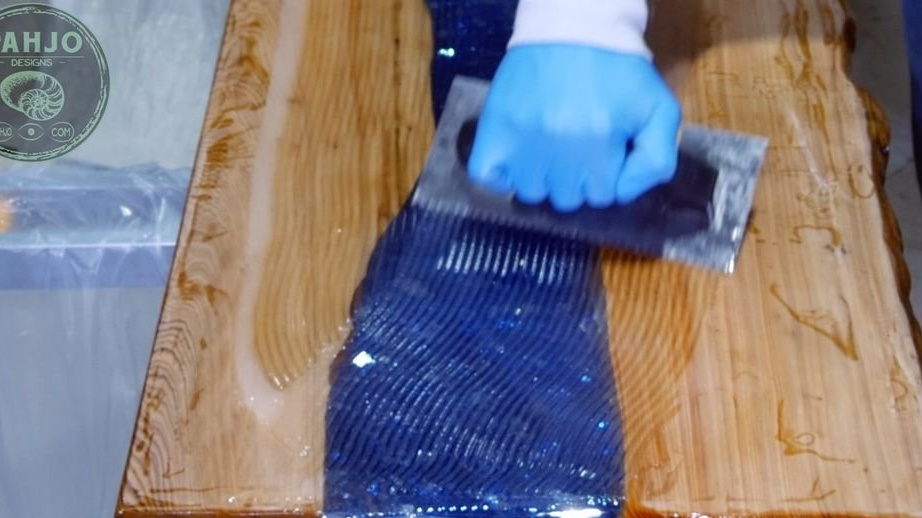
Step Fifteen: Fourth and Fifth Layers
After curing the resin, the master polishes the surface and fills another layer. Then repeats the operation.

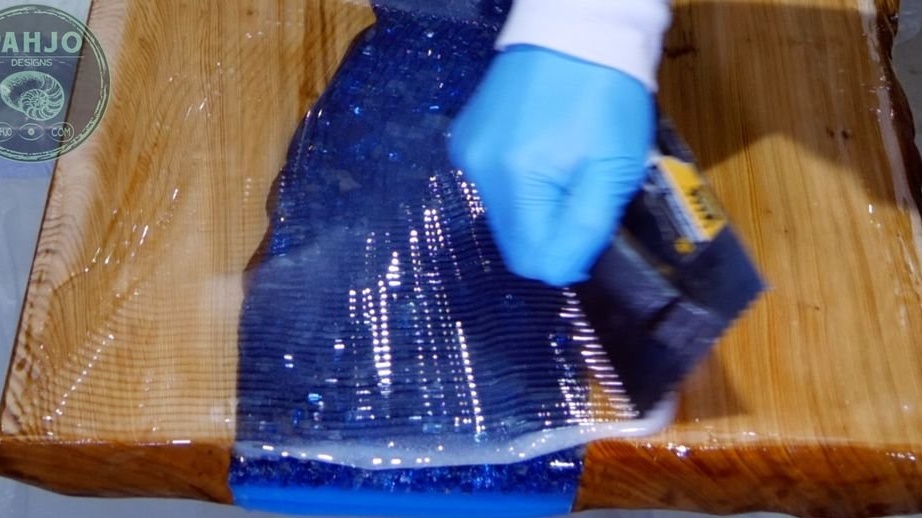
Step sixteen: the last layer
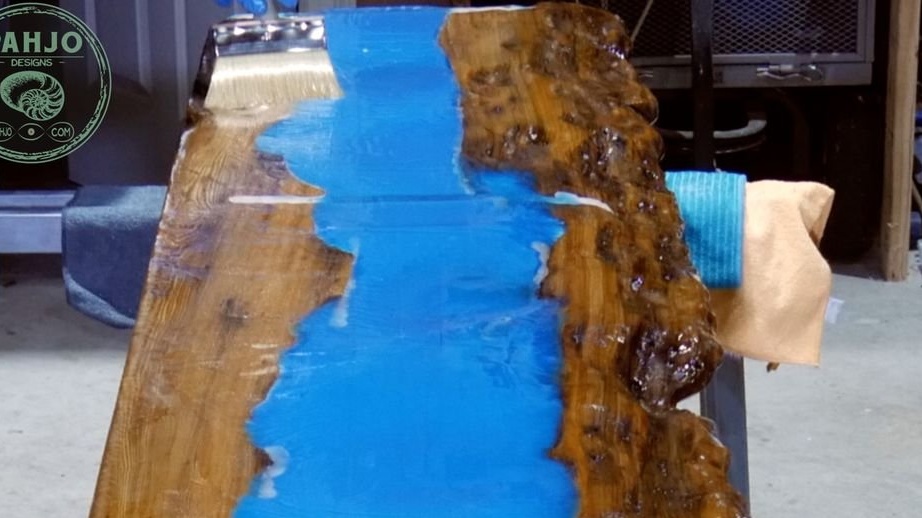
The last two layers the master fills and stretches with a comb-spatula. Then, with a paint brush, it pokes over the entire surface. This allows you to evenly lay the layers. After each filling, the surface heats up with a burner.

Leaves the product for a week to dry.
Step Seventeen: Bottom
After a week, he turns the countertop over and covers it with polyurethane.
Step Eighteenth: LED Strip
UV LED strip is not needed here for backlighting, but for charging fluorescent powder. If the product is on the street, then it is not needed, but, just in case, the master fixes it on the underside of the table.
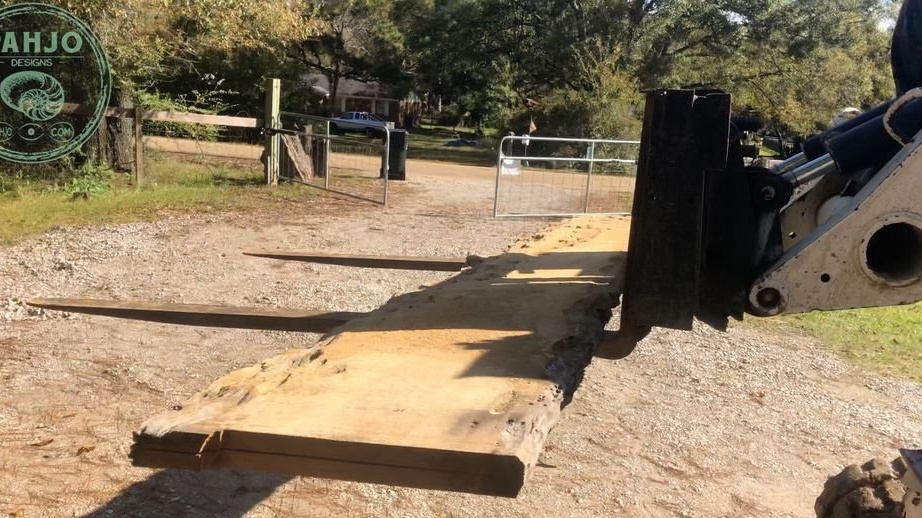
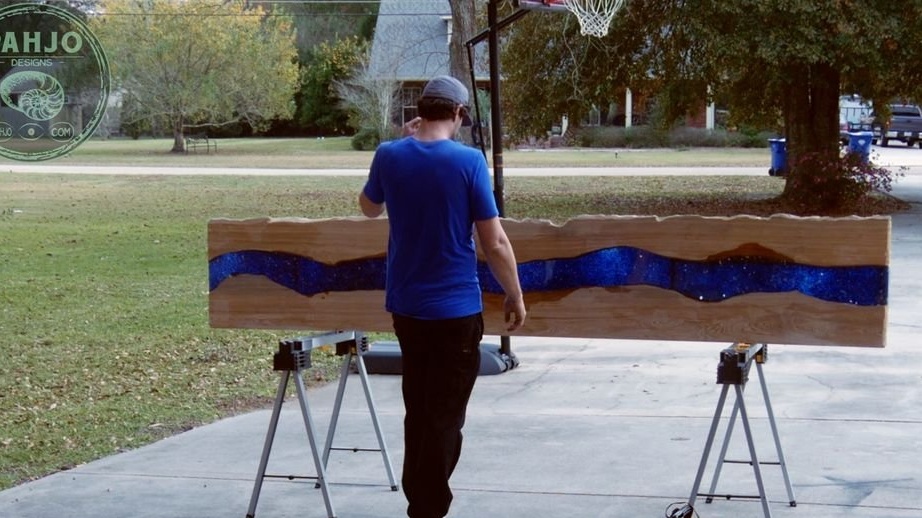
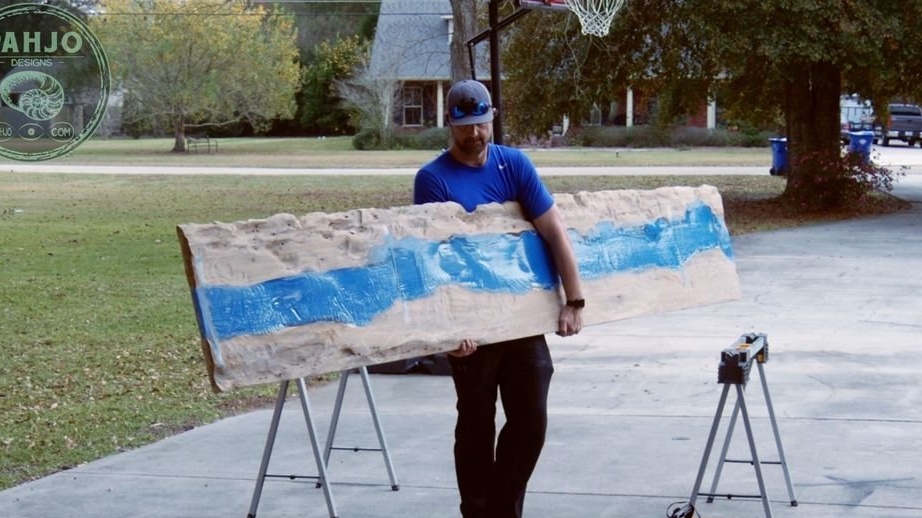
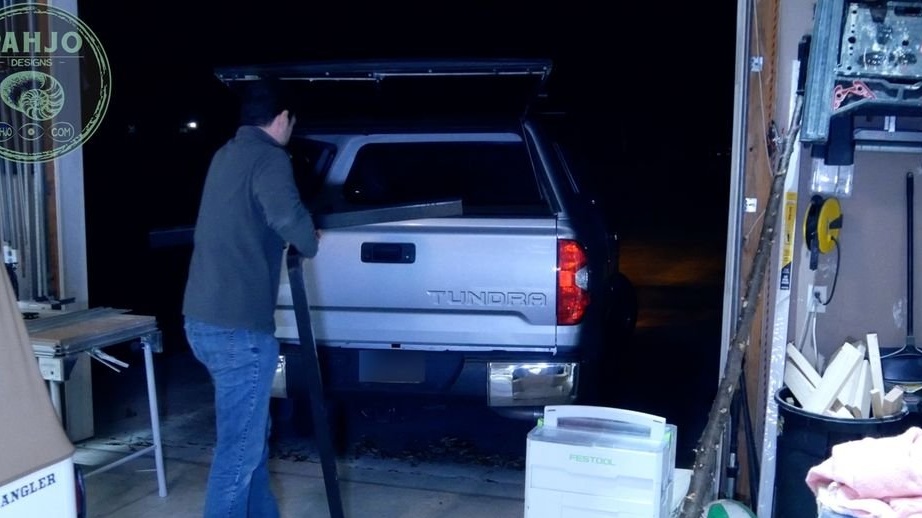
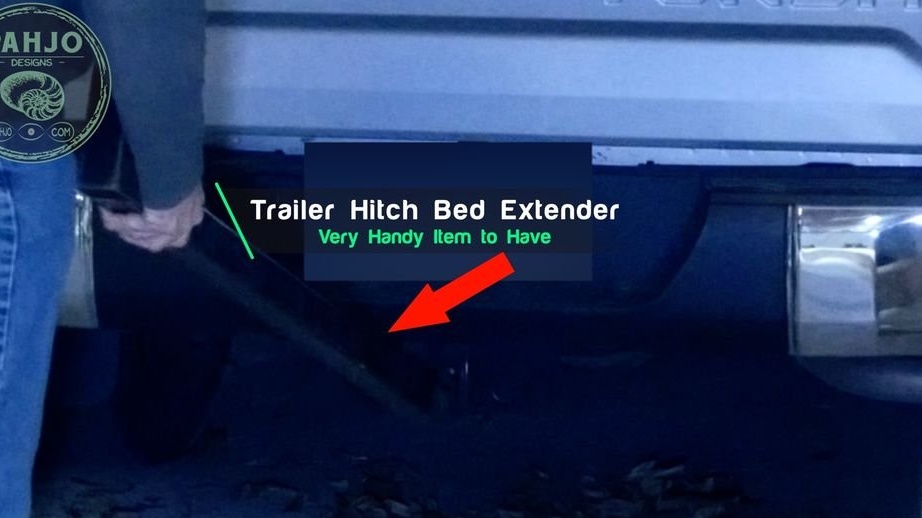
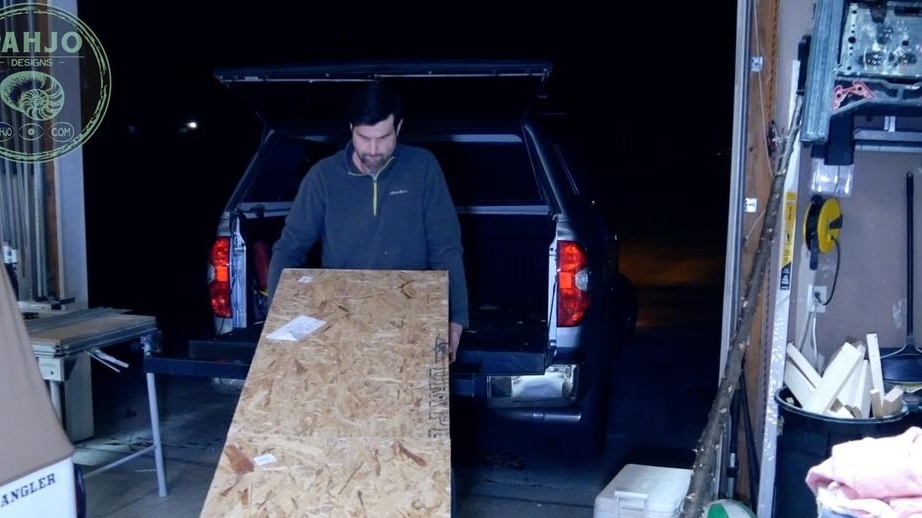
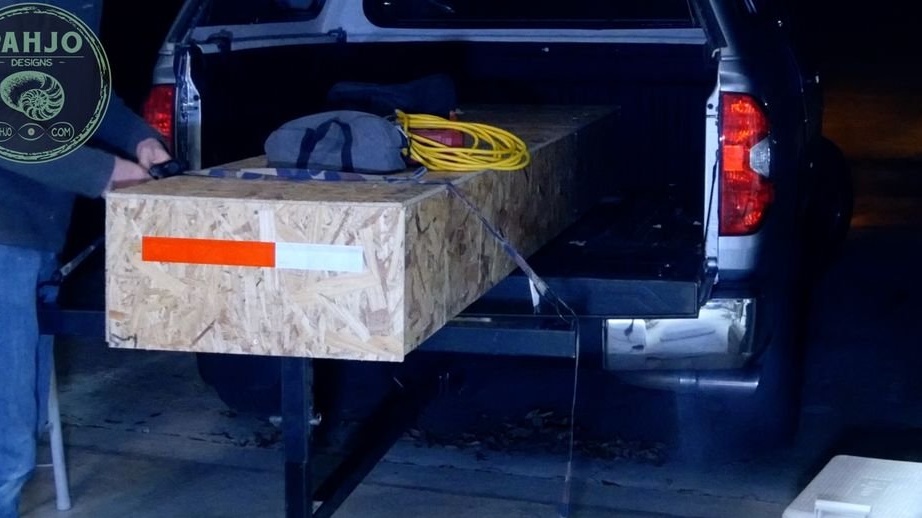
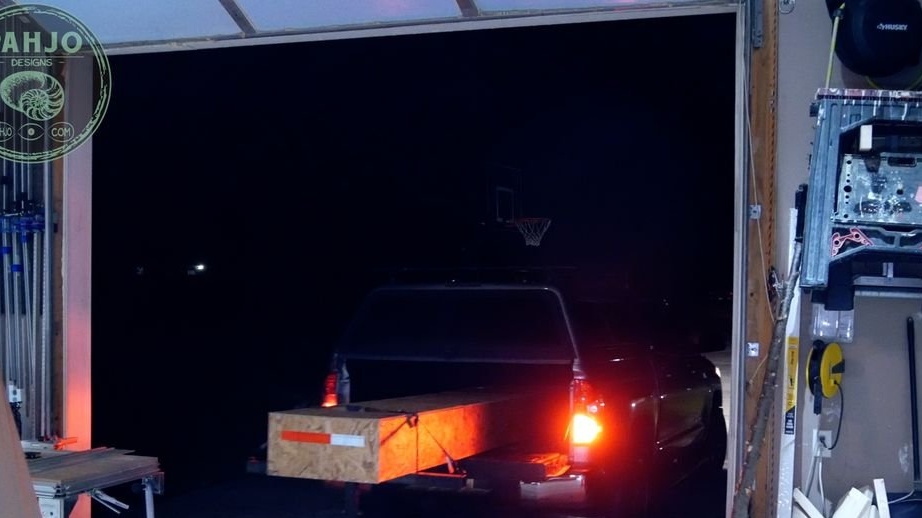
The stand is ready. The master packs it and takes it to the customer. Pay attention to an interesting solution for the transport of goods exceeding the length of the body.
Now it remains to install the bar in its intended place.

The entire process of making a bar counter can be seen in the video.