
This article will be interesting to everyone involved in photography. And especially to those whose hands should be free at this moment.
In it, the author of the YouTube channel "jisaku-kobo / 自 作 工房" will tell you how to make a foot pedal for remote focusing and lowering the camera.
Materials
- Suits 60X12 and 25X4 mm
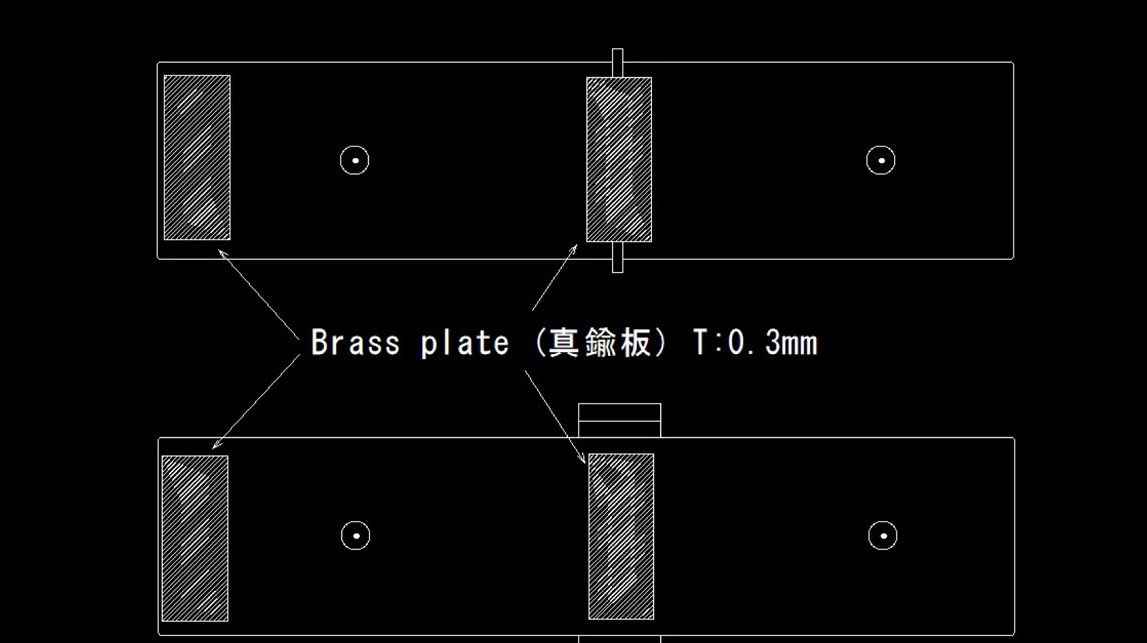
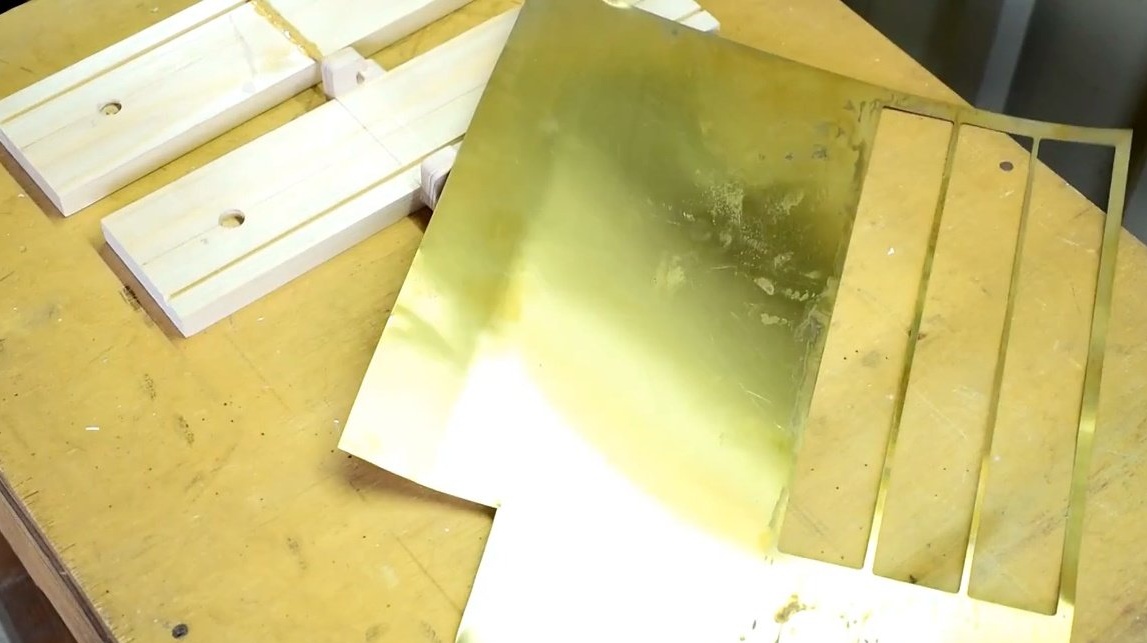
- Sheet brass 0.3 mm
- wires
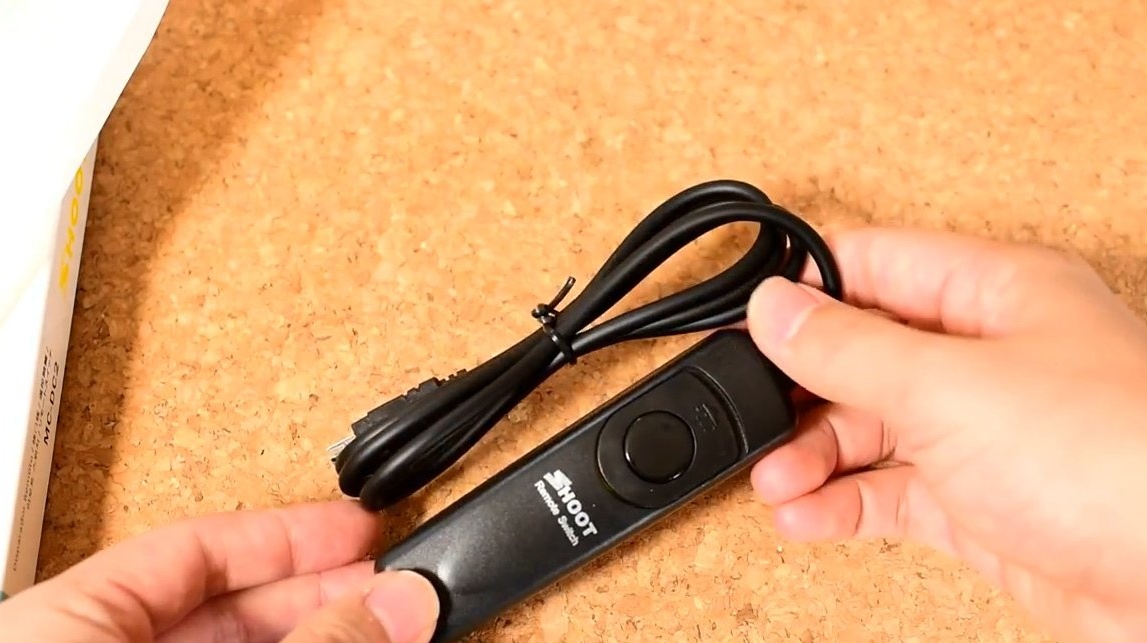
- Wire with connector for remote release
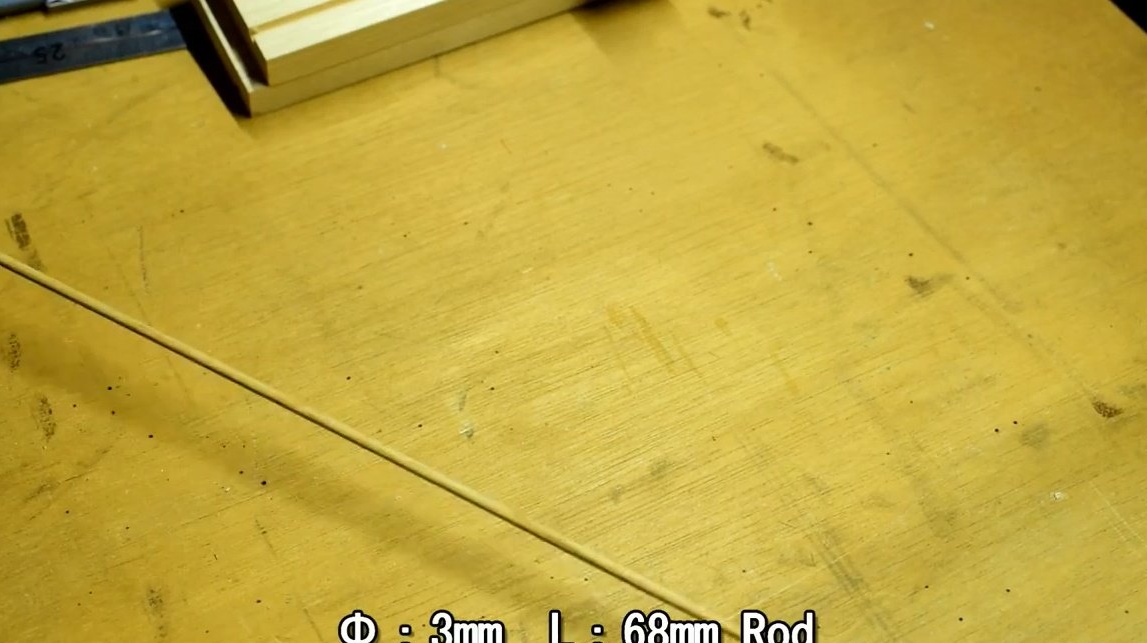
- Wooden bar 3 mm
- PVA glue
- masking tape
- Double-sided tape
- Rag, sandpaper
- Two small springs
- Impregnation for wood.
Instruments, used by the author.
- Screwdriver
- A circular saw
- Manual frezer
- clamps
- Chisel, file
- Band-saw
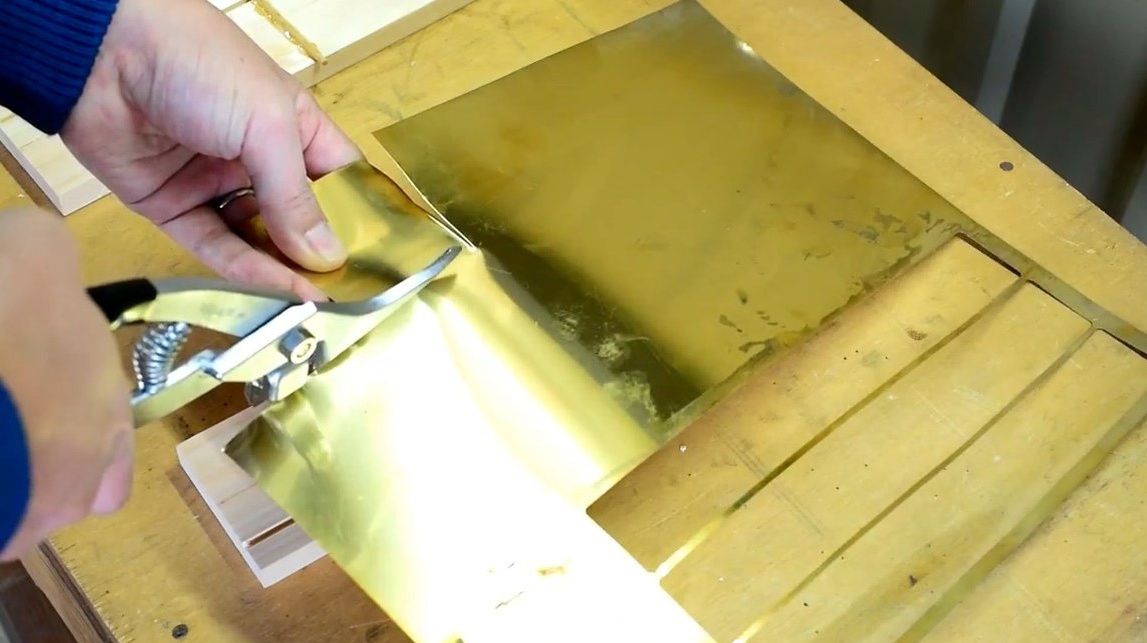
- Scissors for metal
- Hammer with a rubber head
- Nippers, carpentry knife, screwdrivers
- soldering iron
- Ruler, pencil, tape measure, square.
Manufacturing process.
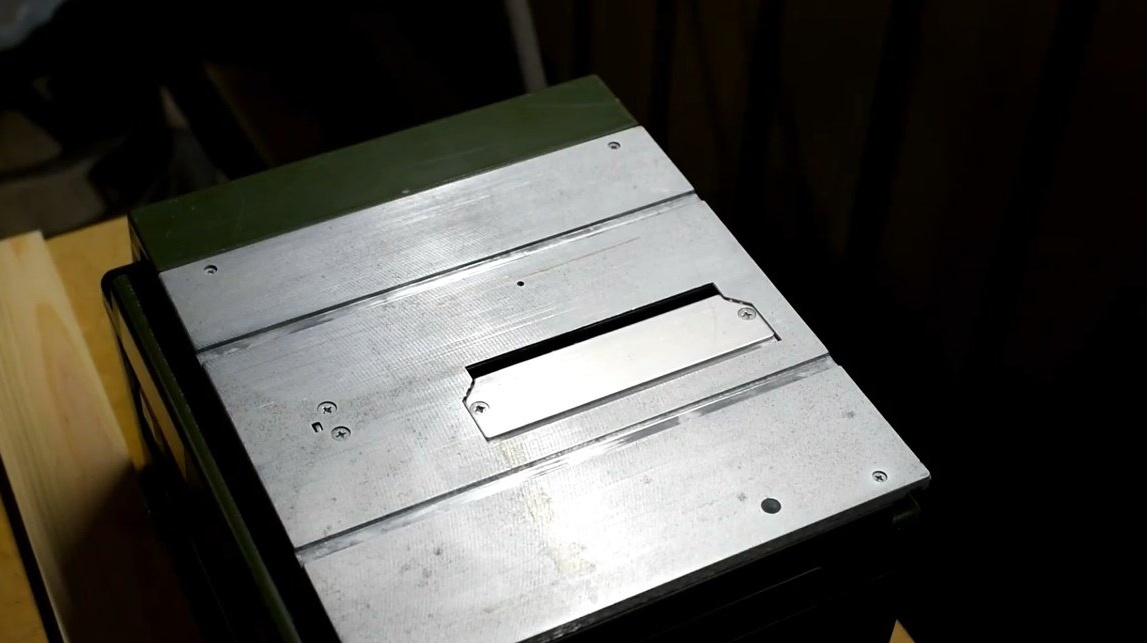
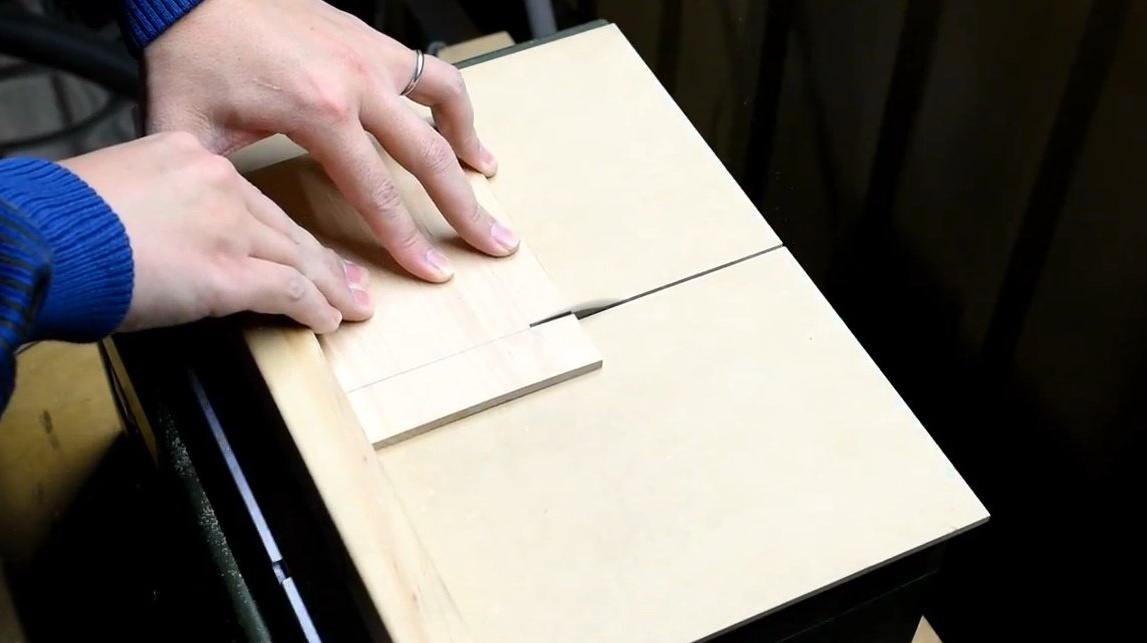
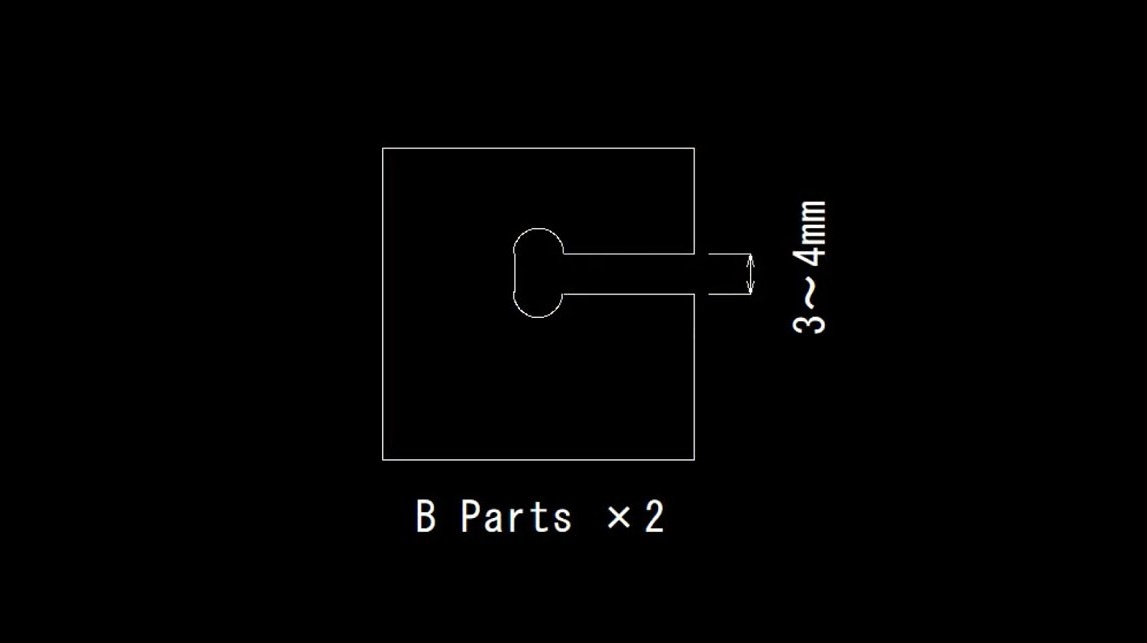
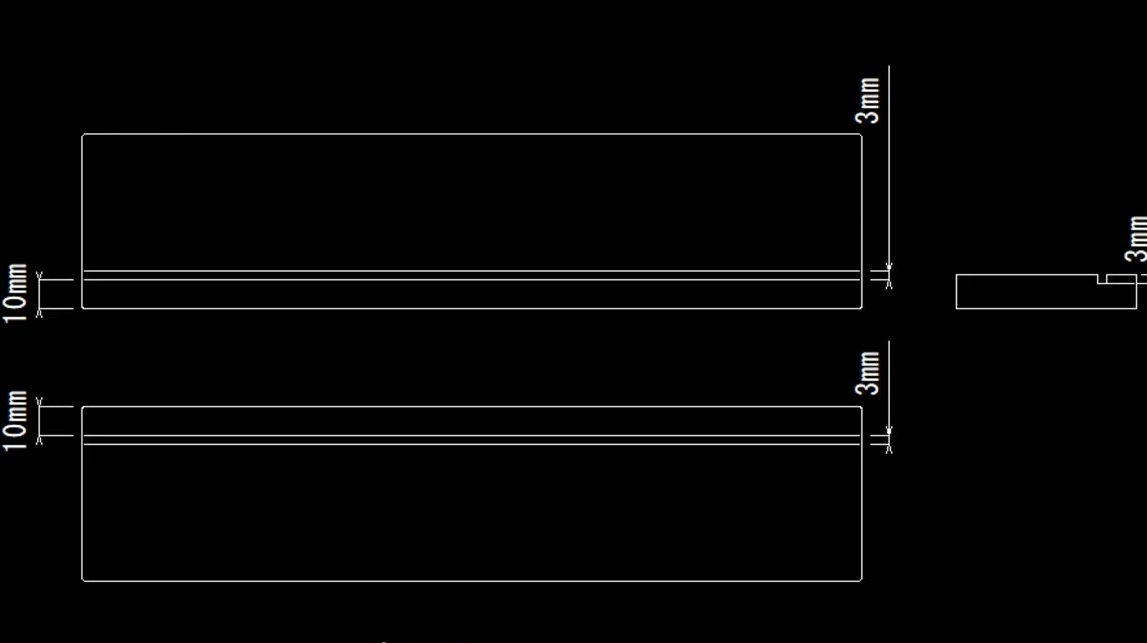
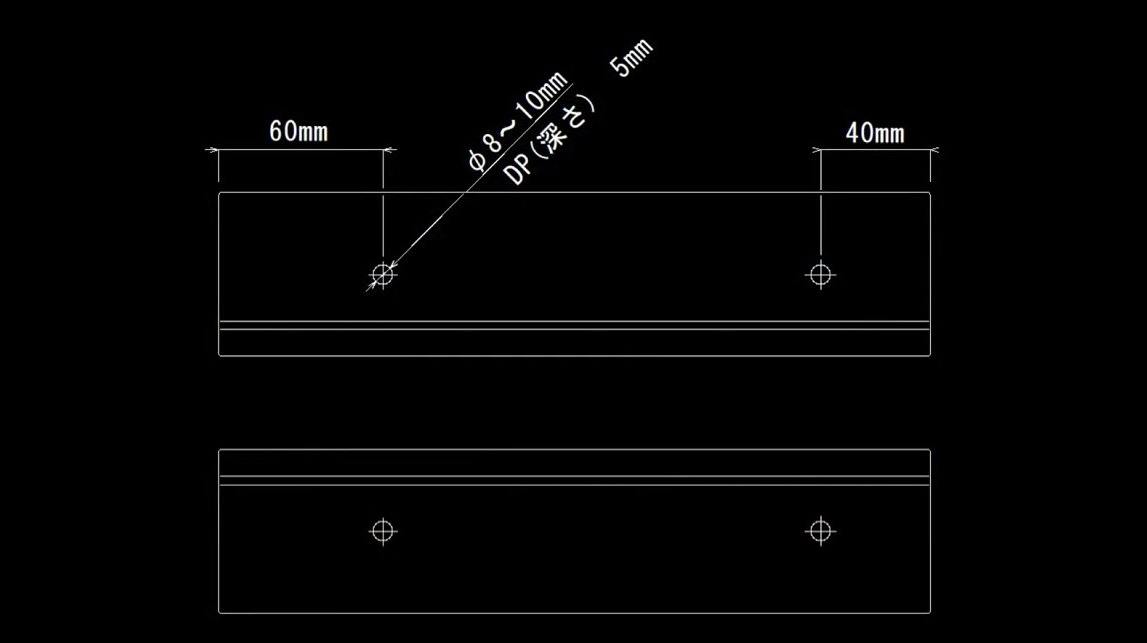
Installs a movable panel on a circular saw, and cuts two parts (pedal and base) according to this drawing.
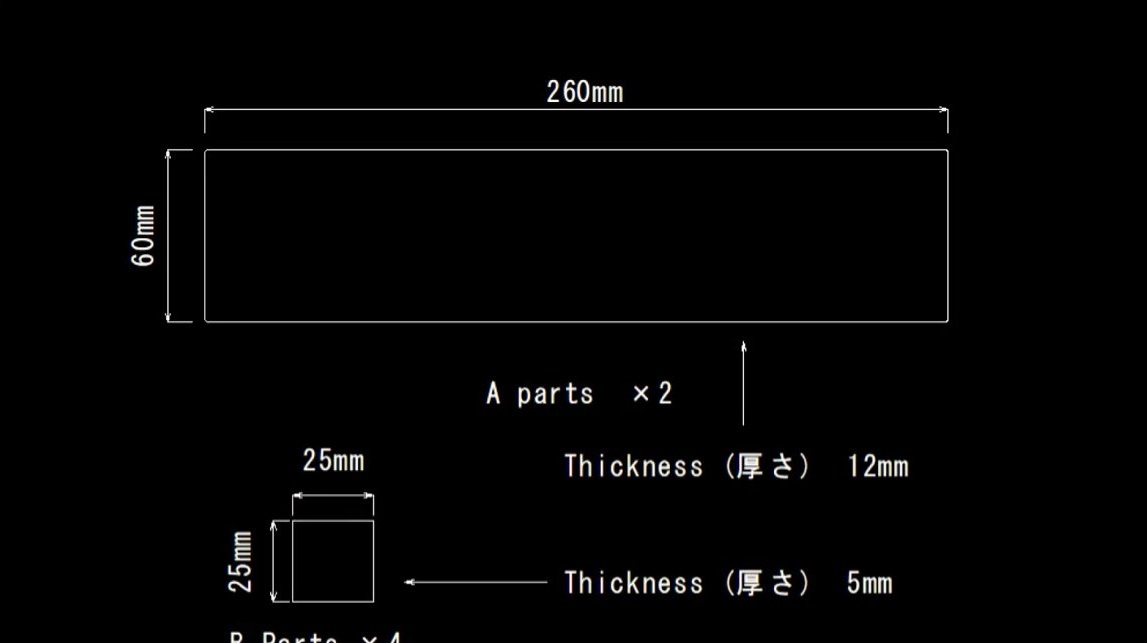

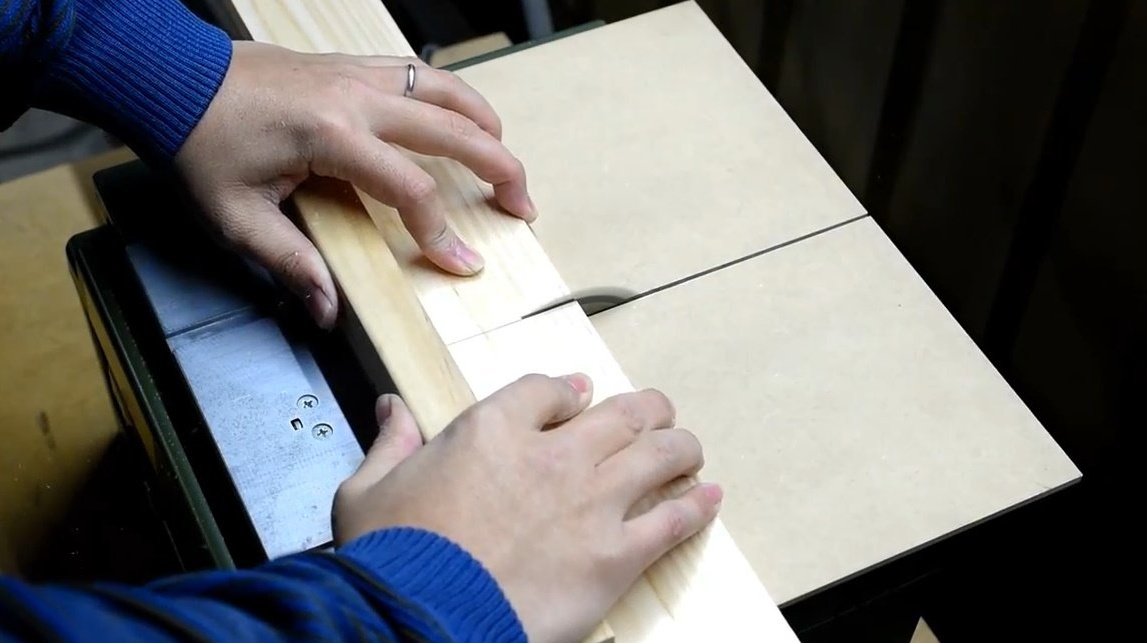
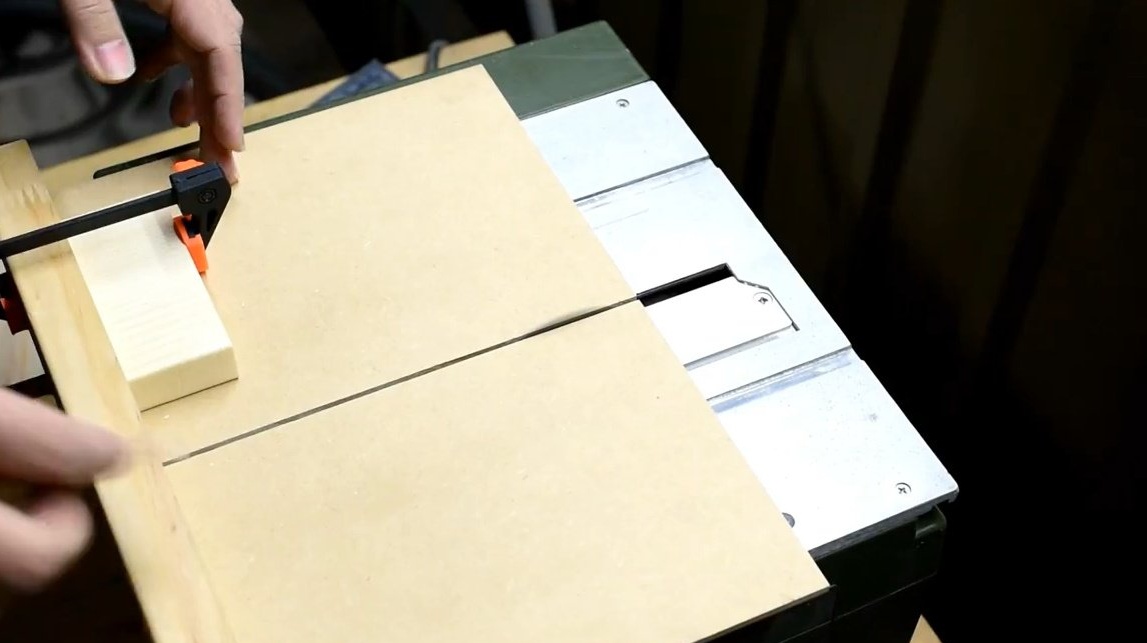
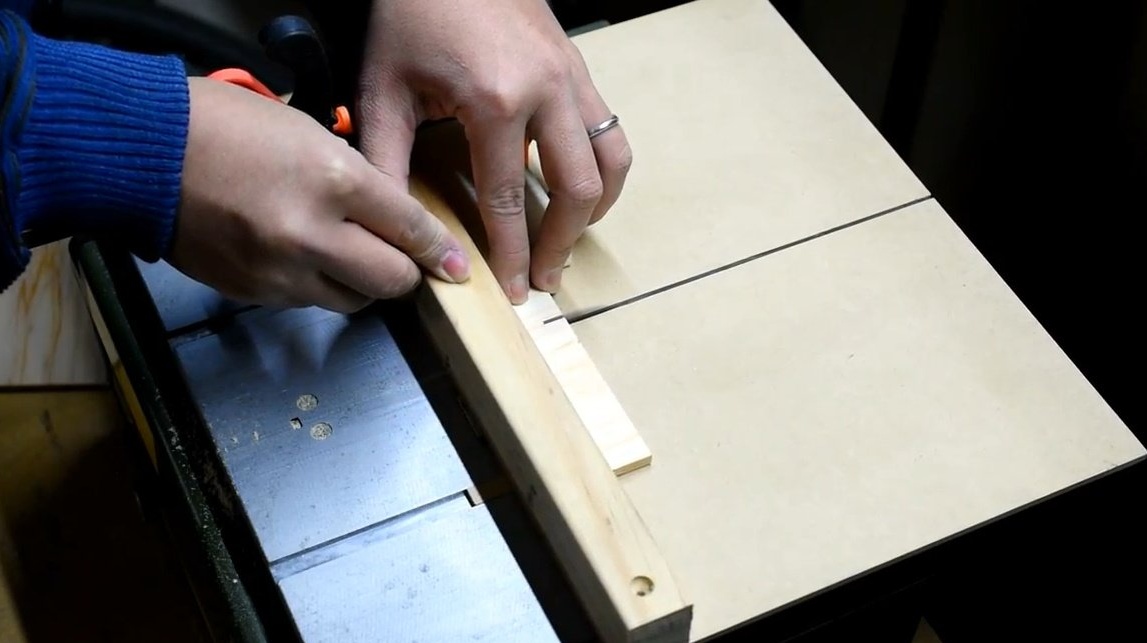
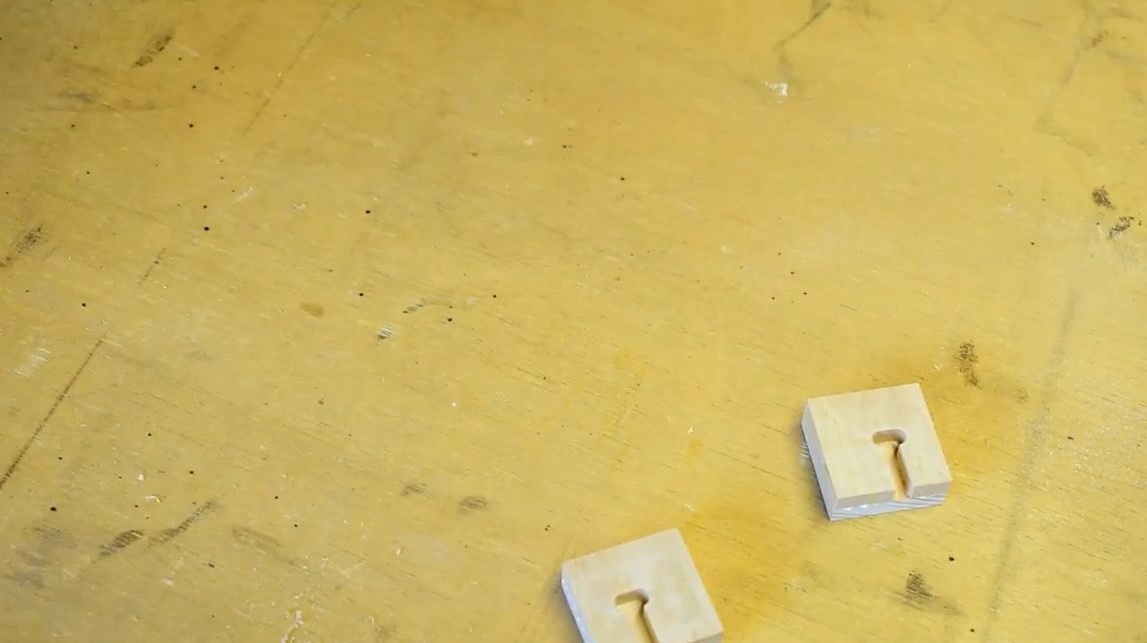
Now presses the emphasis to the panel with a clamp, cuts out four squares 25X25 mm.
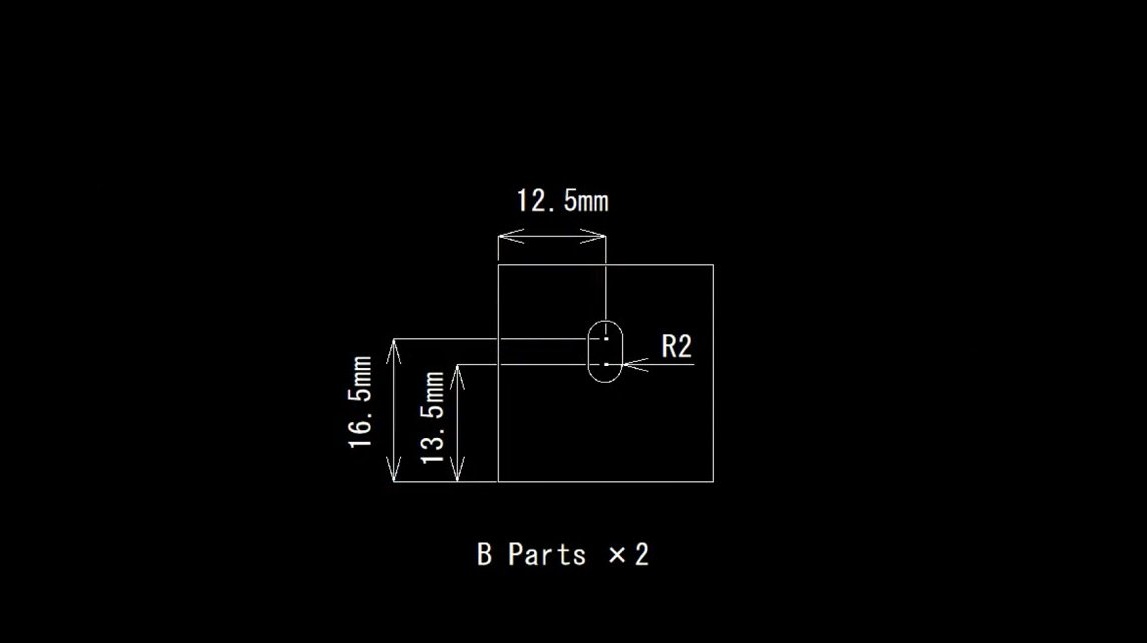
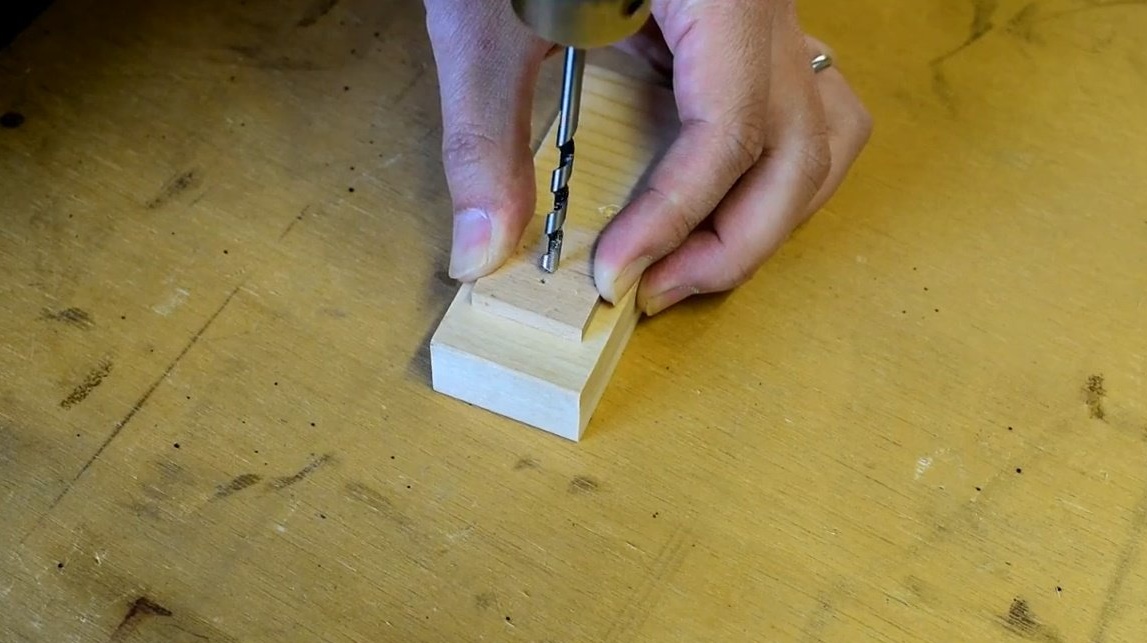
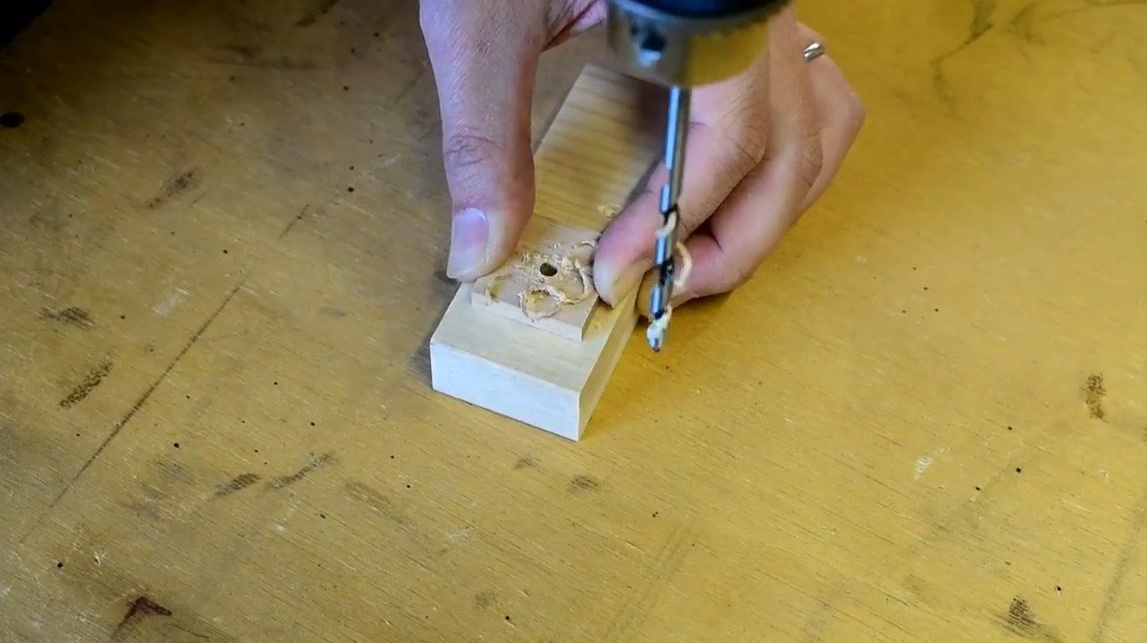
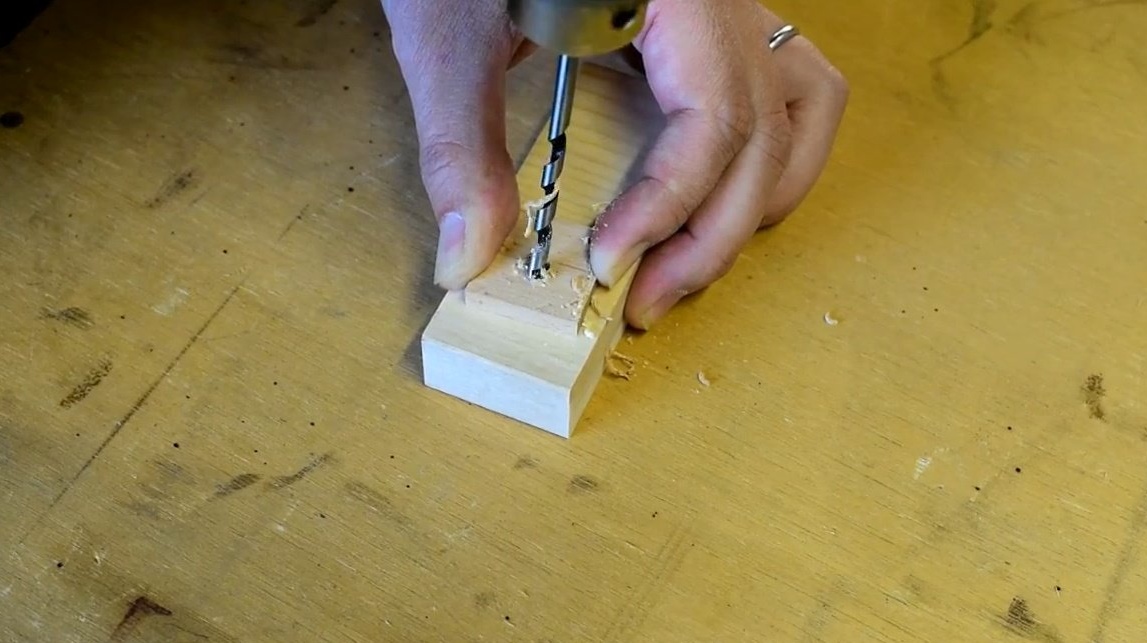
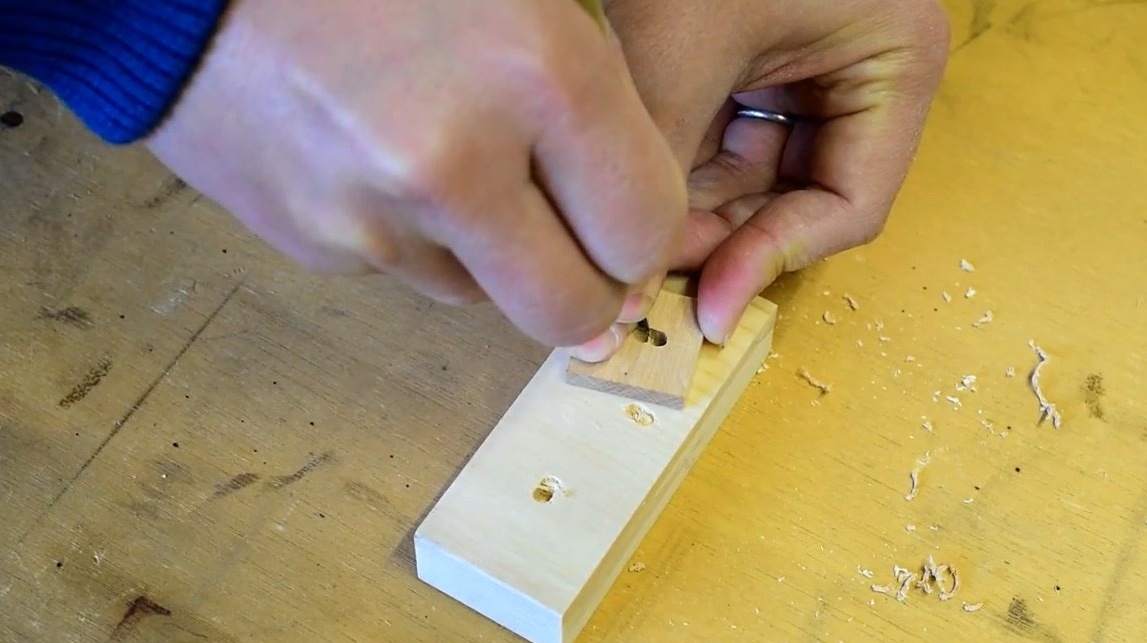
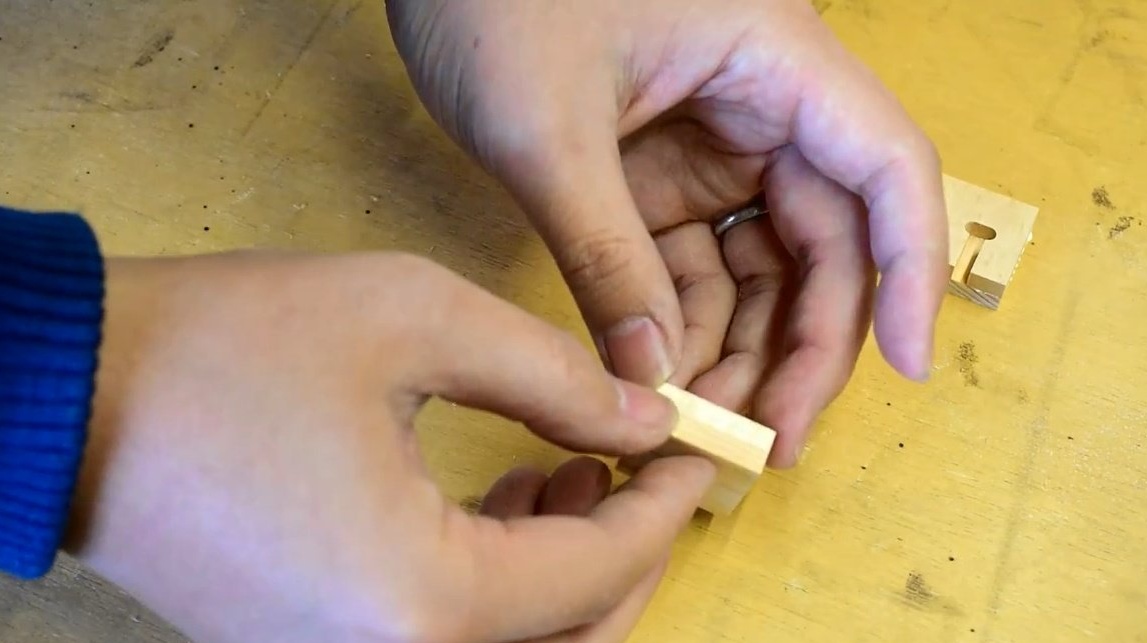
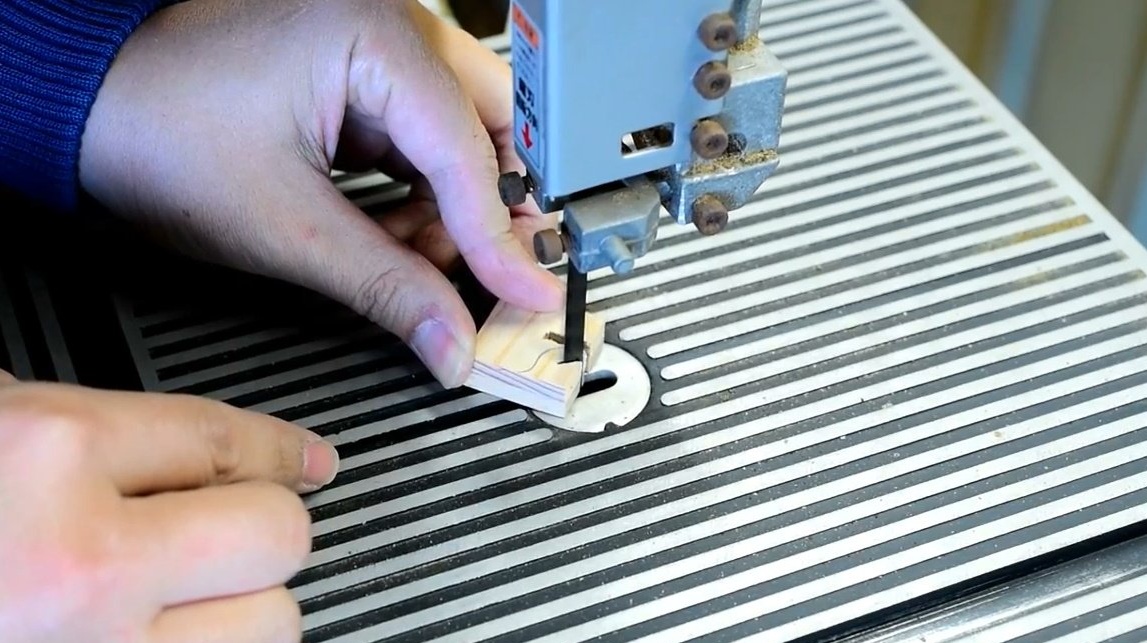
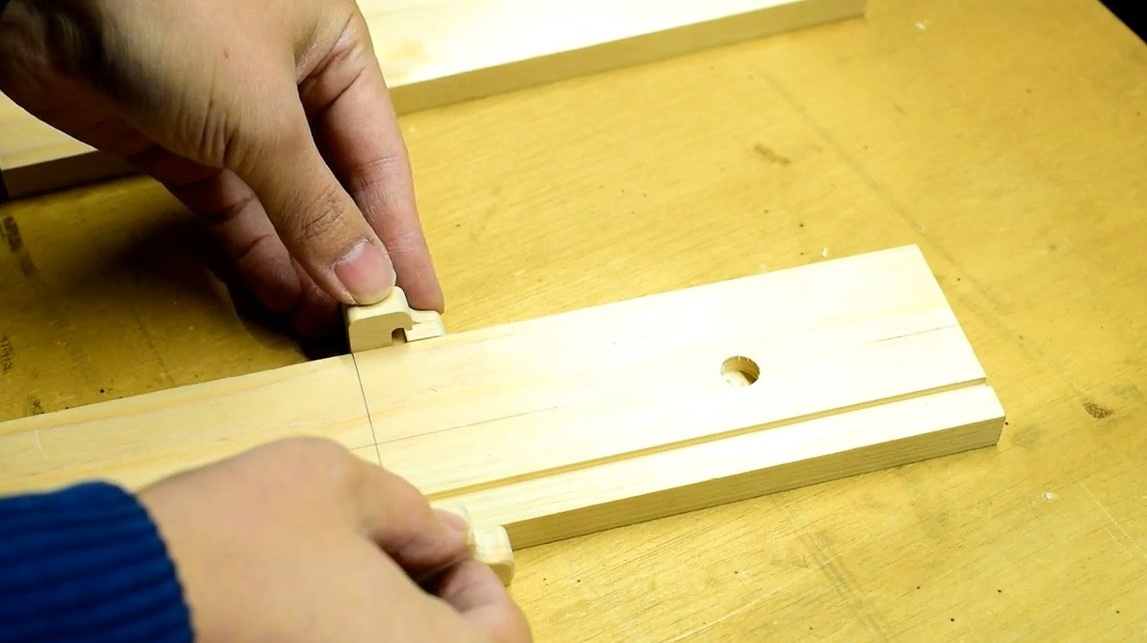
The next step is to make such an oval cutout in a pair of squares. To do this, the author drills two holes, cuts off the joint with a chisel, and smoothes out the file.

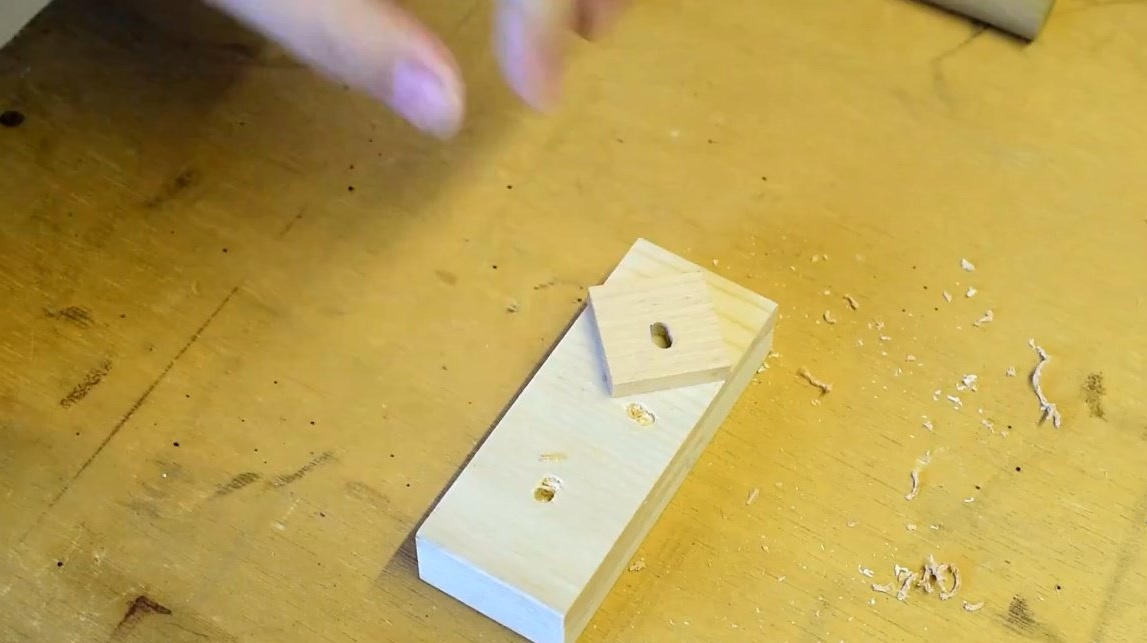
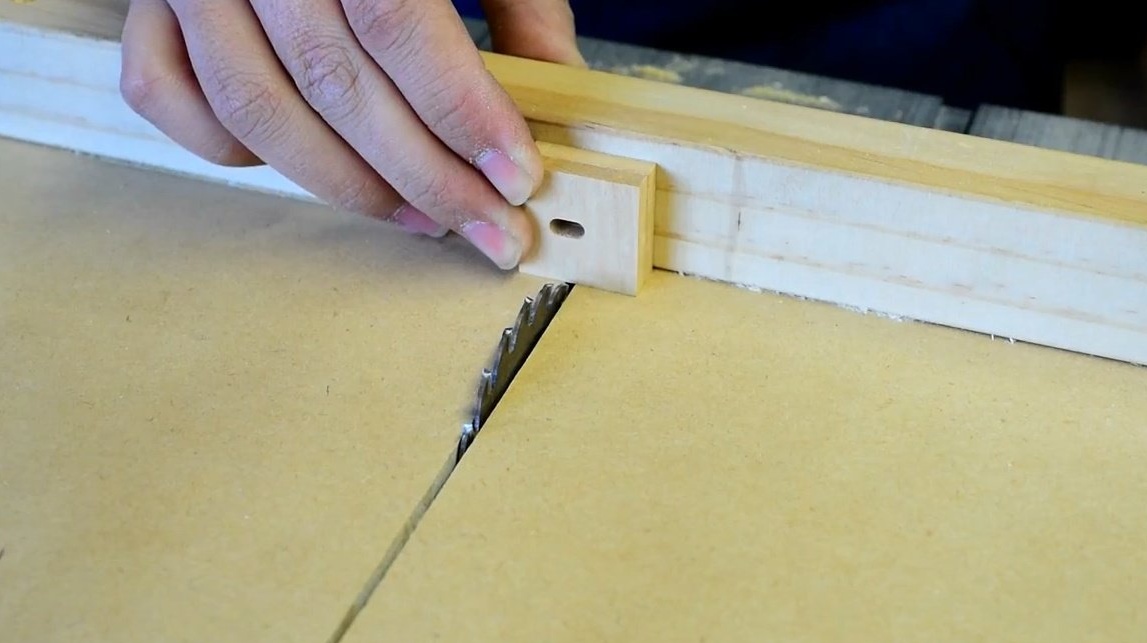
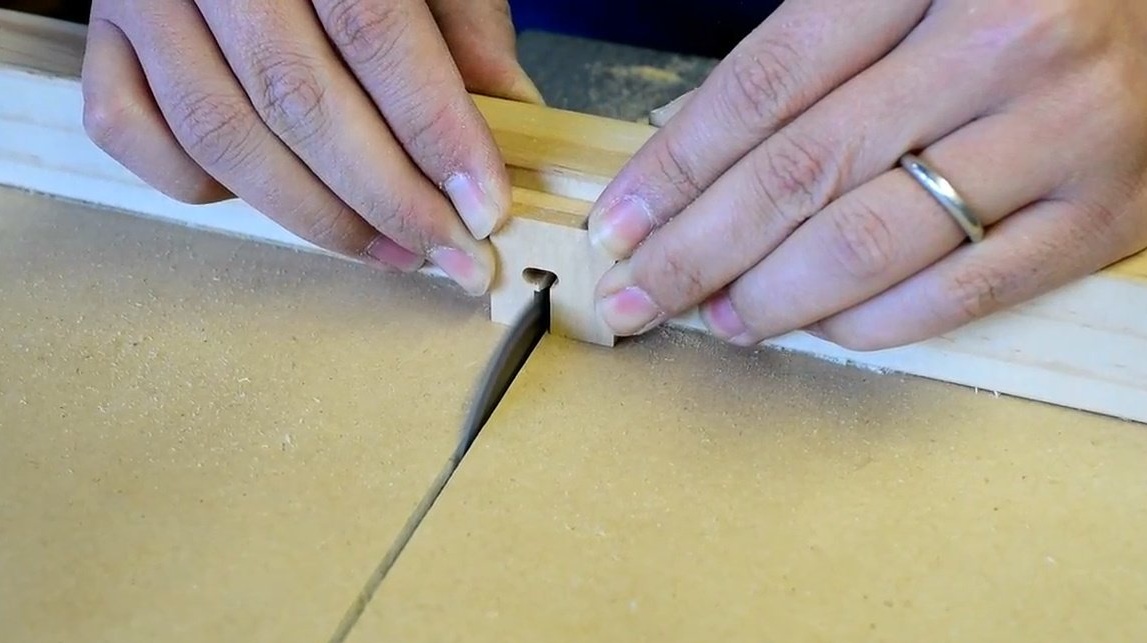
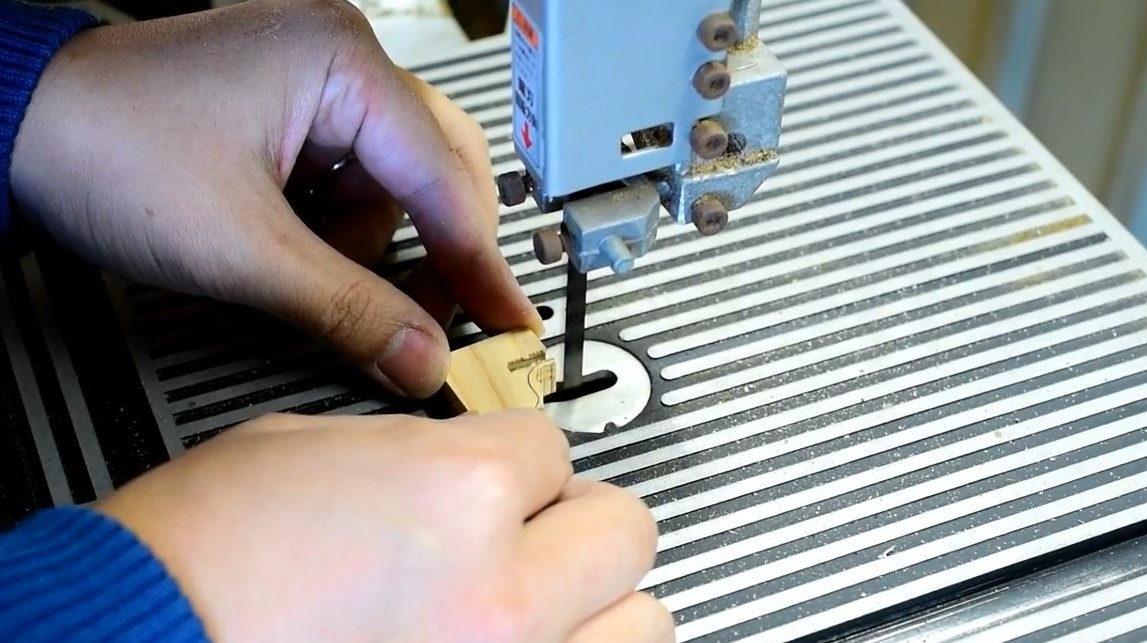
Now in these details you need to make a cut about 4 mm wide. The master makes it in two runs on a circular saw.
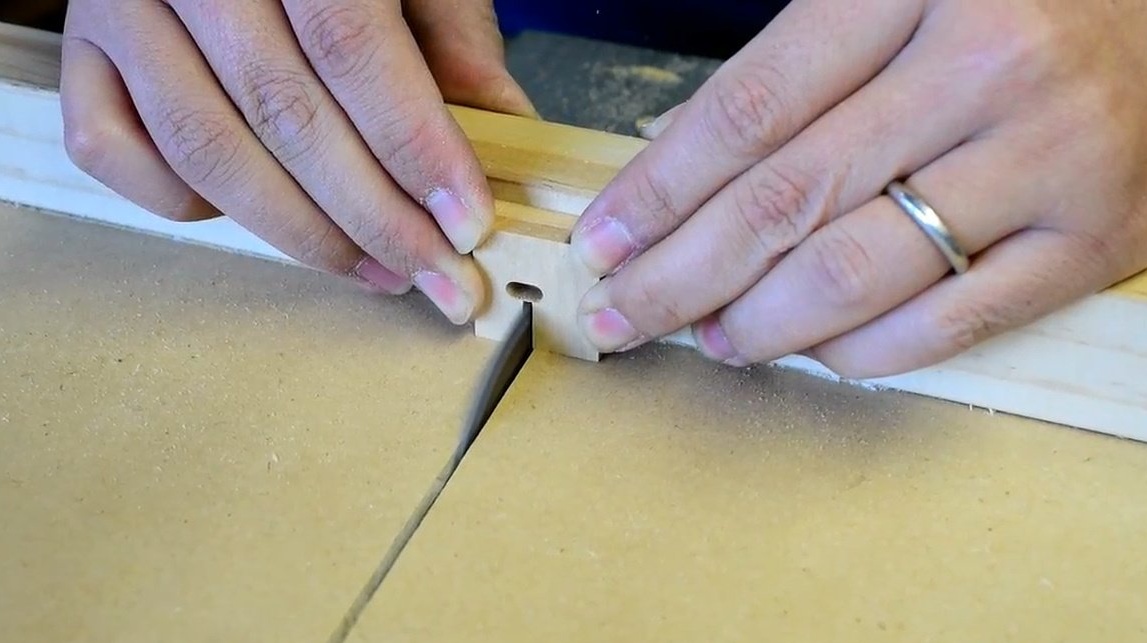
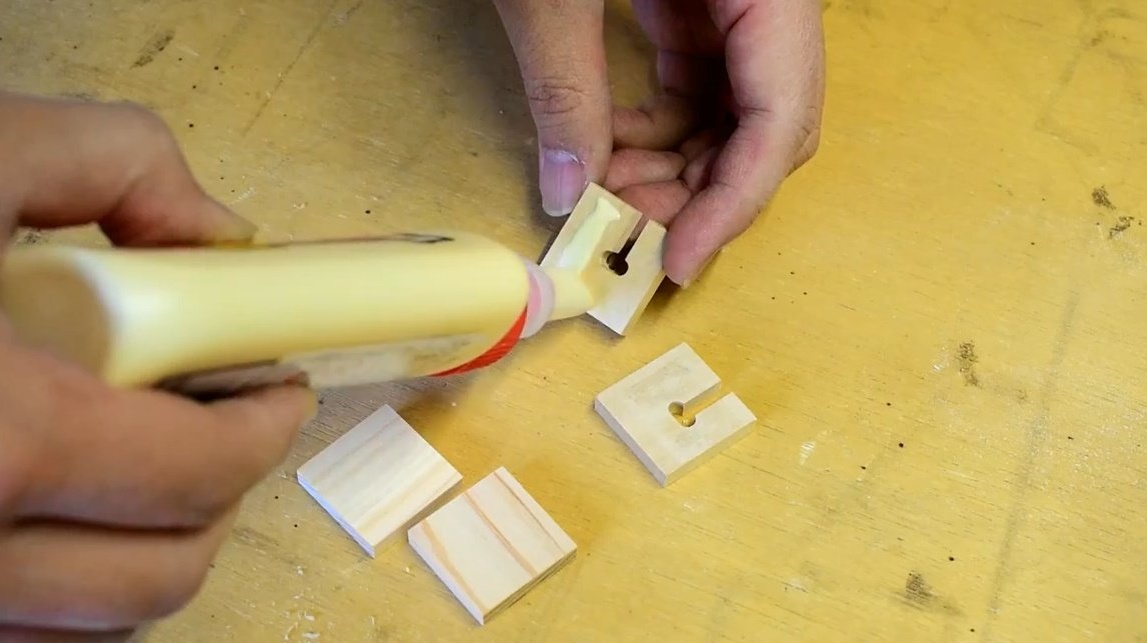
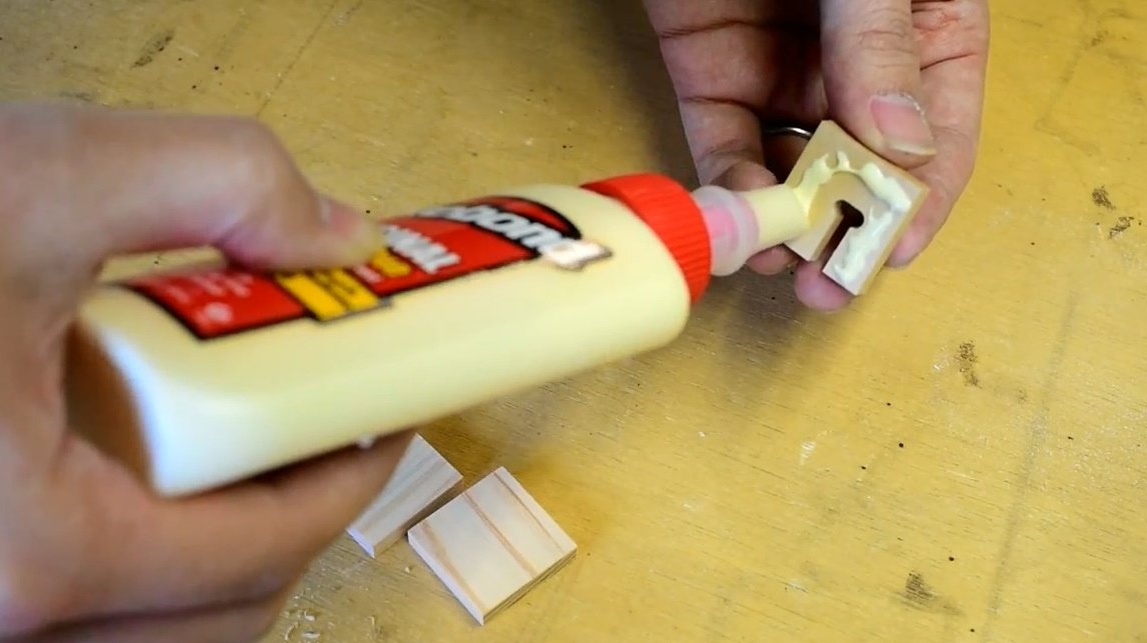
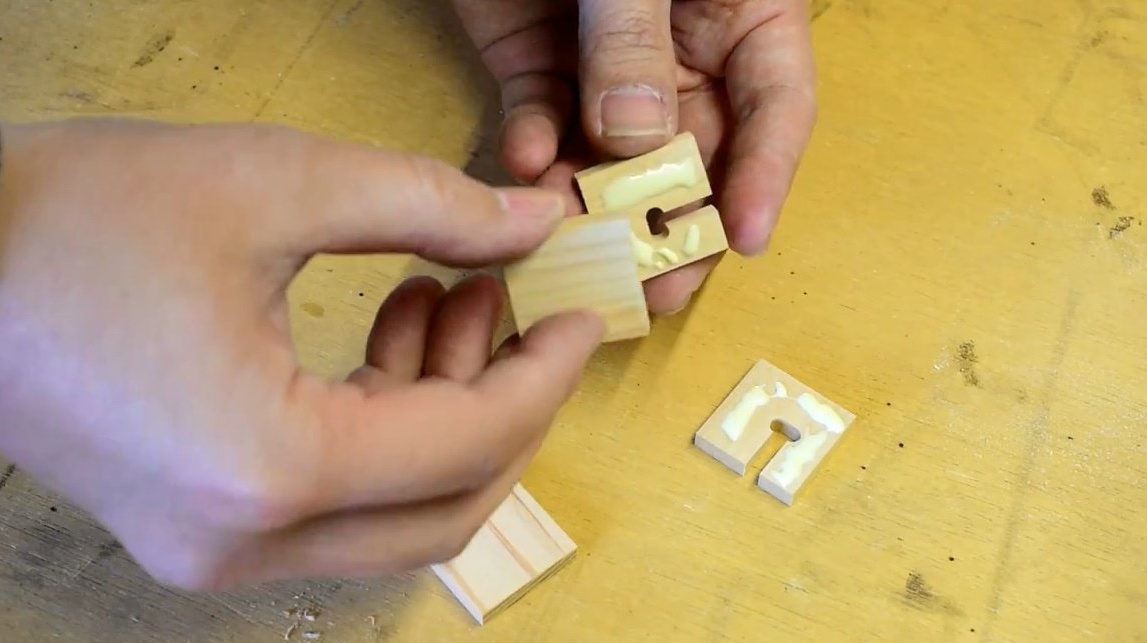
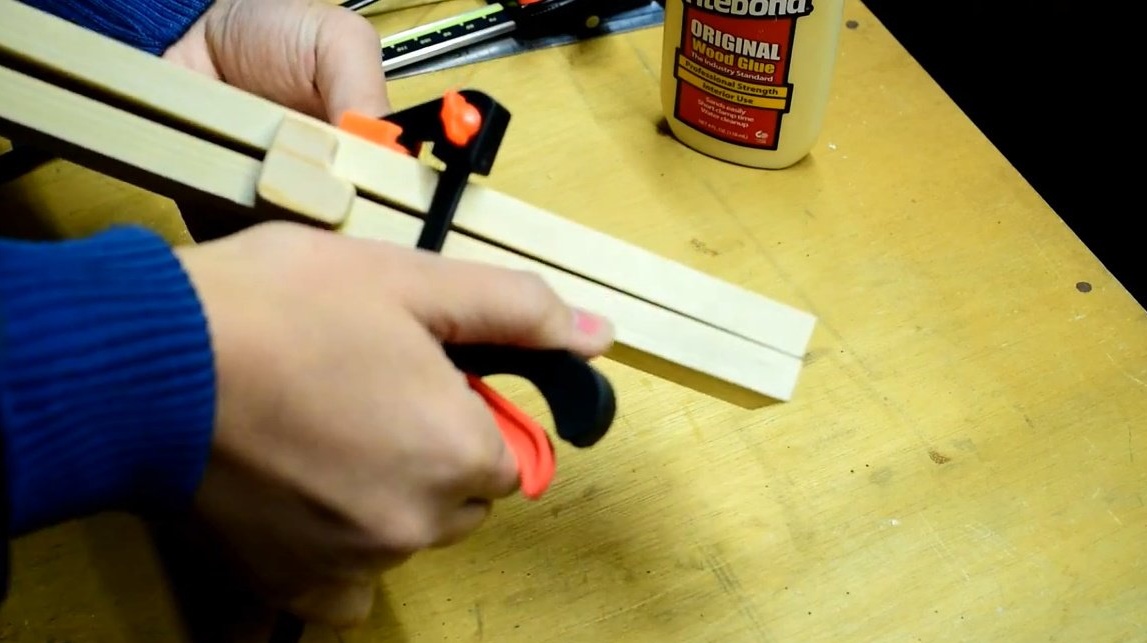
Glues the received details among themselves so that cuts were located "in different directions".

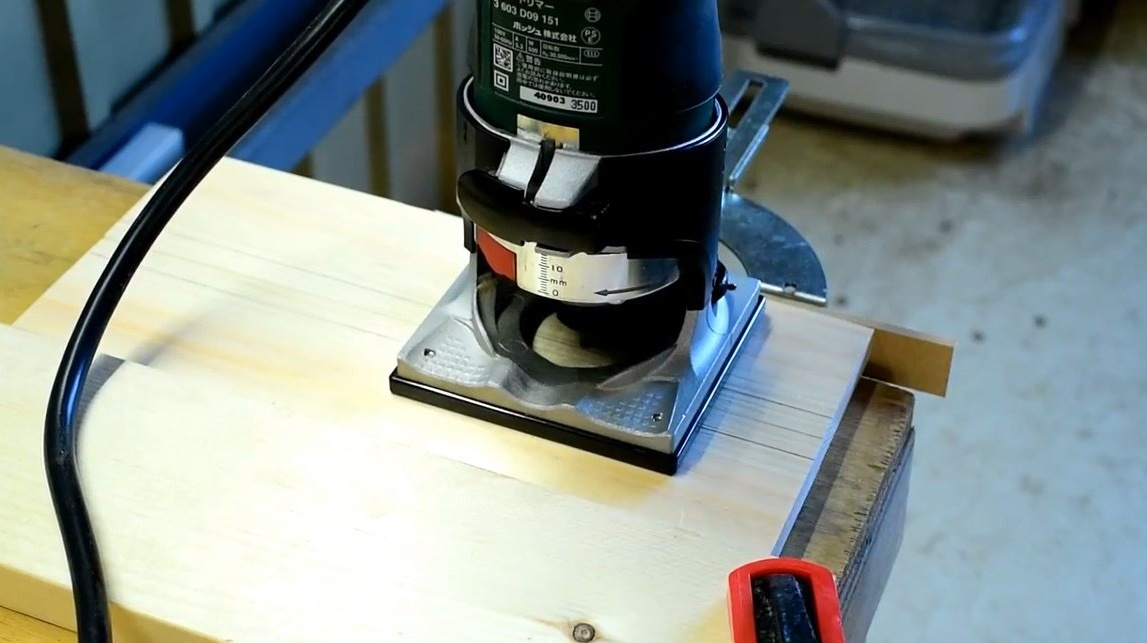
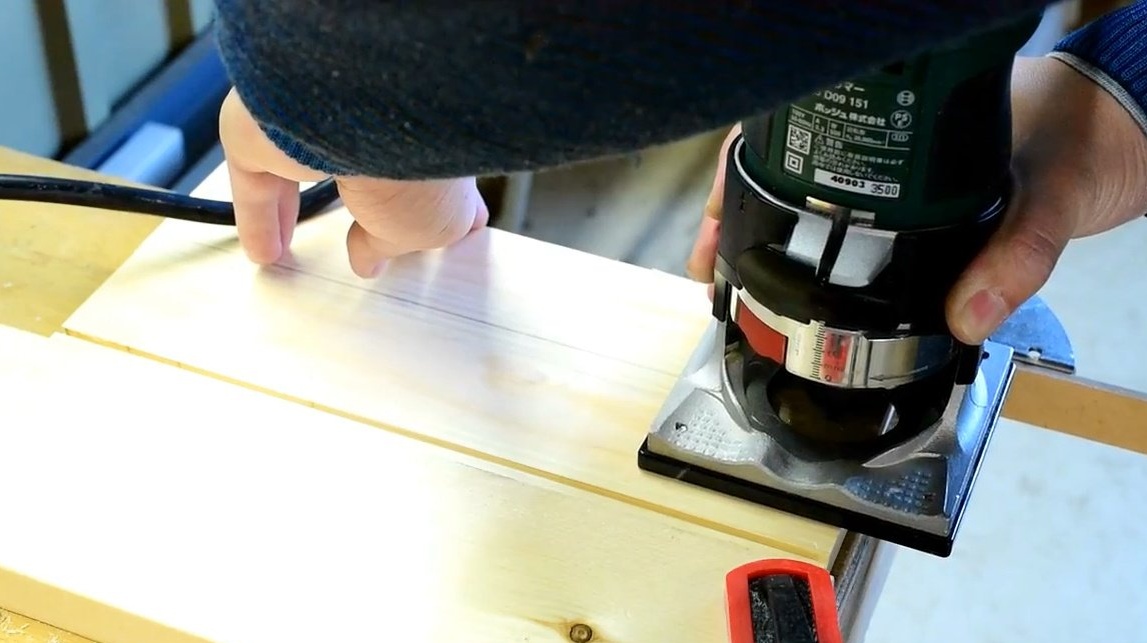
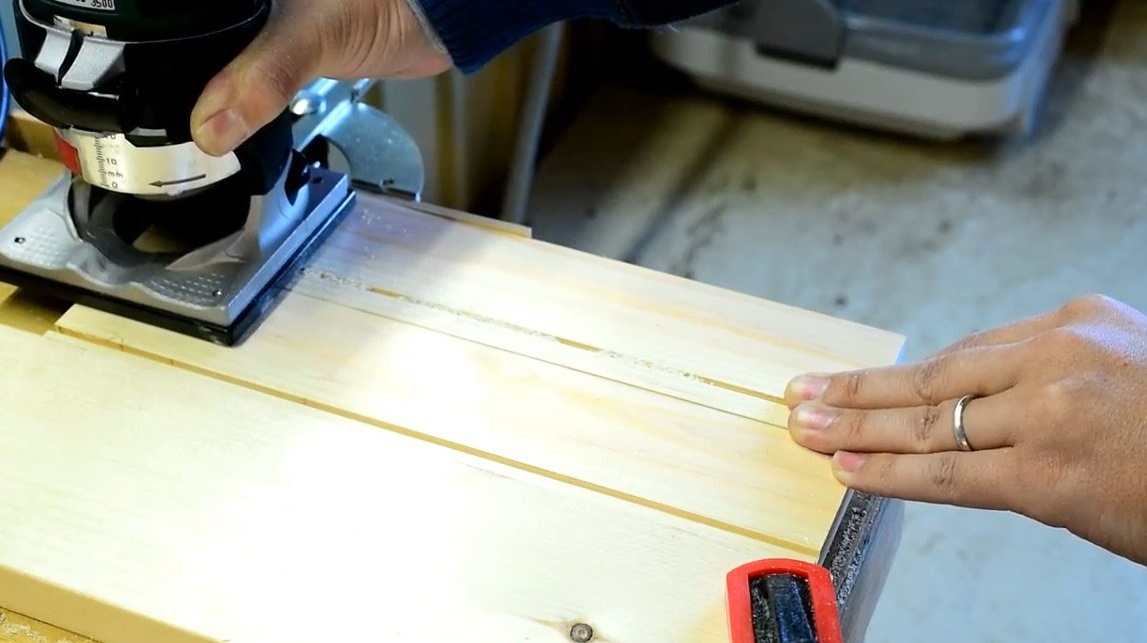
Now in both panels you need to mill a groove for wires with a width of about 3 mm. The manual router with emphasis on a sole copes with this.
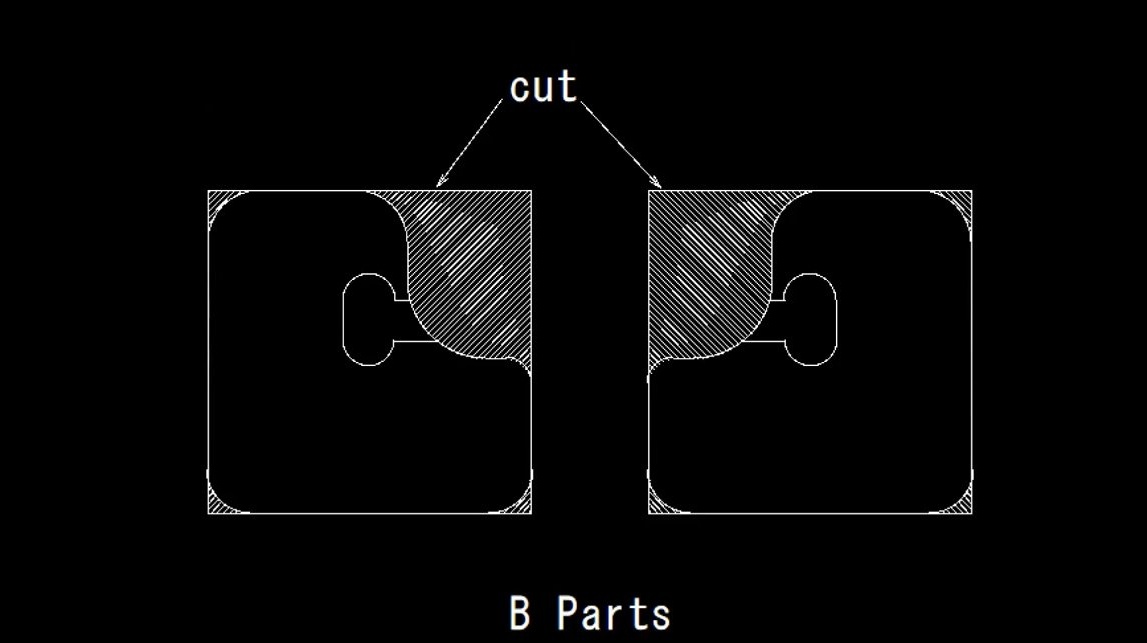
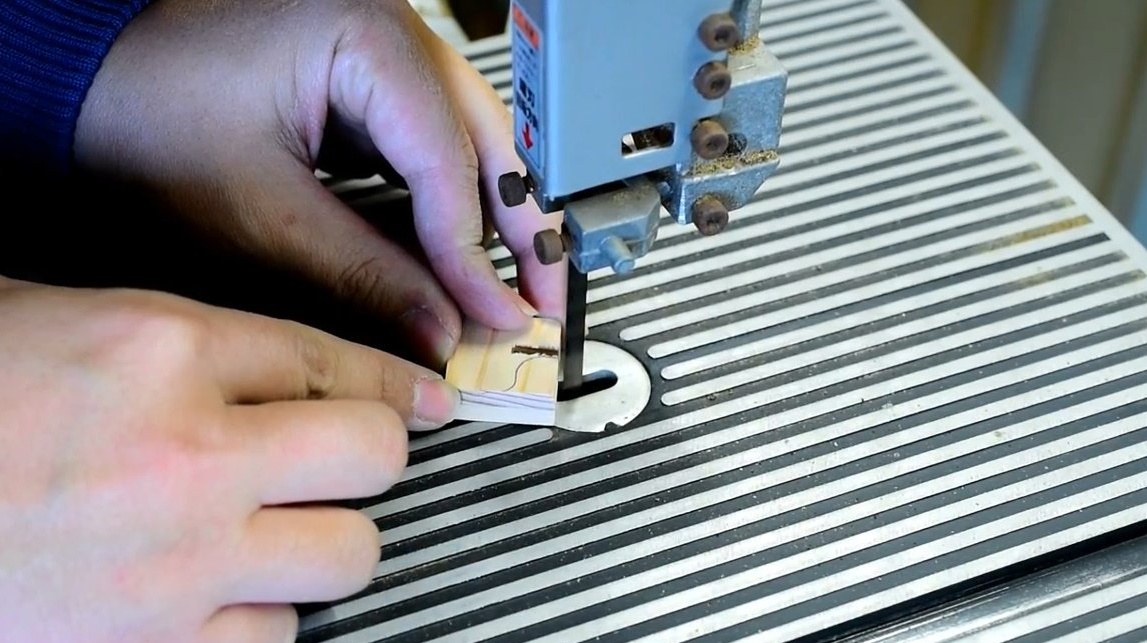
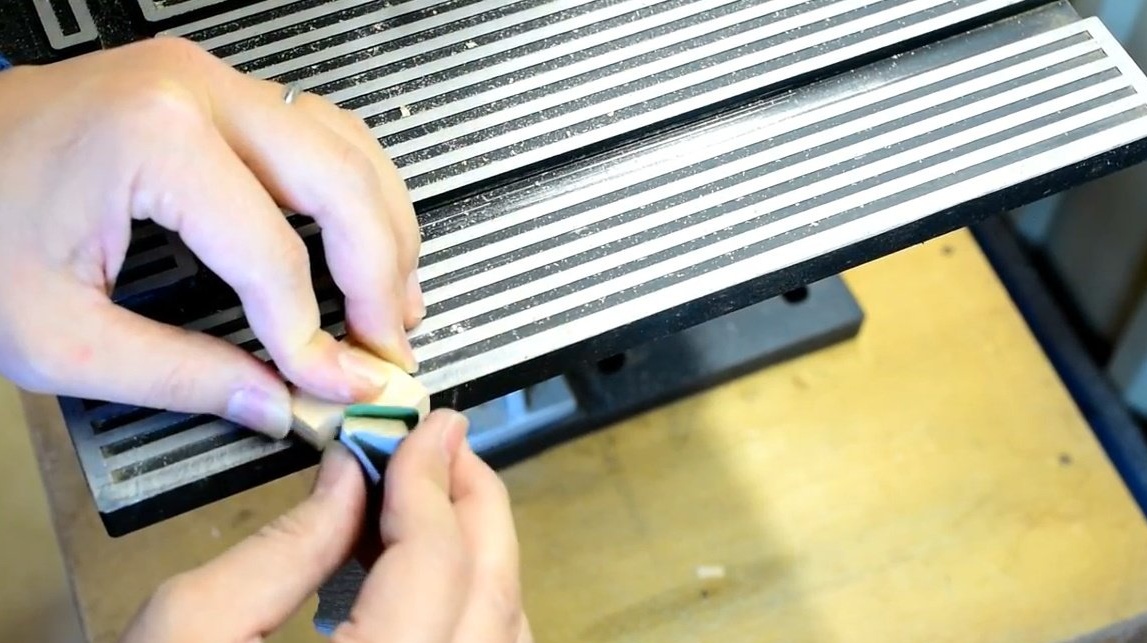
Next, you need to cut these elements, according to the drawing. Cuts them with a band saw, cuts the cut with sandpaper.
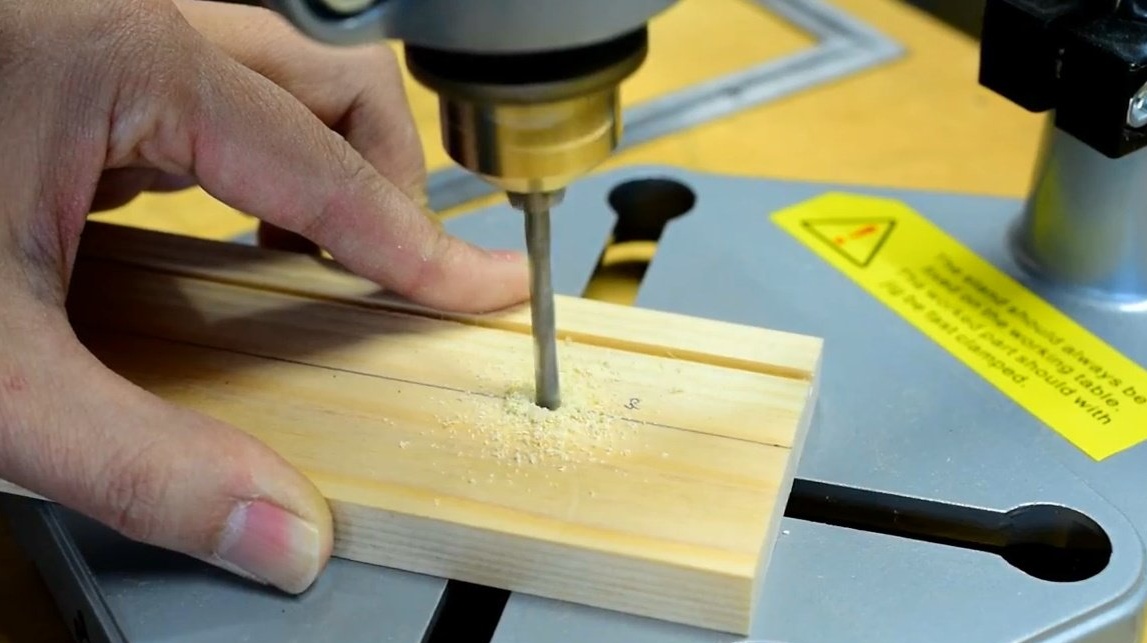
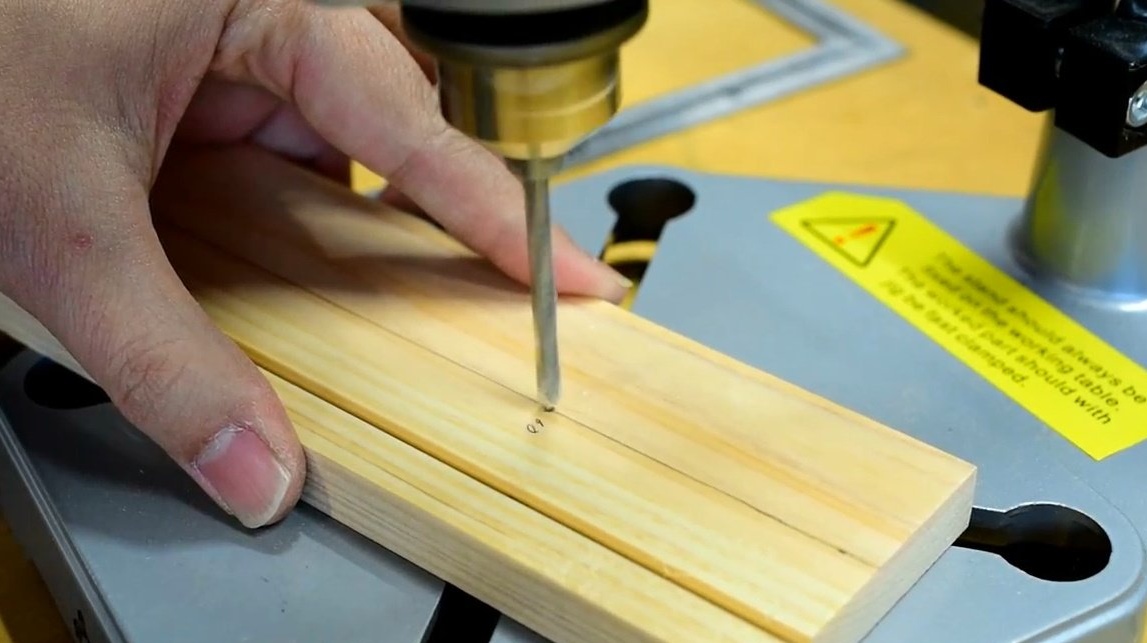
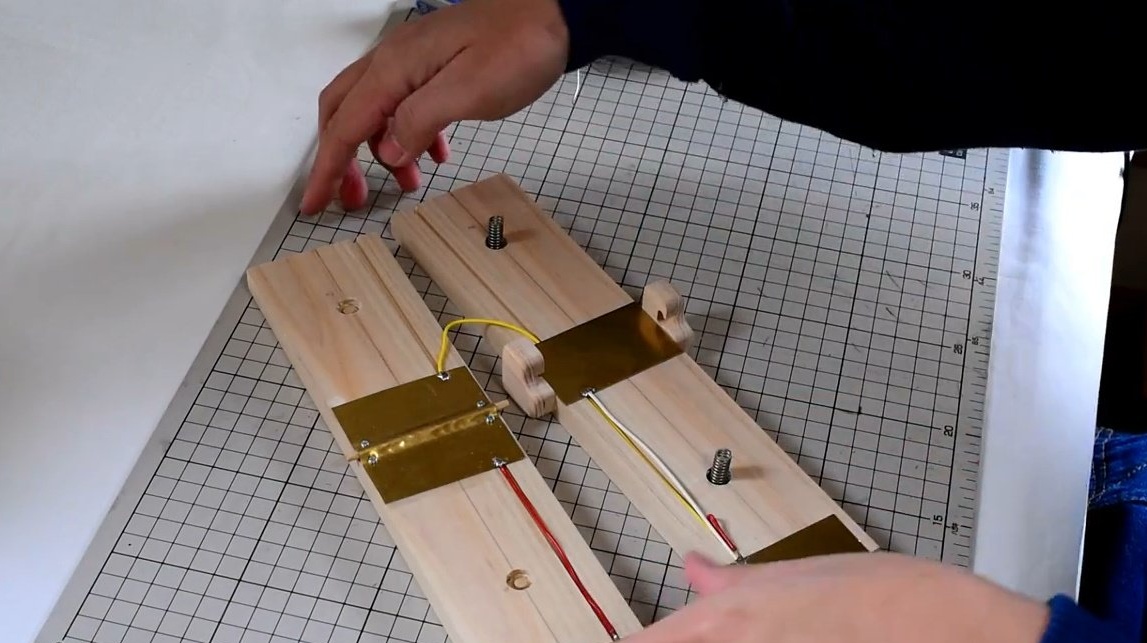
Now in the panels you need to drill blind seats for the springs.
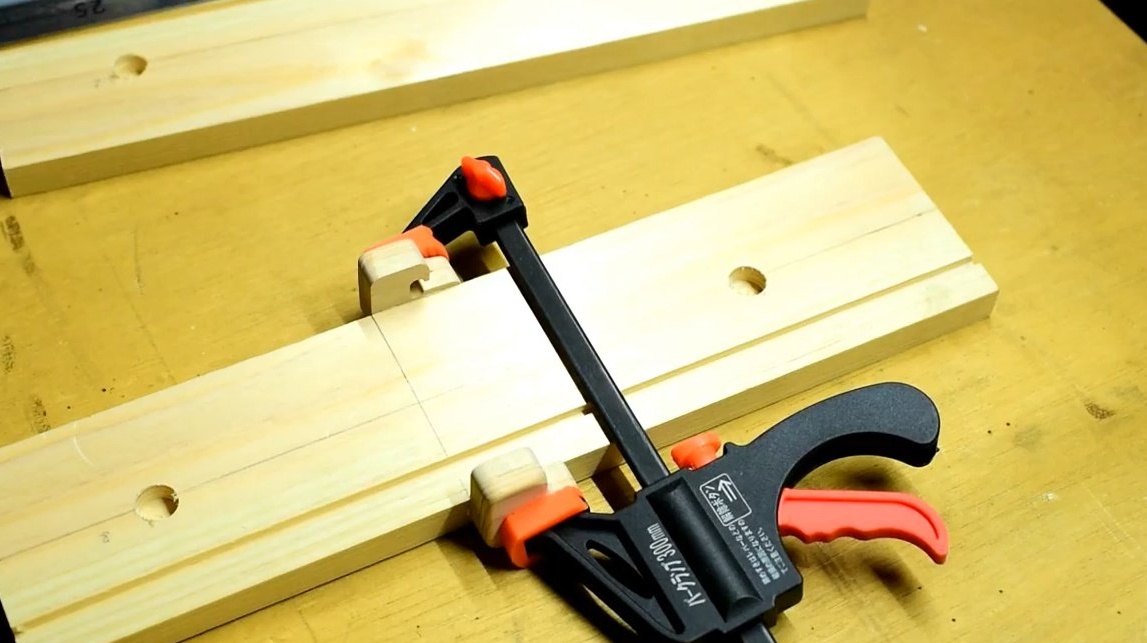
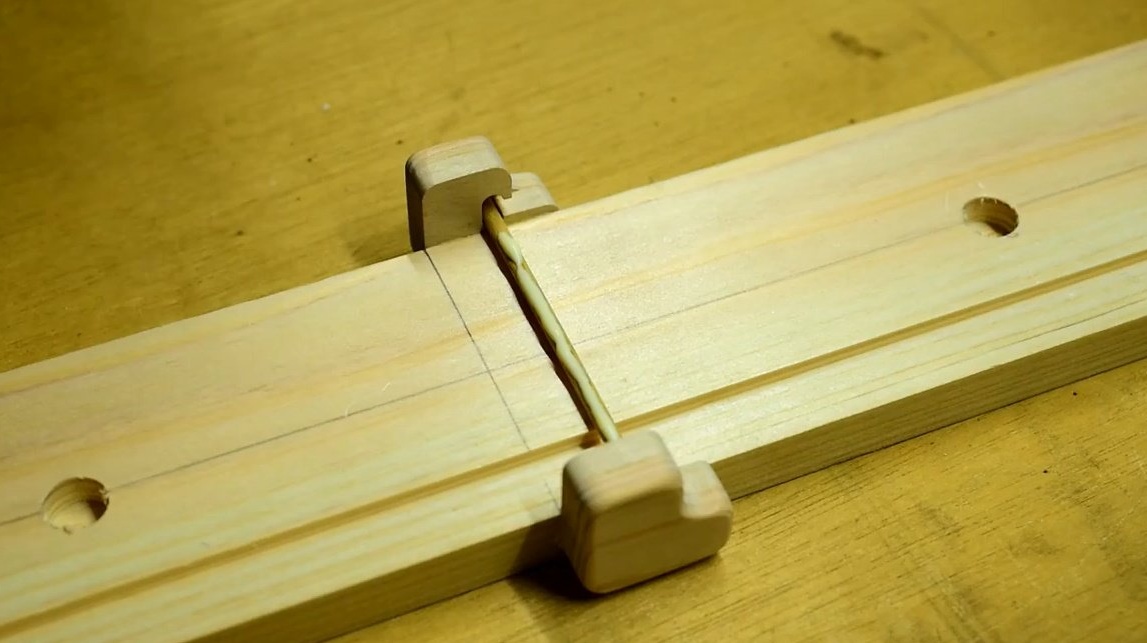
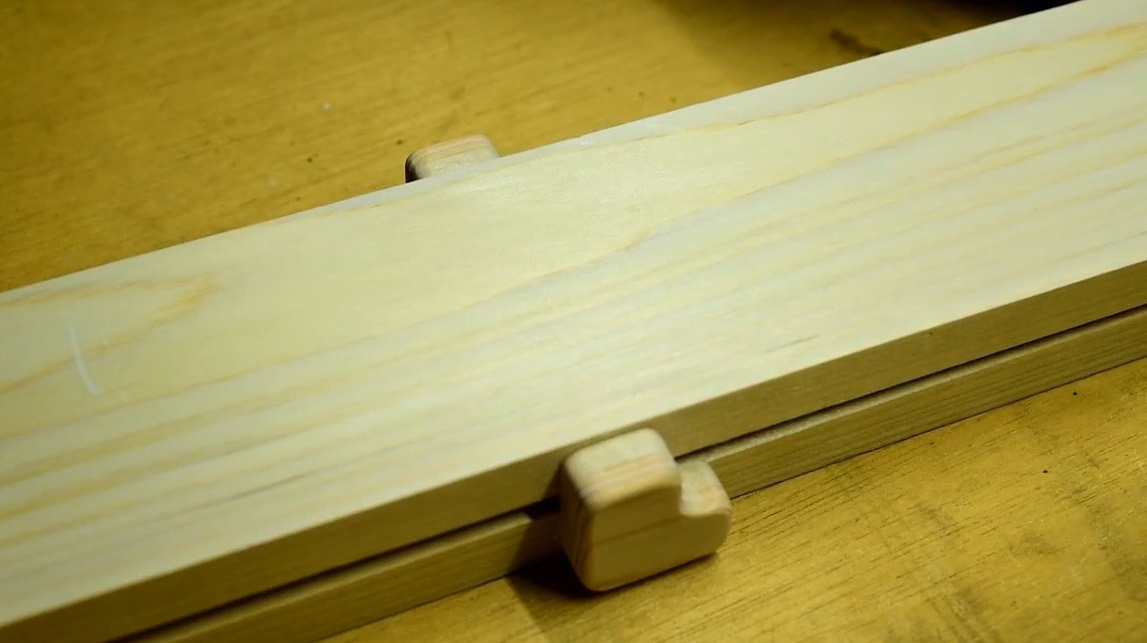
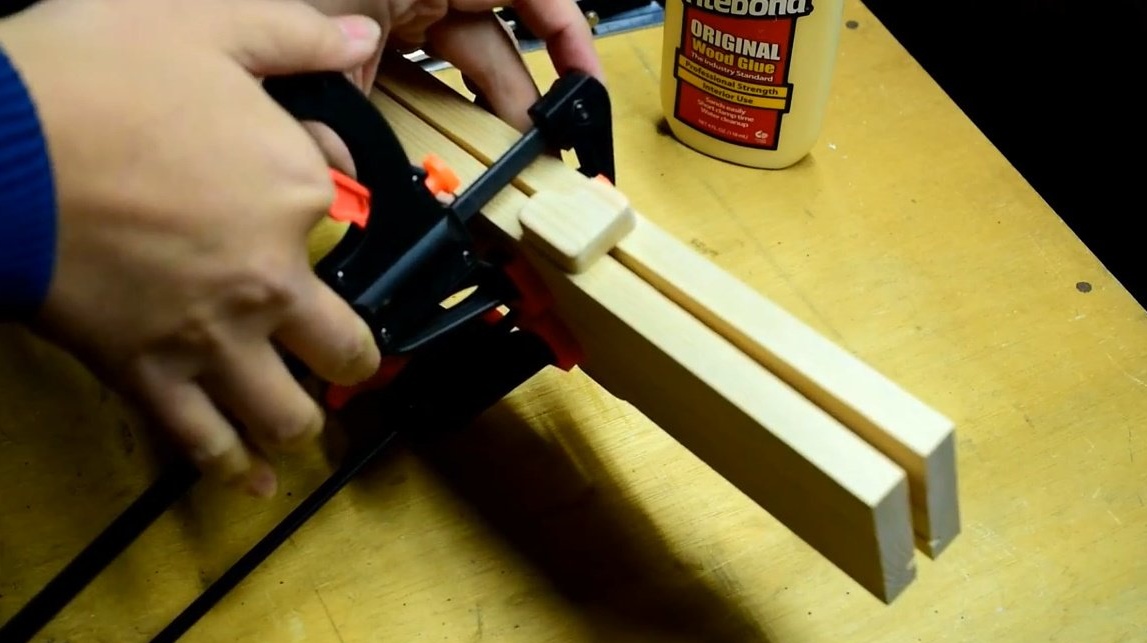
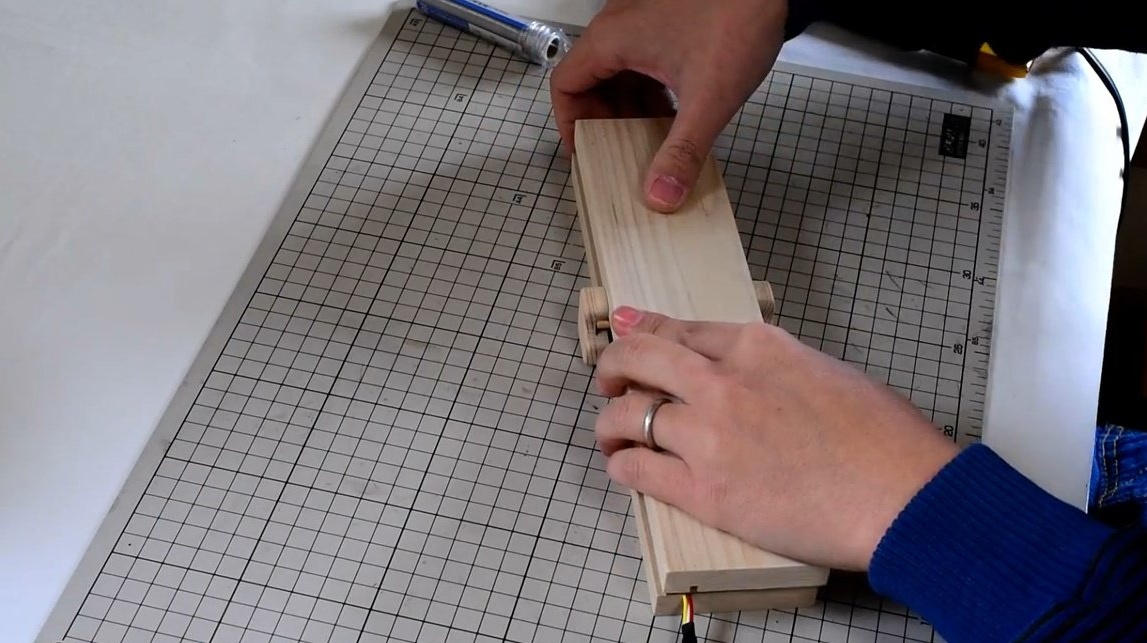
When the preparatory work is completed, the author glues the holders to the base of the pedal, fixes the details with a clamp.


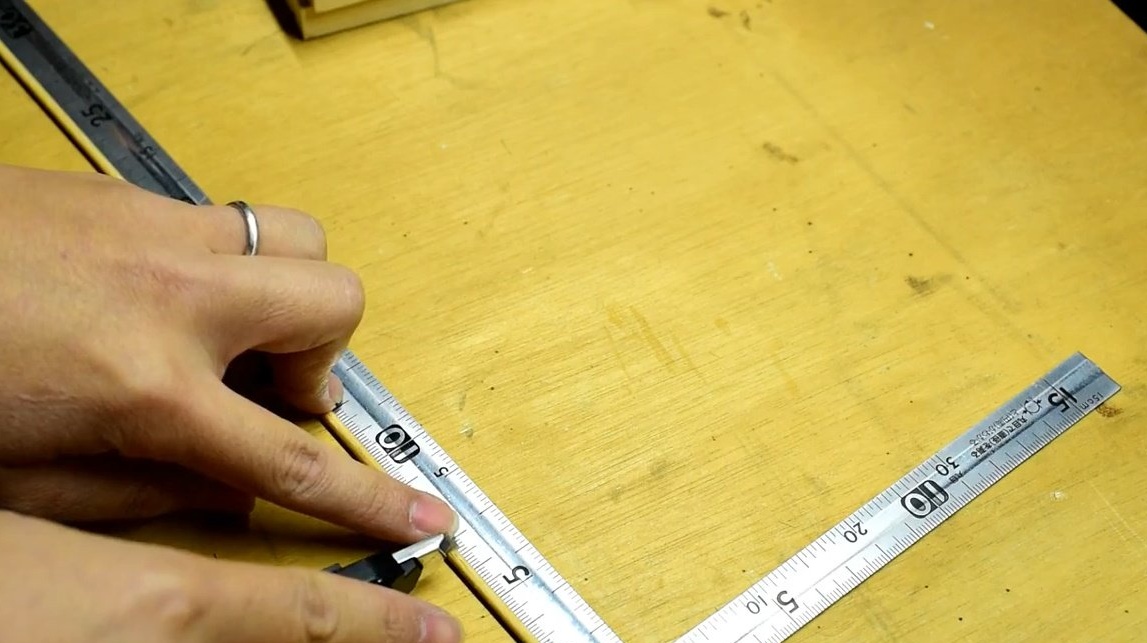
An axis 68 mm long is cut from a wooden bar.
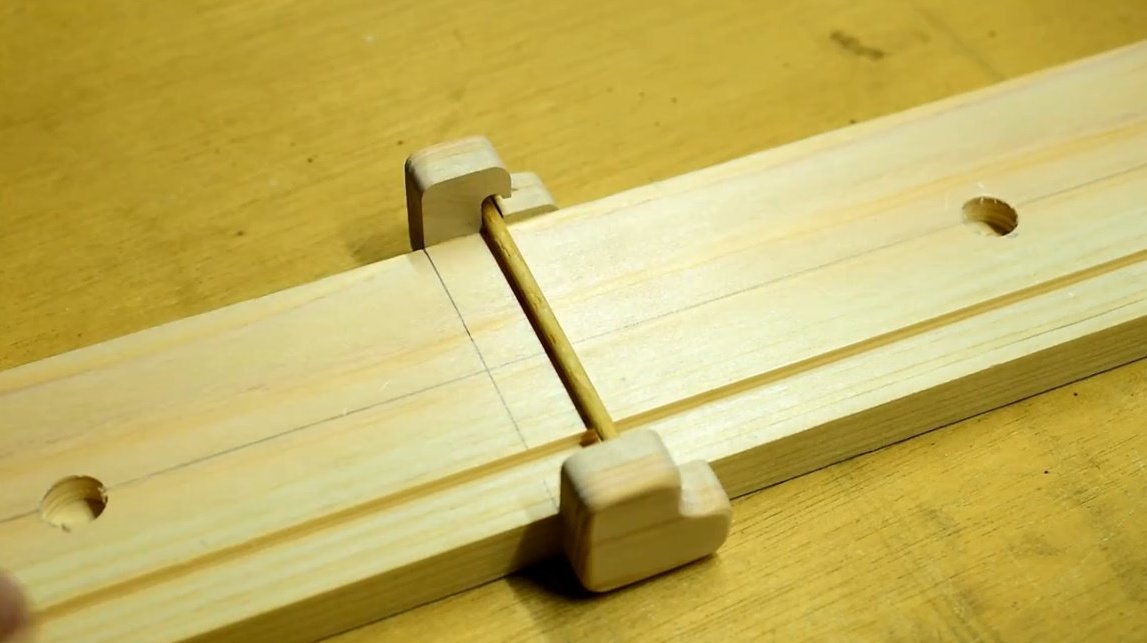
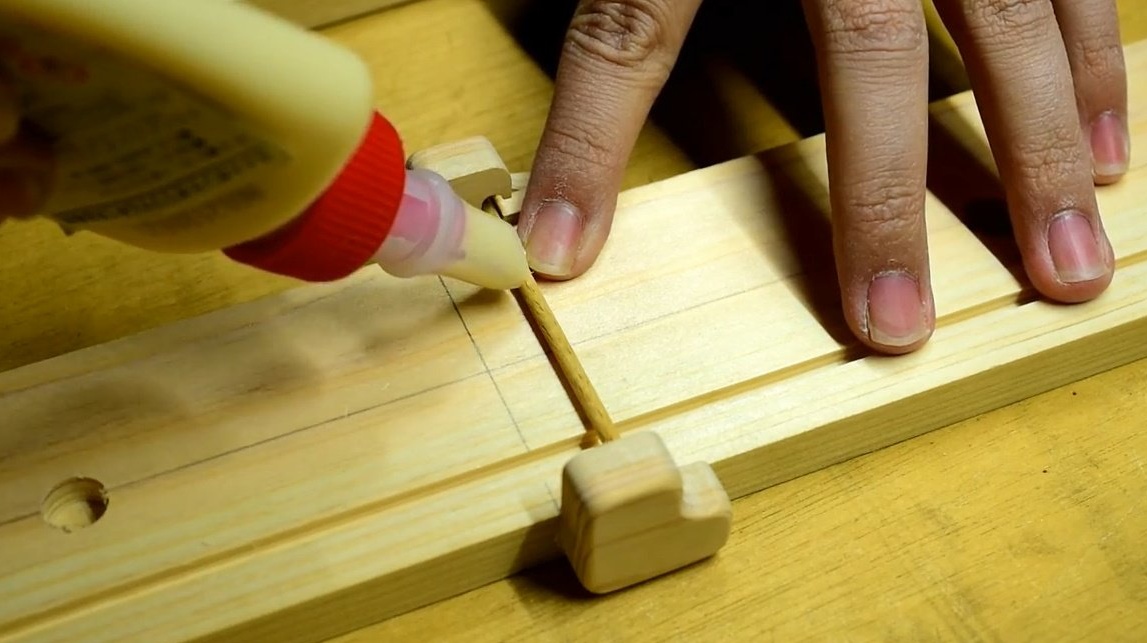
The axis lubricates with glue, applies the pedal key. Exactly setting the base and key, slightly tightens with clamps.
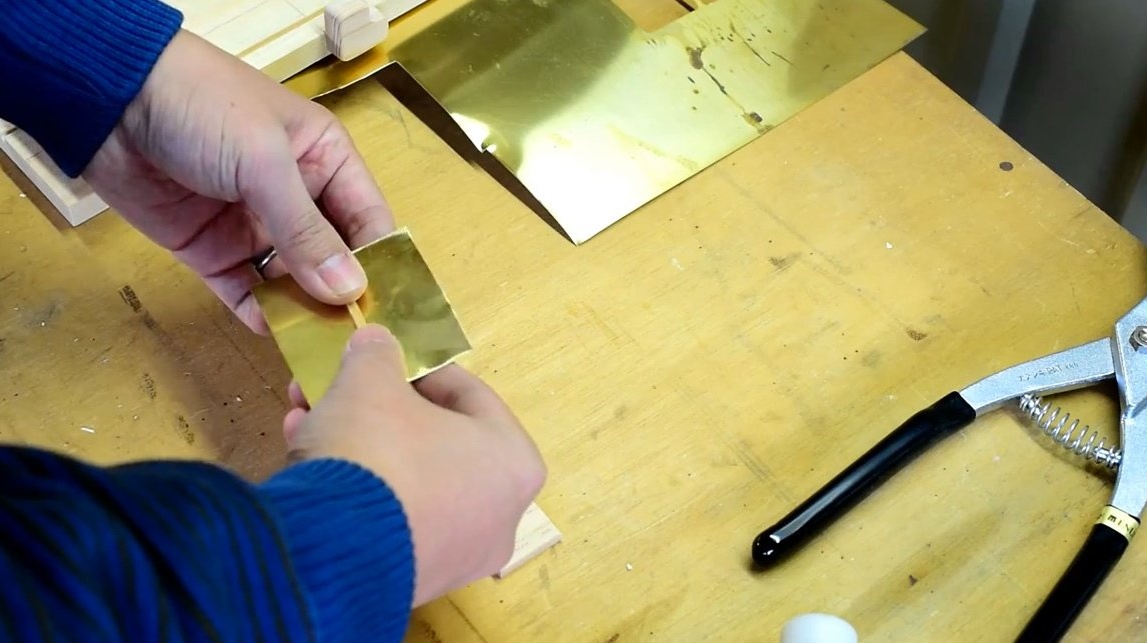
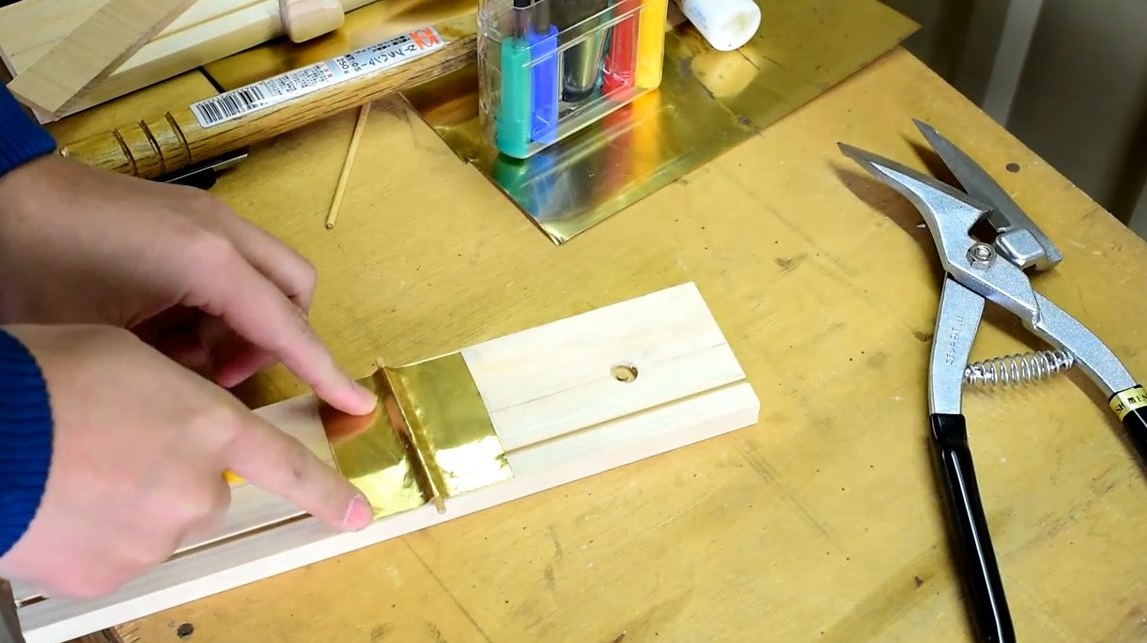
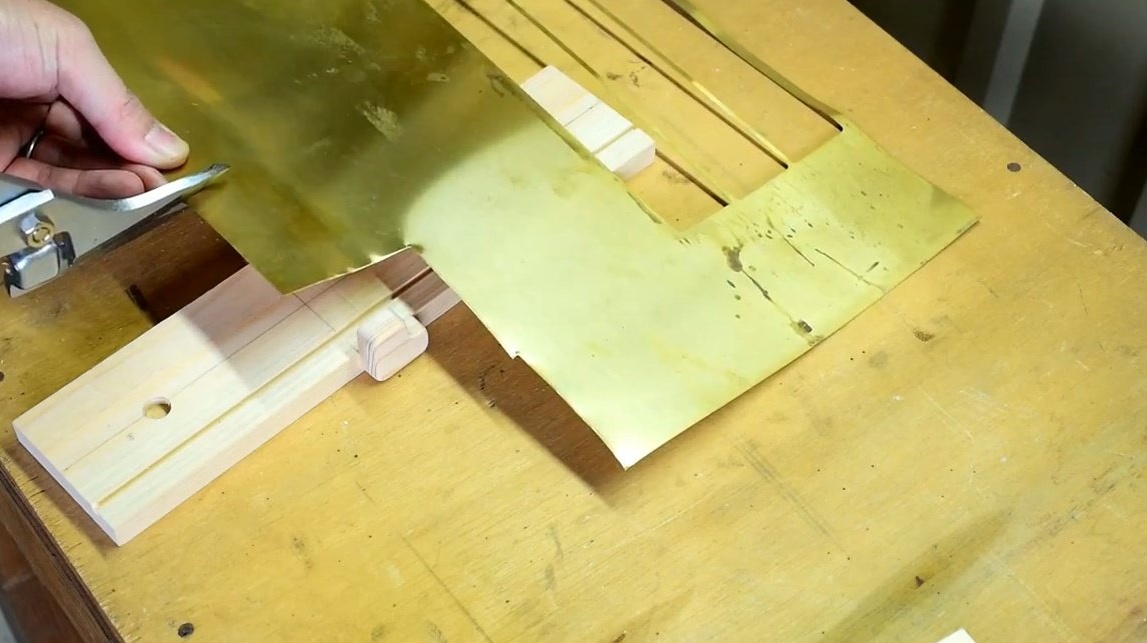
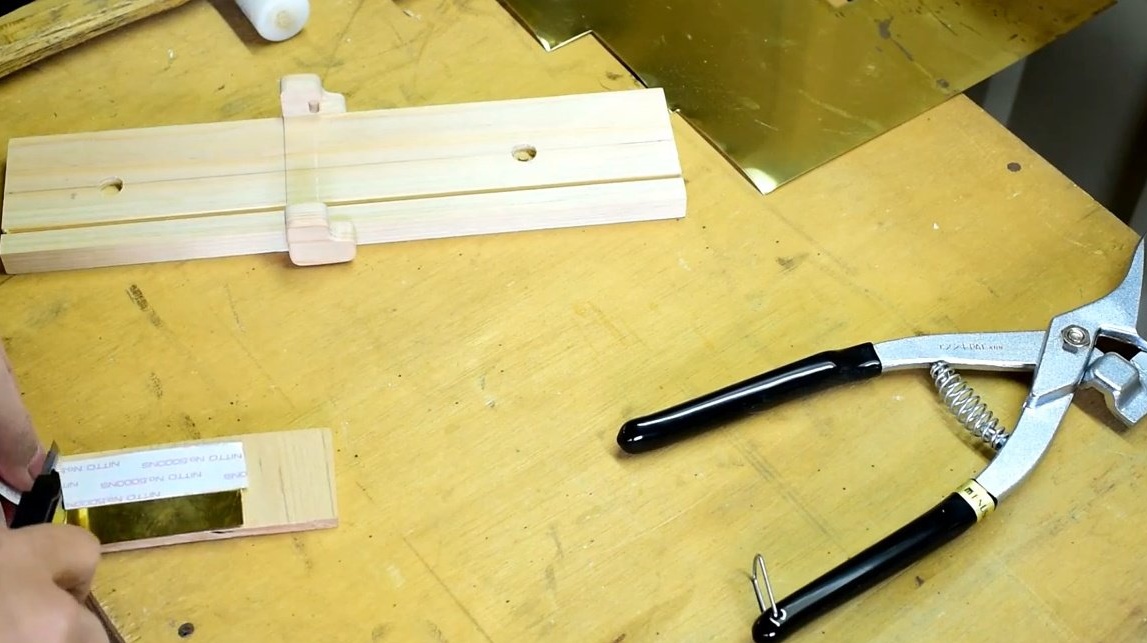
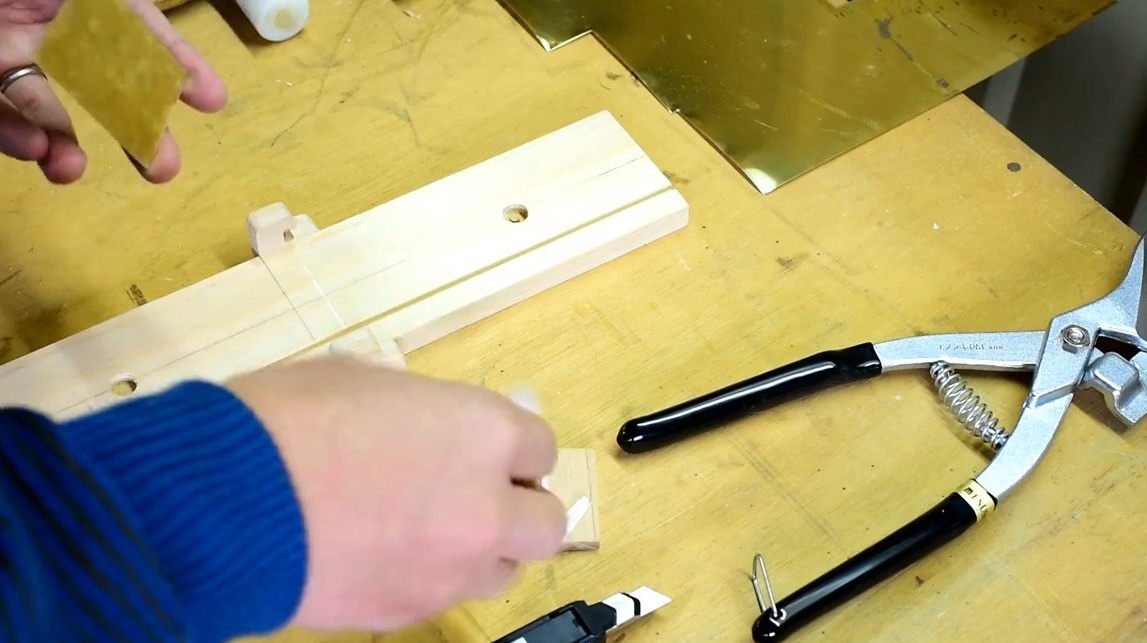
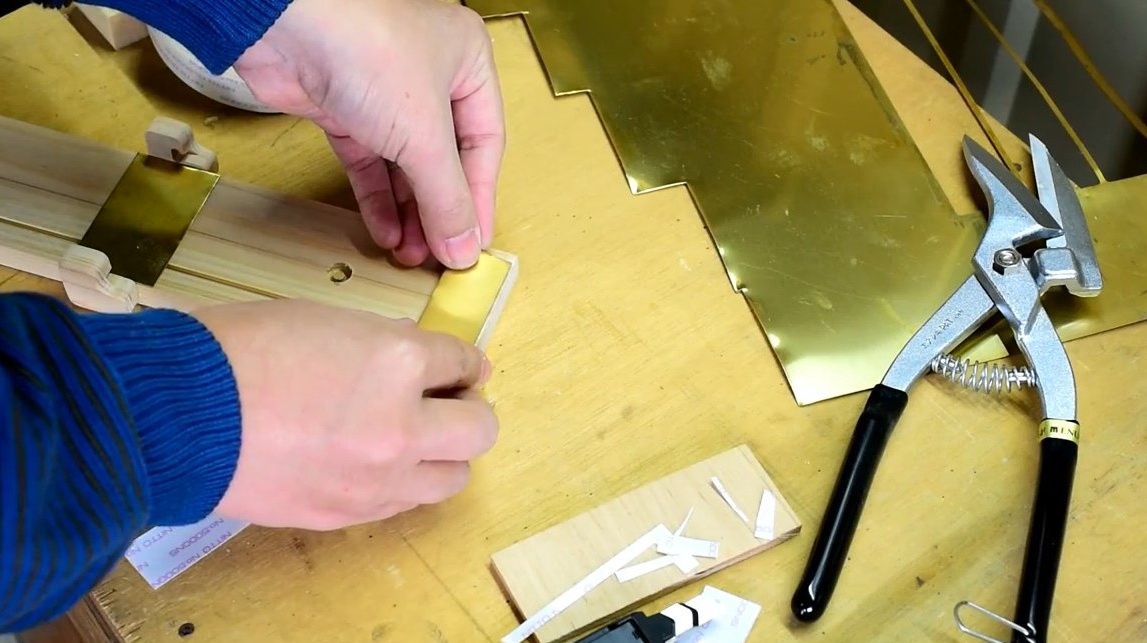
Now, pads begin to be cut from sheet brass.
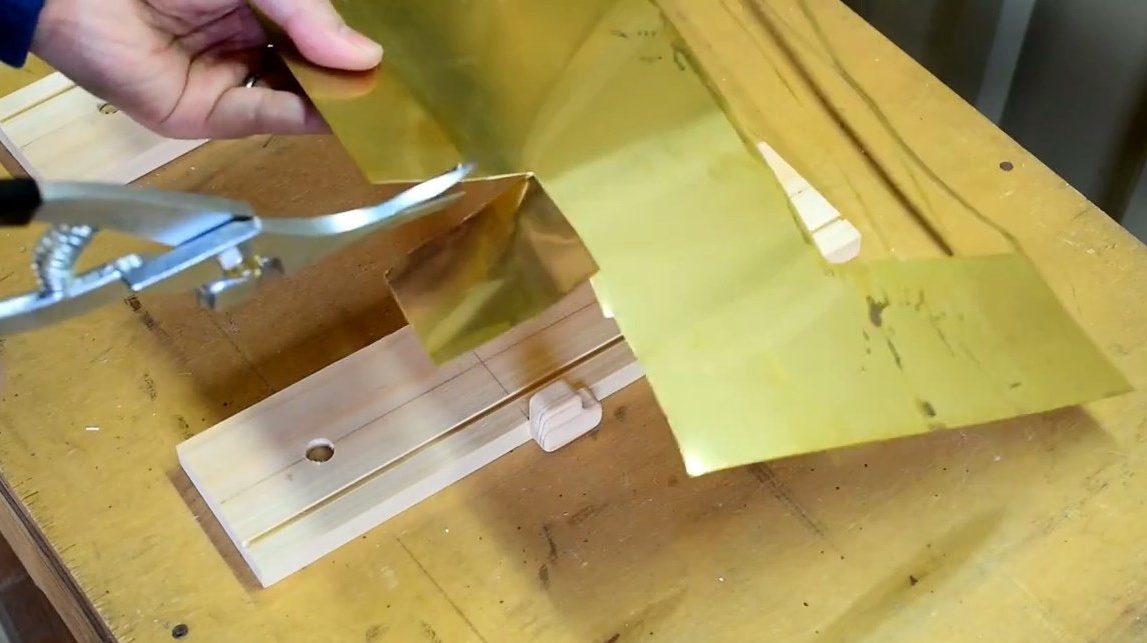

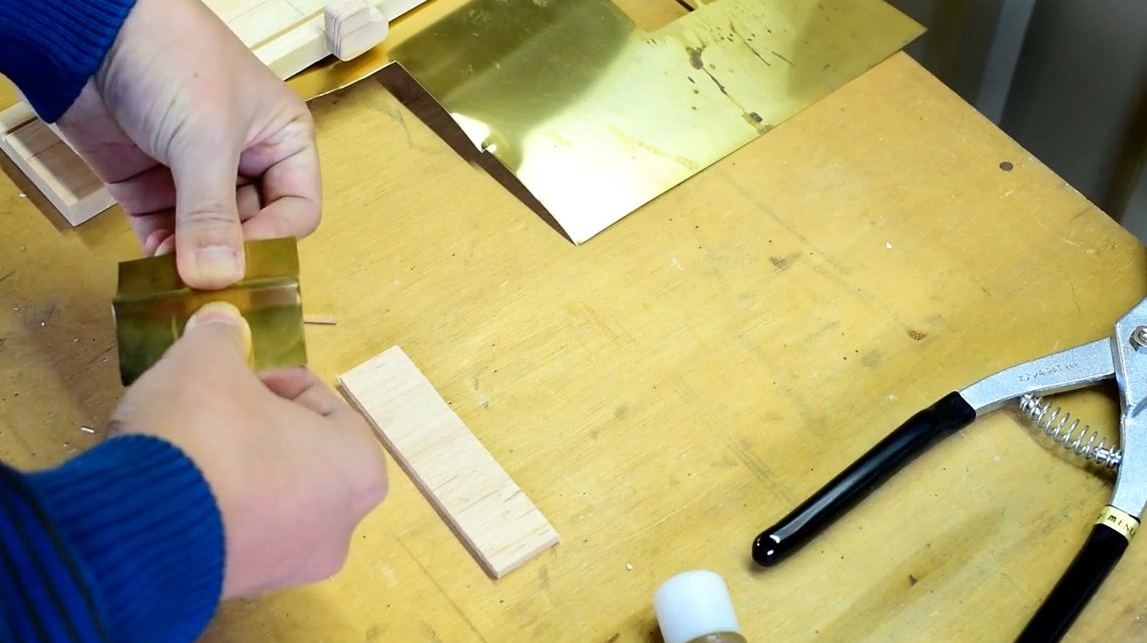
Having cut the upper platform, it bends it on a bar, then it unbends, getting a groove.
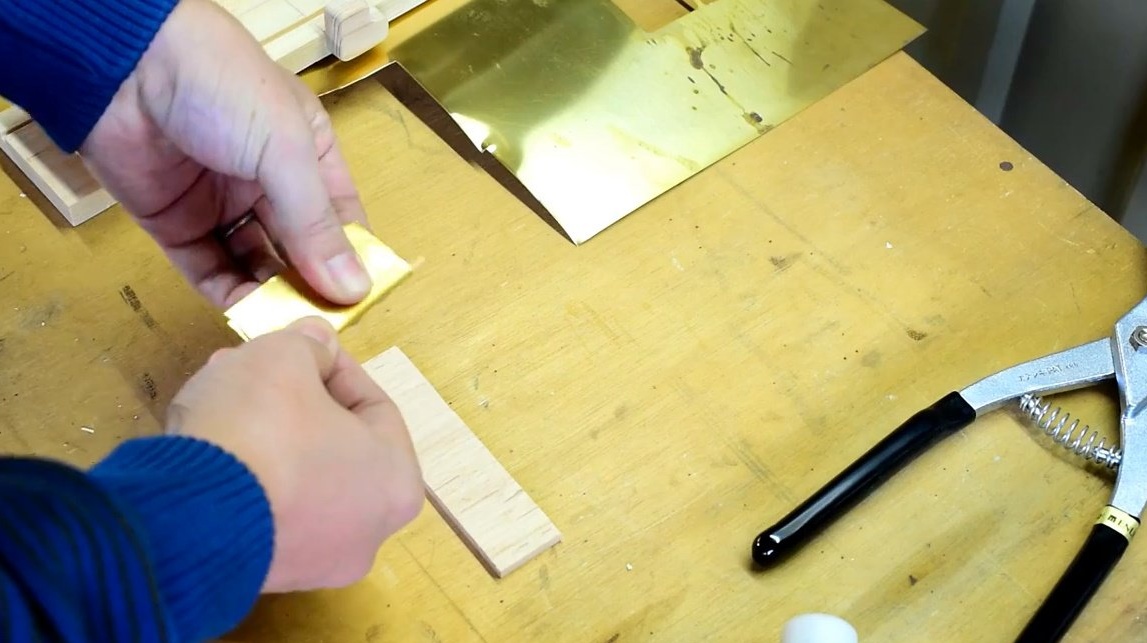
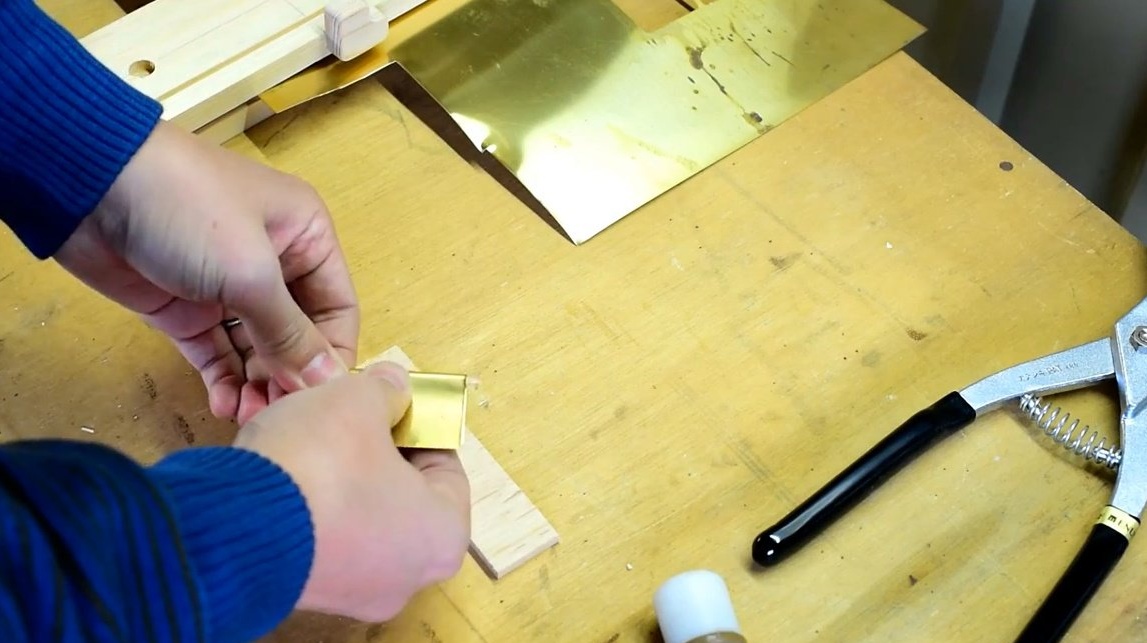
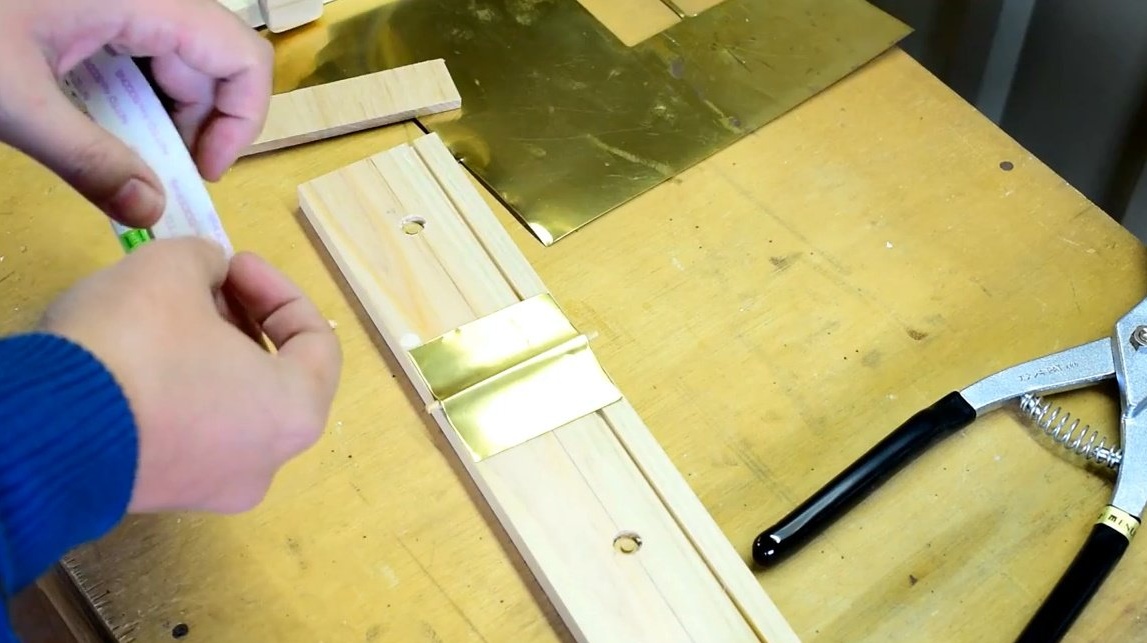
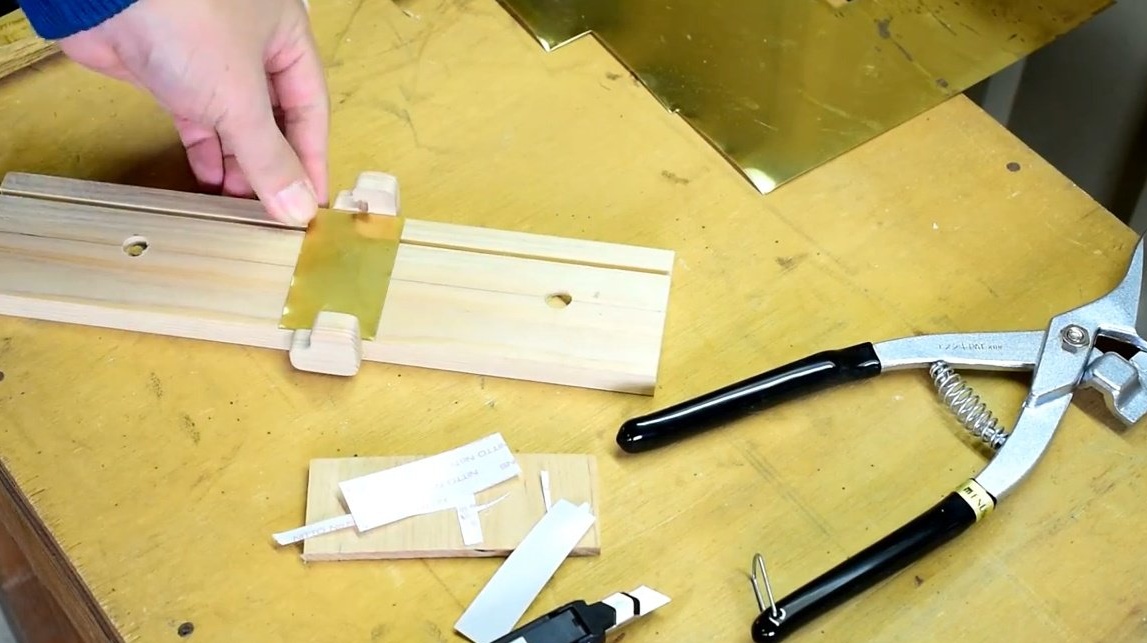
Glues it on top of the axis using double-sided tape.


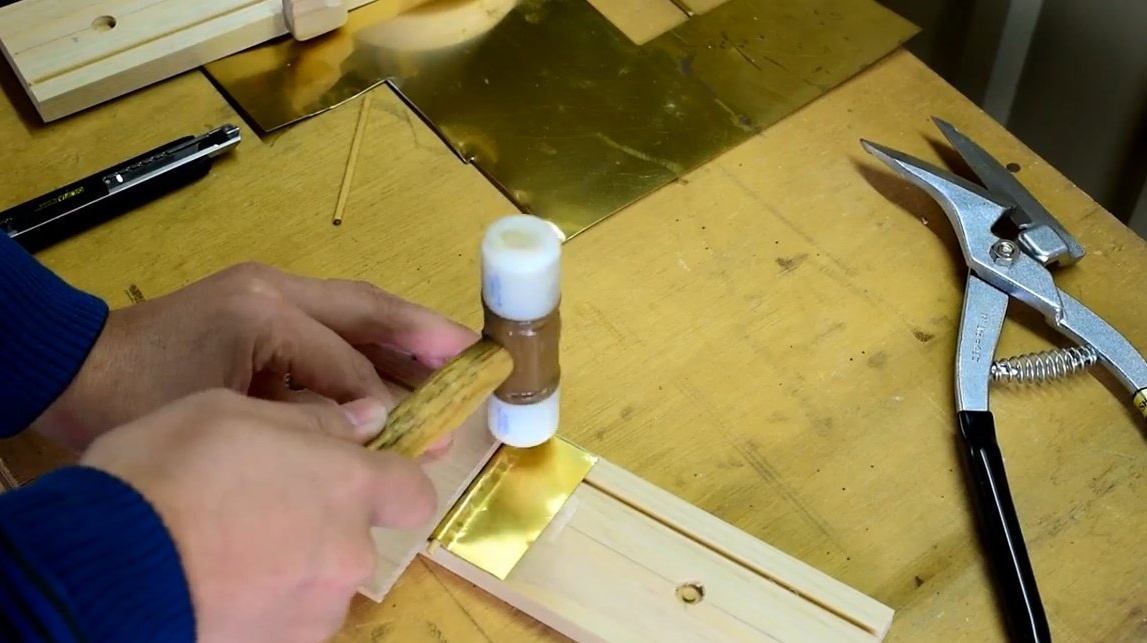
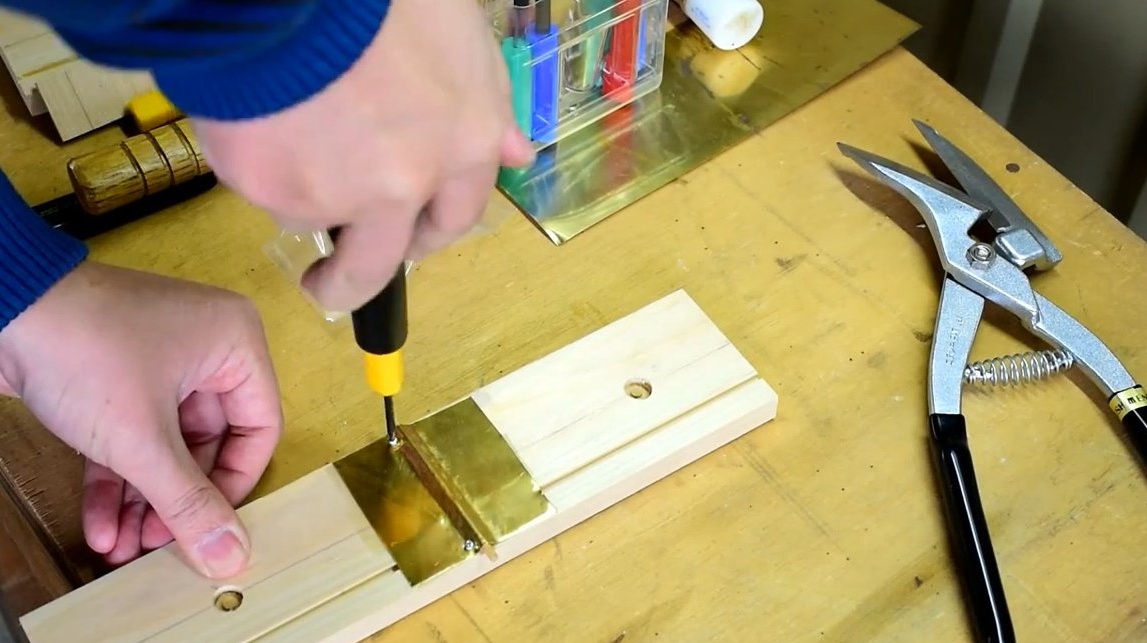
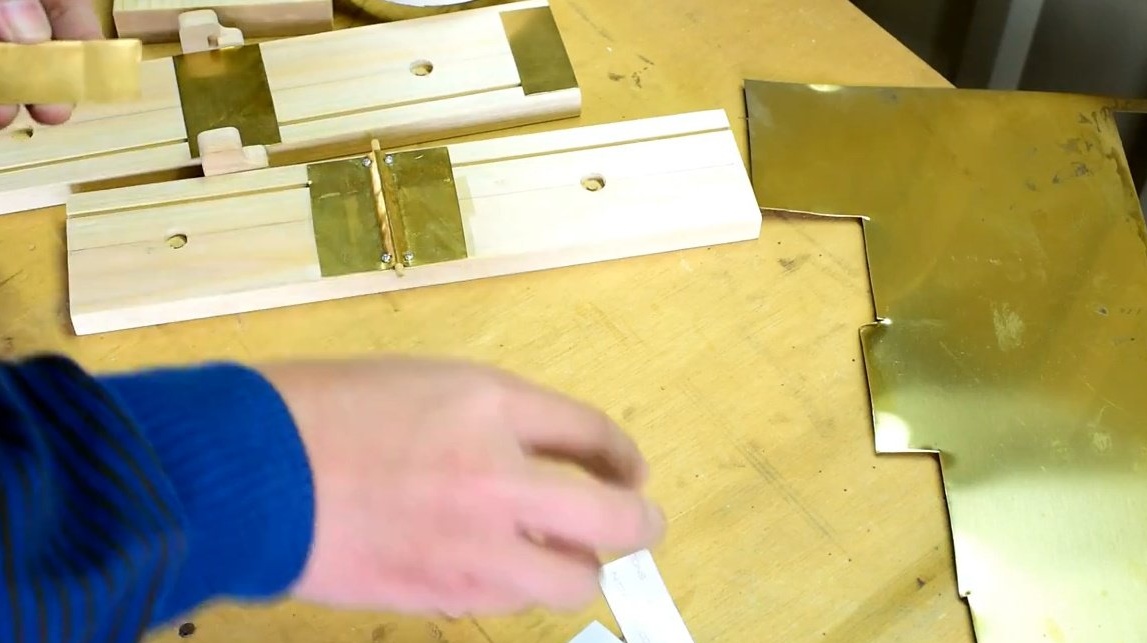
Taps with a hammer through a piece of wood near the axis. He pierces with an awl brass, fixes it with self-tapping screws.
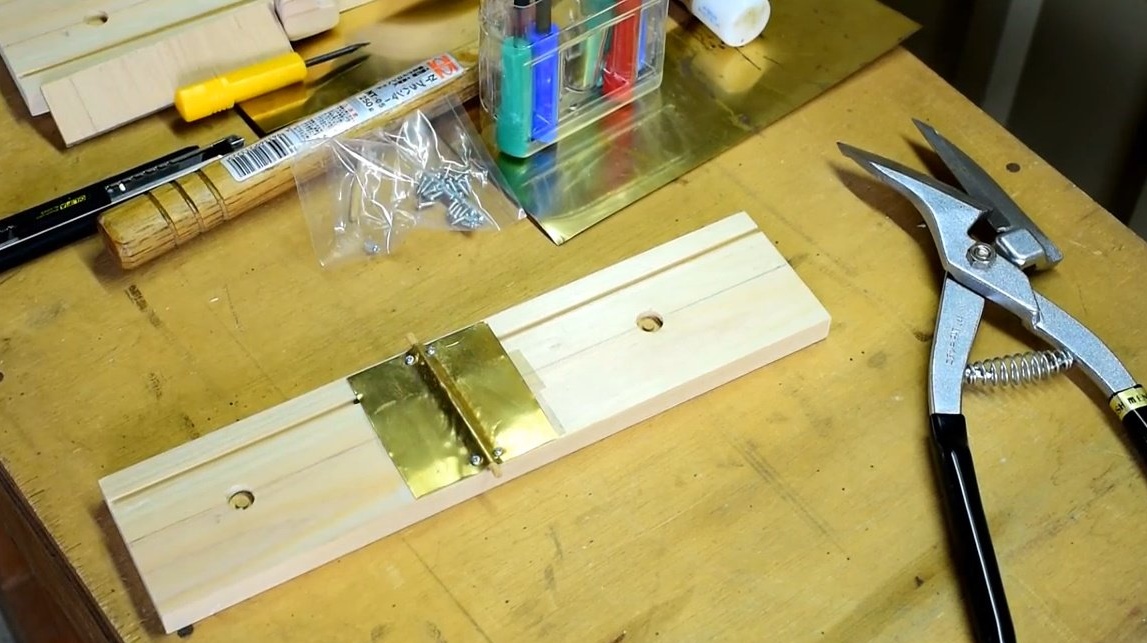
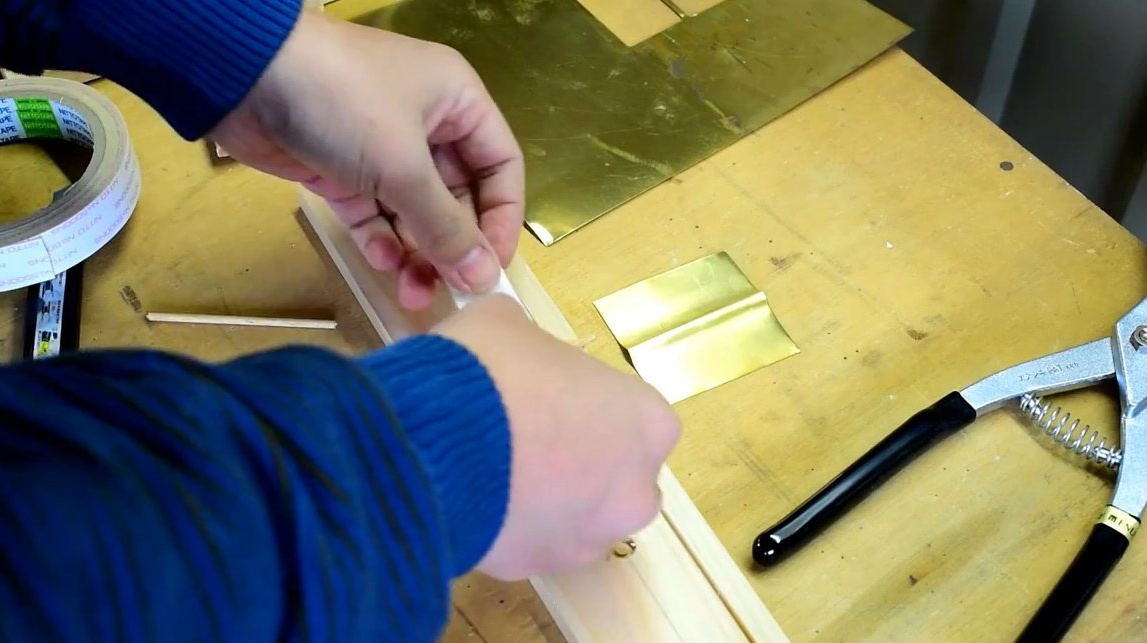
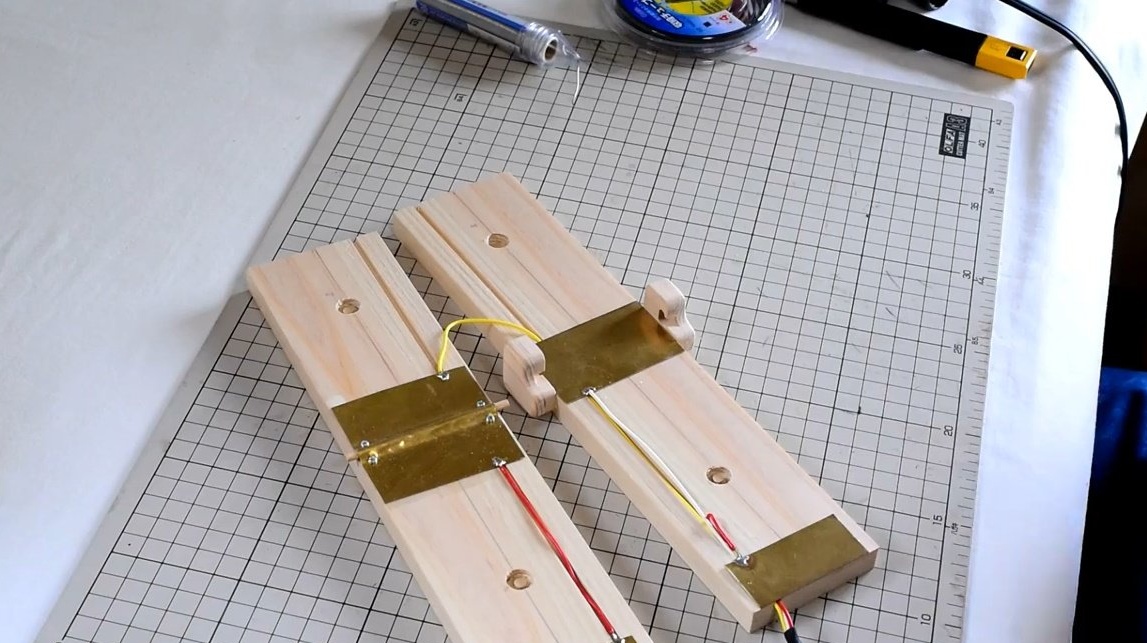
The response pad simply sticks to the center of the base of the pedal.
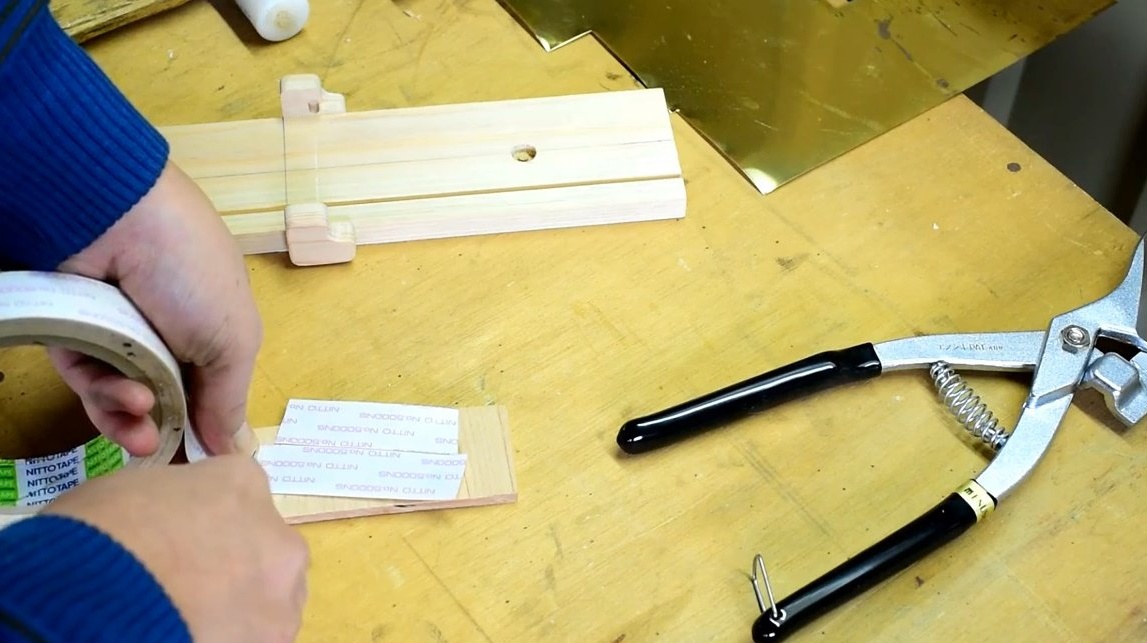
Then glues the other two pads.
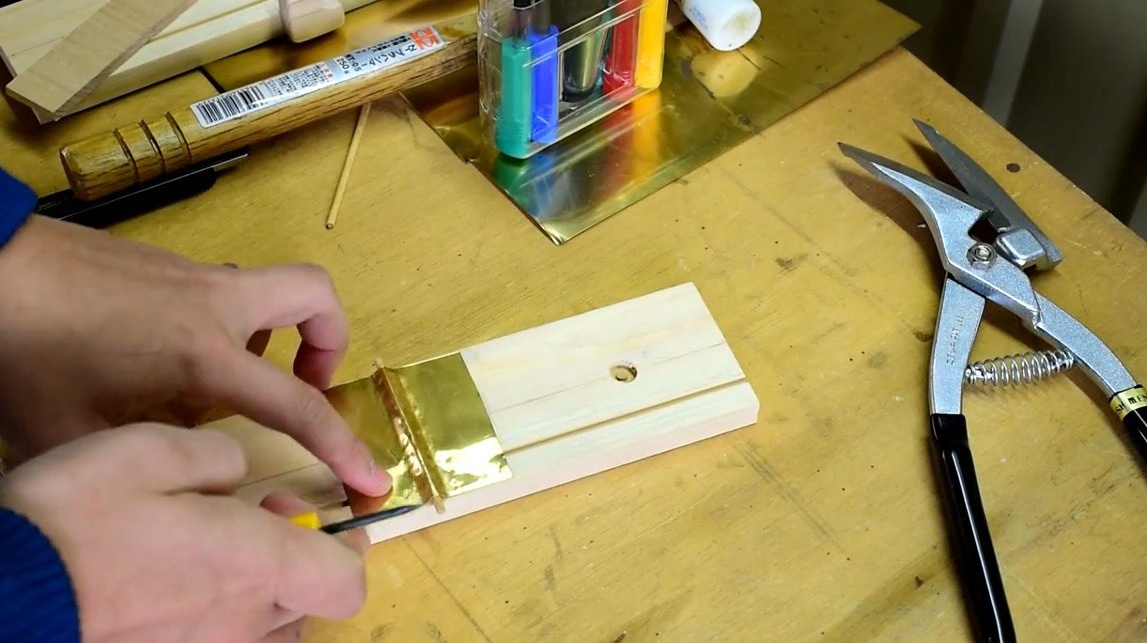
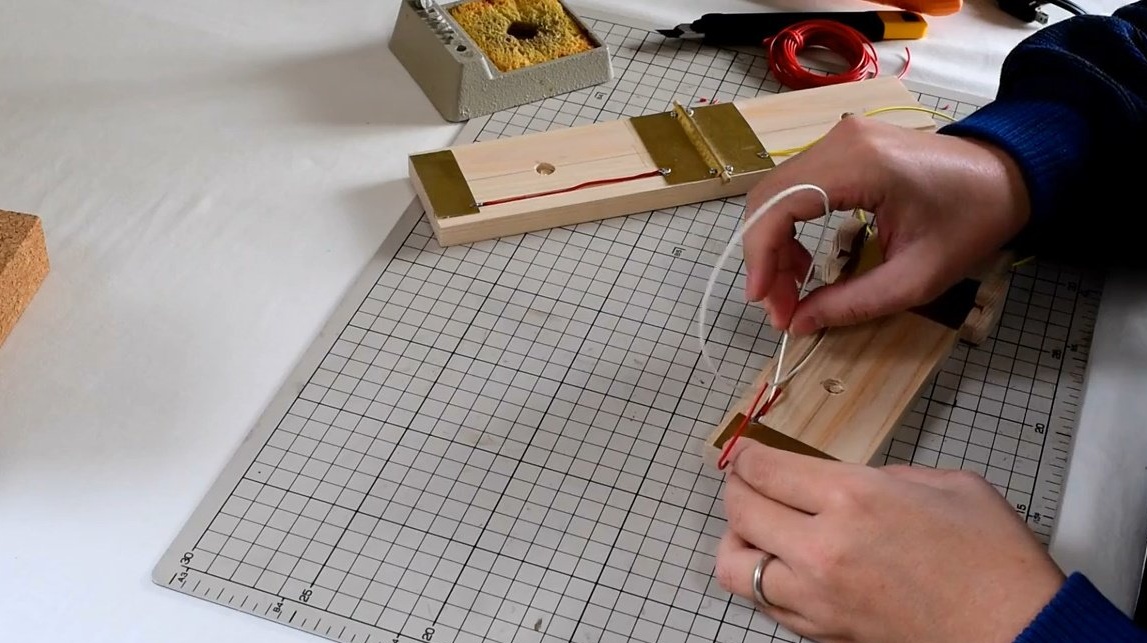
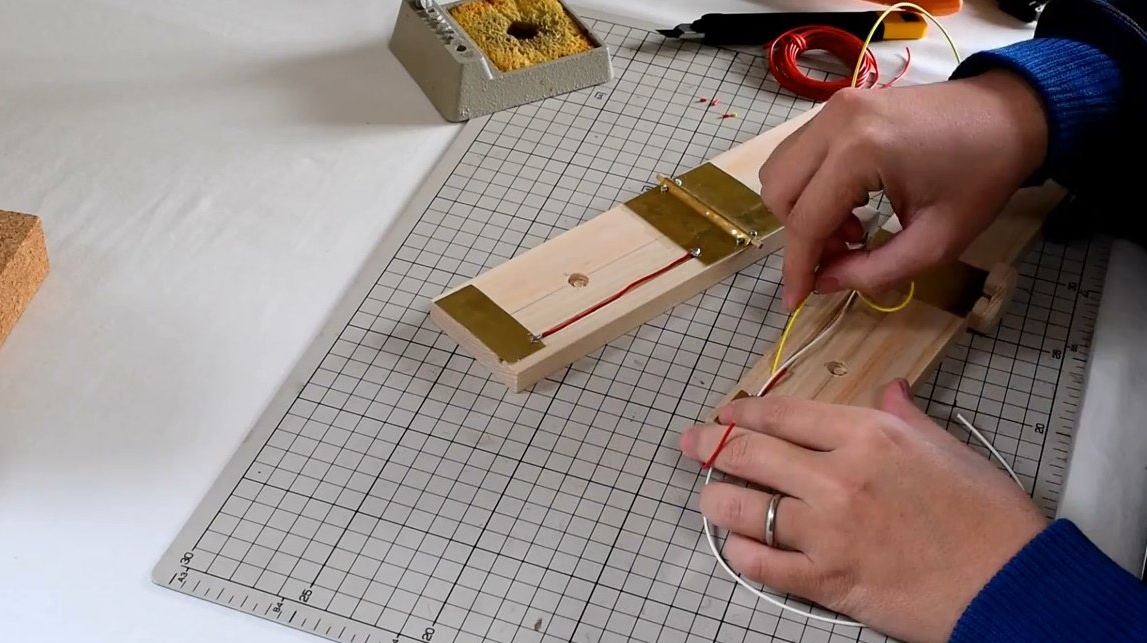
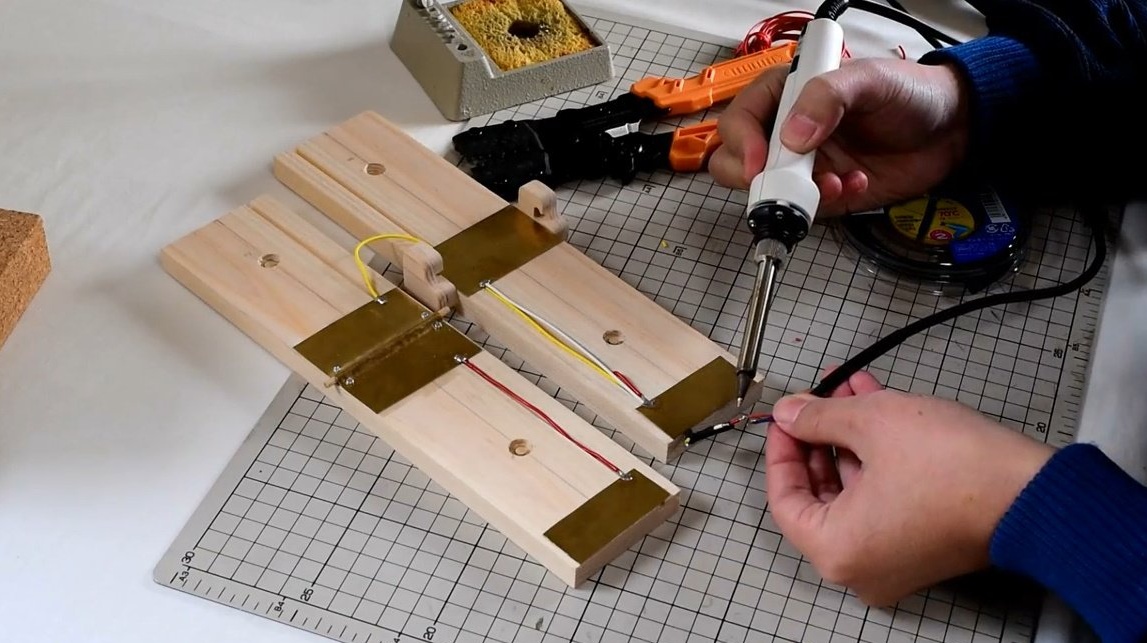
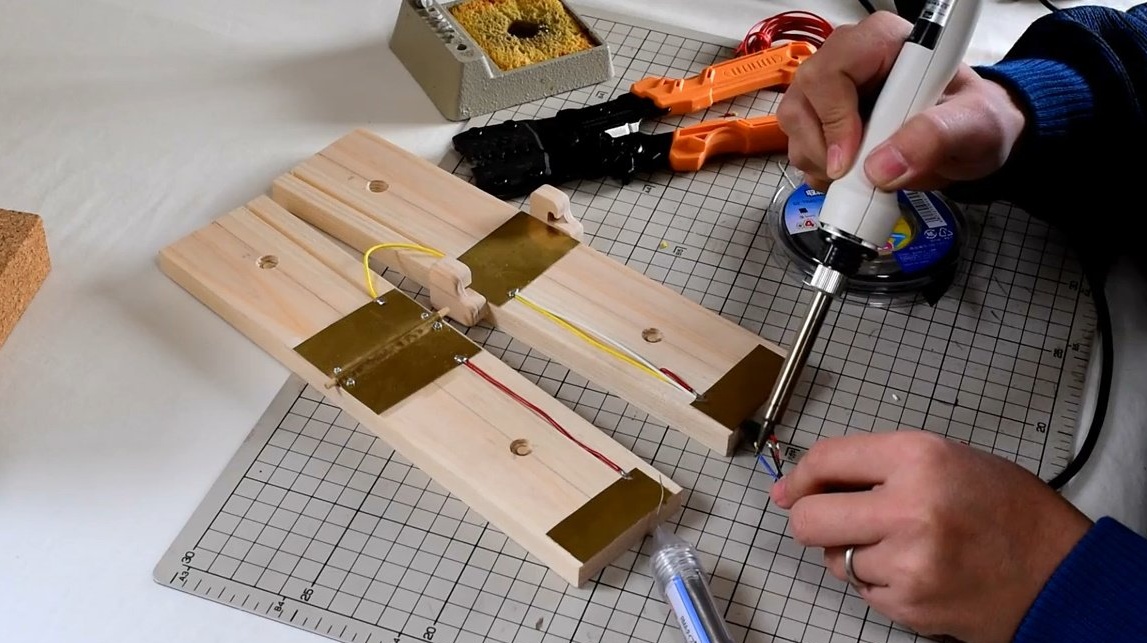
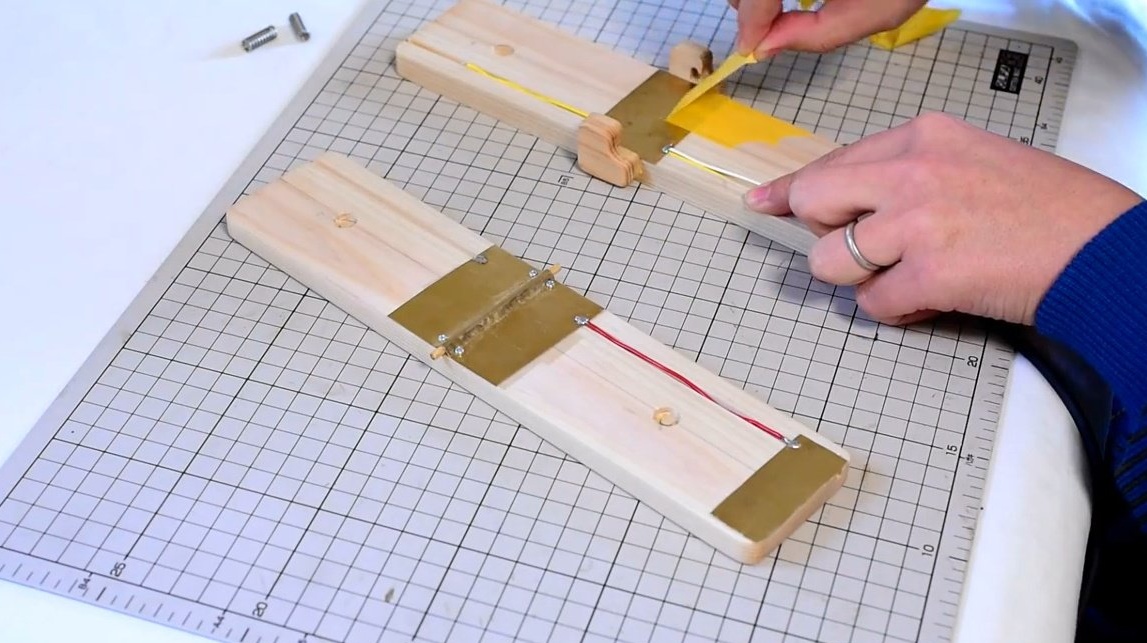
Now a little soldering. On the key, you need to make a connection between the sites, and make a wire tap.
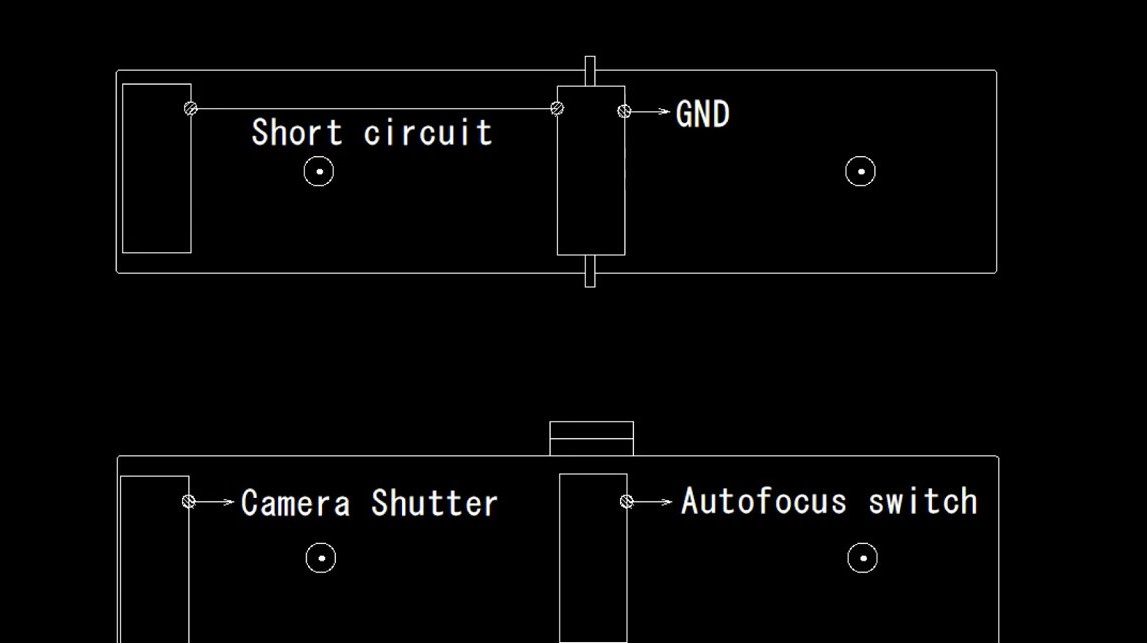
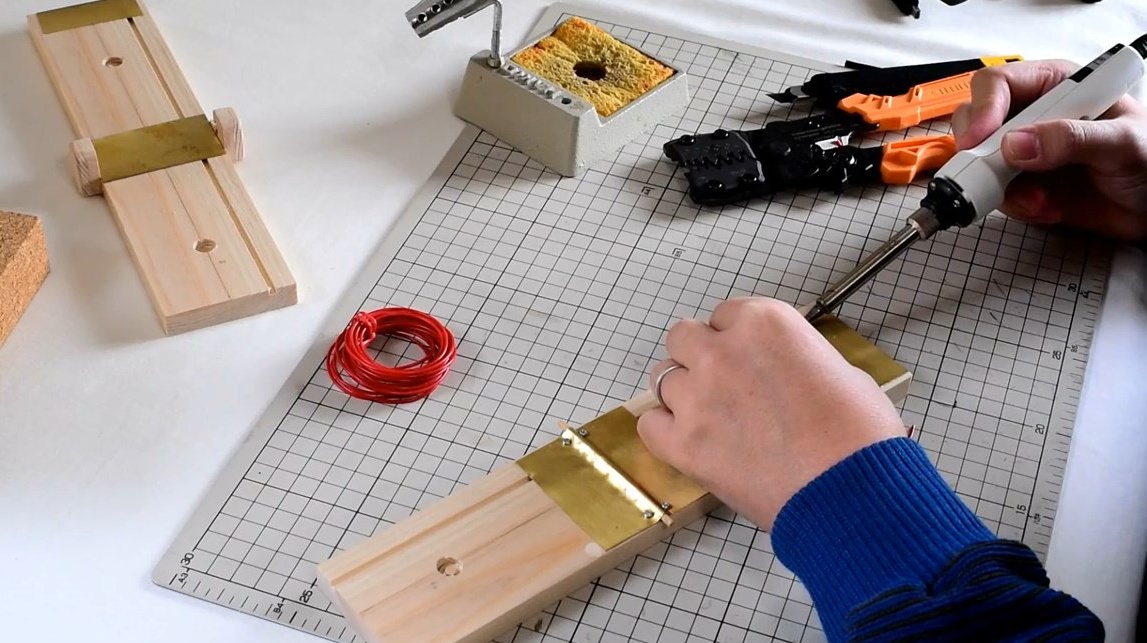
Solder one wire to each base pad. The author takes the wires out of the pedal. There is a small point. It is better to make a small recess in the base of the site for connecting the wires, and make connections in it.

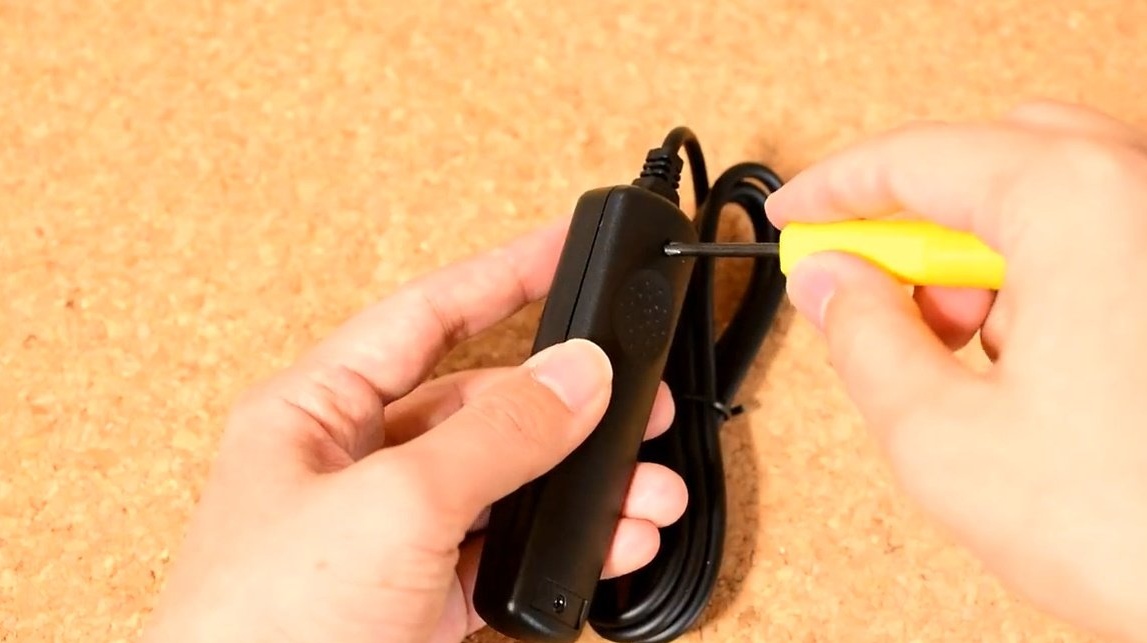
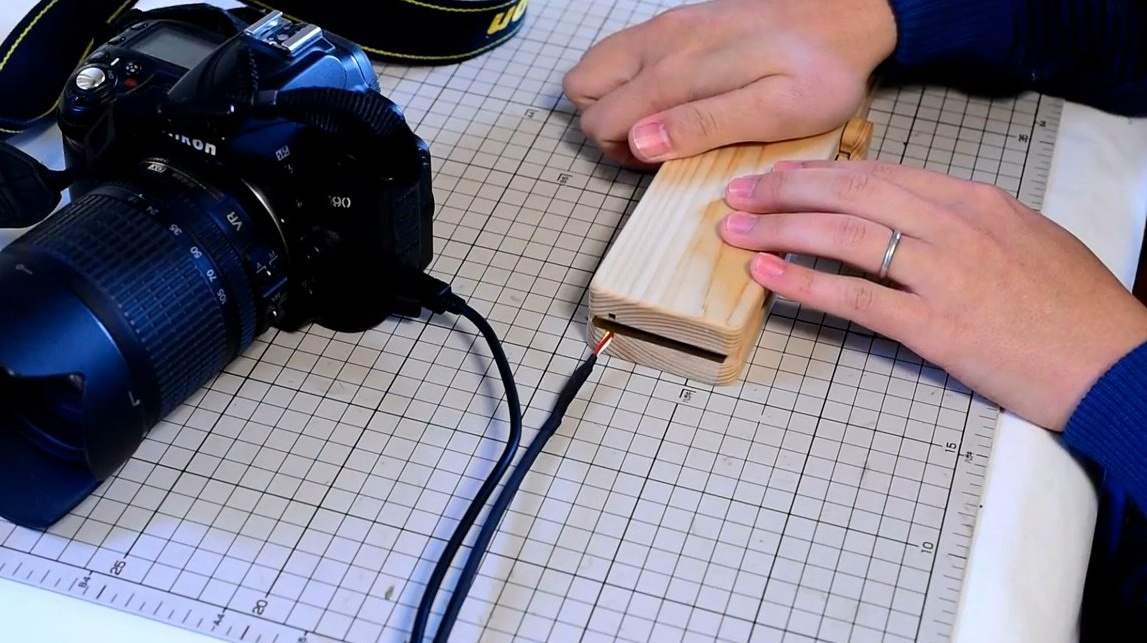
The only thing I had to buy was the remote release button. Only a wire with a connector is required from it. Parses her. Here you can clearly see which wires you need to solder to the contacts.
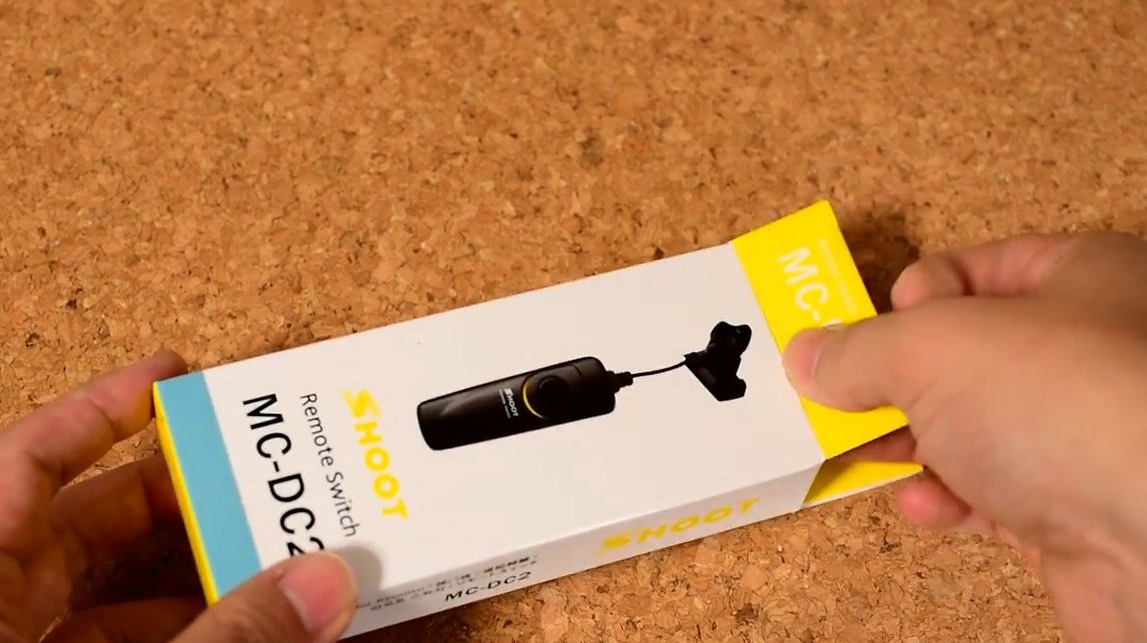
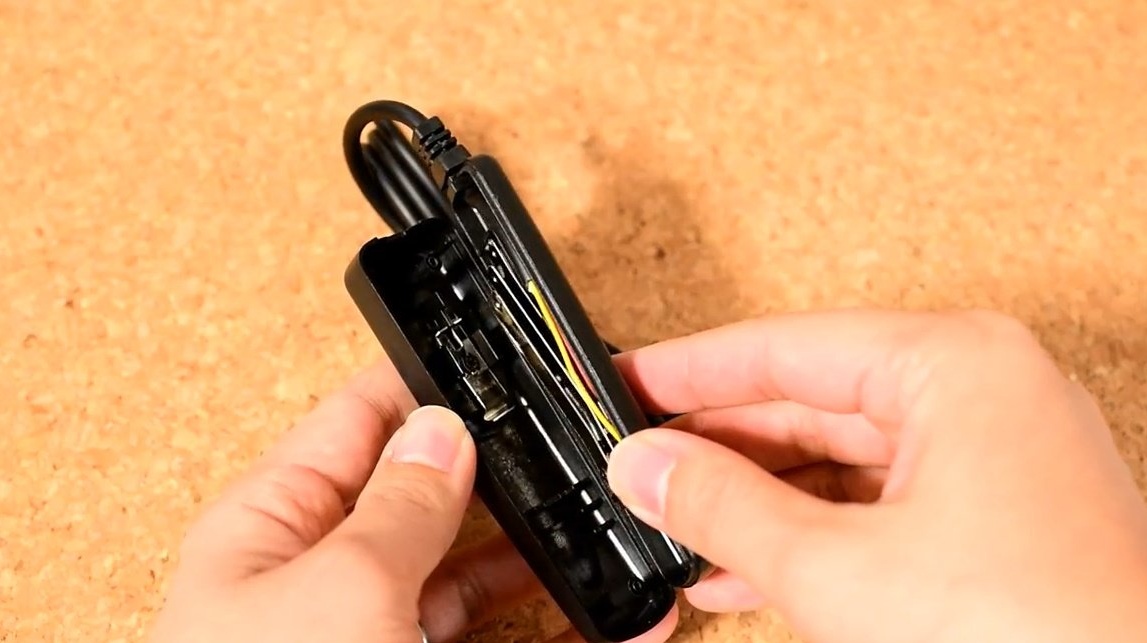
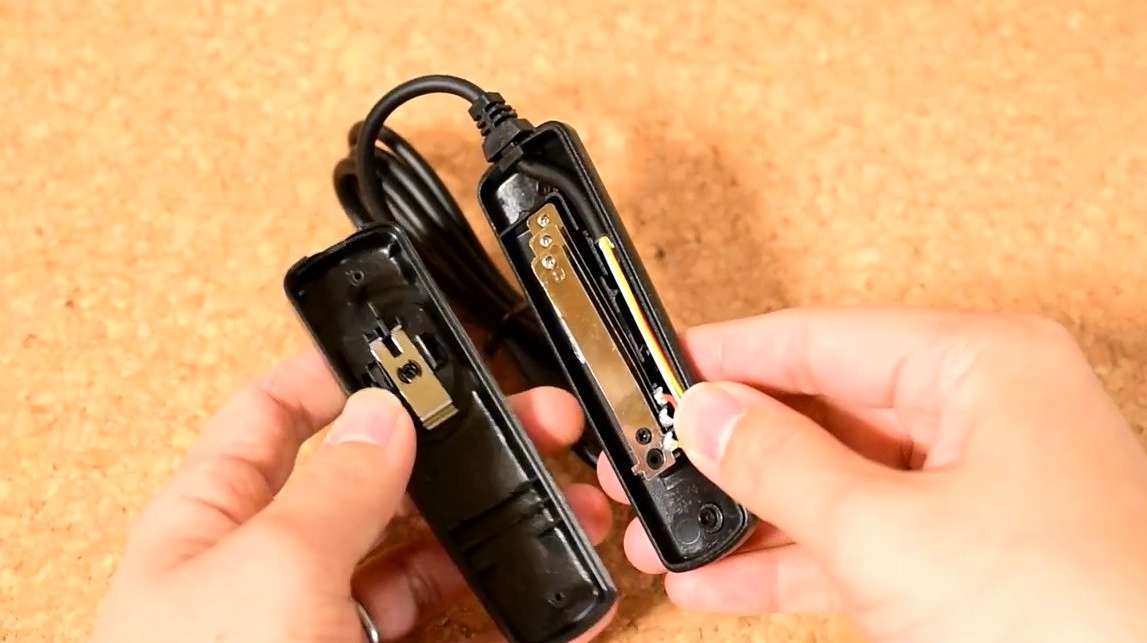
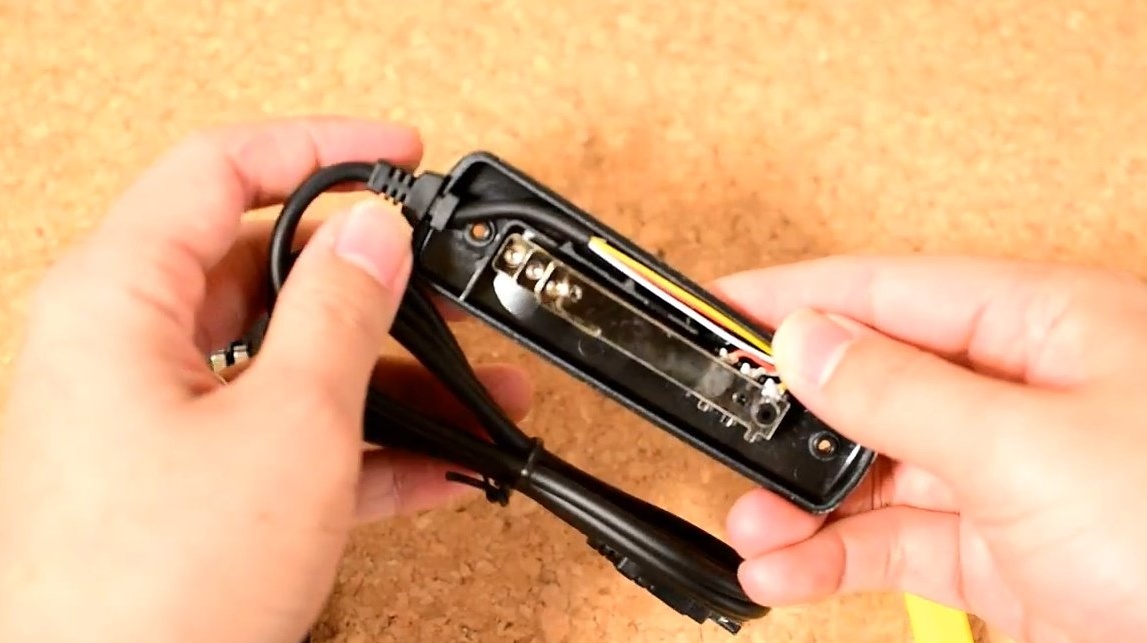
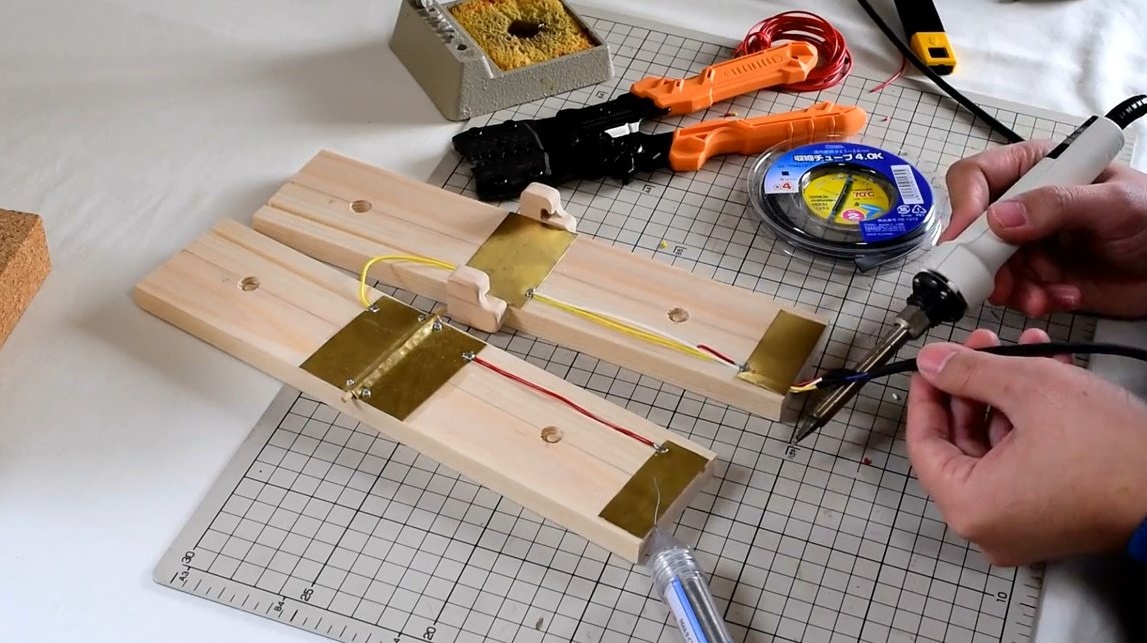
He just bites the wire with the connector, but he will not get confused in the colors.
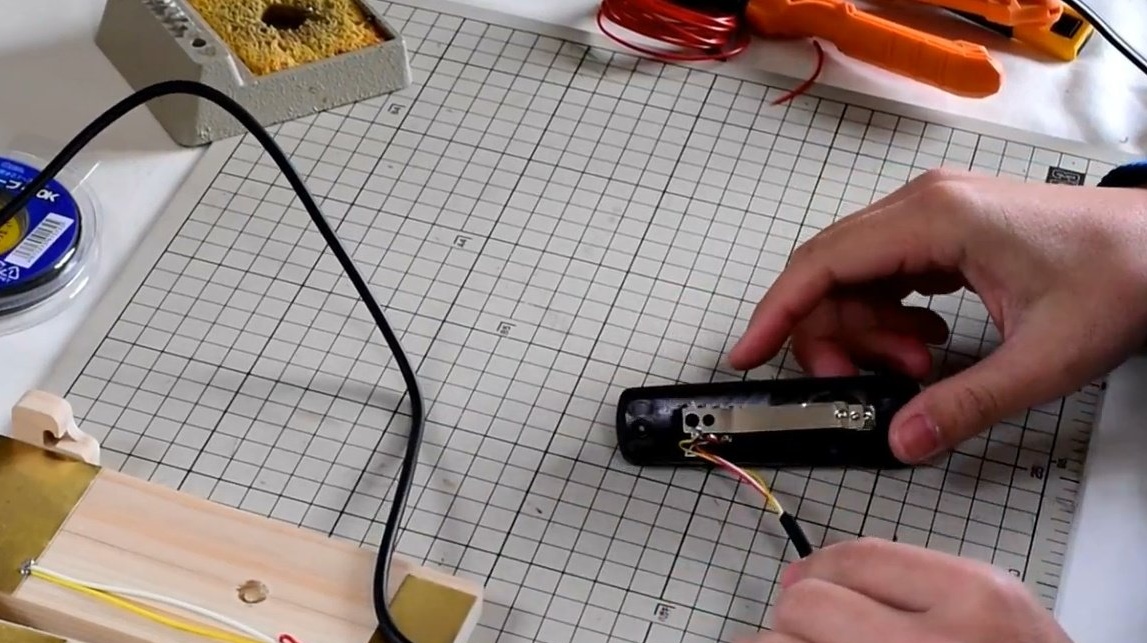
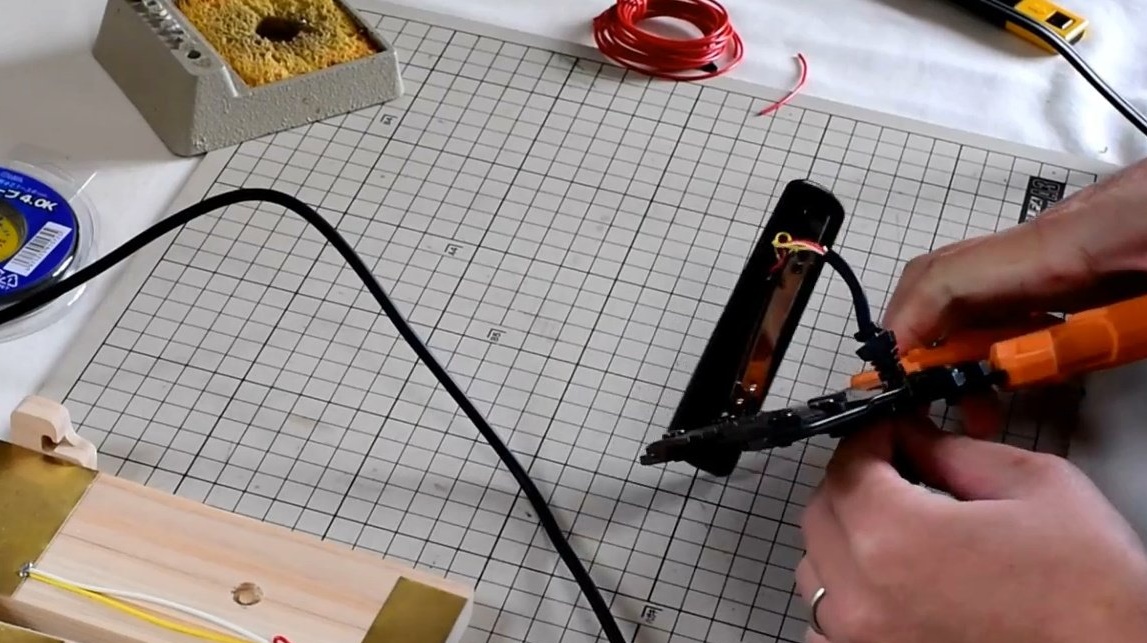
He puts heat-shrink tubing on the wires, unsolders them, and seats the tube. This, of course, is best done inside the pedal.
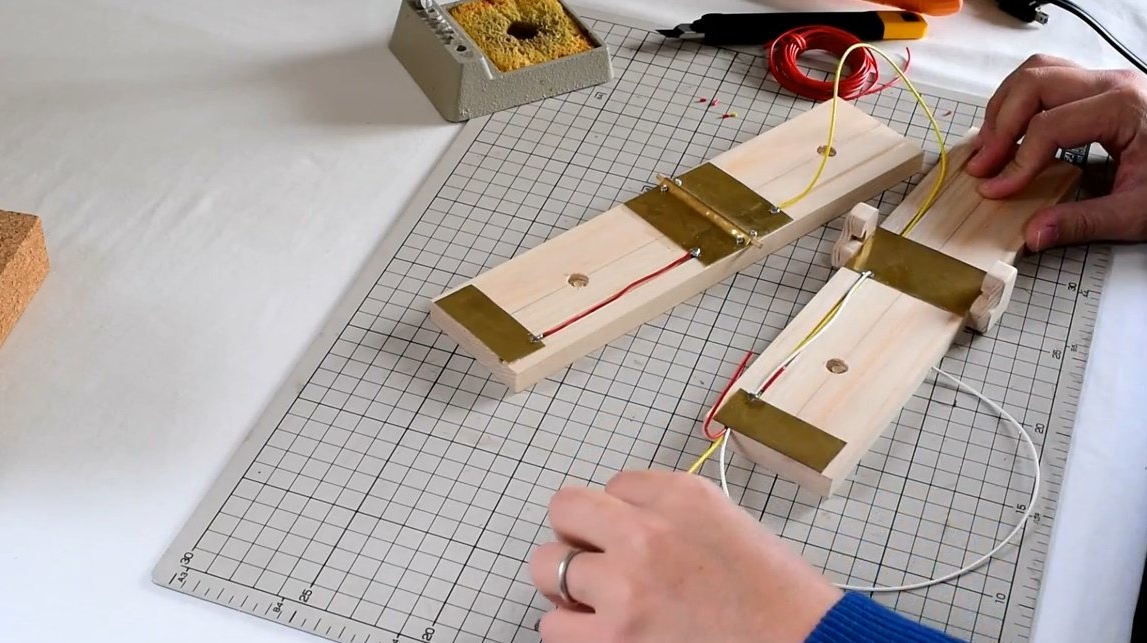
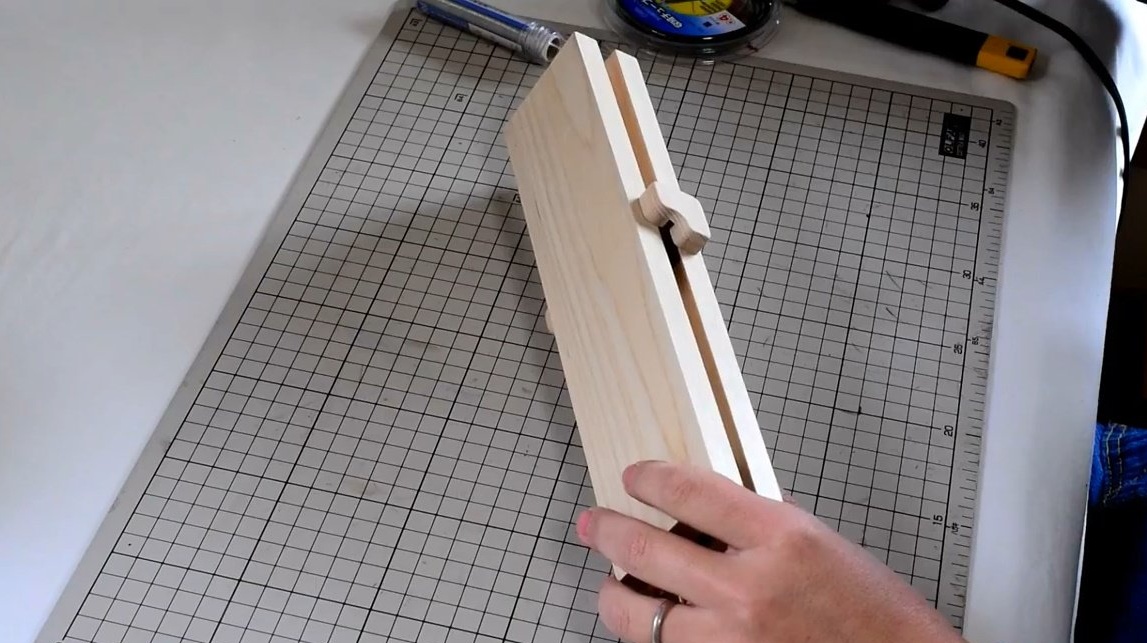
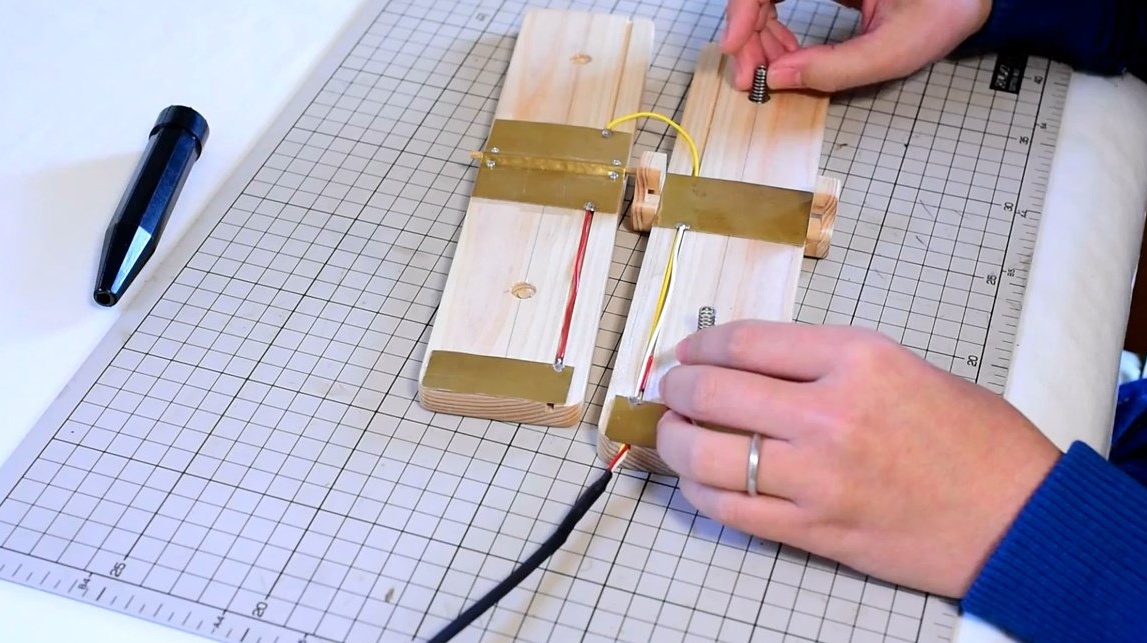
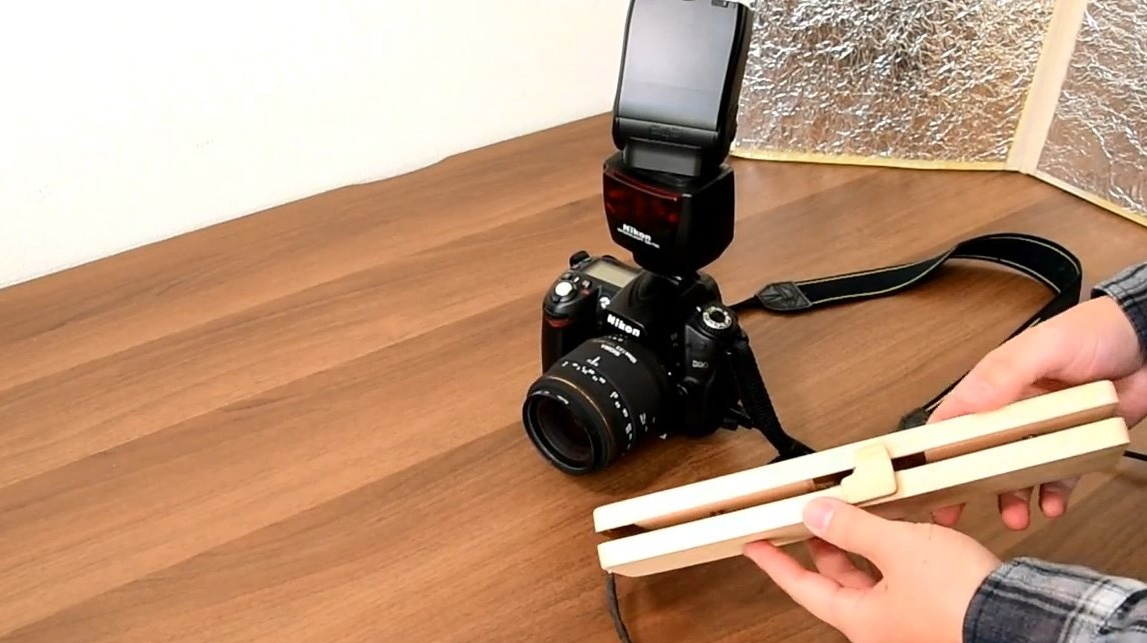
Installation of springs, trial assembly of a pedal, and check. The key is very easily installed in its place, just snap into the holders.
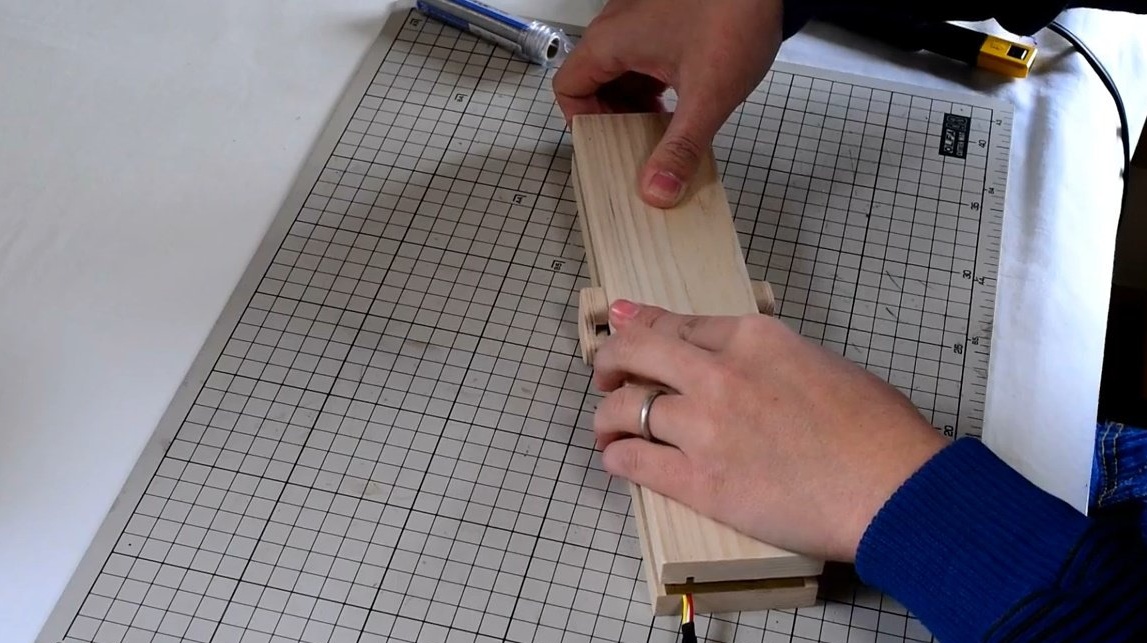
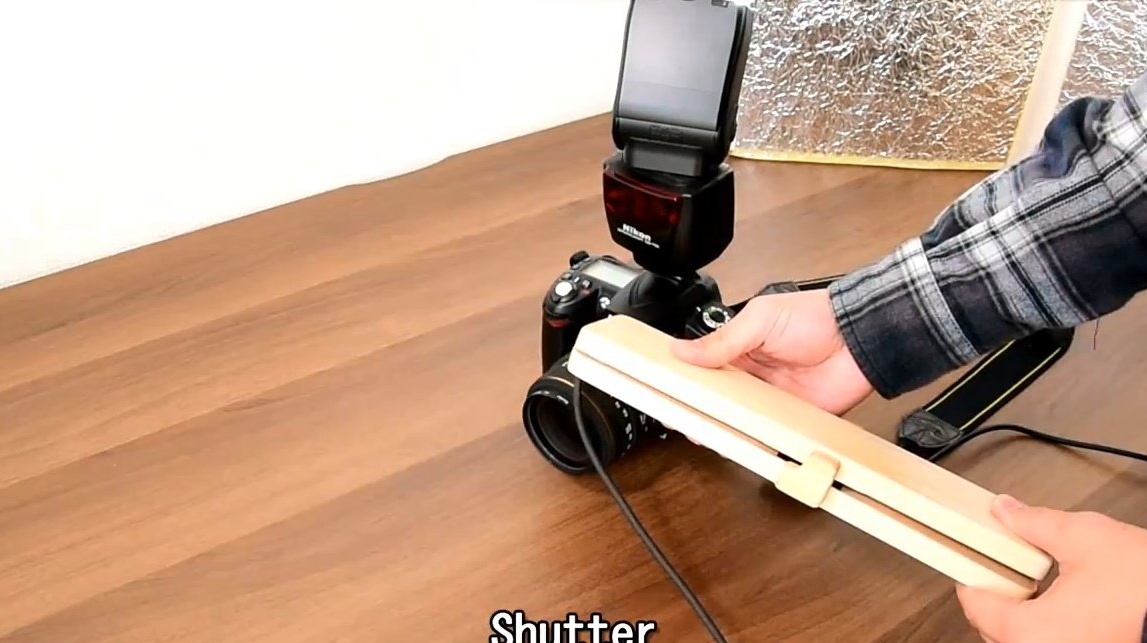
Pressing the middle of the pedal - focuses the device, and on the far part - releases the shutter.
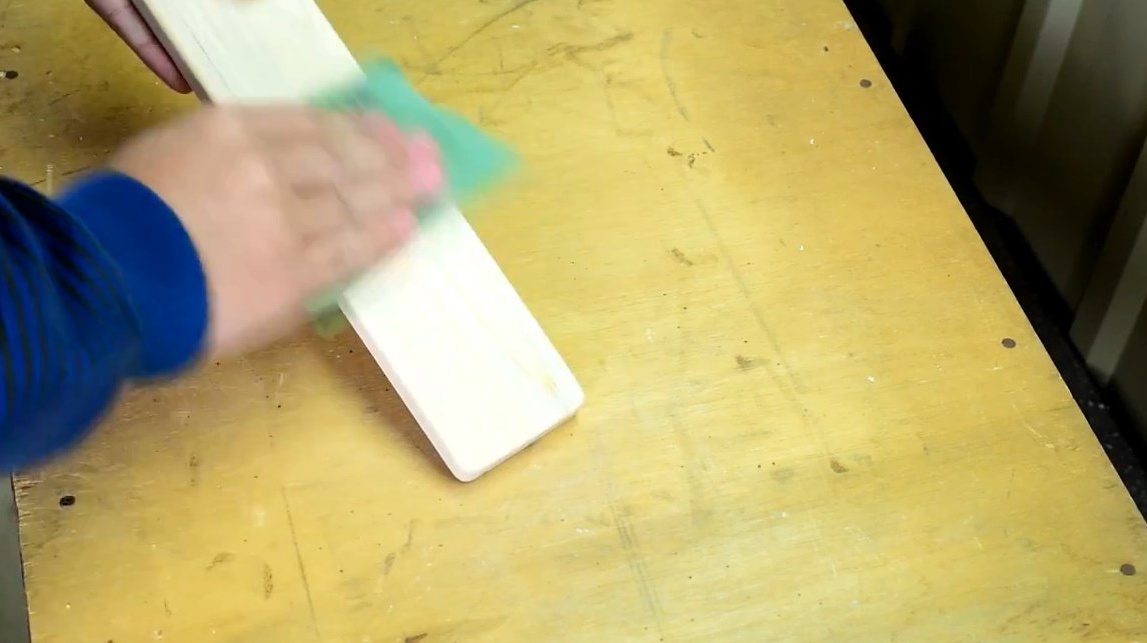
Now comes the finishing sanding with sandpaper, and oil impregnation.
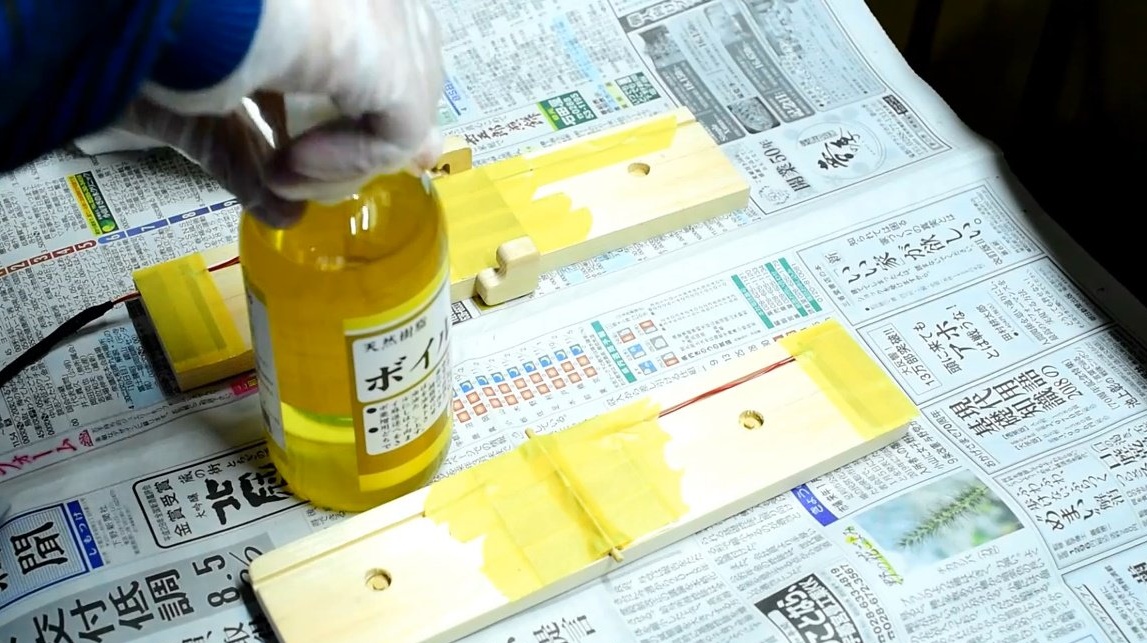
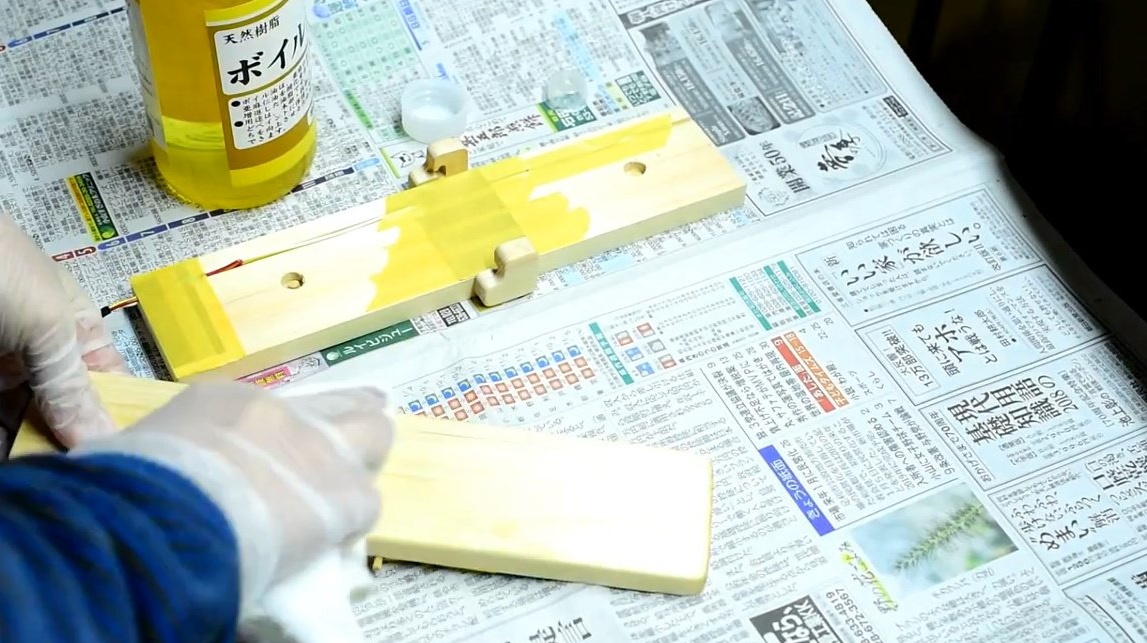
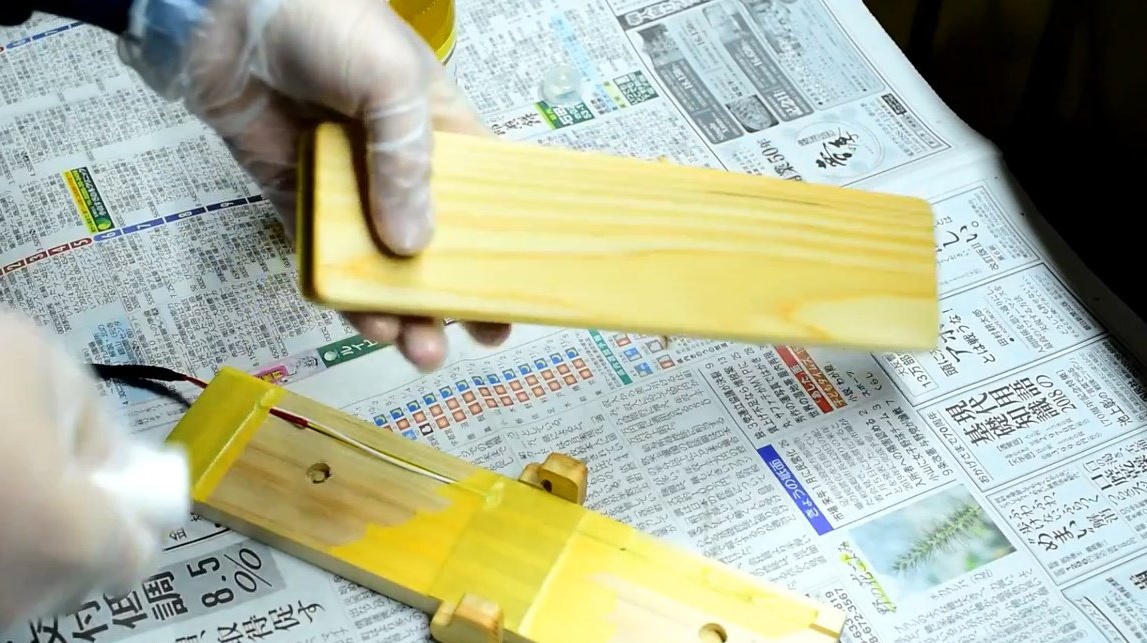
After drying, impregnation. He removes the masking tape, solders the wire from the key back, puts the springs, and latches the key.
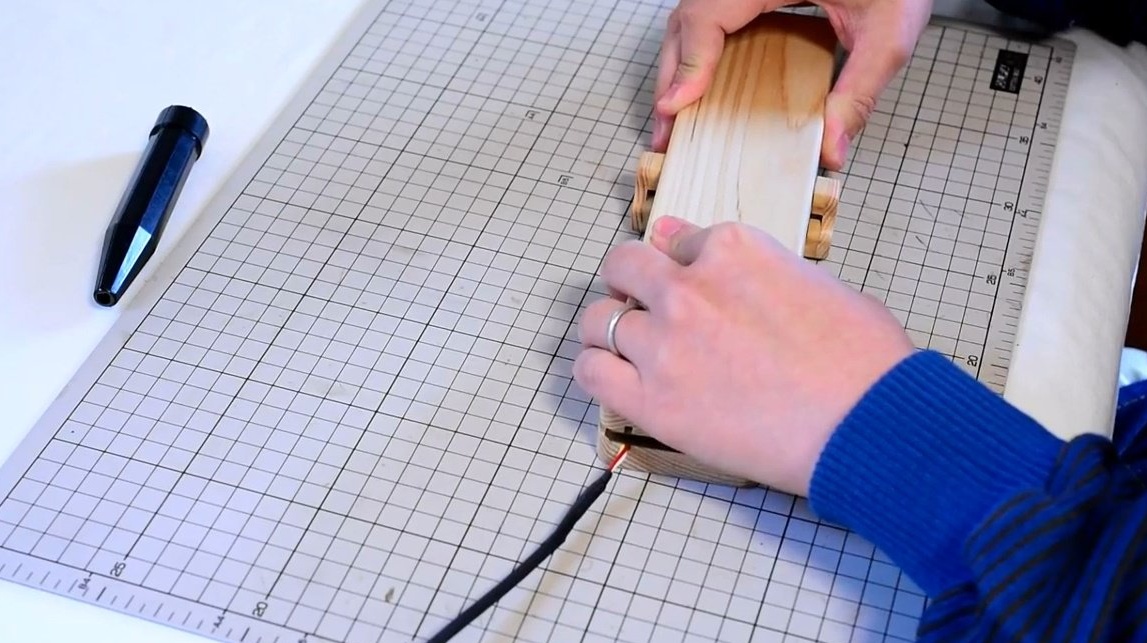
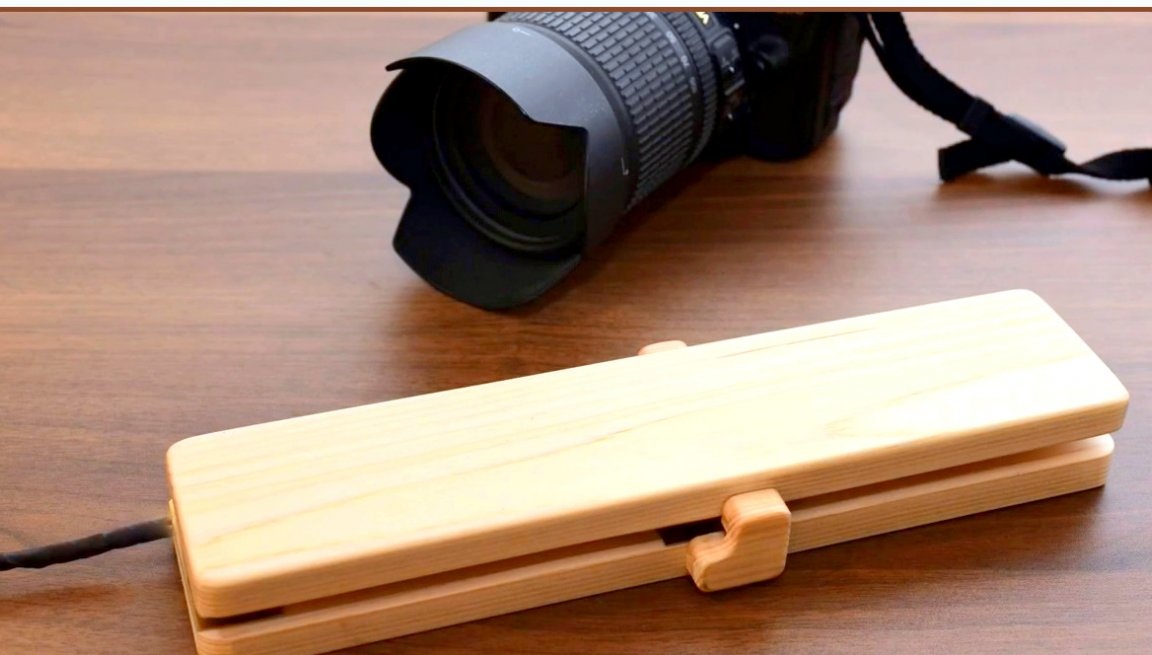
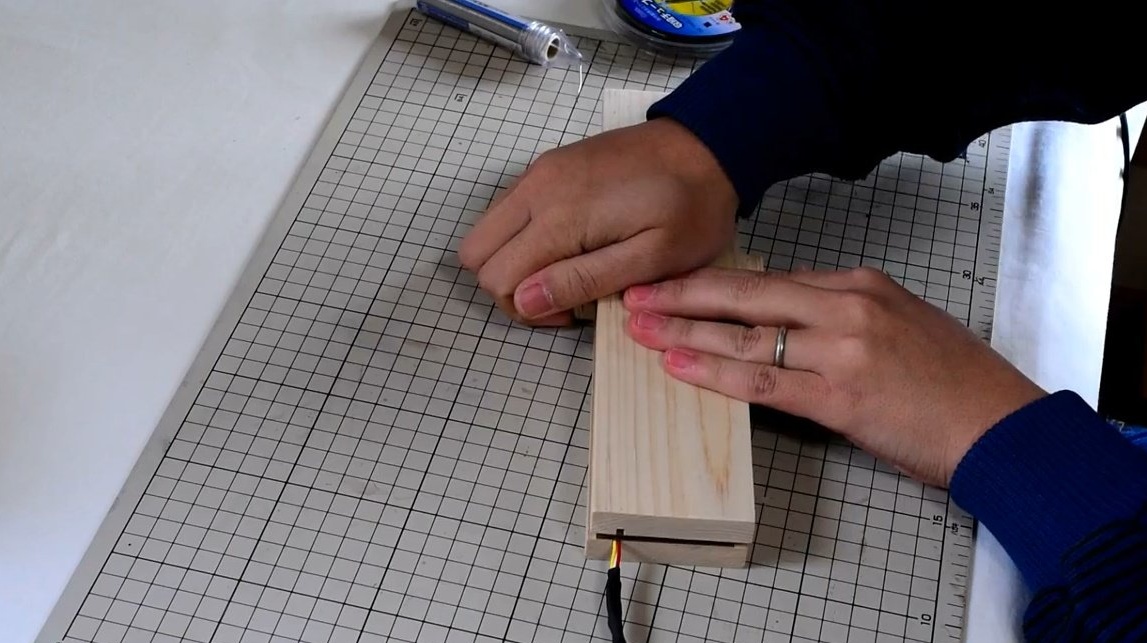
The device is ready for testing.
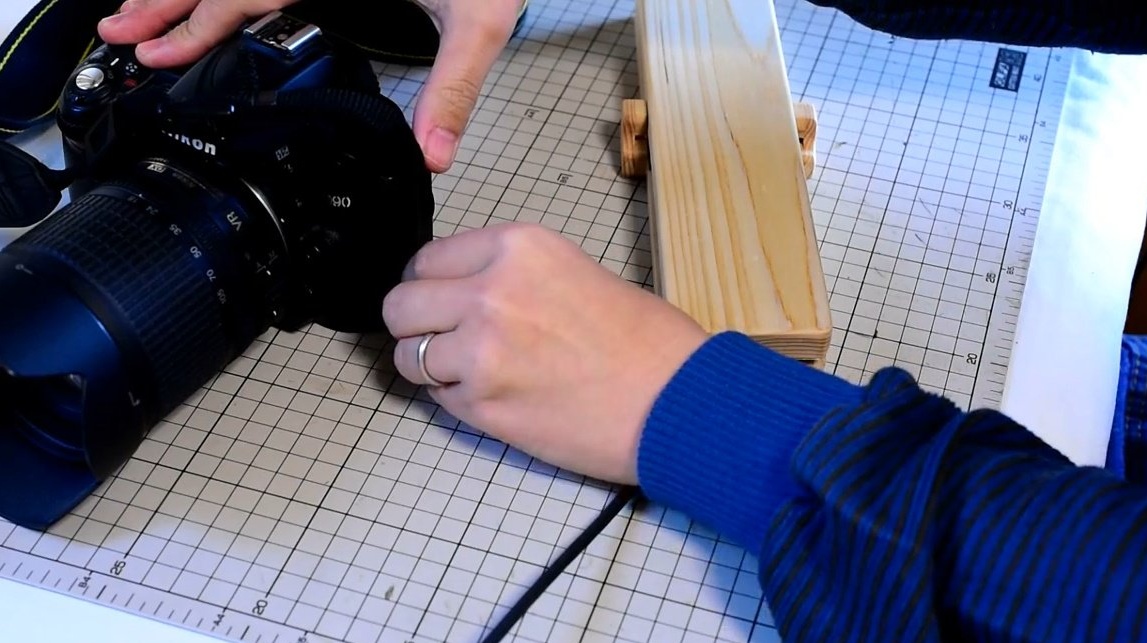
That’s such a comfortable pedal. With her, your hands will not be busy when photographing!

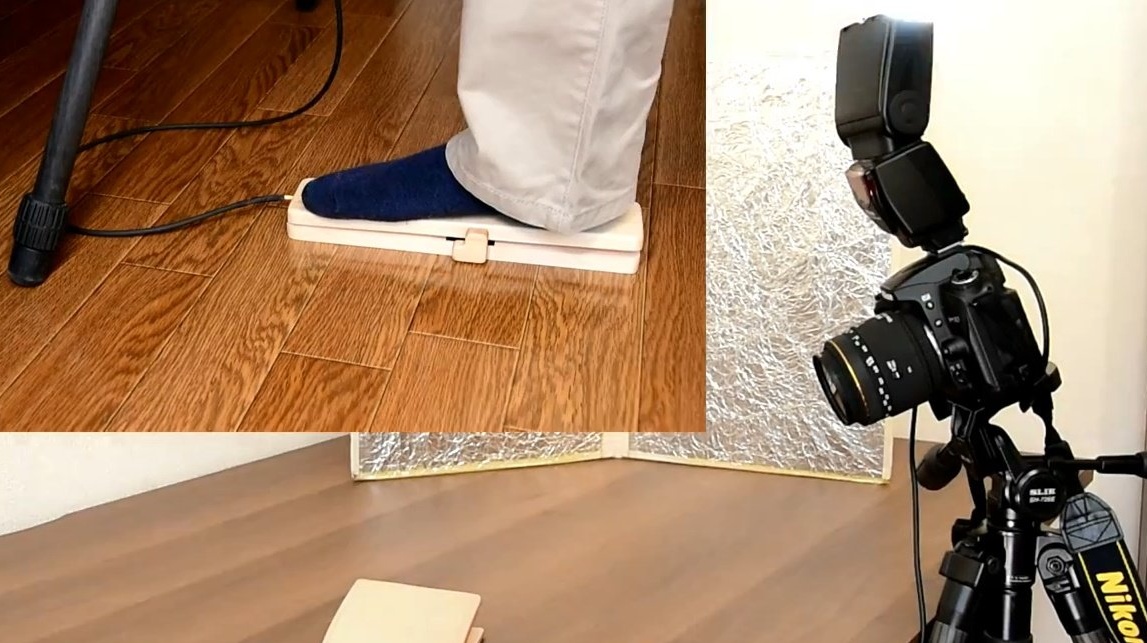

Thanks to the author for the simple but useful device for the photographer!
All good mood, good luck, and interesting ideas!