
Hi the inhabitants of our site! Today in this article we will consider a very interesting idea of homemade. Namely, today we will consider how to make the simplest jack, or rather a mini jack from improvised means. This homemade product is unlikely to be able to find any practical use in the household. But this homemade product is an excellent layout, which clearly reflects the principle of operation of simple hydraulic jacks. This homemade product can be assembled as for yourself as decorations for your workplace, or you can collect it with your child, so you can clearly explain to him the elementary laws of physics and the very principle of operation of most jacks. Also, this homemade product can be useful as a study guide for students in grades 5-6.
In general, the homemade product is very interesting, so let's not pull with a long introduction, let's go!
For this homemade product you will need:
- Two syringes of different volumes (the greater the difference in the volume of syringes, the better)
- Rubber hose (e.g. from a dropper)
- Screws, nuts and metal washers
- Small metal plate
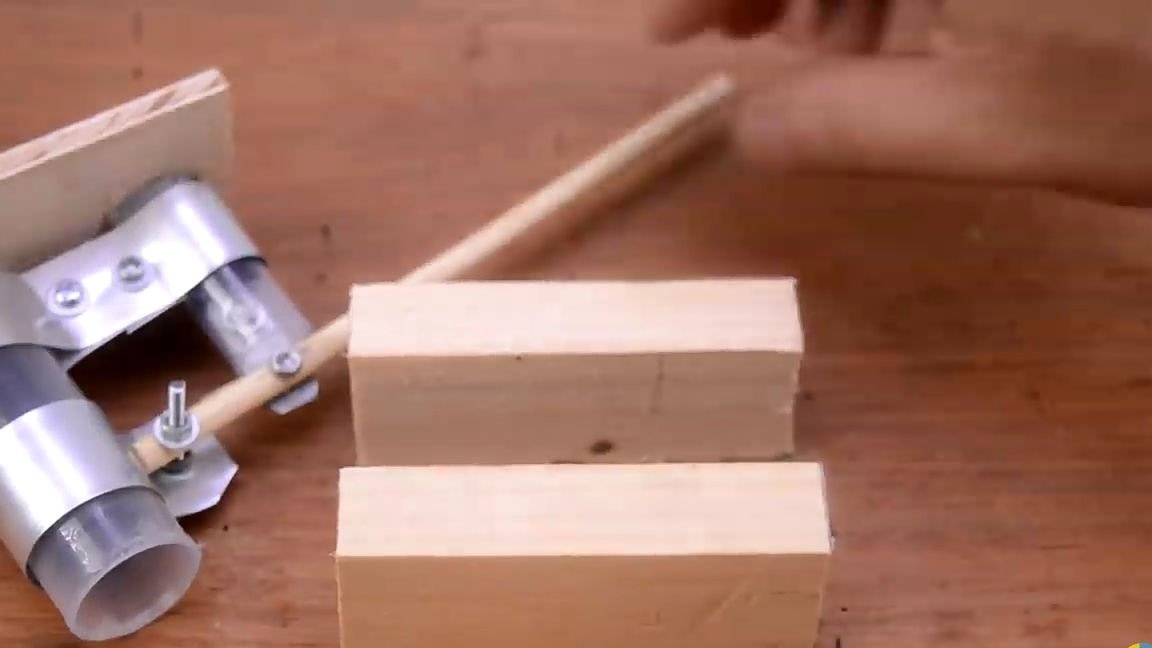
- Two small wooden planks
- A small piece of plywood
- A small wooden stick
- Ordinary rubber ball
- Small self-tapping screw.
From the tools you will also need:
- Hot glue
- Ruler
- marker
- scissors
- Drill with a set of drills (small diameter drills are preferred)
- A small hacksaw for metal
- screwdriver
- Stationery knife
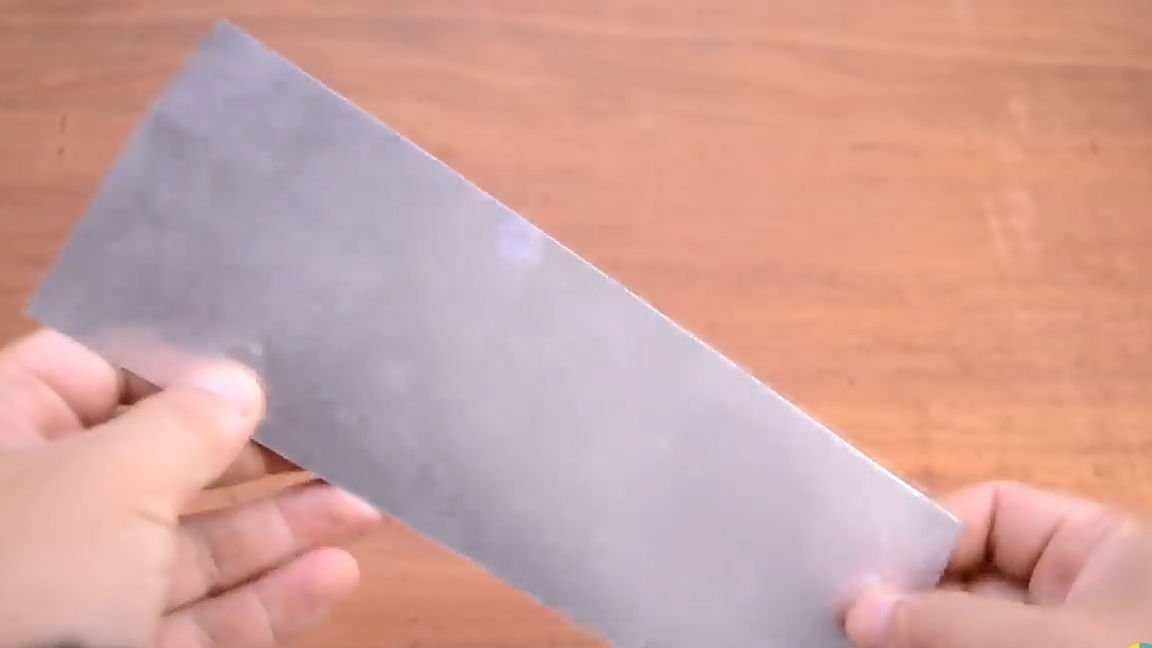
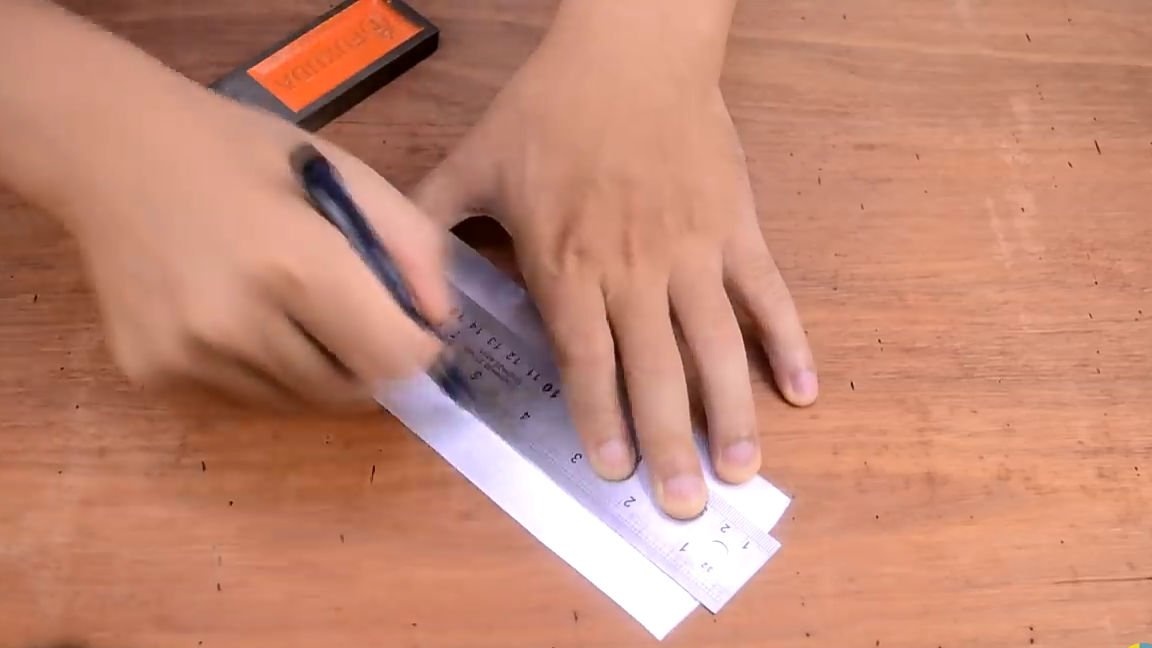
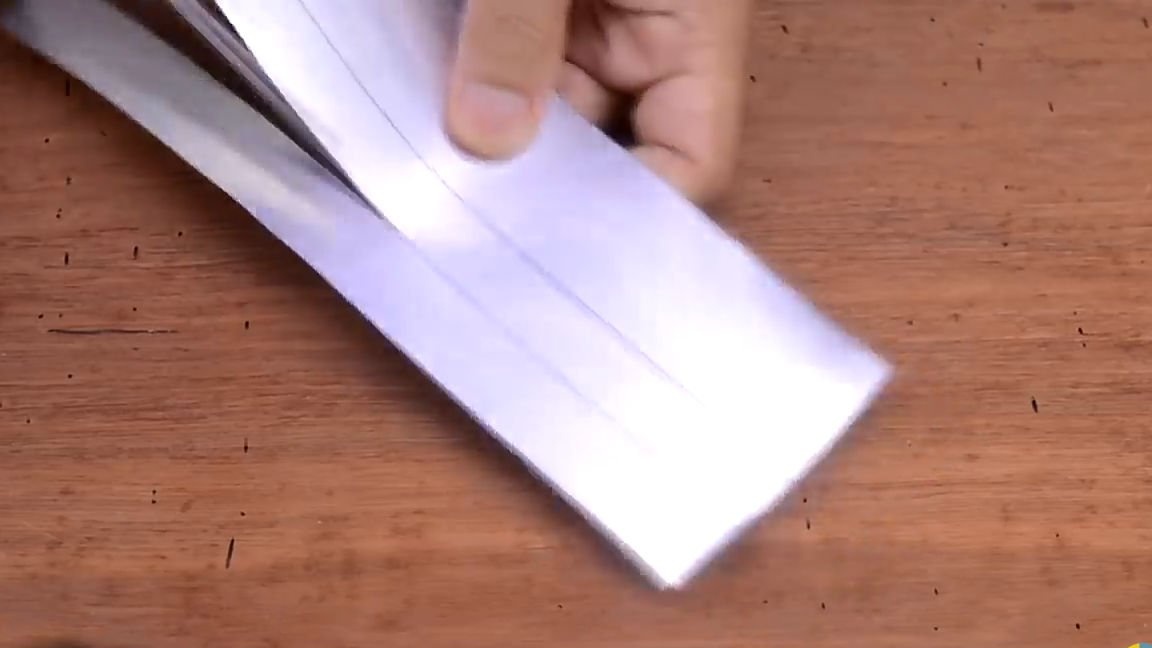
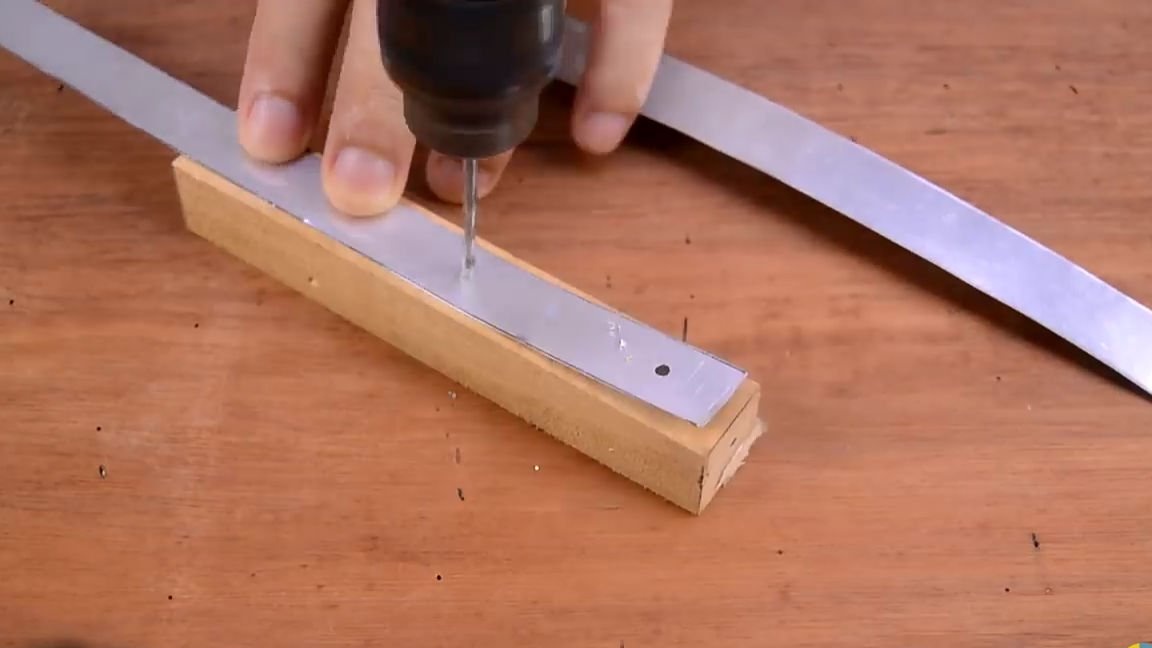
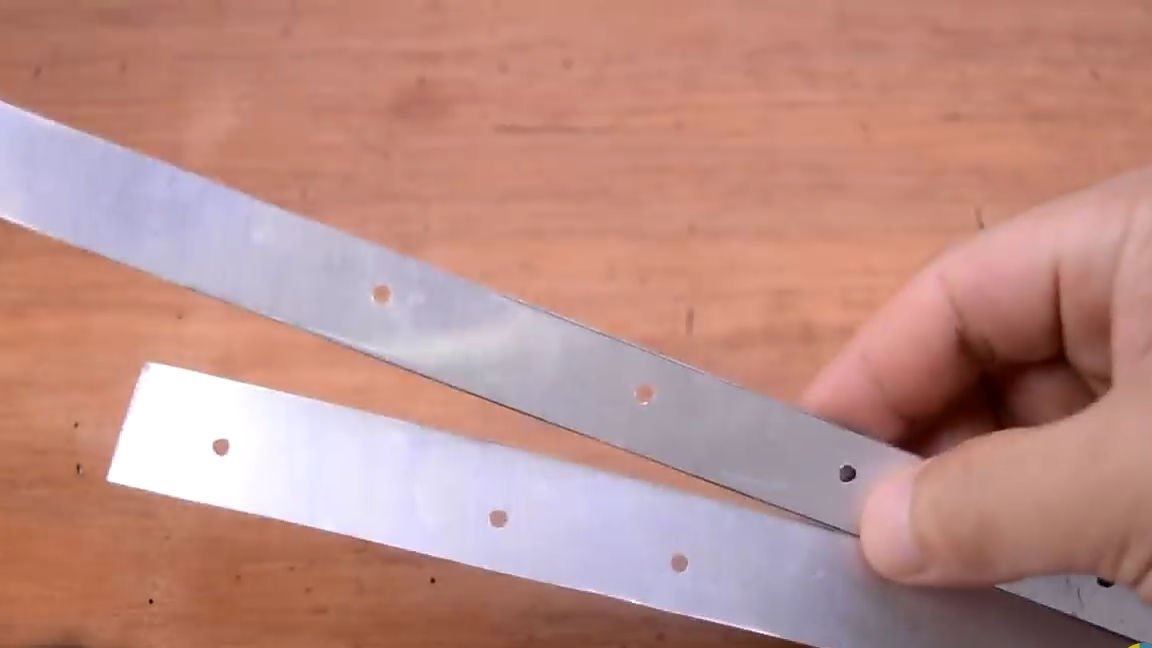
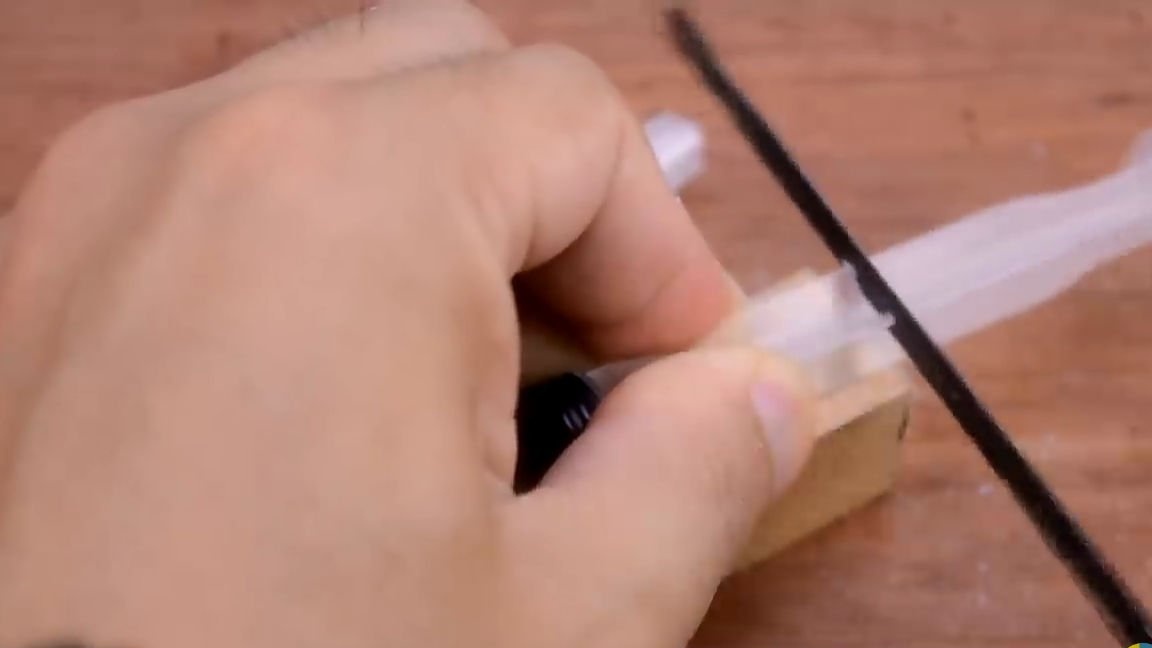
To begin with, we will make a couple of blanks from a small metal sheet that will be useful in the future. To do this, you need a metal sheet (plate) itself, a marker, a ruler and scissors. On a metal sheet with a ruler and marker, mark two strips in the entire length of the sheet (15-20 cm) and a width of about 1 cm. After we marked out two strips, we cut them out with ordinary scissors. It should be noted that the metal sheet itself must be very thin and easily bent, otherwise it will not just work with it. Then, in the next step, use the small drill to make the following holes for installing the screws in the following places (see photo). Next, you will understand what and why.
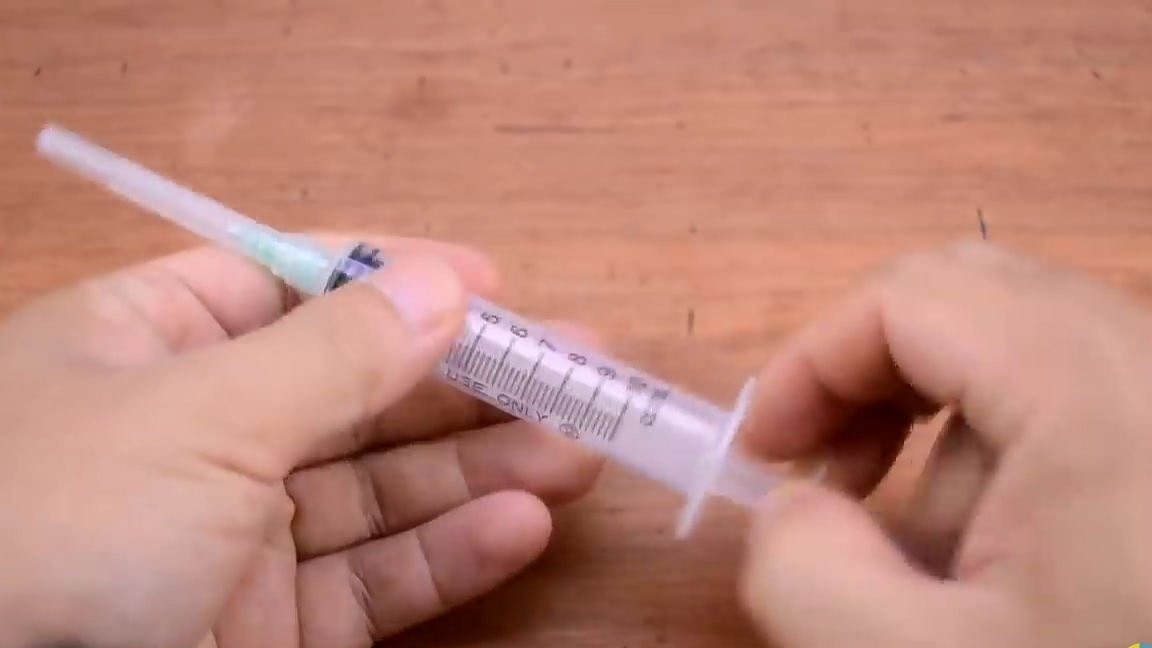
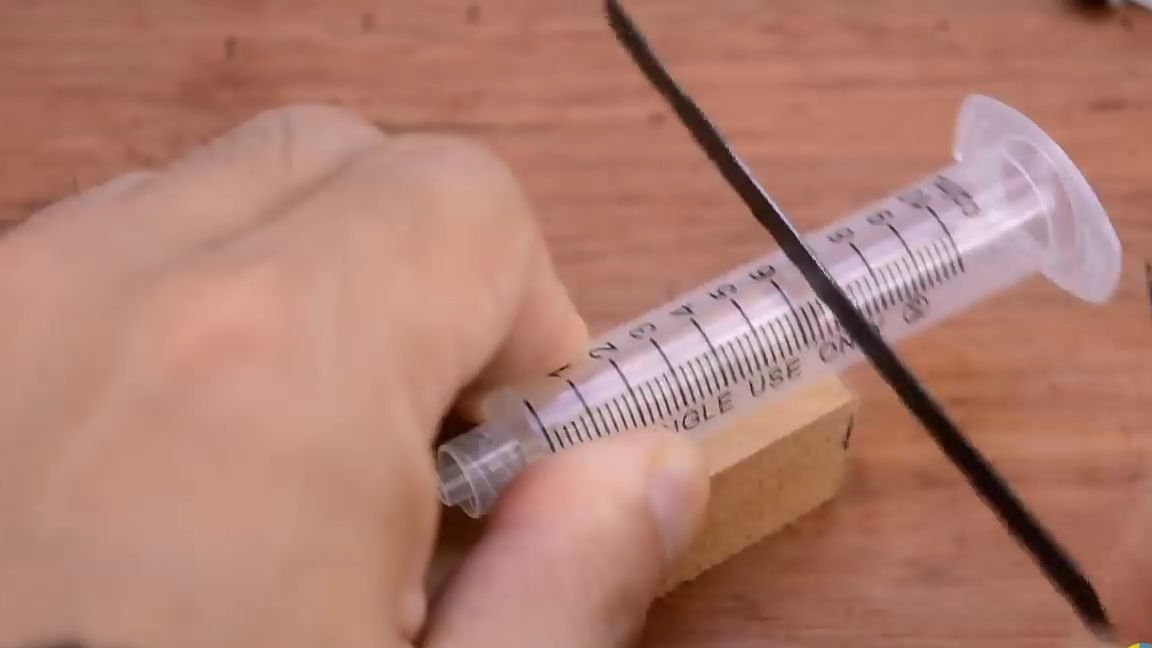
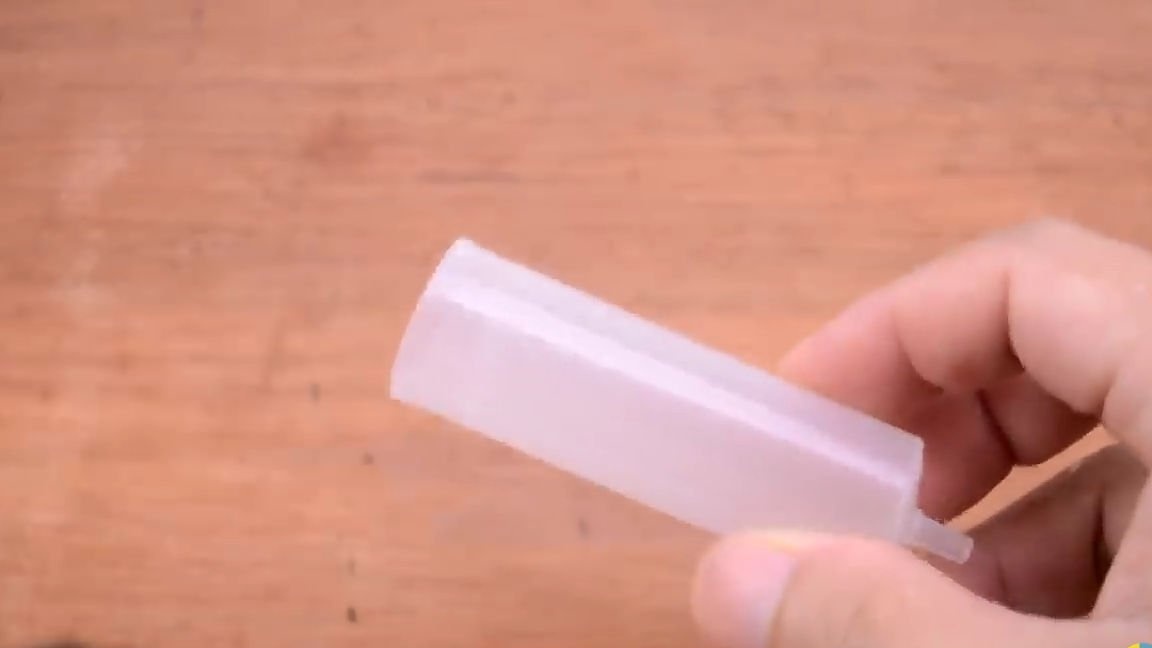
Then you should take a syringe of a smaller diameter and do the following with it. Namely, we remove the piston and use a small hacksaw for metal, or simply cut off the upper part of the syringe from it (the syringe should be divided into two parts in a ratio of about 60/40).
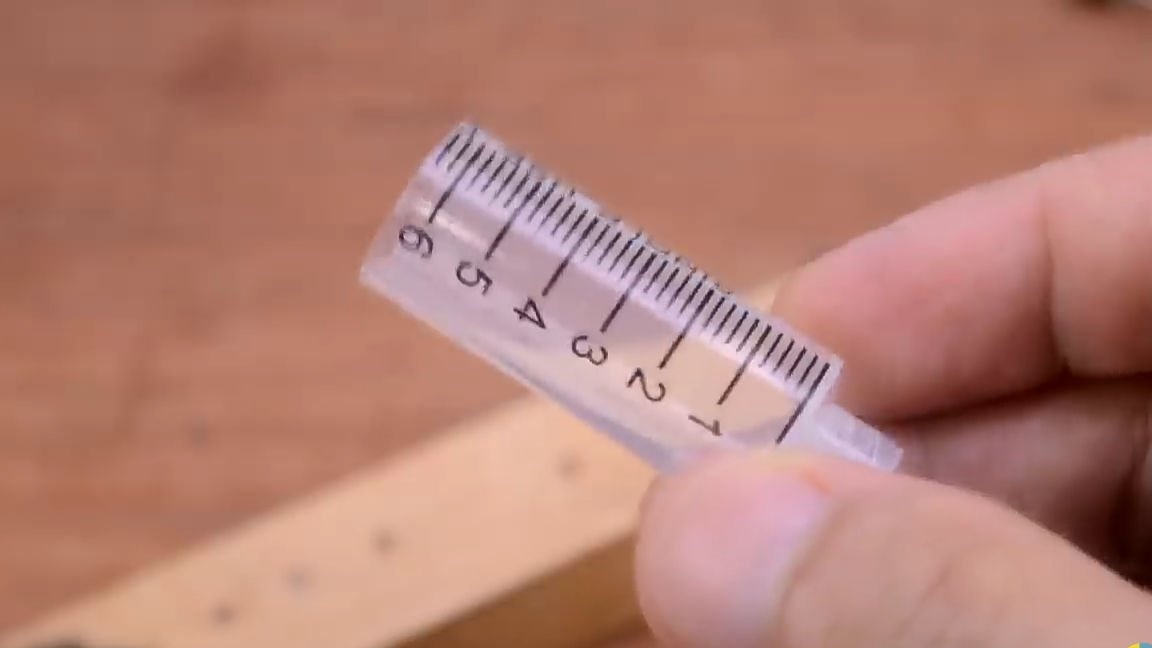
Then you should take the piston that we removed from the syringe we just worked with. Using the same blade from a hacksaw, the piston should be cut exactly in half. Next, we work with the part of the piston that has a rubber tip, namely, it is necessary to break off those parts of the piston so that in the section it does not look like a “+”, but like a “-”. Then, on the already flat part of the piston, make a through hole with such a diameter so that a screw can be inserted (but the diameter should not be larger than the outer diameter of the washer).
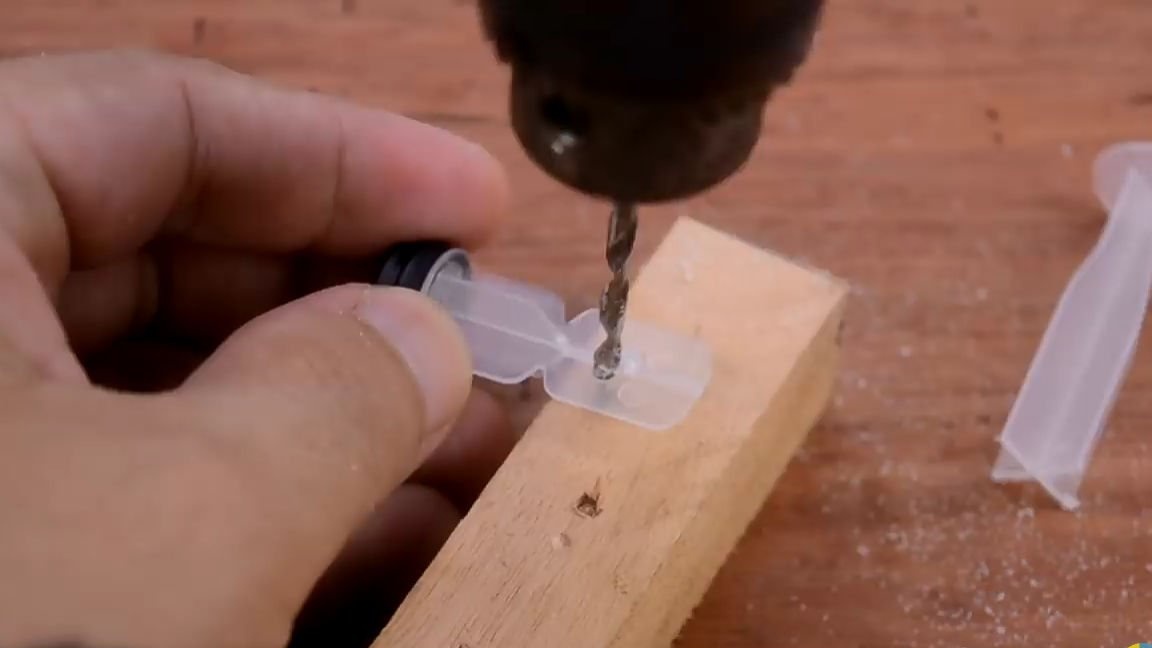
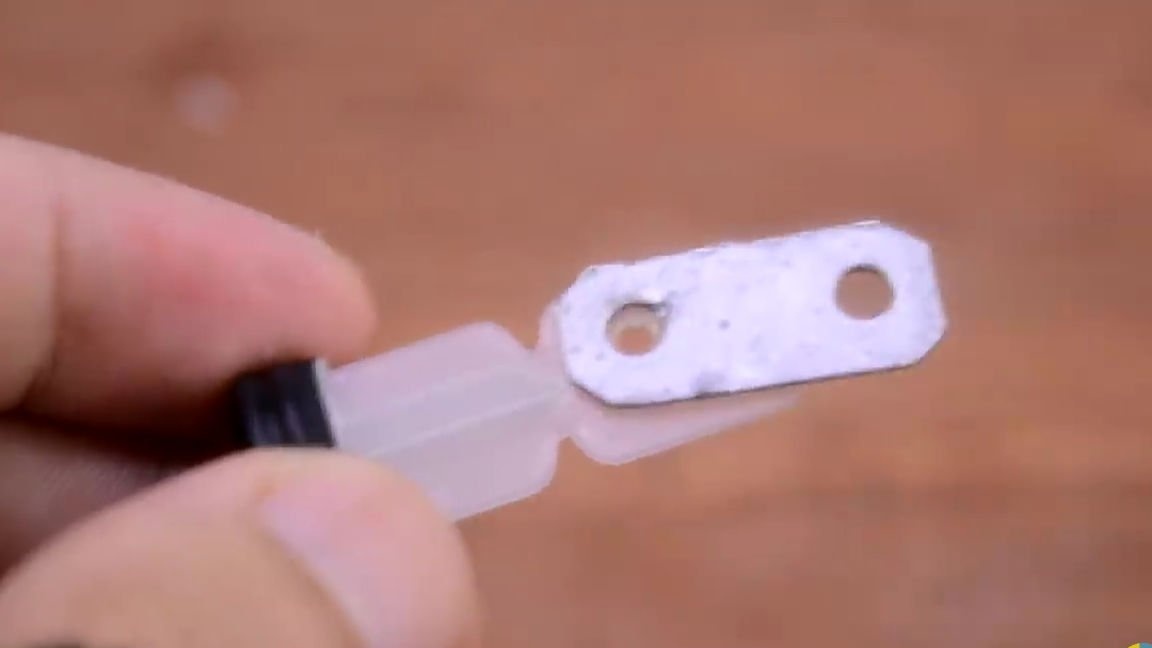
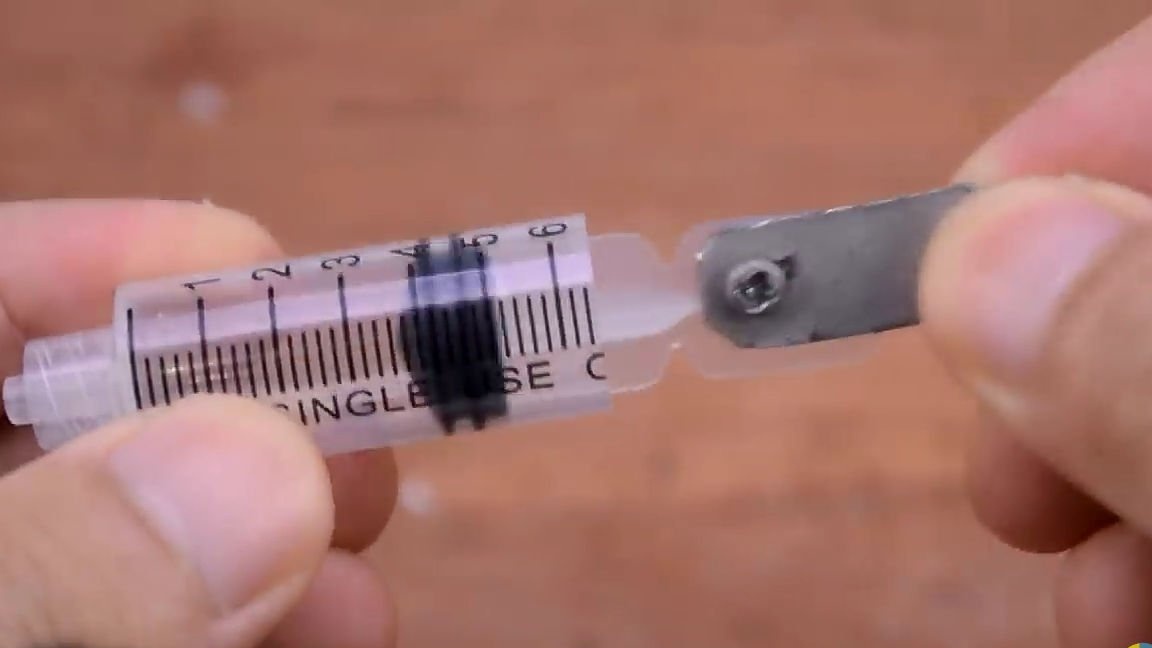
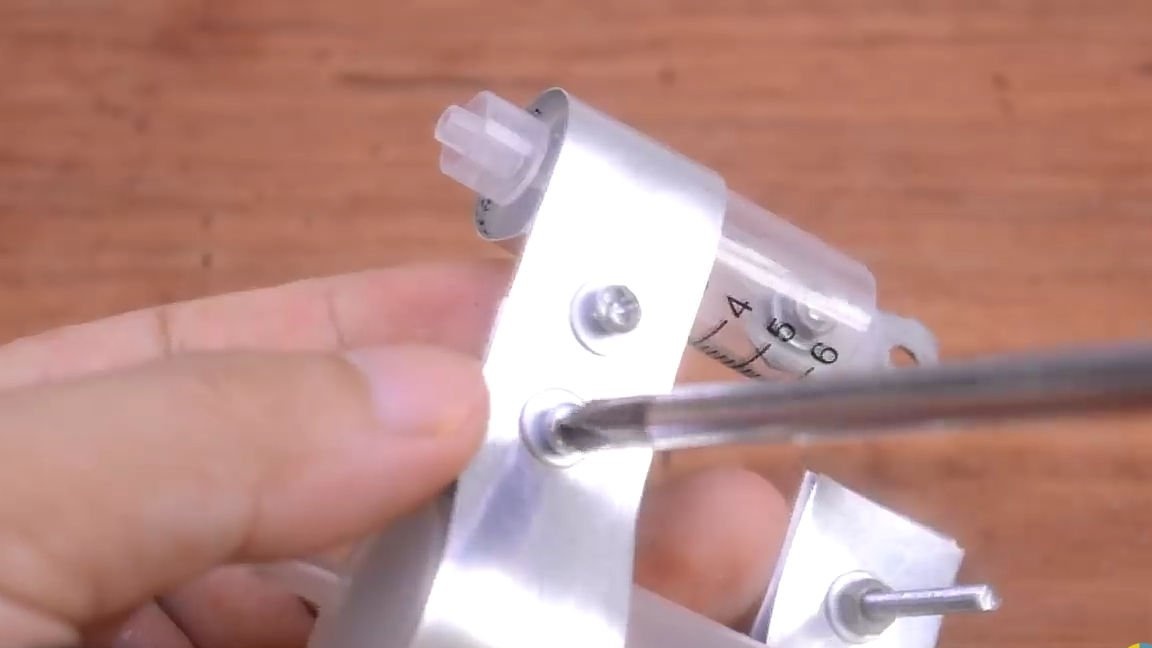
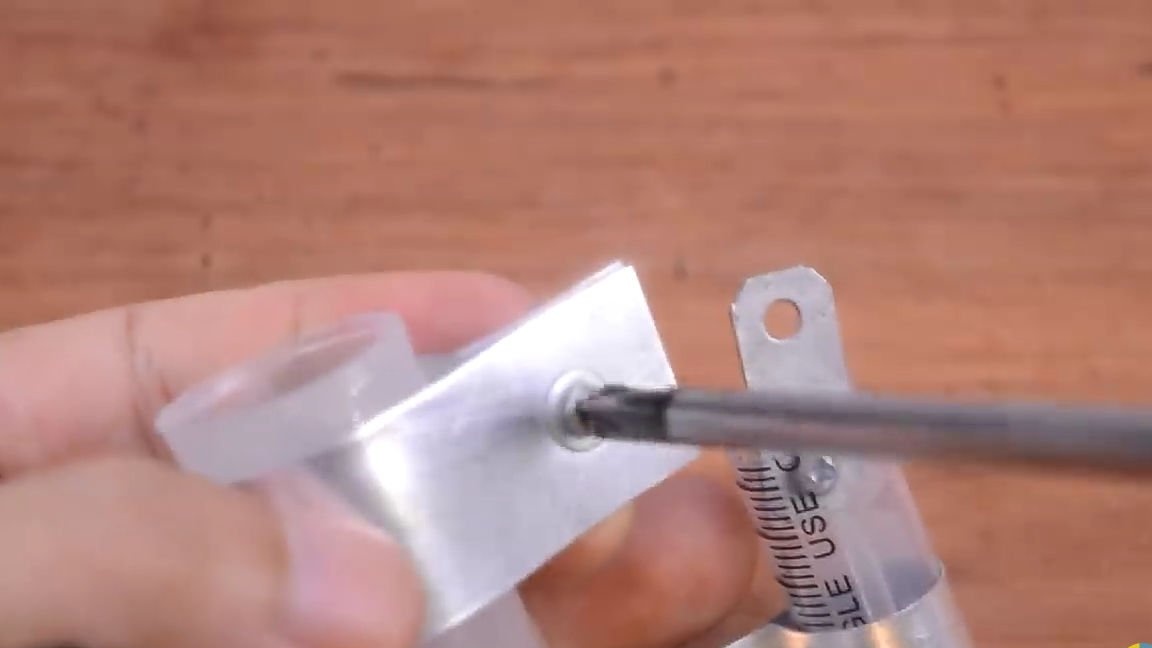
Now the next part should be made. To do this, you need to take a metal plate with which you worked earlier to cut from it a small rectangle with side sizes of 5 mm by 10 mm, and two through holes for the same screws should be made along the edges of the cut rectangle. Having made the above-mentioned part, we fix it on the piston with a screw and nut, so that the part itself can rotate around its axis.

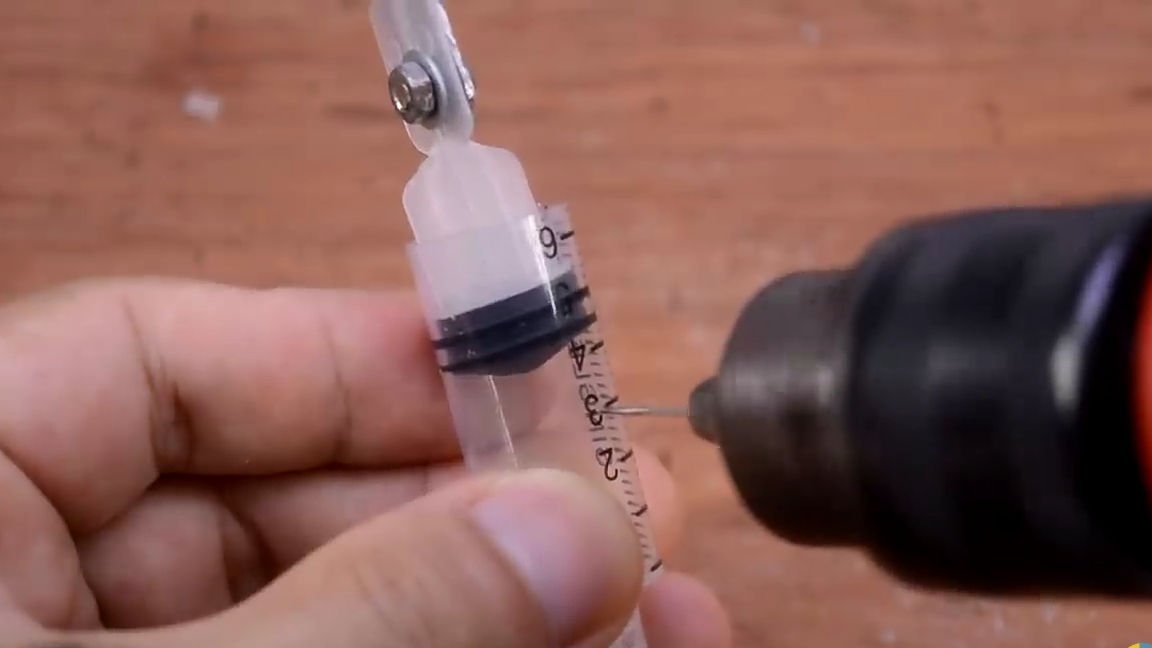
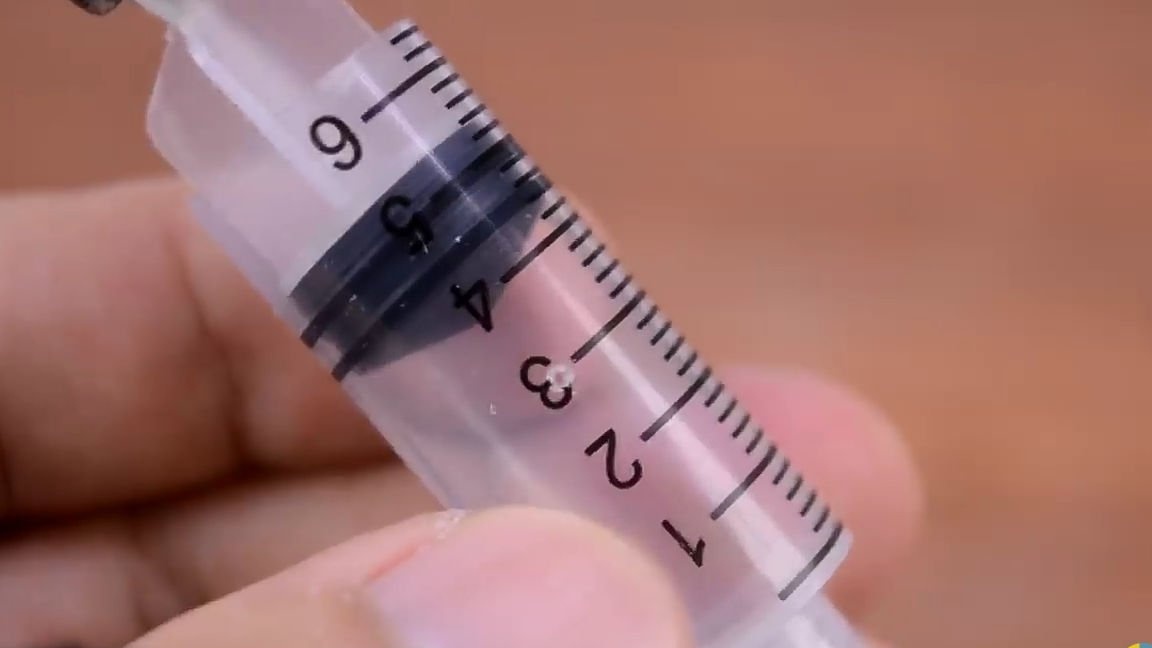
Install the piston back into place. And then with a drill using a very small drill or stud we make a very small through hole (see photo).
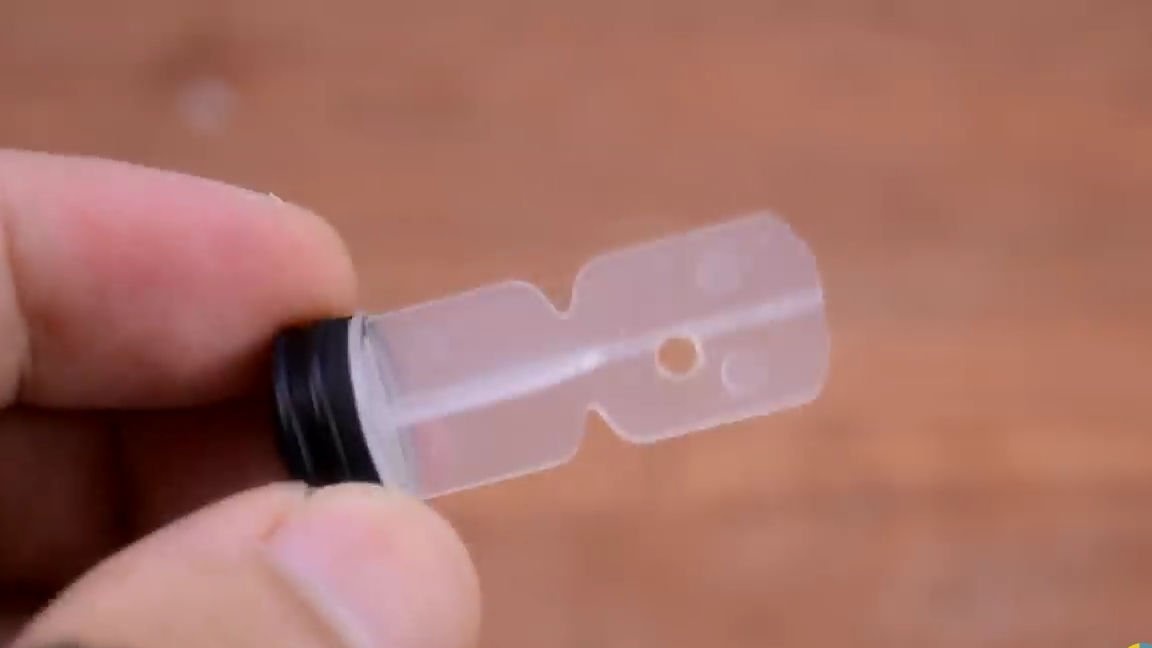
The next step is to take a large volume syringe. We remove the piston of the large syringe, and then with the help of a blade we saw off the “paws” from the syringe body (see photo).

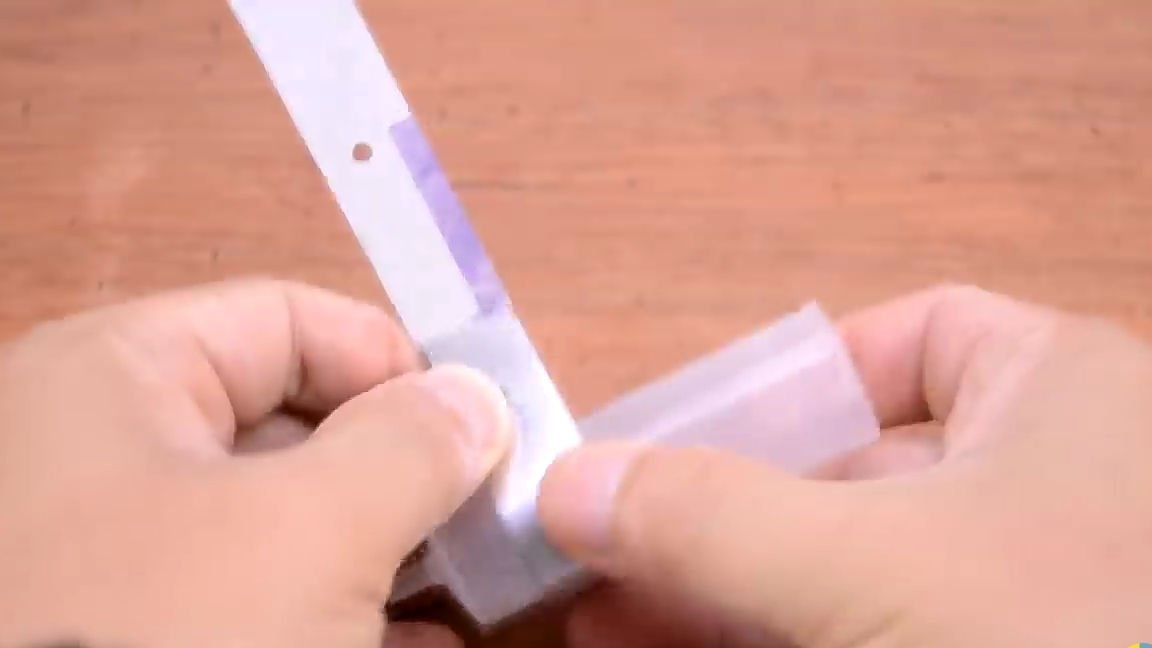
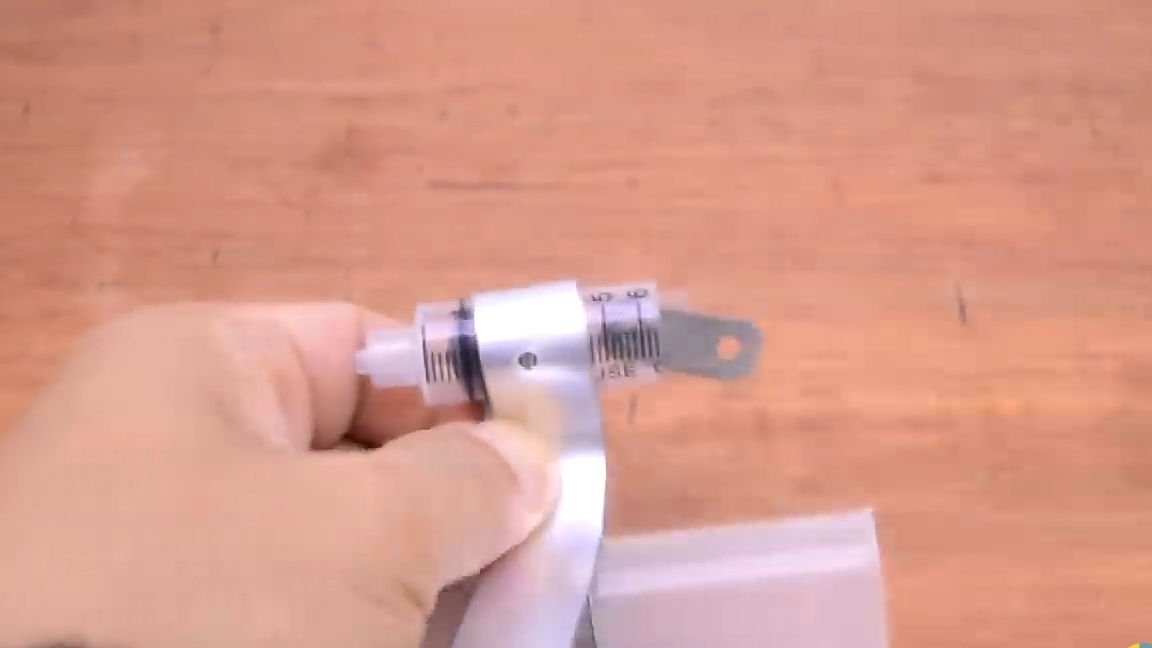
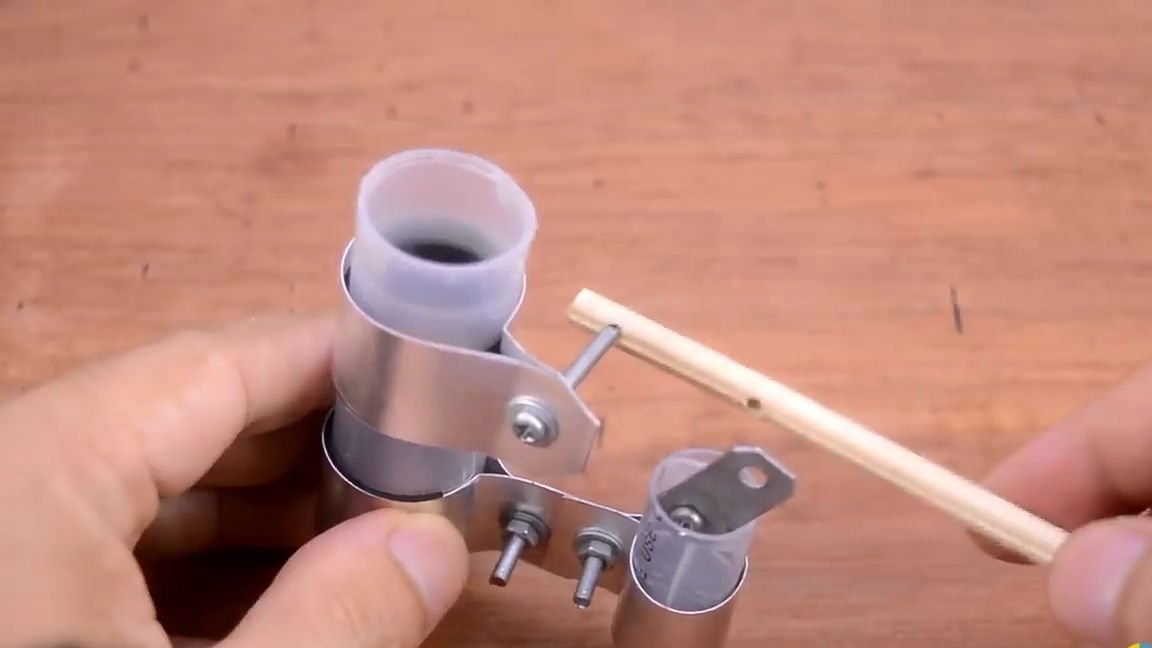
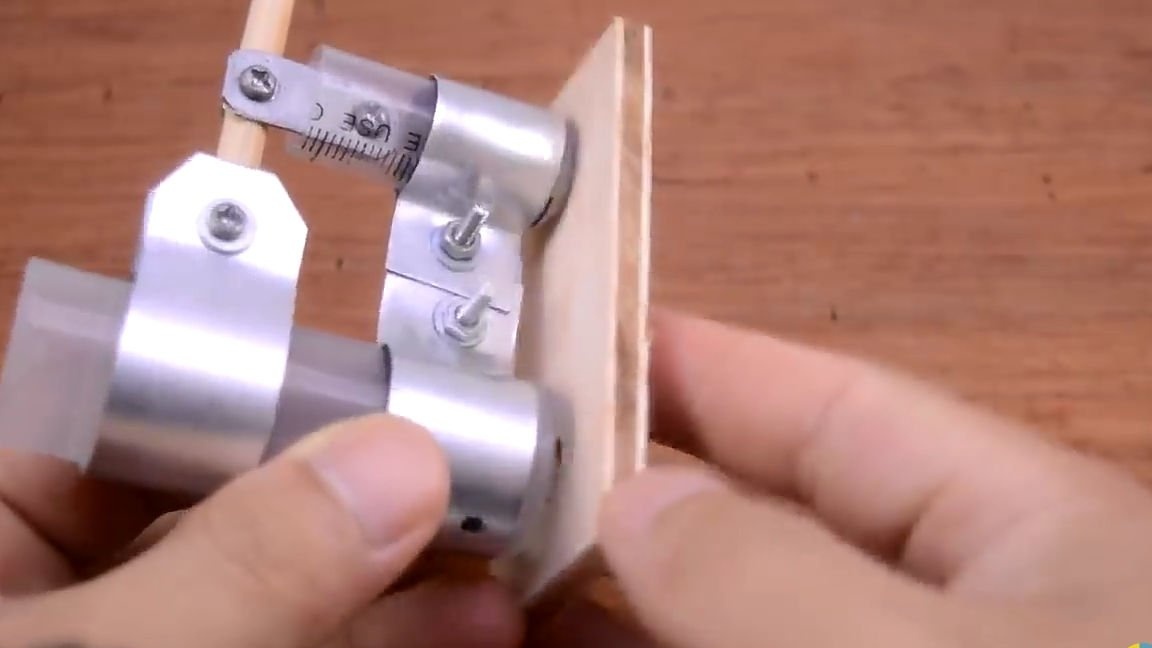
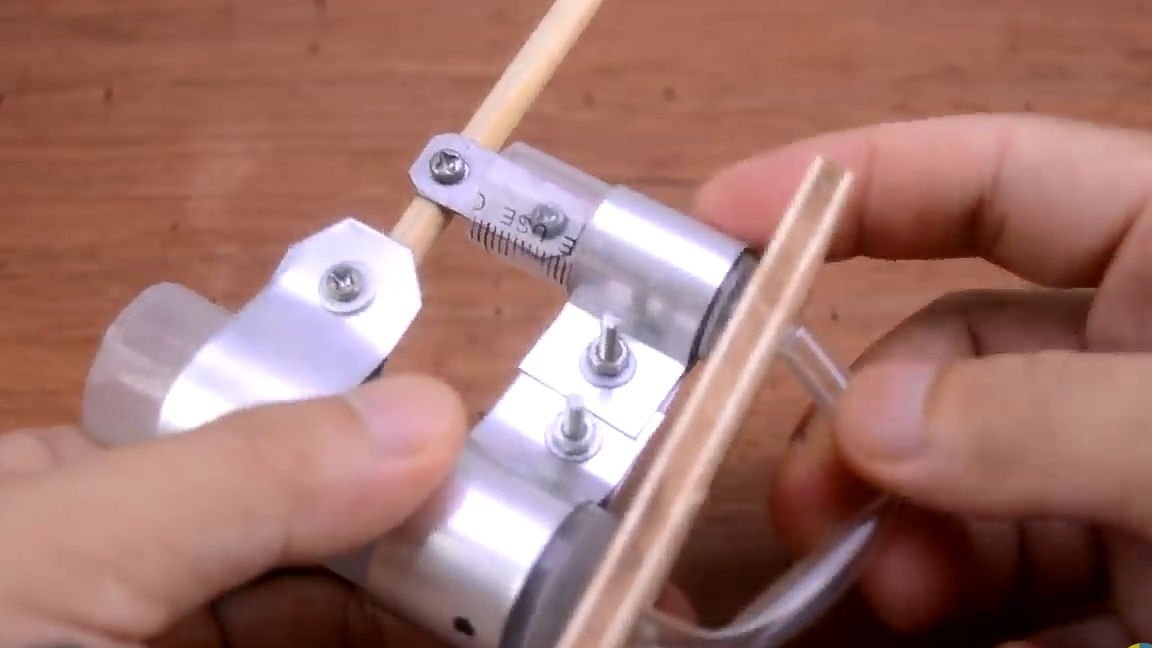
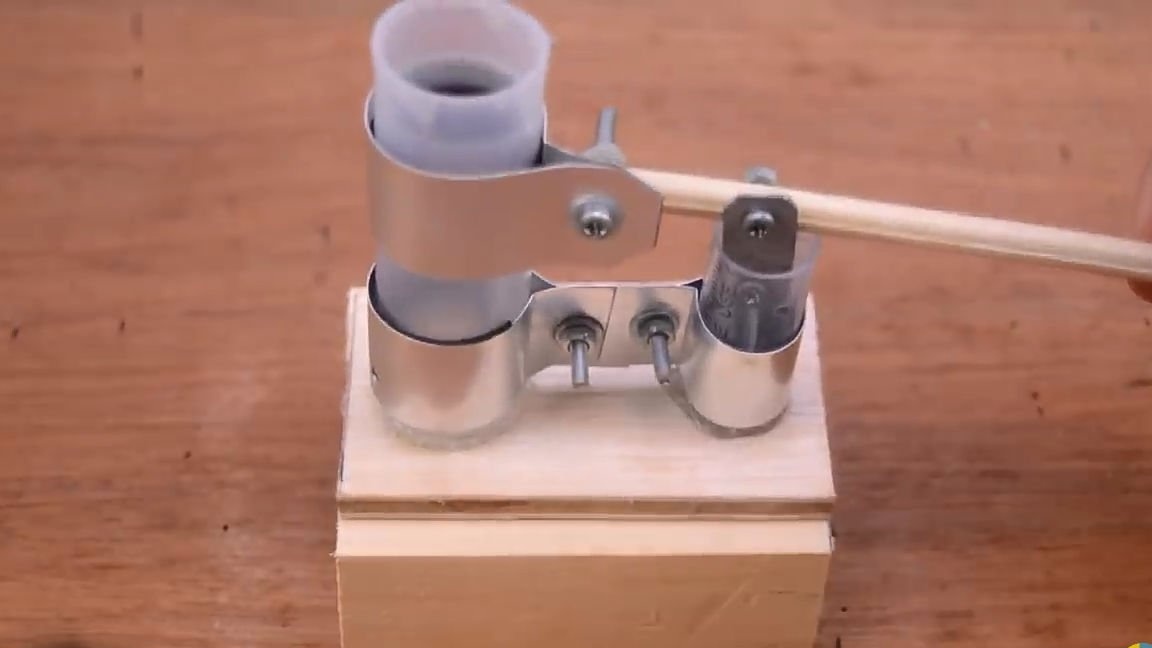
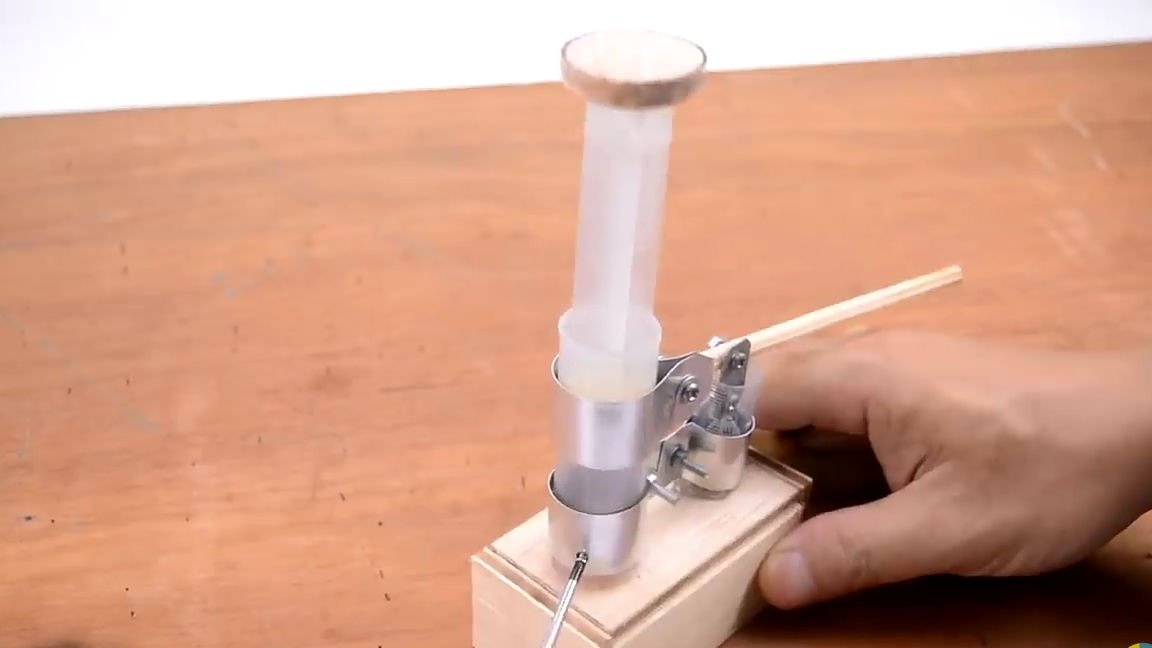
Then you need to take the metal plates that we made at the very beginning. Taking a metal plate and a large volume syringe, we bend the plates around the syringe, as this is shown in the photo below. Then we take the second syringe (small volume) and also repeat the steps from the image below. And also in the upper part of the large syringe, the plate should be fixed shorter (see photo). And we fix the whole thing with screws and nuts, using washers (using them, you will achieve a stronger tightening of the elements, which means a stronger connection).

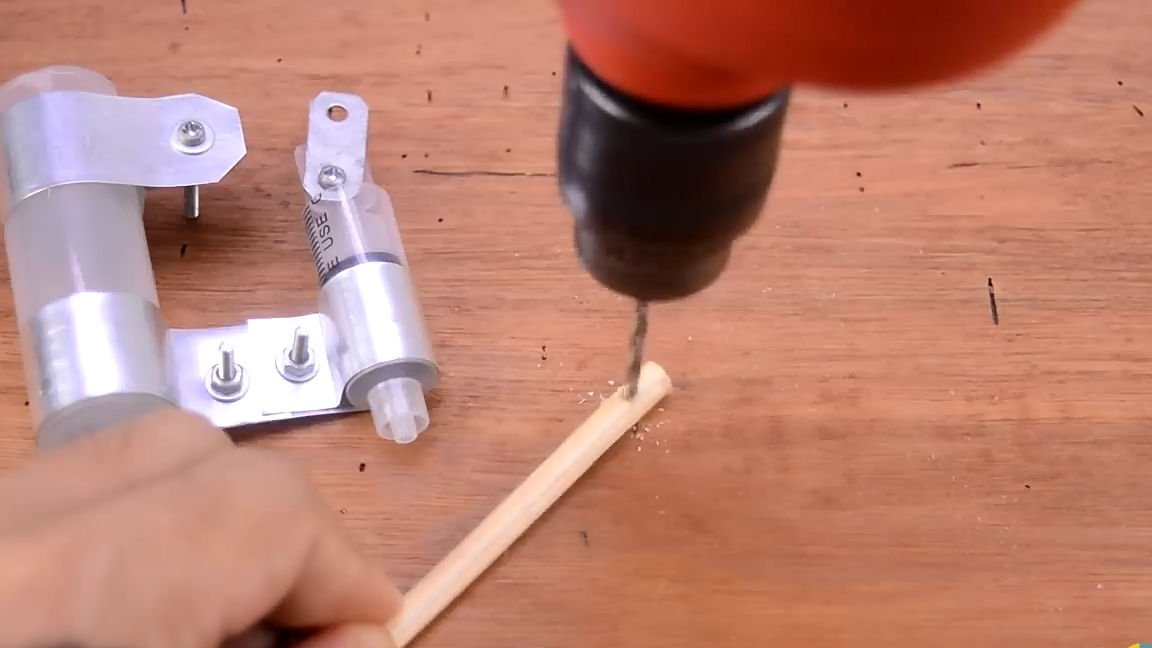
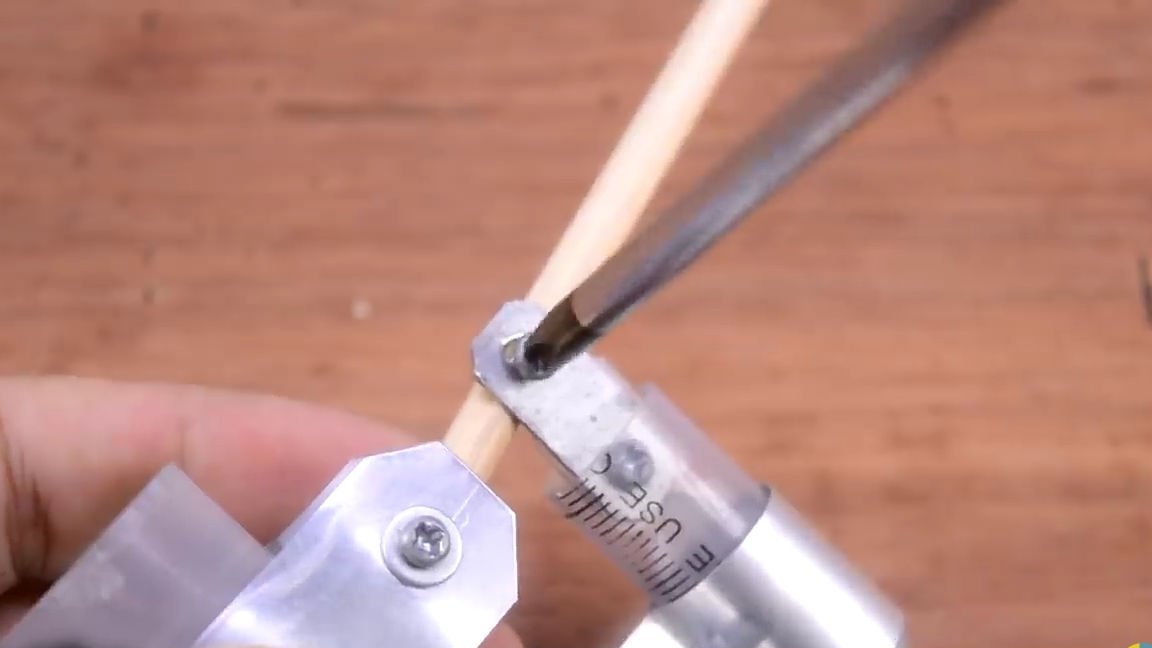
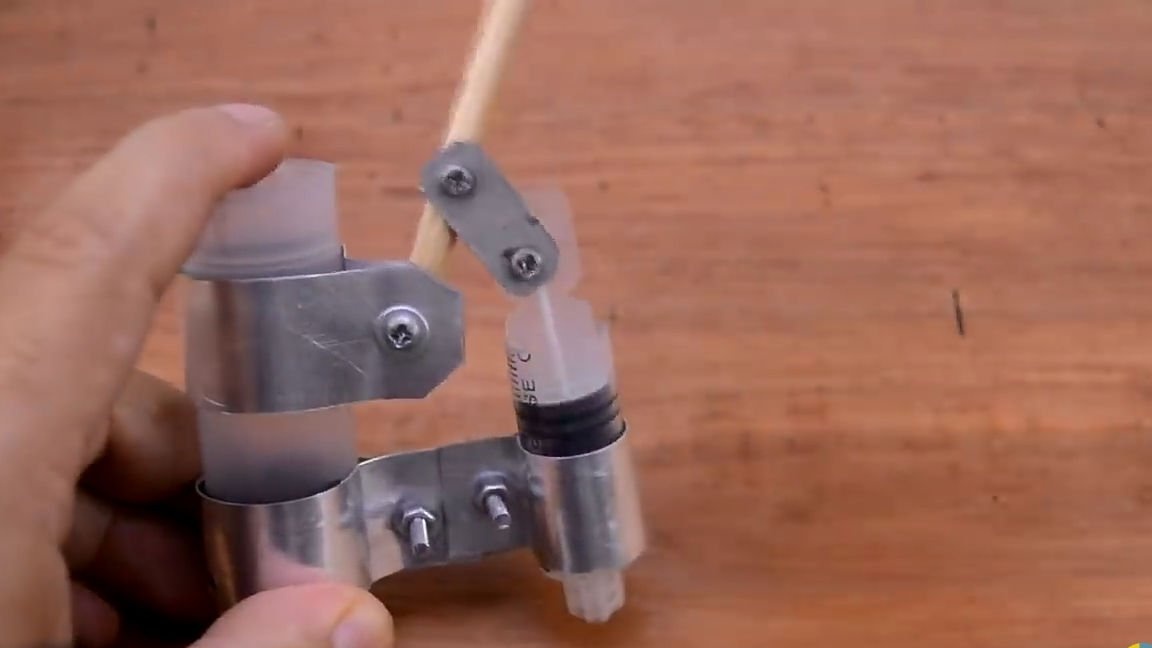
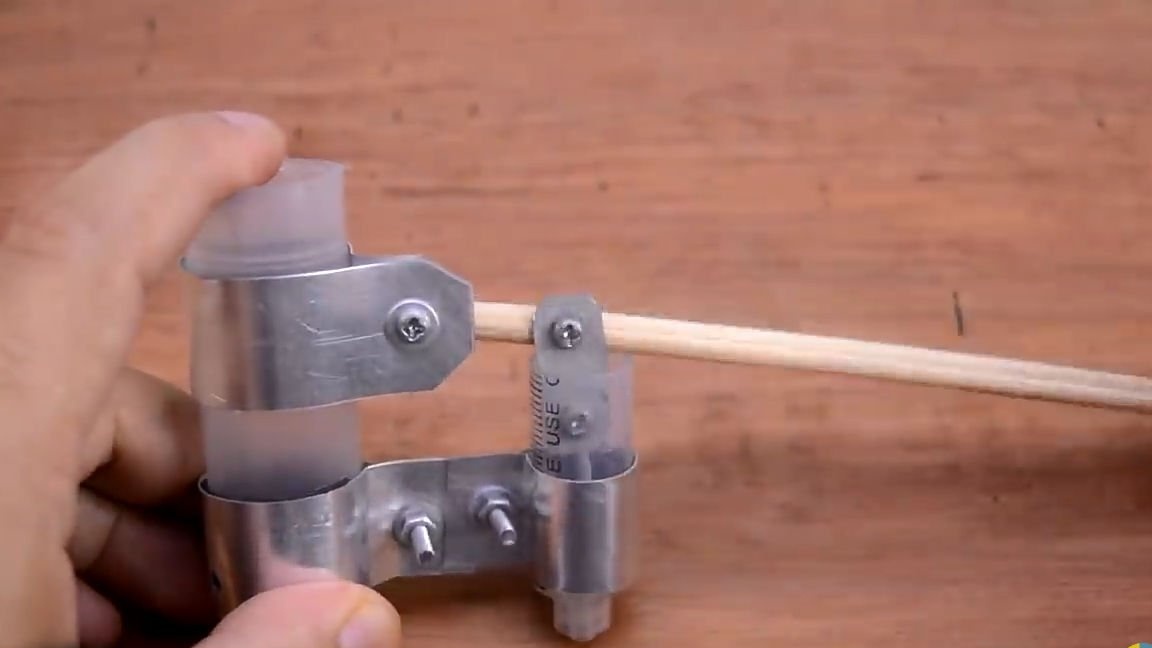
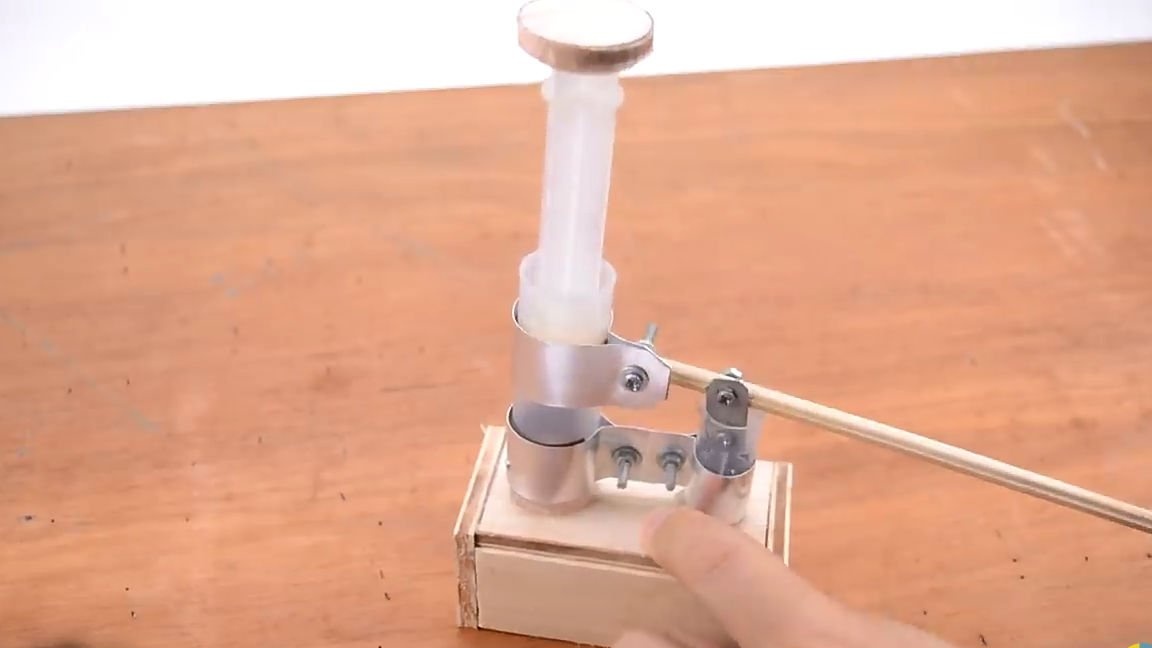
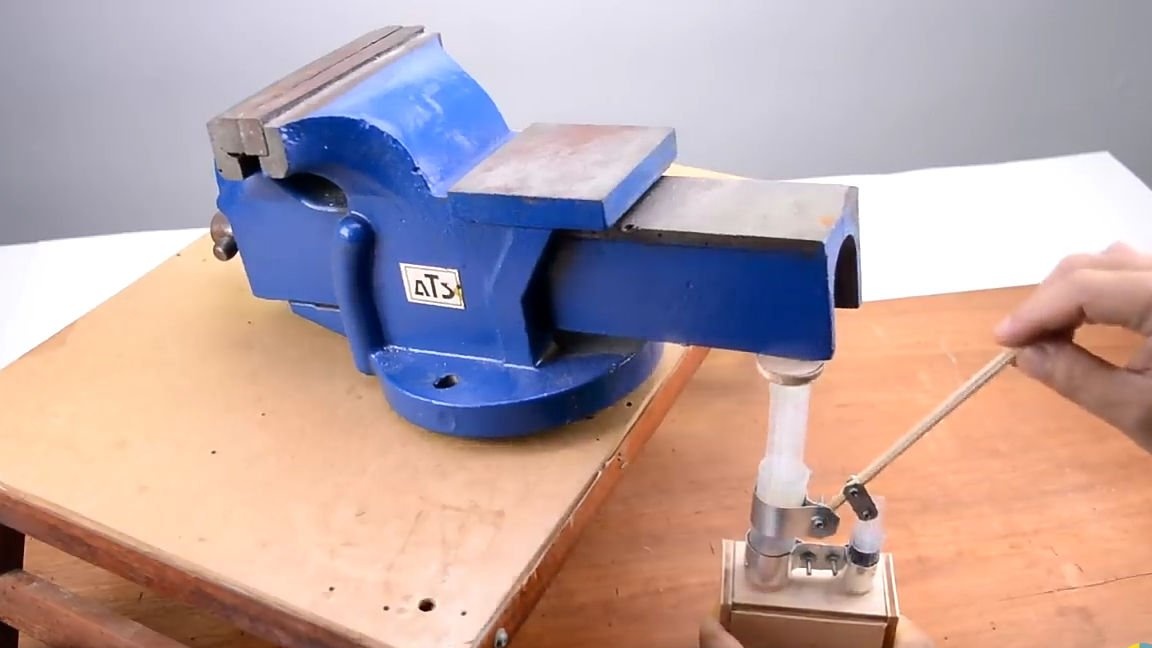
Then take a small wooden stick. A wooden stick will act in our role as a lever with which we will pump the jack. In the wooden stick itself, two through holes should be made so that the rocker of the small piston can be connected to the upper metal plate of the large syringe. We check the operability of the structure (see photo).
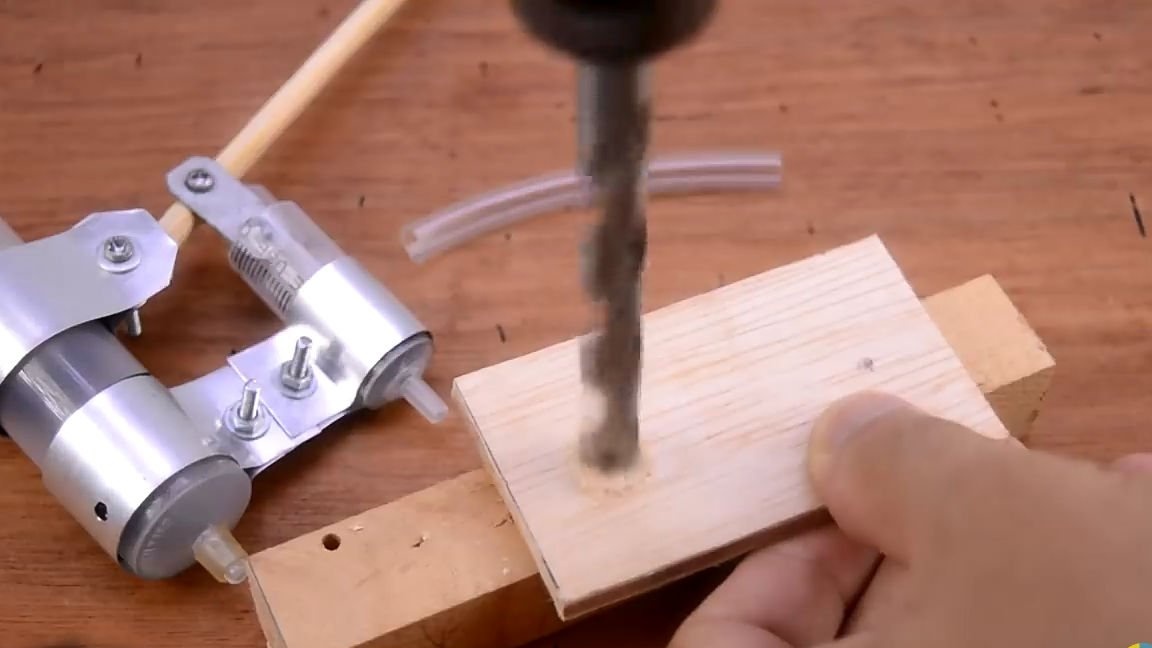
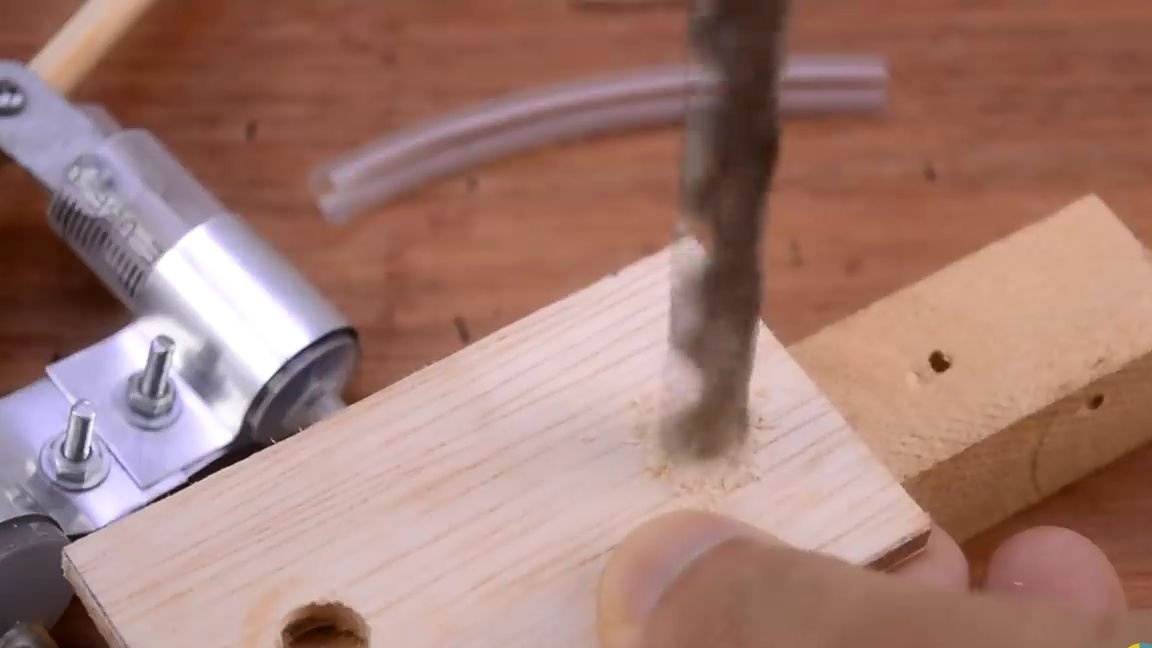
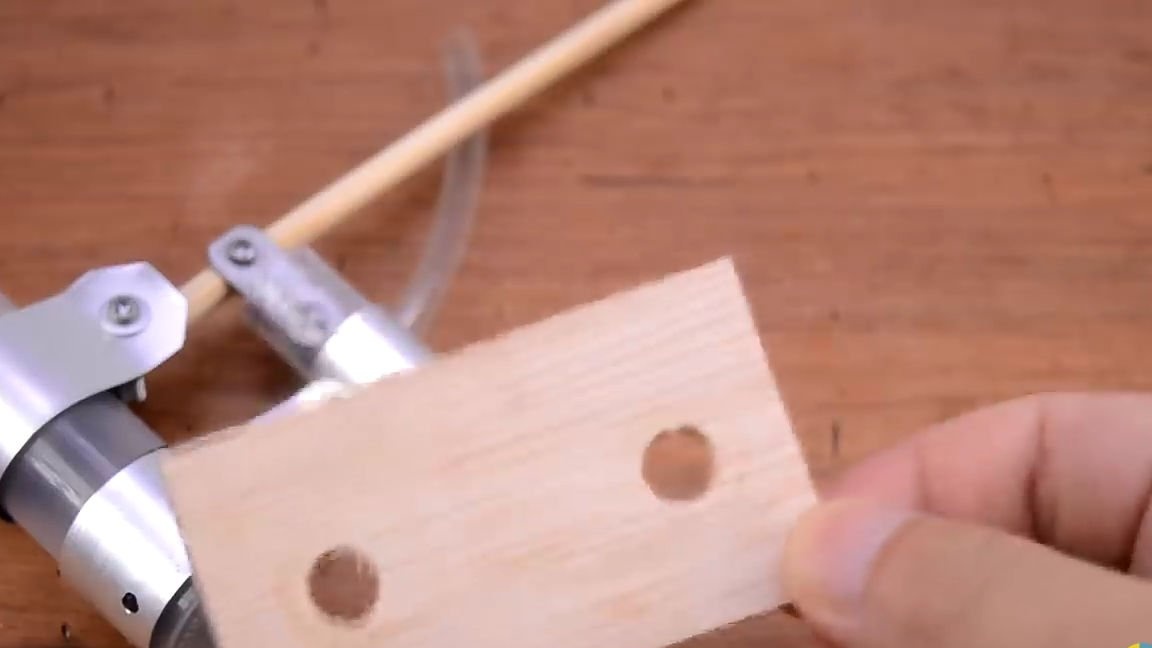
Next, take a transparent medical hose (from a dropper). Only 6-7 cm should be cut off from the hose, and cut off with the help of a clerical knife at a right angle. Then we take a small rectangle of plywood, it will serve as a stand for the design of the syringes that were made earlier. In the plywood rectangle, two through holes should be made so that the nozzles of both syringes can fit into them.

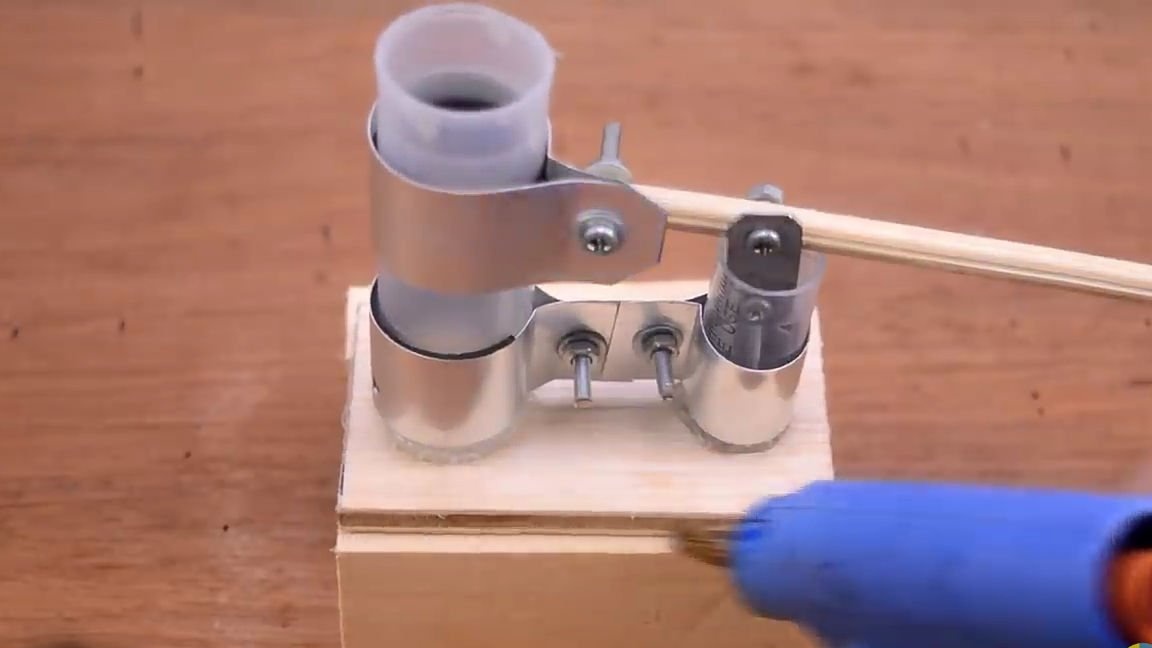
We connect the design of the syringes and the plywood rectangle. Then we connect the two syringes together with a medical transparent hose, and fill everything with hot-melt adhesive so that the air does not let through, and the syringes themselves are held on the base.
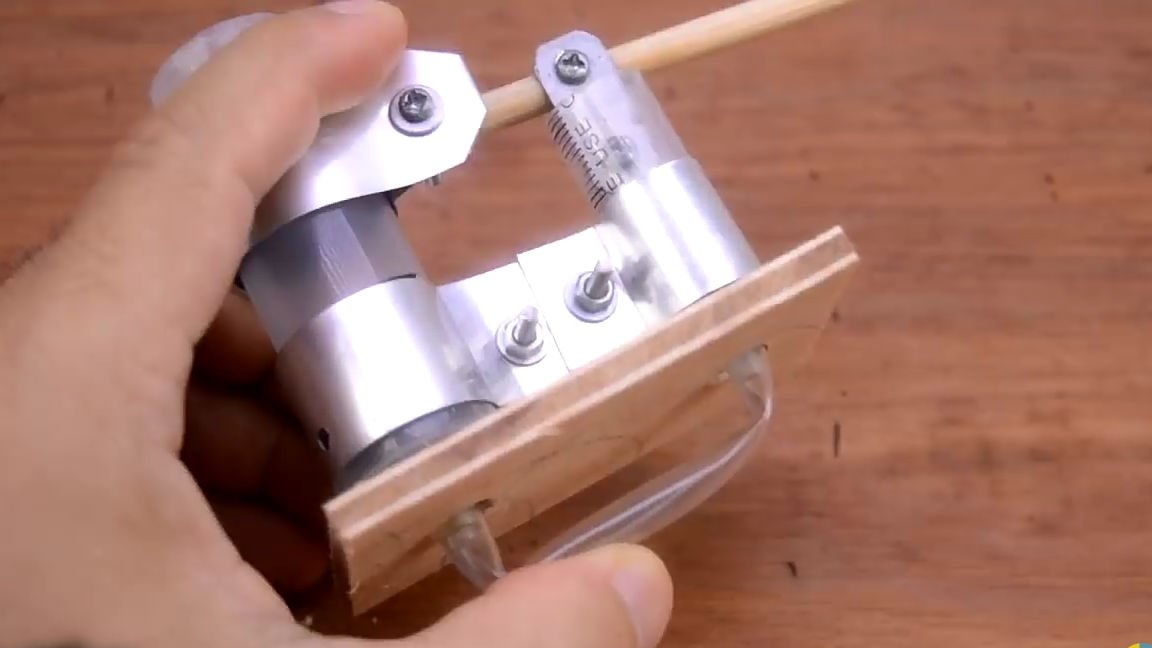
Then we take two small planks or beams with a length equal to the length of the plywood base and a width such that when we put the plywood base on them, the hose would not touch the bottom. We put two bars, on them a design and we connect all this together with the help of hot glue. We also cut out the side “plugs” from plywood and also fasten them with hot melt adhesive.

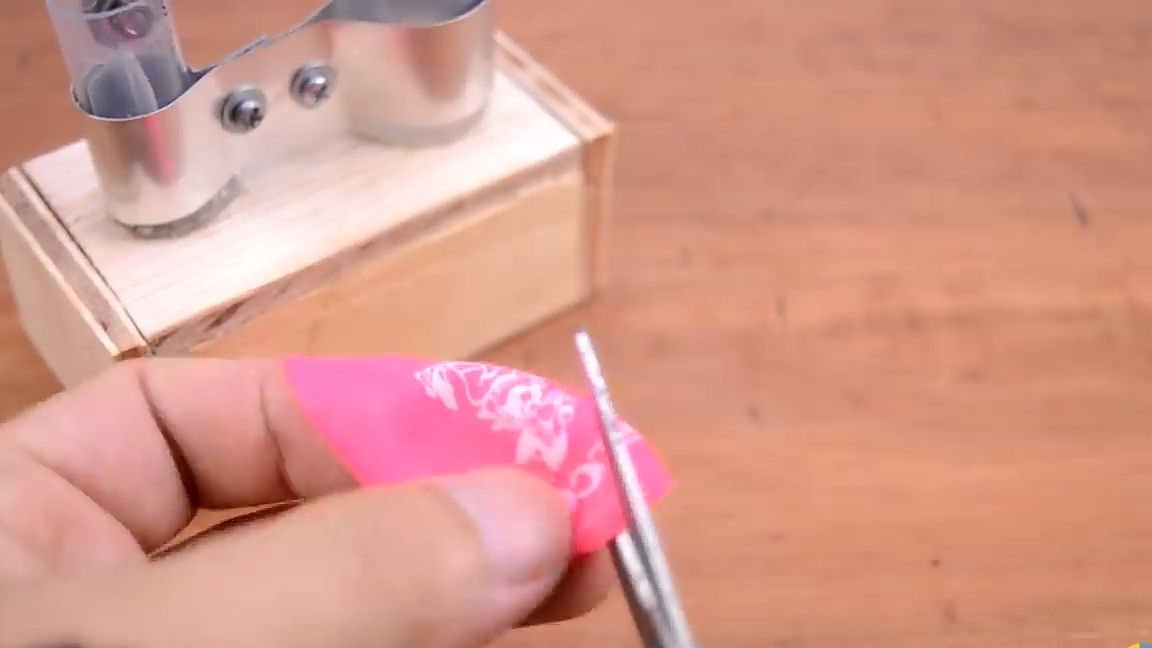
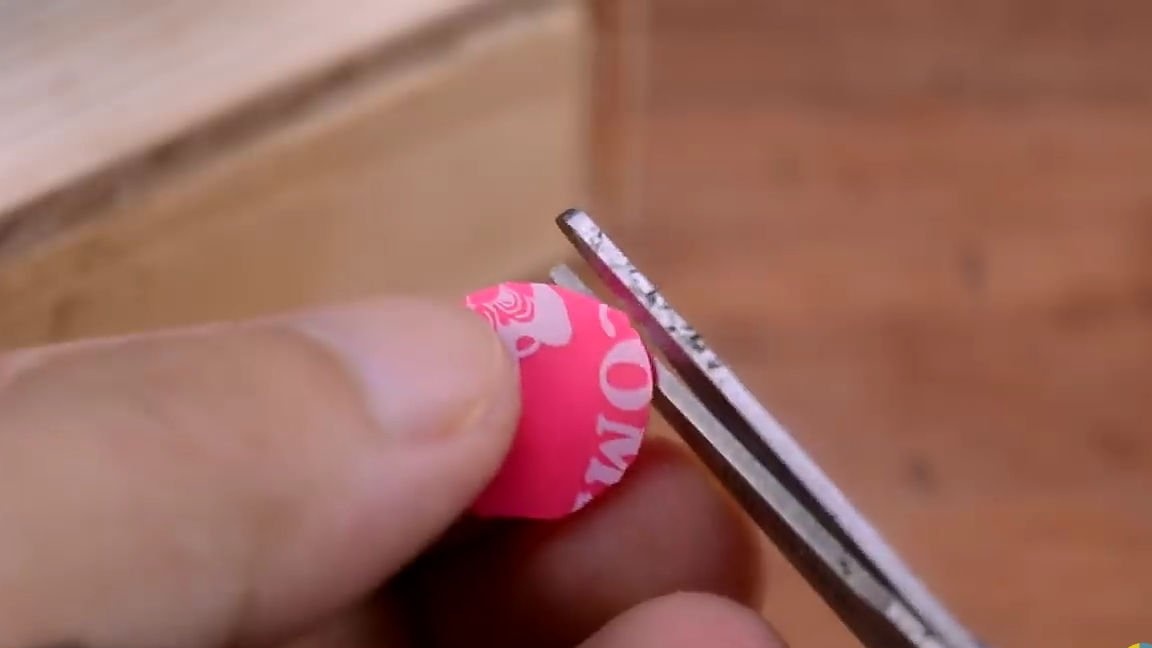
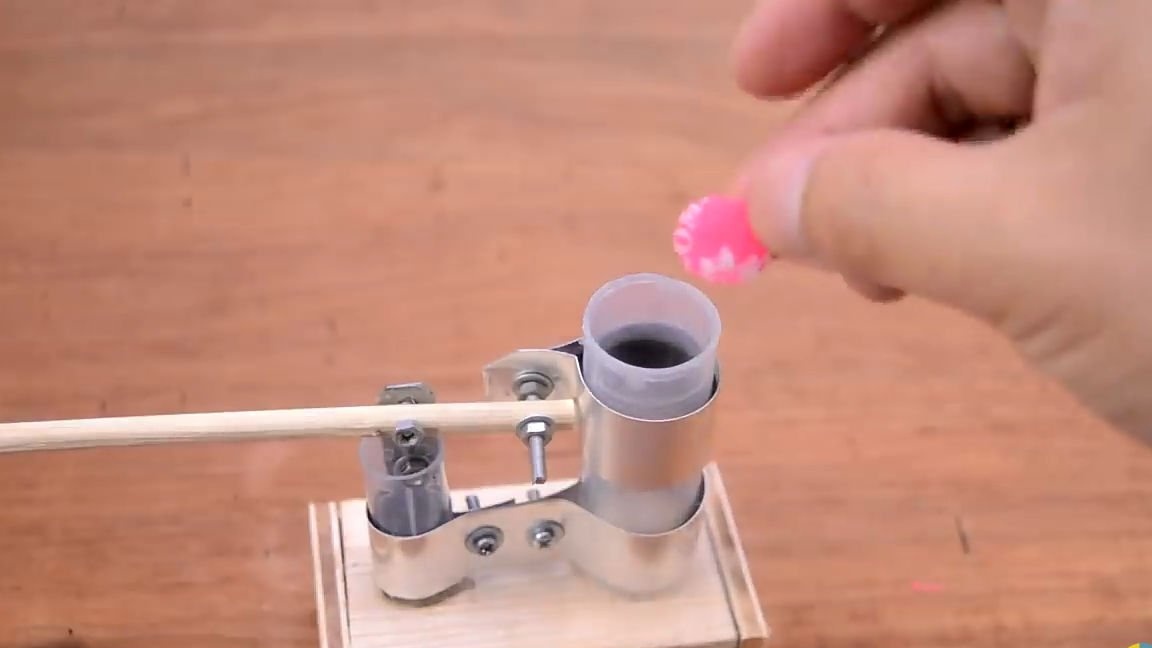
Then, in a large syringe in the lower part we screw a small self-tapping screw. Then take a rubber balloon. And with the help of scissors from the ball we cut out a small circle and put it on the bottom of a large syringe.
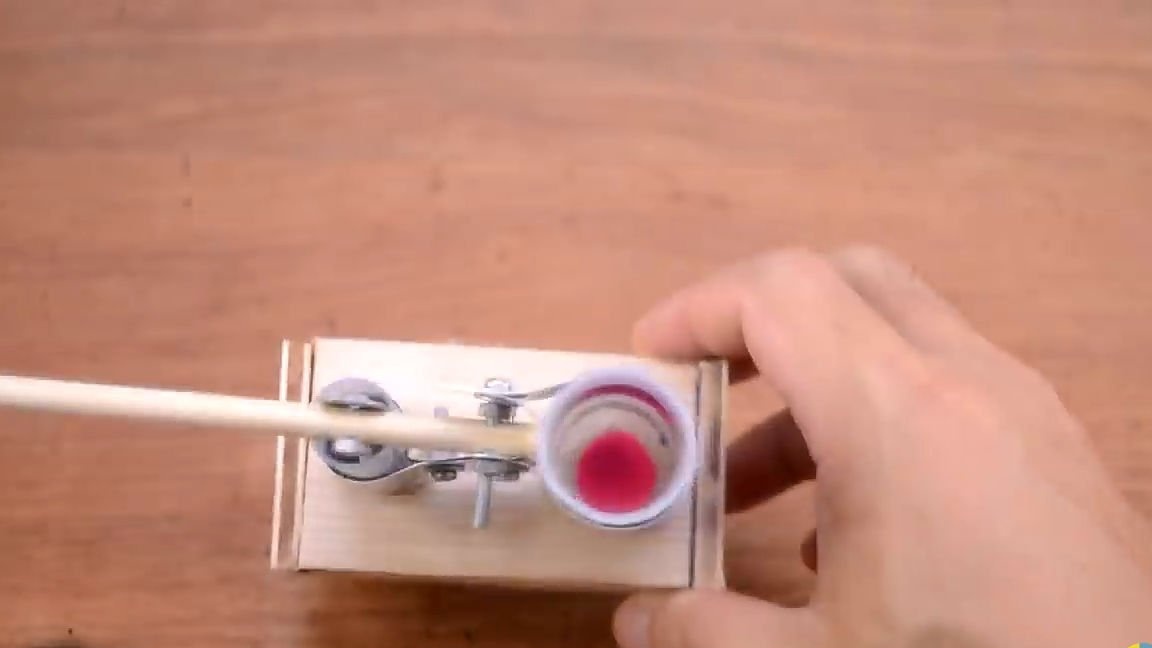
Next, cut out a circle of plywood with a diameter slightly larger than the outer diameter of the large piston. And glue it with hot glue to the handle of a large piston.

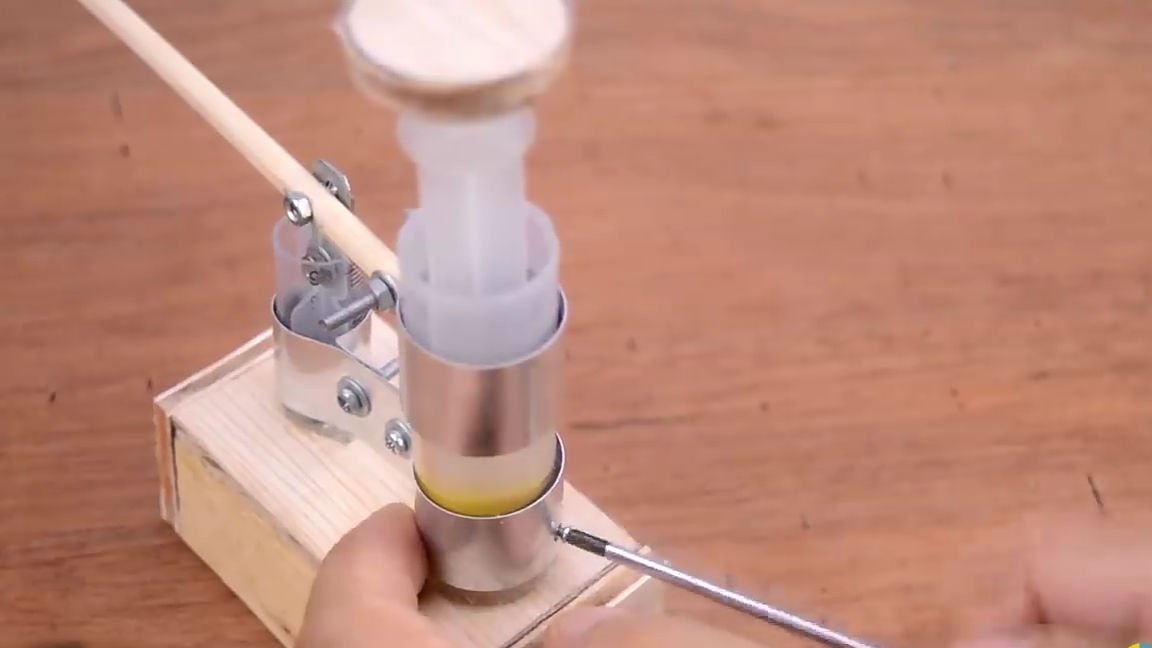
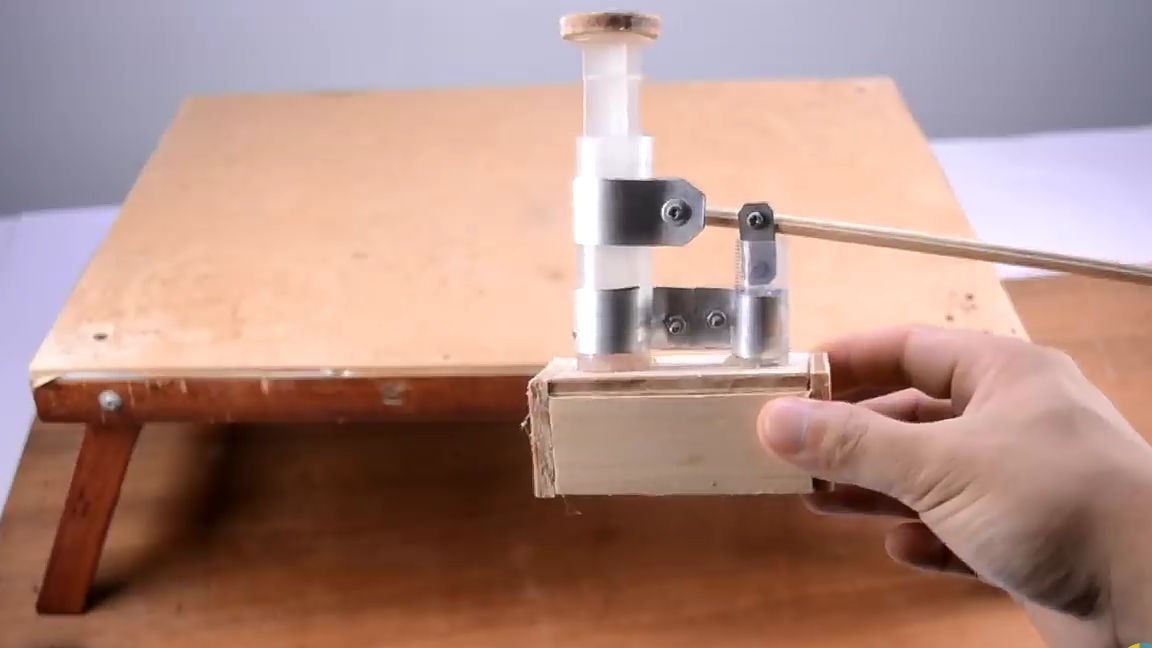
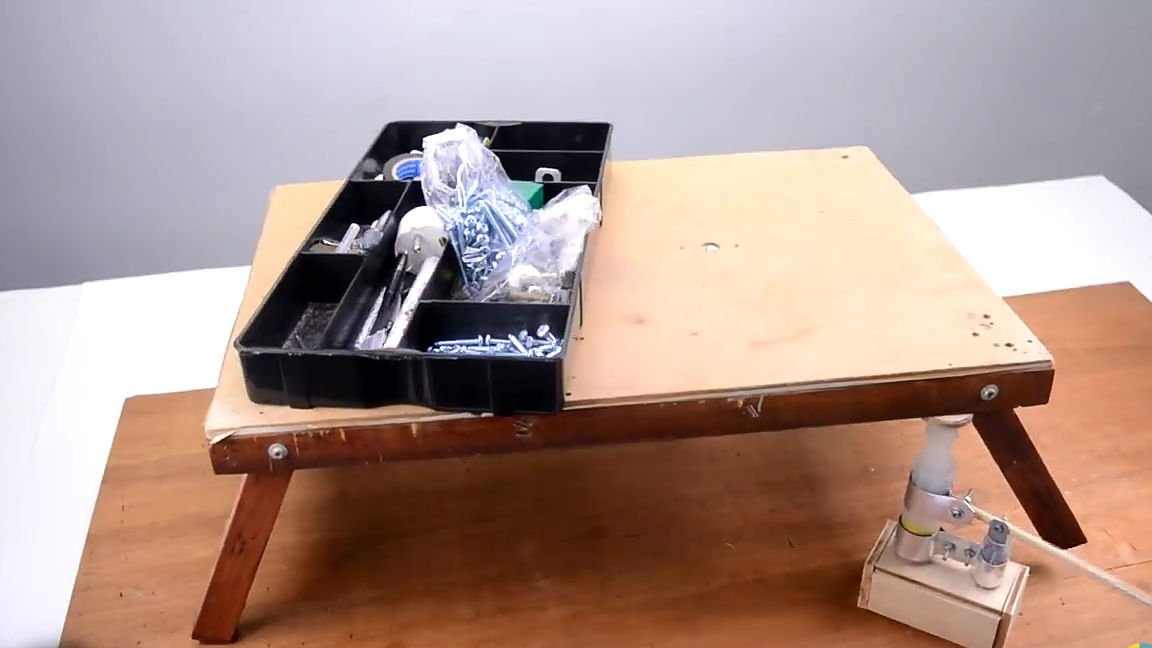
All is ready! It remains only to suspend its performance. Just swing the lever and the large piston rises, and in order to lower it, you just need to unscrew the little self-tapping screw that we screwed into the large piston, the inflated air will come out and the piston will lower. This homemade product can safely lift a load of 30 kilograms!

Here is a video from the author with a detailed assembly and testing of this homemade product:
Well, thank you all for your attention and good luck in future projects, friends!