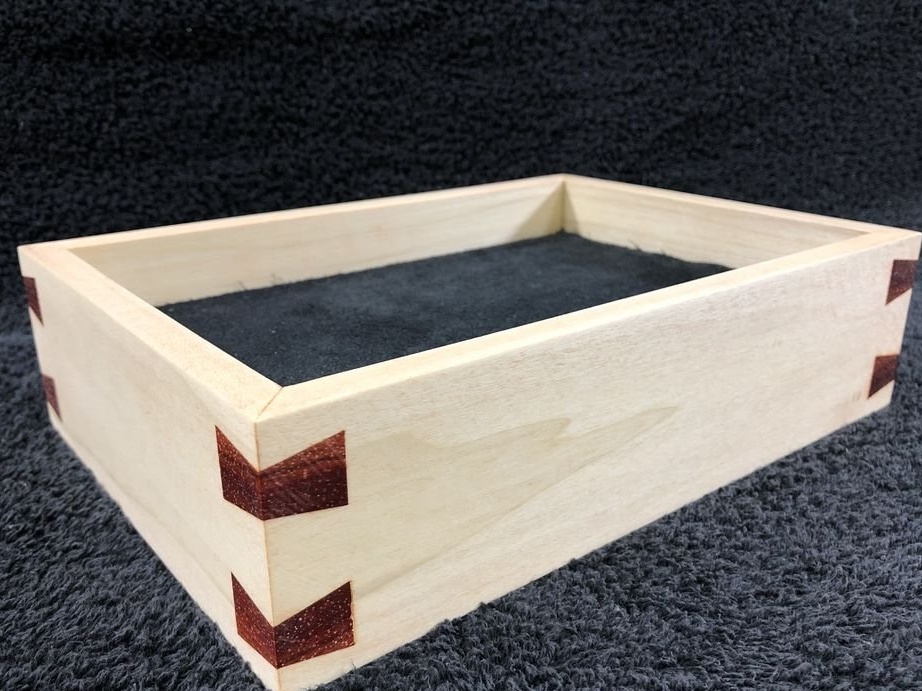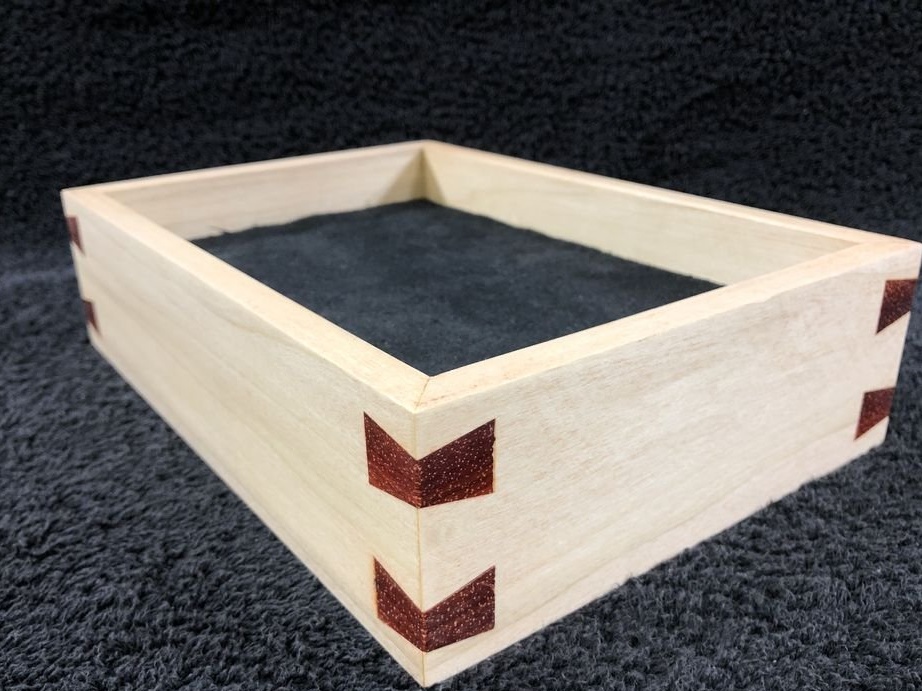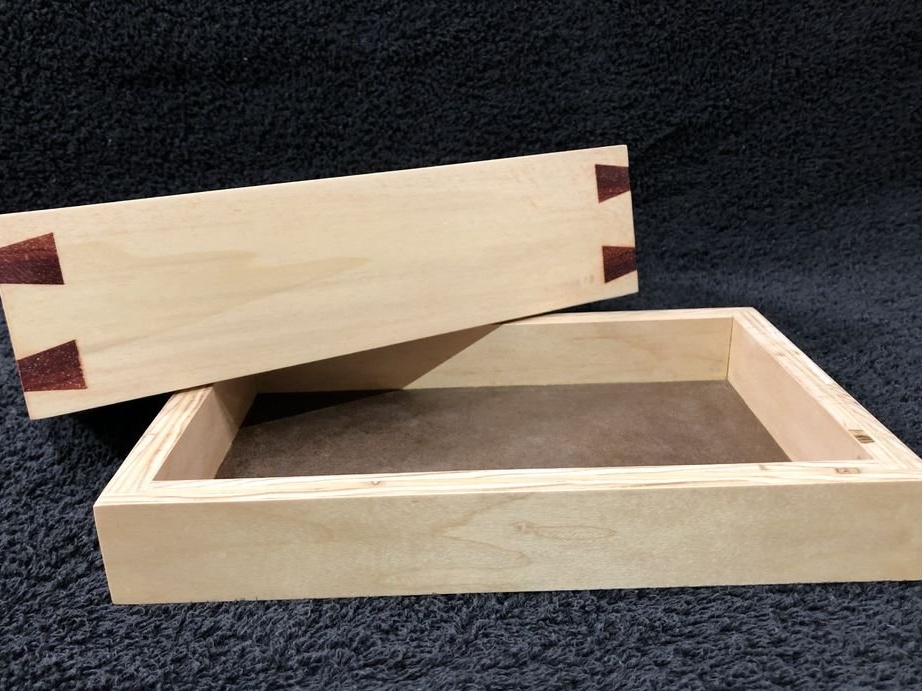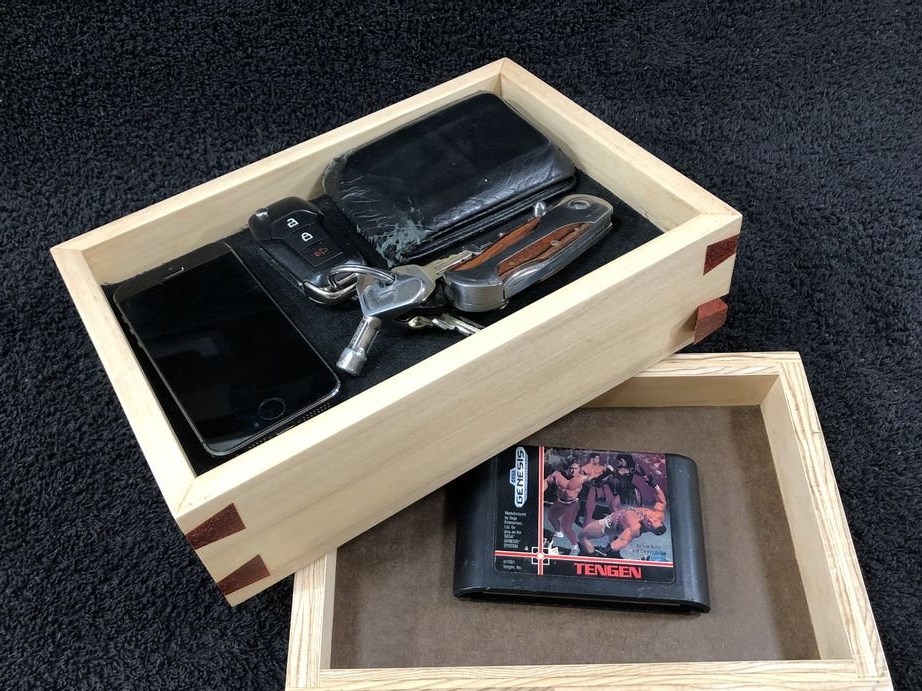
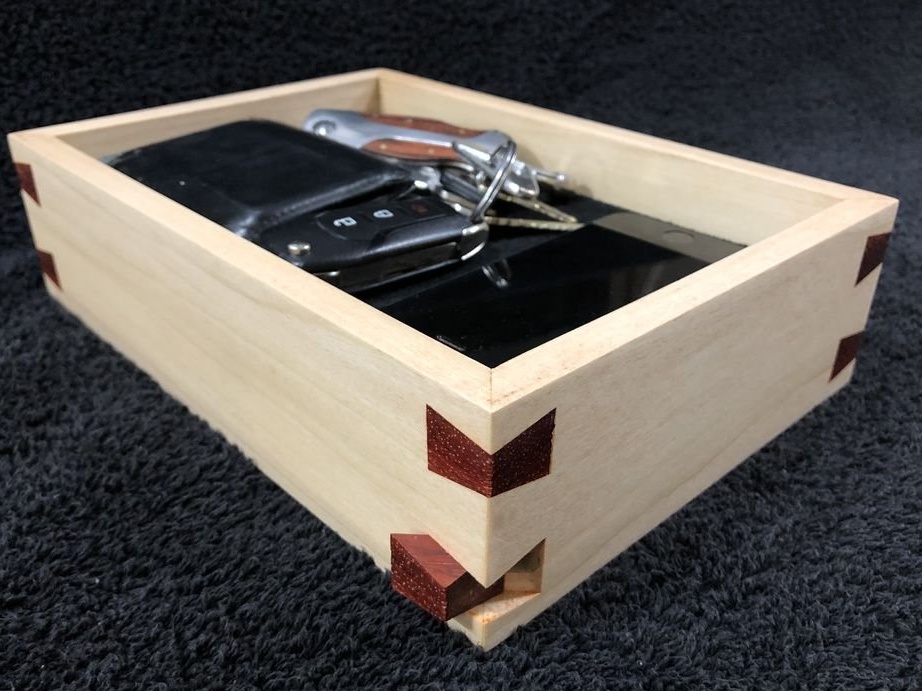
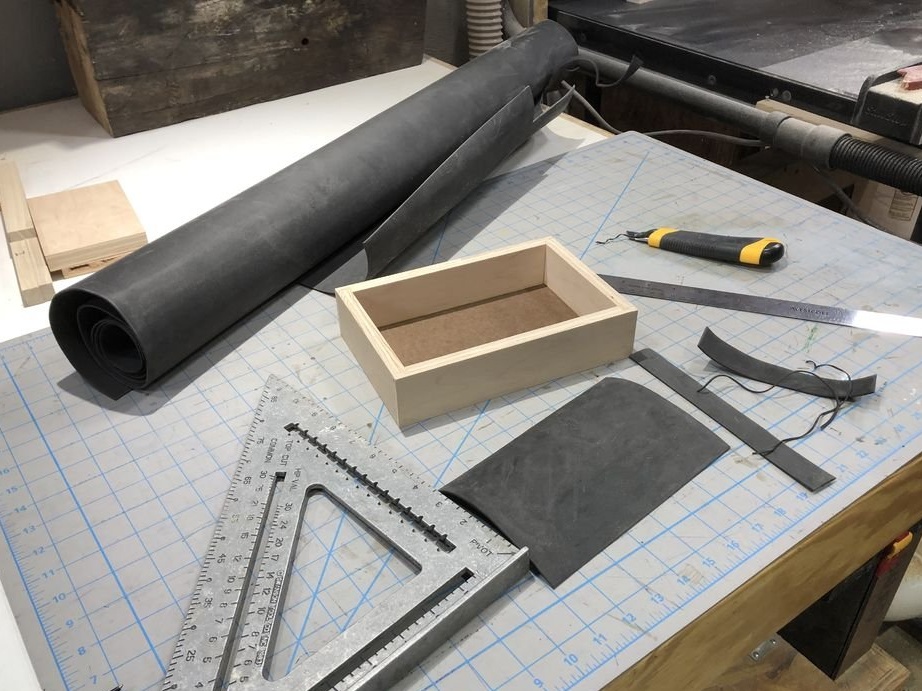
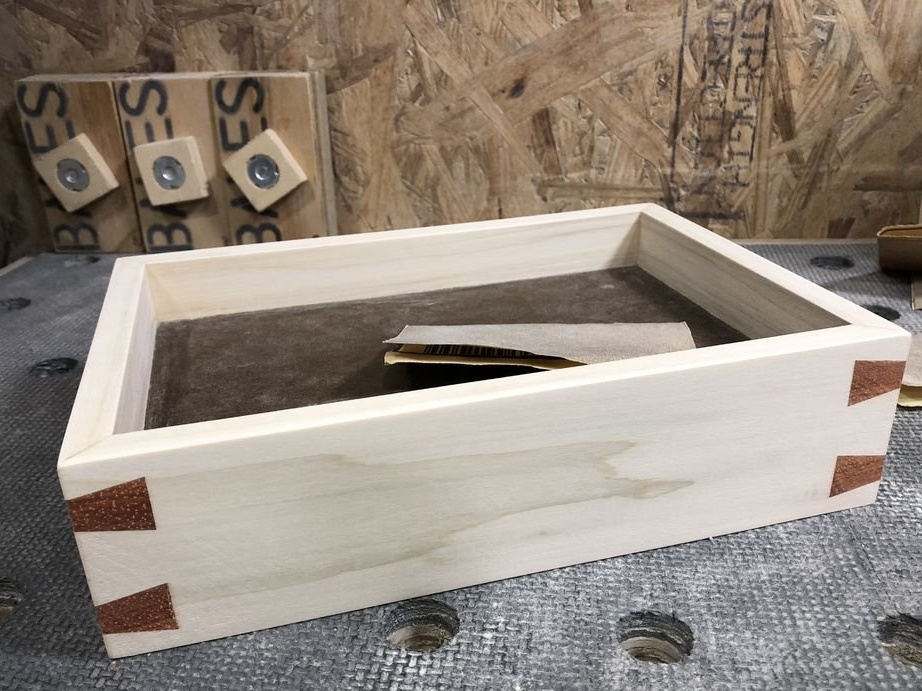
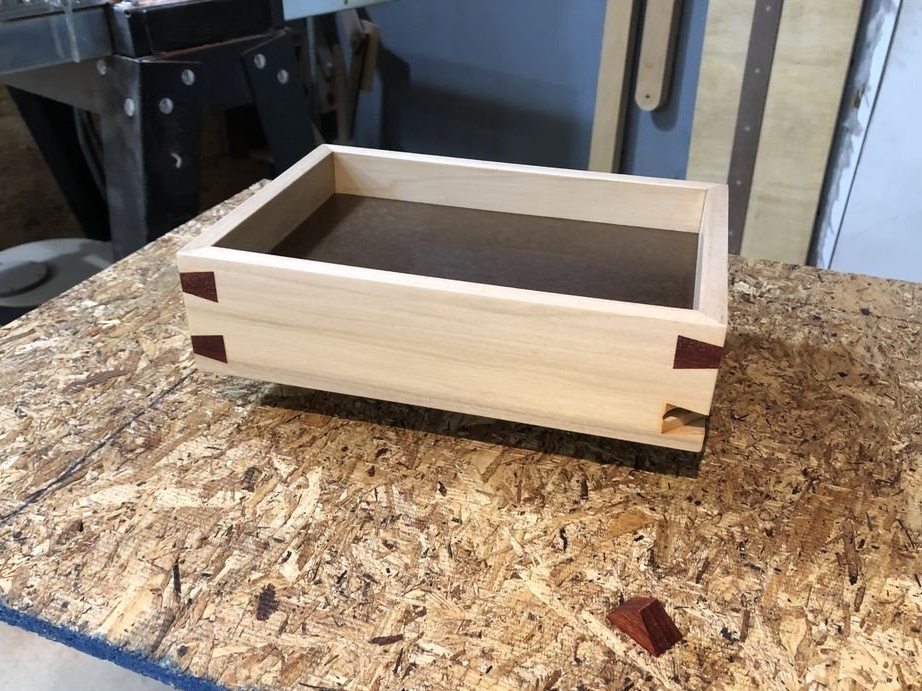
Solution to this homemade consists in making a valet box in which keys, watches, a telephone and other hand luggage will be stored.
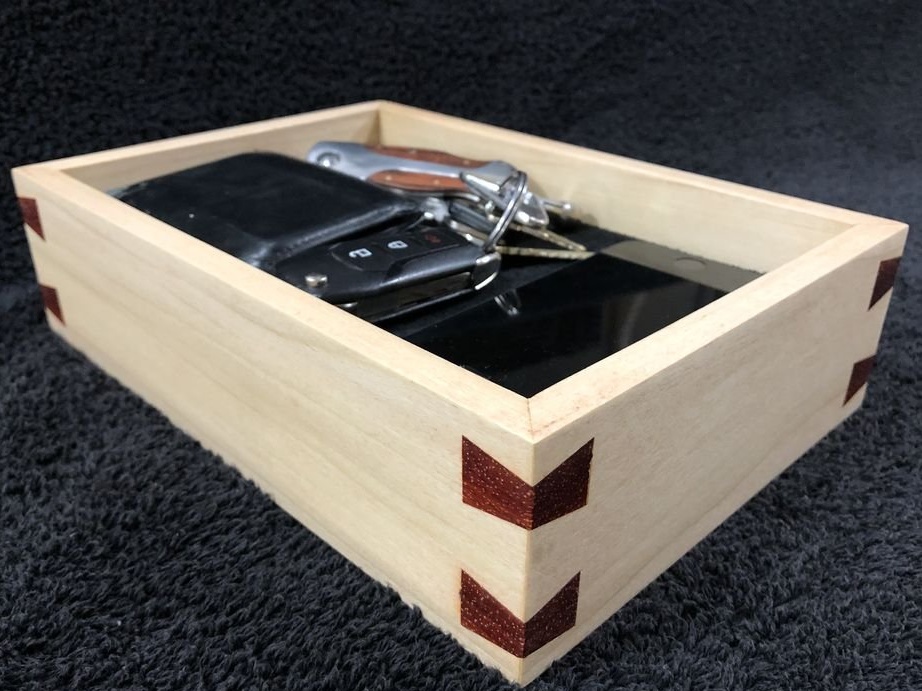
The design of this box is a simplified rectangular tray with dovetail wedges to enhance strength at an angle. A “secret” compartment is also planned for items that are not desirable to be kept in sight ... passport ... ninja star ... valuable Gameboy cartridge ... orange tic-tac-toe

Step 1: Casket Dimensions
Dimensions [Thickness x Width x Length]
Inner box
Long sides: 1.3x3.2x23cm
Short sides: 1.3x3.2x14cm
Bottom panel: 1.3x35.5x24cm
Outer box
Long sides: 1.3x6.5x25.5cm
Short sides: 1.3x6.5x18cm
Bottom panel: 0.5x16.2x24cm
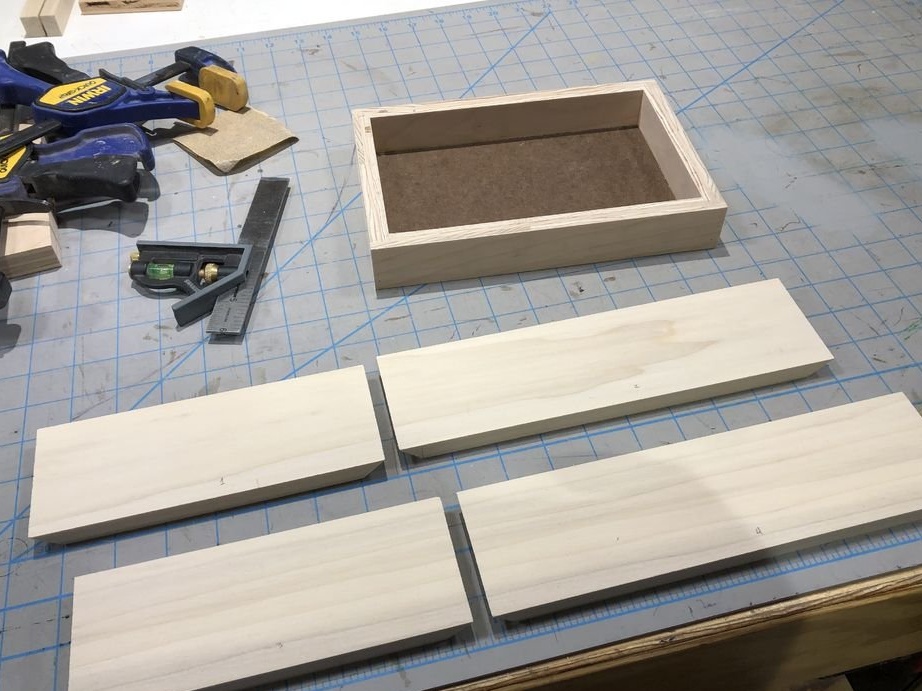
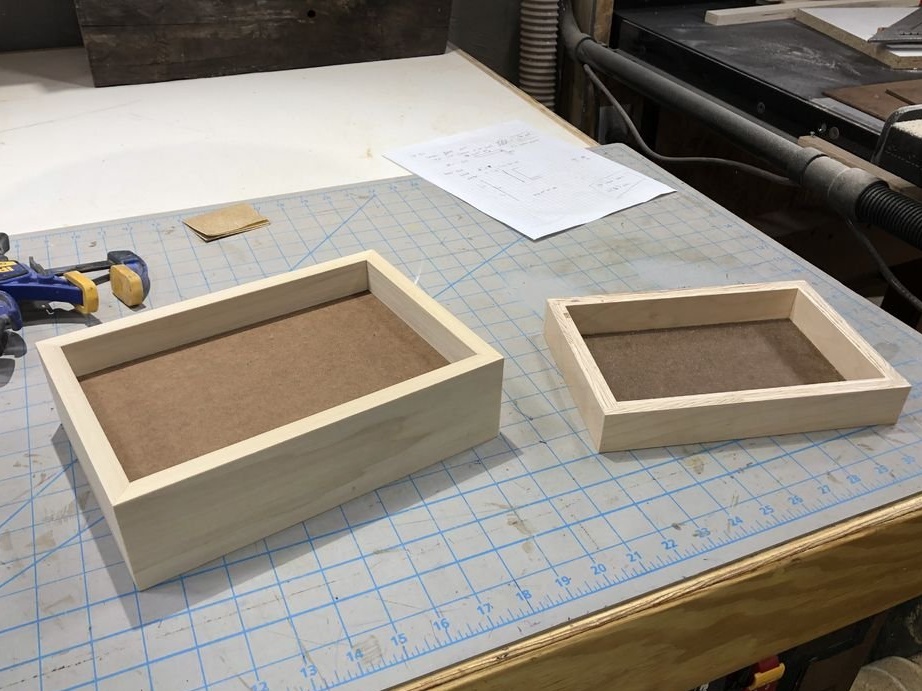
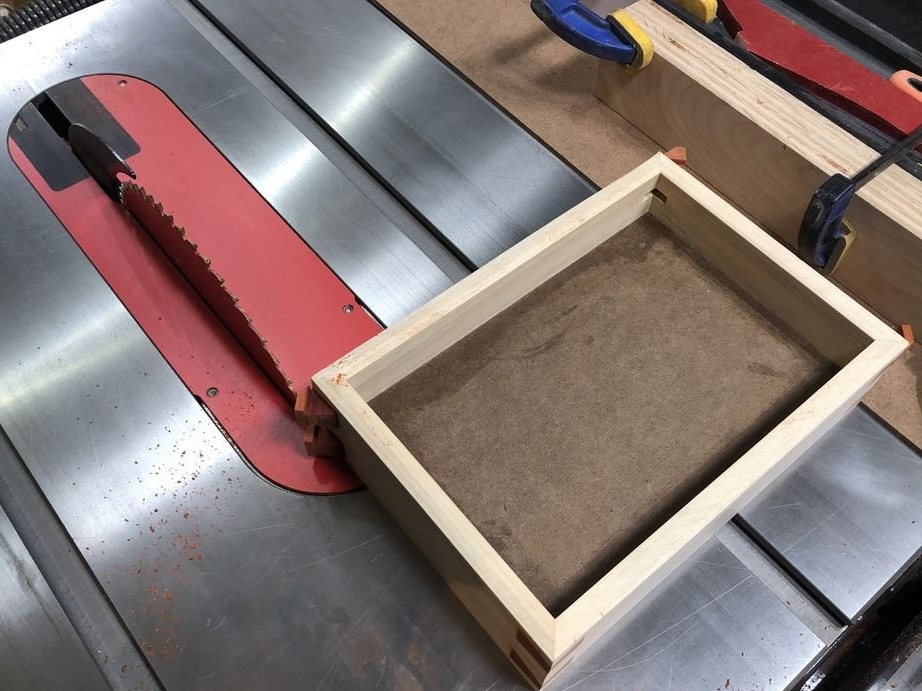
Step 2: Making the inner box
Production will begin with a hidden box. Based on its size, then the outer box will be made. Since it was decided to make the external dimensions of the main box 15x22.5 cm, respectively, the dimensions of the hidden box will be 12.5x20cm, with a wall thickness of the outer box 1.2 cm.
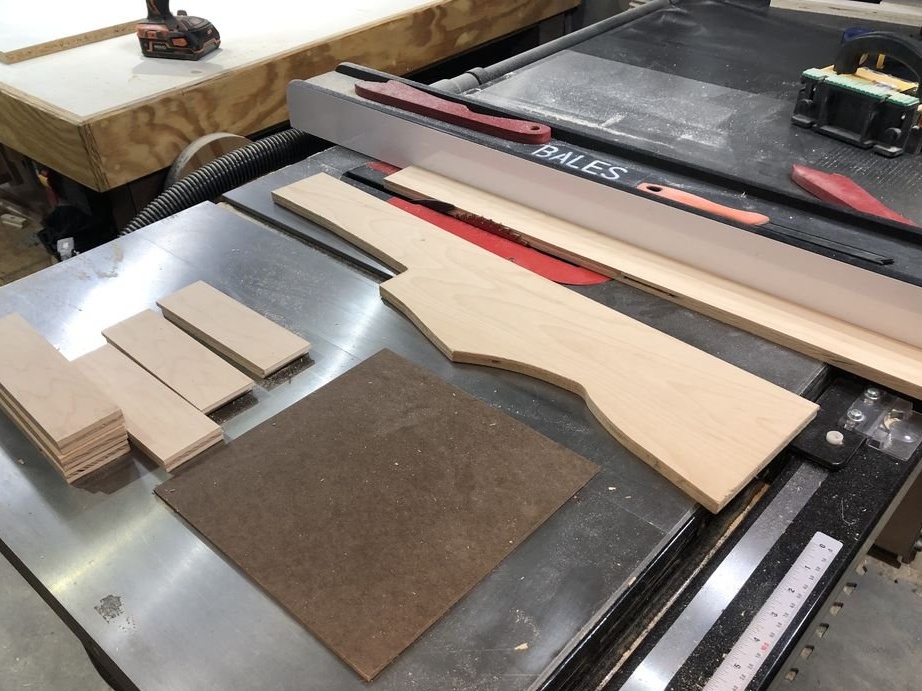
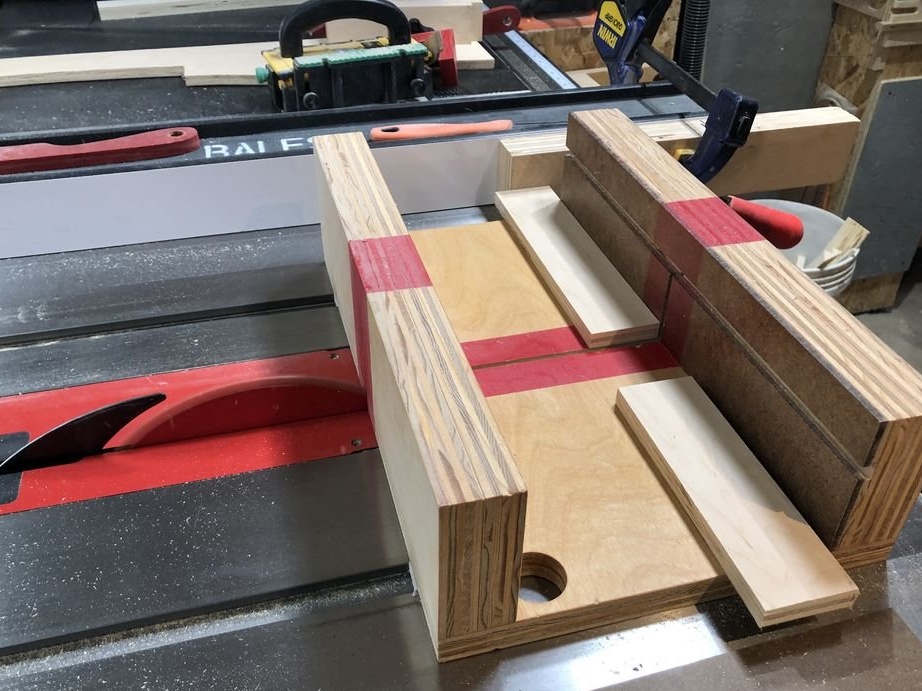
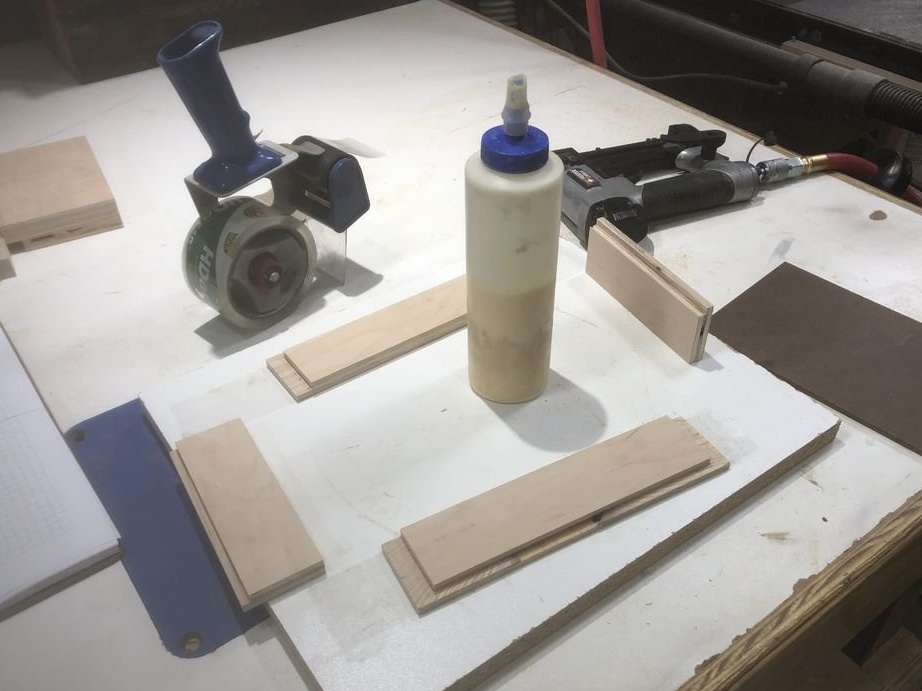
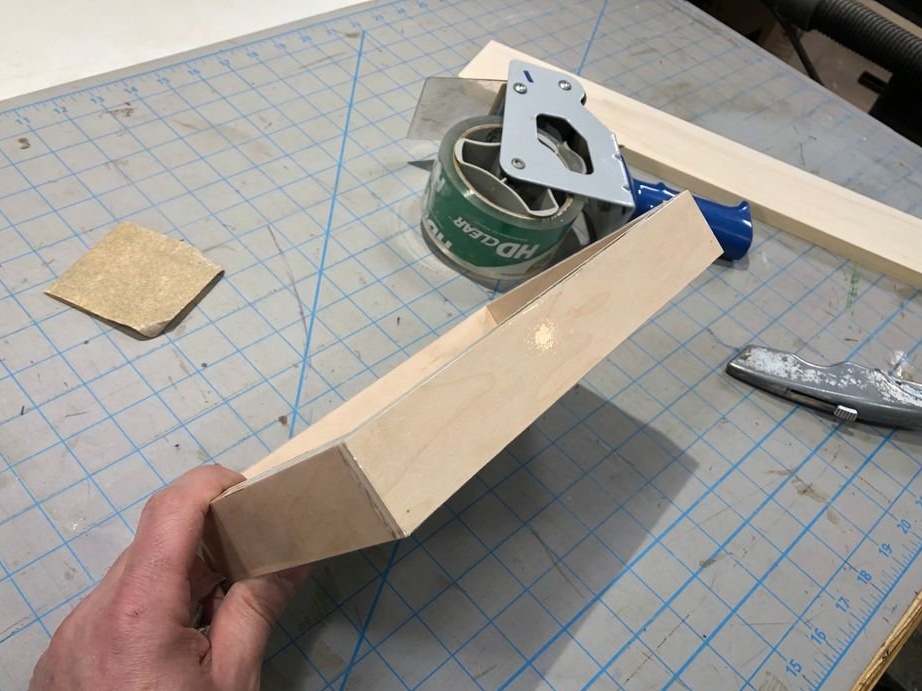
At the very beginning, a plywood sheet should be spread out into strips 5 cm wide. They are wider than necessary, but later the box will be cut to the final height after its assembly. A dowel was cut at each end of the long sides, as well as the lower edge of all four sides.
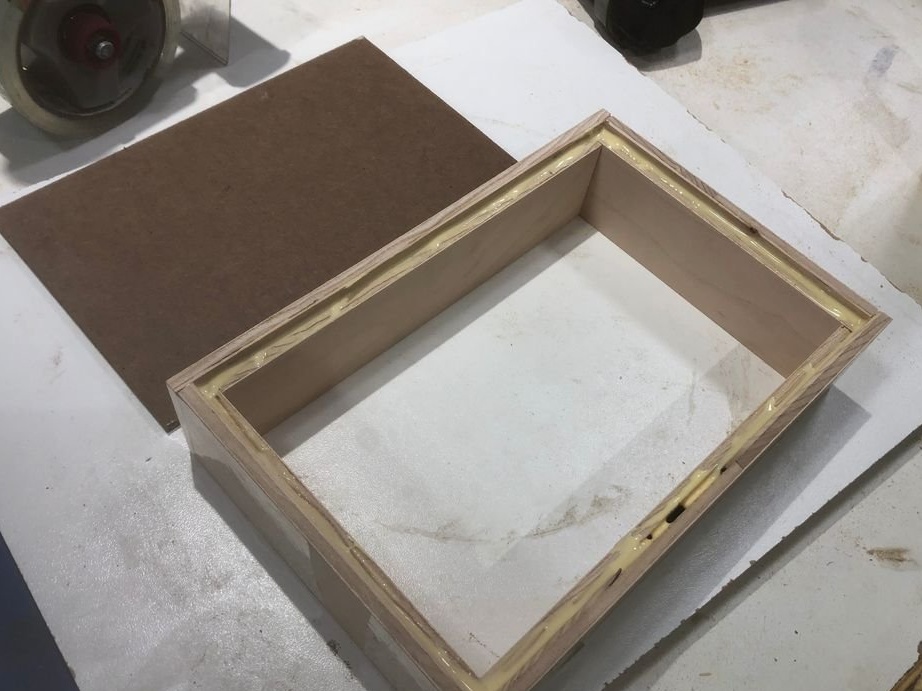
Sheet piles provide a level of automatic alignment, which simplifies assembly. Glue was applied to each groove, the sides were fastened with nails, and then the bottom of the fiberboard was glued to its place. Around the box the box is glued with tape, and a small load is placed on the bottom, which pressed the bottom tightly to the tongue.
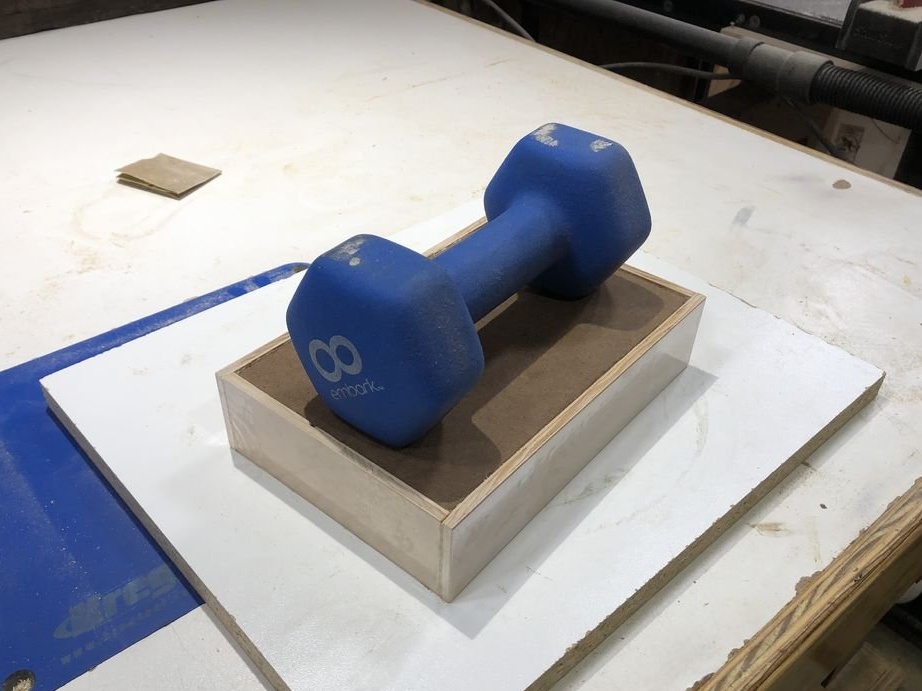
At the bottom of the hidden box, foamed polyethylene was laid as a substrate.
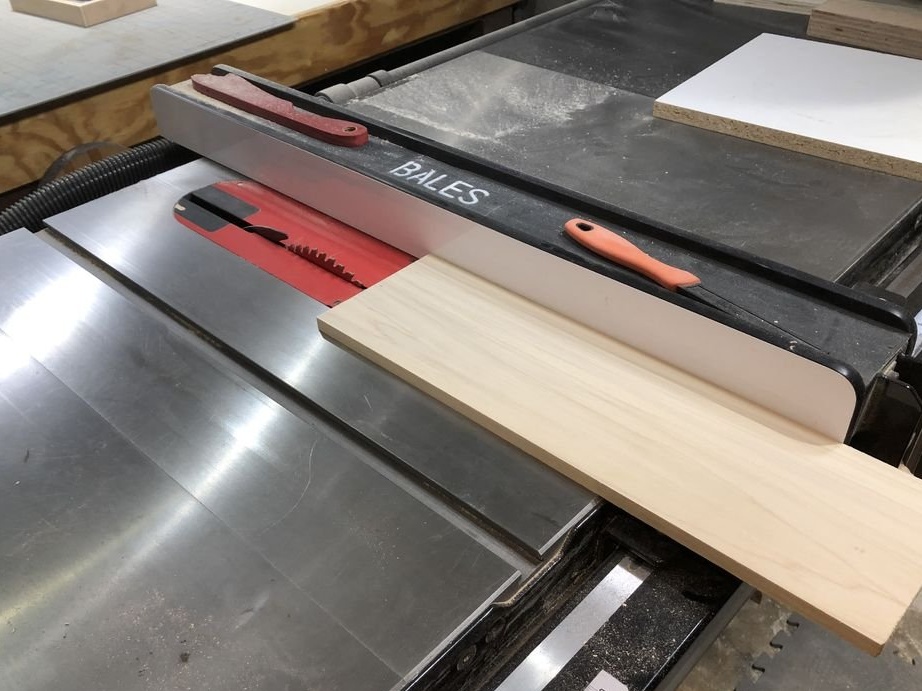
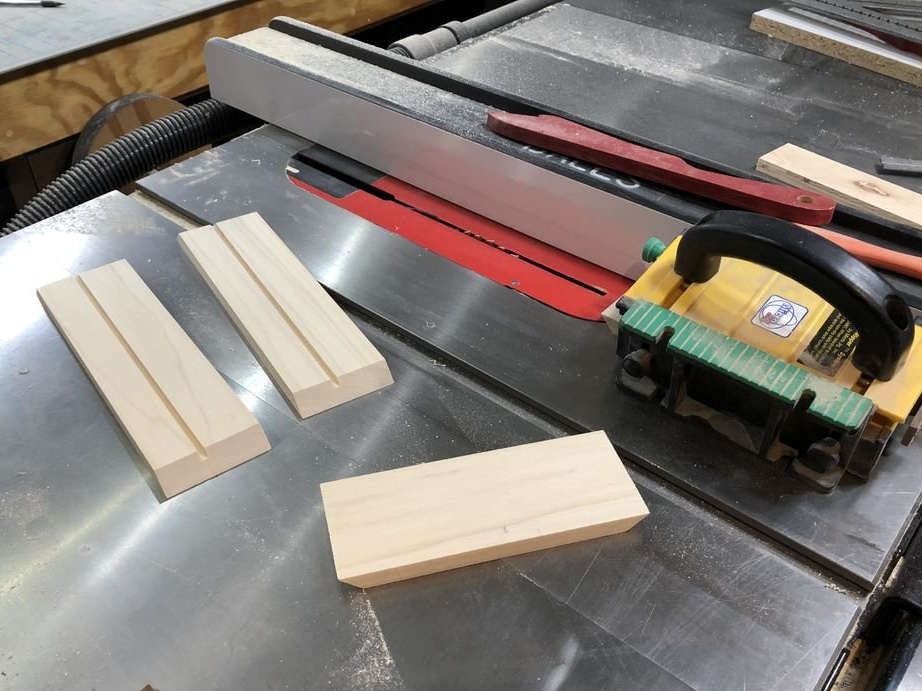
After that, it became clear how much you can reduce the height of the box. Extra height was trimmed with a table saw.
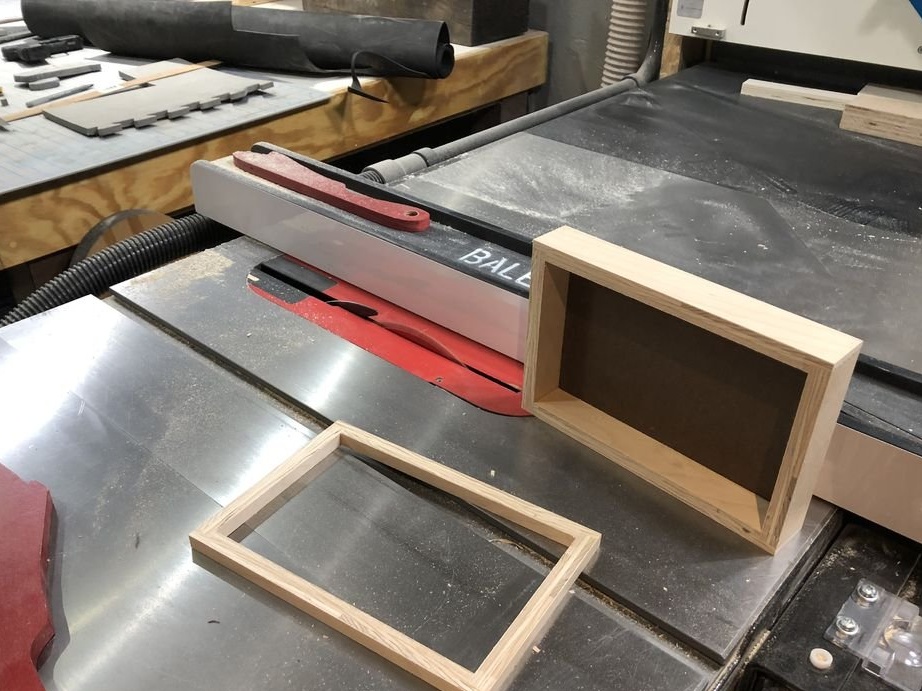
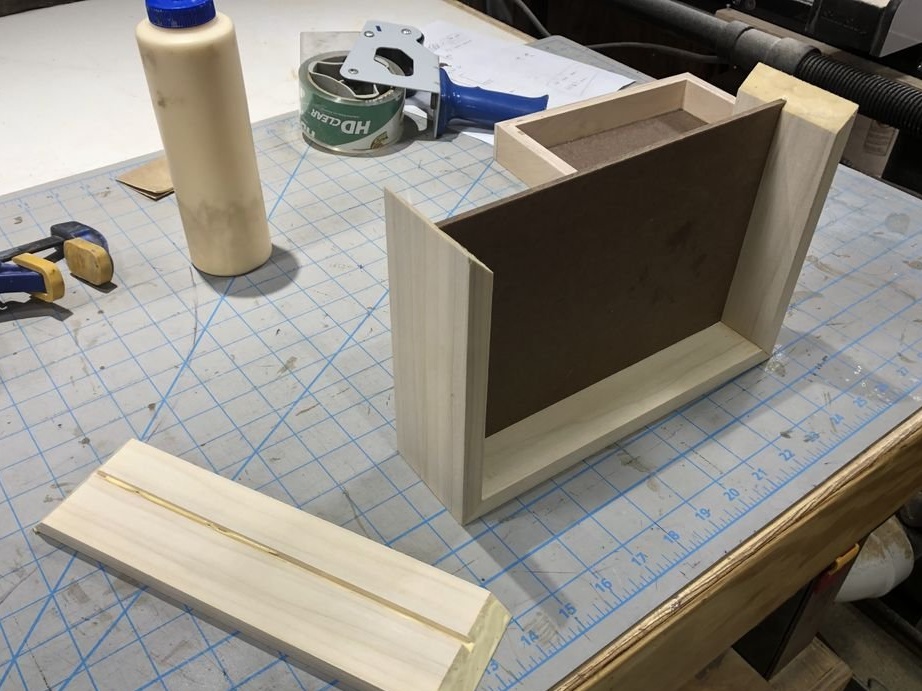
Step 3: Making the outer box
The packing tape was reused on the sides and top of the inner box. This layer will act as a gasket when assembling the outer box.
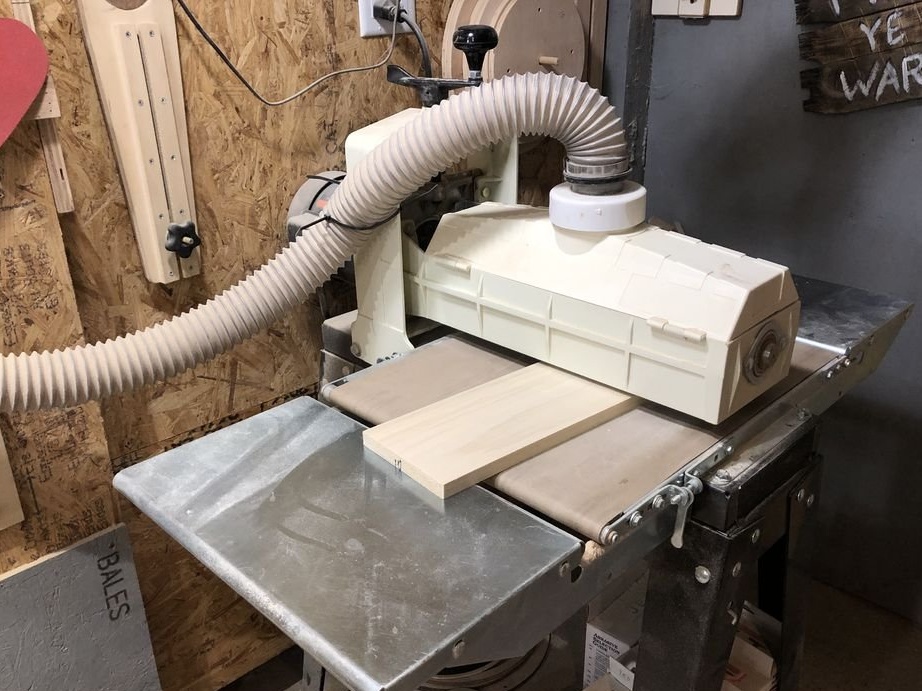
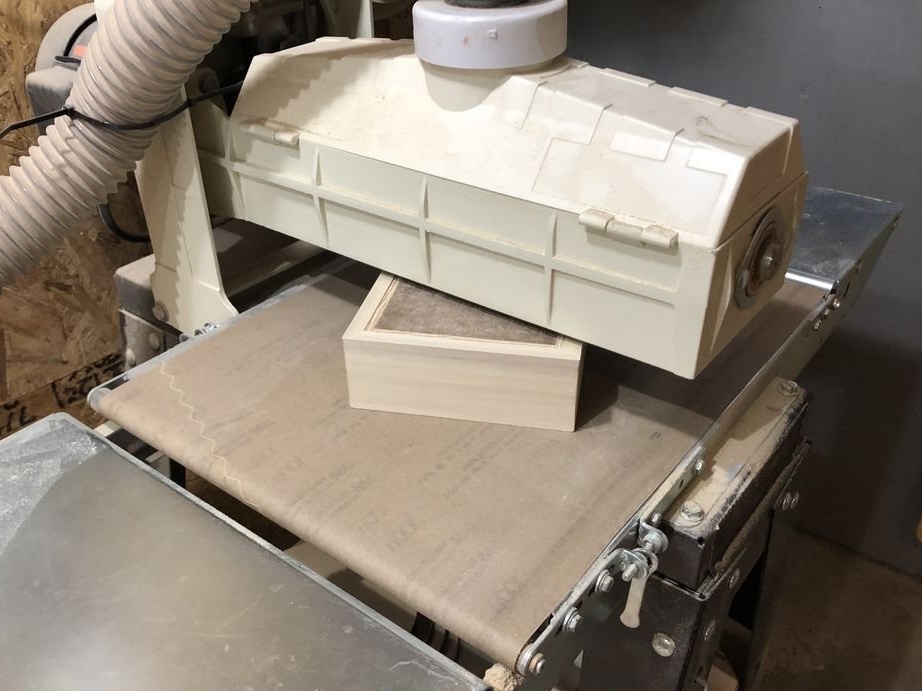
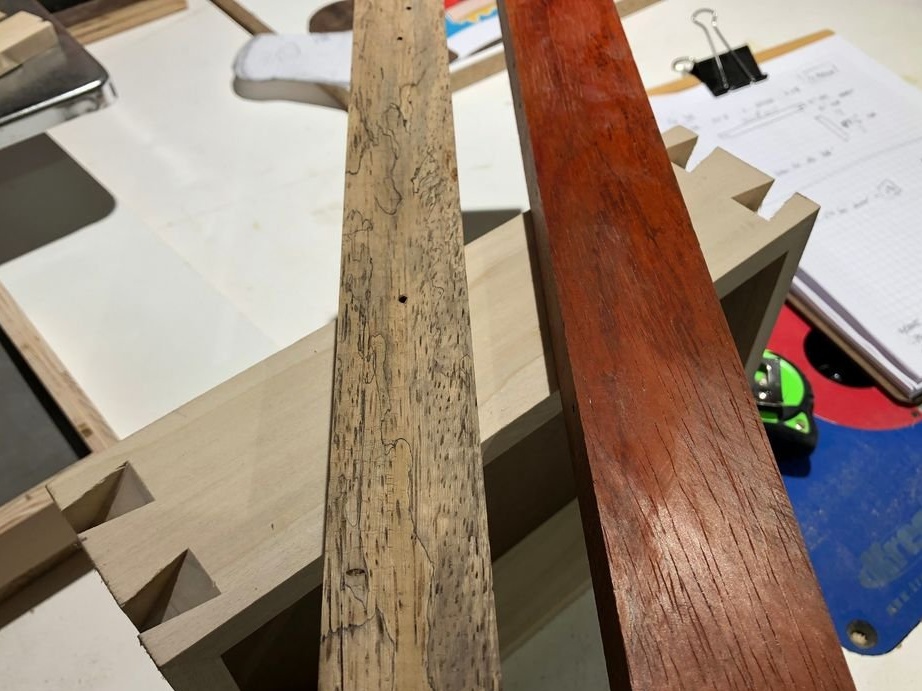
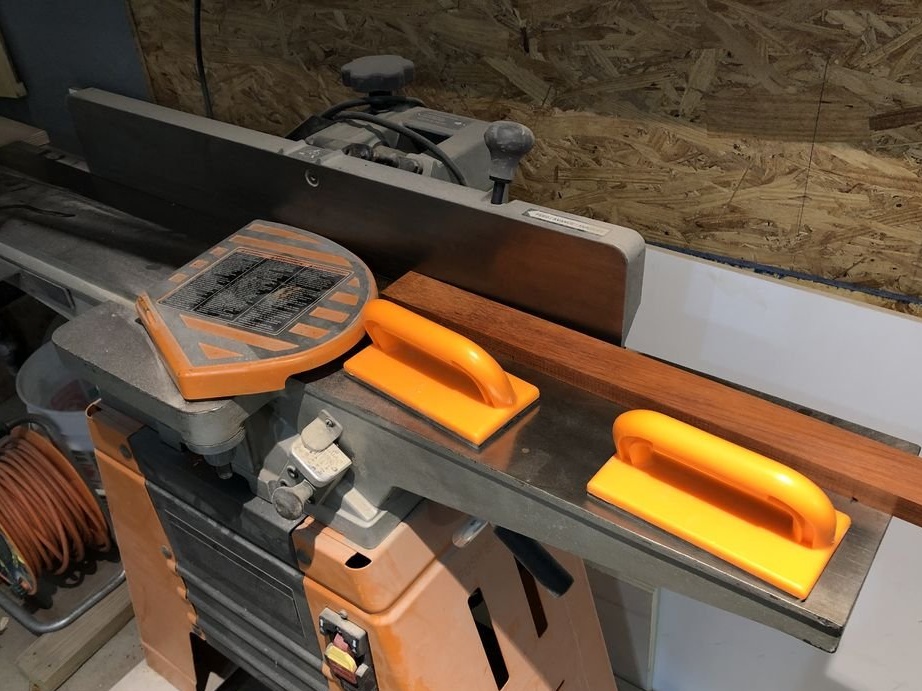
For the manufacture of an external box, 2.5x15 cm poplar was used. The first step was to adjust the wood thickness to 25 mm, which was achieved using a drum grinder. Then the board was sawn into two equal parts (65 mm.) - again wider than necessary.
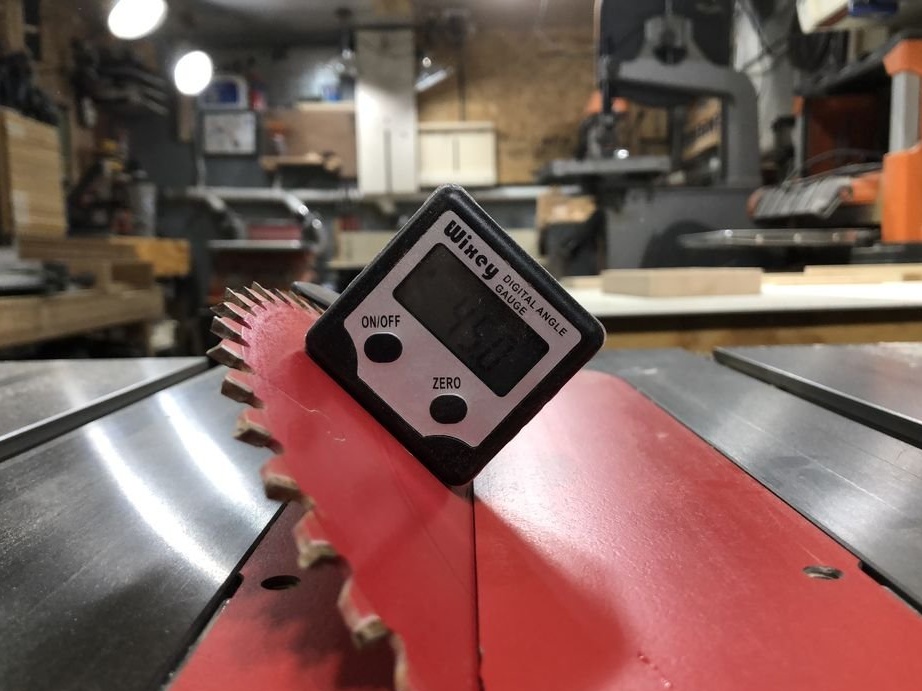
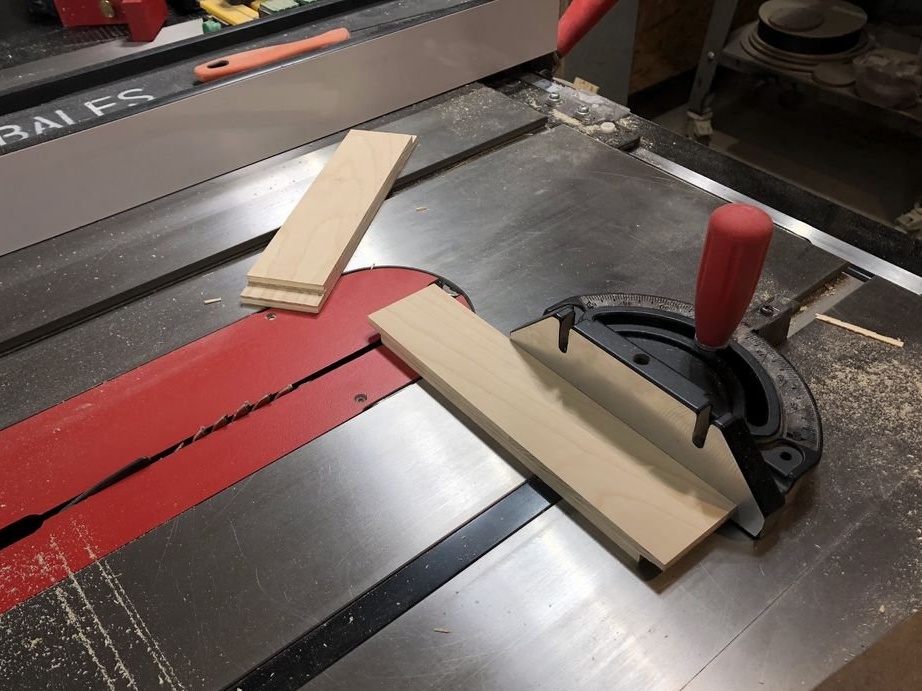
Details of the sides of the outer box were sawn at an angle of 45 degrees. An internal box was used to measure dimensional accuracy.The cuts were made in the right places based on the size of the inner box.
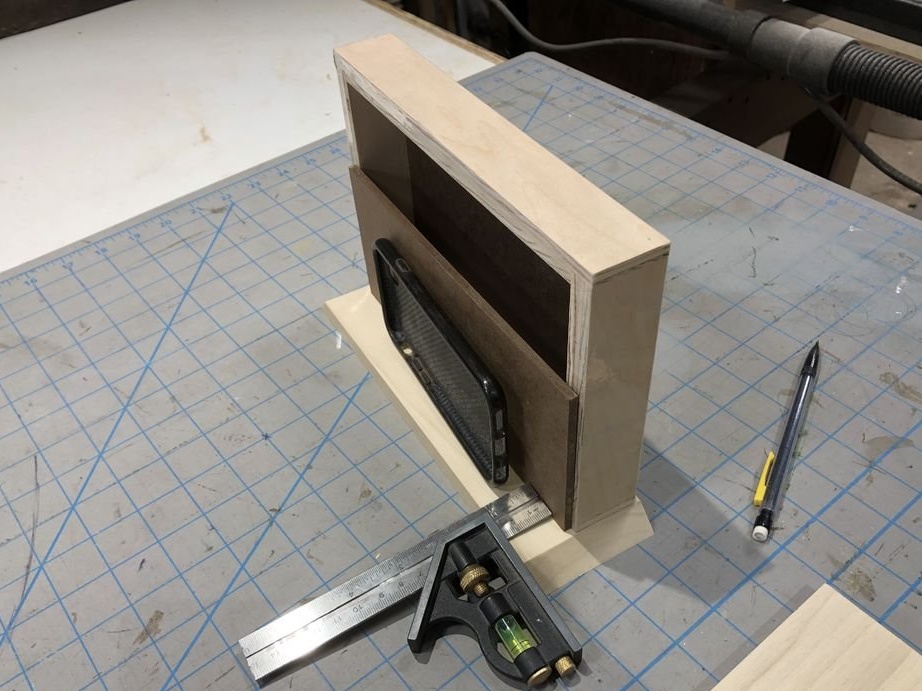
To determine the bottom location in the outer box, an inner box, fiberboard sheet and a phone case were used. Specially, a little extra space was left at the bottom of the grinding / processing box. As a result, the measurements were cut grooves on the table saw for the bottom.
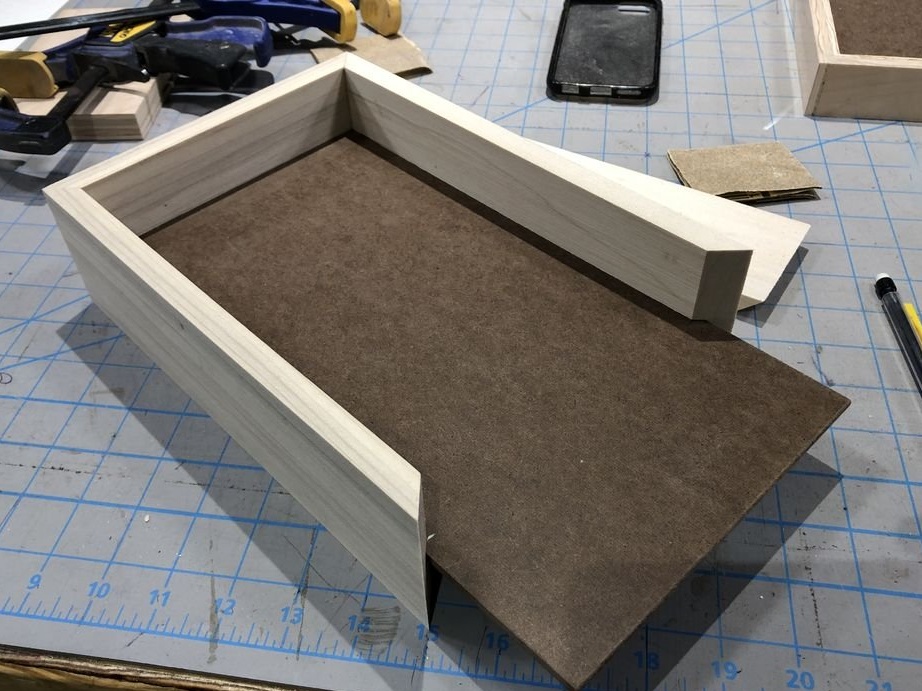
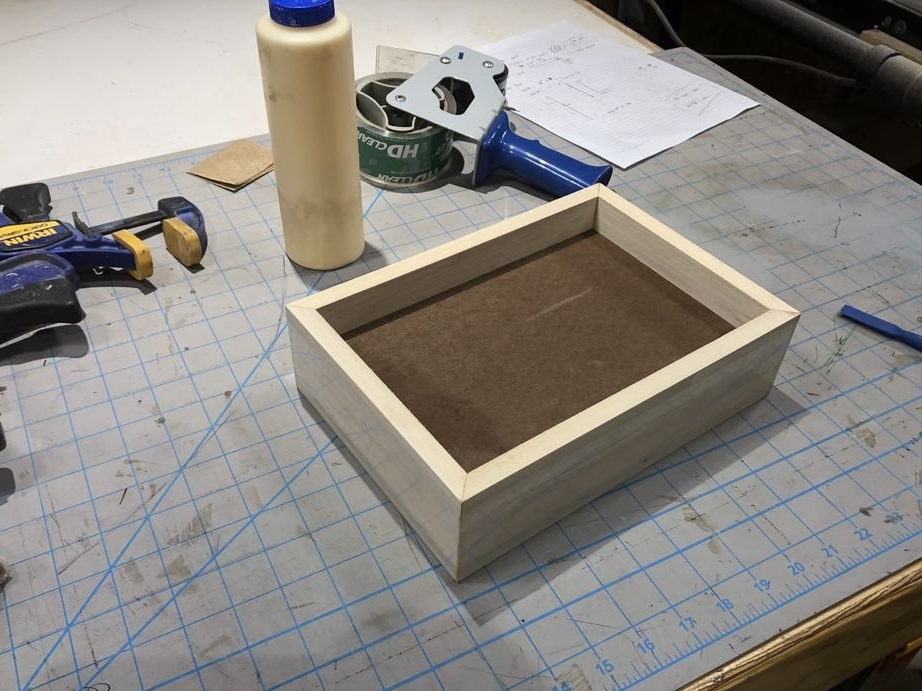
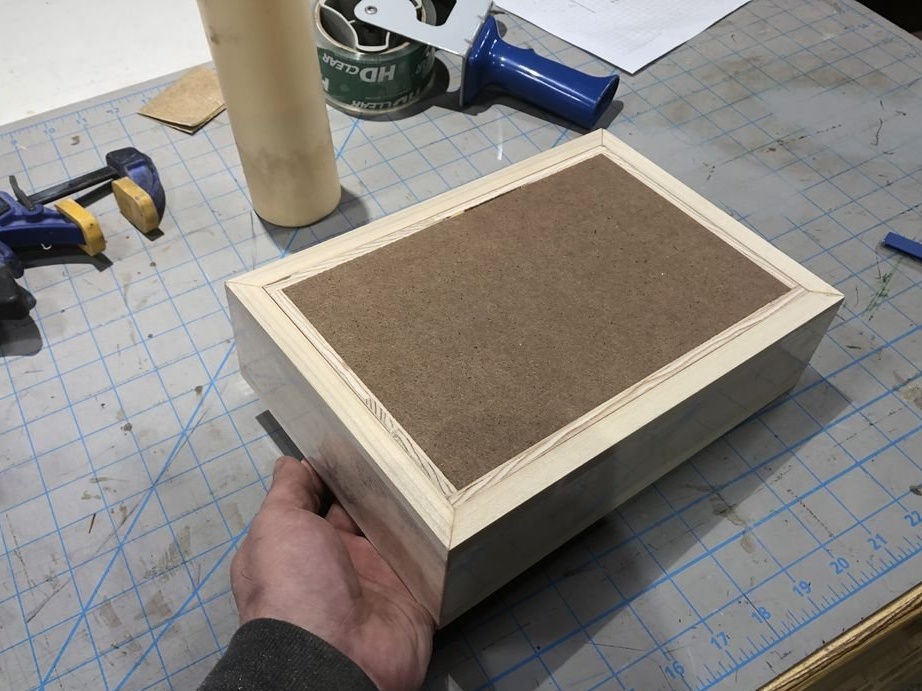
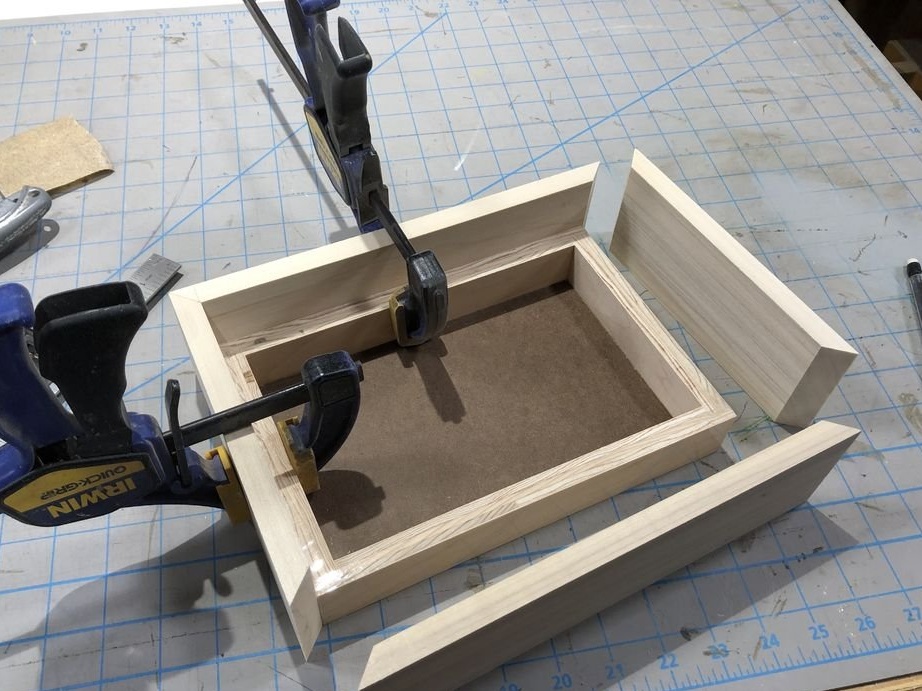
Assembling the outer box is only a matter of fixing the sides and ensuring the correct location of the corners. An inner box was used as a means of holding the sides in a square.
After the glue had dried, the box was polished by a drum cut. typewriter.
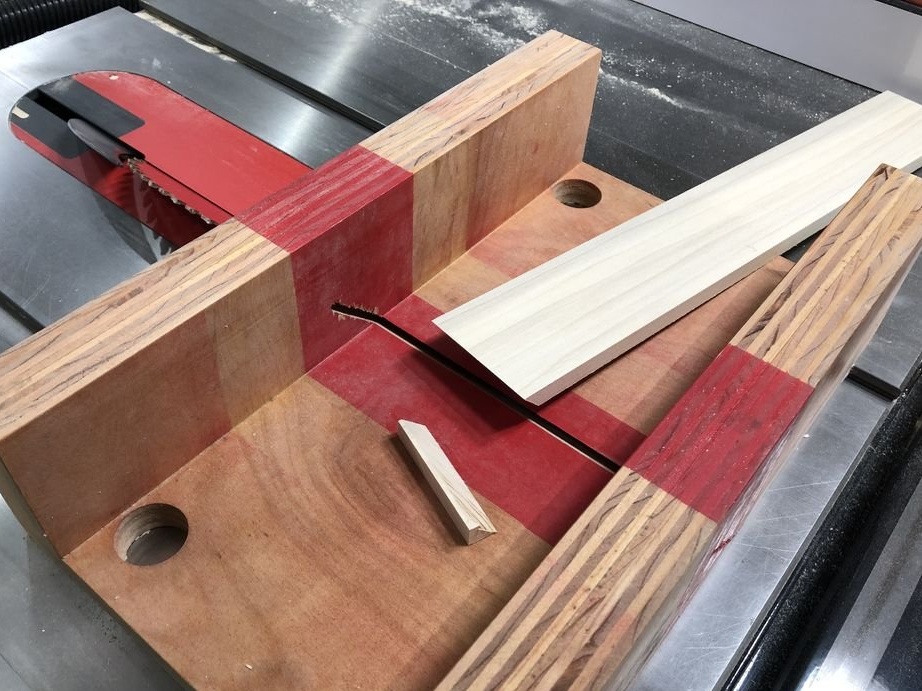
Step 4: Cutting the dovetail mount
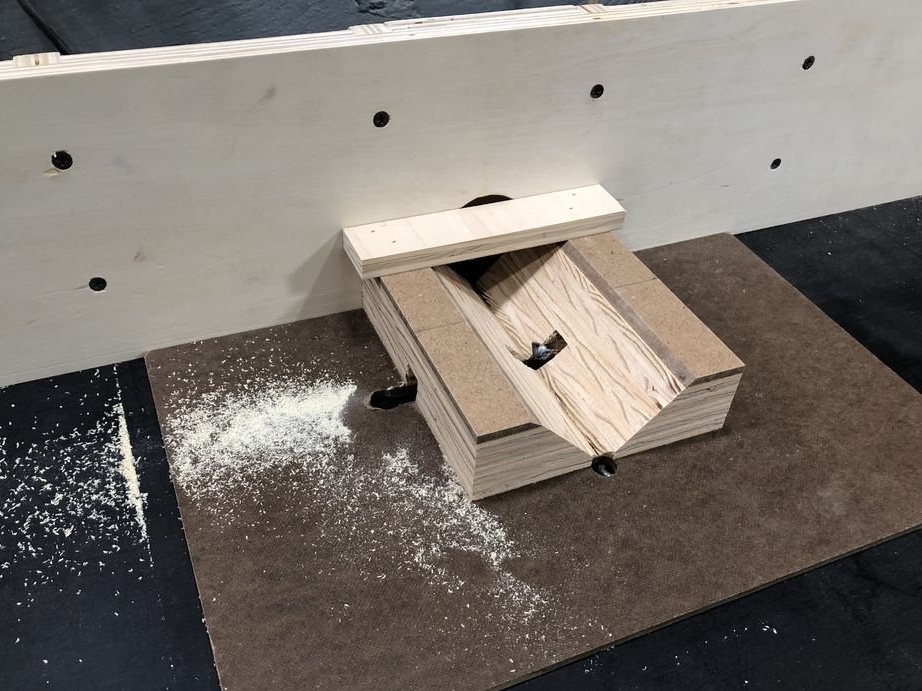
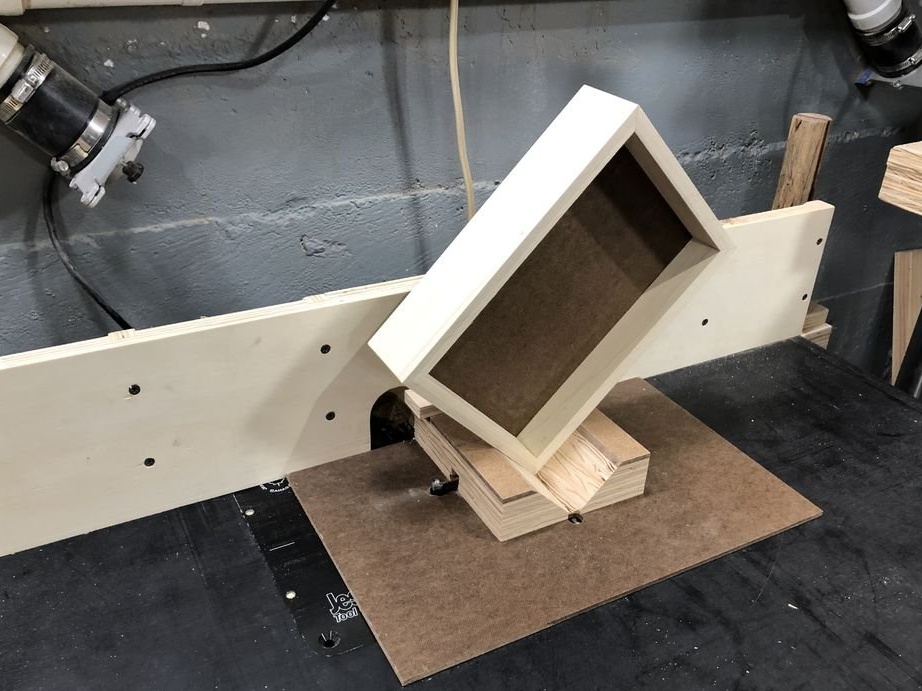
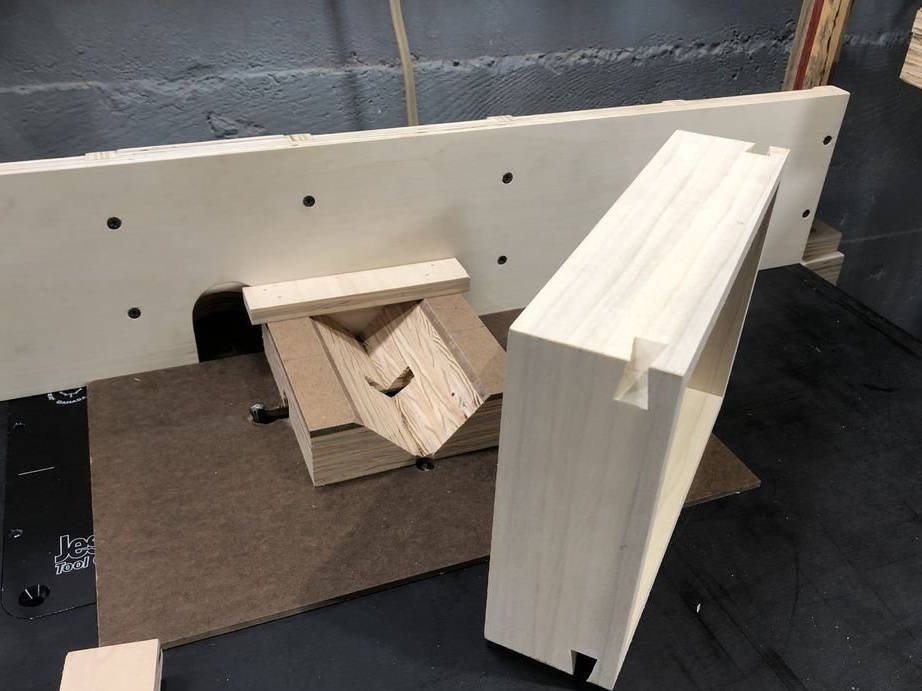

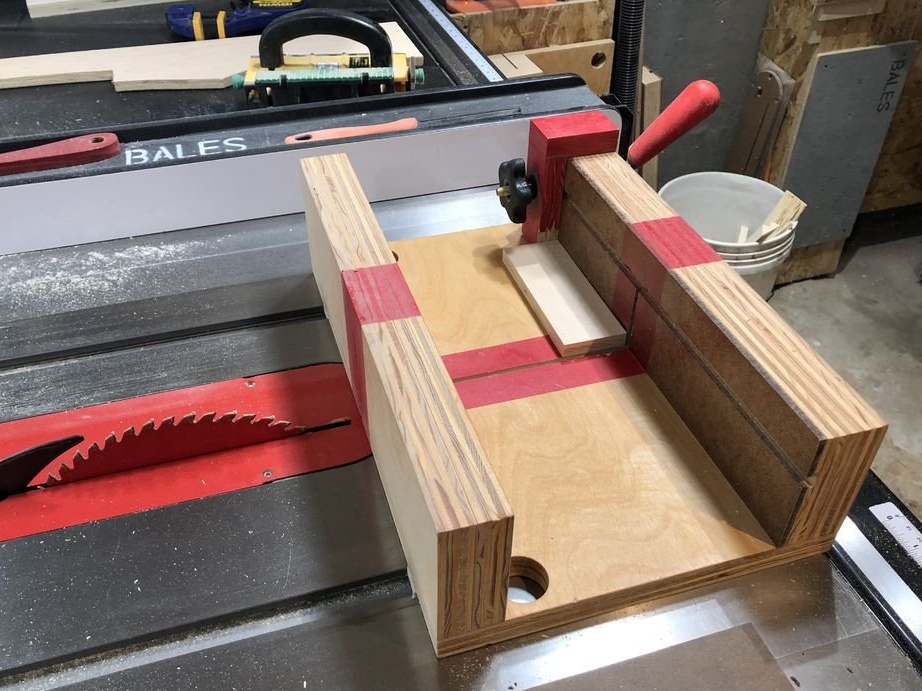
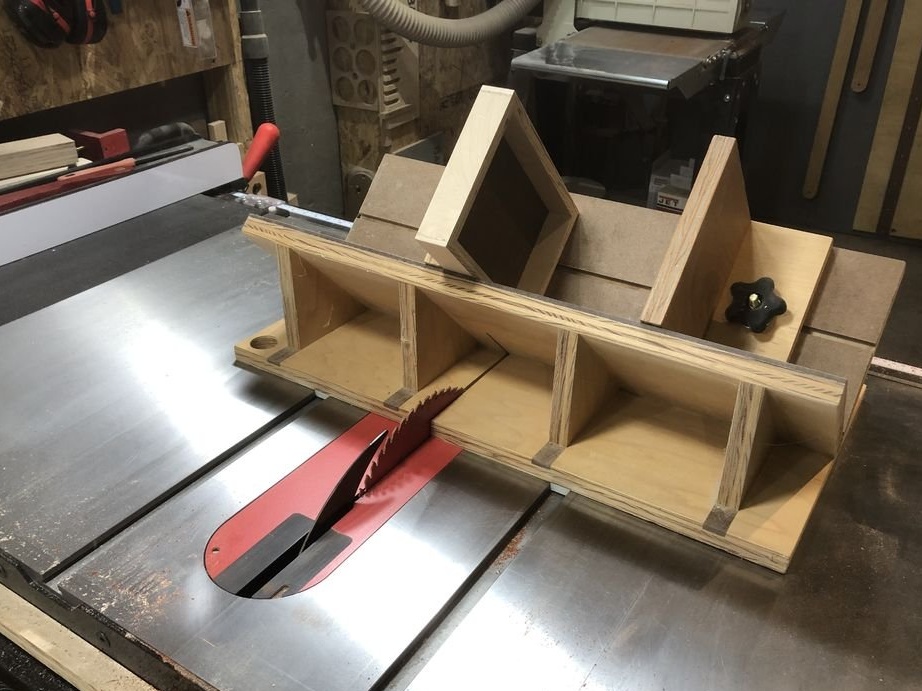
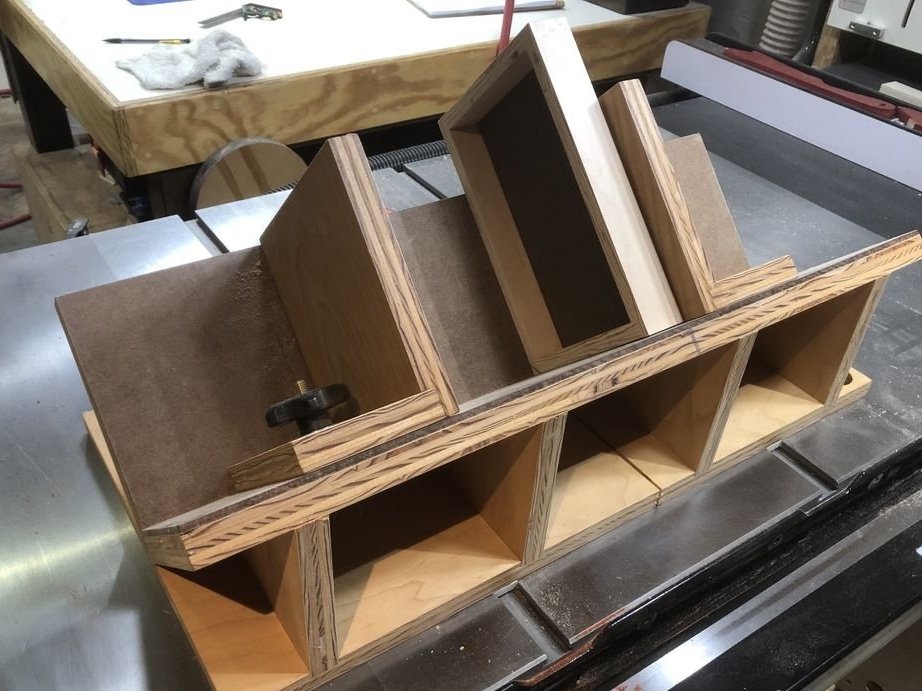
To cut the corners of the box under the dovetail fasteners, a small sled made of wood scraps was made using a milling cutter. They are made of 5mm. Fiberboard as a base and two slanting wedges (the thicker the base, the more accessible the height is lost). I also had to add a spacer to insert the box into the cutting field.
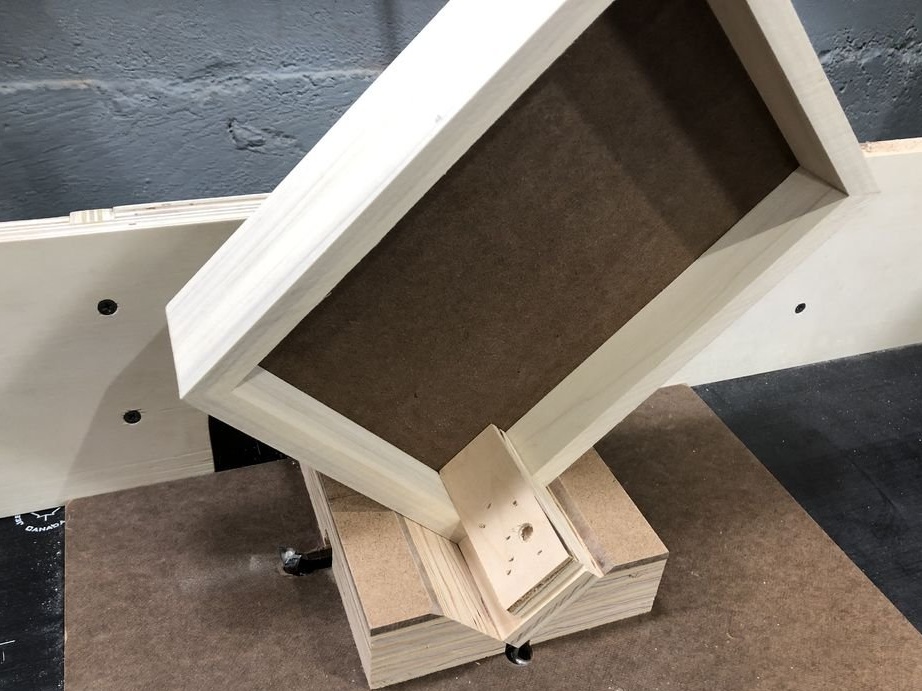
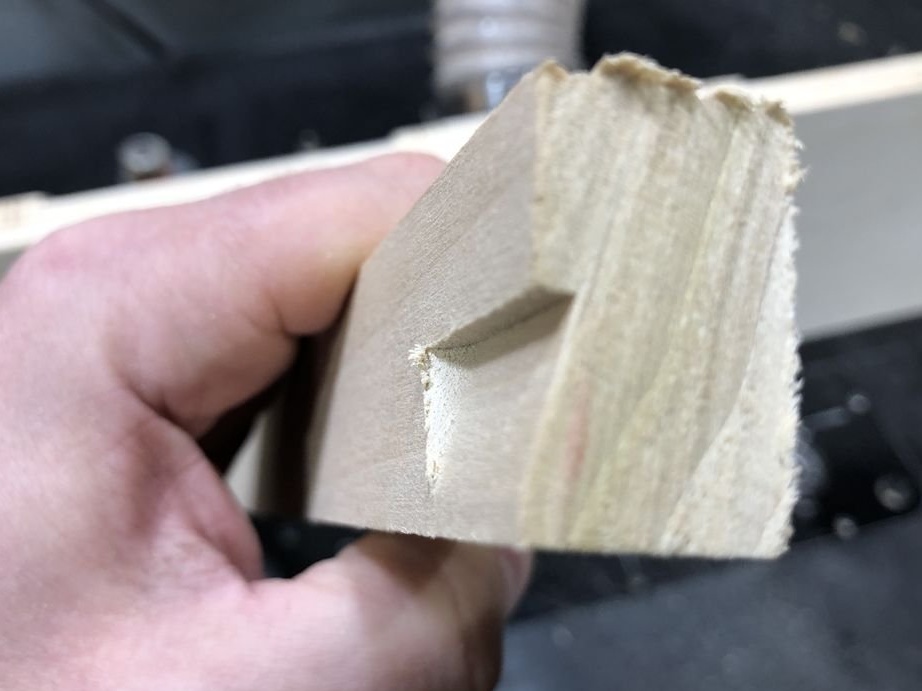
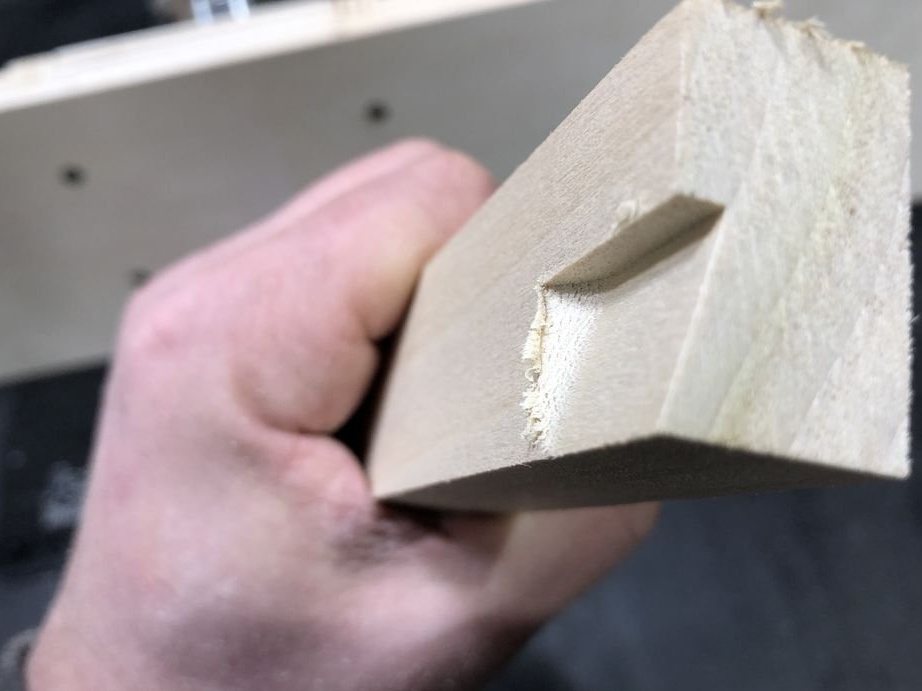
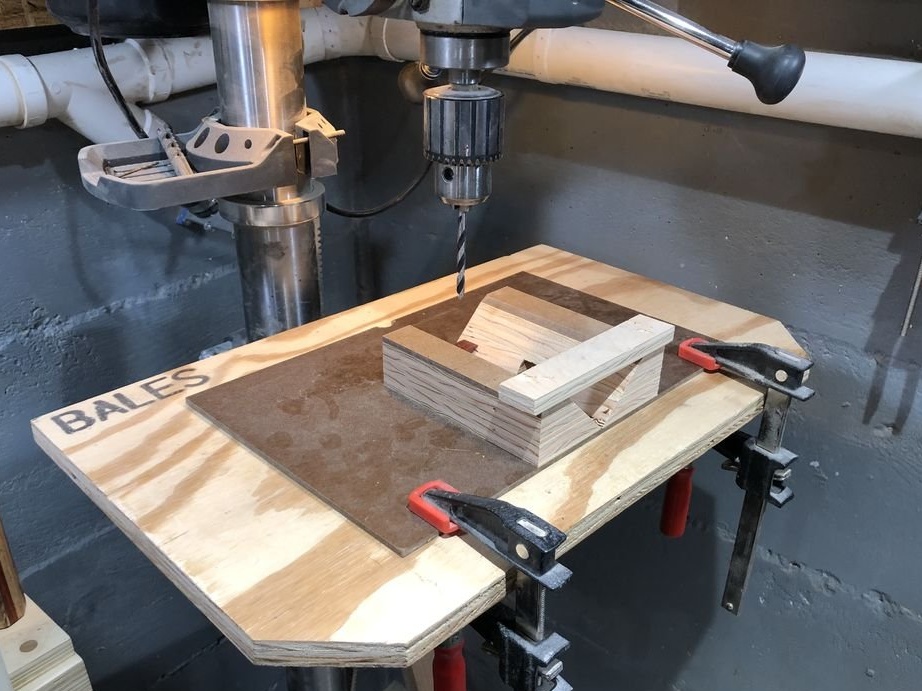
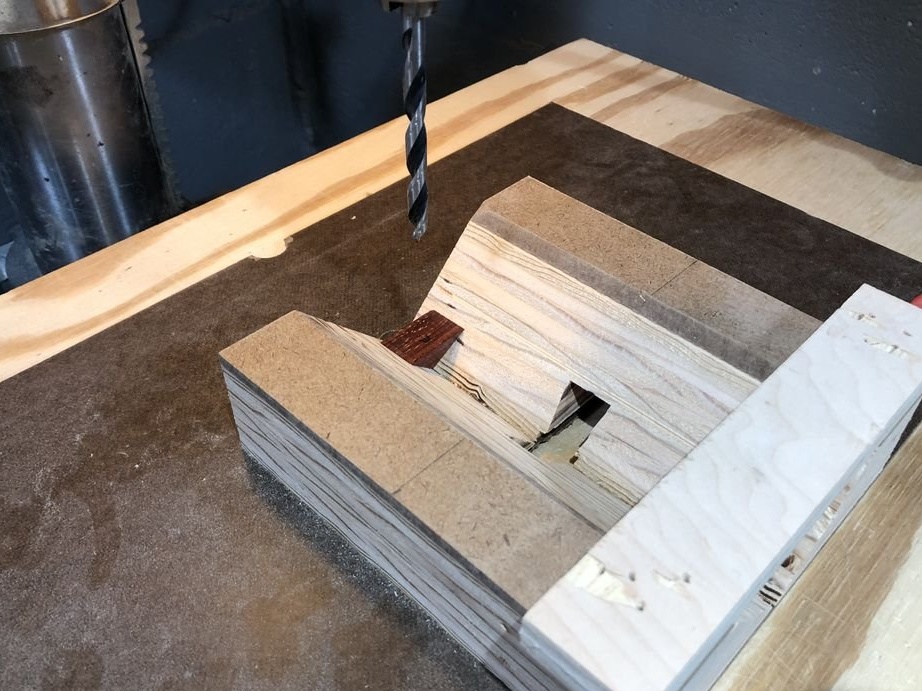
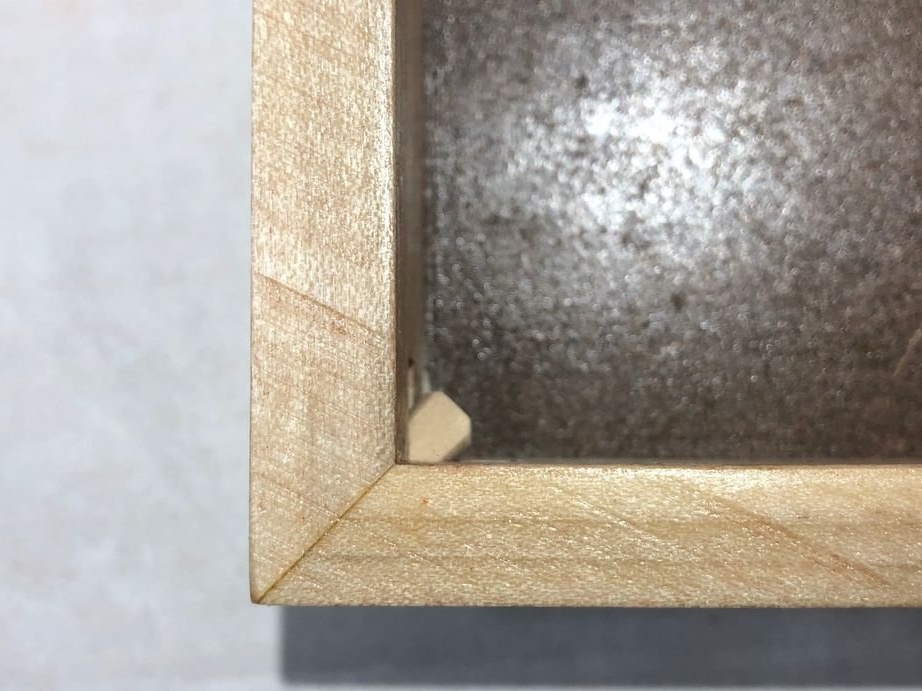
Step 5: Making a slot for the blocking wedge of the inner box

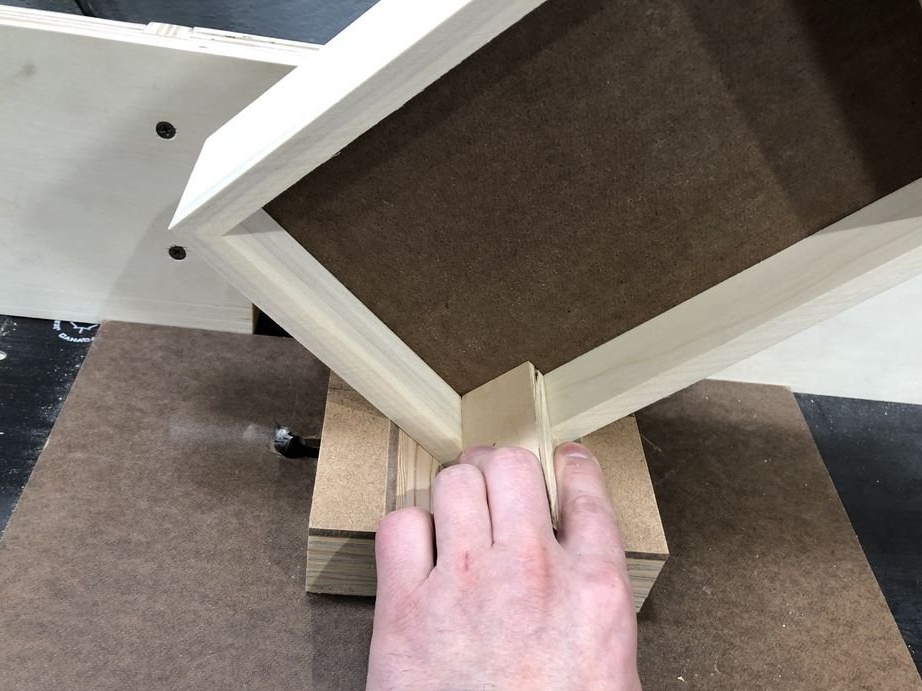
The slide was centered directly under the cutter, and then the stop block was clamped on each side. The selected angle was placed on the slide, the cutter slowly rose until the inside was pierced, and then the slide moved left and right to cut the slot.
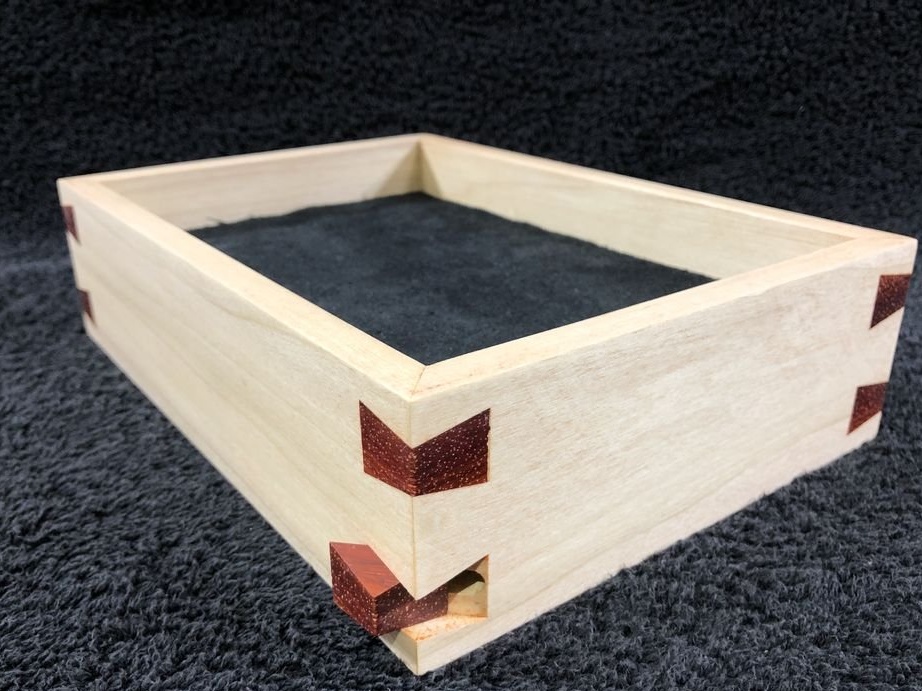
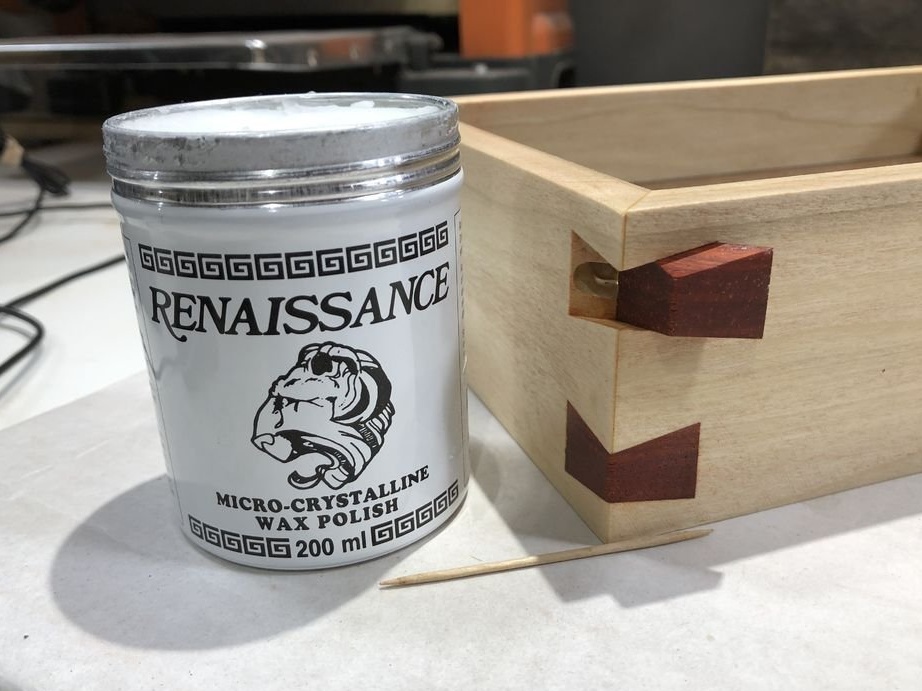
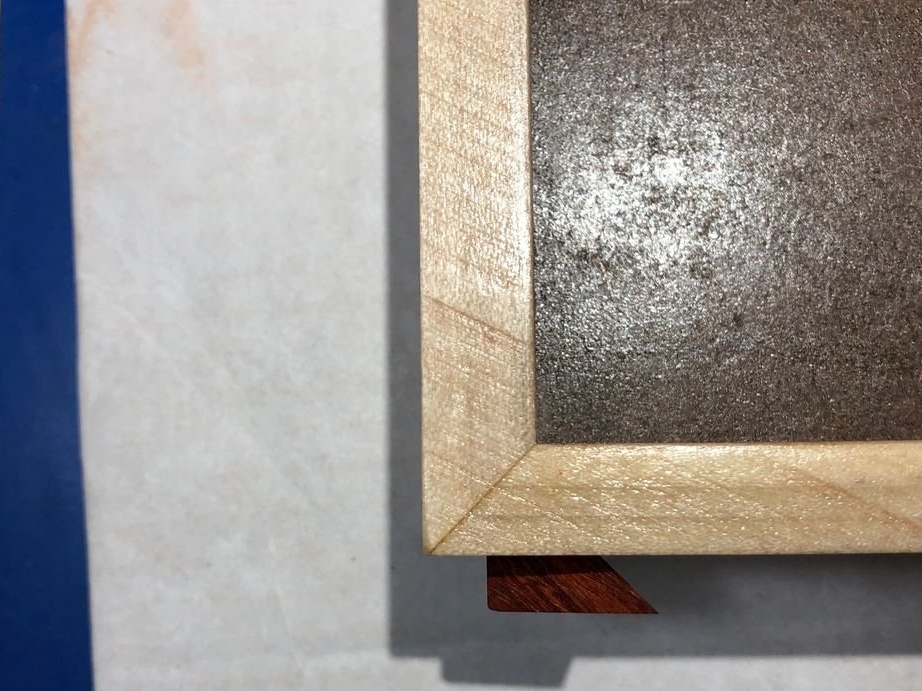
Step 6: Making Swallow Tail Locks

Milling dovetail wedges is an amazingly simple process.
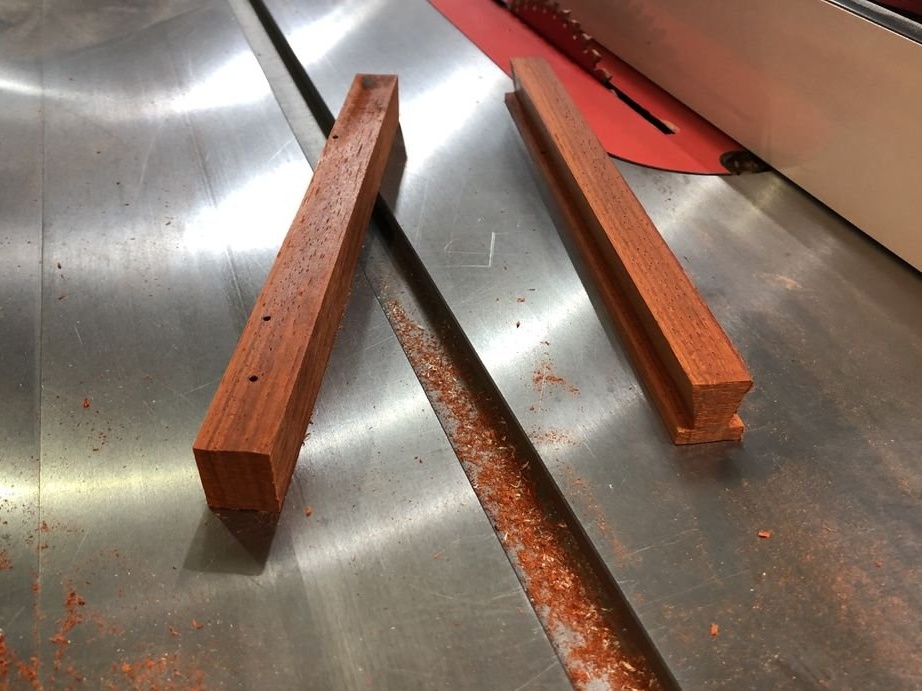
Test cuts were made on the poplar to determine the size of the workpiece.
Side 1 - Quick Side
The guard should be installed so that the workpiece is in full contact with the cutting edge. If you have a flat area at the bottom of the workpiece, the material intake will be too far behind.
If so, then you just need to move forward and make another pass, until you get a clear lower corner.
Side 2 - Exact Side
The fence should be moved back to the width of the desired wedge. Then just make a selection, check the fit with the box, make another pass, check the fit. Repeat until you get a good tight fit of the wedge in the nest.
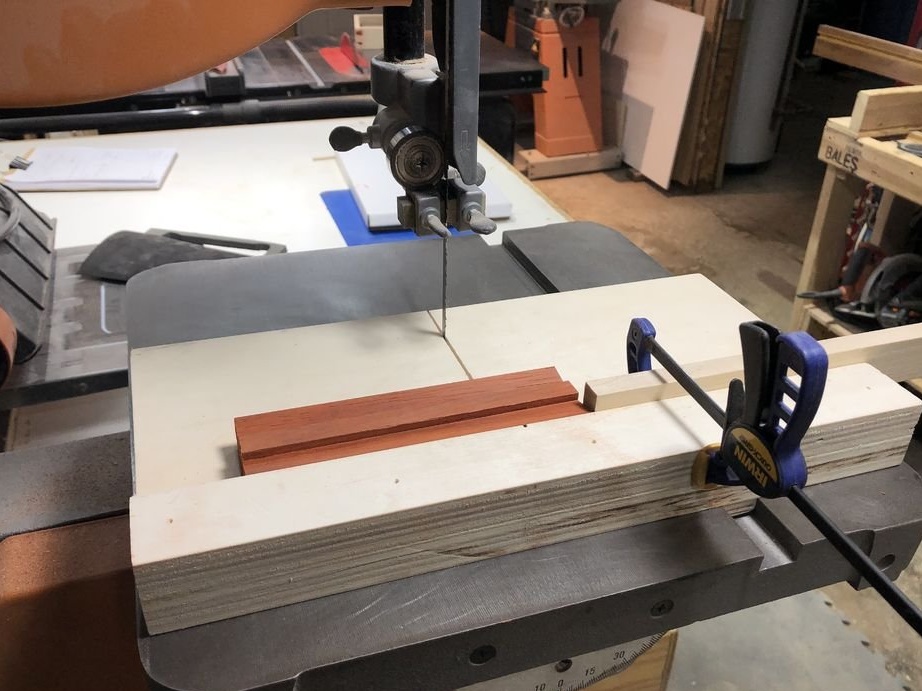
Once you have decided on the size and the workpiece is ready, you just need to divide it into separate wedges.
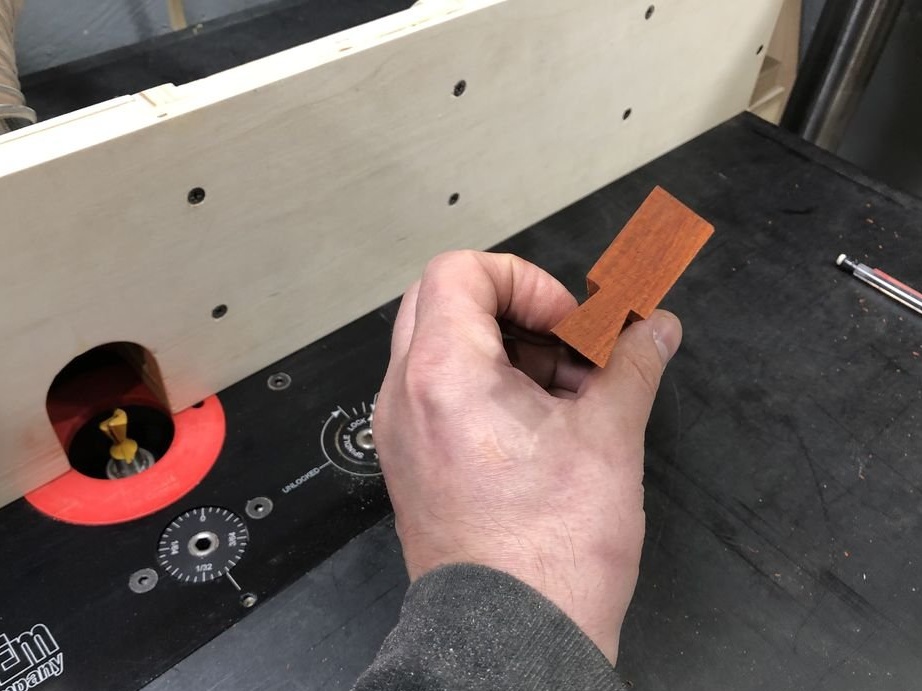

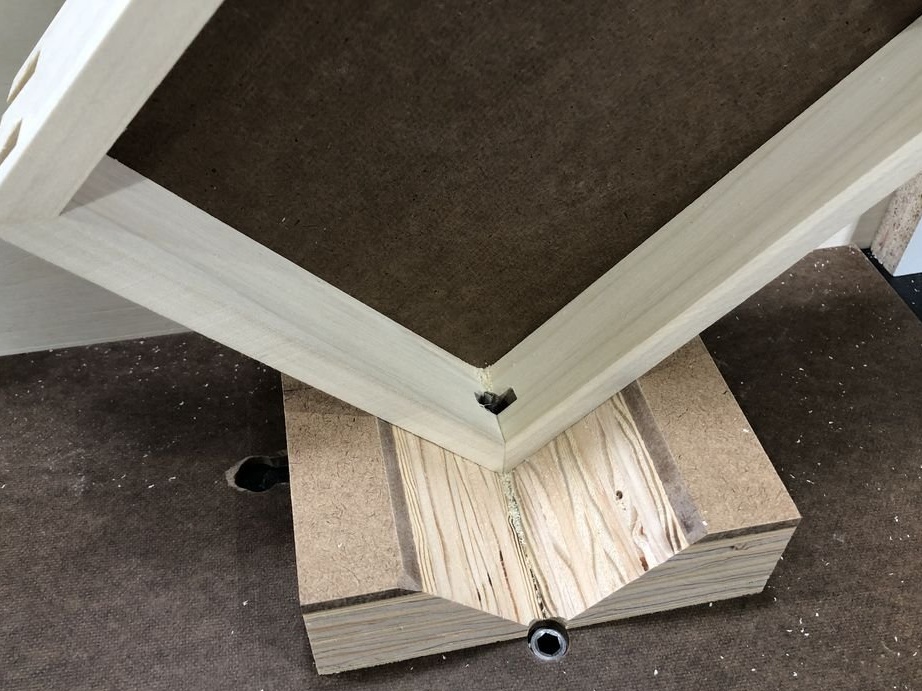
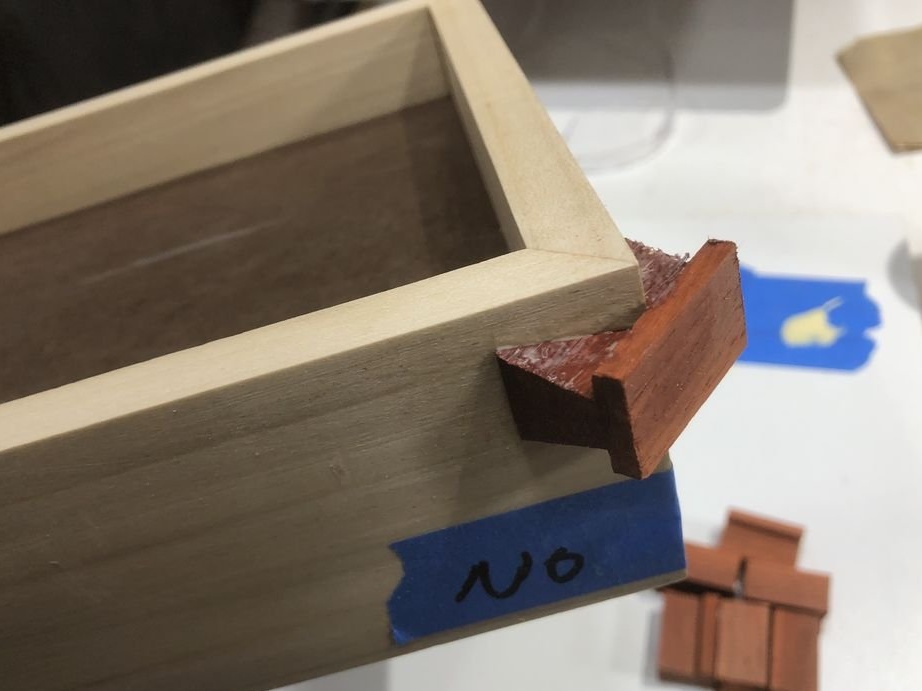
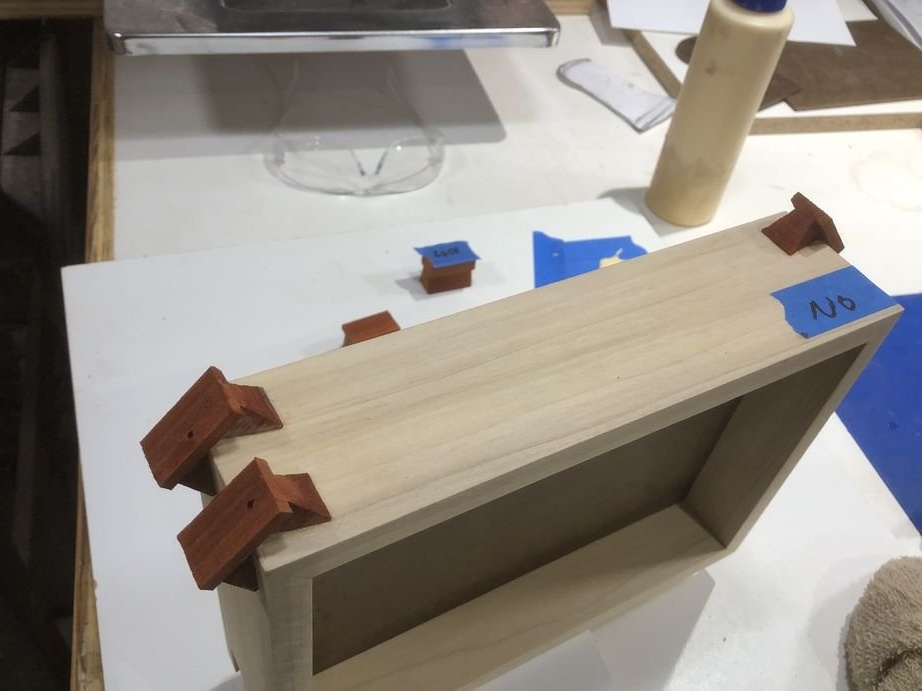
Step 7: Glue, Cut, and Grind the Wedges
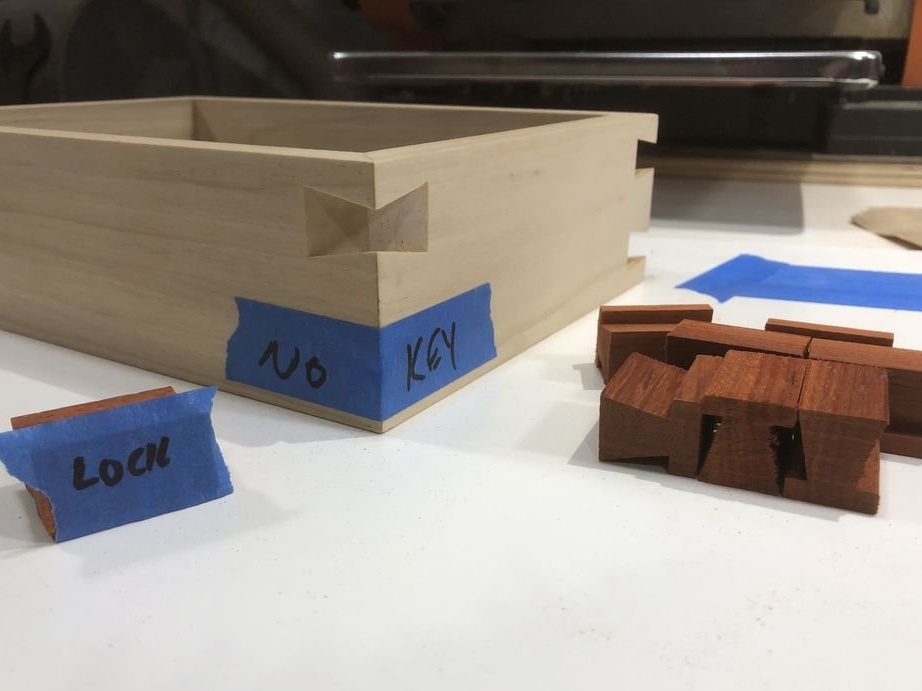

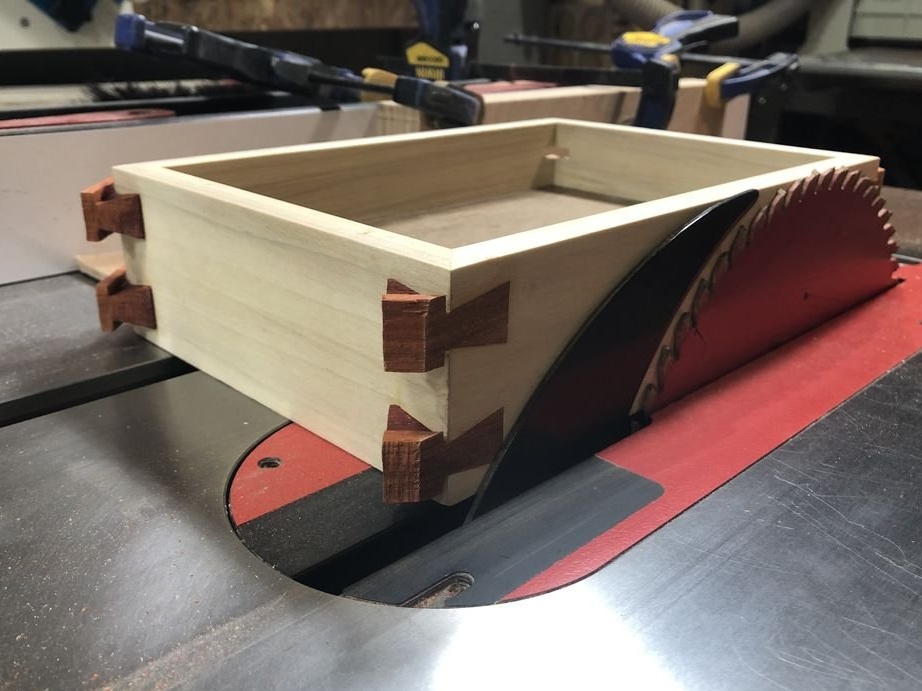
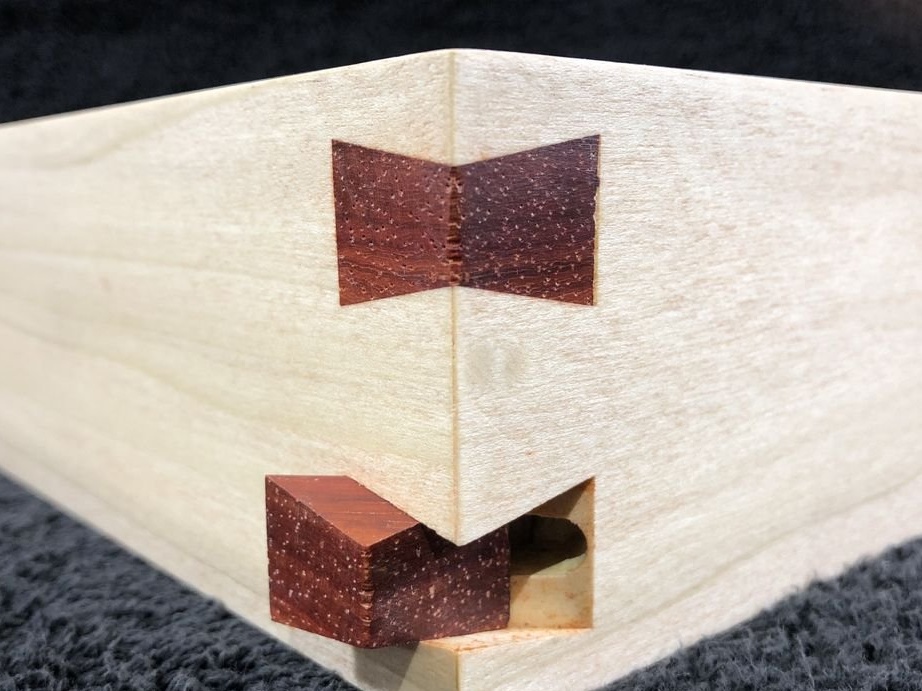
It must be remembered that one of the eight wedges will be a sliding lock, so it does not need to be glued.
The remaining seven are coated with glue. Then a wedge is inserted.
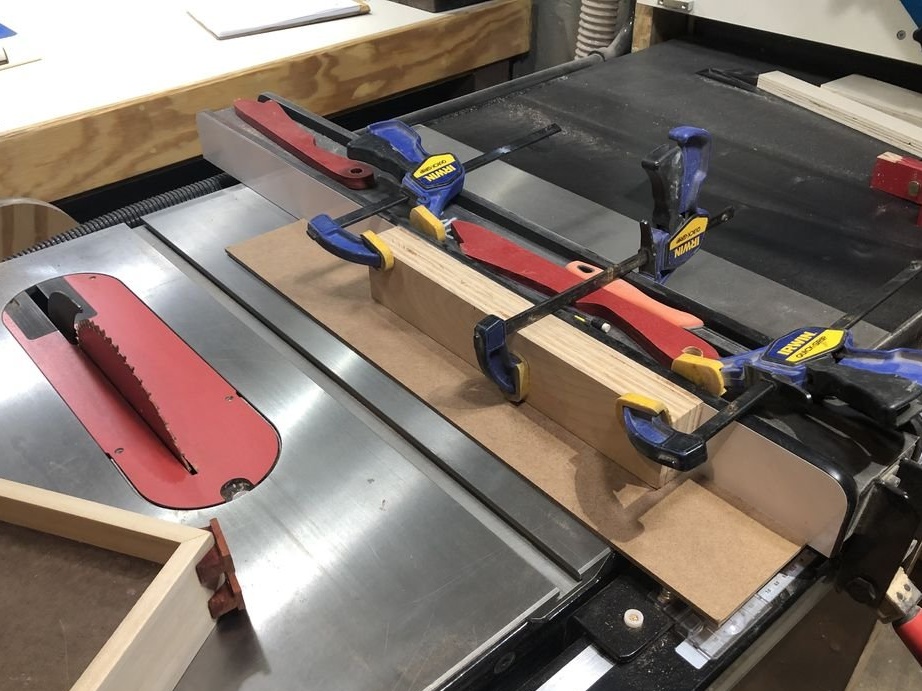
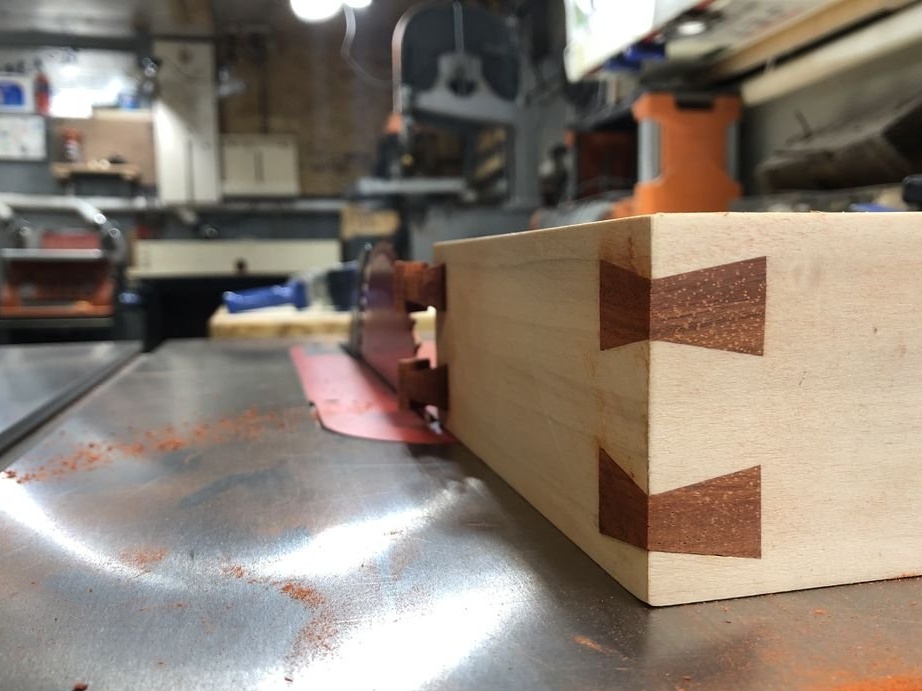
After the glue dries, the excess key is cut off on a circular saw.
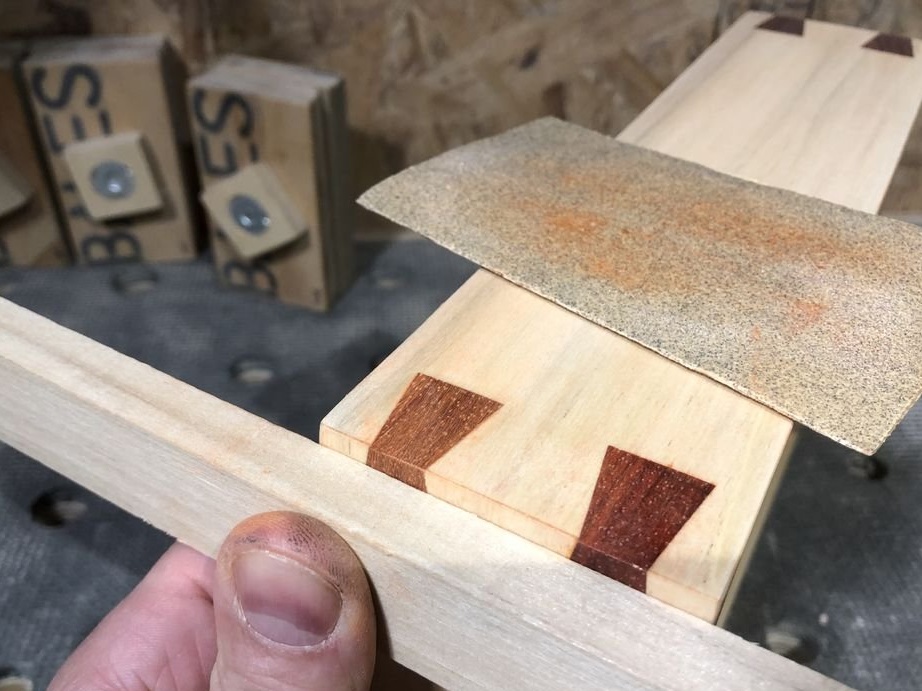
After that, both boxes are sanded with sandpaper with a grain size of 150, and then 220.
The blocking wedge was sanded independently with 100 grit sandpaper. Then the fit was checked and repeated to perfect condition.
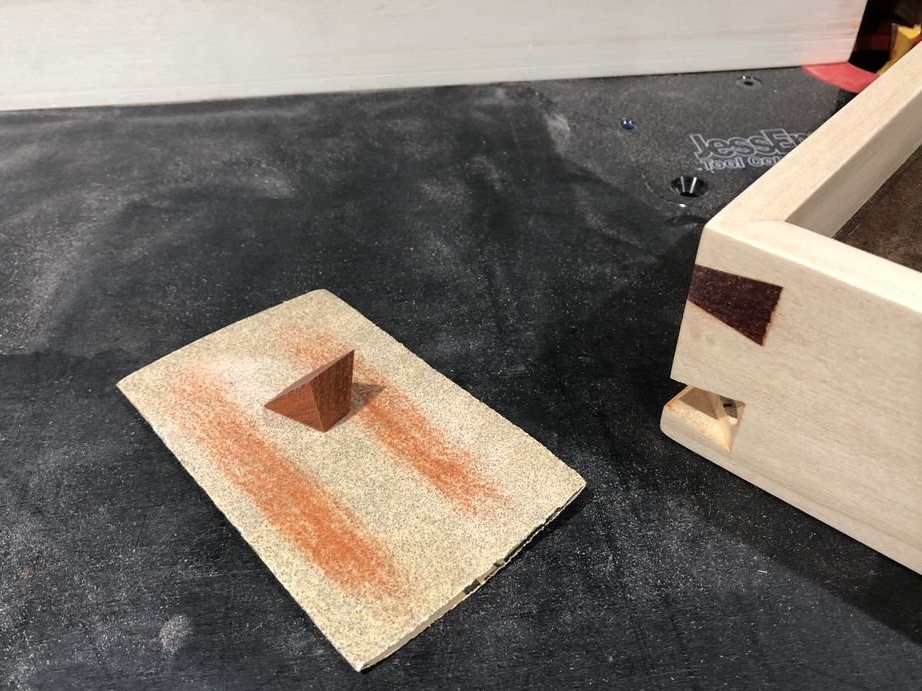
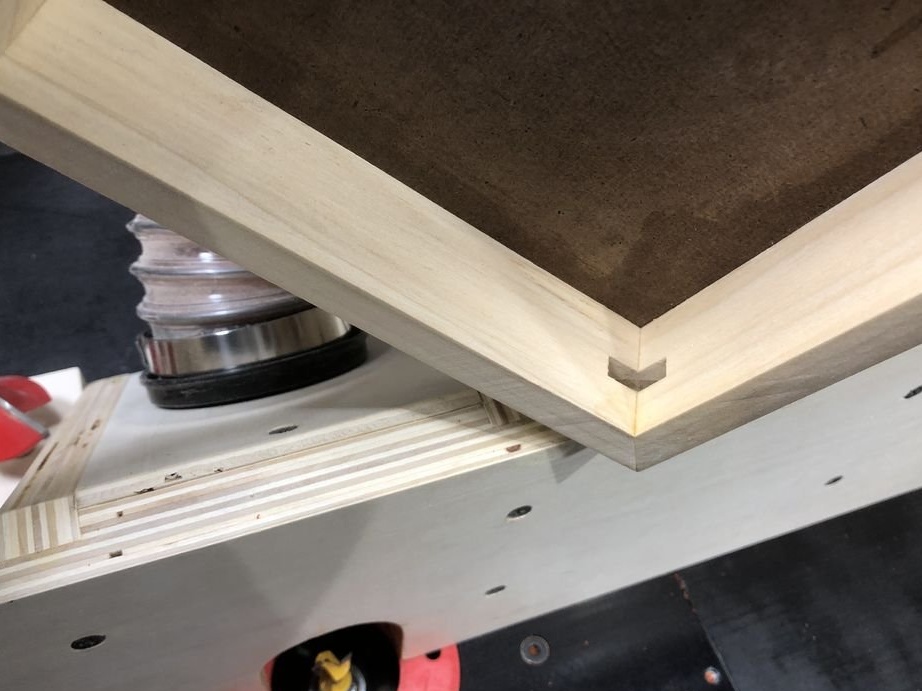
The final touches of grinding and smoothing were done with a fixed wedge.
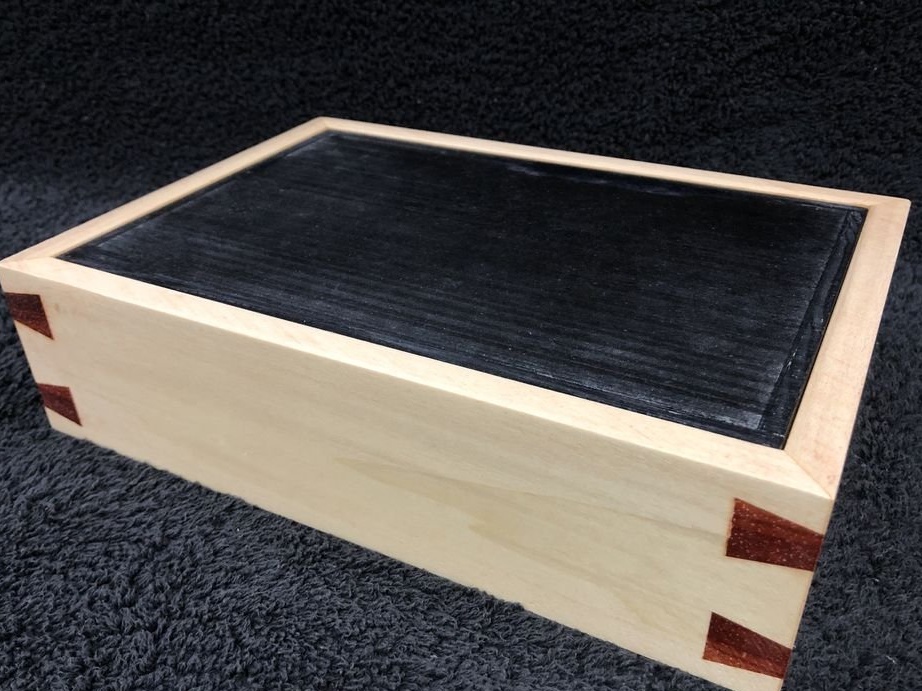
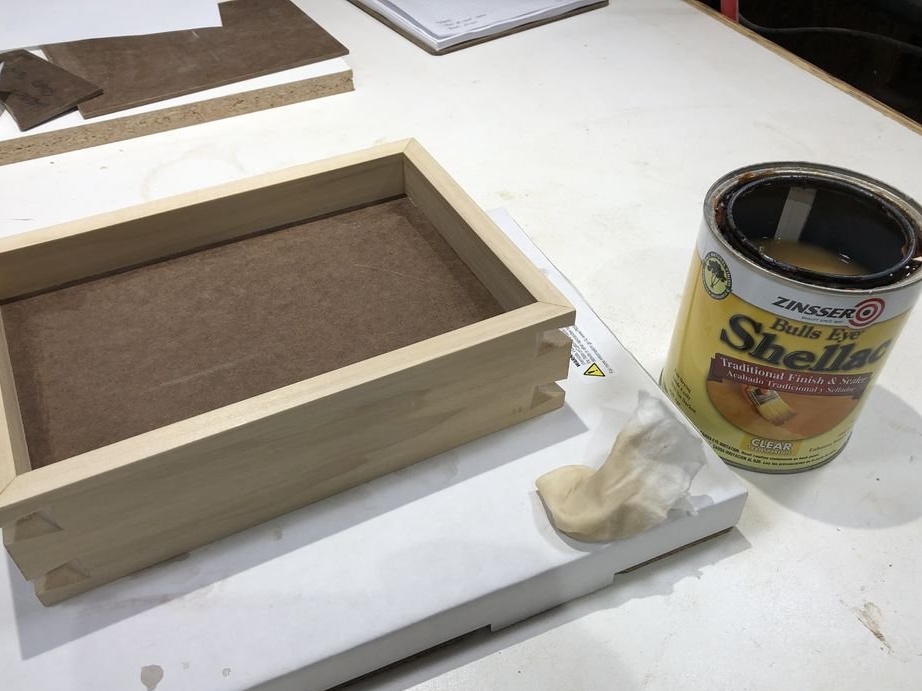
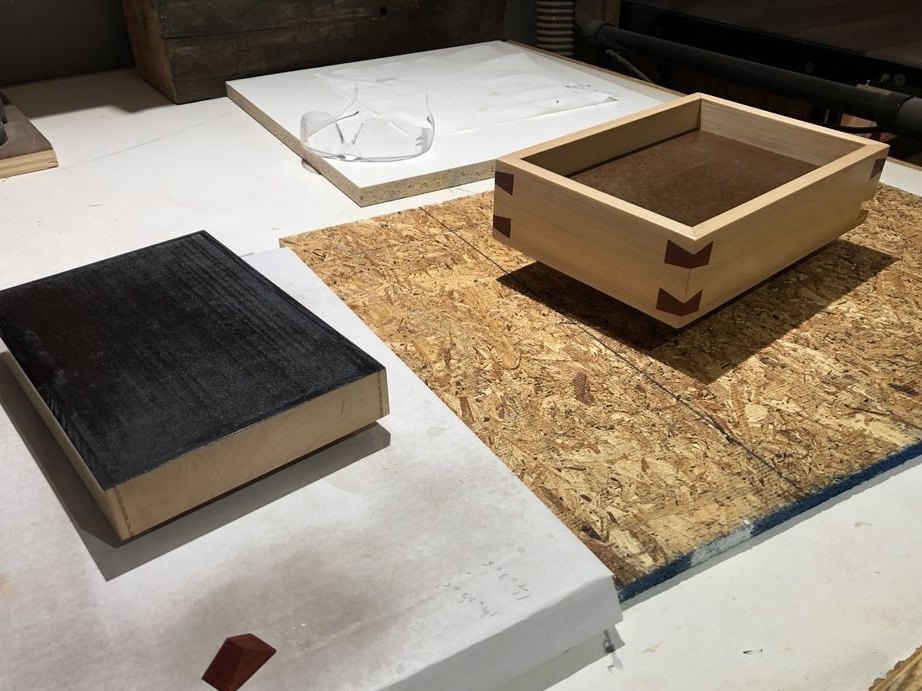
Step 8: Finish
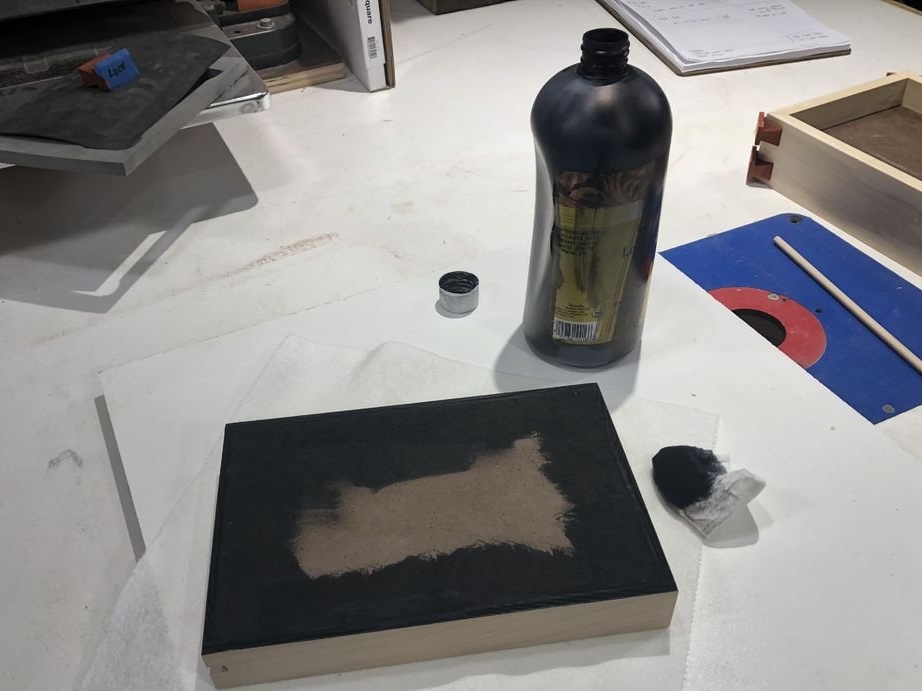
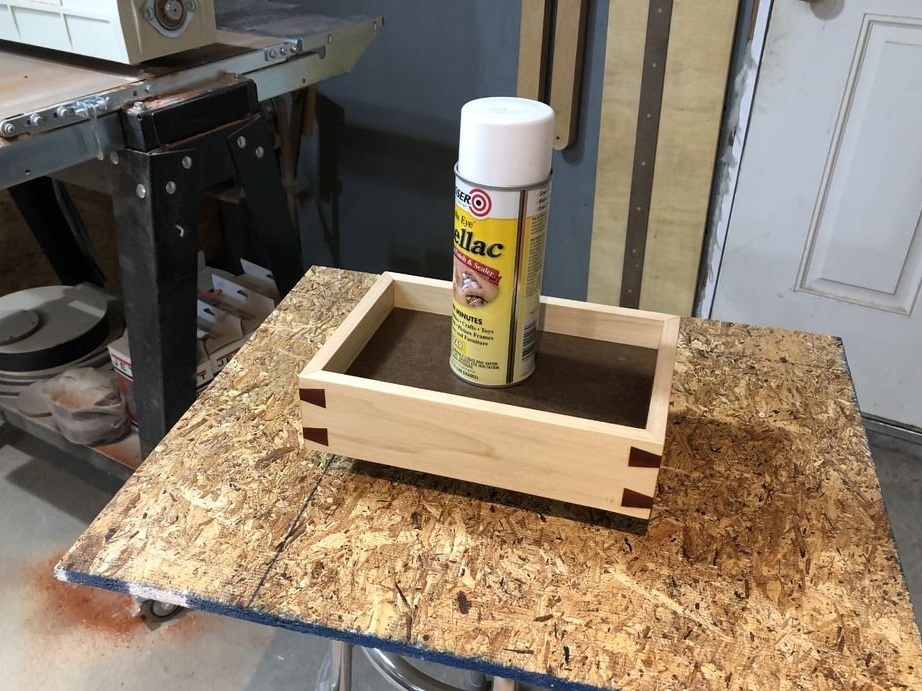
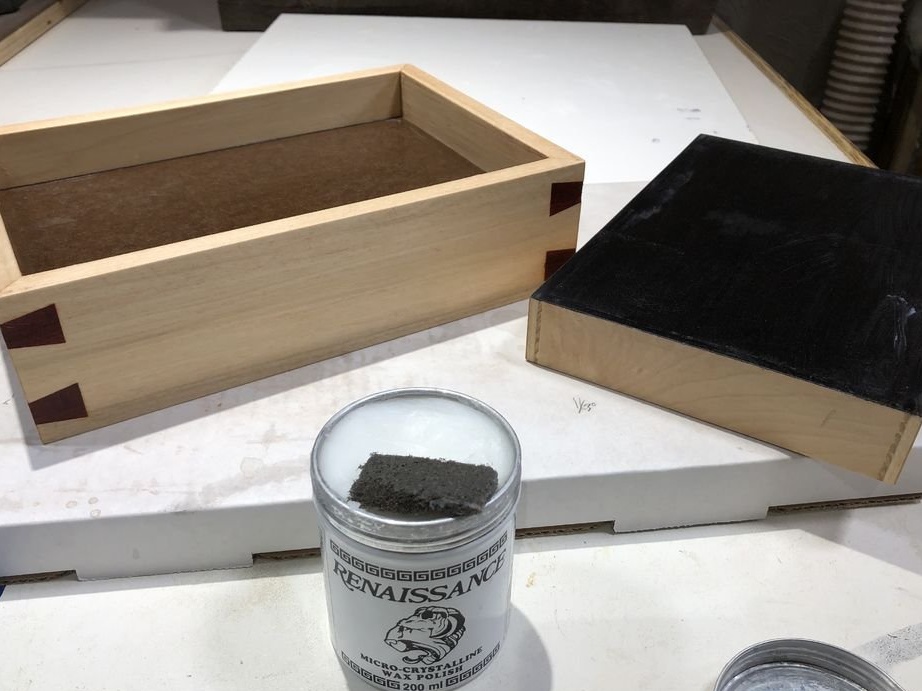
To tint the tree, two layers of shellac were applied. Then light sanding with 220 grit sandpaper. Another layer of shellac.
After drying, a layer of wax was applied. Then the wax was polished.
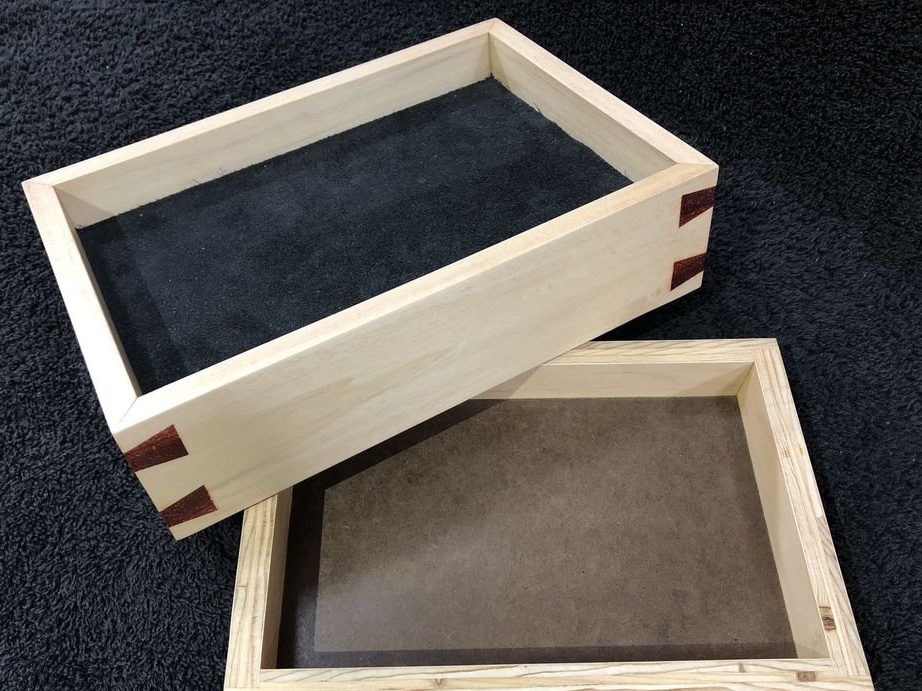
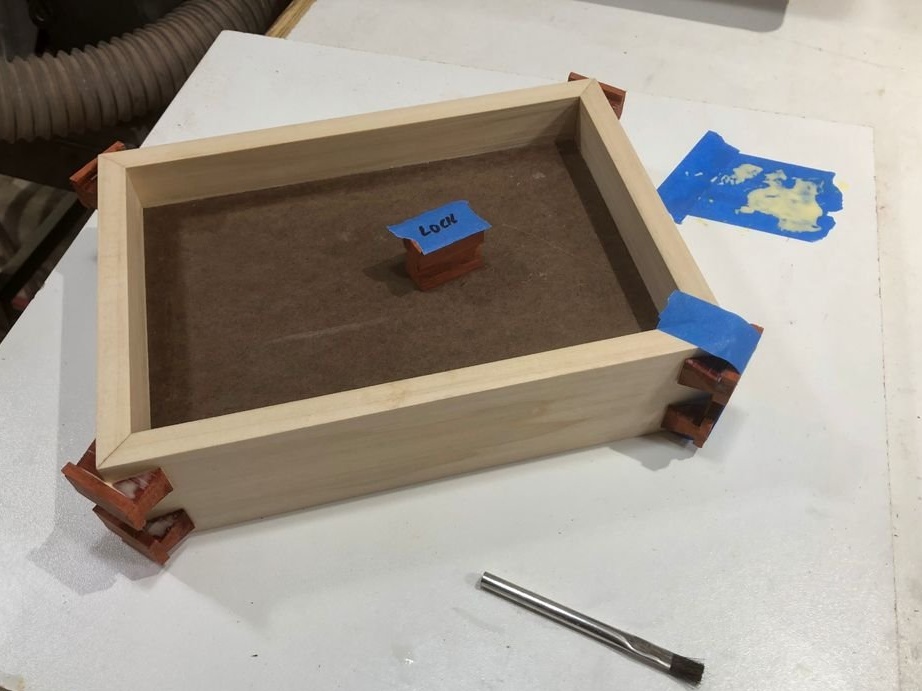
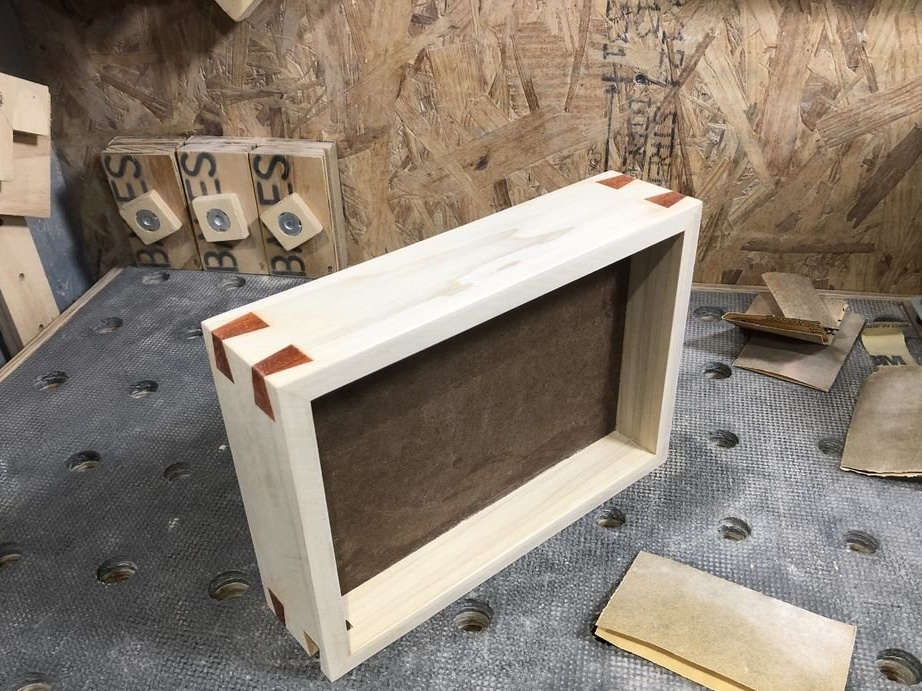
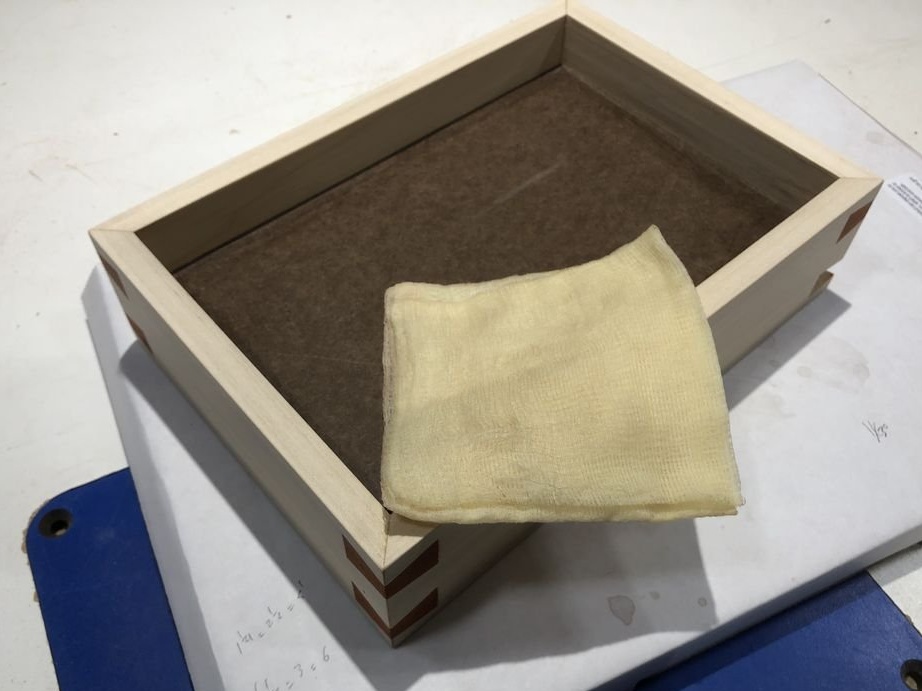
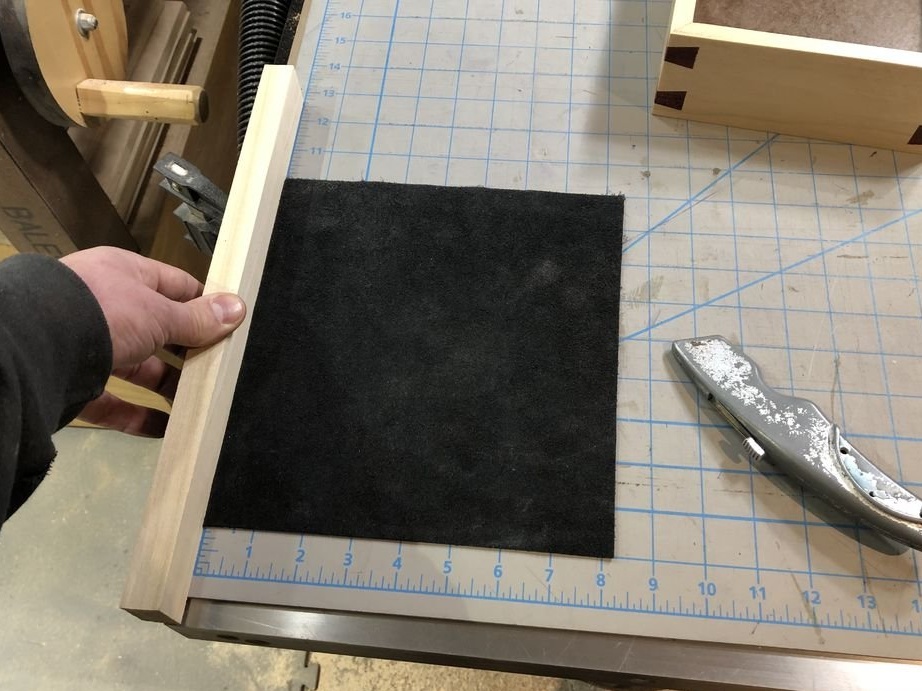
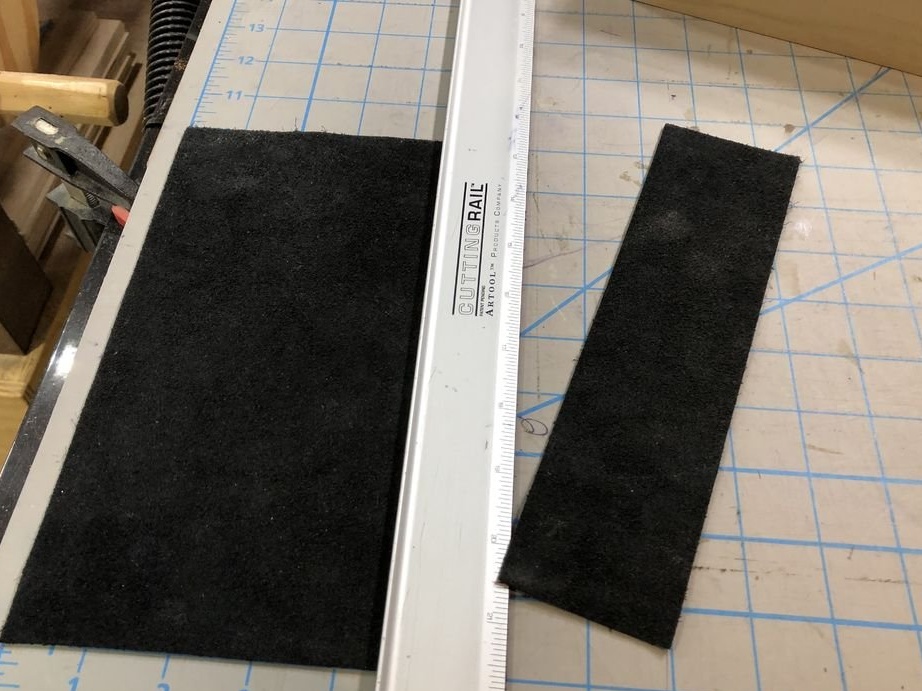
Black suede was chosen for the lining of the upper box.
Step 9: Lock Mechanism
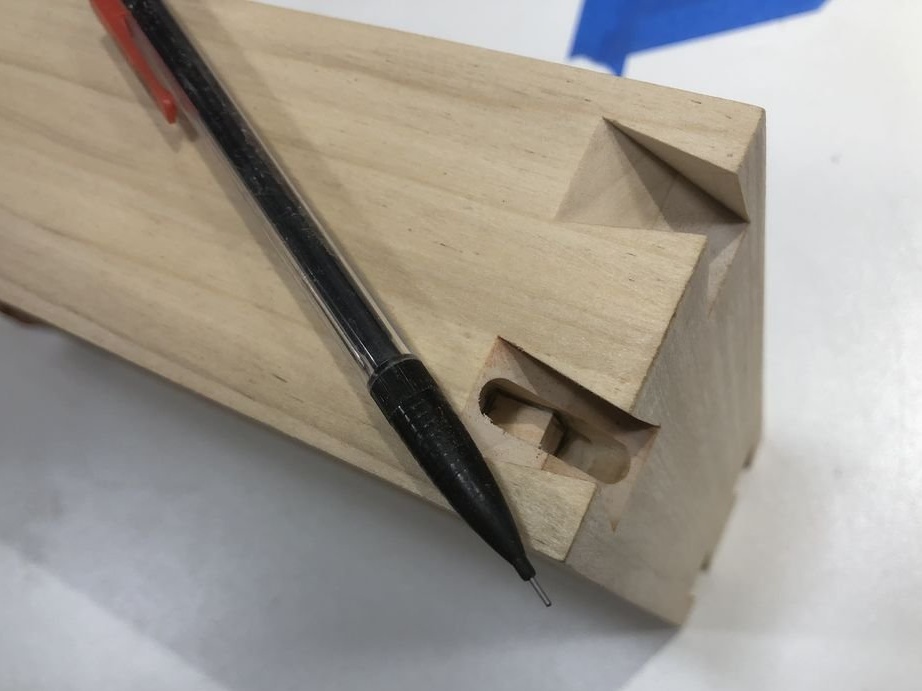
The locking mechanism is a simple holding pin that engages with a recess in the inner box.
Cutting down the inner box
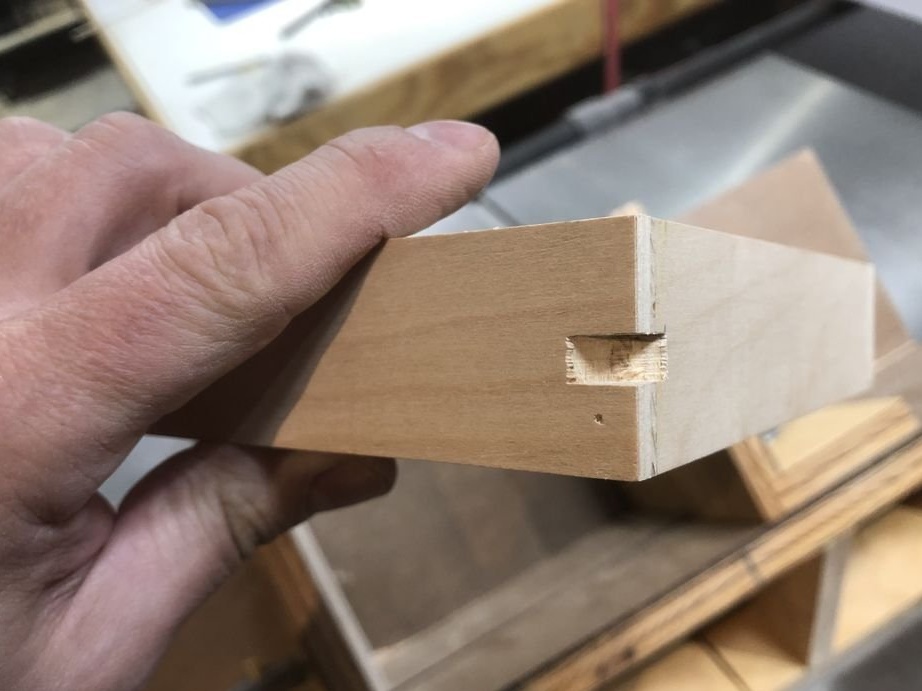
Both boxes should be put one into the other and a pencil to mark the area for the incision. Using a slide, make an incision on the circular saw.
Layout

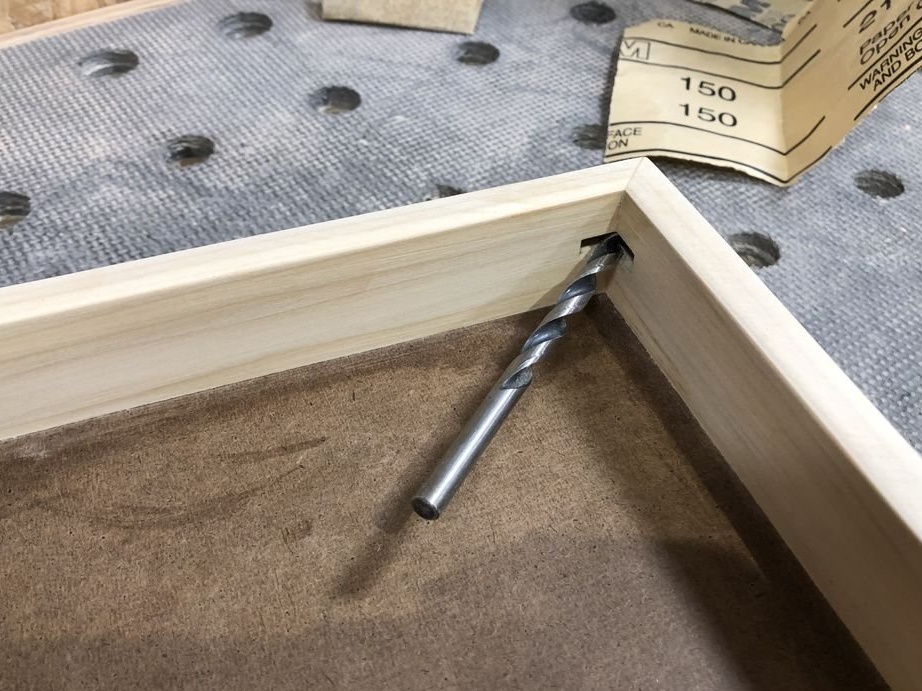
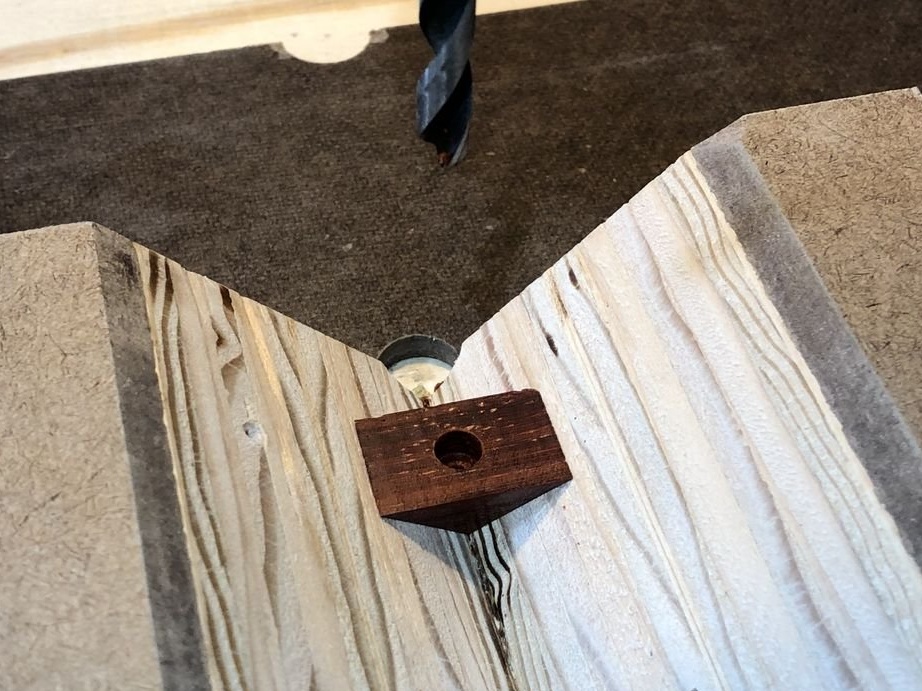
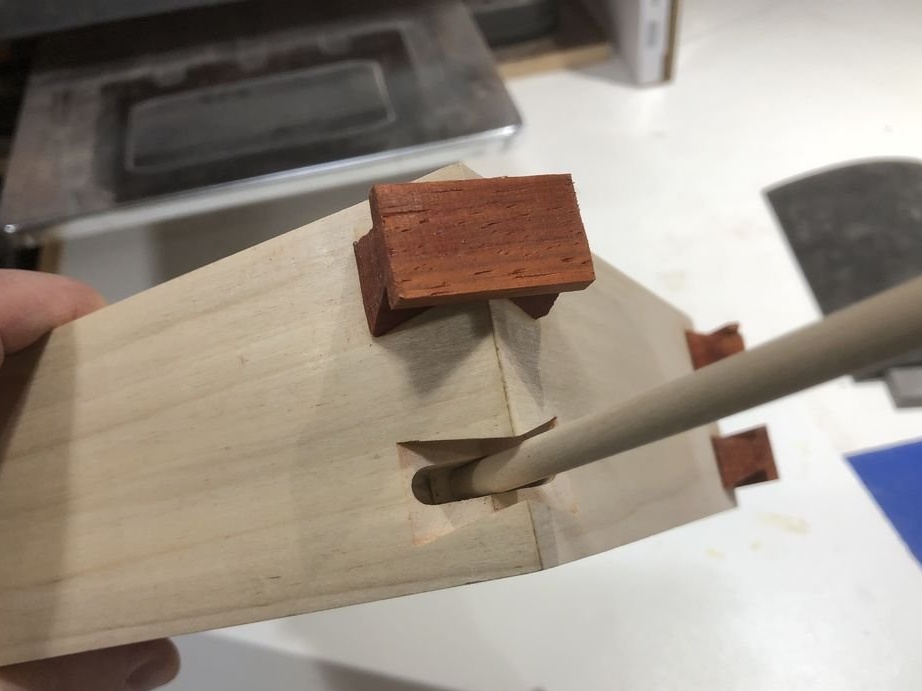
To accurately mark the location of the hole in the sliding key, a 6 mm diameter drill was used.
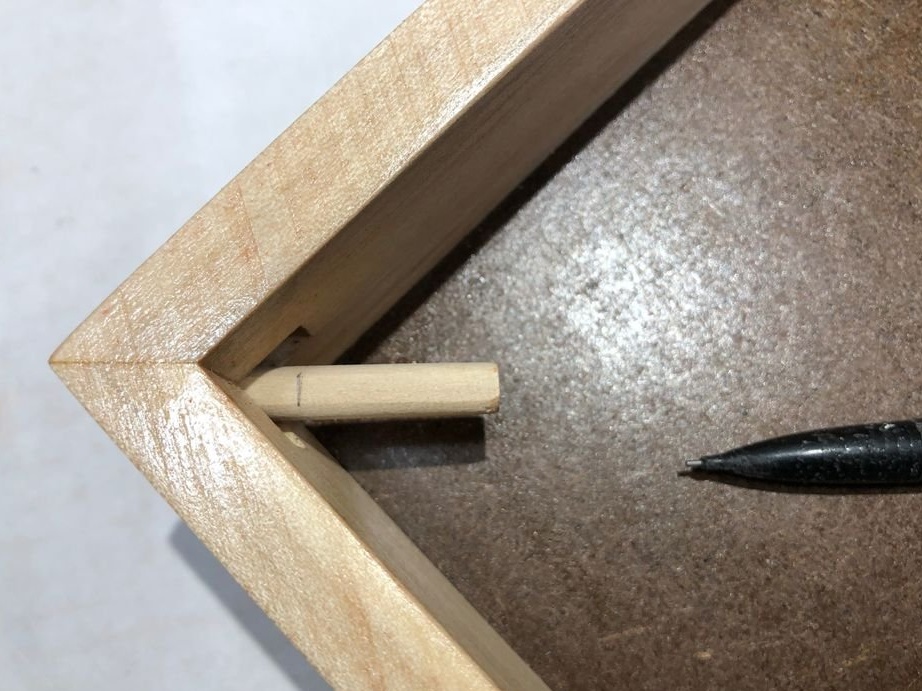
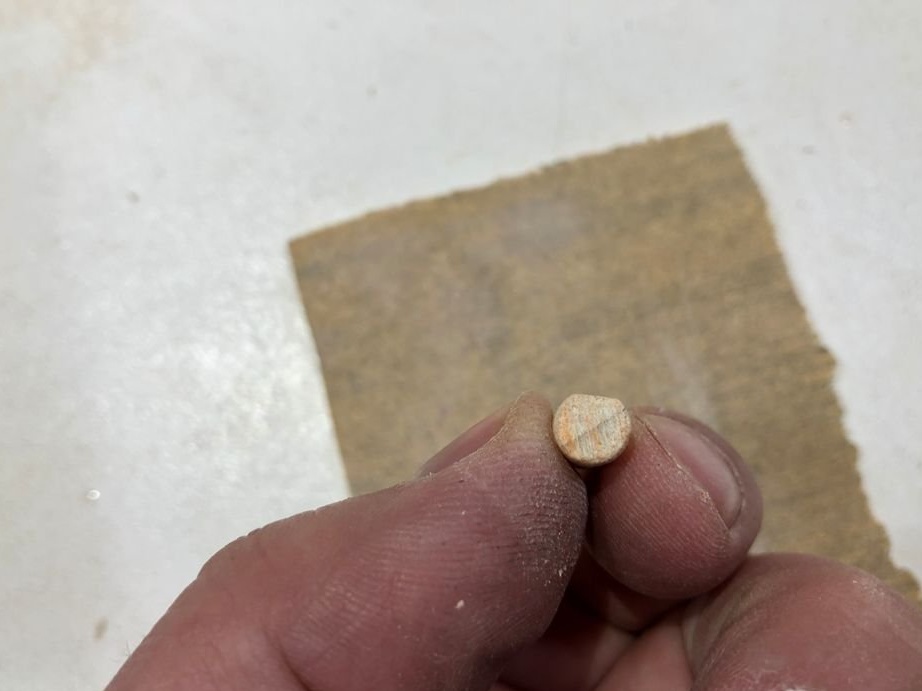
Dowel
The length of the dowel is selected locally, empirically. A test run showed that the dowel was pulling from above, so it was sanded in some plane.
Assembly
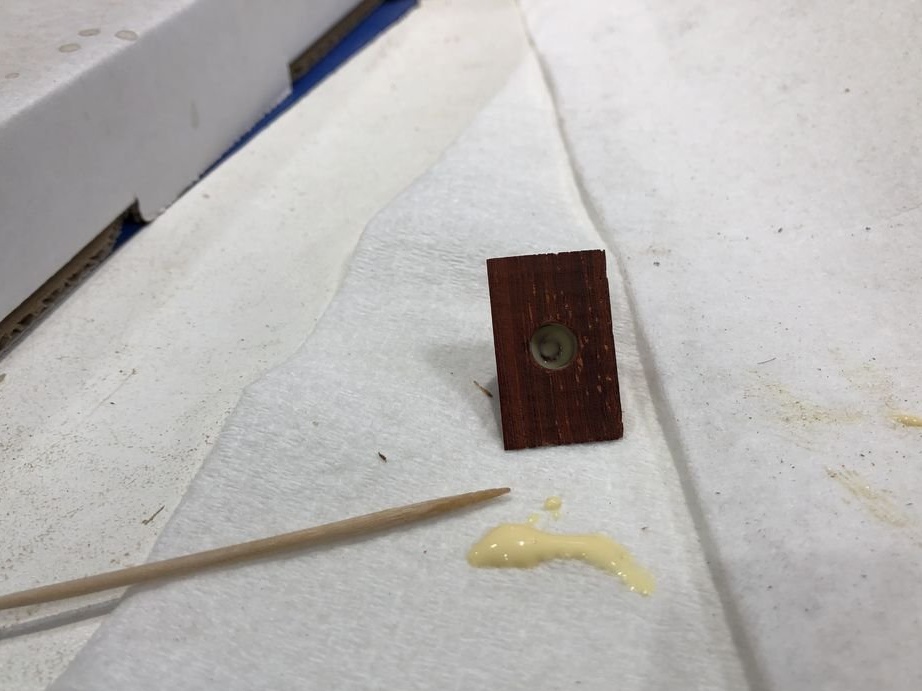
When everything is adjusted to each other, glue is added to the dowel hole, wedge wax and slots. The wedge is inserted into the slot, then the dowel is inserted into the shape of the hole from inside the box.
Note: Too much glue on the dowel can hold all moving parts in place.