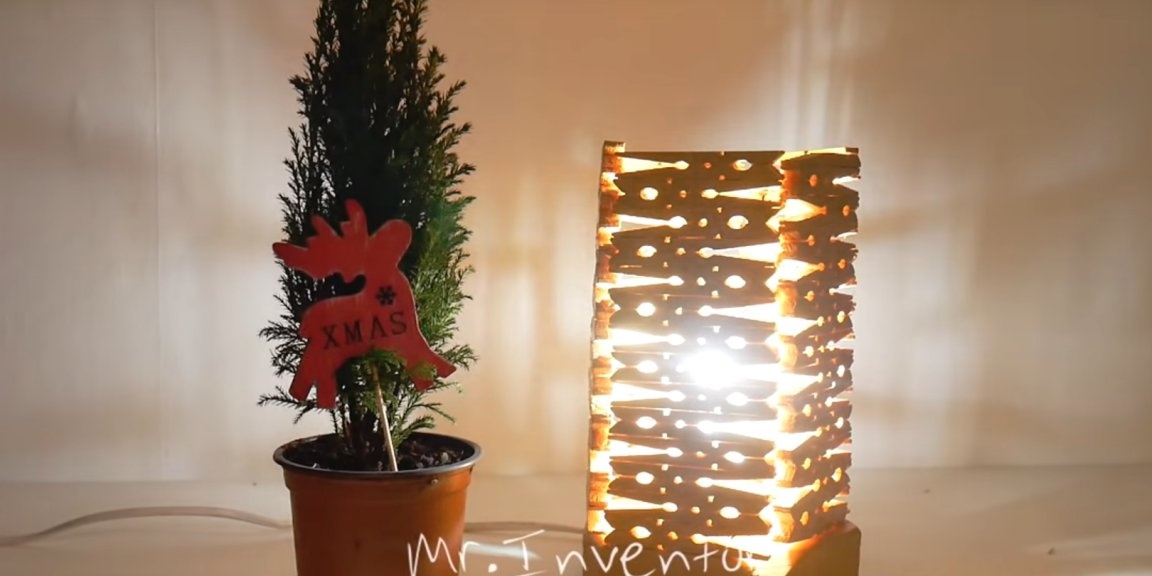
In this article, you can learn how to make a lamp from ordinary clothespins. Nothing complicated in the manufacturing process, and the result is quite attractive.
Tools and materials.
Manufacturing process.
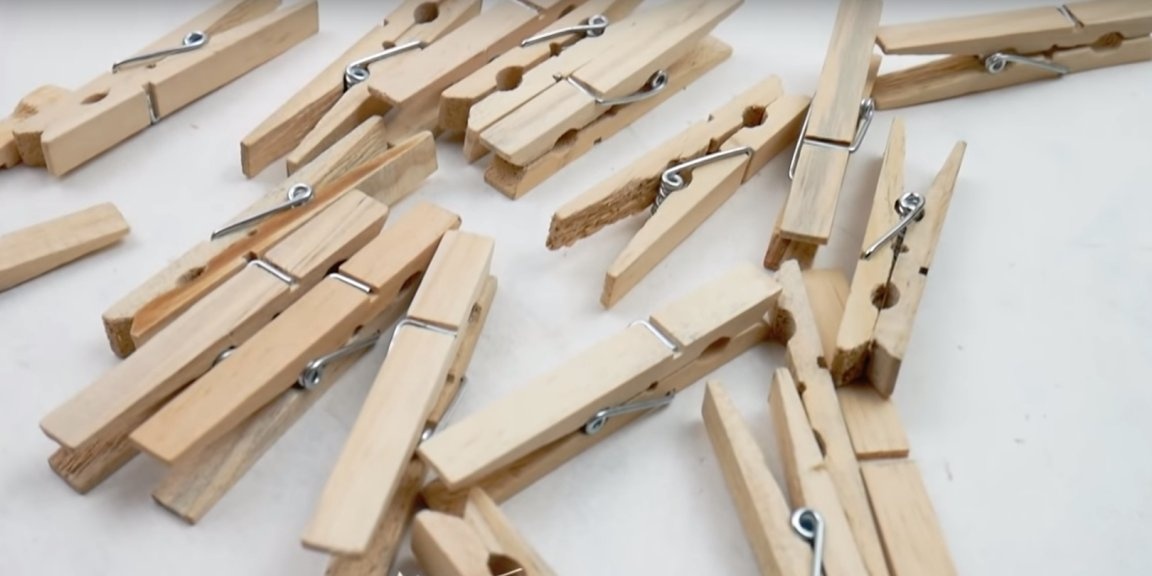
The main material for the manufacture of such a lamp is clothespins, which means you need to stock up on a fair amount of them. In total, the author used in his homemade about 70 clothespins, the final number of clothespins of course will depend on the size of your lamp.
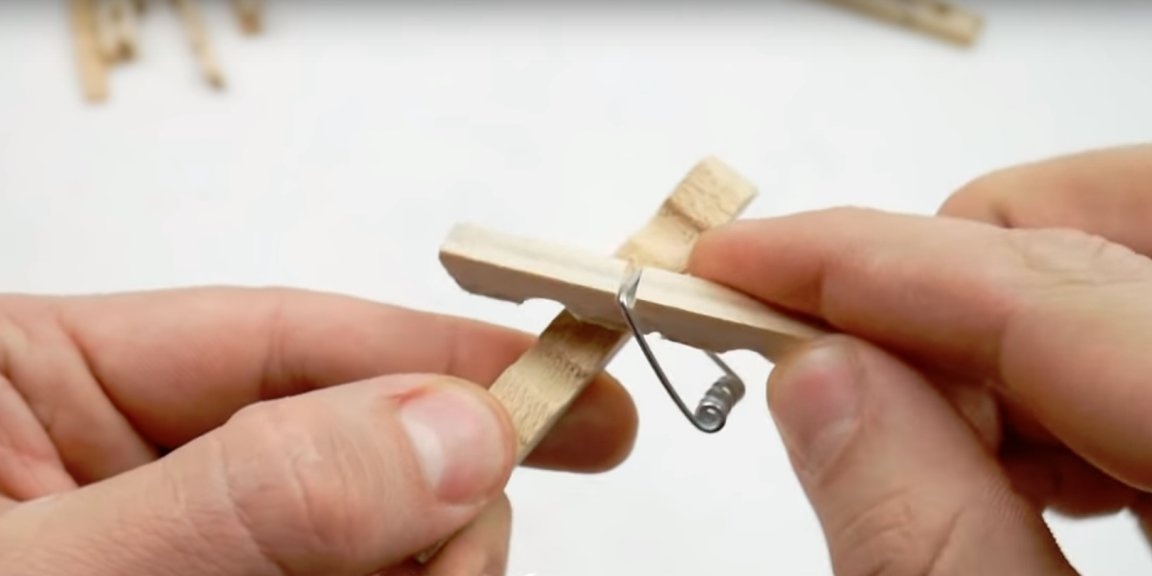
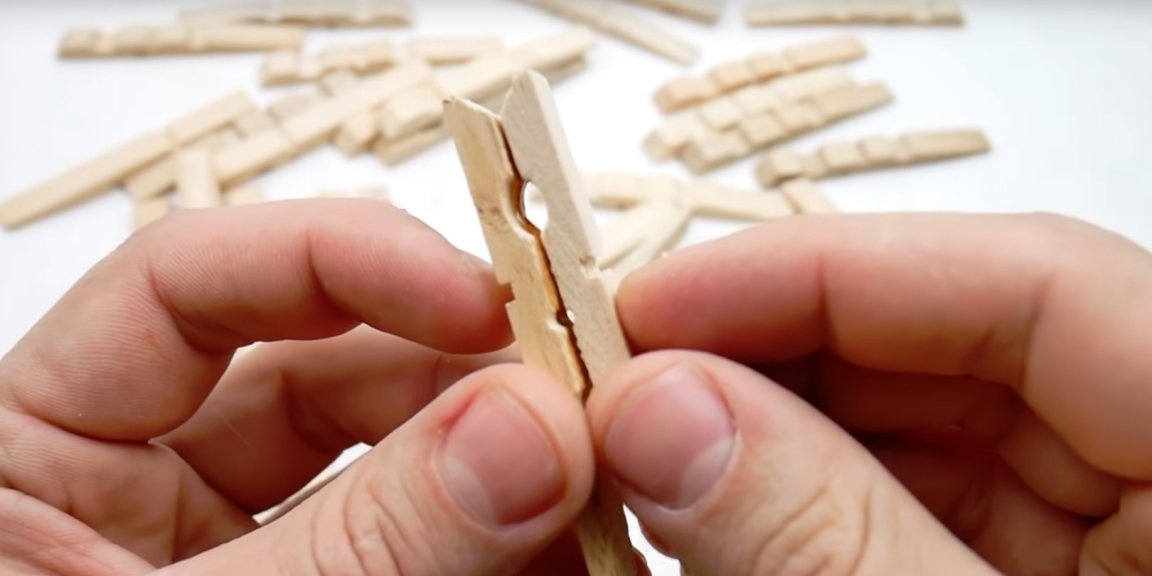
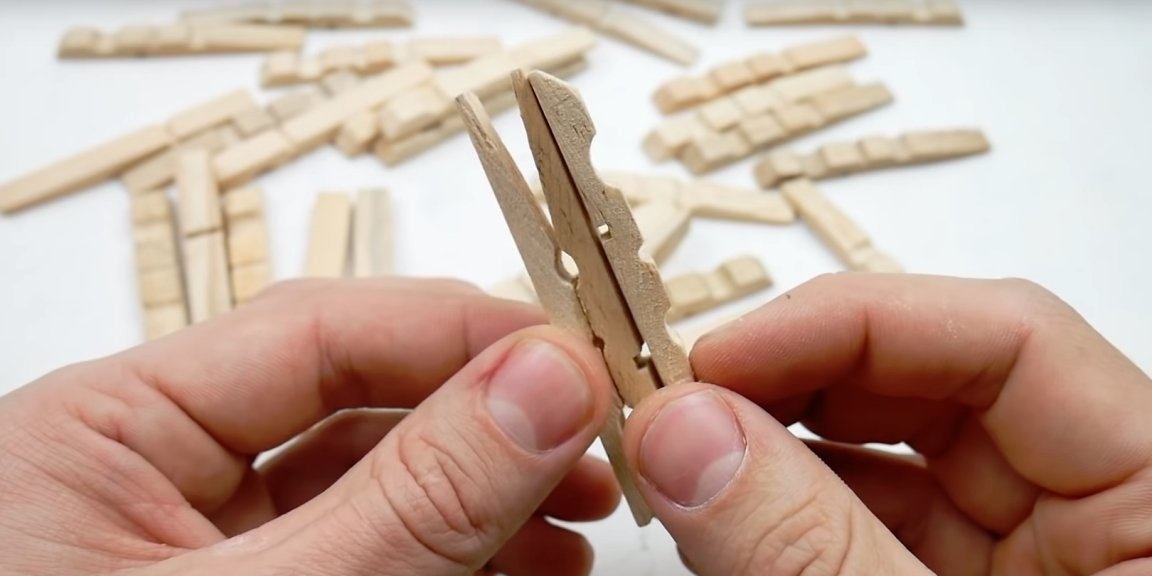
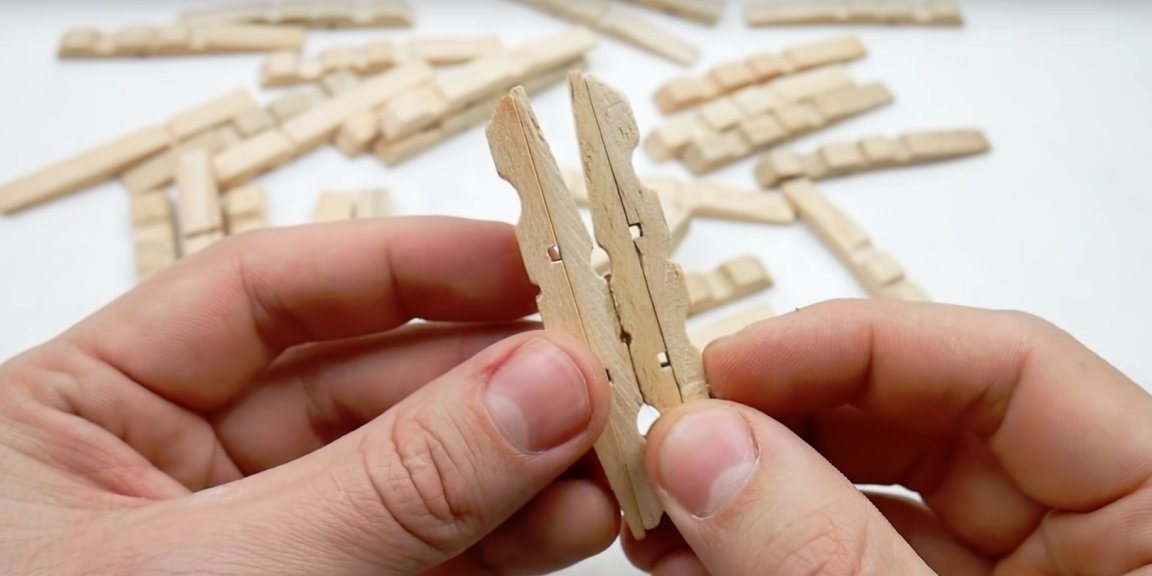
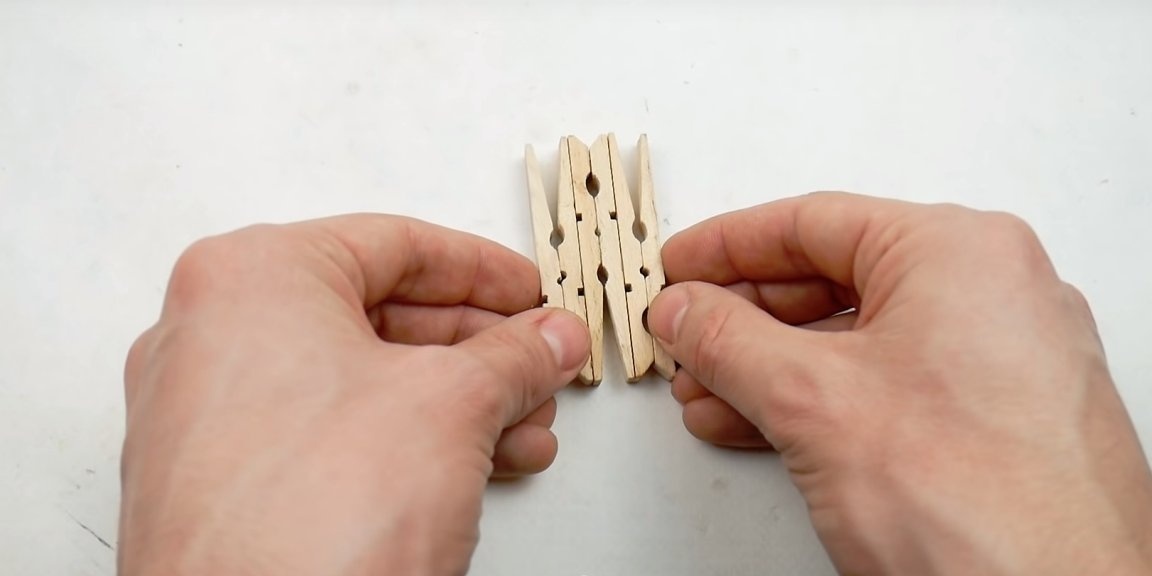
To begin with, the author parses clothespins, the spring is no longer useful.
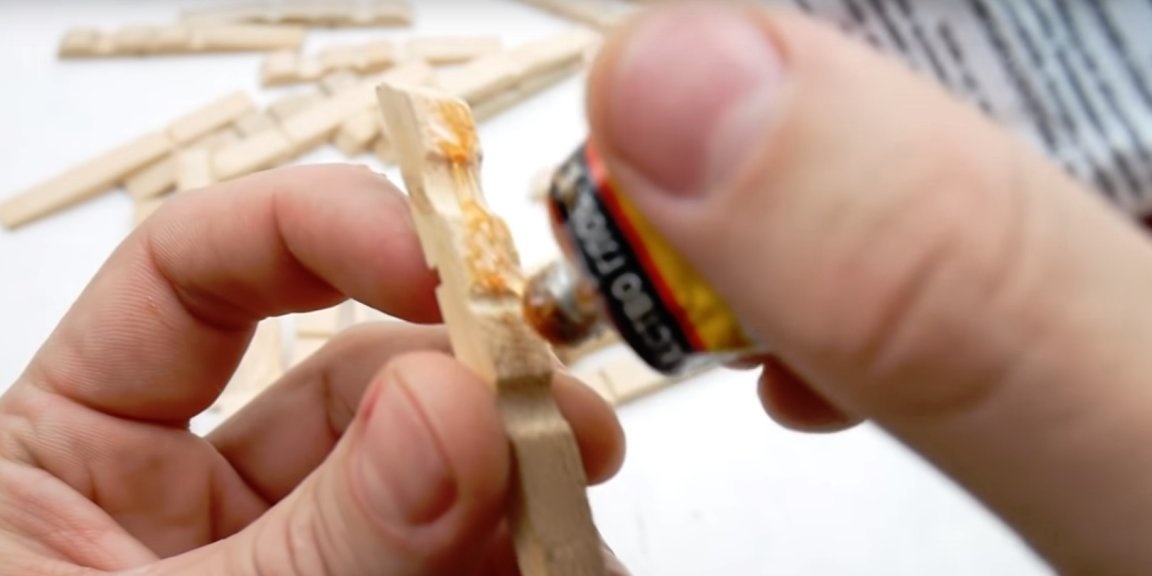
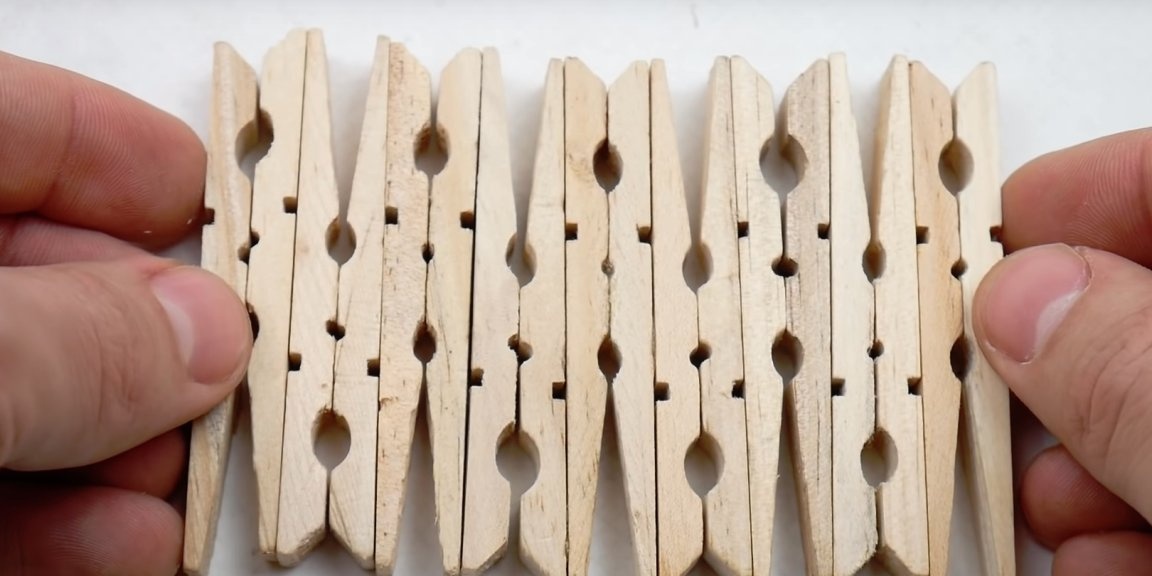
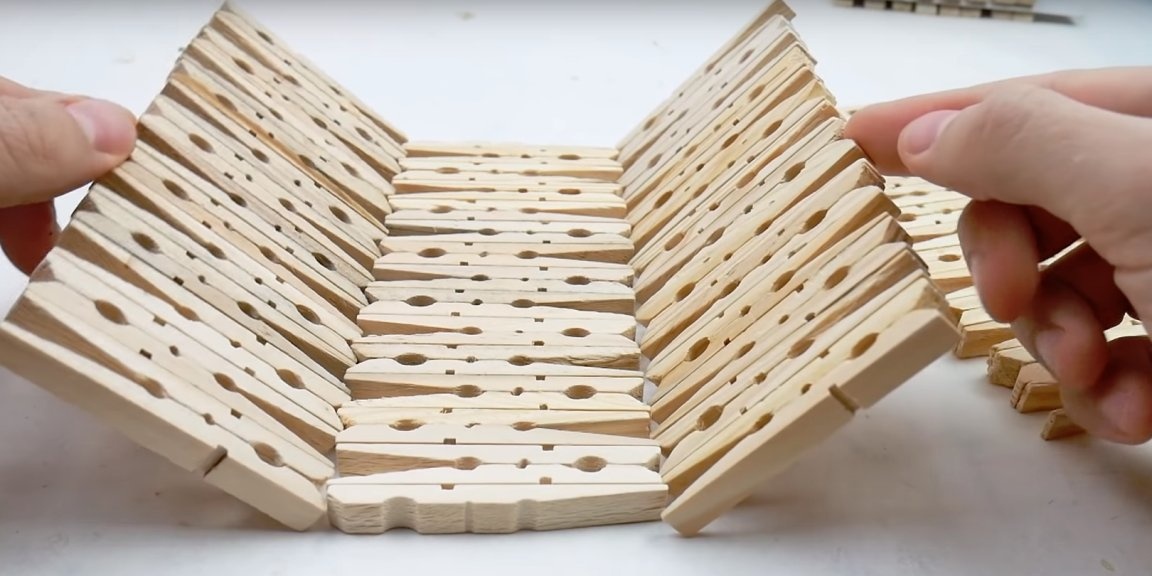
Now you need glue. The author glues the halves together as they were previously spring-bound.
The author seems to be using something like rubber glue, but you can also glue it with a glue gun. Of course, in such a lamp it will be possible to use only an LED lamp.
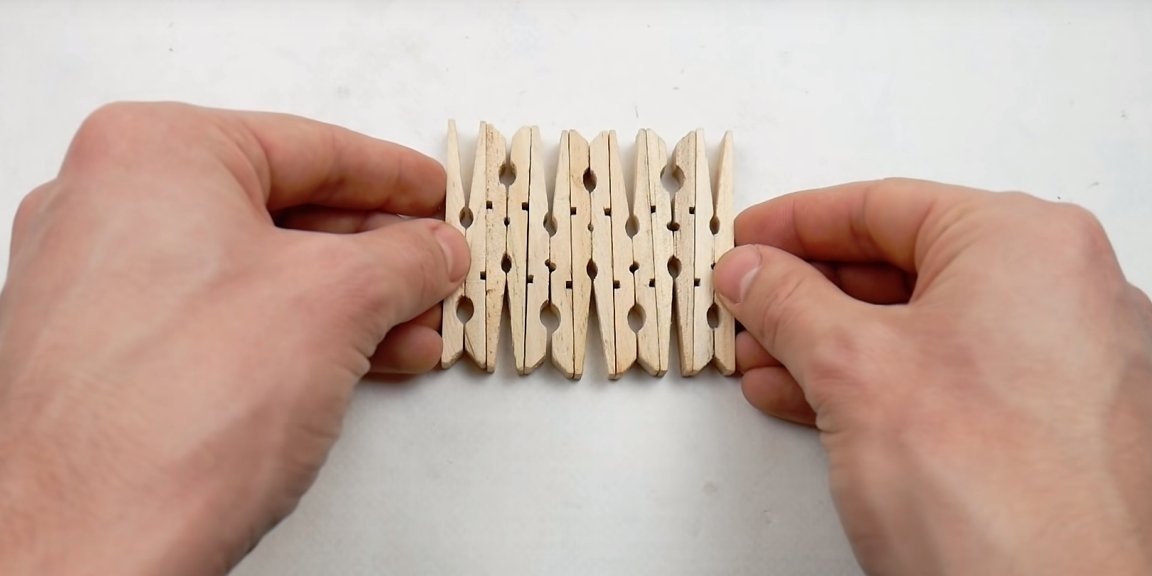
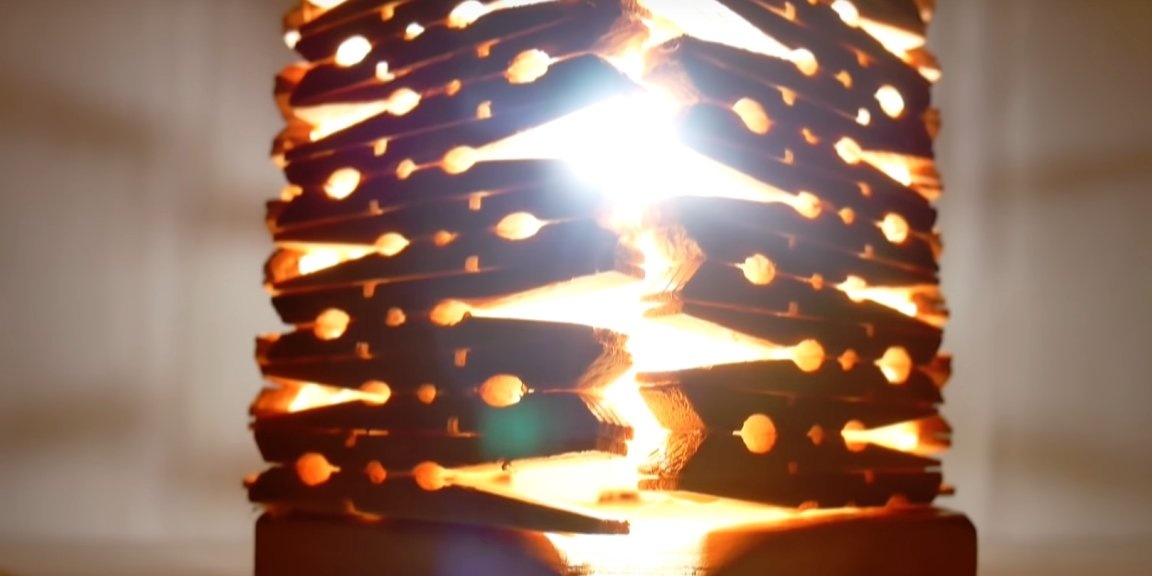
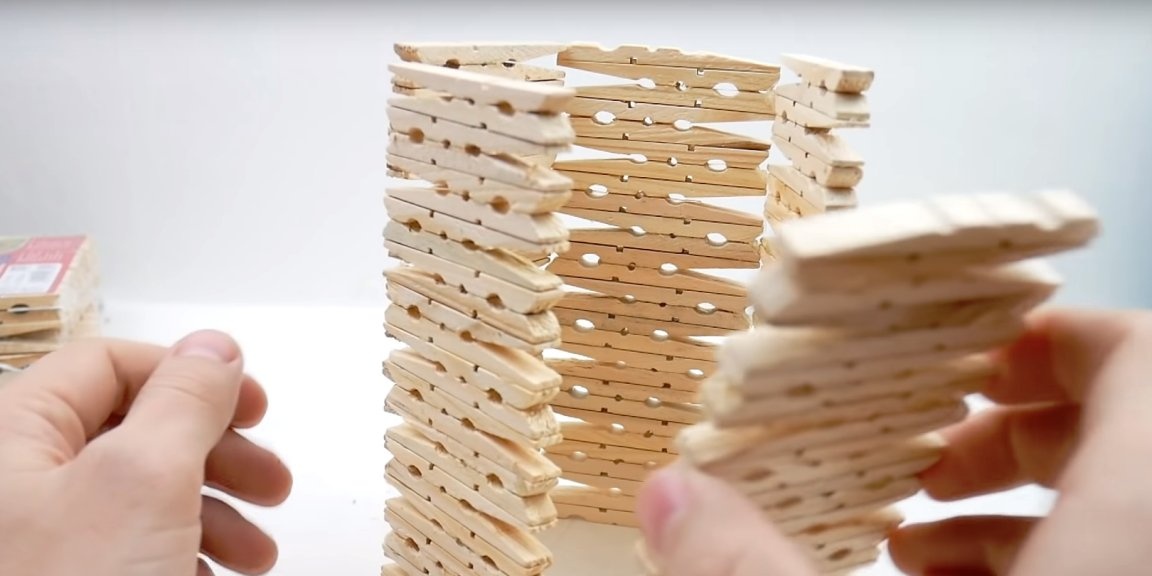
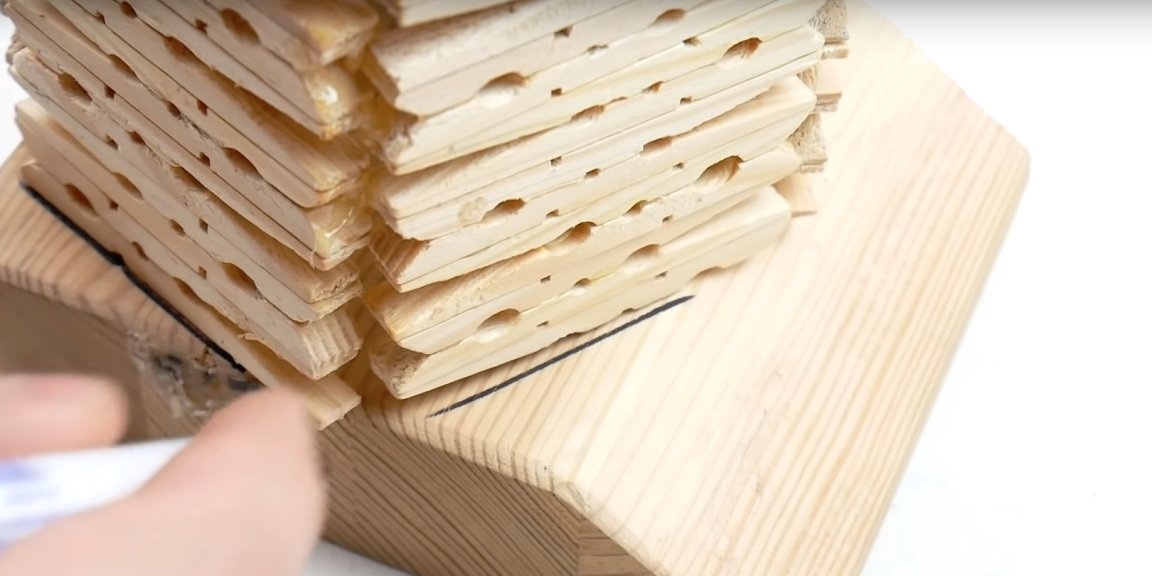
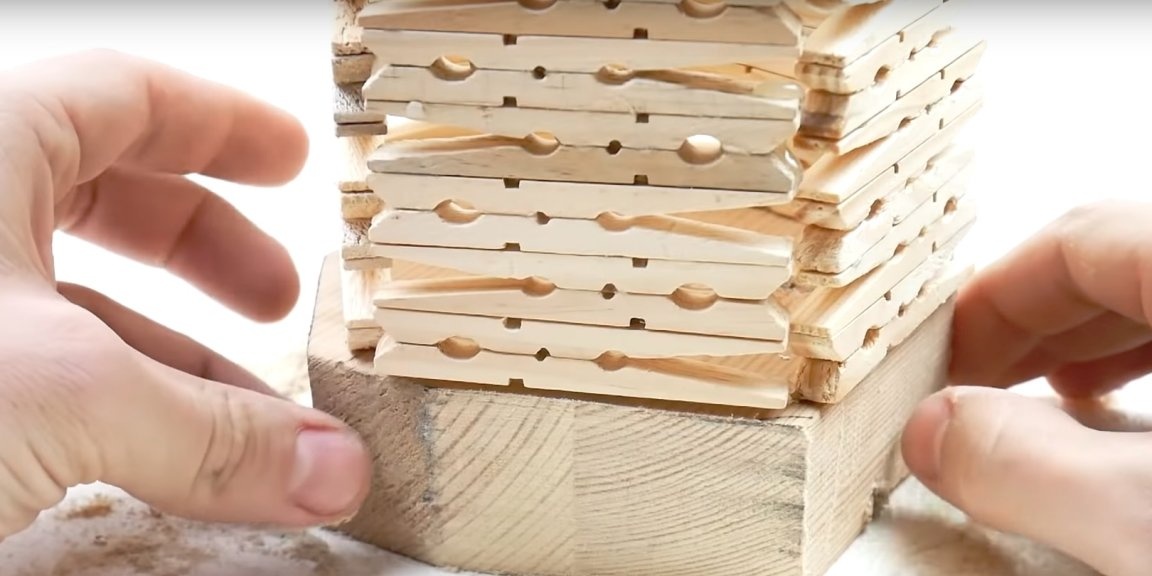
Gluing the halves of clothespins together, the author makes 5 distinctive sections. Each section consists of 28 halves. Now these sections need to be fastened together.
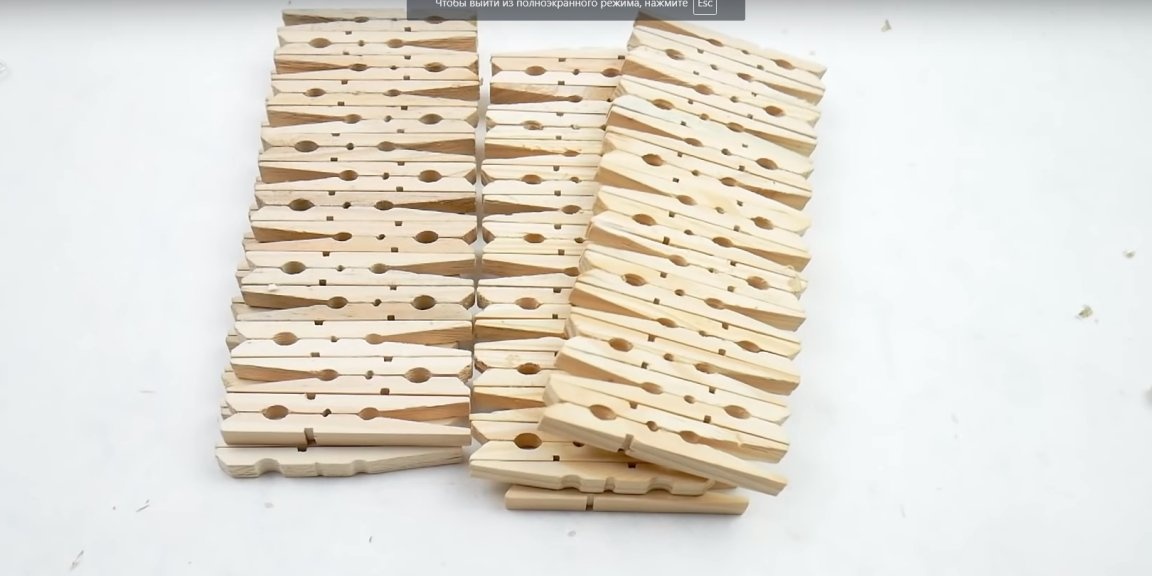
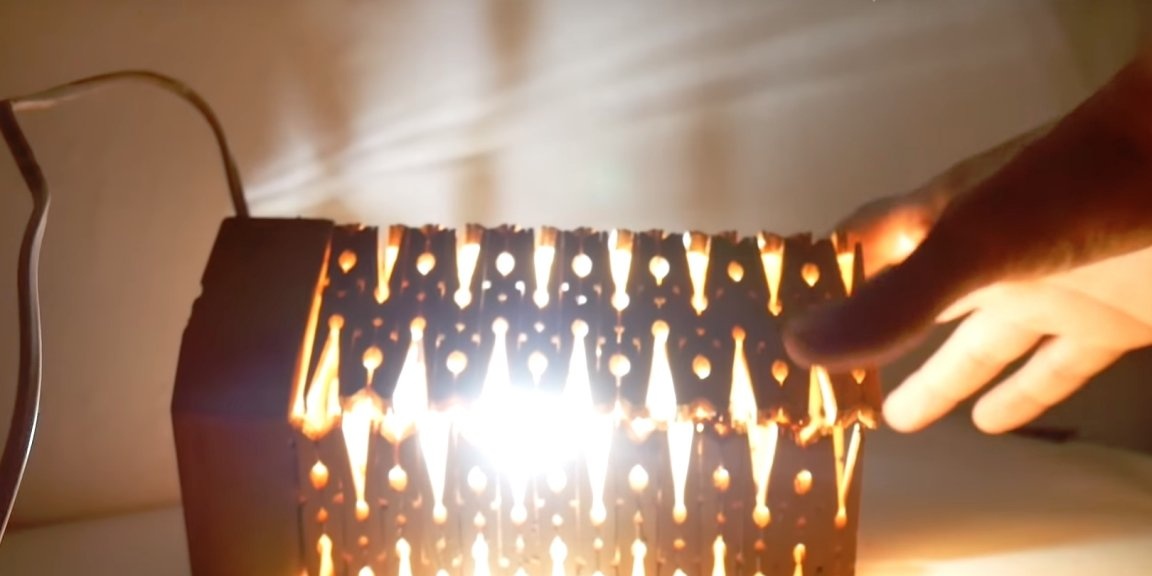
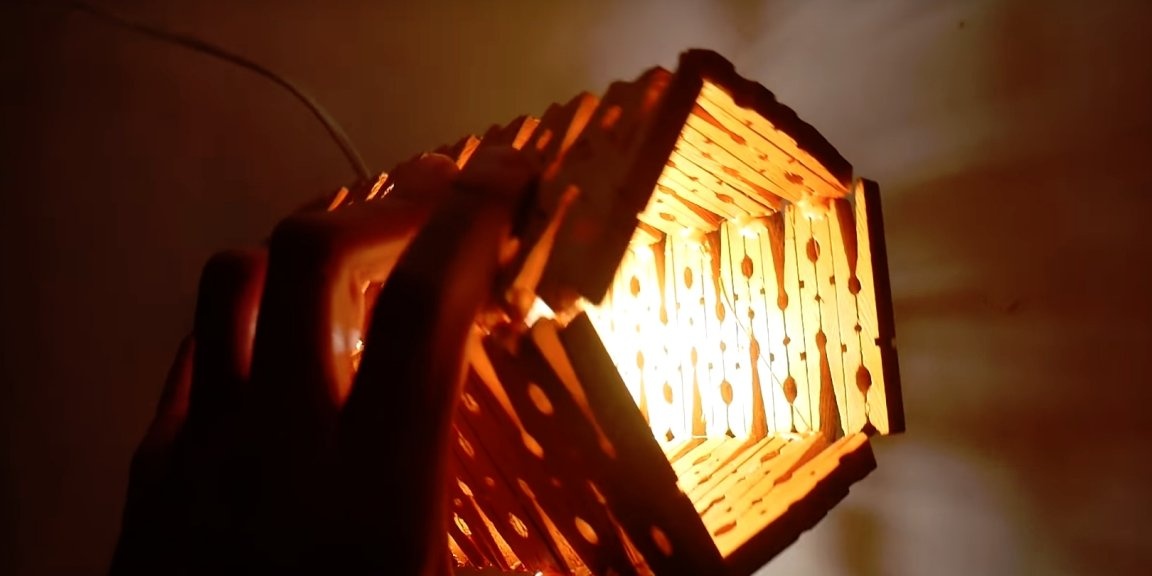
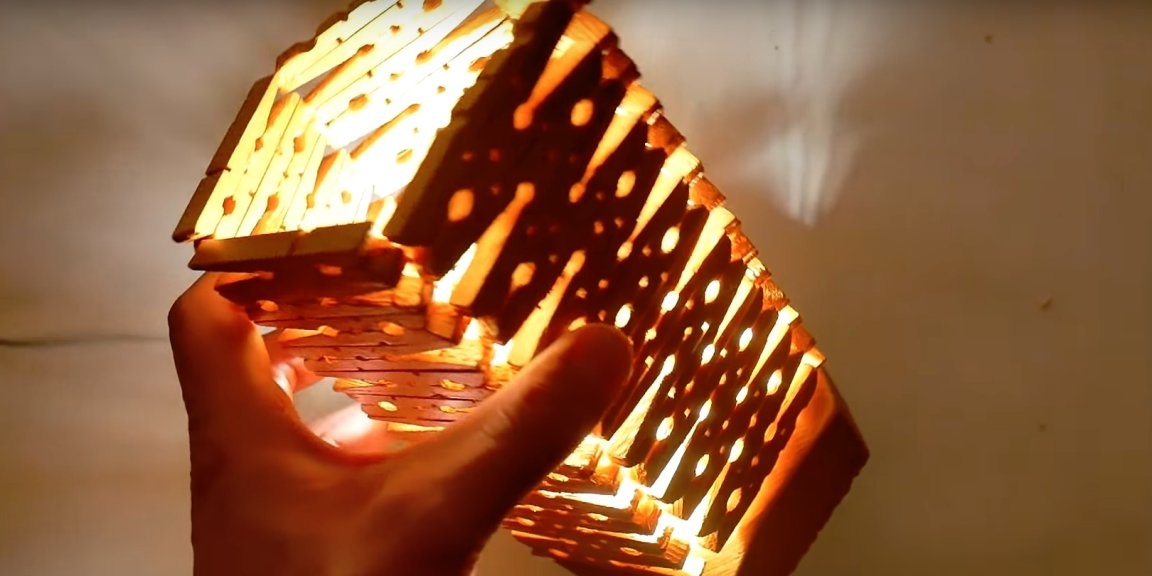
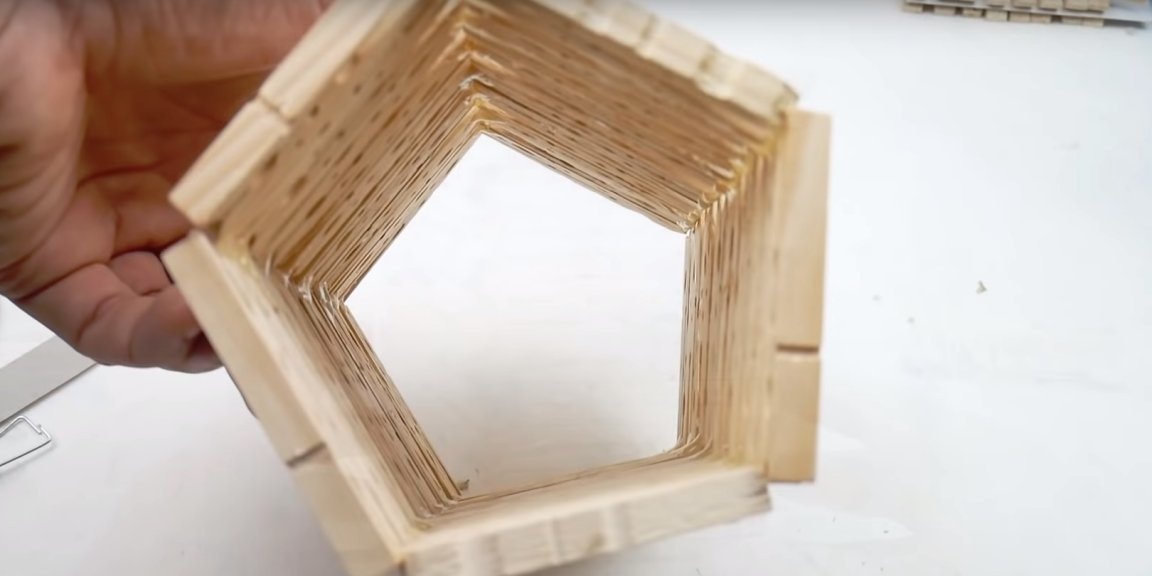
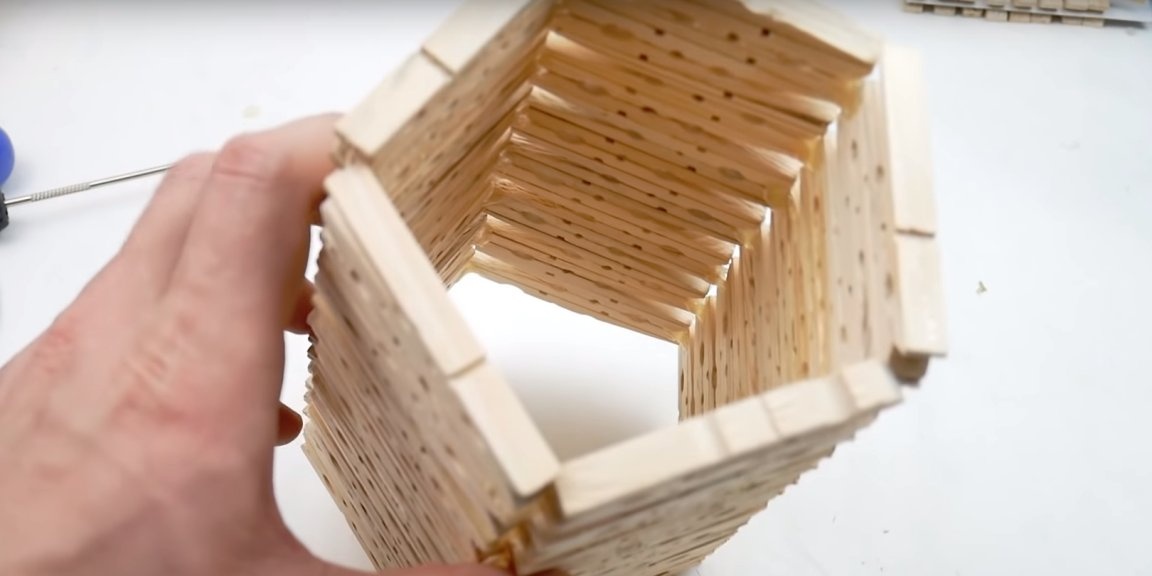
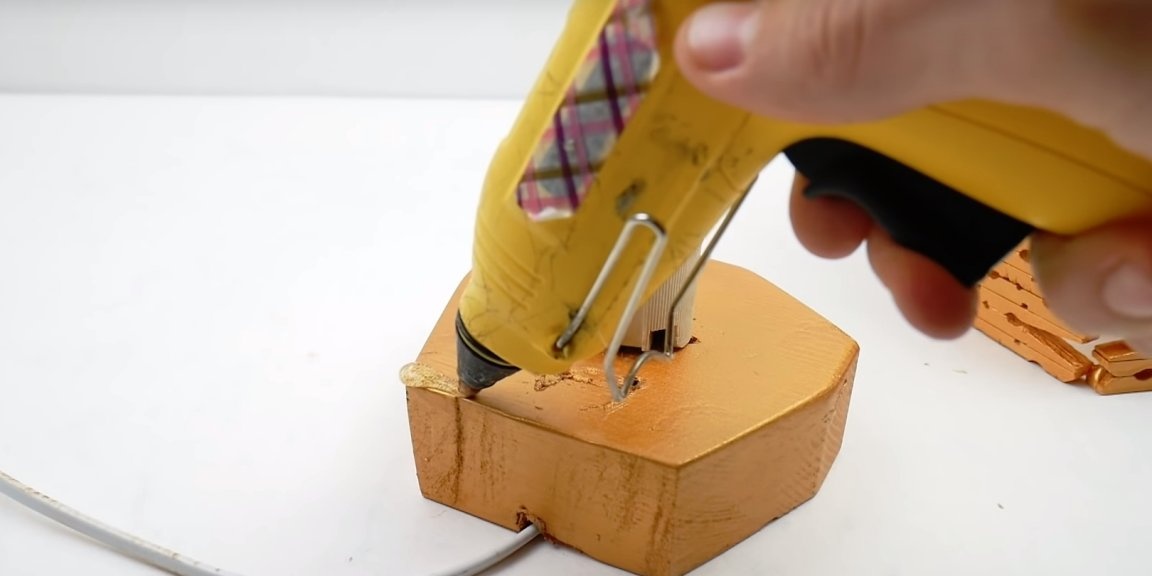
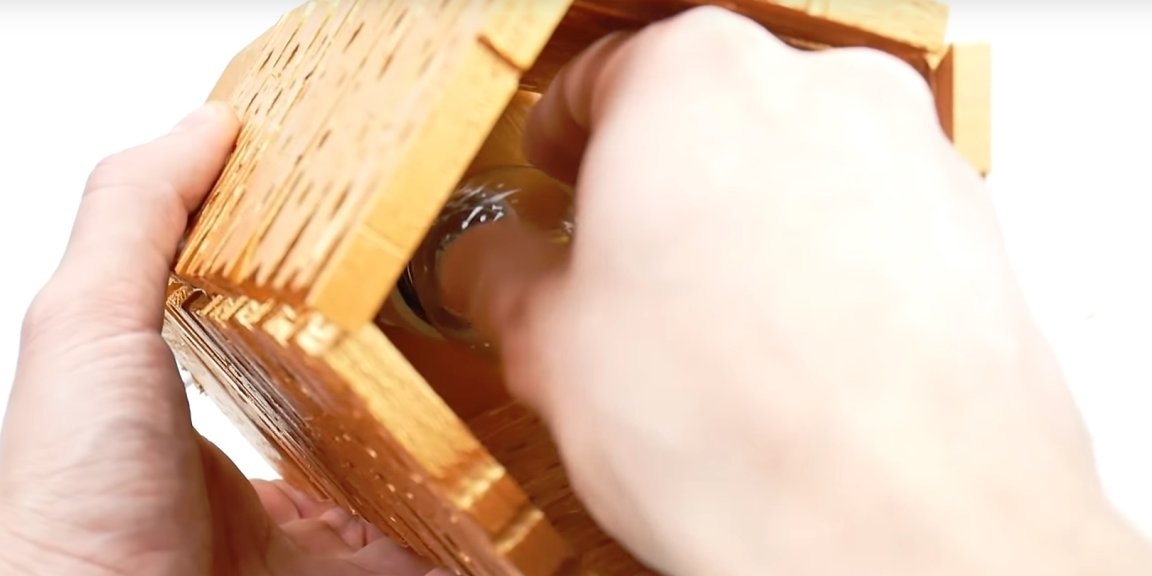
The author glues them using hot-melt adhesive, creating a pentagonal design.
Now it’s worth considering the base of the lamp. The master finds in his bins, a bar of an unnecessary tree. Yes, now he looks unpresentable, I agree. But all the ugly will subsequently hide. The master marks on the bar the contours of the lamp, and cuts off the excess. By the way, as an option, it would be nice to use as a basis a piece from the log, directly with the bark, it would look excellent.
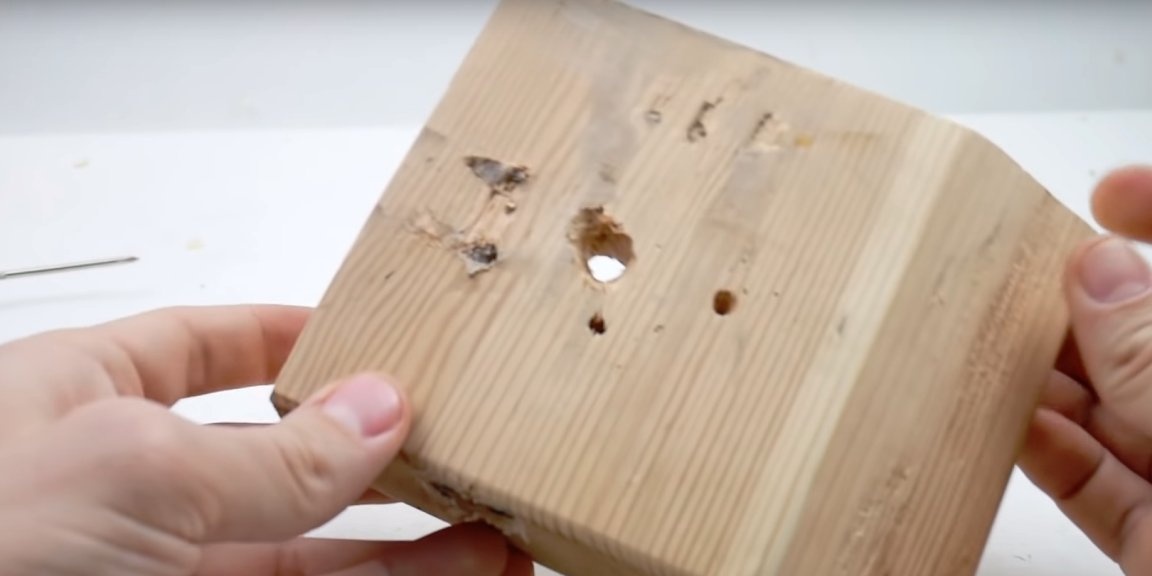
The next step will be the painting of the product, the author puts the lampshade on the base but so far does not fasten them together, since the cartridge will still need to be screwed onto the base. Stains with spray paint.

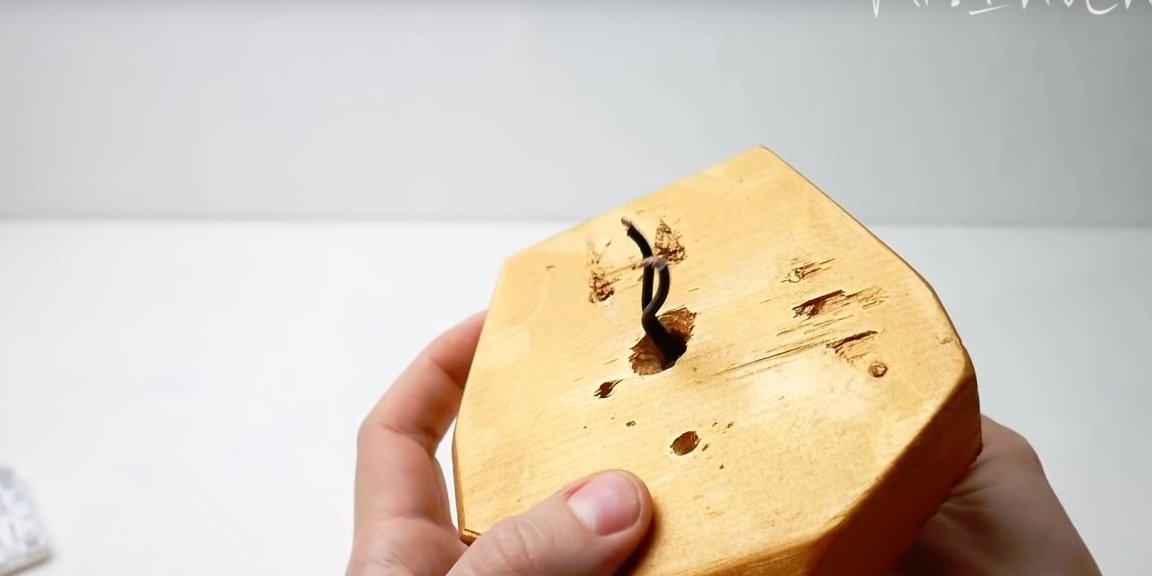
When the product dries, in the base you need to drill a hole for the cable, the author already had a hole in the bar, and not one
 so he skips this step. In the lower part of the base, you also need to make a groove under the cable, where to put it.
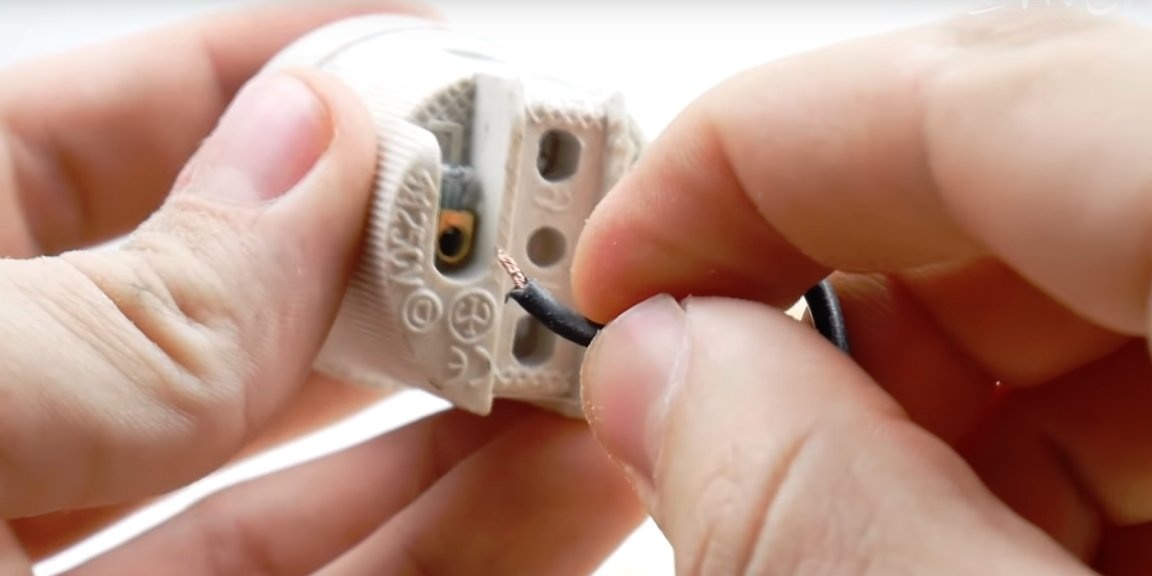
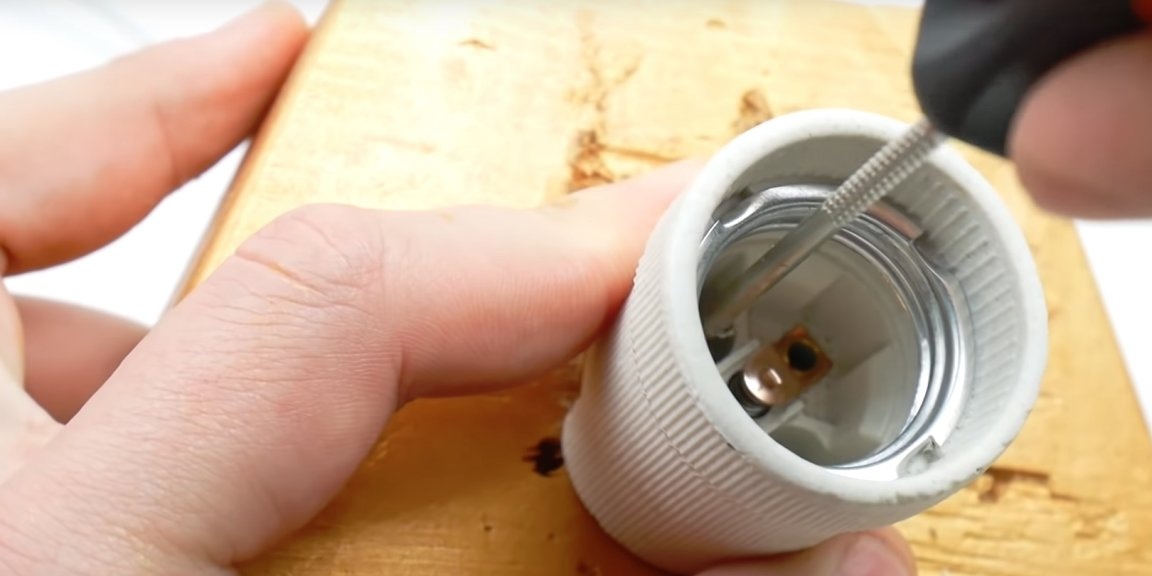
Next, the author connects the ends of the wire to the cartridge, and screws the cartridge to the base, connects the plug.

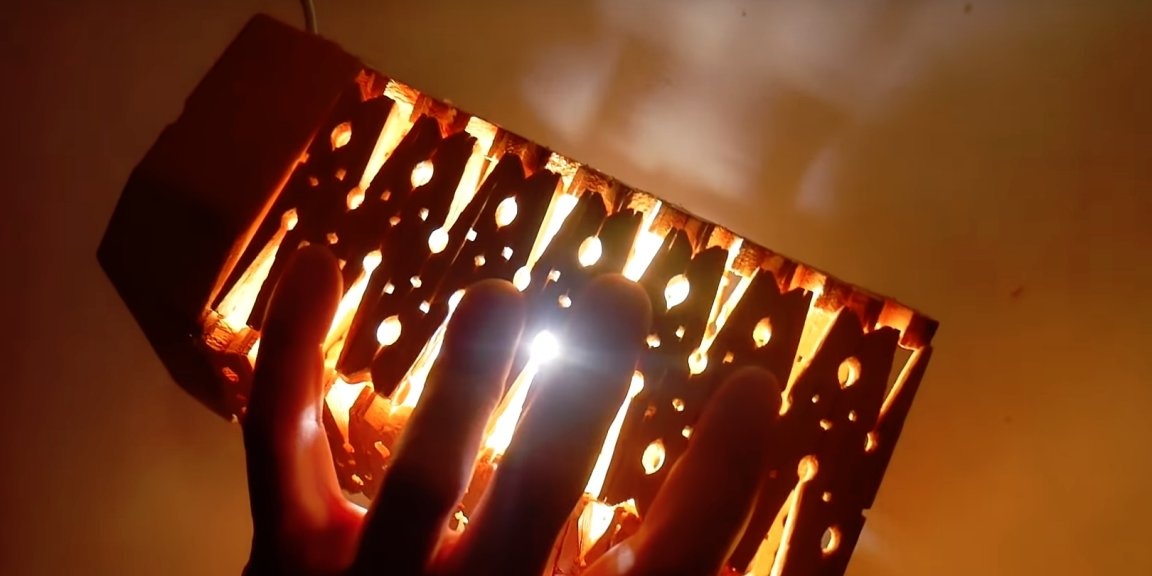
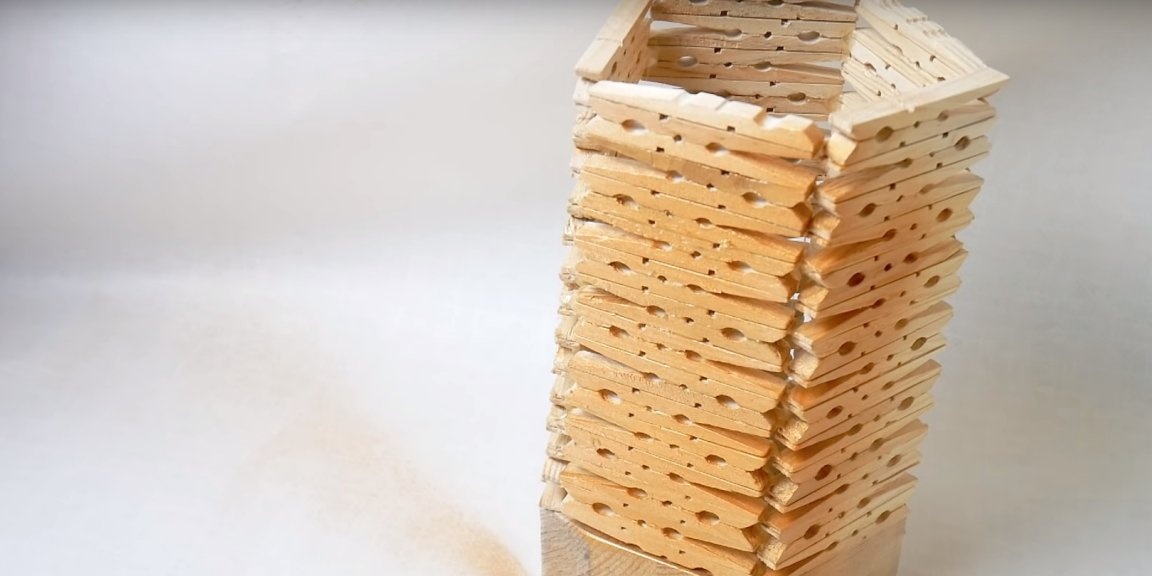
Now you can stick the lampshade to the base and screw in the bulb. Once again, I remind you that the lamp should be LED.
On this homework is completed. You can check. It looks great.
Well, I say goodbye to you, all good and good mood !!