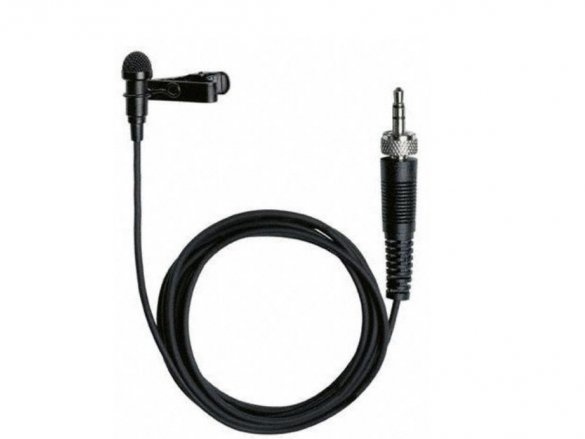
Very often they are used on television, in theaters, when reading and recording lectures in large audiences, etc.
Those who are not affiliated with television, theater, or public speaking usually use this. device for recording Internet clips with explanations on making homemade products, news videos requiring minimal movement, or creating other video materials that must have at least the minimum quality of the audio track.
If you have a camera or camcorder with an appropriate connector for audio input, then you can connect this device to them, which allows you to free your hands while shooting, and improve the quality of recorded speech (by reducing noise, stabilizing the volume of speech, etc.).
By the way, in stores, prices for this device (manufactured by unknown Chinese companies) start at 250 rubles. However, judging by customer reviews, such products have a very large percentage of defects, and often either simply do not work, or break after a couple of months. The cost of microphones of well-known companies equipped with additional functions will range from one to tens of thousands.
The author of the video suggests collecting the simplest - but working - lapel microphone. Moreover, if all the components for its manufacture are at your place, homemade work will be absolutely free.
If not, then in this case to assemble such a device do it yourself will be cheaper than buying in a store.
Assembly
So, if you decide to assemble a microphone-buttonhole, here is what we will need for its manufacture:
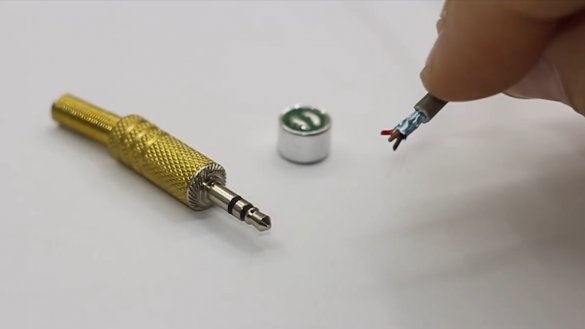
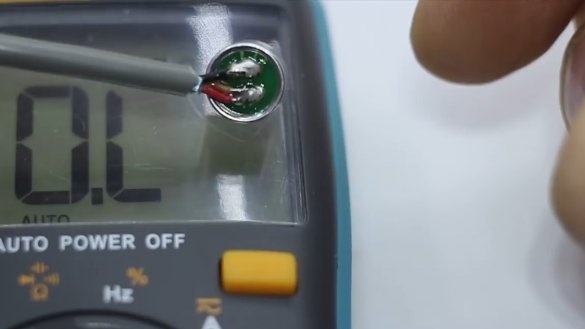
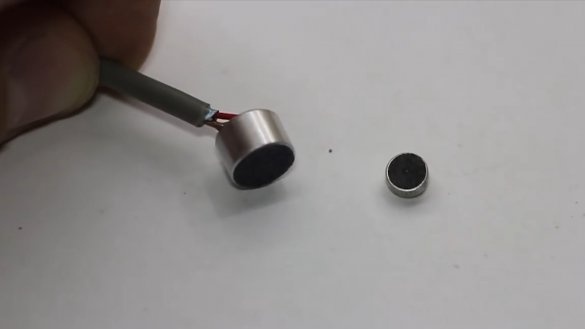
1. Microphone capsule. The author uses something like the one in the photo below.You can buy it at any specialized store.
If you have an unnecessary headset from your phone, you will not have to spend money on a capsule at all. It can be taken from there. It will be smaller, but recording will be just as good. By the way, the author of this home-made record writes all his videos to just such a microphone from the headset of an old cell phone.
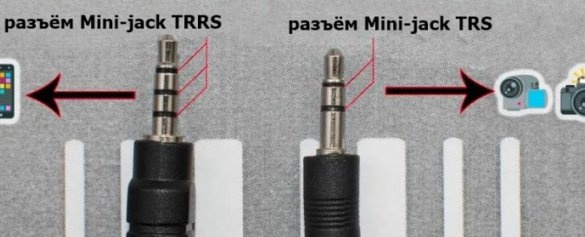
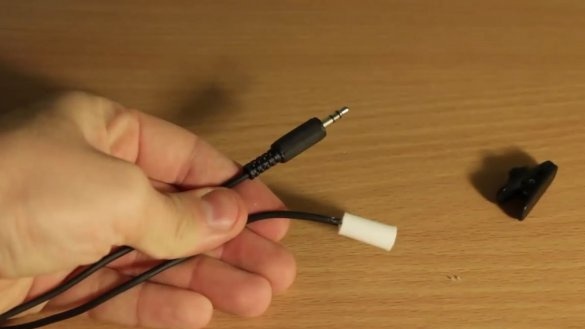
2. In addition to the capsule, we will need a plug like Mini-jack TRS (the author of the video uses it) or Mini-jack TRRS - depending on the model of the photo / video camera or phone.
3. Plus, you will need a communication cable with two or more cores (usually there is a lot of such good in the arsenal of craftsmen needlework) and a soldering iron.
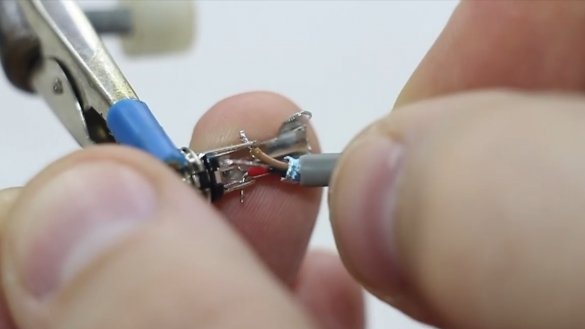
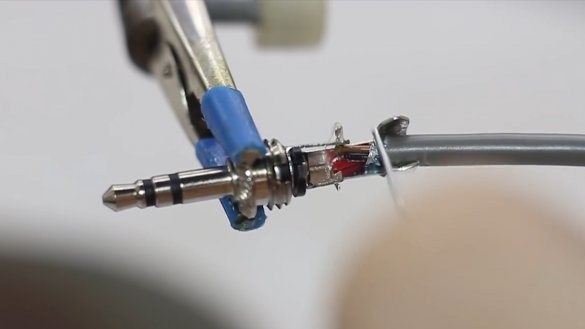
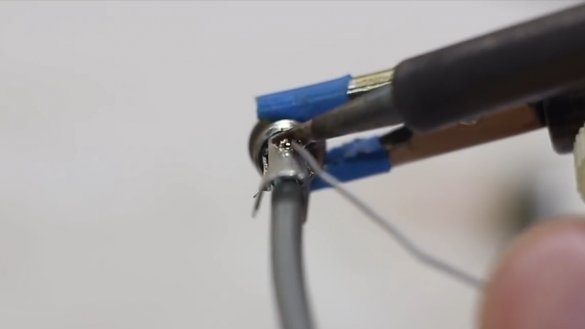
Now you need to combine - by soldering - the three main components of our device: a microphone capsule, cable and plug.
The wiring diagram is nothing complicated.
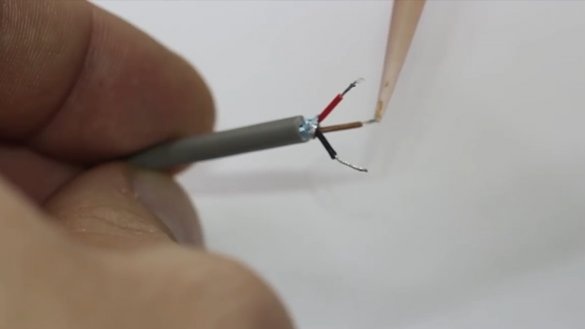
Only the author of the video has three cable veins instead of two veins. He solders the red and brown wiring to two contacts on the plug - responsible for the left and right channels, respectively. However, since our microphone will be “mono” (if anyone wants to make a lapel stereo microphone, you have to buy two capsules and output the corresponding channel to each of them), the author simply combines these two wires, putting them as a “plus” on the microphone.
And another wire - black - will act as the ground (ground). This, as usual, is the general output (case) and the minus to the microphone.
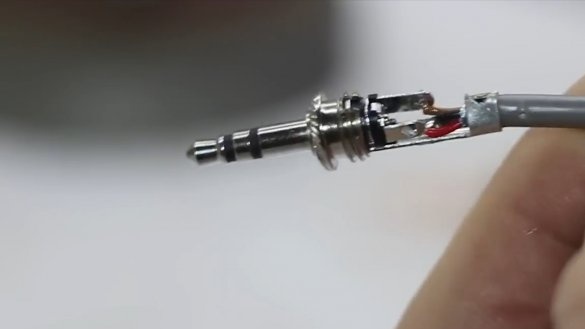
As a result, you should get something like this.
Additions
The author of a homemade lapel microphone stops at this. He deliberately does not collect it in any case and does not “ennoble” it in any other way, intending to test the microphone for some time.
For those who are satisfied with its quality, it is possible to make insulation of wires suitable for the microphone capsule with hot-melt adhesive, and then squeeze it all with heat-shrink tape. You can also place the capsule in the case, finding a suitable plastic tube in diameter - for example, like this.
Well, it will be very good if you still find a noise filter (the so-called “foam”) for the microphone.
It will give the homemade product a more aesthetic appearance and help to “remove” particularly strong noises (such as sounds from gusts of wind). If at home there are inoperative headphones with a microphone, you can remove it from there. Or, with a great desire, you can buy it, since this pleasure is inexpensive.
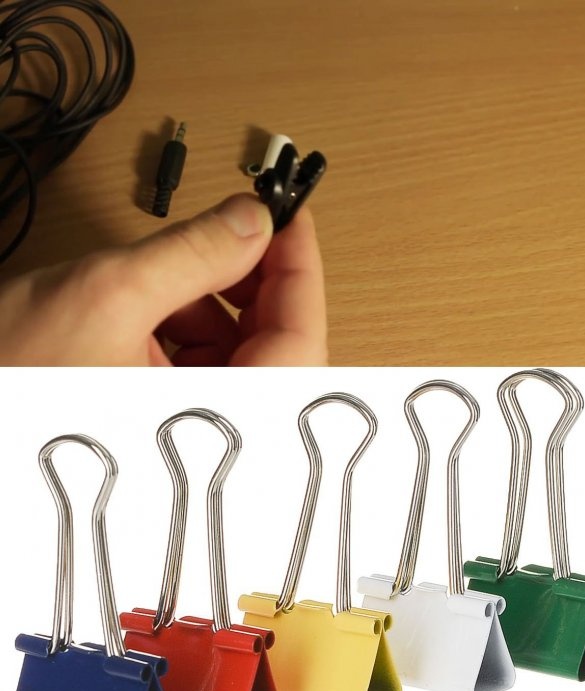
To be able to fix our homemade clothes on clothes, you need a clothespin (you can take it from an old telephone headset or use a regular office clothespin that fits in size).
P.S. To evaluate and compare the voice recording quality of a homemade lapel microphone assembled from a capsule of a telephone headset and a purchased microphone capsule, see the video source. The author first writes the sound to the microphone from the headset, and in the second part of the video, to home-made microphone with a microphone purchased in a store.
Thank you for your attention and good luck in implementing a homemade loop microphone!
Good to all!

