
Today we will make an electrically heated jacket, a kind of self-heating jacket. The author of this homemade product is Alex Gyver (YouTube channel "AlexGyver").
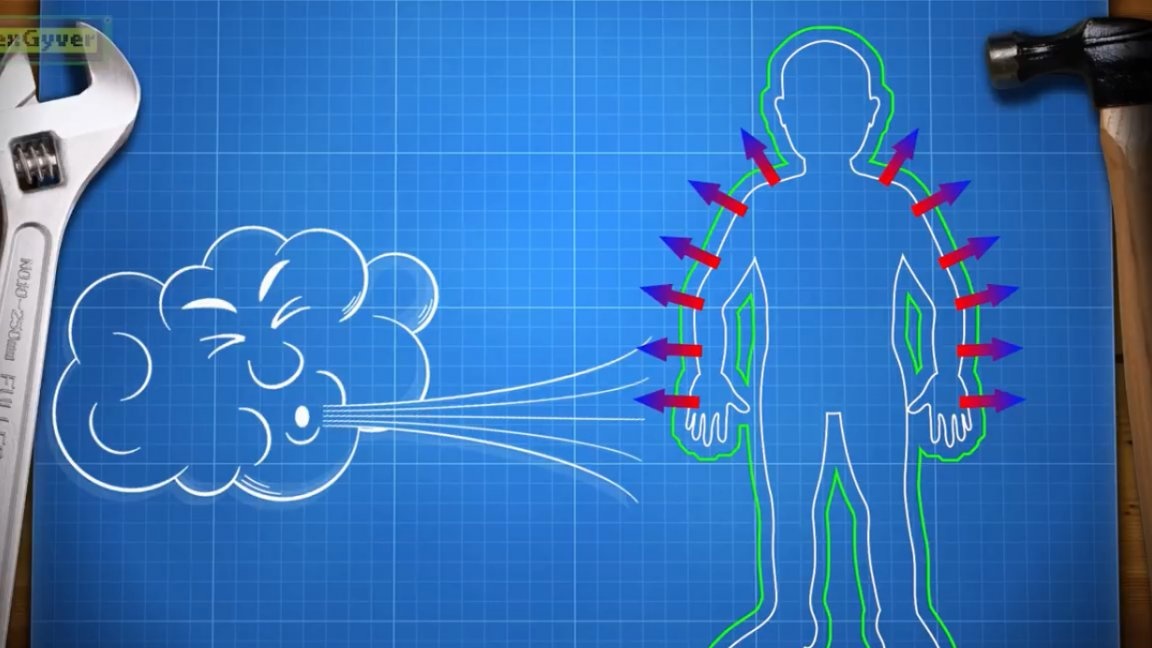
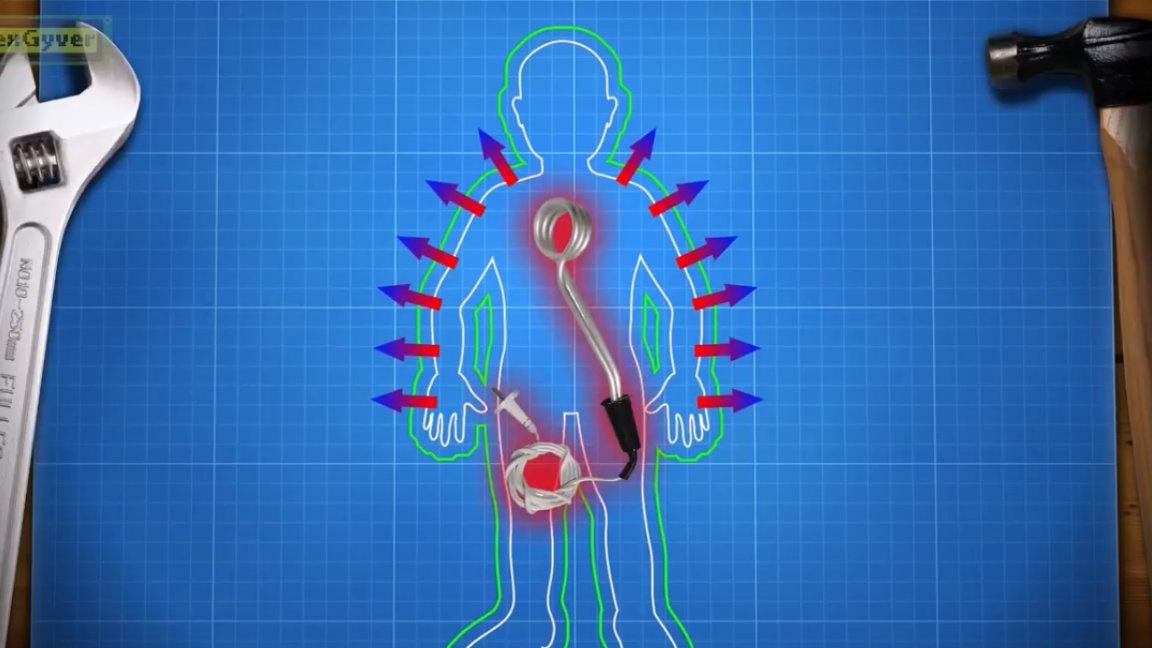
You probably understand that an ordinary jacket in principle does not have such a function as heating a person. The jacket only makes it difficult for the body heat to go beyond its limits, and also protects from the cold wind. The person himself is heated, the person inside, and the jacket outside, and this can be helped with it, for example, by adding an electric heater under the jacket.
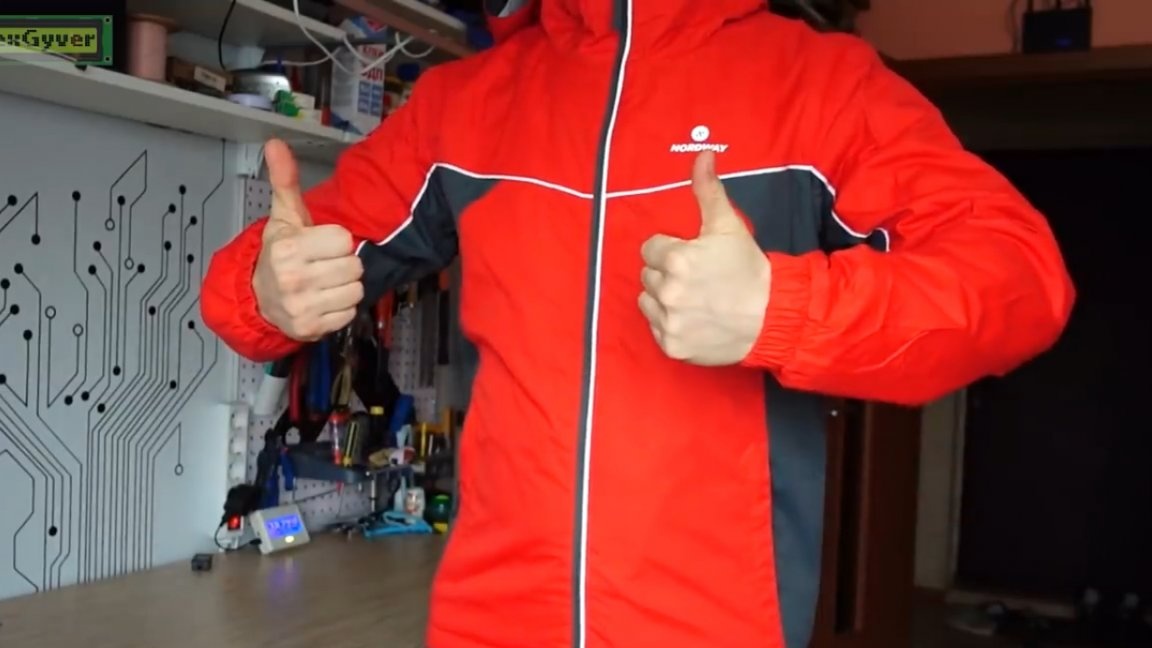
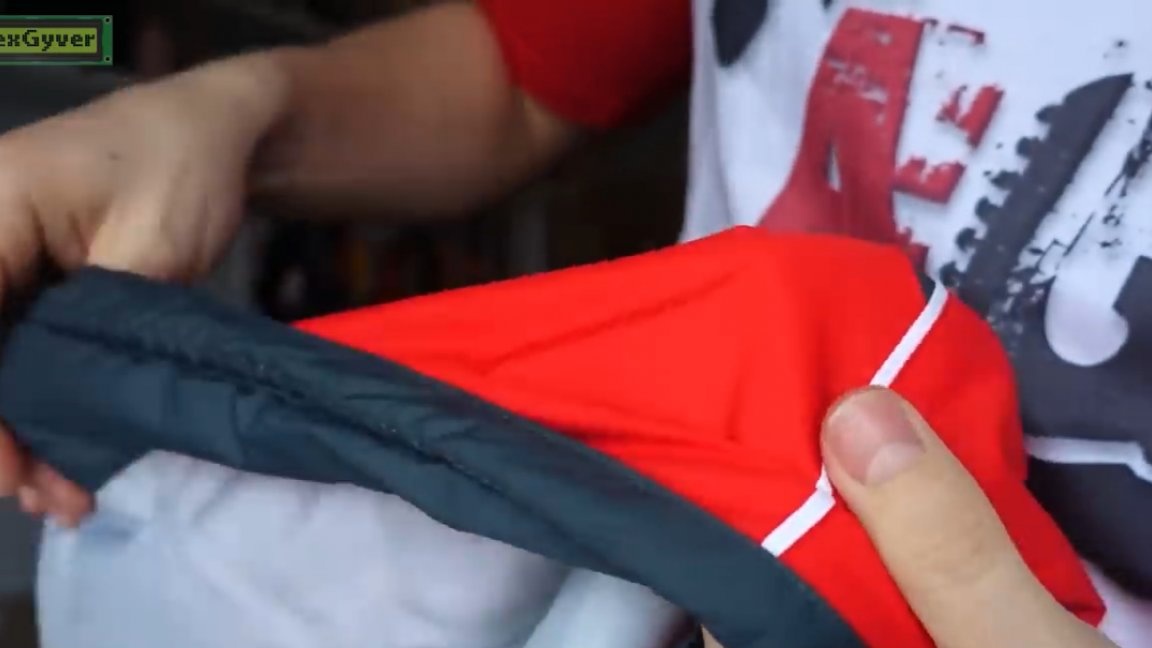
Especially for this project, the author purchased a lightweight jacket-windbreaker for cross-country skiing, which in theory should protect against wind, but not really block the heat coming from inside. Thus, from the windbreaker we will make a jacket that will not look like a down jacket, but it will be no worse to warm.
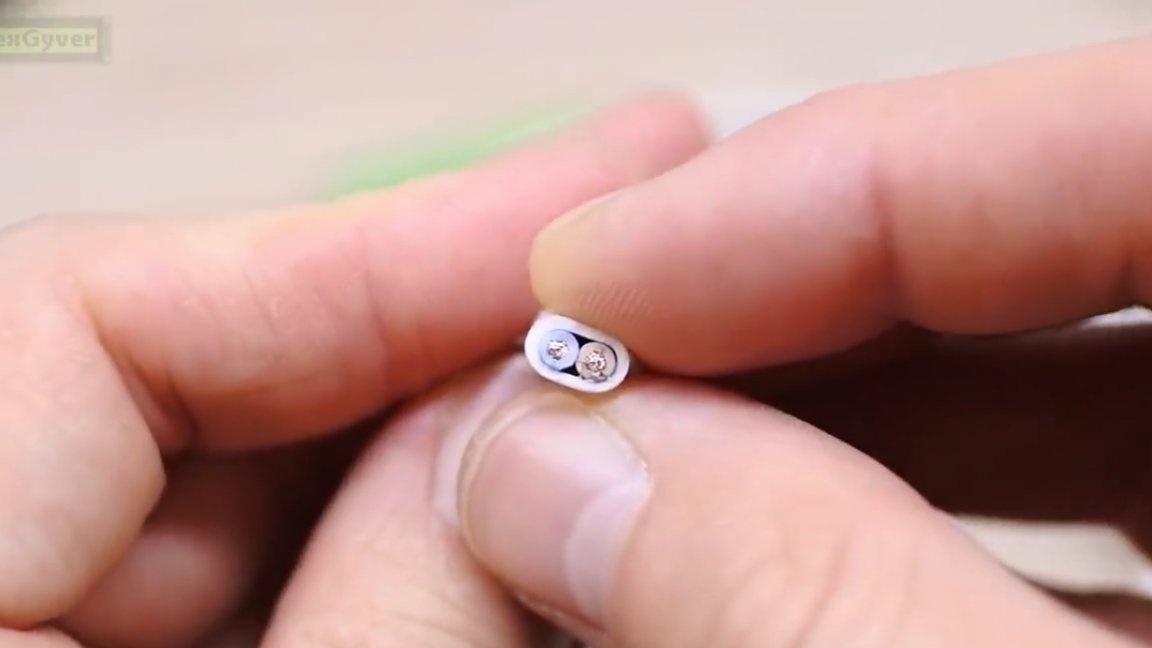
The heating element in our jacket will be a carbon cord for underfloor heating. You can buy it on the website of Aliexpress store (as the author did), and you can also buy it in our construction stores.
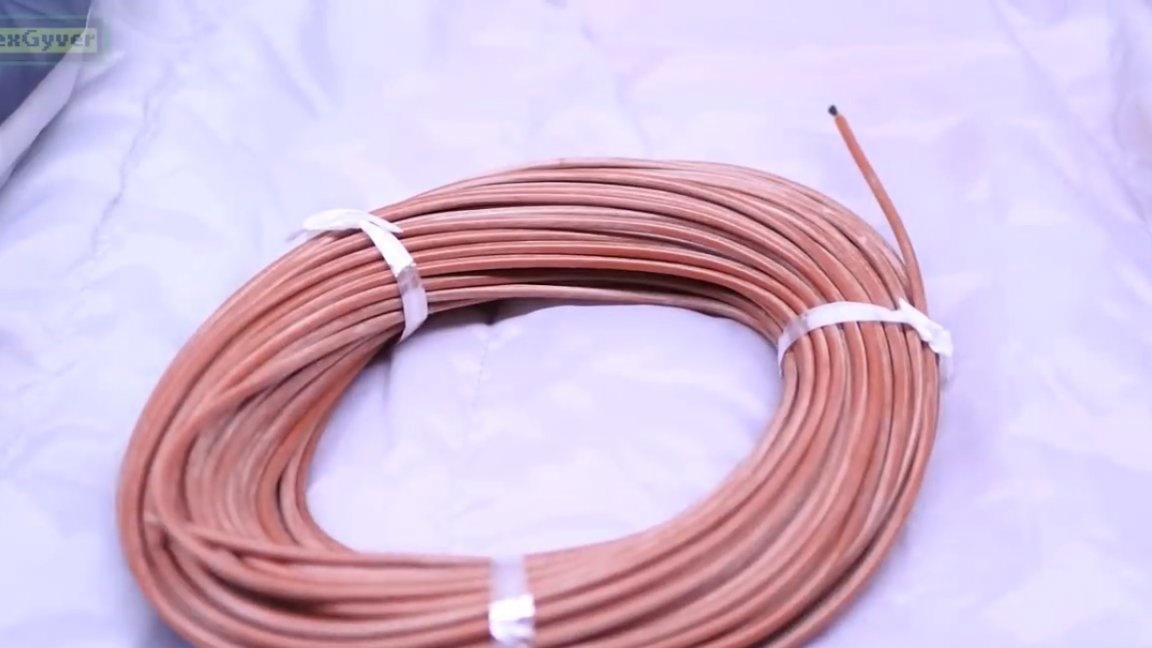
This cord has a resistivity of 33 ohm / m. The idea is this: take a jacket and fix several lines of a carbon cord on the inside. How long will the lines be and how to connect them, we will now calculate. Let's start with the necessary thermal power, which a self-heating jacket should provide. The author found in Google such a tablet:
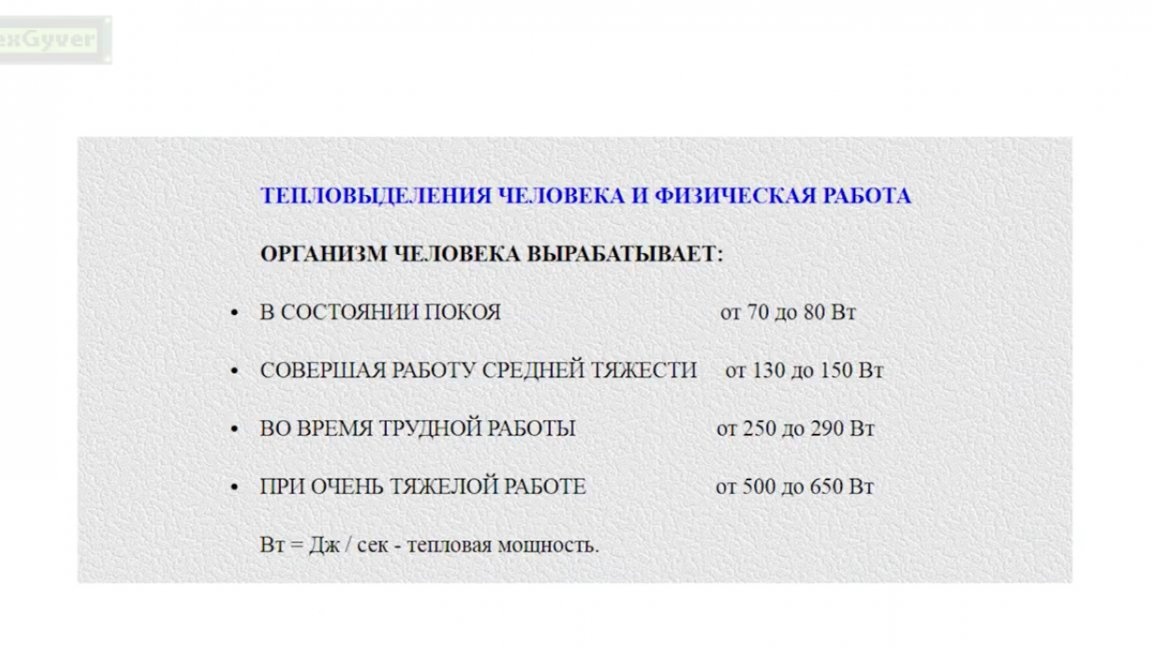
We make a condition out of it: we want our jacket to be just as warm at rest as during moderate work. That is, the heater in the jacket should provide a maximum difference of 100 watts. It's like if you carry a forbidden 100-watt bulb of Ilyich’s in your pocket.

We take the school formula for the power of an electric heater and see what resistance the carbon cord line system should have. We take 12V as the voltage, and we already know the power, total 1.5 Ohms.
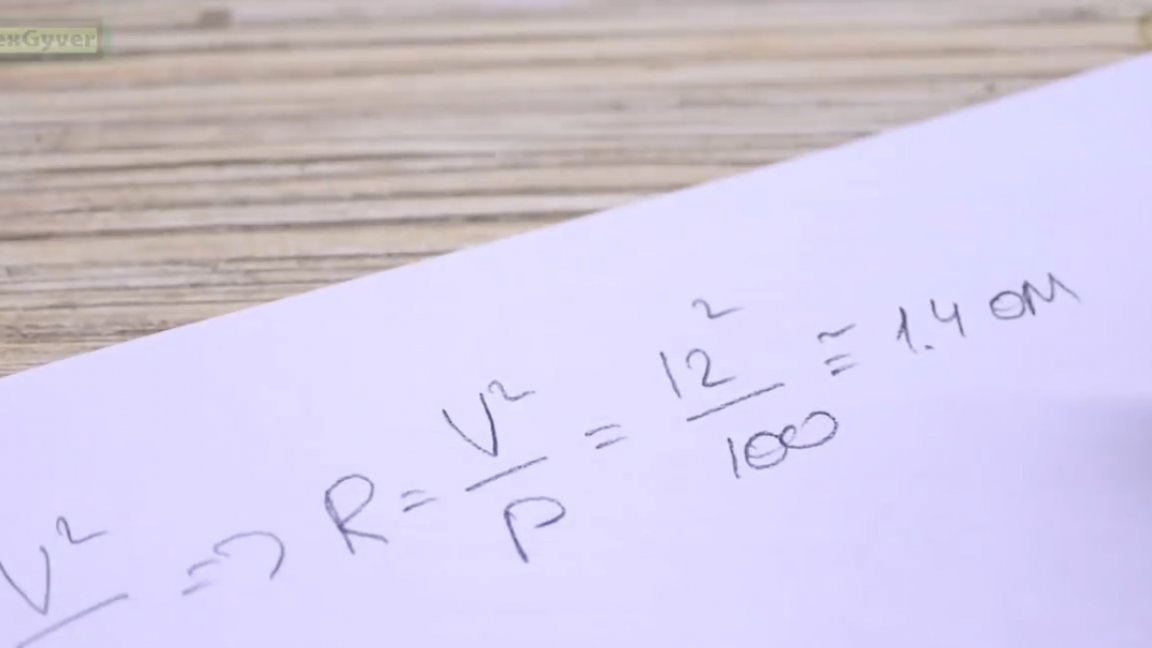
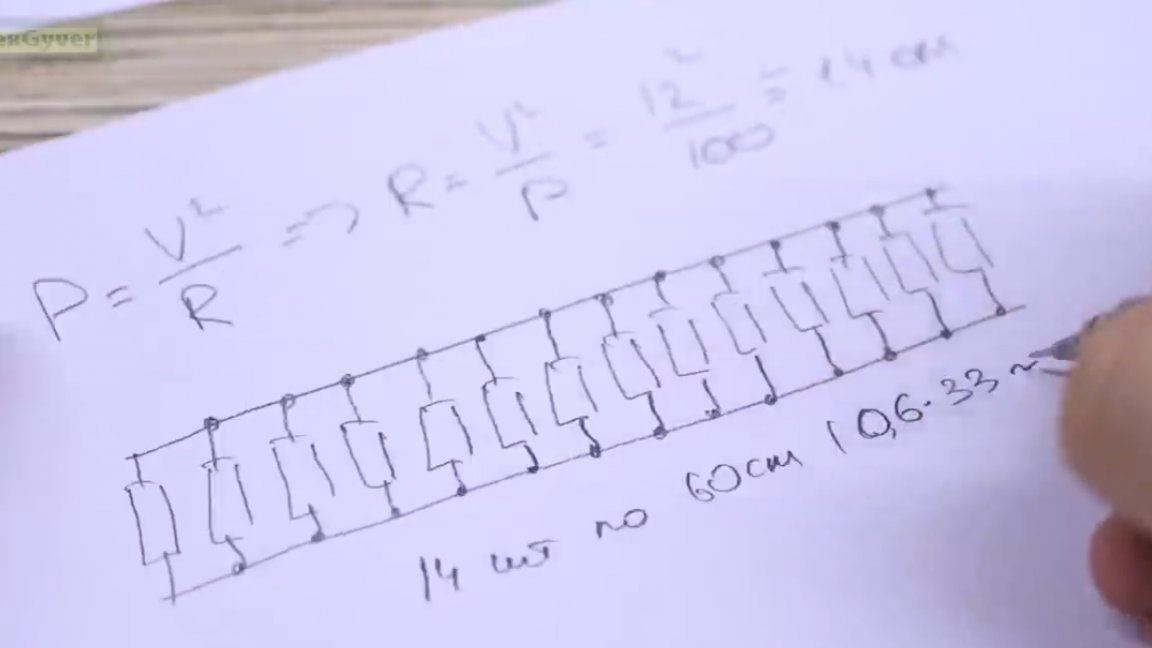
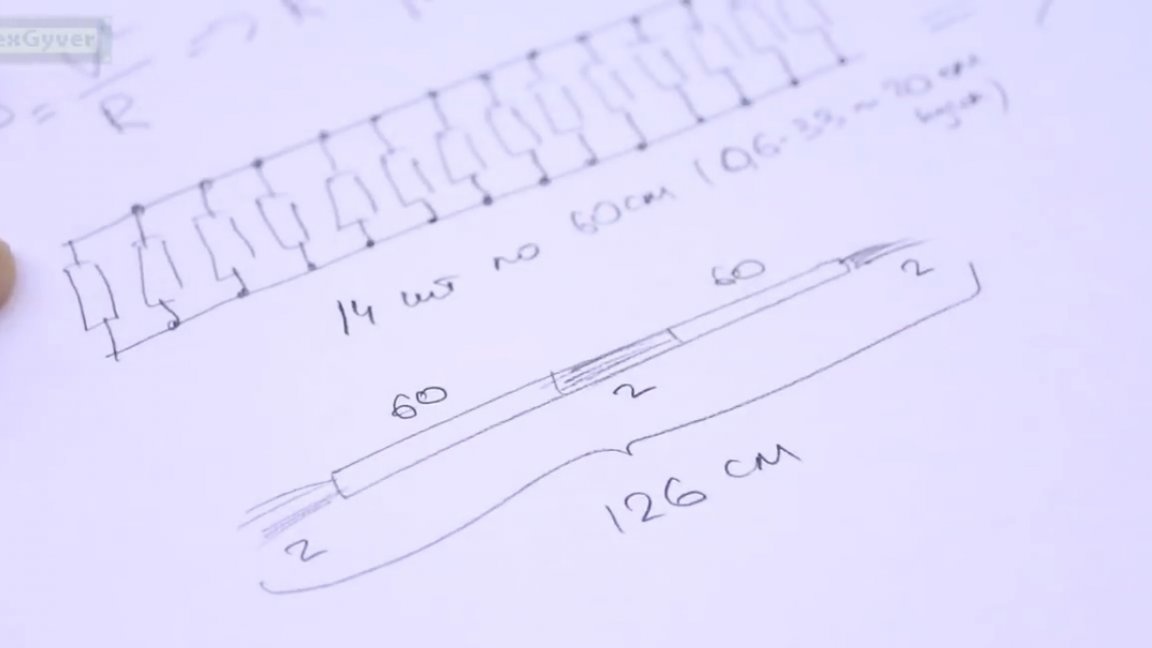
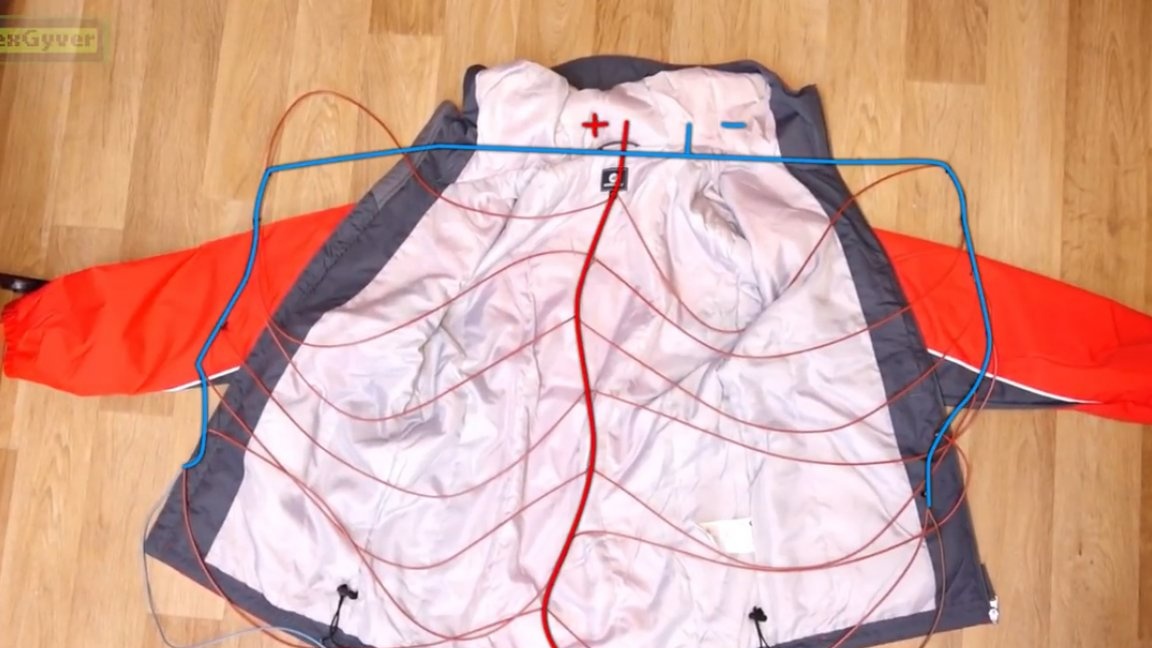
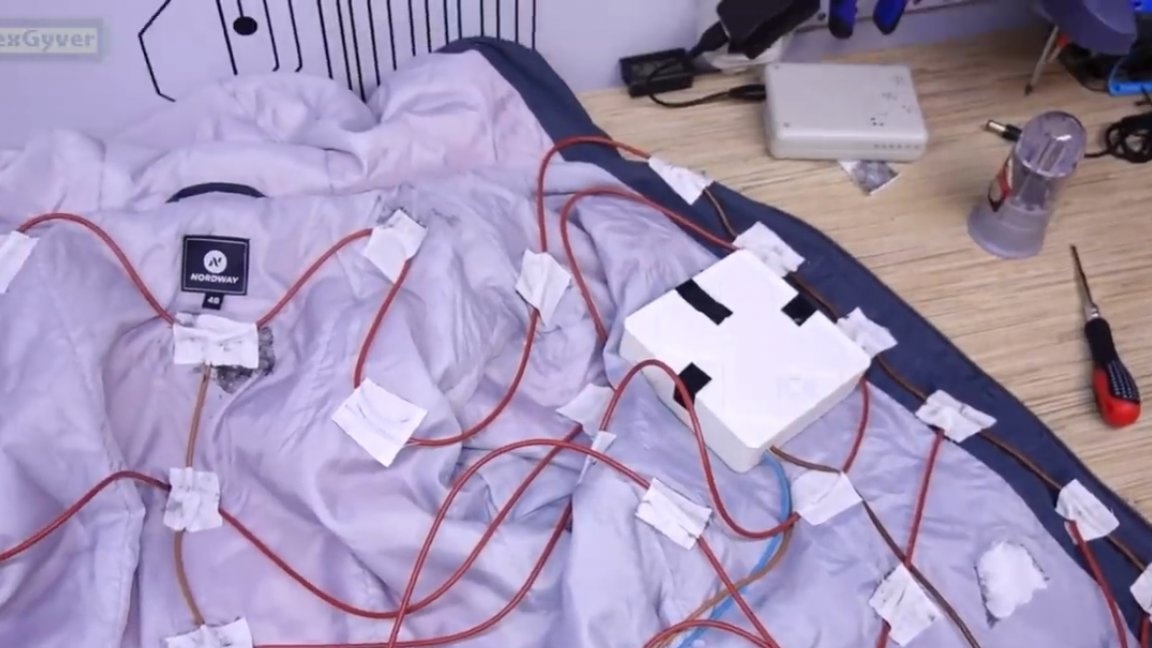
It remains to figure out how to connect the carbon cord so that its resistance is 1.5 Ohms. After a couple of options, the author came to this: 14 lines of a cord 60 cm long each, all connected in parallel.
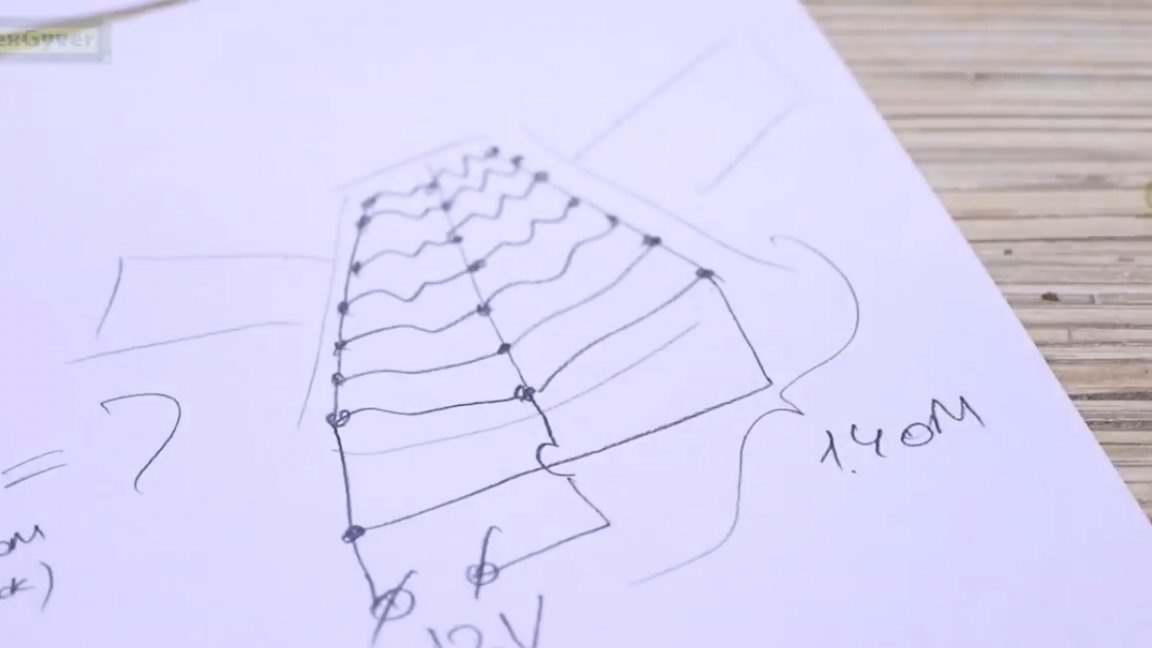
On the jacket, this circuit is mounted in this way and has a resistance of 1.4 ohms.
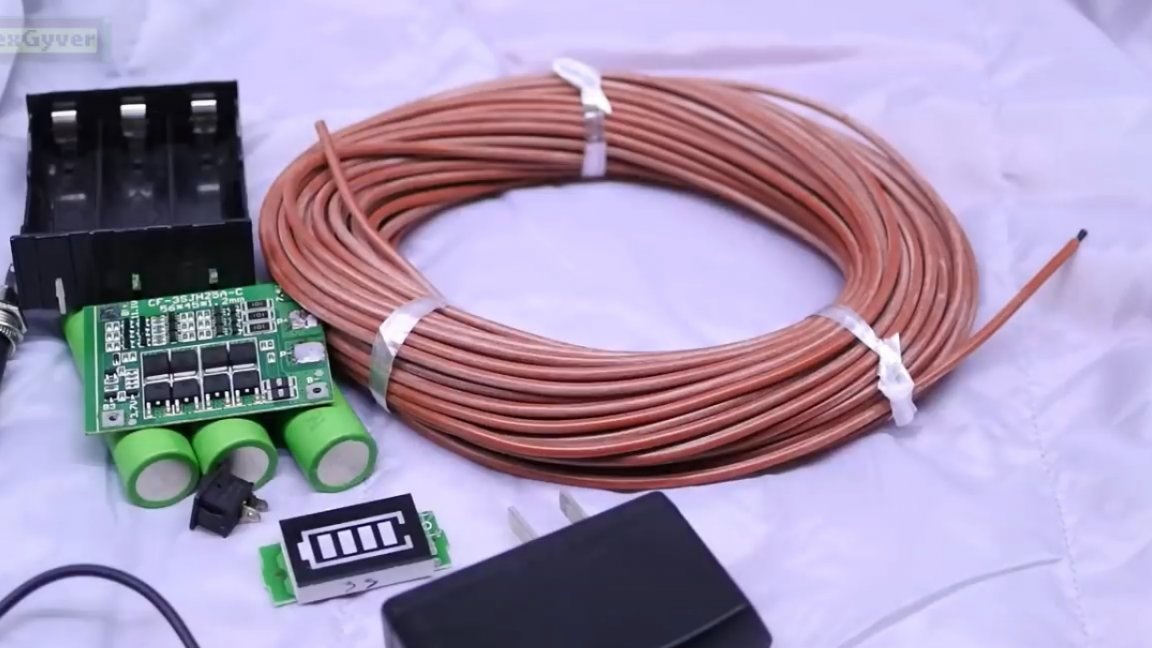
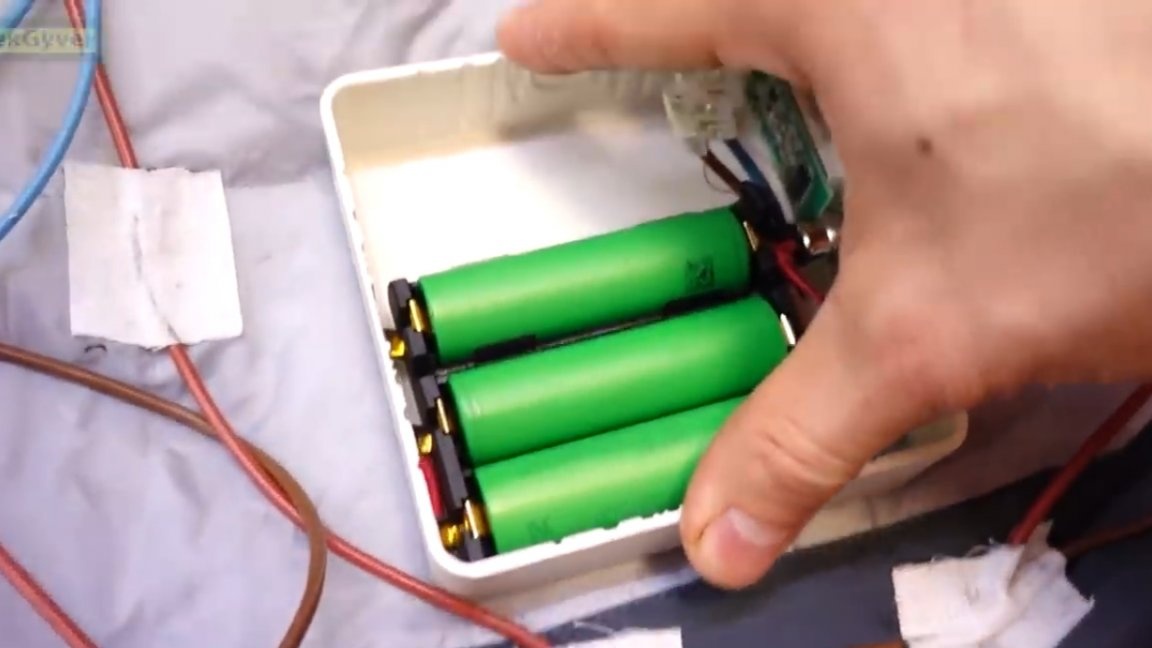
The wires connecting the cord should be thick, copper, with a cross section of 1.5 squares is enough. In addition to the heating cord, we need 3 high-current lithium-ion batteries.
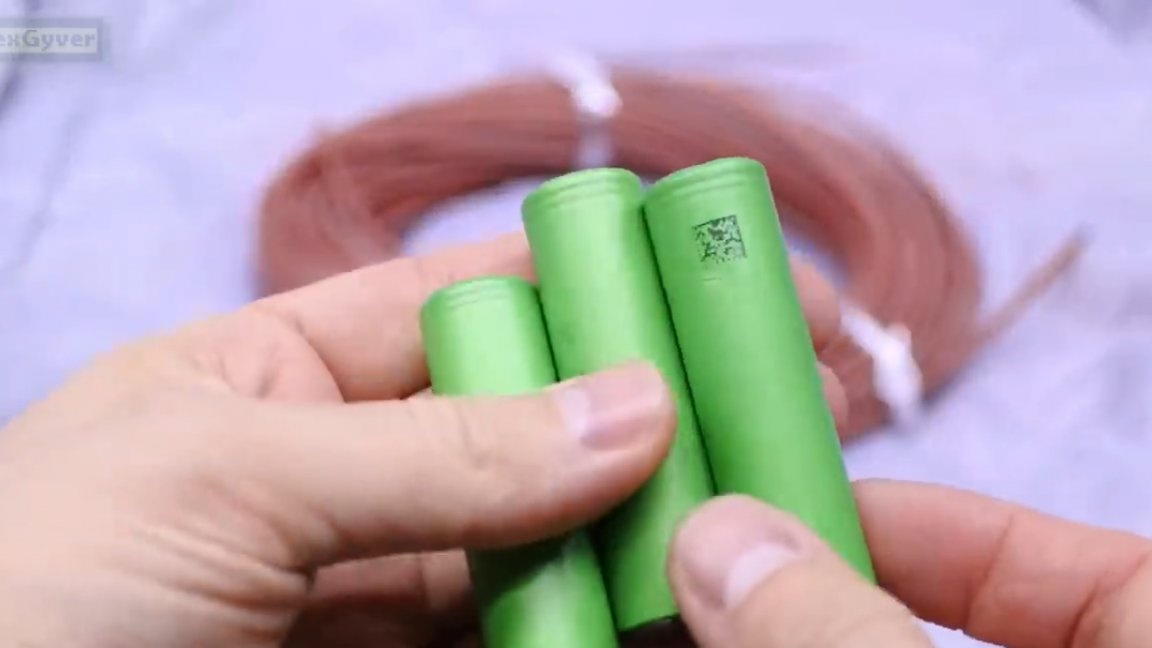
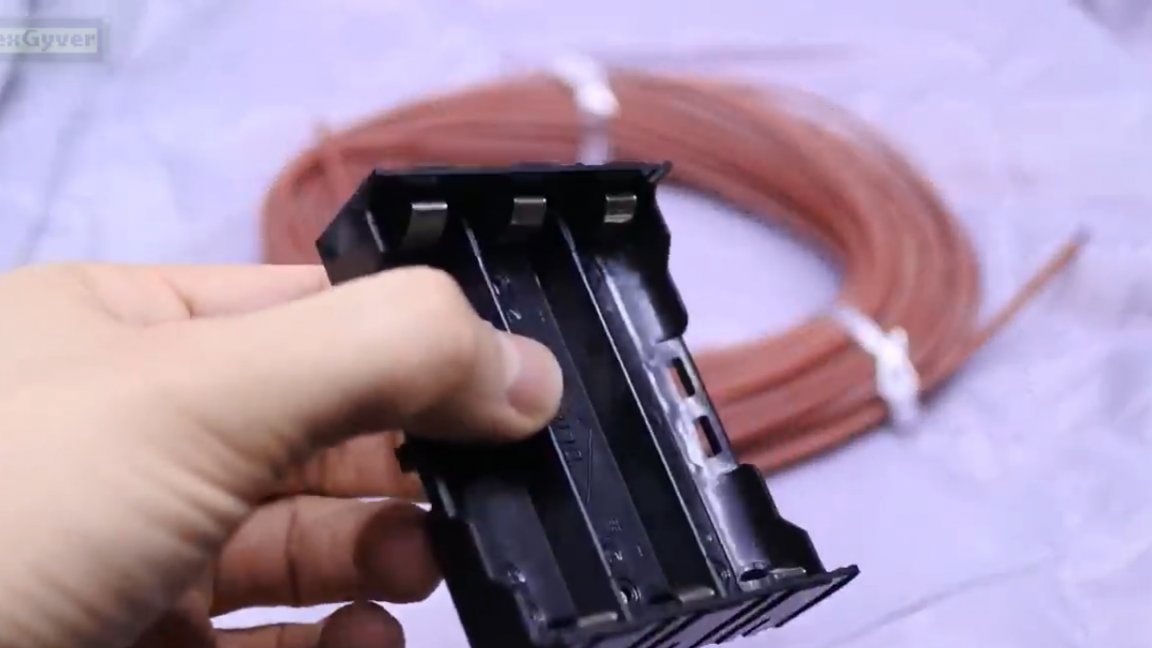
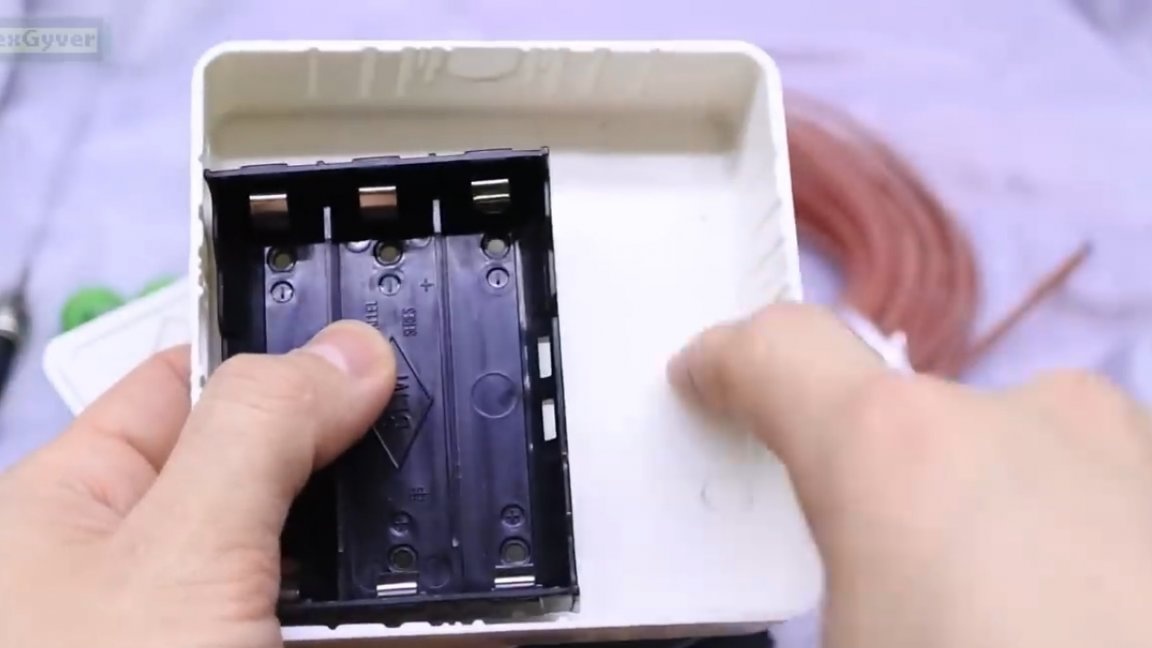
At 100 watts, a current of 8A will be taken from one battery, so ordinary 18650 laptop batteries will not work, unlike vaper batteries. We place the batteries in a special battery compartment.
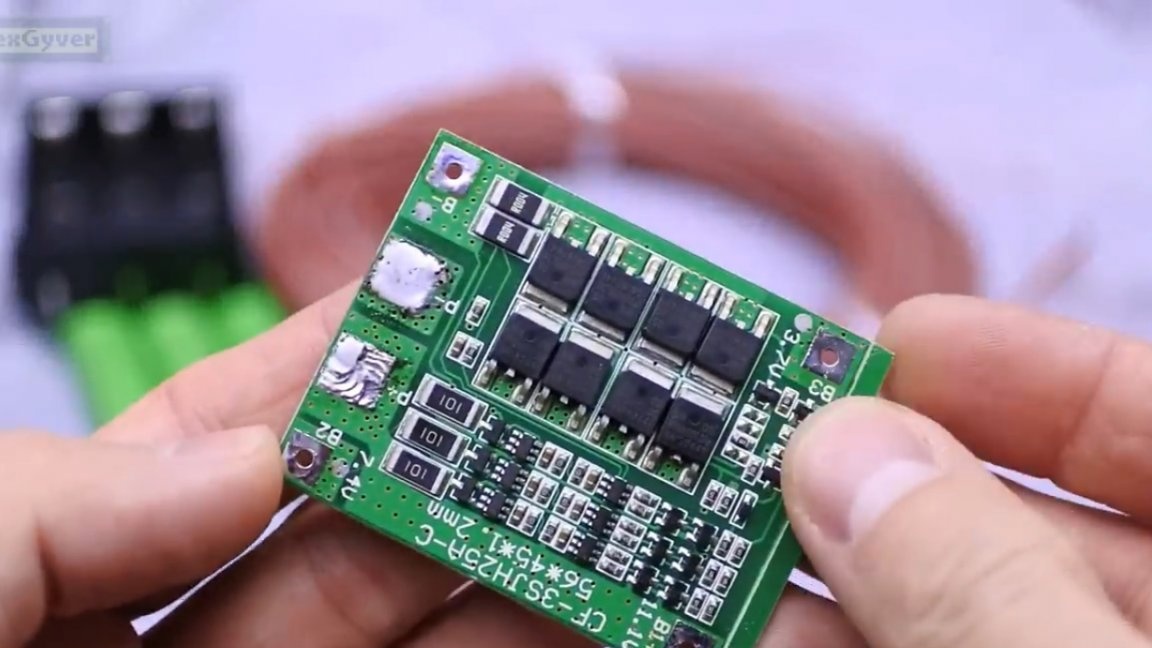
To avoid overdischarge, we will use a protection board. It is possible without it, but it is very dangerous, because batteries can literally catch fire when discharged under load.
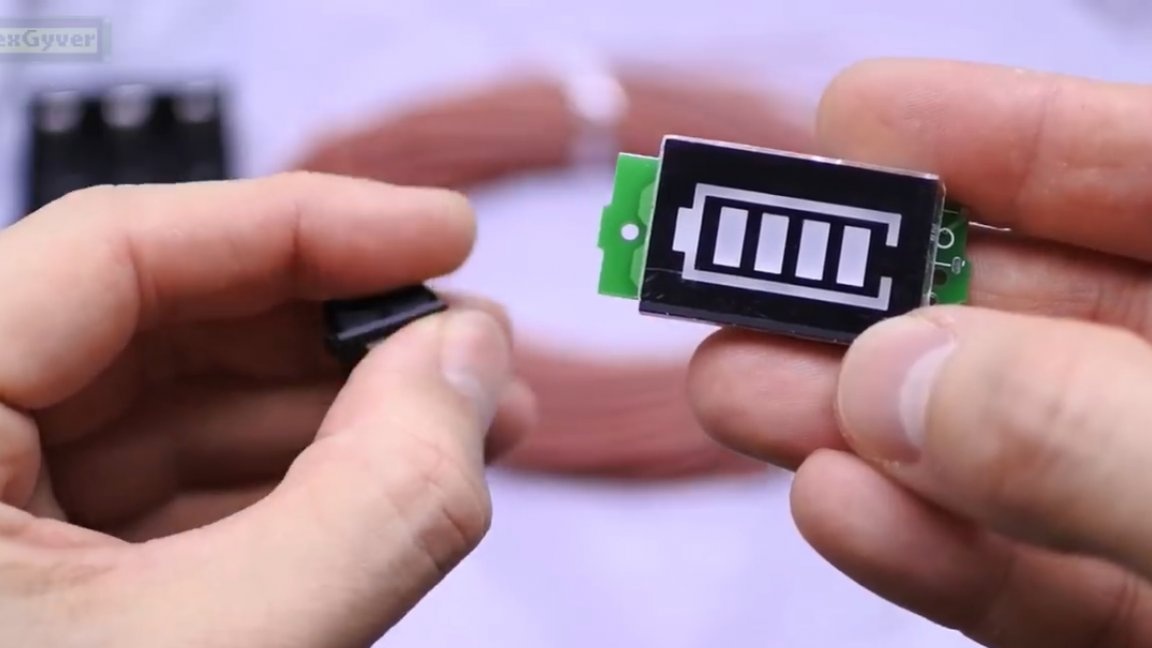
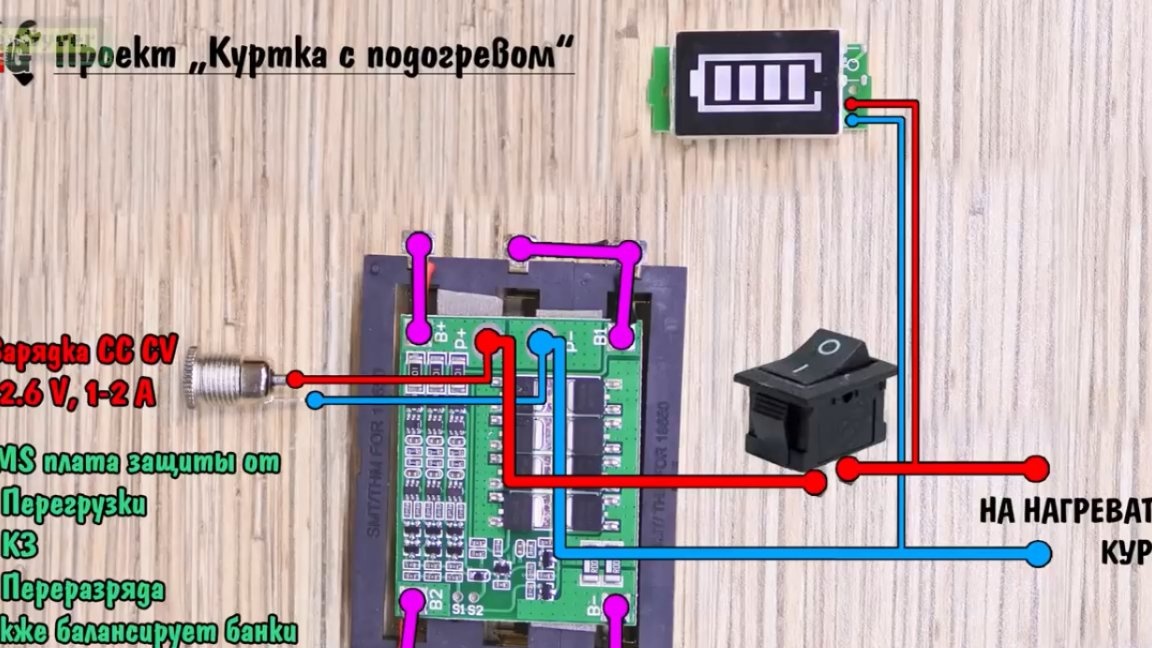
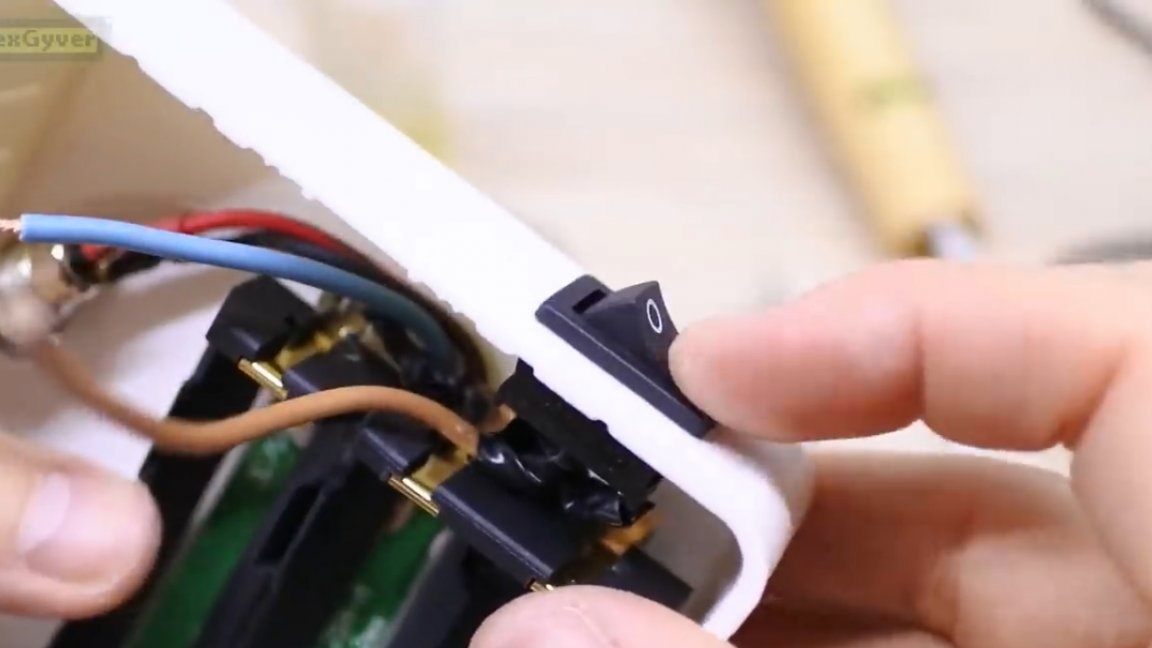
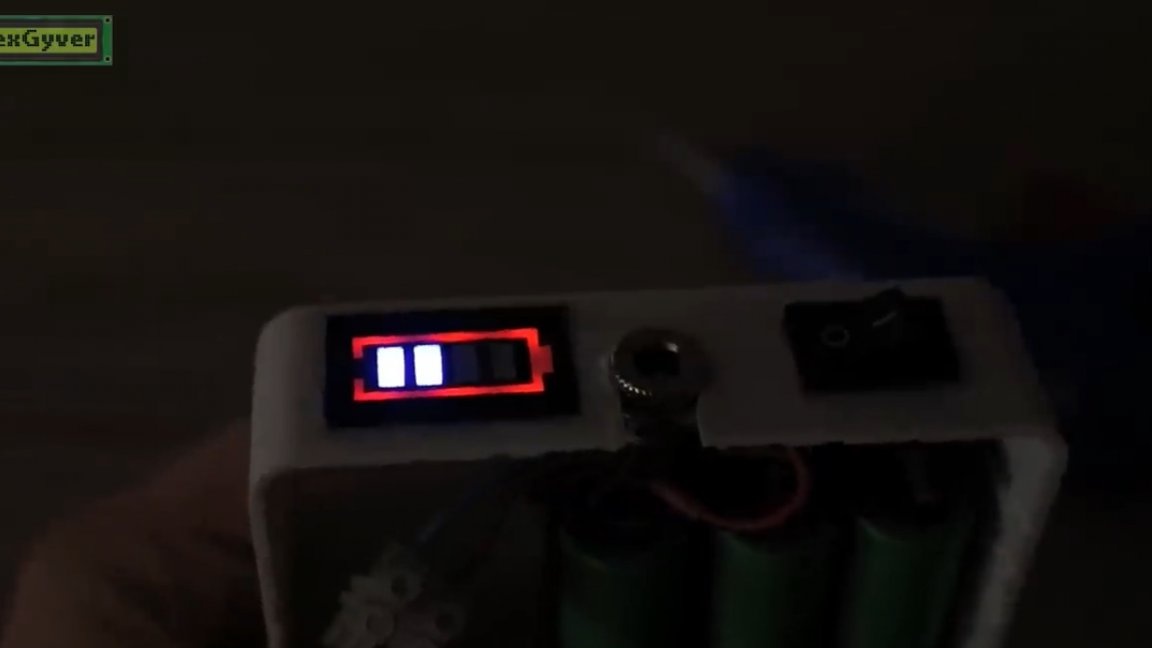
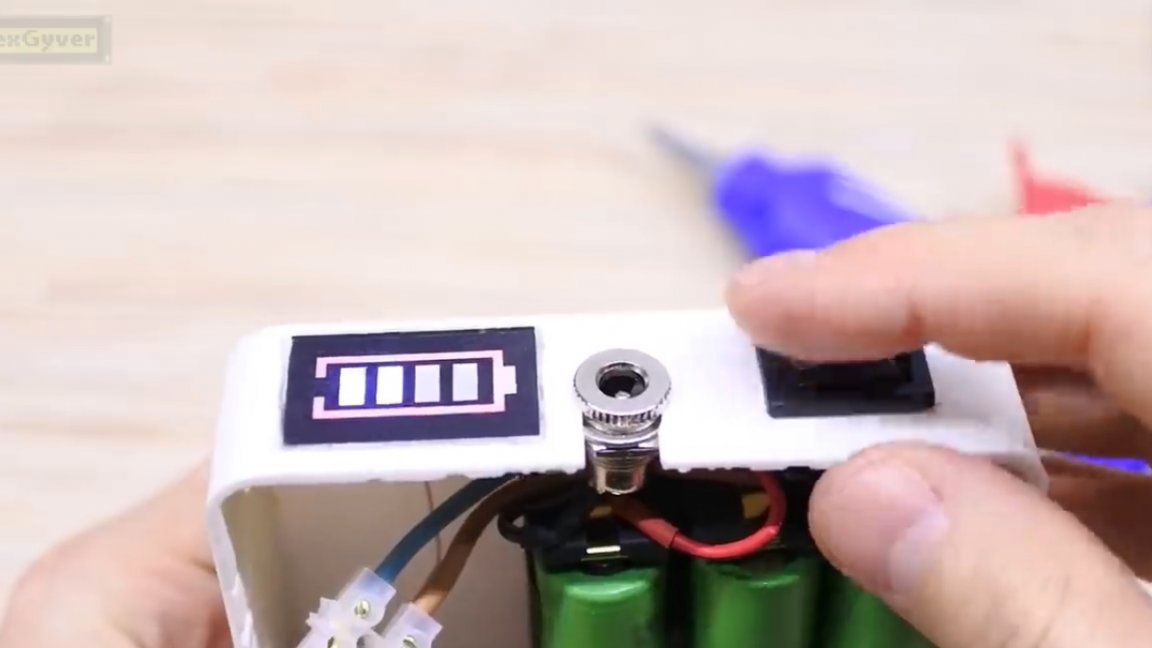
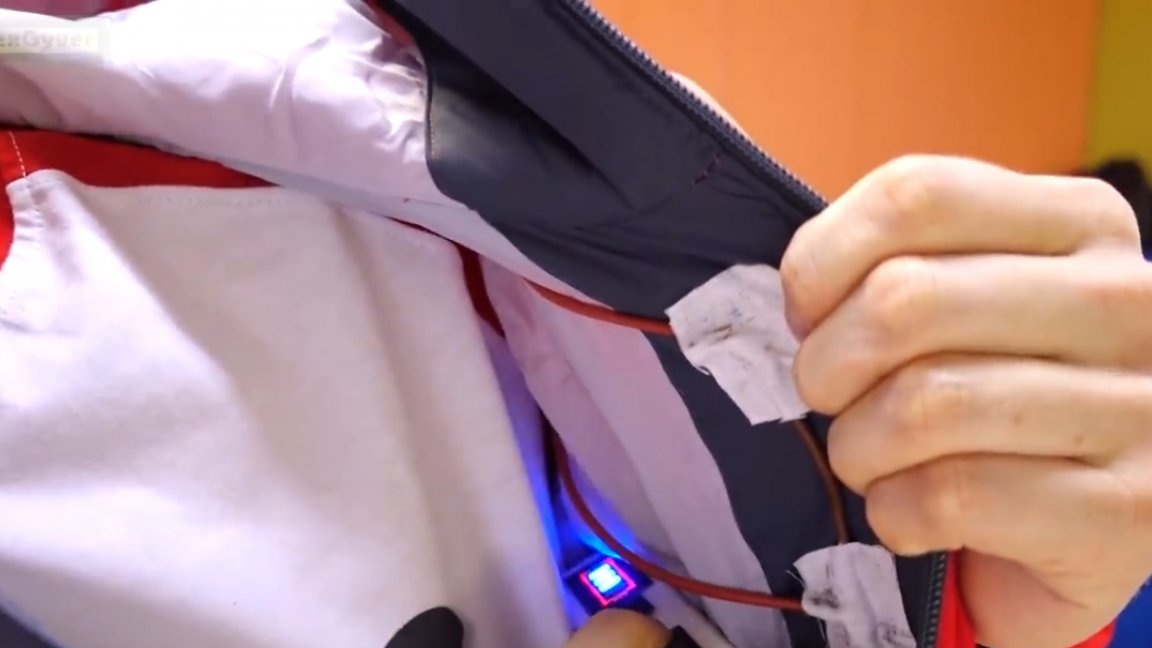
To control the level of charge we take an indicator, to turn it on - a powerful switch.
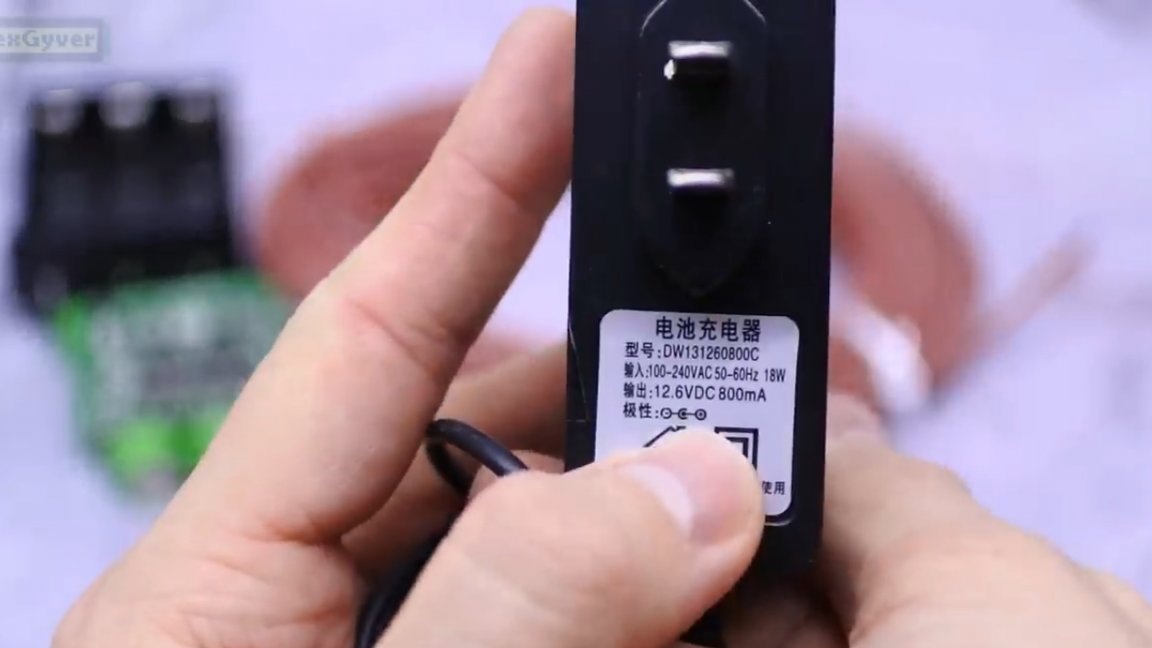
You need to charge the battery with a special charger, a charger from a screwdriver with a lithium battery will do, it should indicate a voltage of 12.6 V.
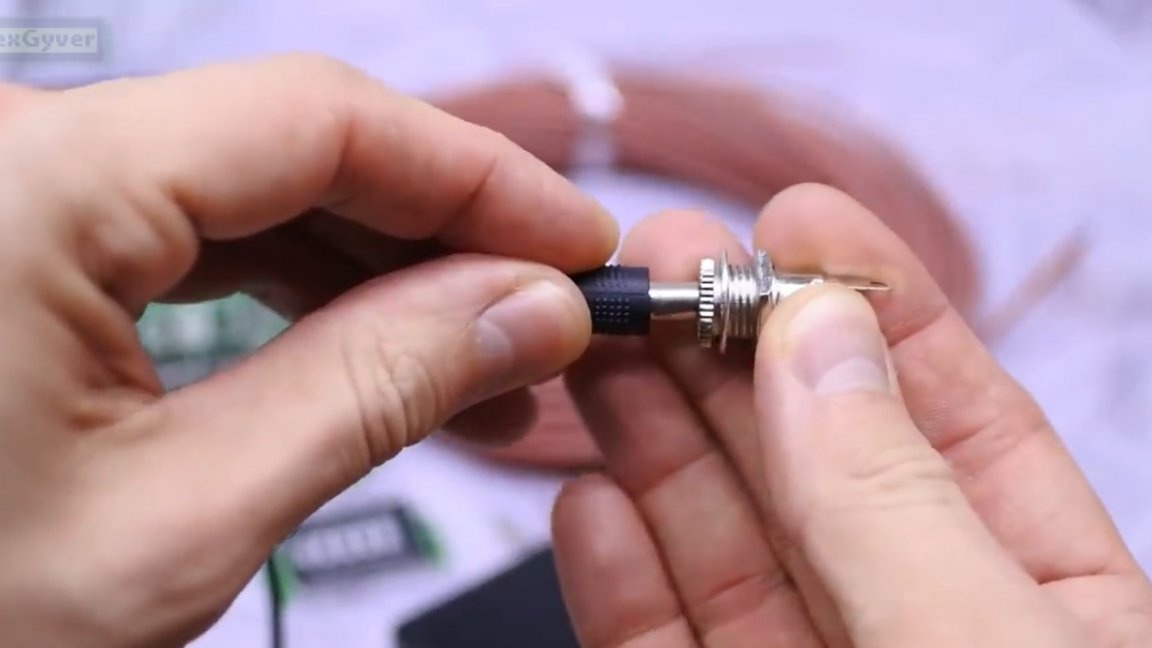
Well, for convenience, take a 5.5x2.1mm jack for charging.
As for the adjustment of power (i.e. temperature), you can take any PWM controller for motors, designed for current above 10A. For example, here is such a miniature.
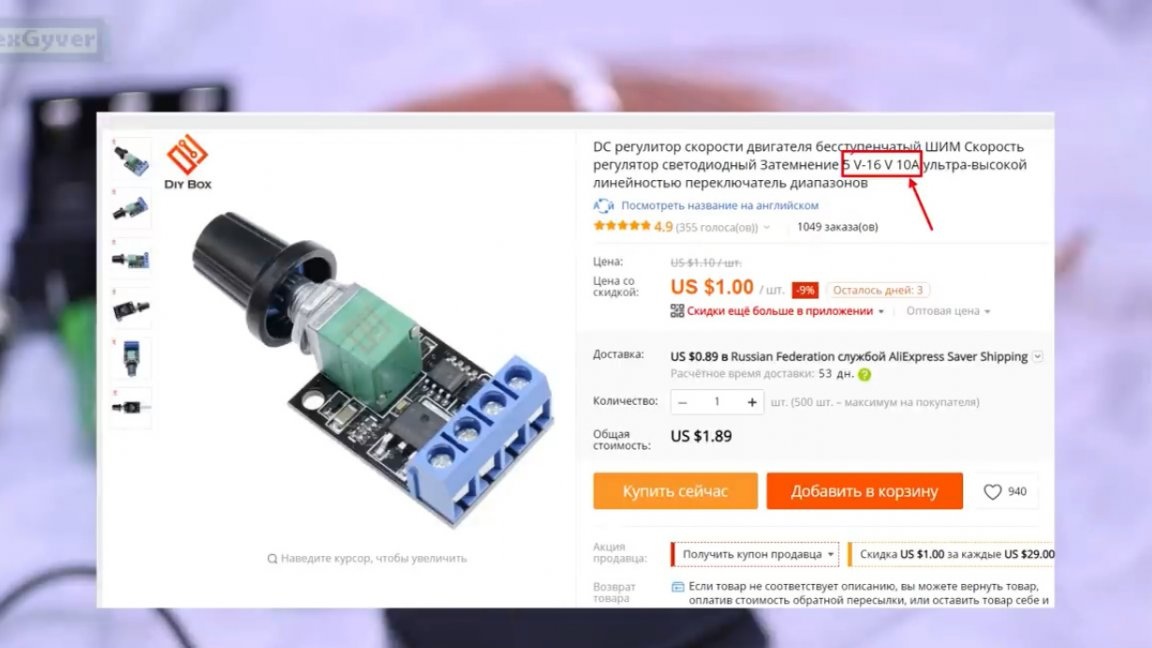
The author, unfortunately, does not have it, but he still drew a diagram with him. All these components can be bought on aliexpress, you will find links on the project page.
In our stores you can buy a case for styling all the electronics. For example, here in this junction box the batteries will remarkably come in and there will be left side space for the power regulator.
Also in any store of gizmos for needlework we buy a spider line with which we will fasten the cord to the jacket.
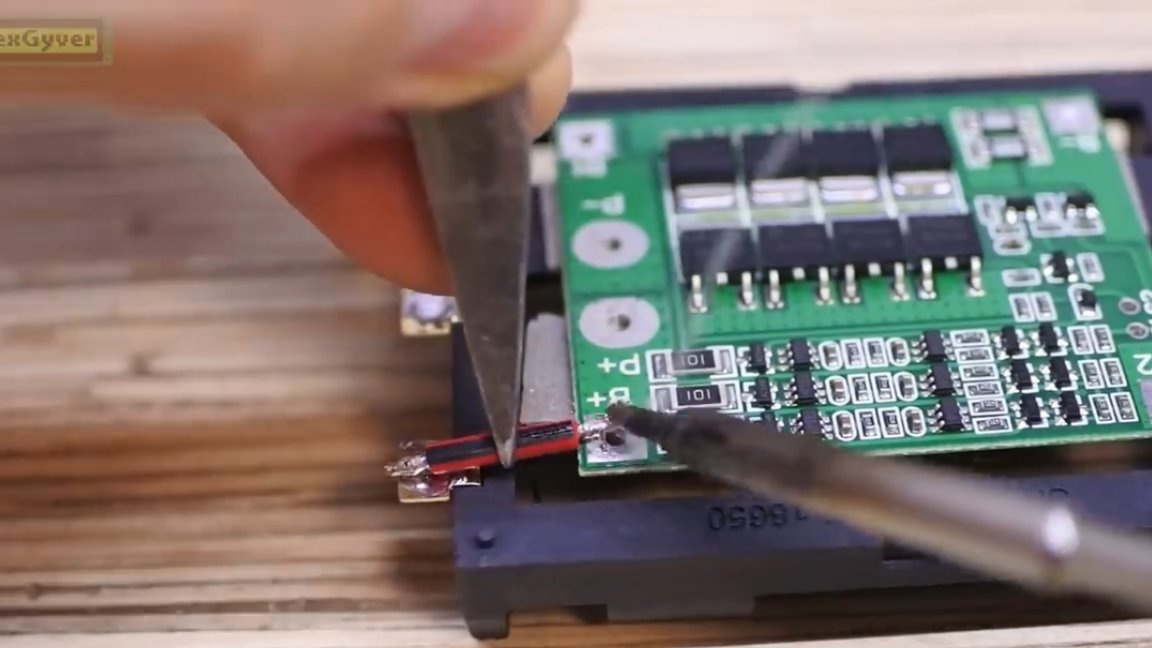
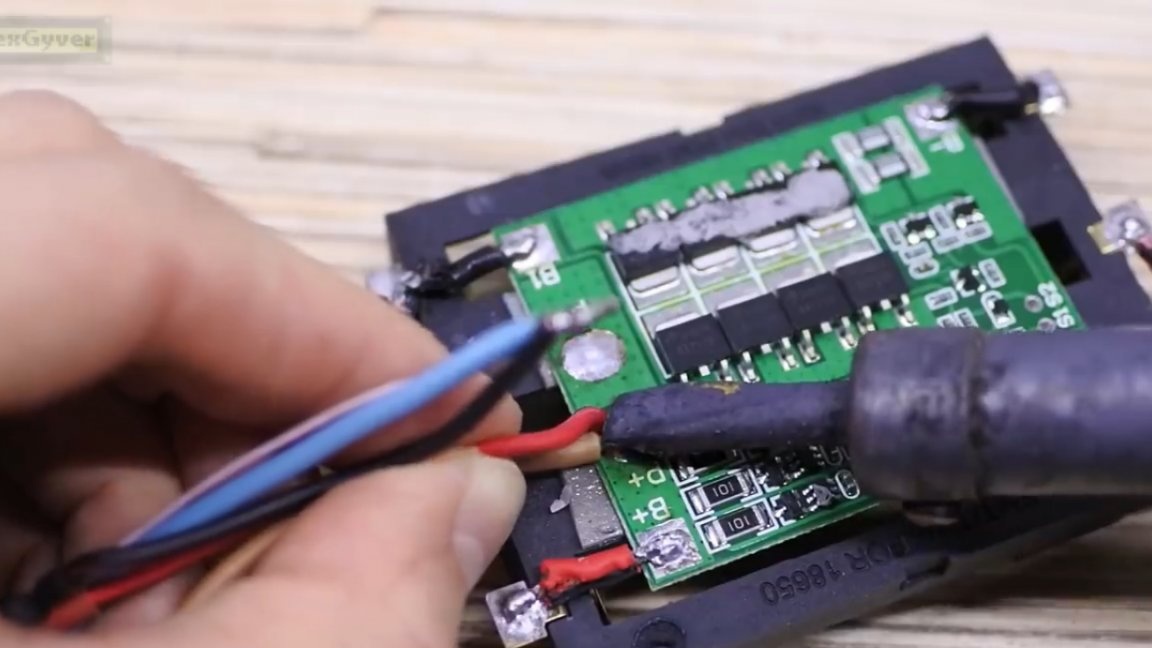
So, let's get down to the build itself. Let's start by connecting the protection board. We attach the protection board to the battery compartment, to double-sided tape. Be sure to solder with thick wires. It is better to take thicker, or twist 2 such wires.
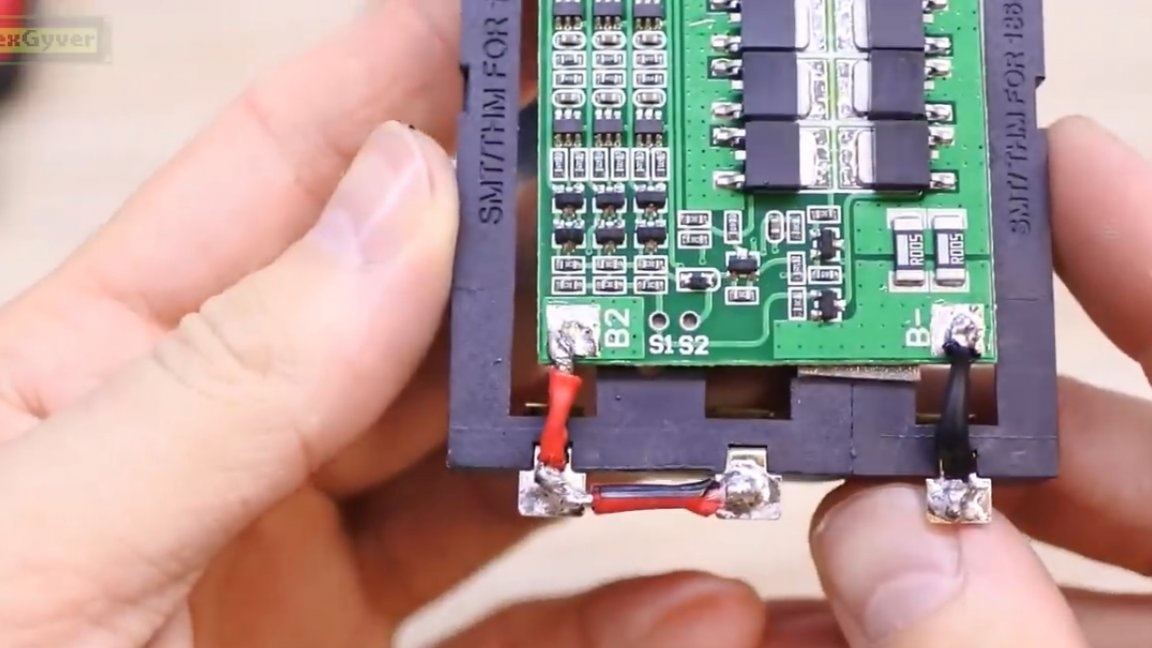
Everything else we connect here according to this simple scheme:
Power wires with a cross-section of 2.5 sq mm, purchased on the construction market.
We gut, twist, tin, and using a powerful soldering iron we solder to the output with bms.
The switch must be taken more powerfully, amperes at least 10.
Having done all the necessary windows, we arrange the components on the case.

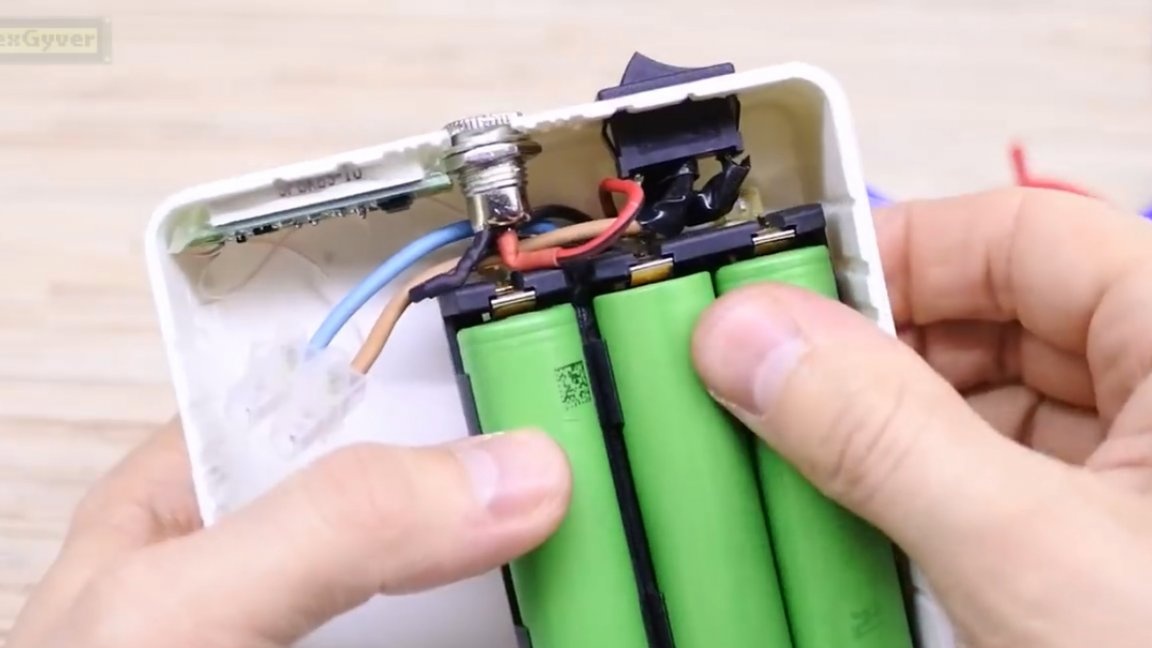
Done. Only it will be necessary to charge. We will connect the heater with a terminal block, as we see it is already bolted.
While the batteries are charging, we will assemble our heater. According to our calculations, we need 14 pieces of 60 cm, but you can take 7 pieces of 120 cm and leave 2 cm of allowances for twisting, which makes 126 cm.
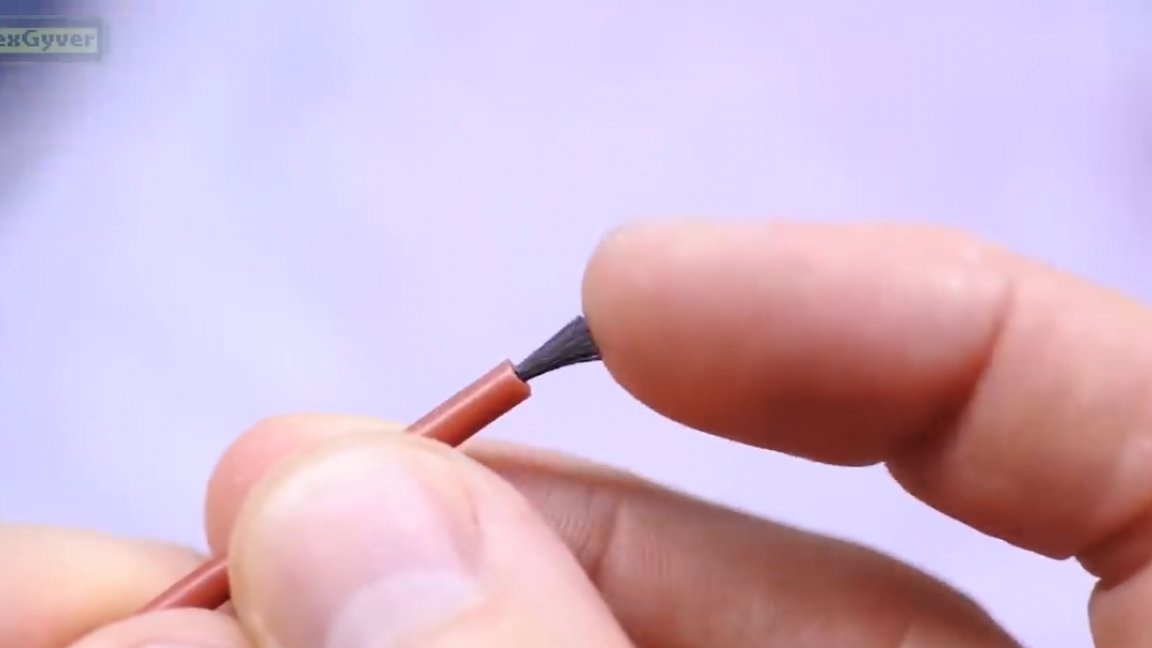
Gently scrub around the edges. And exactly in the center.
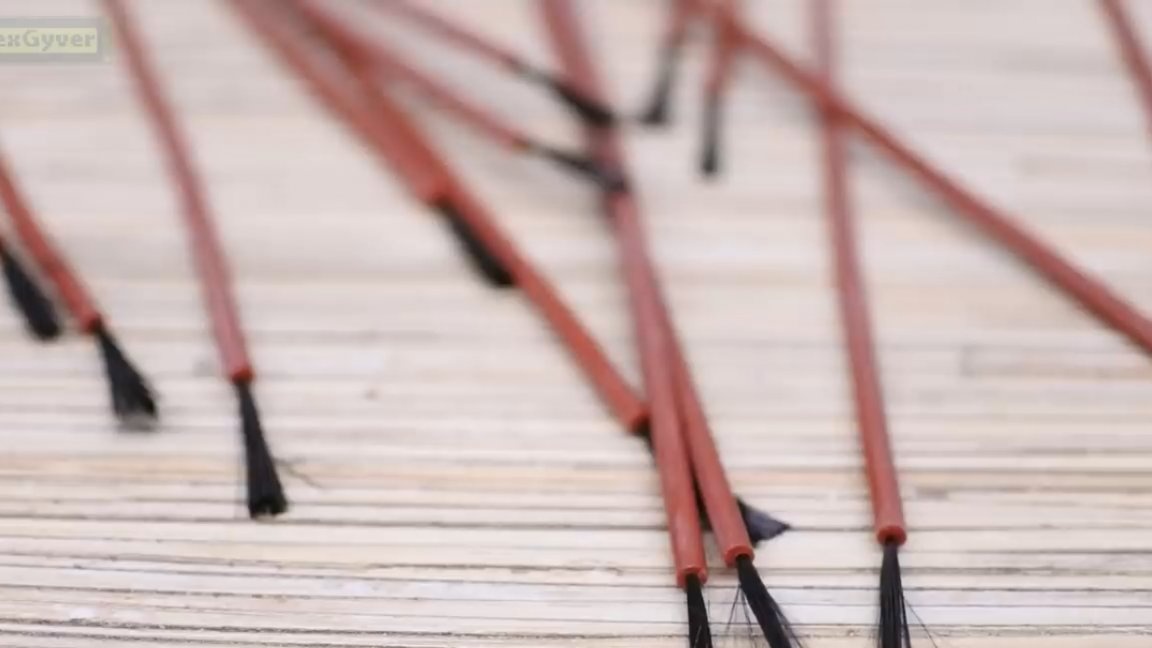
Next is the wire. We clean it from the edge and make several bare sections for twisting with a charcoal cord.
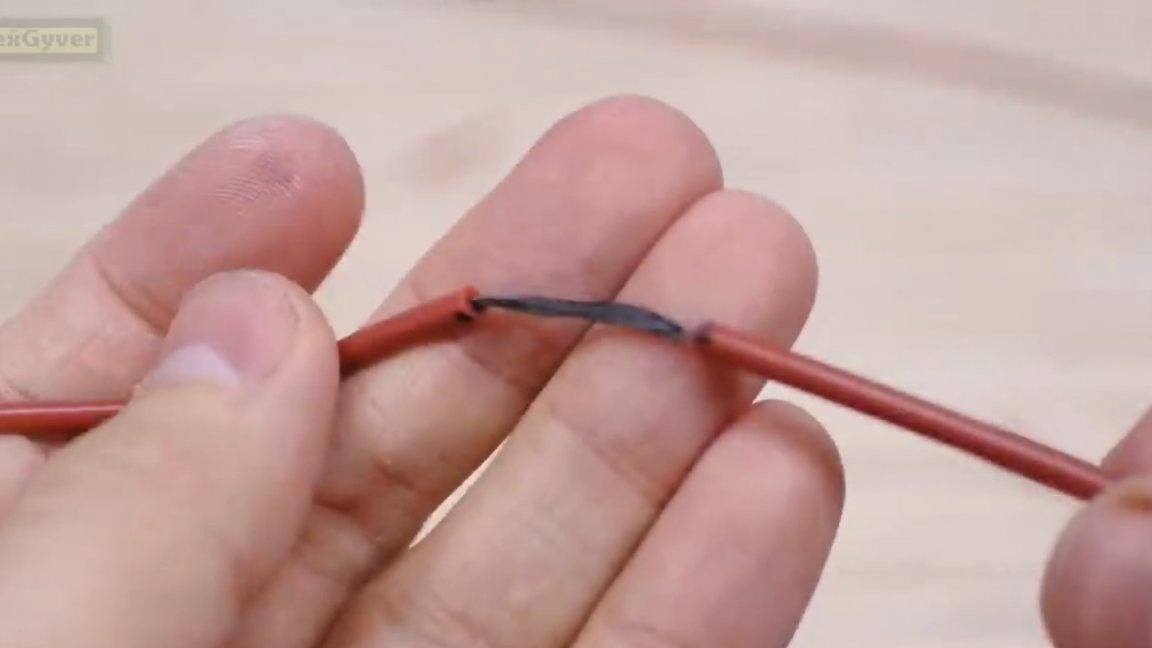
The distance between the exposed areas turned out to be about 7-8 cm. The central twisting is done like this: tightly wrap the carbon cord around the copper wire, and then twist the wire and tighten this loop several times.
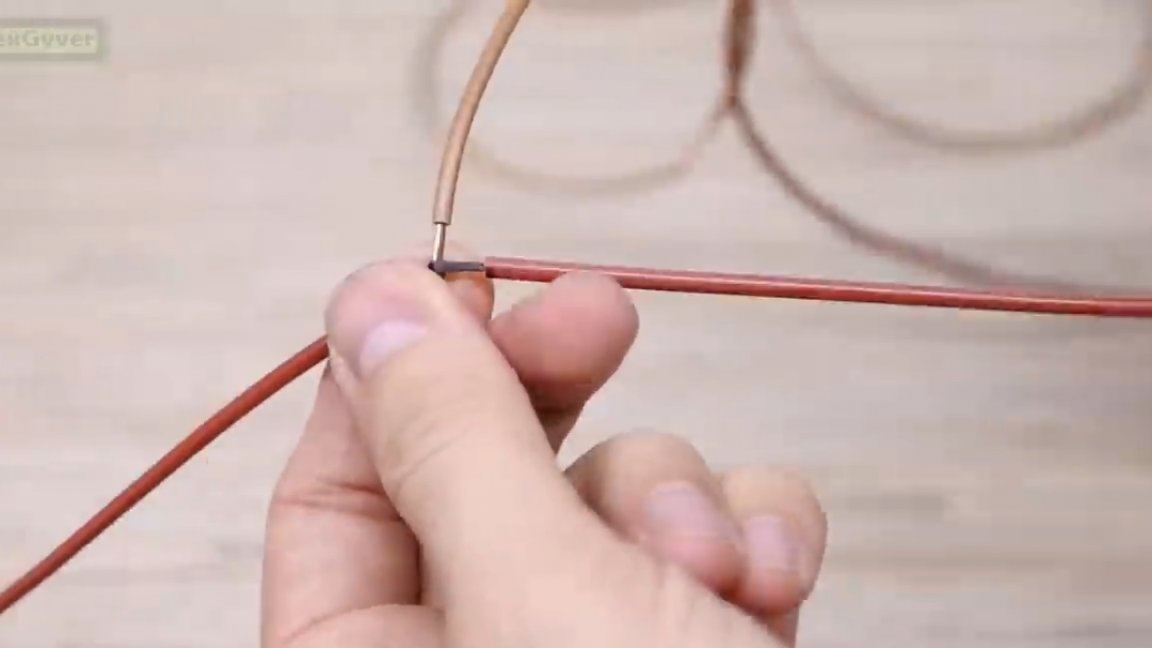
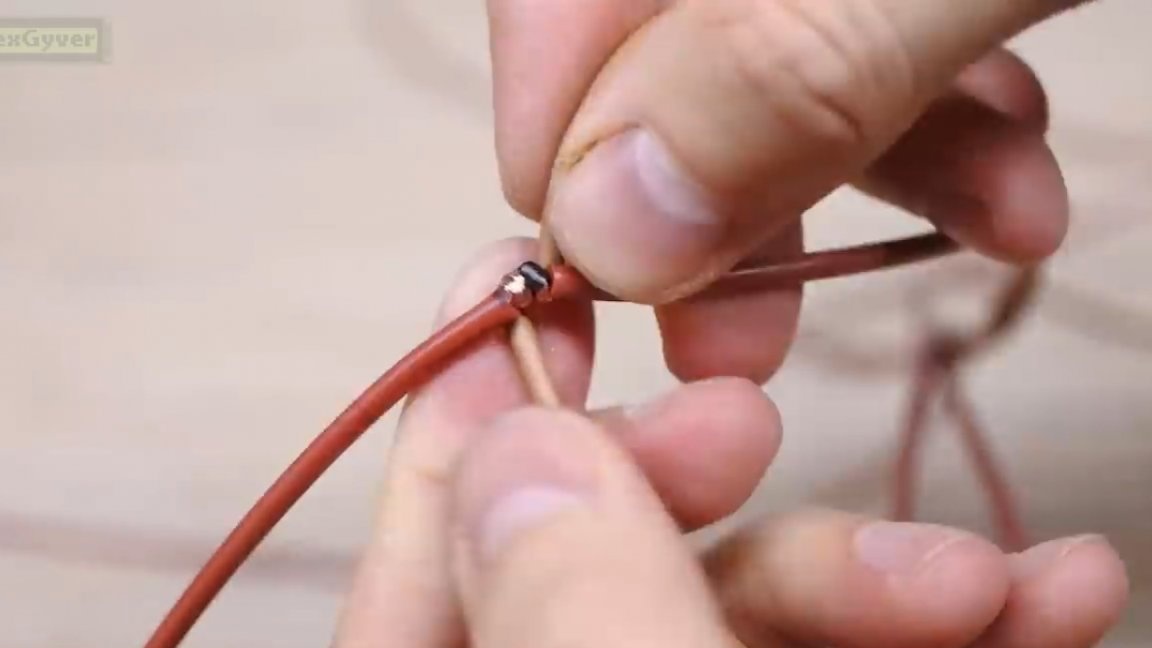
Coal fibers obviously do not solder, and such a twist is perhaps the only and very reliable option. And so it turns out a spine.

In the same way we connect the right and left side. The edges will go, for example, to minus (-), and the center to plus (+).
Well, let's check it out right away. And a mobile thermal imager will help us with this.
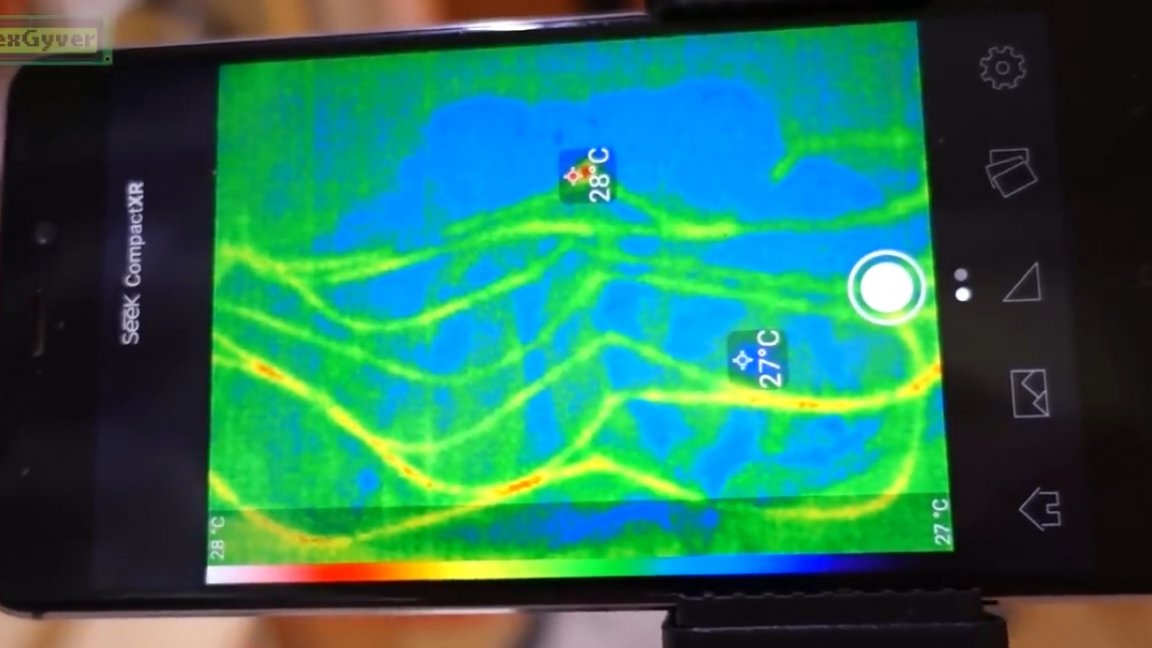
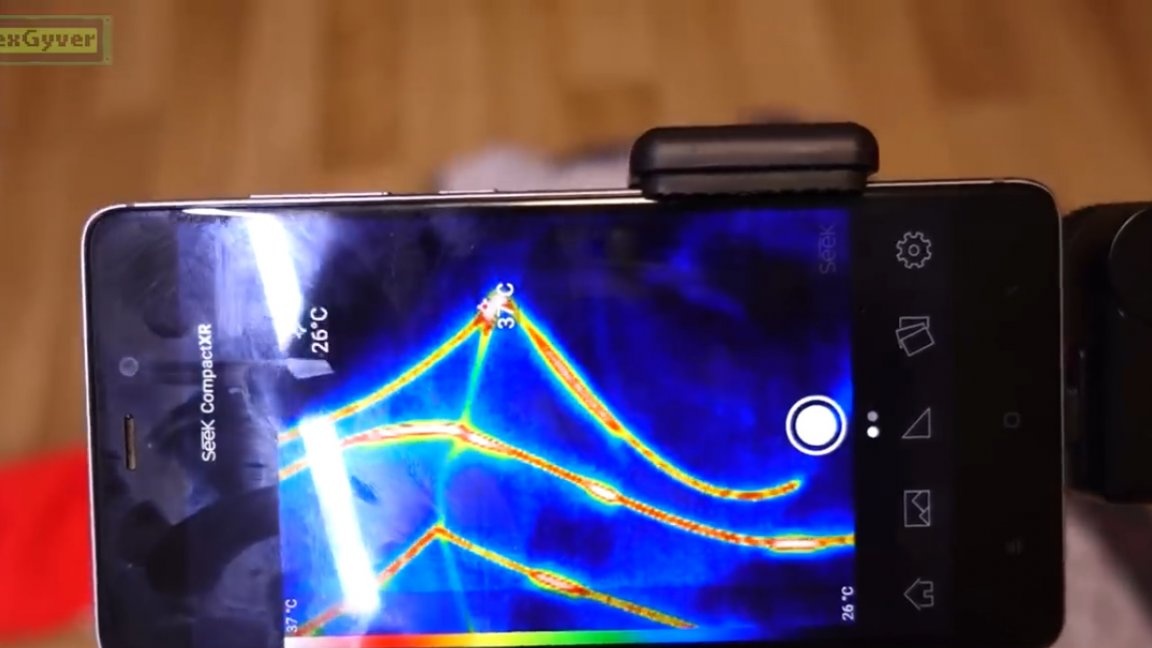
As you can see, the cord began to heat up and more clearly manifests itself in the thermal picture.
Here we see how the terminals are heated at the point of contact with the battery, but not critically, only 3 degrees higher.
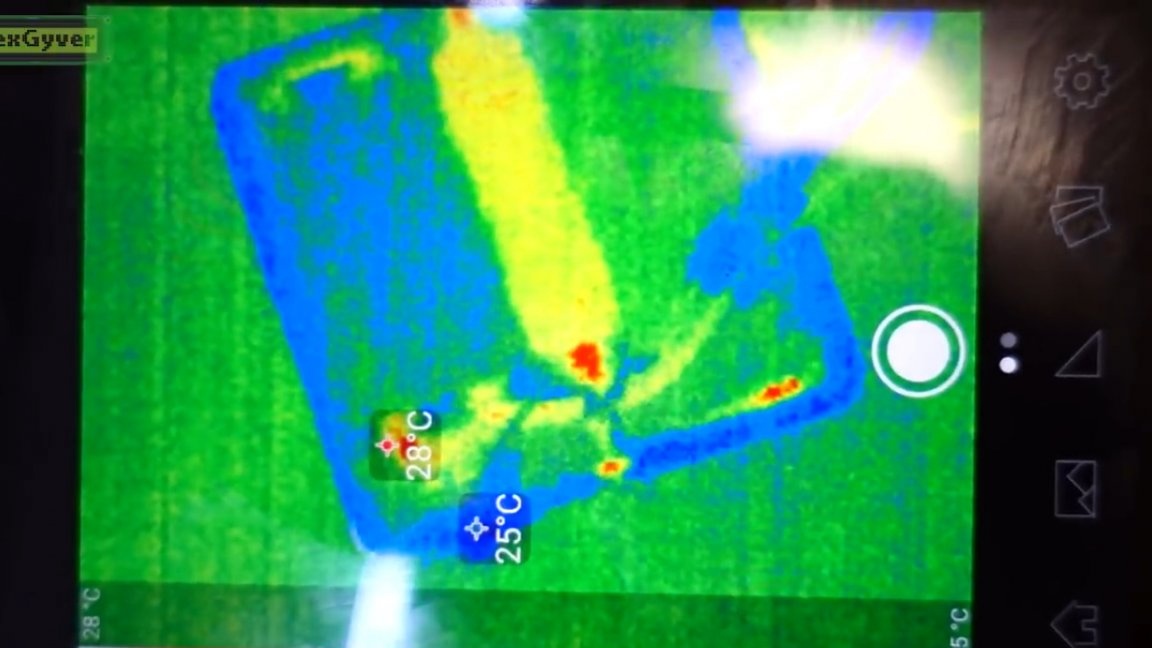
And so the wire connections do not heat up, nothing is heated, everything is super. Beauties! The cord can be felt by touch to a certain extent hot, there are certainly 40-45 degrees.
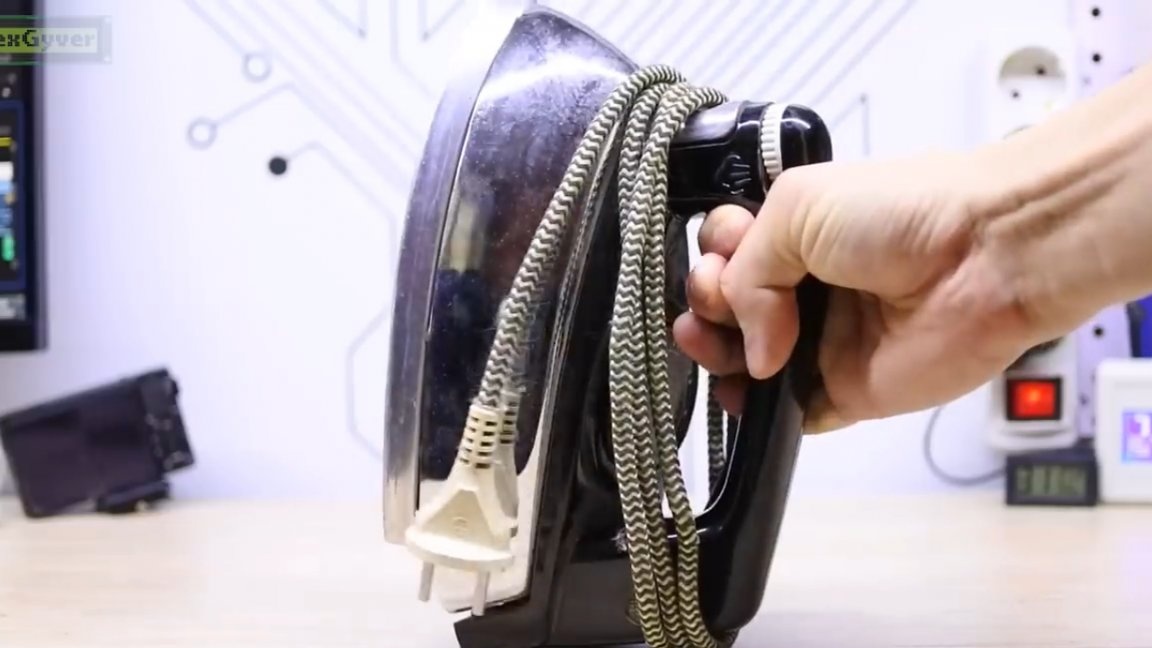
Next, we need the most dangerous tool - the Soviet iron.
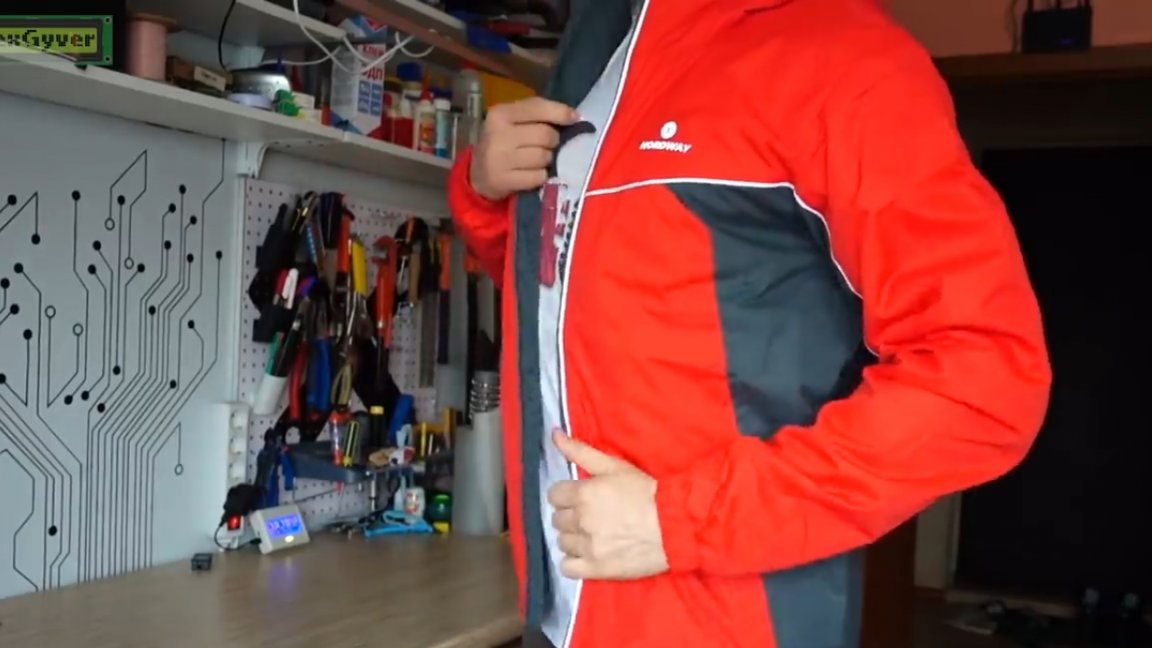
We take a cobweb, a white cloth, and begin to fasten the cord to the jacket.
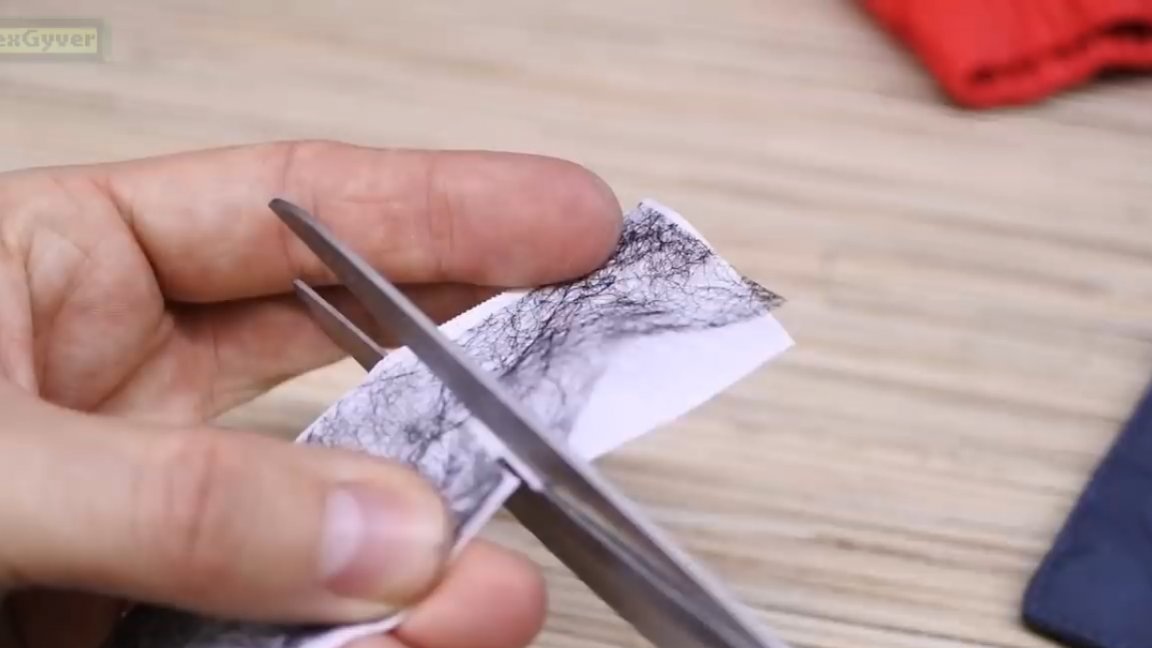
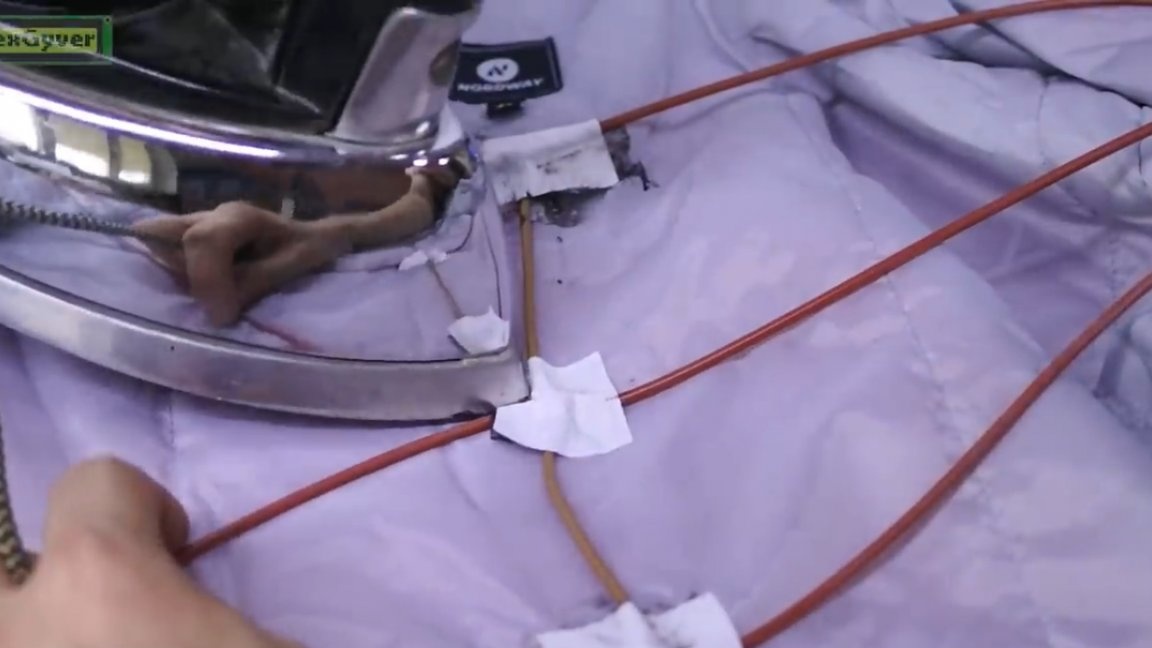
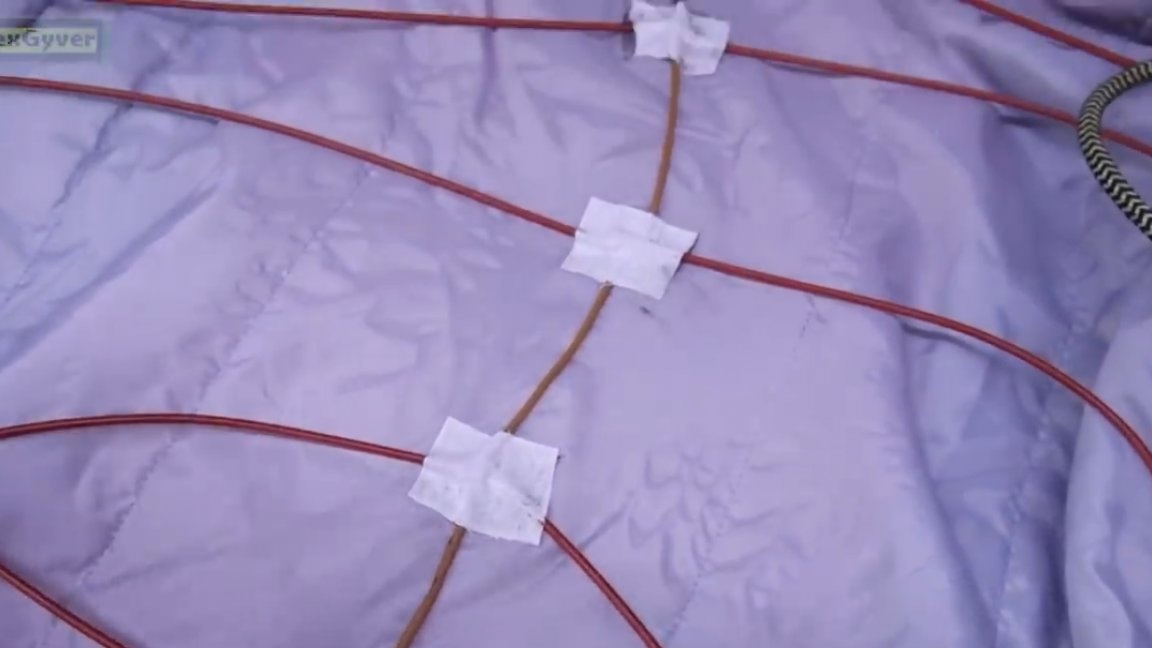
Ideally, of course, you could hide the whole thing behind a lining, but it’s alright.
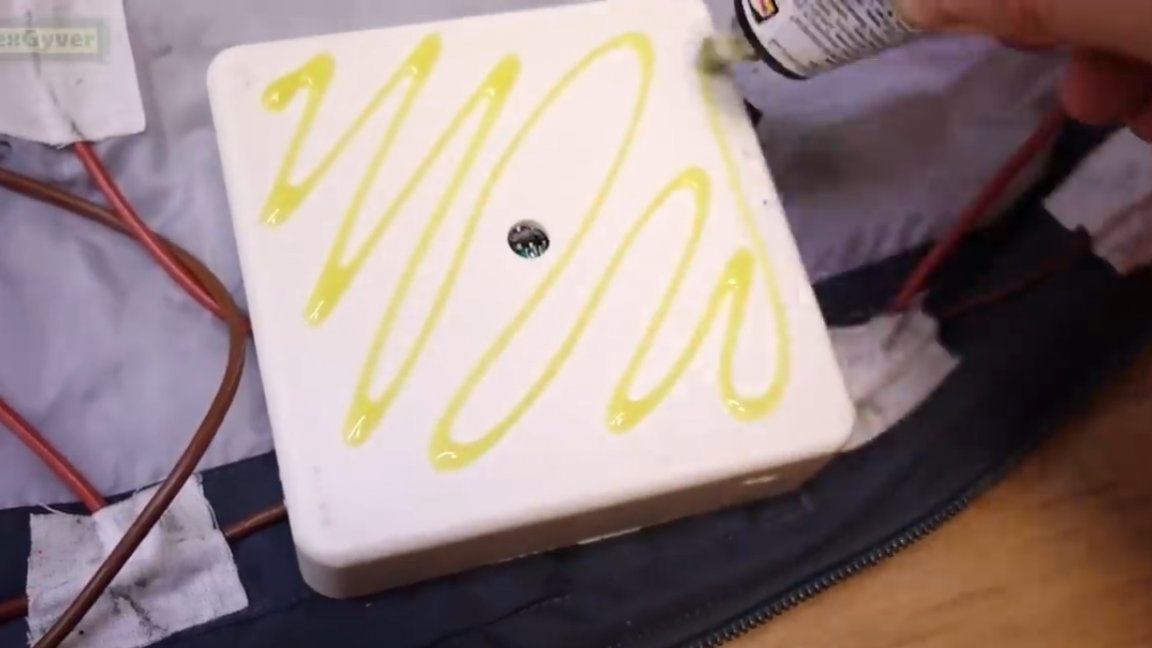
We attach the electronics unit to the glue moment. That's how it all looks, not very neat, but very reliable.
Let's try on.

As you can see, the cord is normal, everything is as it was intended. We start our hellish car. After about 30 seconds, the cord completely warmed up and went into mode and it became uniformly warm throughout the jacket from the inside, well, except for the sleeves.

As for the battery life of the system, everything is not very cool here, because a battery of this format usually has a capacity of about 3Ah and with a discharge current of 8A it will last about 20 minutes.
Well, that’s all. Thank you for attention. See you soon!
Video: