

The author of Instructables under the nickname brazilero2008 came across this ad in 1956:
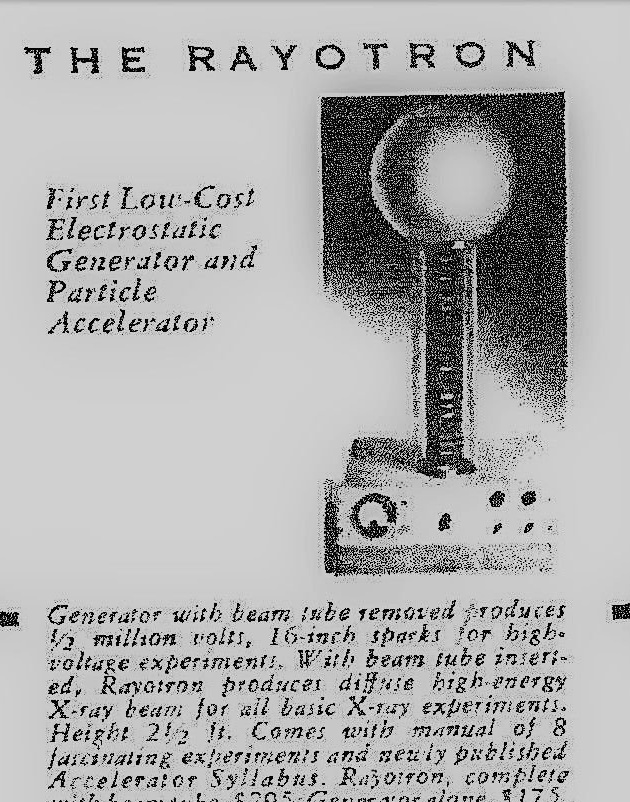
Seriously, people were seriously offered to buy their own home for experiments, not just an electrostatic generator, but equipped with ... an X-ray tube! Of course, the radiation intensity was not such as to become “Sifun” in a minute, but quite sufficient to become one sometime with regular experiments. In general, a dangerous (and quickly taken out of production because of this) thing, but just as beautiful. And then the idea came up for the master: to make a visually similar device, but to be only beautiful. Well, brazilero2008 doesn’t plan to be renamed Sifuna, is it wrong? And if you really want to catch fear, you can always finish the x-ray with your imagination.
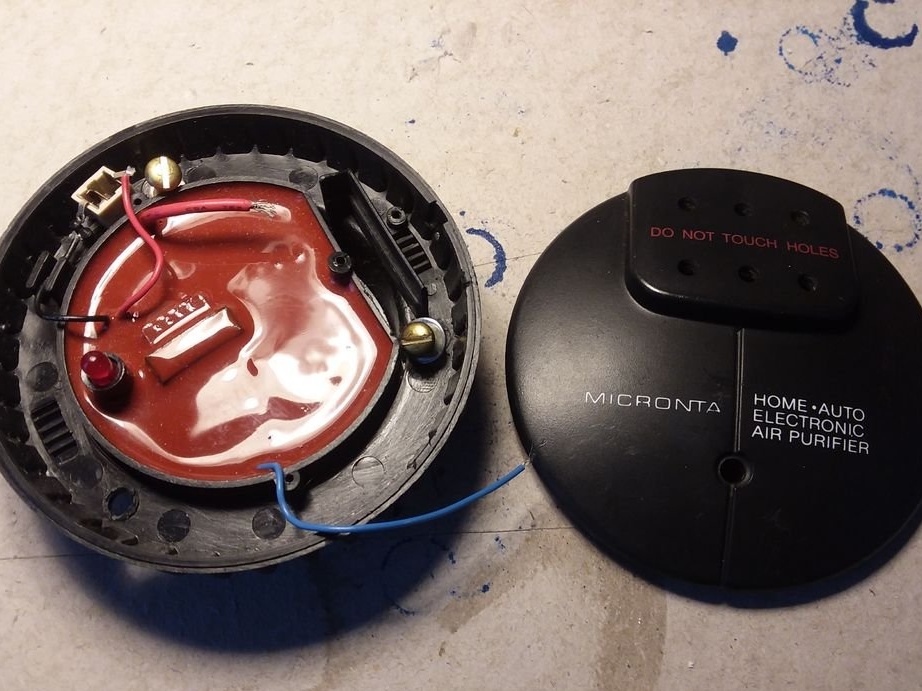
The X-ray tube here will be simulated by a cold cathode fluorescent lamp - before switching to LEDs, they were placed in scanners and LCD displays. Since it is thin, it will have to be placed in a transparent tube of a sufficiently large diameter to resemble a real tube. Of course, without pumping this pipe. And as a source of static electricity to power the lamp, a household air ionizer is suitable:
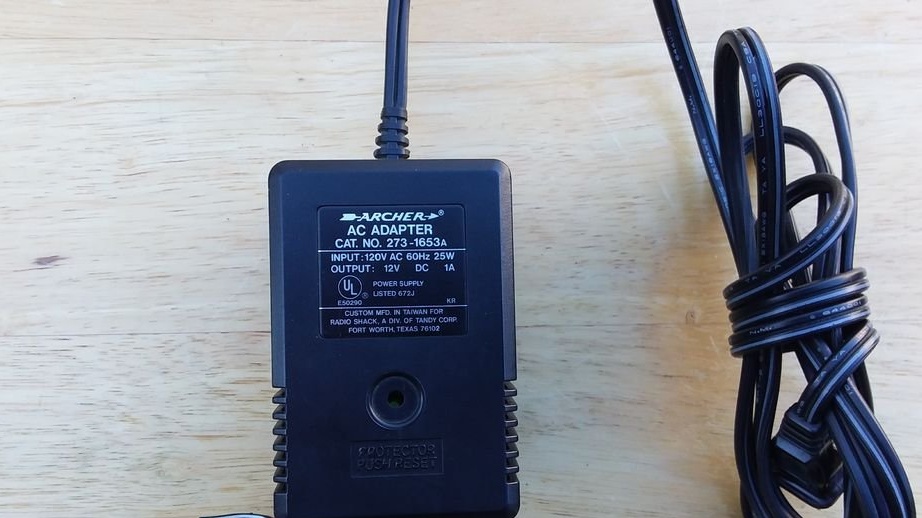
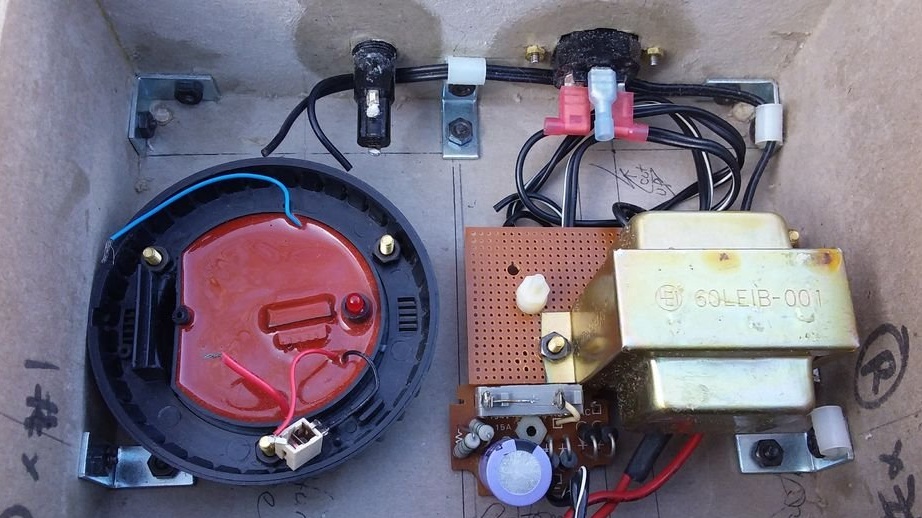
Something does not believe that he needs 3 amps at 12 volts. But to know, the master somewhere on it read it. Therefore, in such a power supply:
I had to replace the transformer:
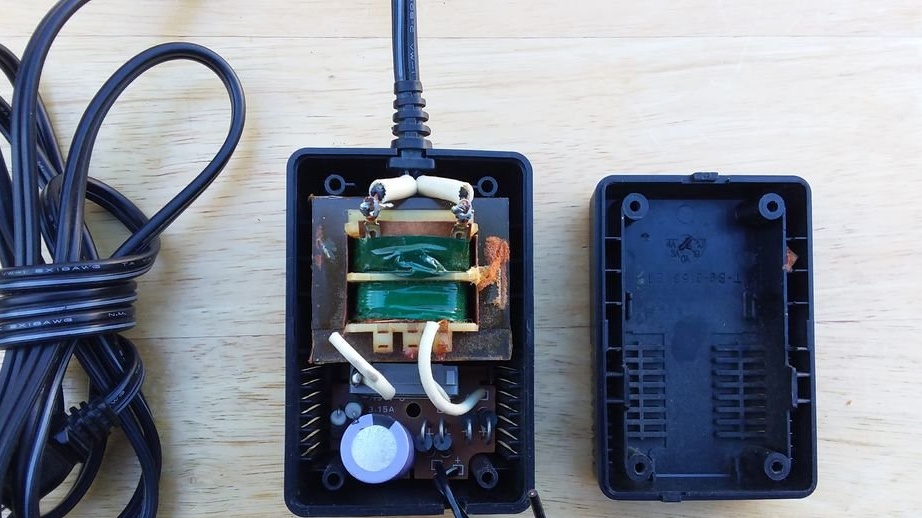
On the other, capable of giving these three amperes and not failing:
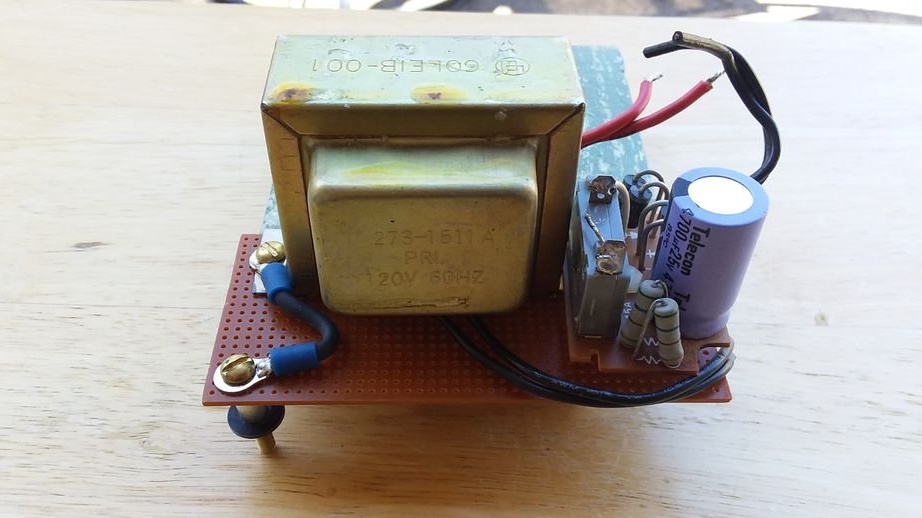
You can’t do this. After all, the diodes remained single-ampere in the bridge.
Although Rayotron was not released for long, they managed to change several design options. The master decided to repeat this:
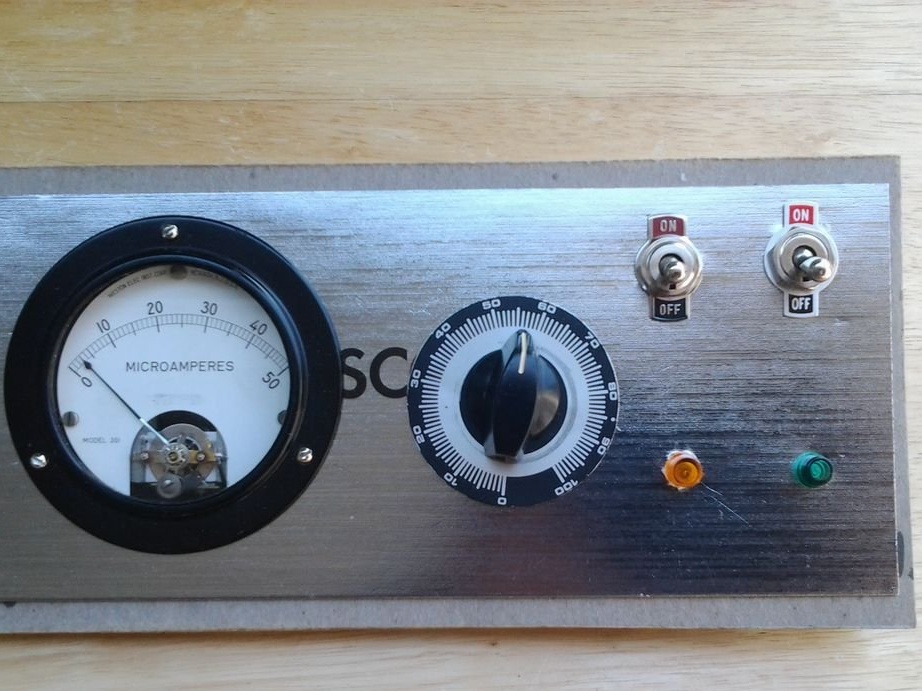
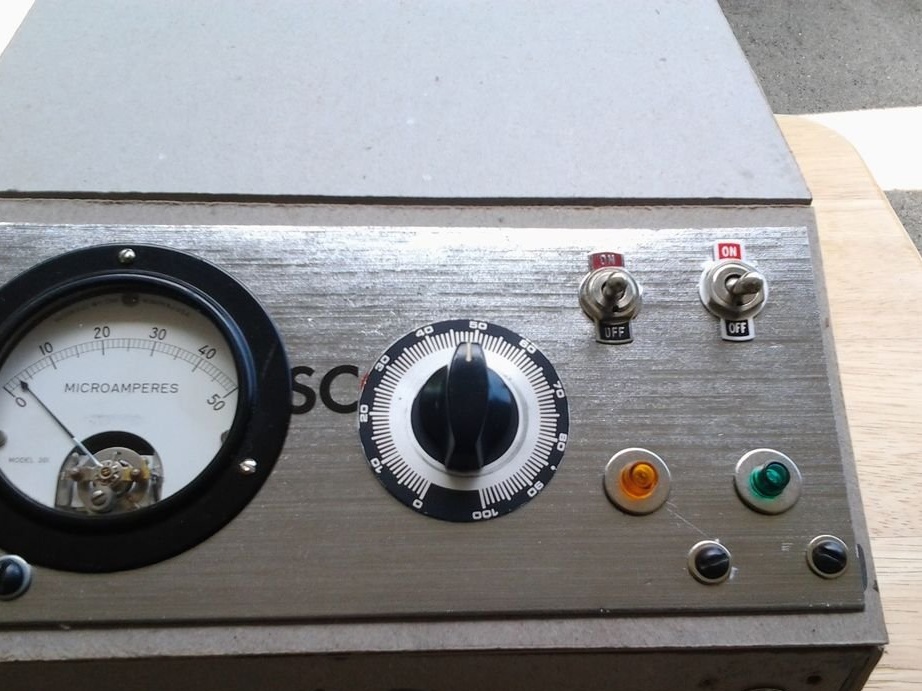
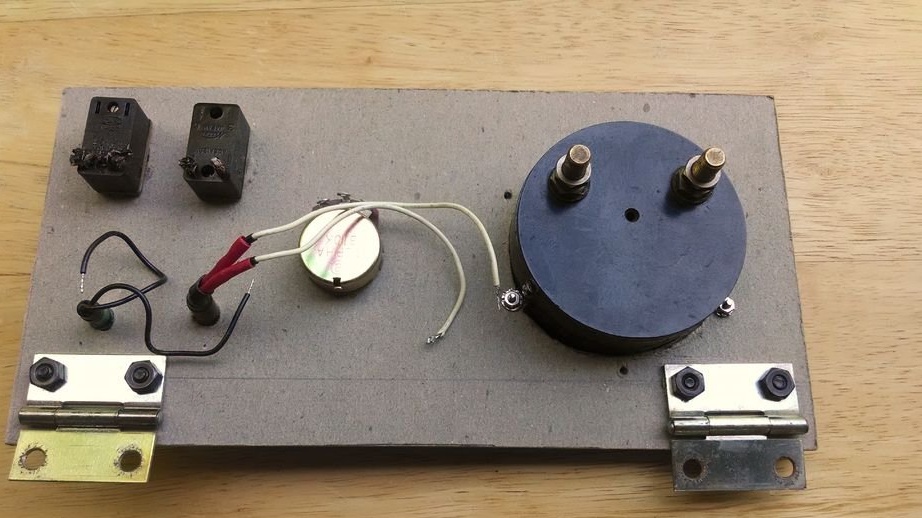
Yes, this is metallized cardboard. The variable resistor is not connected anywhere, but the microammeter shows the actual load current of the ionizer. The developer calculated in advance that it will not exceed 50 μA, which corresponds to a rather weakly luminous lamp.
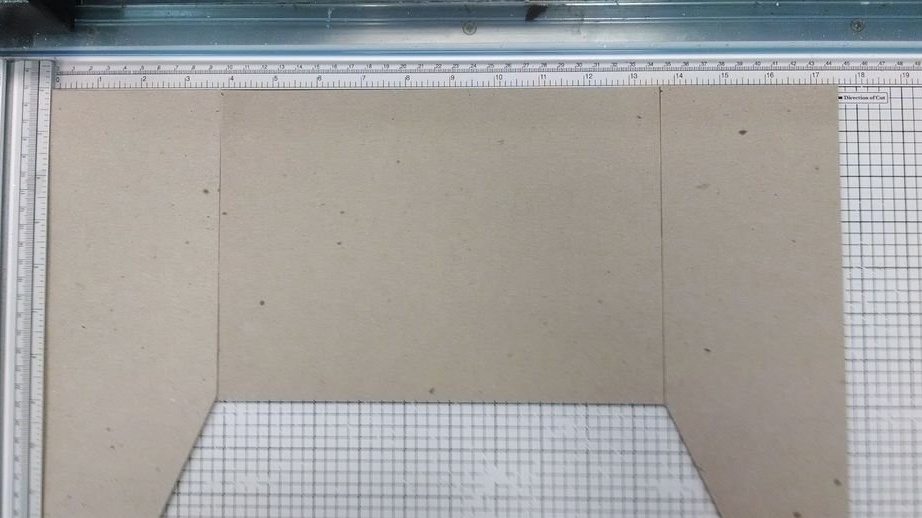
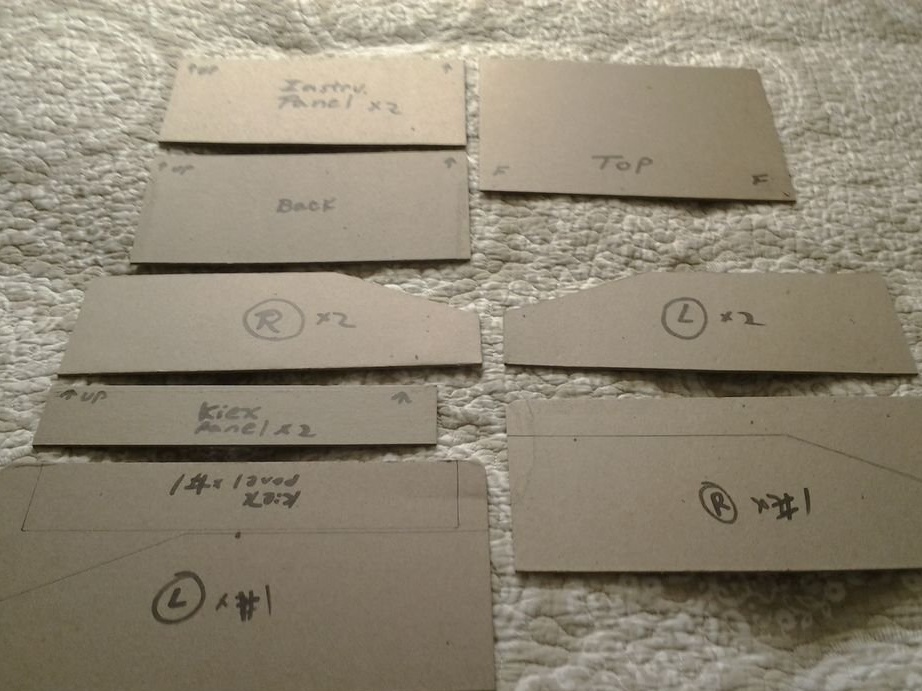
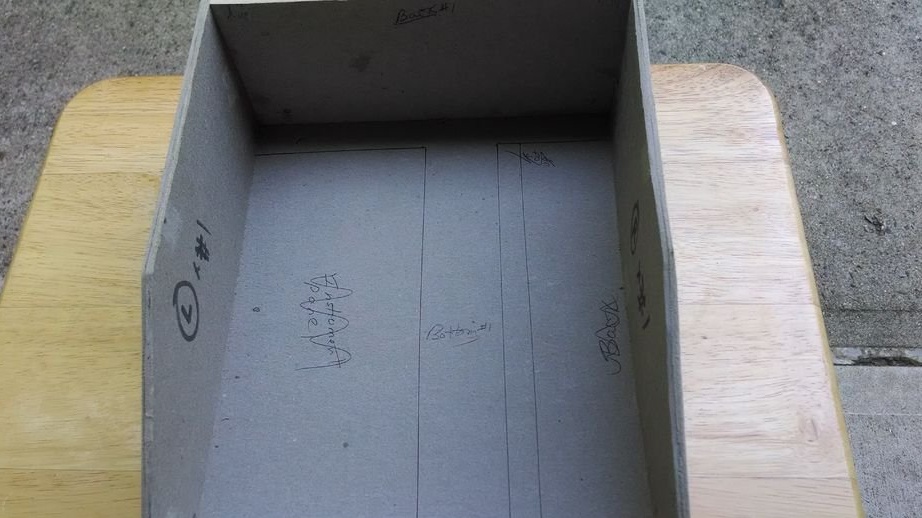
This Rayotron has not only an x-ray that is not real, but also a cardboard case. Although the cardboard is not corrugated, but as thick as corrugated, the strength is almost the same as plywood. The master cuts the workpiece:
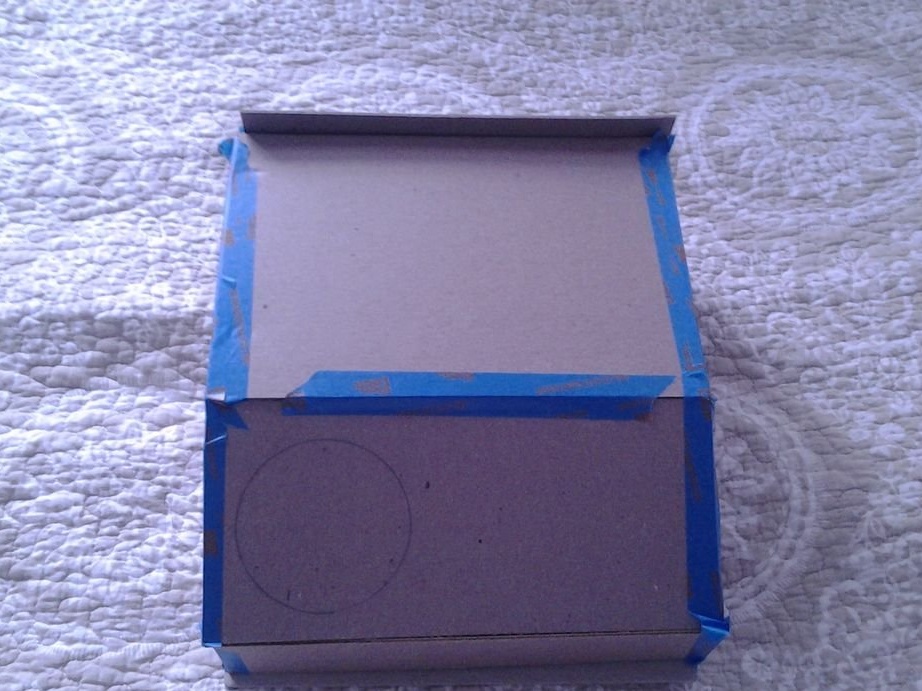
Tries to temporarily connect them with tape, but it turns out crookedly:
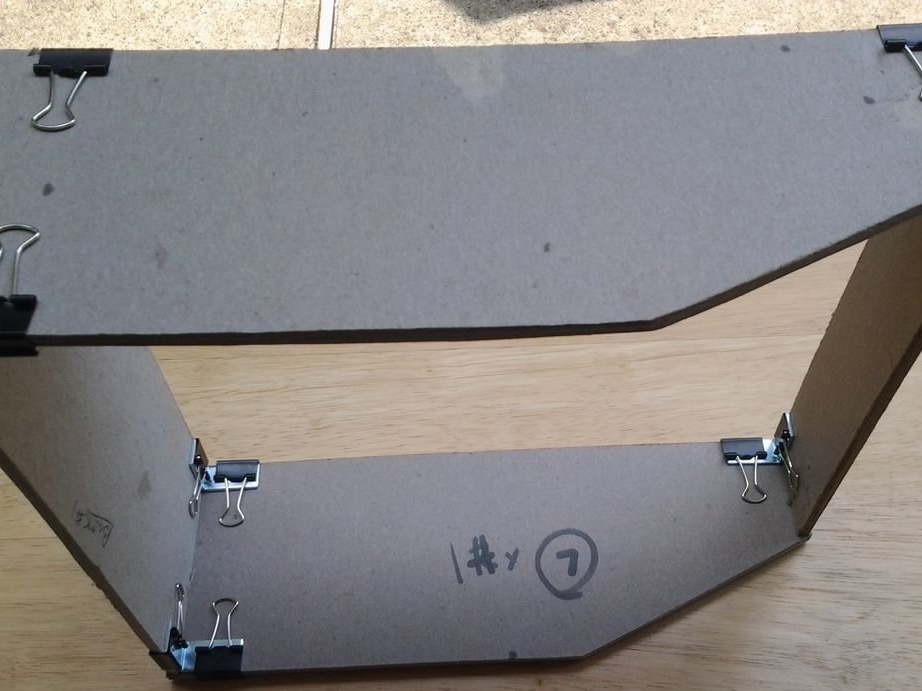
It turned out to be more convenient to use standard clips for notes:
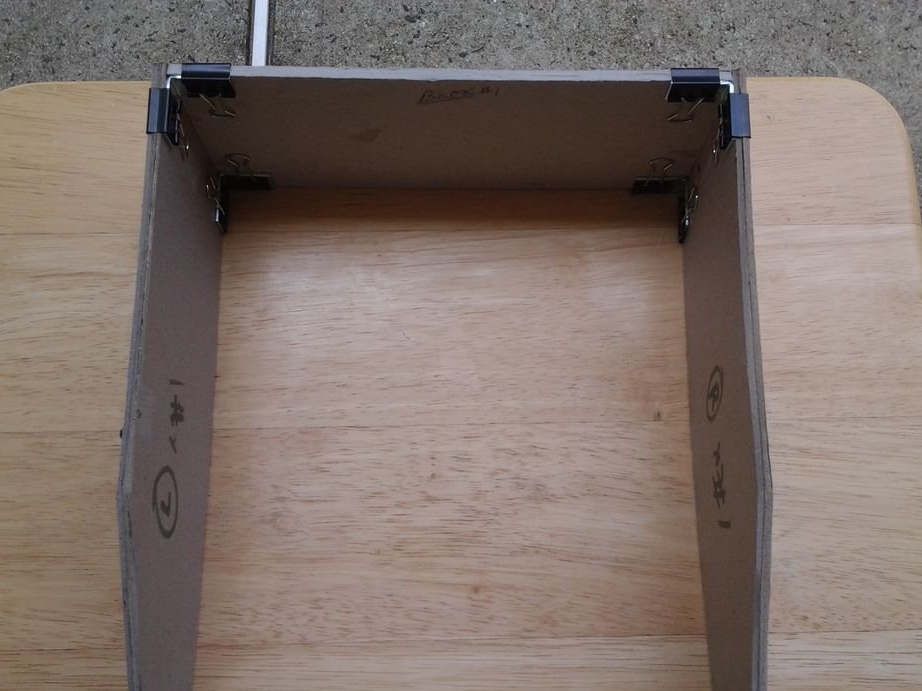
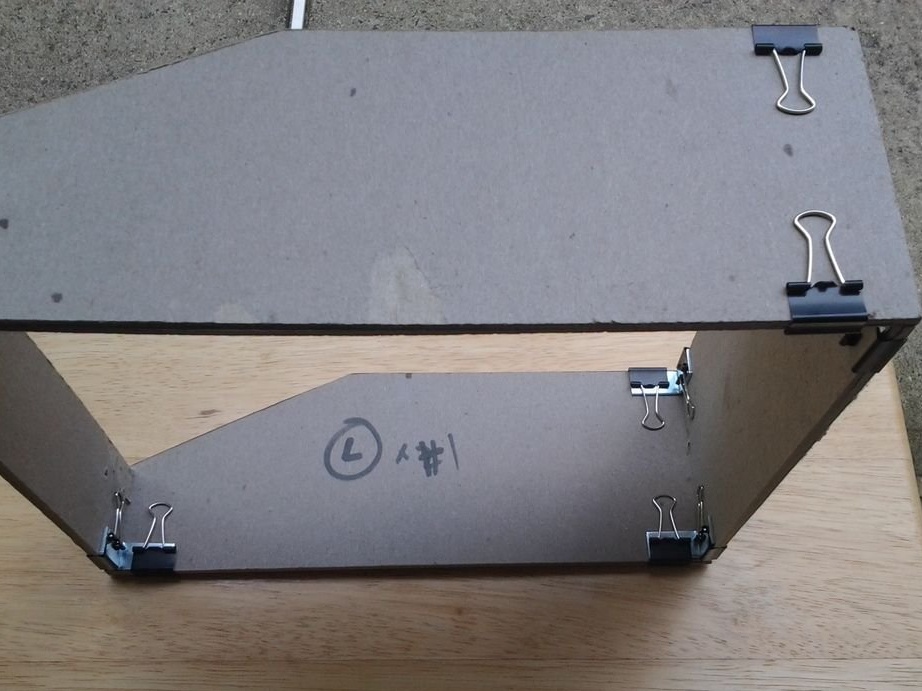
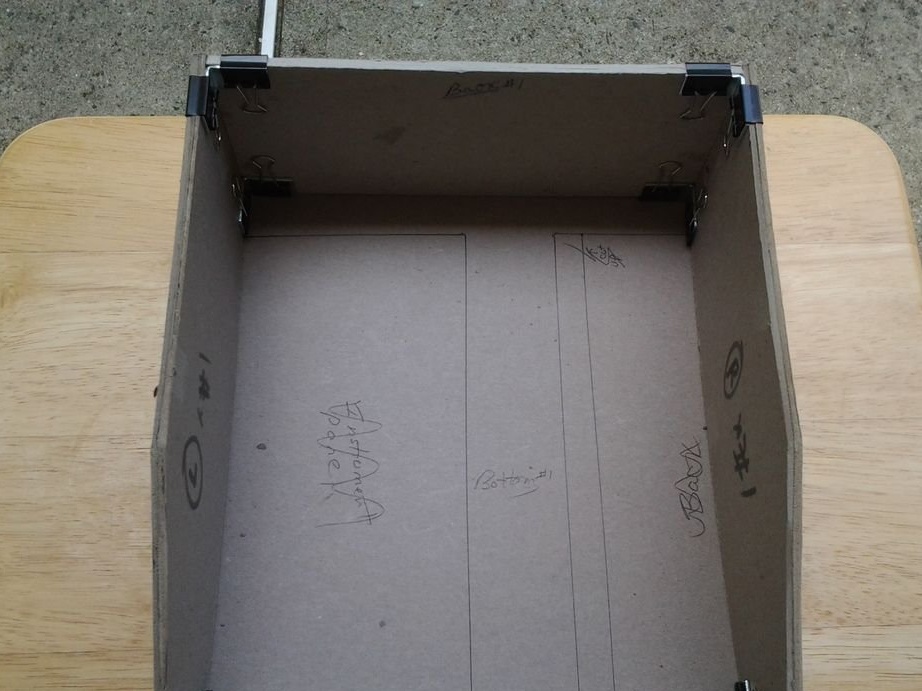
Having glued the body parts together and waiting for the glue to dry, the master removes the clamps:
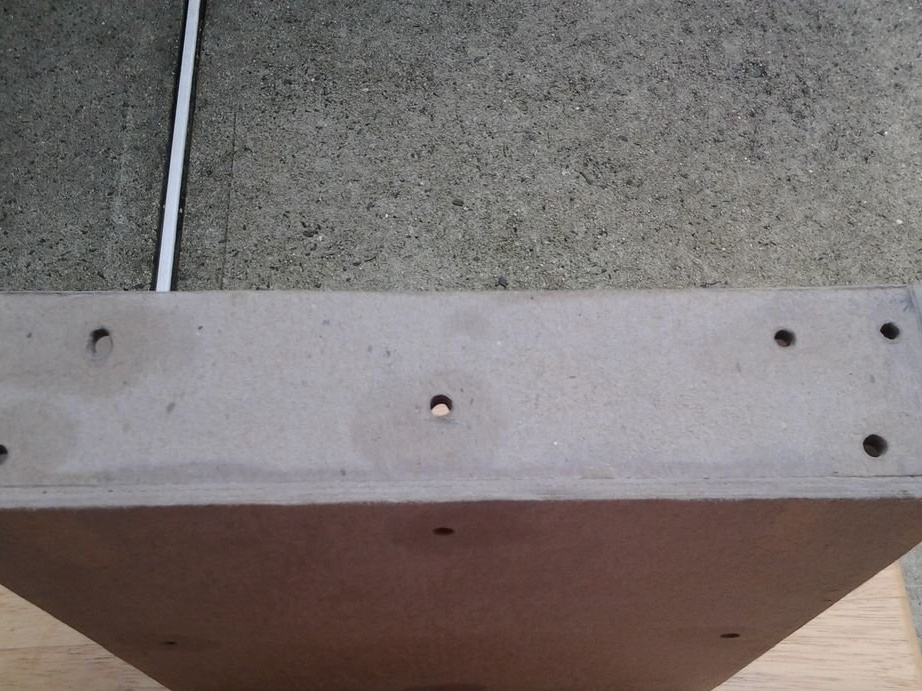
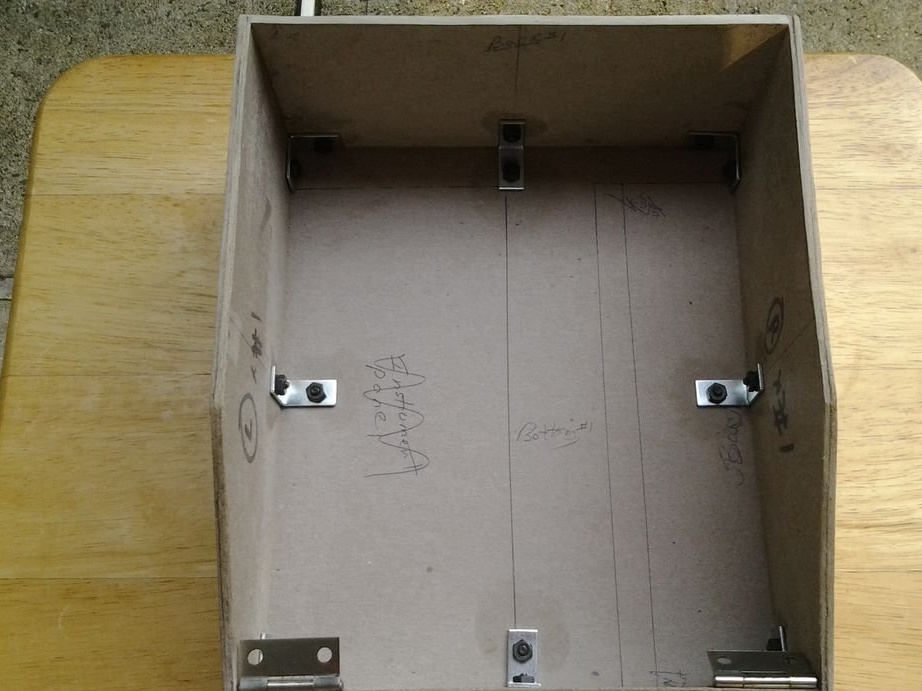
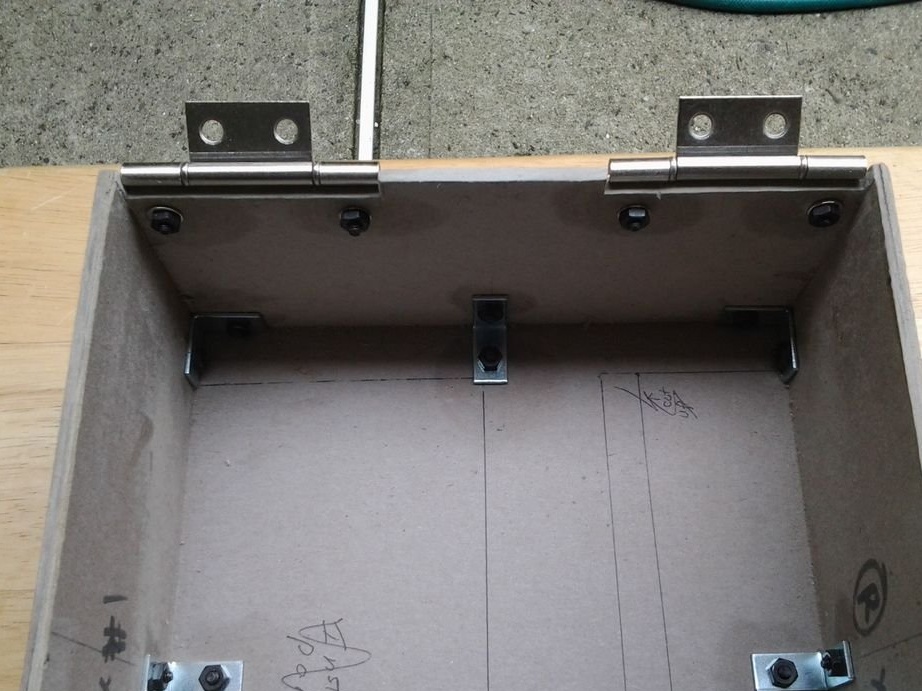
Drill holes for corners:
Sets them as well as hinges for the front panel:
Connects it with loops:
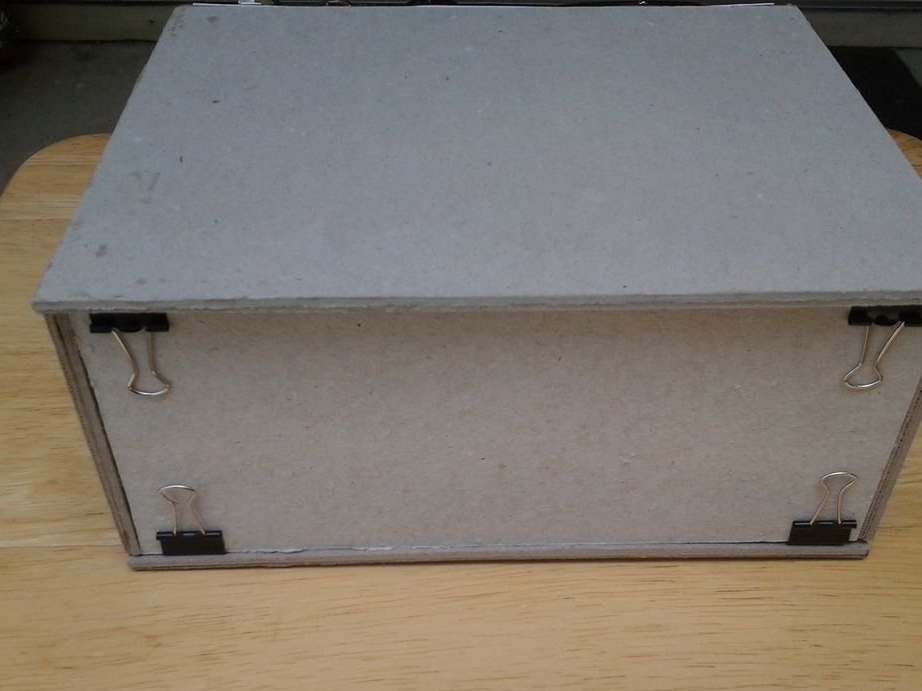
Puts larger hinges for the top cover:
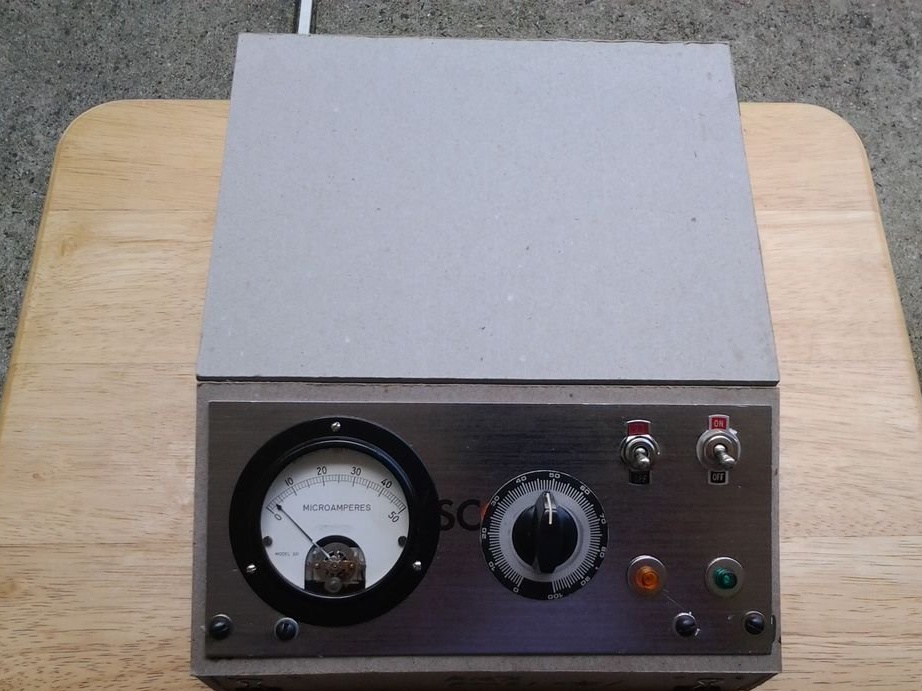
Which attaches to them, and repaints the front panel, having previously temporarily removed components from it:
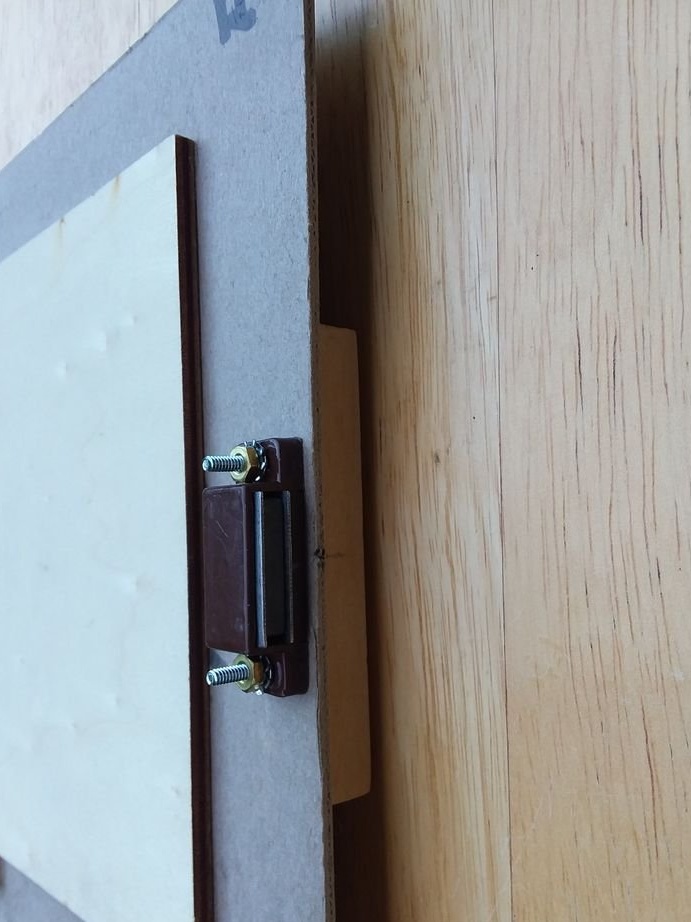
On the back of the top cover, it attaches a magnetic latch:
And from the front - a handle for opening, at the same time returning the components to the front panel:
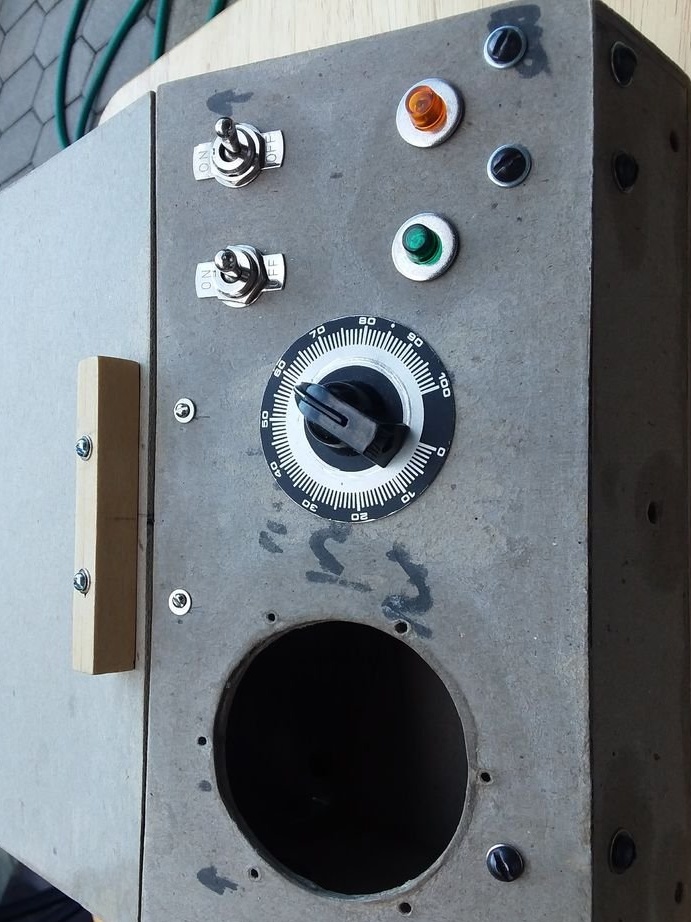
Adds a plate to the front panel that the magnetic latch will hold:
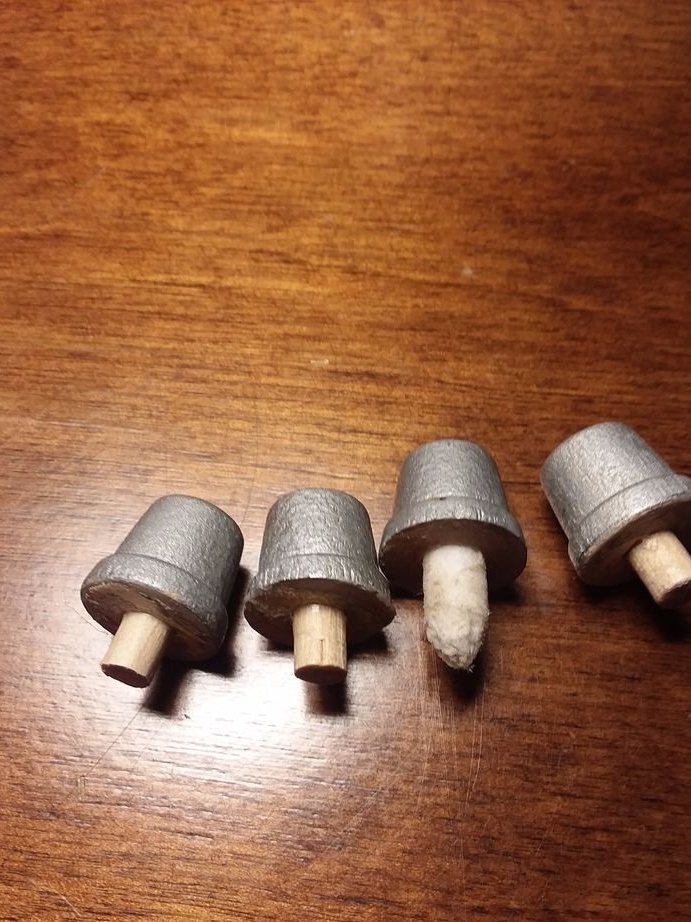
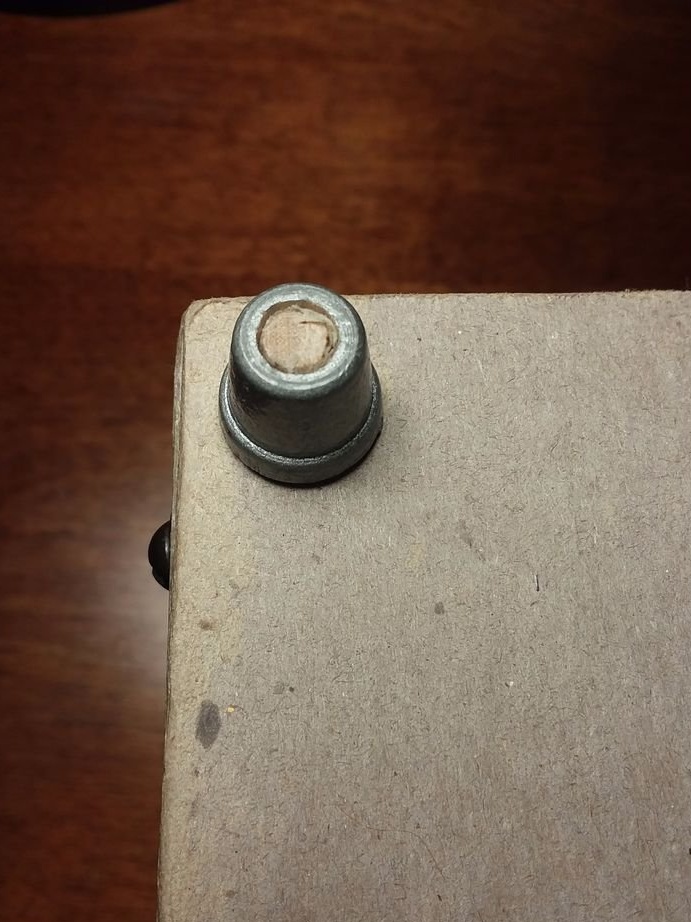
Puts rubber feet:
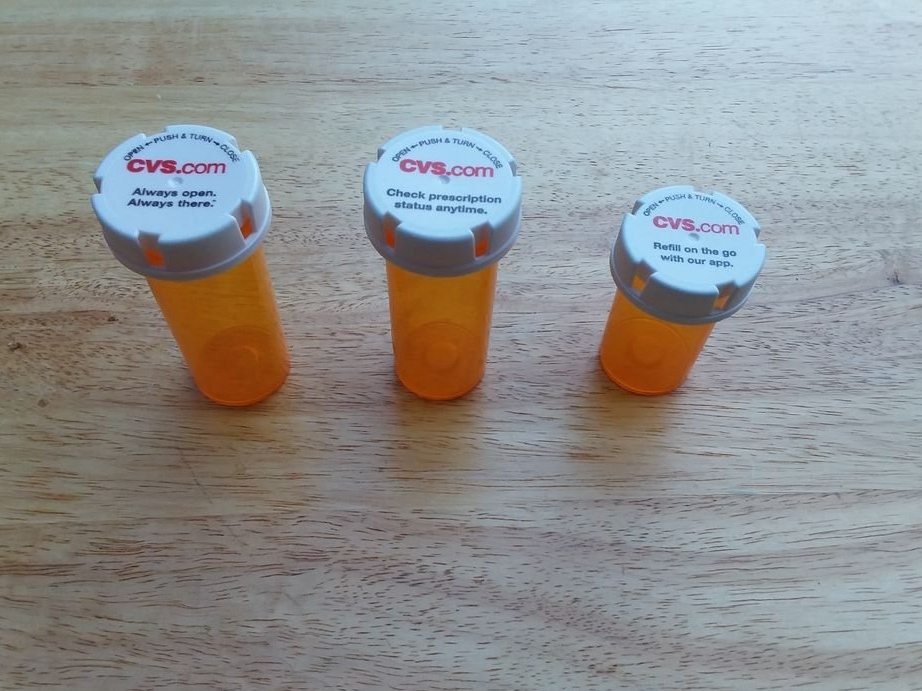
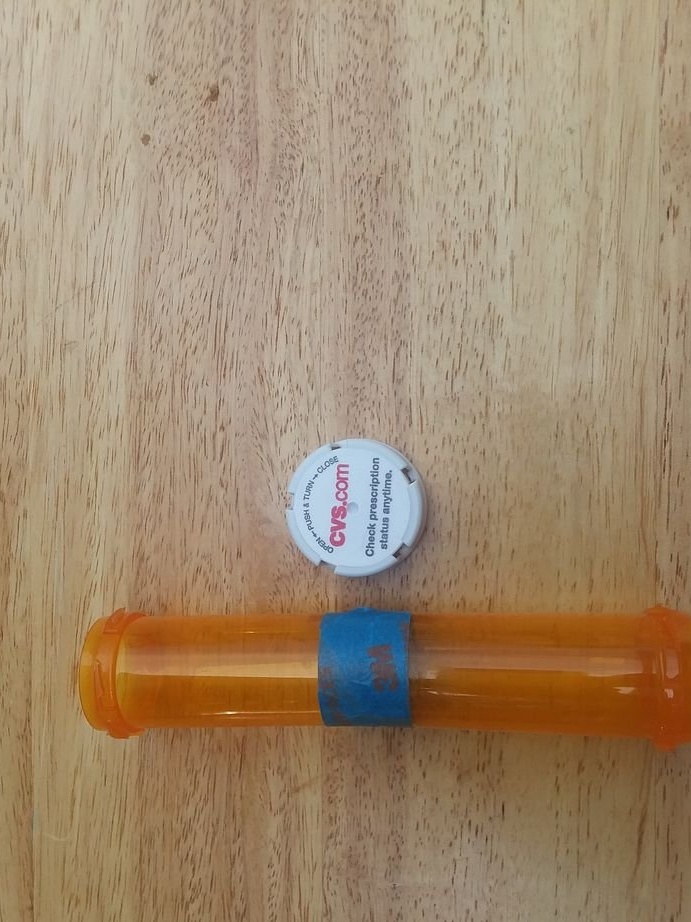
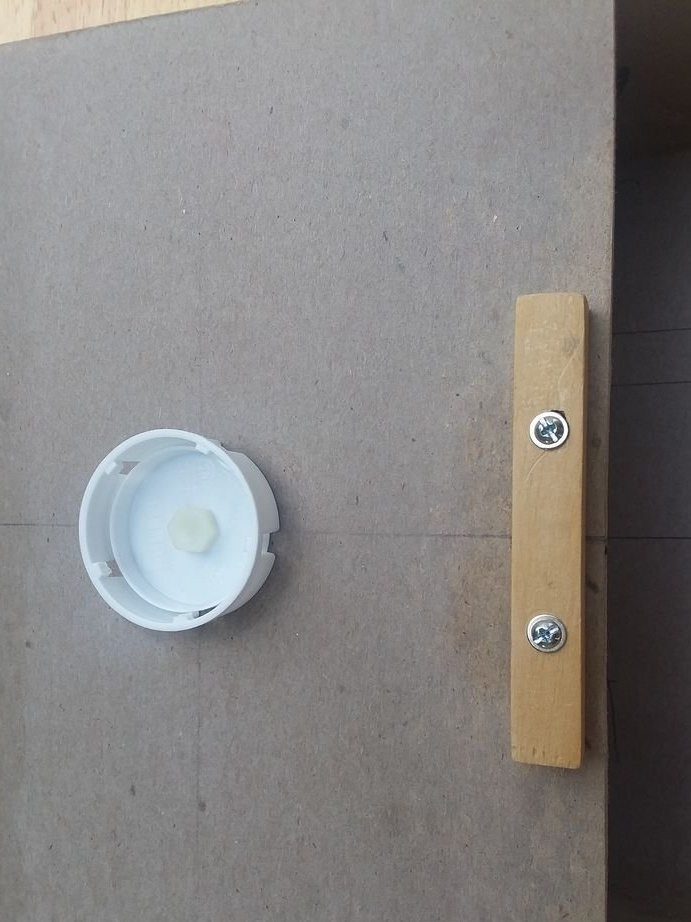
From plastic packaging for medicines:
Makes such a construction:
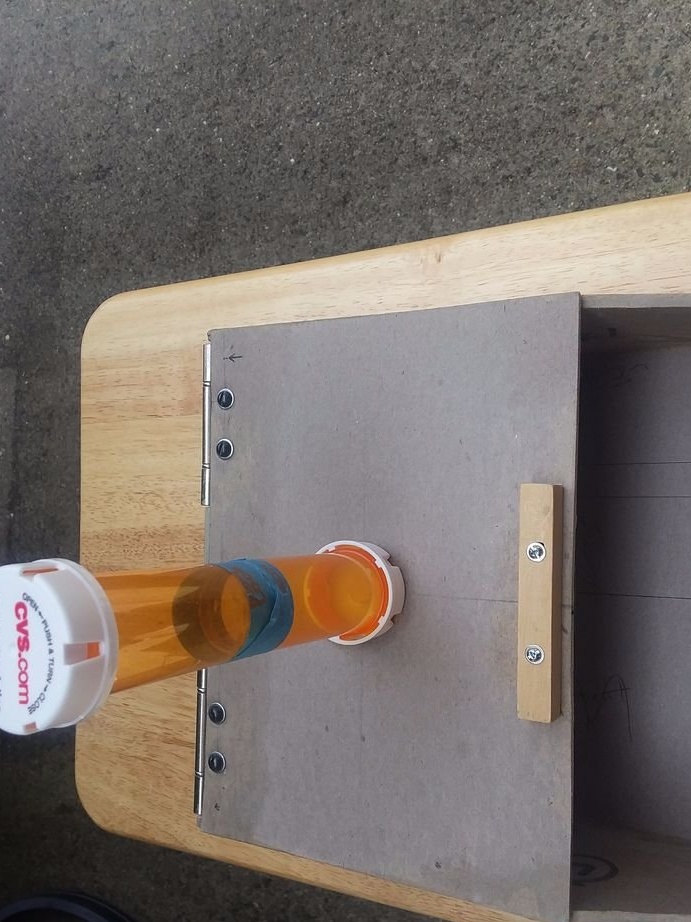
Attaches one cover to the top wall:
Trying on:
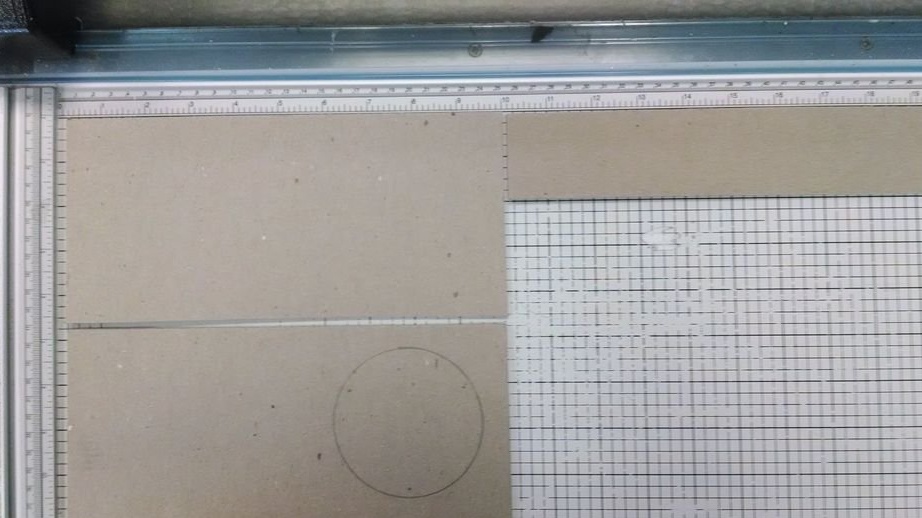
Too dark tubes, and even the connection in the middle ... In general, it changes to a tube made of a more transparent plastic. But first makes cardboard circles:

Joins them together and grinds everything at the same time:
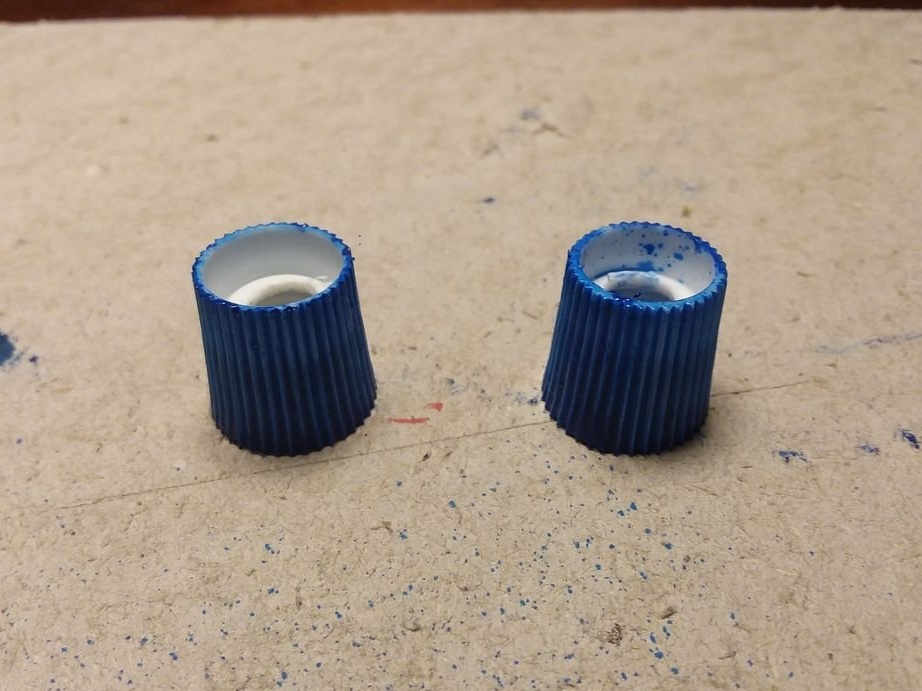
In two caps from the tubes of toothpaste, drills holes:
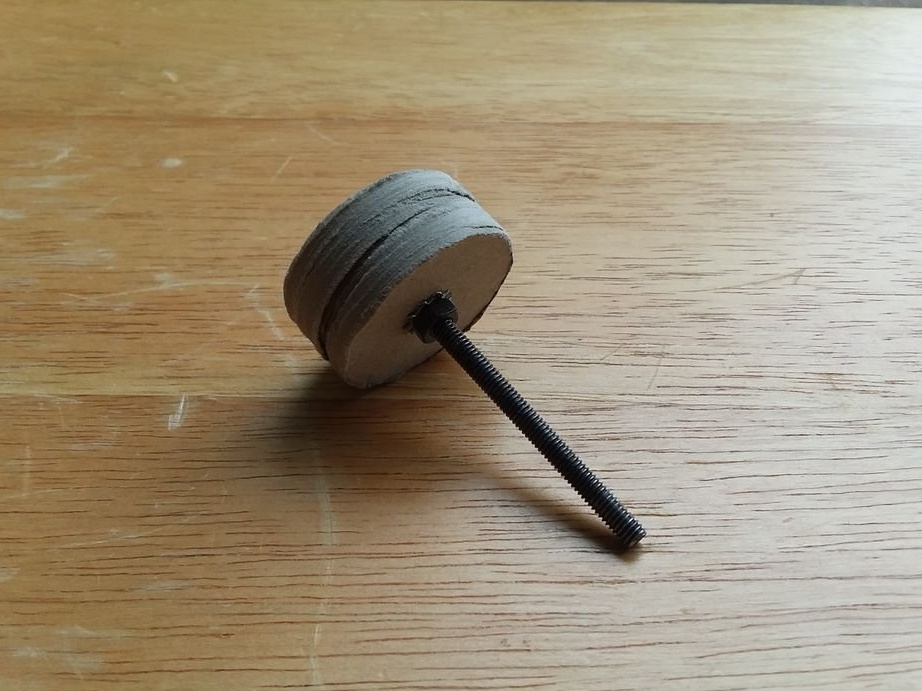
And so it connects with cardboard circles and metal washers:
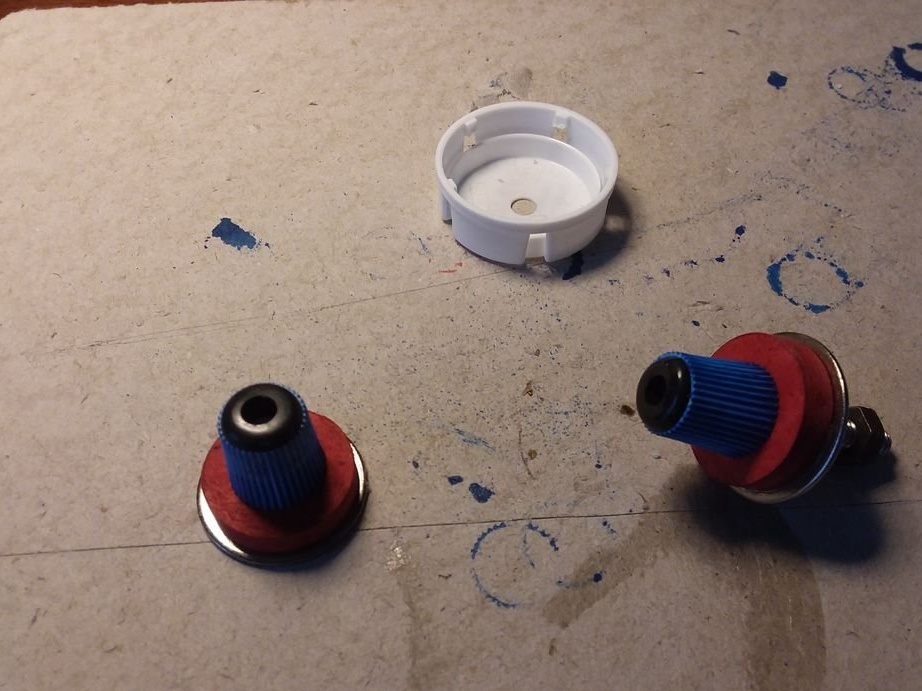
All this, as well as the lid from the packaging of the medicine, connects to the aforementioned more transparent tube, adding also a hairpin:
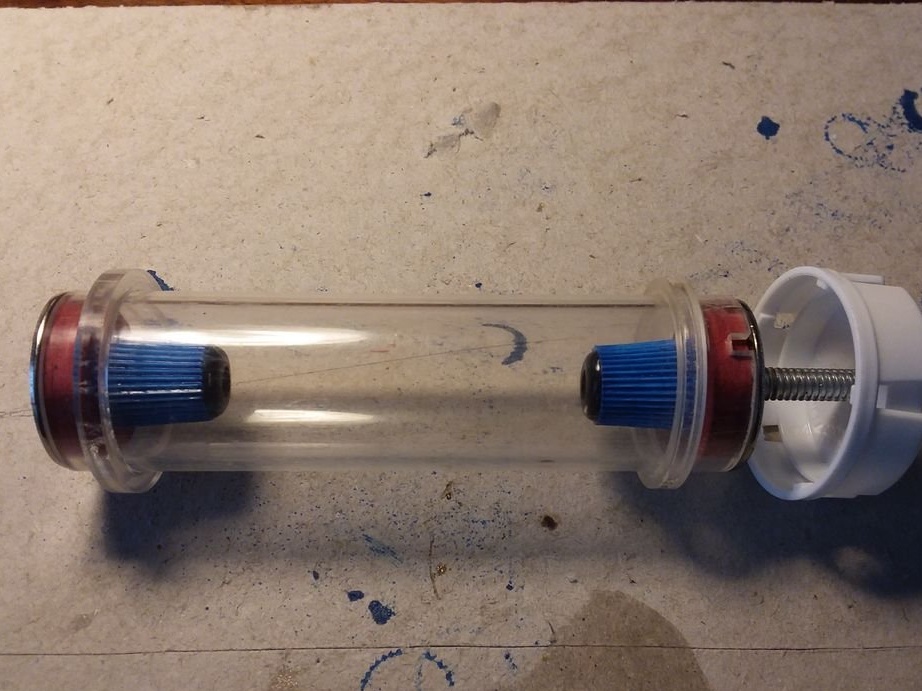
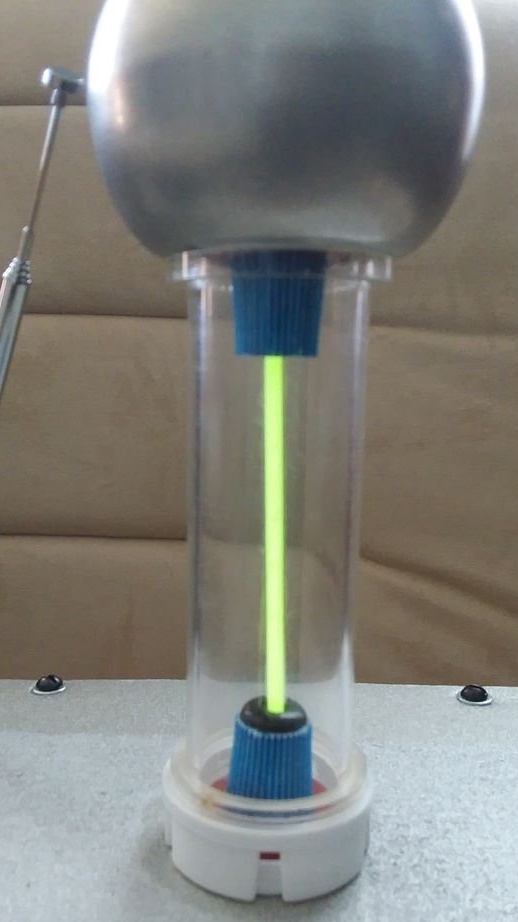
He puts the tube on the top cover by placing a cold cathode fluorescent lamp inside:
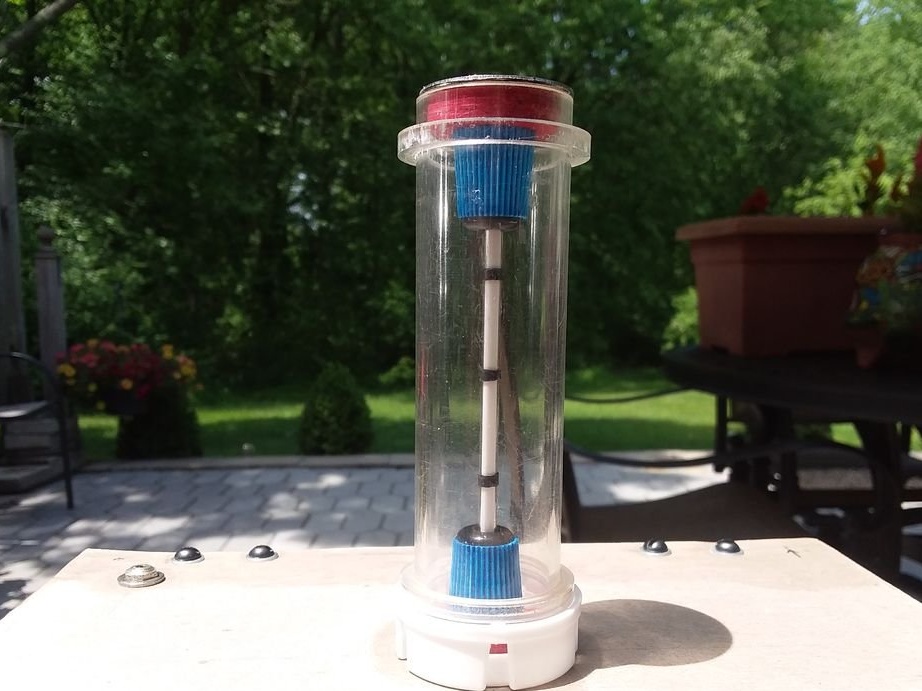
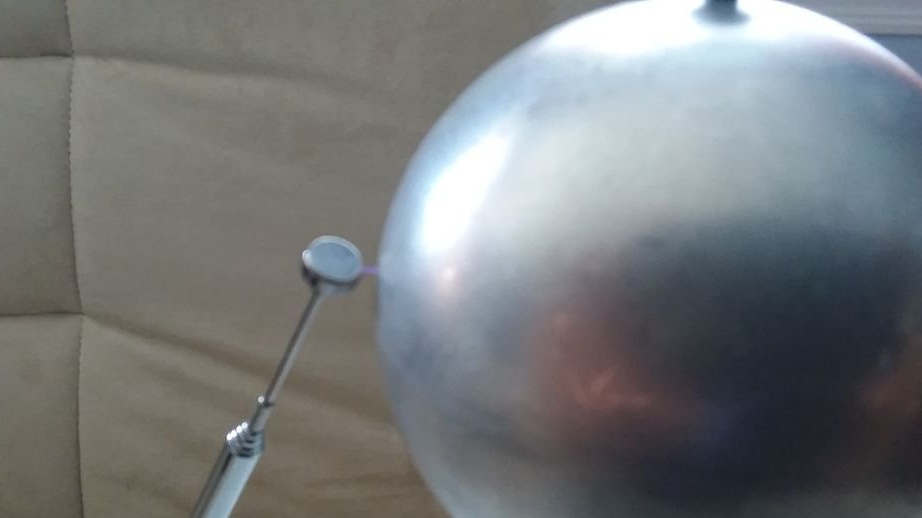
He takes a miniature metal globe, cleans it of paint, makes a hole in it, puts it on the tube, connecting it to the upper output of the lamp:
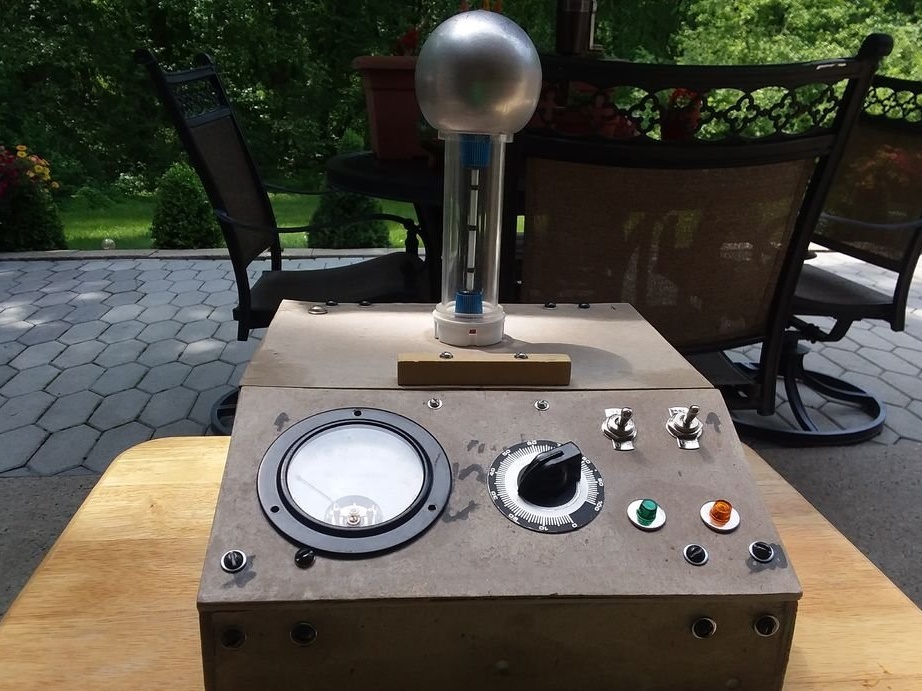
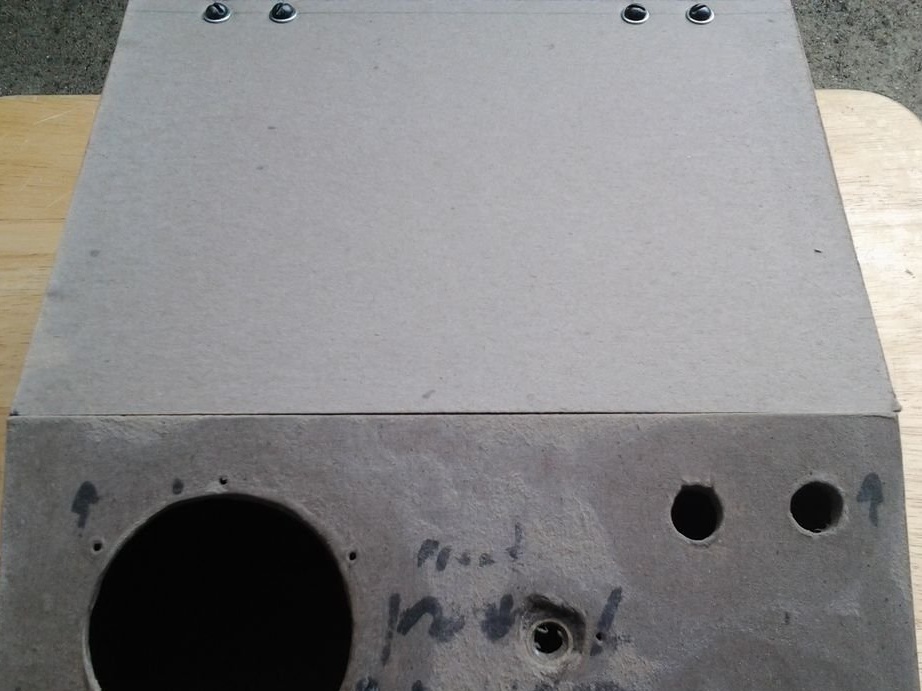
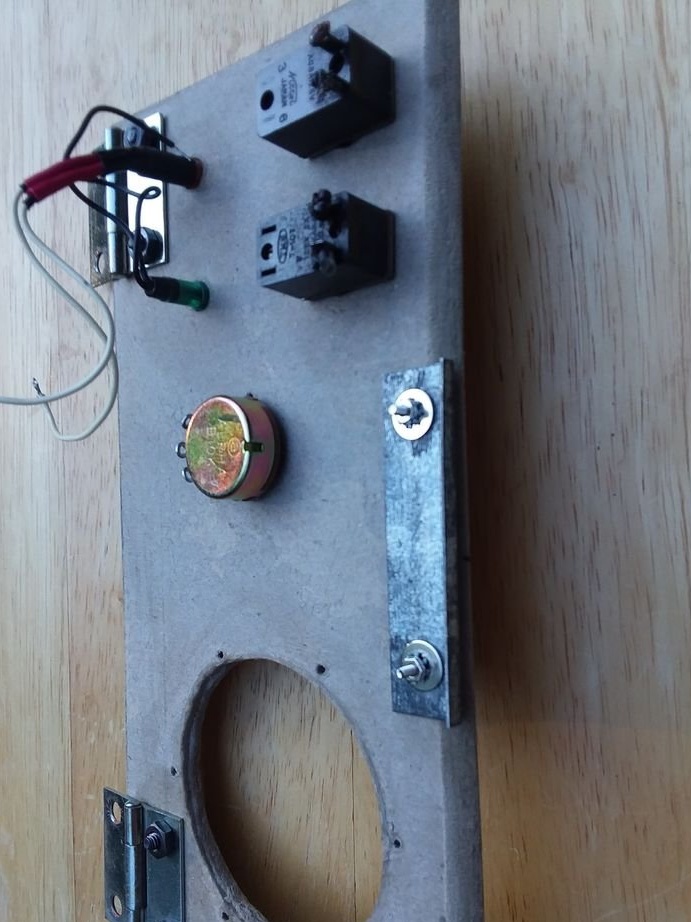
Installs a power supply and an ionizer in the housing, and a connector on the back wall:
Connects the connector to the power supply, the power supply to the ionizer. Removes the scale from a variable resistor, finding it in poor harmony with the design. The lower output of the lamp connects with the plus of the microammeter, minus the microammeter connects to the output of the ionizer. Installs a telescopic antenna, connects it to a common ionizer wire:
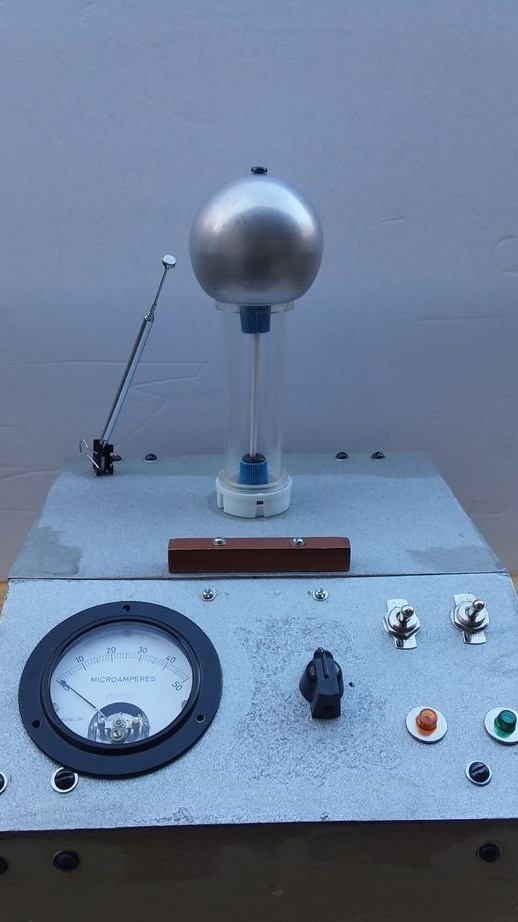
Sets the distance between the telescopic antenna and the ball so that a stable discharge is obtained, touching only the antenna, but not the ball:
The lamp starts to glow:
In the dark, even more spectacular:
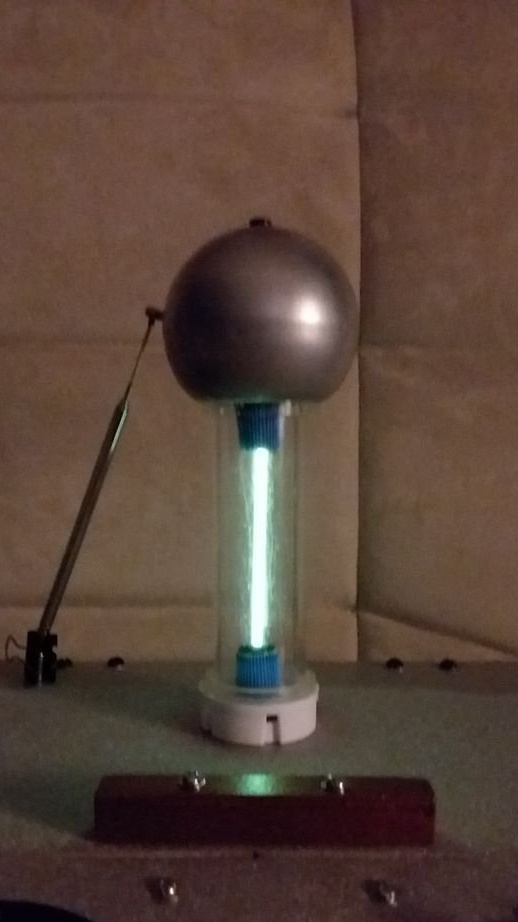
The microammeter in this case shows 15-20 μA.
From the translator. It is not always possible to find a fluorescent lamp with a cold cathode, especially such a short one: the manufacturers of scanners and LCD displays switched to LED backlighting completely and irrevocably. The hot glue stick, illuminated at both ends by LEDs, will look no less impressive. The ionizer becomes unnecessary, the power supply can be taken standard with a USB output. Select resistors for LEDs to obtain the desired brightness. Add a shunt to the microammeter, since the current through the LEDs is no longer calculated by micro, but by milliamps.