
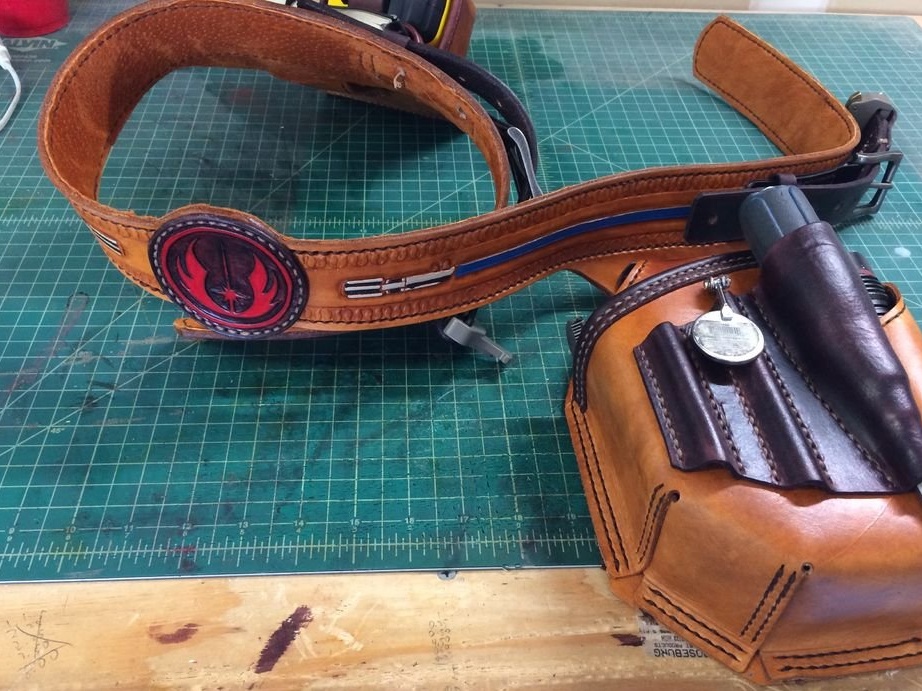
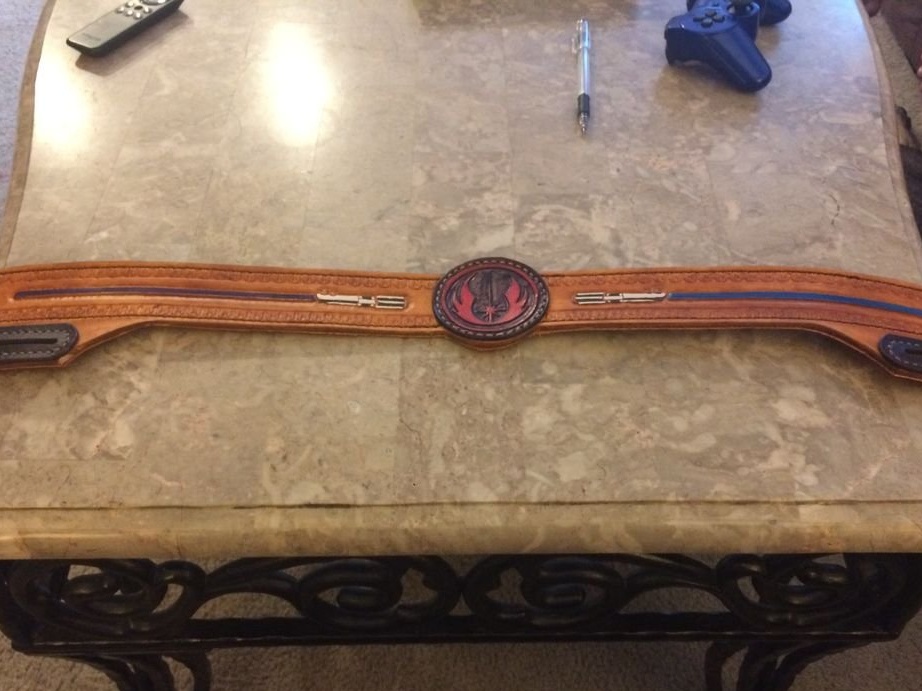
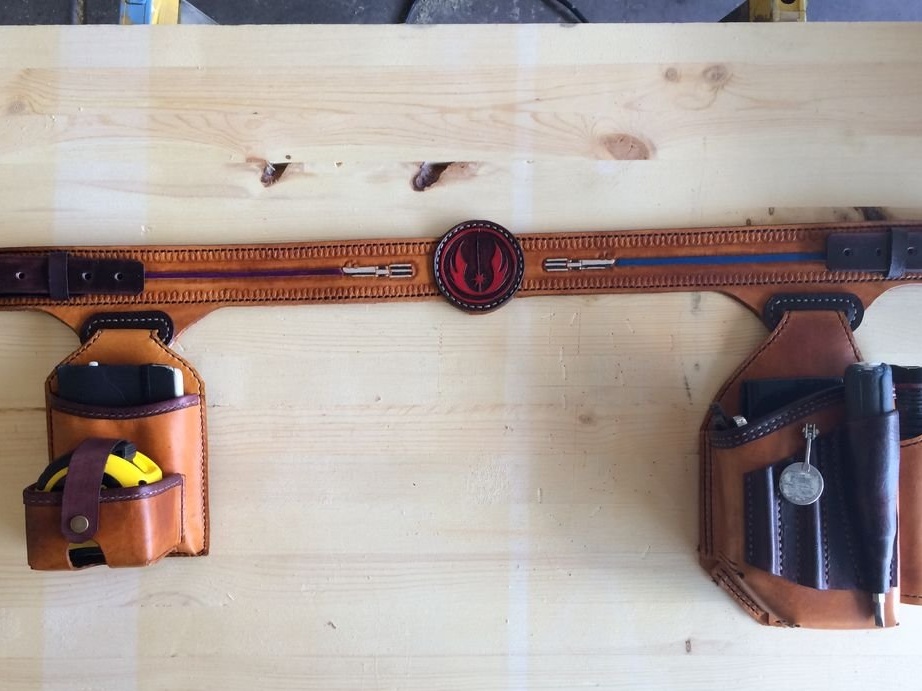
For several years, the author of this belt was fond of leatherwork. Previously, he made a pair of leather tool bags for himself, which attracted the attention of one of the employees. This employee asked to make a tool bag for him, which will be made to his taste, and is also specialized for his improvised tools. A colleague wanted the pouches to be secured to a waist belt, and the belt is decorated based on star wars.
This employee wanted a low belt.
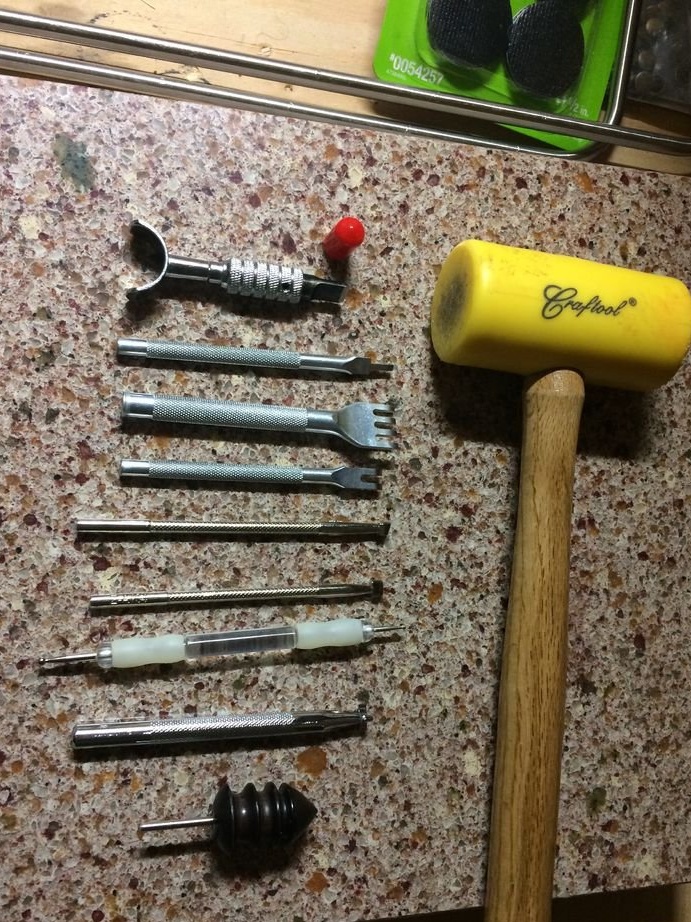
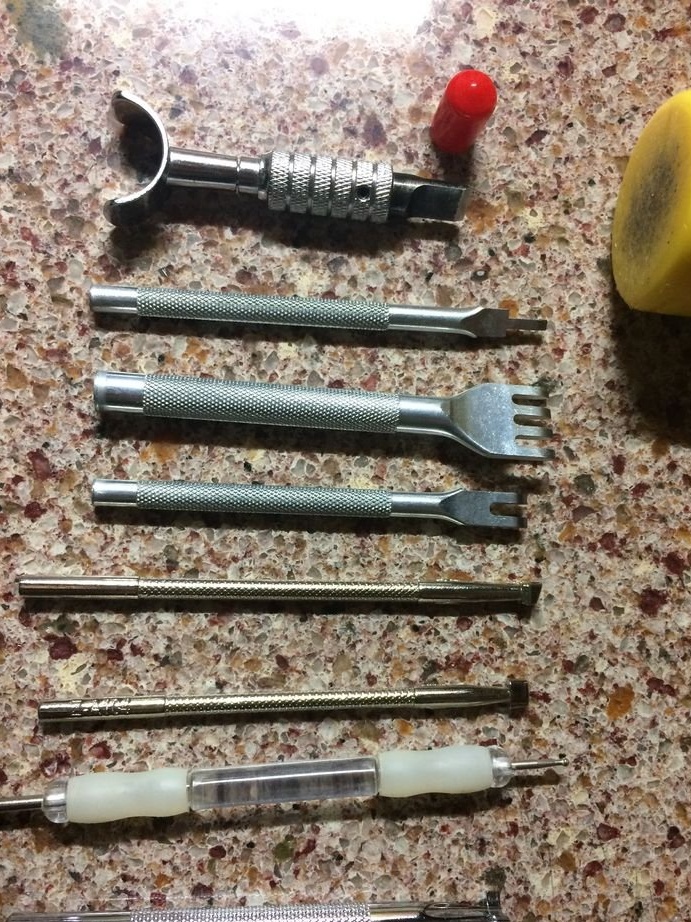
Step One: Tools and Materials
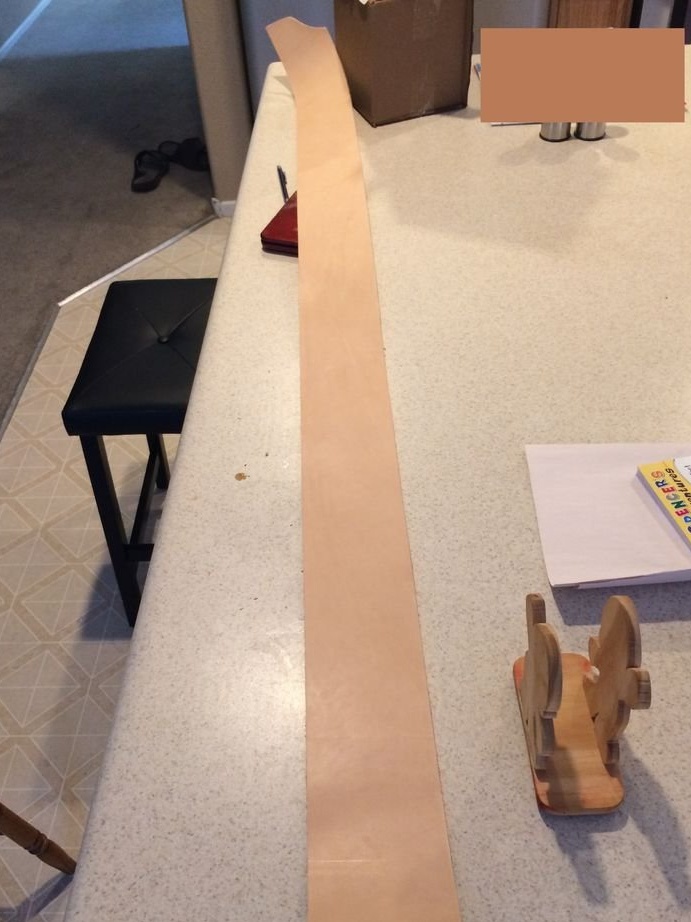
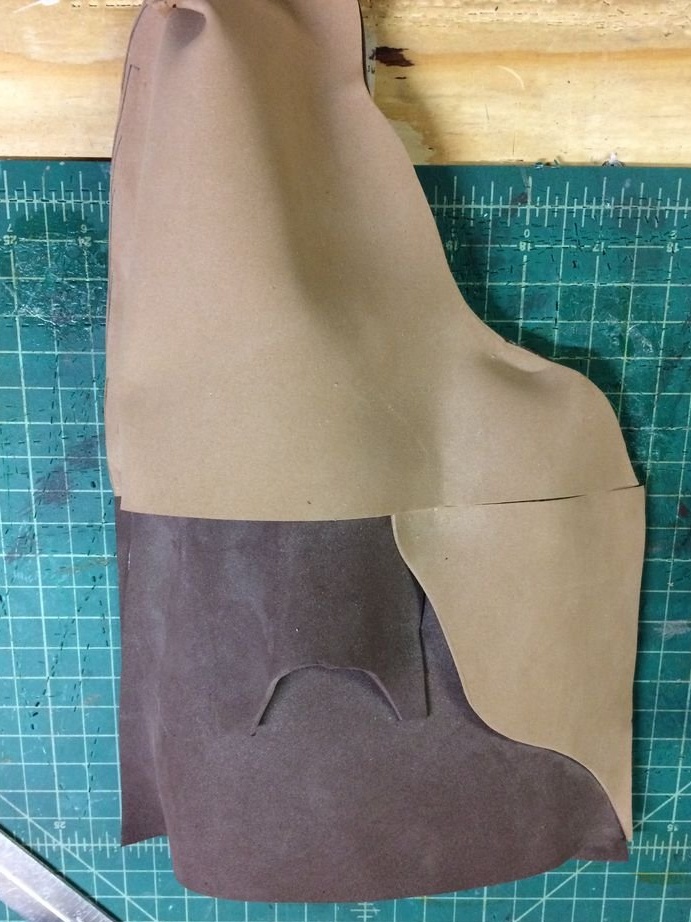
For this homemadeOf course, skin is required. It cost about $ 70.
This amount also includes:
- 10cm wide belt blank for $ 15
- 250 g of metal rivets and eyelets
- sheepskin lining
- a few bronze parts
The customer of this belt also purchased a belt buckle in front.
The necessary tools were:
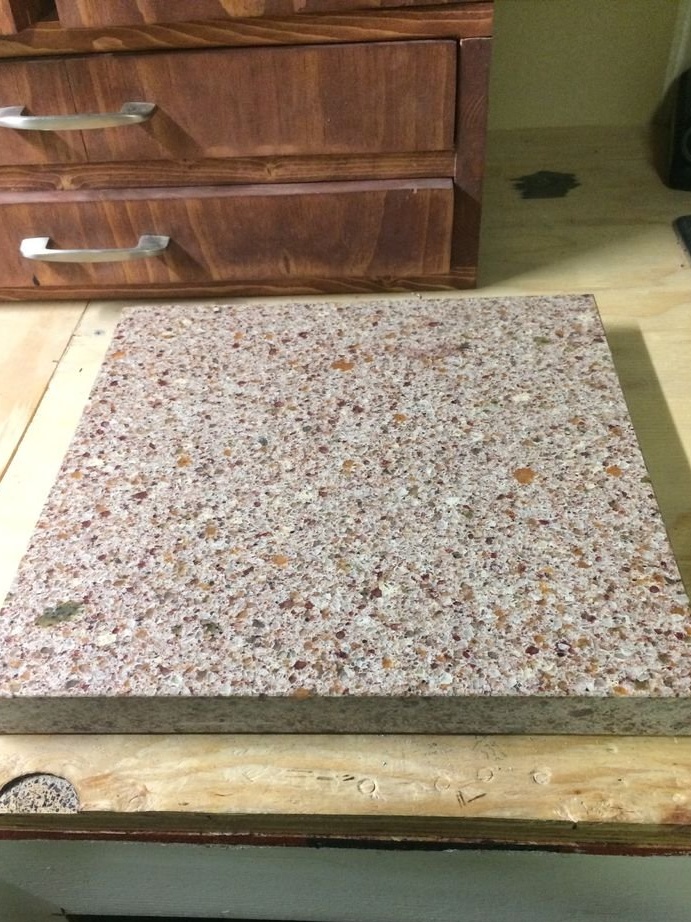
hammer
granite slab (or other hard surface)
punch punches
hole punchers
rotary knife
chamfers
stamps
needles
threads
contact adhesive
various dyes and oils
Step Two: Belt Design and Tools
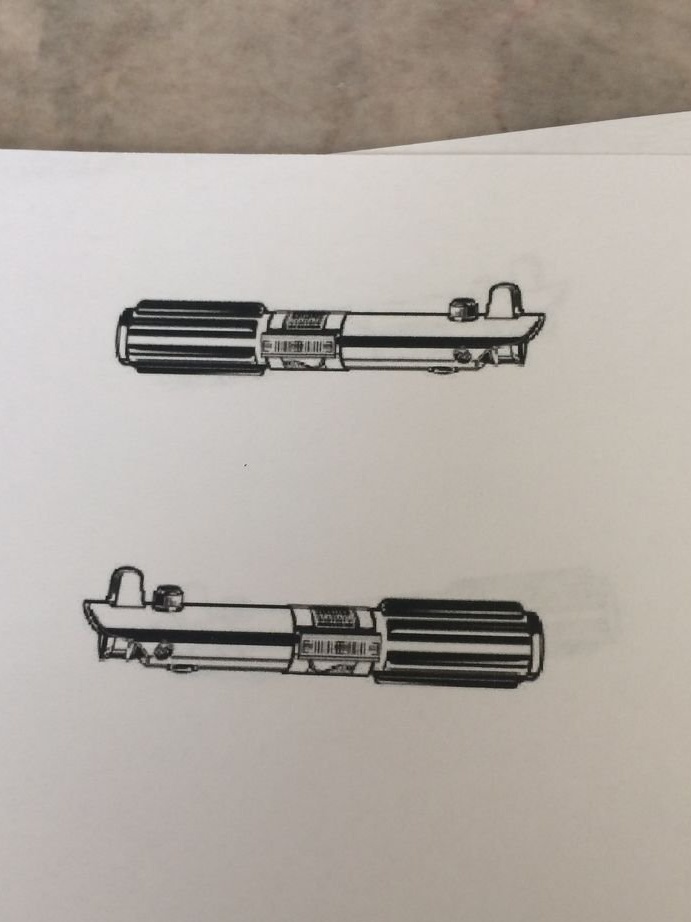
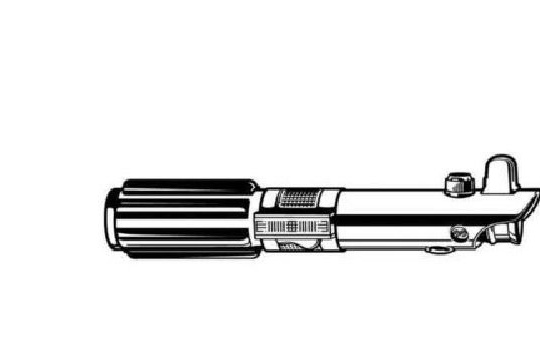

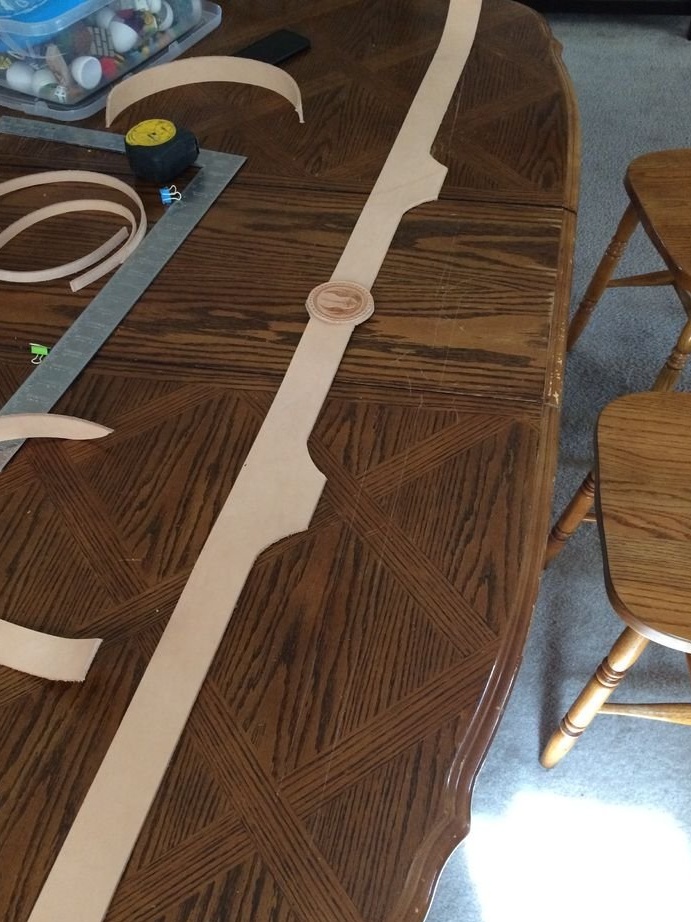
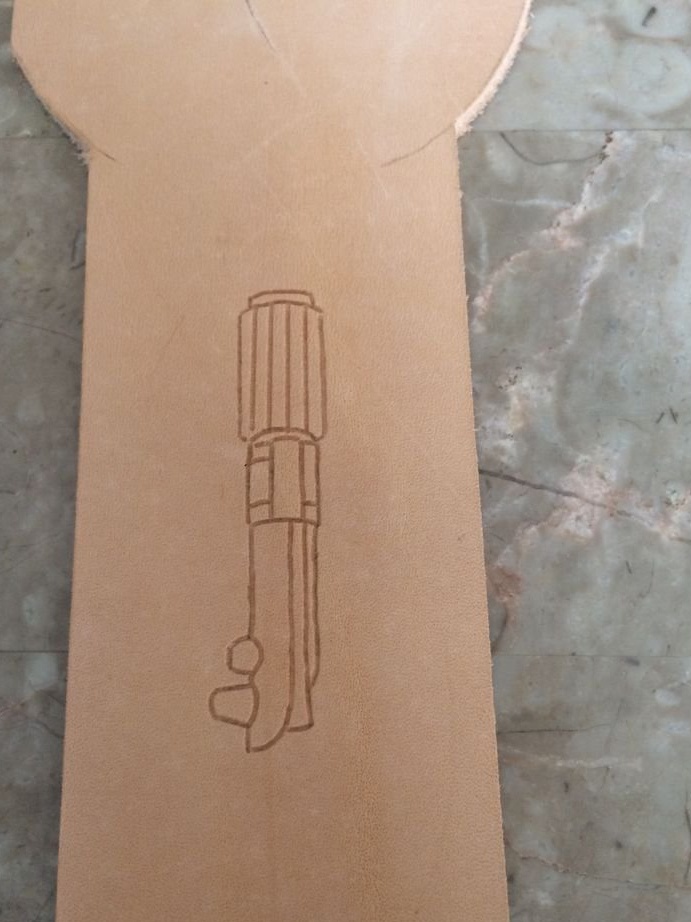
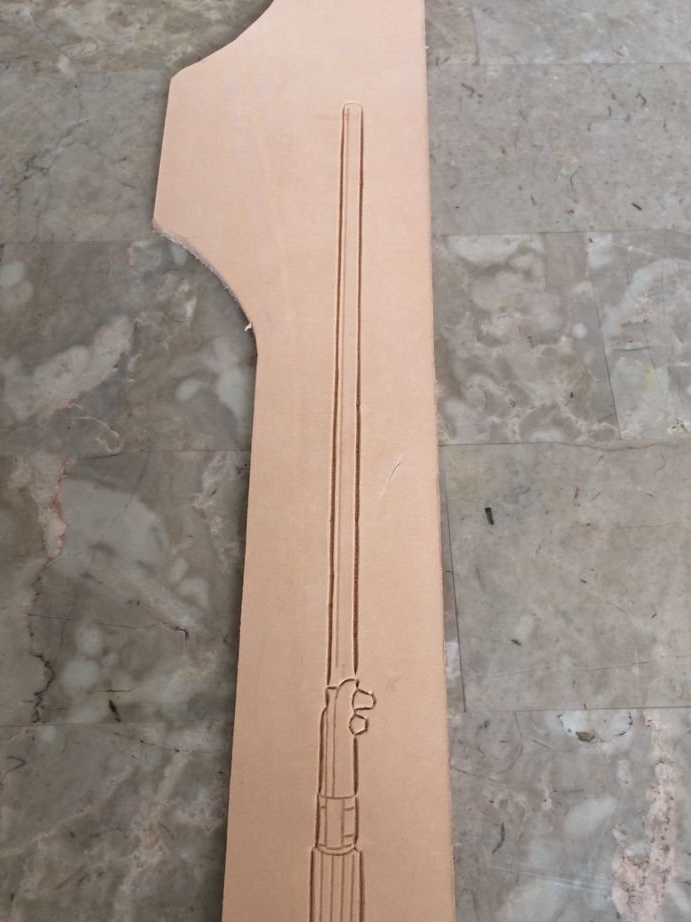
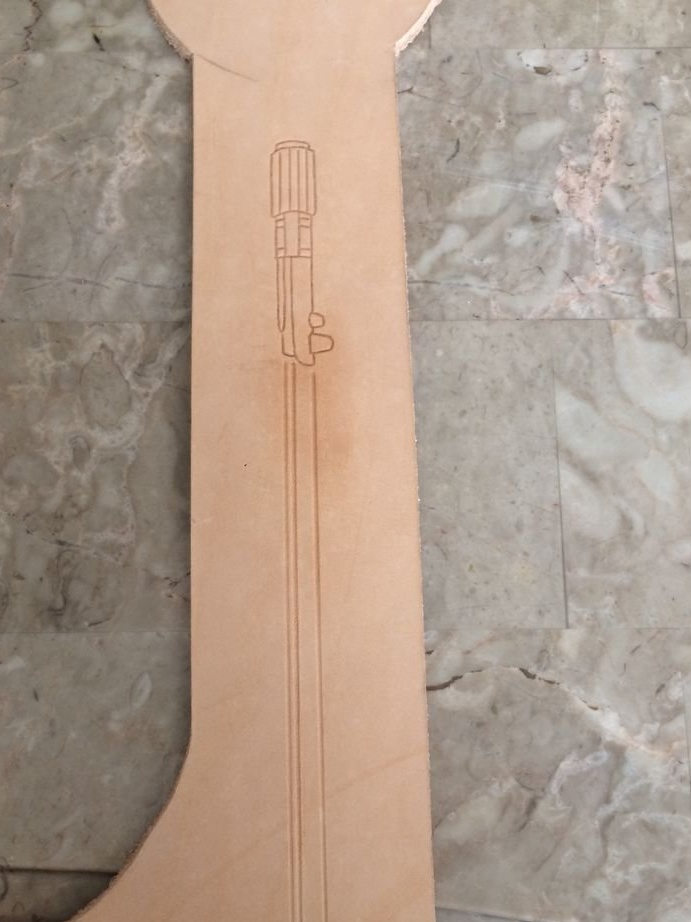

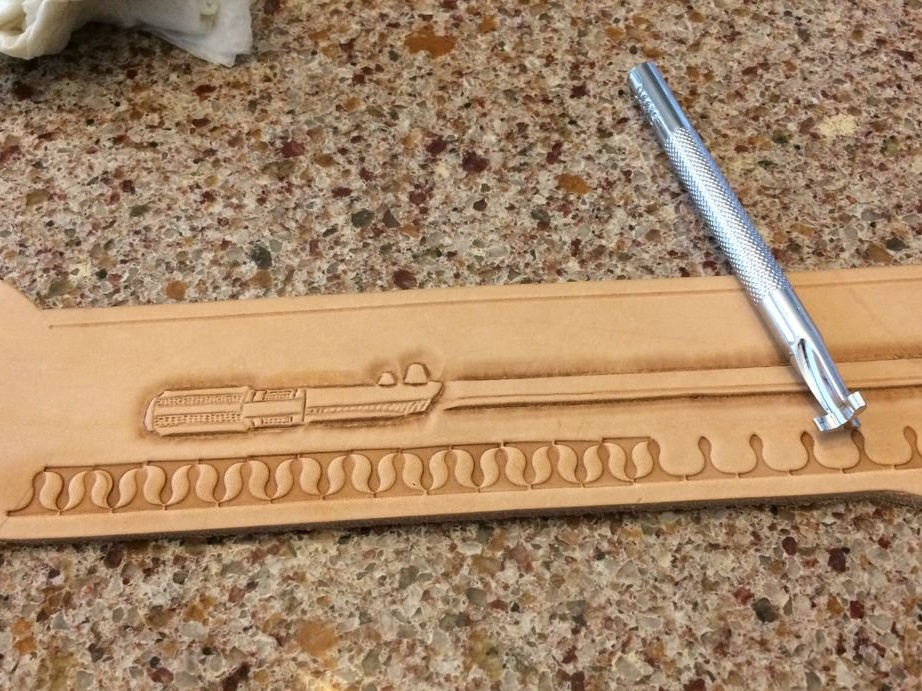
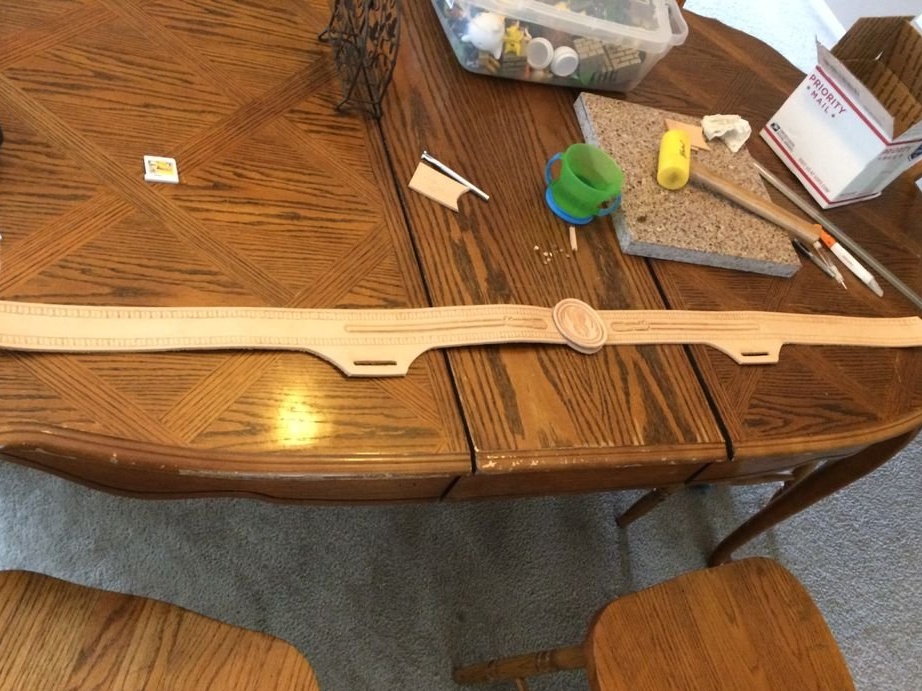
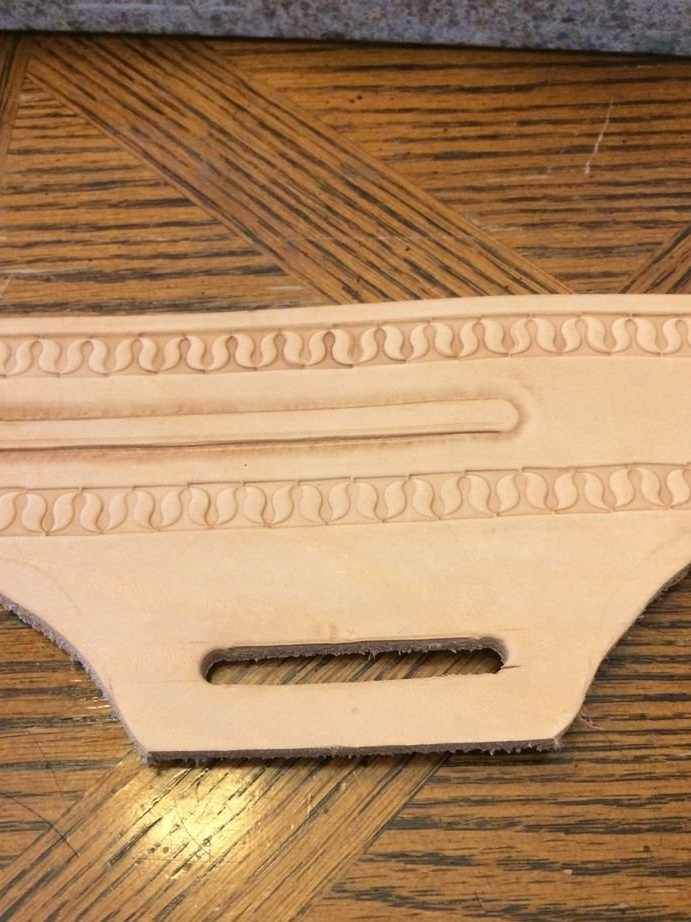
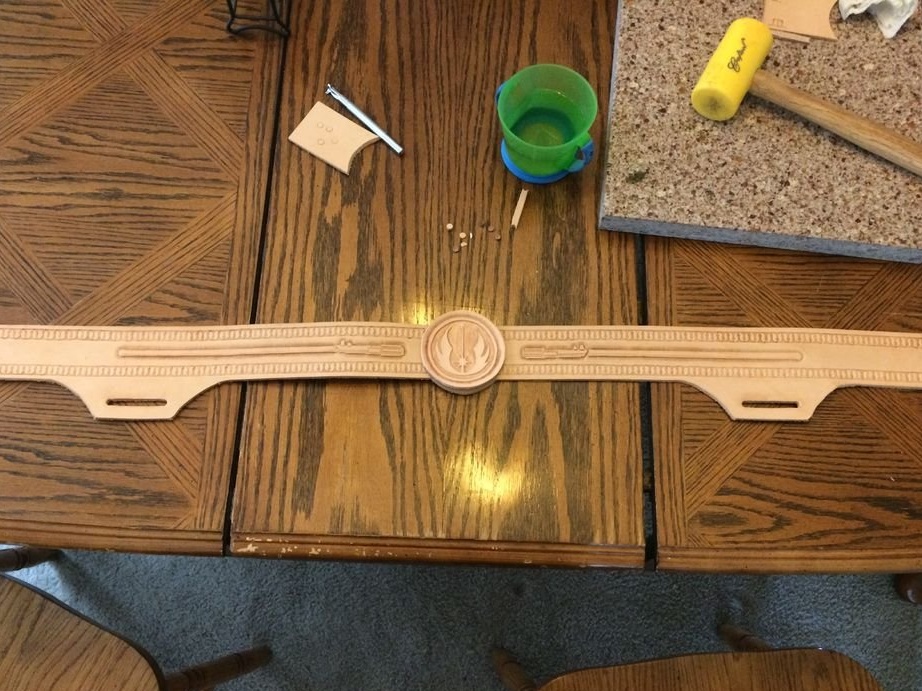
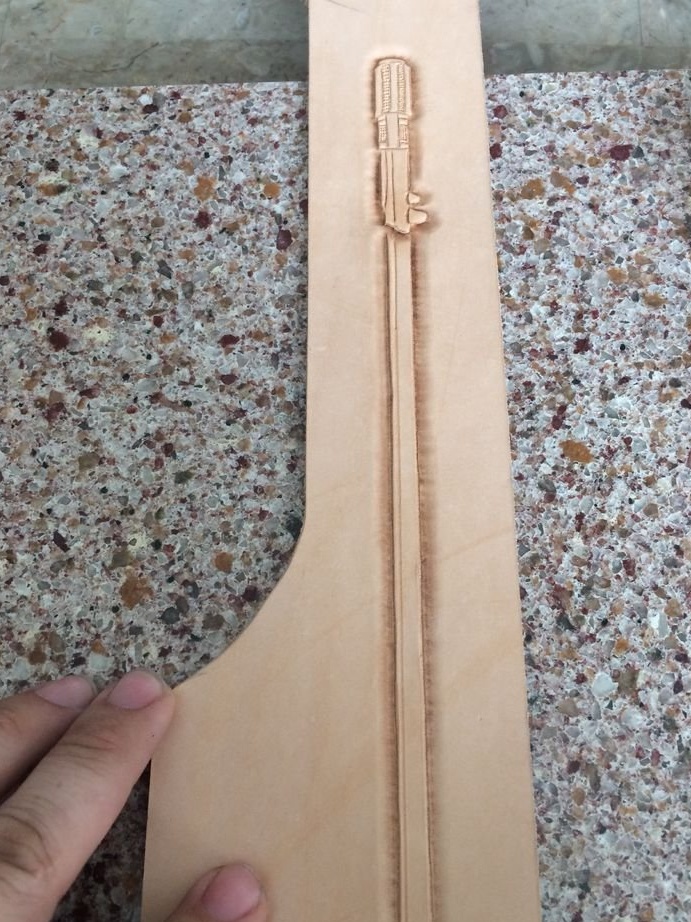
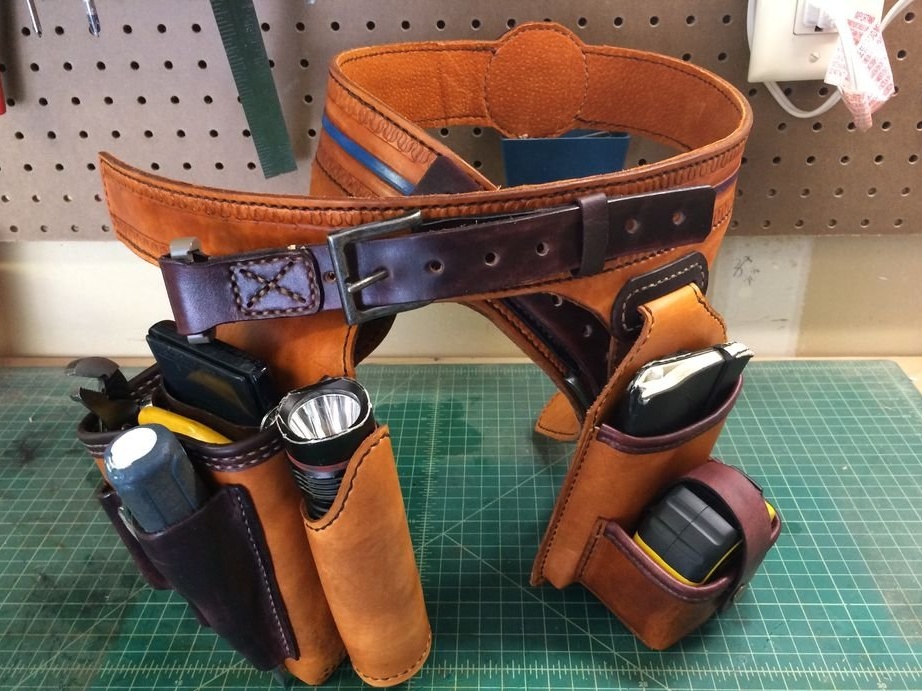
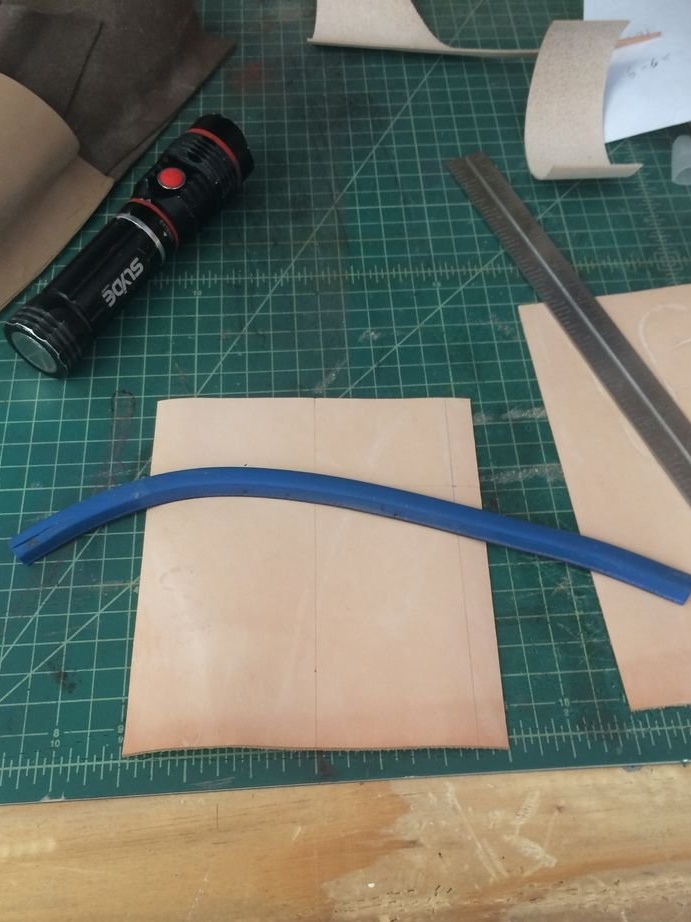
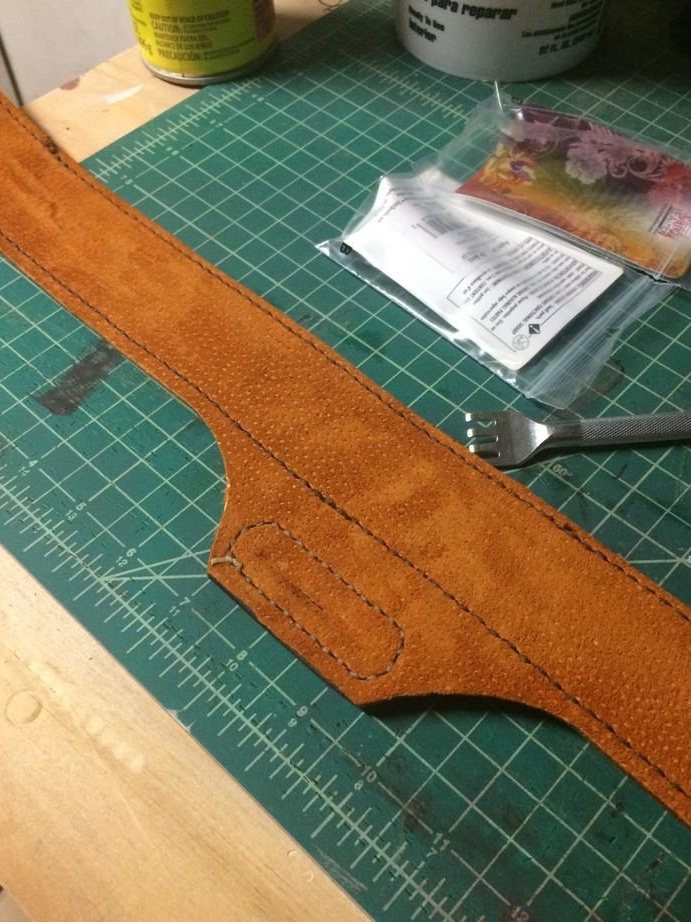
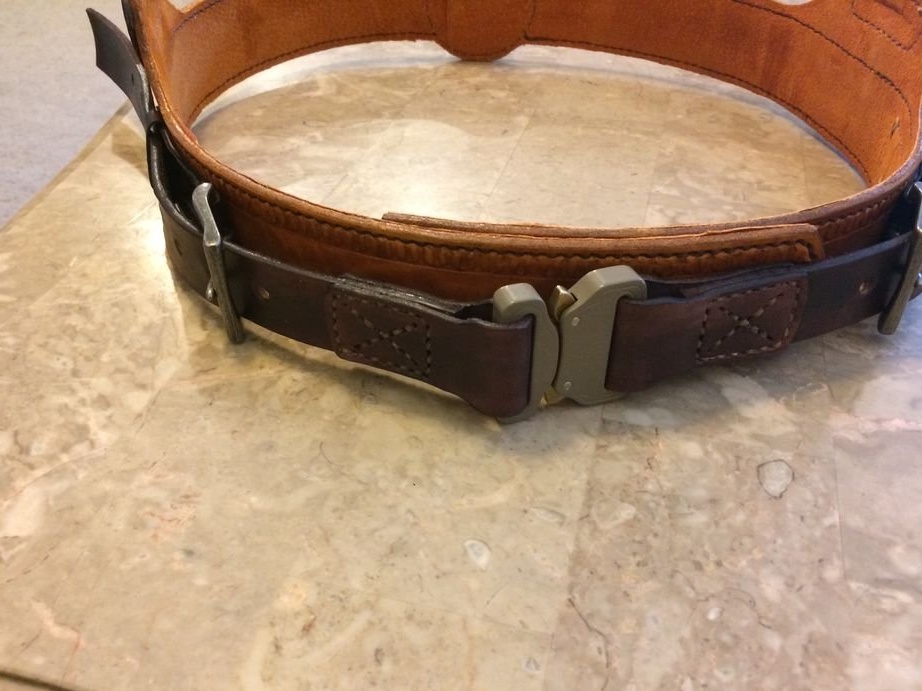
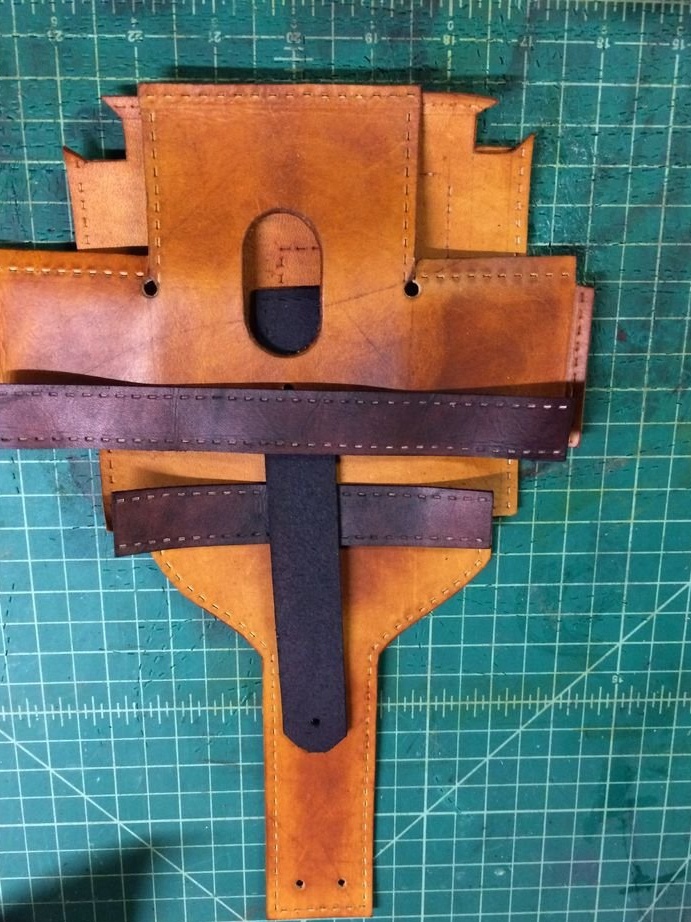
The blank for the belt was 10 cm wide, which was subsequently reduced to 6 cm, with the presence of low sections on the sides on which the tool pouches will be held. As stated earlier, a colleague wanted the Star Wars theme, so lightsabers were made at the back and sides with the Star Bird Jedi emblem in the middle.
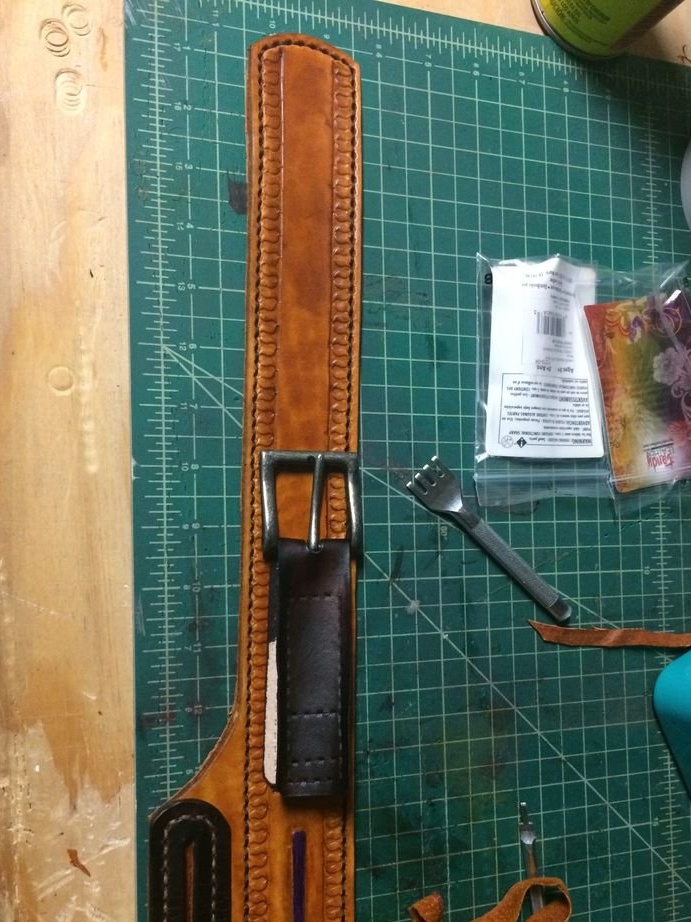
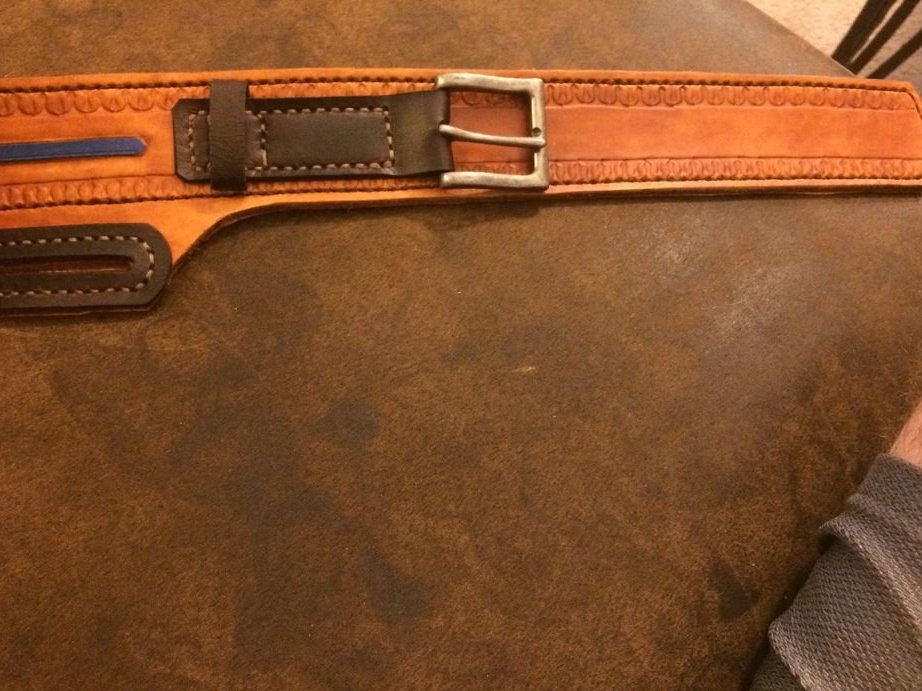
The size of the belt should be adjusted by the original lock, because the customer did not want the traditional belt fastener, which is adjustable in the range of 30 cm, to adapt to different waist sizes. Thus, it was decided to make a quick-release buckle of the belt of the waist bag, the adjustment of the size of which will be carried out separately on each side. To realize this decision, an additional piece of skin was required.
Step Three: Finishing the Belt
First, the belt was painted using acrylic paint for the skin. Then, an upper transparent layer was applied over it.Unfortunately, photos of painting the belt were not preserved.
For aesthetic purposes, a belt insert has been added. A thin piece of sheepskin was used as an insert.
At first it was glued with contact adhesive, and then everything was sewn together, including fastenings for pouches, buckles and a star bird medallion.
Skin contact adhesive should be used very carefully. As soon as the details of the belt stick together a little, it is better not to try to disassemble the gluing, as it will be very dirty. The belt buckle is connected with two separate parts of the skin of the belt, in which additional holes for adjusting the belt were punched.
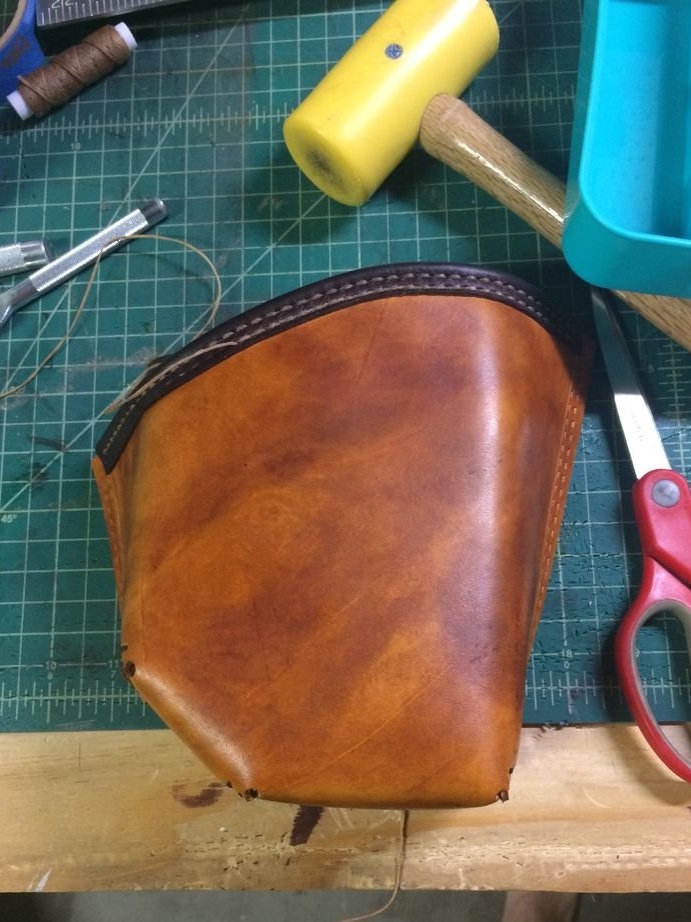
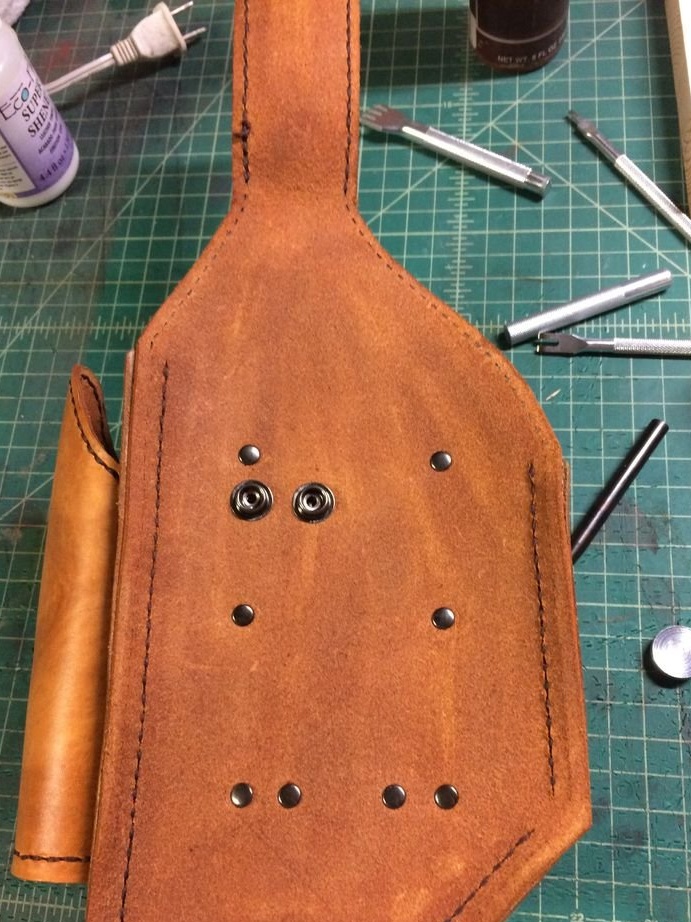
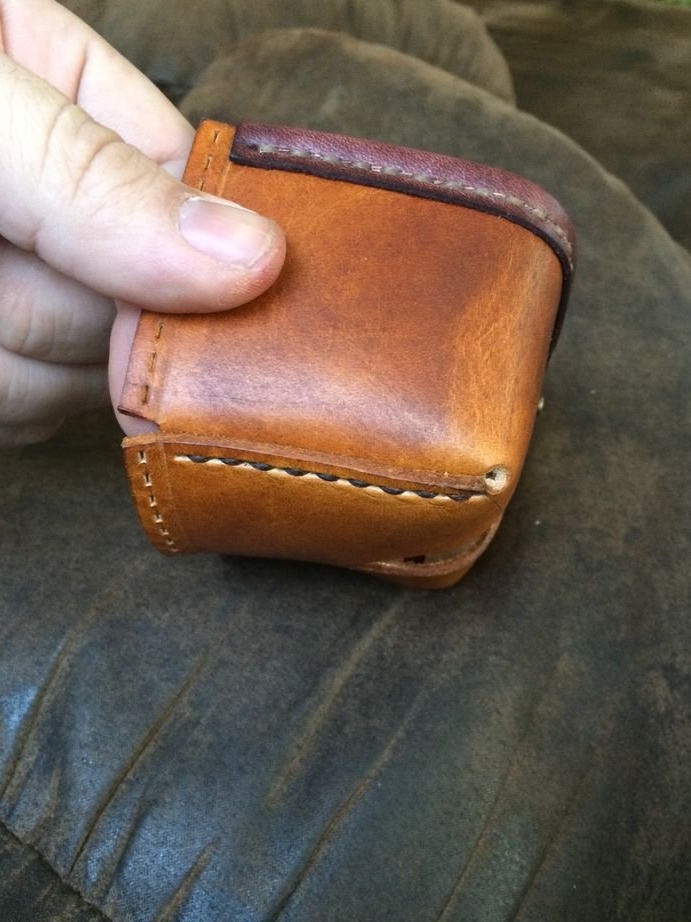
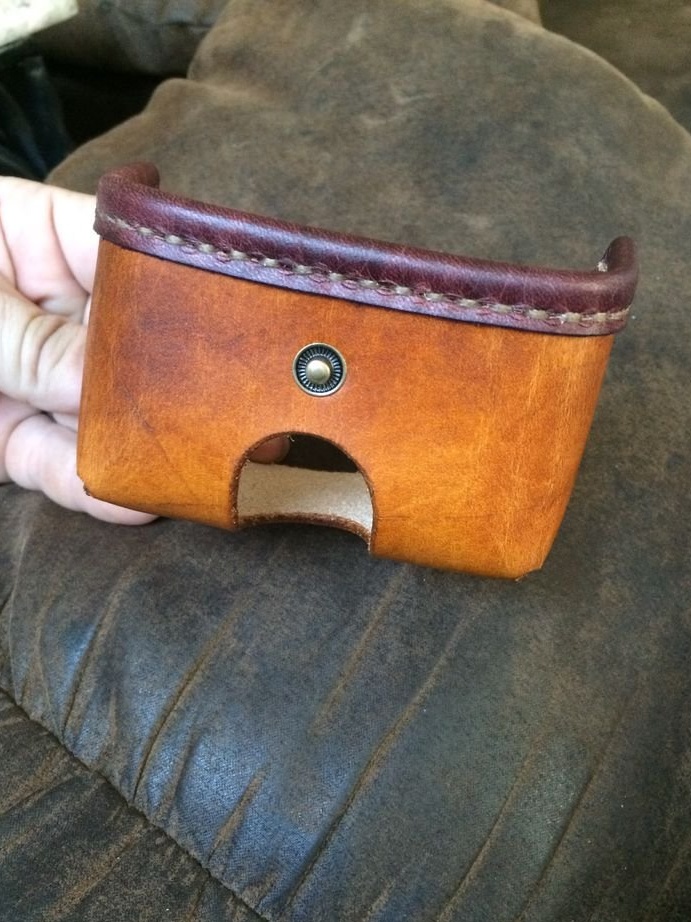
Step Four: Design a pouch and patterns on it
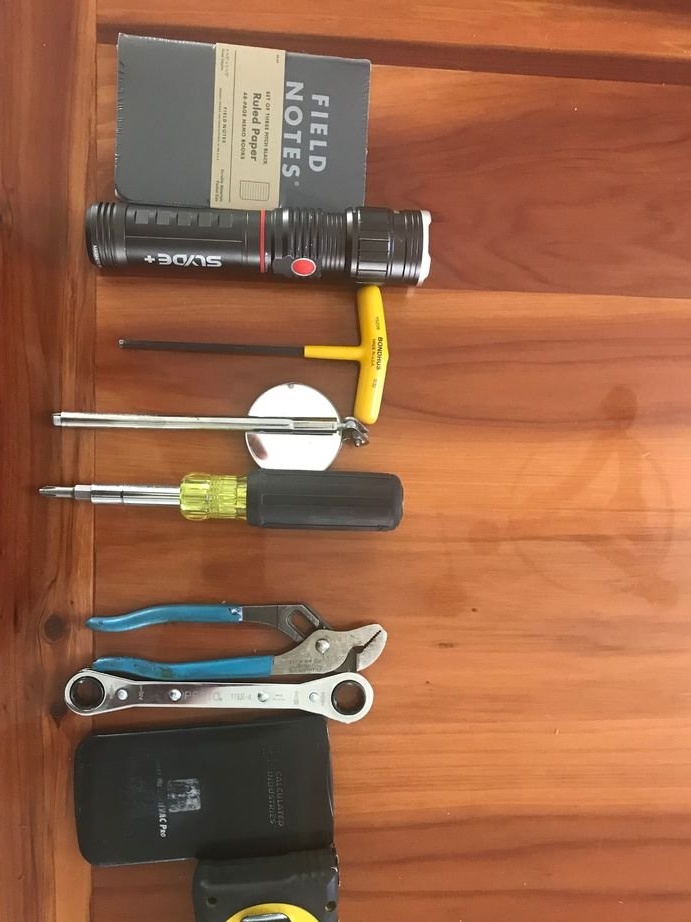
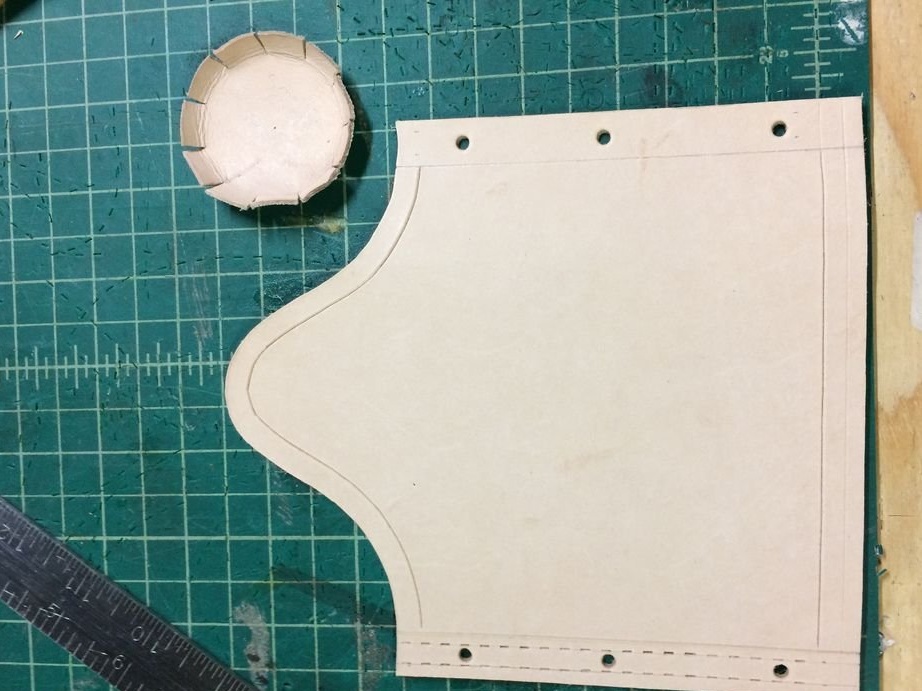
The customer of this belt provided all the tools he would like to carry with him and asked him to make a bag similar to a holster. A great many sketches were made, but among them there was not one with which he would be pleased. It was also concluded that if the waist belt is too similar to the holster, it may attract unwanted attention from security guards or police officers. Therefore, the sketch that was least like a holster with weapons. It was decided to make two separate bags, which will be located on different sides. One pouch for his hand tools, another for tape measure, calculator and notepad.
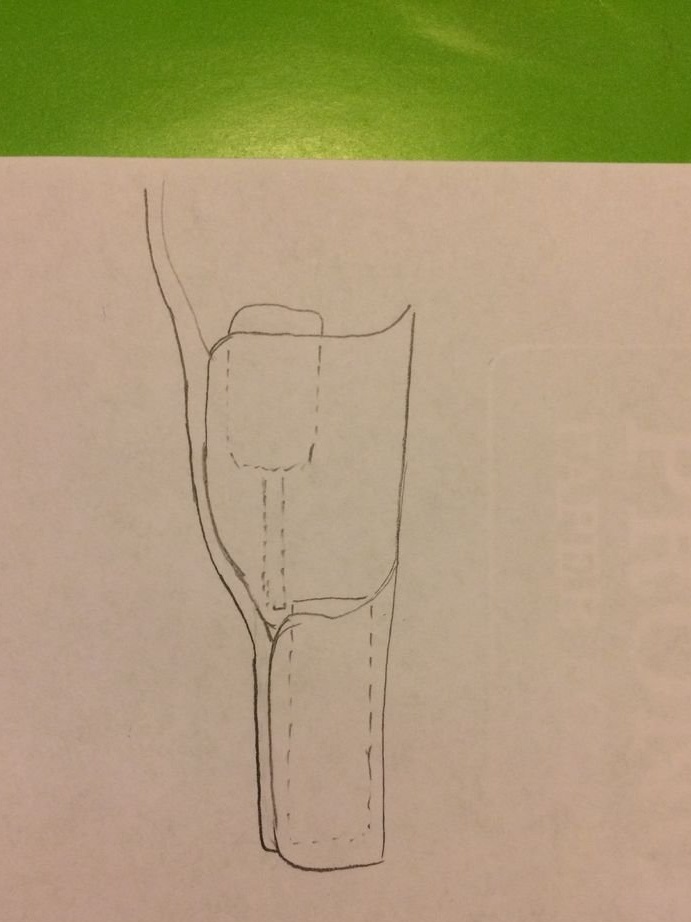
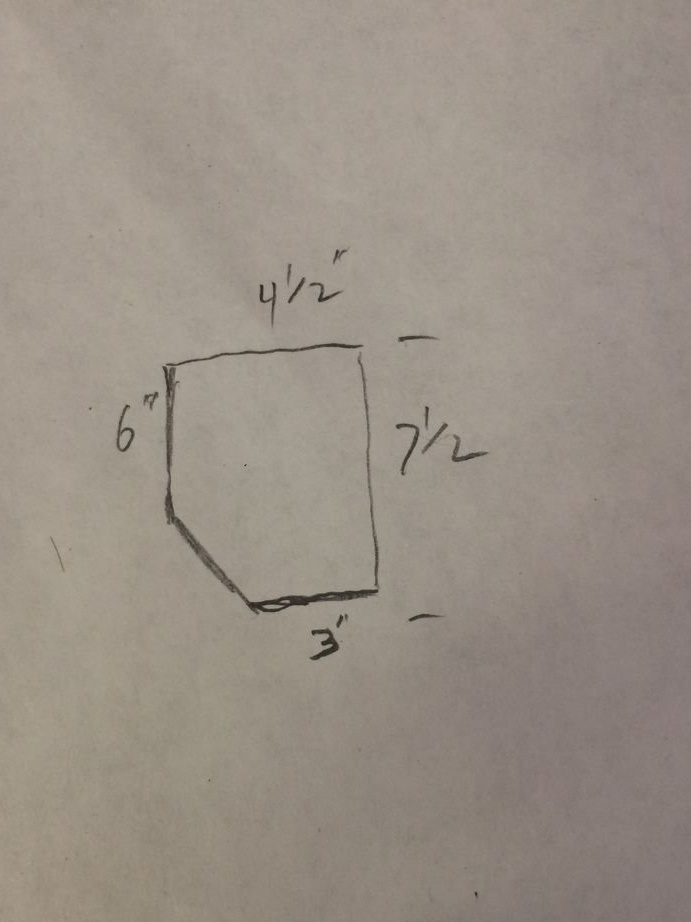
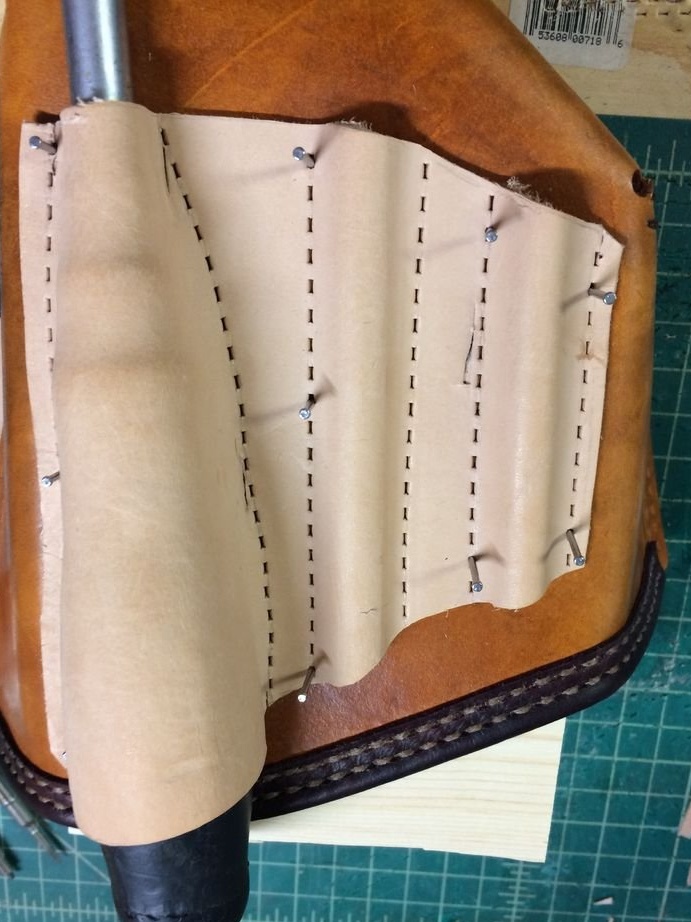
After finalizing the design, it was decided to make patterns that will adorn both pouch. It took some time.
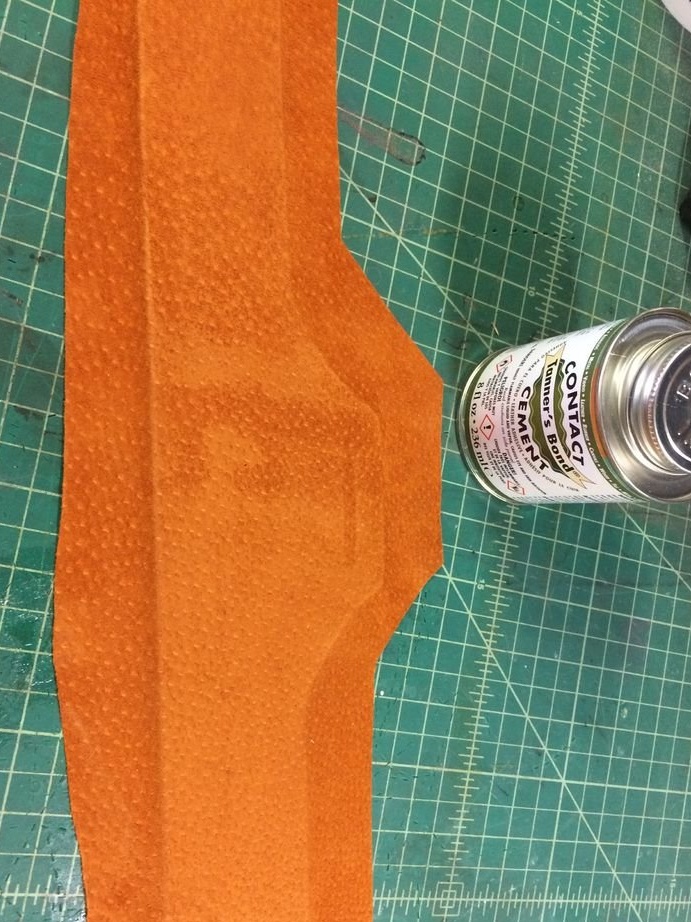
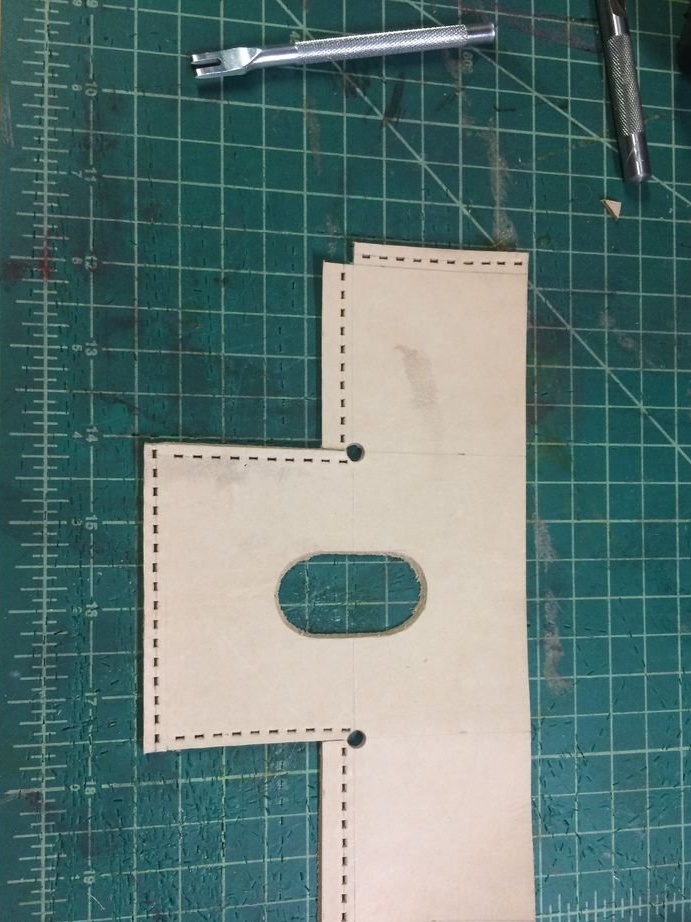
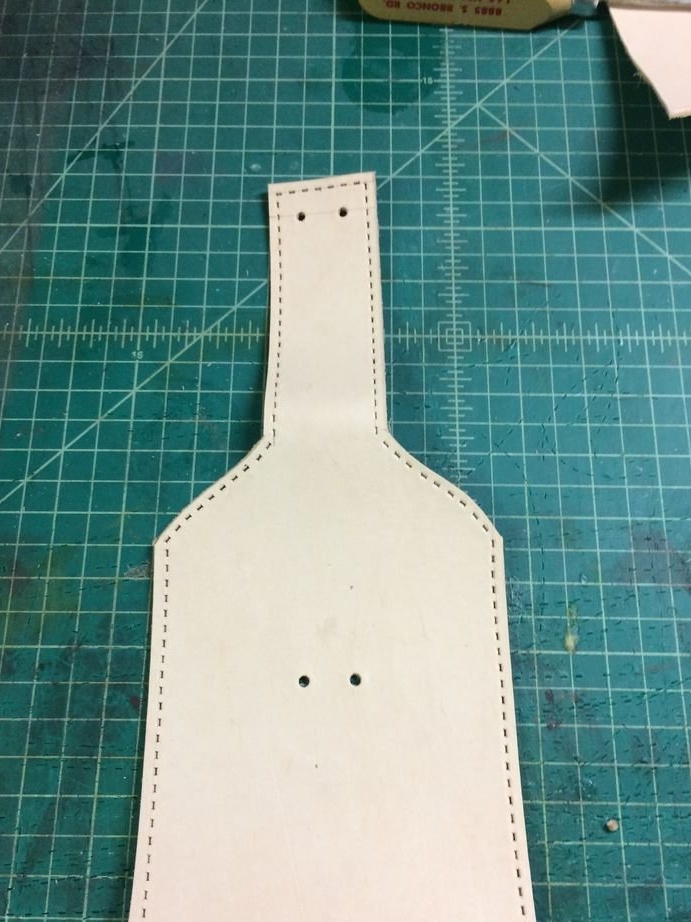
In the process, the author found that 3 mm “artificial pressed skin” is a good simulator of the thickness of genuine leather and helps to see how the skin will fit together. Previously, the author made sheet metal ducts, so he was used to planning seams, ceilings, and, as a rule, the ability to visualize how a flat piece of material would need to be bent to make a three-dimensional shape.
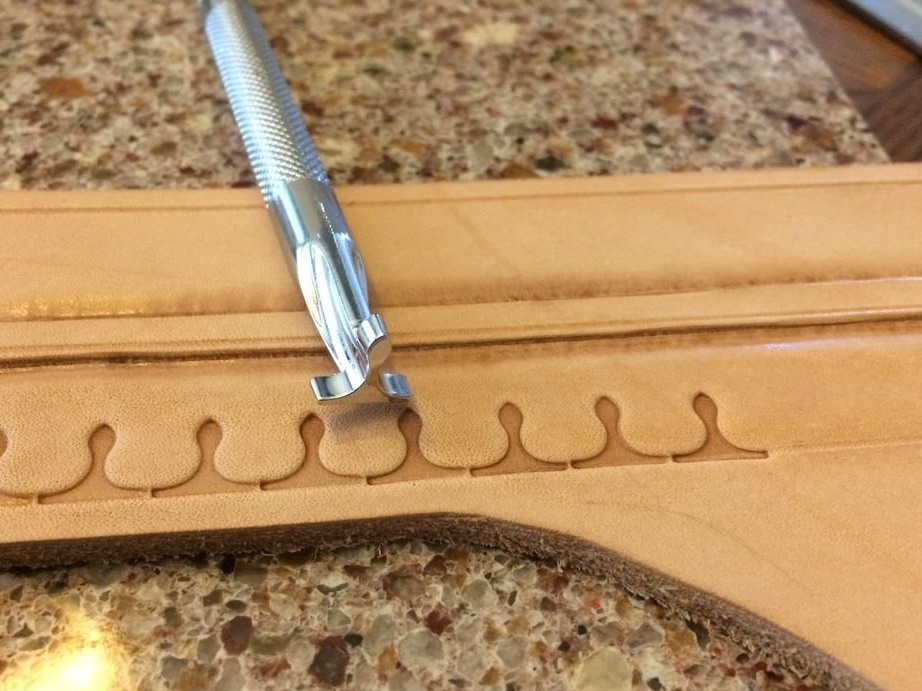
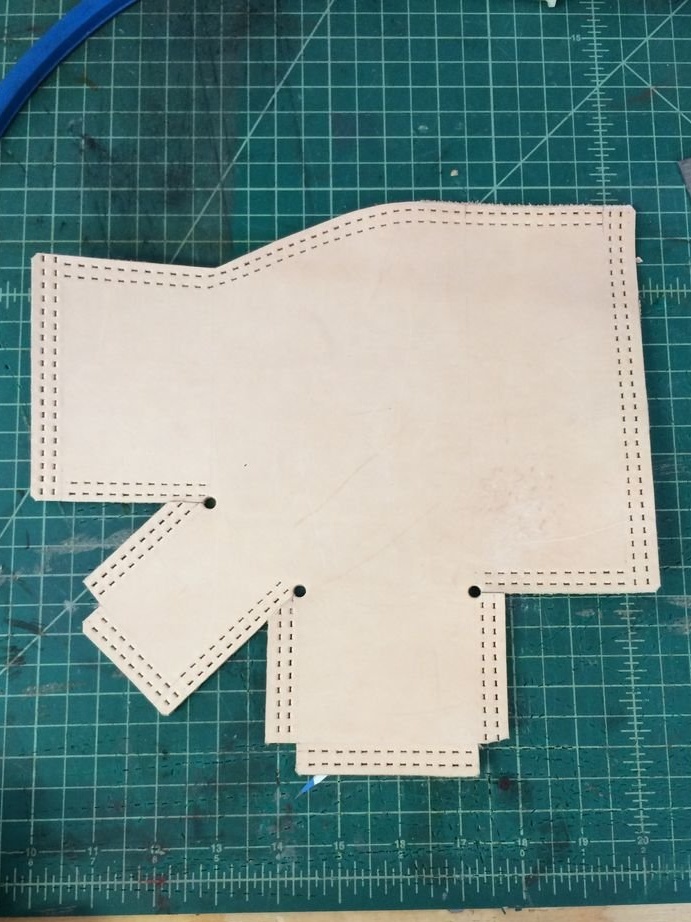
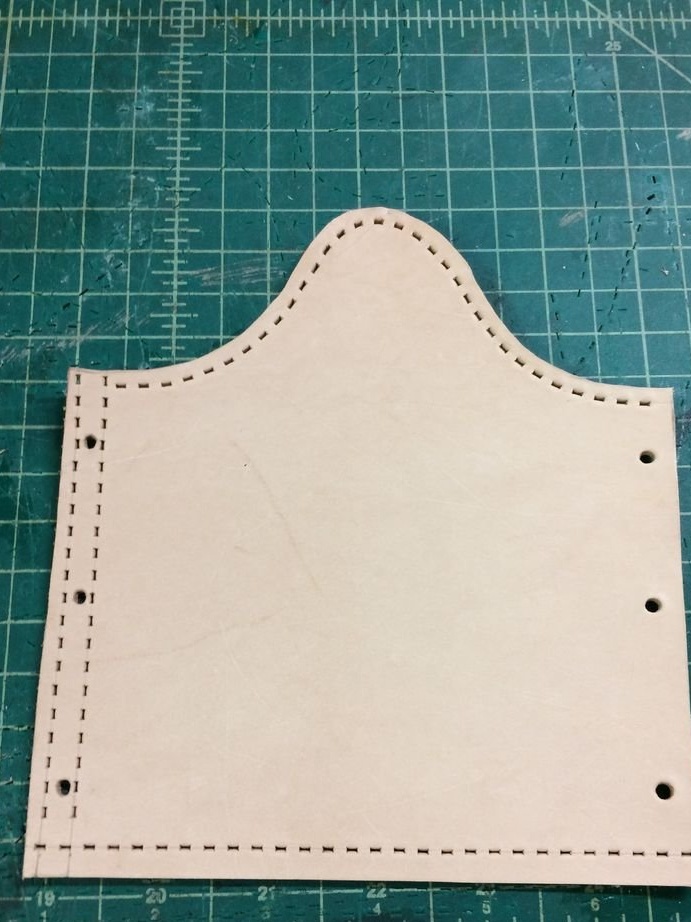
Also, the author does not sew very well with high-speed stitching, so he always pre-punches his sewing holes. If you have similar problems, then you should be especially careful that the holes are in the same line and look even.
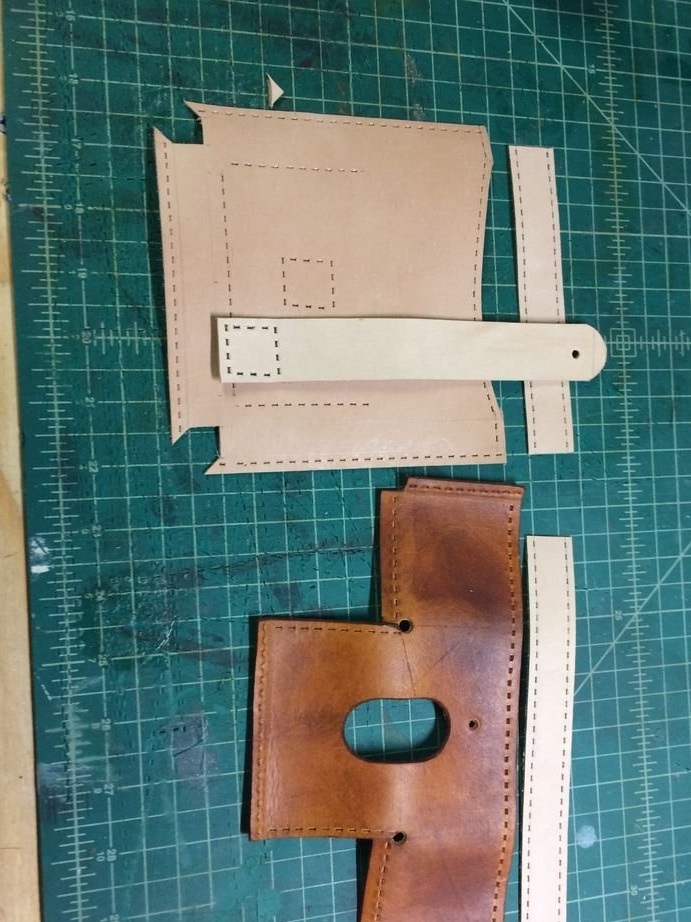
Step Five: Assembling and Finishing the Magazine Pouch
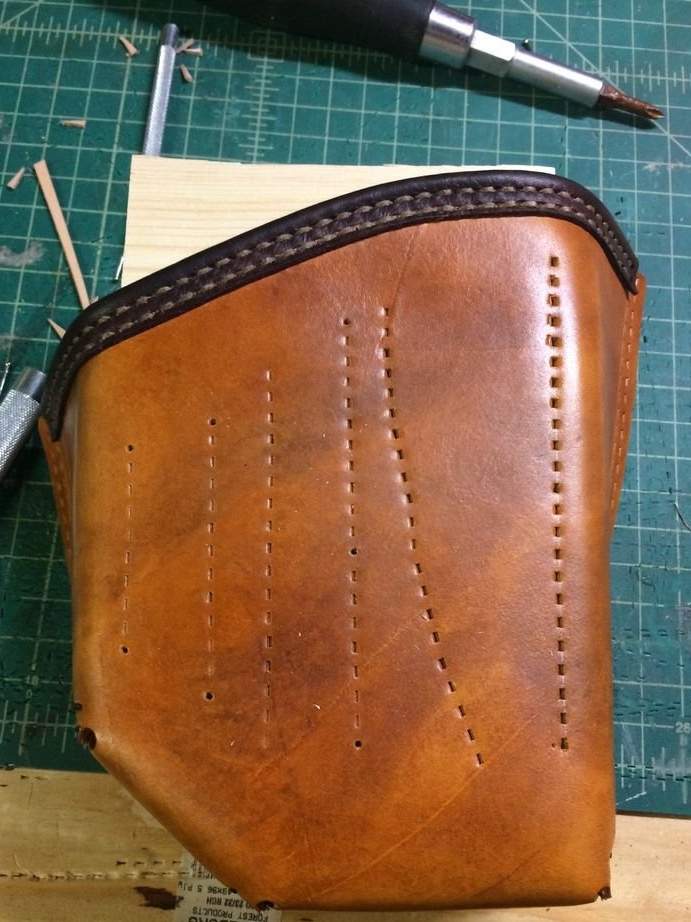
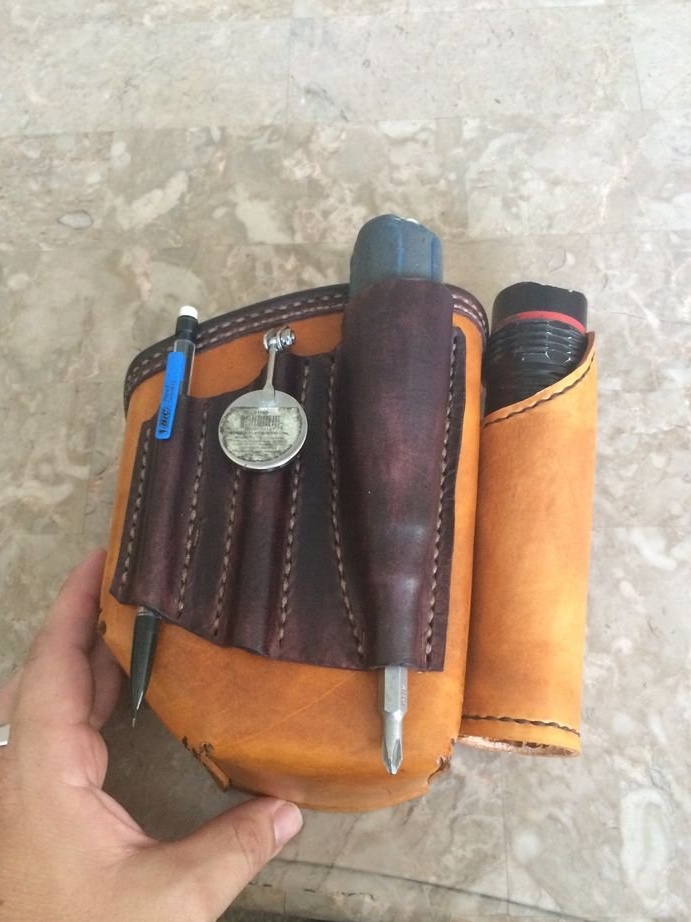

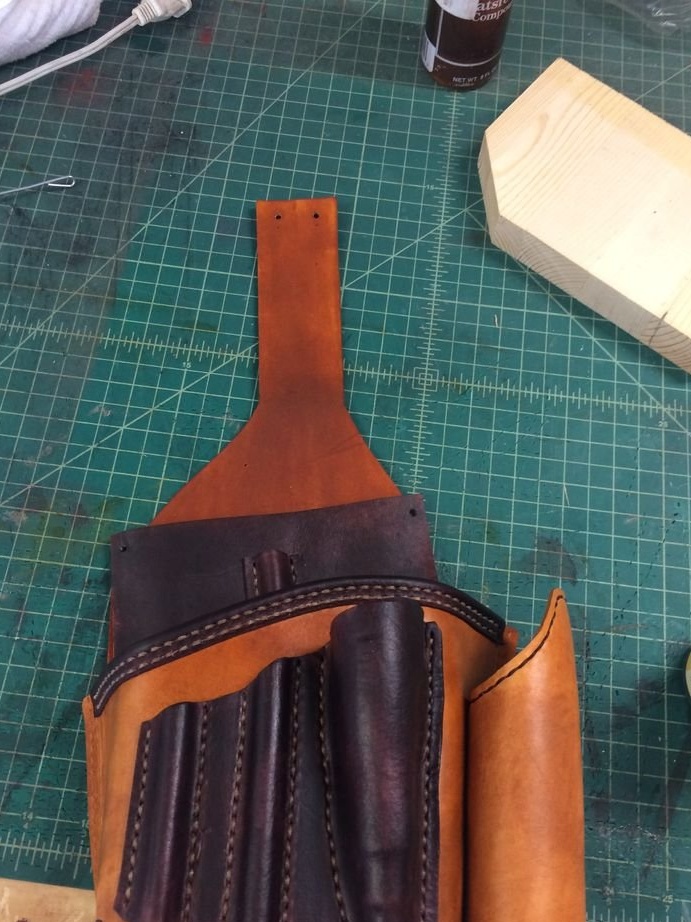
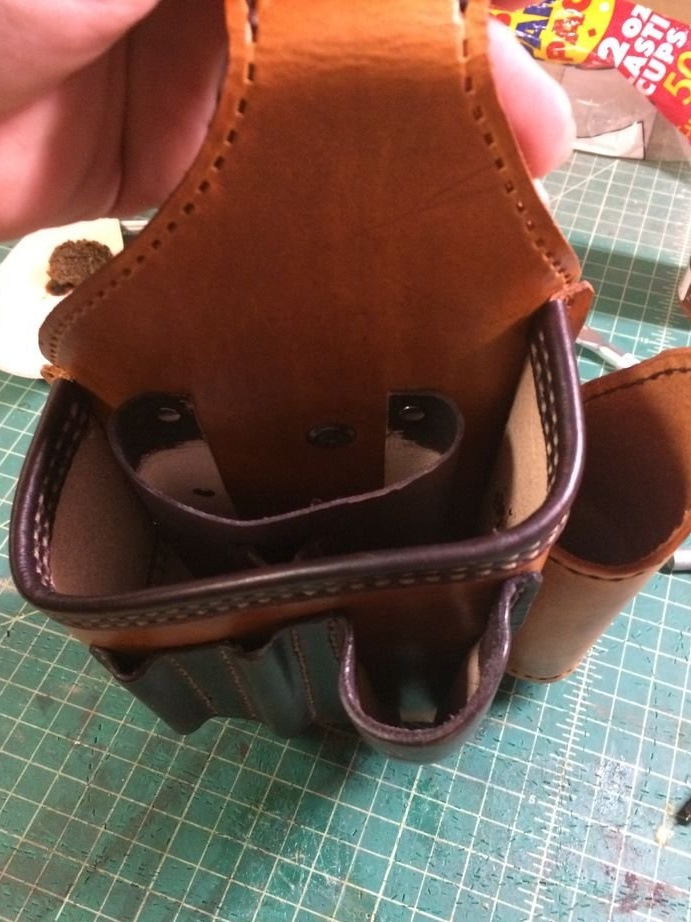
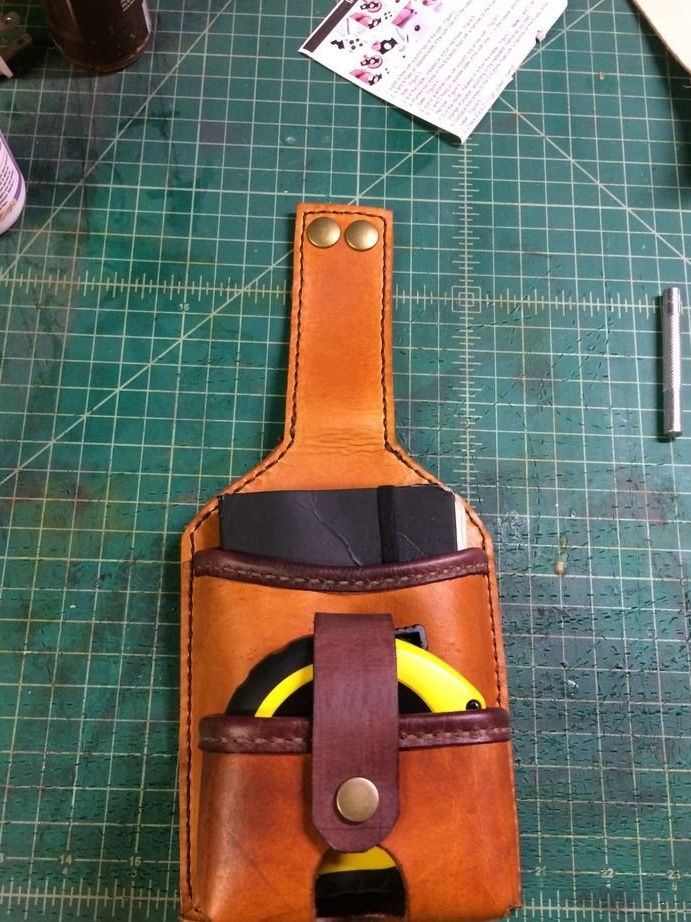
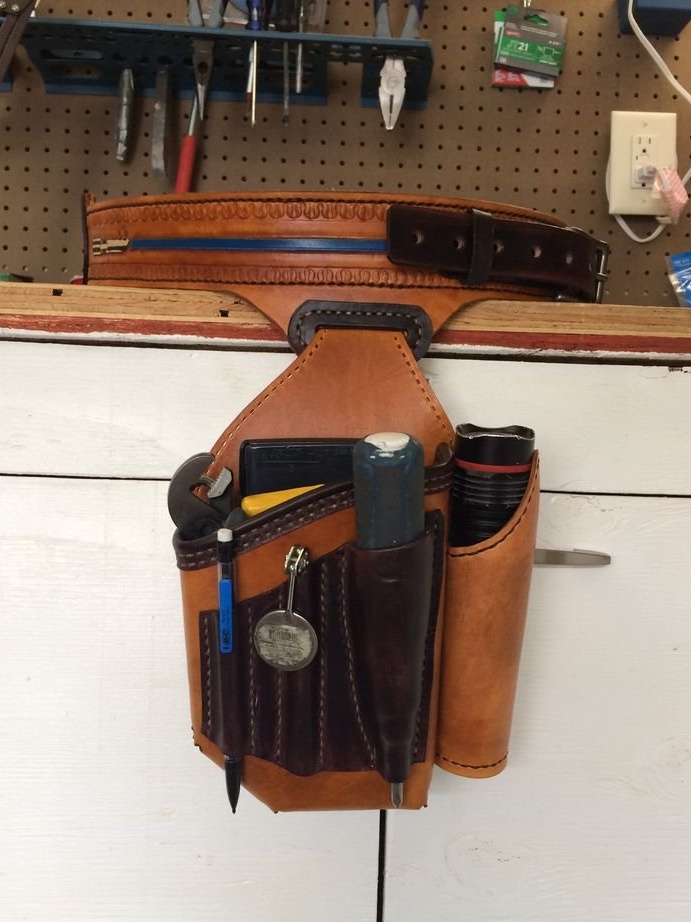
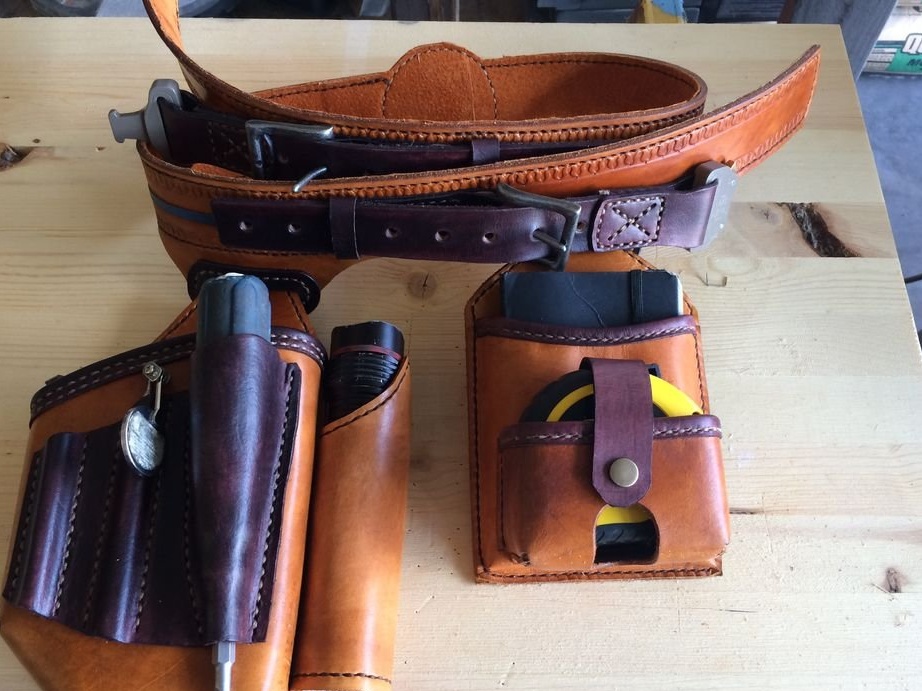
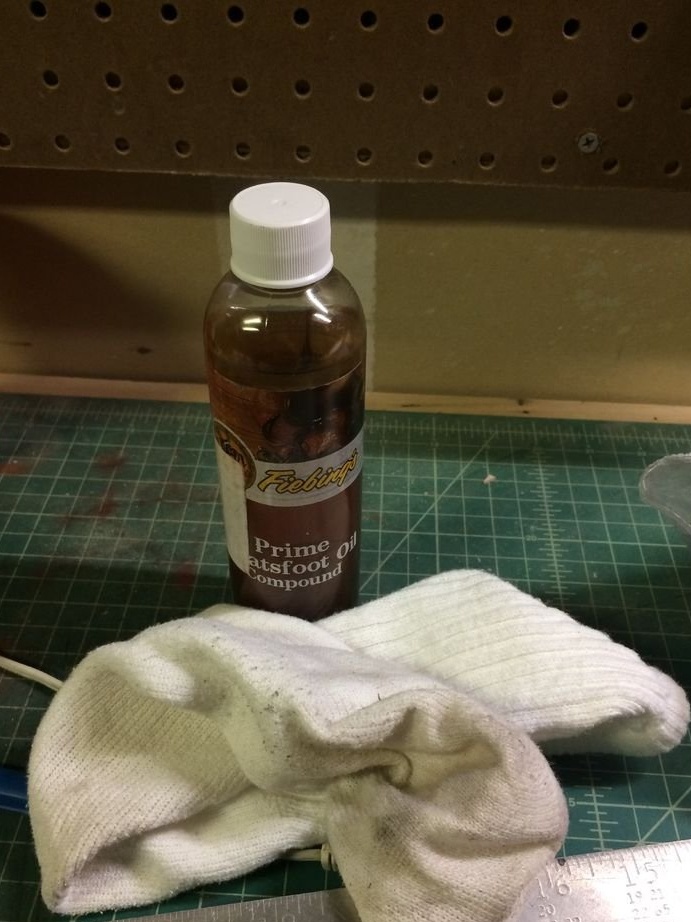
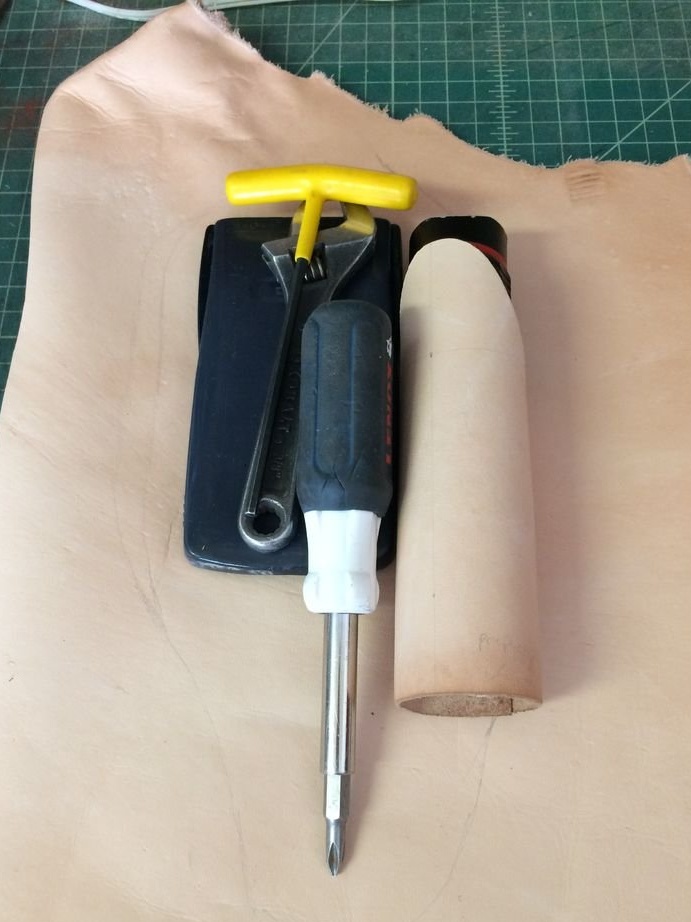
After the details of the layout of the pouch were laid out, perforated for firmware and painted, it was time to assemble it. In general, this is the easiest part to make a belt. Sewing the flashlight holder was a little difficult, because you had to thread the needle with your fingertips through the cylindrical part. The outer piece of leather on which the screwdriver, mirror and pencil were held was specially wetted. Unfortunately, these images are not available. In fact, all the work was as follows. The skin was soaked for several minutes in warm water and then stretched over the instruments. Wet skin was bonded around tools and left to dry. After the parts were sewn together, the product was rubbed with a small amount of foot oil to moisturize the skin and keep it supple.
As the author said at the beginning, he is not a specialist in leather business. However, if he was able to make such a makeshift tool belt from leather, then everyone can. It just takes patience, time, and trial and error.