
In this article, YouTube channel author Dustin Penner will show you how he made a classic beech and mahogany beam saw.
Materials
- Beech board
- Mahogany bar
- PVA glue
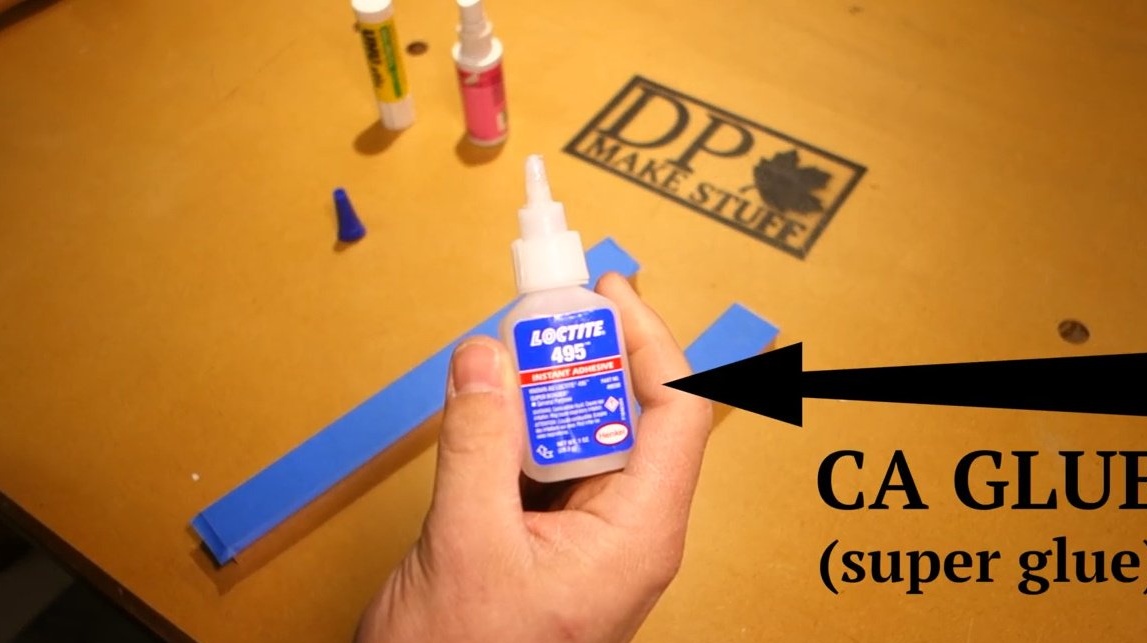
- Second glue
- Two-component epoxy resin
- Kapron thread
- Glue stick
- Masking tape, sandpaper
- Jigsaw blade, tensioners
- A pair of wooden handles
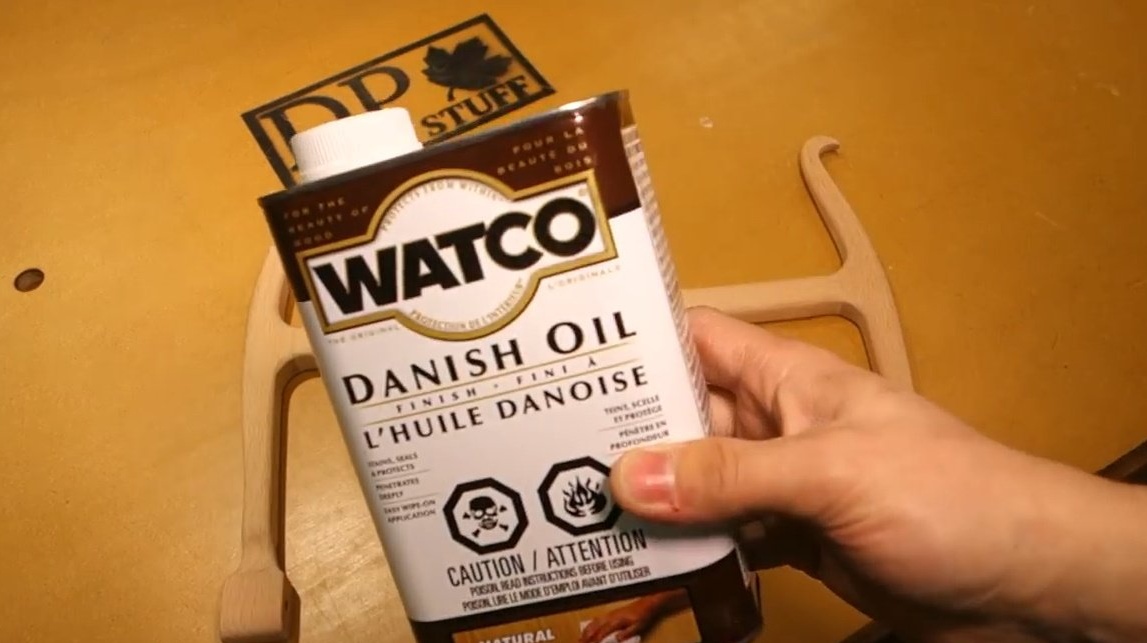
- Oil for wood impregnation.
Instruments, used by the author.
- Band-saw
- A circular saw
- Drum grinding nozzle
- Drilling machine
- Milling machine
- Thicknesser, jointer
- Orbital and belt grinding machines
- Chisels, planer
- Vise, clamps.
Manufacturing process.
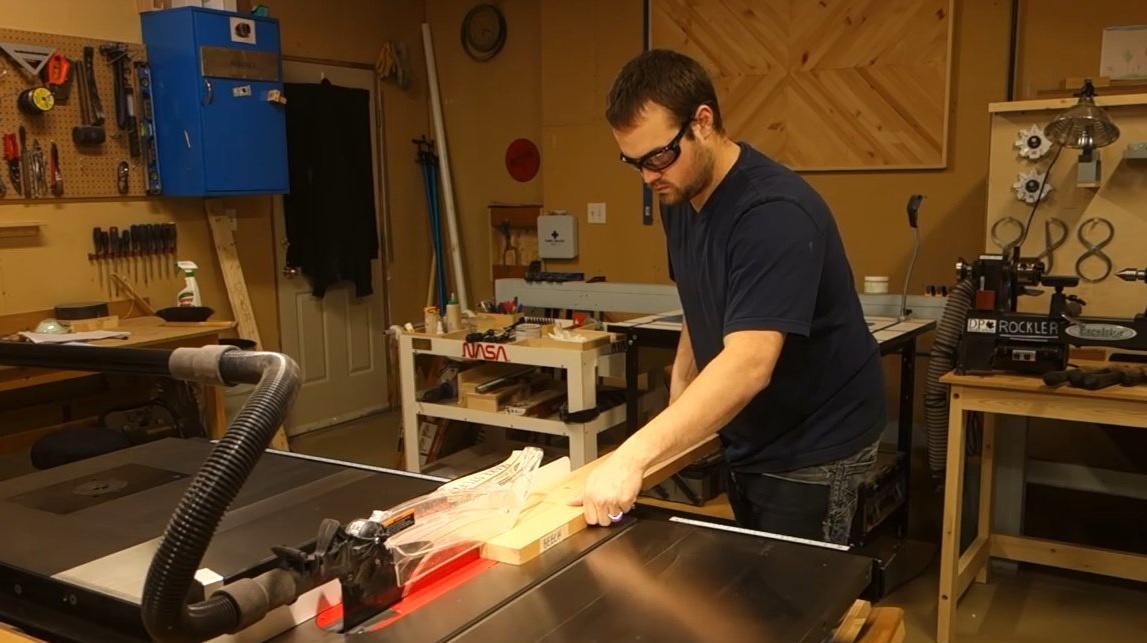
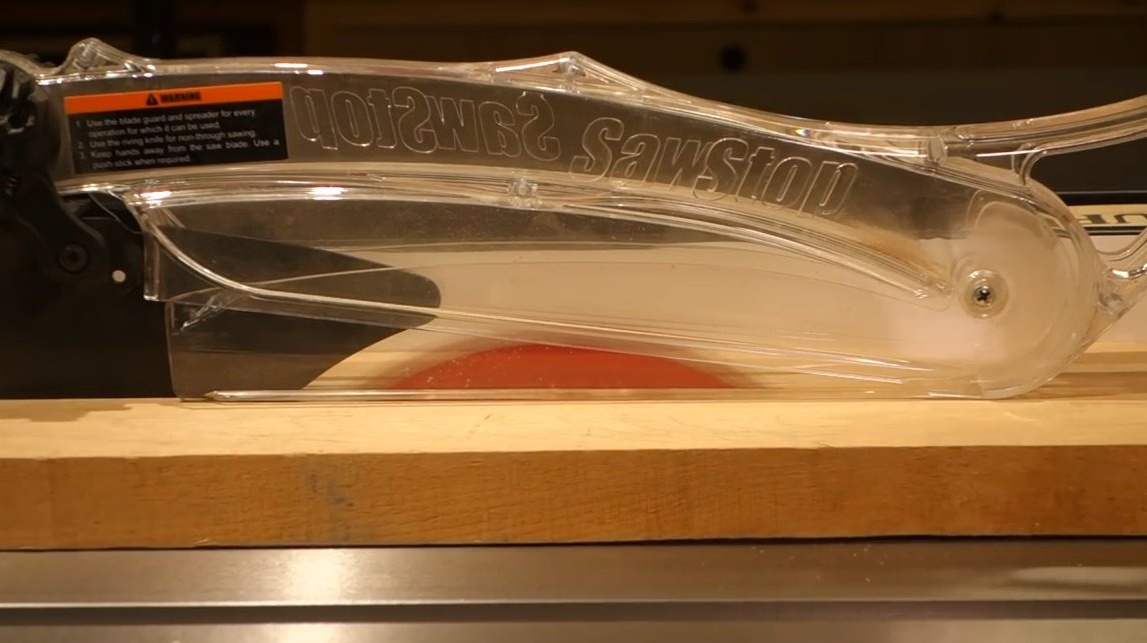
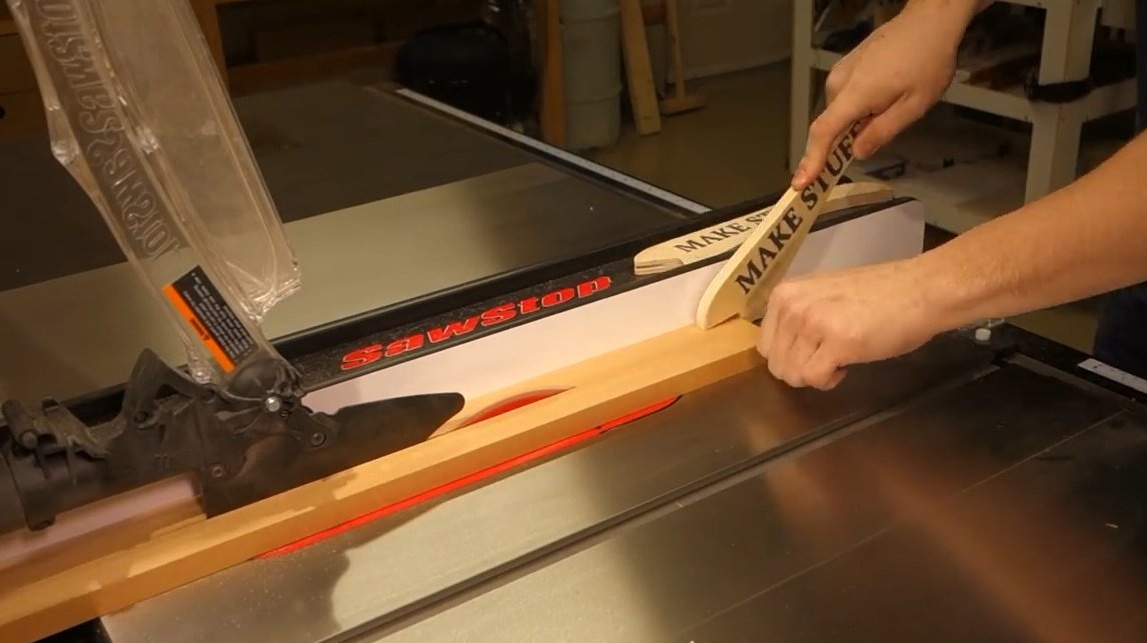
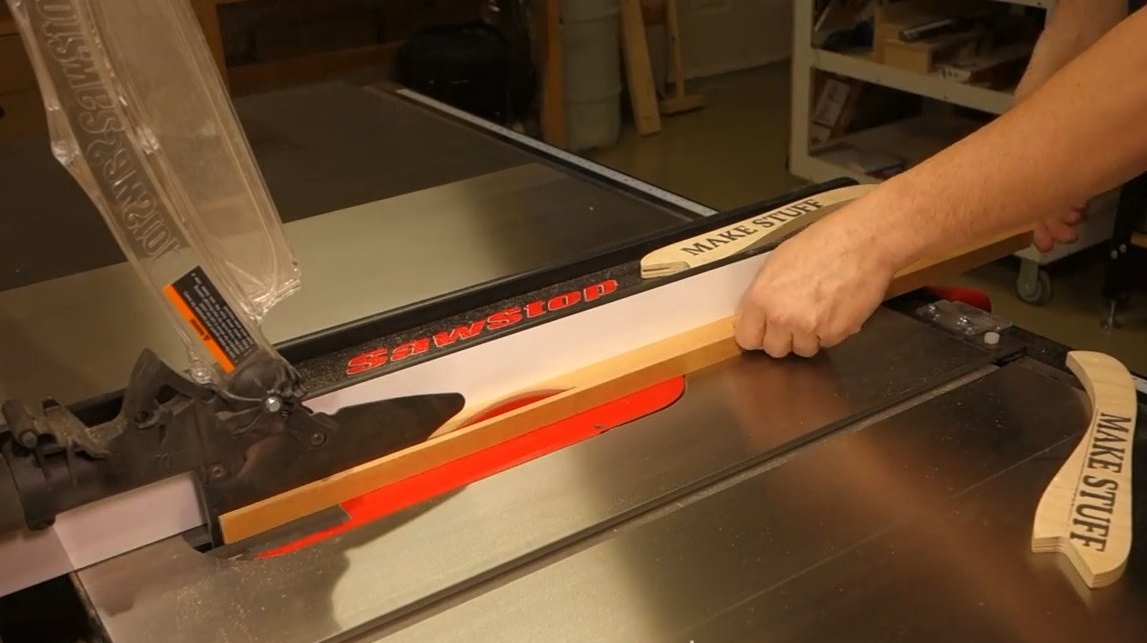
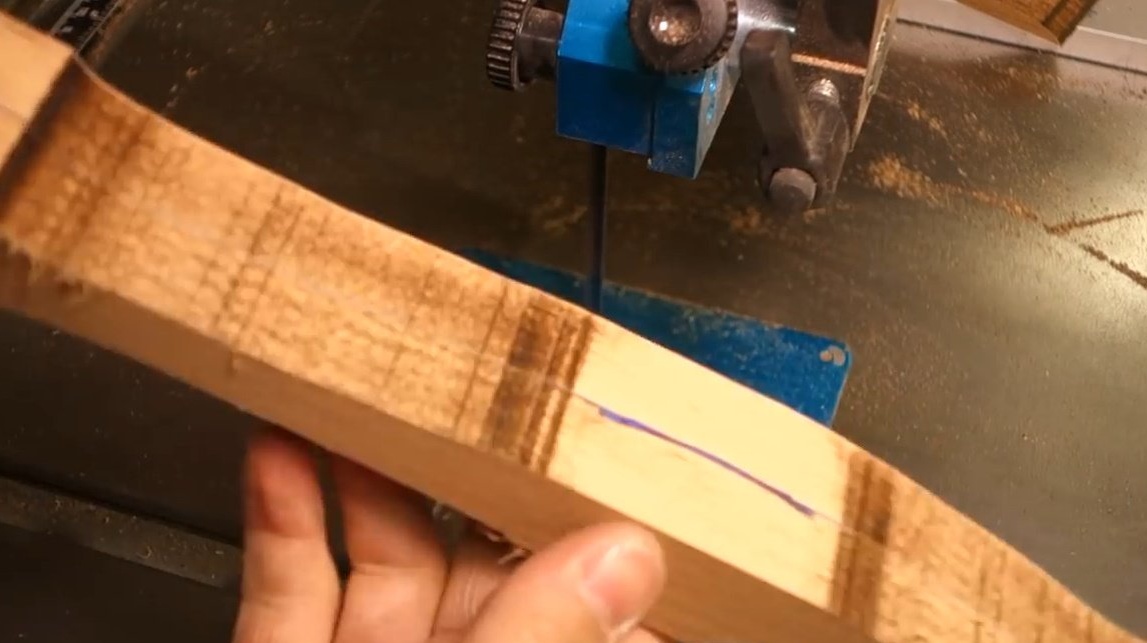
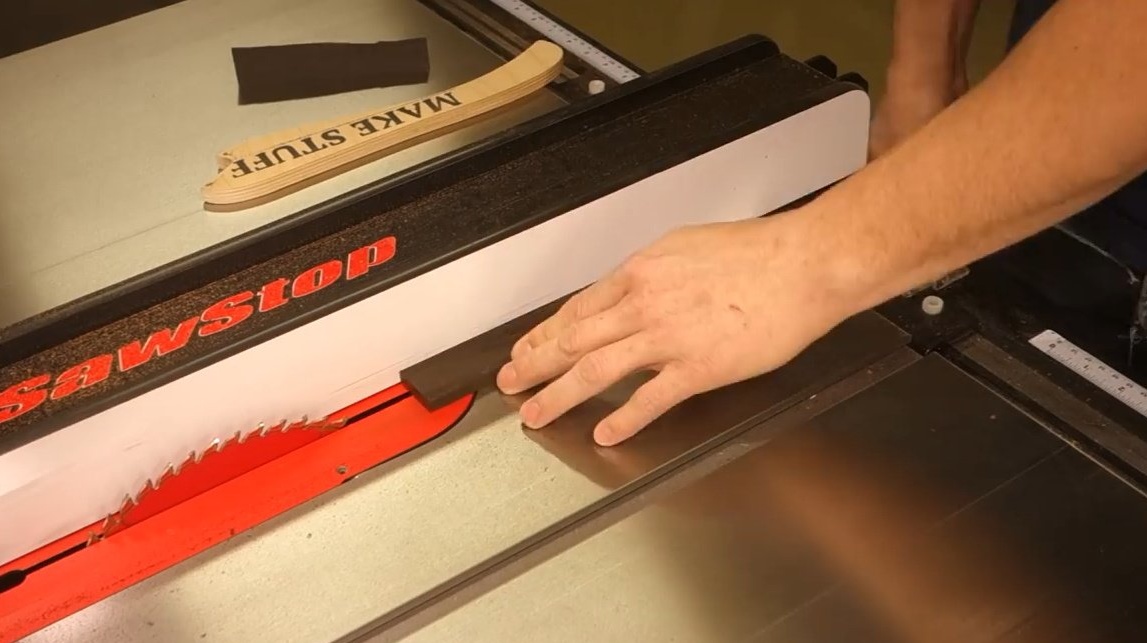
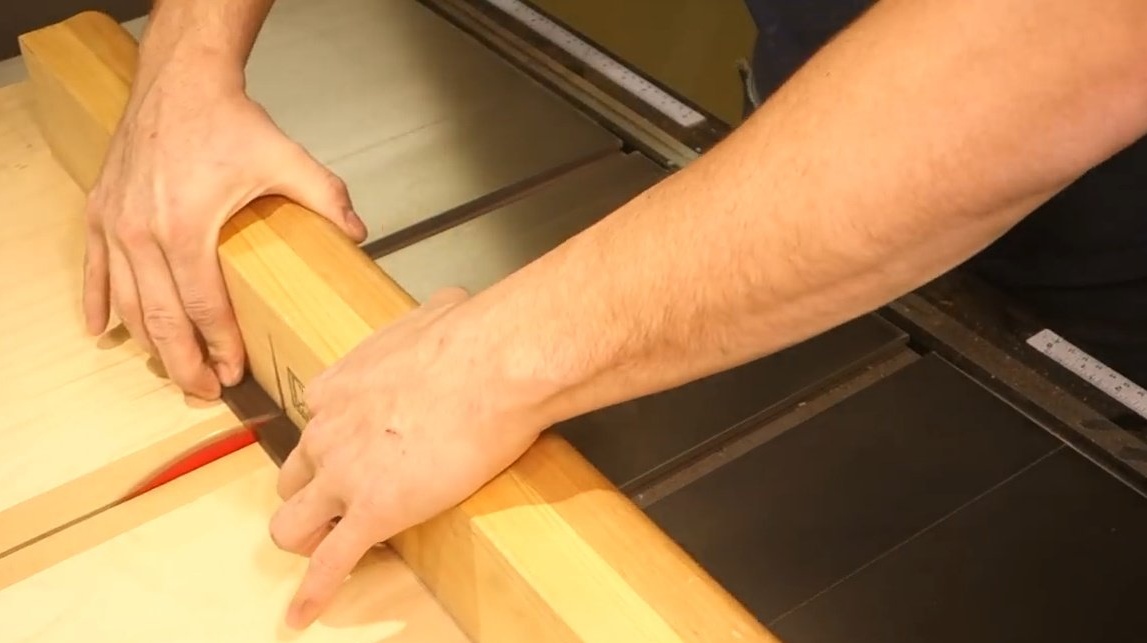
So, the author begins by preparing the board. Cuts it on a circular saw.
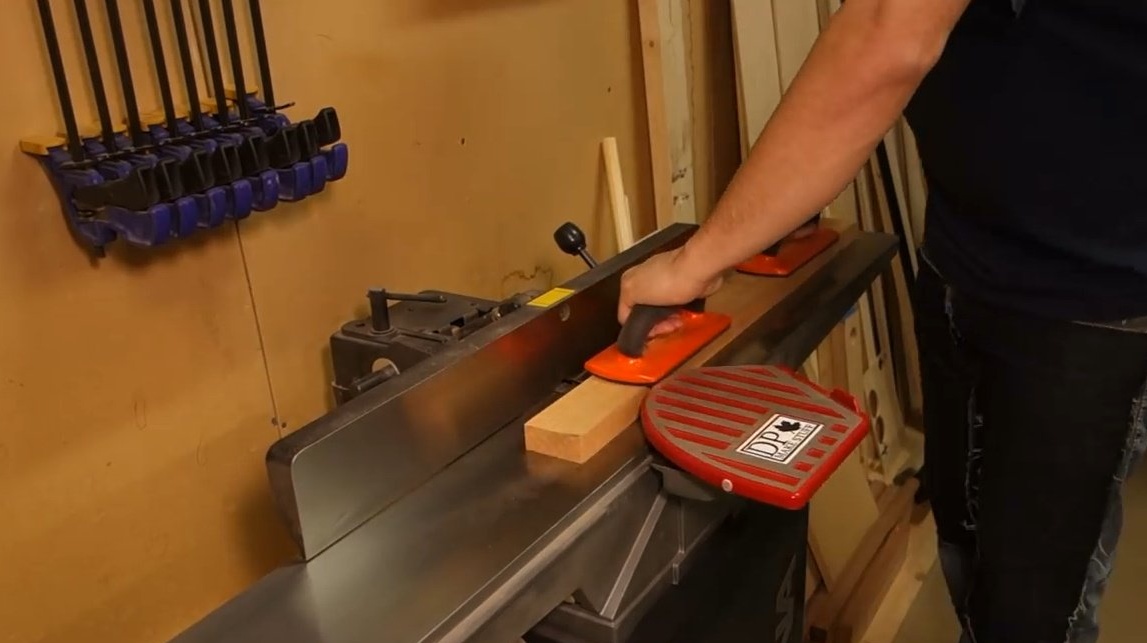
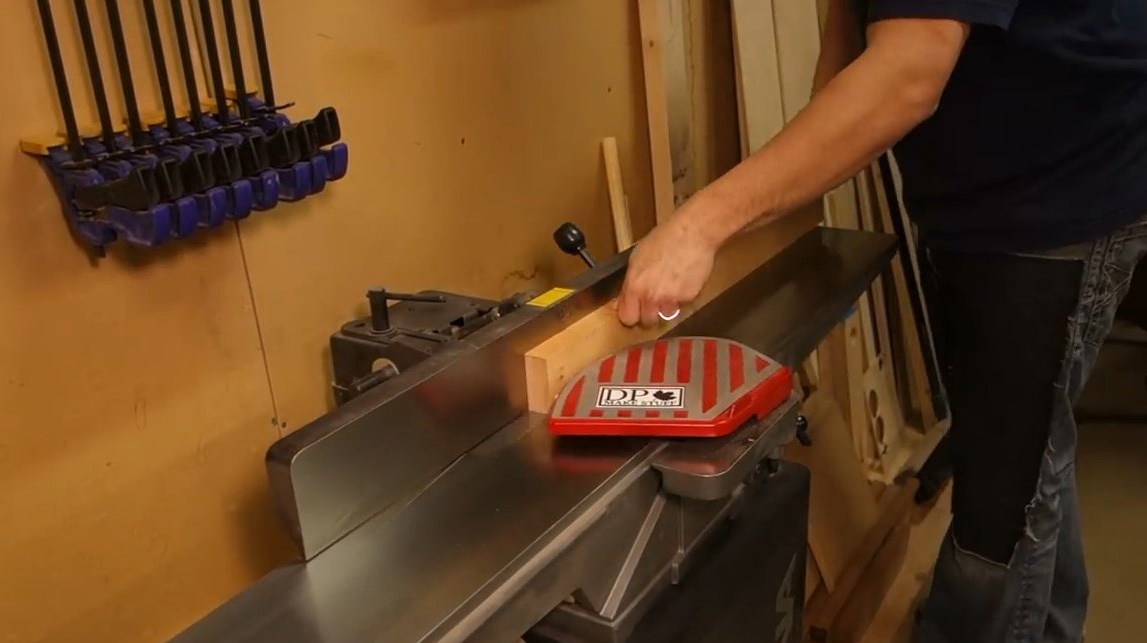
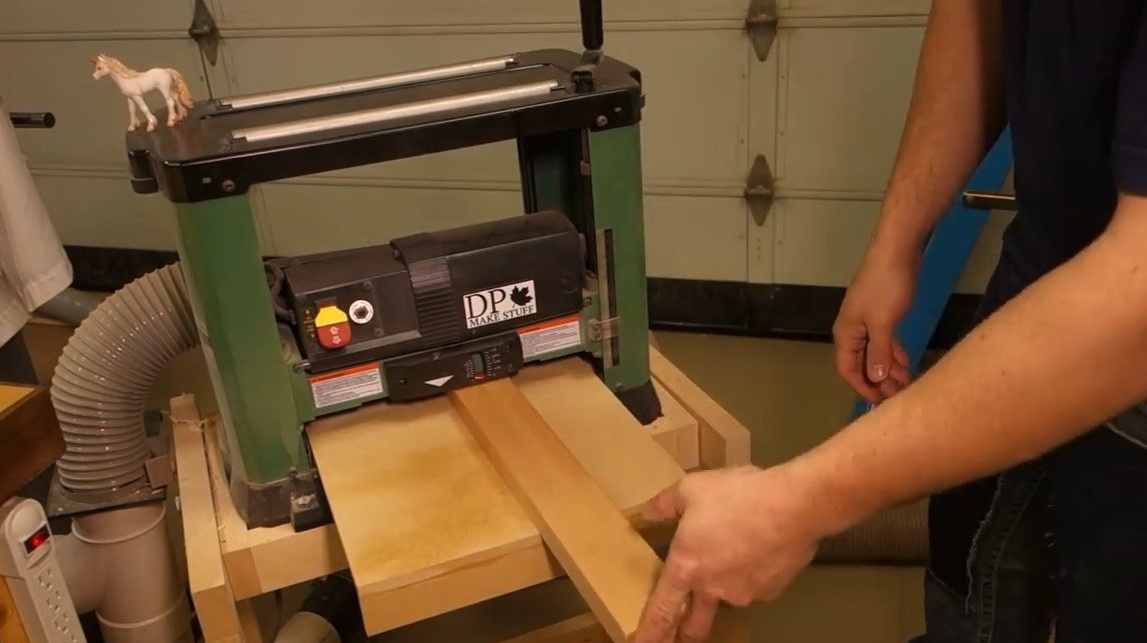
It displays the bases on the jointer, then levels the sides with a thicknesser.
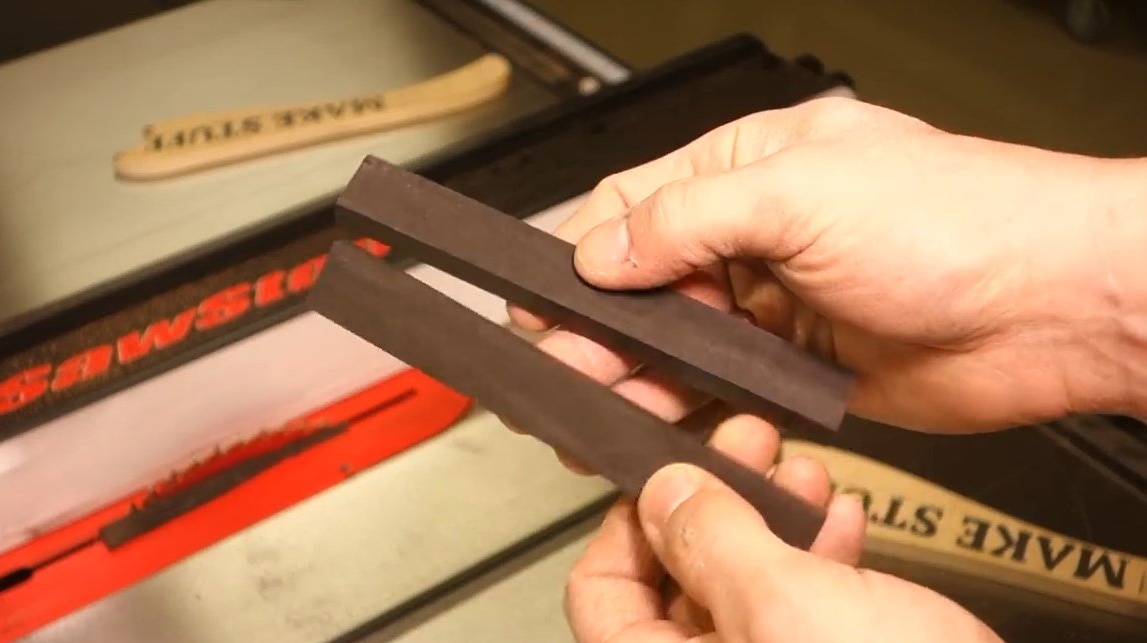
Now cuts three pieces.
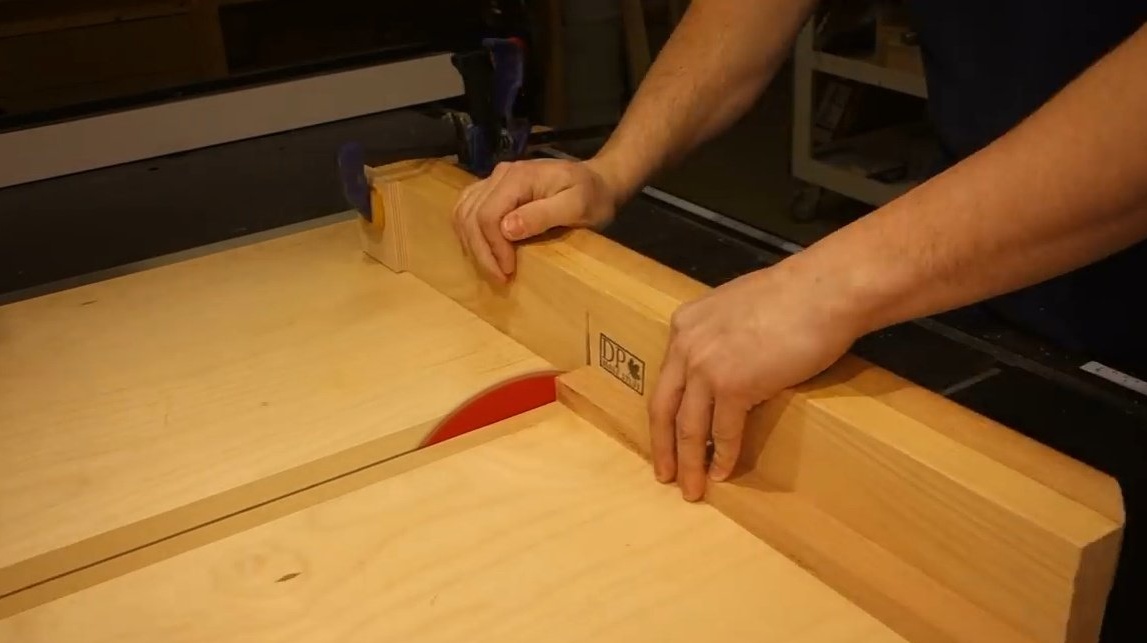
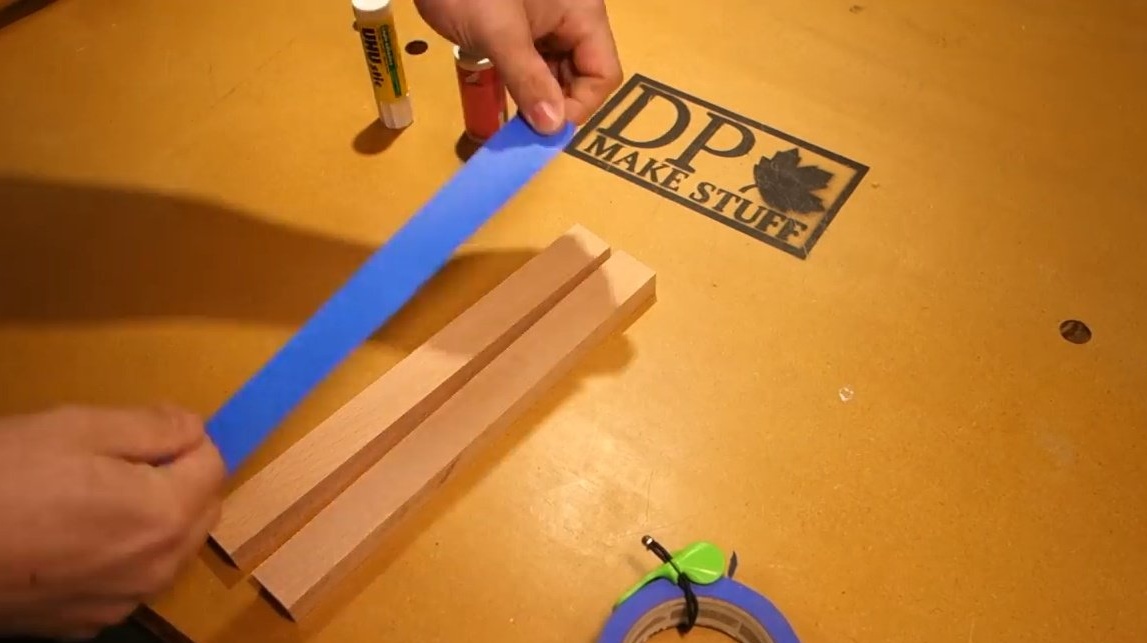
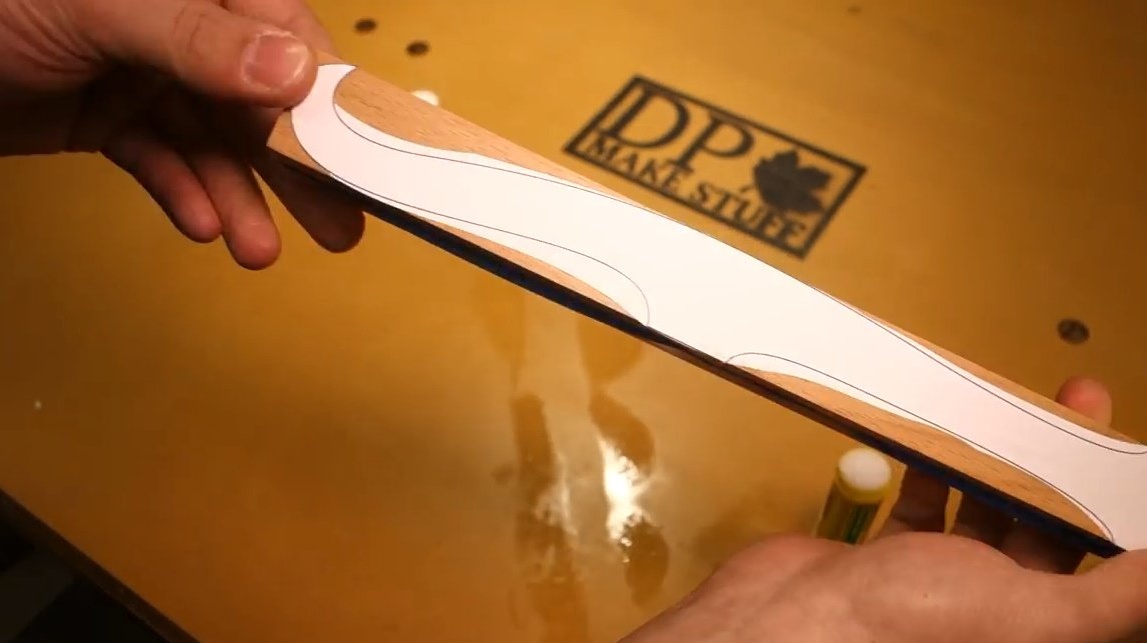
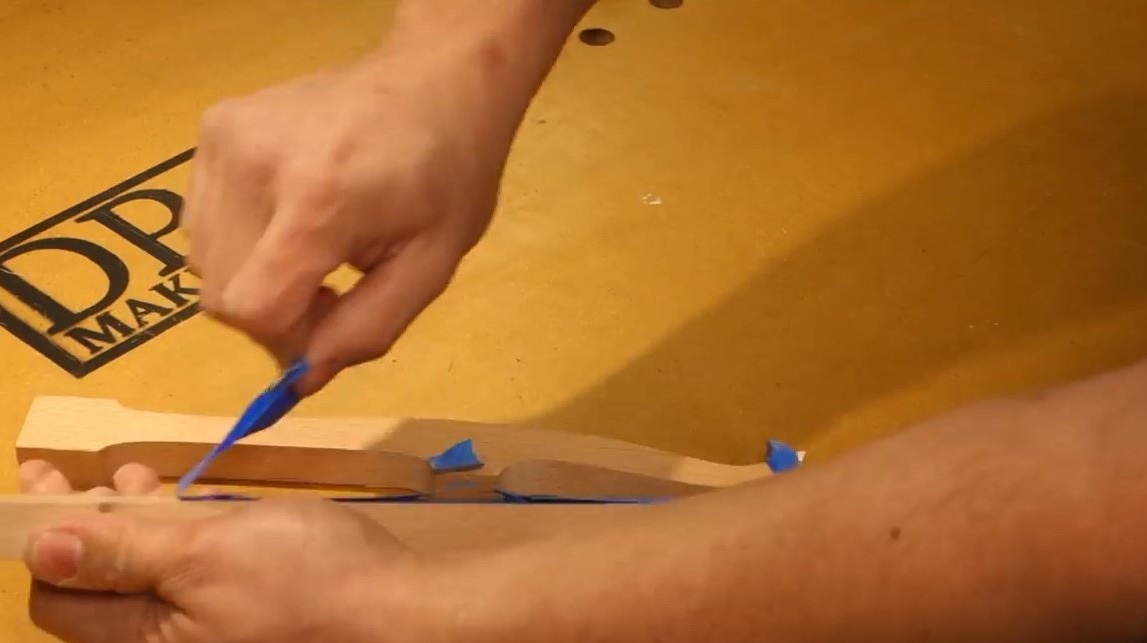
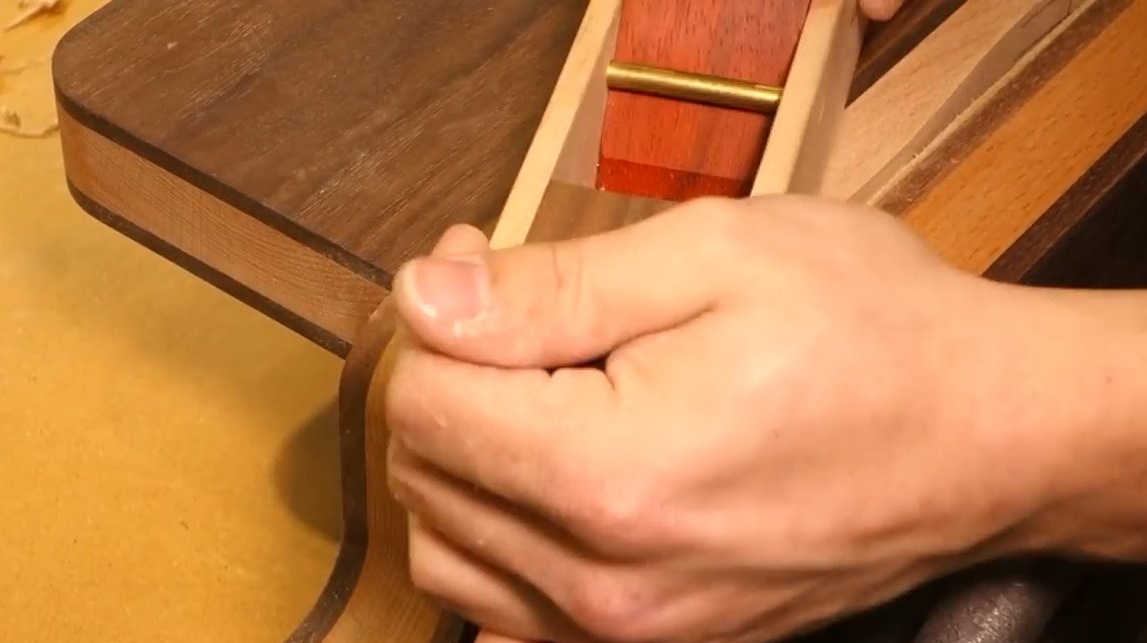
The master will be the first to make the shoulders of the saw. Here he uses an interesting way of joining blanks. Glue a masking tape on each of them, then apply a second glue, and connect them.
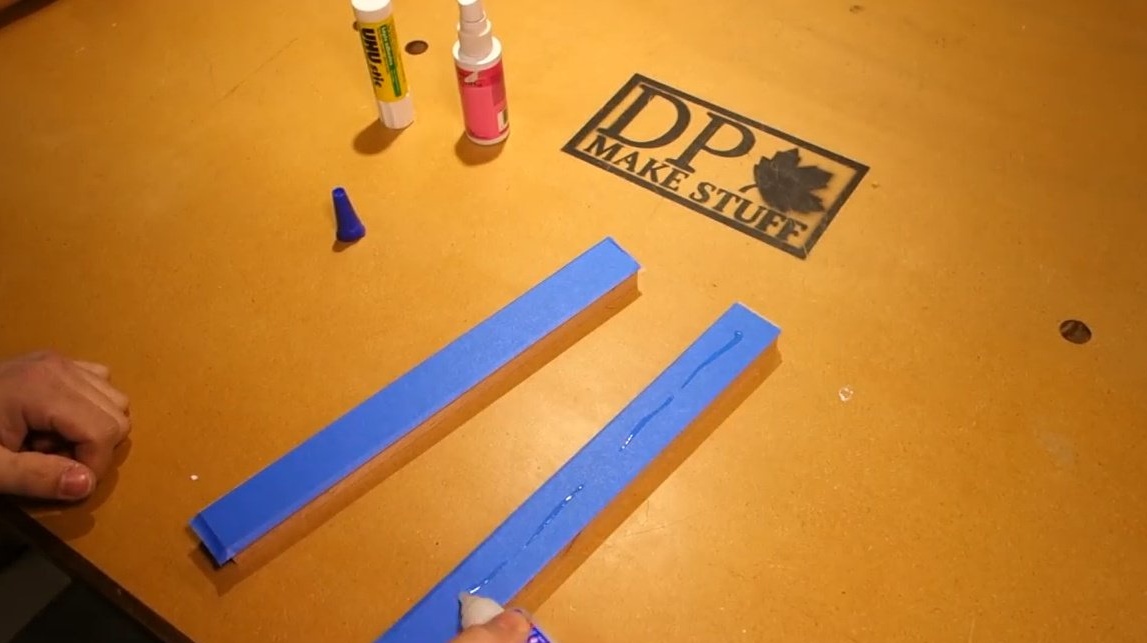
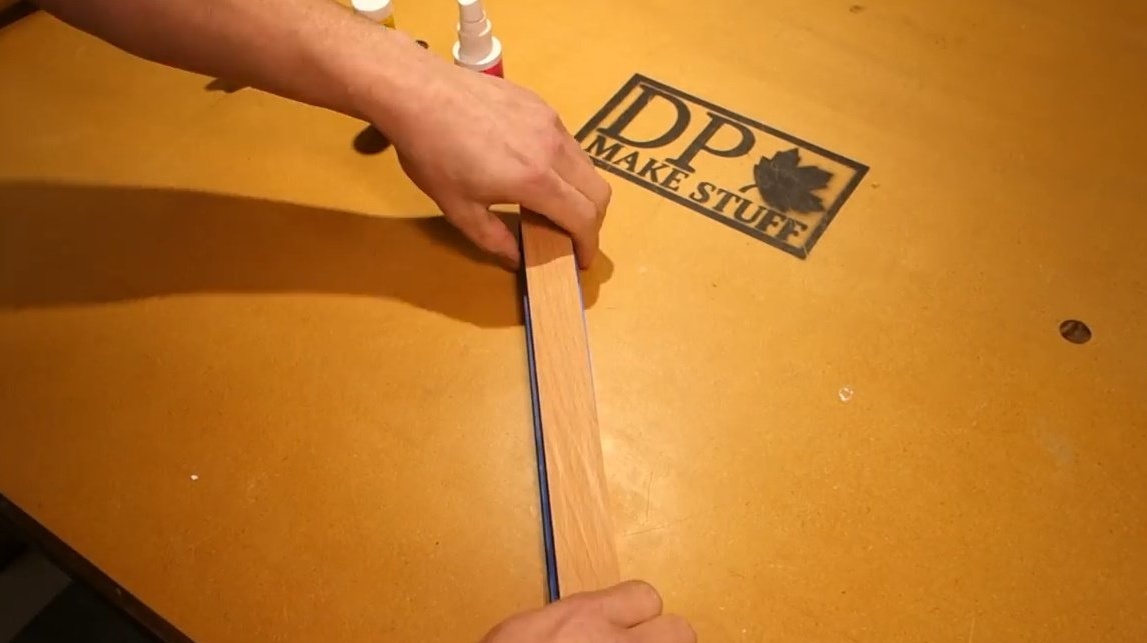
Using glue, stick the template.
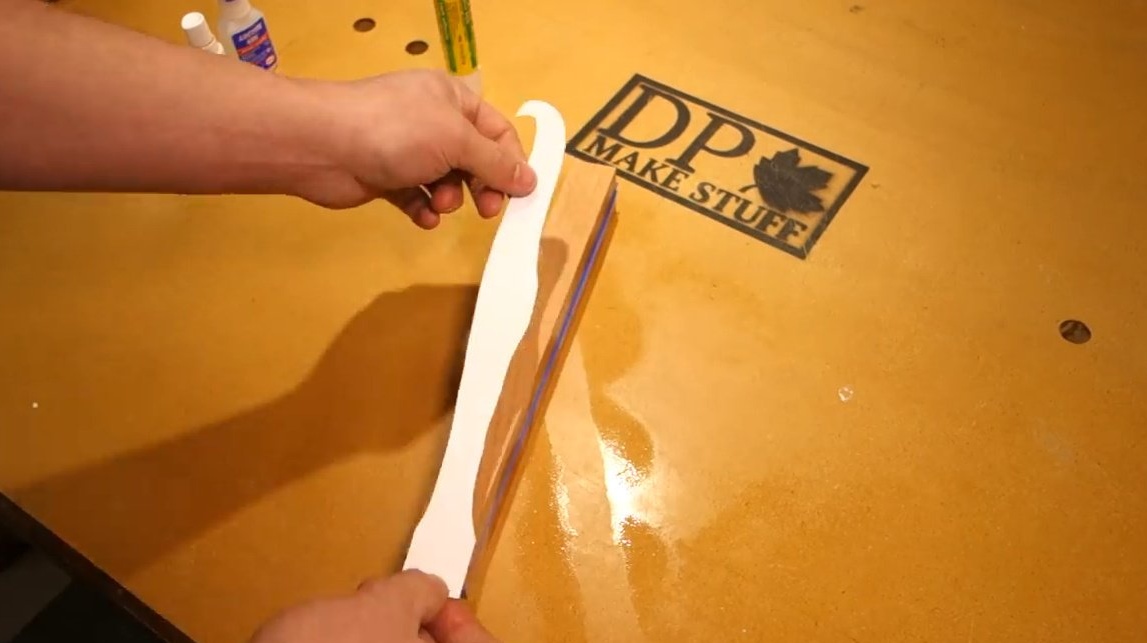

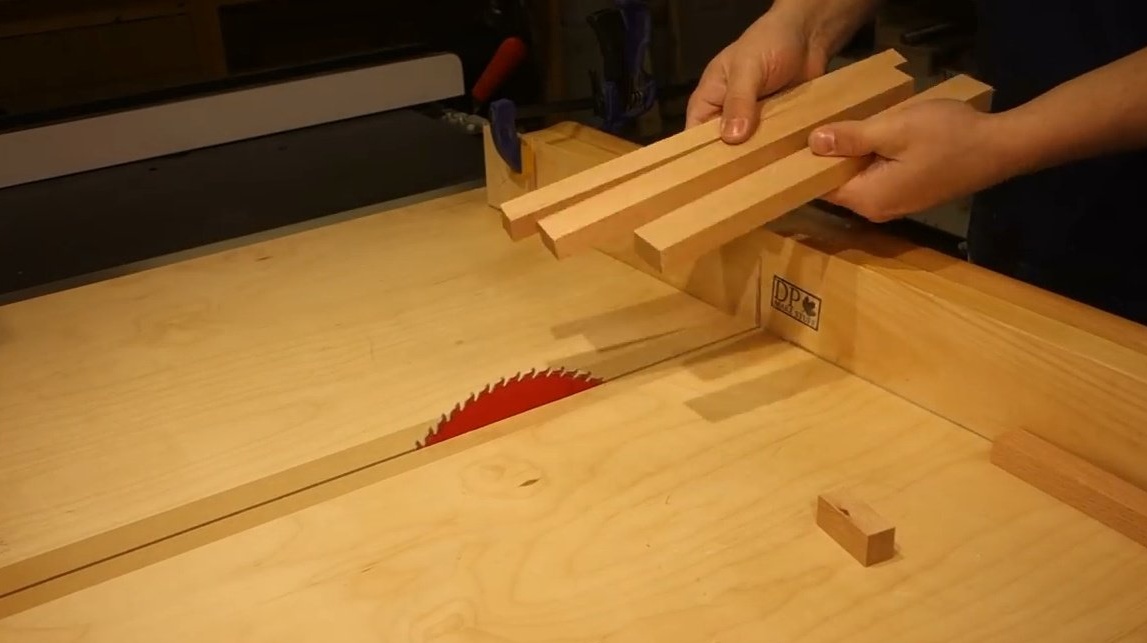
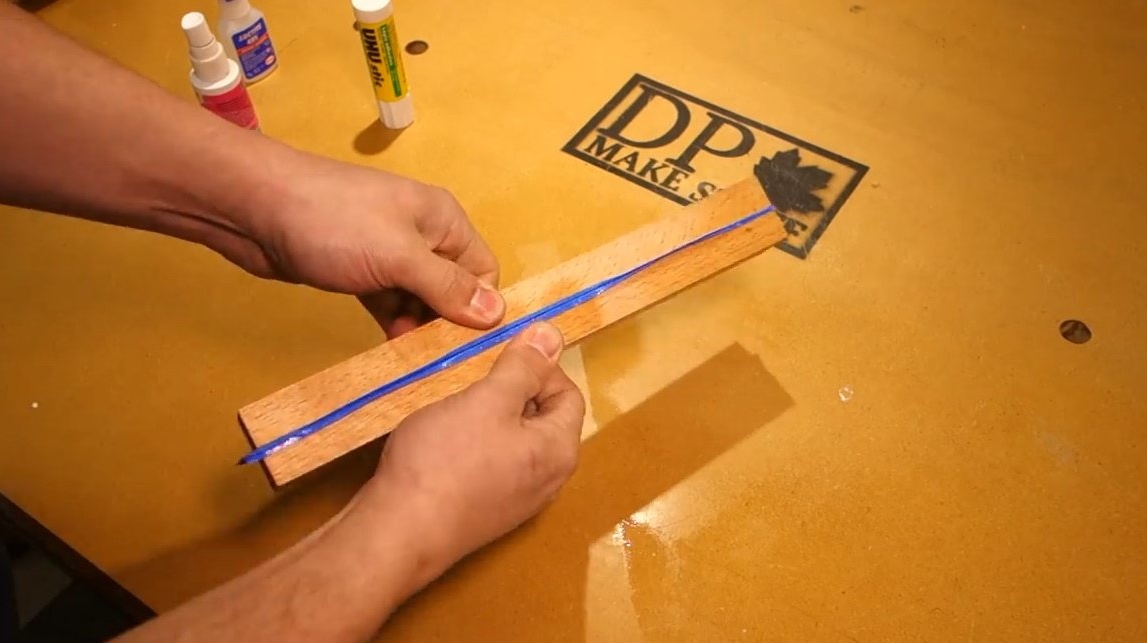
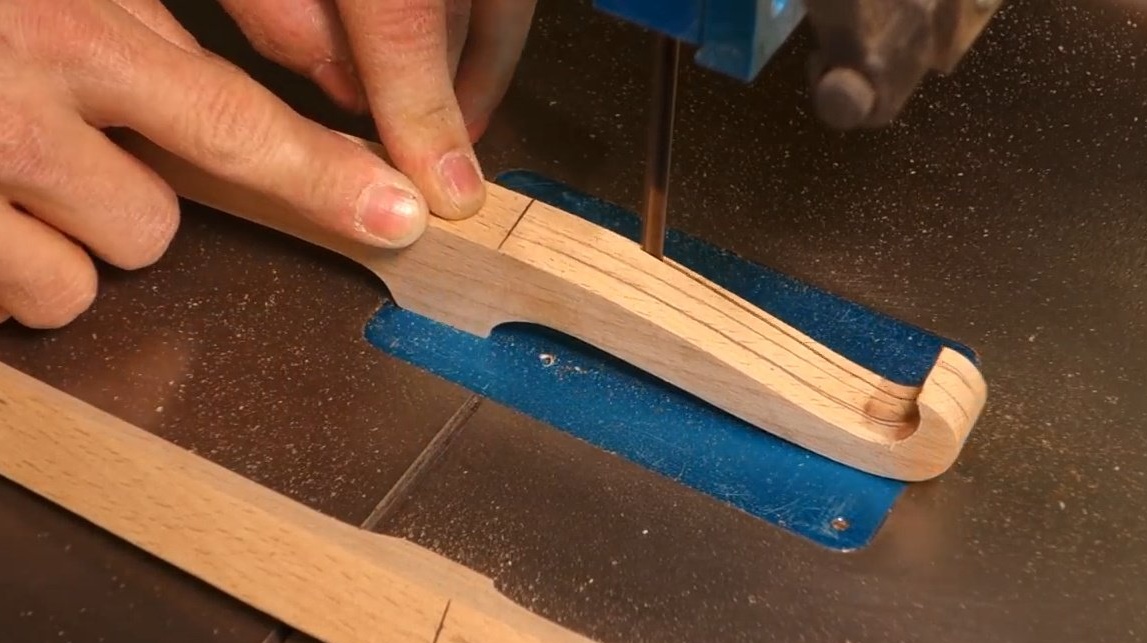
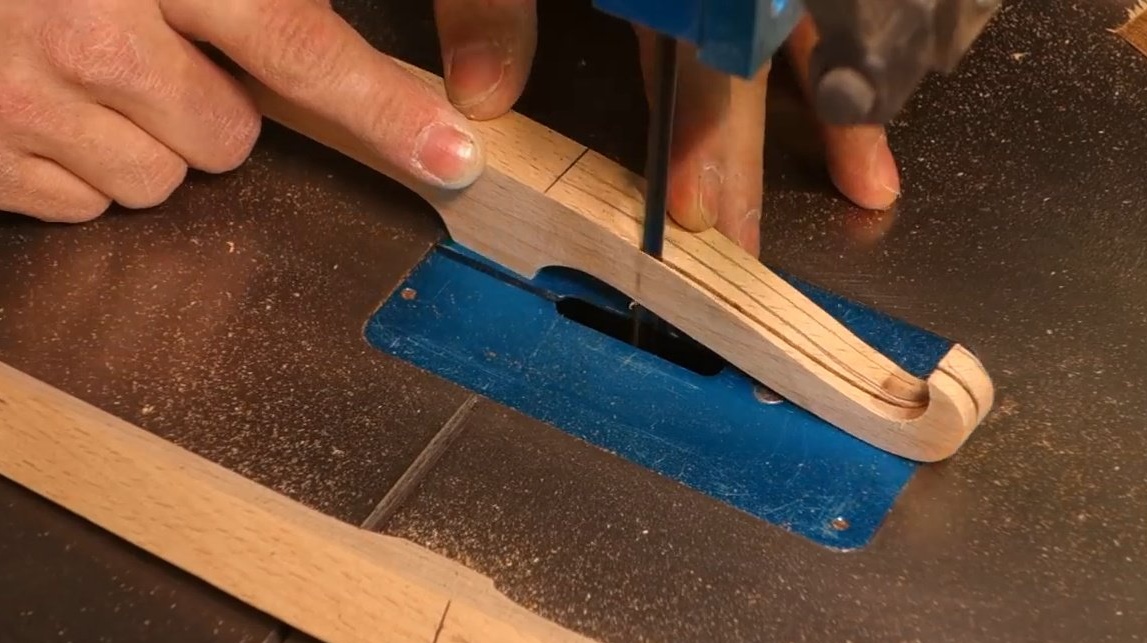
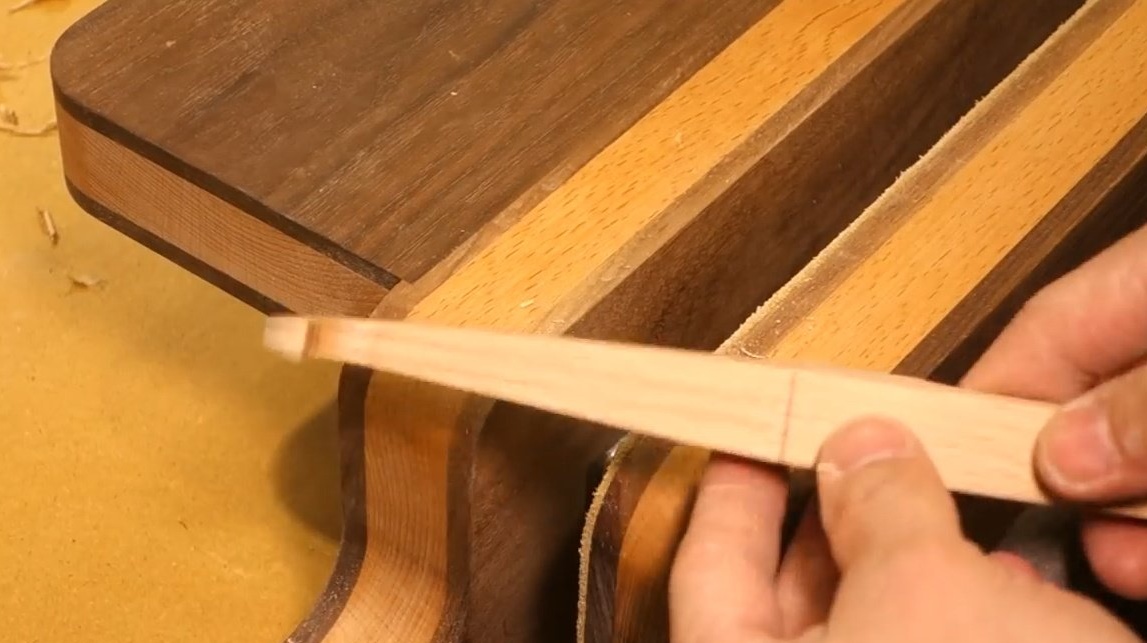
Cuts off excess elements on a band saw.
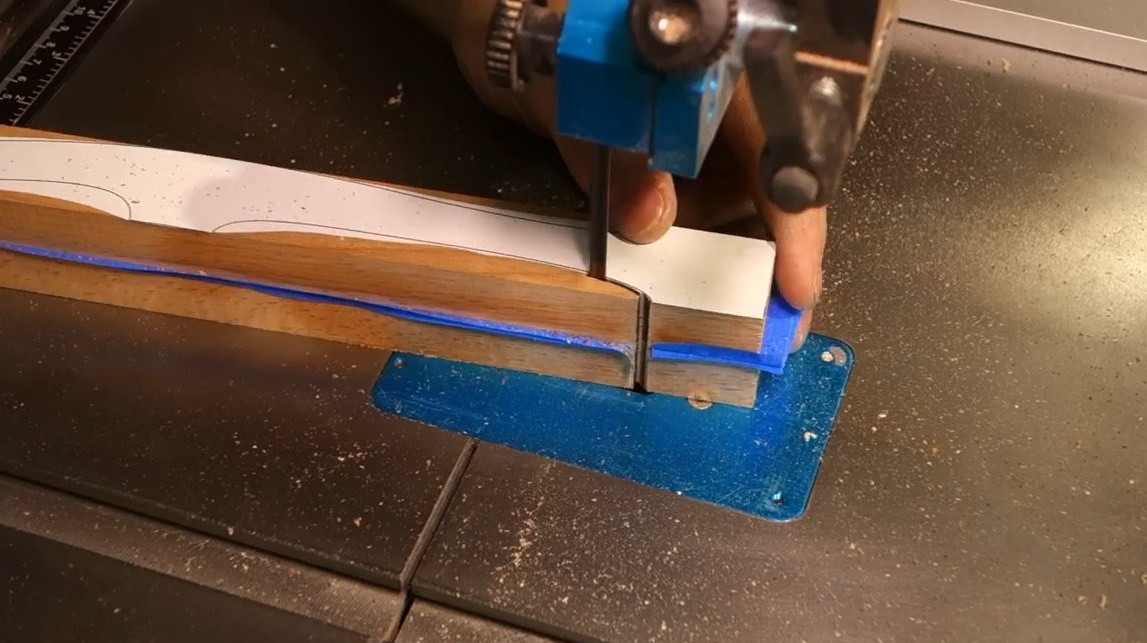
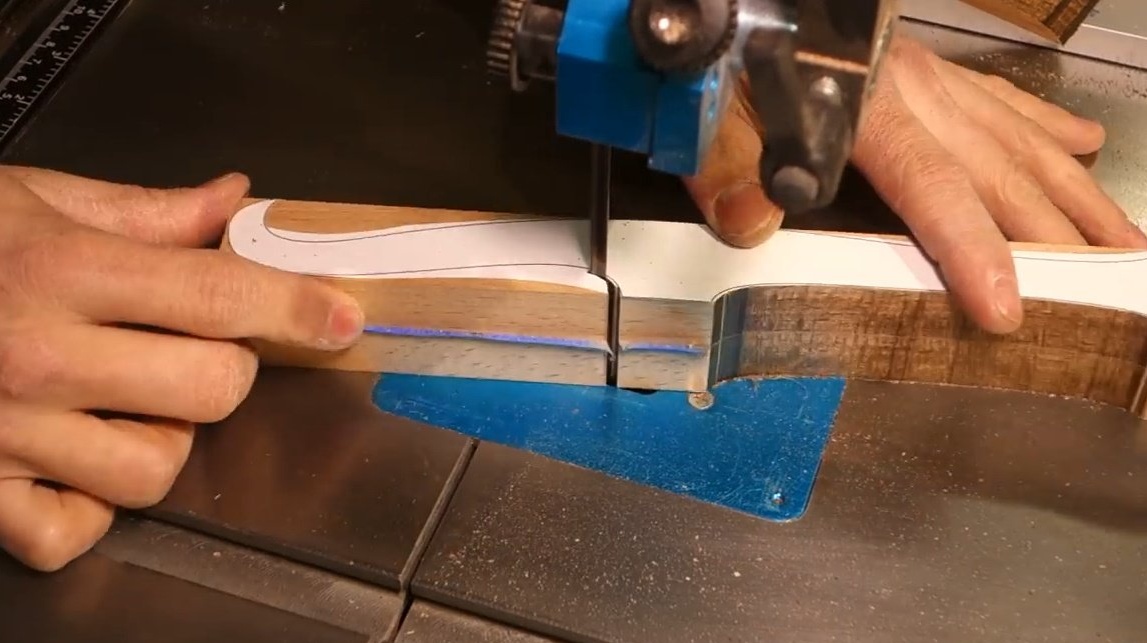
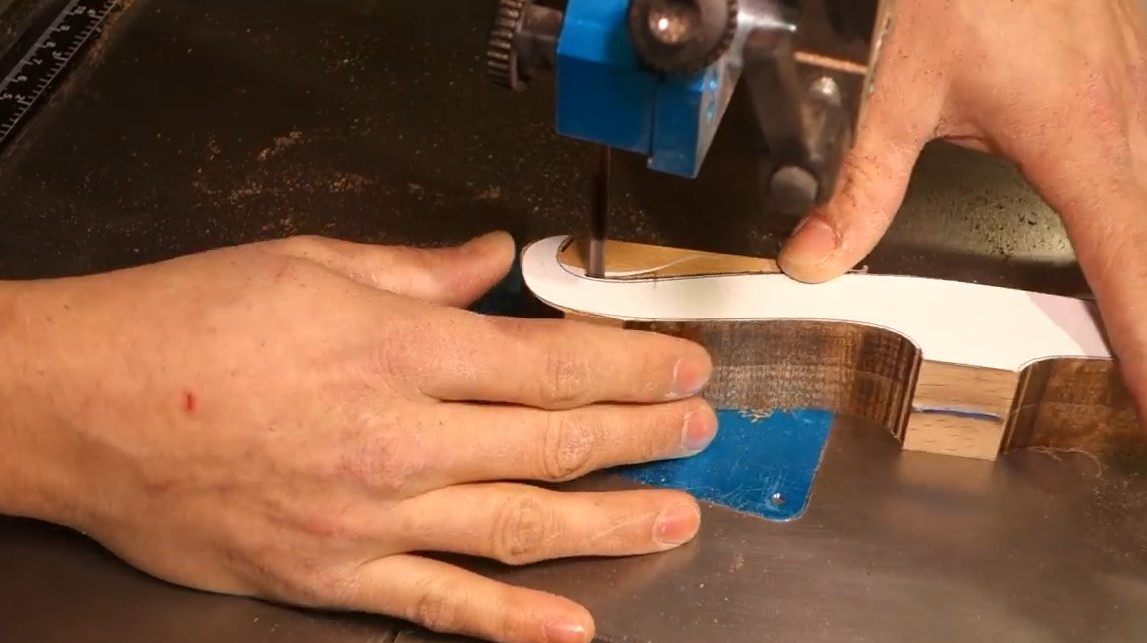
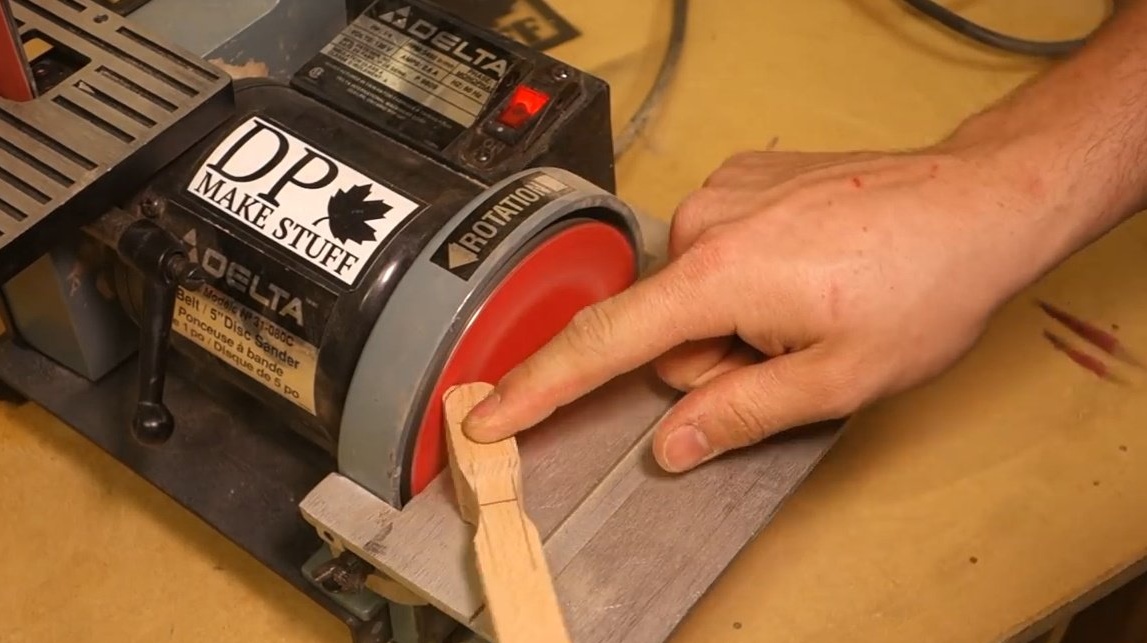
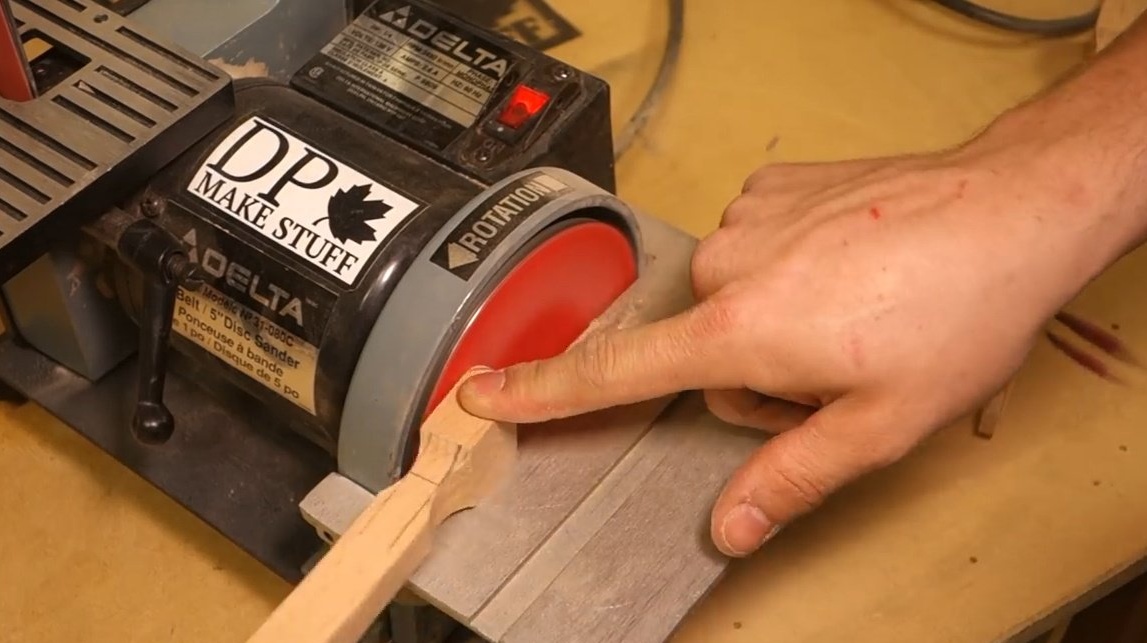
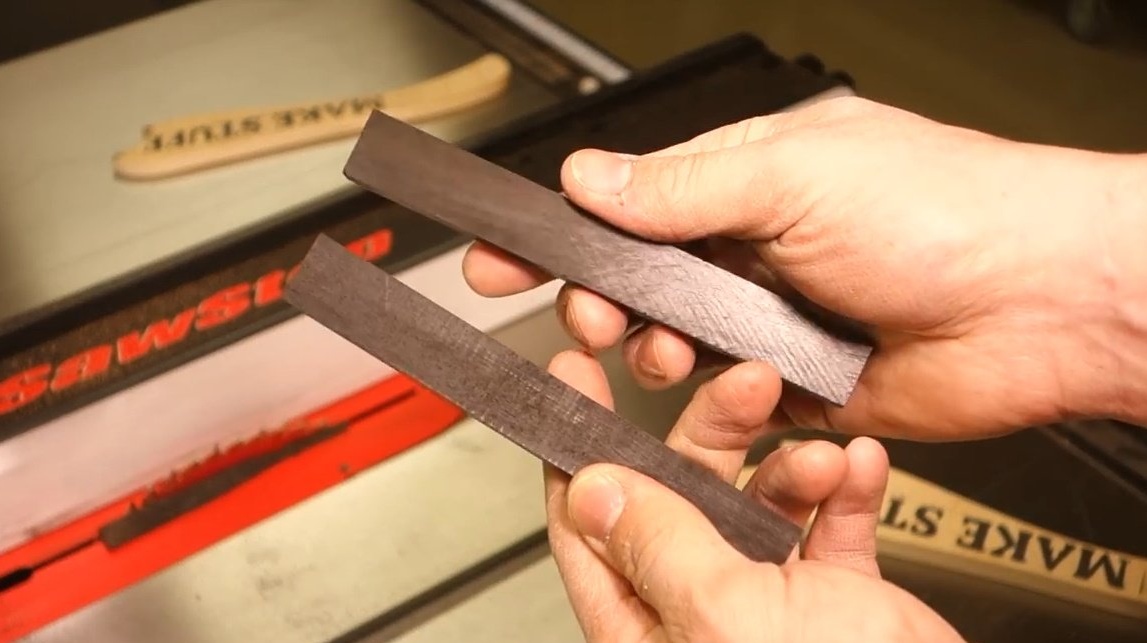
After processing on the band saw, the cut points were slightly burnt. Belt grinding is required.
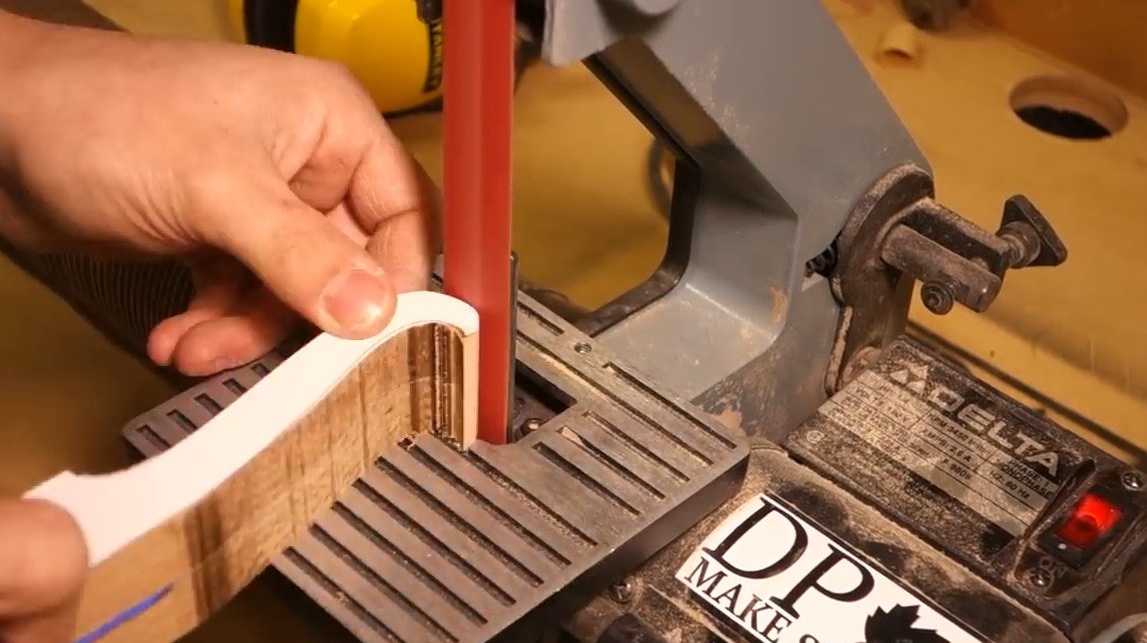
Now you can disconnect the workpieces.
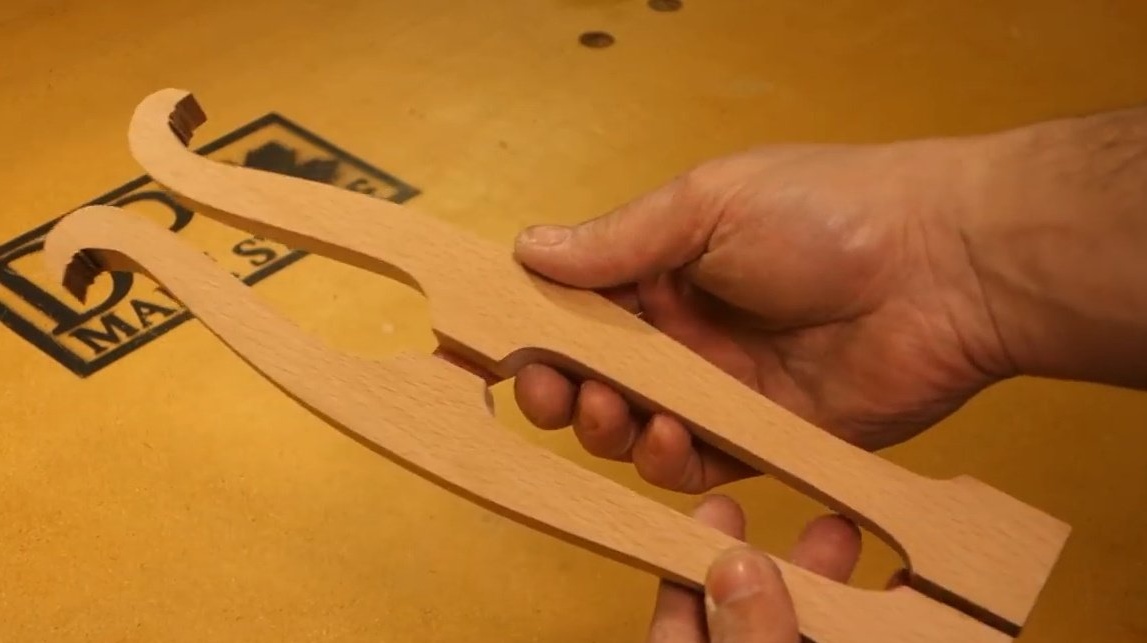
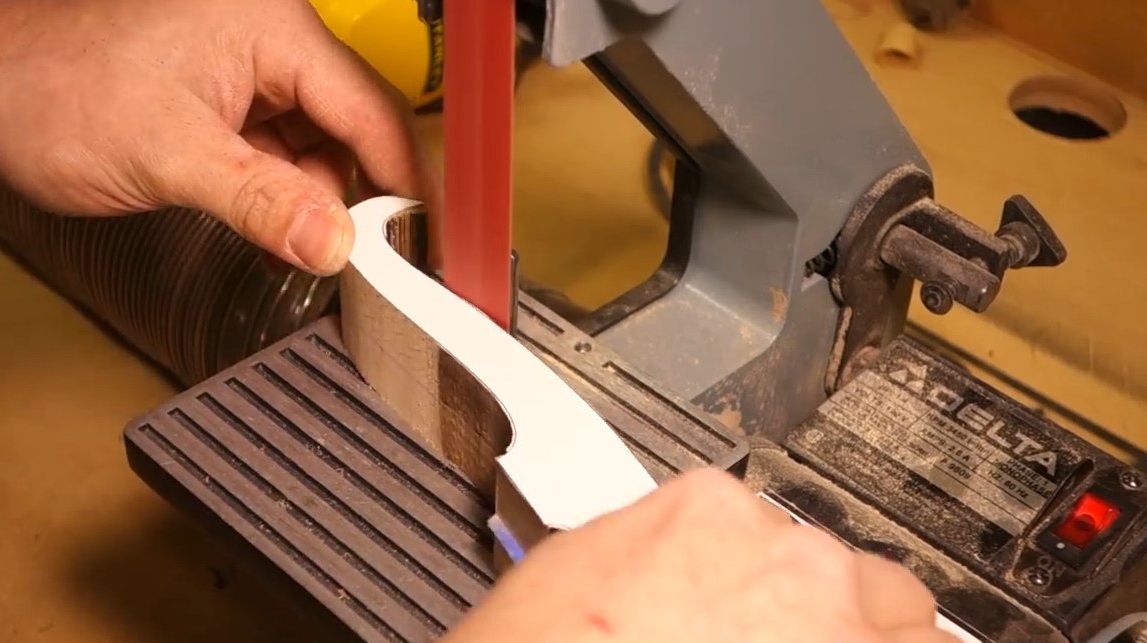
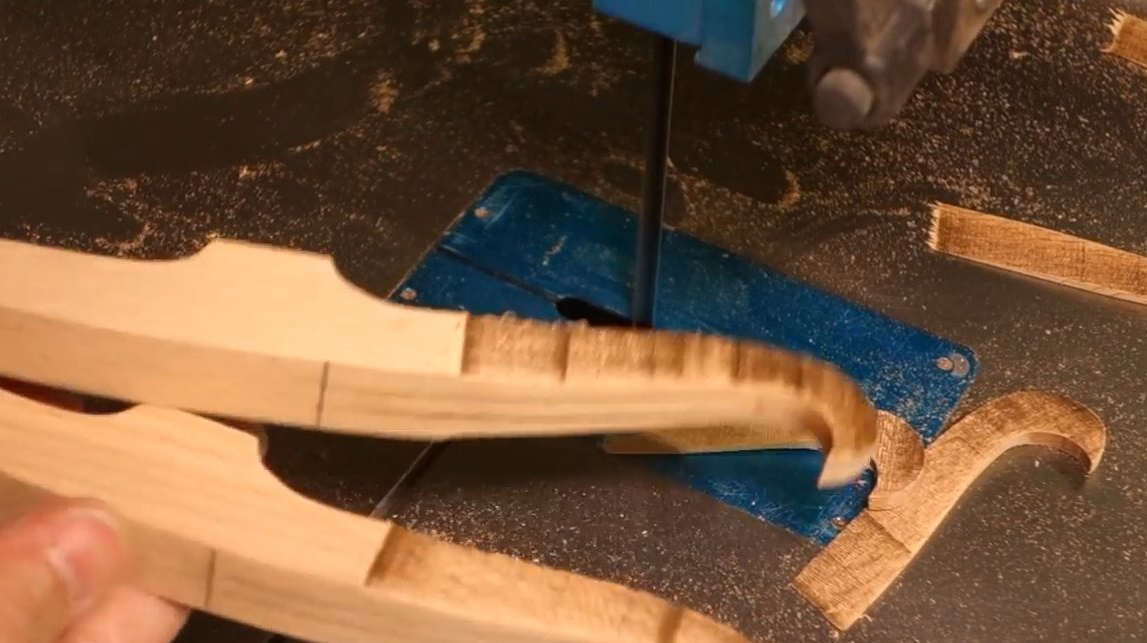
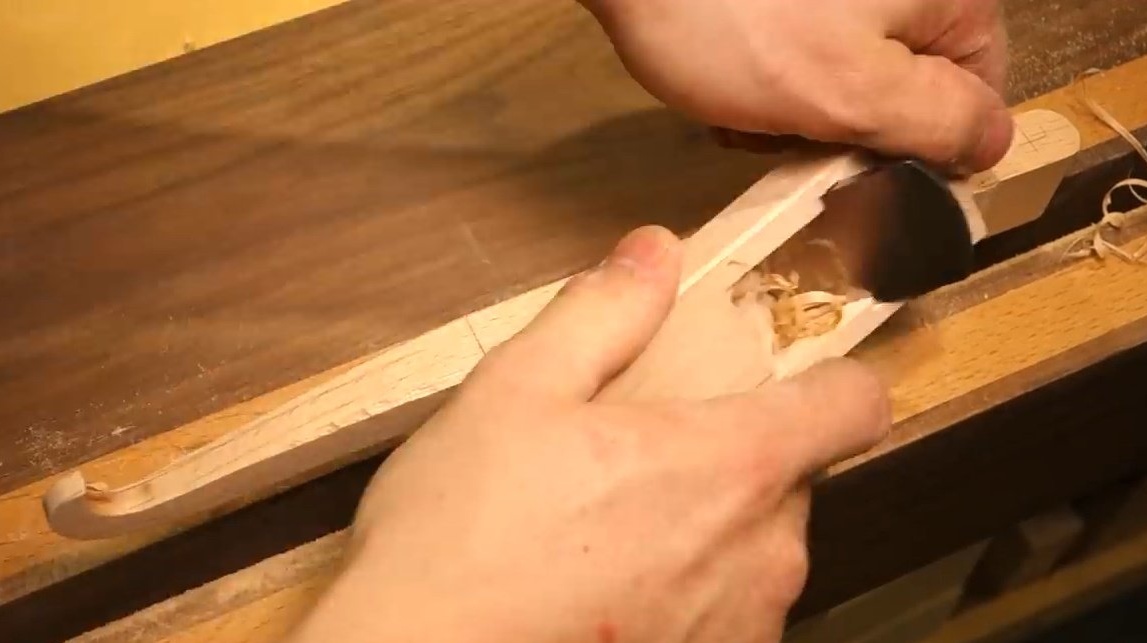
Drowns shoulders, making peculiar descents.

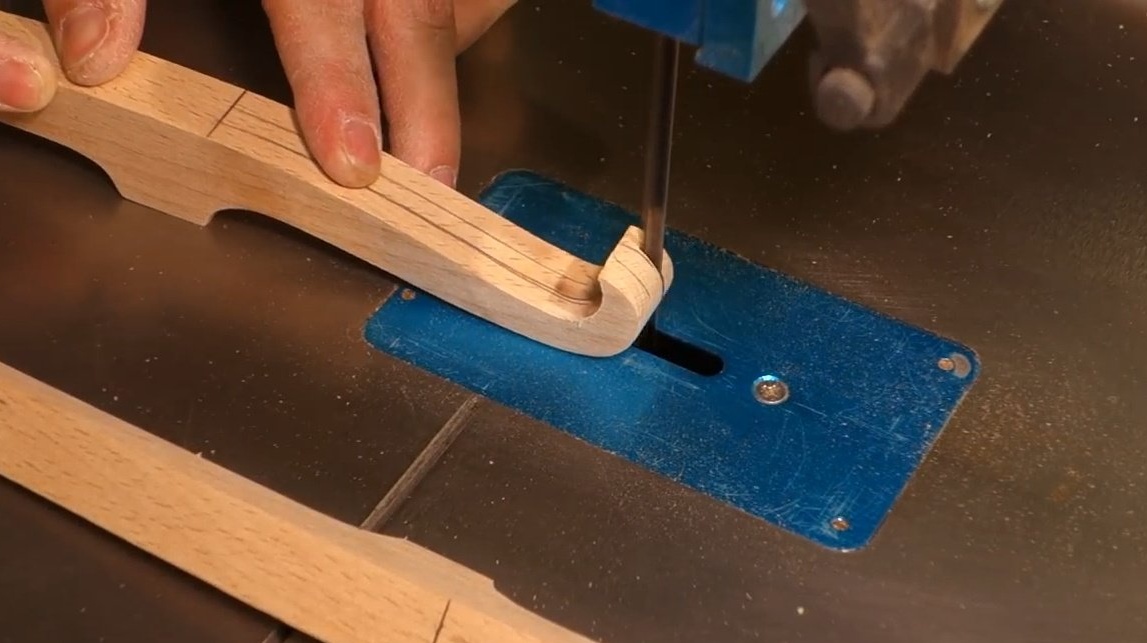
And again there were traces of processing with a band saw. The master cleans these places with a planer.
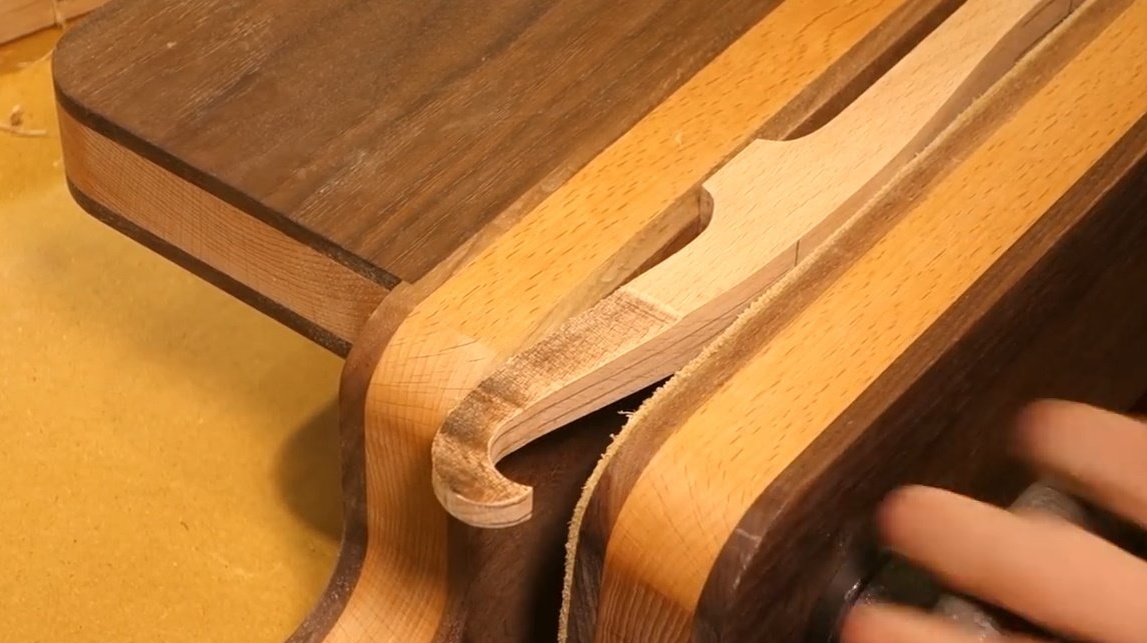
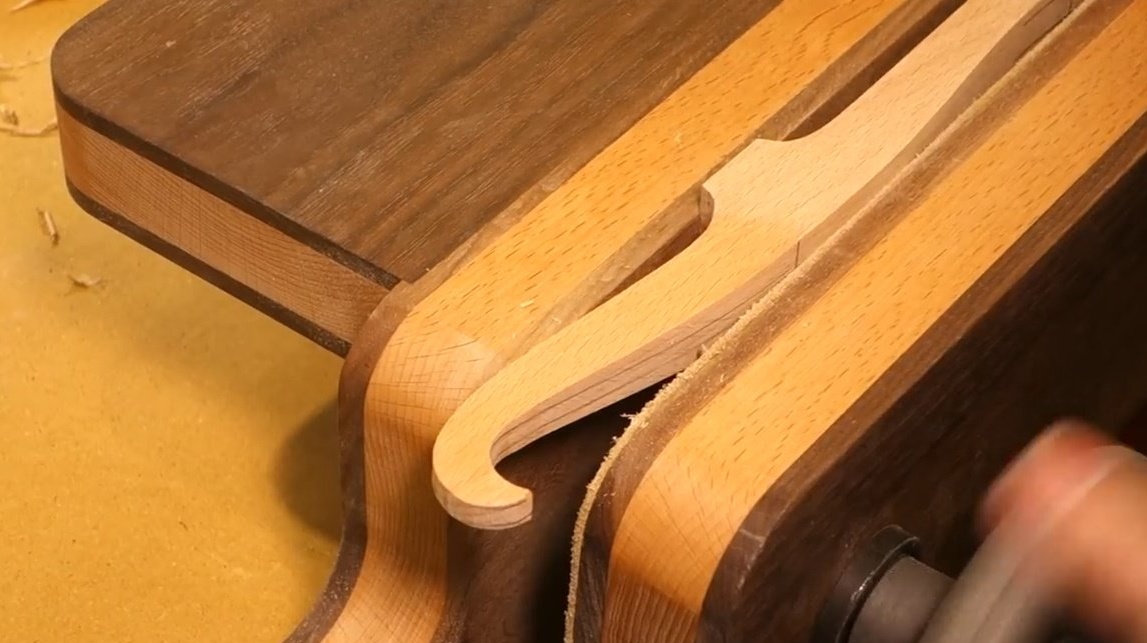
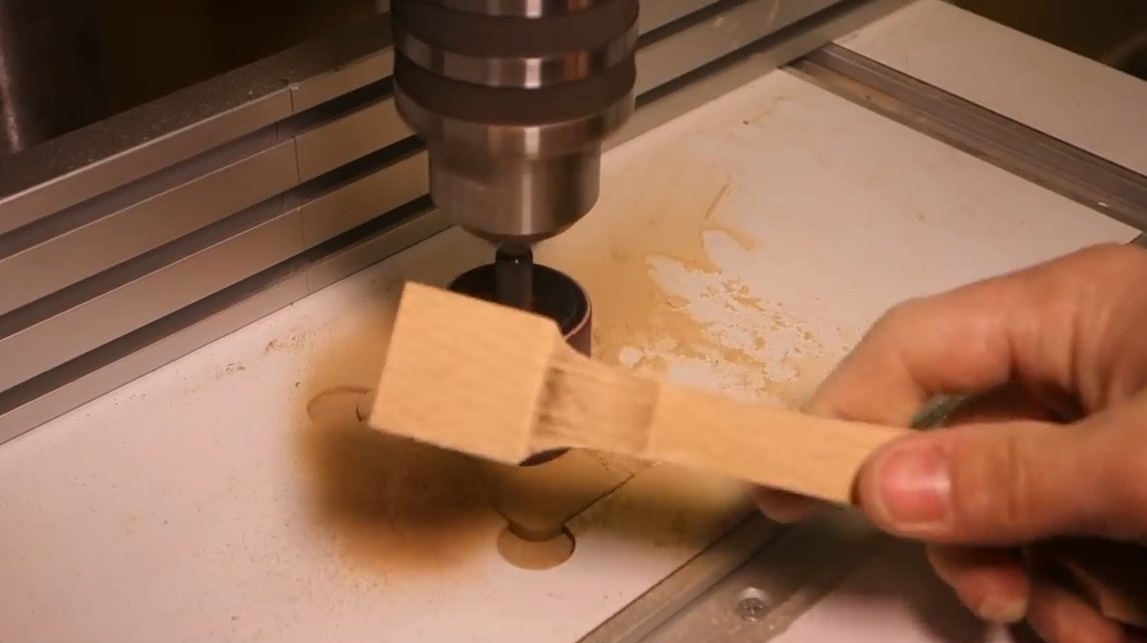
Then, having installed the drum grinding nozzle in the drilling machine, it achieves more ergonomic transitions on the workpieces.
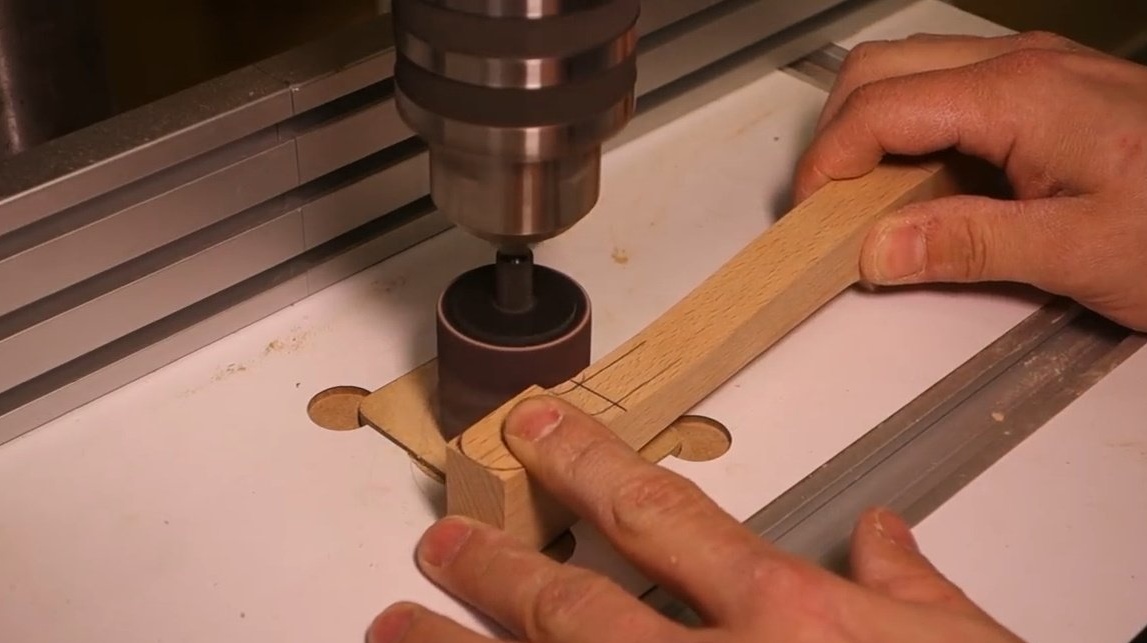

Also resorts to the use of an orbital sander.
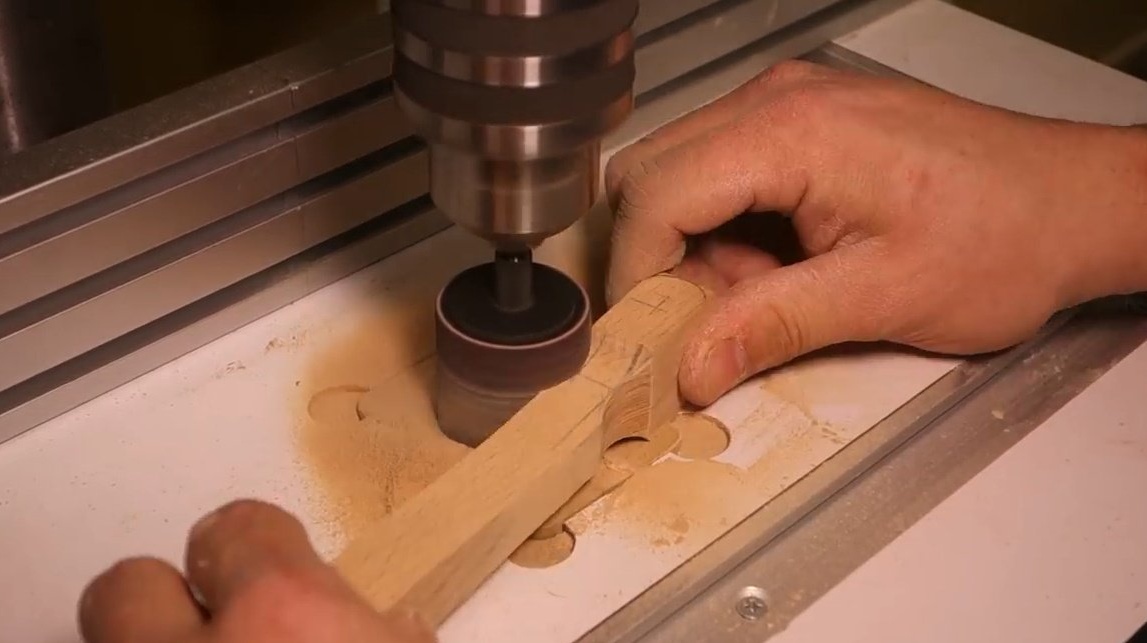
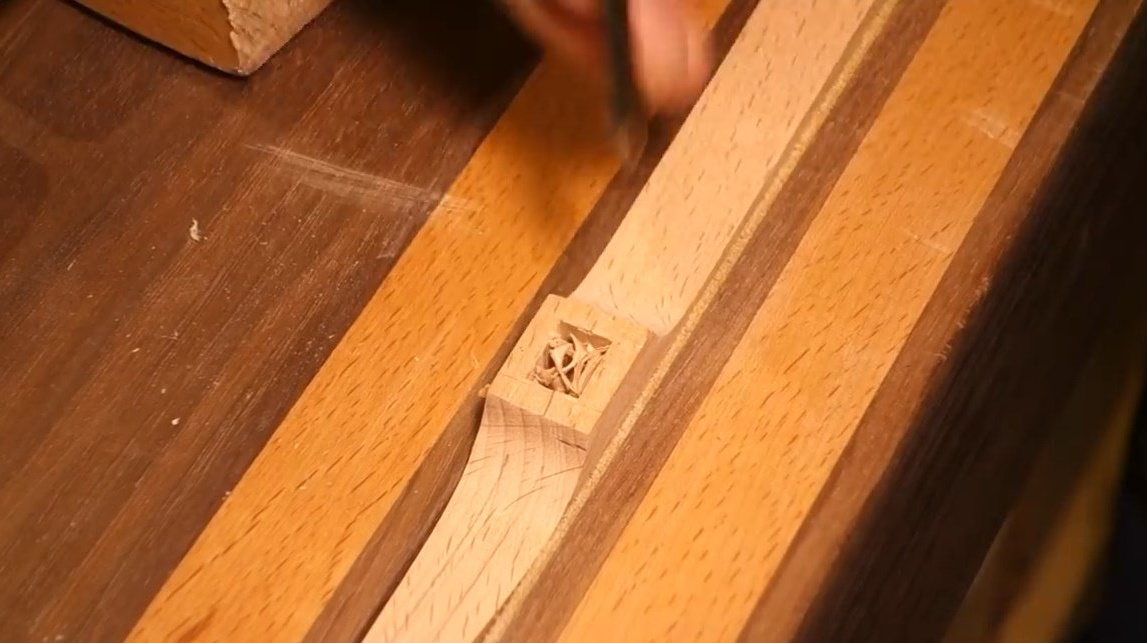
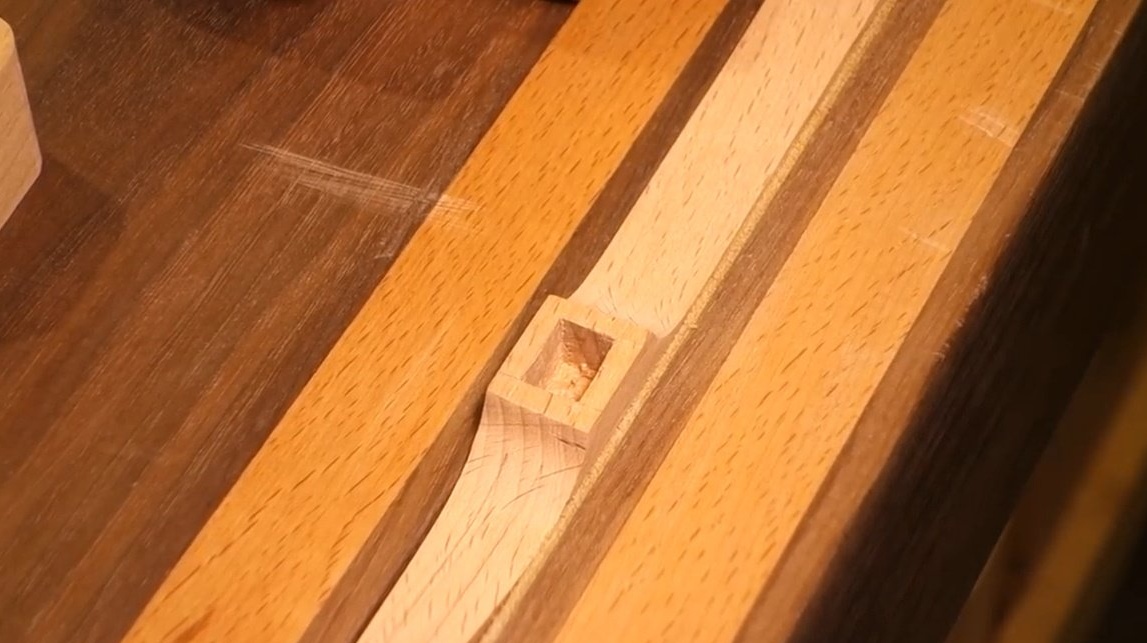
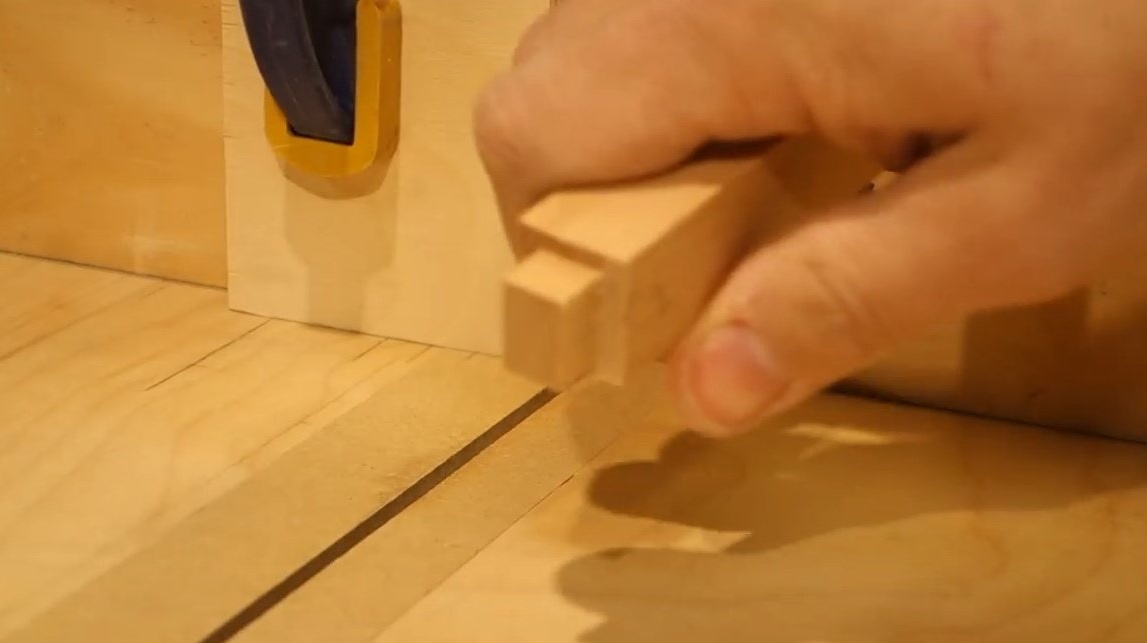
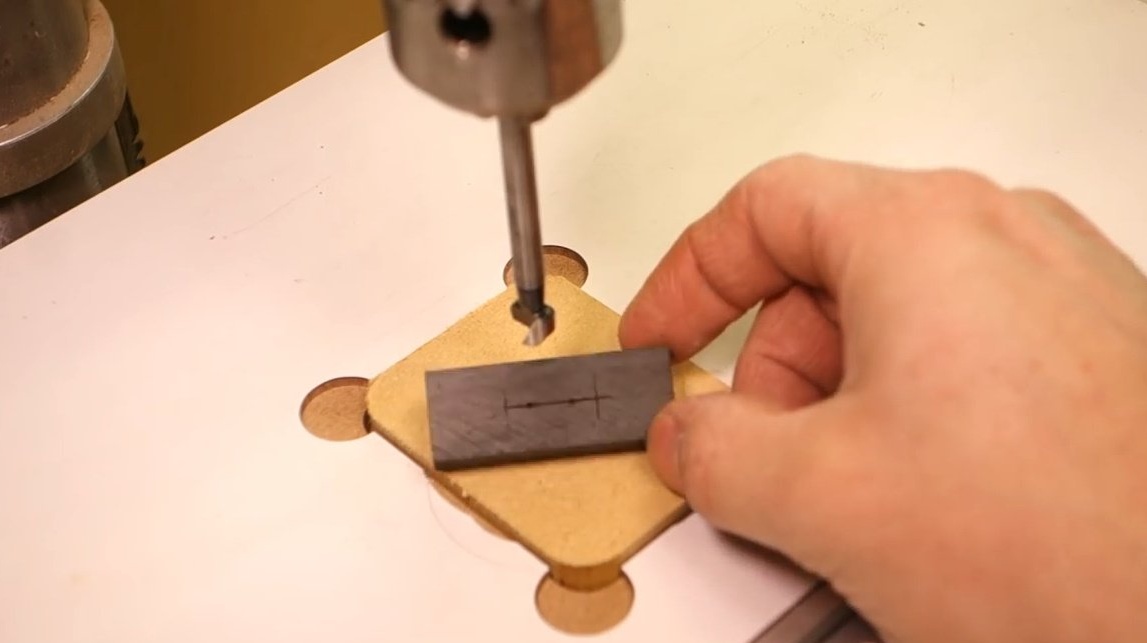
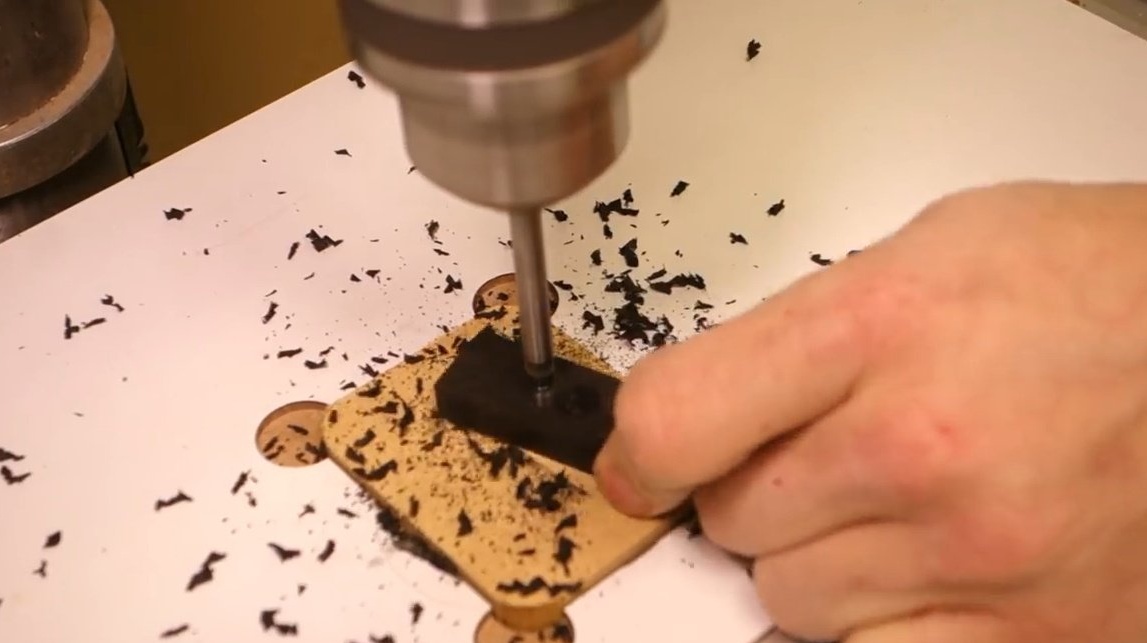
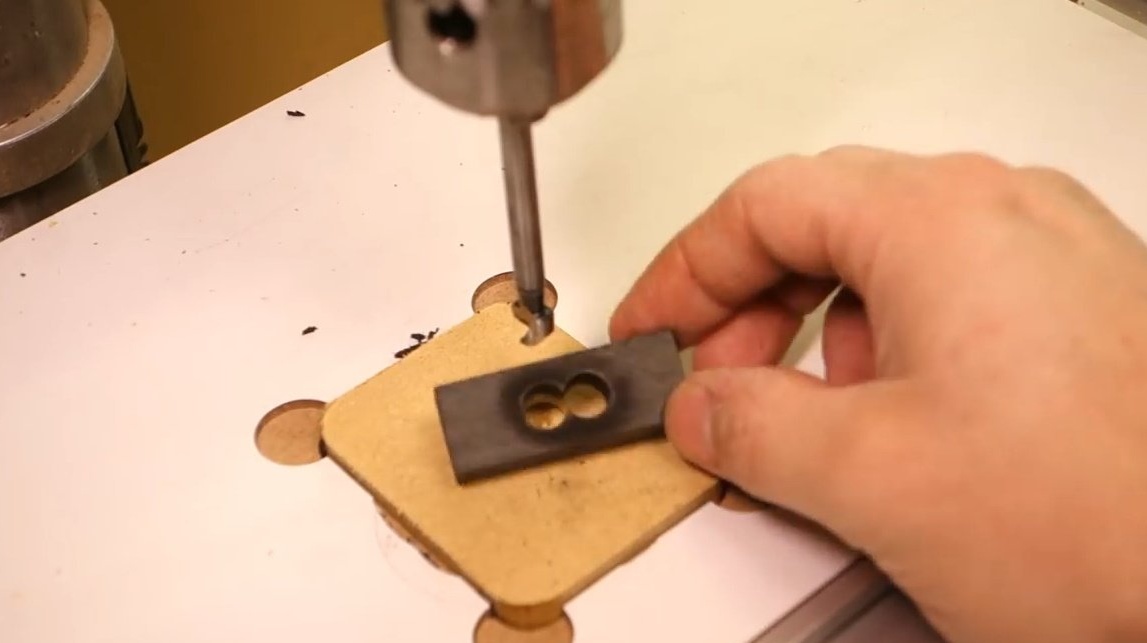
In the central element of the shoulders, he drills a pair of shallow deaf holes with offset Forstner drill.
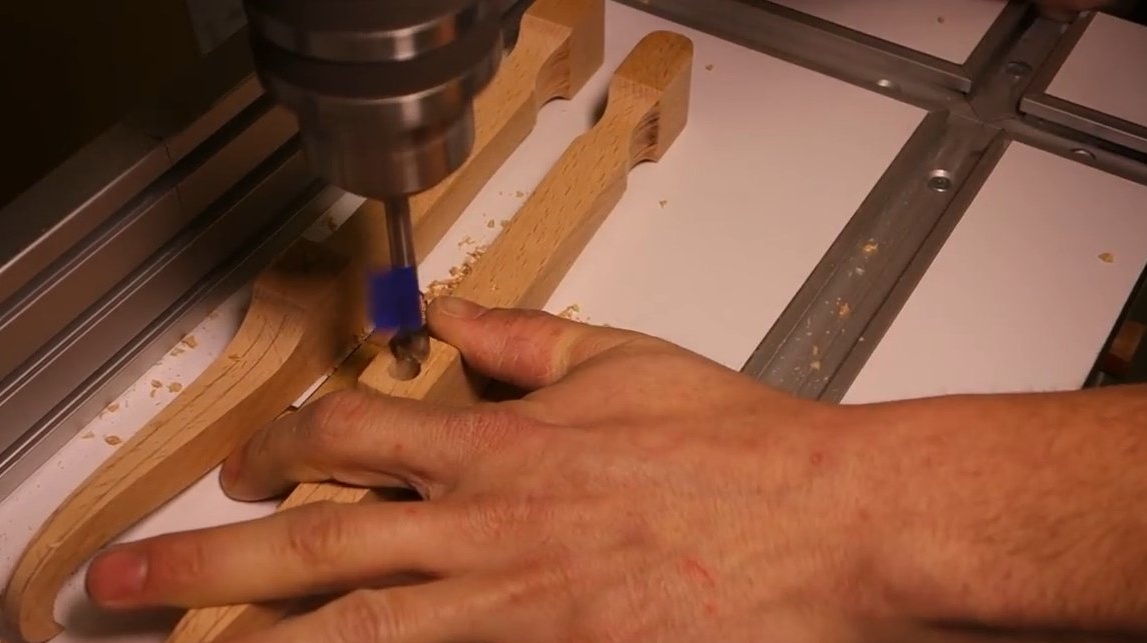
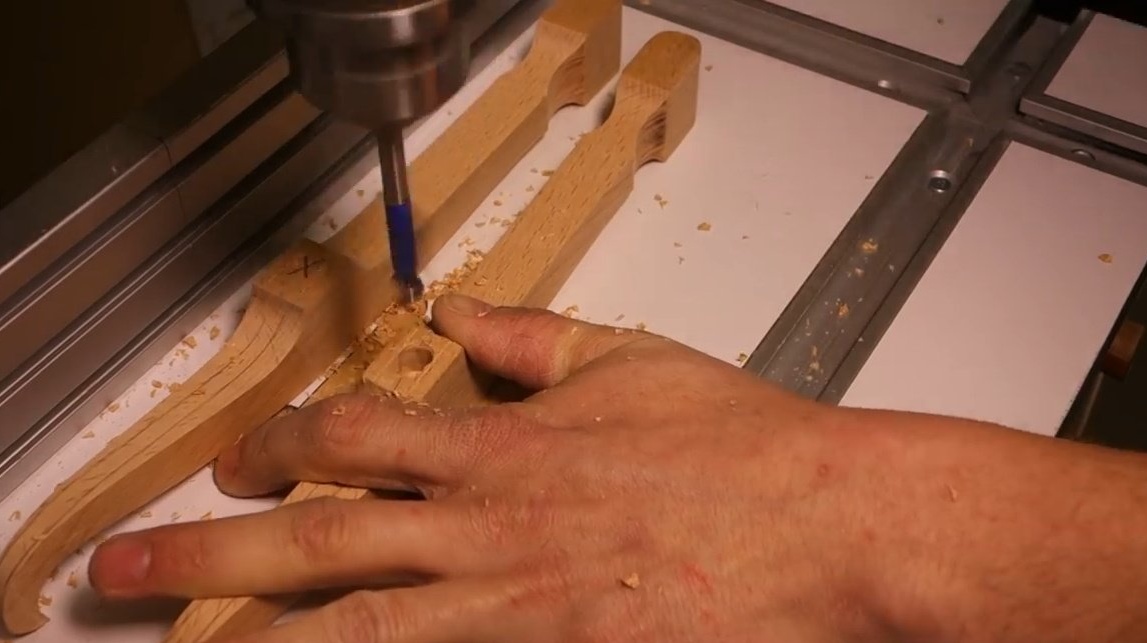
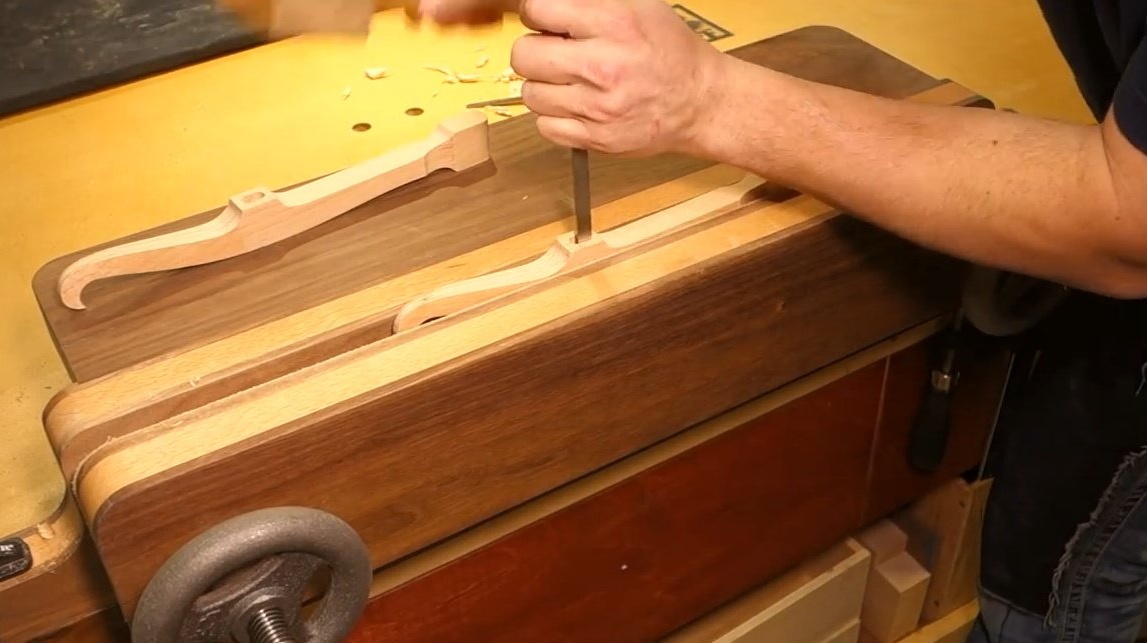
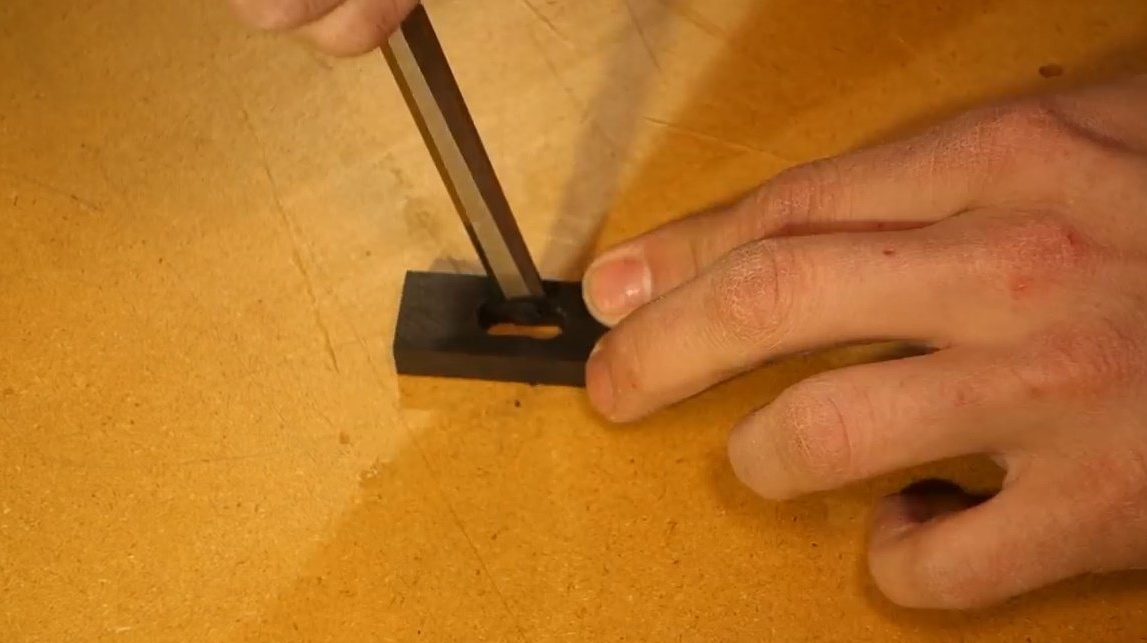
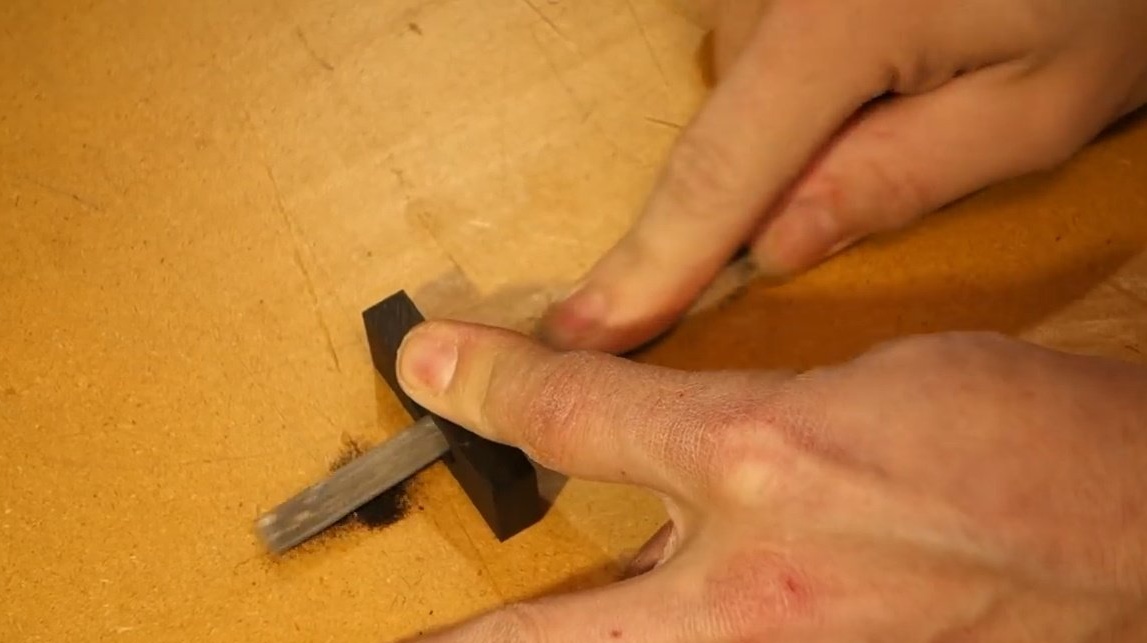
Then it processes the grooves with a chisel, achieving a rectangular shape.

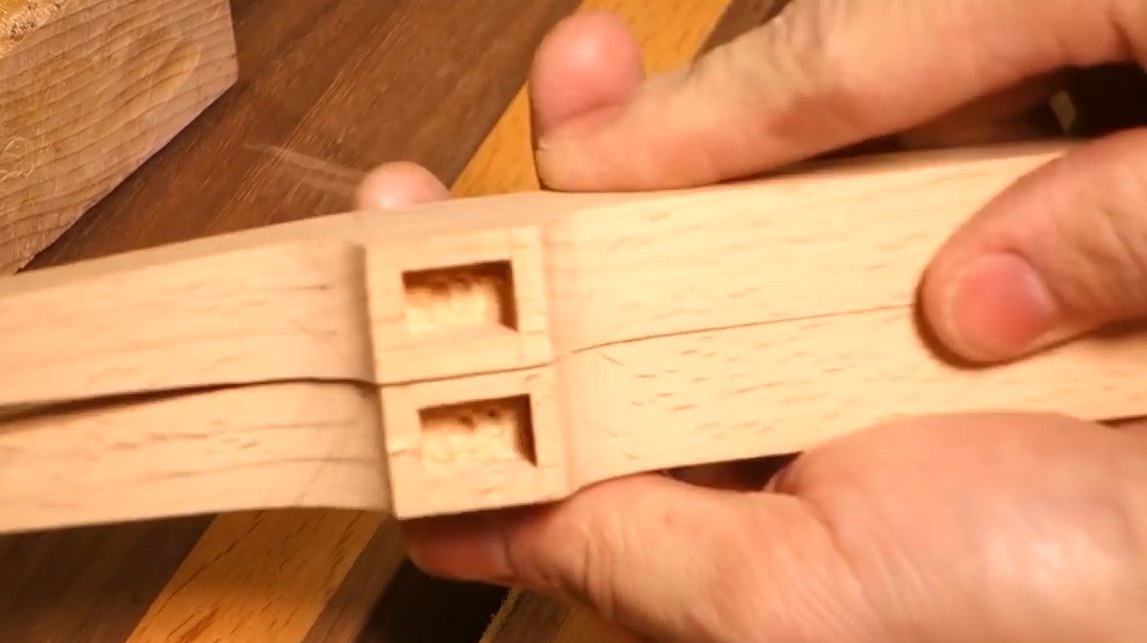
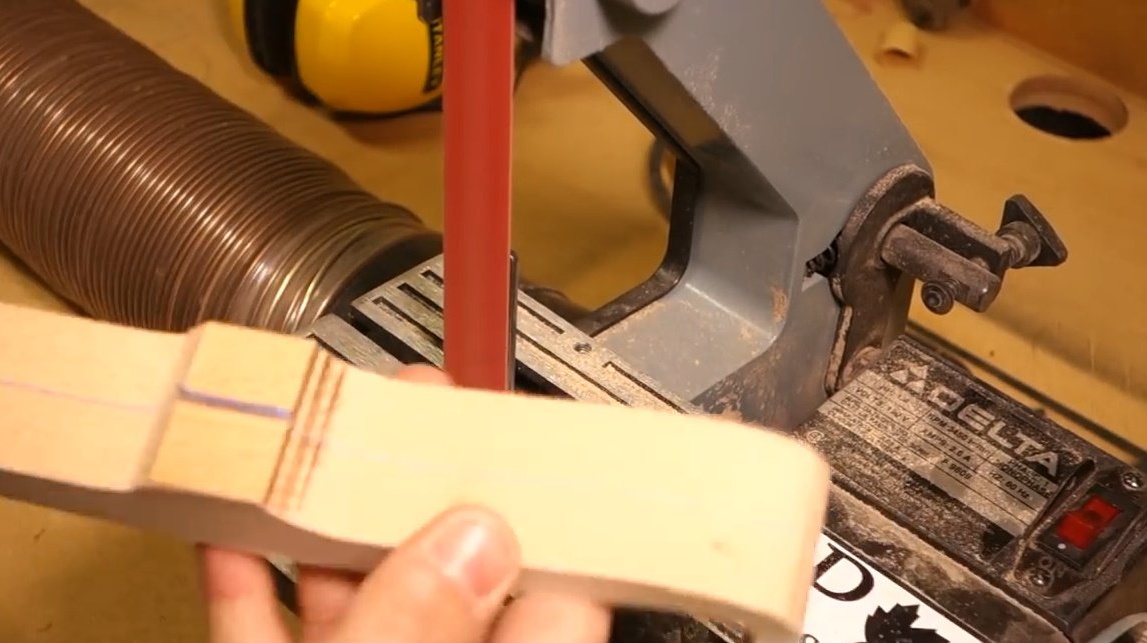
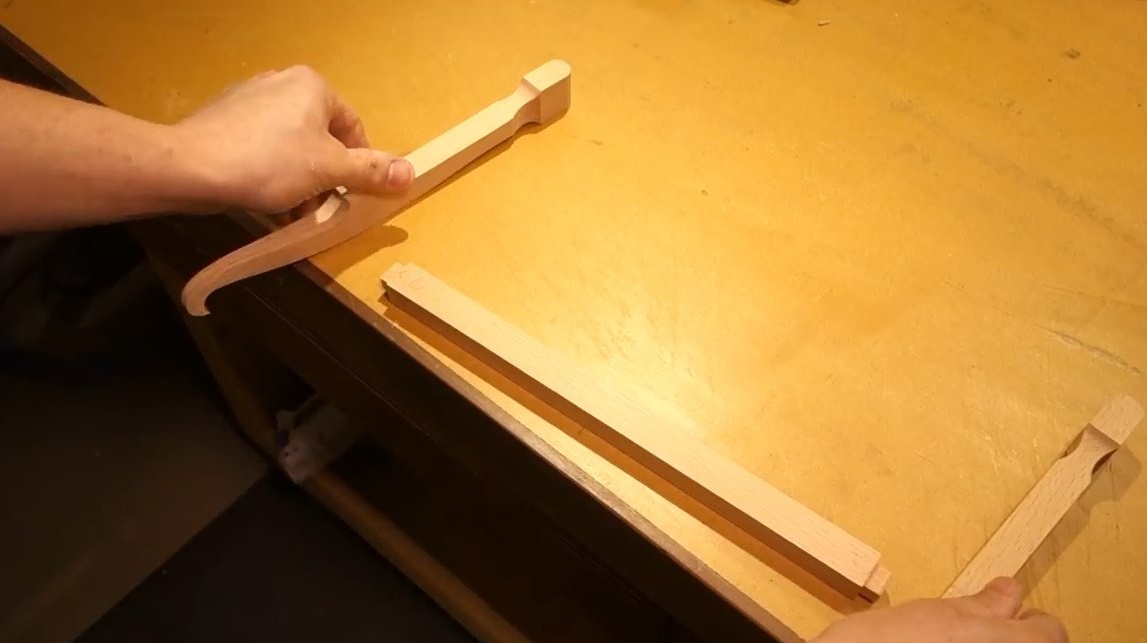
Now is the time to make the crossbar. A rectangular tenon is made on both sides of the third workpiece.
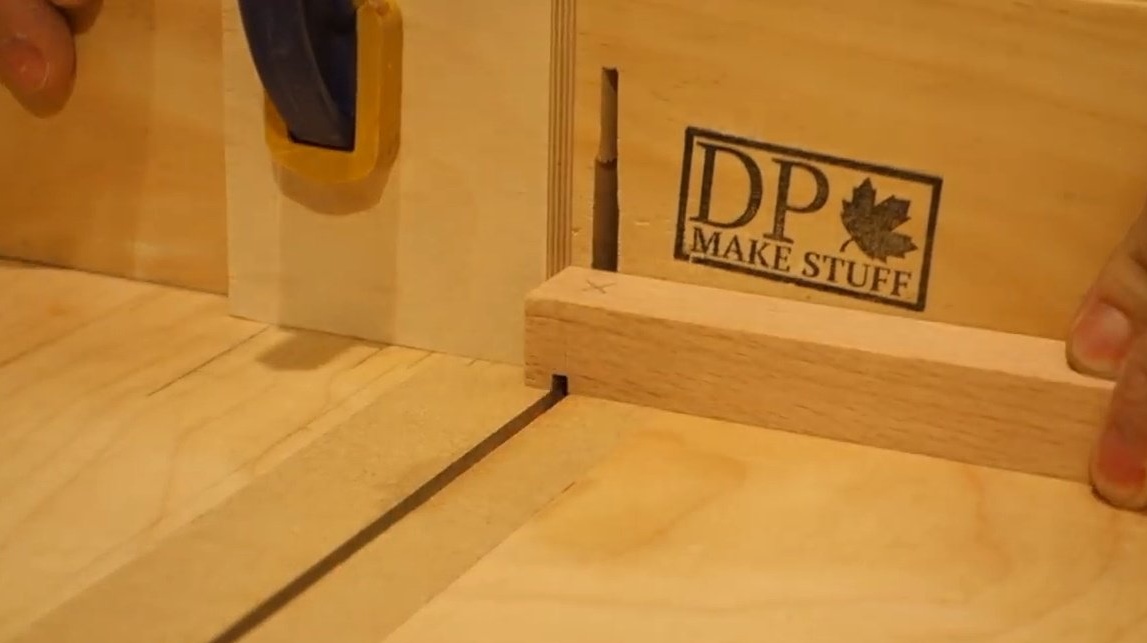
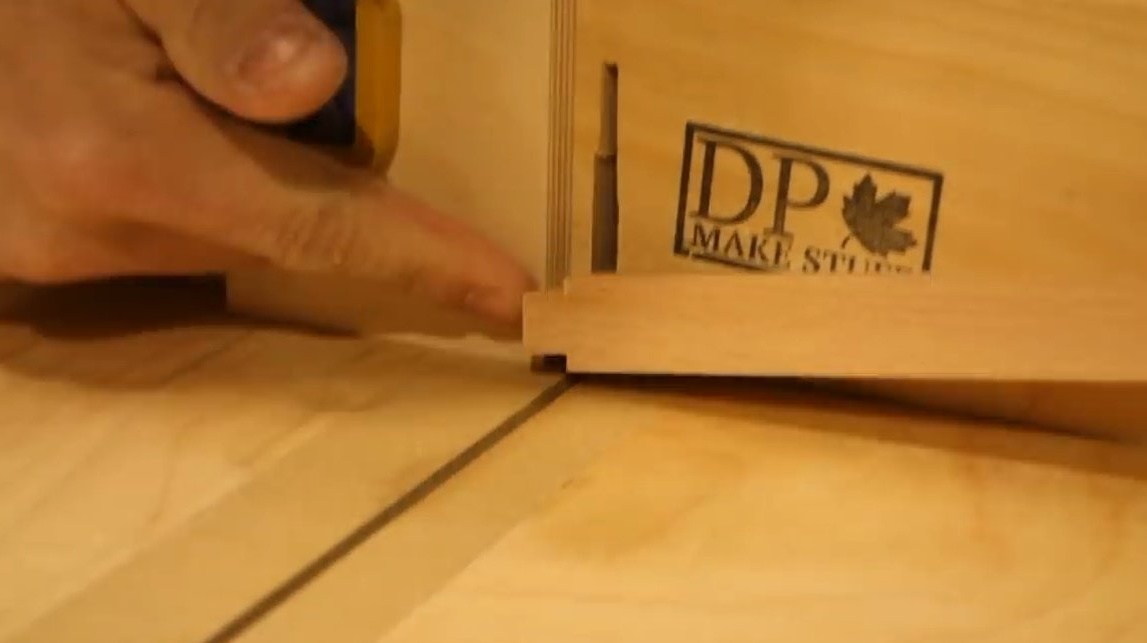
All blanks are processed, you can glue them together.
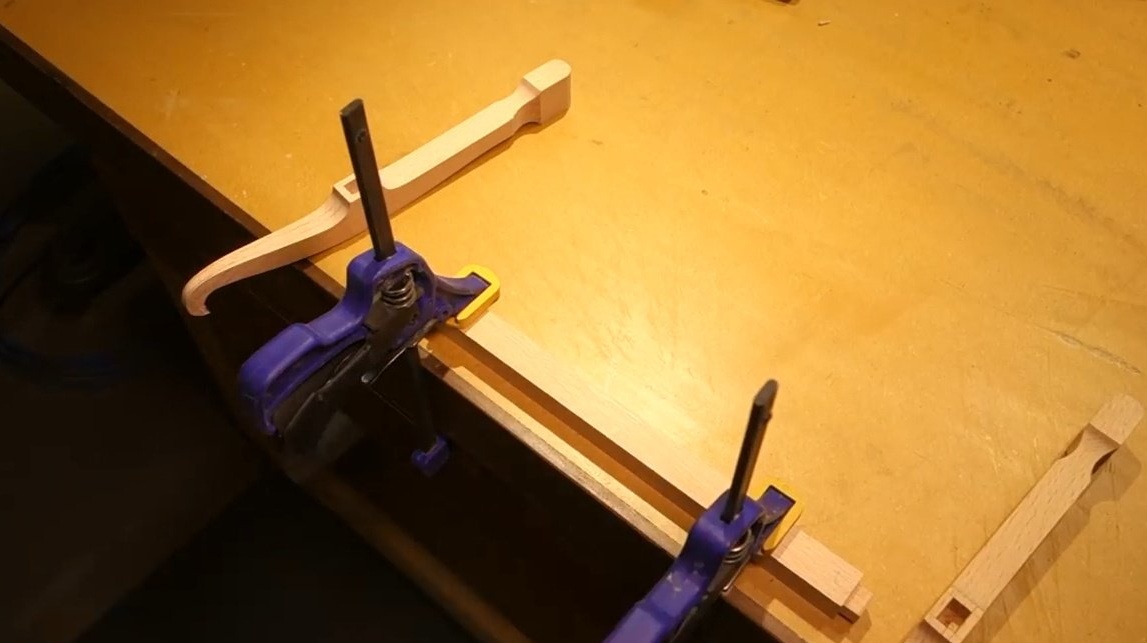
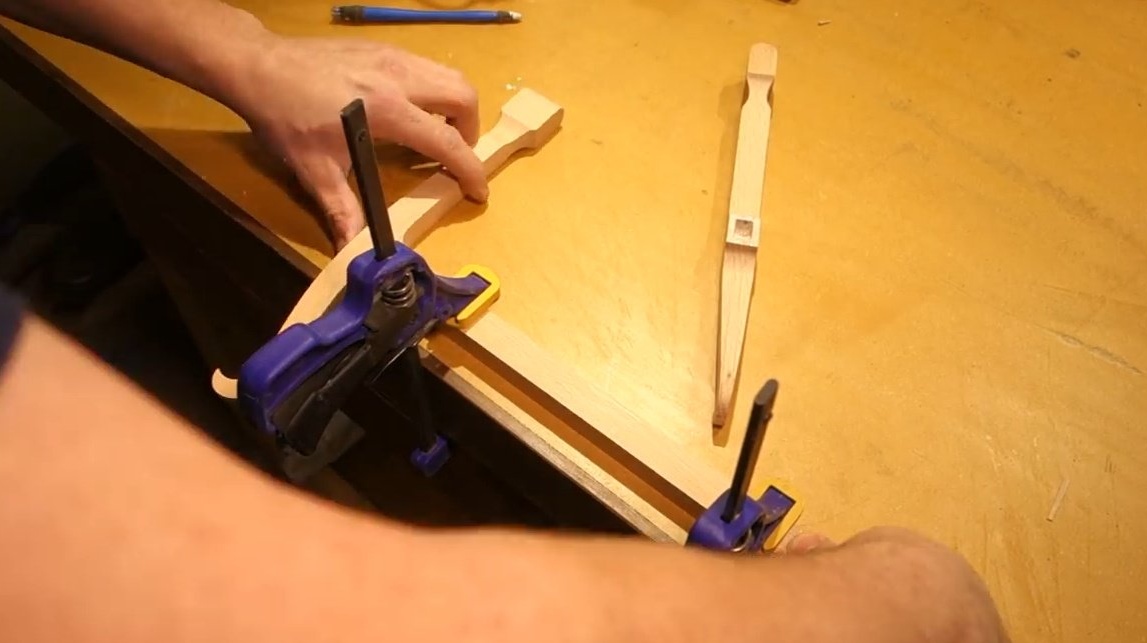
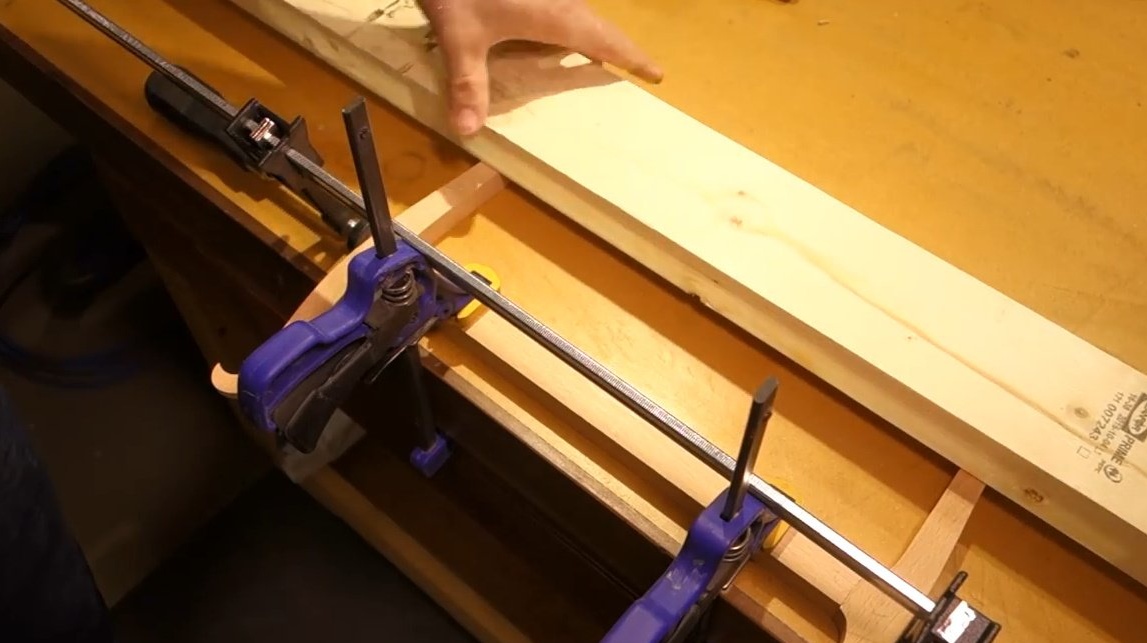
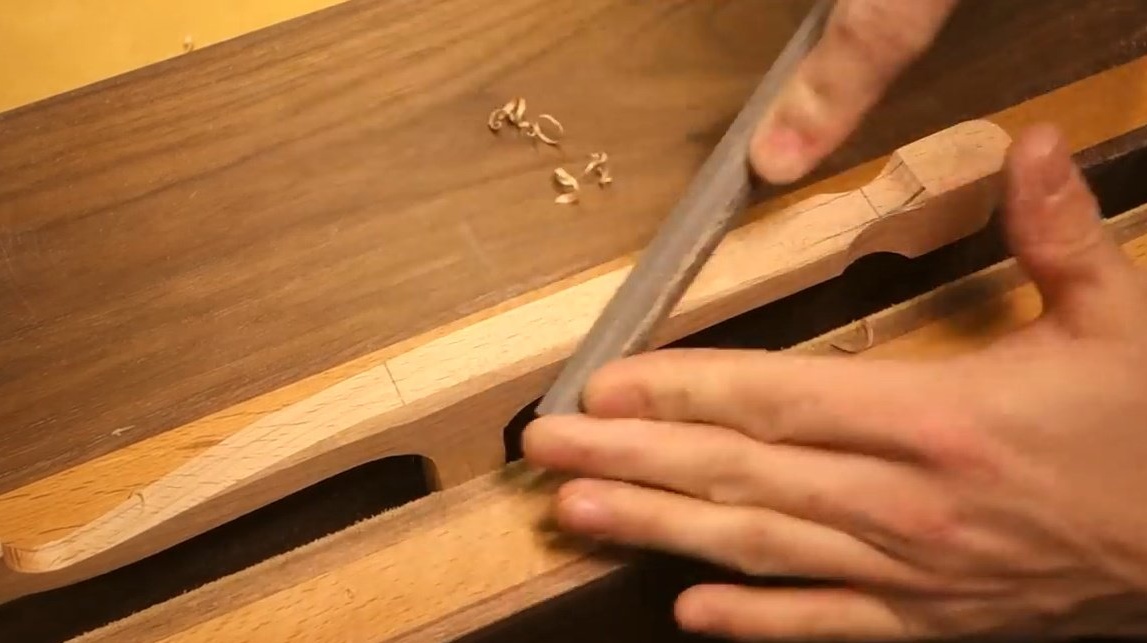
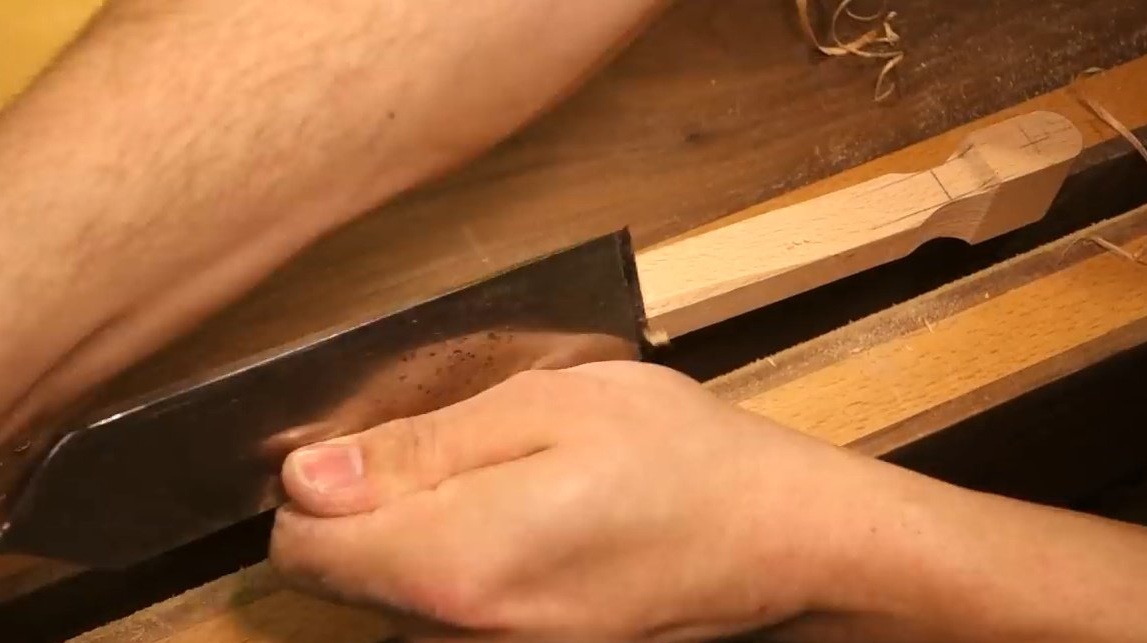
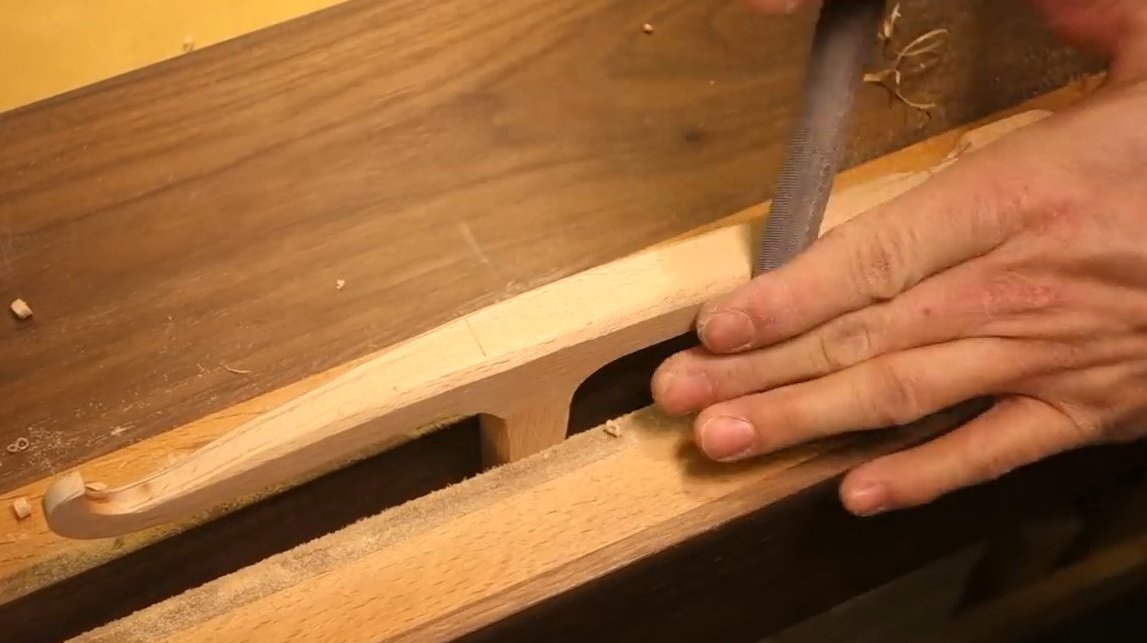
Clamps the saw blank in a vice, processes the edges with a chisel, rounding them.

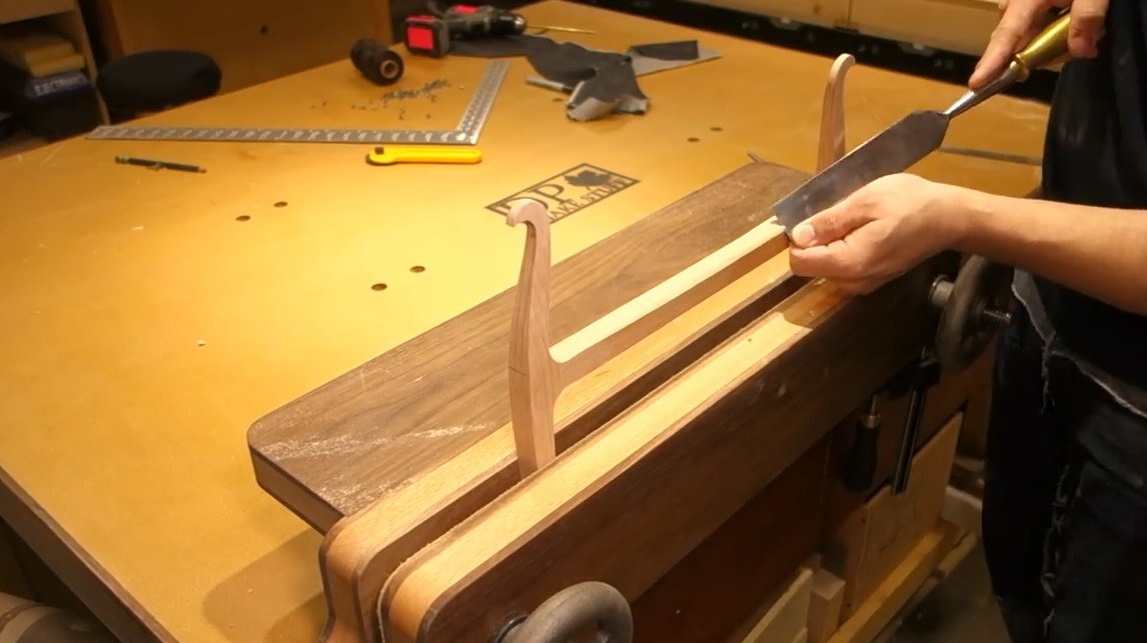
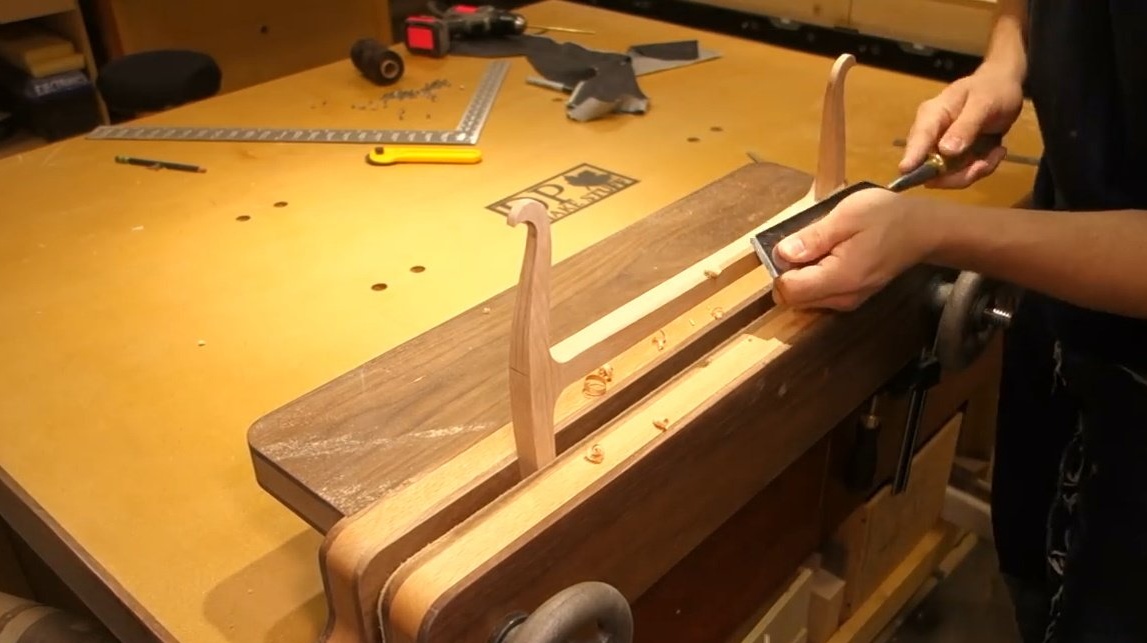
Then he polishes with a file. Also handles shoulders.
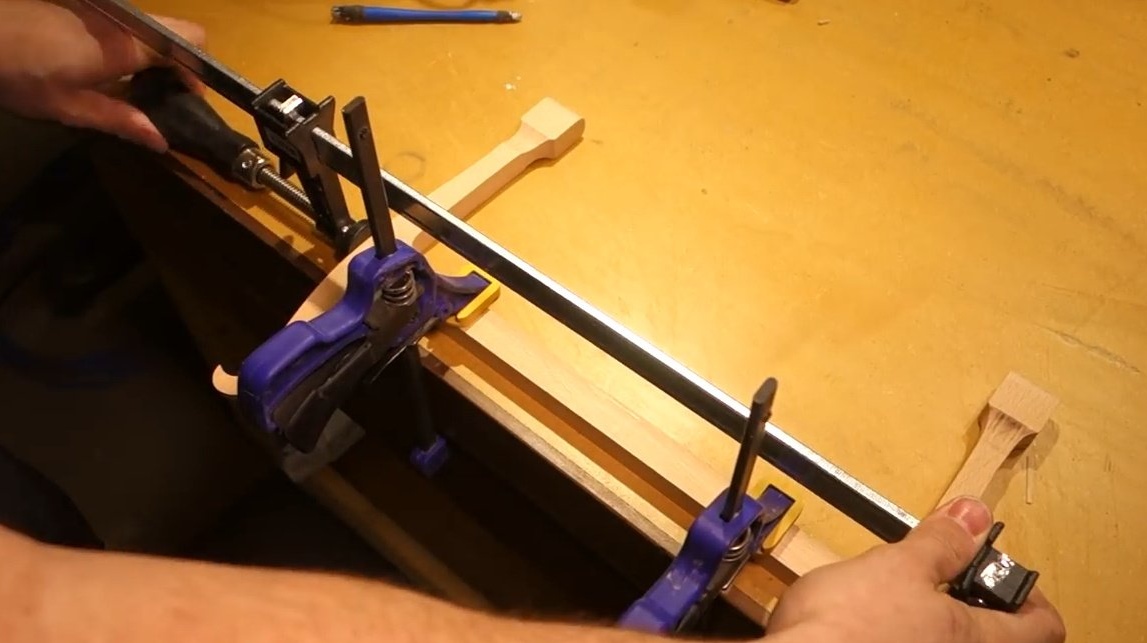
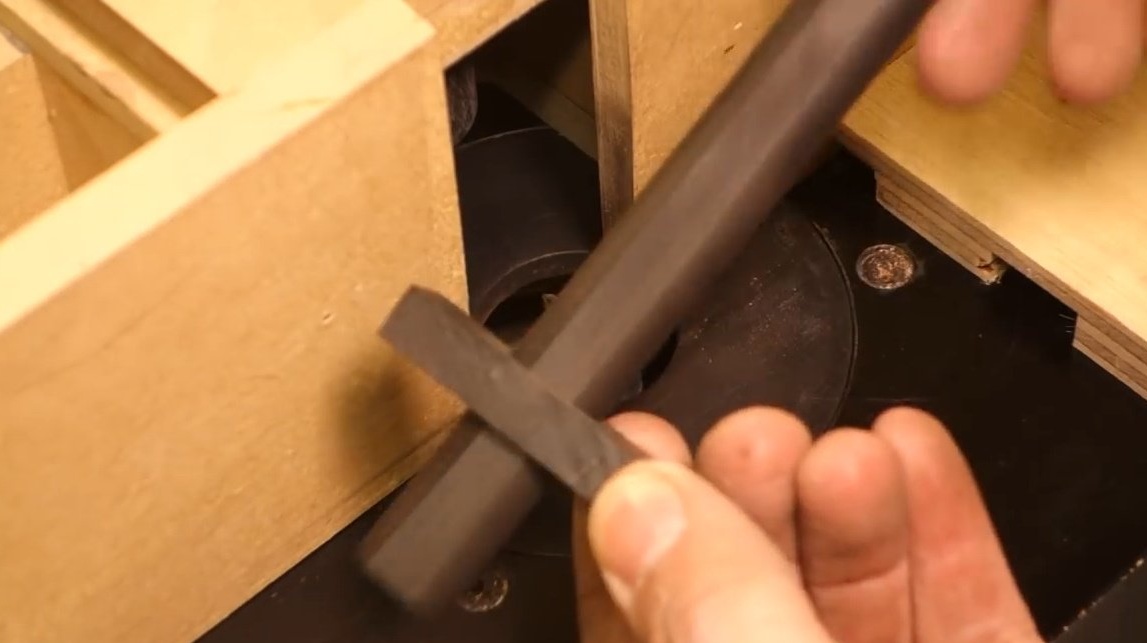
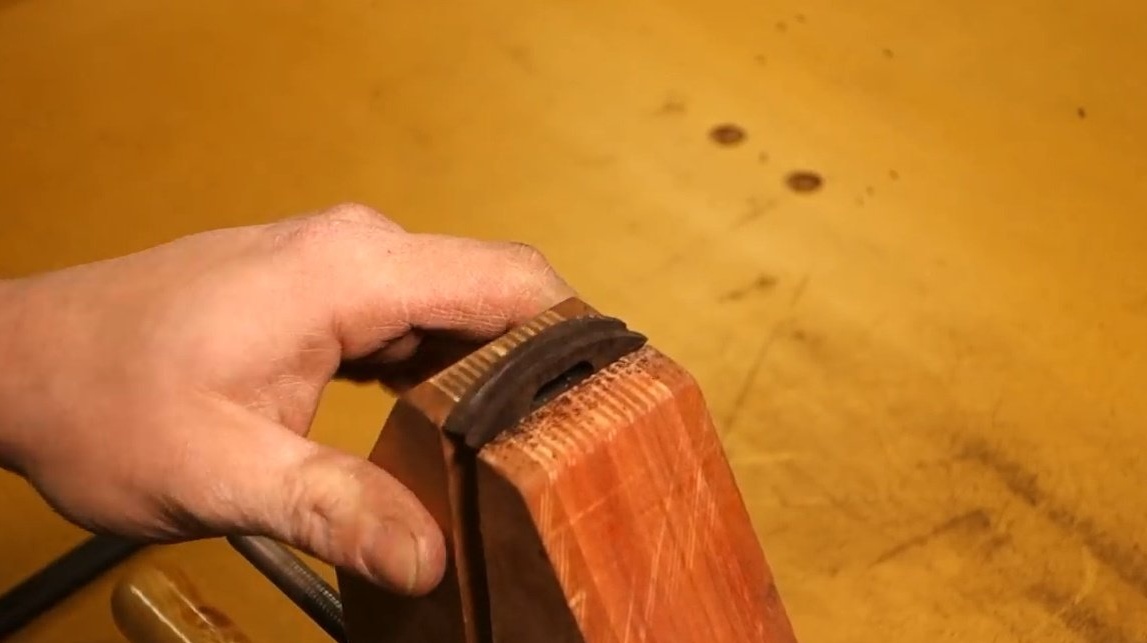
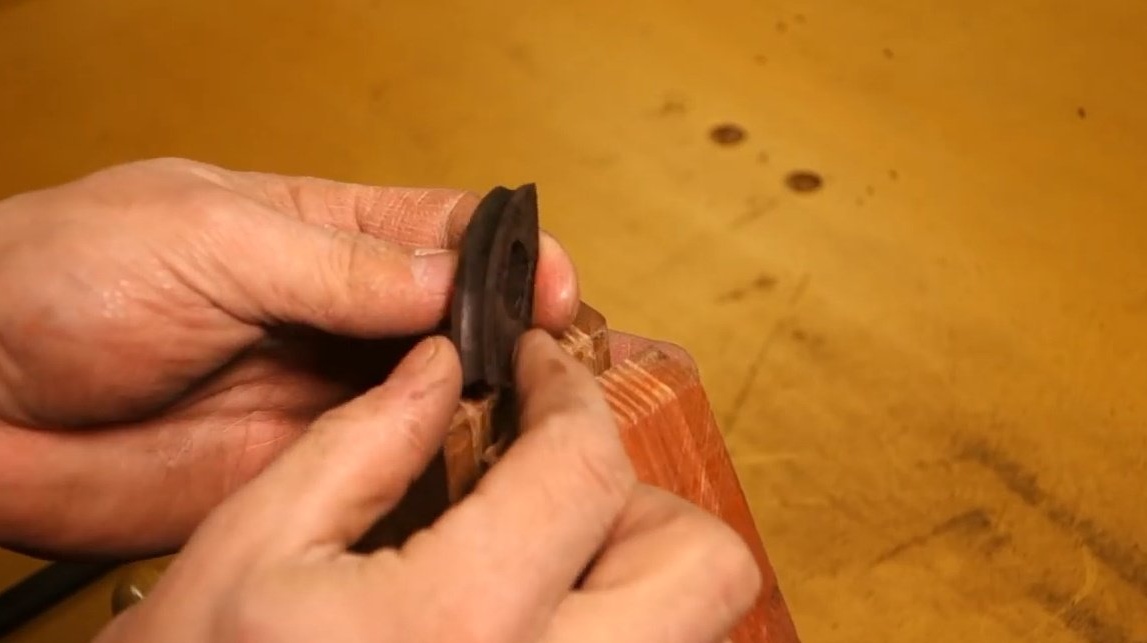
Drills holes for tensioners in the lower lower parts.
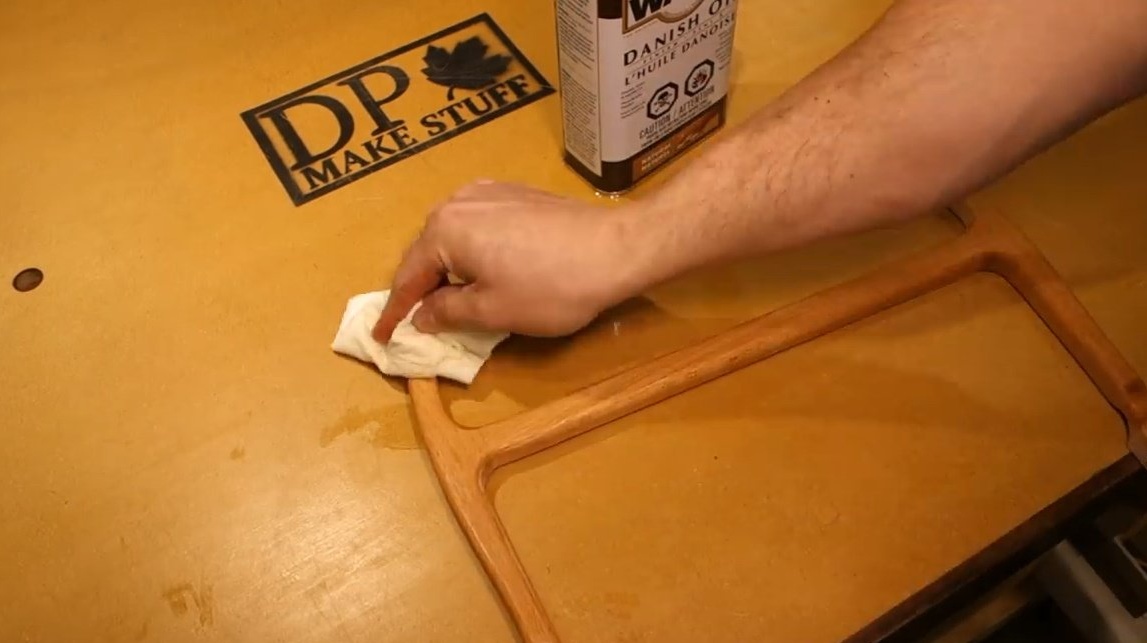
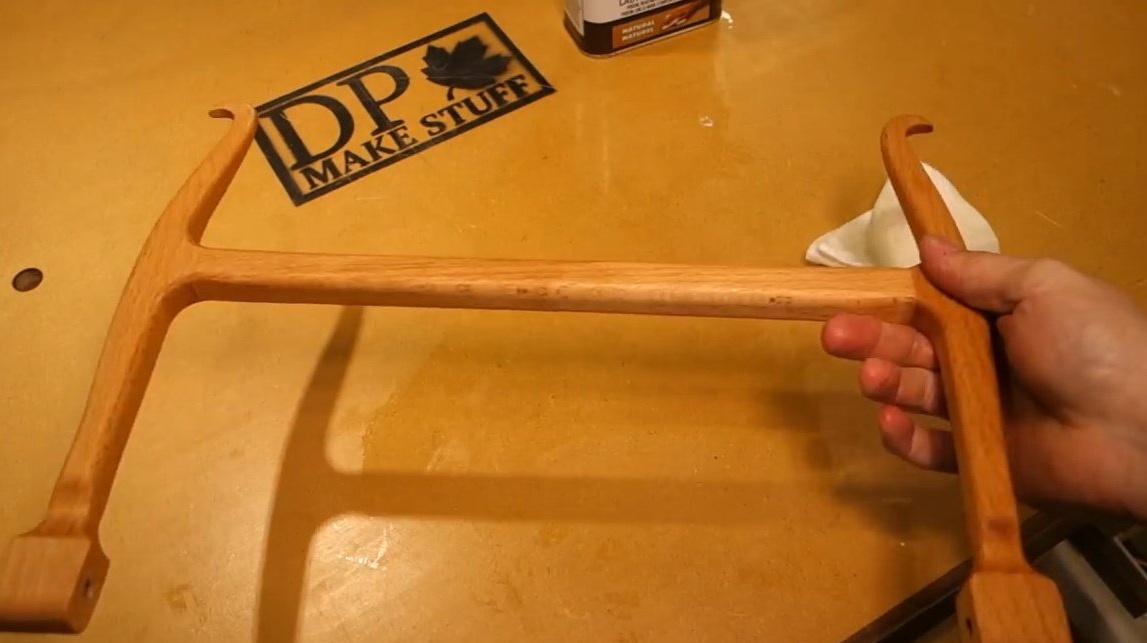
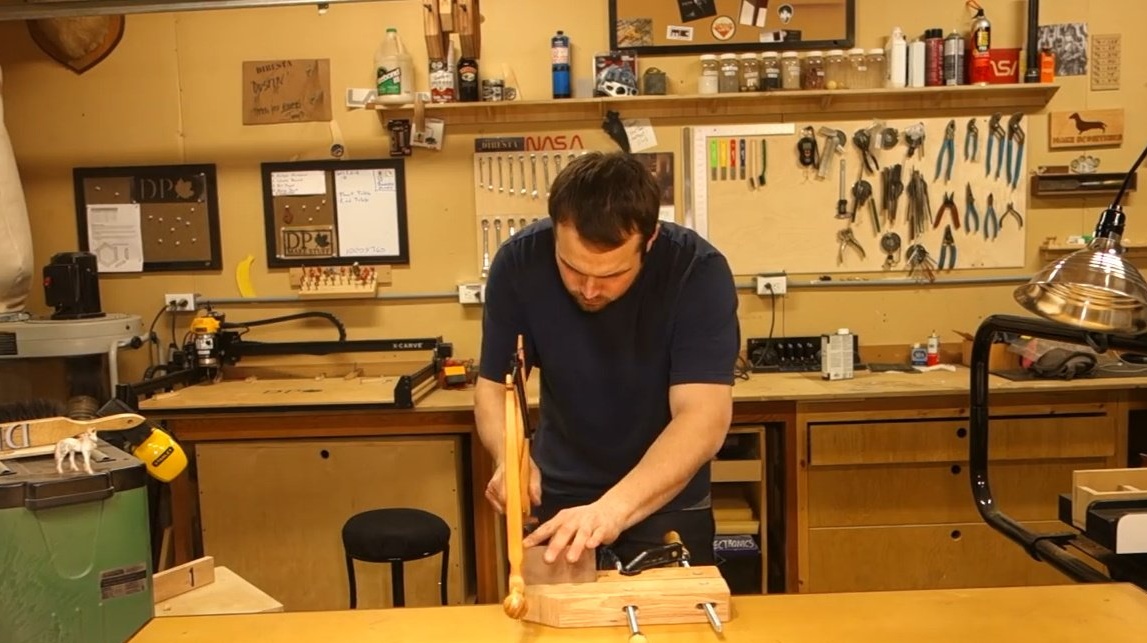
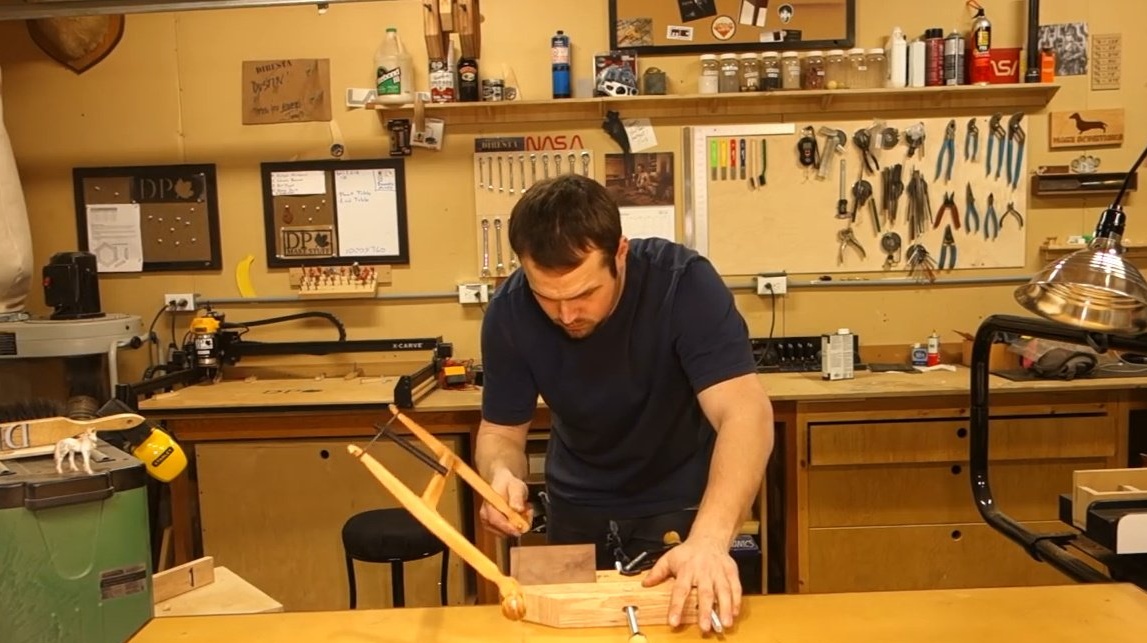
It soaks the product with oil.

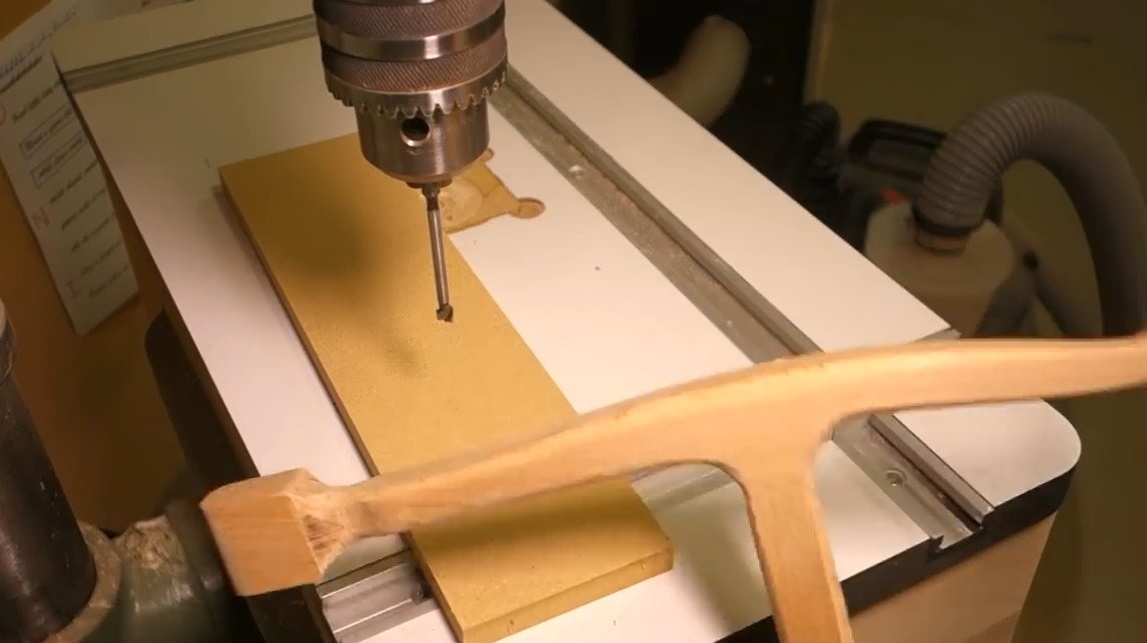
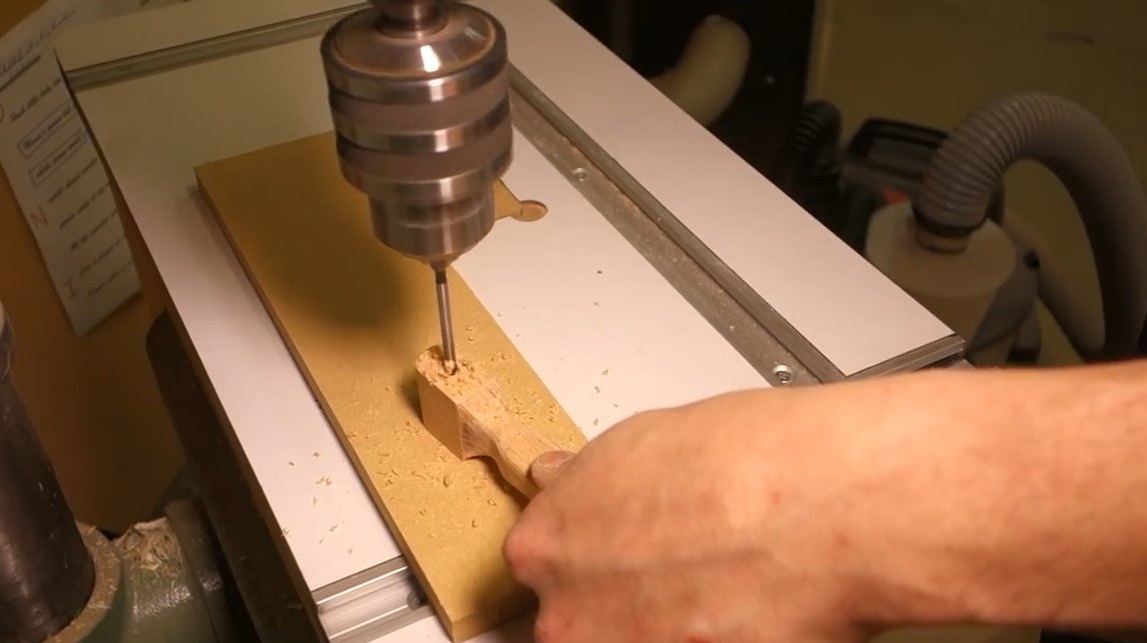
From a piece of mahogany cuts blanks for the lever and sleeve.

In the plate for the sleeve drills two holes with a slight offset.
It cuts out excess with a chisel, aligns with a file.
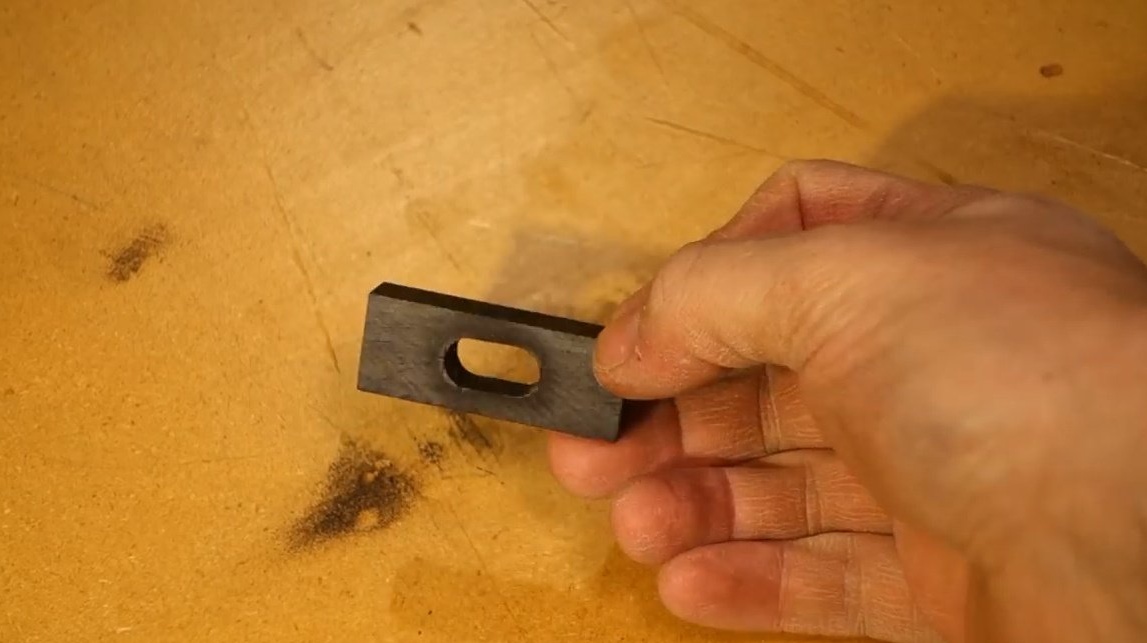
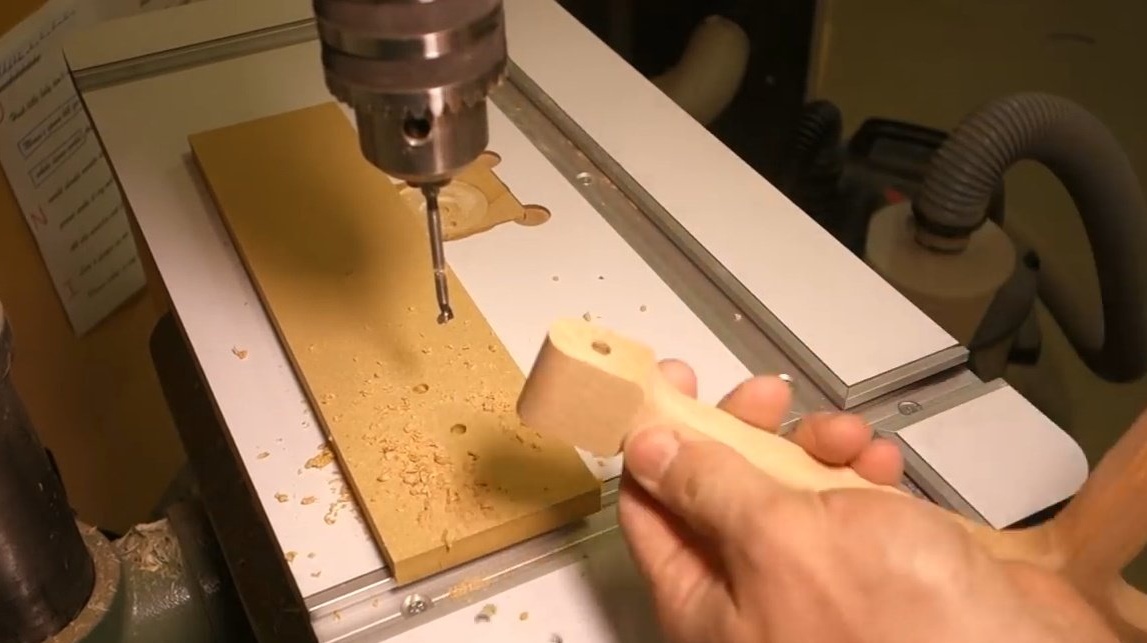
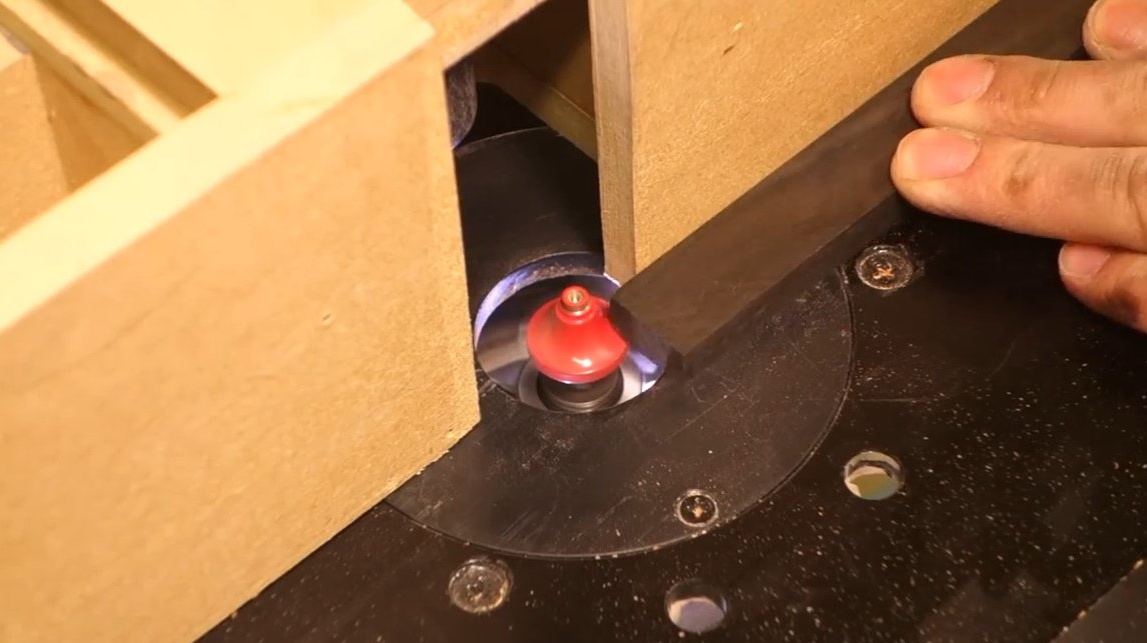
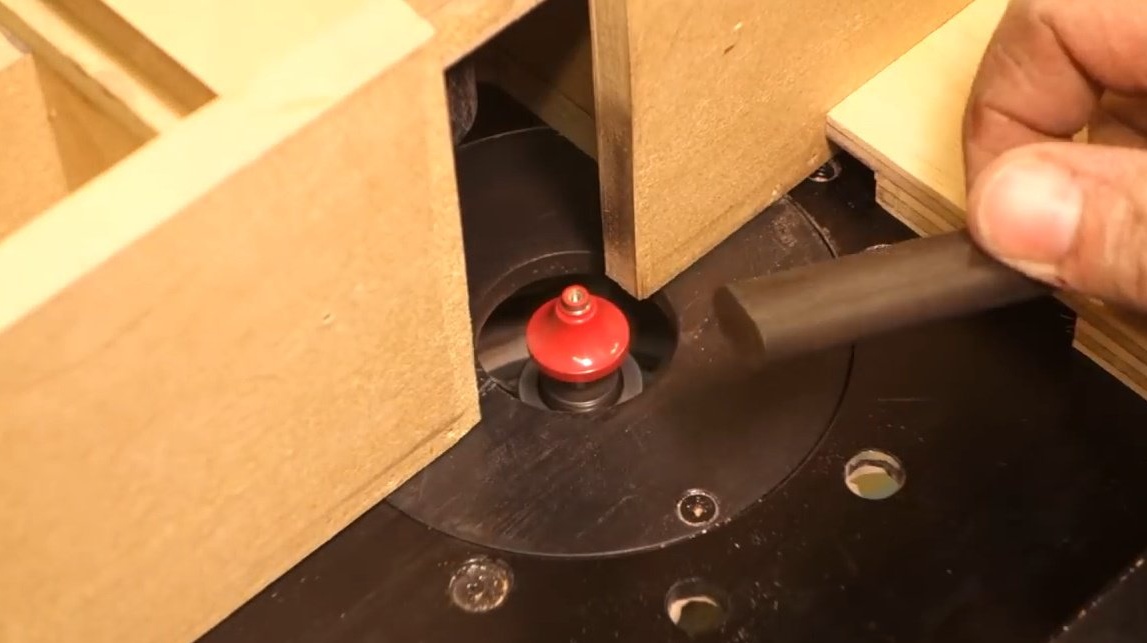
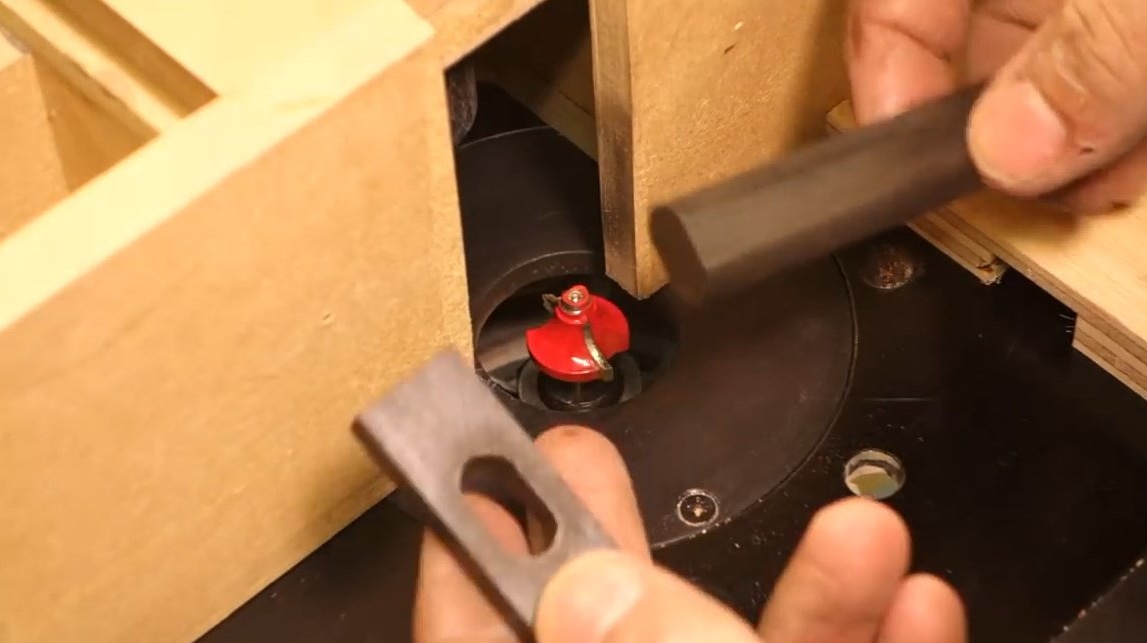
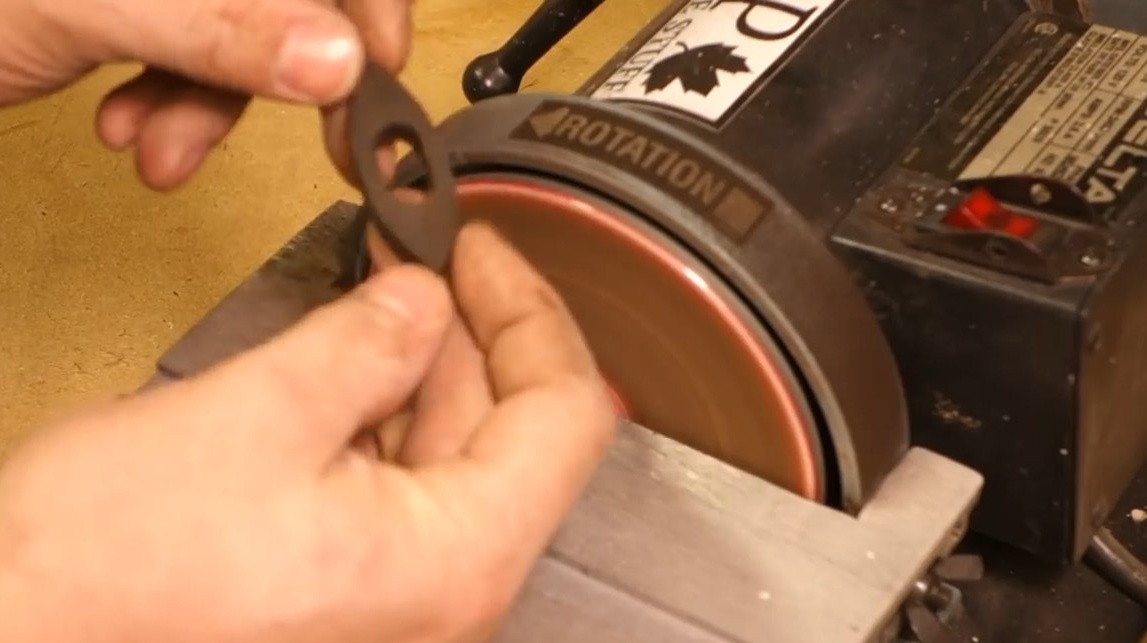
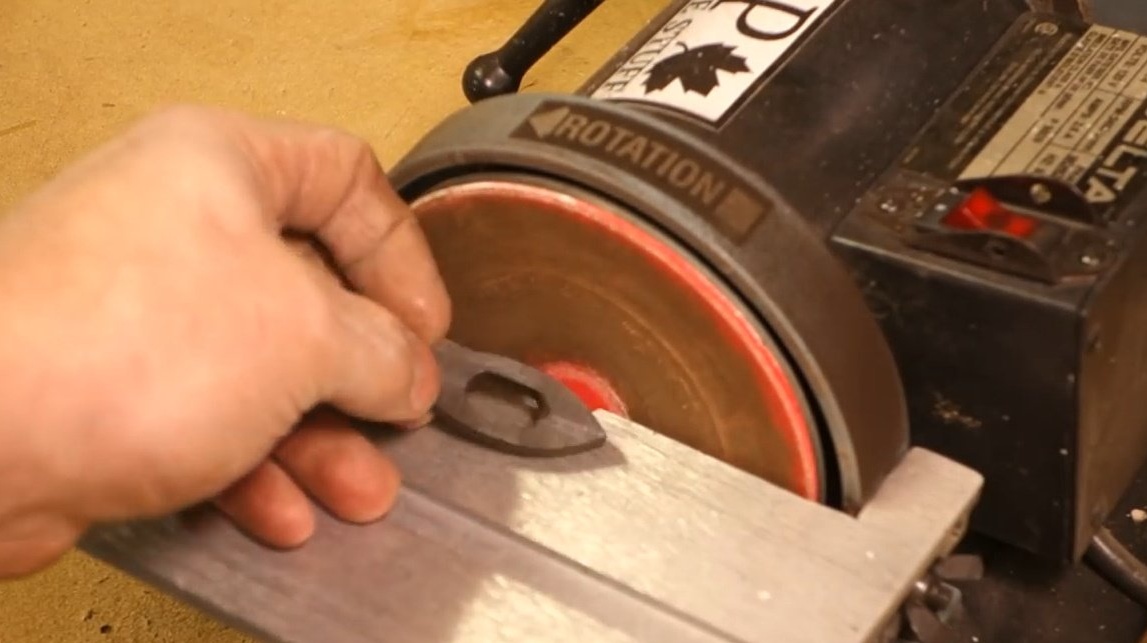
The lever processes on a milling machine so that it has an oval shape from the end. And trying on a sleeve.
Now polishes excess material, giving the sleeve a boat shape. On the outer edges it cuts round grooves.
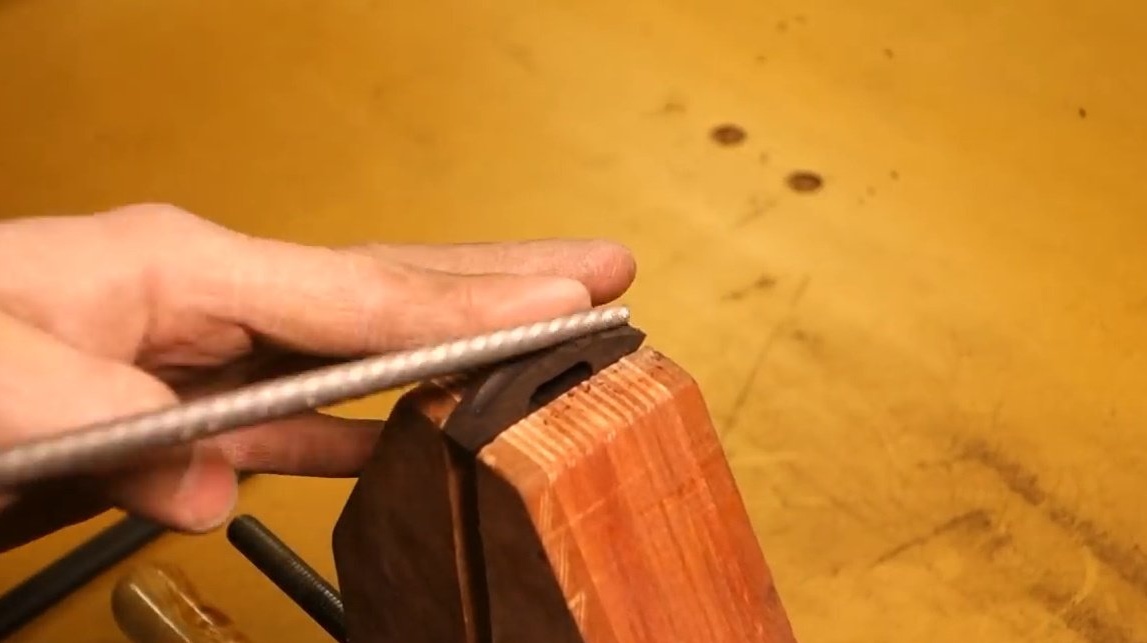
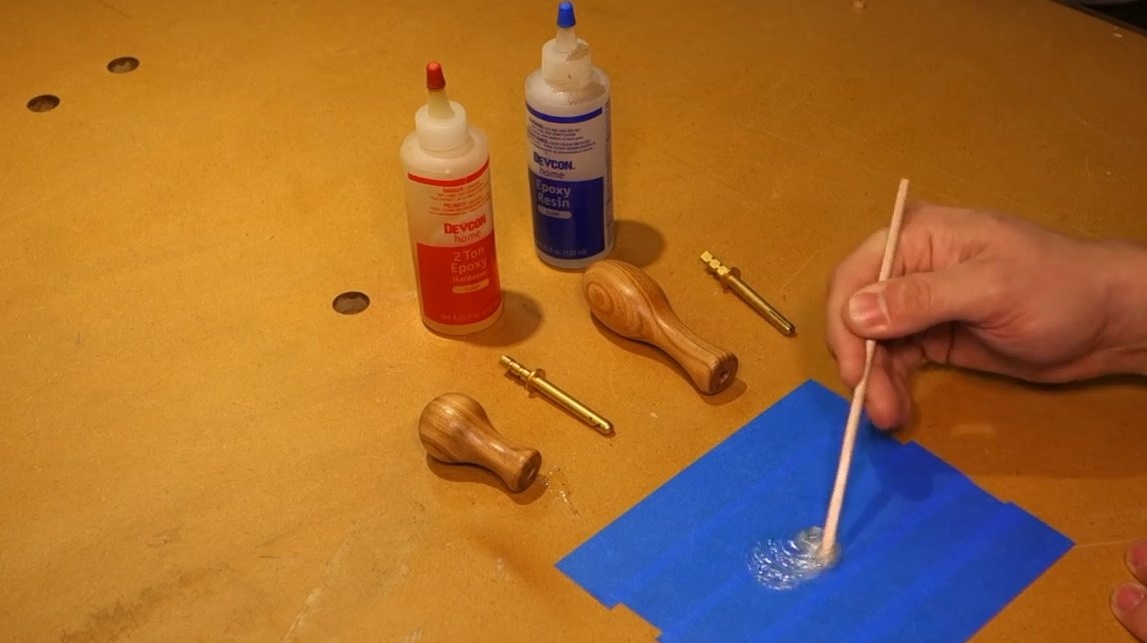
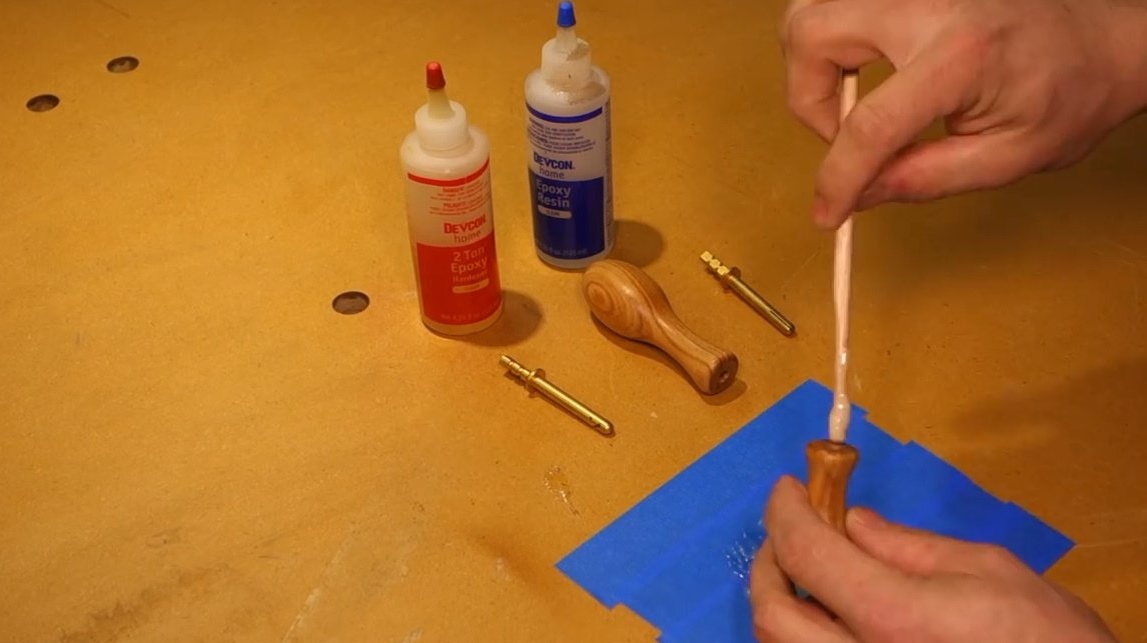
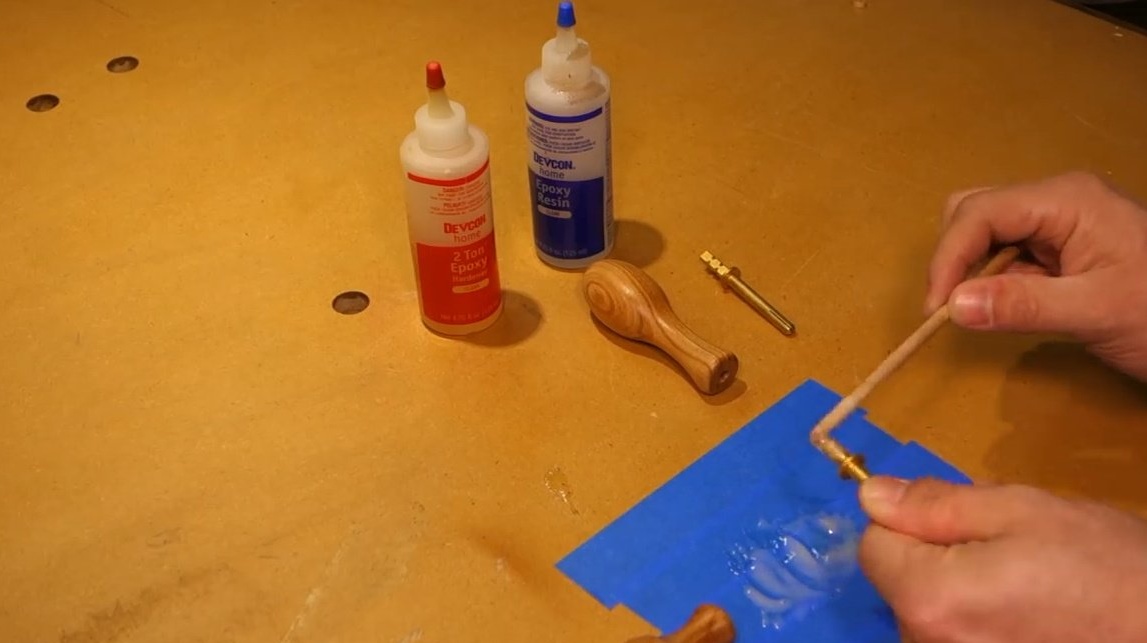
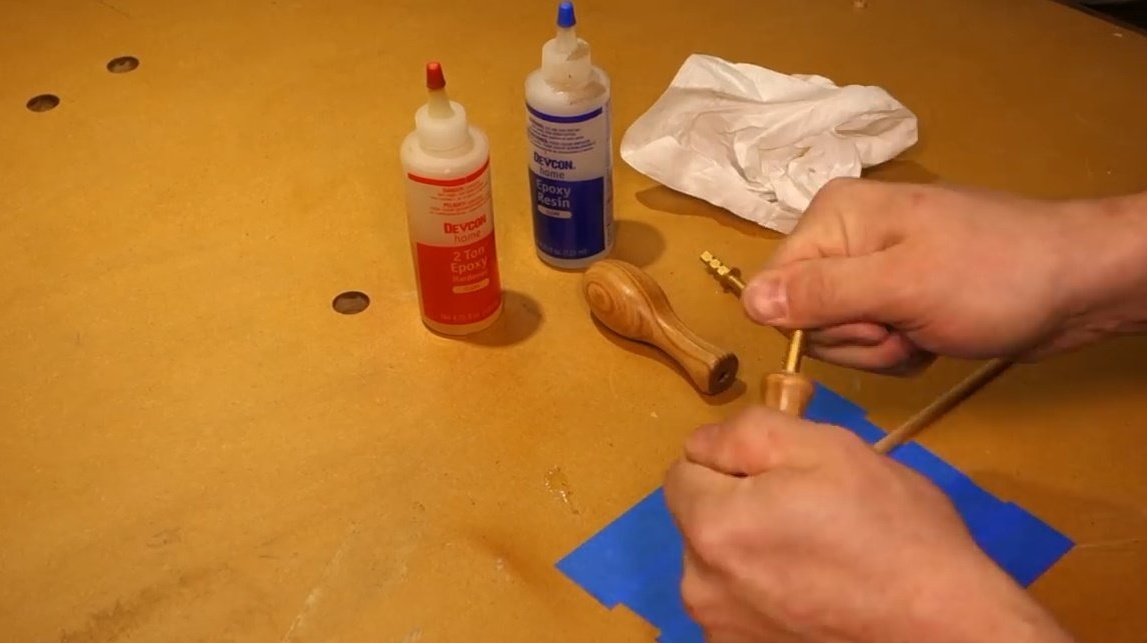
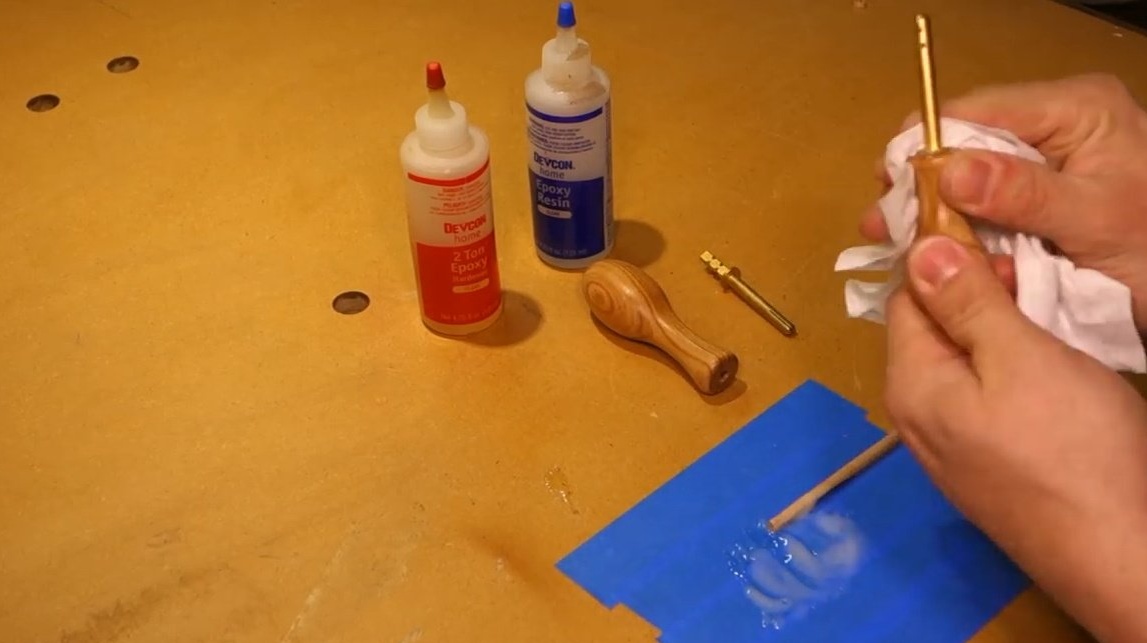
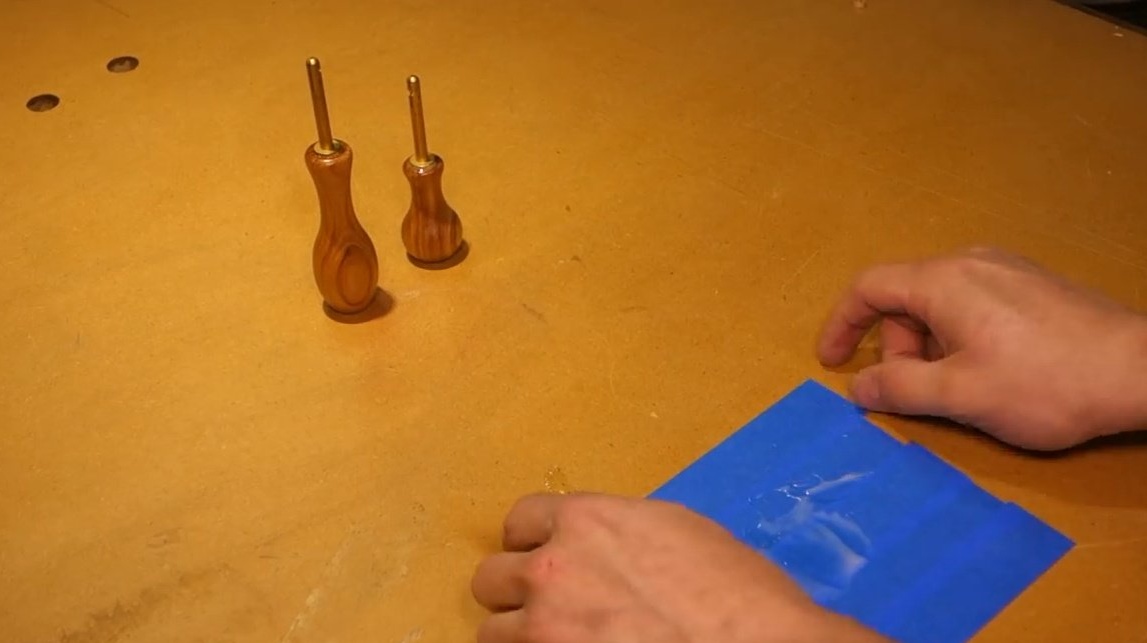
Now glues tensioners into the handles using epoxy.
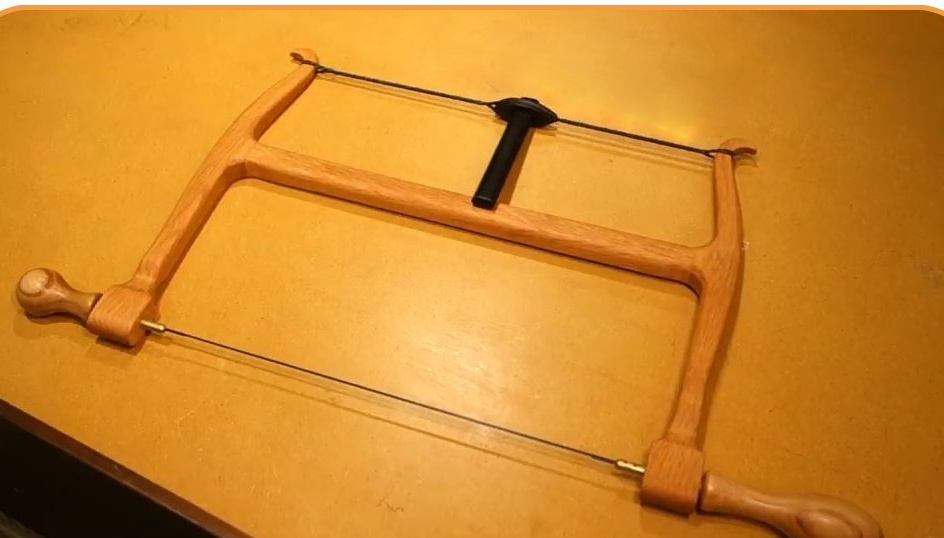
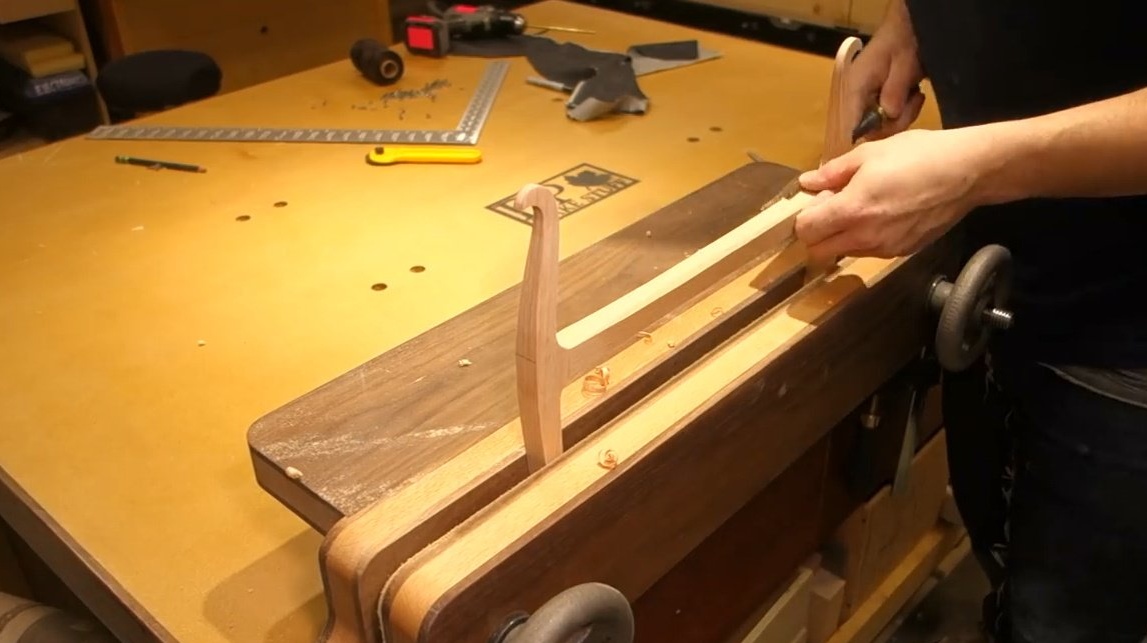
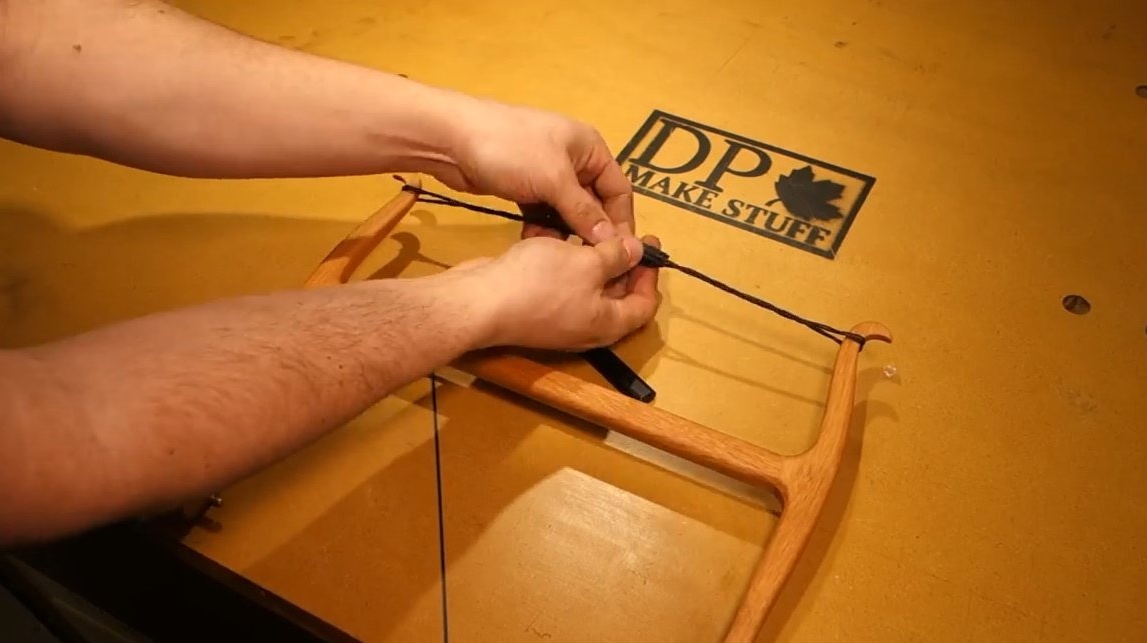
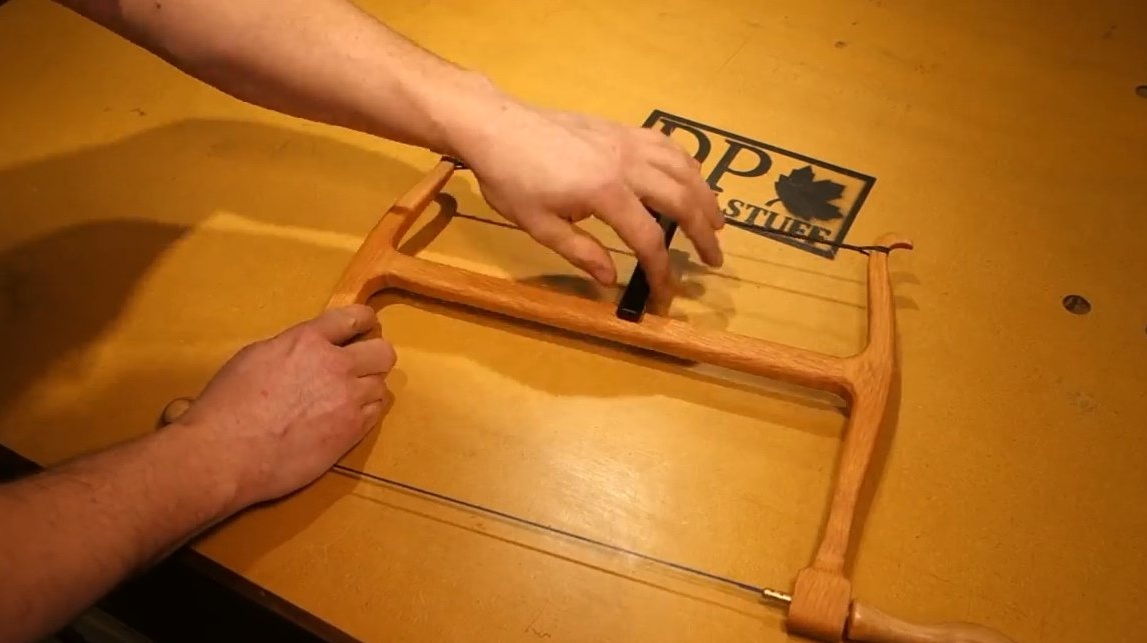
So, everything is ready for assembly. Pulls the thread on the upper parts of the shoulders.
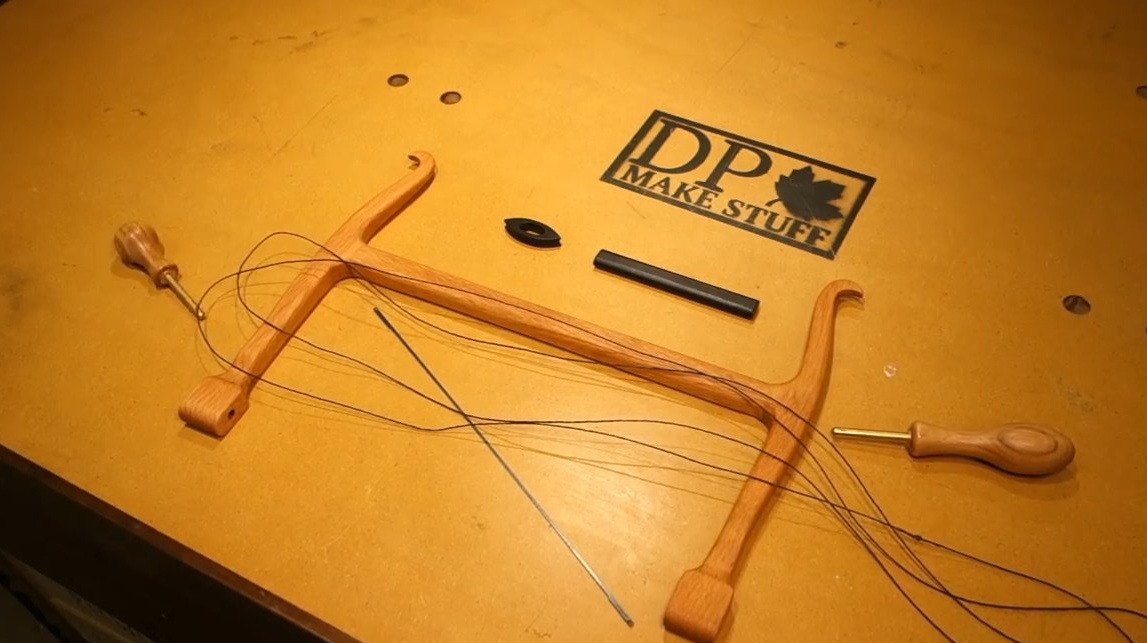
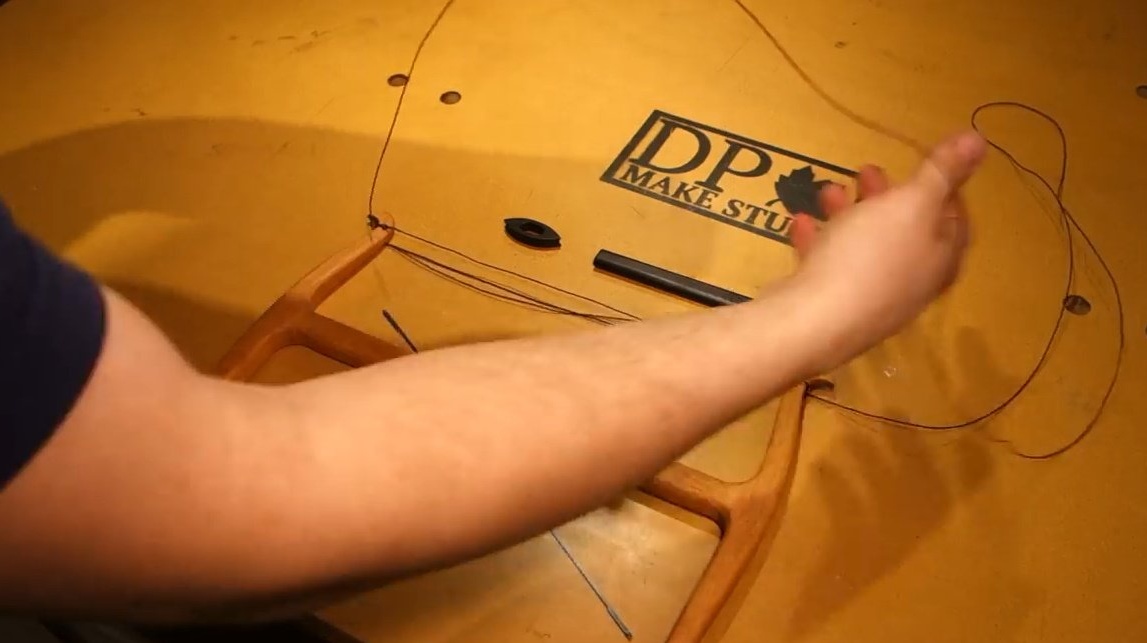
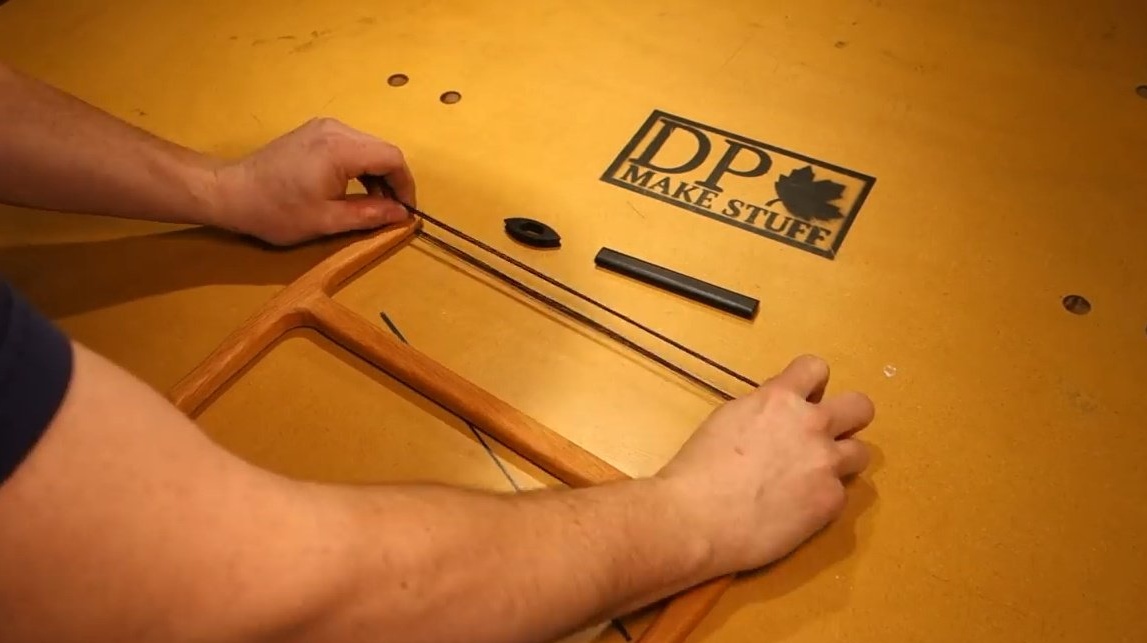
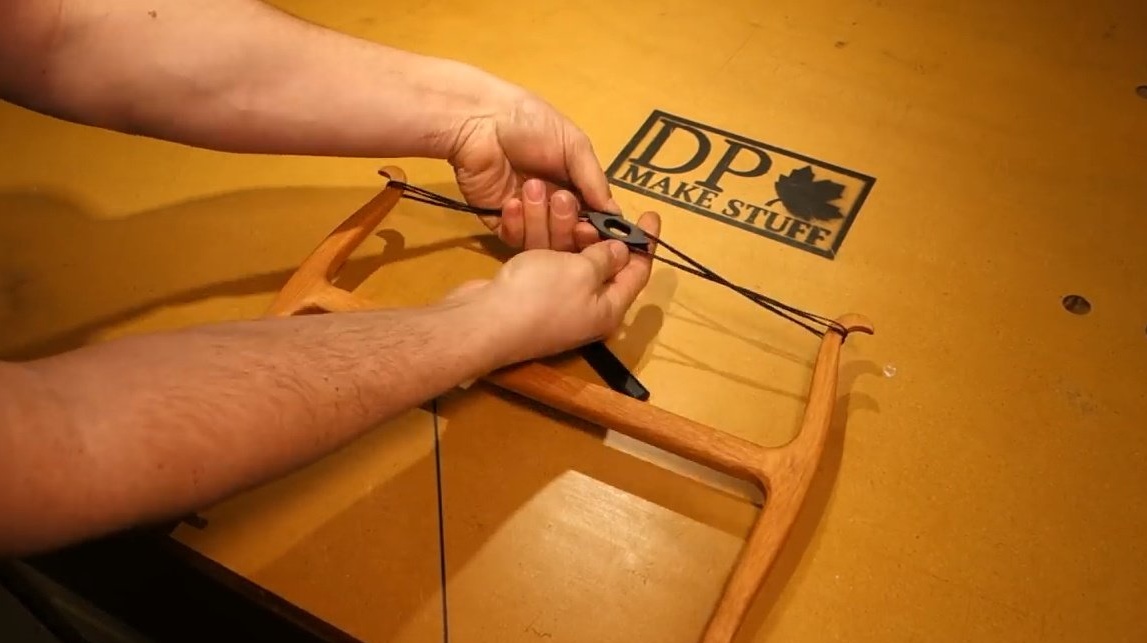
Divides the bundle of threads into two parts, inserts a sleeve there. Then he pulls the threads a little, turning the lever several times.
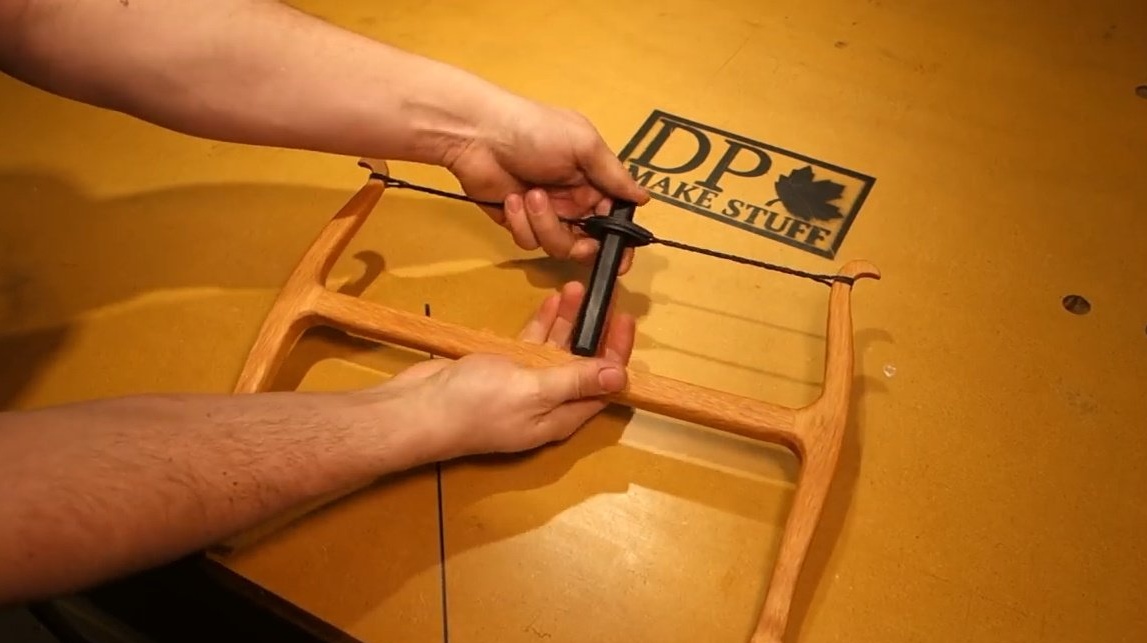

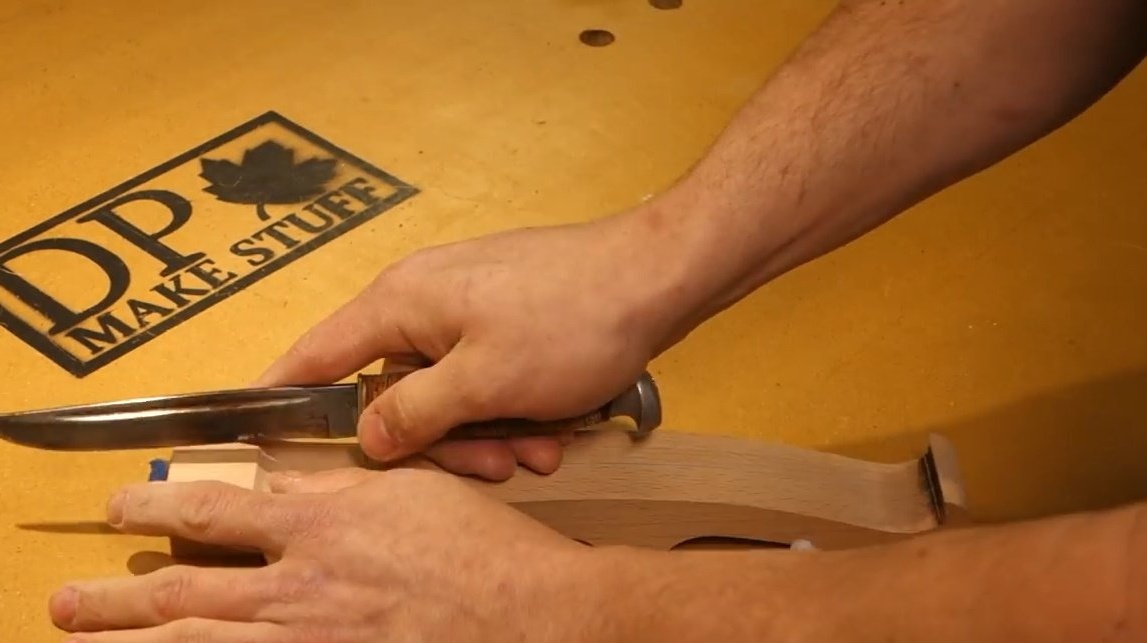
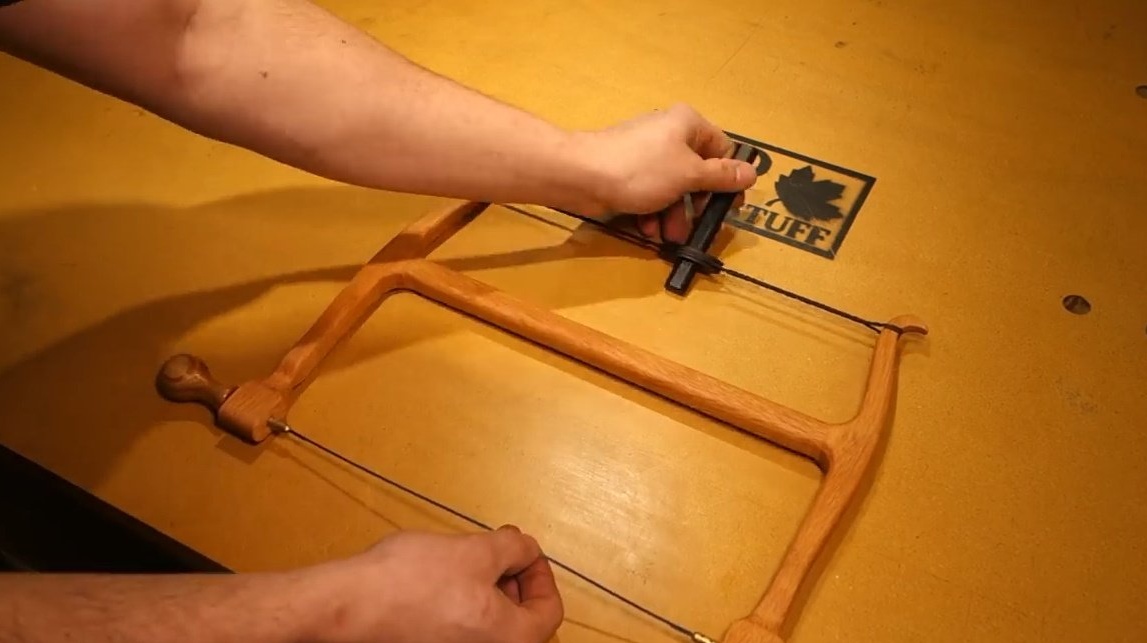
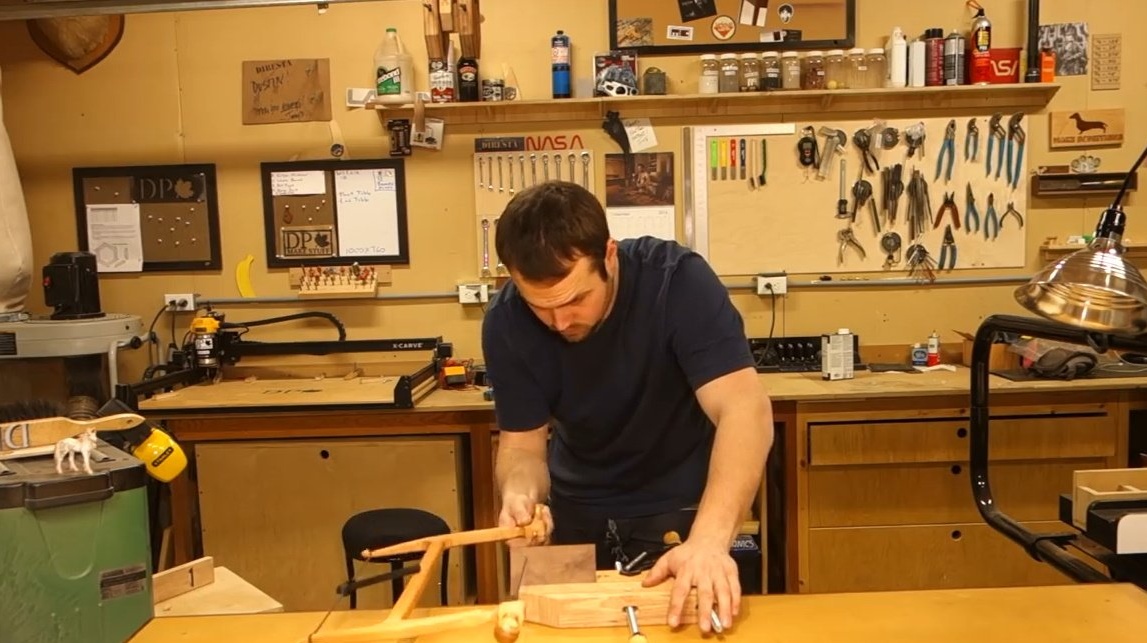
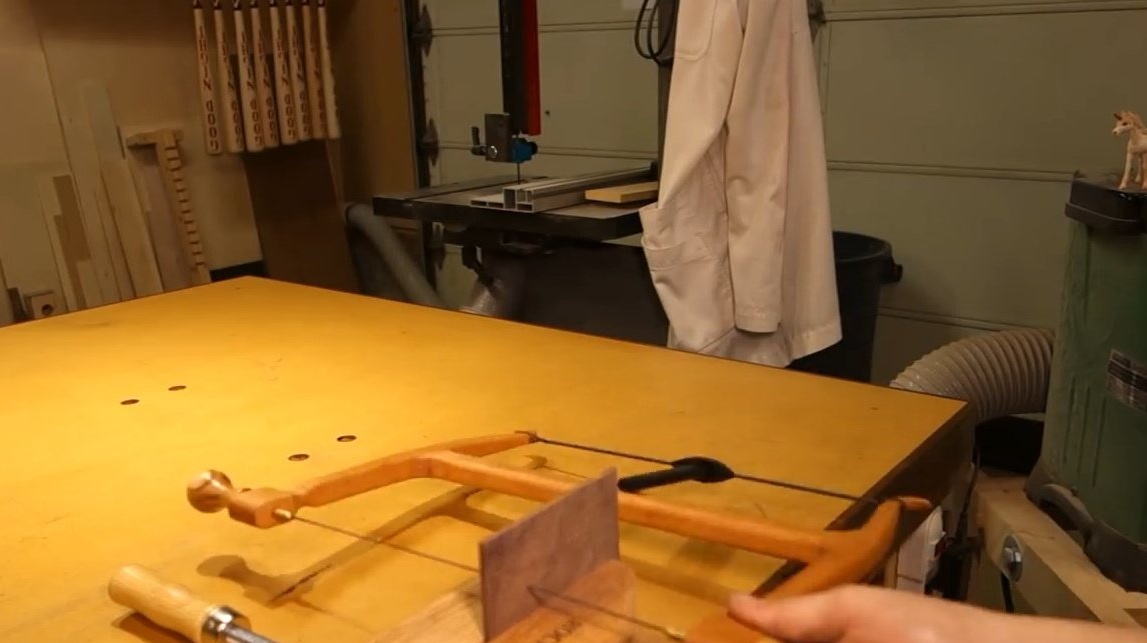
Inserts handles with tensioners, fixes the canvas in them, and fully pulls by rotating the lever.
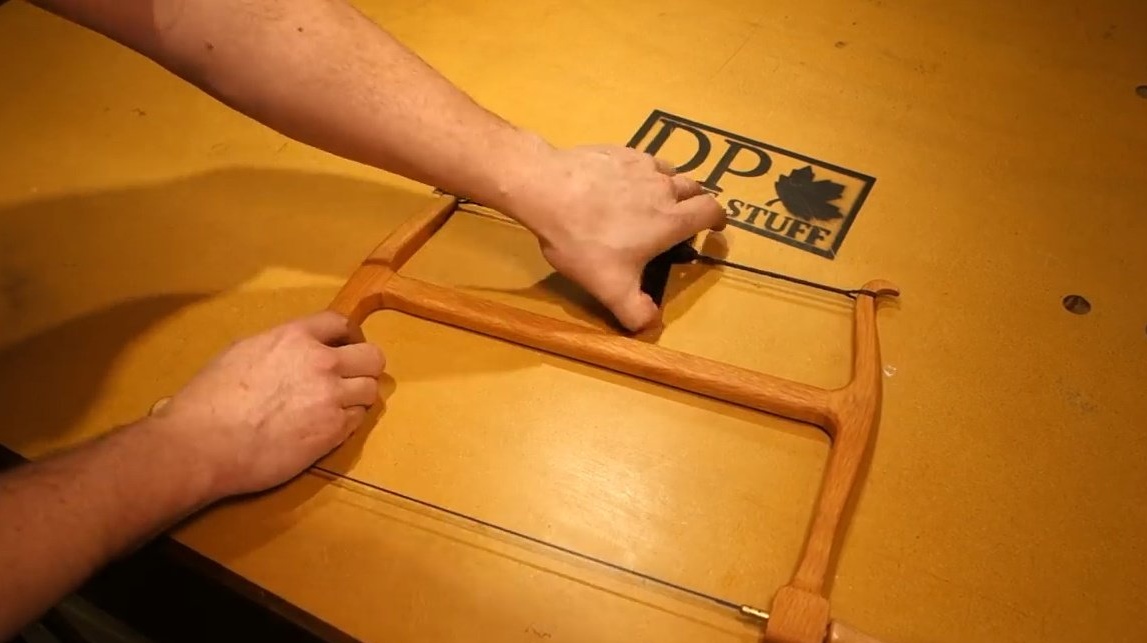
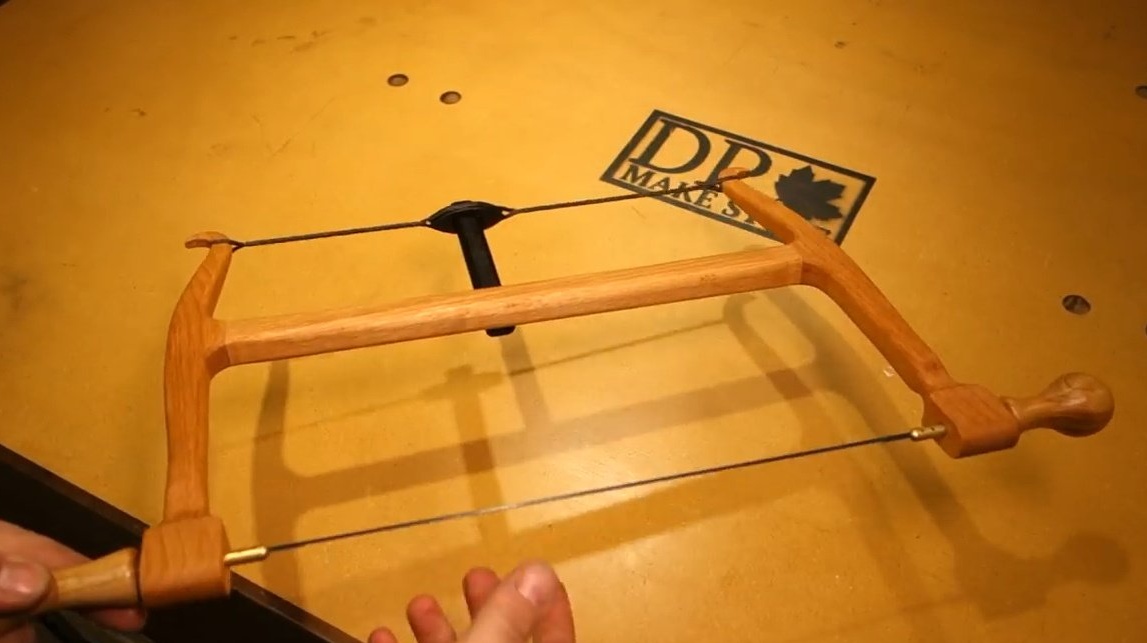
So this saw can work! Of course, the choice of paintings for her is huge, but the author used a very narrow canvas for curly cuts.
Thanks to the author for the classic workshop tool and the way it was made!
All good mood, good luck, and interesting ideas!