
In this article, John, the author of YouTube channel "John Heisz - I Build It" will tell you how to make a universal self-clamping guide for various carpentry electric tools.
After all, it is inconvenient to use the board and clamps all the time.
Materials
- Maple boards
- Thin plastic
- Steel bar 10 mm
- PVA glue
- Plywood
- M8 bolt, wing nut
- Two-component epoxy resin.
Instruments, used by the author.
- Drilling machine
- A circular saw
- Band-saw
- Orbital sander
- Neiler
- clamps
- Screwdriver
- Reysmus
- Manual frezer
- Corner, tape measure, pencil.
Manufacturing process.
The author will describe the process of creating a straight guide that would effectively serve when working with cutting tools of various kinds. It is easily adjustable, and fastens securely without fidgeting or slipping. If readers want to make such a thing themselves, all the drawings are available in the description of the video and this one.
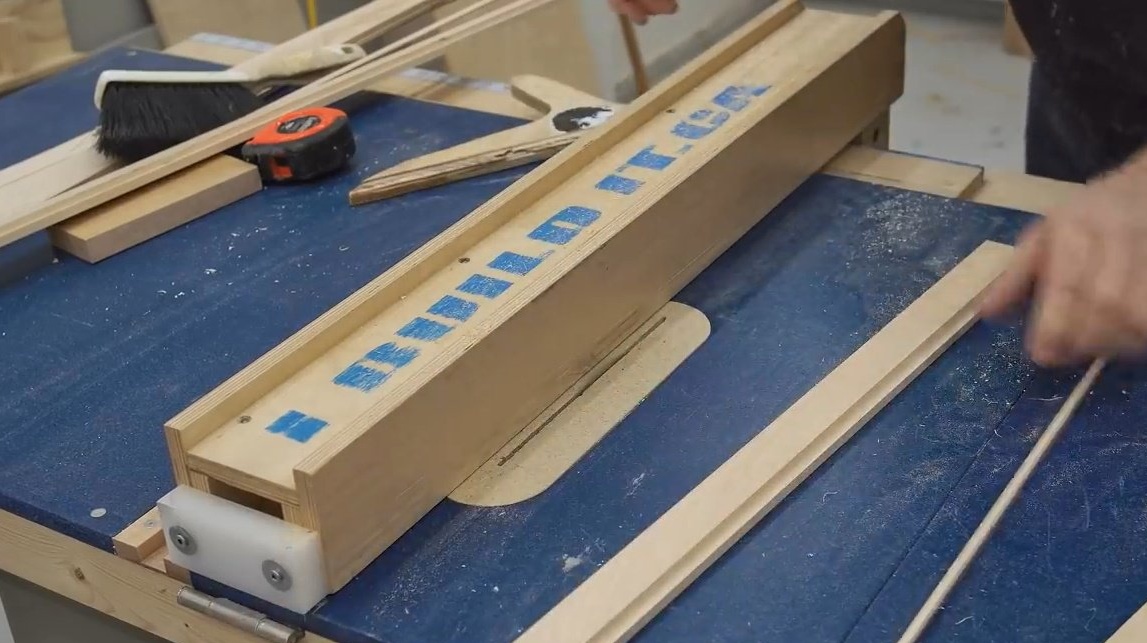
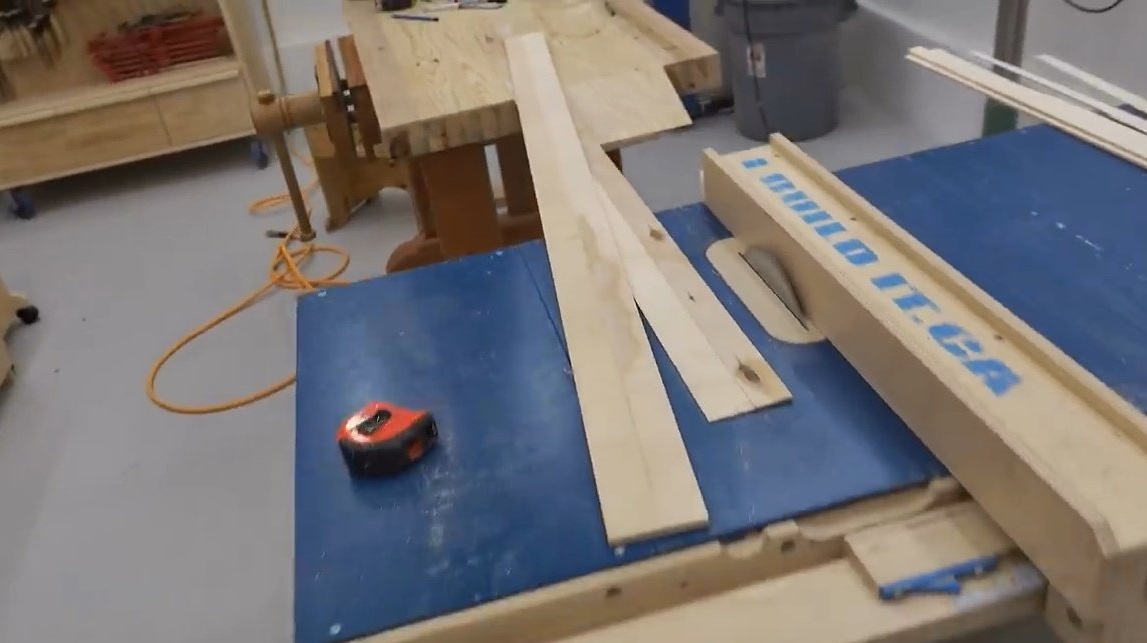
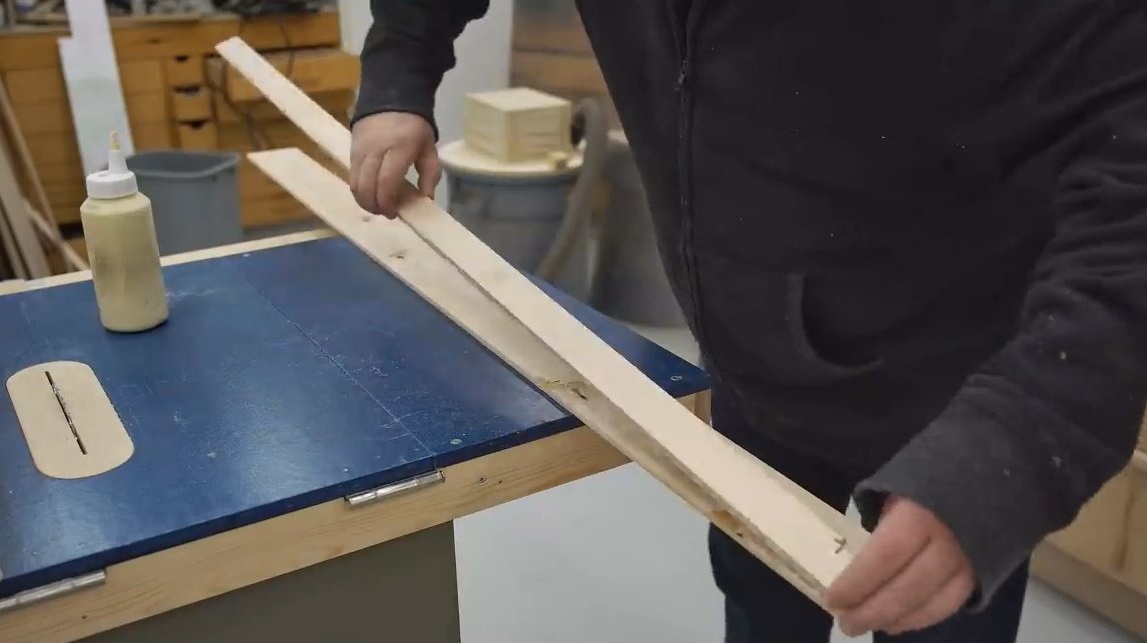
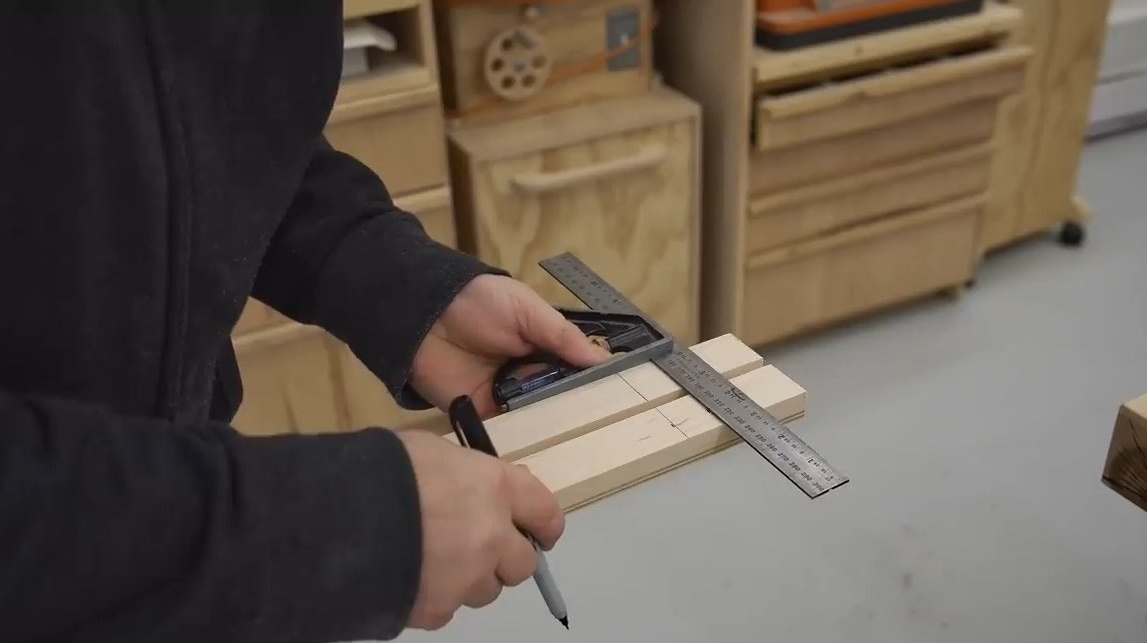
First, John cuts the material for the racks / planks, for this he uses a rough maple.
To make sure that he cuts in a straight line, the master could pass the material through the jointer, but instead he prefers to make a series of cuts on a circular saw. The result will be the same.

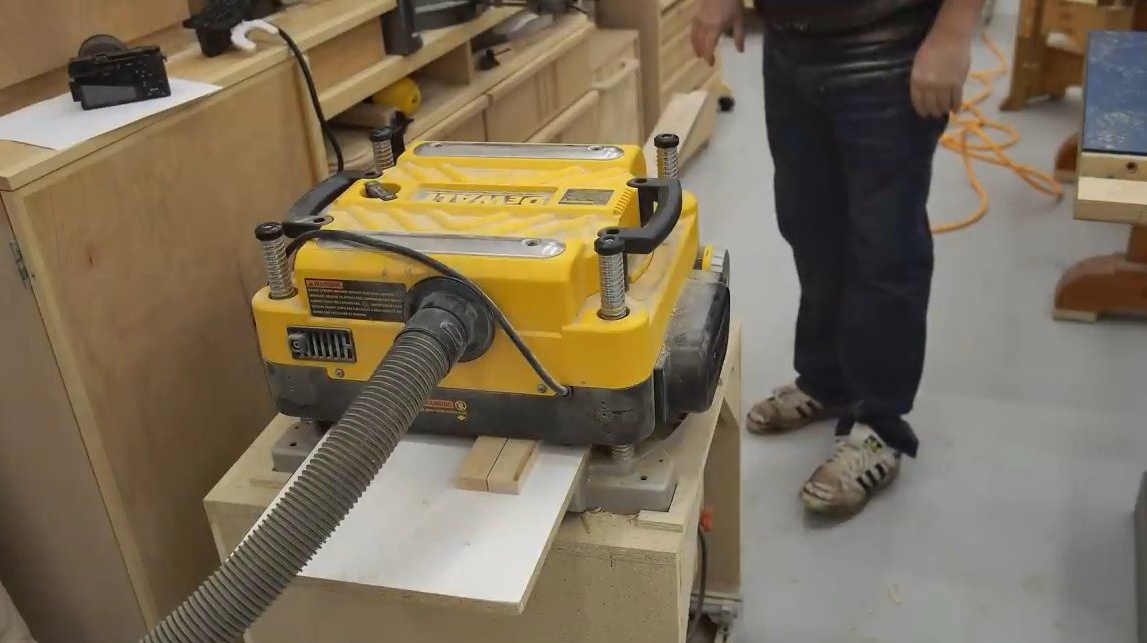
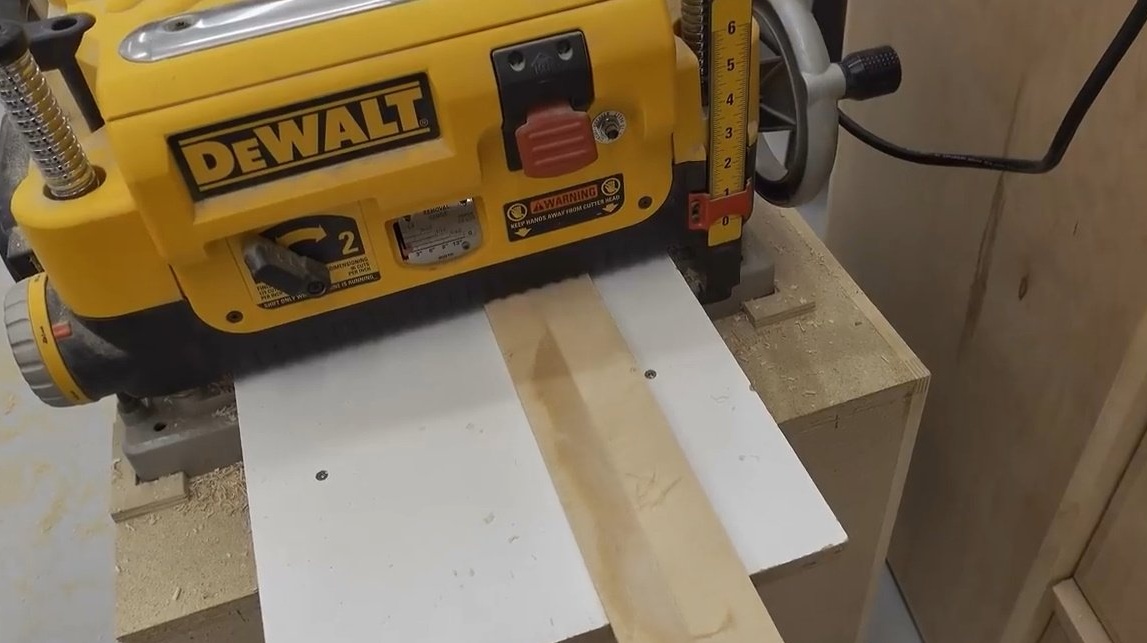
After both planks are cut to the intended size, the master passes them through the surface gage. This completes the milling work.
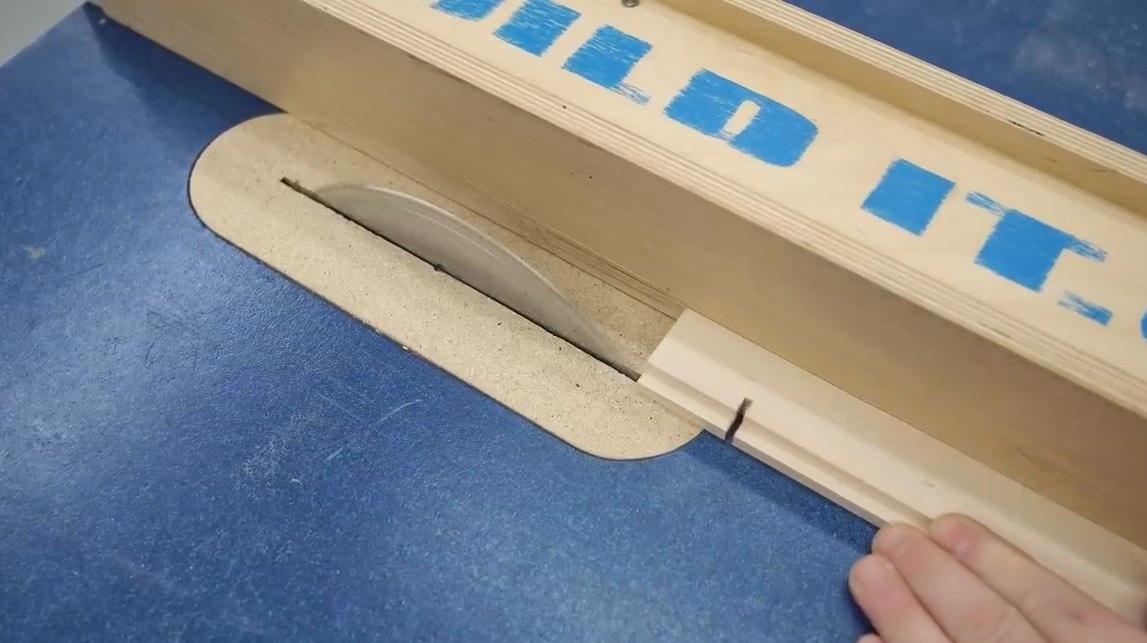
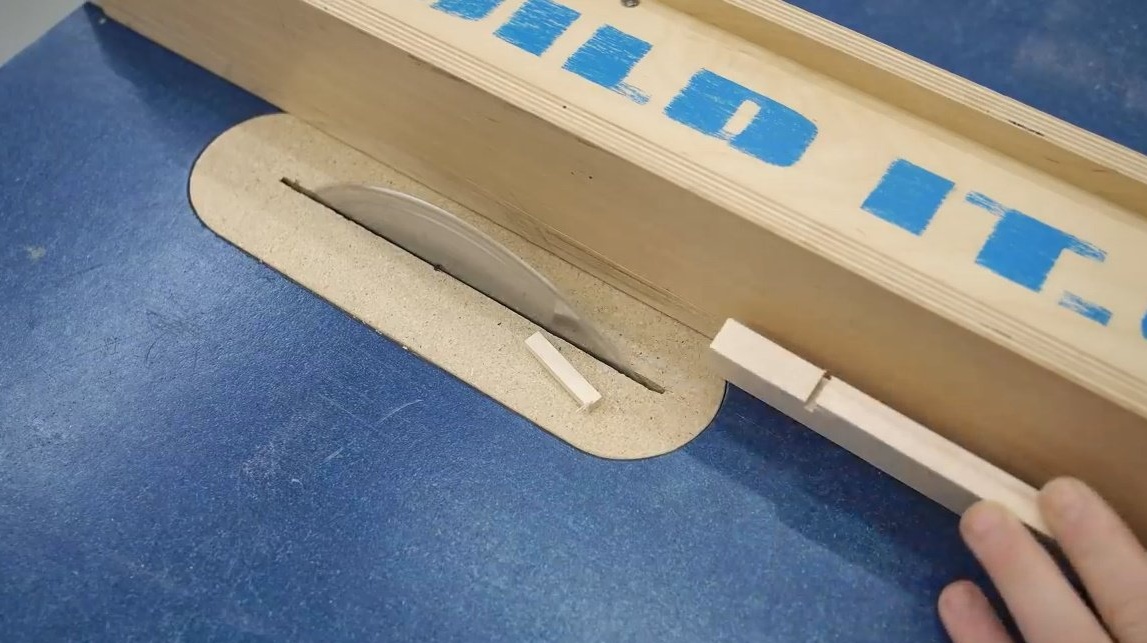
Now you need to make a notch along the entire length on the side of each rail.
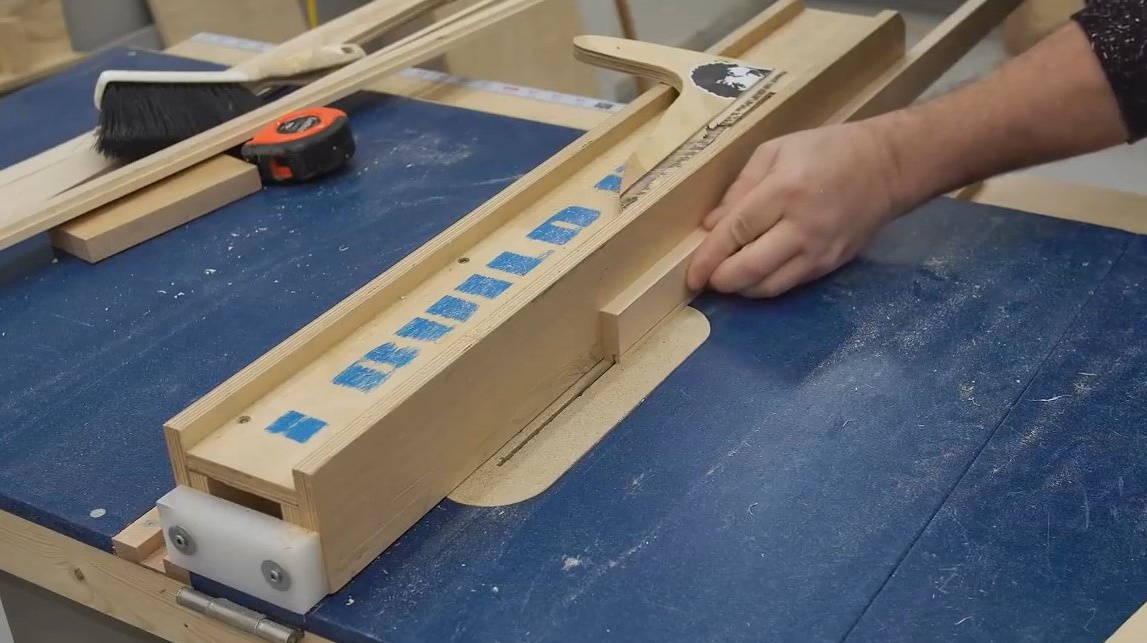
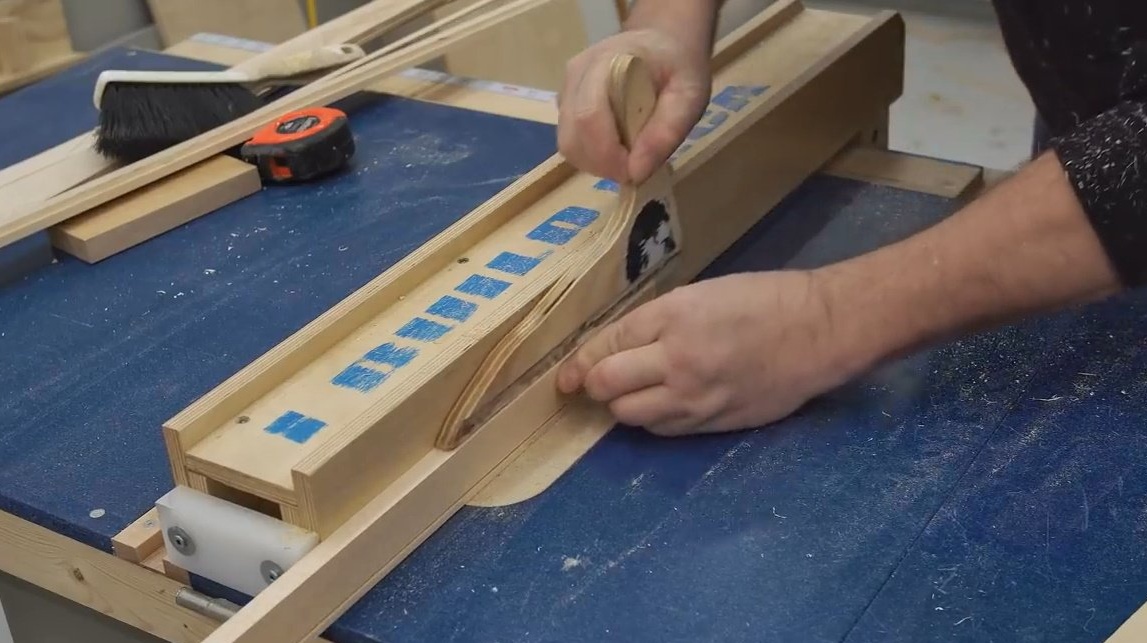
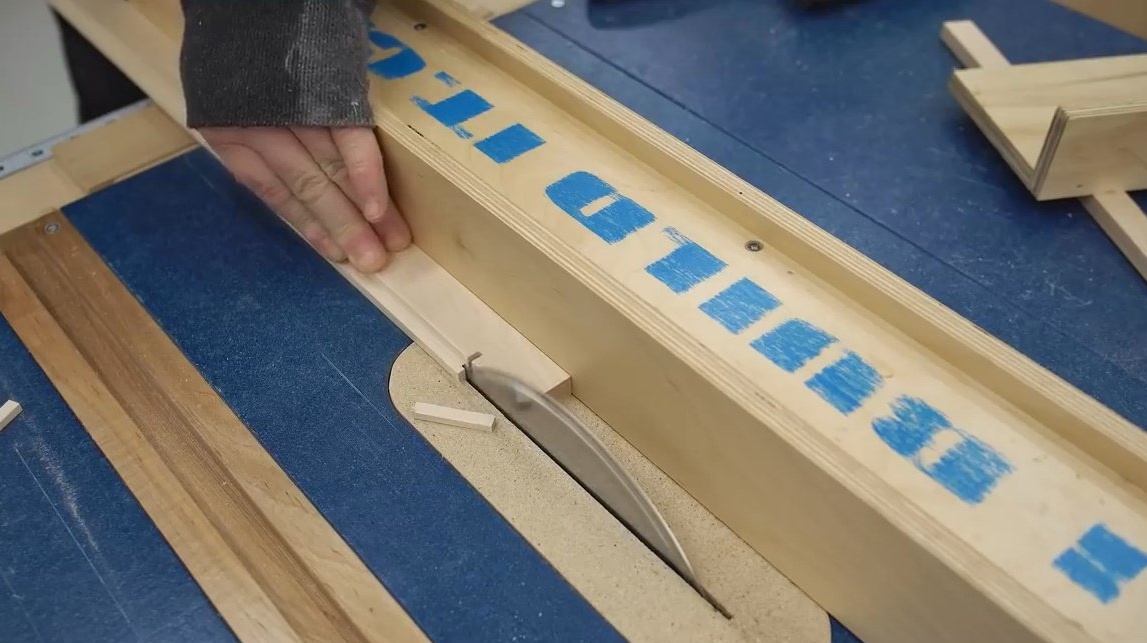
Several cuts should be made in the side of the plank. For this work, the author uses his slider for a circular saw.
The wizard sets the emphasis again and cuts off the front part before doing the same operations with the second bar. These slots should be symmetrical on both planks.


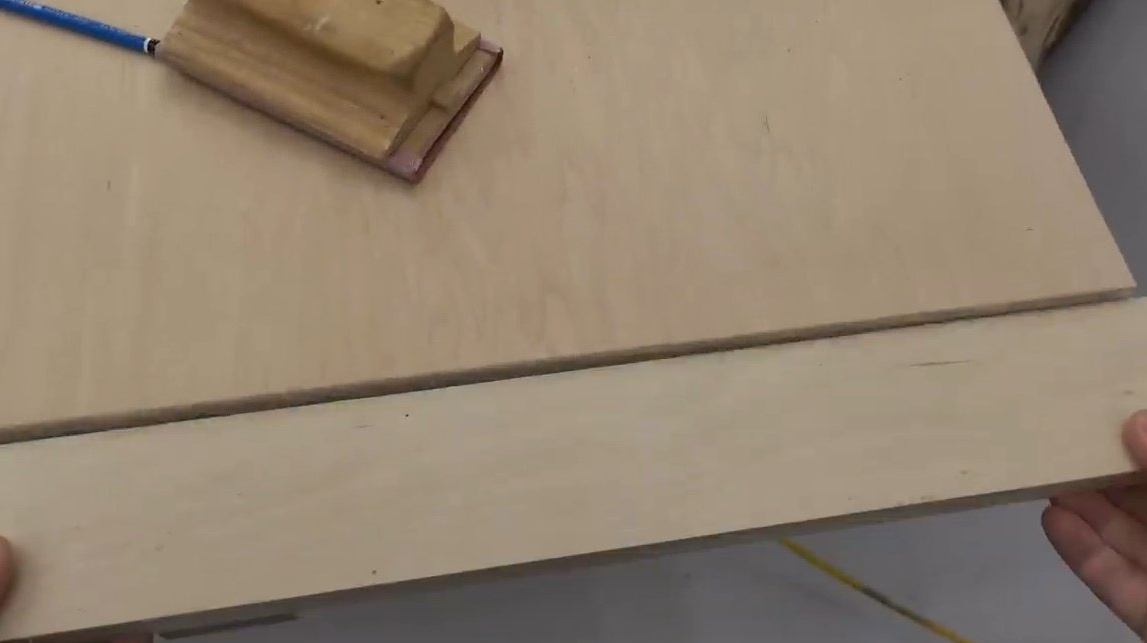
The next step is the creation of the cover, the upper surface. Since the author does not have 8 mm plywood, he decides to make one on his own by cutting along a sheet of thick plywood.
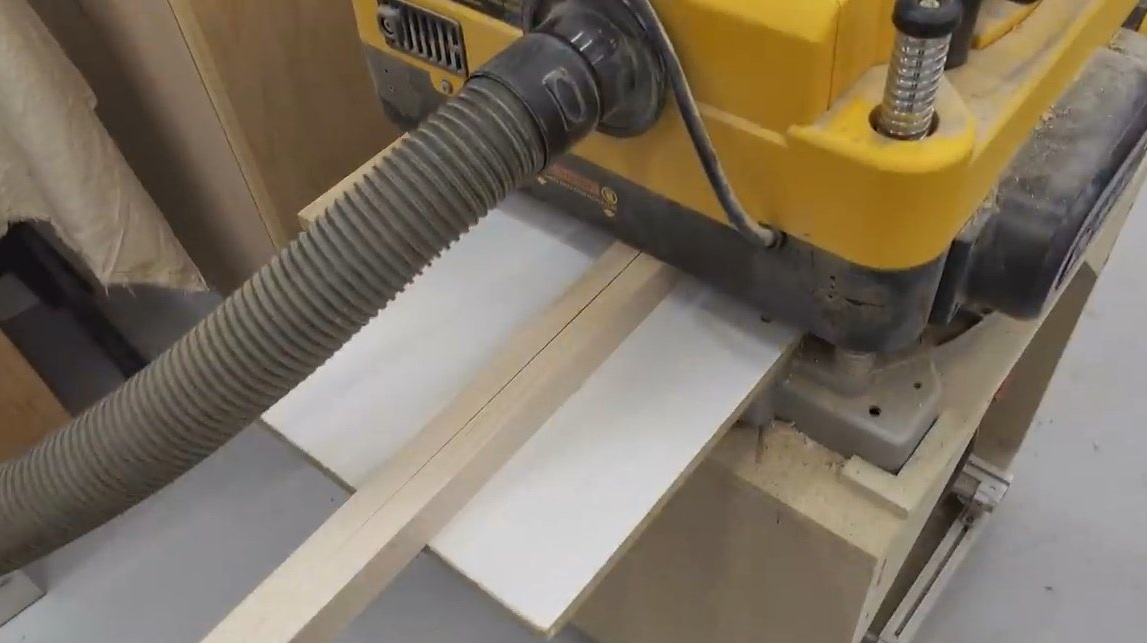
After a circular saw, thin sheets of plywood are driven through the thicknesser.
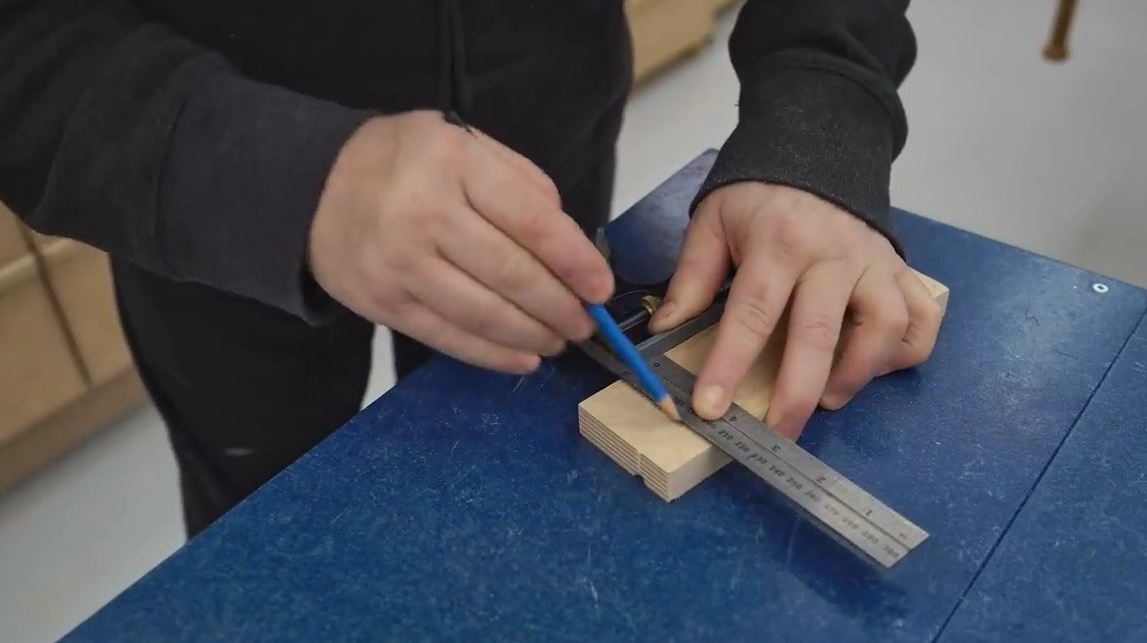
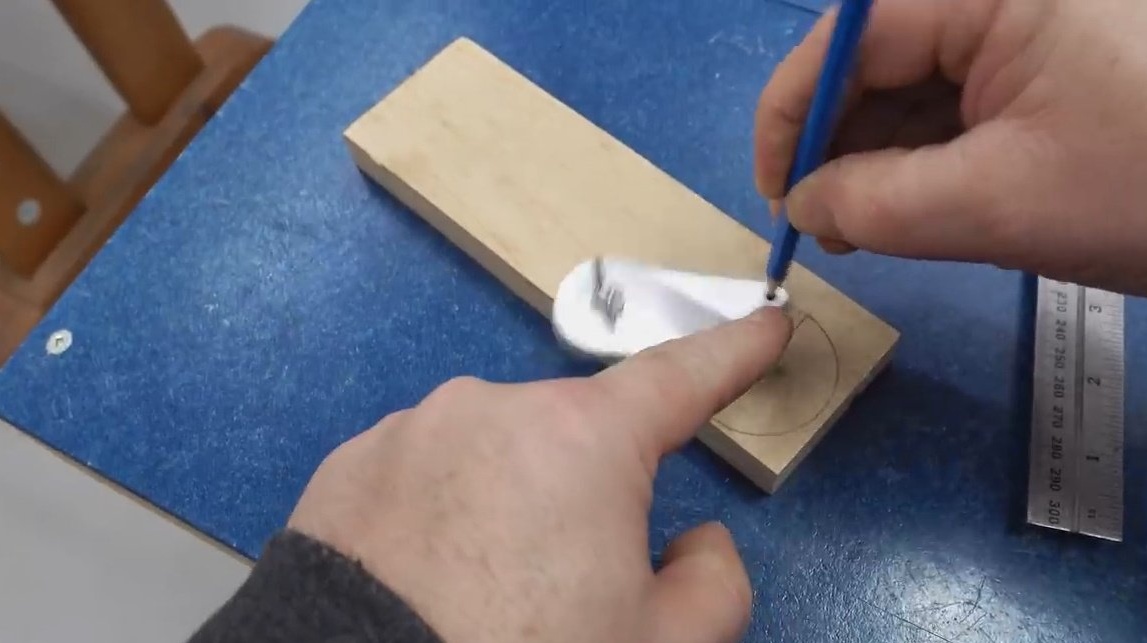
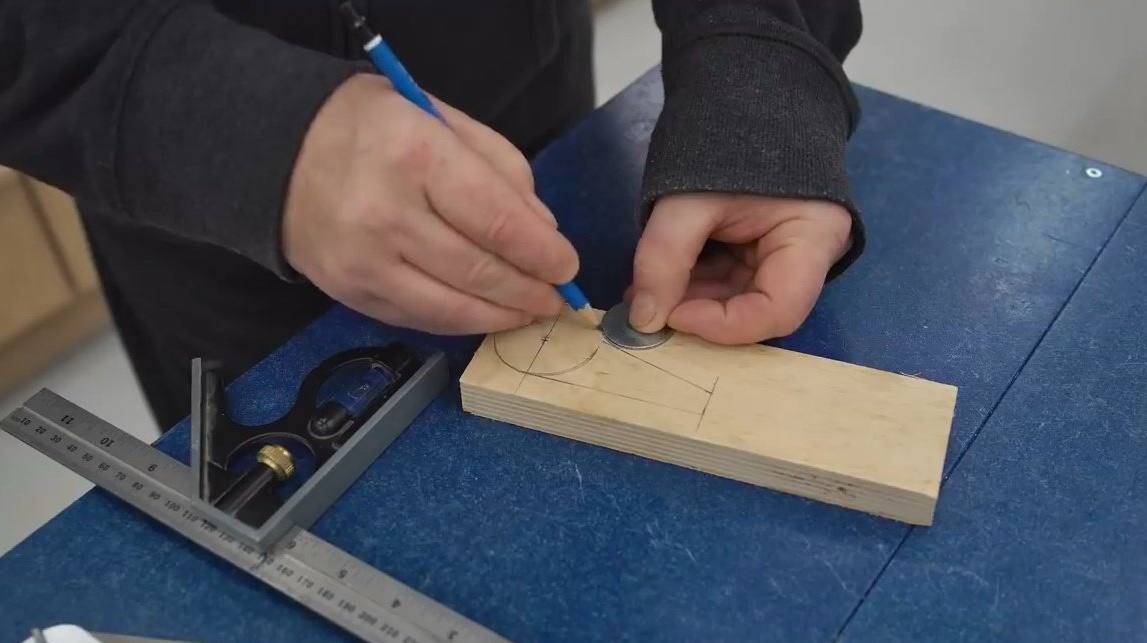
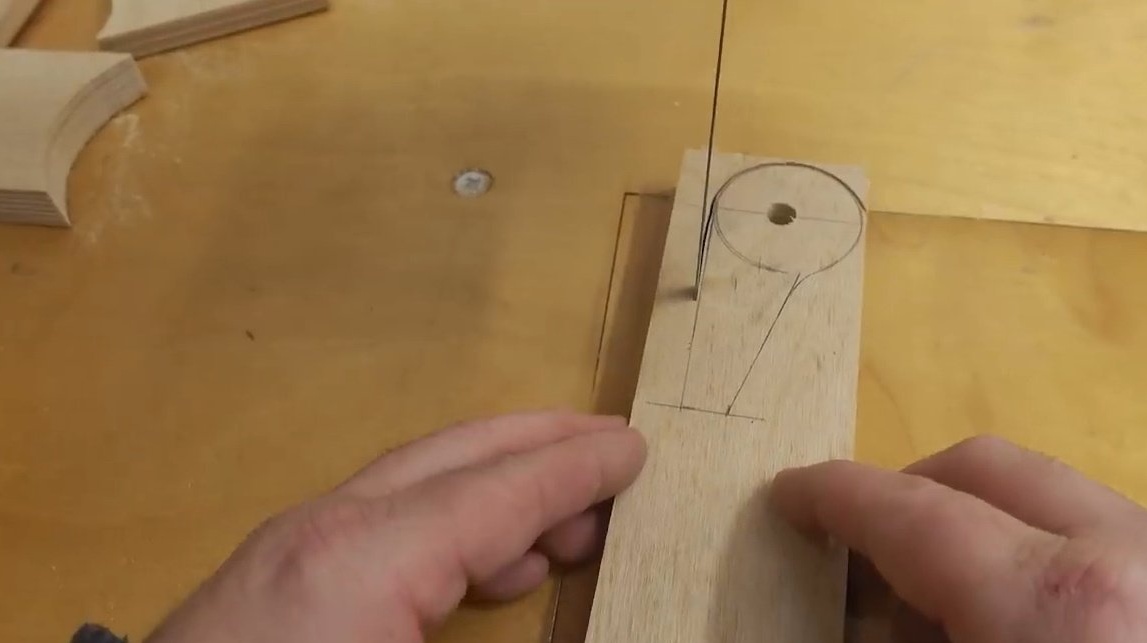
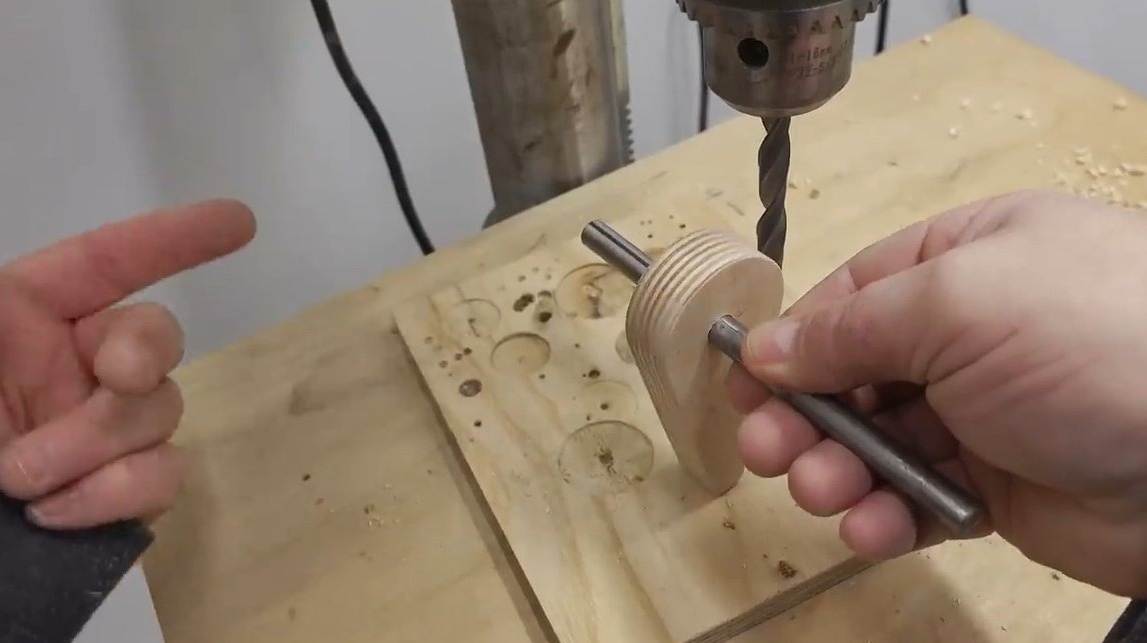
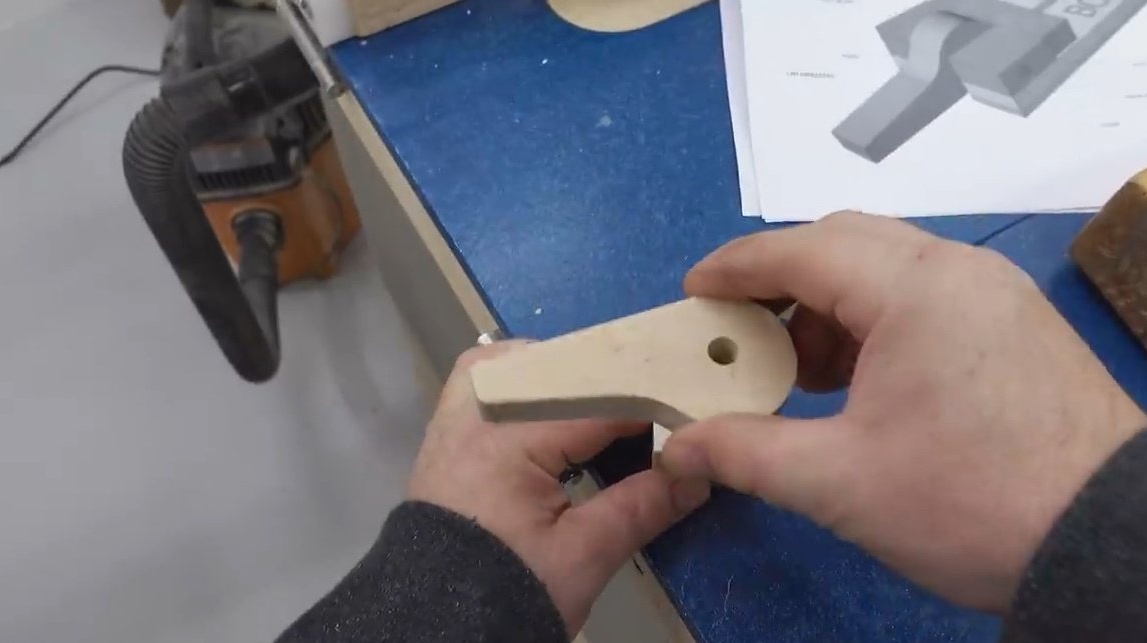
Then he makes the clamping handle itself. For her, he picks up plywood from the Baltic birch. First John marks the center line, then marks two points that are 1.5 mm apart.
So he plans to get an eccentric.
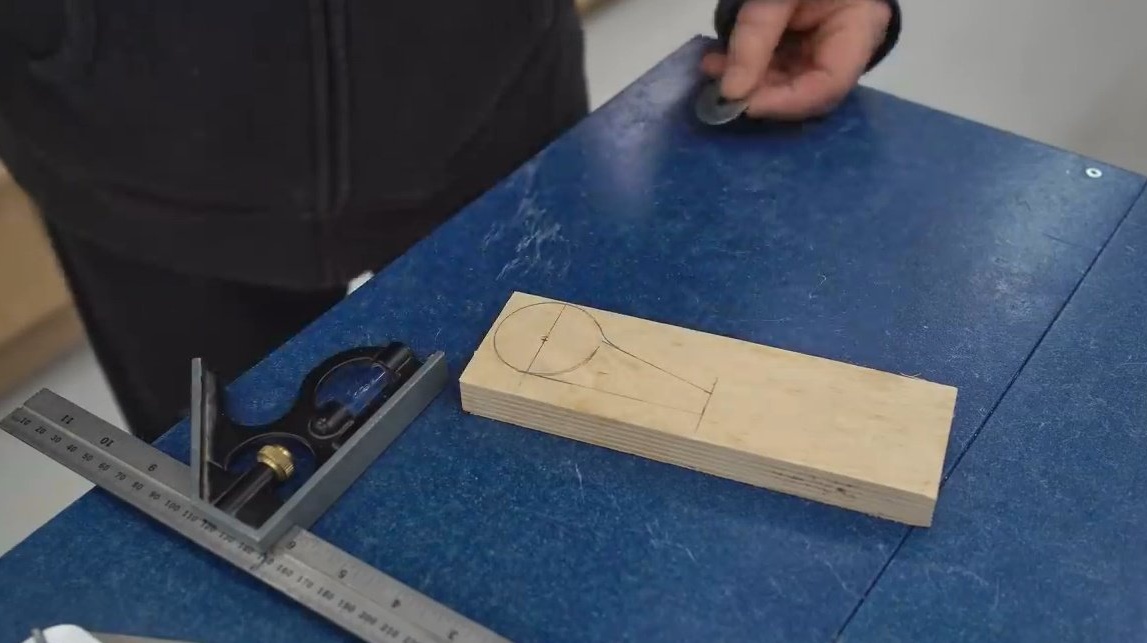
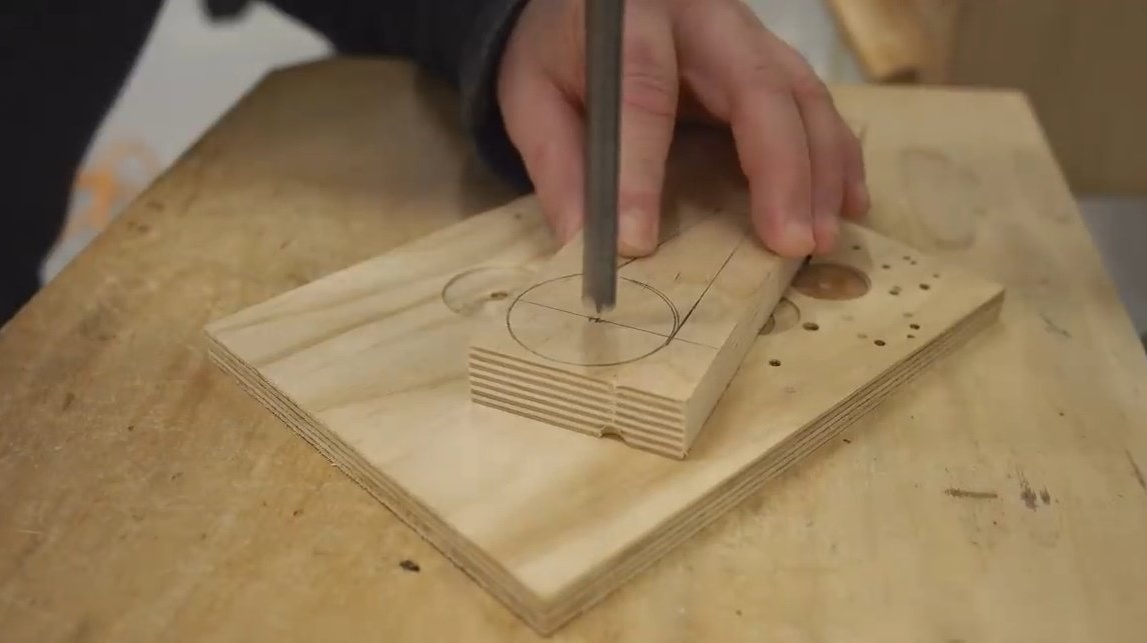
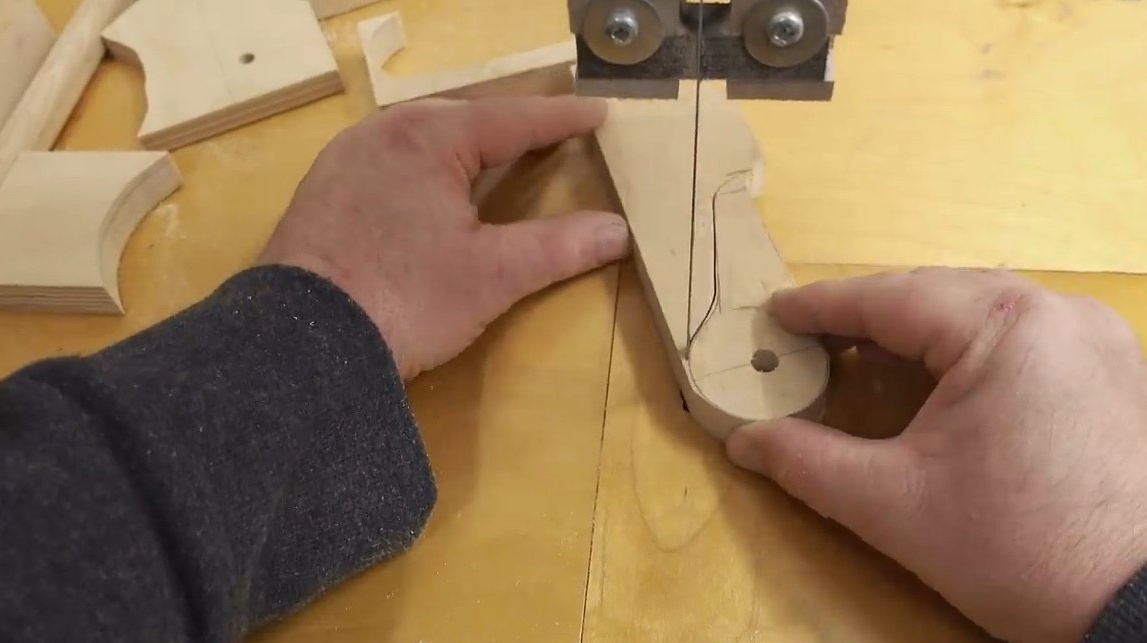
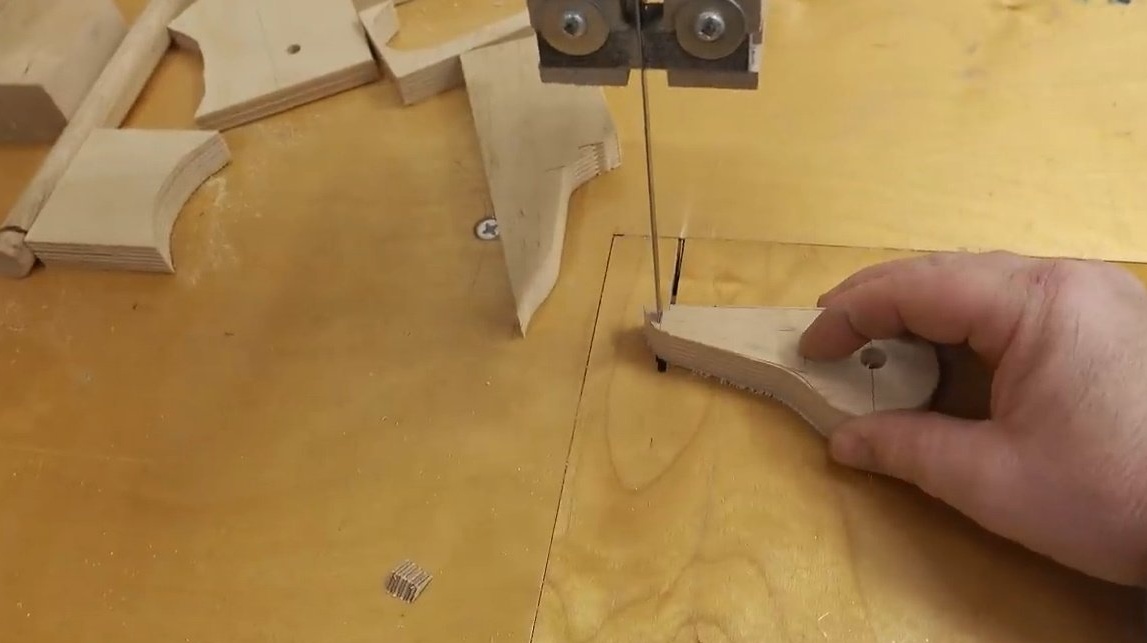
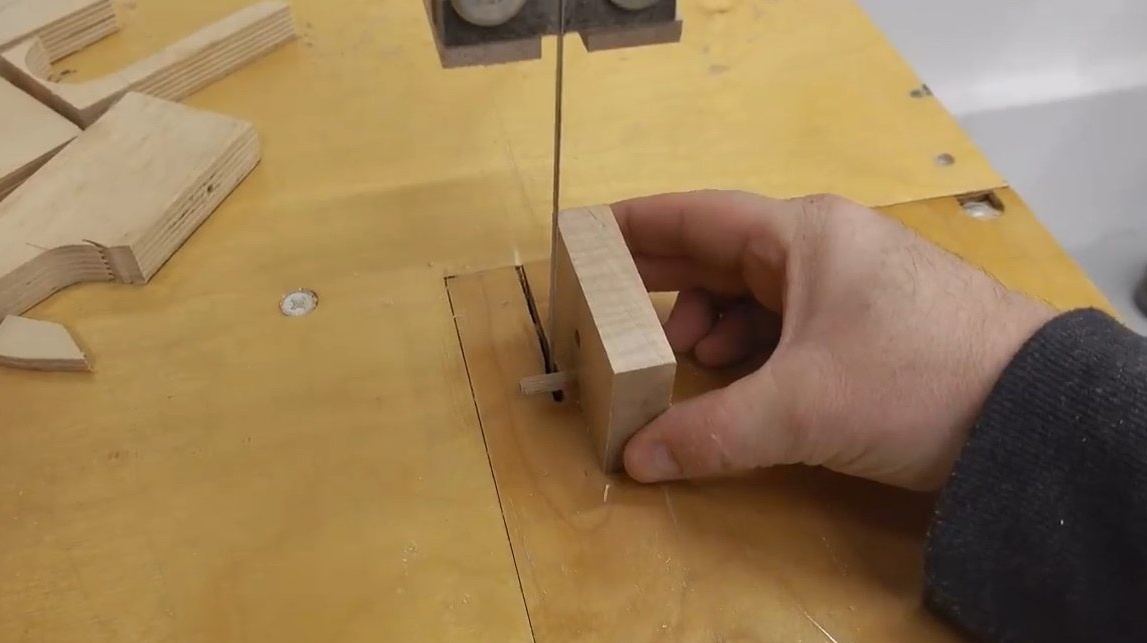
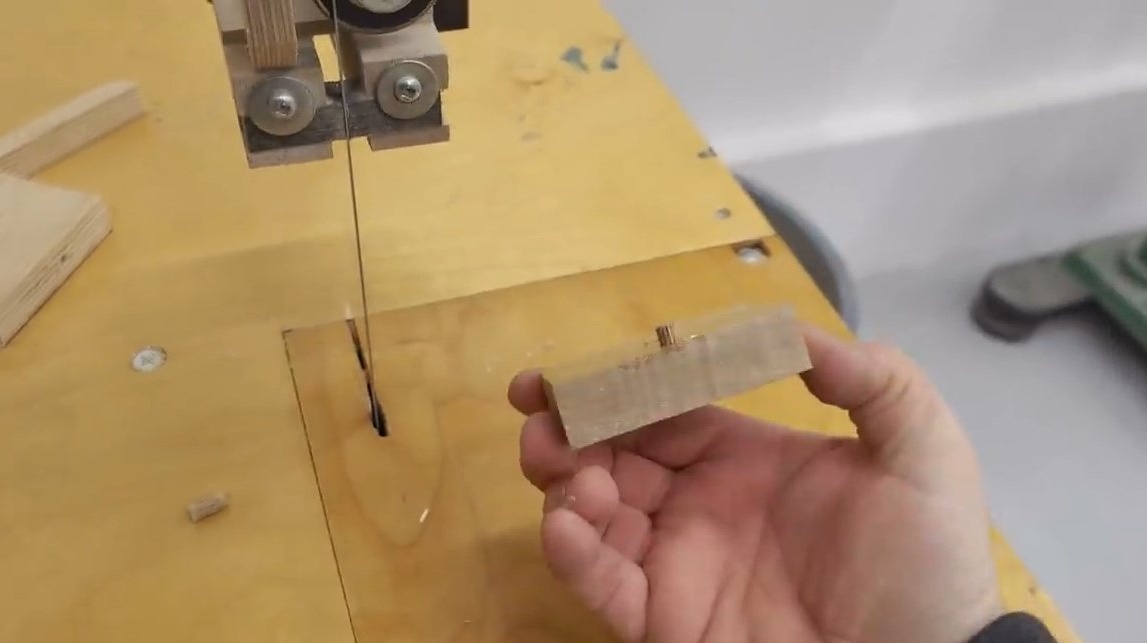
After the general shape of the handle is cut out on a band saw, it must be cleaned and trimmed on the orbital and drum grinding machines.
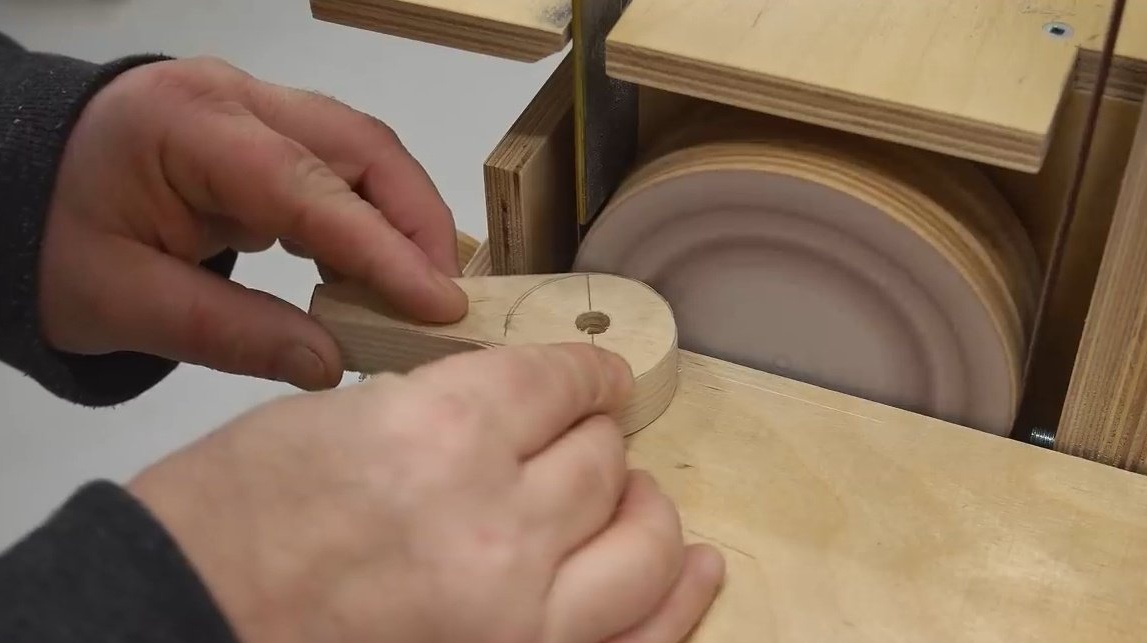
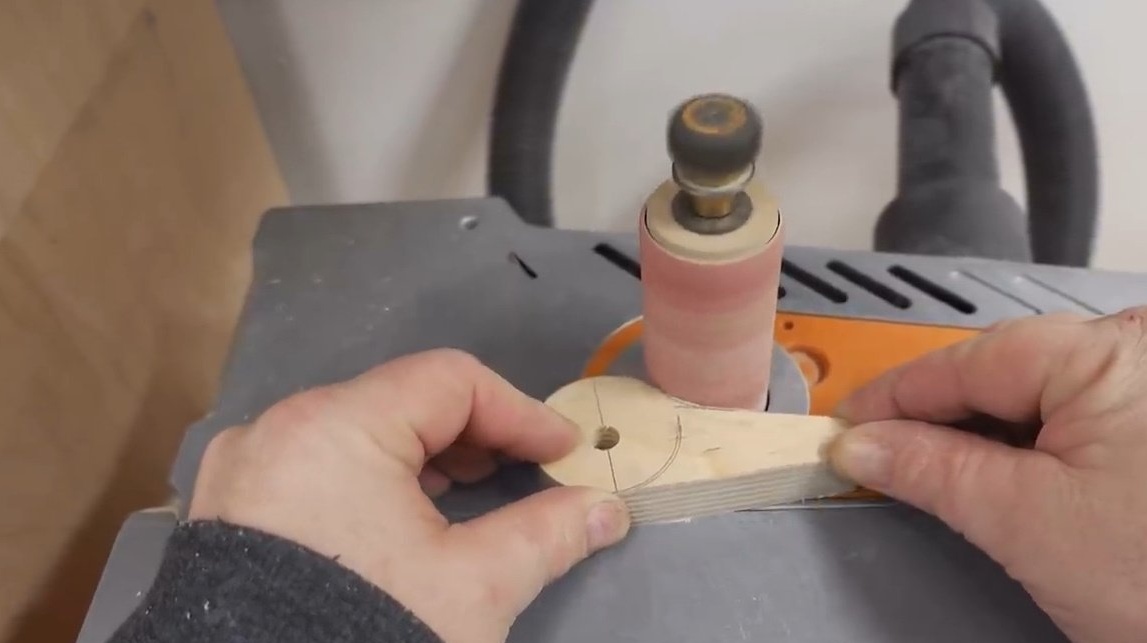
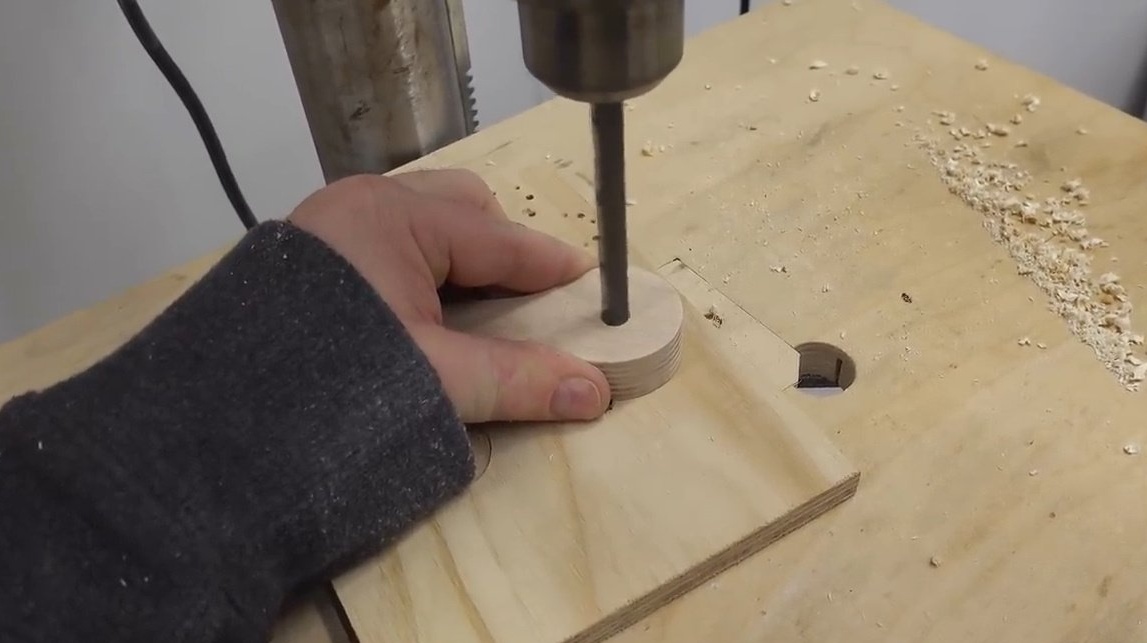
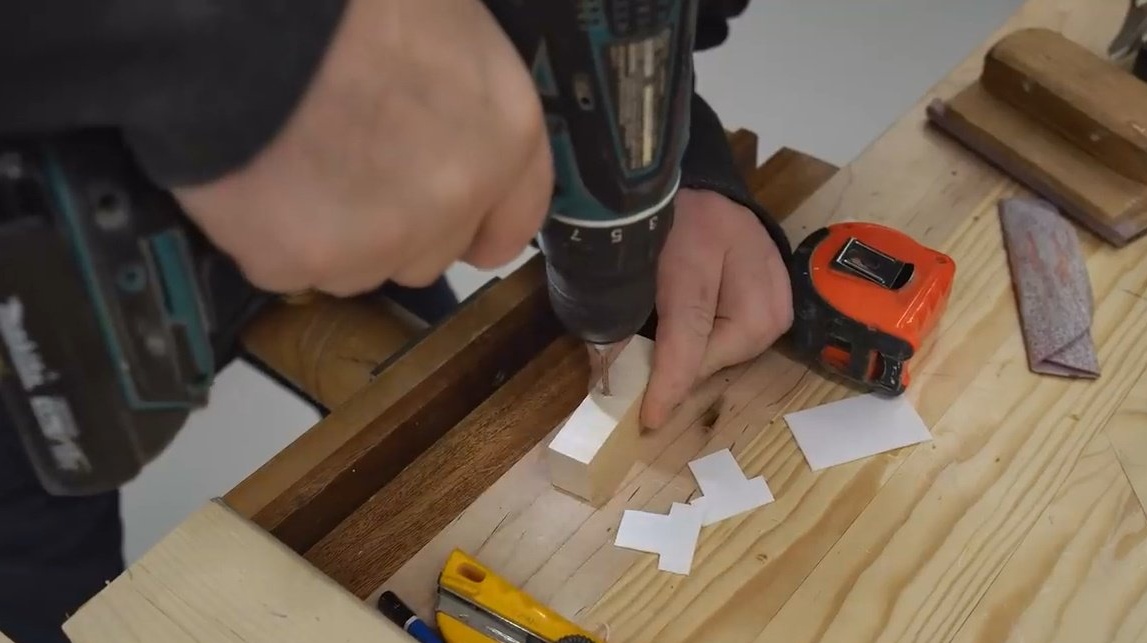
John drills a 9.5 mm drill hole into the center hole. But it is advisable to widen the hole a little more so that it can freely rotate around the steel bar.
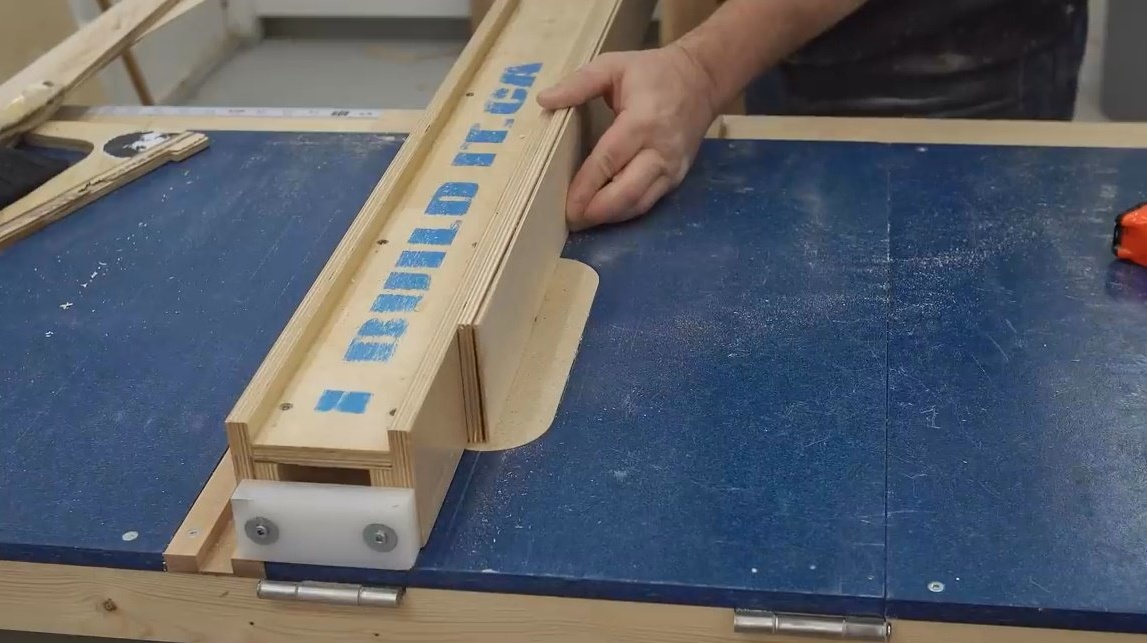
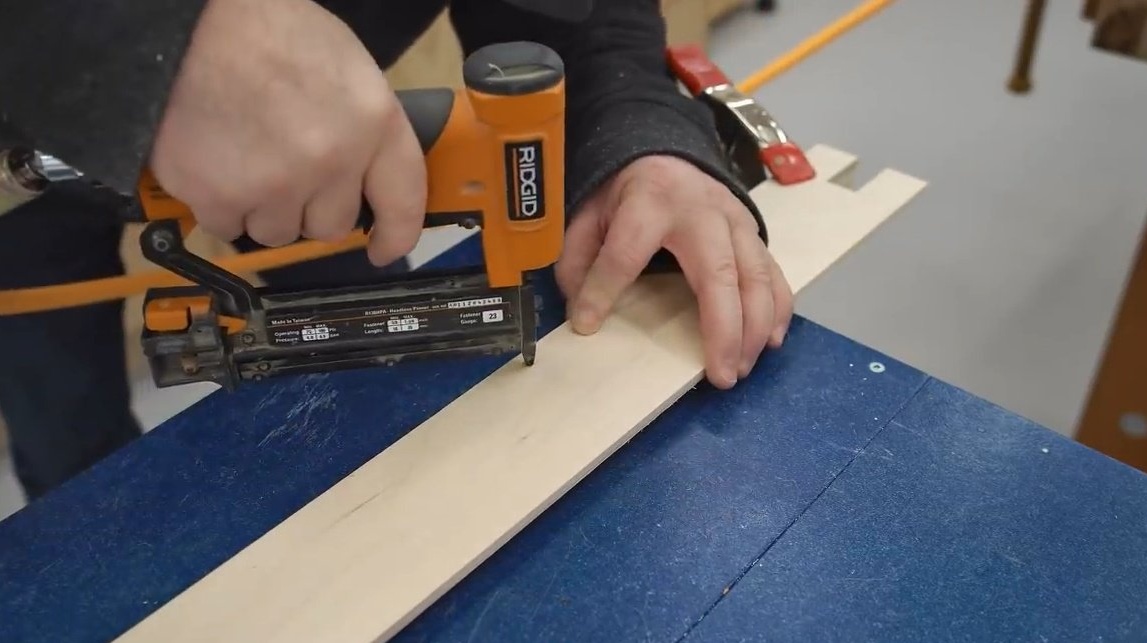
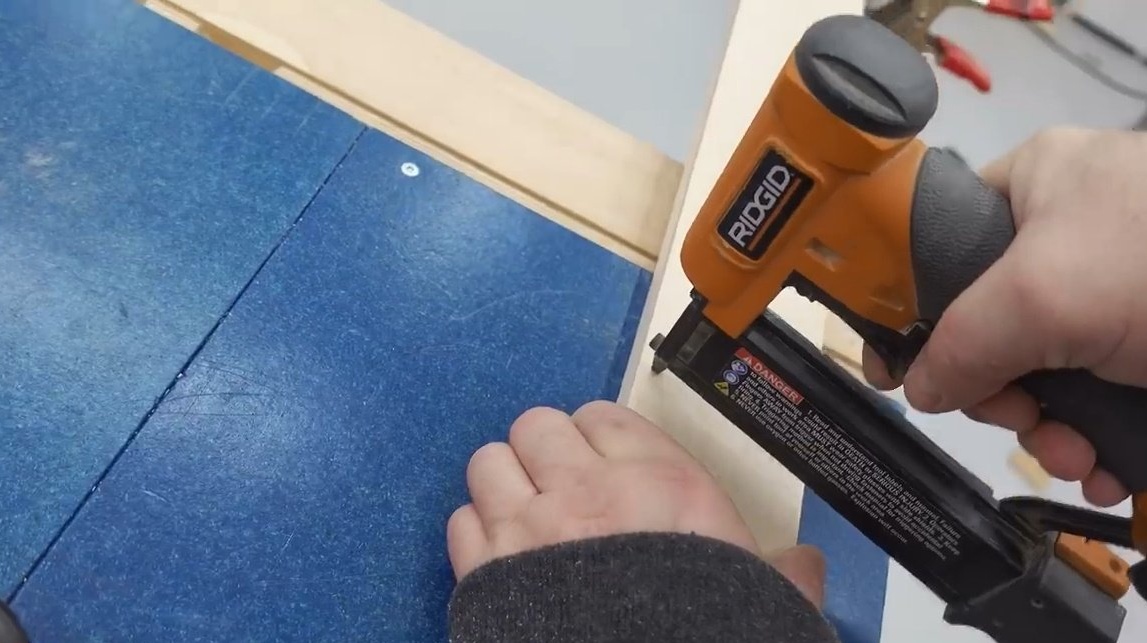
Getting to the assembly, the author first glues both rails on the upper surface and additionally shoots them with several brackets to bring all the elements in a neat line.

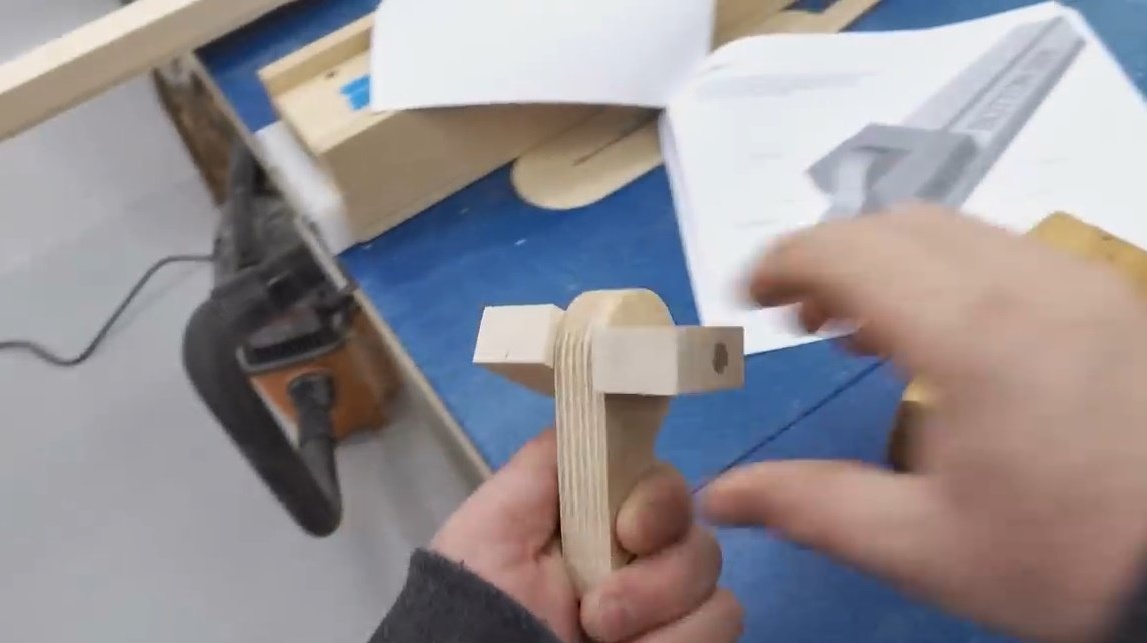
Then collects the clamping mechanism.
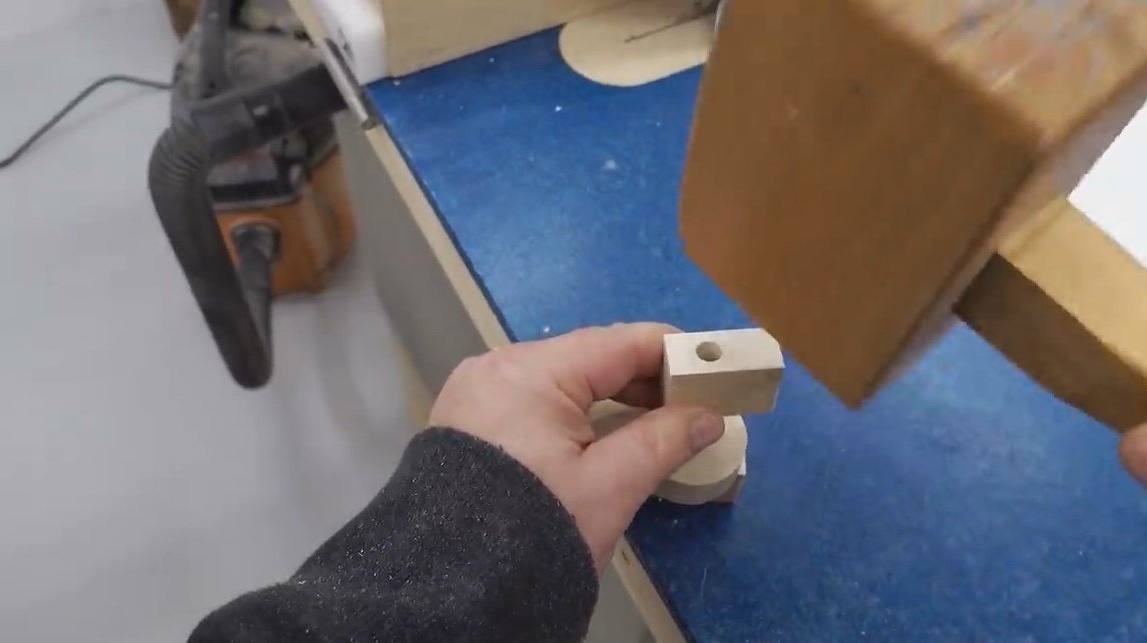
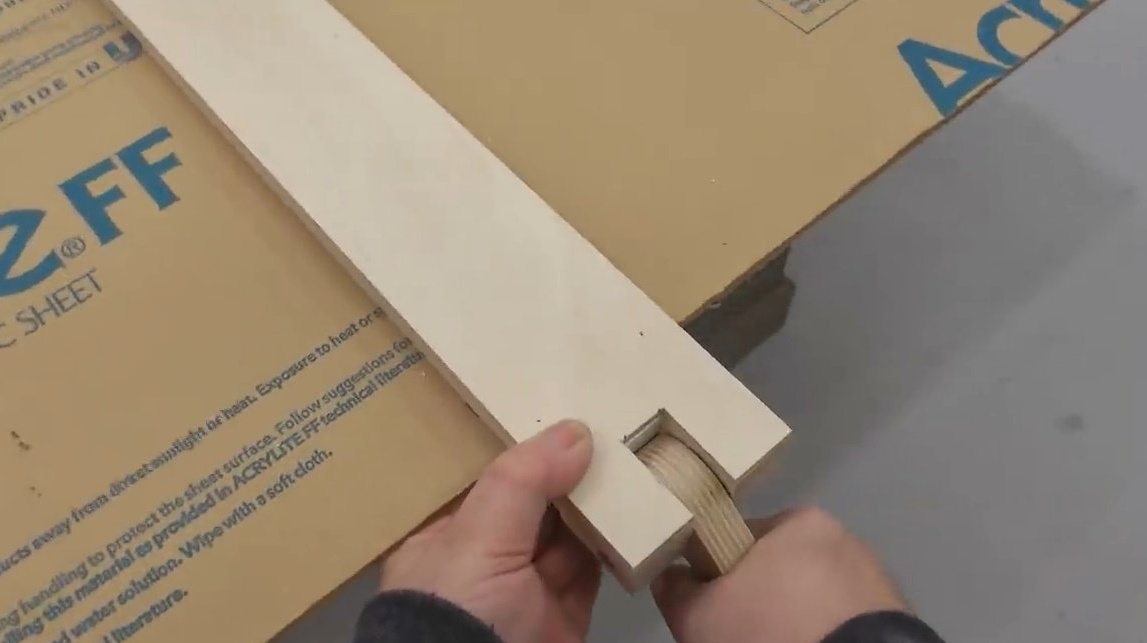
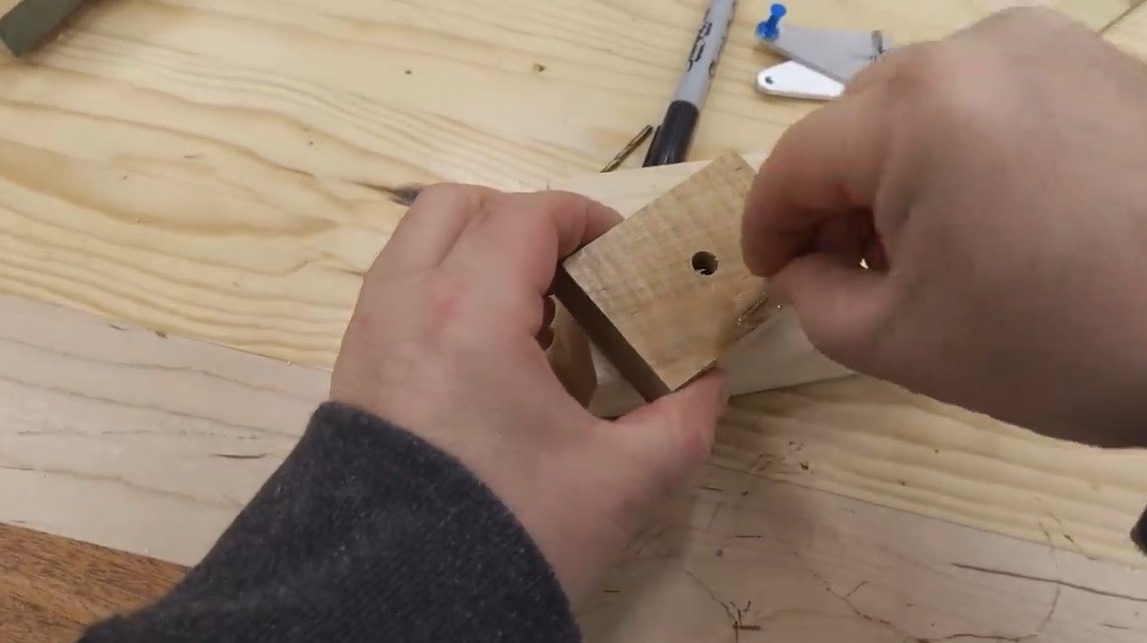
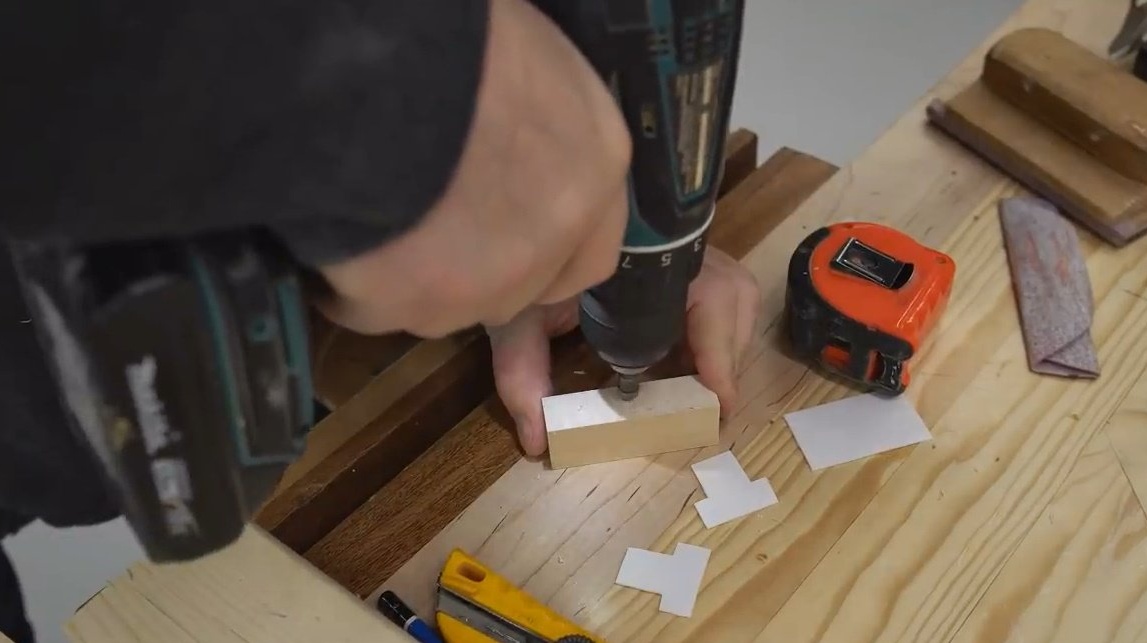
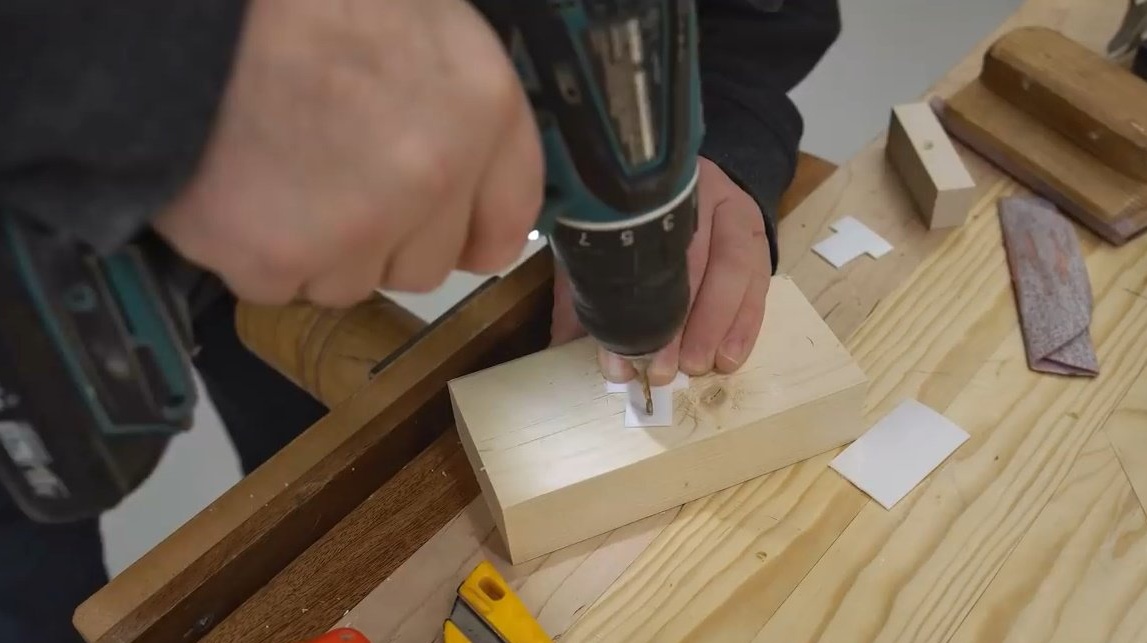
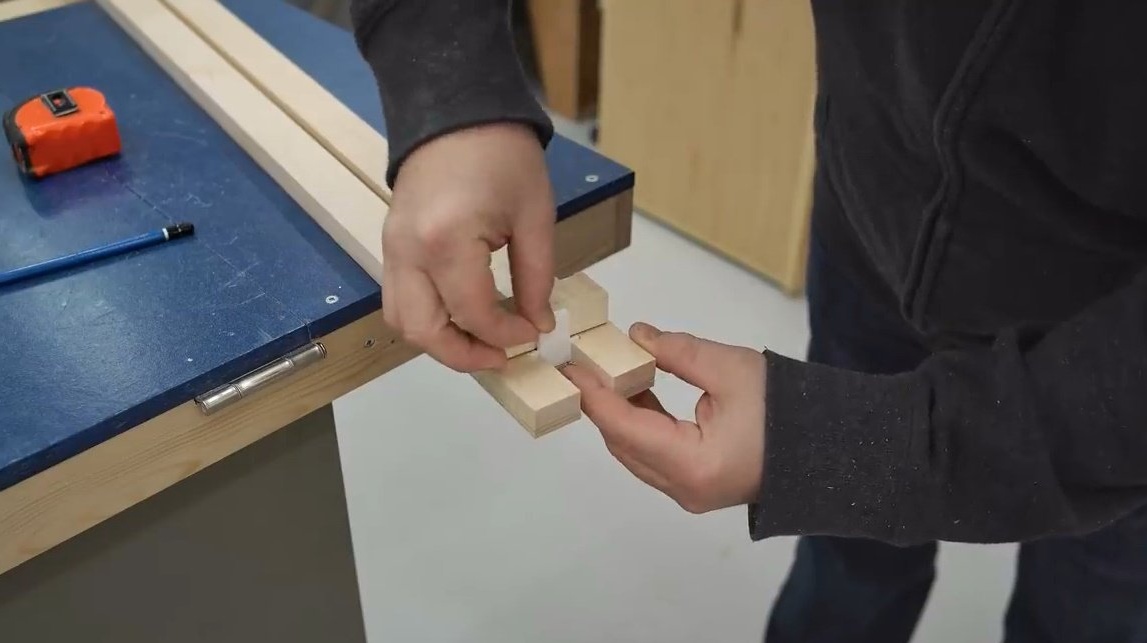
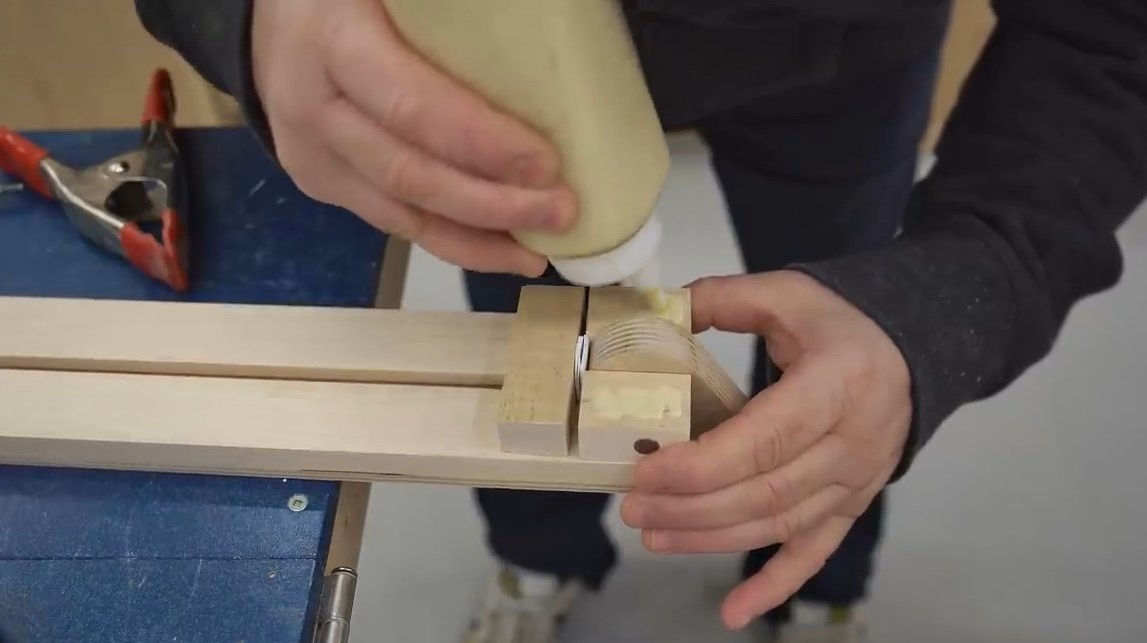
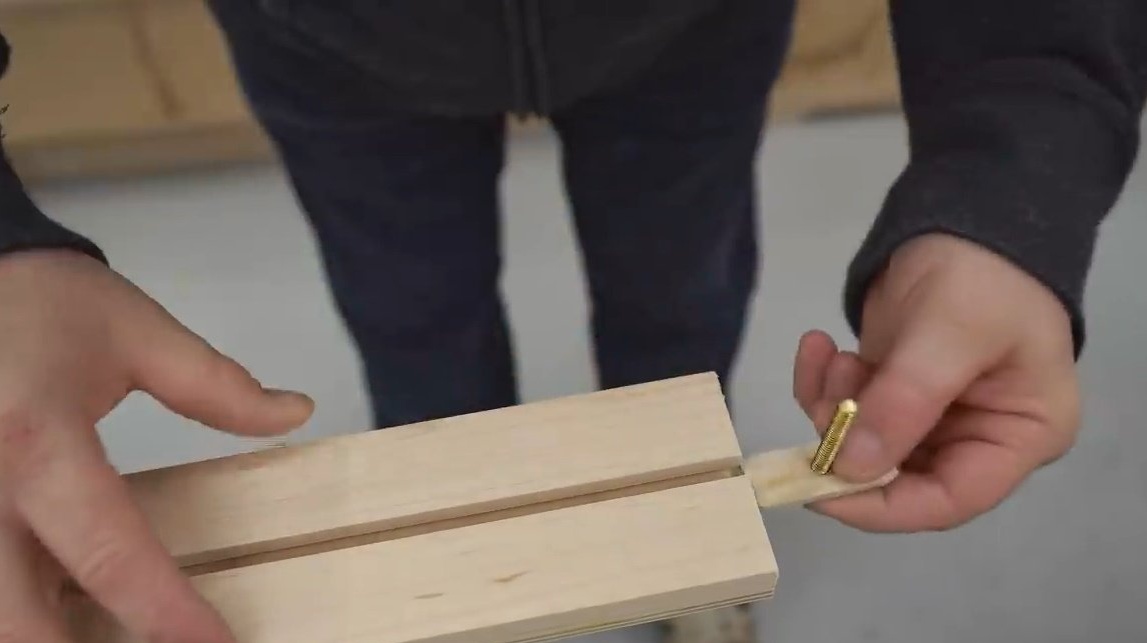
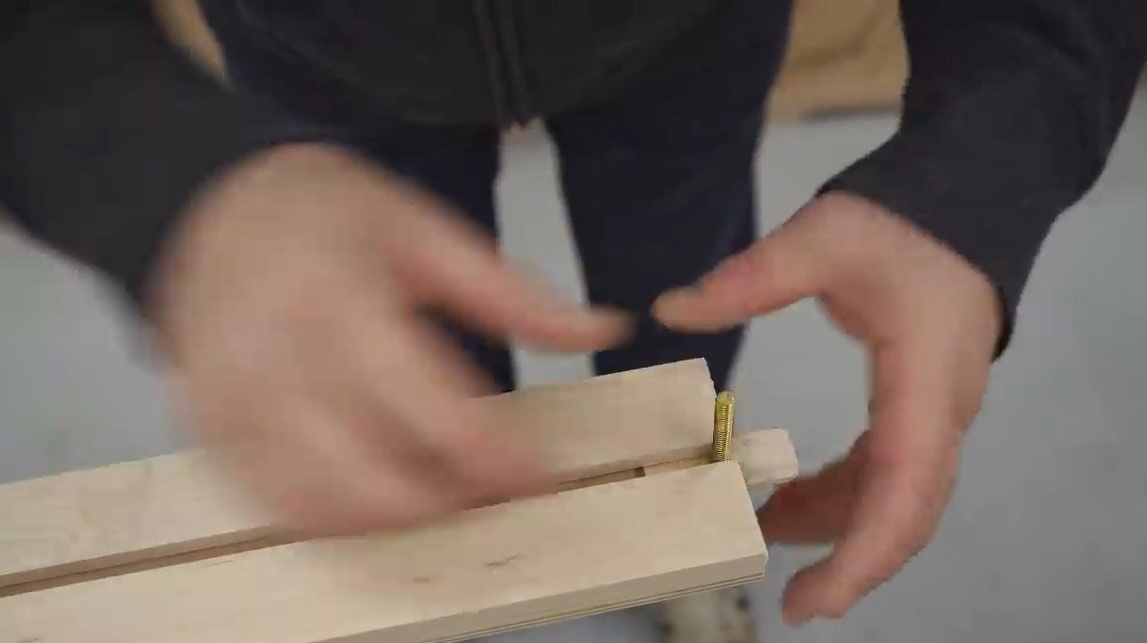
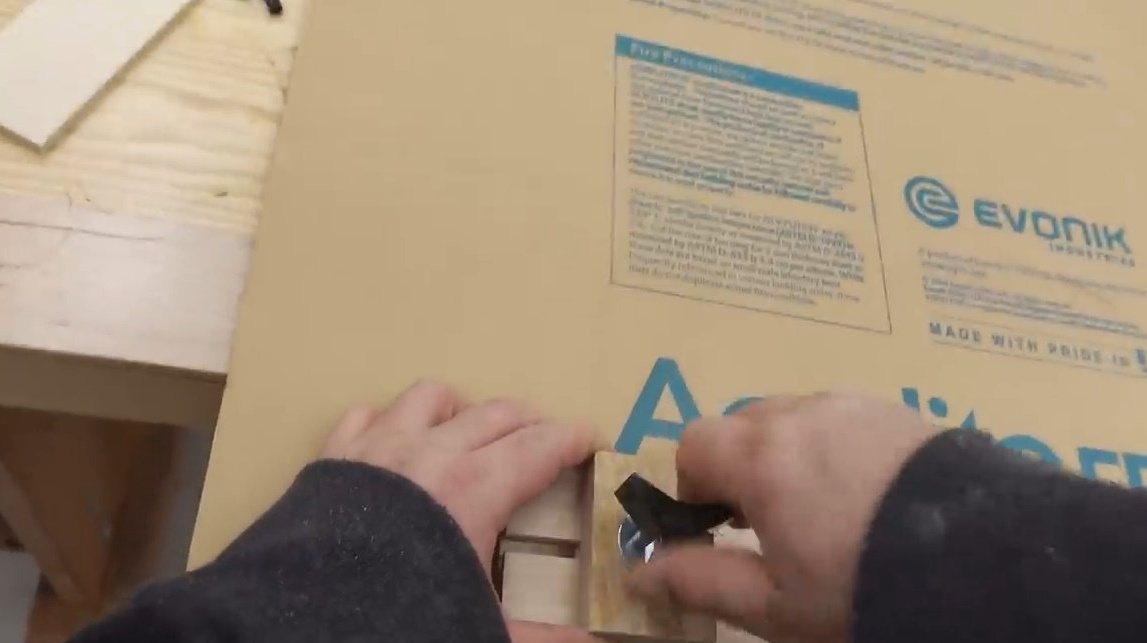
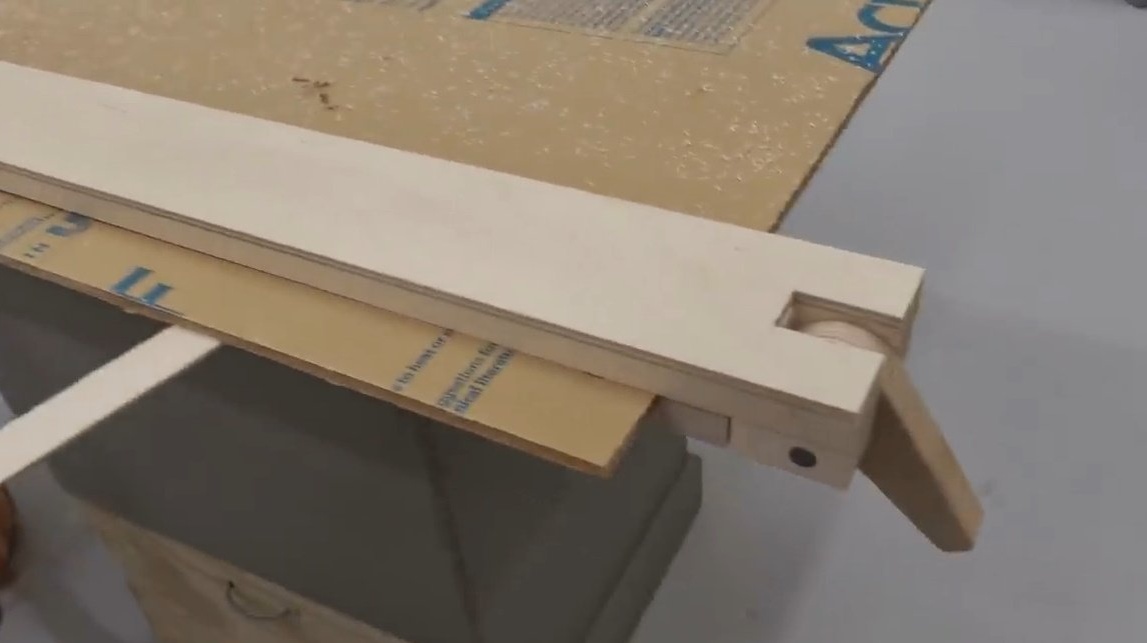
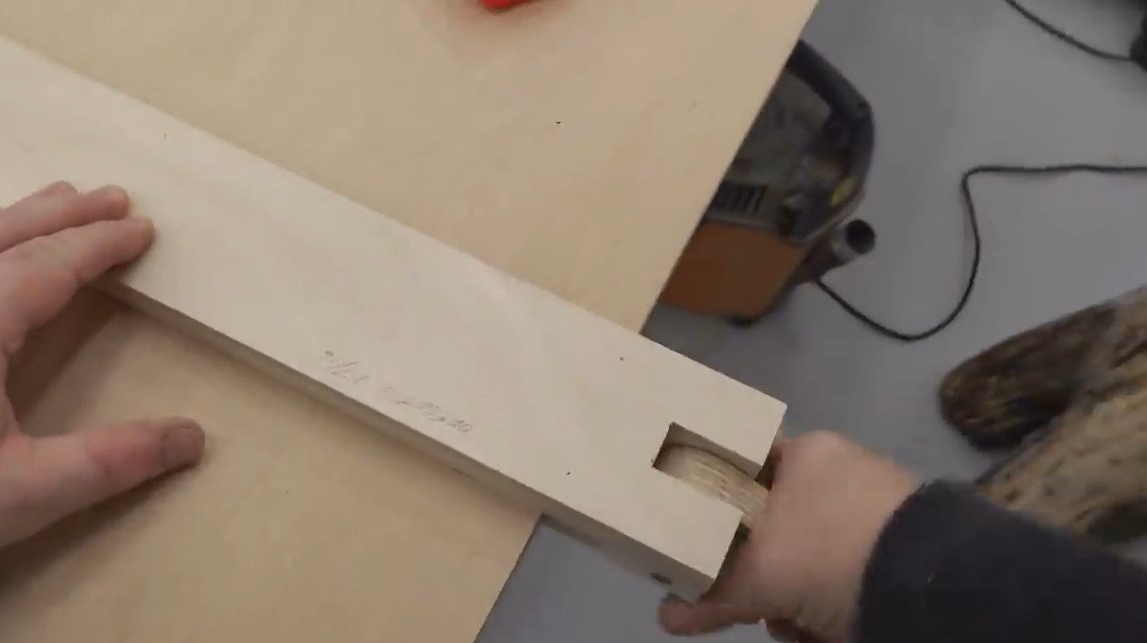
And while the glue dries, John finishes assembling the movable stop. The clamping bolt must be glued into the hole countersinked under the head. To do this, the author greases it with a quick-setting epoxy resin.
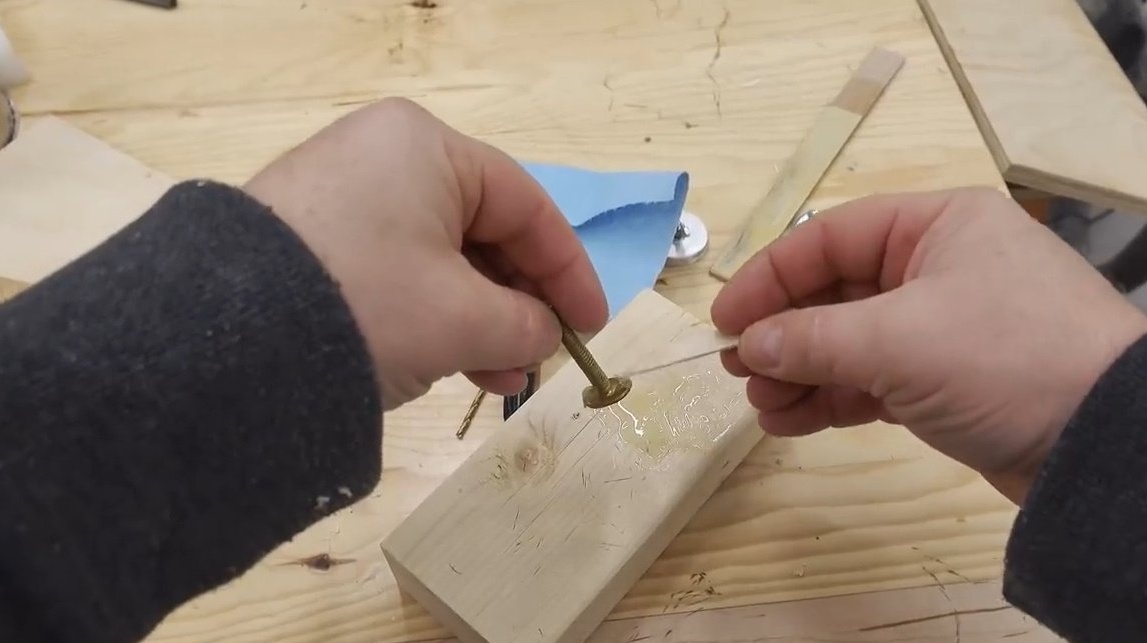
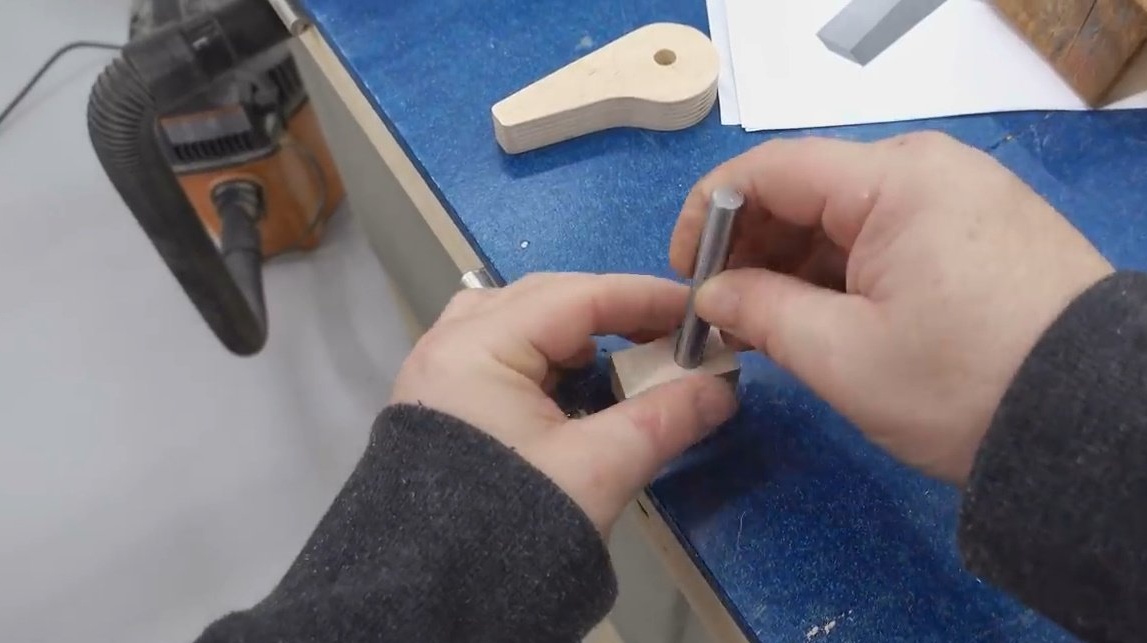
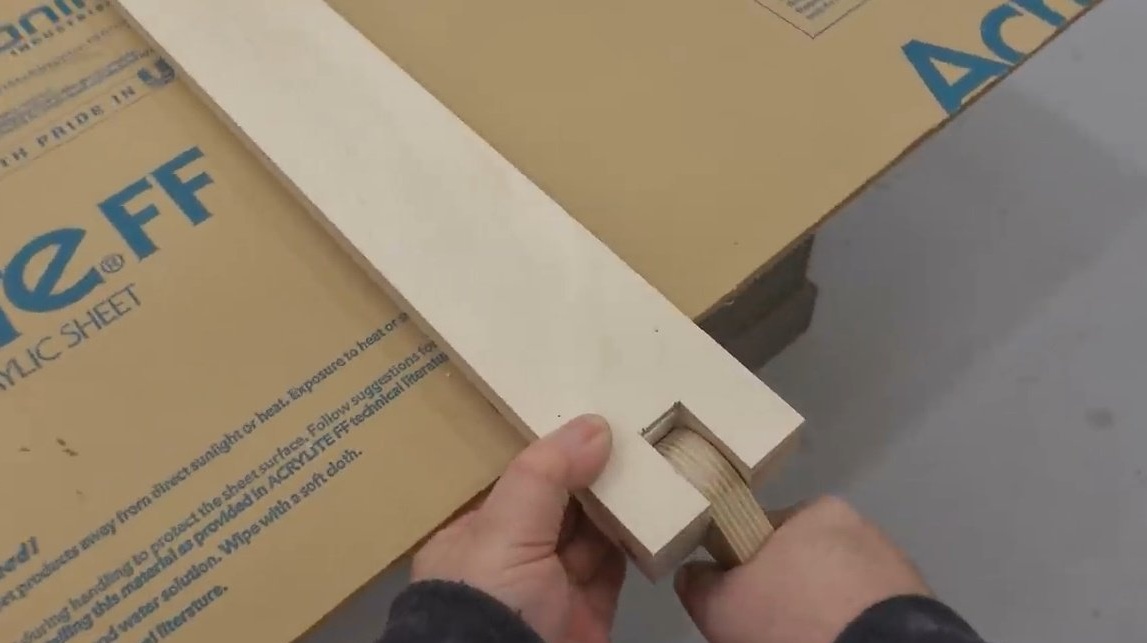
As long as he has the remaining resin, he glues a 10 mm dowel at the end of the clamping block. It will be a kind of guide.
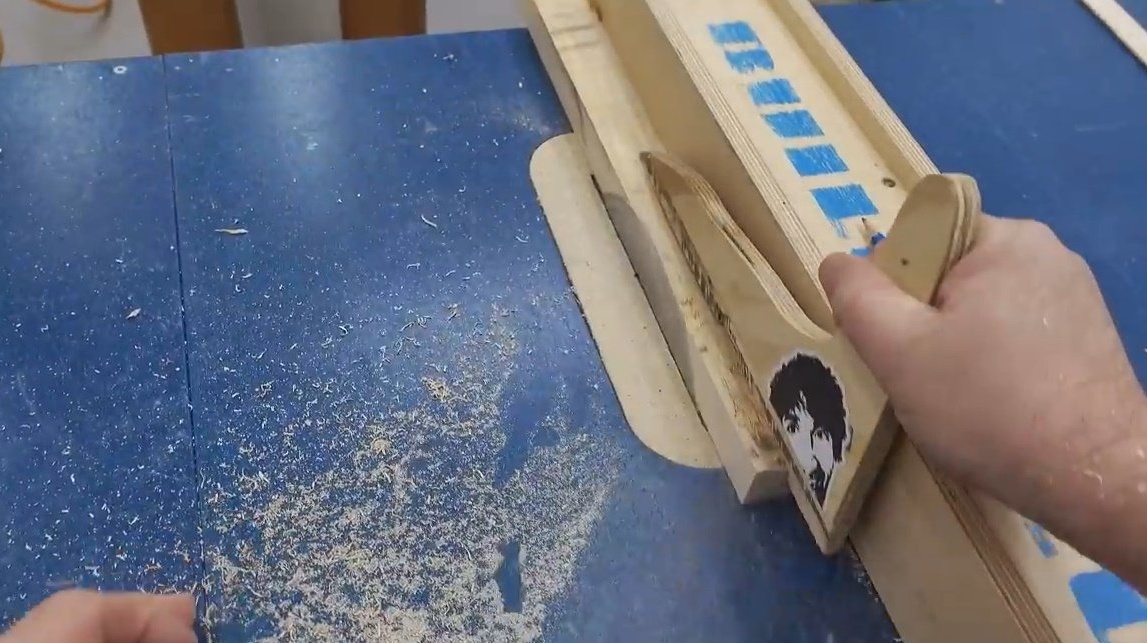
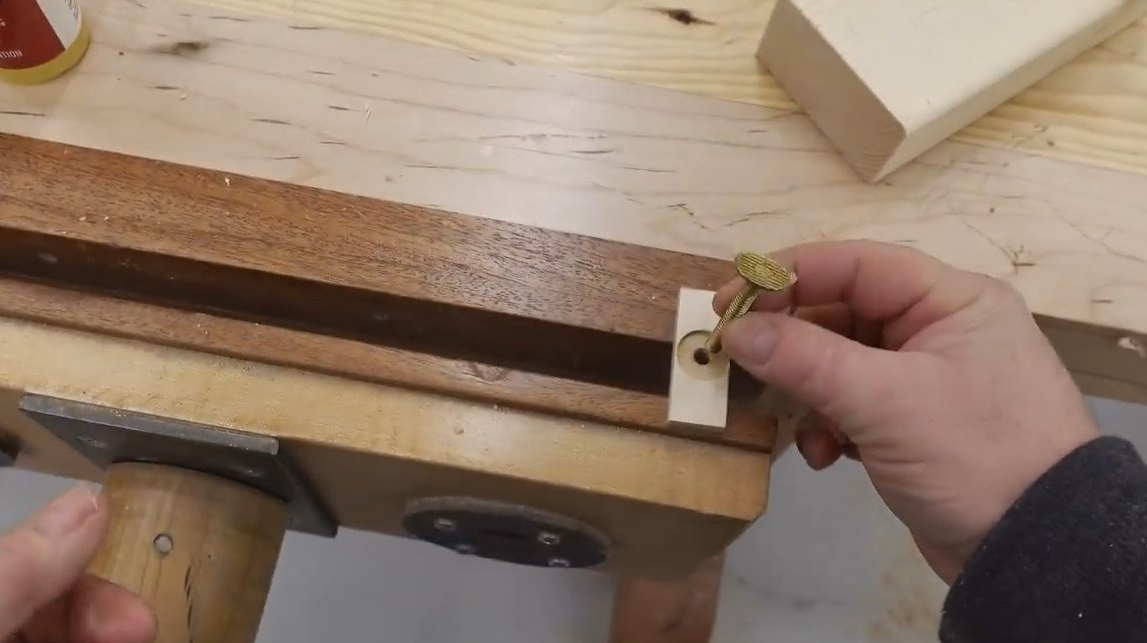
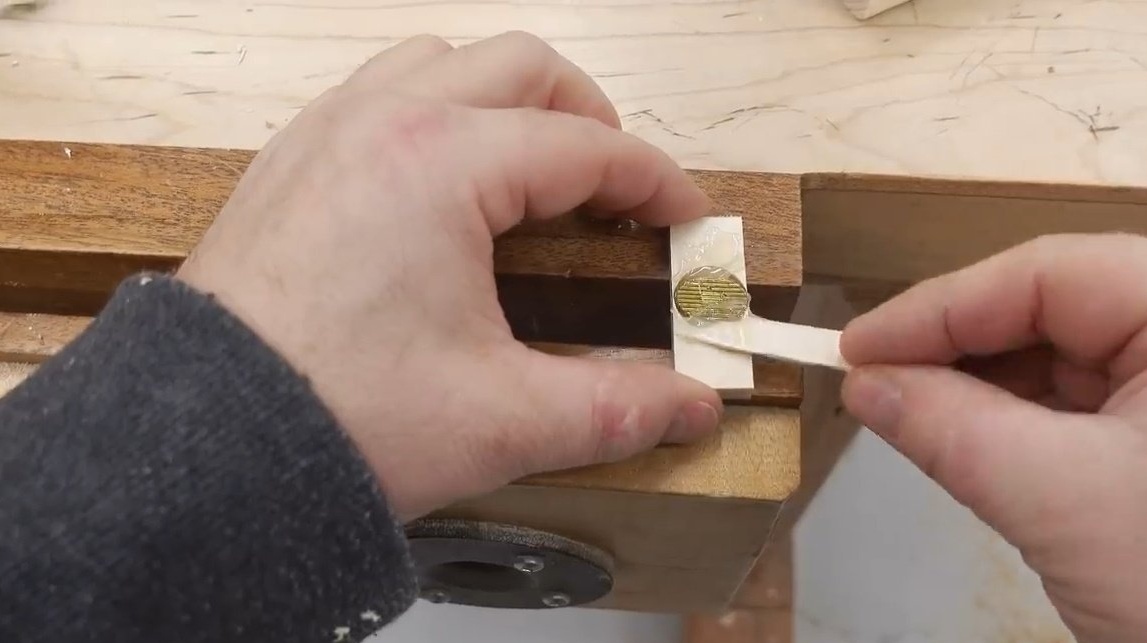
Then, John countersinks the hole in the front clamping block and screws two layers of plastic plates onto it so that the screw cap is completely immersed in the material.

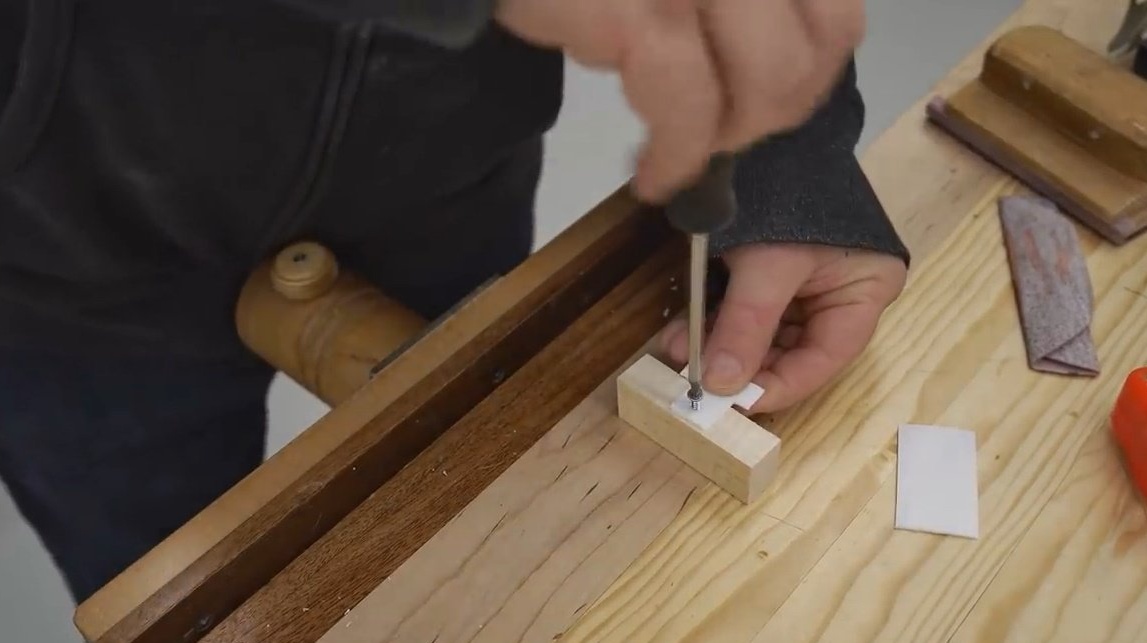
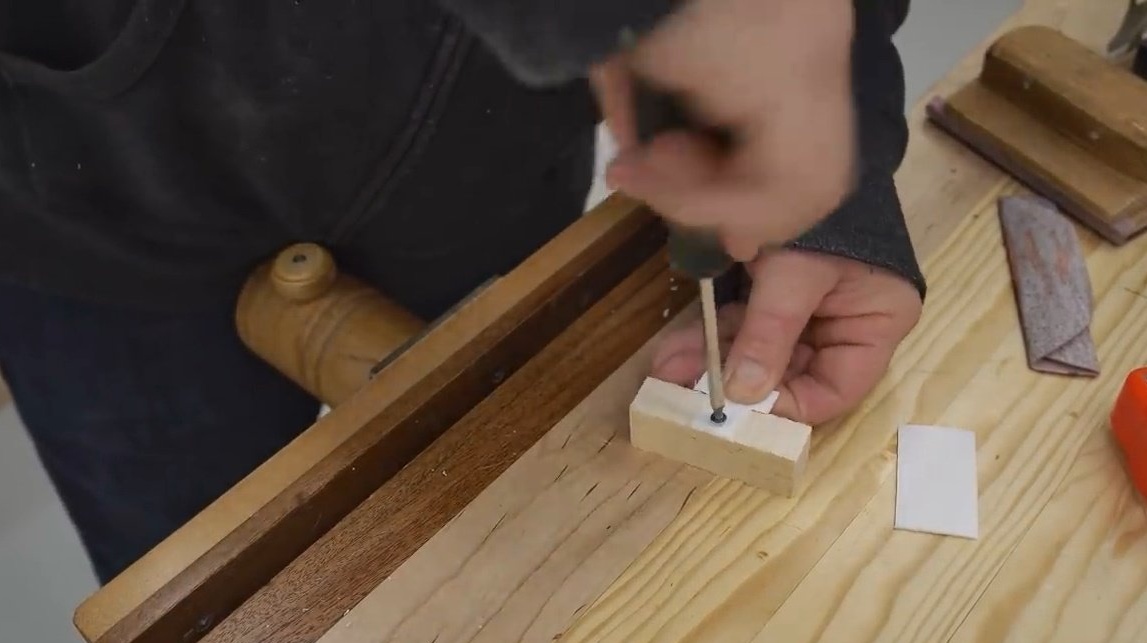
This is a slippery plastic that the author borrowed from an ice cream container.
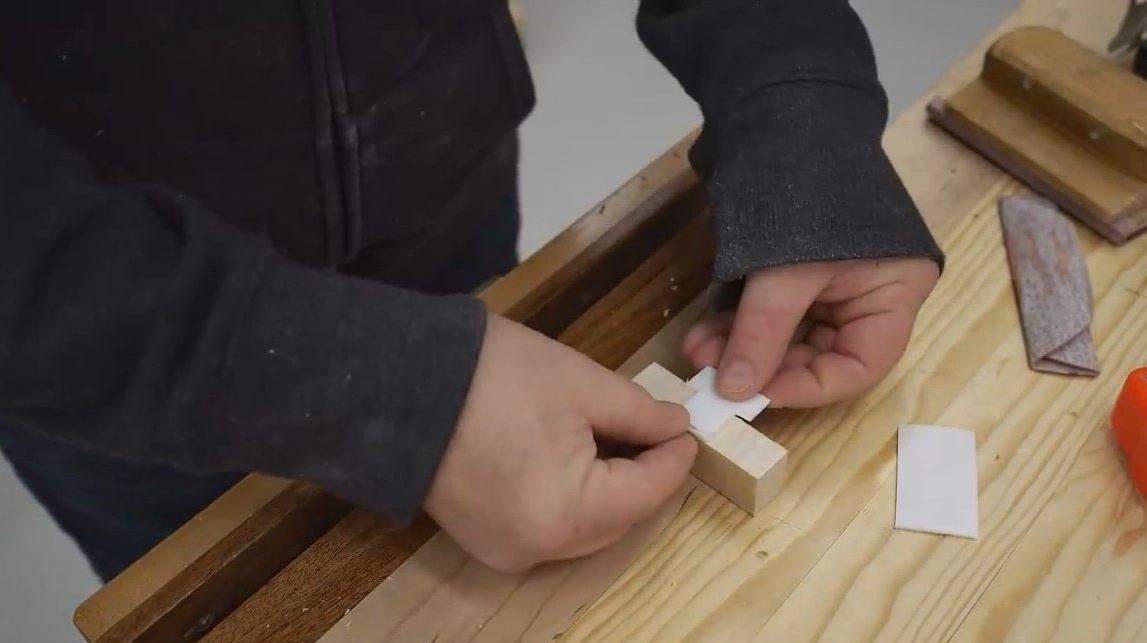
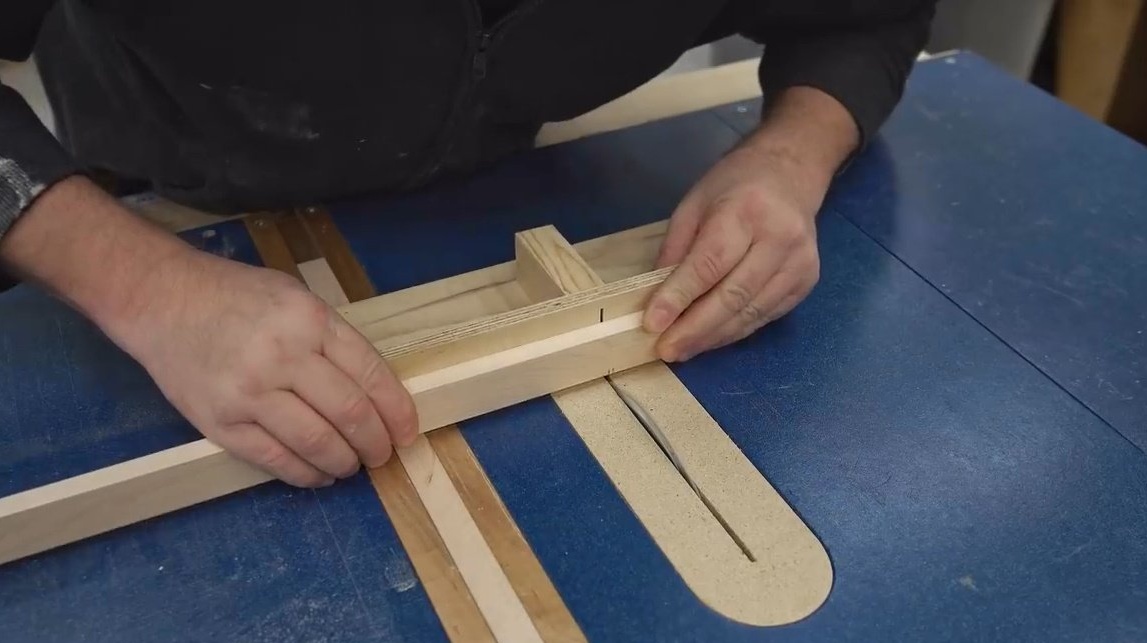
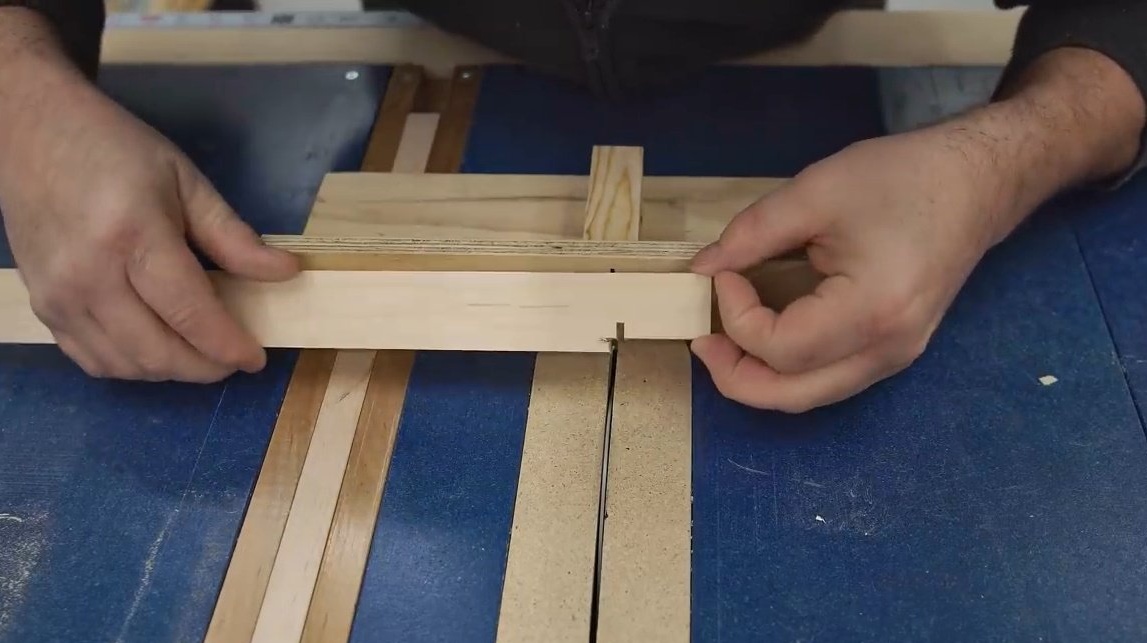
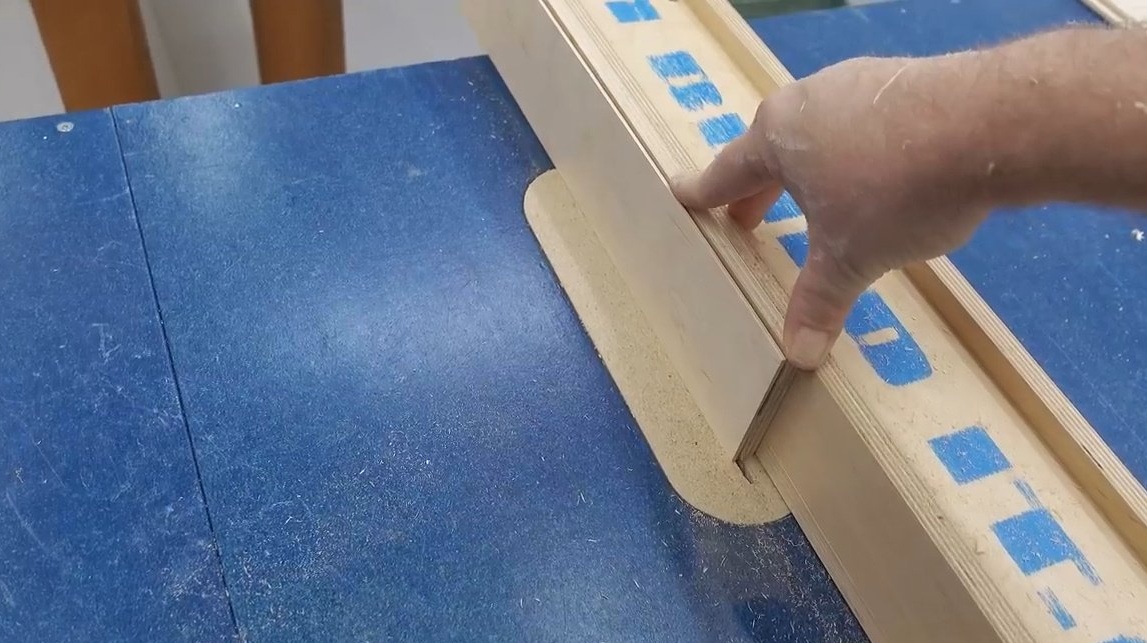
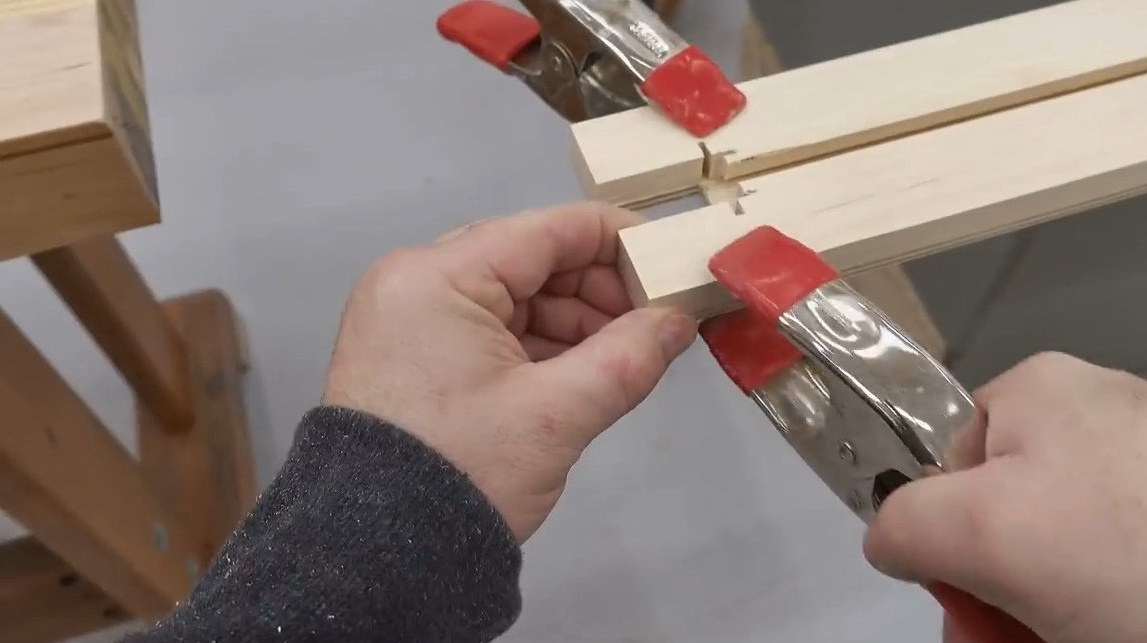
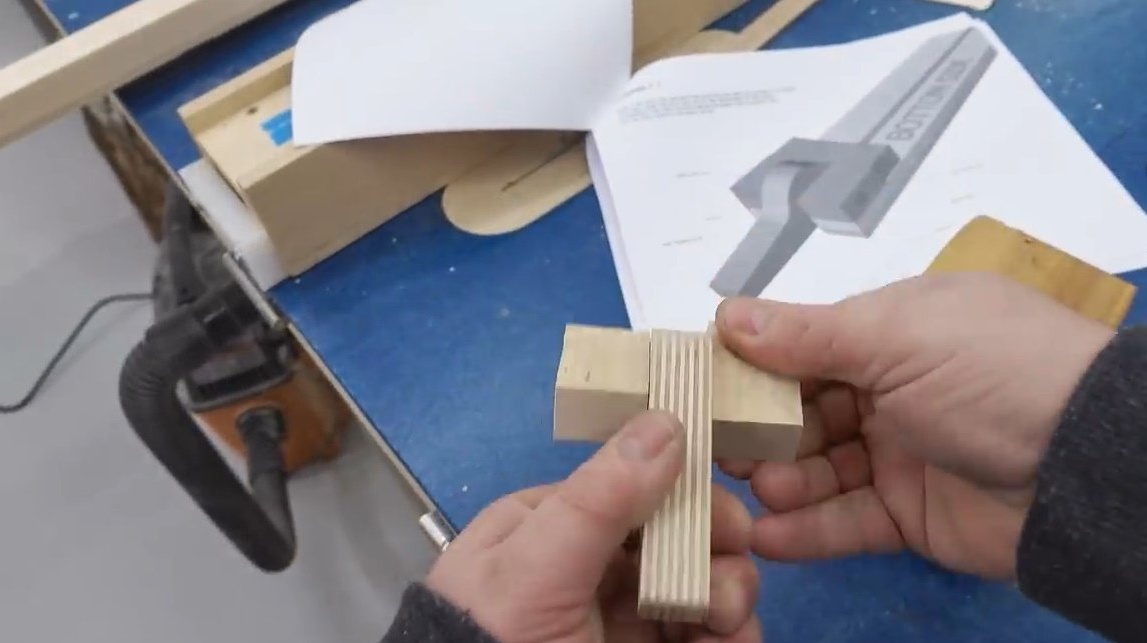
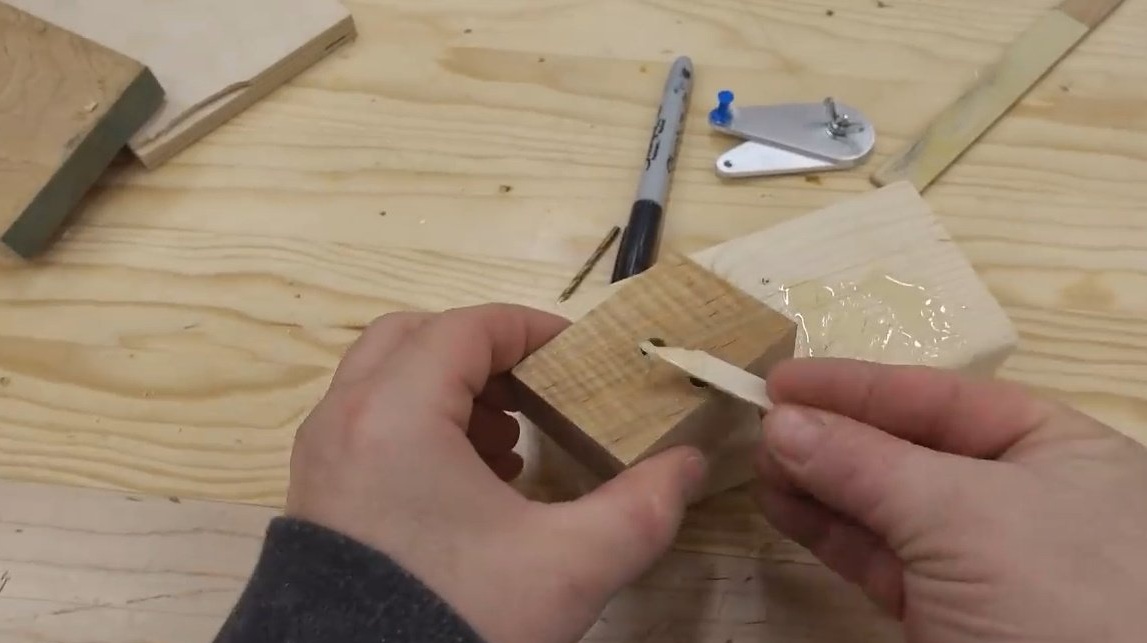
The glue on the slats froze, and the master inserts the plates into the grooves. The number of layers depends on the thickness of the plastic. It took John 4 layers to fill the slot.
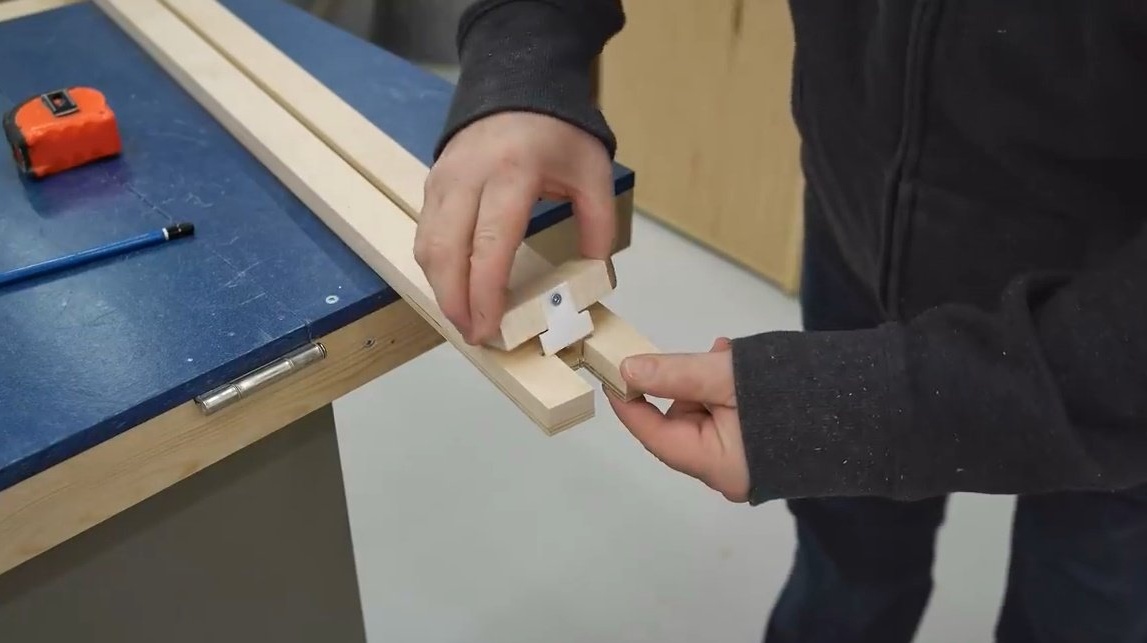
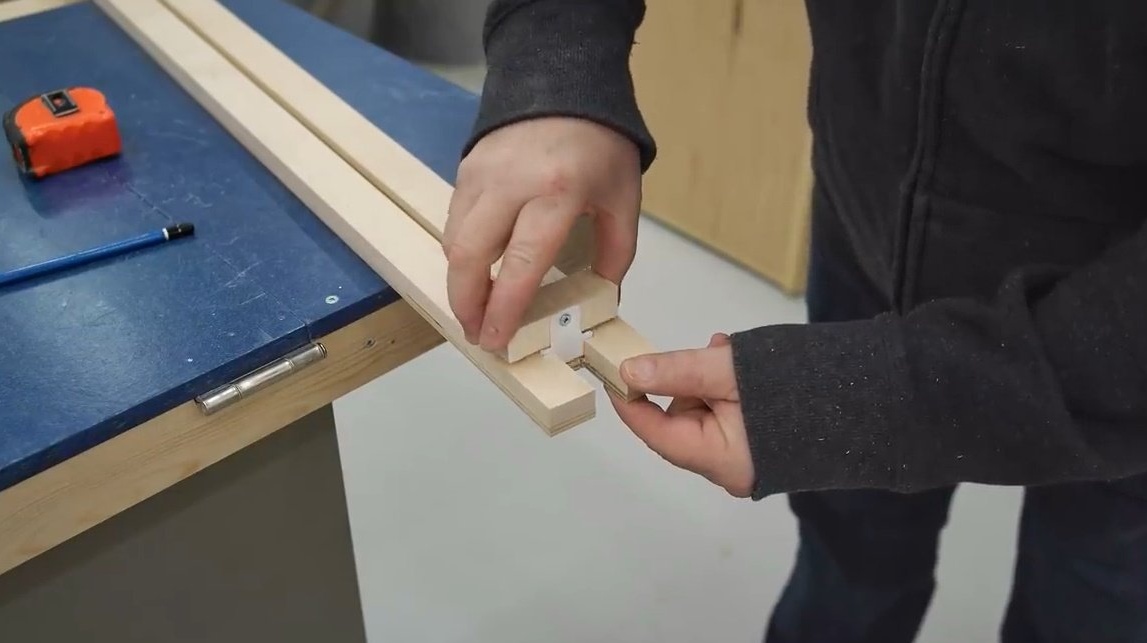
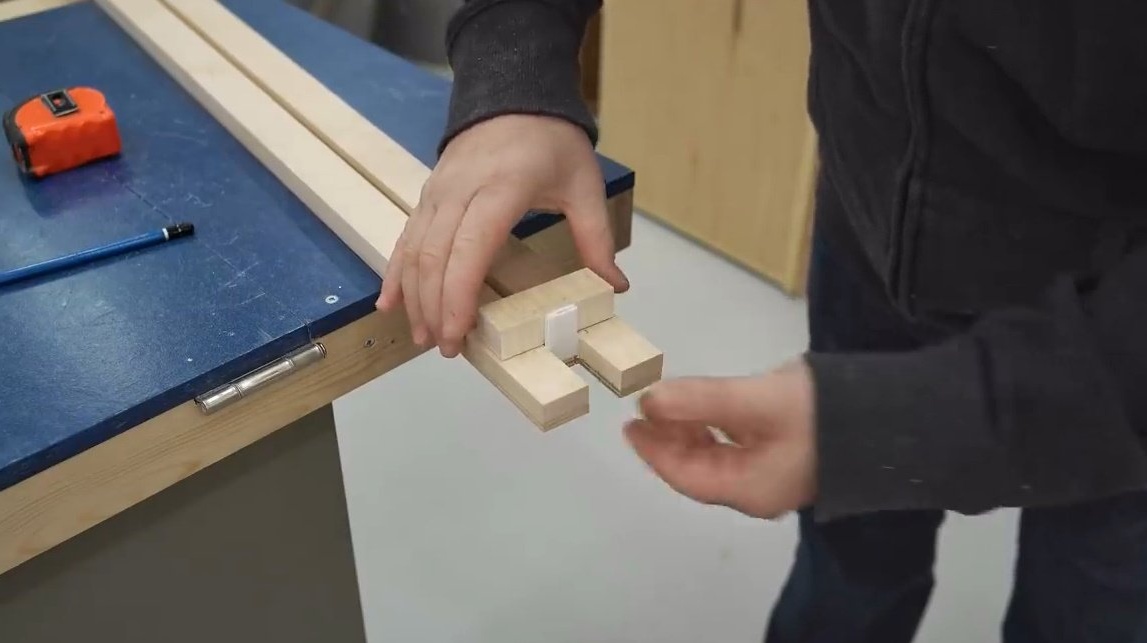
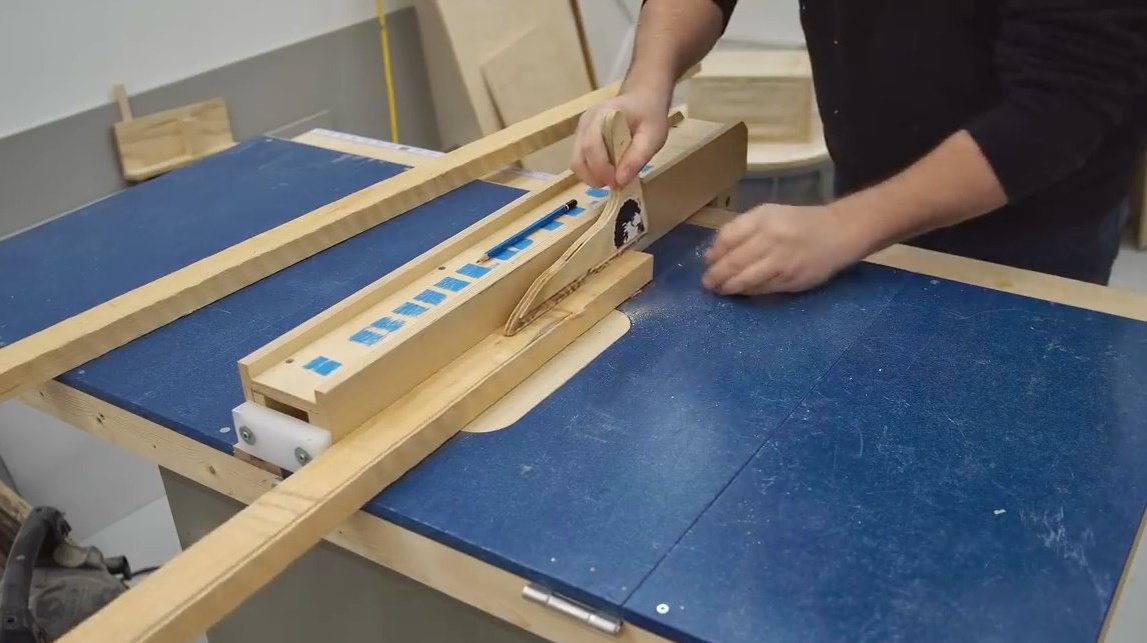
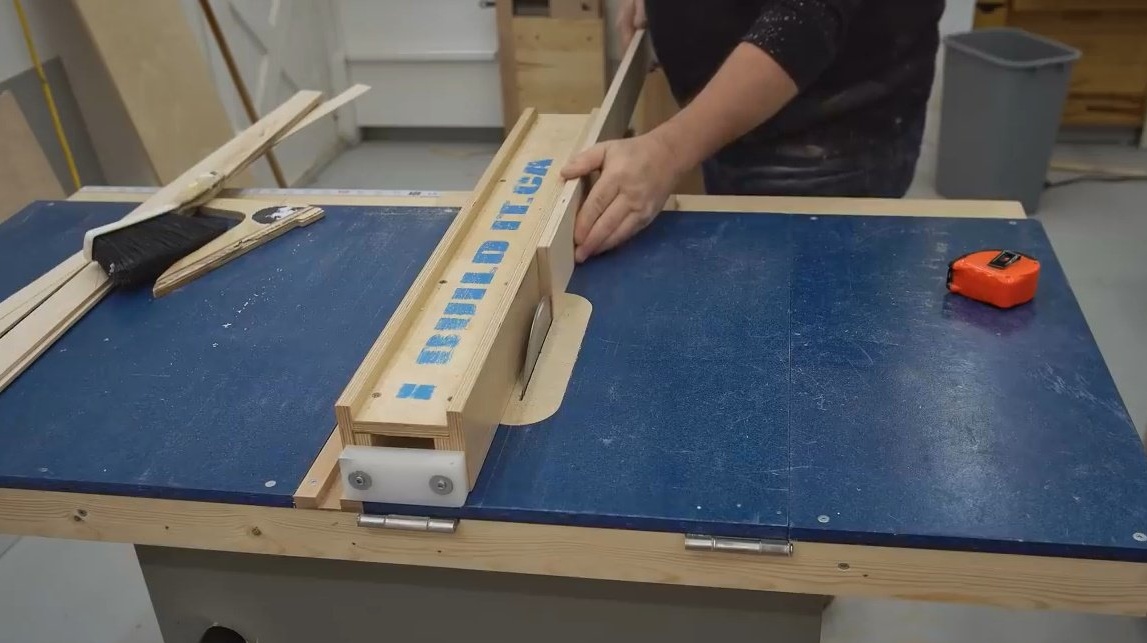
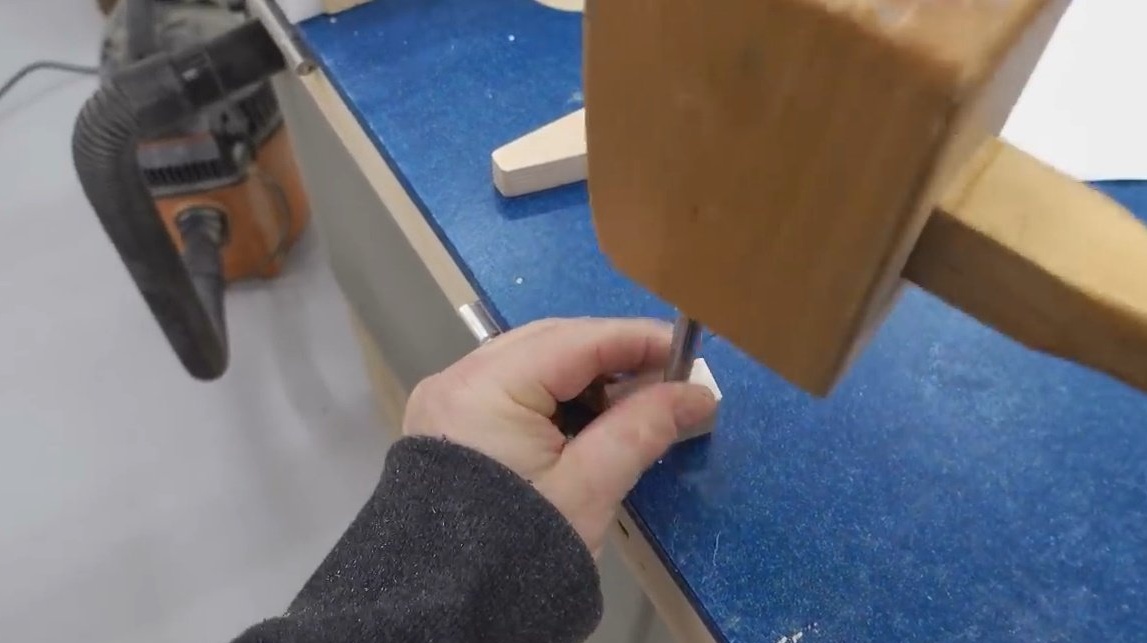
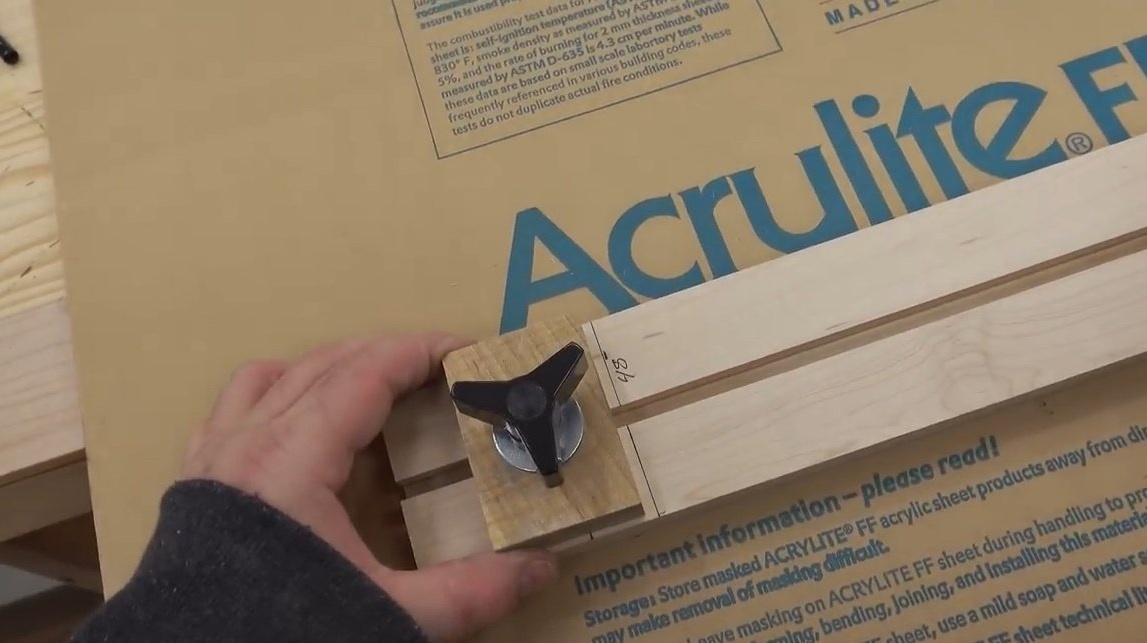
By temporarily securing the support block in place, it will check its functionality.

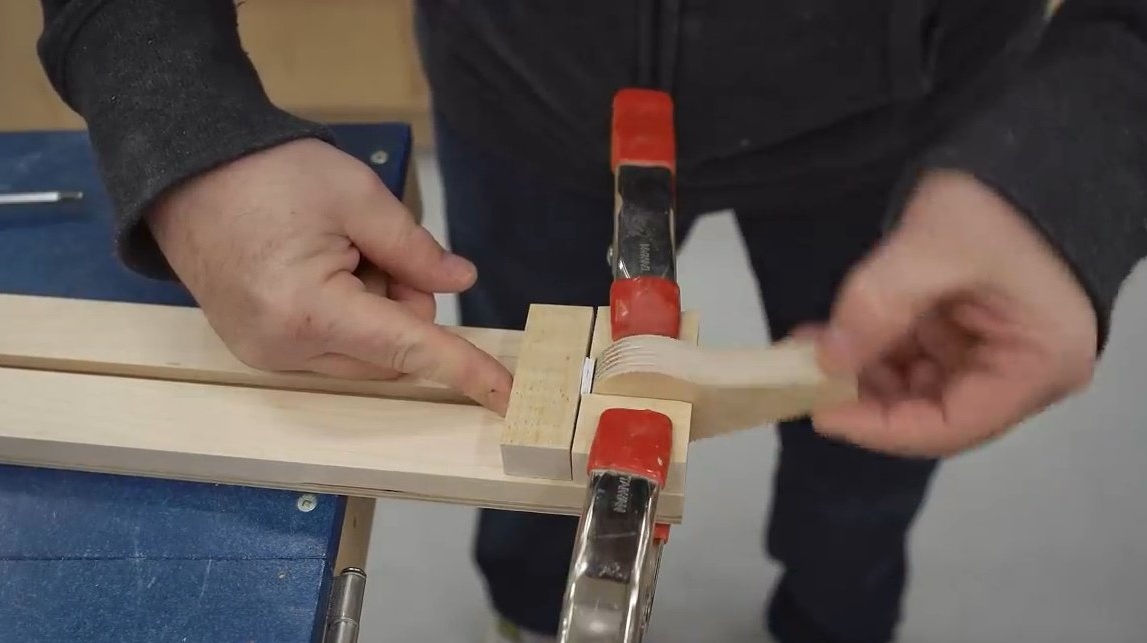
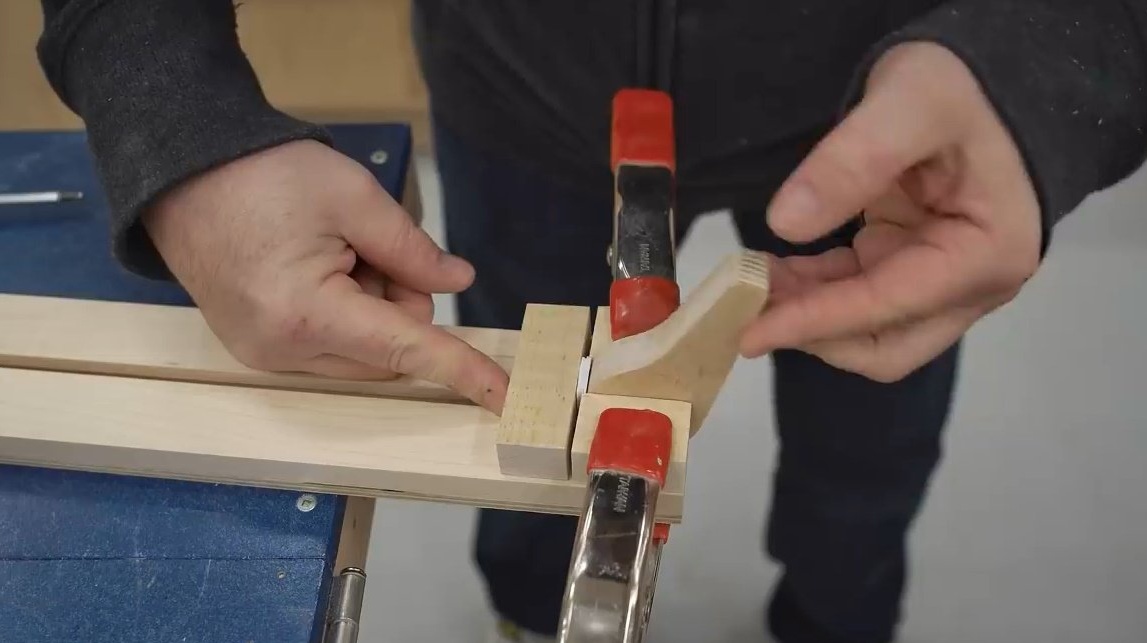
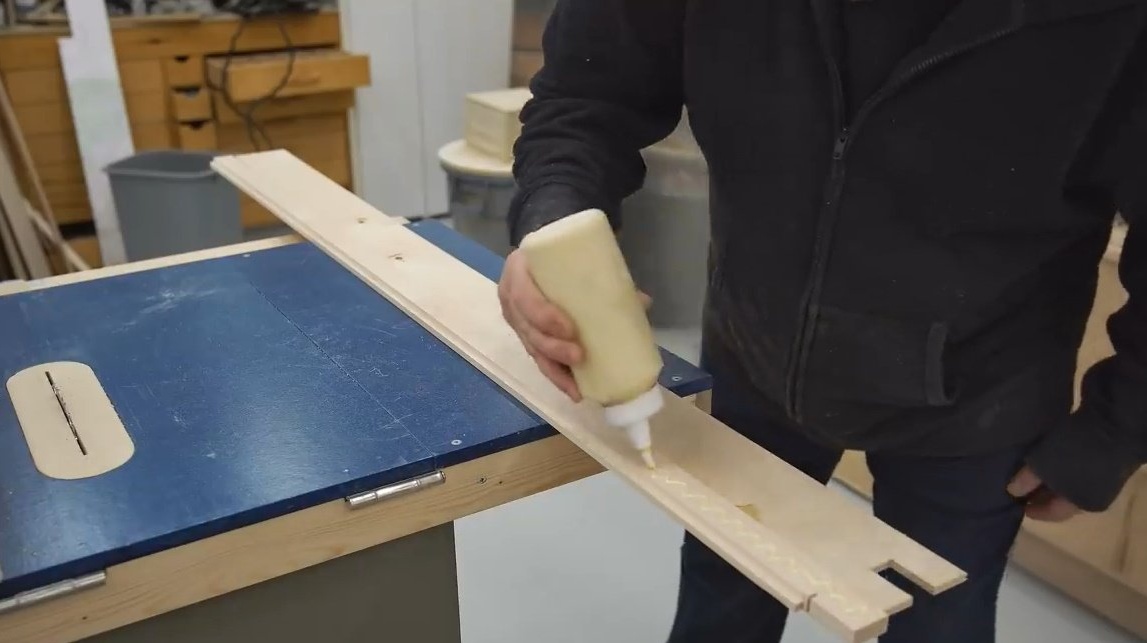
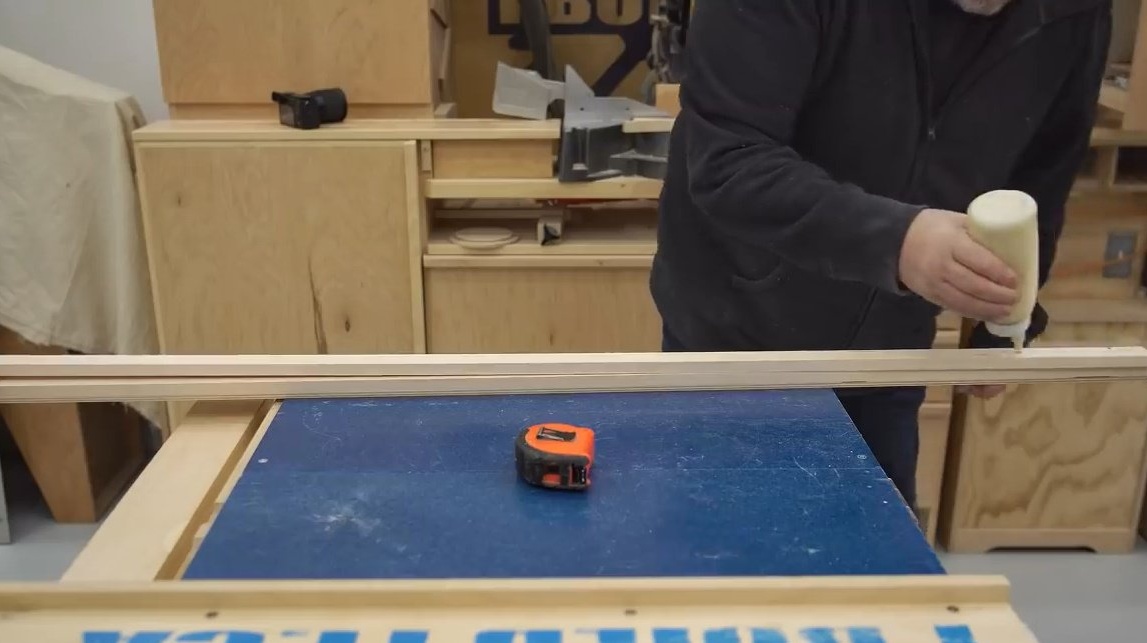
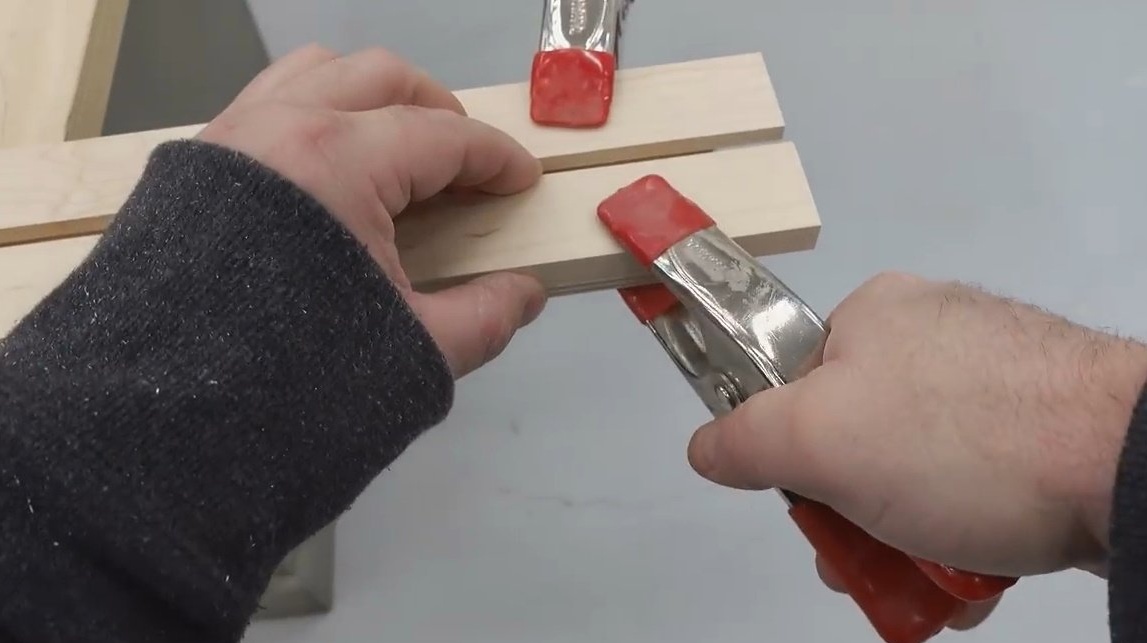
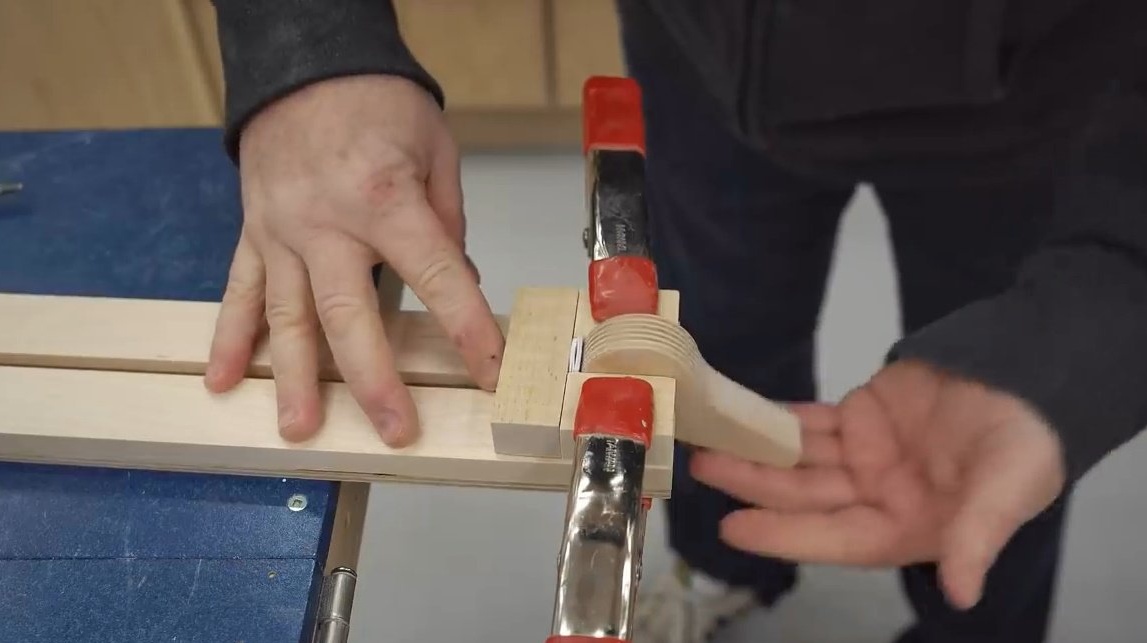
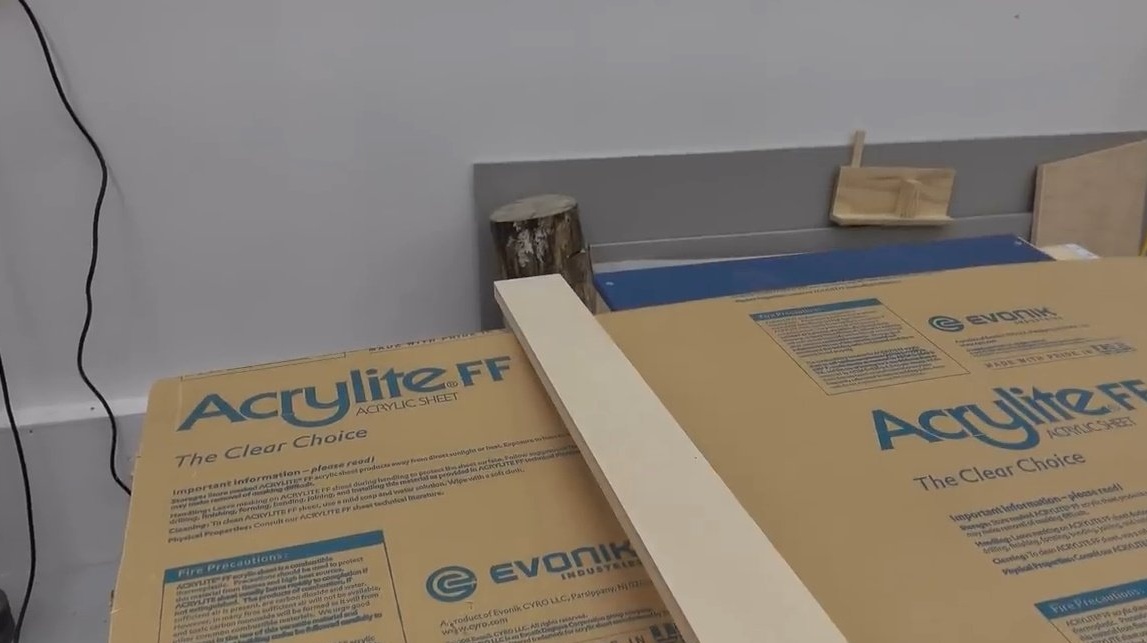
Now the author lubricates everything with glue and applies clamps so that the glue dries quietly.
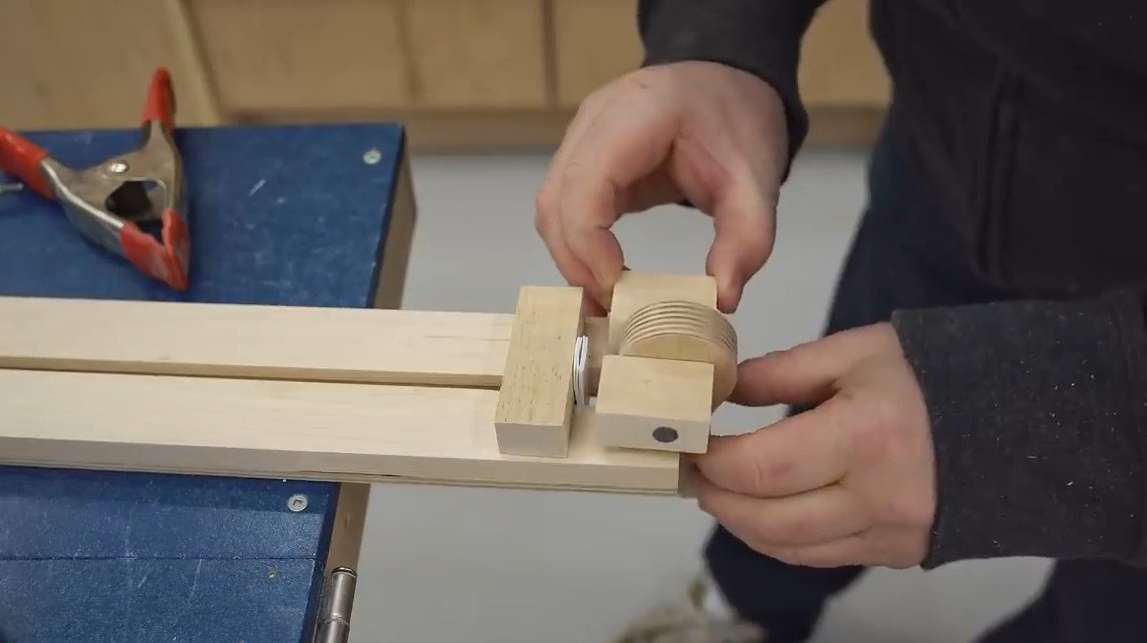
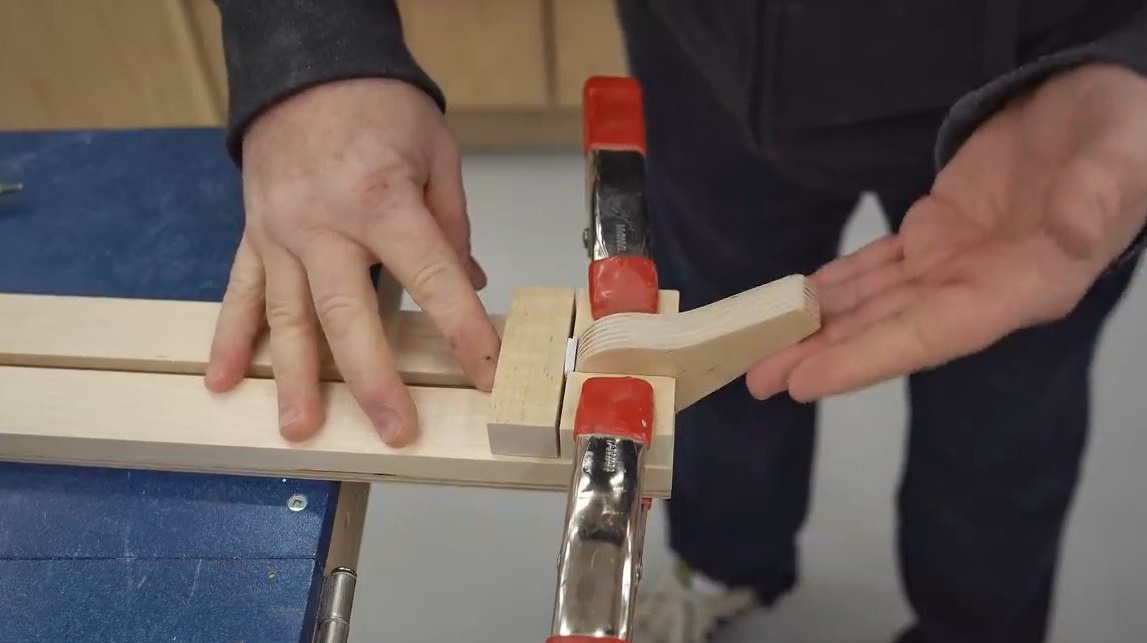
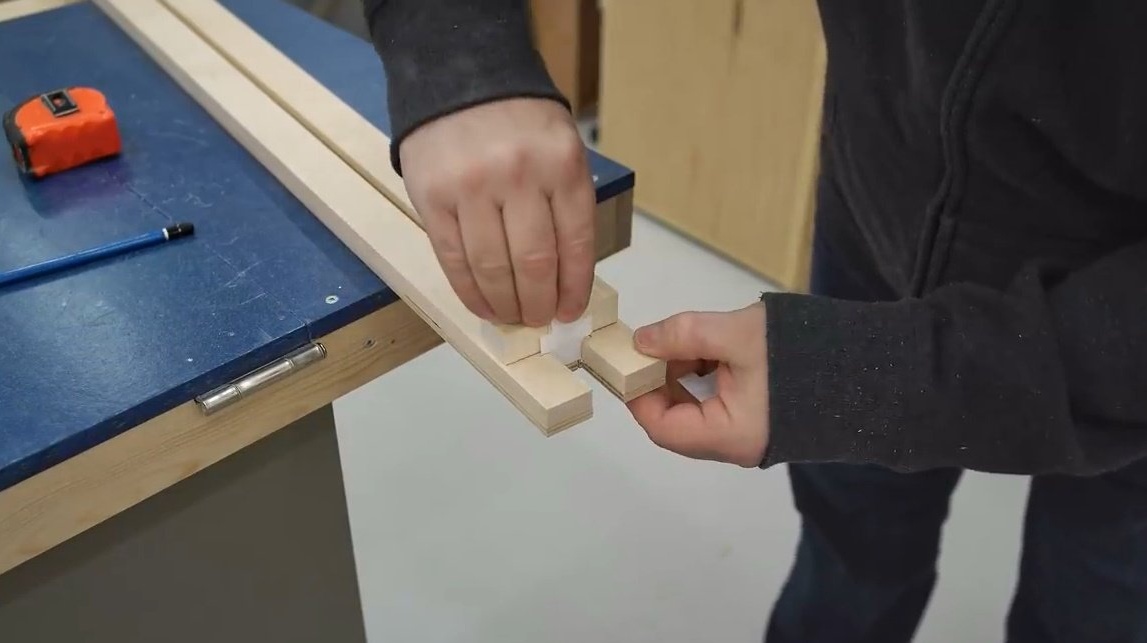
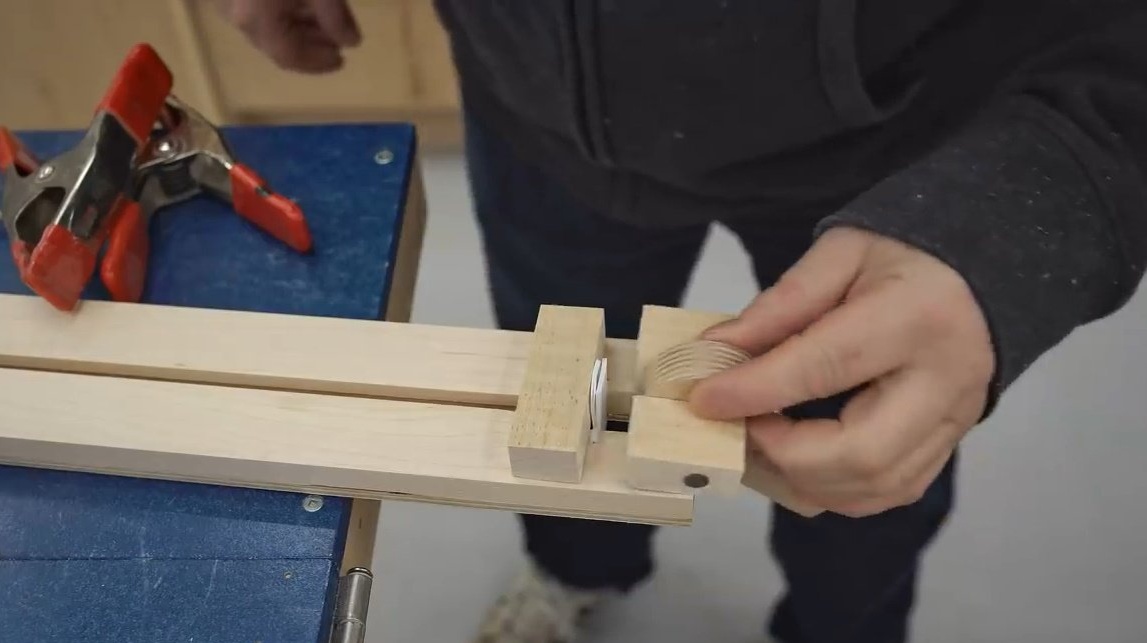
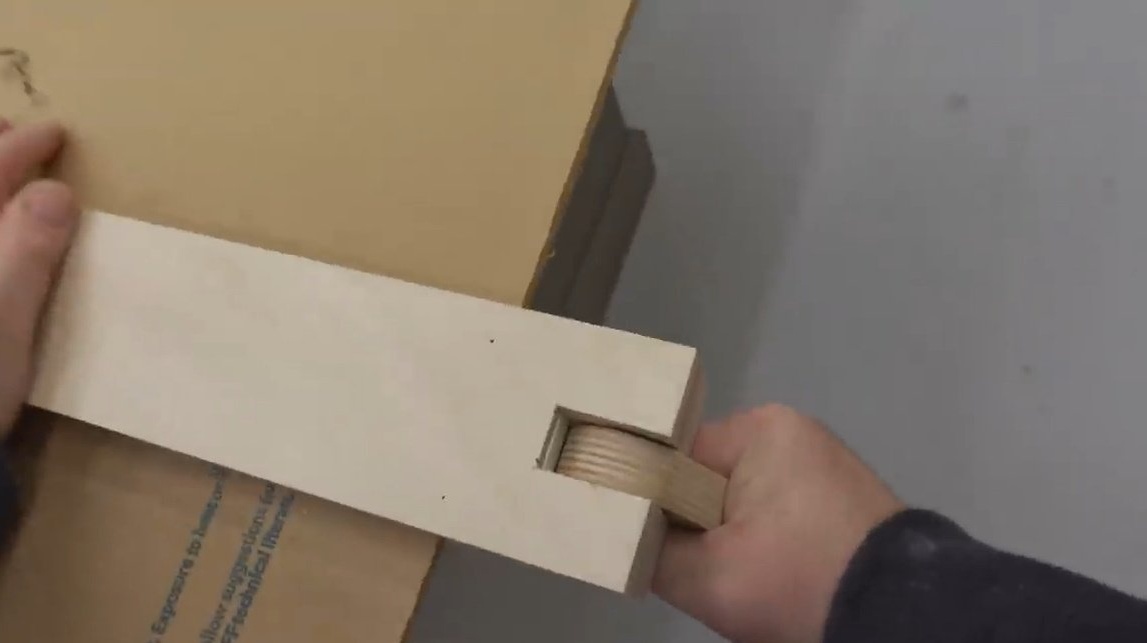
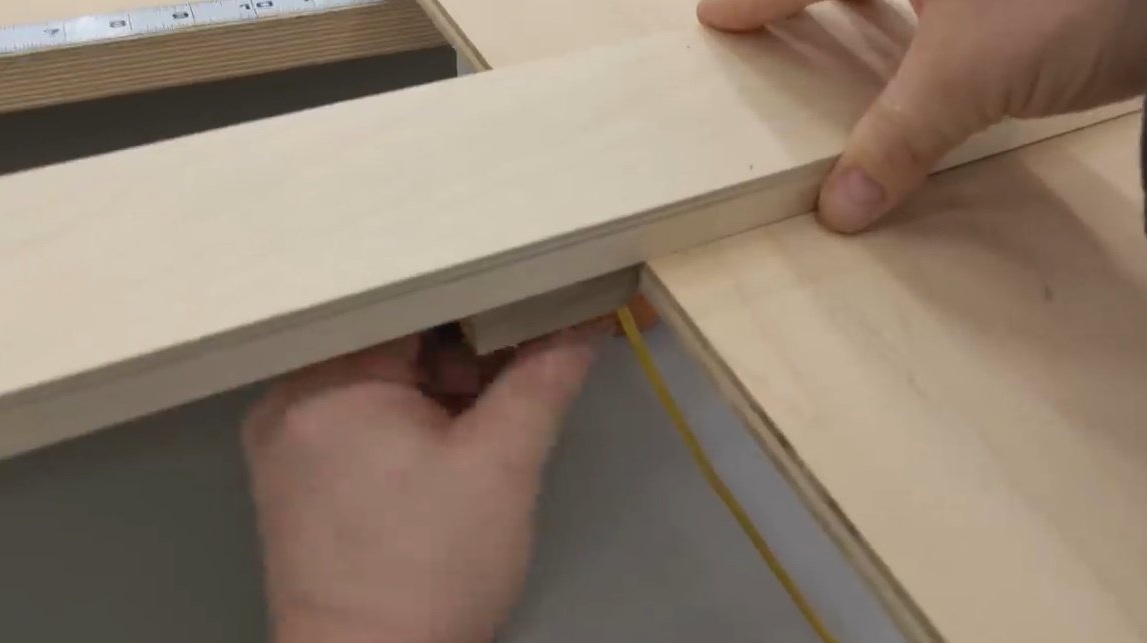
At this time, the epoxy on the bolt has dried. The author removes its excess and checks that the movable stop moves easily and freely in the groove.
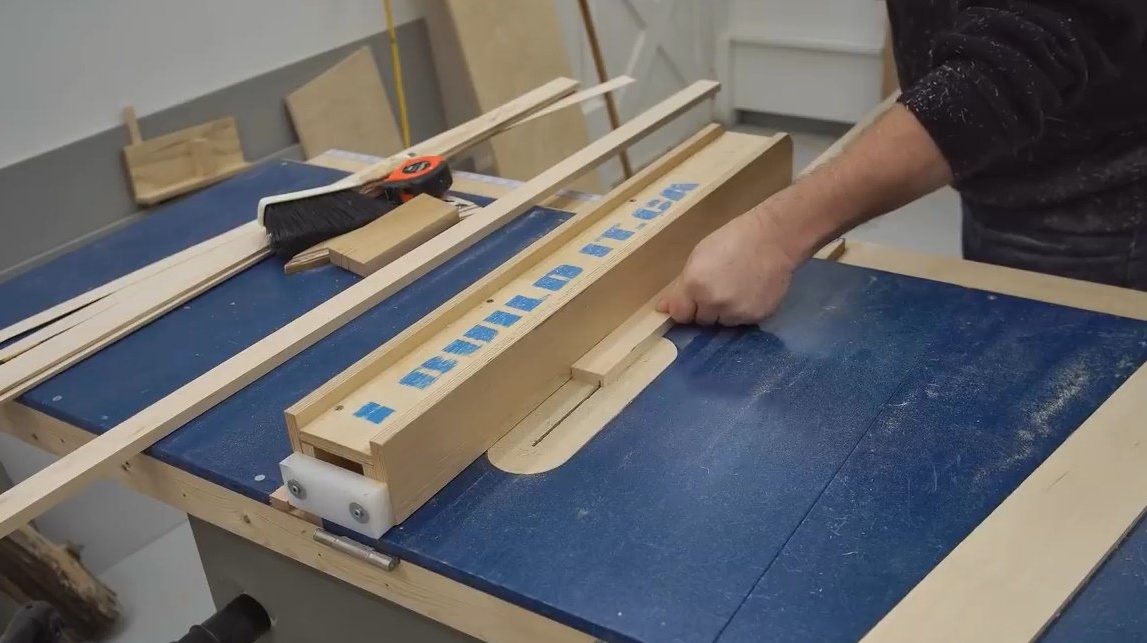
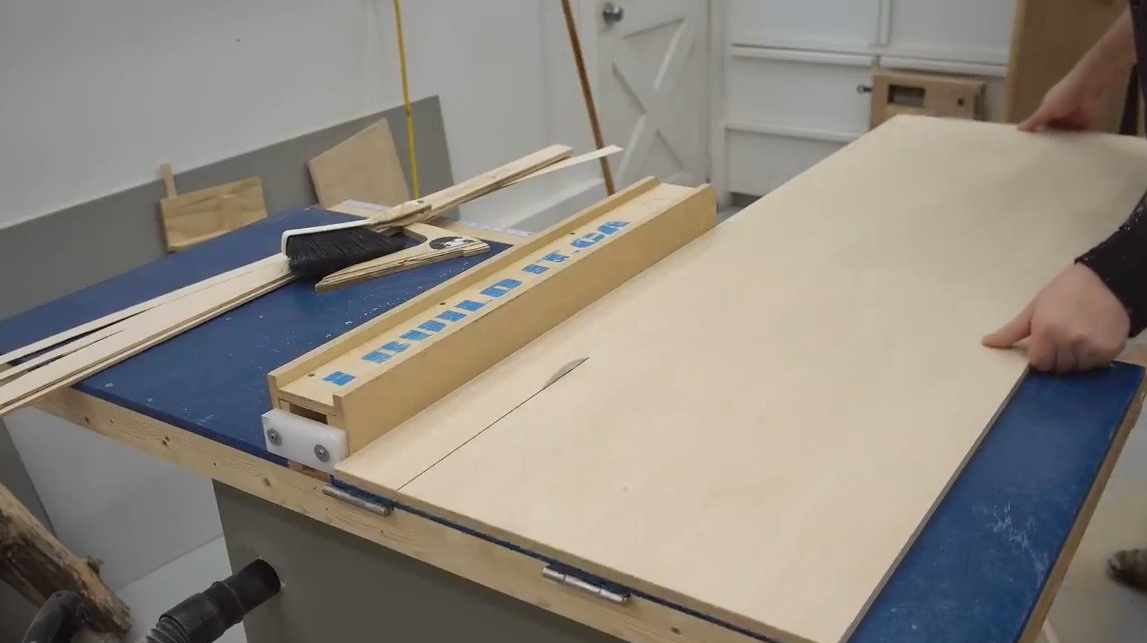
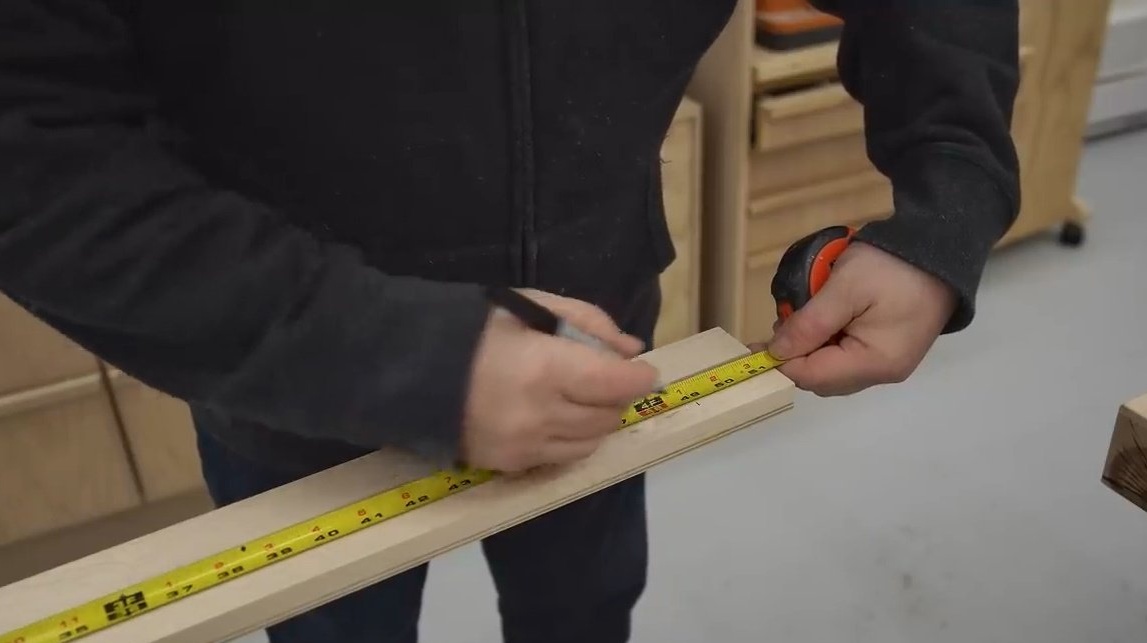
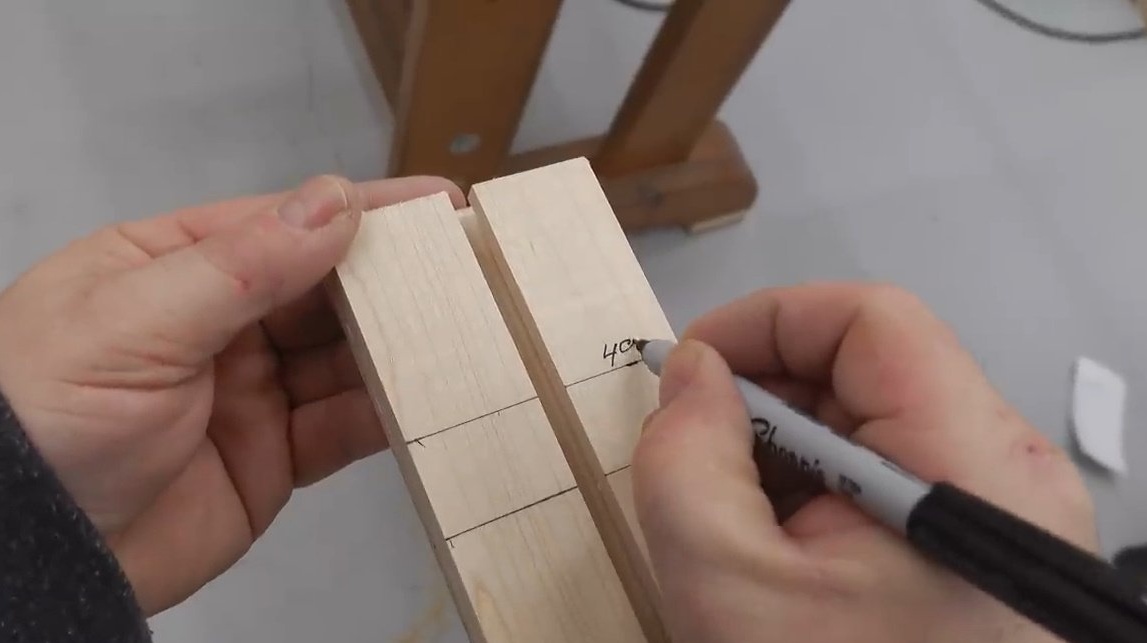
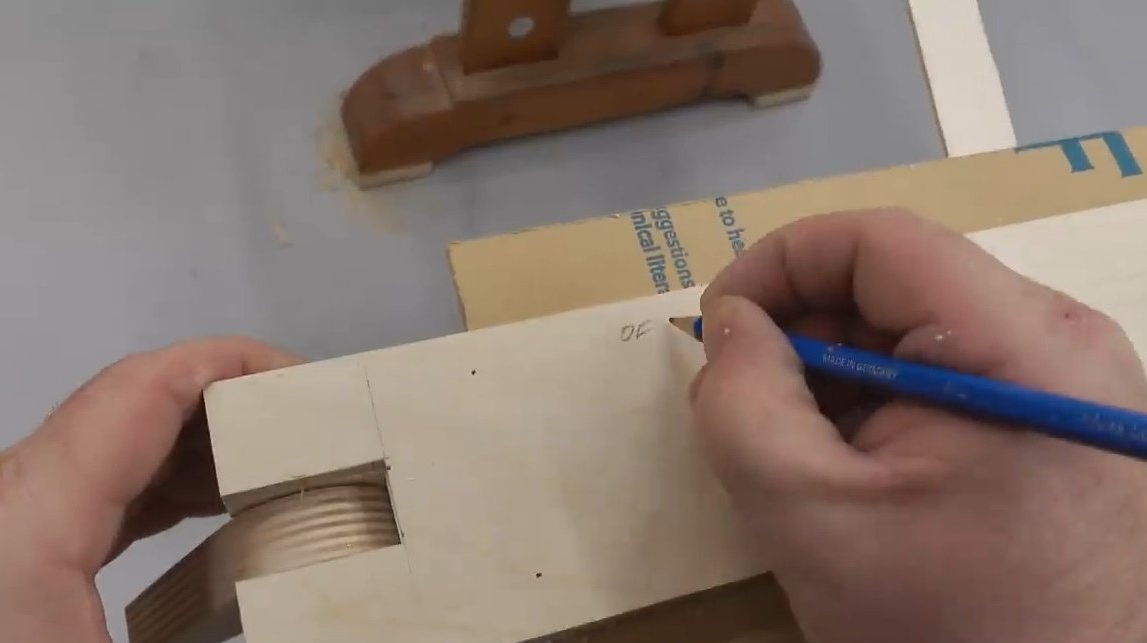
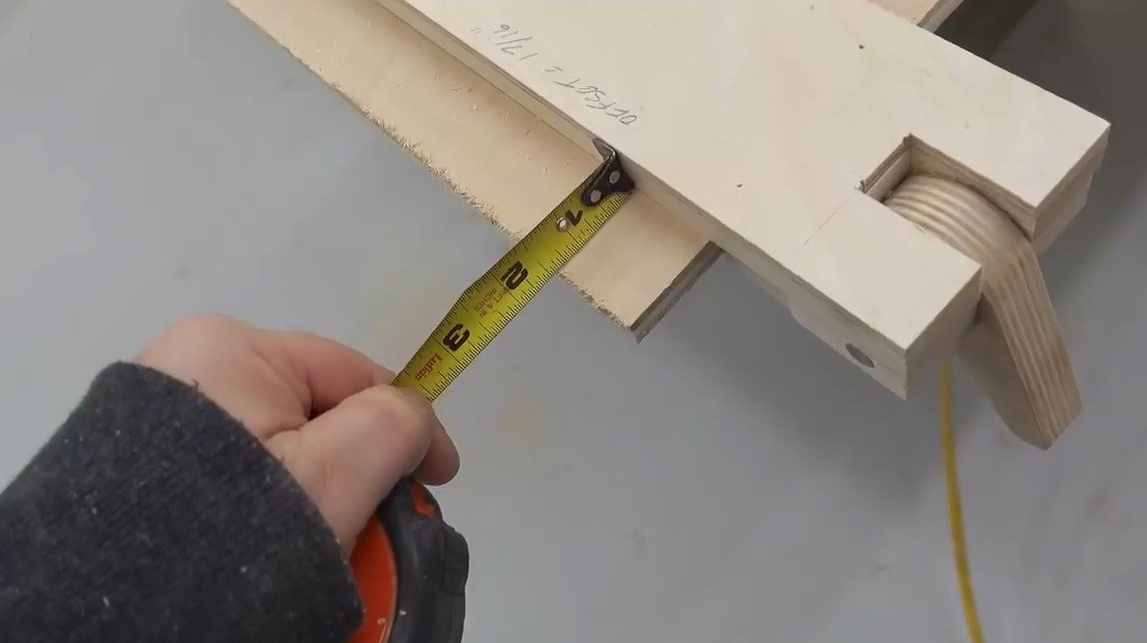
Before installing the clamping block, he makes a few marks for sheets of regular plywood, 48 inches wide. It is convenient when this distance is marked in advance.
The master leaves the guide to dry overnight.
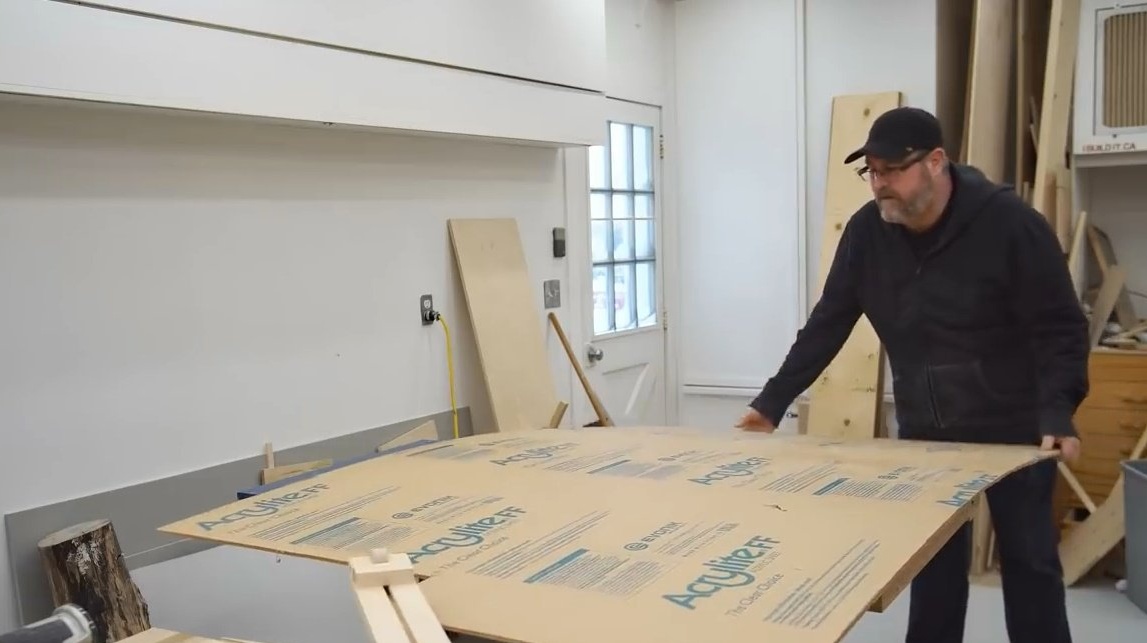

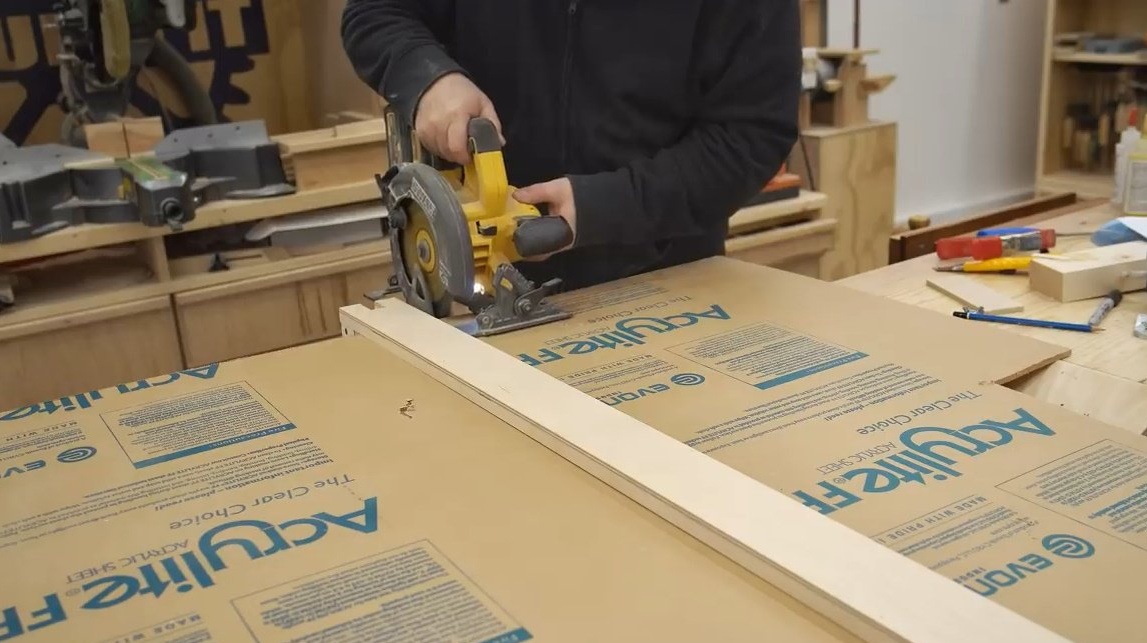
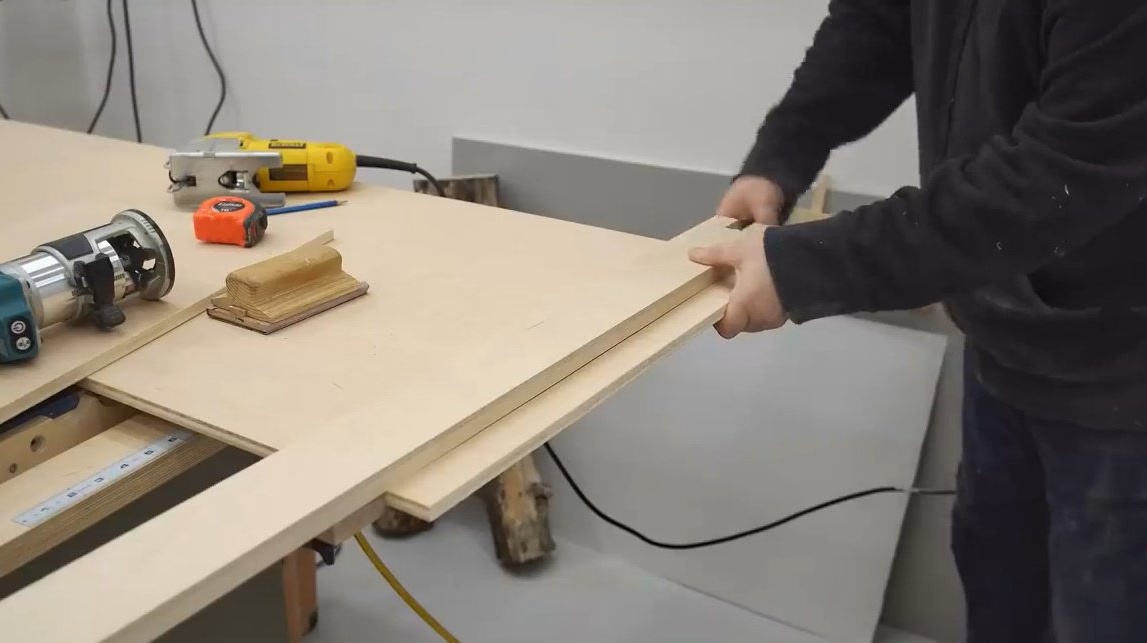
Now it remains only to try. The first is a circular saw.
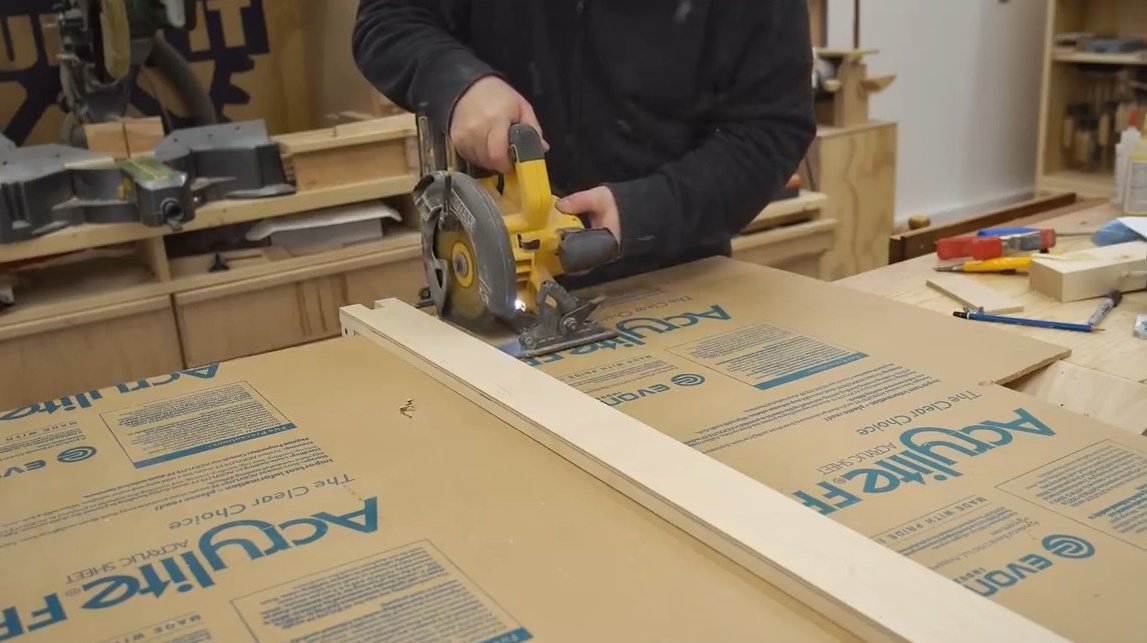
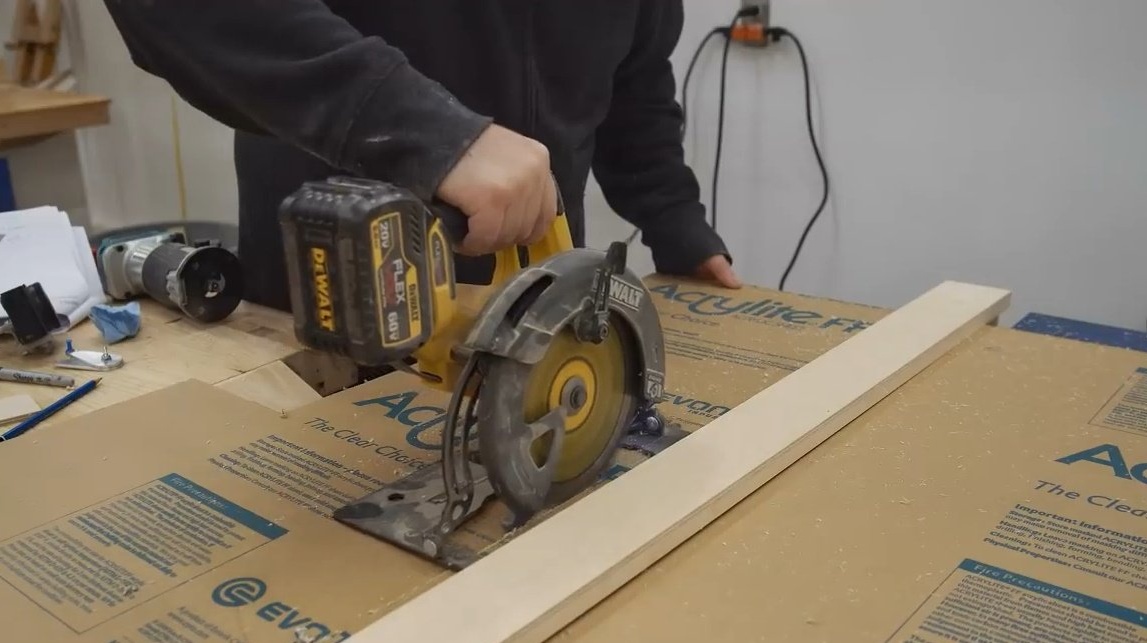
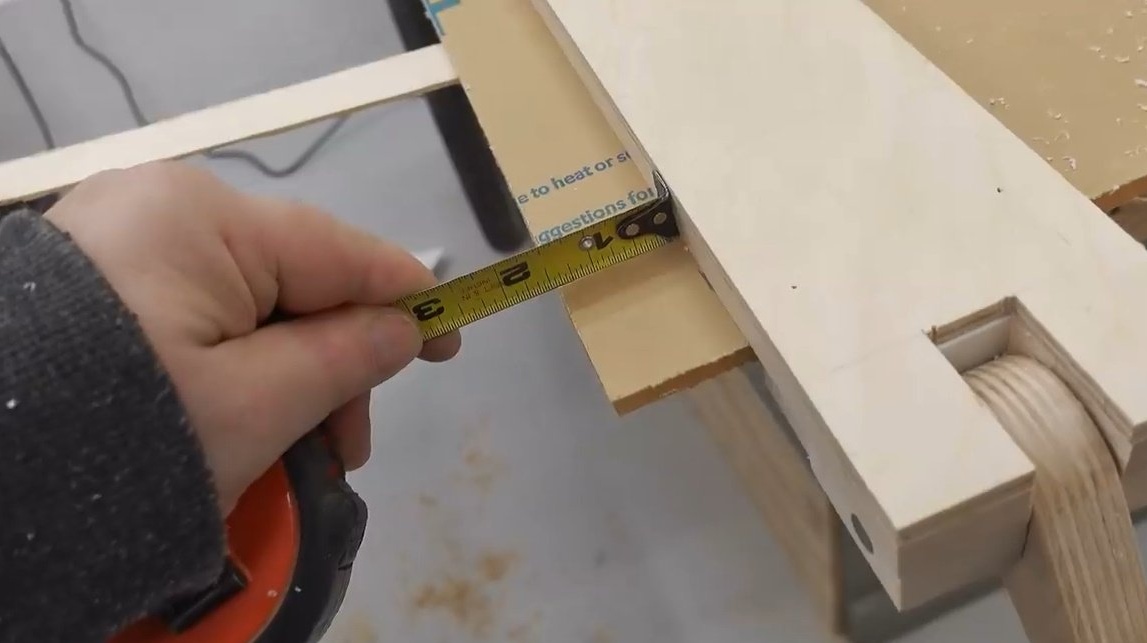
You can immediately transfer the distance that the sole of the saw gives directly to the guide.
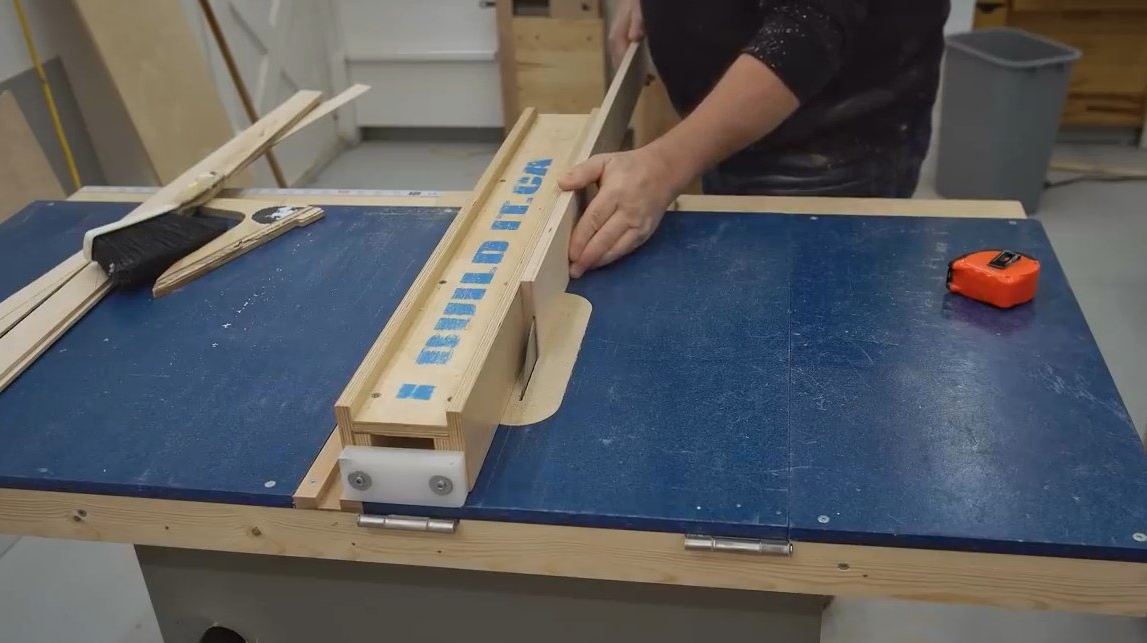
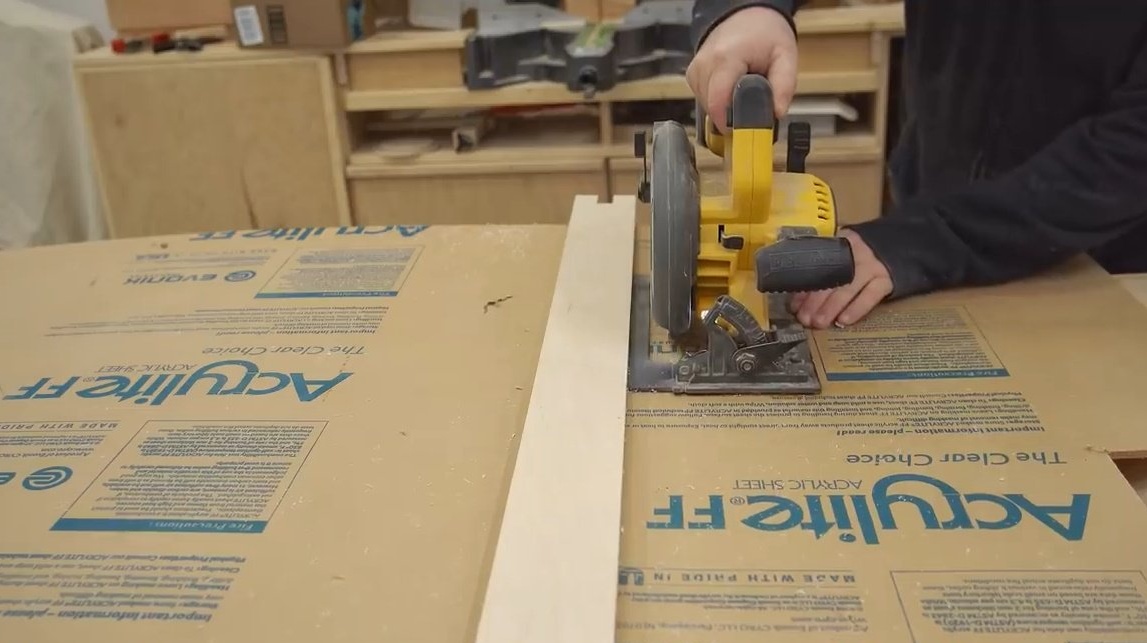
Now John changes the position of the guide, reducing the length.
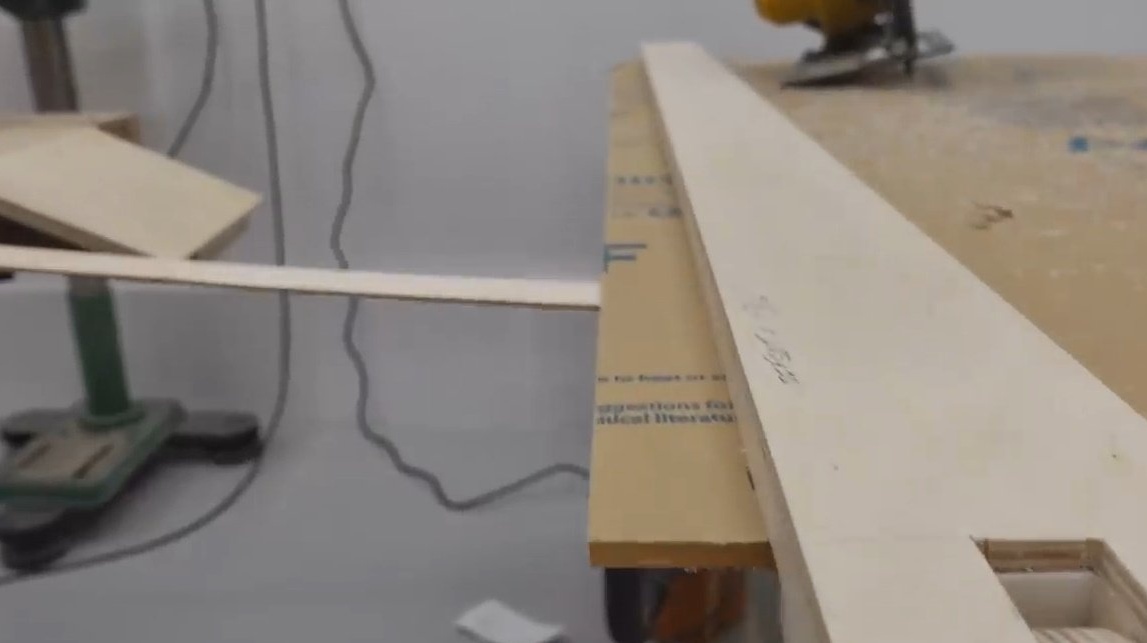
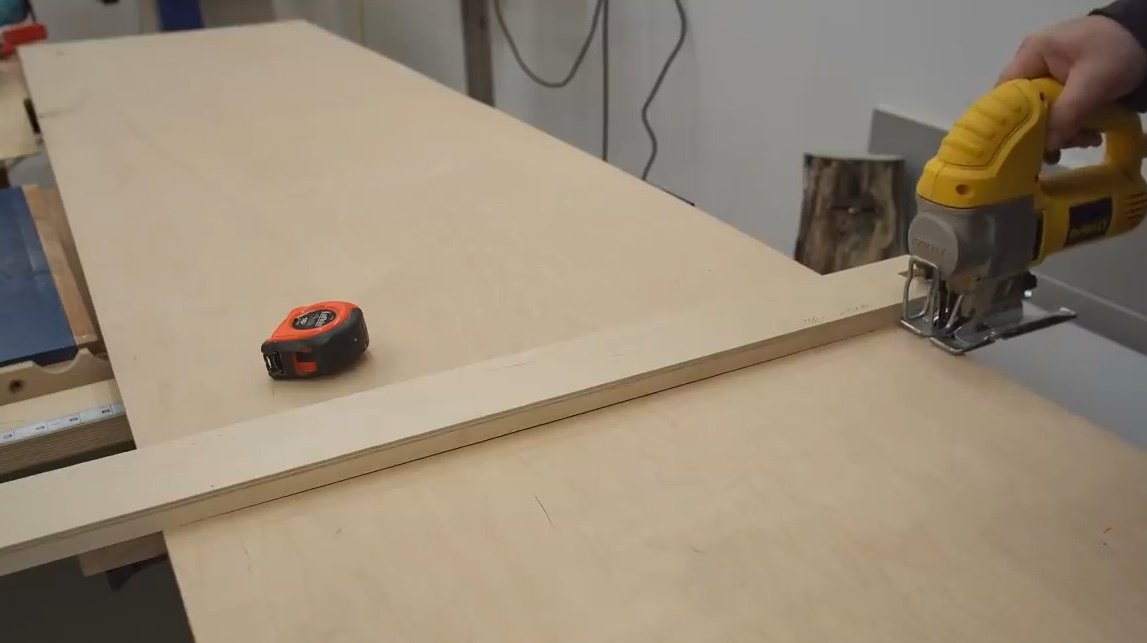
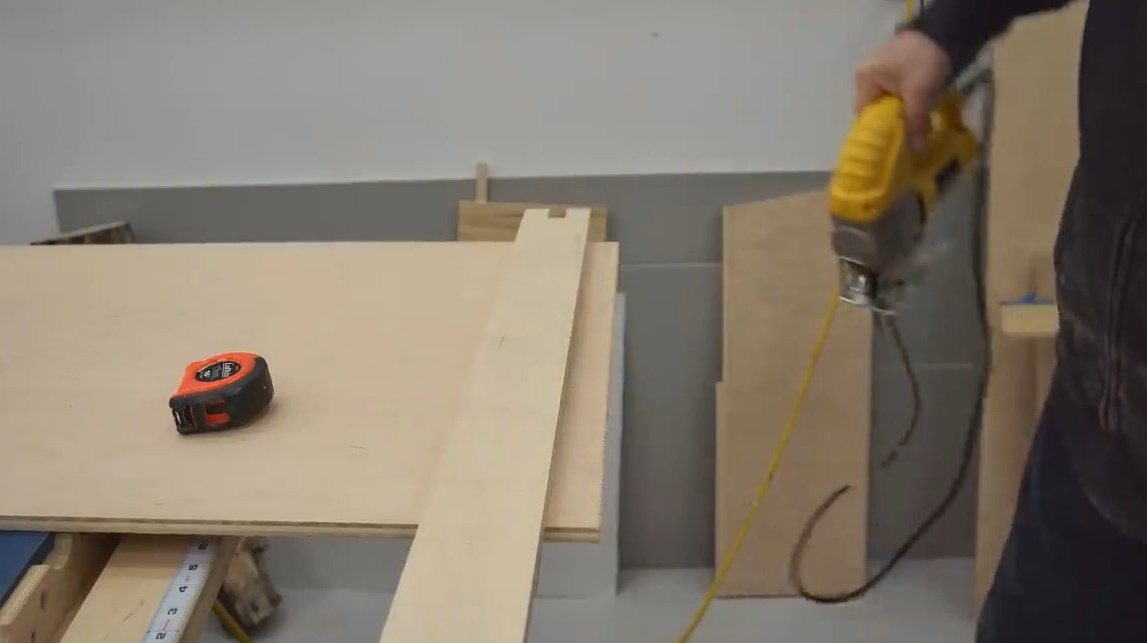
It often happens that an electric jigsaw is the only cutting tool available. As you know, a jigsaw gives strong vibrations, so this will be a good check on the quality of the clip guide. Will she move or withstand the pressure while the author cuts the plywood.
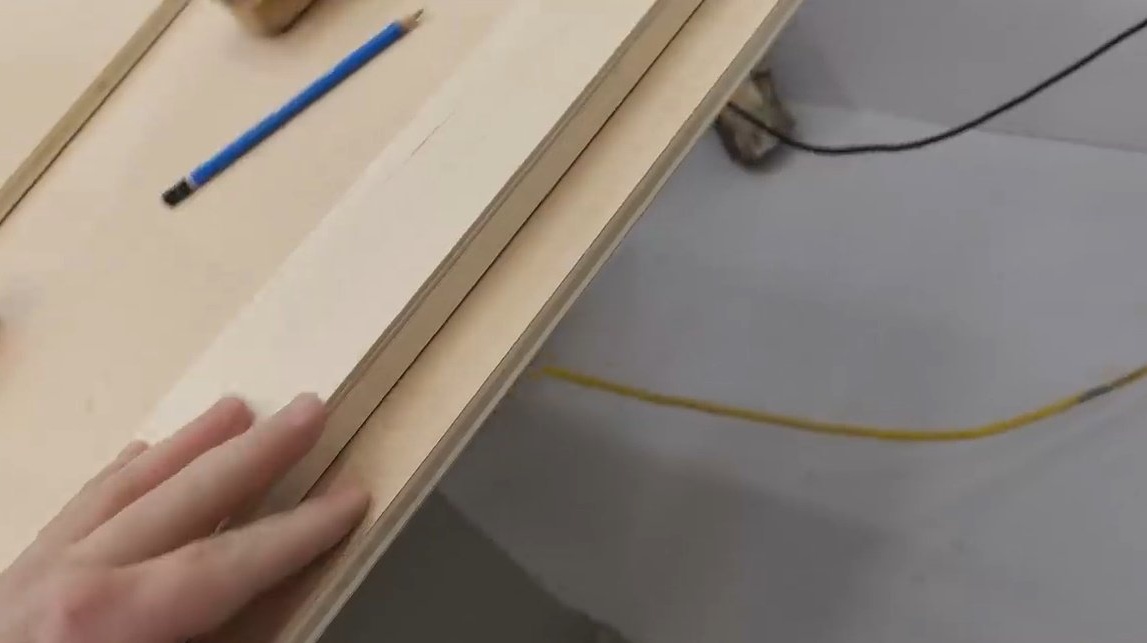
But no! The guide is still "sitting" tight in its place.
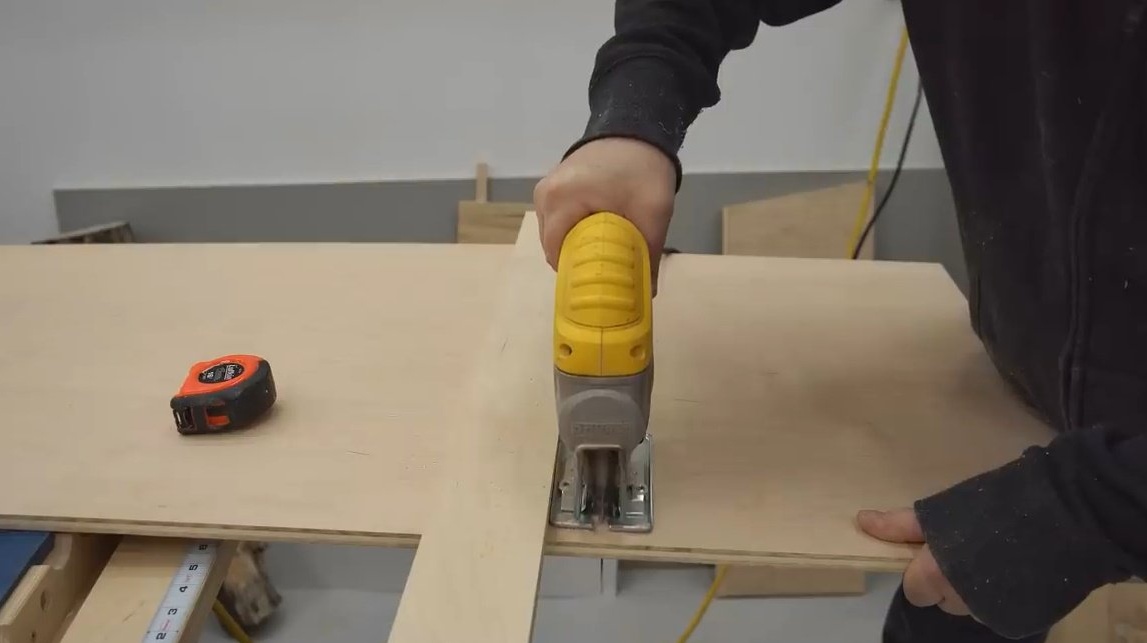
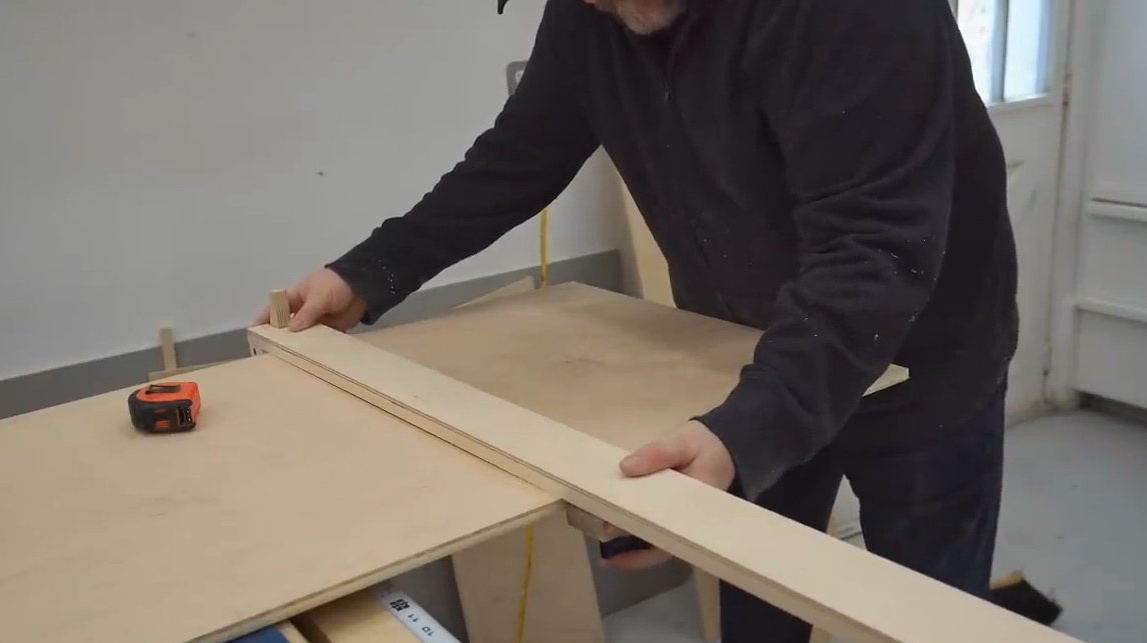
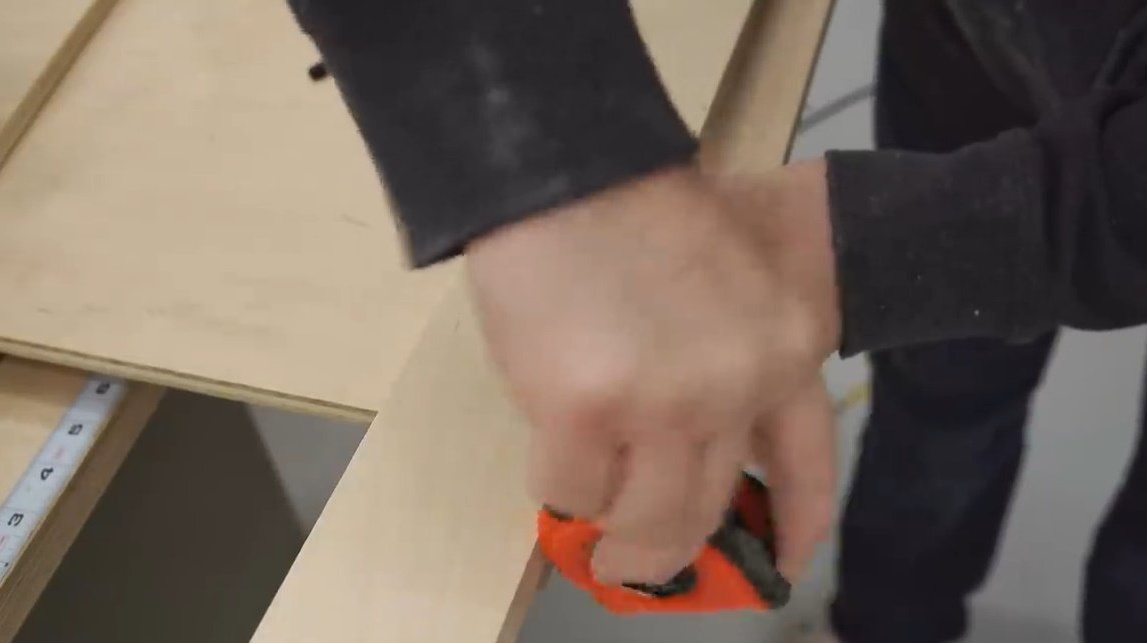
Correcting the position is very convenient, tapping slightly along the edge, and then fix the clamp.
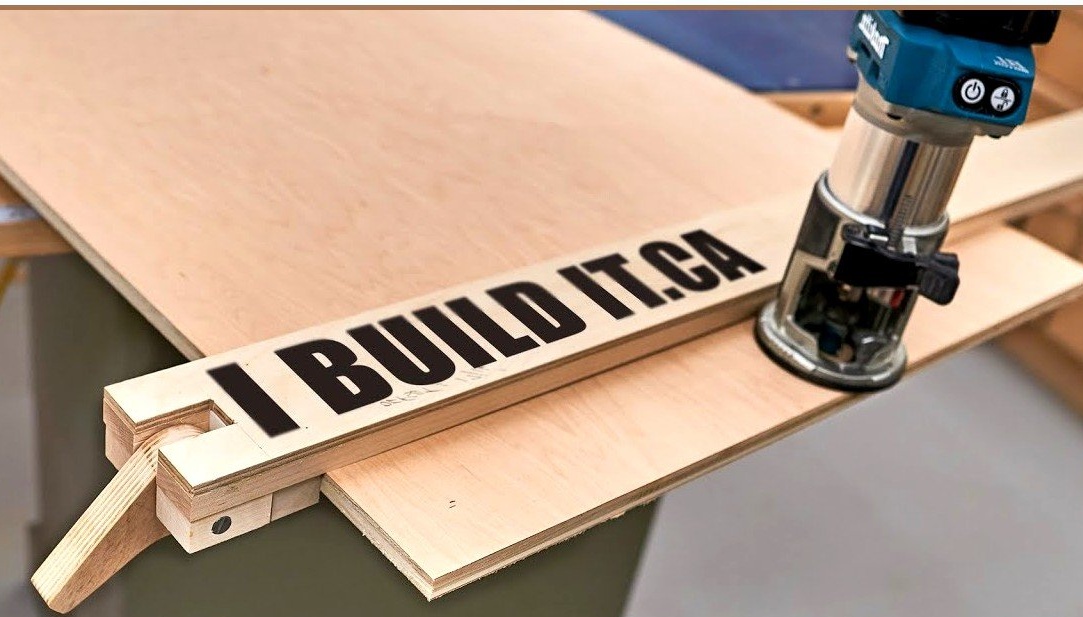
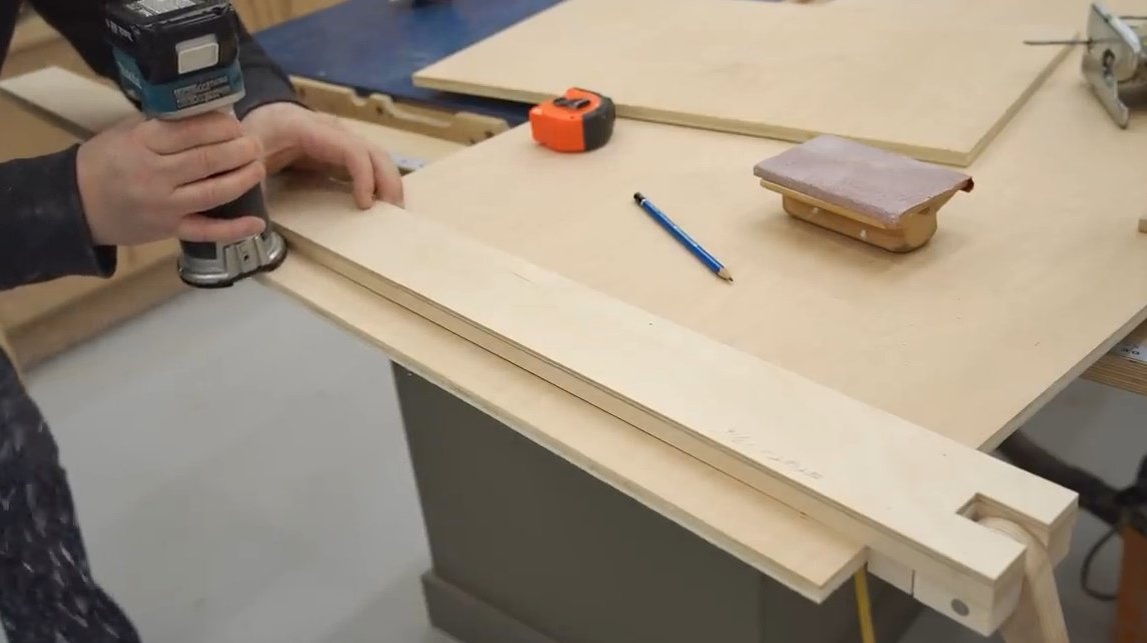
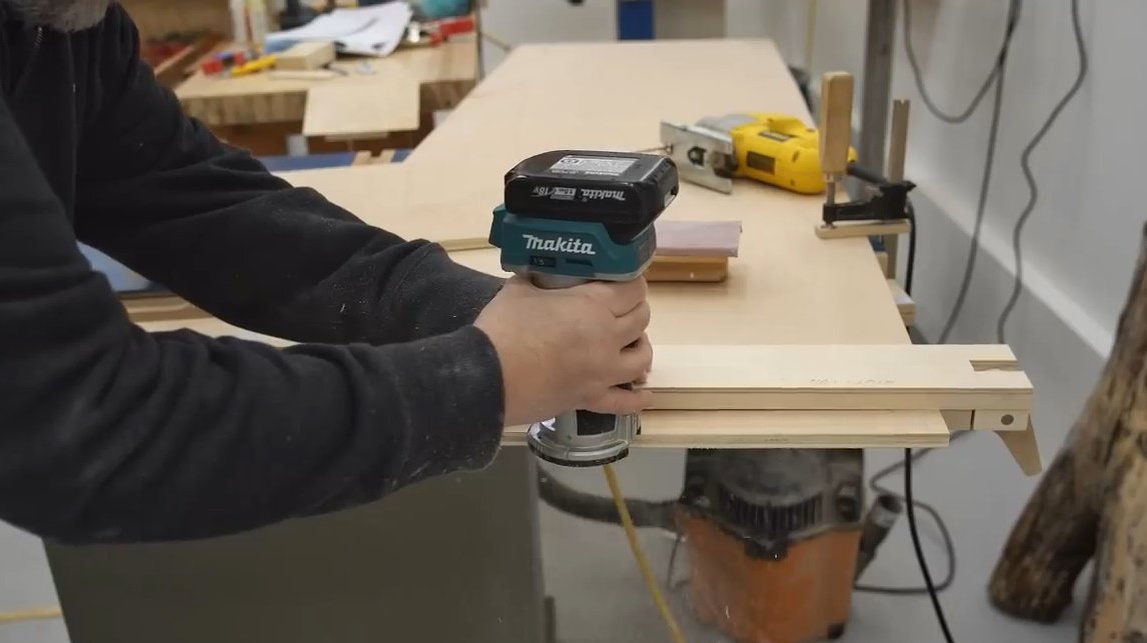
It remains to verify the operation of the manual router.
Thanks to the author for the simple but useful device for the workshop!
All good mood, good luck, and interesting ideas!