


Hello dear the inhabitants of our site and guests of this resource!
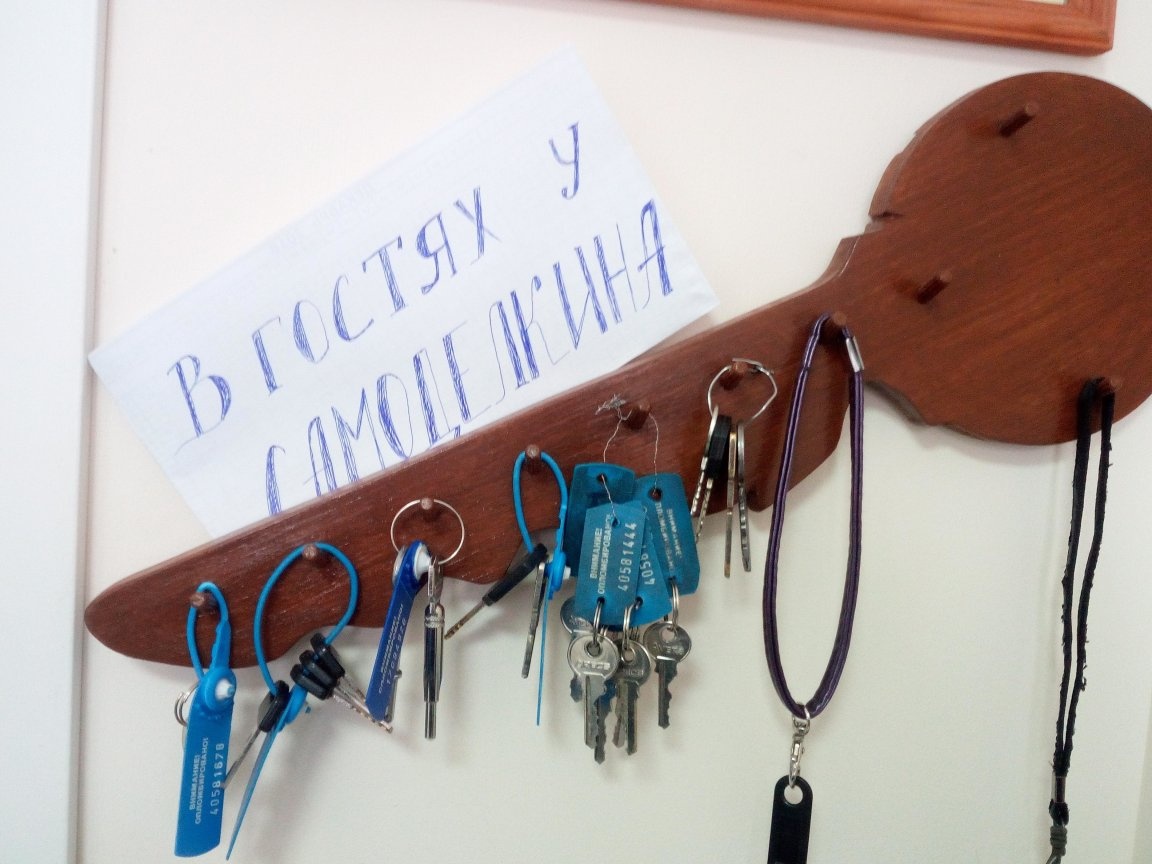
I want to bring to your attention a simple, but at the same time quite convenient and functional model key holders in the shape of a key. The model is quite simple, not requiring special skills from a person. Only some basic skills in using tools. To produce this model, a minimum of tools is needed.
I needed:
- jigsaw,
- a screwdriver (you can use a drill or any other tool to drill holes in the workpiece),
- hammer,
- compass
- cardboard
- scissors
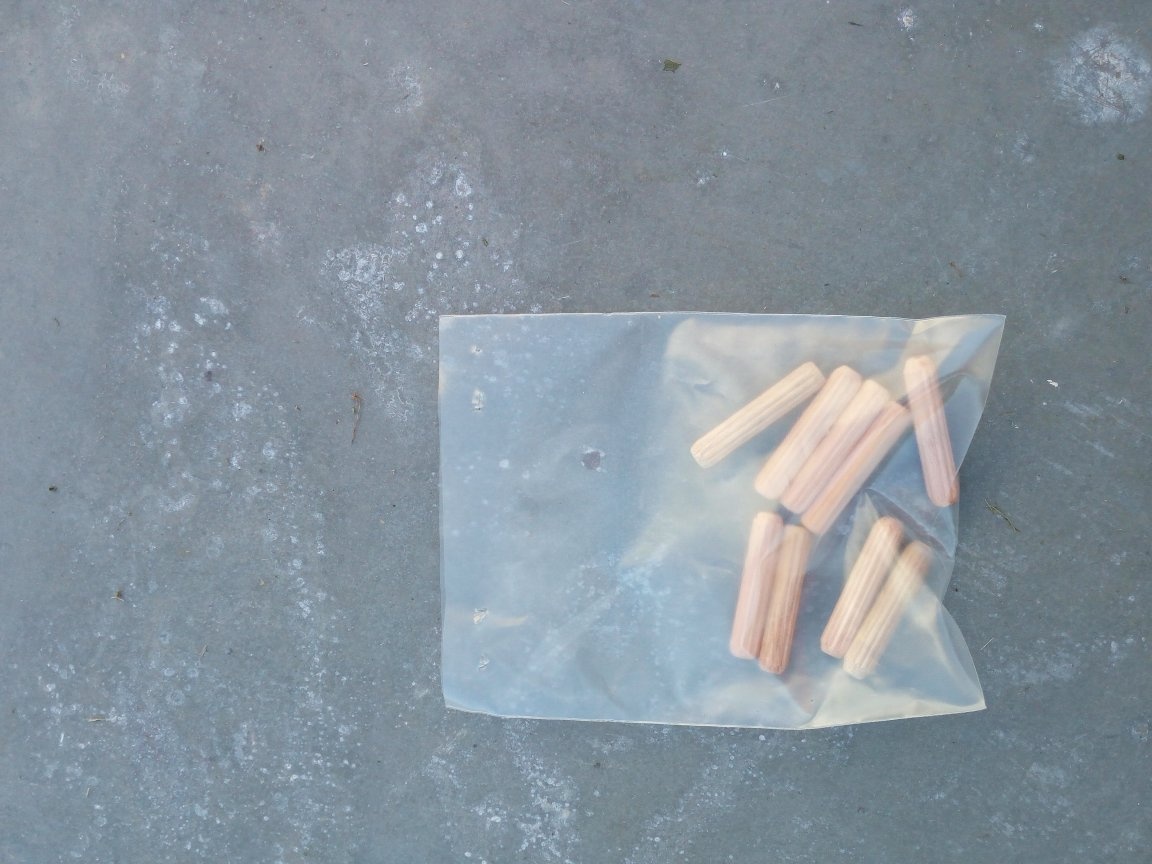
- furniture dowels,
- acrylic lacquer,
- a simple pencil
and sandpaper.
That's all it took to make a homemade product.
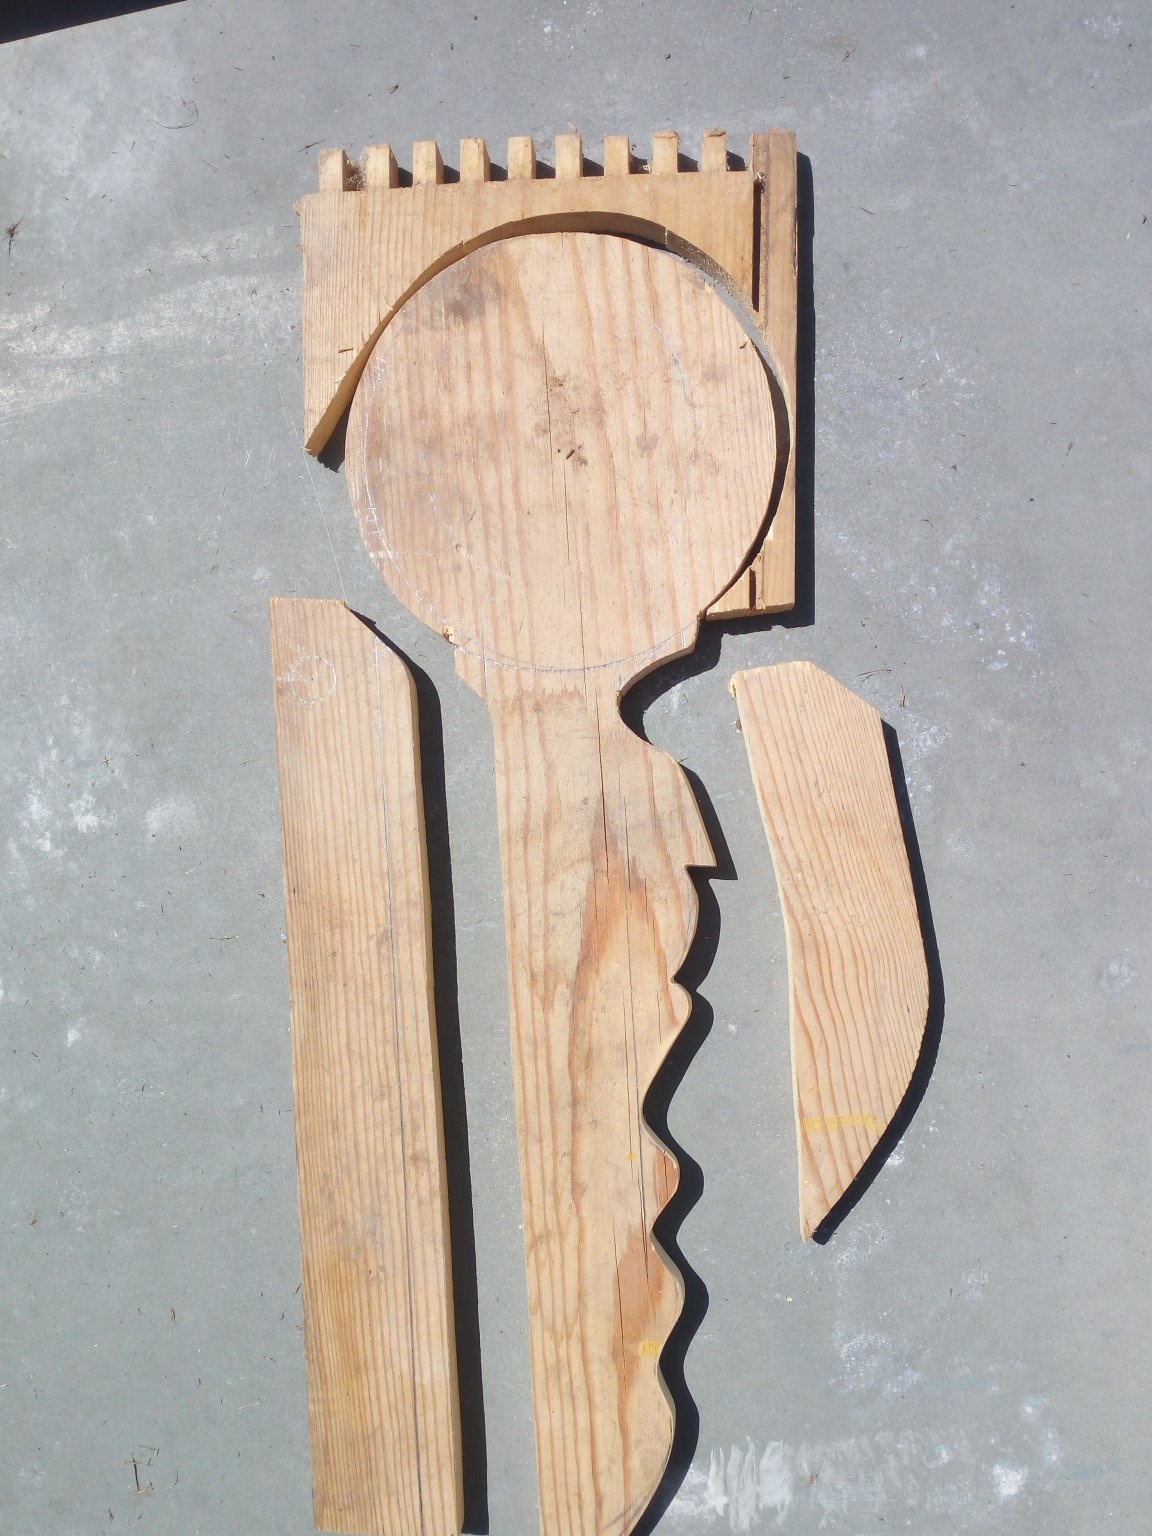
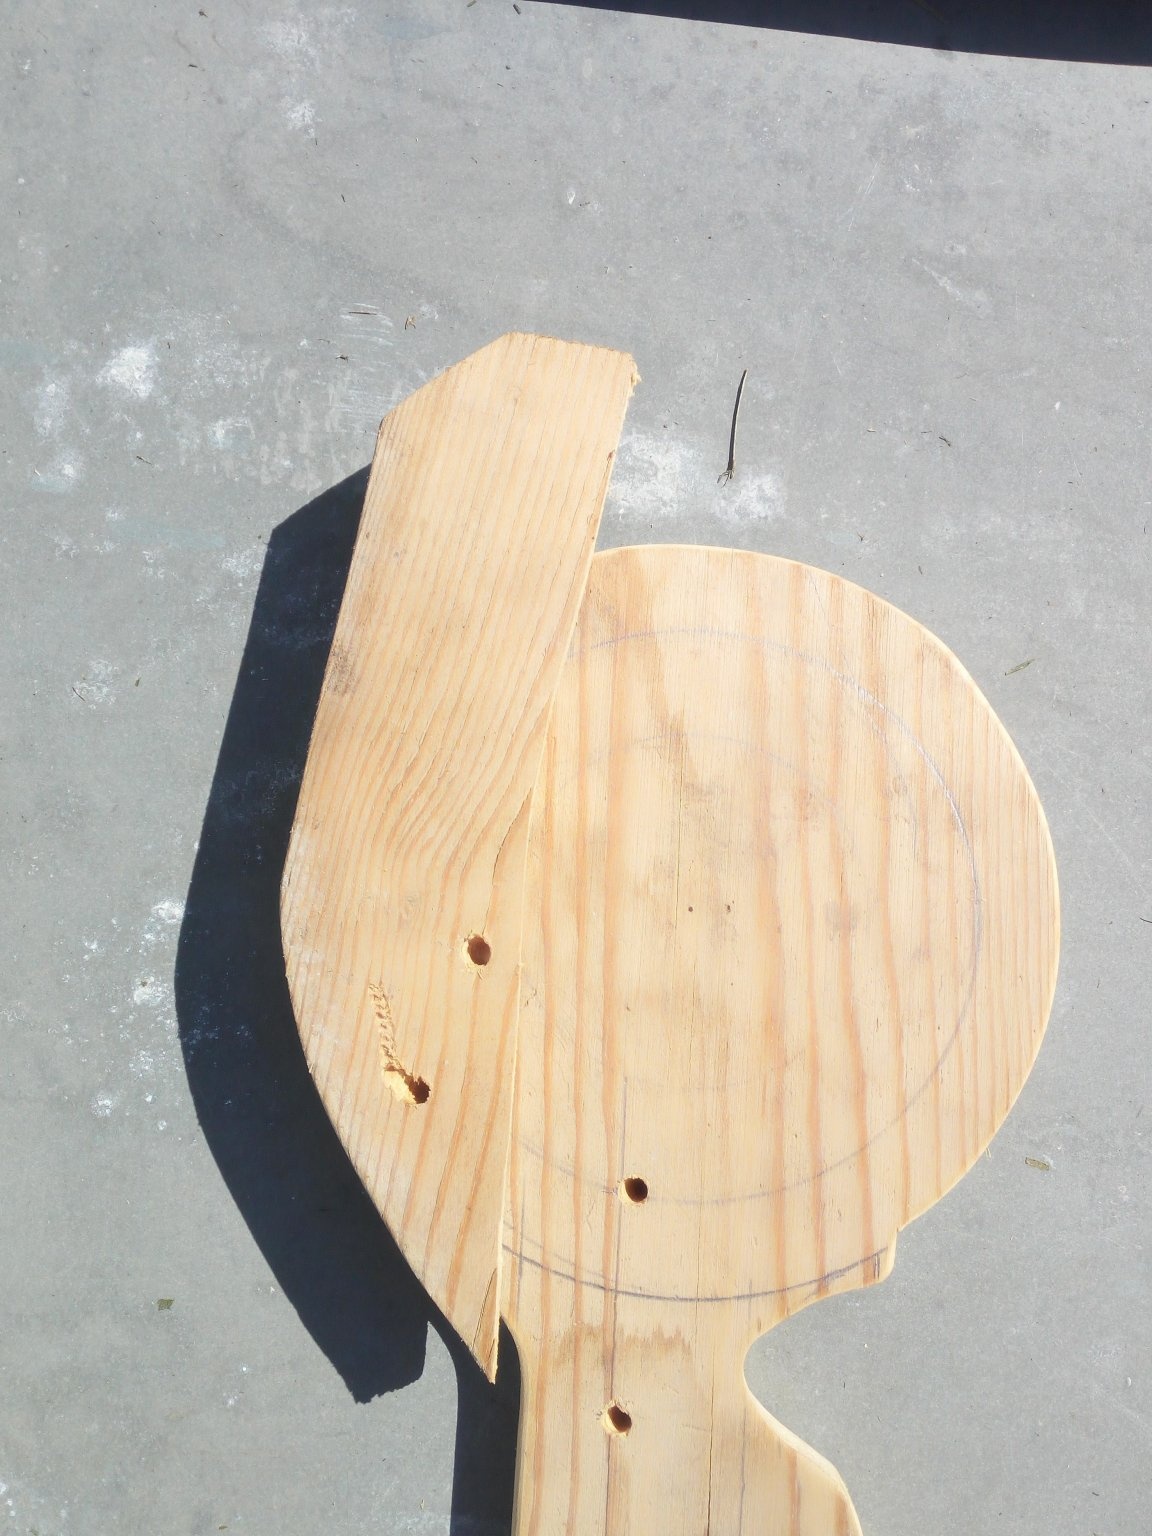
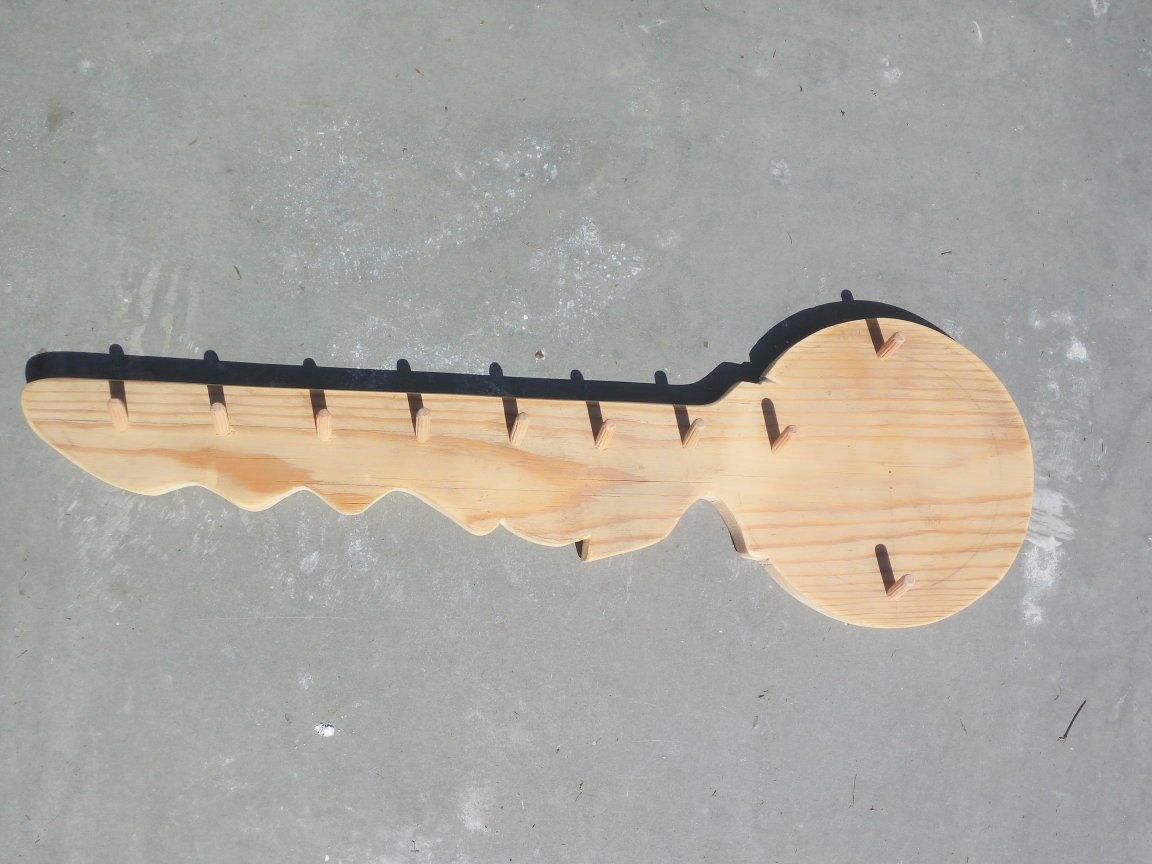
To begin with, I drew a picture of the product I wanted to make on thick cardboard. Of course, you can get by with the drawing immediately on the workpiece, but it was more convenient for me, because several times I was not happy with the final shape of the product and I had to erase the lines and draw again. Next, I cut out the template and attached to the blank, outlined.

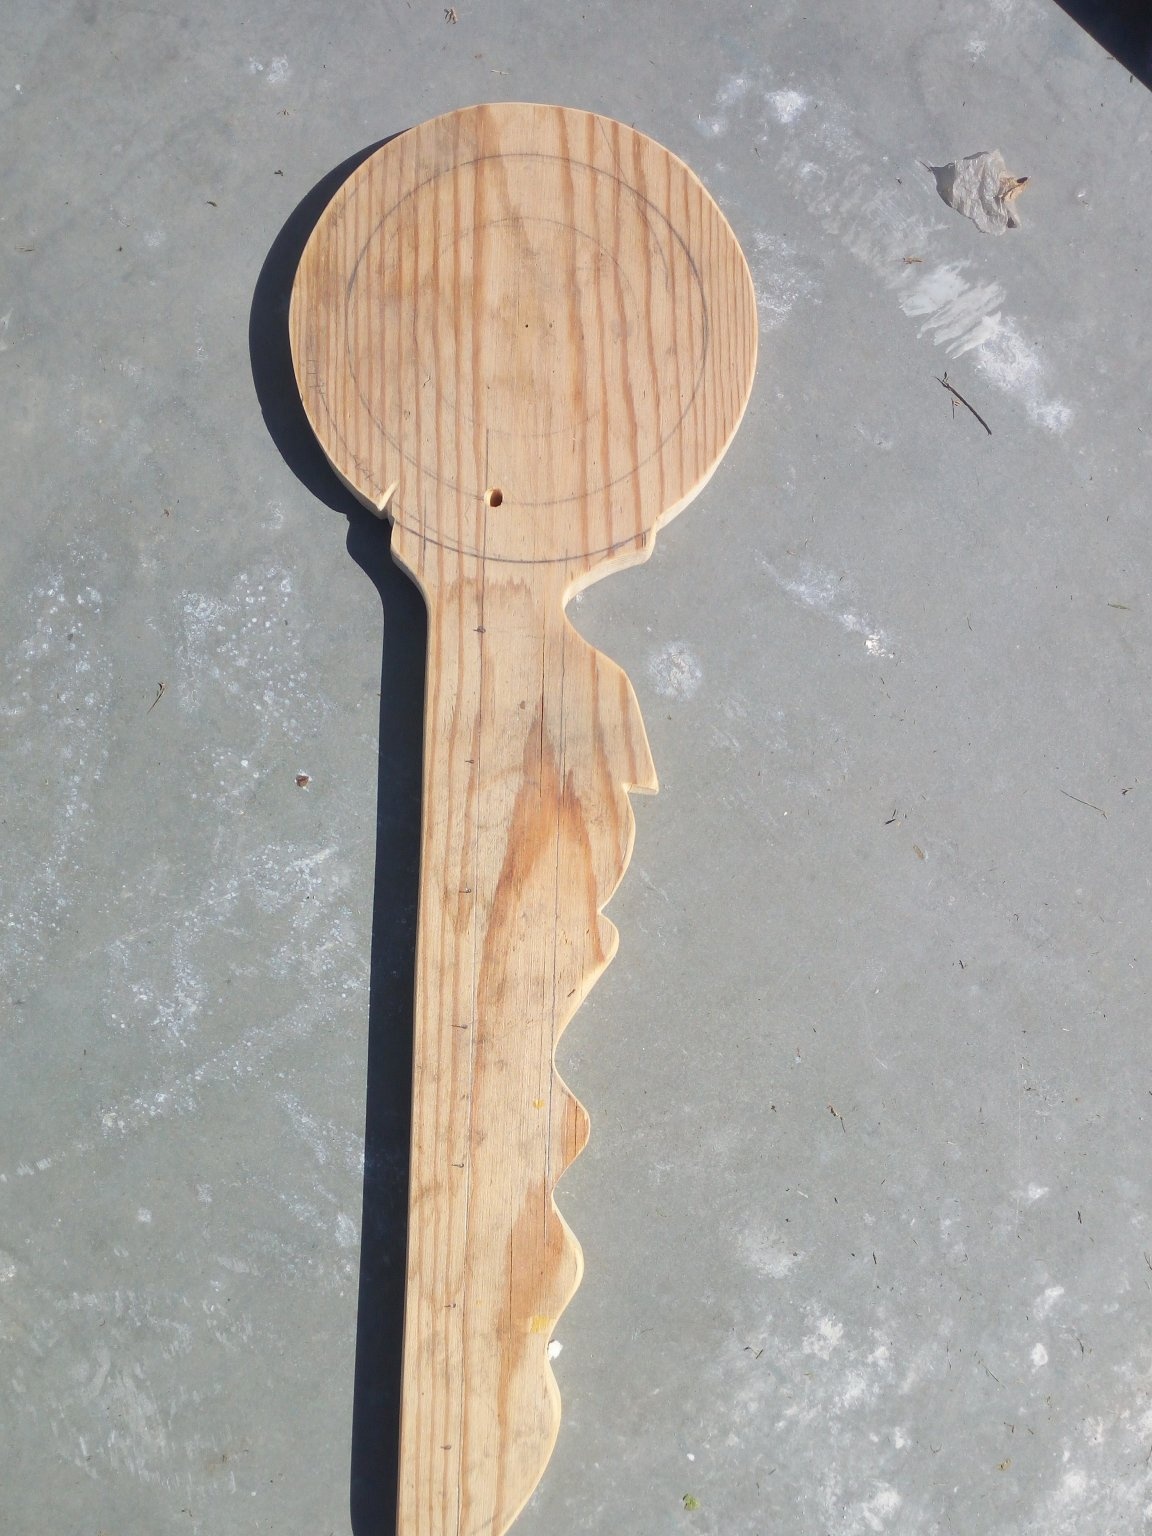
As a blank for the base of the product, I used the sidewall from the old box, the thickness of which did not exceed 1.5 cm. Then, using a jigsaw, I cut the blank from the board. I polished all the bumps and chips of the cut with sandpaper.
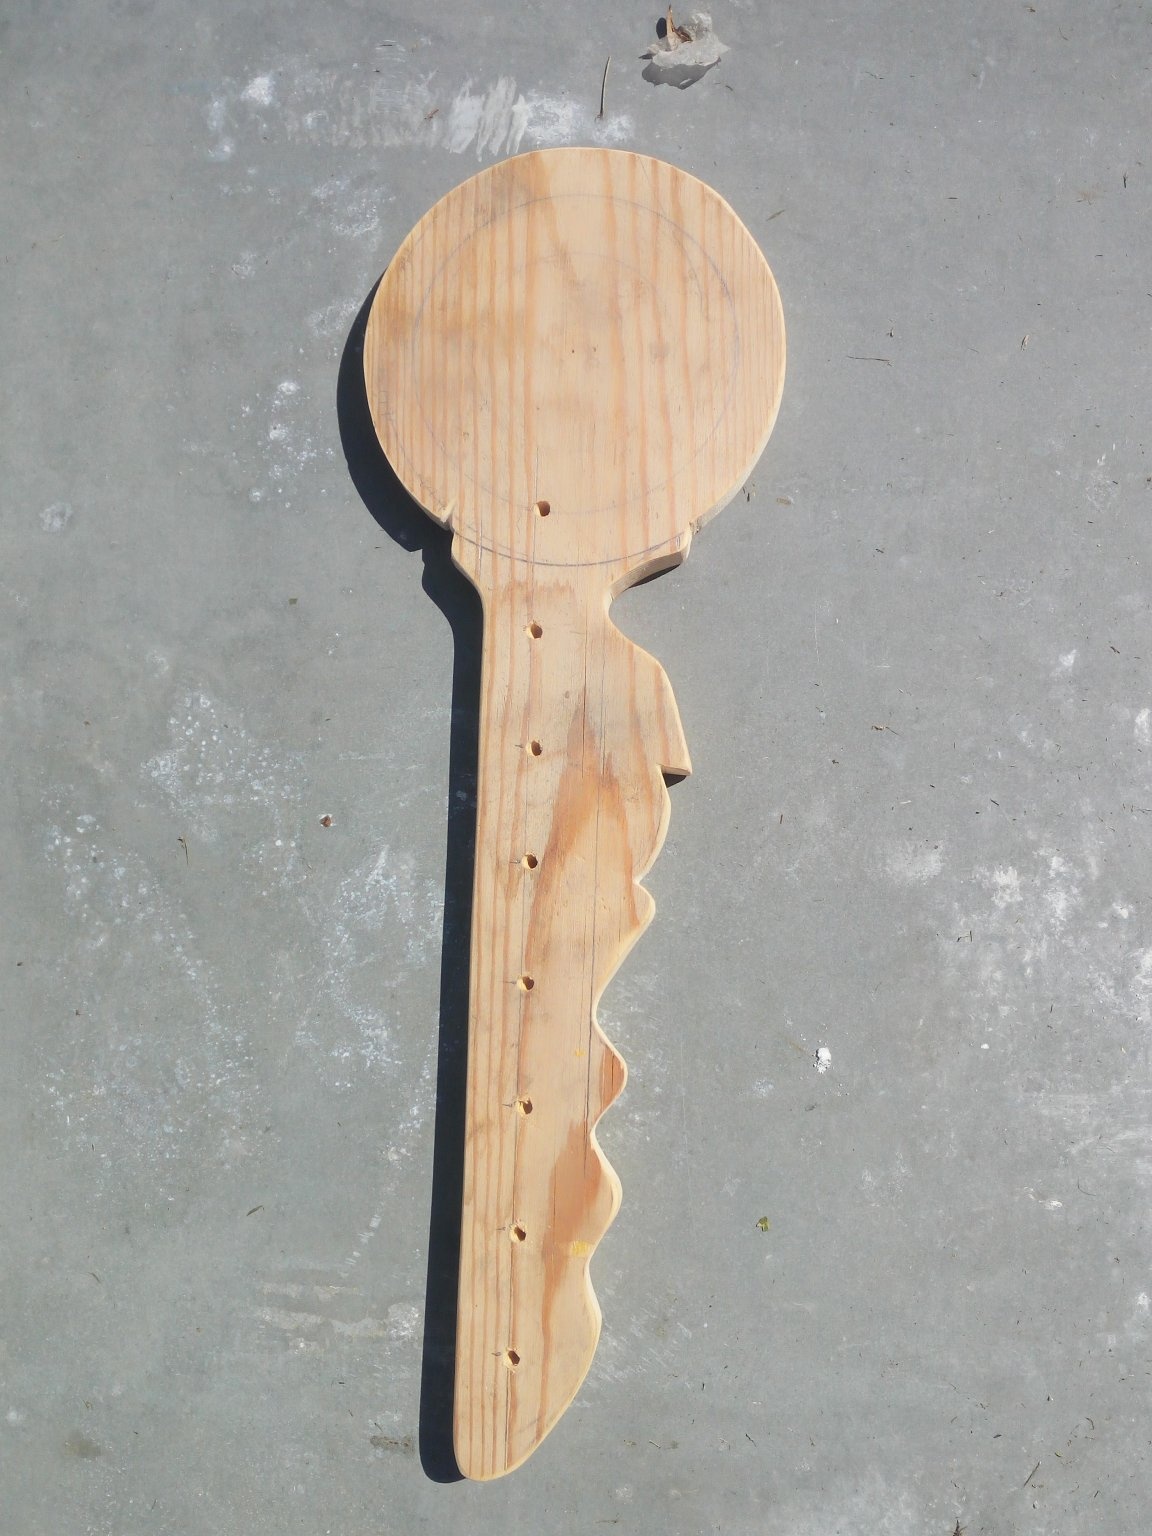
The next step in the manufacture of the key holder was the marking of the dowels, which will be used as hooks for the keys.
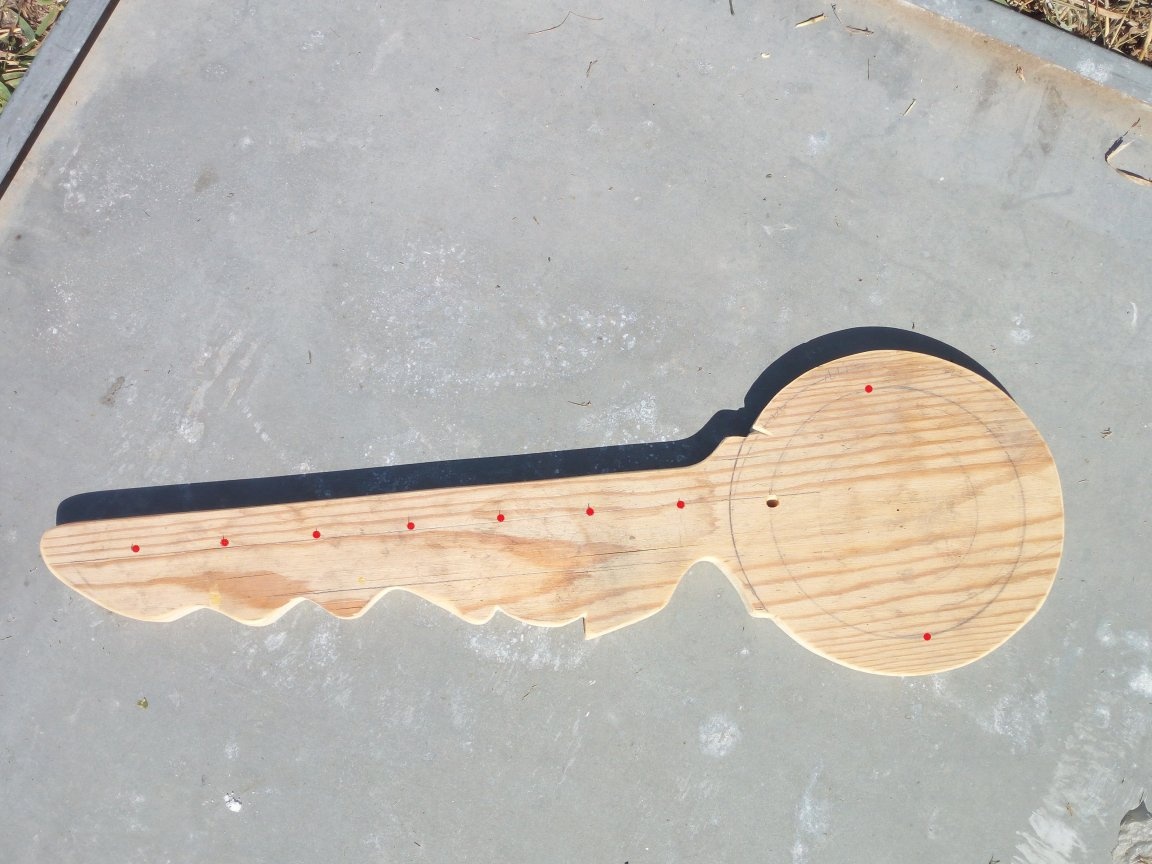
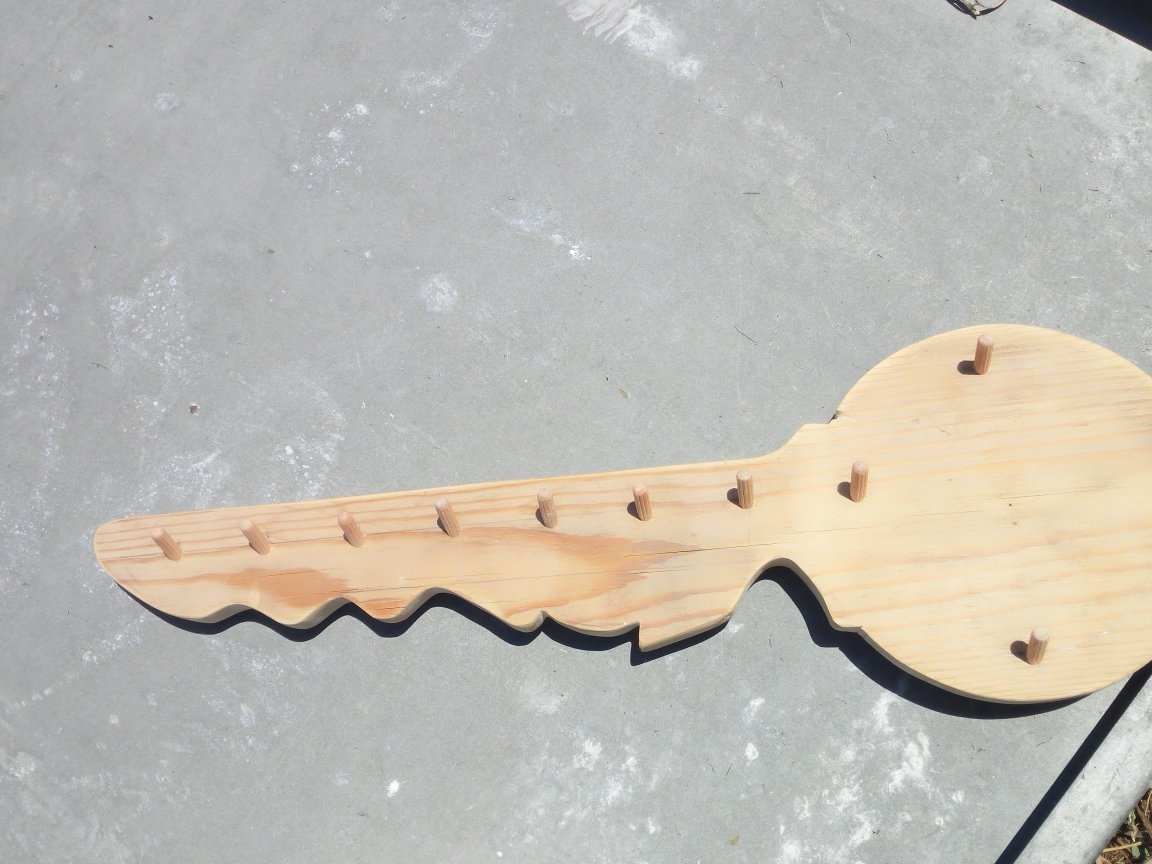
Having finished the marking, I undertook to drill holes for dowels, but in time I realized that with their direct location on the base, the keys hanging on the product can slip and fall. Therefore, I decided to make holes at a slight angle. So that all dowel hooks were set at the same angle, I had to make a small adapt. In the scrap remaining from sawing the base, I drilled a hole which, when a dowel was inserted into it, gave the optimum angle of inclination of the latter.
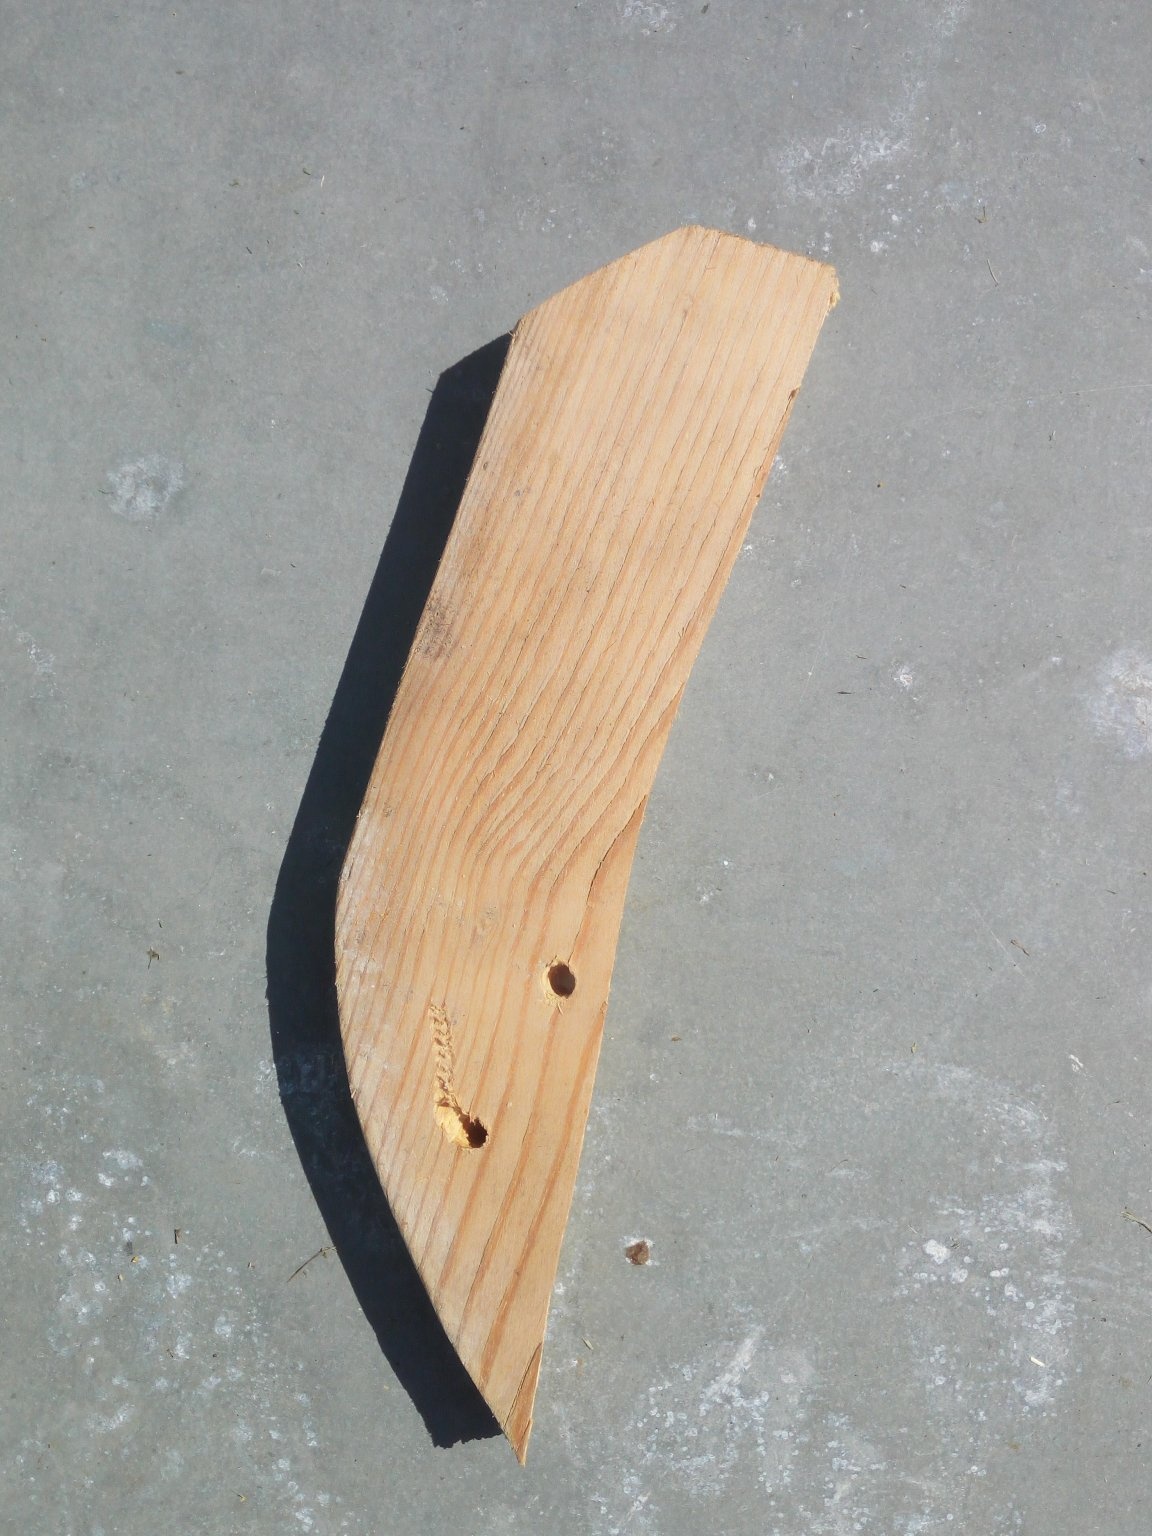
Applying it to pre-marked places, it was possible to drill all the holes at almost the same angle.
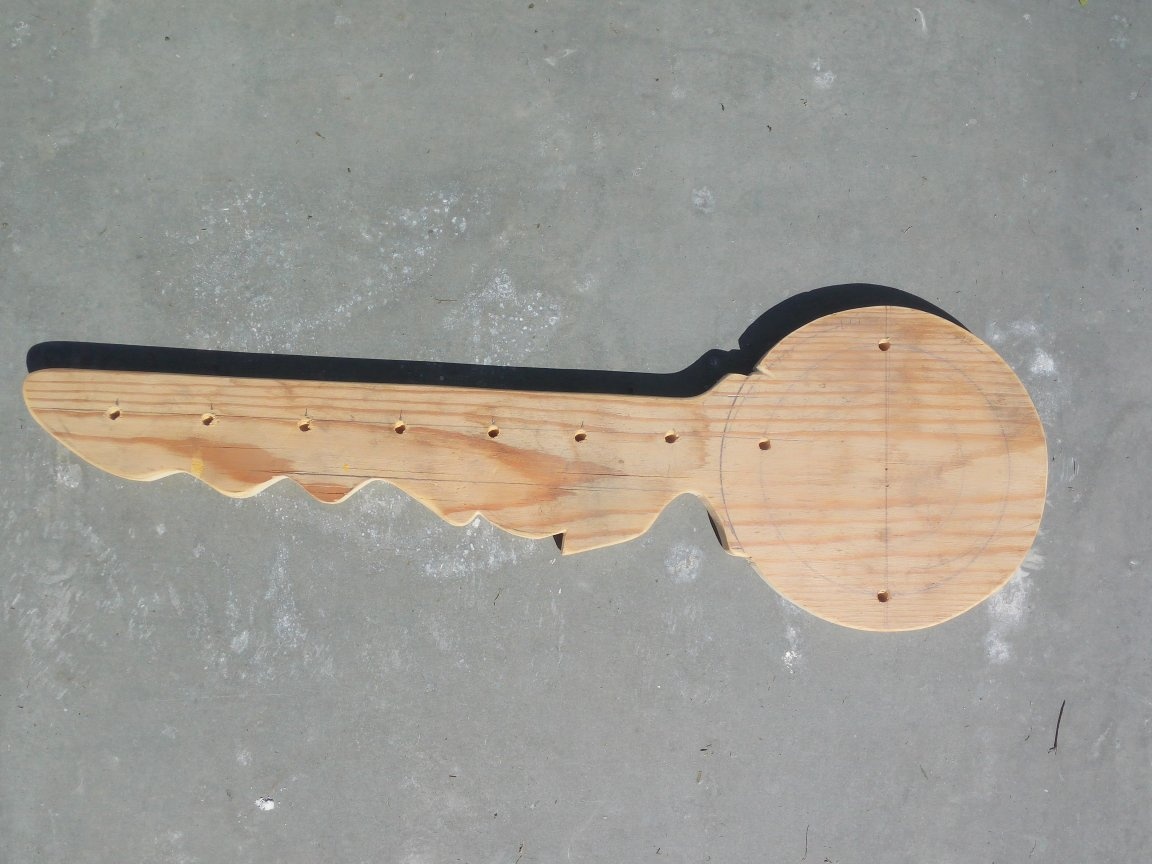
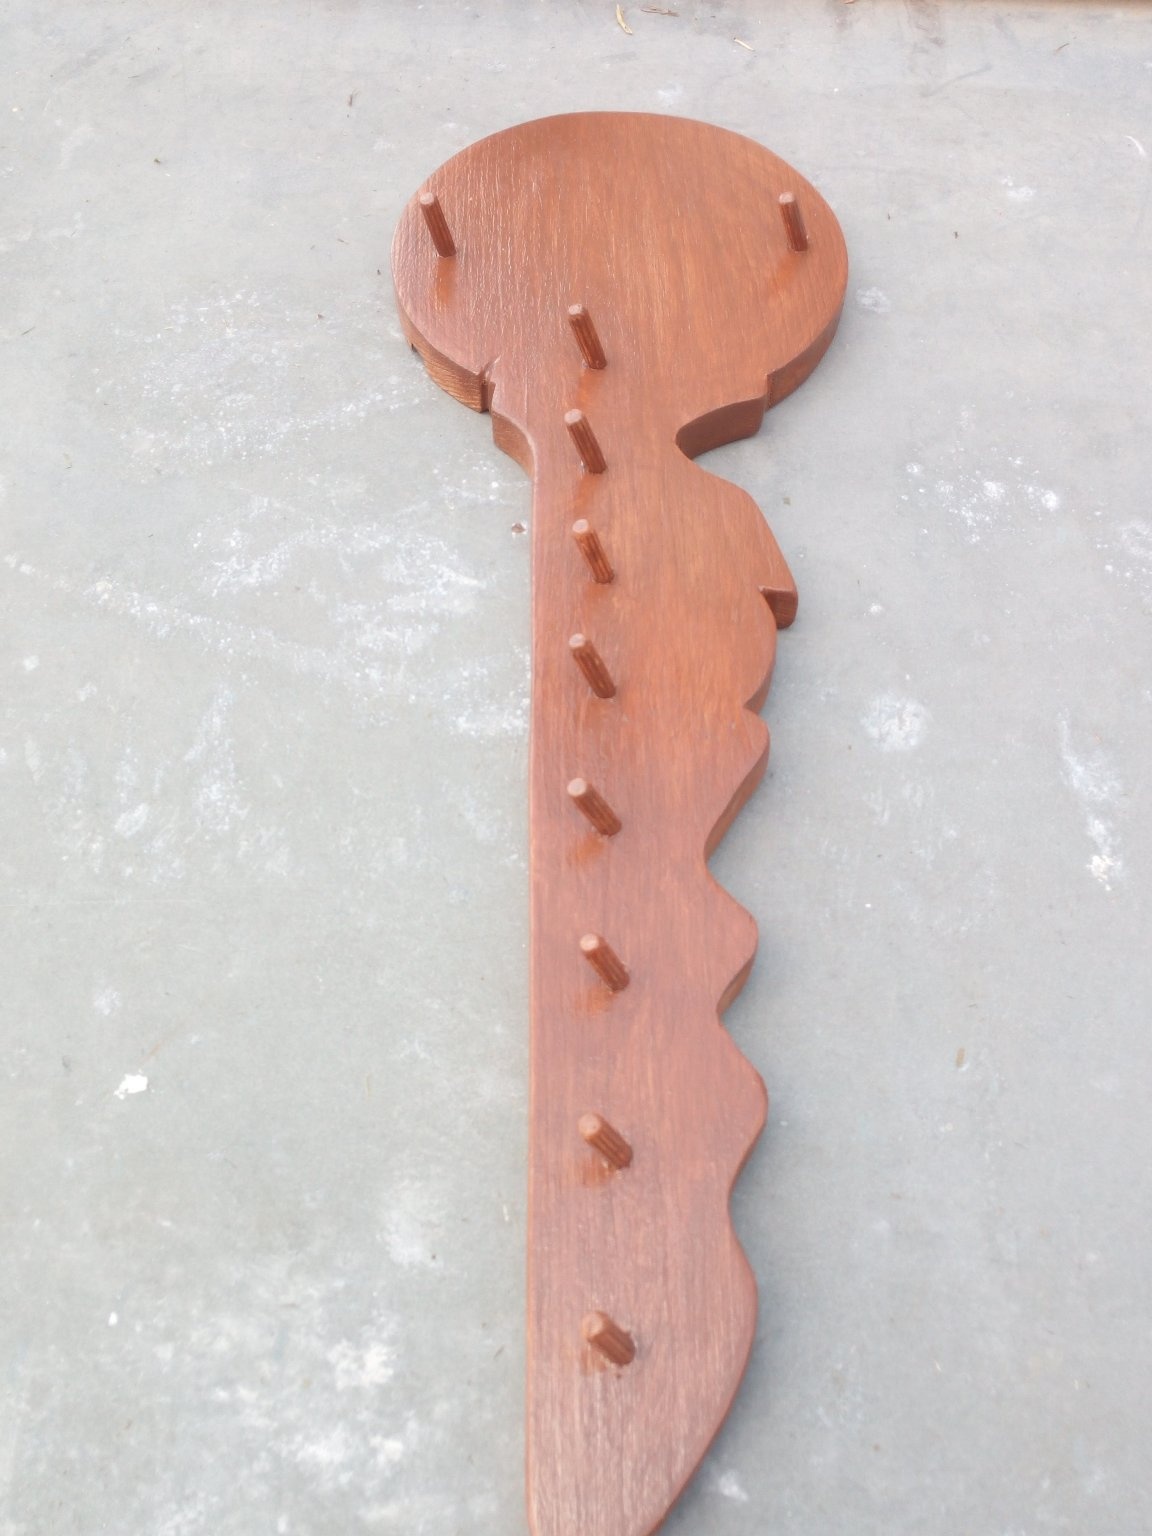
Now we take the dowels and insert them into the holes, after pouring a little glue there. Here is the result.
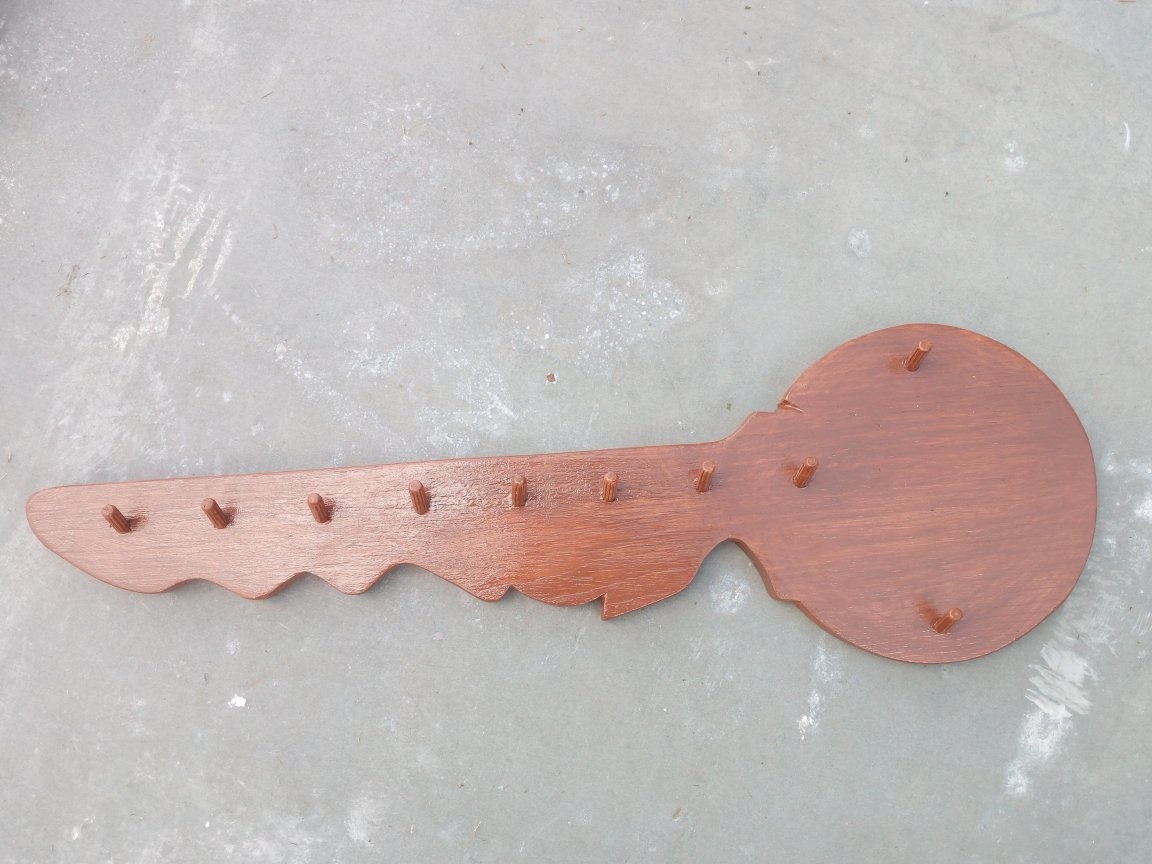
The product has acquired an almost completely finished look. But for beauty, it will still hang on the wall in the office, cover it with acrylic varnish. Letting dry one layer, covered with another. And so several times.
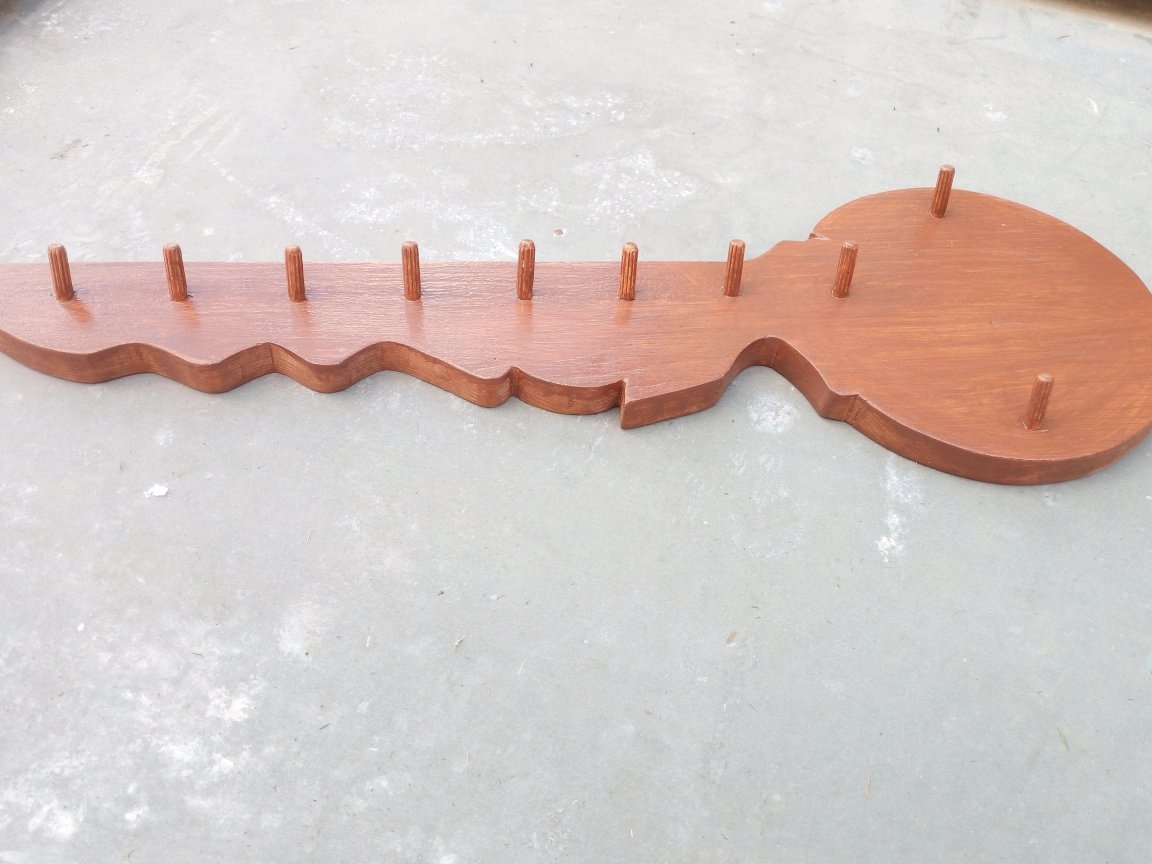
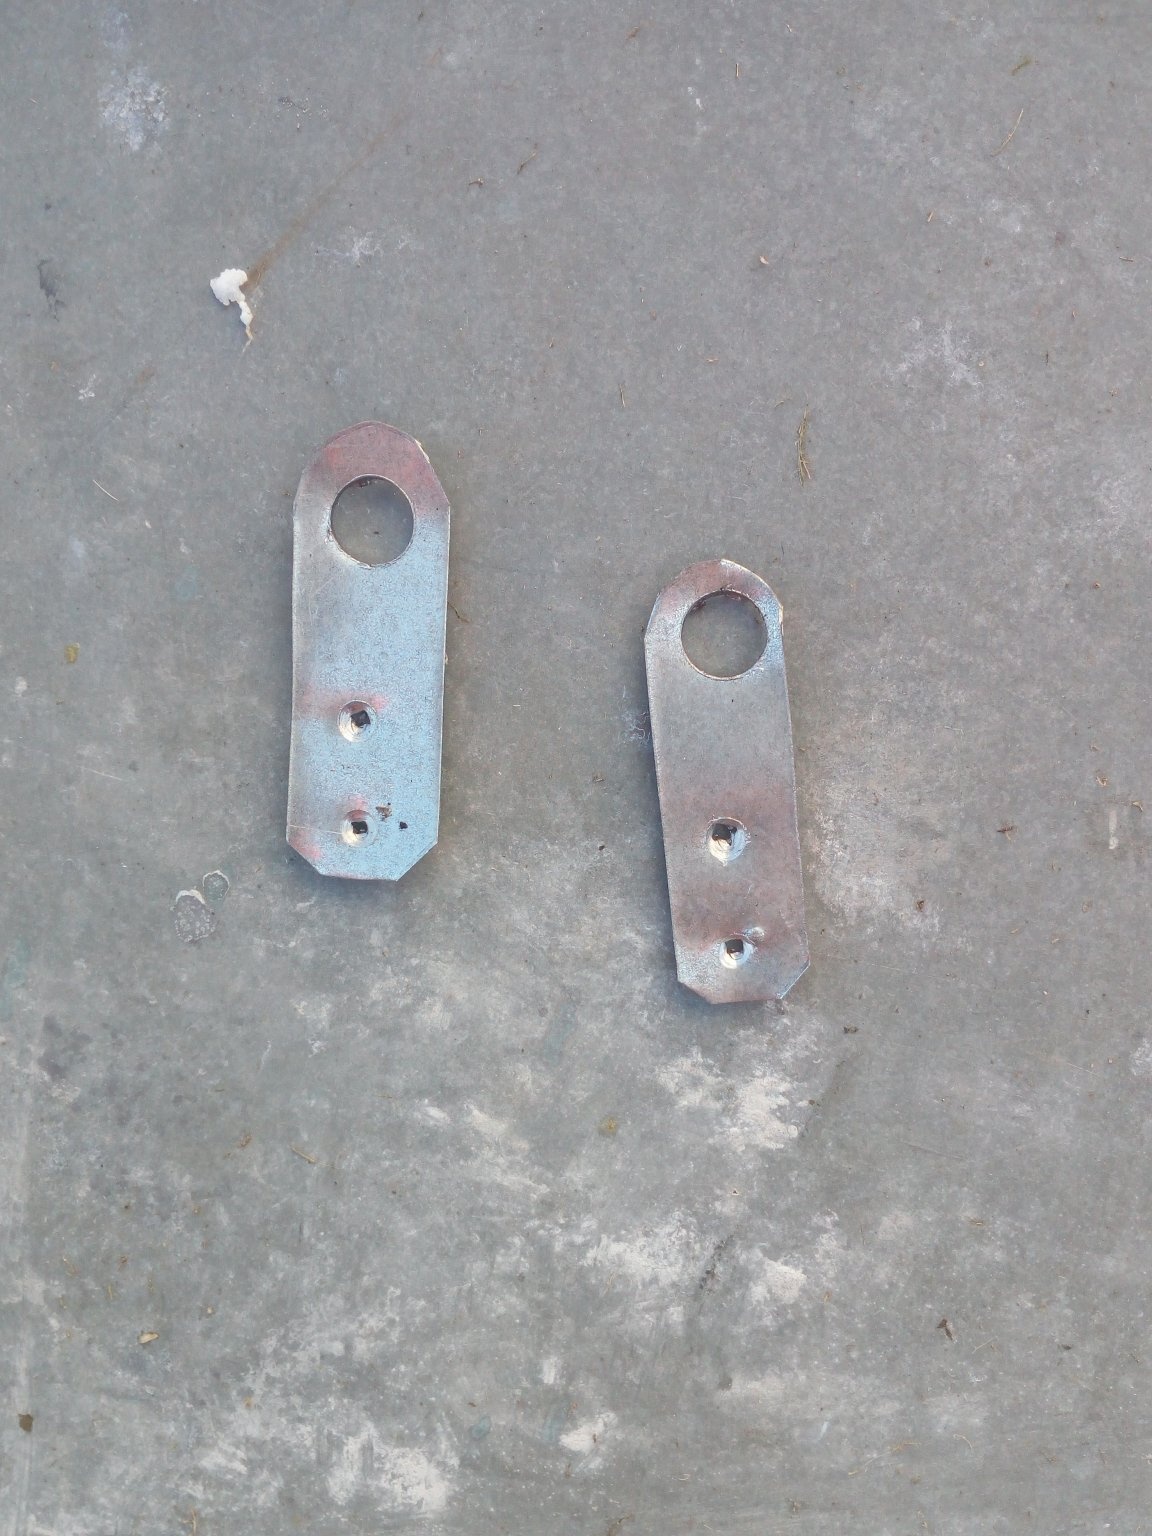
And the final touch. I cut out fastenings from tin, with the help of which the key keeper will stay on the wall. I fixed them with screws on the back of the finished product.
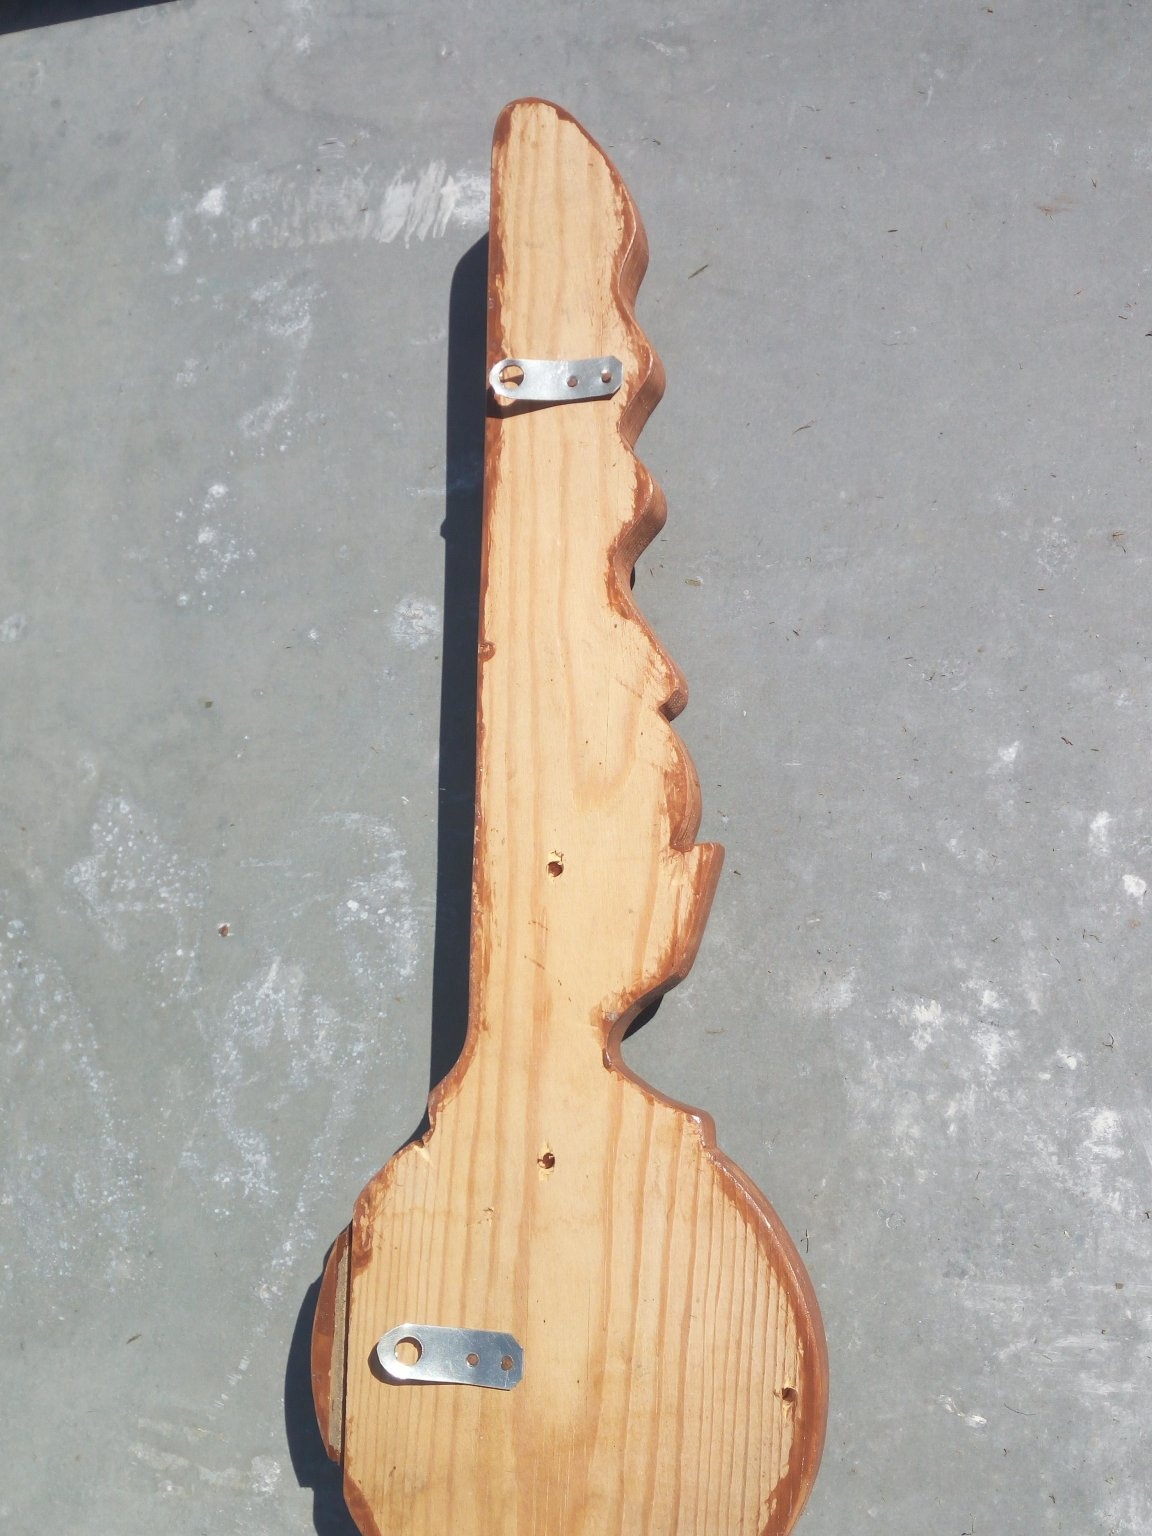
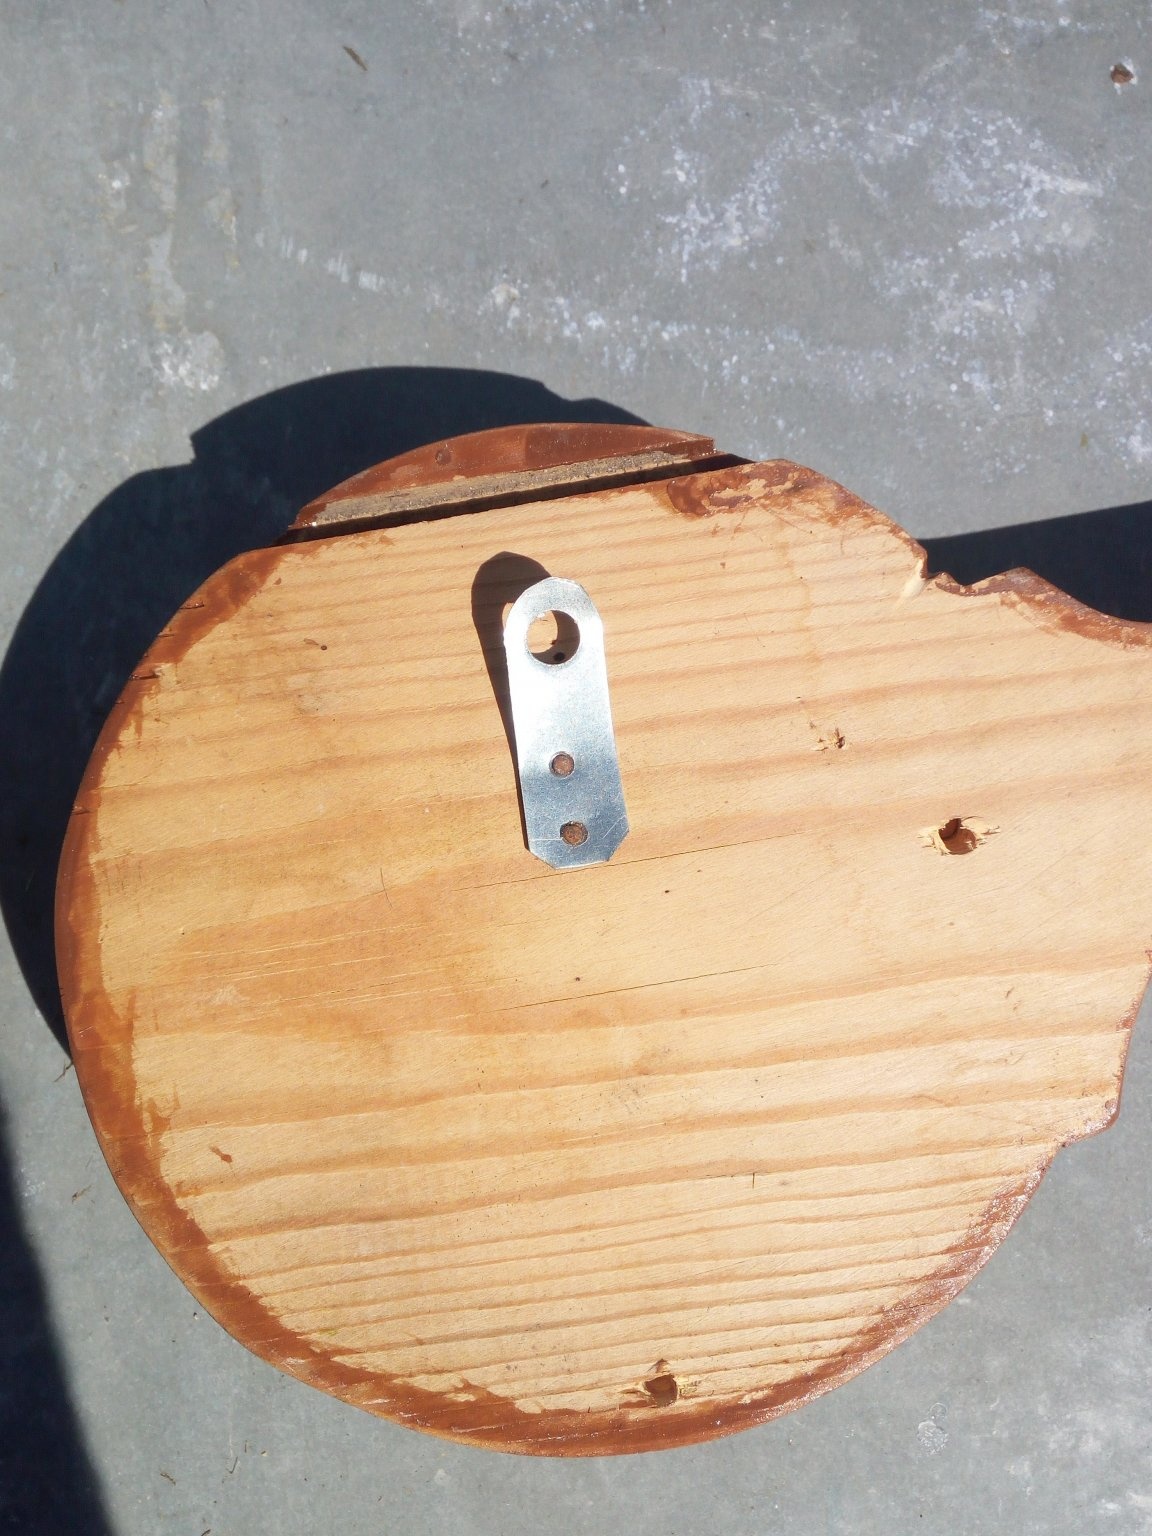
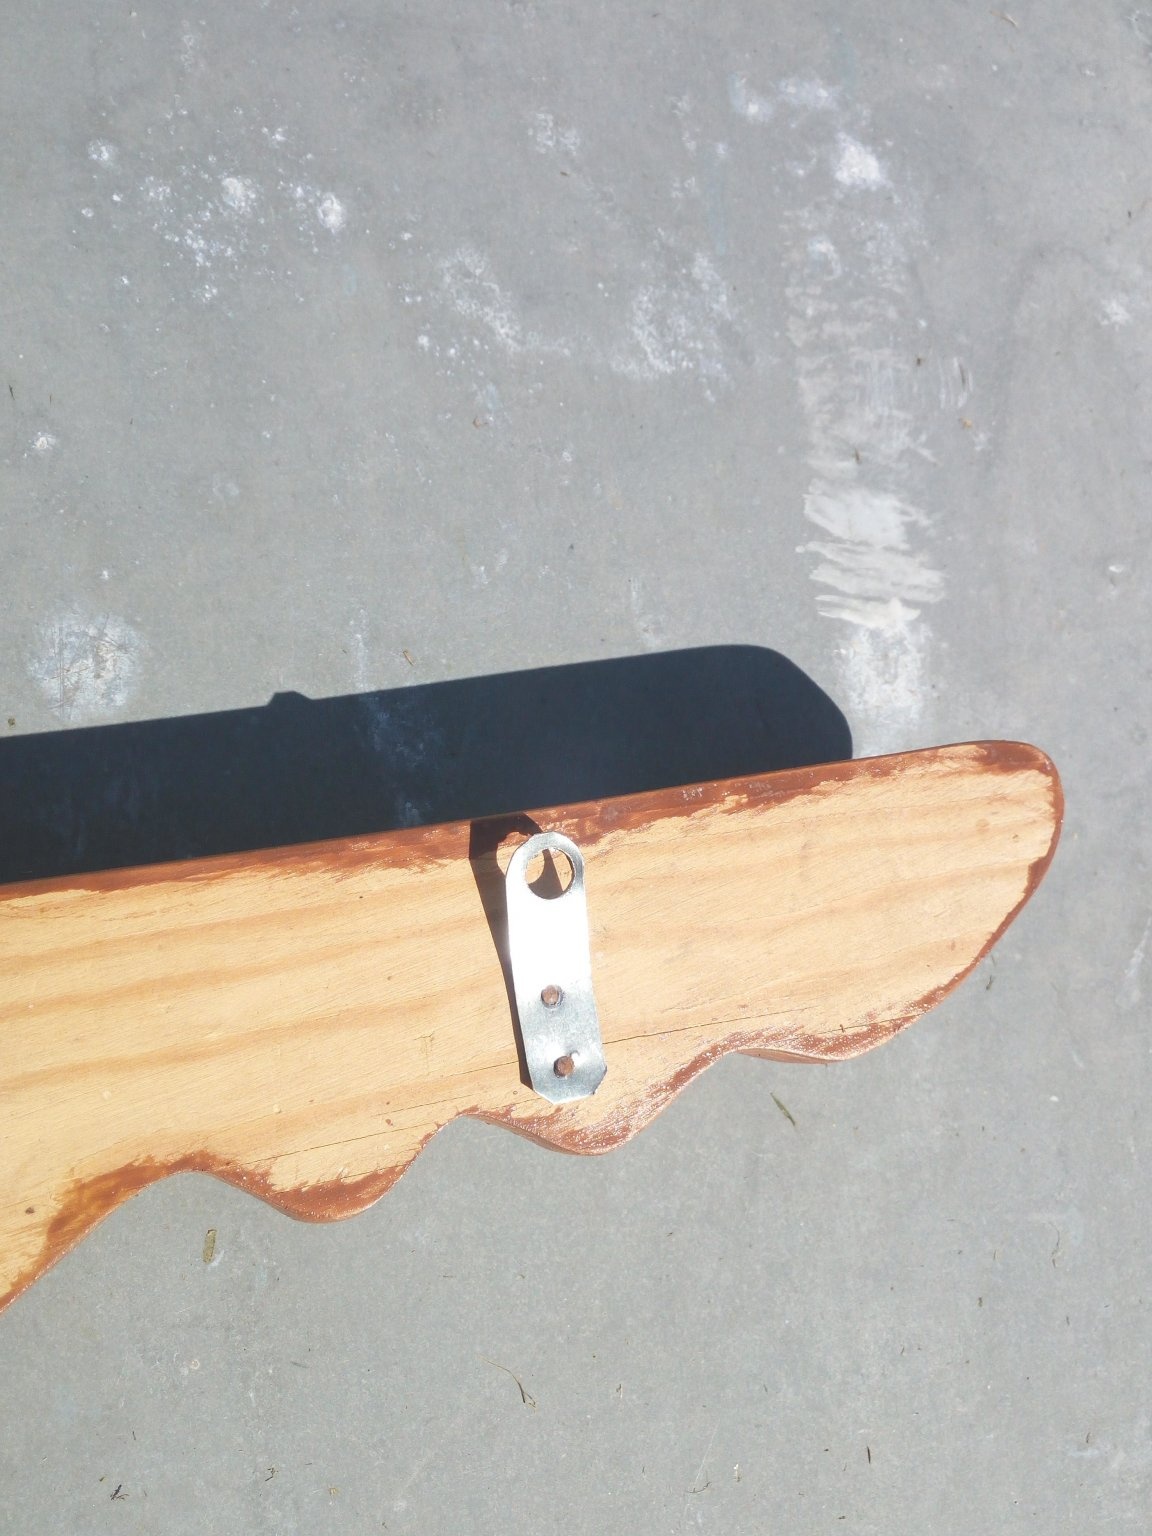
Of course, the fasteners had to be fastened before painting, but it just so happened that the varnish was the first to be coated. The scratches that occurred during the installation of the mounts on the case had to be painted over. But, nevertheless, in general, everything went fine. A fully finished product continues to perform its key storage function.
Thank you all for your attention. I wish you every success!