
The author of this invention, in his workshop, most of the time works with wood. Only occasionally with metal. And there are situations when he somehow manages to solder a bunch of electronics! What if he had the right soldering station!
Having a proper soldering iron and a little high-quality solder, you can turn almost any project into electronic components from a terrible nightmare to a walk in the park ...
Below in the video you can see all the stages of creating a homemade soldering station:
Step One: Materials
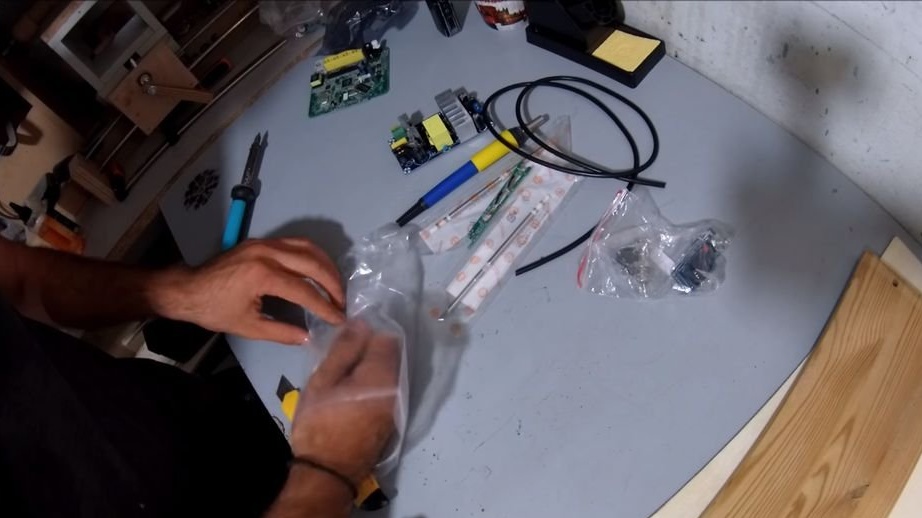
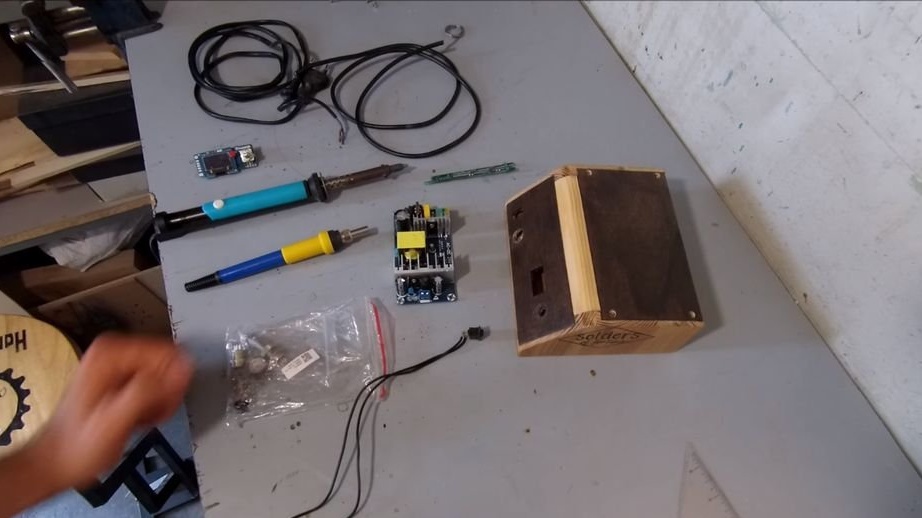
So, to assemble a soldering station, some components are required:
- Soldering iron (kit for self-assembly)
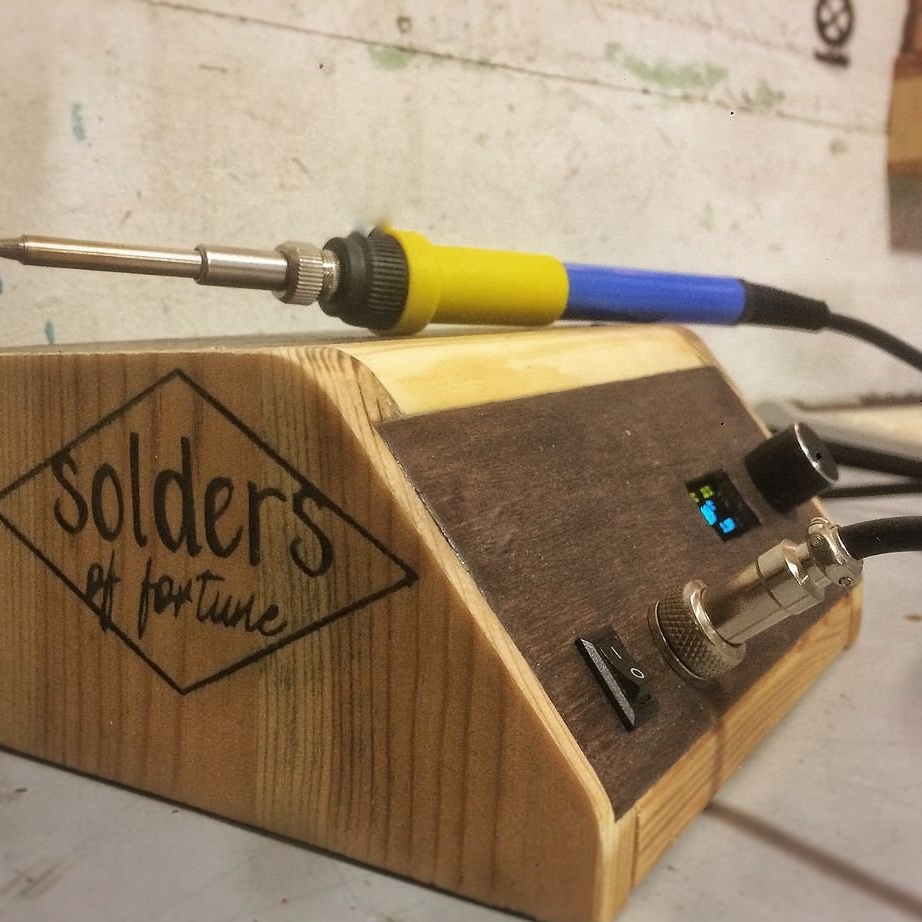
This is a T12 Hakko soldering iron. This is a “kit” kit! This kit has everything you need for further work (soldering base, tip, printed circuit board, 5-wire cable, aviation plug, etc.). It was decided to use this kit, even if no controller electronics for homemade, not needed from this set.
A distinctive feature of this particular soldering iron is that the tips used in it measure the temperature at the very end, in the tip itself. This gives maximum control over the soldering and, therefore, good soldering quality.
Another interesting feature is that the kit has a motion sensor, with which you can configure your system to achieve a “standby temperature” when the soldering iron is not used.
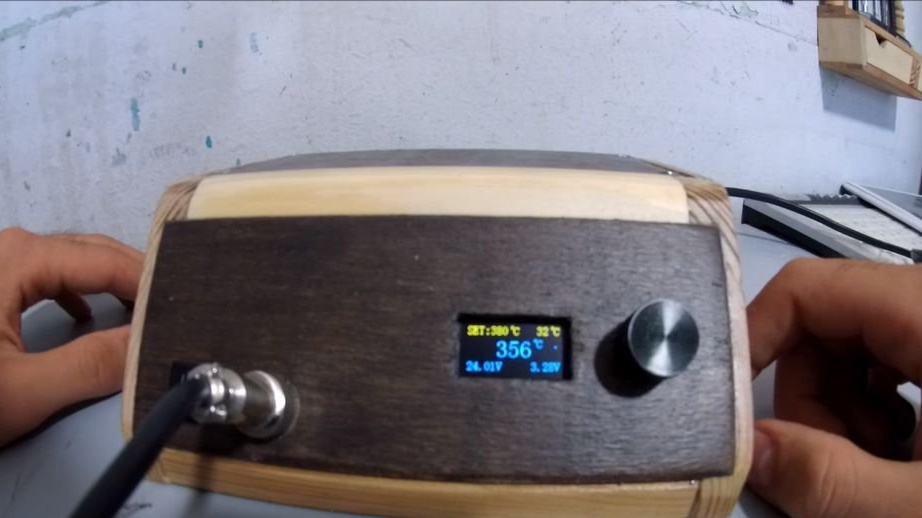
- controller board
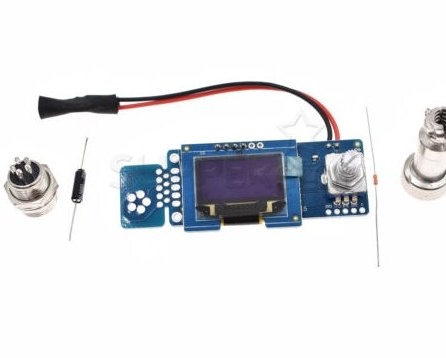
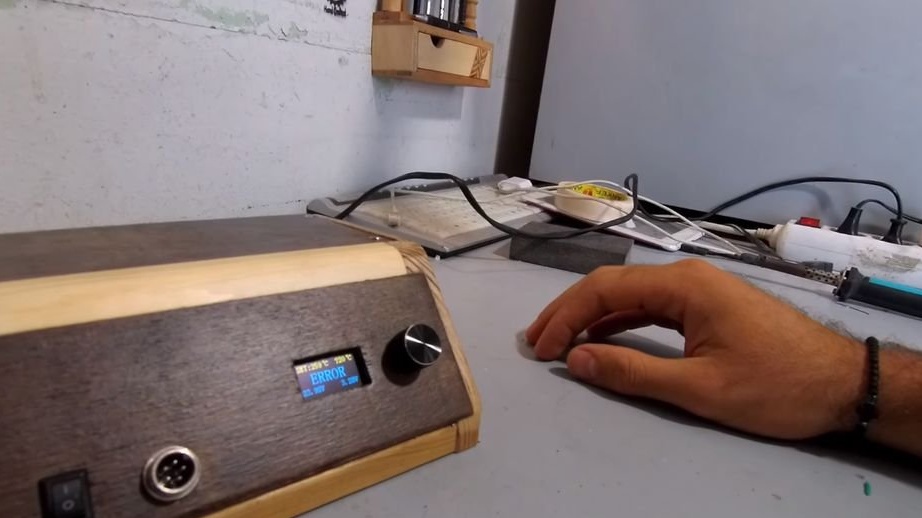
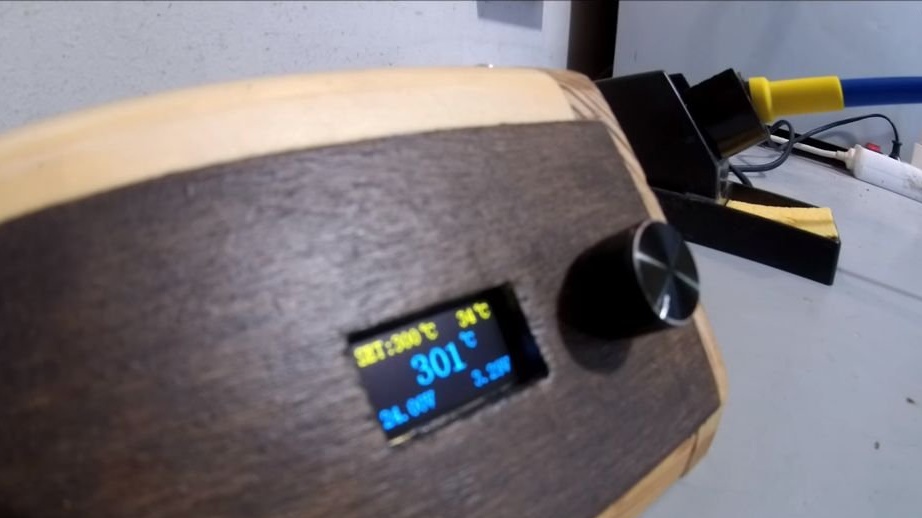
This controller board is more enjoyable than the one that was bundled with the soldering iron above. Uses a tiny OLED screen and encoder, and also looks great. A lot of information and a whole bunch of configuration settings!
- Voltage converter - 230/110 to 24V
A 24 V voltage is required for the soldering station. Therefore, in any case, a voltage converter is required.
- Soldering iron stand
Step Two: Creating a Shell
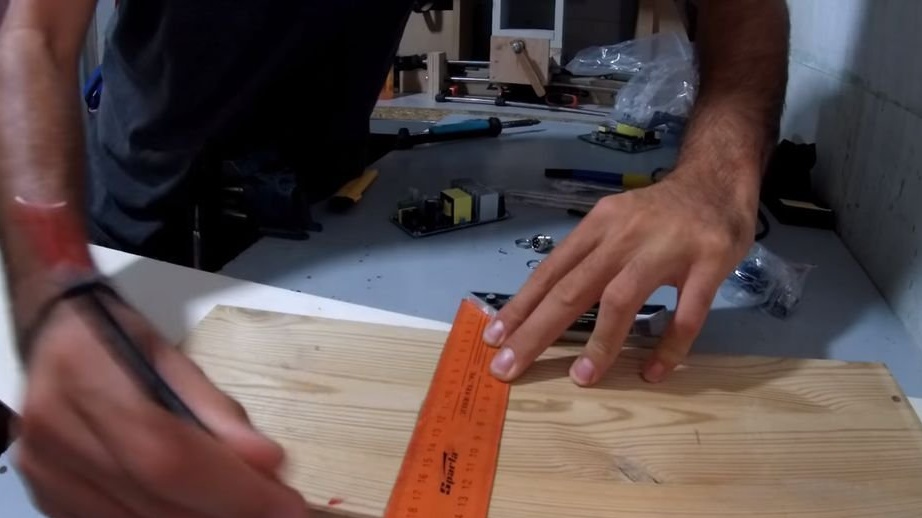


To make the body of the soldering station in which she will live, a tree will be used.
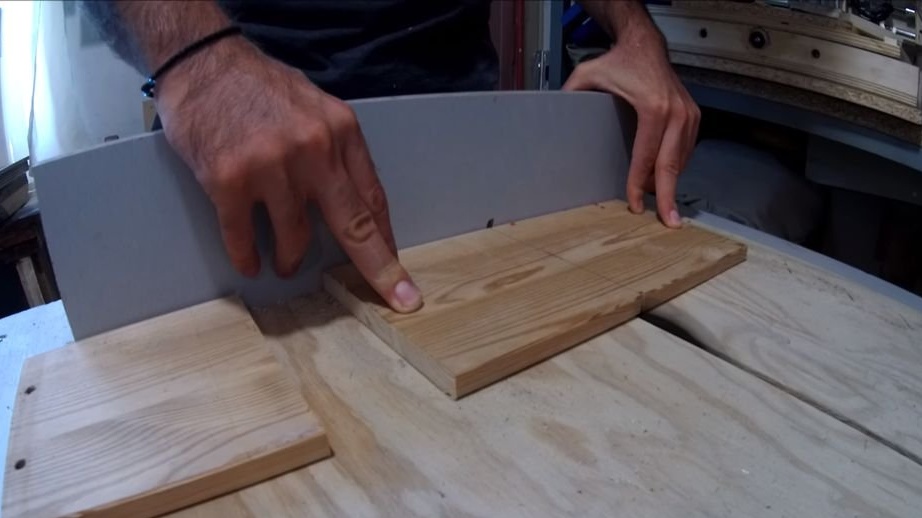
As a starting material, it was decided to use a pine board from an old box that had been lying around the workshop for a long time, as well as a small piece of 4 mm thick poplar wood plywood.
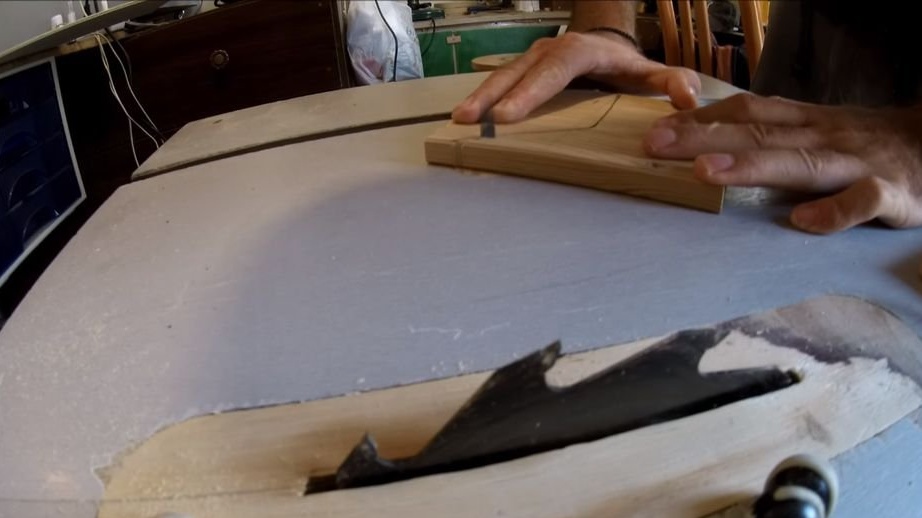
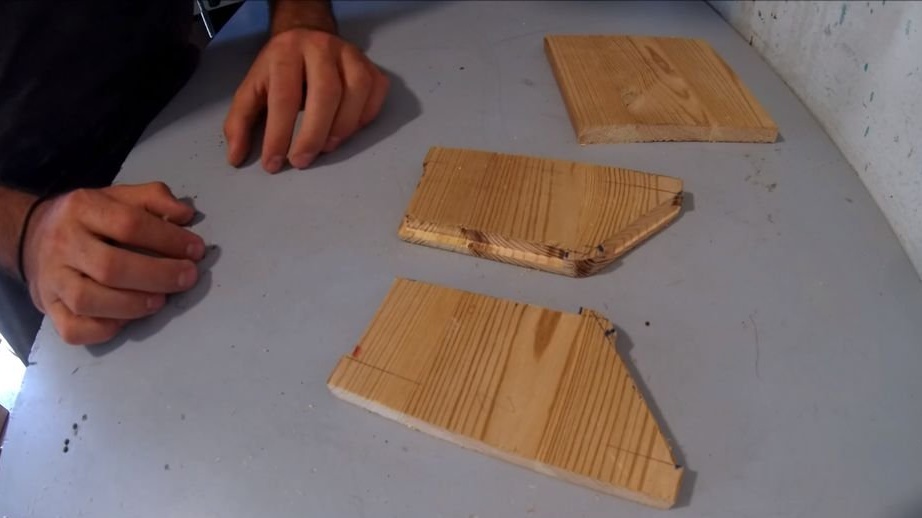
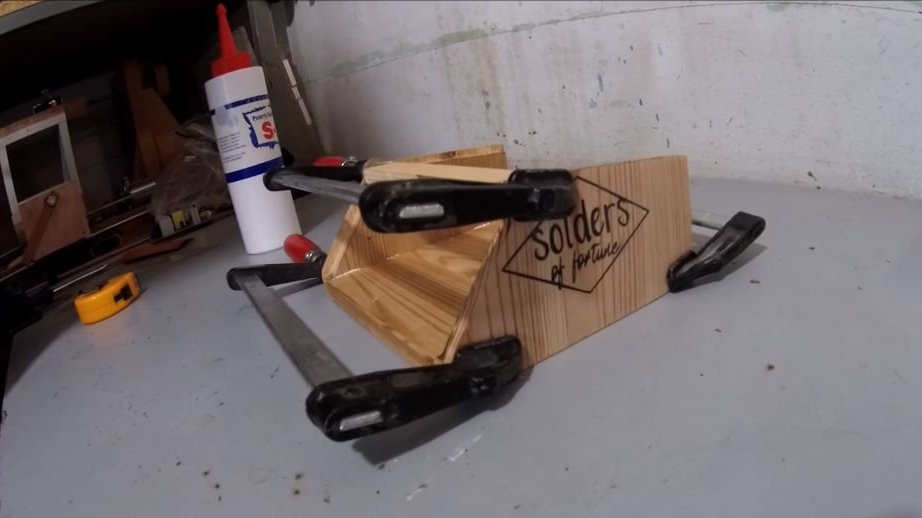
Using a table saw, rough cuts were made, and then using the inverted jigsaw, the side parts were trimmed, giving them a bend. After that, the parts were clamped together in a vice and polished at the point of cut so that both parts were the same.
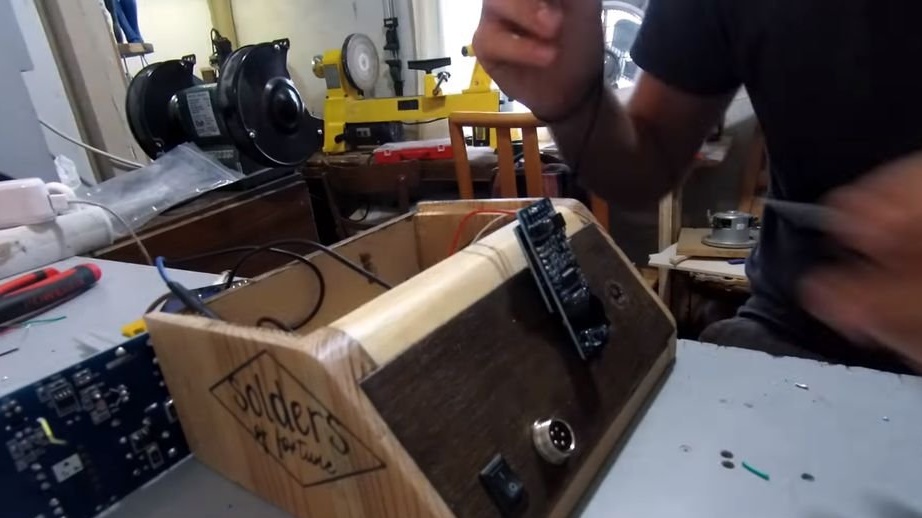
After that, in the same halves of the board, with the help of a manual milling cutter, quarters were selected into which the front / back and the cover will be inserted. These parts are made of 4 mm plywood.
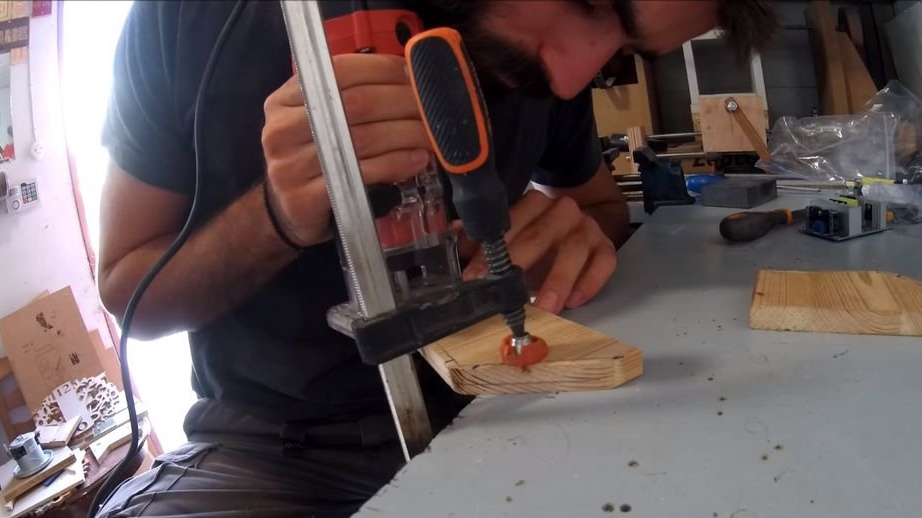
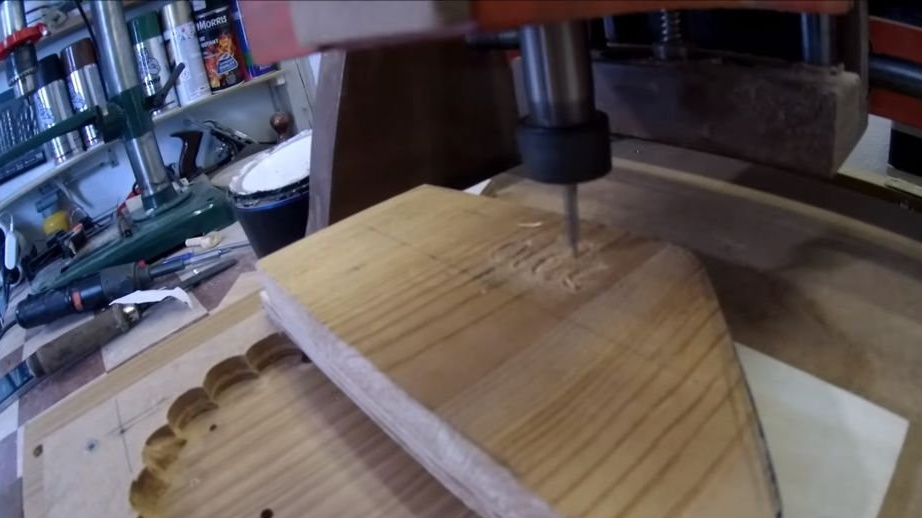
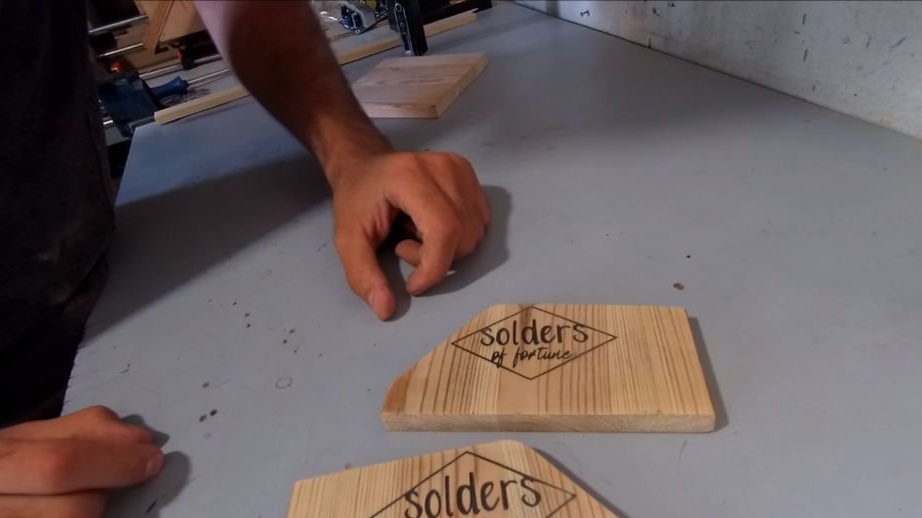
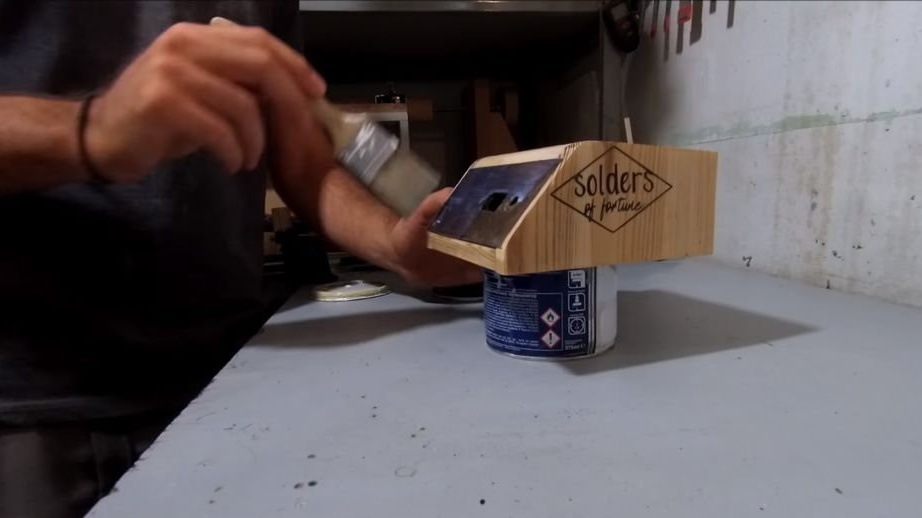
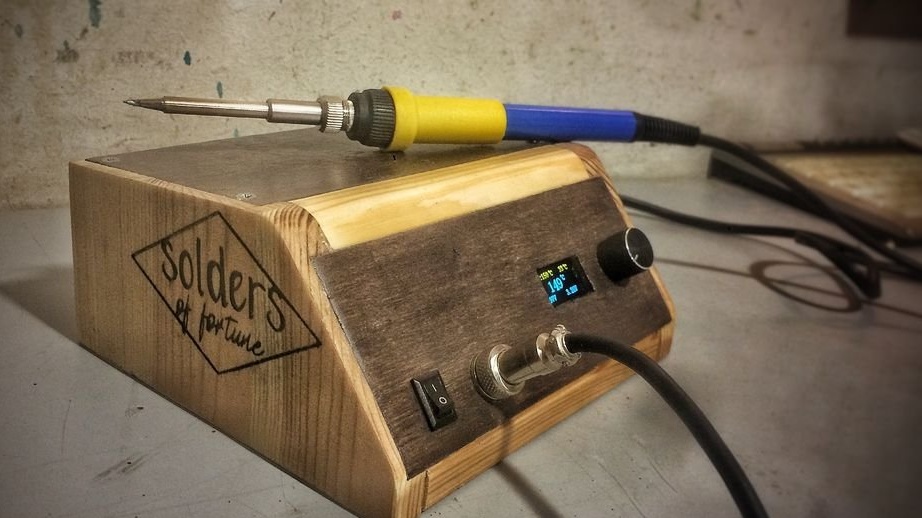
At this stage of manufacturing the station, it was decided to add a logo. A fancy engraving or something else that will give personality. For this, the author used his own, hand-made, CNC machine.
The soldering station was decided to be called "Solders of Fortune."
A computer was used to make the engraving. With its help, a digital engraving file was made. Then this file was dropped onto the SD card, which was then inserted into the CNC machine.
Details of the future station were fixed on a CNC bed. An engraving bit 1502 was then fixed inside its spindle. It remains to press the button and make an engraving.
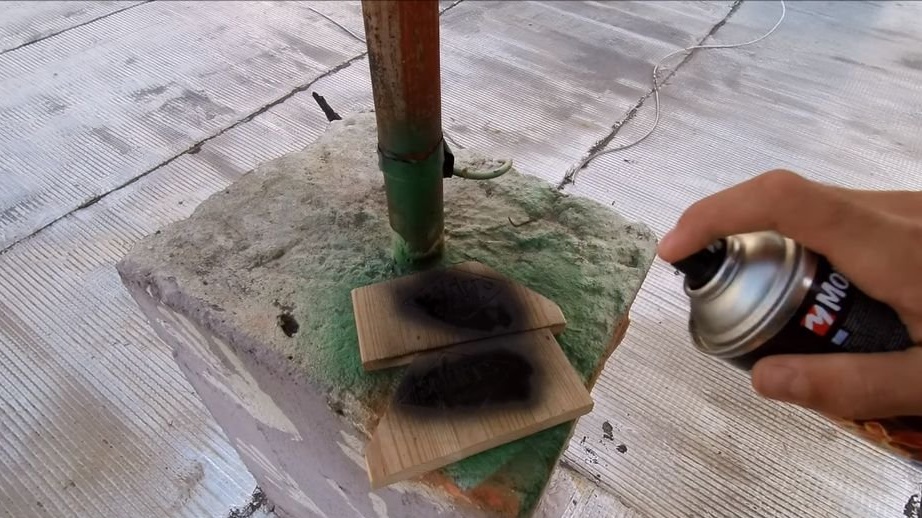
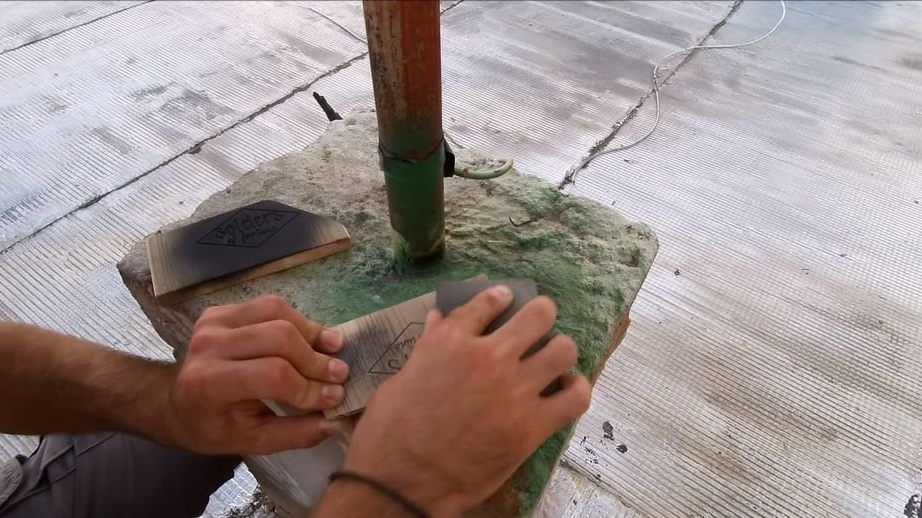
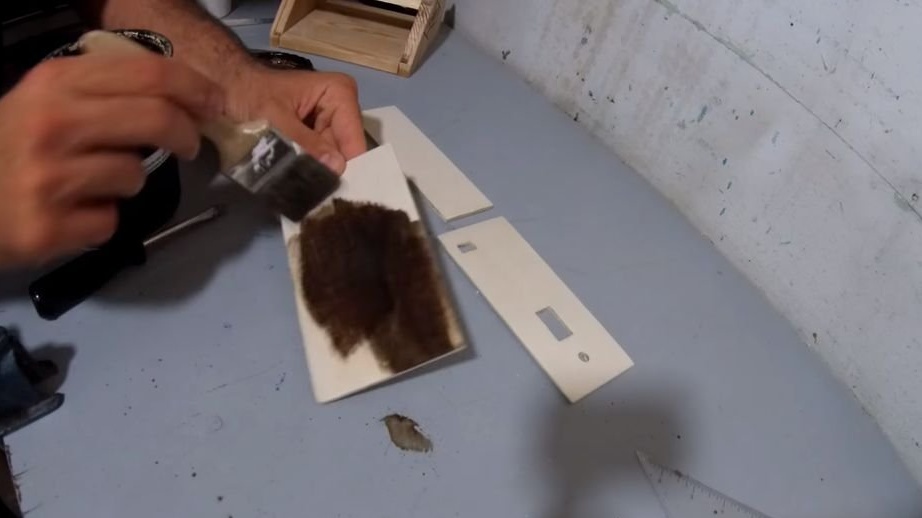
After that, the sides where the engraving was applied were painted with black acrylic varnish. When the varnish dried, the sides were sanded back under the wood. This made the engravings black and voluminous.
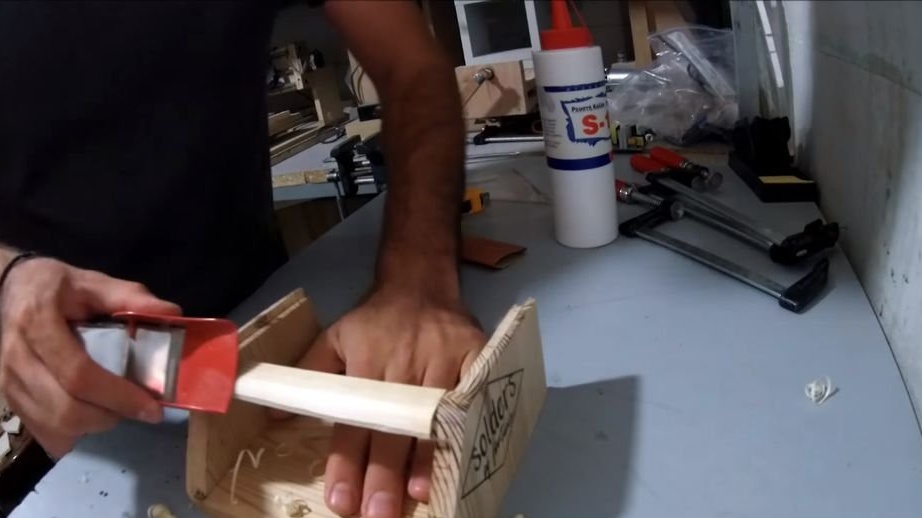
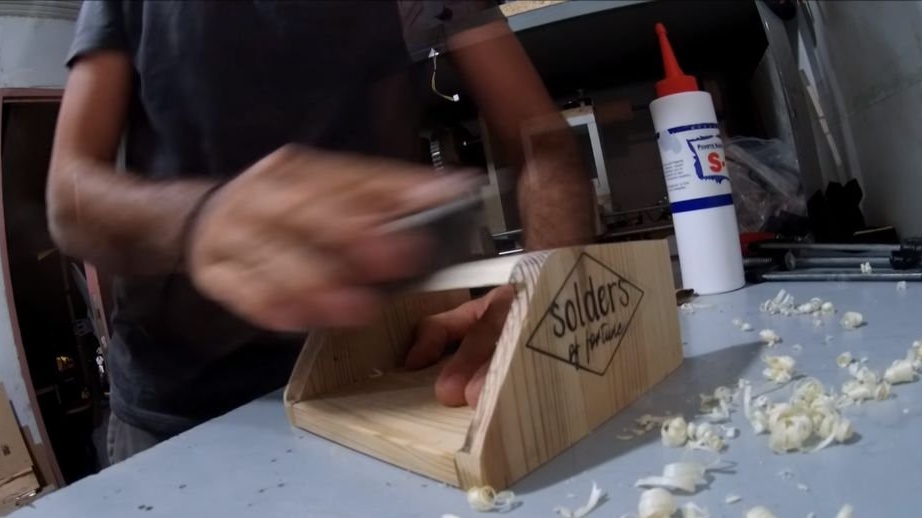
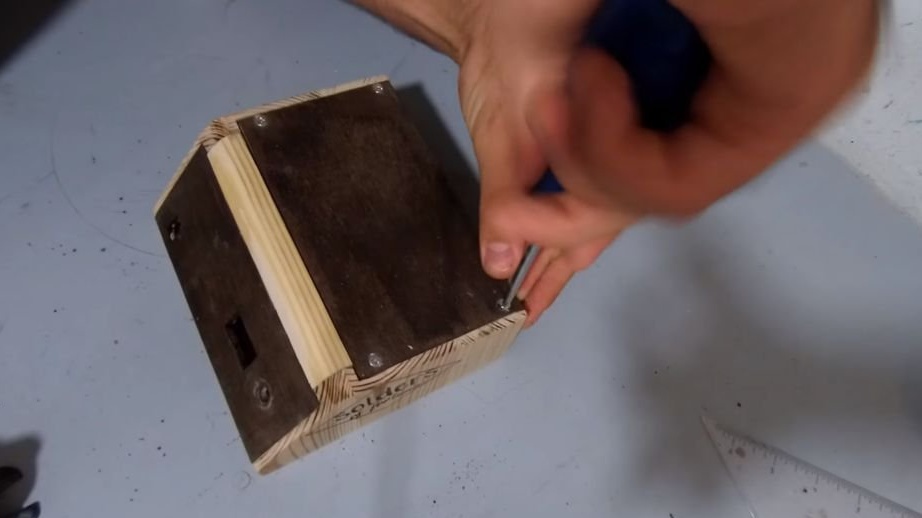
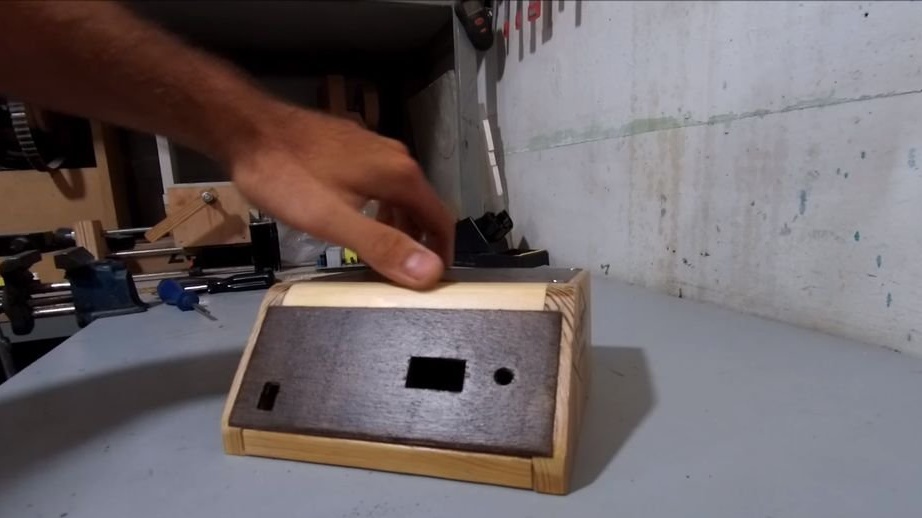
Then all parts of the box were glued together. A small piece of pine stick was added above, where the lid will meet with the front panel. After the glue had dried, using a hand planer and sandpaper, the edge of the stick was planed and sanded in accordance with the curve on the profiles. Pieces of plywood were cut to size. Then they were painted in the dark color of the walnut and glued to their places upon drying. The top cover has its own mount. It is screwed onto 4 screws.
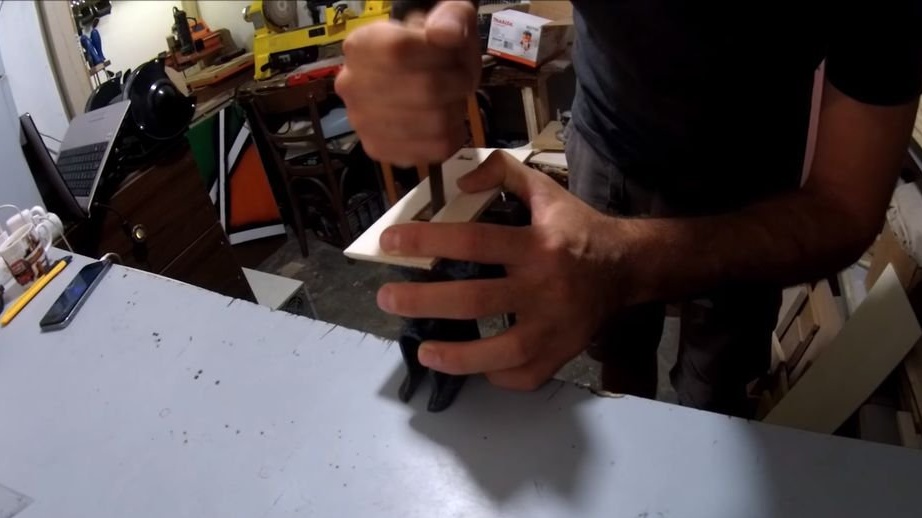
Before gluing the front panel, the places where it will be located: a screen, an encoder, an aircraft plug and a power switch were marked on it and then drilled. A jigsaw was used to drill holes.
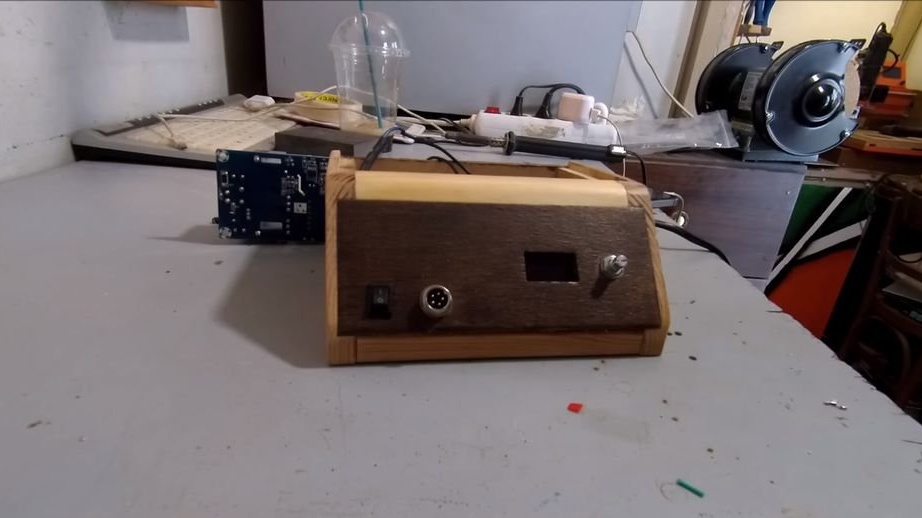
In the final, 2 or 3 coats of varnish were applied.
Step Three: Posting
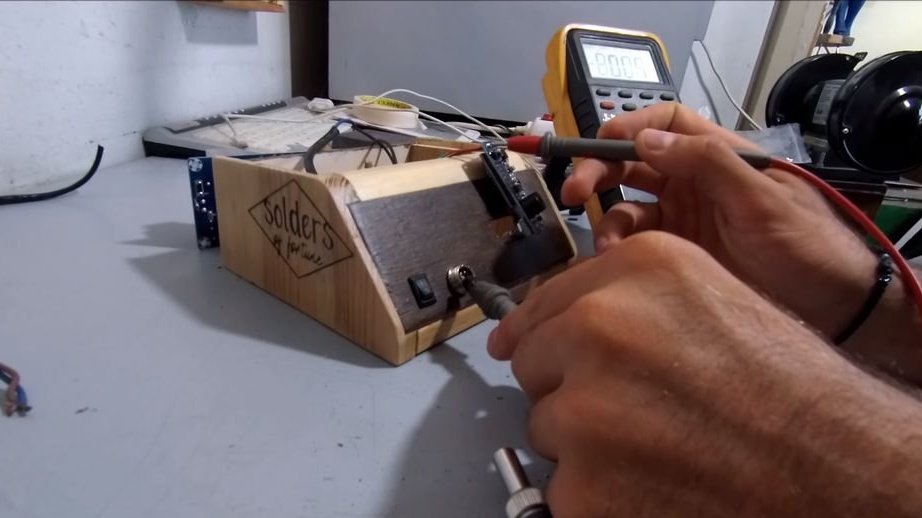
Firstly, AC voltage is supplied to the input of the station. Then turn on the AC / DC regulator. Line, neutral, earth .. that's all! (in fact, the earth is even optional).
From the other end of this board, you get 24 VDC, which you supply to the soldering station controller.
If you intend to use the power switch (which is recommended, because in order to turn the soldering station on and off, you must connect and disconnect the plug from the outlet). There are two options. The switch can be used to trip low voltage (24 V DC) or high (AC 110/220 V). The best option would be to turn off the high voltage, since there is no need for the AC-DC board to work when the station is down! The result of this decision is the fact that when you finish working and finally turn off the device, the display will not go out in an instant, as if it were decided to disconnect 24V. Instead, the display turns off after two or three seconds, during the discharge of all capacitors on the AC / DC board. It's okay, the usual thing.
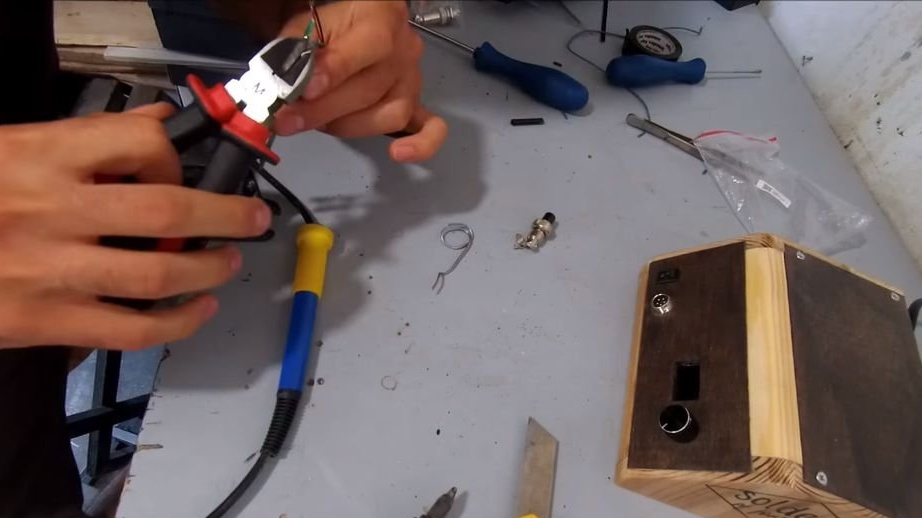
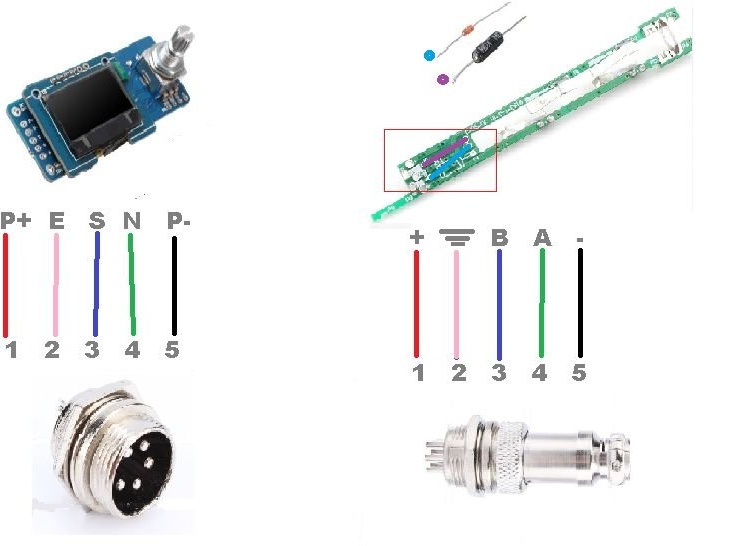
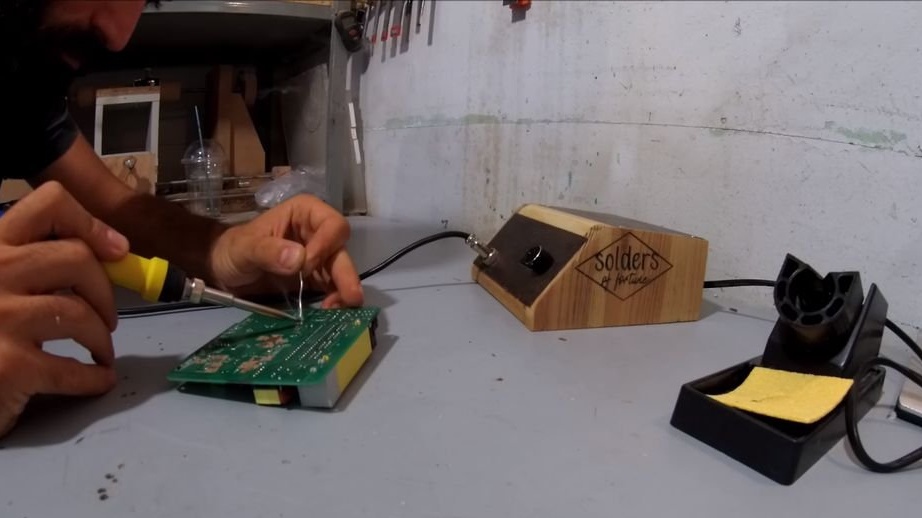
Then you just need to connect one part of the 5-pin connector to the controller board, and the other to the soldering iron, as shown in the connection diagram above.
Step Four: Done!
There is also a settings menu in this soldering station where you can set the sleep and standby times, turn on and turn off the sound signal and all that sort of thing.