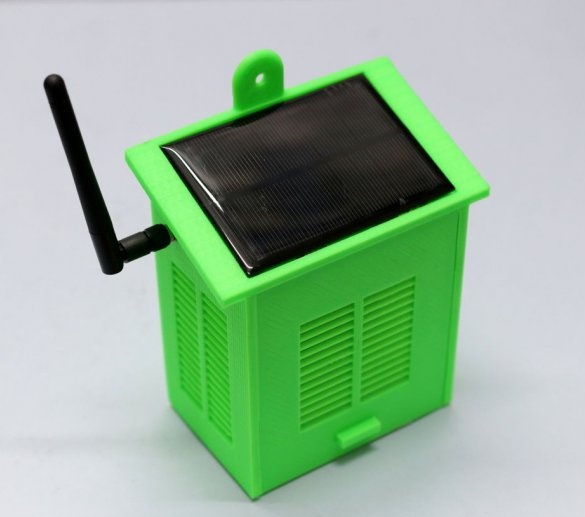
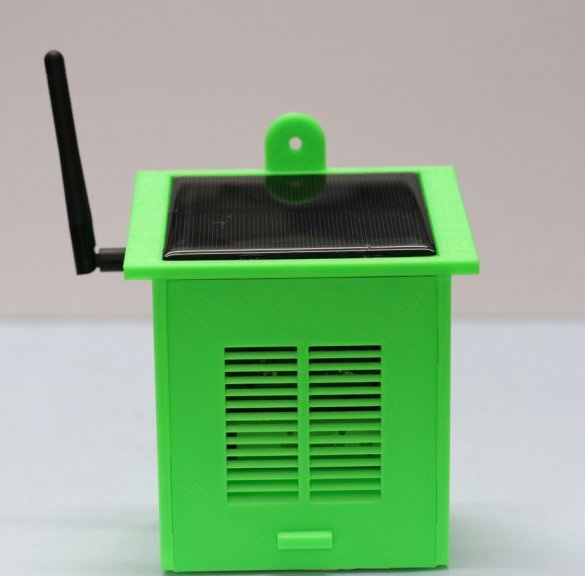
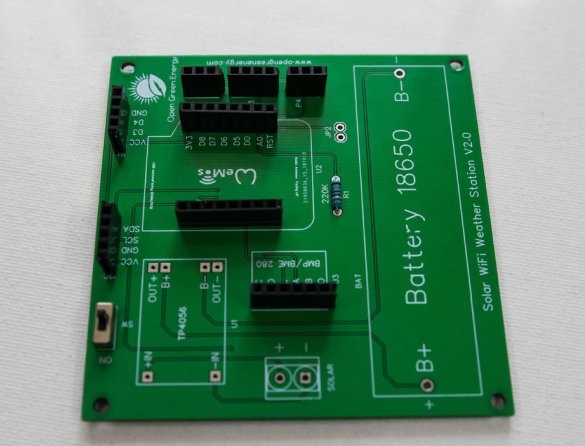
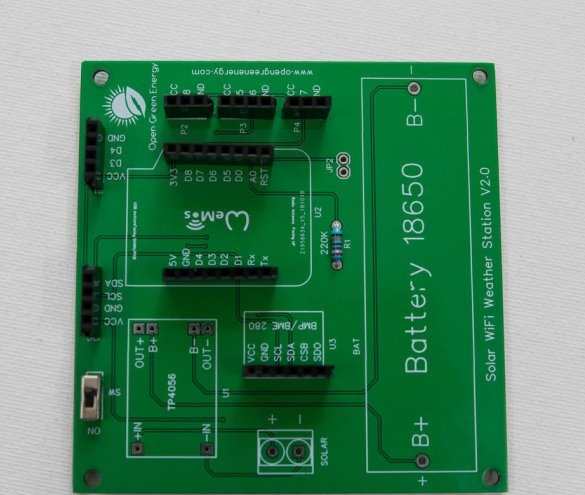
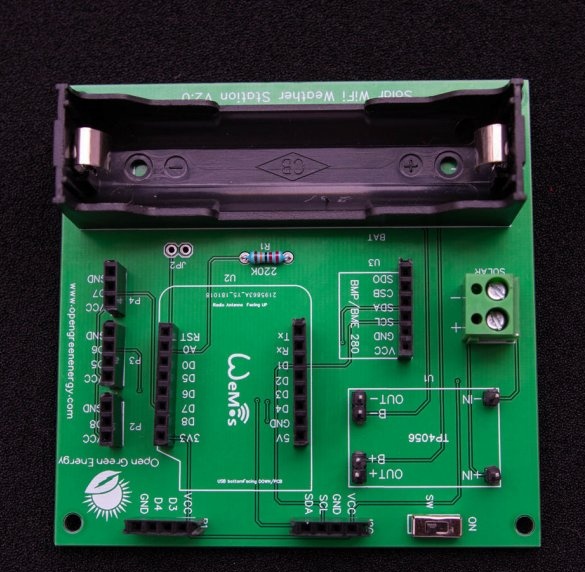
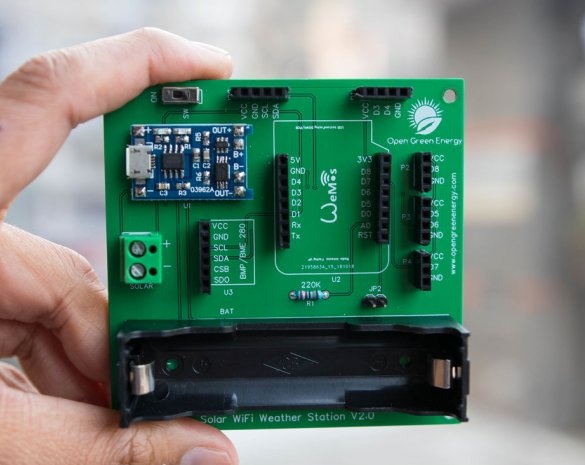
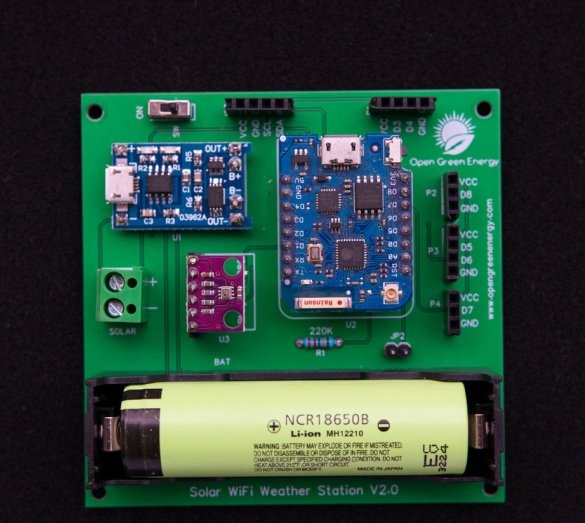
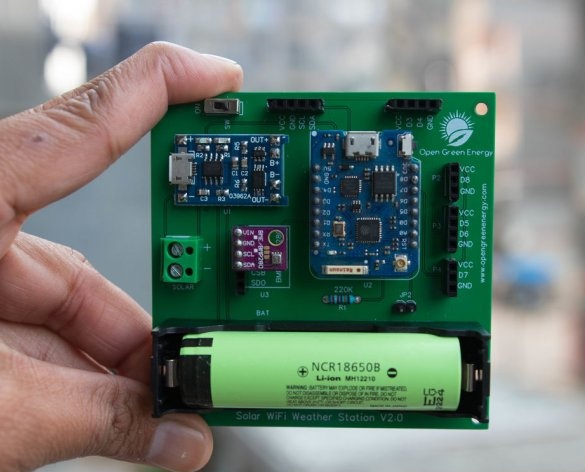
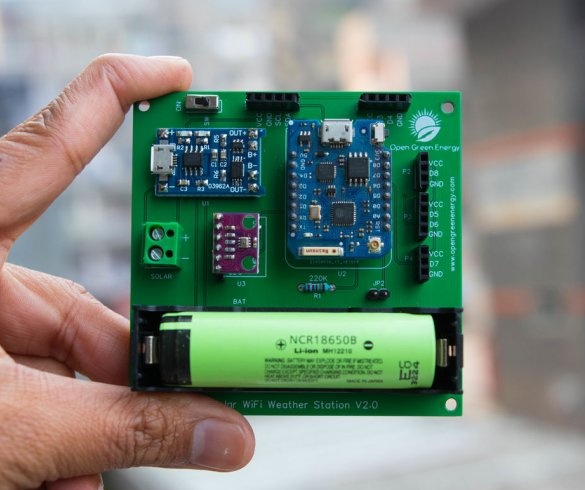
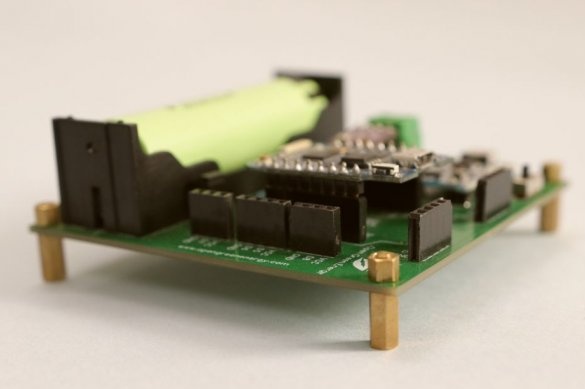
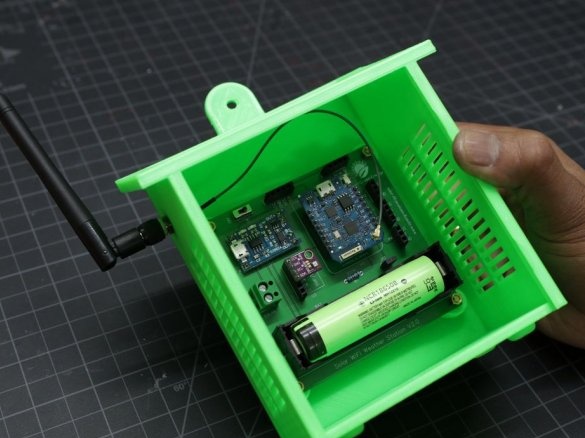
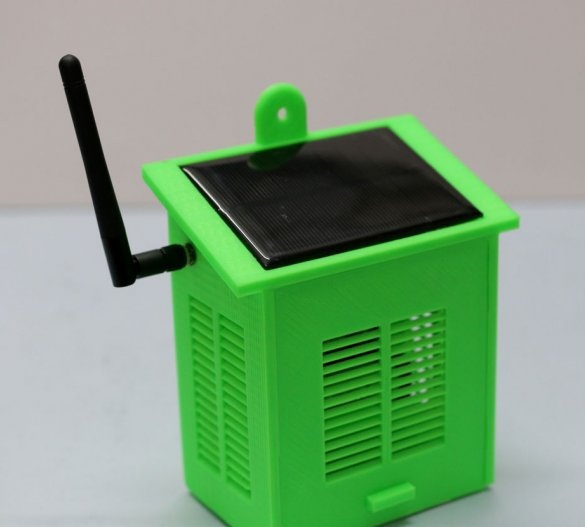
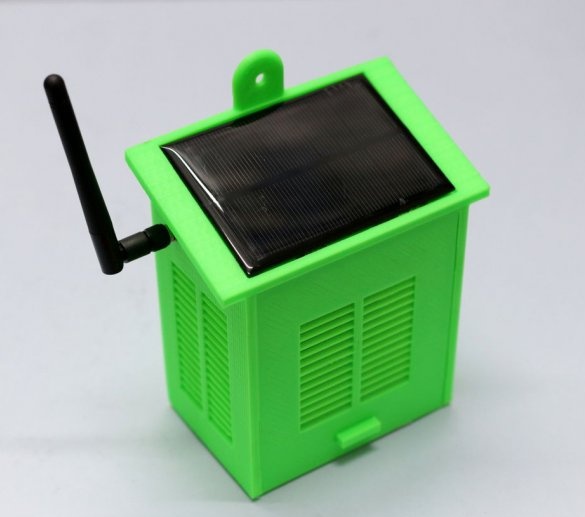
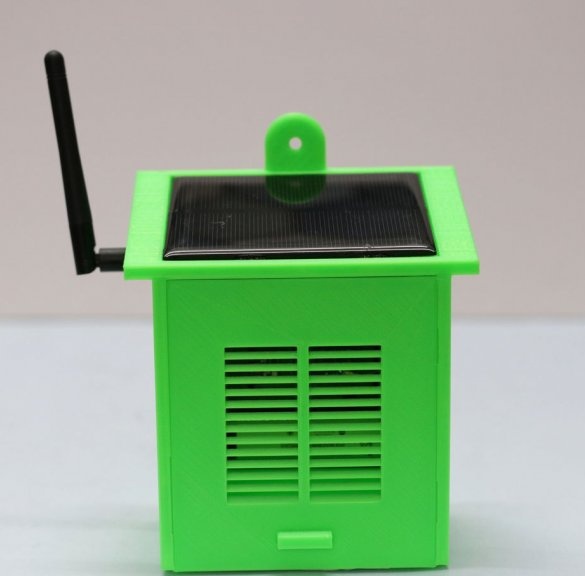
This weather station is the second version of the device. First model The weather station was popular and made by many people around the world. On the operation of the first model there were many suggestions and wishes that the master tried to implement in the second version of the device.
Features of this device are:
-Monitoring weather parameters (temperature, humidity, pressure, etc.)
- WiFi data transfer
- Remote battery status monitoring
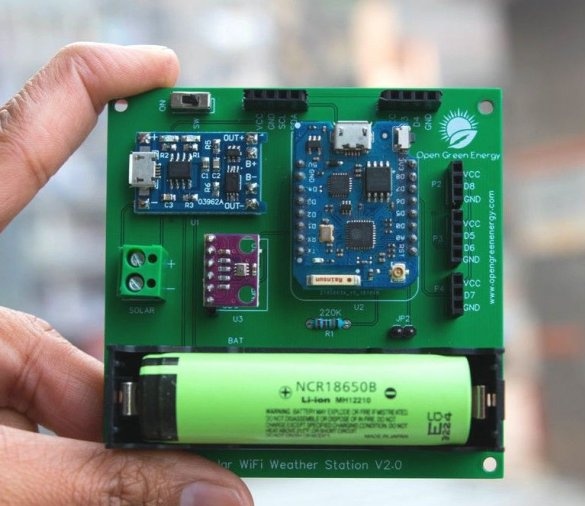
-Optional ports for installing additional sensors
3400 mAh lithium-ion battery
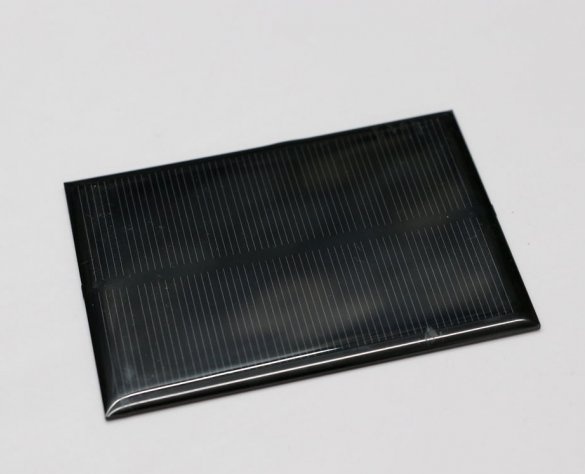
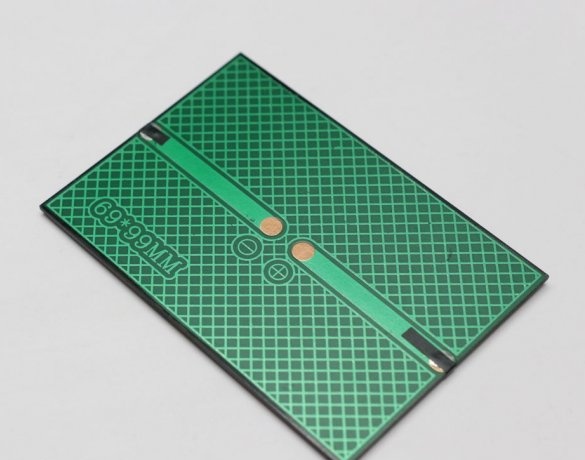
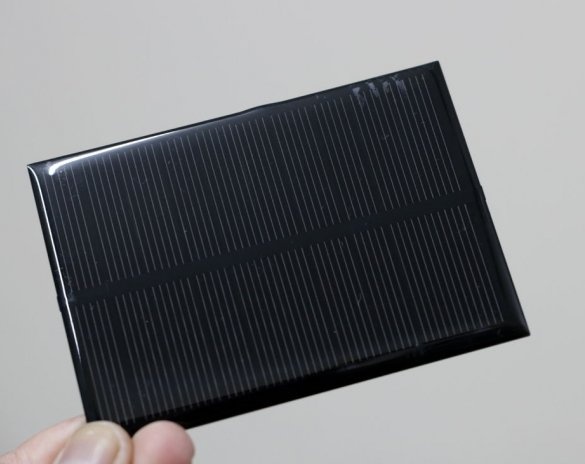
- 1 Watt Solar Panel
- Independence of external power supply
-Ability to install in remote locations or in difficult geographical conditions
Tools and materials:
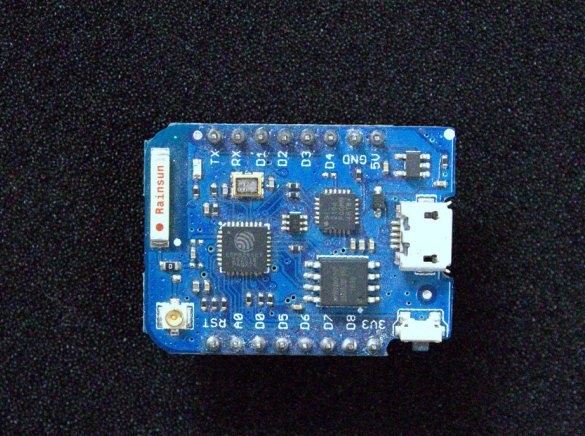
-Wemos D1 mini Pro board;
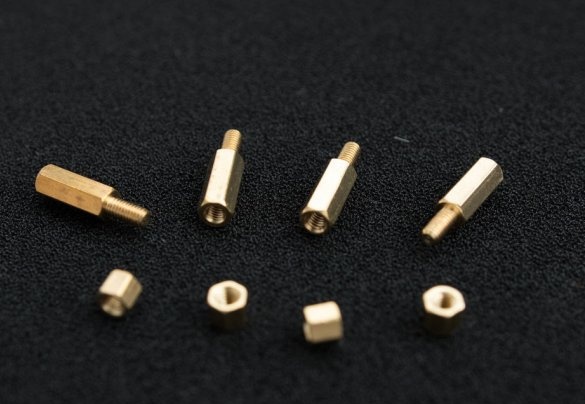
-Fasteners;
-Switch SPDT;
- Terminals;
- Rechargeable battery 18650;
- 18650 battery holder;
-Wire;
-Connectors;
-Super glue;
- Resistor 220 kOhm;
-3D printer;
-Soldering accessories;
-Glue gun;
-Nippers;
-Knife;
Step One: Nutrition
First, the author talks about electronic devices that he is going to use.
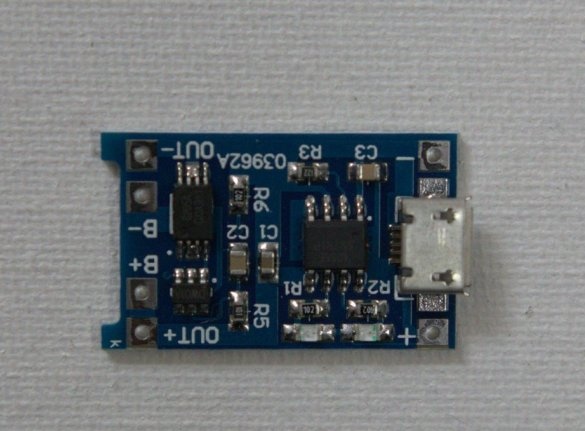
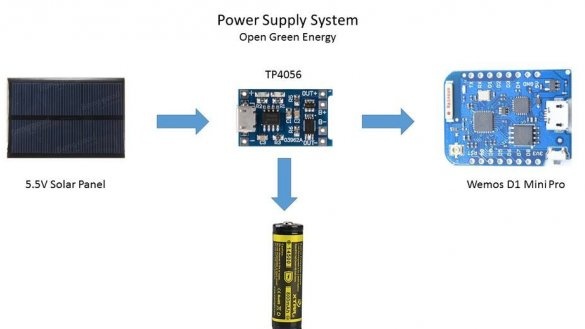
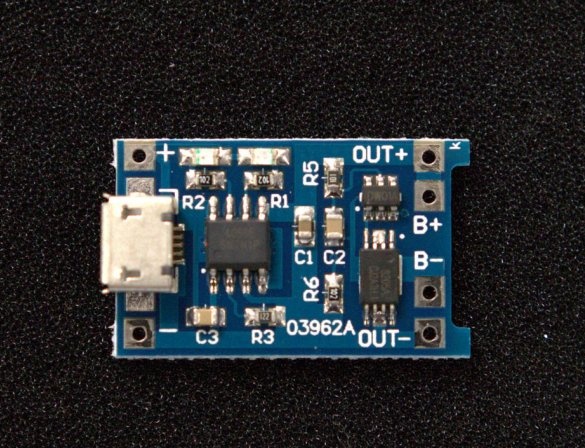
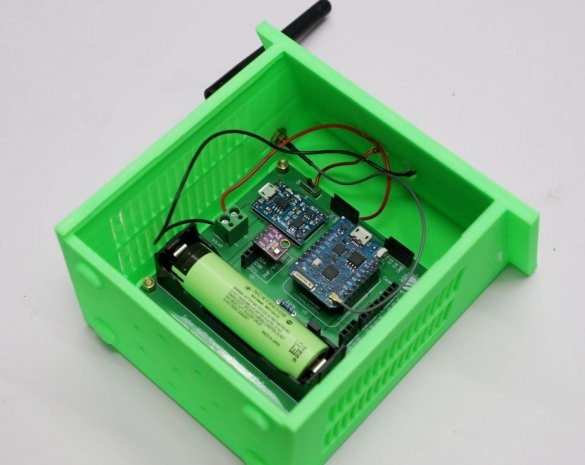
The weather station master will install on the farm and the main problem was what kind of power source to use. The 3400 mAh lithium-ion battery does an excellent job, but needs to be charged. For charging, the master decided to use a solar panel with a TP4056 charging module.
Such modules come with and without protection. The wizard advises you to install with protection. Protection will not allow the battery to recharge or discharge below a critical 2.4 V.
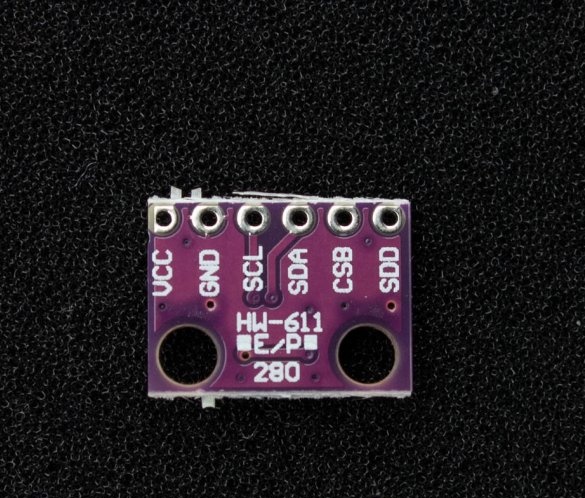
Step Two: BMP \ E 280 Sensors
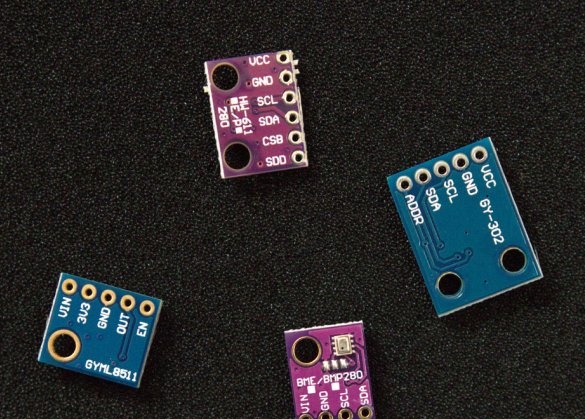
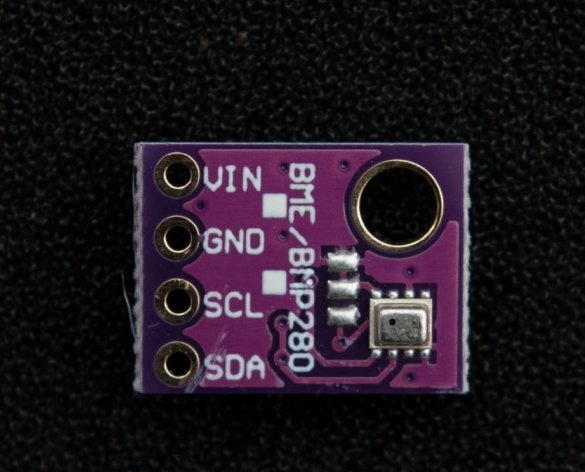
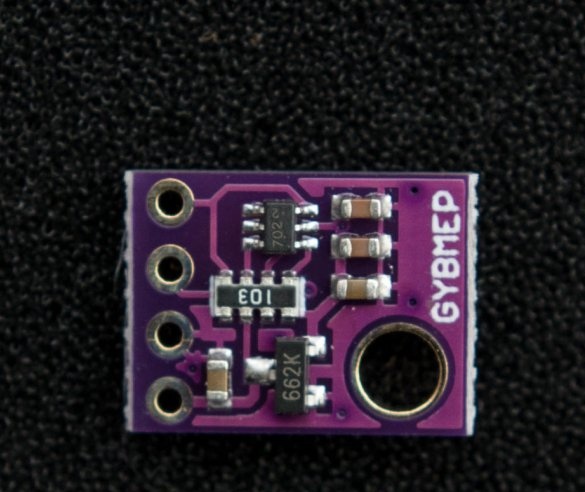
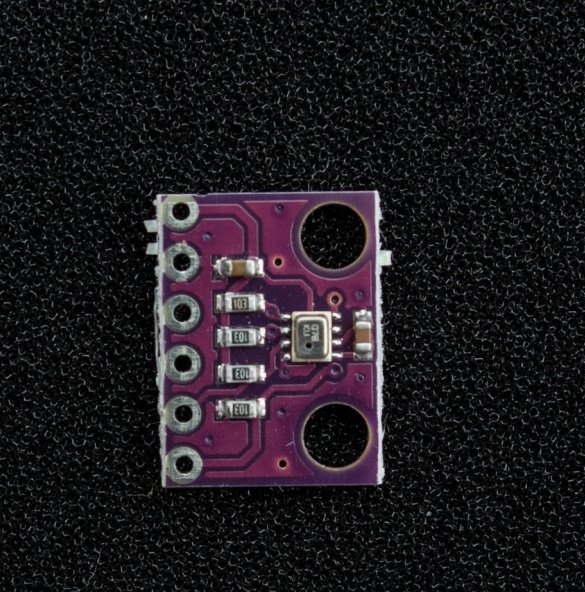
The BME280 sensor differs from the BMP280 sensor in its ability to measure humidity. You can install any of these sensors on the device, depending on the task.
Step Three: Optional Sensors
Up to five sensors can be additionally connected to the board developed by the master, such as:
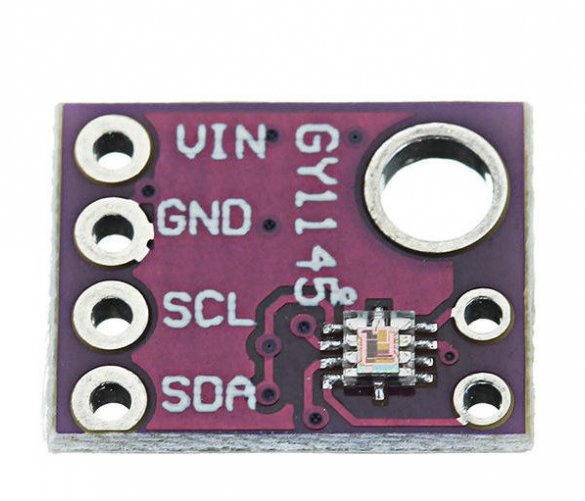
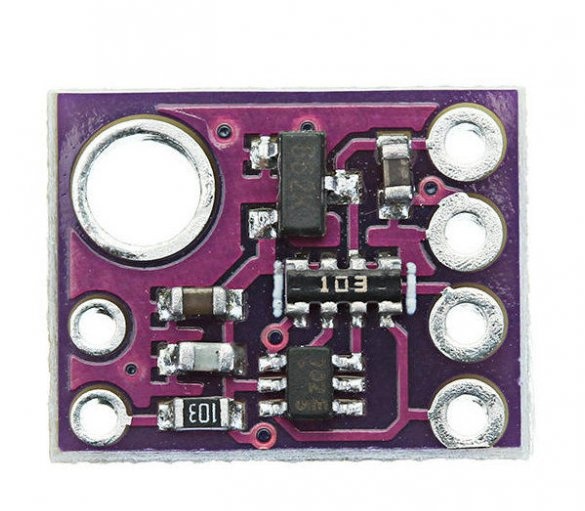
GY-1145 sensor - for measurement of UV and IR
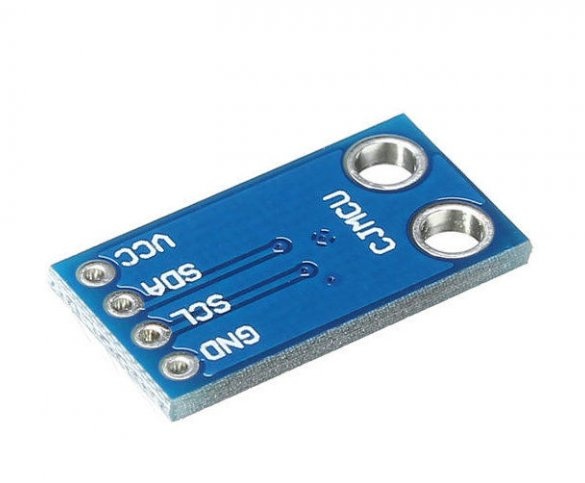
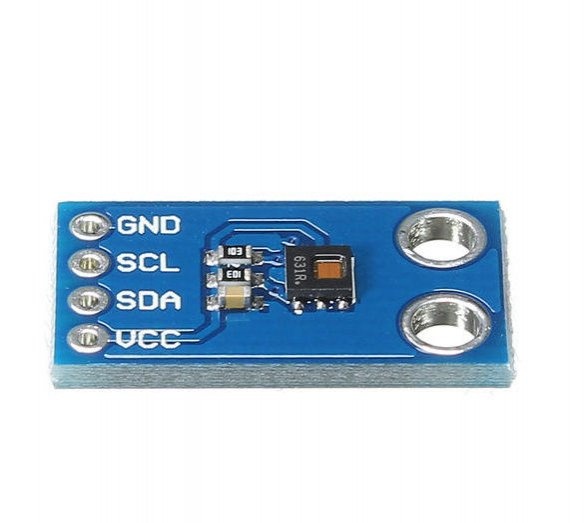
HDC1080 sensor - for measuring temperature and humidity
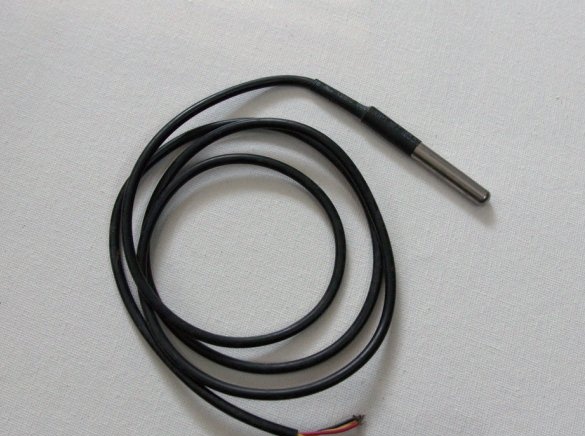
DS18B20 sensor - for measuring temperature
other.
All these devices can be used together or separately depending on the tasks.
Step Four: Data Transfer
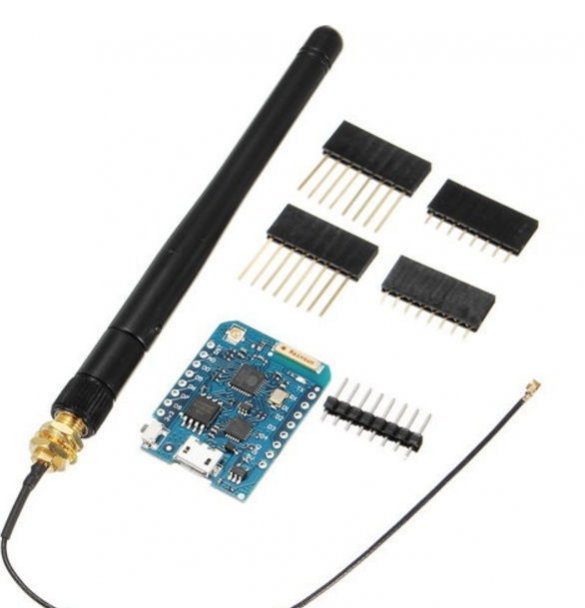
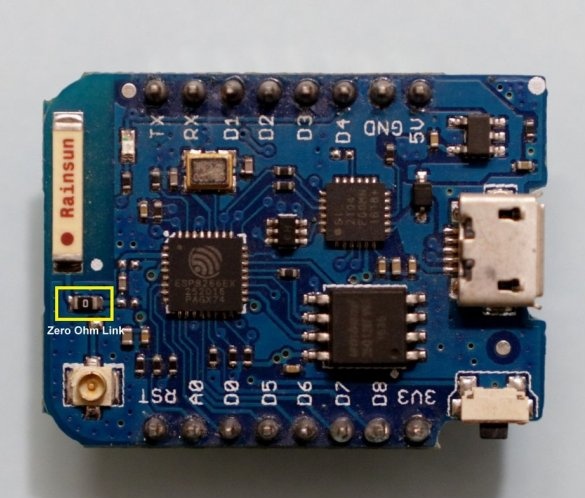
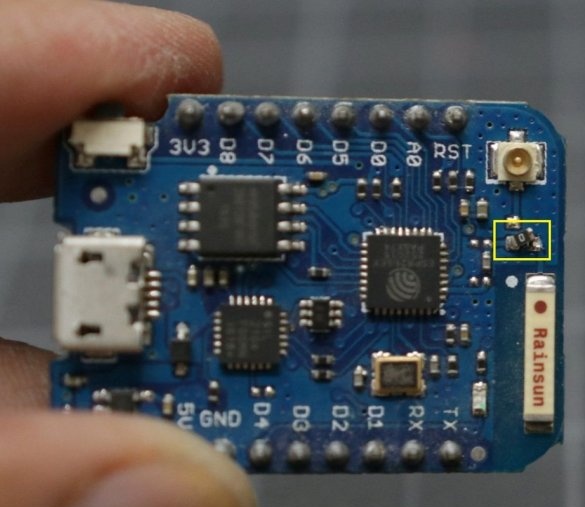
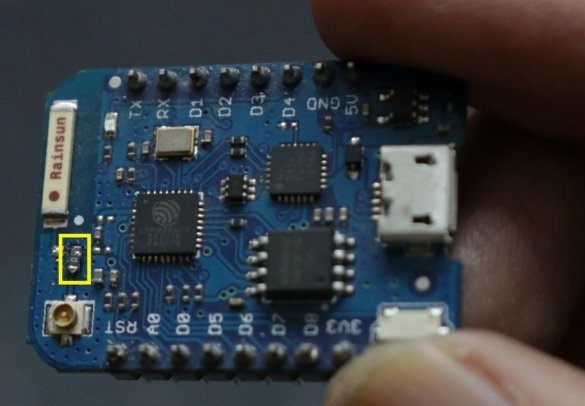
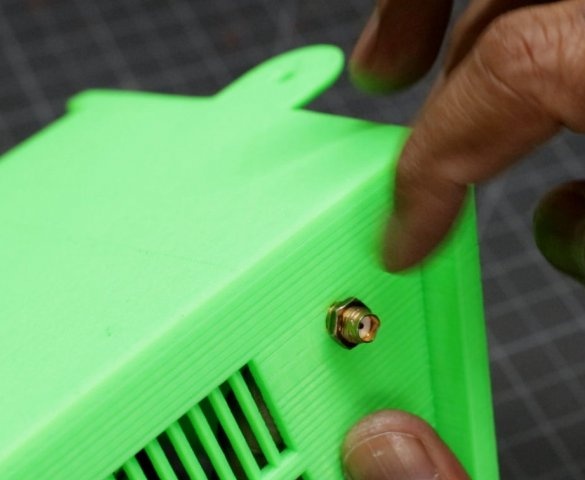
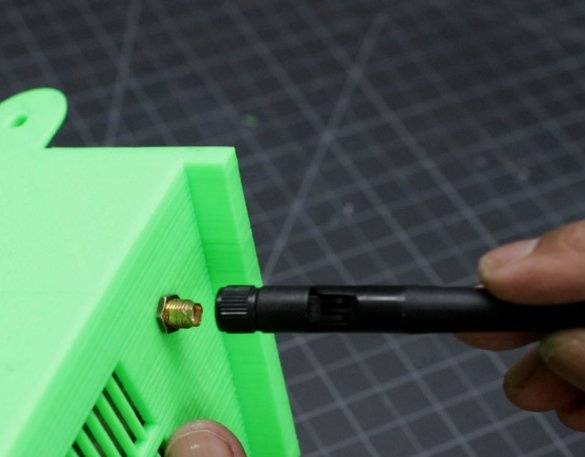
An antenna is installed on the Wemos D1 mini Pro board, but for better reception, it is possible to install an additional one. Before installing it, you must solder the resistor on the board, as shown in the photo.
Step Five: Resistor
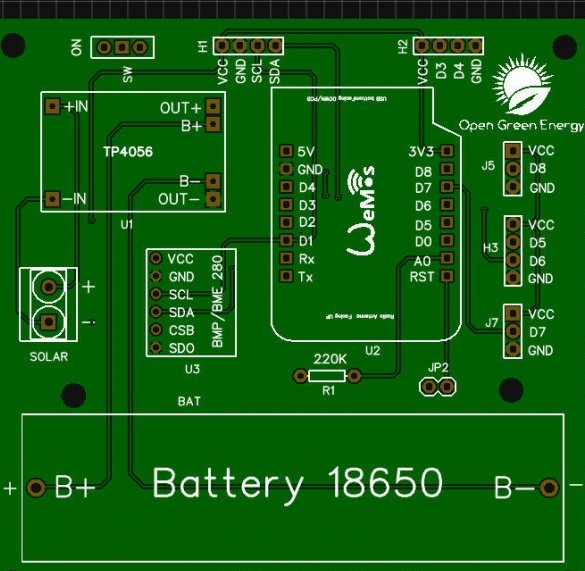
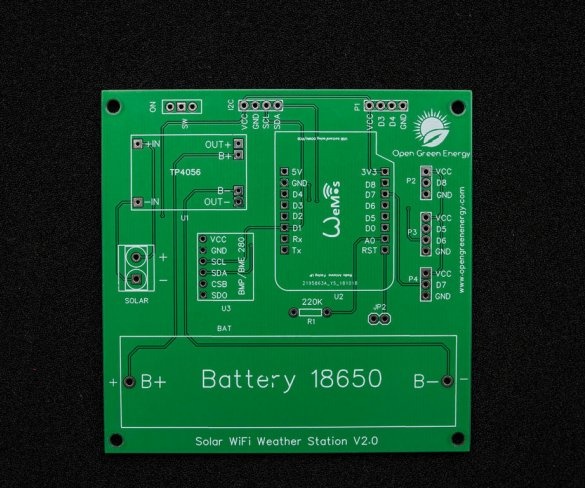
The weather station runs on 18650 lithium-ion batteries, so it is very important to monitor its condition. The maximum input voltage on the Wemos board is about 3.2 ~ 3.3 V, and the voltage of a fully charged 18650 battery is 4.2 V. Thus, you need to lower the voltage. For this purpose, the master installs a 220 kΩ resistor. On the circuit board, it is labeled R1 and is located just above the battery holder.
Step Six: Sleep
To save battery power and correct readings, the weather station works in sleep / wake mode. The power consumption in different modes is shown in the table below.
Operation Mode ----- Sleep Mode
1. ESP8266 170 mA -------- 10 μA
2. CH340 12 mA --------- 50 μA
3. Built-in 3 mA LED ----------- 0 μA
4. Voltage monitor 0.006 mA ----- 6 μA
Total 185 mA ---- 66 mA
If the cycle is 10 minutes of sleep \ 30 seconds of wakefulness, then the energy consumption is as follows:
- Awake time 185 mA for 0.5 minutes = 92.5 mA minutes
- Sleep time 0.066 mA for 9.5 minutes = 0.627 mA minutes
-Total in 10 minutes = 93.13 mA-minutes
Thus, the average current consumption is 9.3 mA.
Seventh step: solar panel
From the previous step it is concluded that the average current consumption is 9.3 mA. The required current for the device to work all day = 9.3 mA x 24 hours = 223.2 mAh
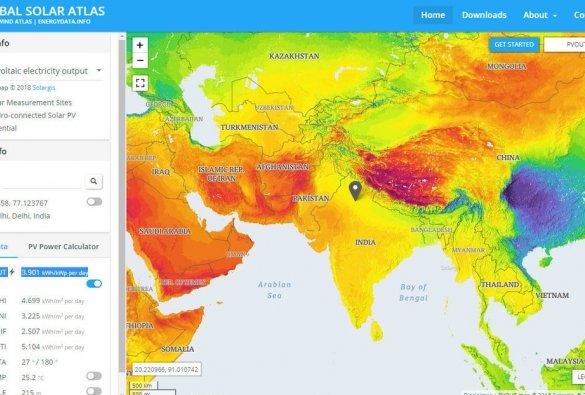
The amount of solar radiation depends on what part of the globe you are in. To find out the amount of solar radiation you can use. Given a minimum of 1 hour of full sunlight, the author selects a solar panel.
So, the goal is to get 223.2 mAh in 1 hour. To charge a 3.7 V lithium-ion battery, a solar panel with a voltage of 5 to 6 V is sufficient. The required nominal power of the solar panel = 223.2 mA at a voltage of 5 to 6 volts. The rated power of the solar panel = 223.2 mA x 5 V = 1.1 watts. So you need a solar panel 1 W / 5 V - 6 V.
Step Eight: Circuit and PCB
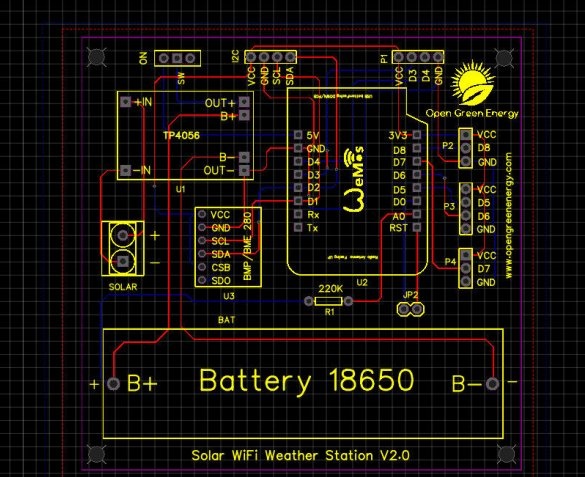
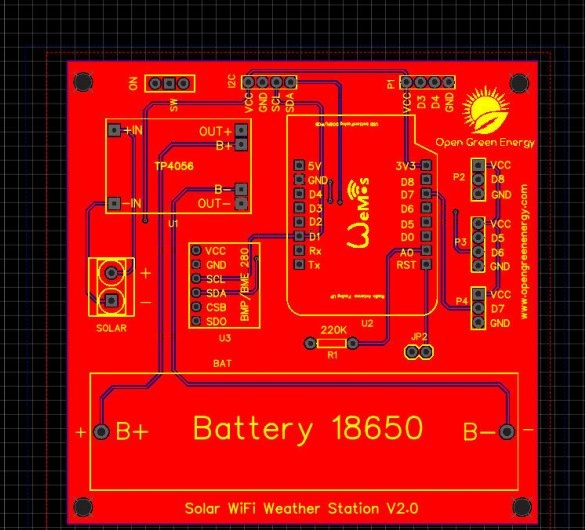
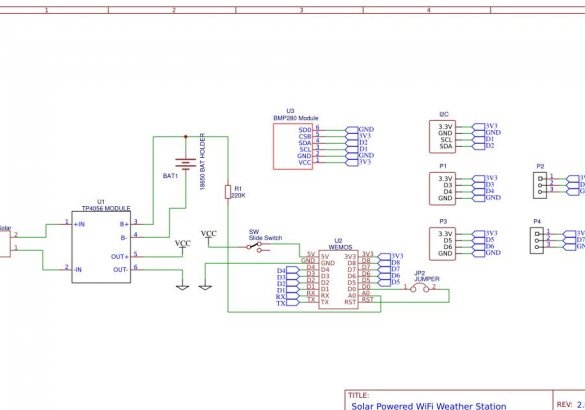
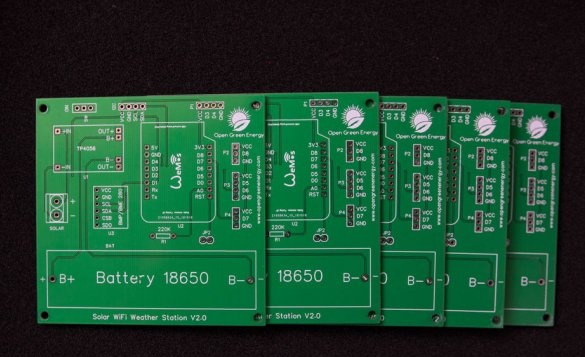
The master developed the printed circuit board and circuit using the special software of the board manufacturing company.
After developing the board, it remains only to send the order and wait for delivery.
Step Nine: Installation
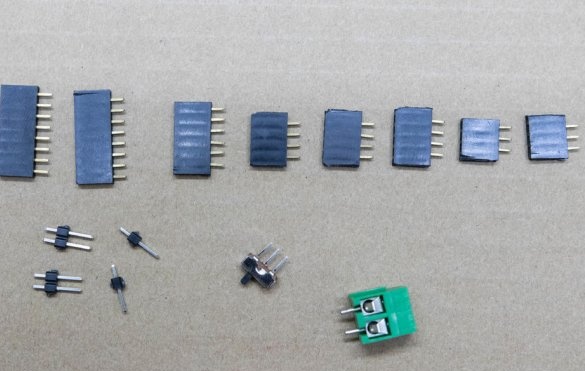
After receiving the board, you must install the components. Solder the mounting connectors to the board according to the diagram.
1. Wemos board - 2 x 8 pins
2. BMP280 - 1 x 6 pin
3. I2C port - 1 x 4 pins
4. P1 port - 1 x 4 pins
5. P2 port - 1 x 3 pins
6. P3 port - 1 x 4 pins
7. P4 port - 1 x 3 pins
Then solder the battery holder, resistor, switch.
Installs modules and battery (verifies).
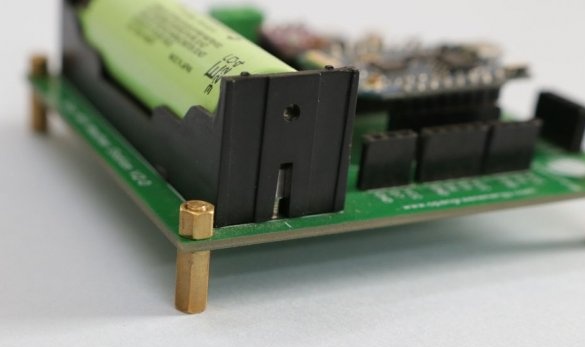
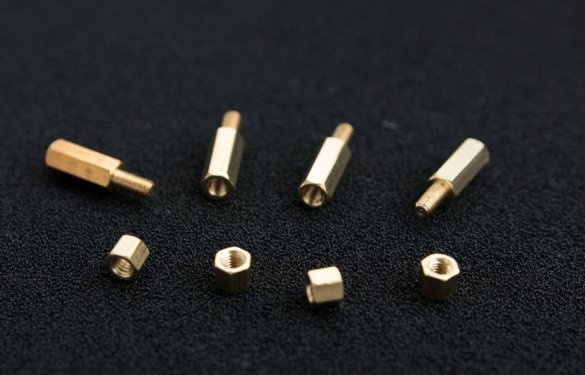
Mounts fasteners.
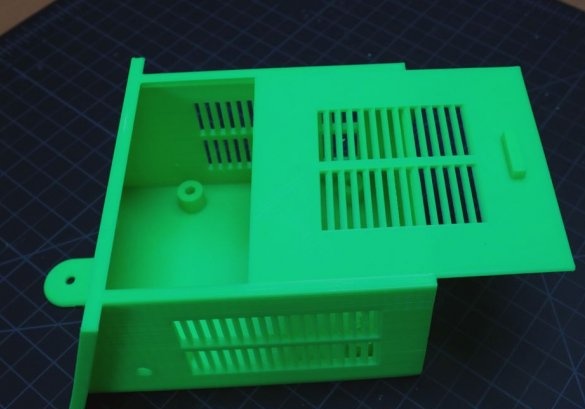
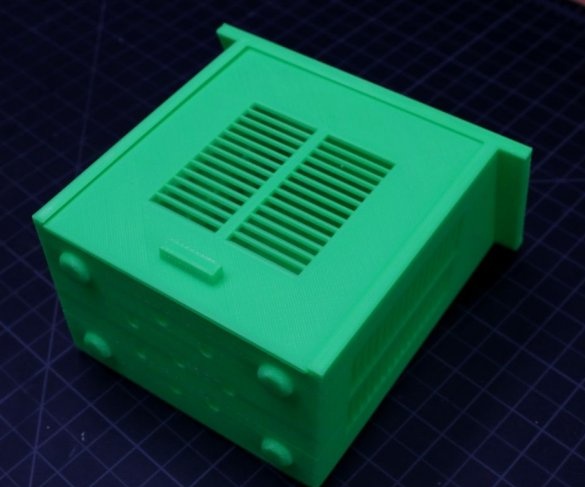
Step Ten: The Case
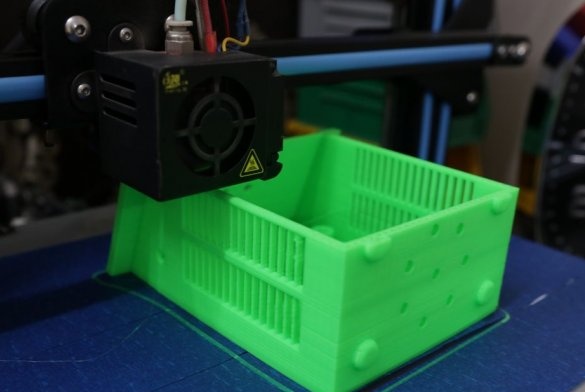
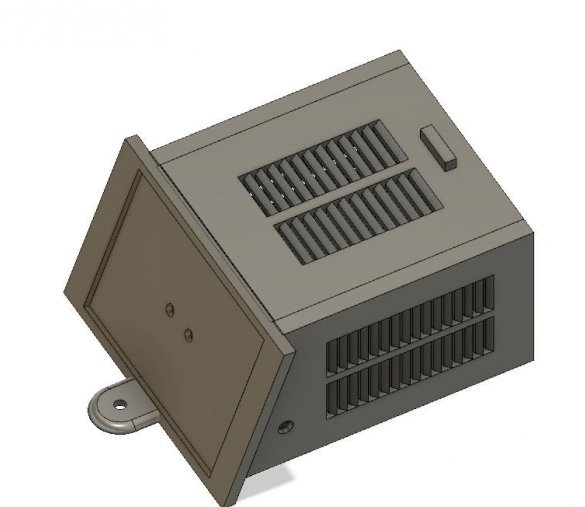
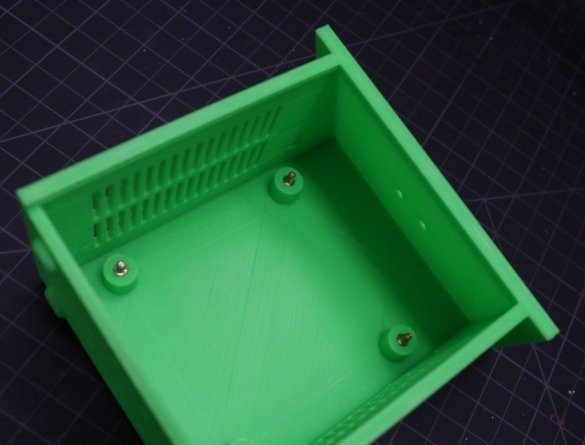
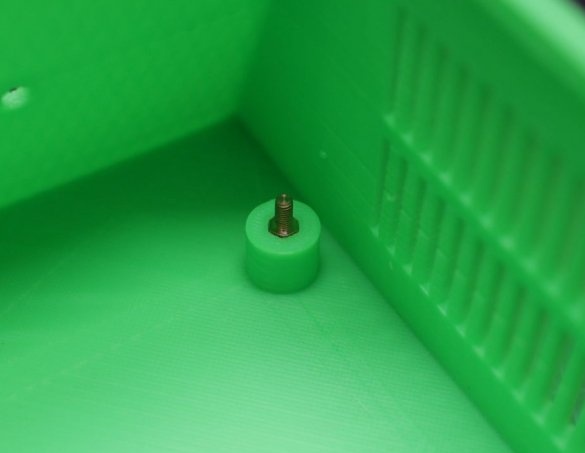
The body of the master did not print on 3D. To download, you can download the file
.
Step Eleven: Build
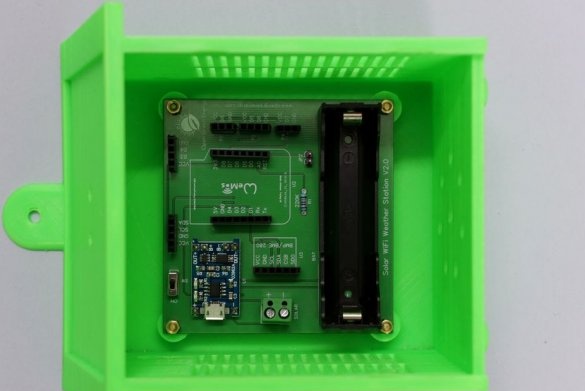
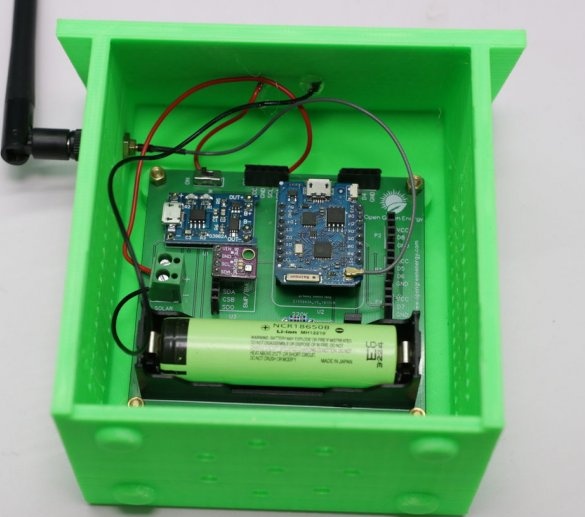
Installs the board in the chassis.
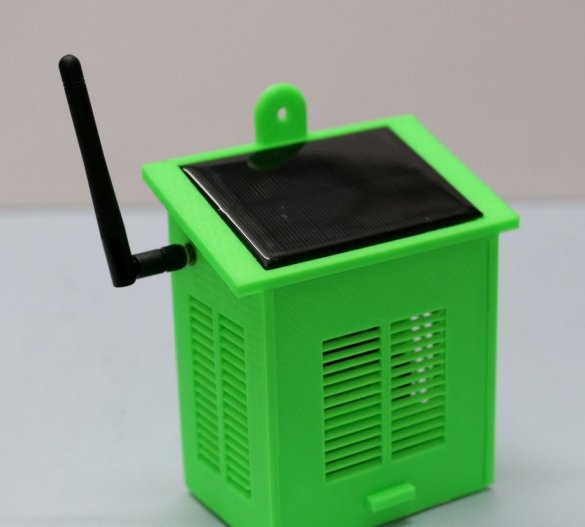
Installs modules, antenna, battery.
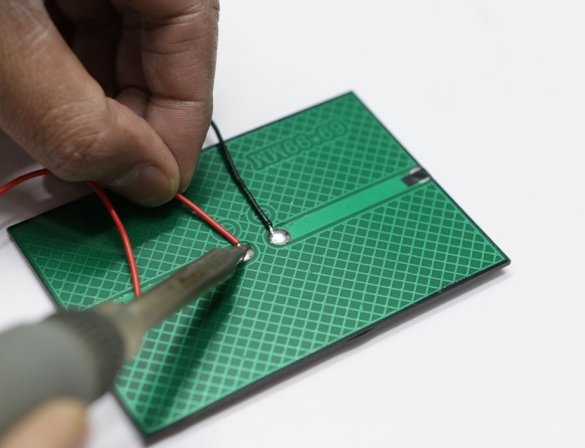
The solar panel attaches to super-glue.
Step Twelve: Software
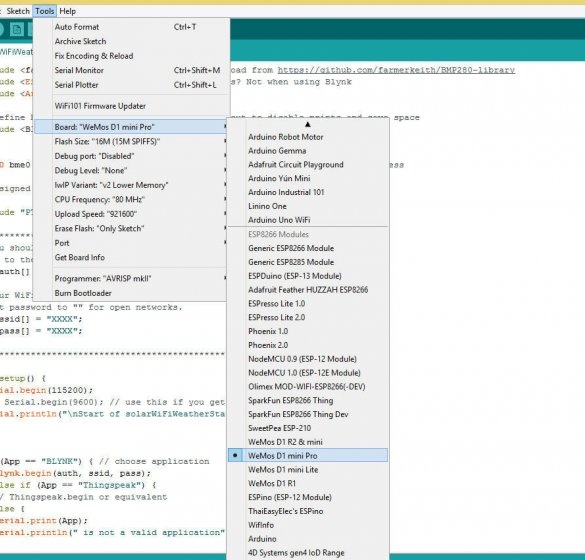
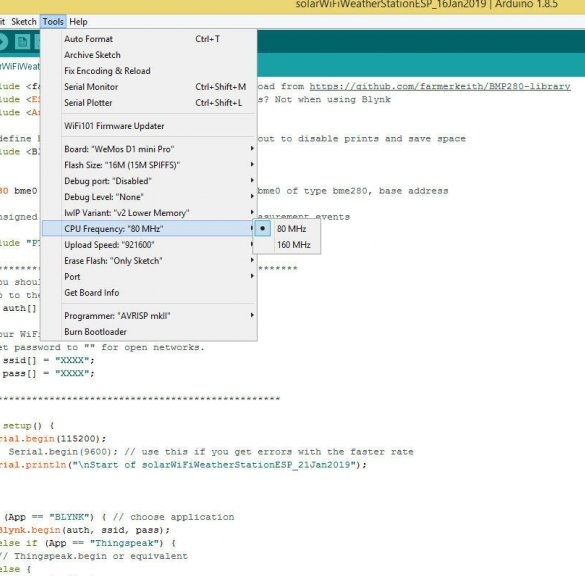
To use a device with a library Arduino, you must install the Arduino IDE with support for ESP8266 boards, according to this.
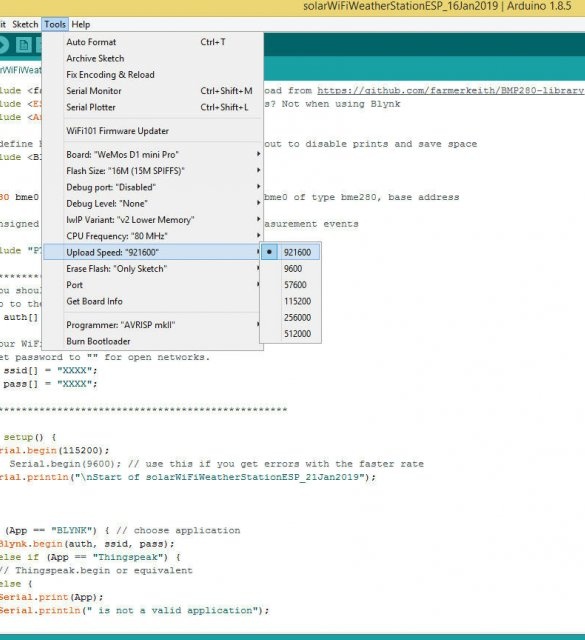
The settings should be as follows:
PU Frequency: 80MHz 160MHz
Flash Size: 4M (3M SPIFFS) - 3M File system size 4M (1M SPIFFS) - 1M File system size
Upload Speed: 921600 bps
Before downloading the code, you must install the following libraries:
, ,
Before using the deep sleep function, the Wemos D0 pin must be connected to the RST pin. This can be done by shorting the jumper JP2.
Step Thirteen: Blynk App
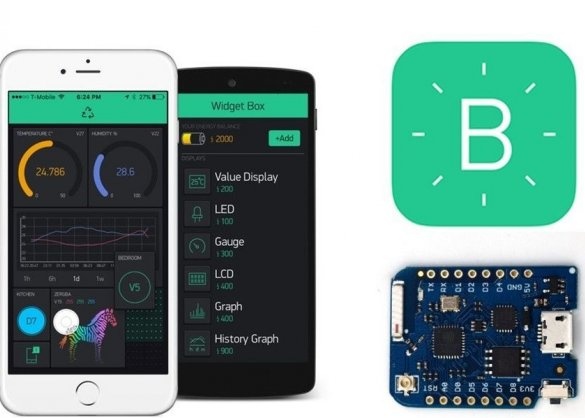
Download the app on or on
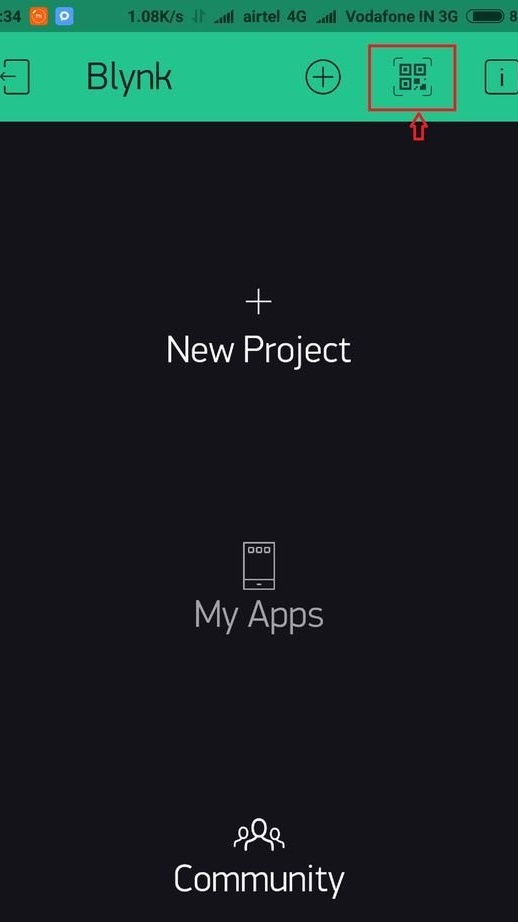
Log in. Click on the QR icon and scan the QR code below. An authorization code will come.
Then you need to download Arduino according to the instructions.
All is ready. In the future, the master plans to add several more sensors for wind, rain, etc.

