
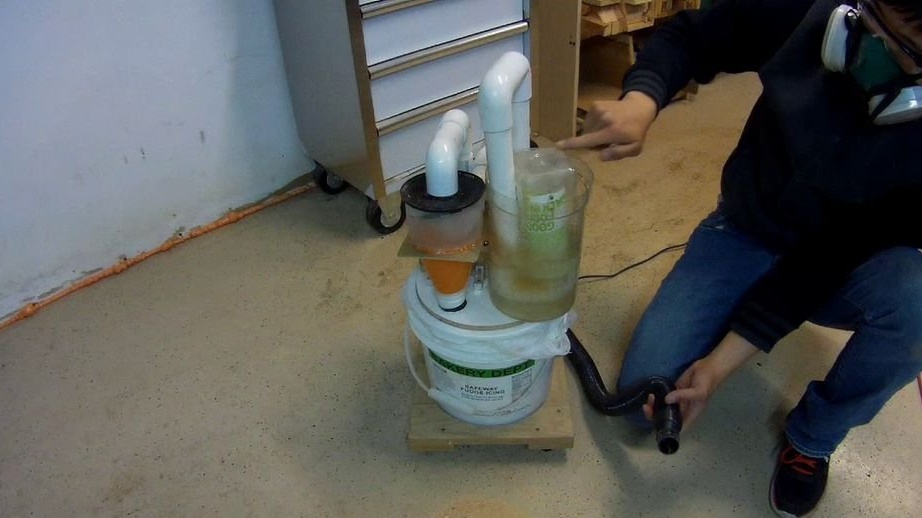
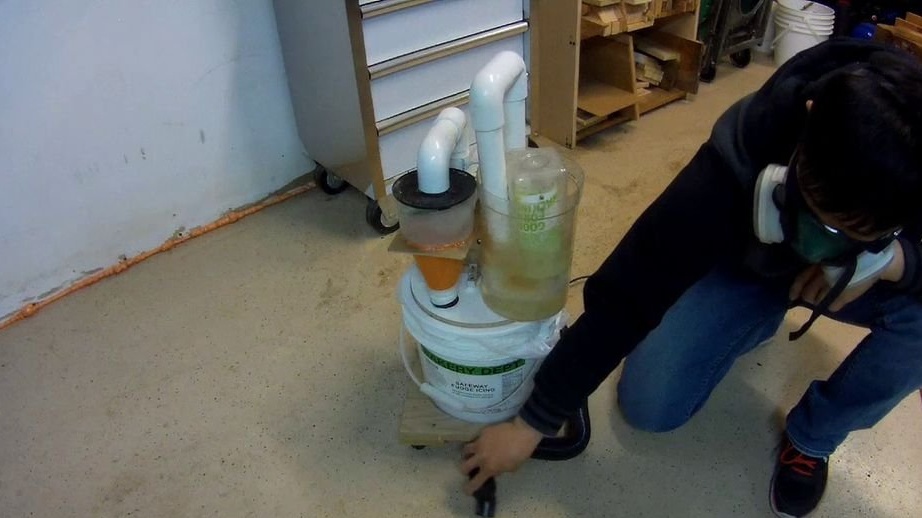
This is a home-made cyclone vacuum cleaner that has a second-stage water filtering function, also known as a wet scrubber. A distinctive feature of the vacuum cleaner is that it can extract large and small particles up to several microns in size, using very cheap methods without losing suction and at the same time maintaining a relatively small area. Therefore, it is easy to ride around the workshop.
You can watch the exact assembly instructions for the vacuum cleaner in the video:
Most of the dust will be collected in a 12-liter bucket located under the cyclone separator, and then, passing through the vacuum engine, it will be further filtered using a wet scrubber stage. This does not remove all the small particles, but does a decent job down to a range of 10 microns.
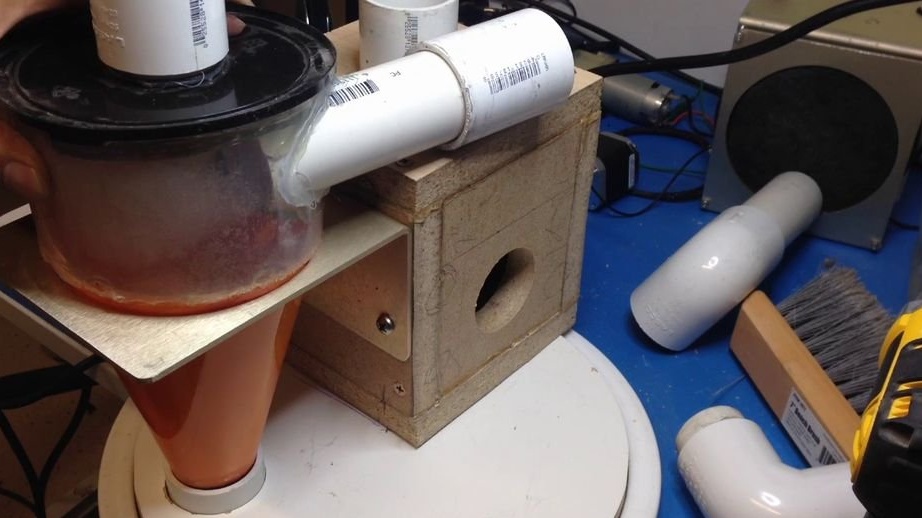
This vacuum cleaner has 3 main parts: cyclone separator, vacuum casing and wet scrubber.
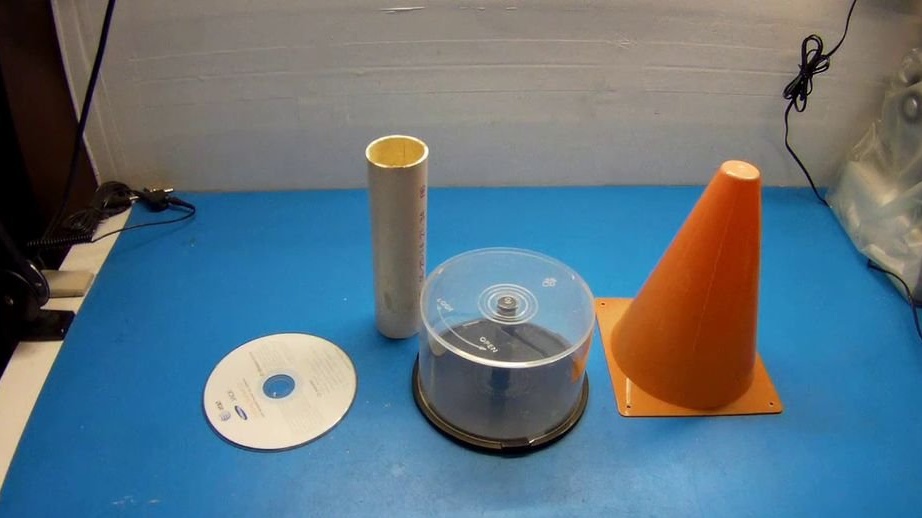
The “cyclone separator” part is made of a CD box, a toy road cone and a PVC pipe with a diameter of 32 mm.
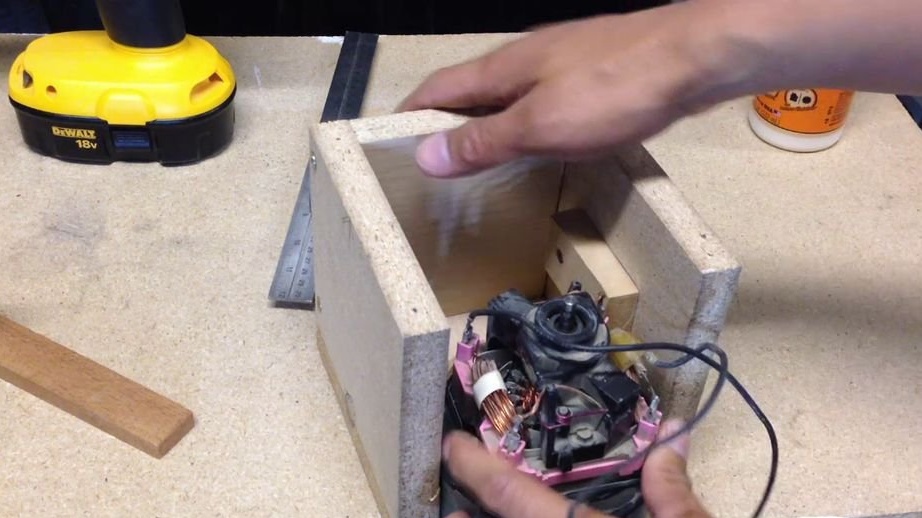
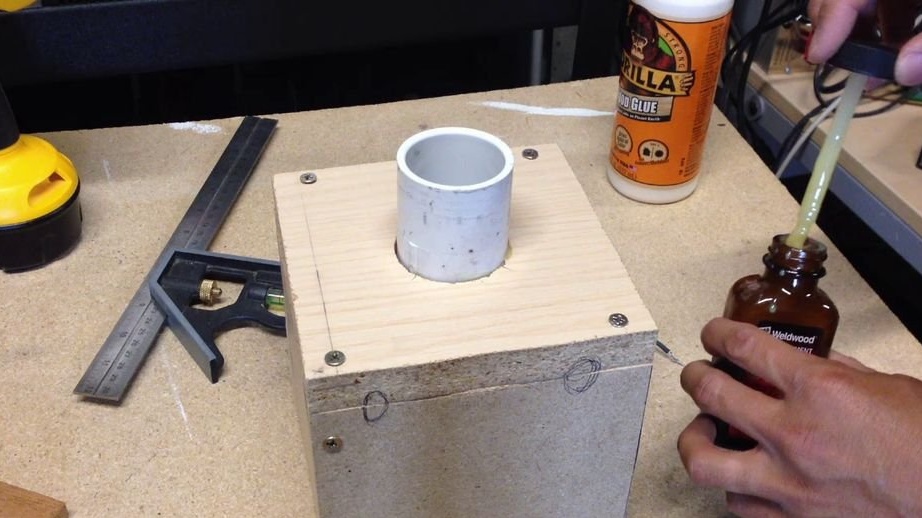
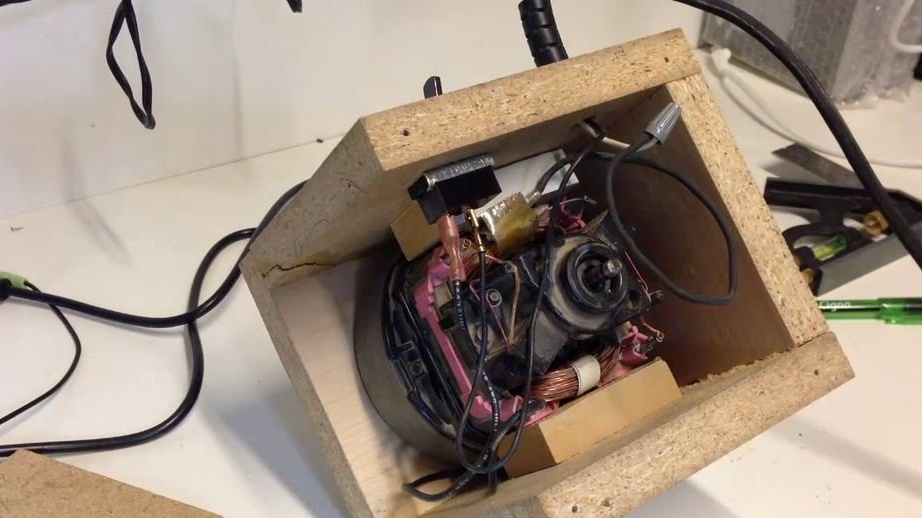
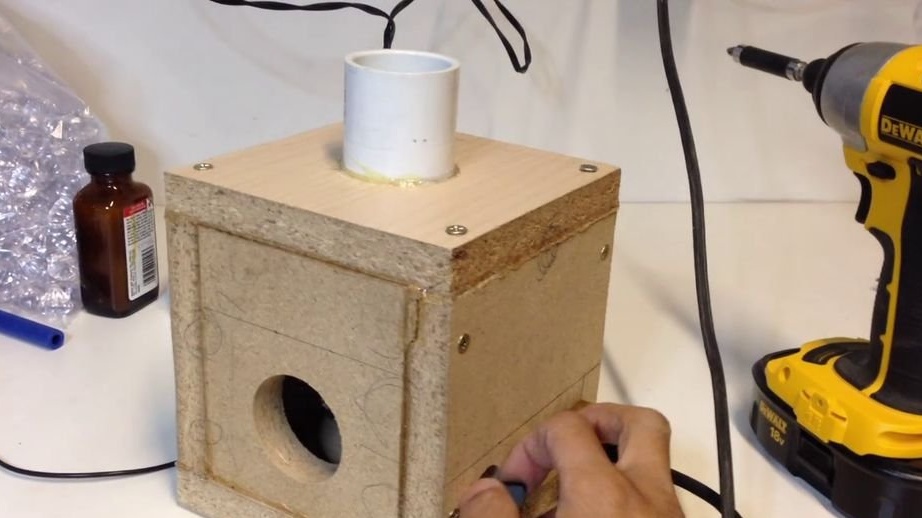
Engine for this homemade was pulled out of another vertical vacuum cleaner. The housing for the engine is made of chipboards. This housing is essentially a sealed box that contains input / output ports, a power switch, and a power cable.
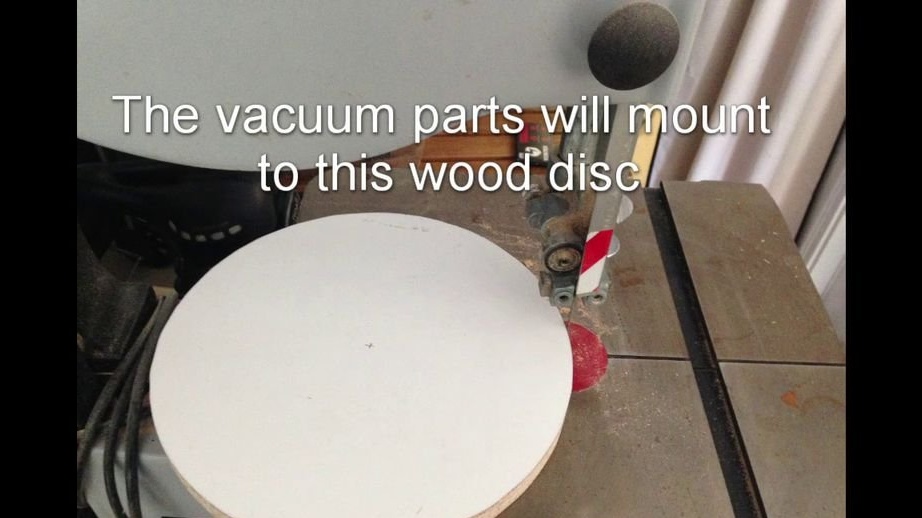
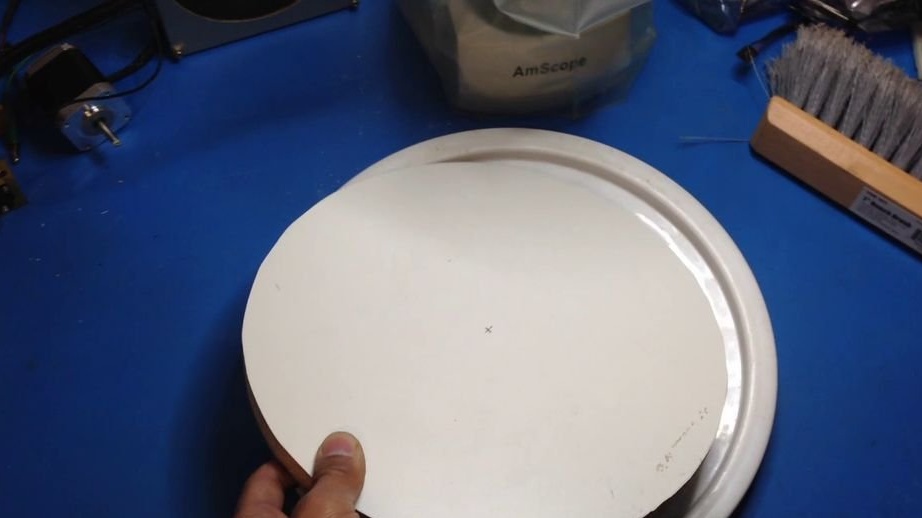
All vacuum components are sealed with a large amount of glue and attached to a wooden disk, which is mounted on the lid of a 12-liter bucket. It is important to make sure everything is tight.
The cyclone separator is bolted to the vacuum motor housing and then attached to the pipe on the bucket lid using silicone tape. The bracket holding the cyclone separator does not have to be metal, as shown in the video, it can be a piece of chipboard with an opening of the same diameter cut out of it. In this design I used a metal bracket simply because it was lying in a box with junk.
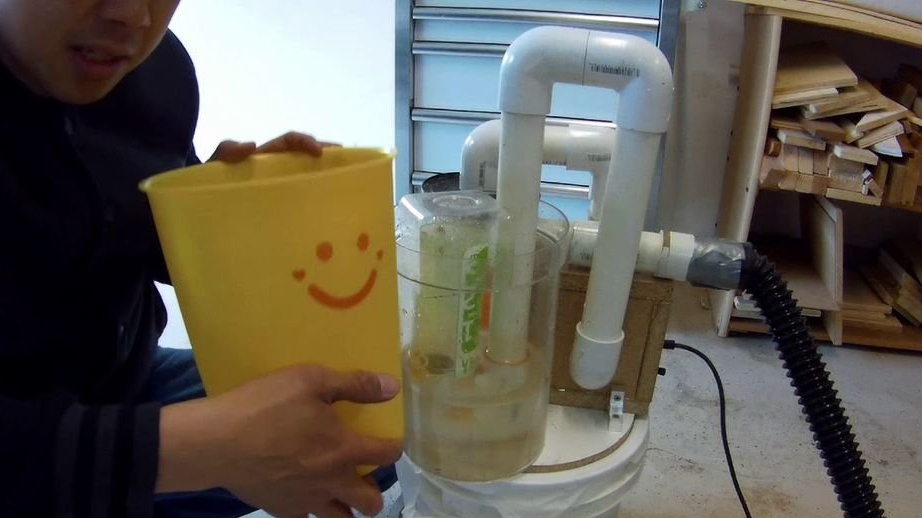
It is also recommended that the wet scrubber be emptied and sterilized after each use to prevent microbes from entering the room.
To assemble the cyclone separator module, you will need:
CD box for 50 CDs
plastic transport cone (can be found in the sports department
department store goods / toys)
thin-walled PVC pipe with a diameter of 32 mm and a length of 1 m
PVC coupling 32 mm.
To assemble the vacuum housing you will need:
1 plastic bucket with a lid (not necessarily round)
engine from a vacuum cleaner
2 corners of PVC 90 degrees with a diameter of 32 mm.
a lot of chipboard
4 wheel 8x33 cm.
toggle switch
power cable
To build a wet scrubber you will need:
PVC pipe with a diameter of 32 mm and a length of 60 cm.
elbow PVC 90 degrees with a diameter of 32 mm 5 pcs.
cylindrical bottle with a slightly larger diameter than PVC pipes
plastic cup or bottle bottom, slightly larger than a cylindrical bottle
a small plastic wastebasket or a tall narrow bucket that can fit on top of a vacuum cleaner
Step 1: Build a cyclone separator from CD boxes and a toy road cone
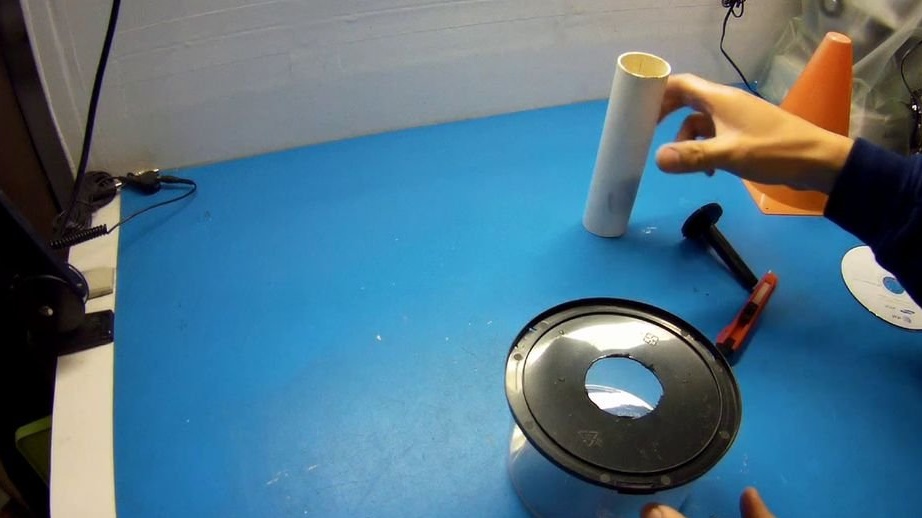
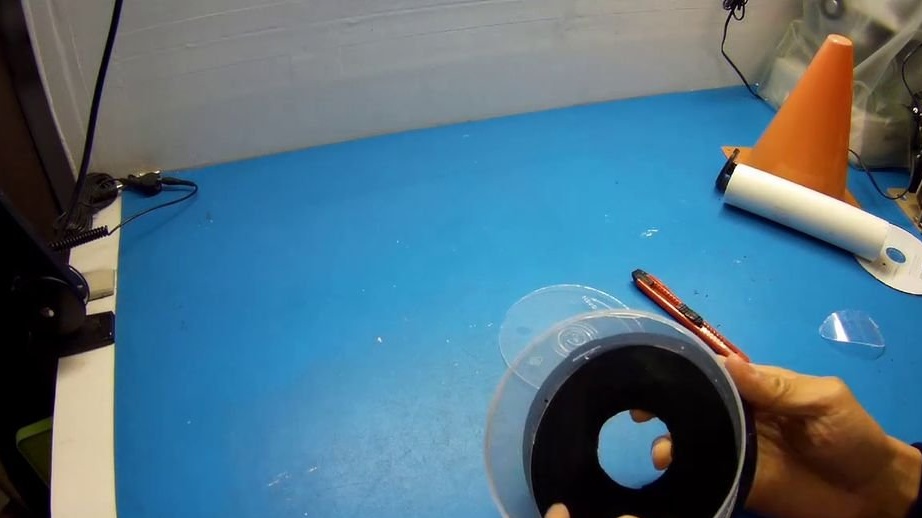

Start with boxing on a 50 CD.
First you need to cut out the base of the spindle (black part) so that the PVC pipe can pass through it.
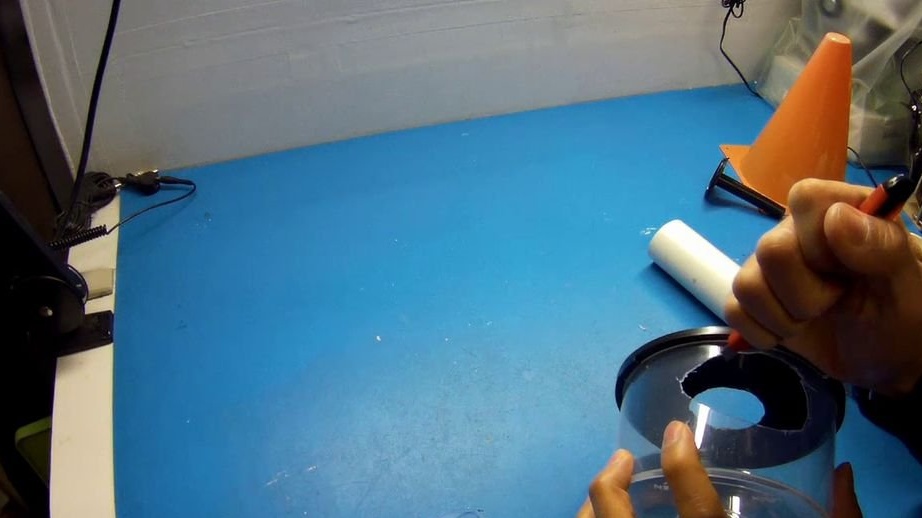
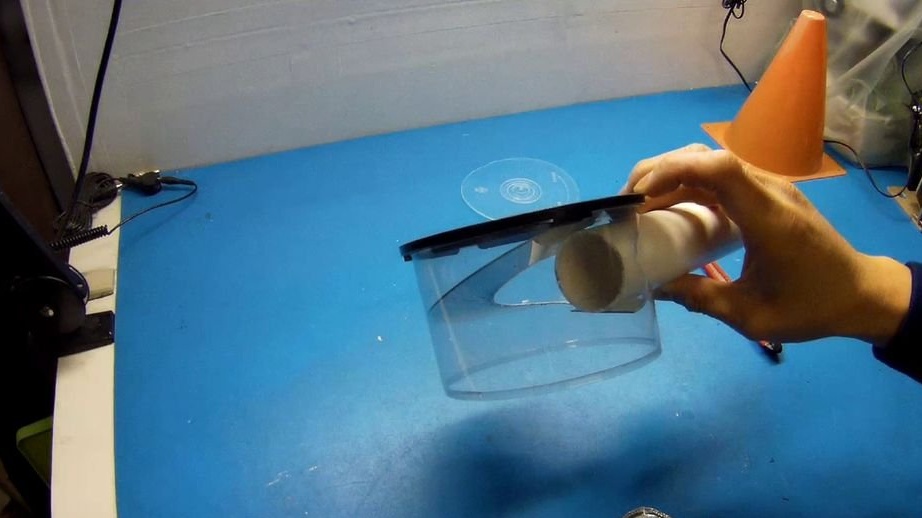
Next, an oval hole in the side wall (transparent cylinder) of the CD housing is cut so that the inlet pipe can be inserted into the housing.
The transparent upper part of the casing of the CD box is cut off completely.
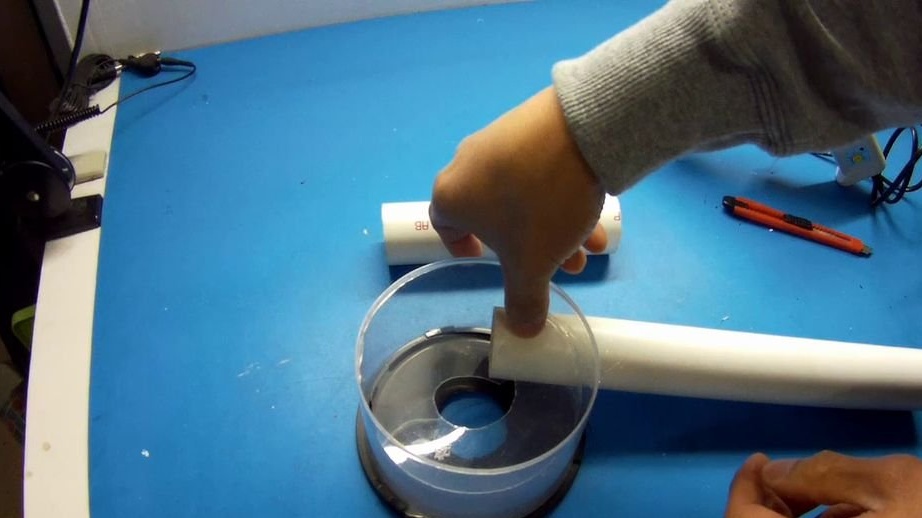
Then the center of the disk is cut so that it serves as a spiral ramp for air inlet.
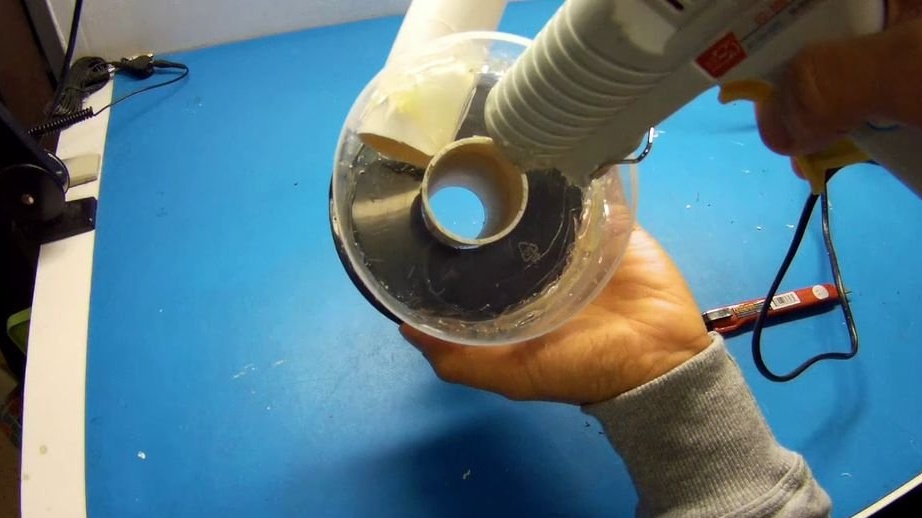
First stick the inlet pipe so that it is about halfway in the CD box.
Followed by:
- Attach the spiral ramp from CD to the inlet pipe.
- fill the gap between the spiral ramp and the box CD, glue.
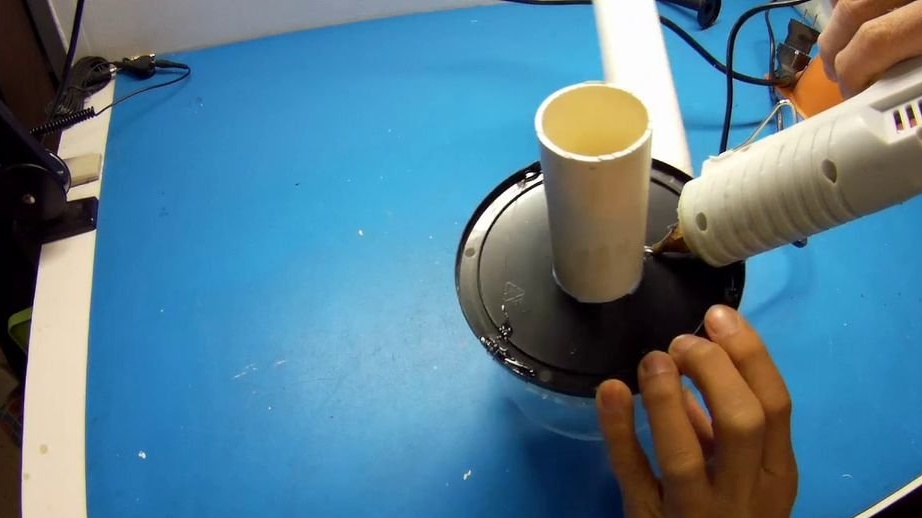
- stick the exhaust pipe to the spiral ramp.
- glue the black bottom of the box CD.
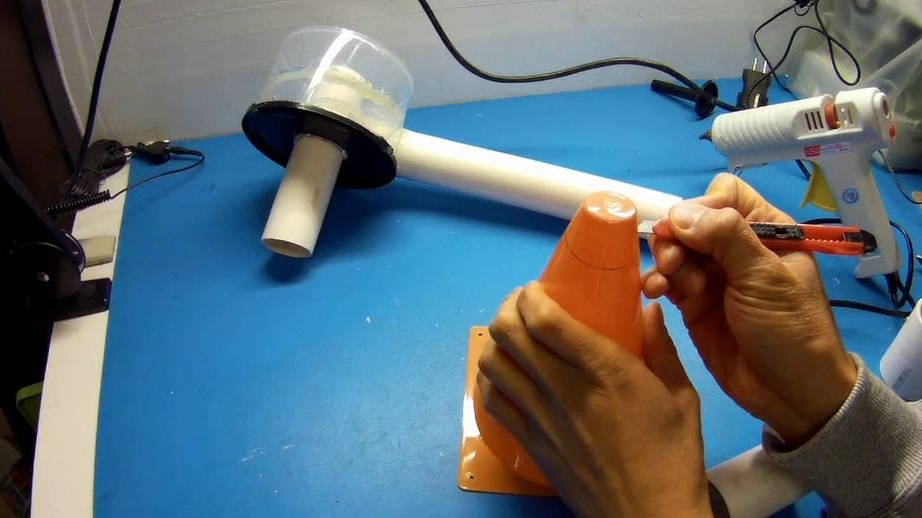
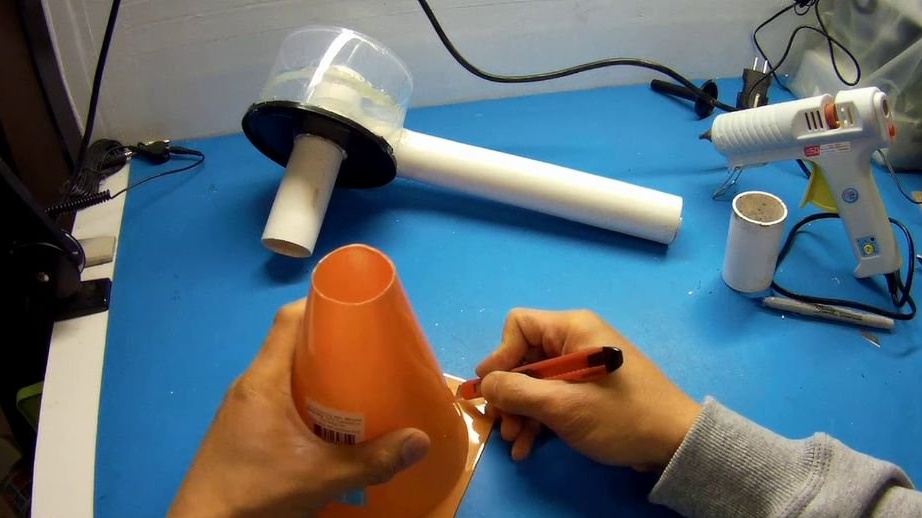
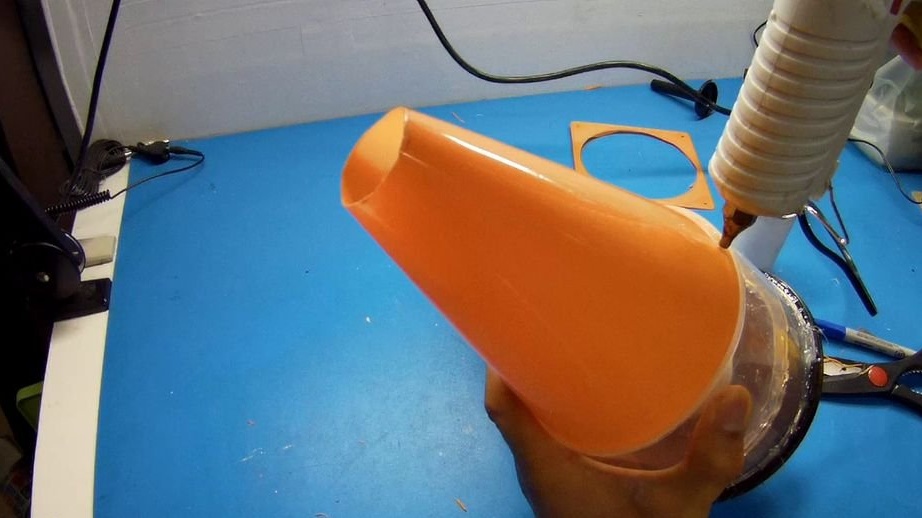
- cut off the top of the toy road cone of the same size as the 32 mm PVC pipe.
- cut off the base from the toy road cone so that it can fit in the CD case.
- stick the toy cone to the cover of the box CD.
Step 2: Creating a Vacuum Housing


To make the case, you must follow these steps:
- measure the diameter of the vacuum motor.
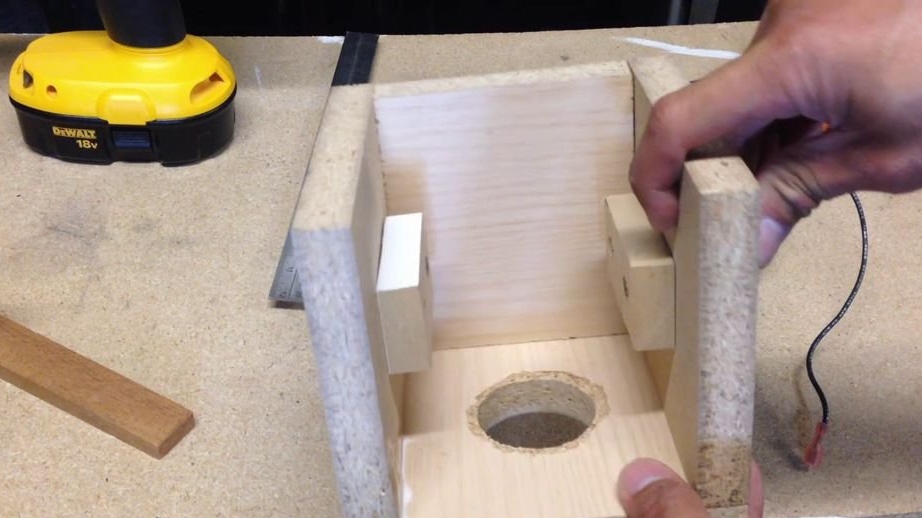
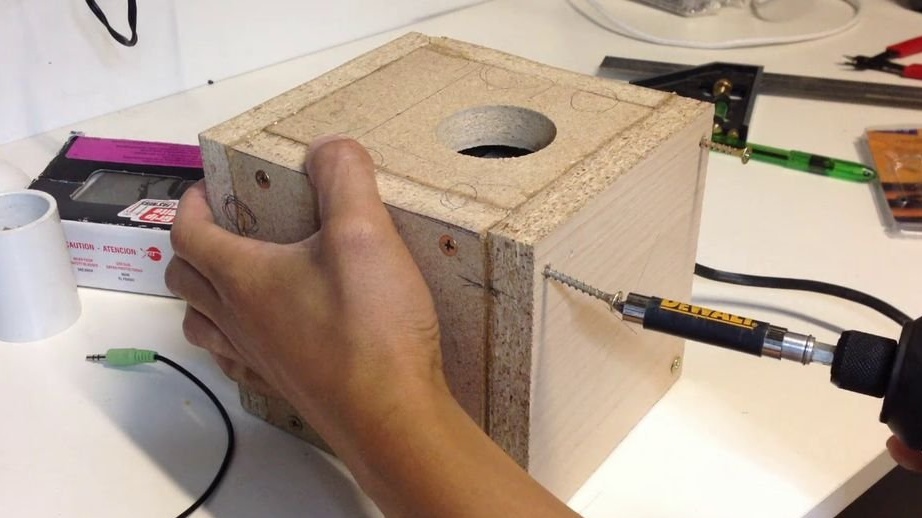
- make a box that is slightly larger than the diameter of the vacuum motor.
- cut off two spacer blocks that can jam the vacuum. engine to the walls of the vacuum engine.
- stick a 32 mm PVC coupling to the inlet of the engine vacuum box.
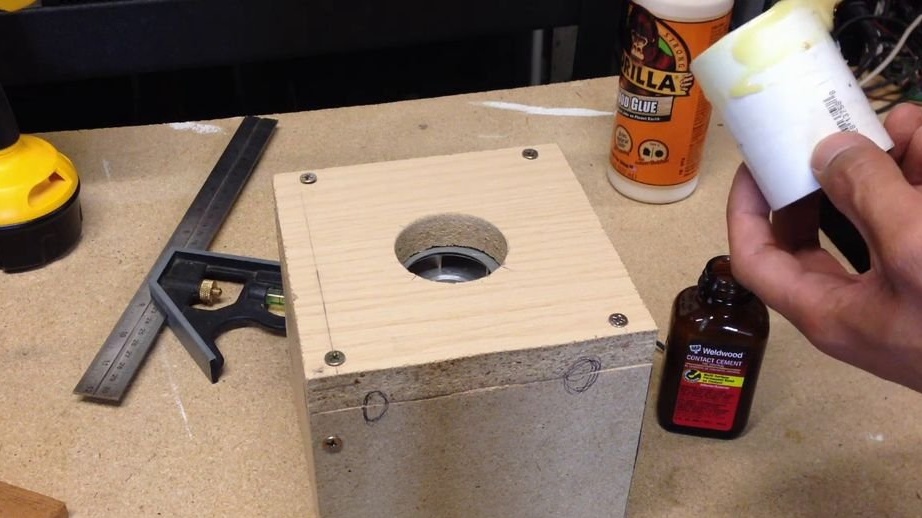
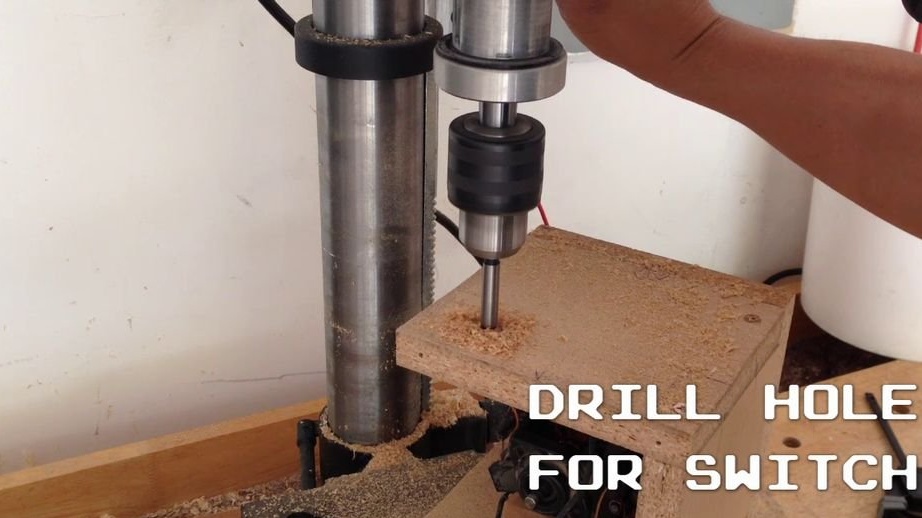
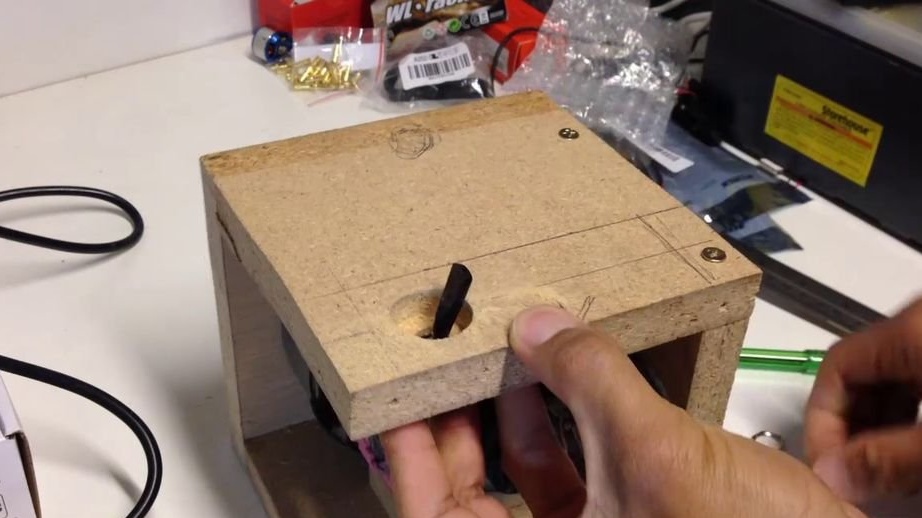
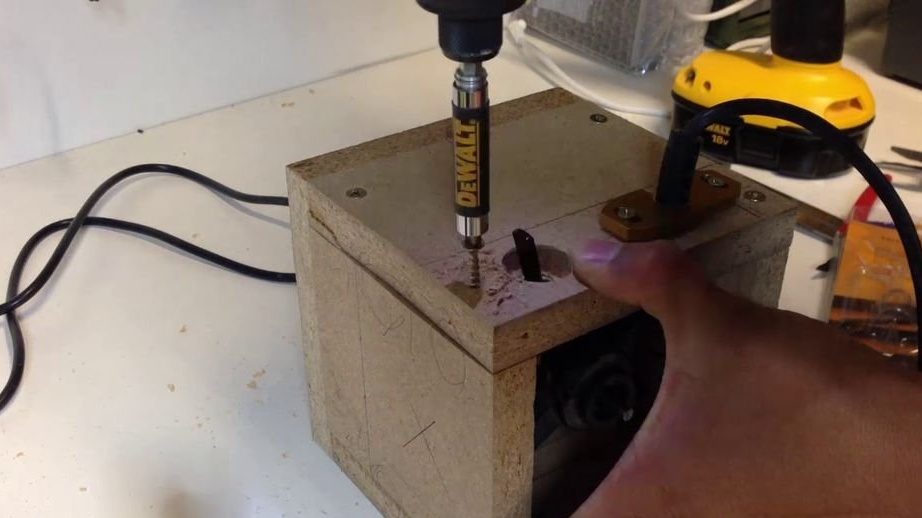
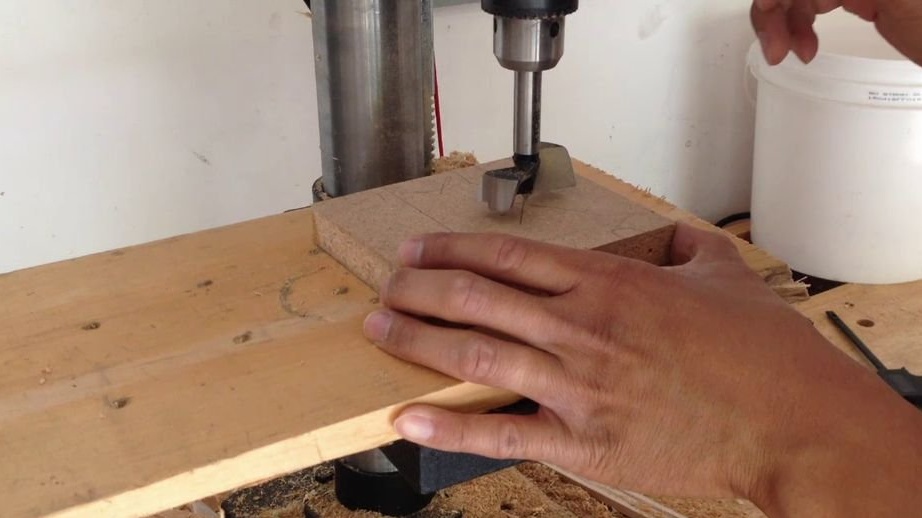
- drill a stepped hole for the power switch.
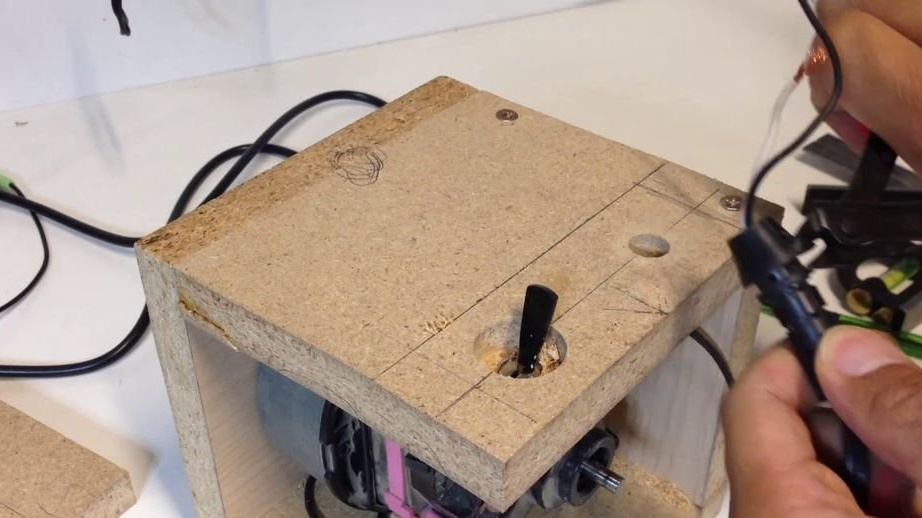
- insert the power switch.
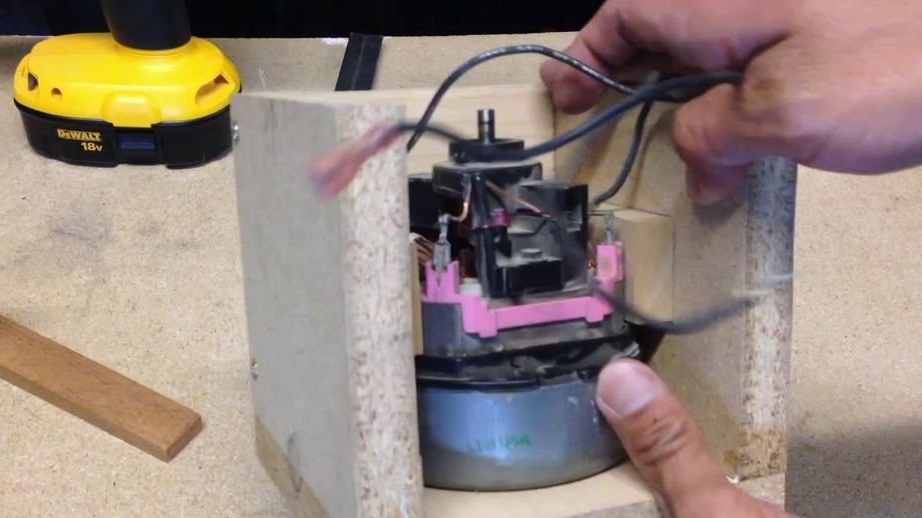
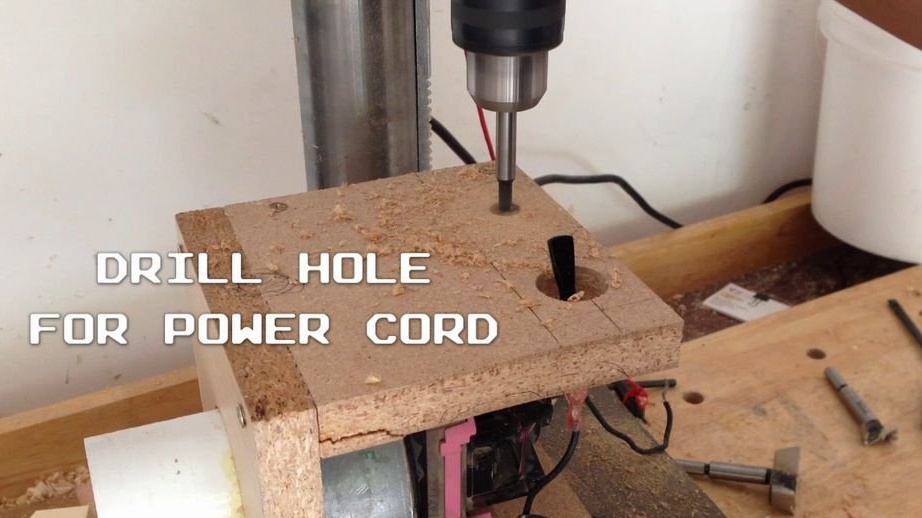
- drill a hole for the power cord.
- insert the power cord and secure it with a wooden bracket, which is screwed to the box of the vacuum motor.
- connect the vacuum motor to the power switch and power cable.
- drill a hole for the outlet.
- seal the vacuum box with screws and glue.
- check the vacuum box and make sure that it is tight.
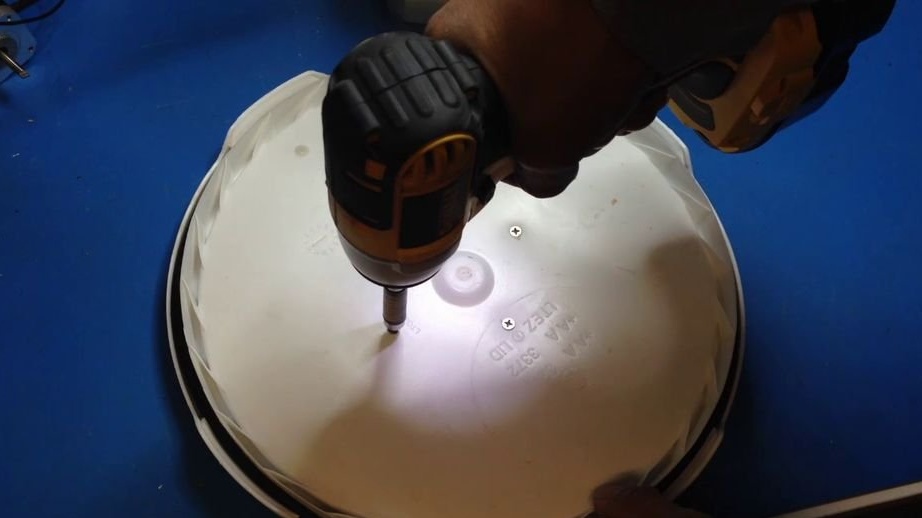
- cut the disk from the chipboard of the same diameter as the bucket lid.
- Attach the disc to the lid of the bucket with screws.
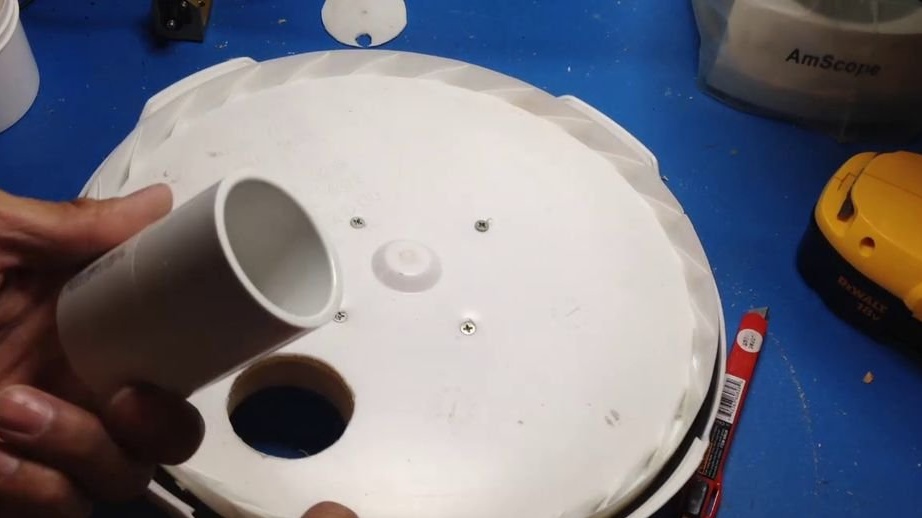
- drill a hole so that it matches the 32 mm PVC connector (glue it in place).
- Install the vacuum box near the edge of the bucket lid with screws (you can use small blocks made of chipboard as 90-degree screw brackets).
- Attach the assembly of the cyclone separator to the box of the vacuum engine.
- Seal the dust collector hole of the “cyclone separator” into the bucket port using silicone tape or glue.
- connect the outlet of the cyclone separator to the inlet of the vacuum engine block using a small section of a PVC pipe and a 90 degree PVC corner (you can install a small screen in this pipe to catch any large particles that pass through the cyclone separator to prevent engine clogging).
Step 3: Create a Wet Scrubber

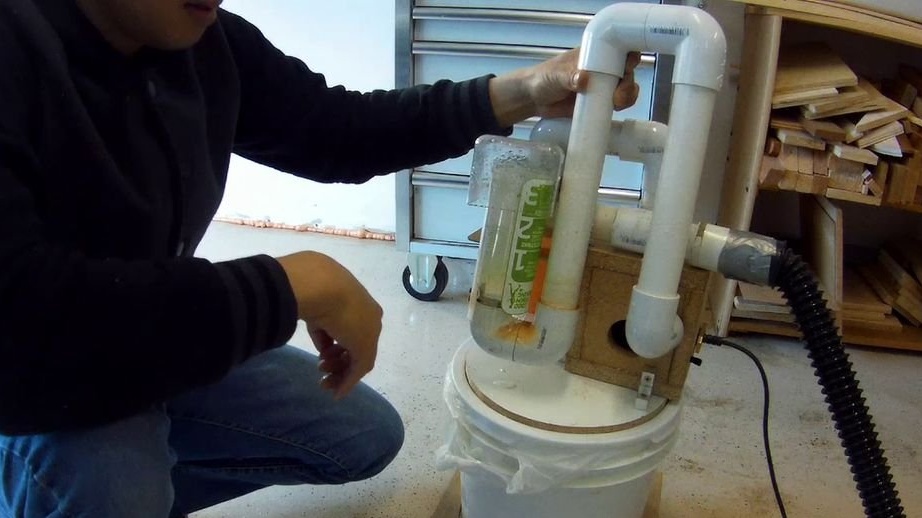
To create a wet scrubber, you need to do the following:
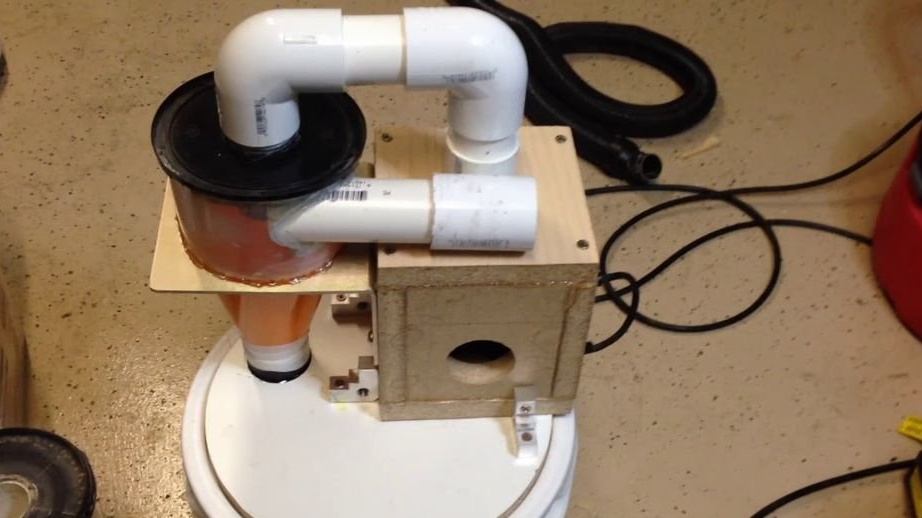
- cut two sections of 32 mm PVC pipe 30 cm long.
- connect two lengths using two 90-degree PVC elbows.
- attach two more knees at an angle of 90 degrees to the other end of one of the 30 cm sections.
- attach one elbow 90 degrees to the other 30 cm of the pipe section, which will be used to connect the wet scrubber to the vacuum motor box.
- take a cylindrical plastic bottle and cut off the bottom to make a tube.
- attach one wall of this tube to the rim of one of the two 90-degree angled PVC parts. This will form a concentric pipe around the PVC pipe.
- cut off the bottom of the large plastic bottle and screw it to the top of the bottle’s cylindrical tube to form a spray cap.
- Fill a small bucket half with water, and immerse a PVC pipe in them. Two 90-degree PVC elbows should be immersed in water.
- connect a wet scrubber to the outlet of the vacuum motor box.
At the very end, you should check the Shop-Vac cyclone vacuum cleaner with the entire wet scrubber to check for any air leaks and to check its performance.