
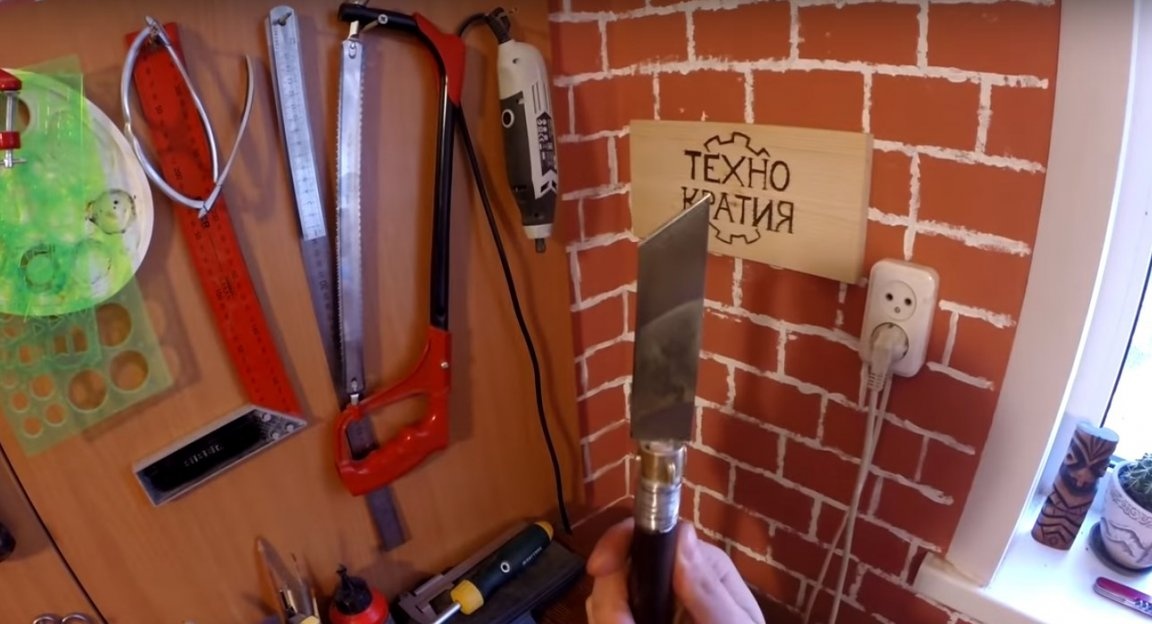
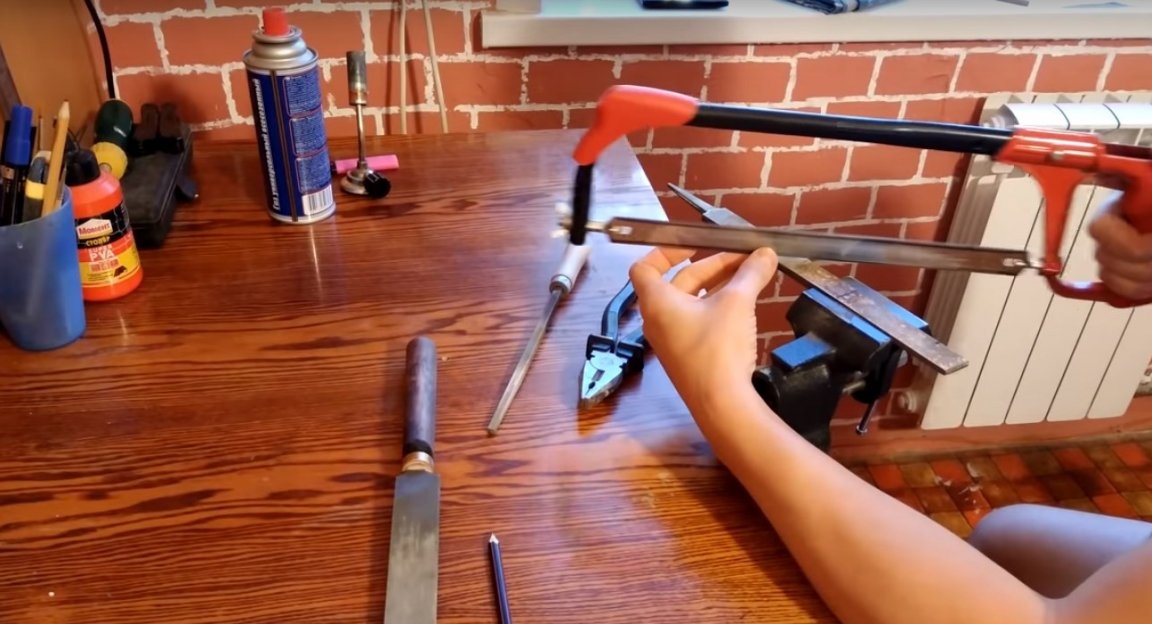
Good day to all. Everyone knows that good things these days are not cheap at all, and tools are no exception. But many tools can be made do it yourself and from available materials. And the author of the Techno Cracy channel will demonstrate this to us. Today, from an ordinary old file, the author will make a hand turning tool, the so-called Meisel. And for this work, the master intentionally will not use any power tool, except for an electric drill, and even then only to make a hole in the handle. (But you can do without an electric drill.)
The main tool will be:
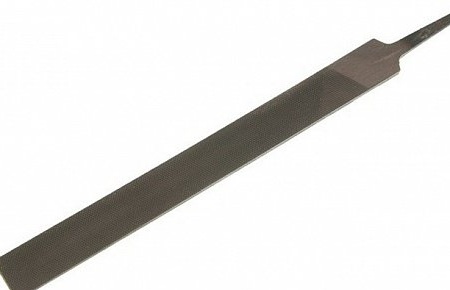
Metal file
File
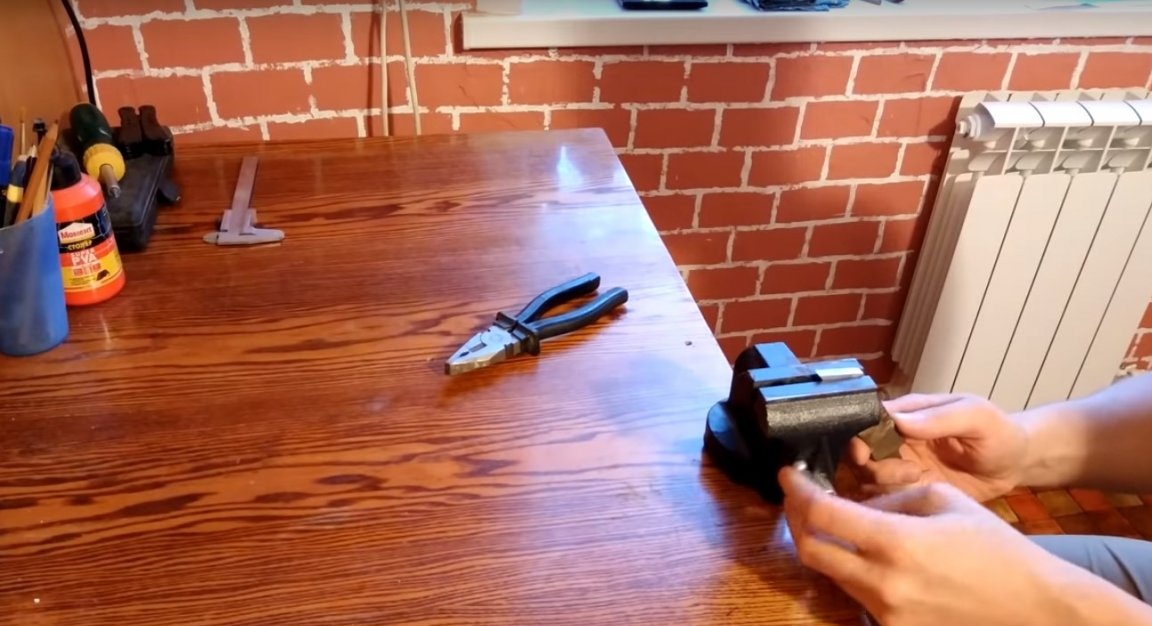
Vise
Rasp
Sandpaper
Ruler with protractor
Marker and simple pencil
A piece of plain paper
Sharpening machine
Machine oil
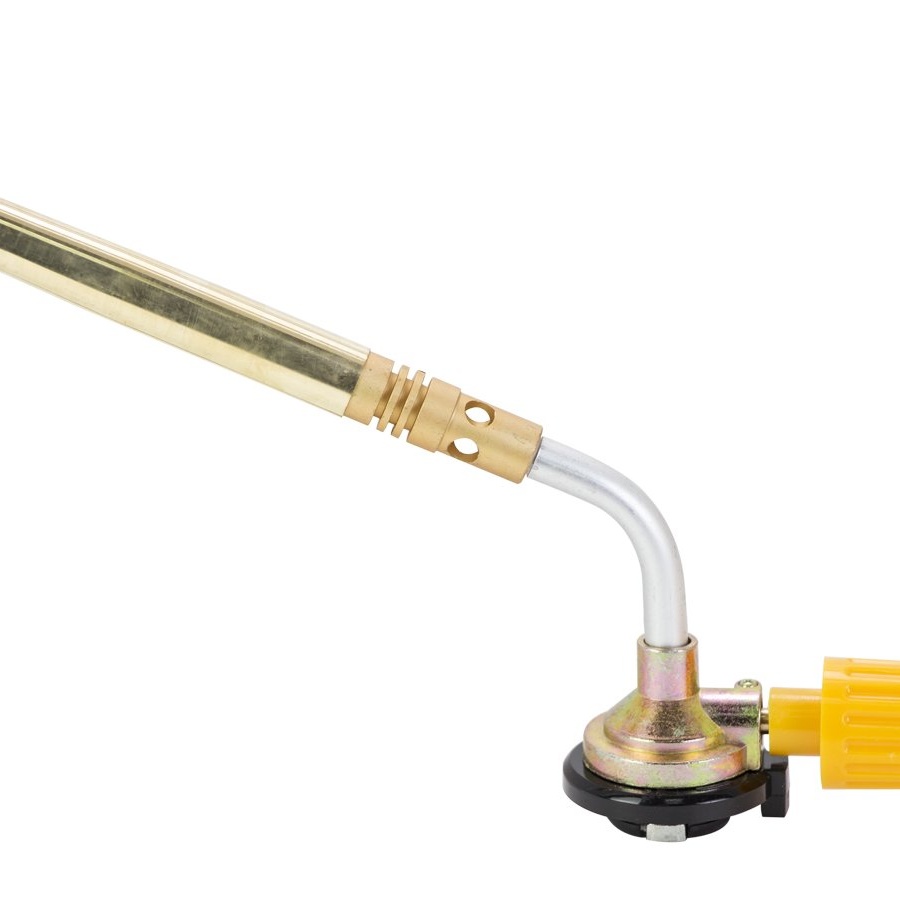
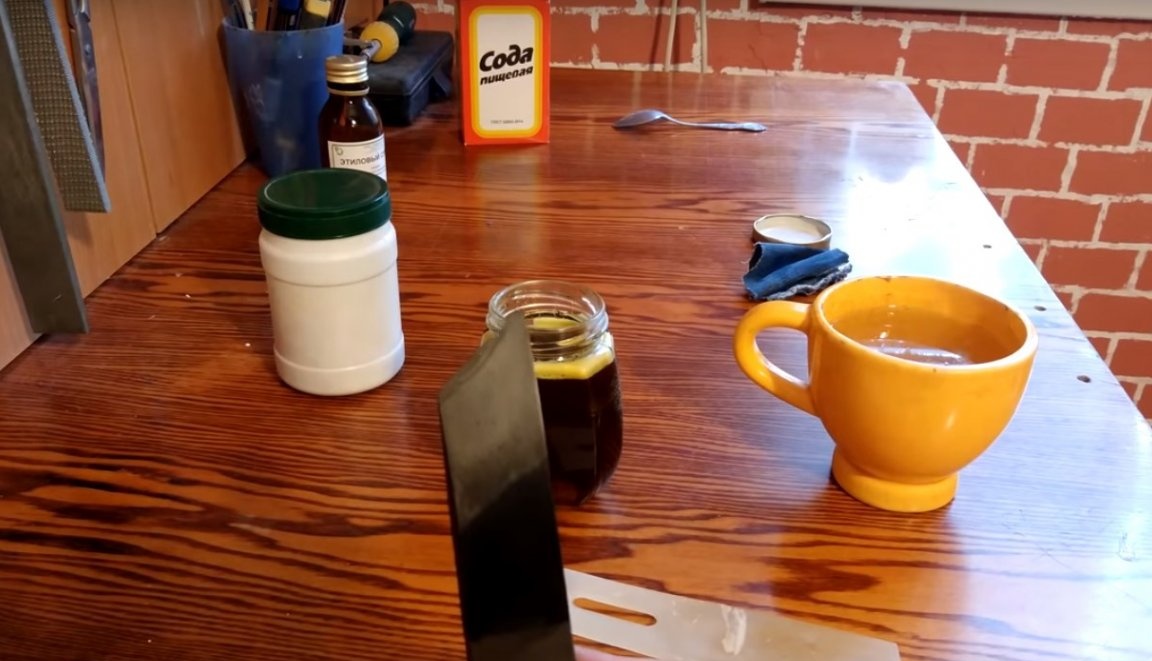
And also need a burner.
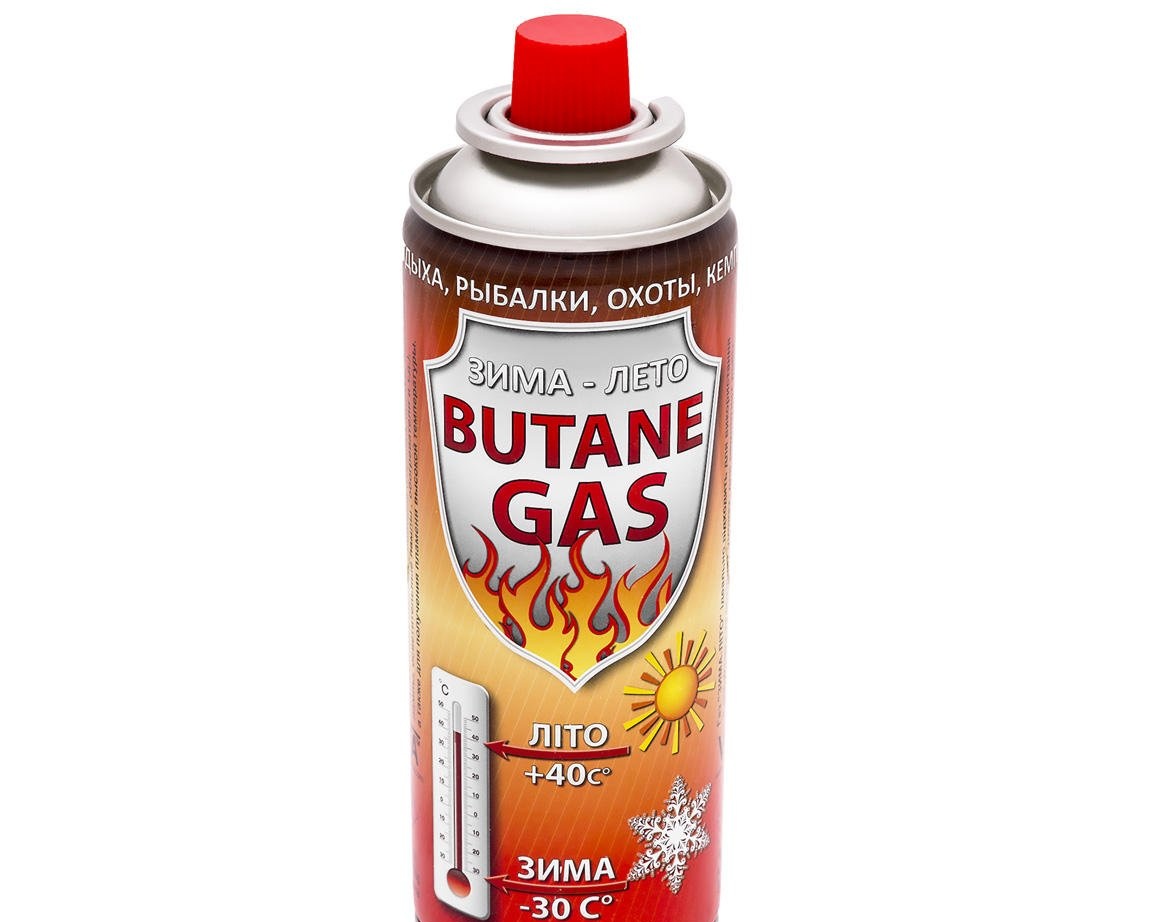
Spray can with gas.
Epoxy adhesive.
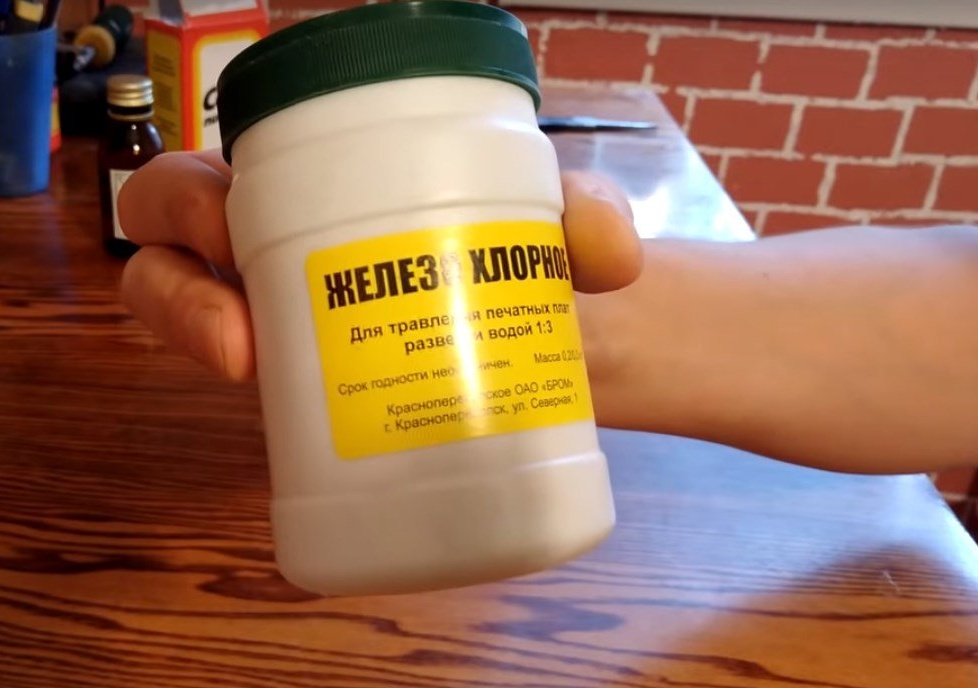
And ferric chloride.
Materials: ideally, clay is needed, but the author didn’t have it, and therefore, he used cement-based putty instead of clay.
Soviet file.
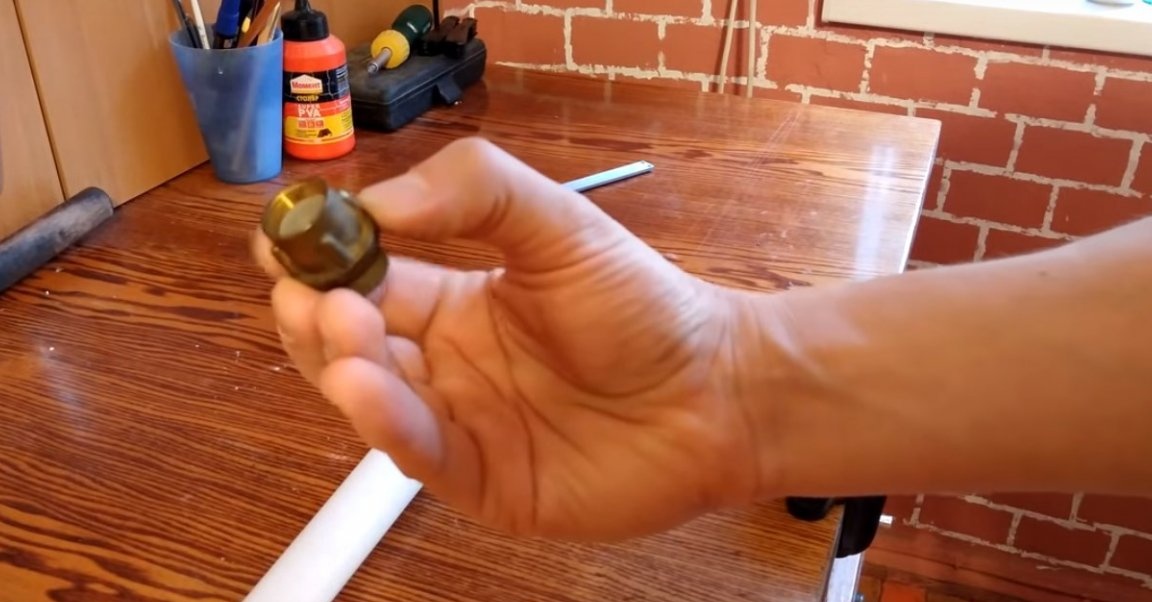
Plumbing fitting.
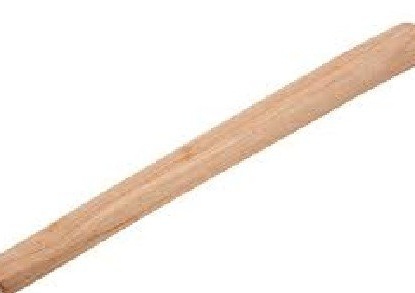
The handle for the hammer.
Stain alcohol.

Mineral oil.

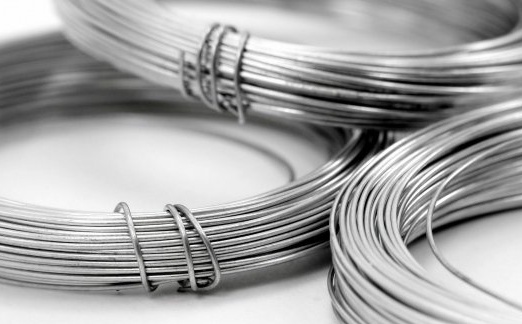
And steel knitting wire.
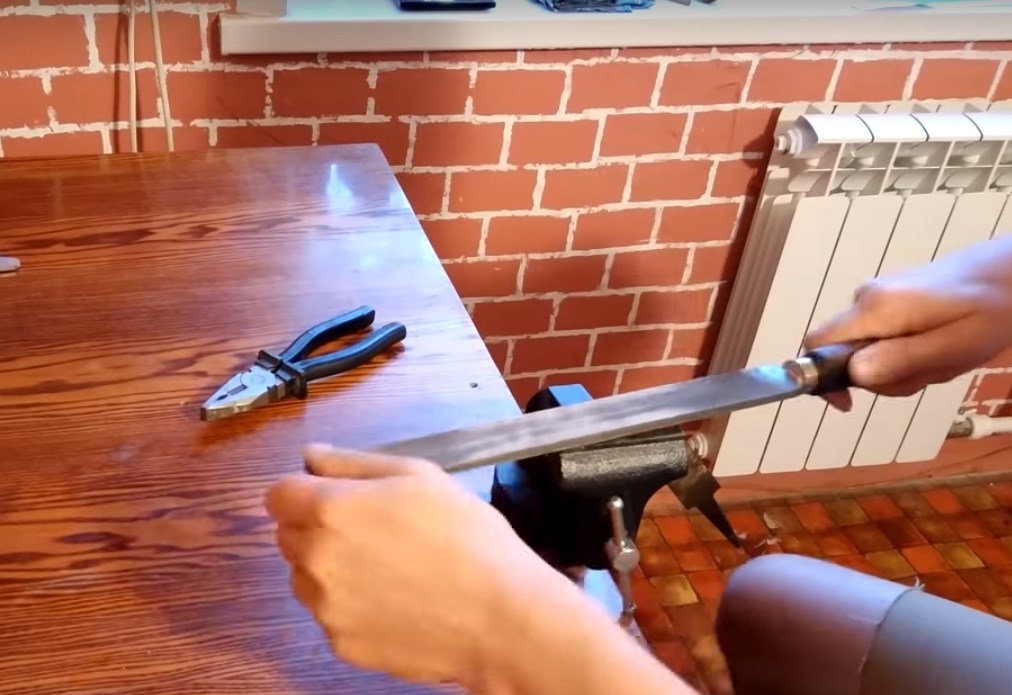
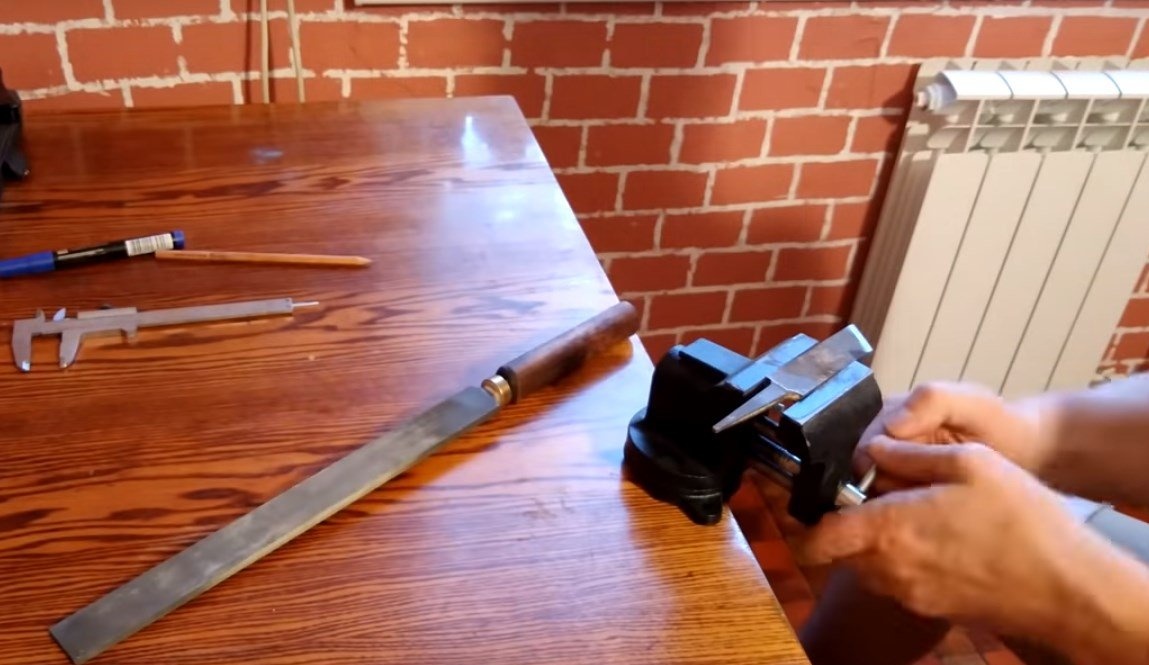
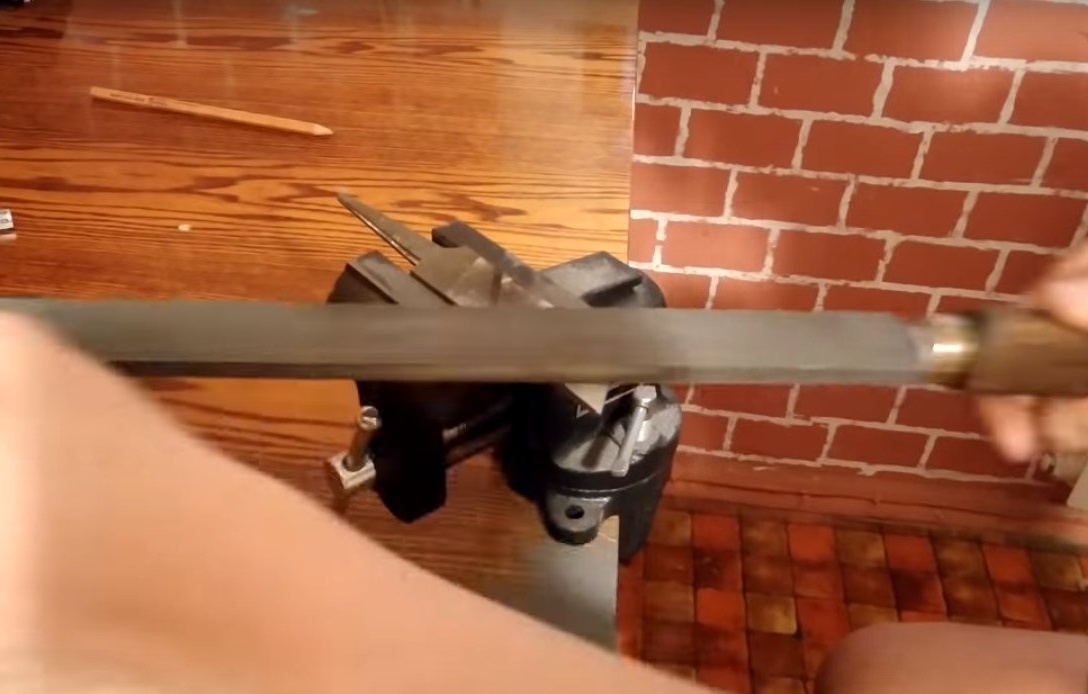
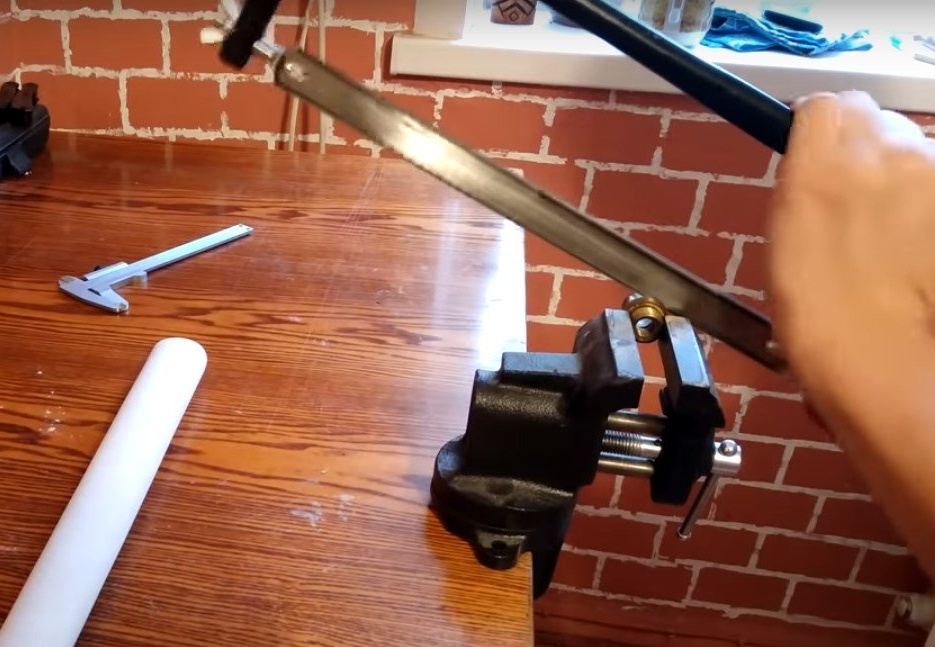
A little bit about file handling. The file can be processed in two ways with and without quenching. Each of these methods has its pros and cons. The file is hardened in its normal working condition. Therefore, it is not possible to process it manually. This is the method without re-sticking. Just take the file as it is, and process it using a angle grinder or grinder, the main condition of this method is not to overheat the metal. Otherwise, at a minimum: metal tempering will take place, and re-hardening will be required, but as a maximum: it will completely collapse. This is the main disadvantage of this method, spoil the future homemade very easy. It is especially easy to burn a sharp tip, and this has happened to the author more than once, when he was just starting his experiments with metal. And therefore, taught by bitter experience, now the author is a staunch supporter of manual metal processing. In order for the metal to lend itself well to manual processing, the author makes his vacation.(In metallurgy they call tempering, heat treatment during which the metal structure undergoes recrystallization and softens.) Simply put, the metal heats up and slowly cools, the opposite of quenching, when the metal heats up and cools down in a matter of seconds. To leave a file in home conditions, a conventional gas burner is sufficient. Clutching the file in a vise, the author well warmed up the place that will be further processed. But as it turned out, the file was a tough nut, and the power of the burner was rather weak, and the master barely managed to warm it up to a barely noticeable dark cherry color.
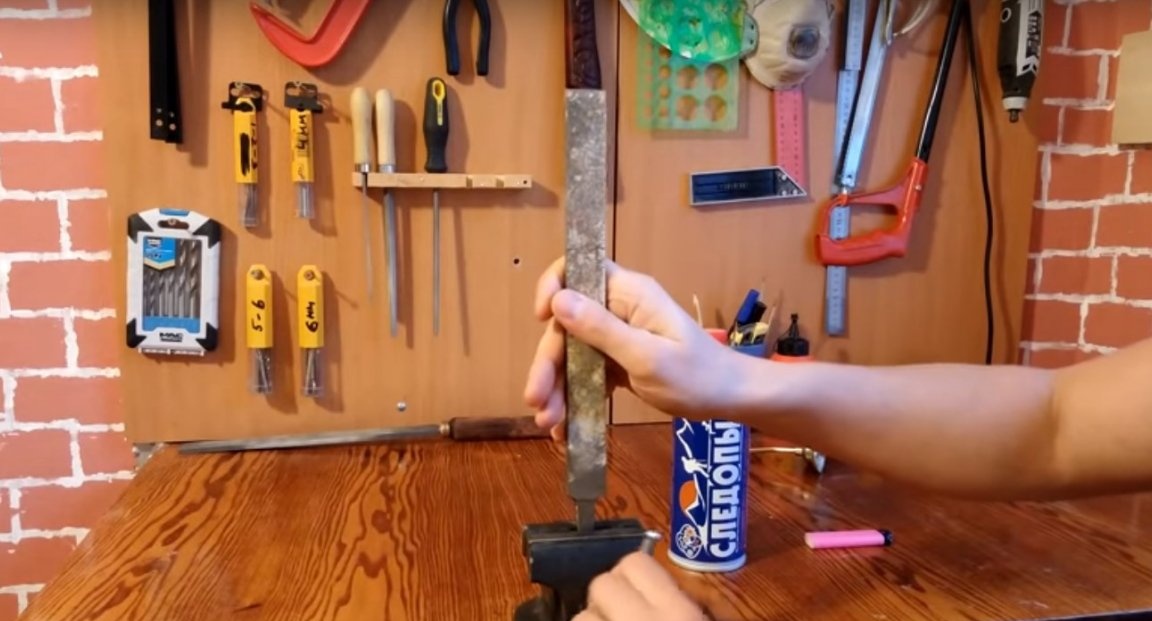
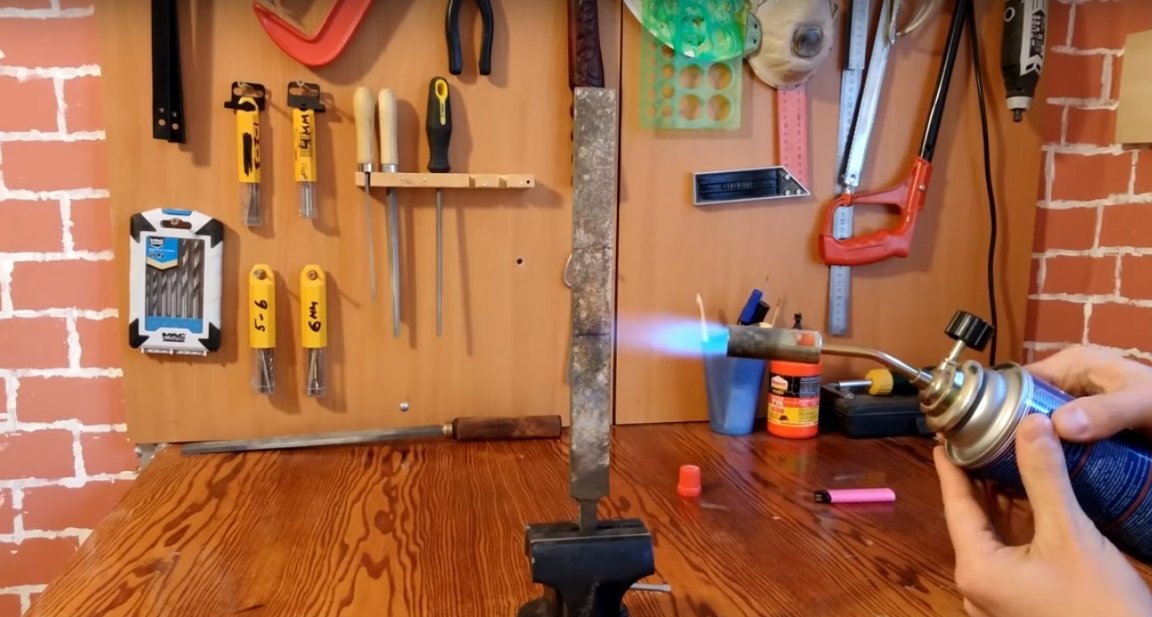
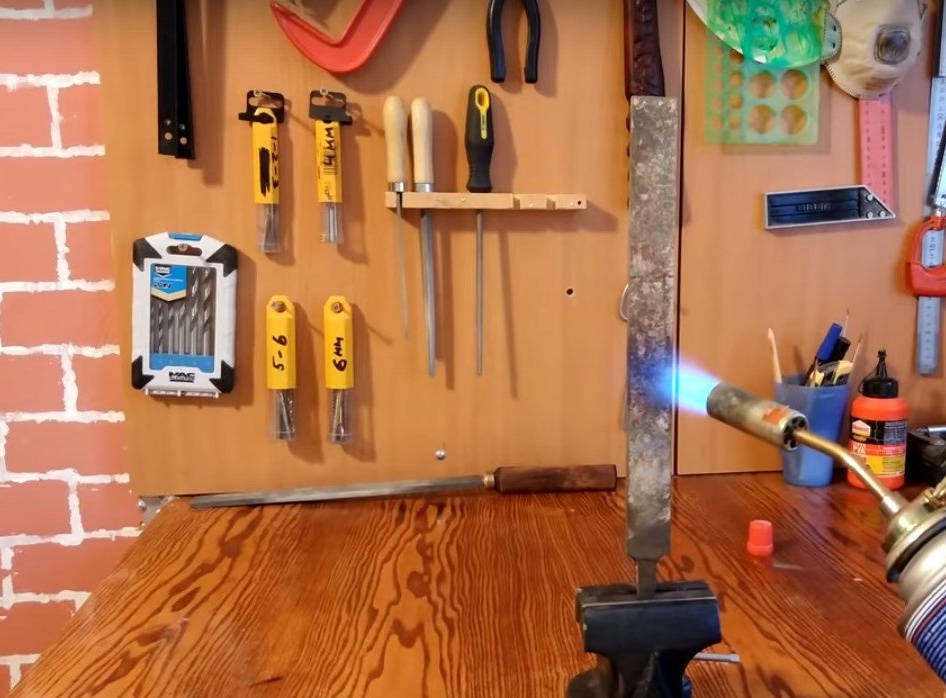
But fortunately for the author, this was enough to make the steel softer, and it could be processed with a simple bench tool.
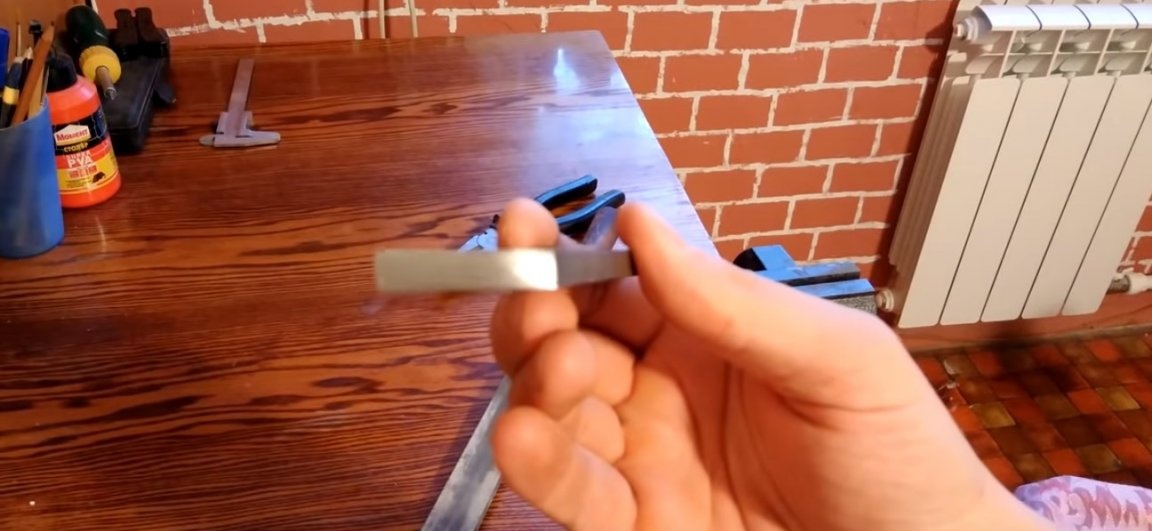
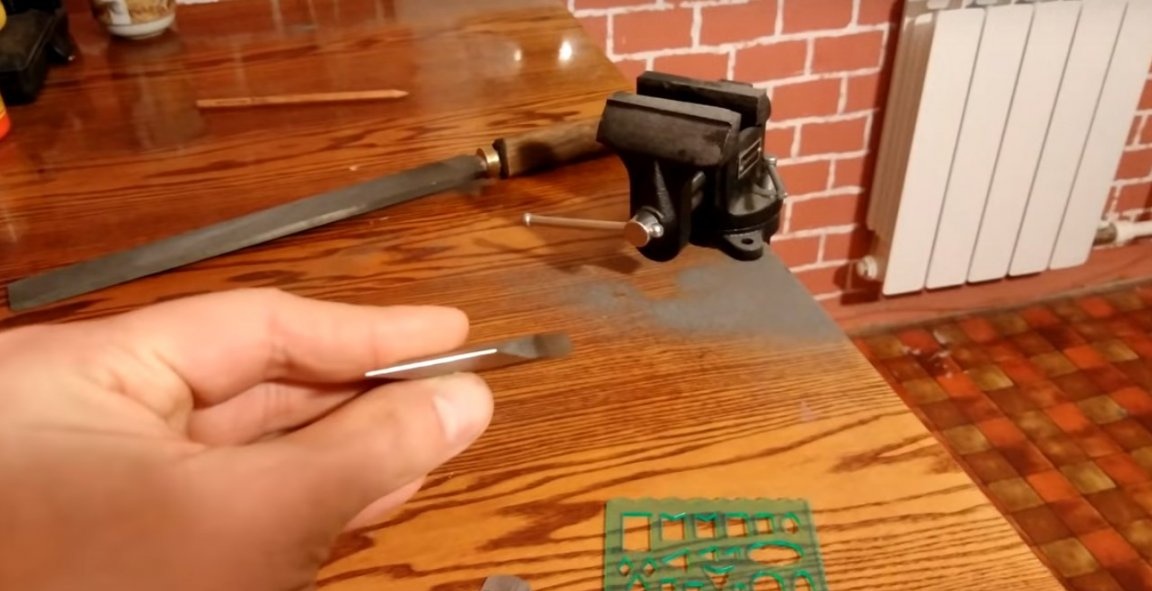
After the author cut the piece, at an angle of 45 degrees. This is exactly the angle the classic meisel has.
This will be the first turning tool made by the author. Therefore, the author will produce it, adhering to the parameters of the usual classic meisel.
The author honestly admitted that he had no idea how quickly the cutting tools wear out, but the master is not going to stand behind the machine for an eight-hour shift, and therefore he decided to make the length of the working part of the future tool 100 mm.
It is not always possible to cut the workpiece at an angle perfectly perfectly, so the author’s next step is to align the cutting edge.
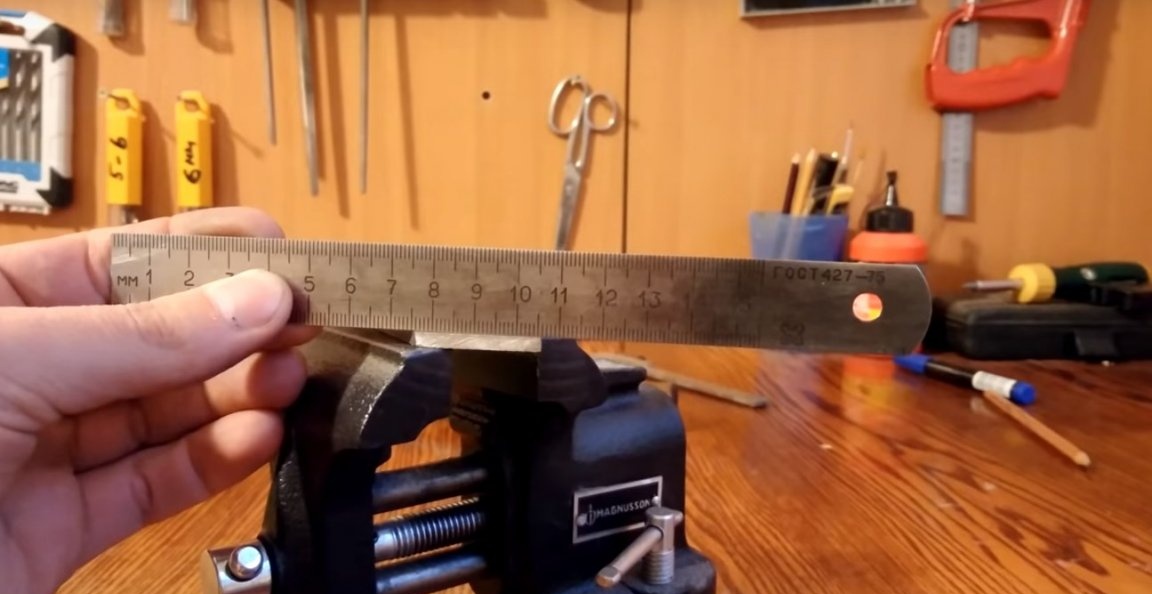
After that, you will need to form the slopes. By measuring the thickness of the workpiece, it is 6.5 mm.
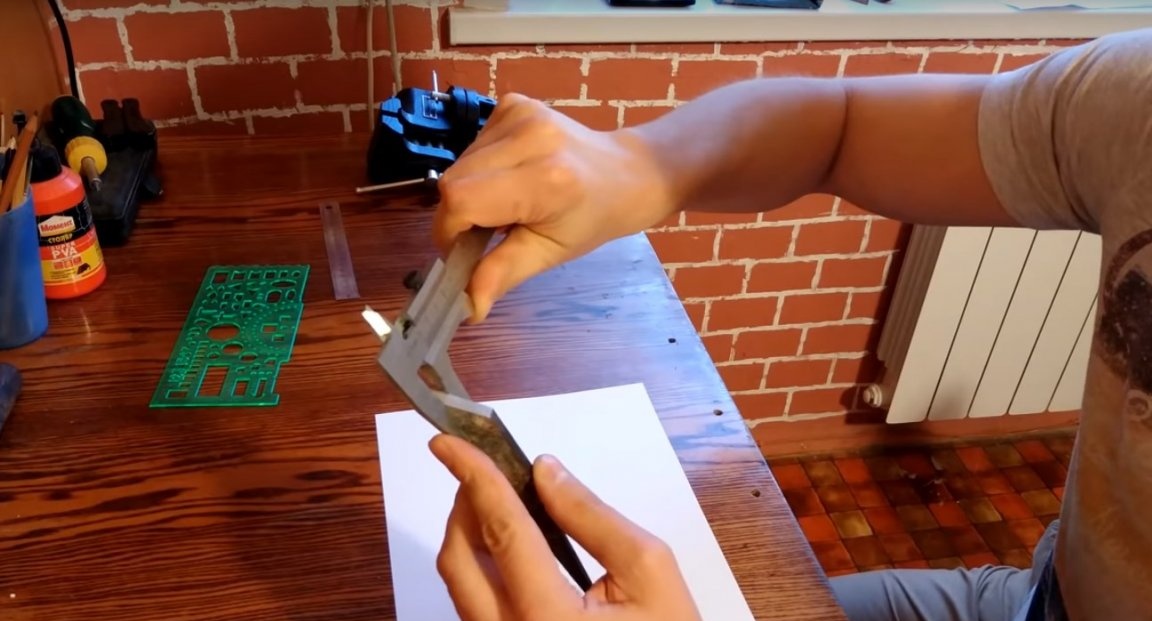
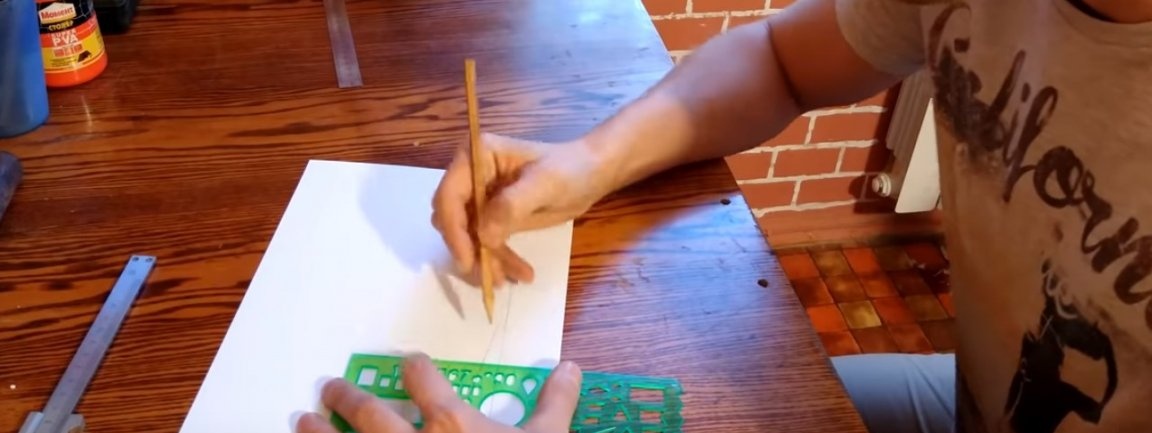
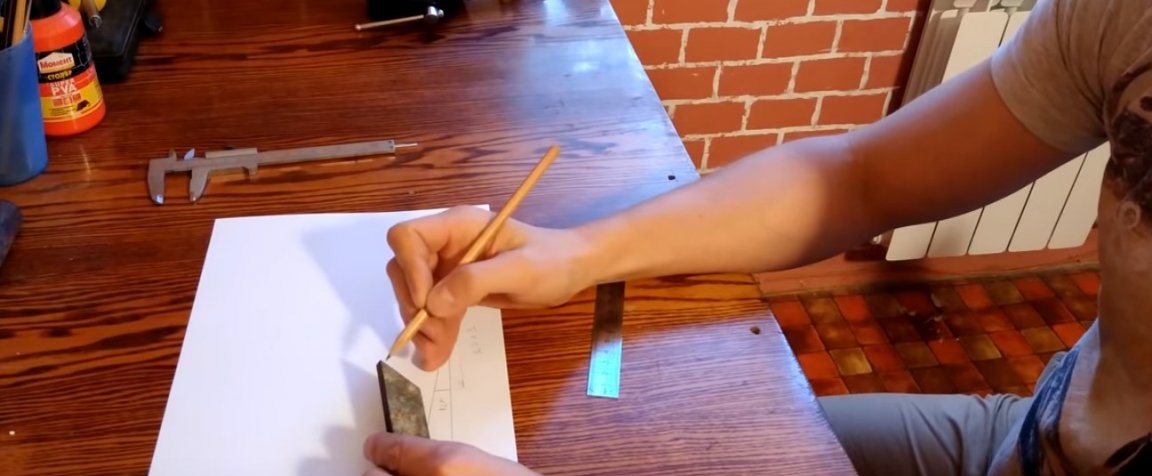
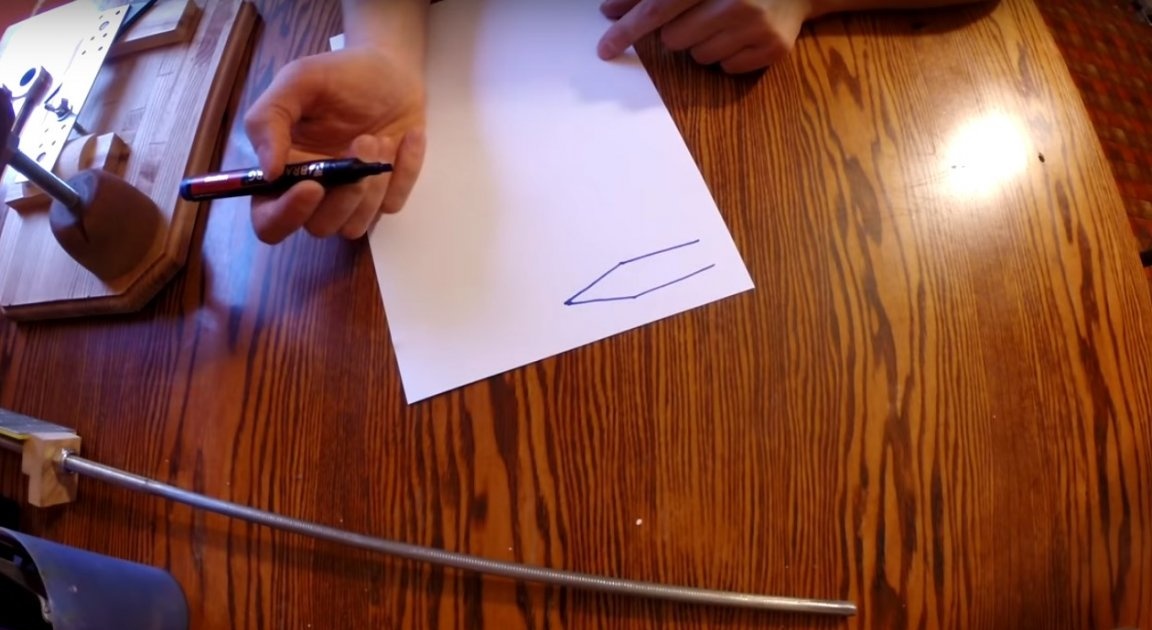
The author plans to make descents at an angle of 10 degrees. To begin with, he will do the whole calculation on paper. To do this, he drew a straight line.
And marked the point on it.
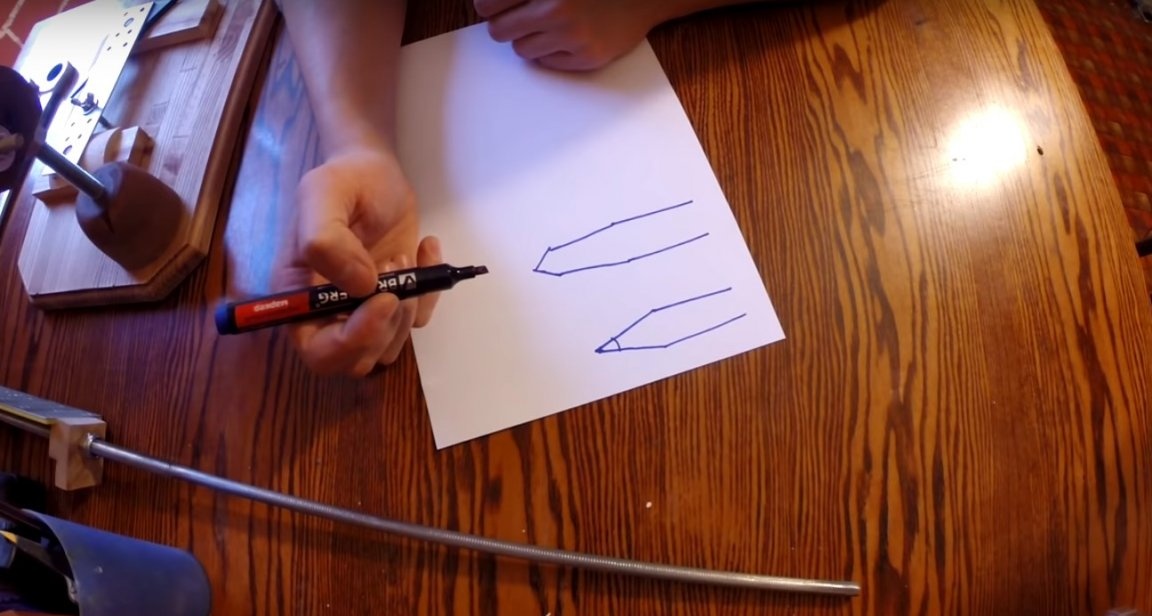
Then he measured the angle of 10 degrees and drew another straight line.

It turned out such a triangle.

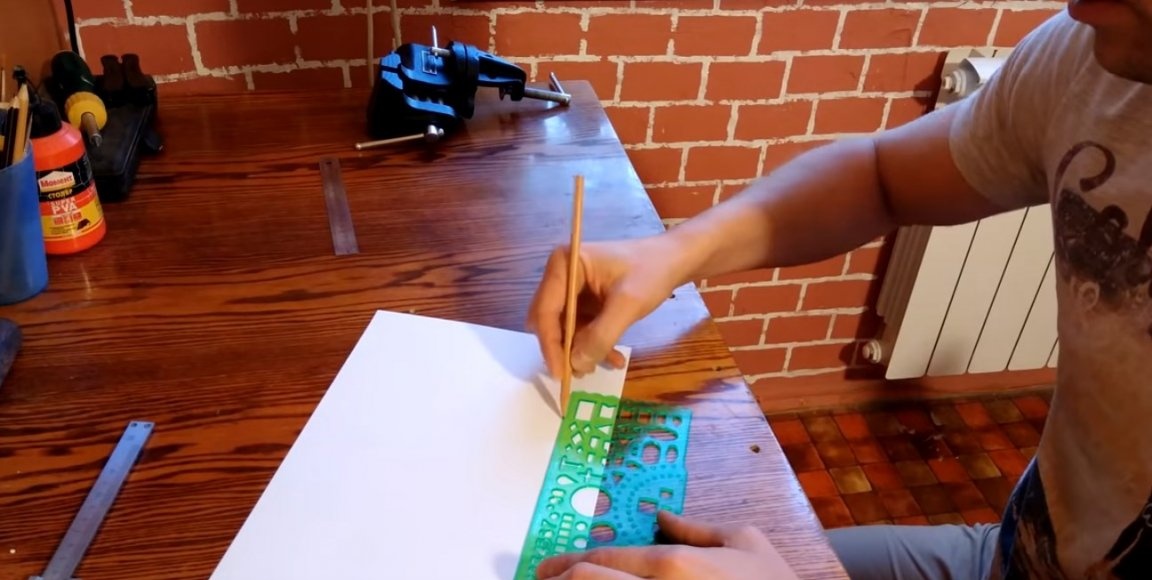
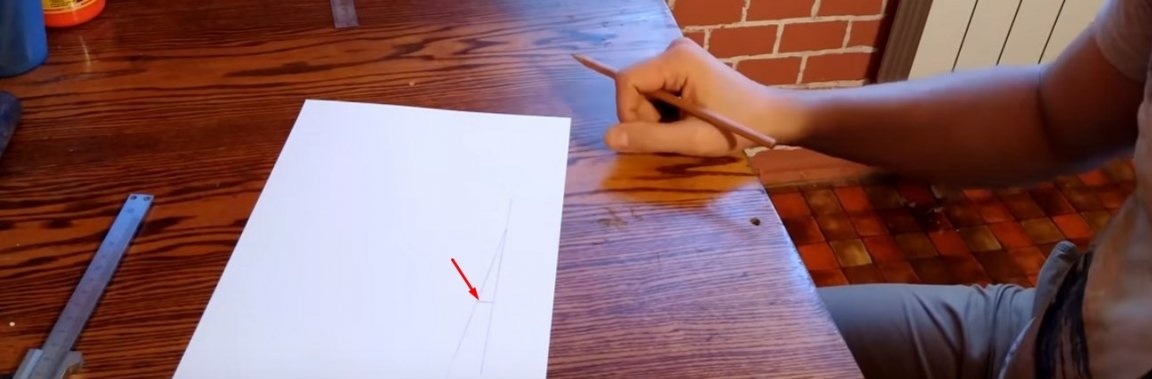
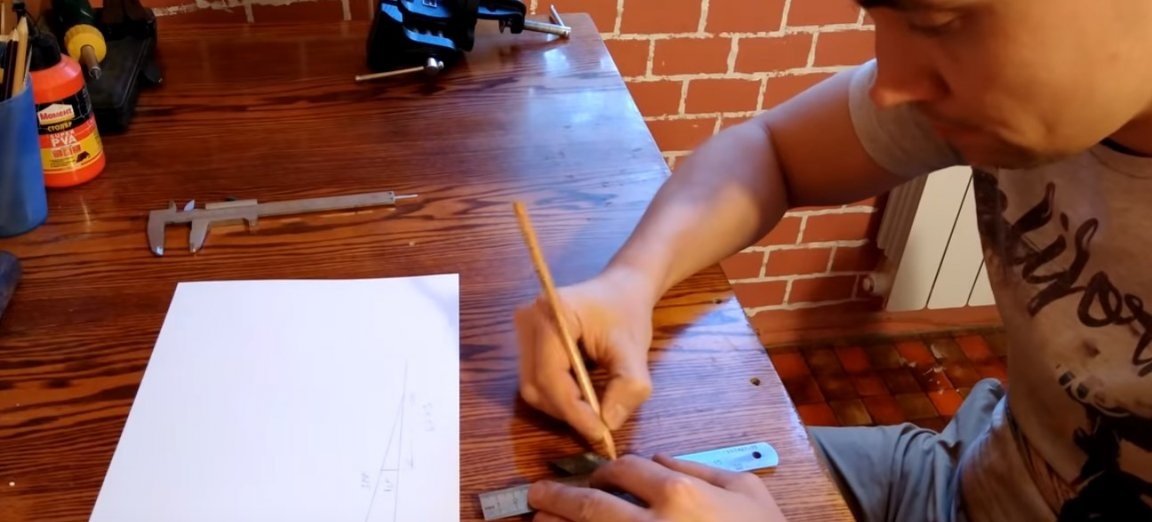
After found a place between two straight lines, where the distance is 10 mm.
And made a mark.
Then I measured this distance. (It is equal to 650 mm.)
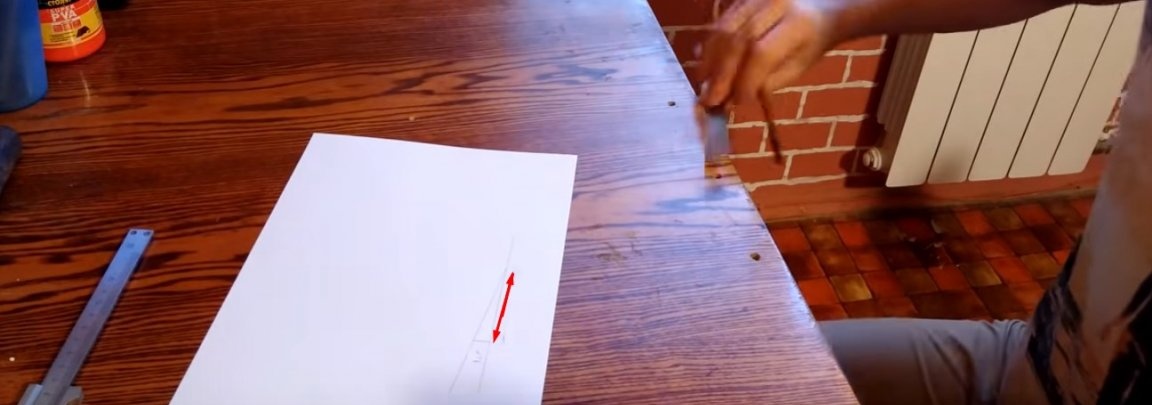

Then he calculated how many times this distance is greater than this. And as simple mathematics showed, the difference is six and a half times.
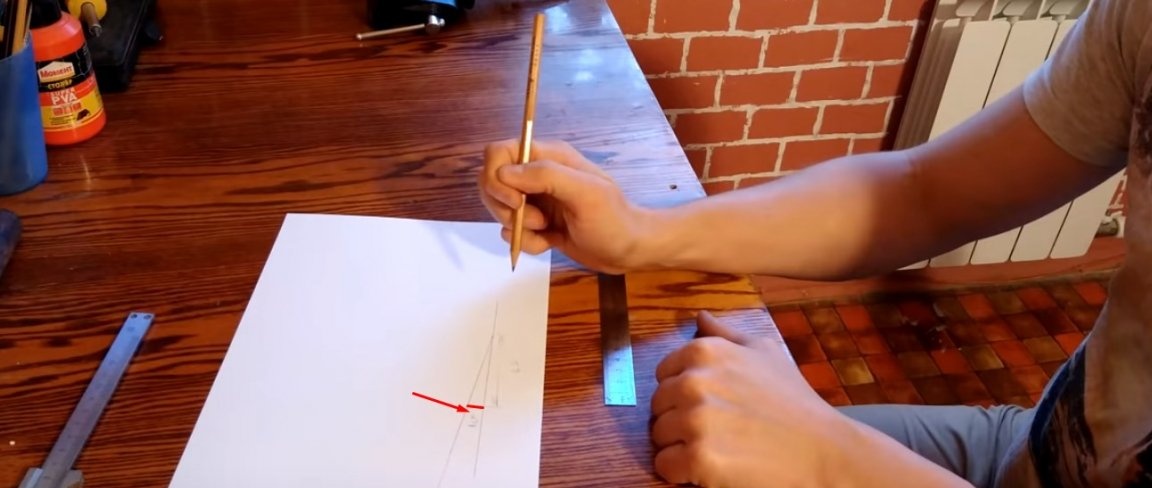
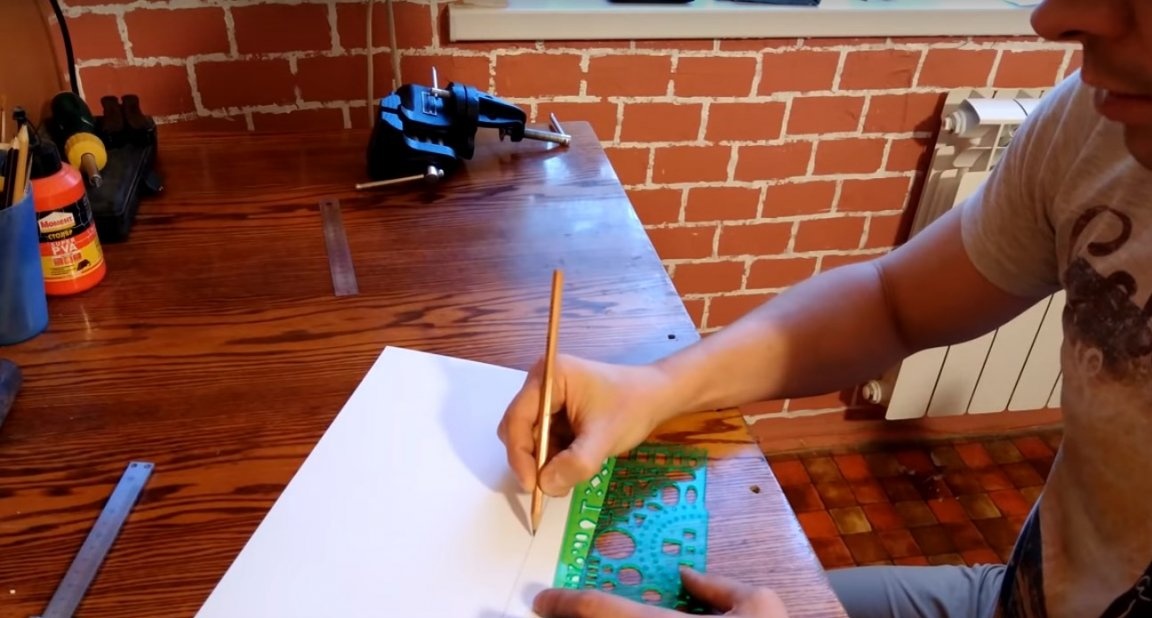
So 0. 5 mm of the total thickness of the file, the author will leave for the final sharpening of the cutting edge.
And the remaining 6 mm, the author sews 3 mm on each side.
Relating the drawing on paper to the workpiece, the master made a calculation, and he painted over the part on the workpiece that would need to be removed with a marker.
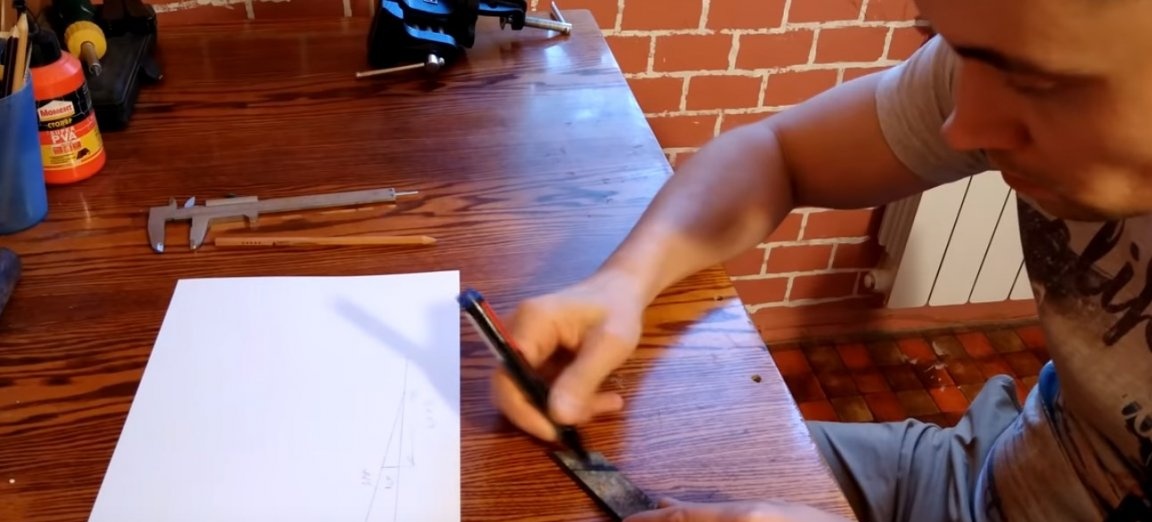
This method gives an approximate angle and therefore relying only on it, the author does not advise. By the way, this method didn’t really help the master, and he removed the metal much more than he planned, so the descent angle turned out to be more gentle.
After proceeded to remove the excess.
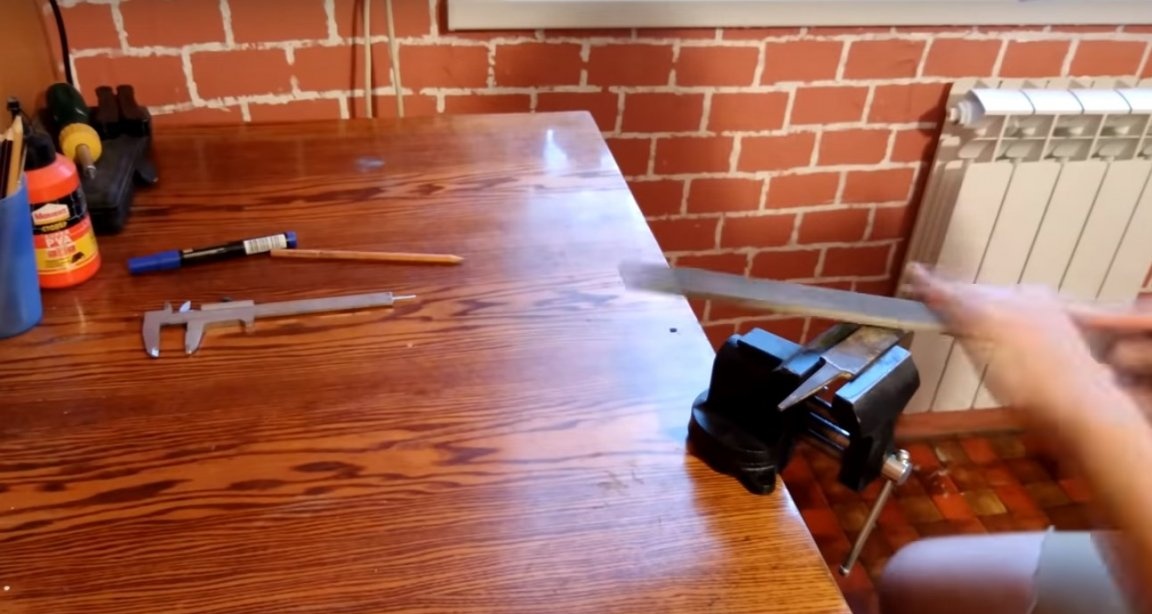
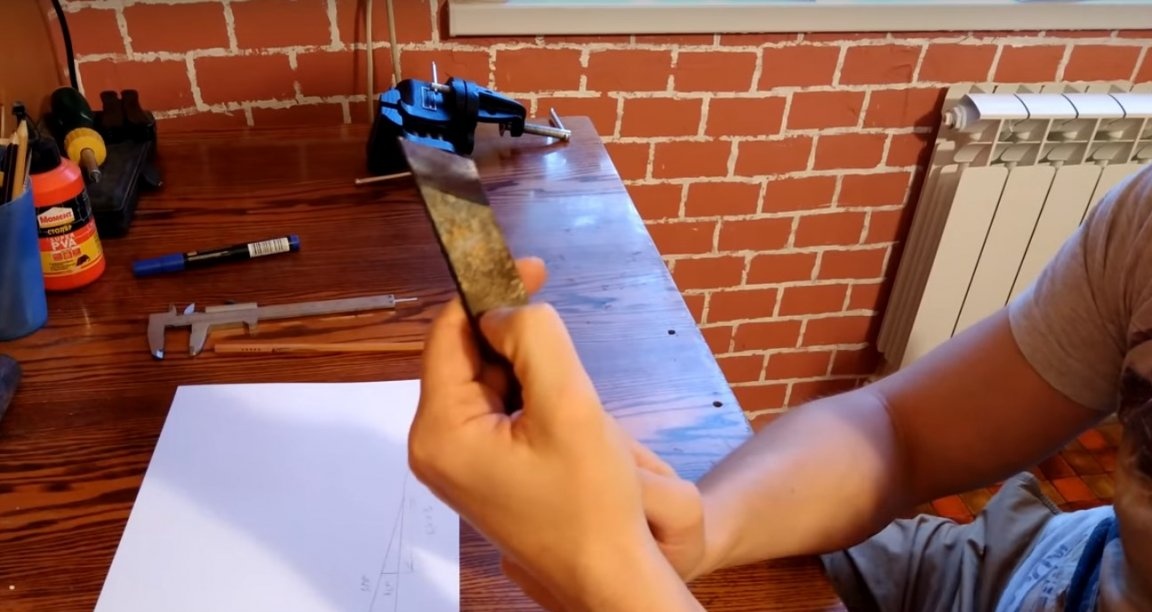
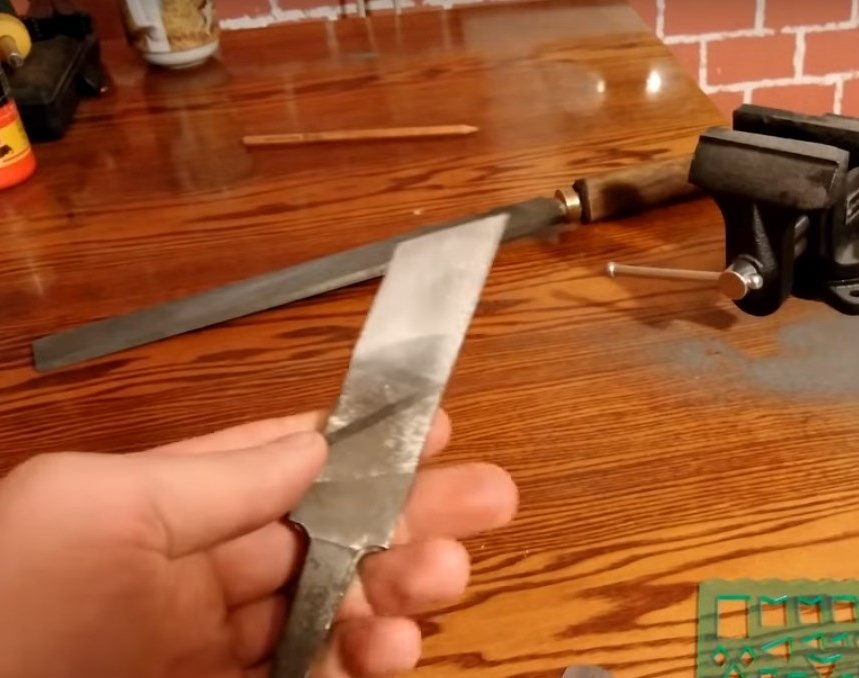
After an hour and a half of working with a file, one side was ready. The author’s descent itself was not a straight line, but a little in an arc. It's just that a person is not an “automatic machine” and physically incapable of constantly holding an instrument at one angle. But this will not affect the quality of the finished tool.
But what, according to the author, is worth paying attention to, it should be absolutely straight to this edge.
Then he processed the second side in a similar way.
The author reduced the descent to approximately 0.7 -0.8 mm.
The next step, the author will need to do the hardening of the cutter.
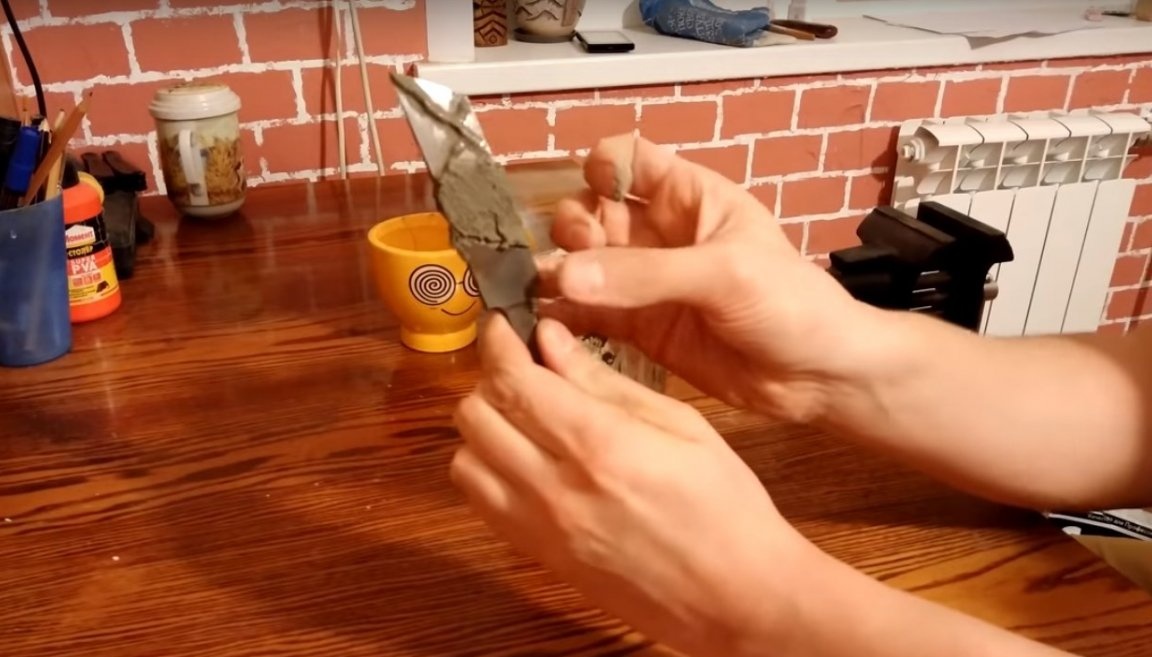
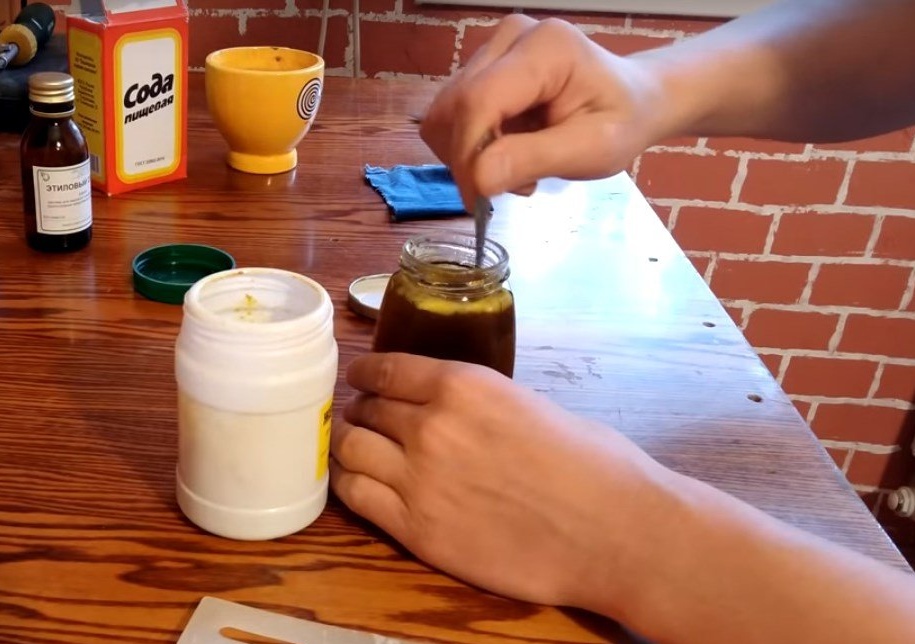
And then the author decided to try one topic, the meaning of this topic is the Japanese traditional art of forging swords. There is a term called jamon - one of the methods of heat treatment that allows to achieve different characteristics for different sections of the product. Japanese craftsmen use a mixture of coal powder and clay for this. And our hero in his experiment, decided to use a mixture of cement-based putties. Adding water to the dry mixture, the author made a solution.
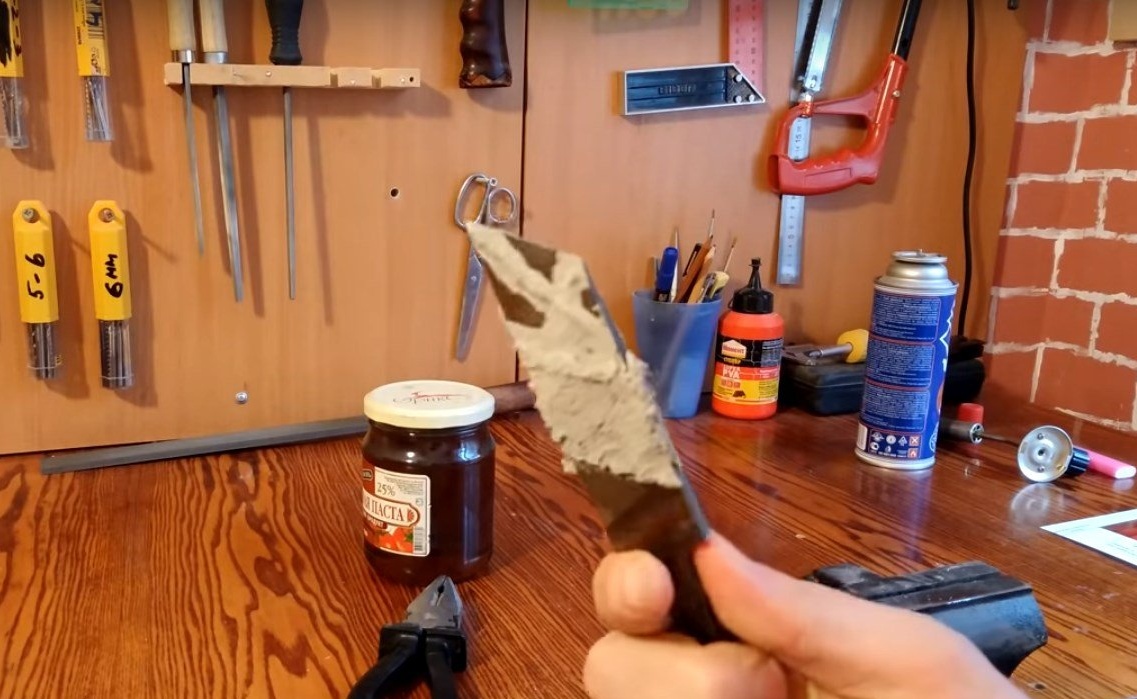
Then he applied the finished solution to the workpiece. And left in this form, until the solution completely dries.
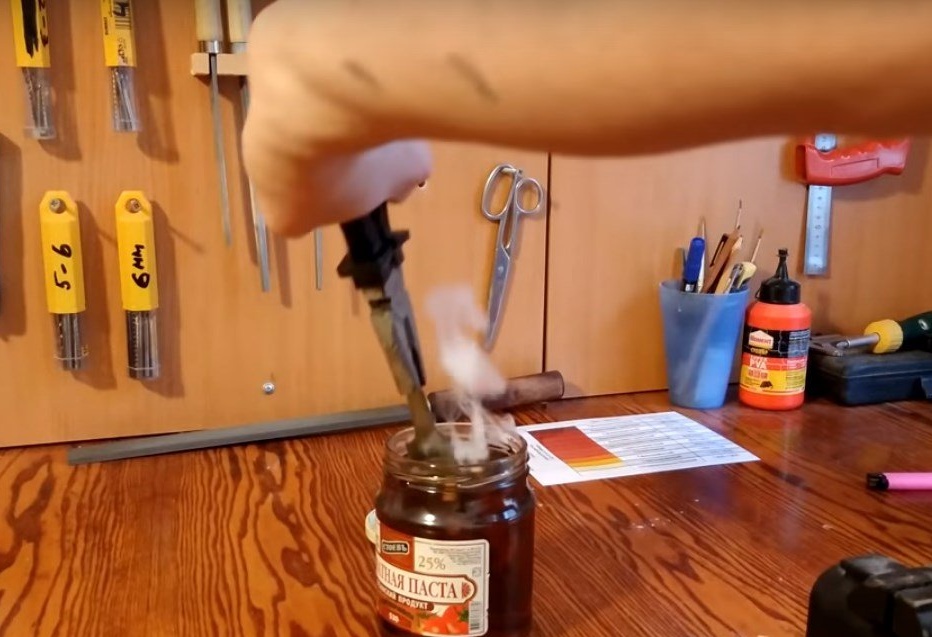
A few hours later, when the solution has dried, the author proceeds to the most crucial moment, this is hardening of the cutter. The author will quench in engine oil (it is believed that this is a more gentle type of quenching than quenching in water.)
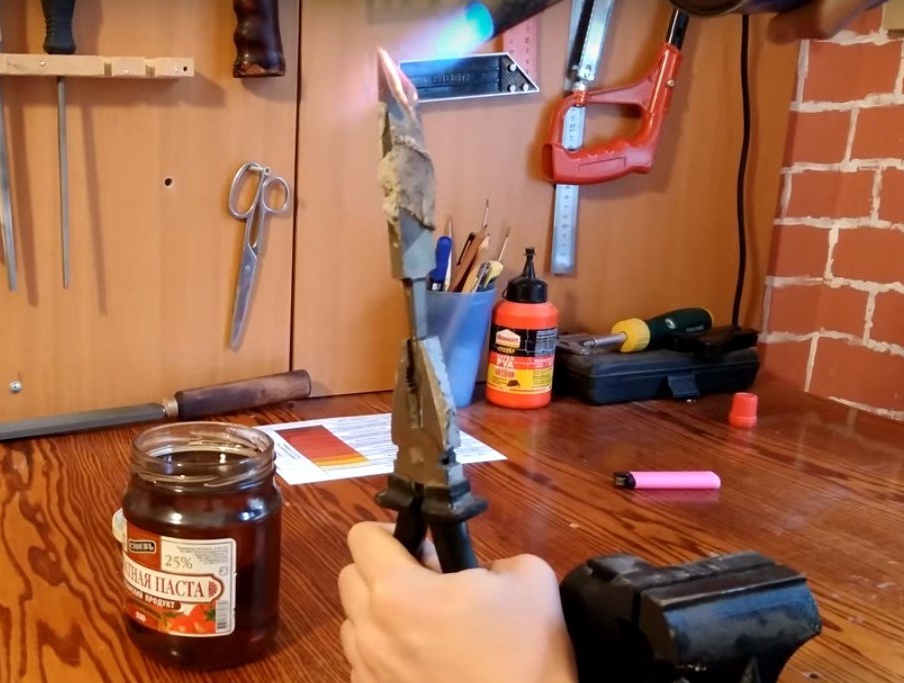
Regarding steel, the author says that according to various sources, different types of steel were used in the manufacture of Soviet files, such as: U8, U10, U12, sometimes even 9XC alloyed.As for the hardening temperature, it is definitely not possible to guess, especially this applies to hardening at home. Therefore, the author will use a table "Metal temperature by the color of red-hot". Quenching temperature for almost all of the above steel is in the range from 800 C to 870 C, 9XC has a higher temperature of 870 C. All carbon pass quenching at approximately 800 C. Following this table, the master will heat the tool to light cherry red.
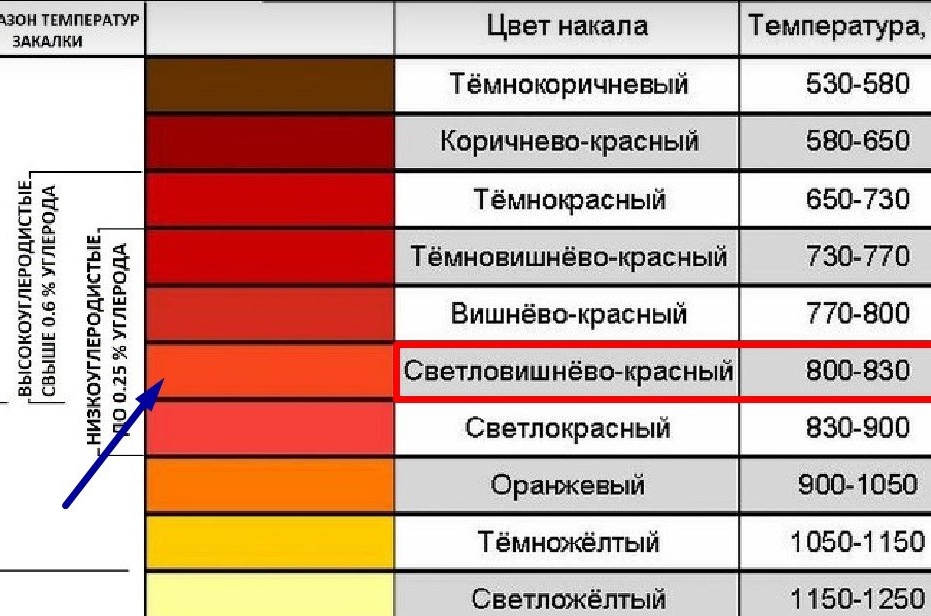
It is not worth overheating, otherwise the tool will be very fragile. Warming up the metal to the desired color, it immerses it in oil.
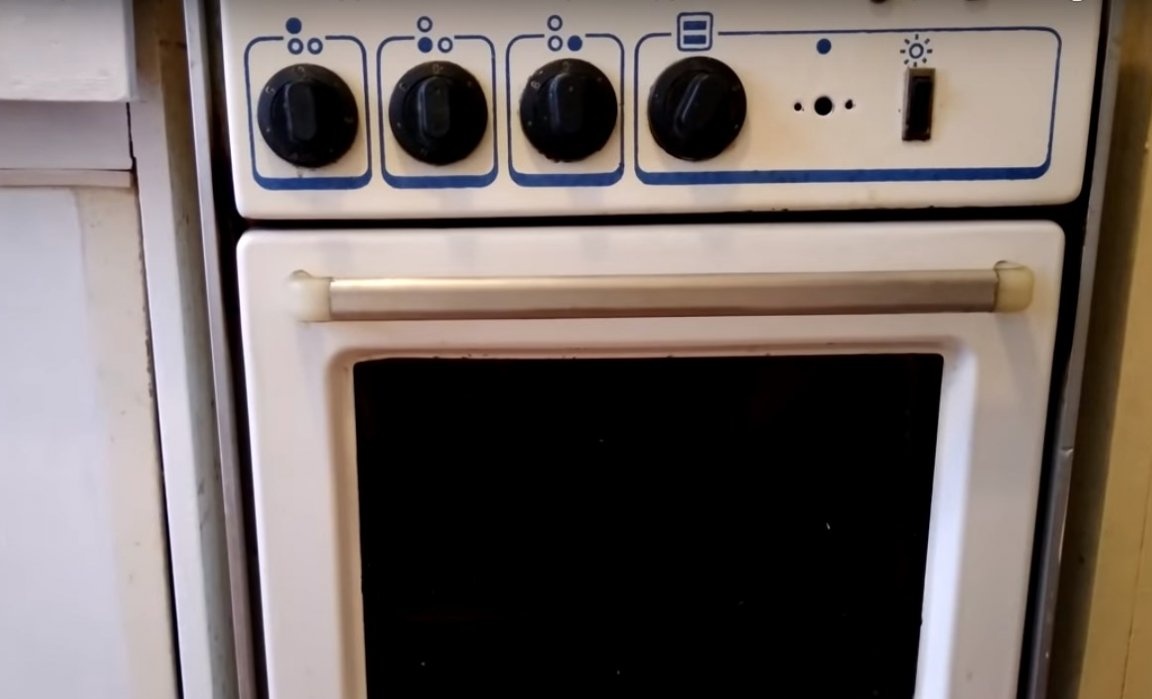
After hardening, the author strongly recommends a vacation. An ordinary household oven is suitable for this. By setting the temperature around 200 C, then put the cutter in the oven.
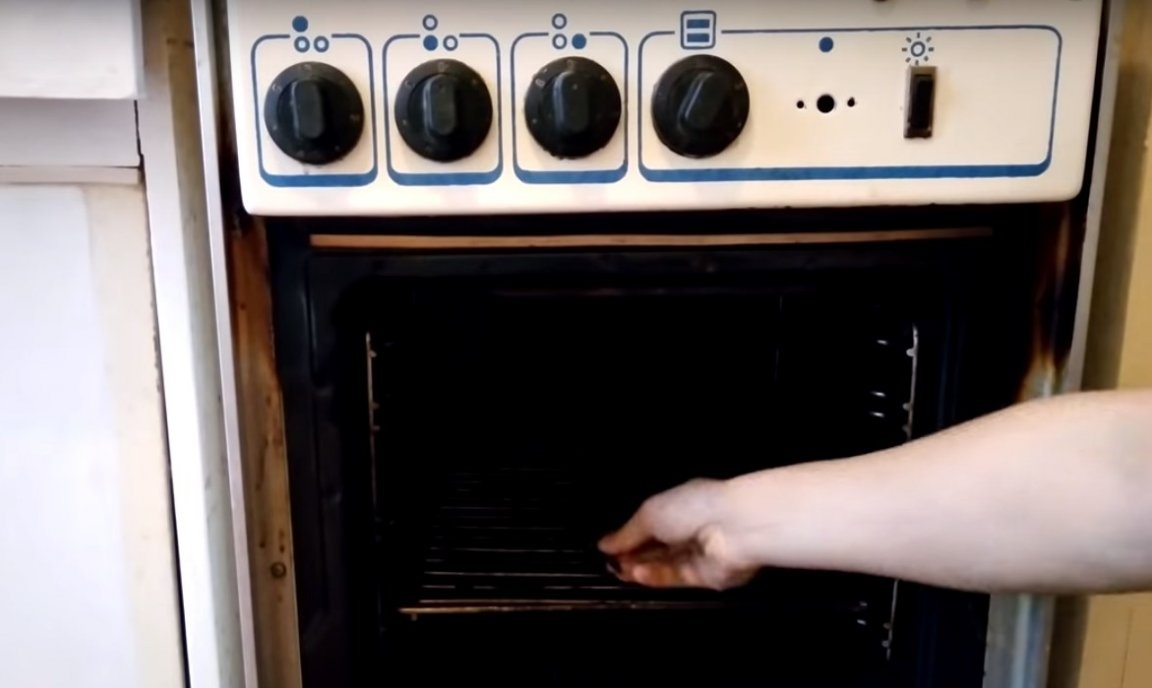
He closed it and left it for about 25 minutes. This procedure will slightly reduce the final hardness of the product, but at the same time it will increase the ductility and resistance of the cutter to transverse impact loads.
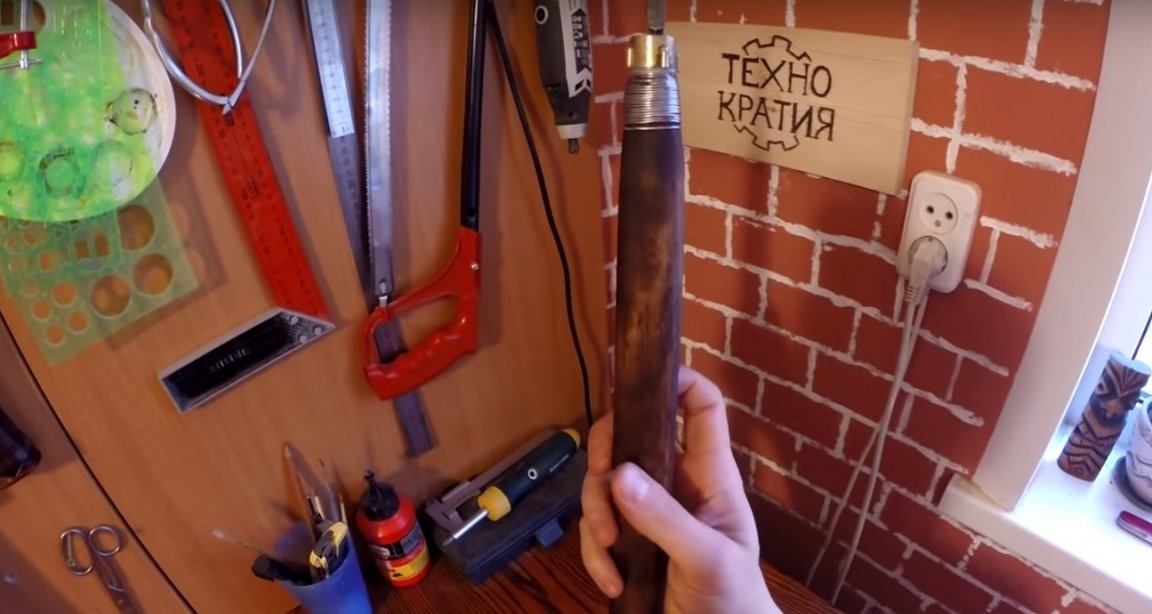
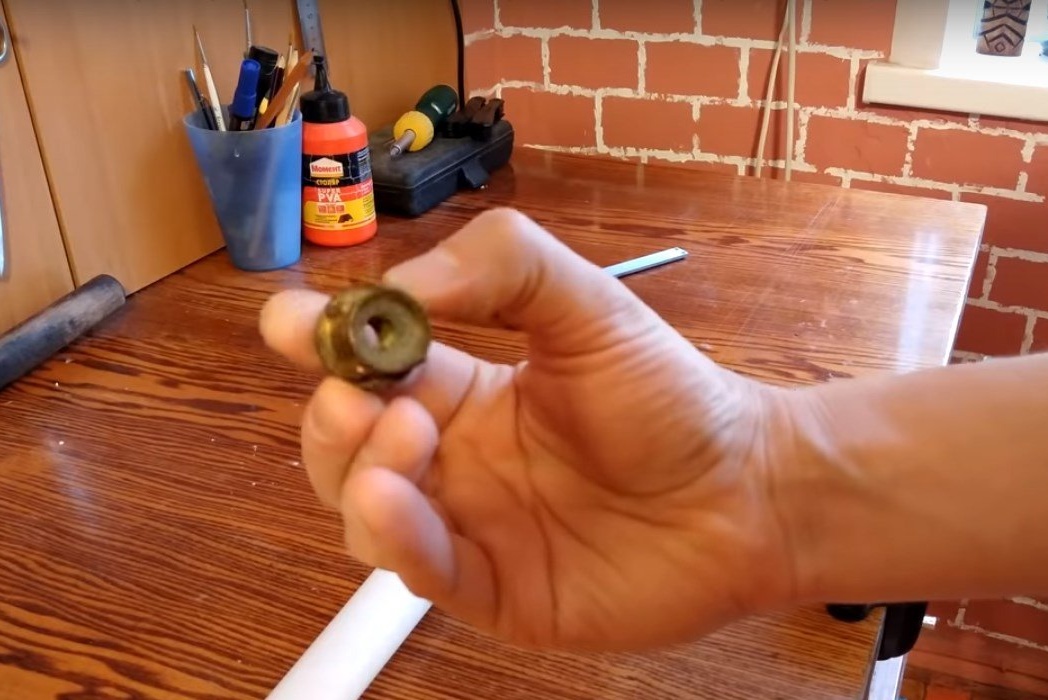
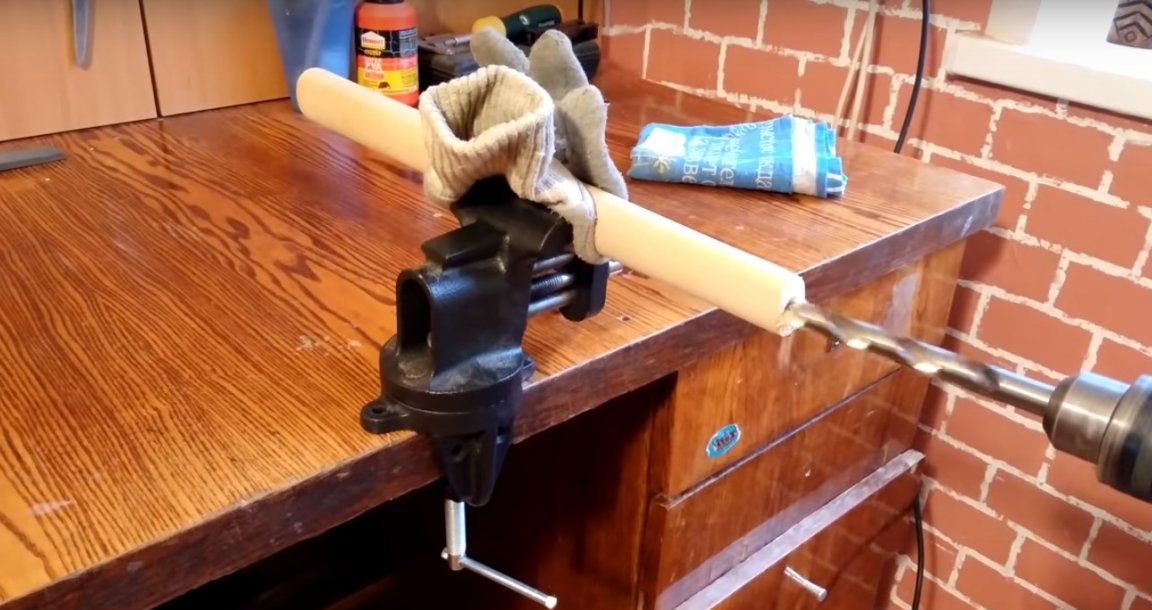
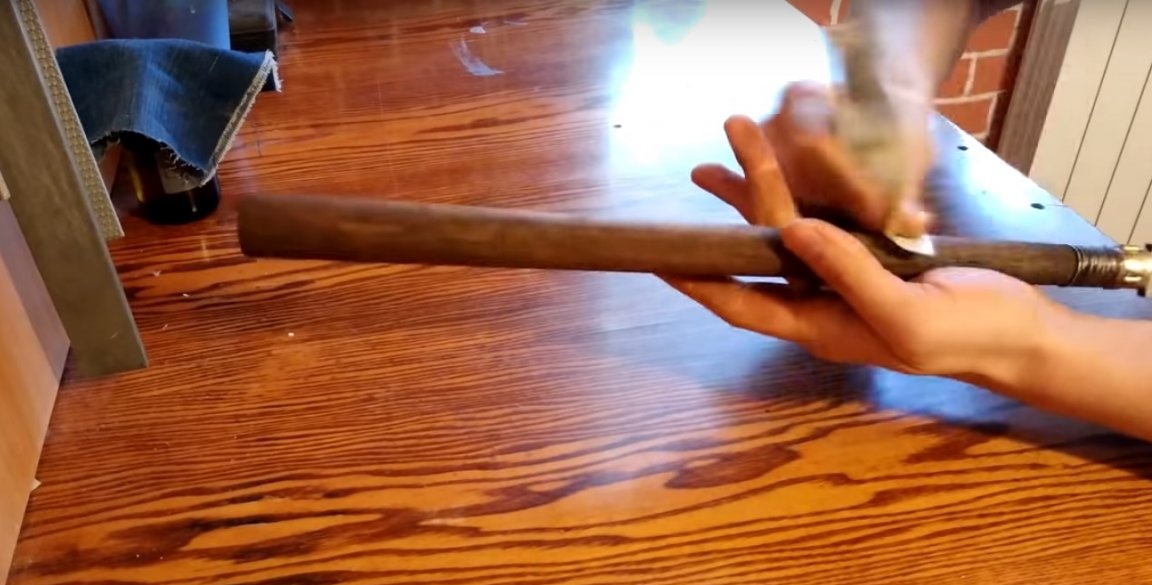
In the meantime, the Meisel is released, the author will manufacture the handle. The handle of the turning tool for a comfortable grip should be approximately 400 mm long. A piece of plumbing fitting that protects the handle from splitting at the attachment point
In the handle of the hammer, the master made a hole for the shank of the cutter.
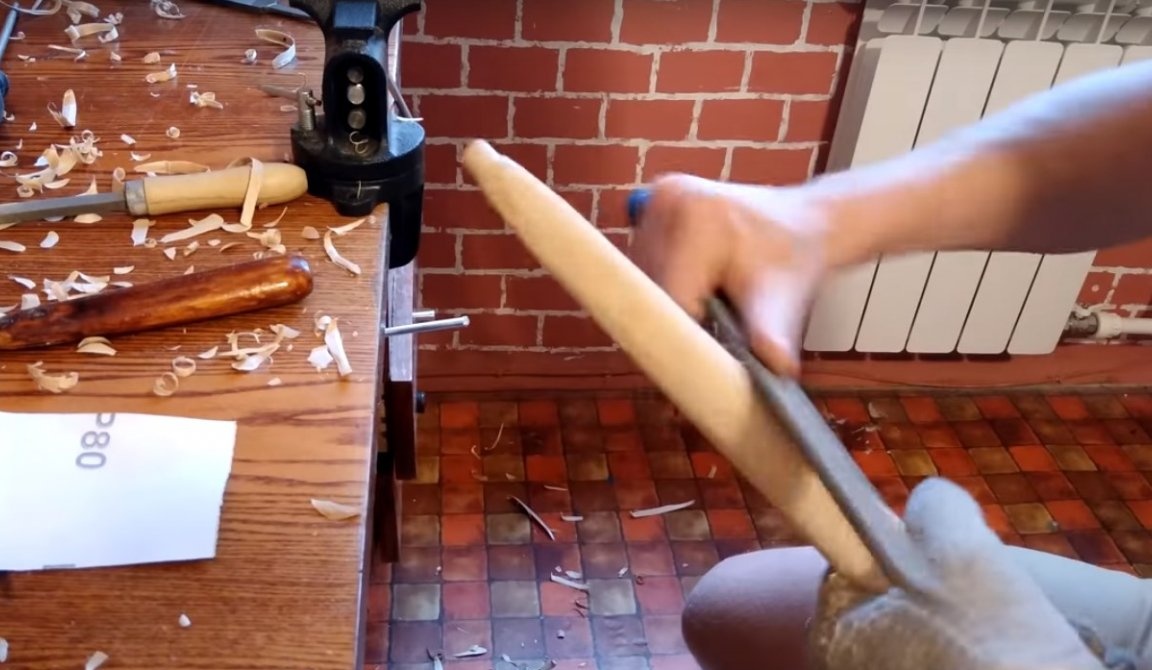
Then he slightly reduced the diameter of the handle, it should not be large.
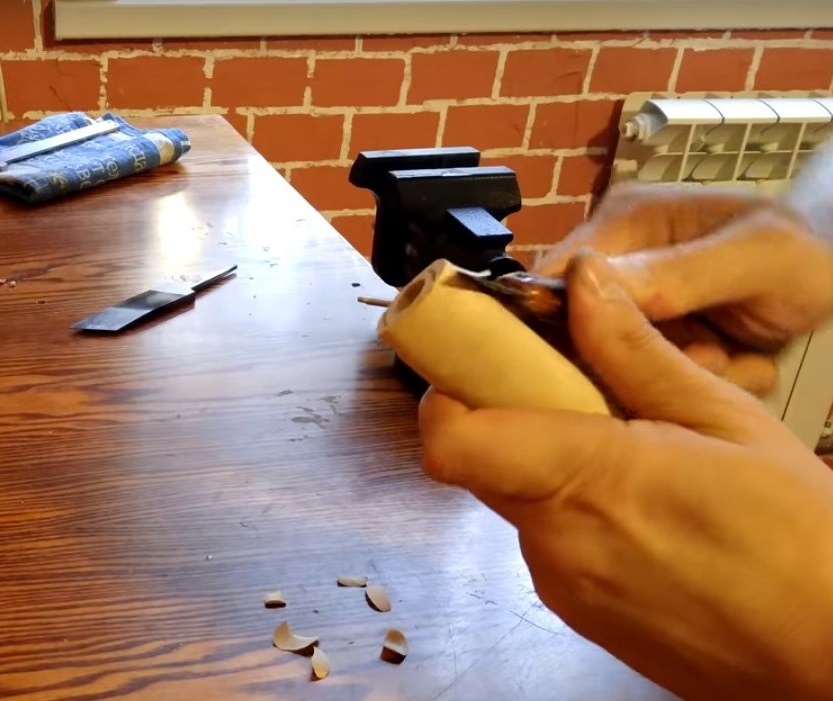
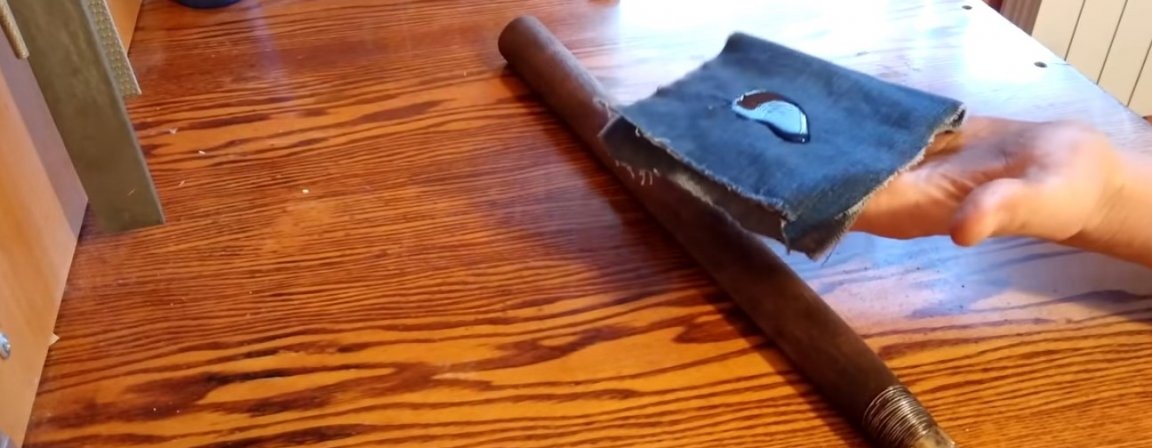
Further, with a rasp, he removed all the bumps.
And with sandpaper, he completed the process with bumps and roughness.

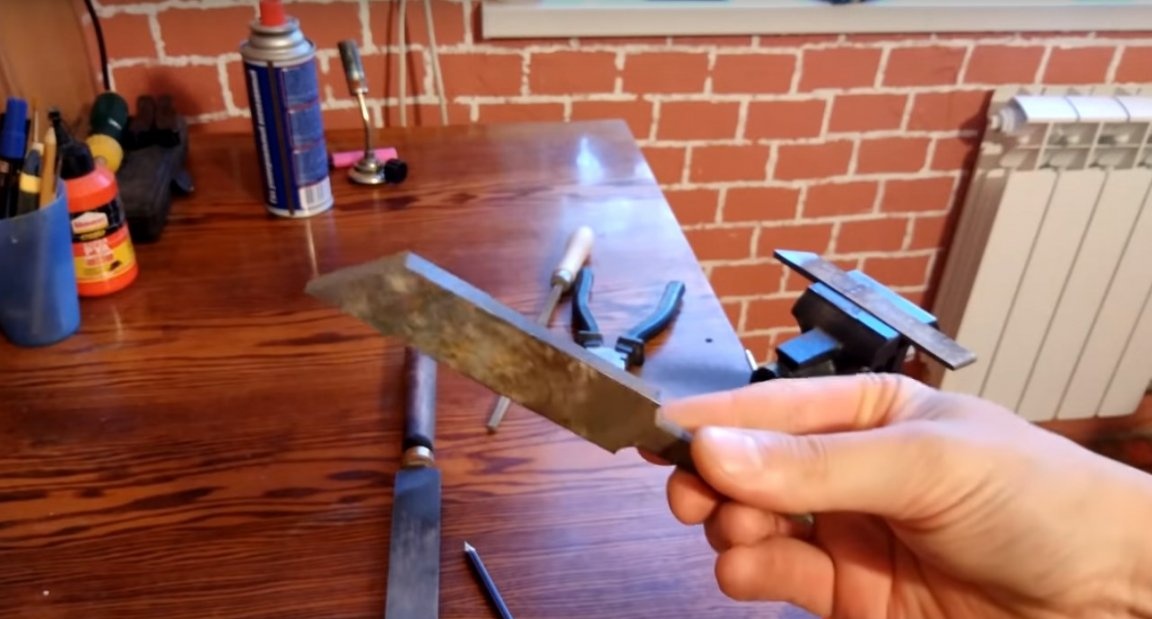
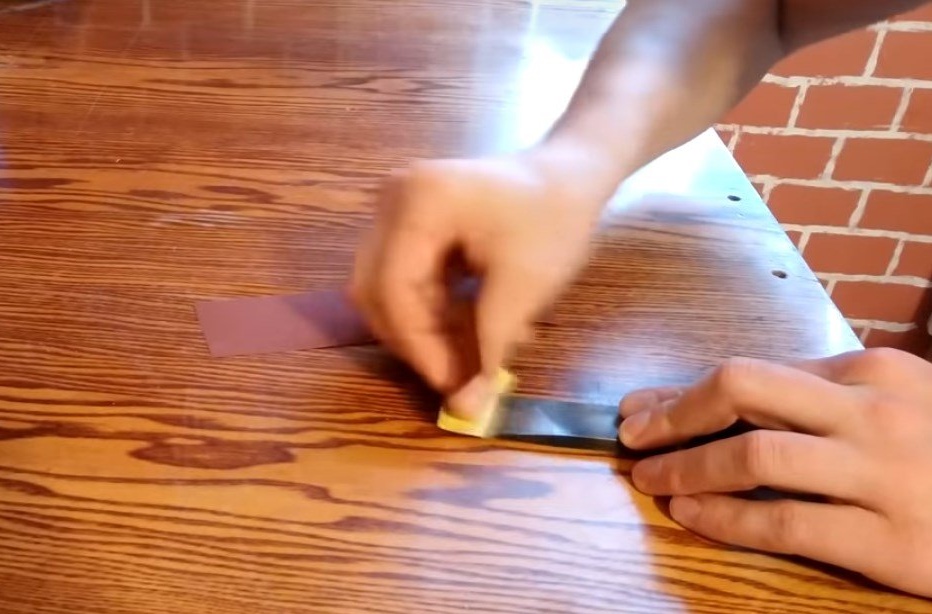
After 25 minutes, the author took out a cutter from the oven. He waited a little while it cools down, then in order for the jamon to appear, the author first cleaned the blade with sandpaper.
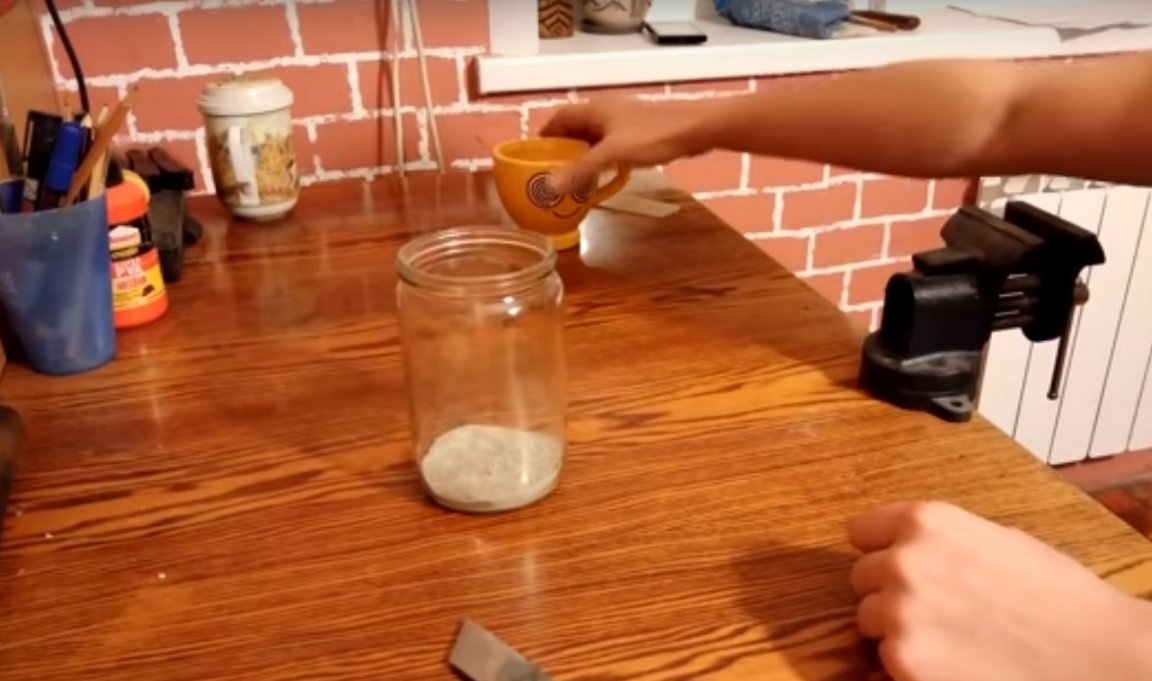
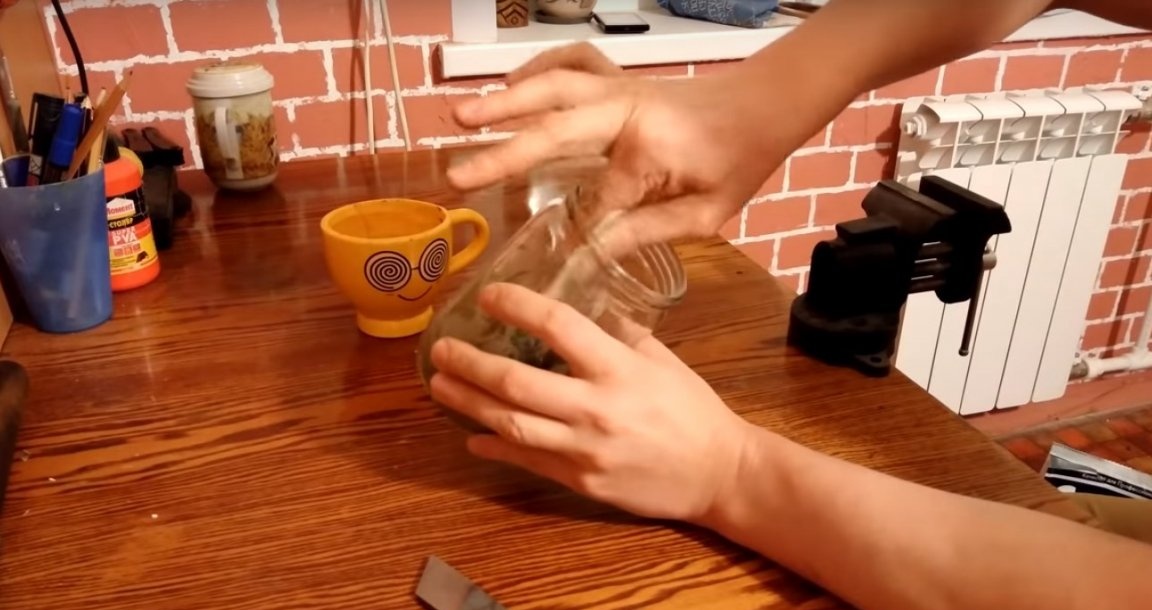
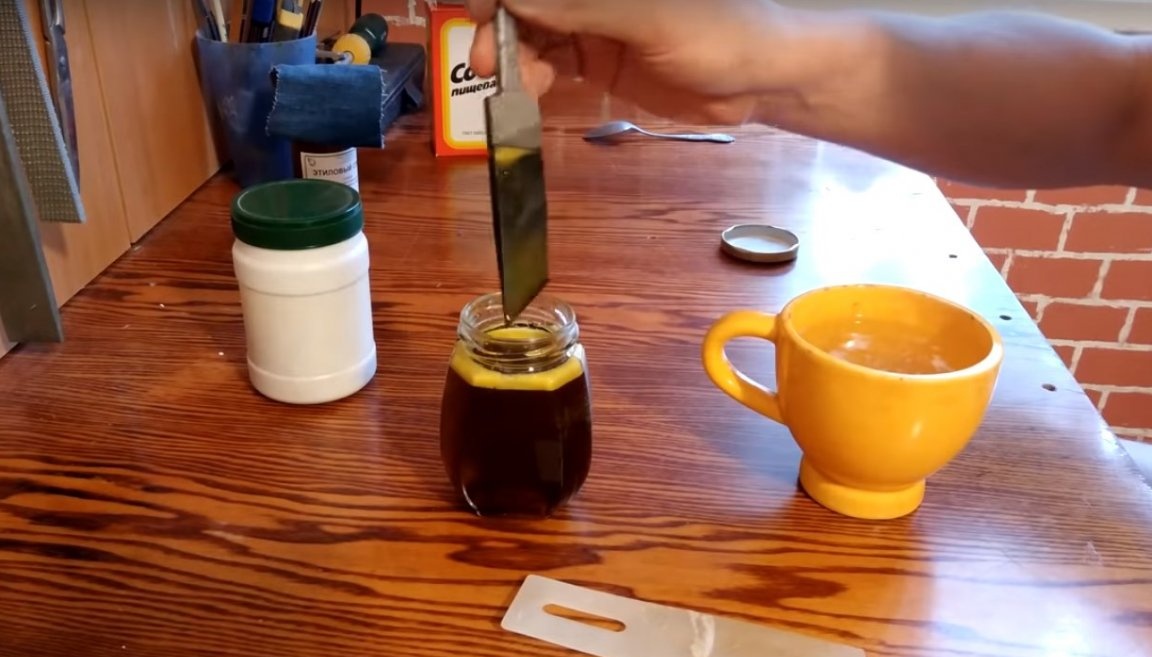
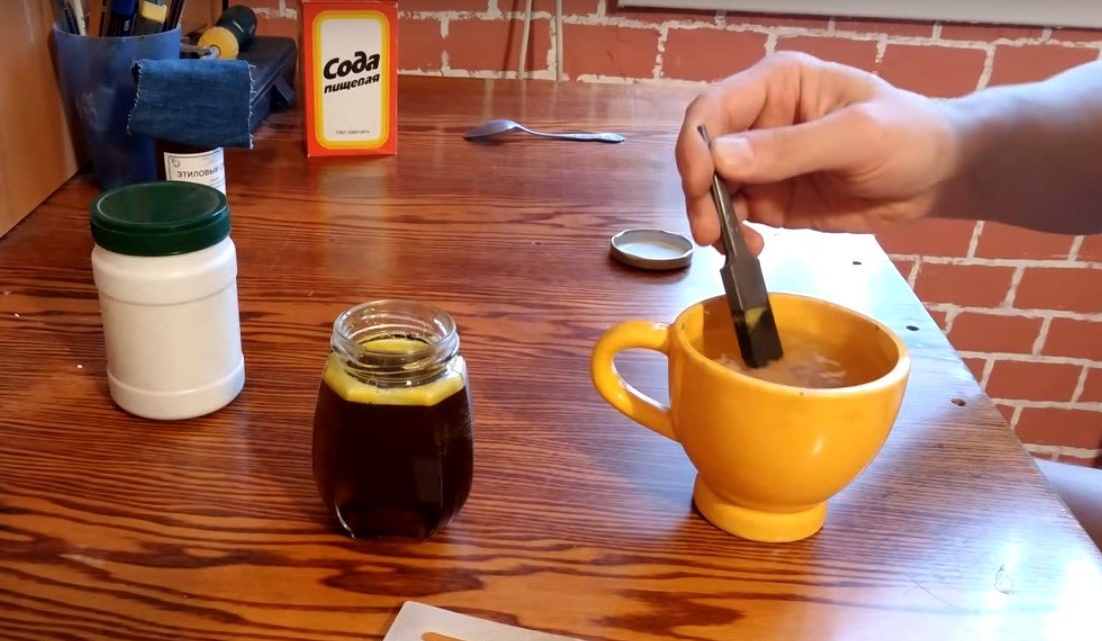
After he made a strong solution of ferric chloride.
And he etched a cutter in it.
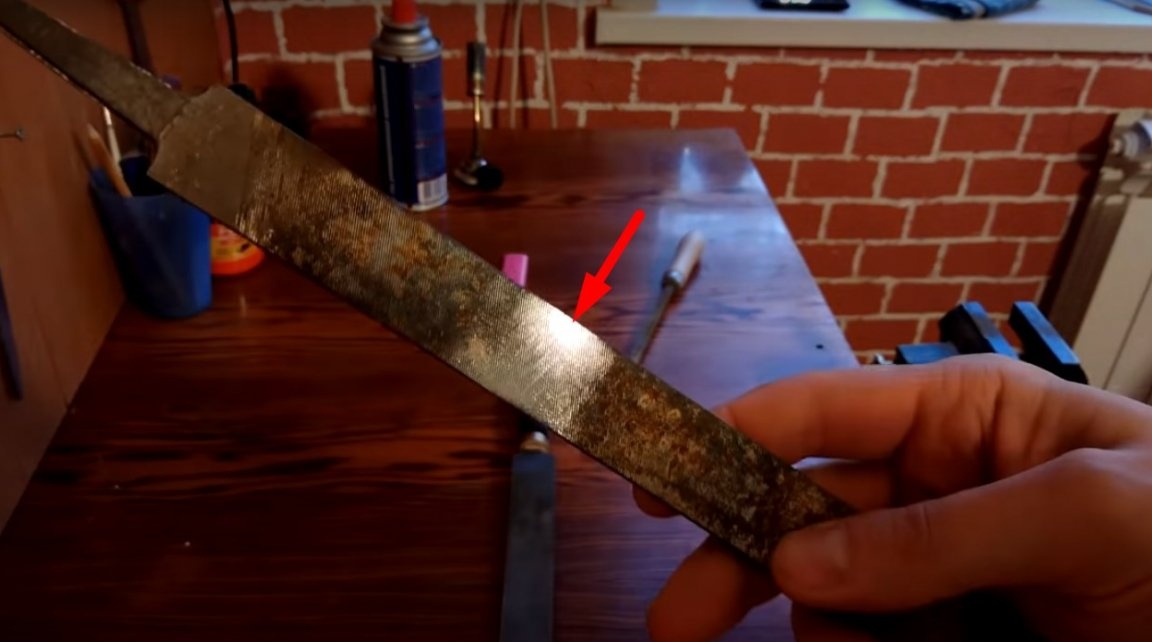
The result of the author was not too pleased. There is jamon, but it is very thin and at the very edge of the blade. And this once again confirms that for a good heating of the workpieces, this size of gas spray is not enough.
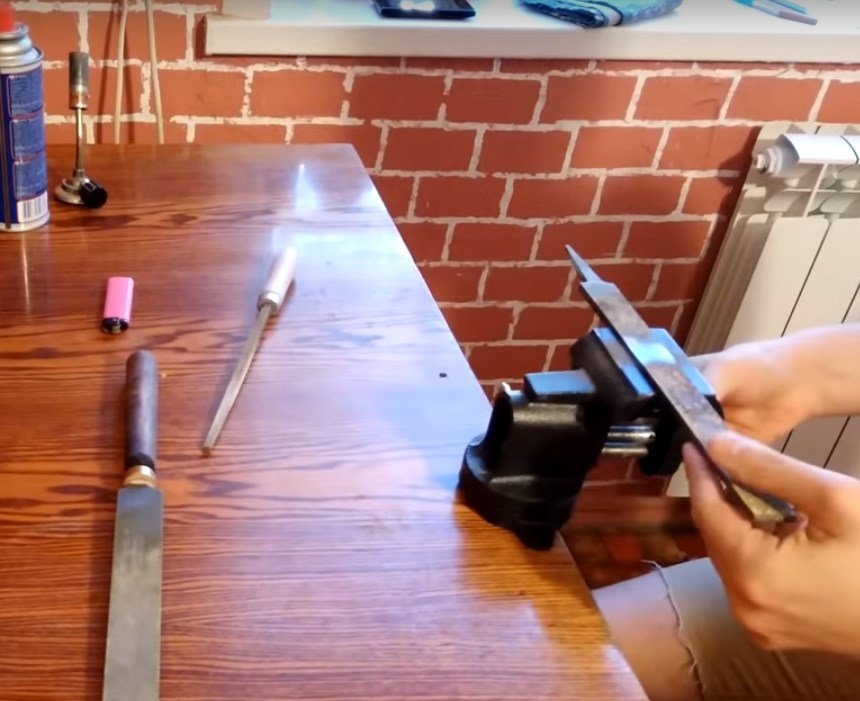
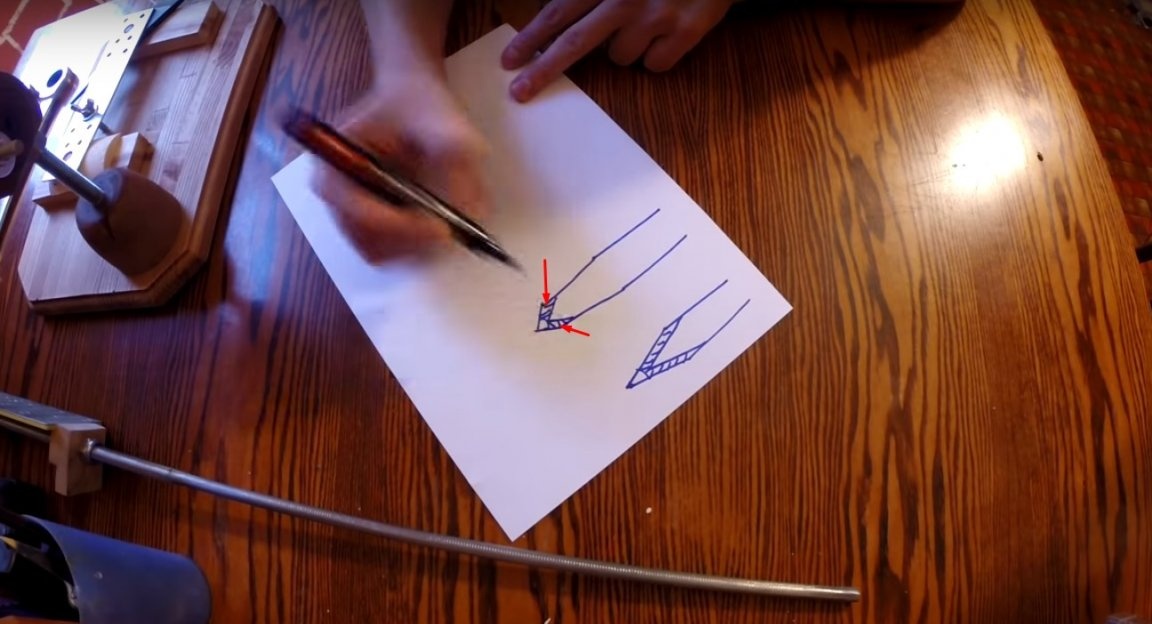
Now the author will tell us a little about the ways of sharpening. This is the easiest and most common way to sharpen cutting tools at home. But this method is not the best.
For his instrument, the author will use another, in his opinion, a better way.

What are the advantages of the second sharpening method over the first? But in fact, everything is very simple. If, for example, when working with a tool, the tip of the blade will chip.
To restore the cutting edge of a tool that was sharpened in the first way: you need to remove, not a small amount of metal.

And to restore the tool sharpened in the second way, the metal will need to be removed much less. Sharpening such a cutter is much easier, and also, according to the author: a cutter sharpened by this method will be much stronger, which means that the likelihood of chipping is much less.
Then, from theory, the author went on to practice.
The result of sharpening.


Next, the master collects all the details. Fills a hole in the handle with glue.
And it puts a little glue on the outside where a piece of fitting will be installed. He also decided to reinforce this part a bit with wire.
Next, set the shank of the cutter in the hole.
In order to prevent the cutter from setting aside, the author set up small wooden wedges.
And left the glue to dry completely.
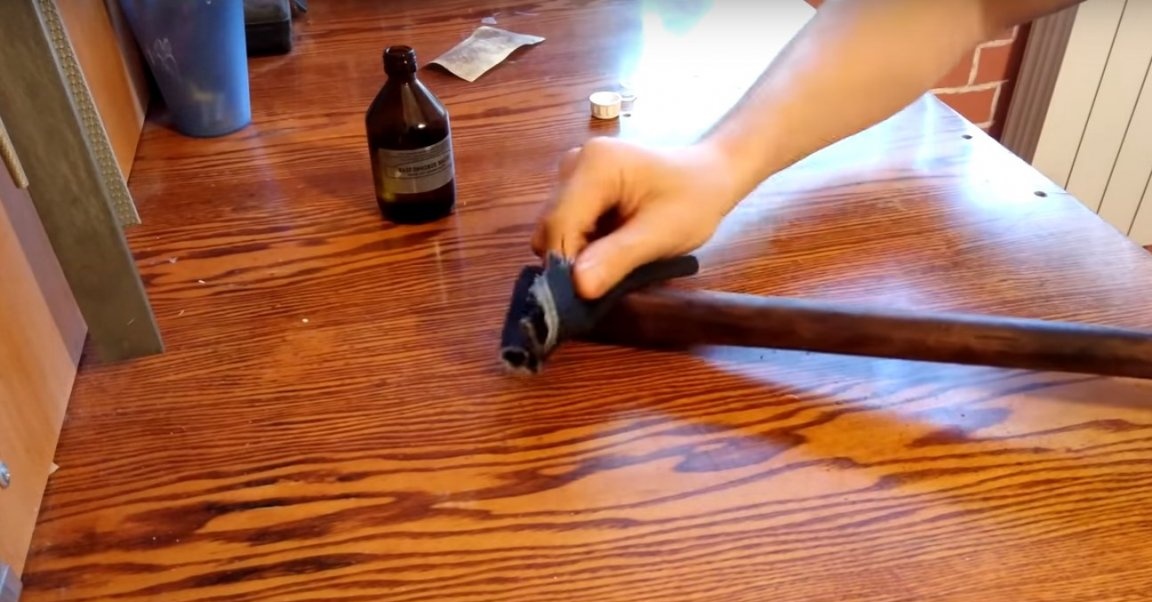
Two days later, when the glue dried well, the author covered the handle with an alcohol stain.
After processed with fine sandpaper.
And then he well soaked the hilt with mineral oil.
So, with a little effort and patience, the author made a good tool with his own hands at home.
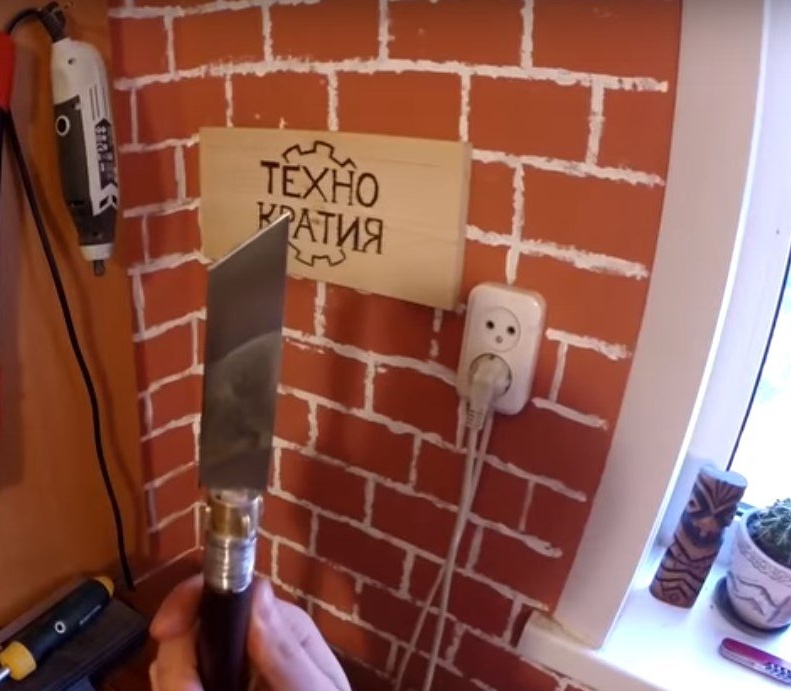
Thanks to the master for a good and useful homemade.
And that's all for me. Thank you all, and see you soon!