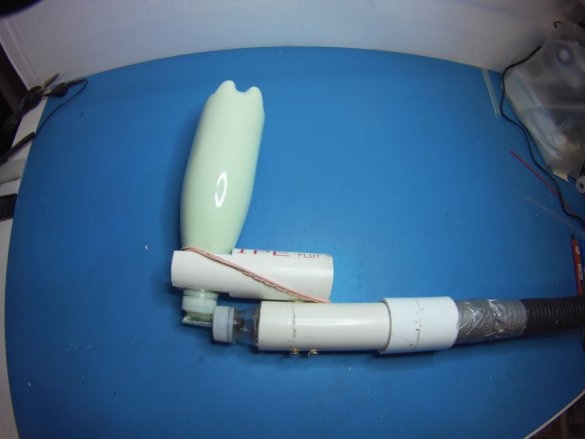
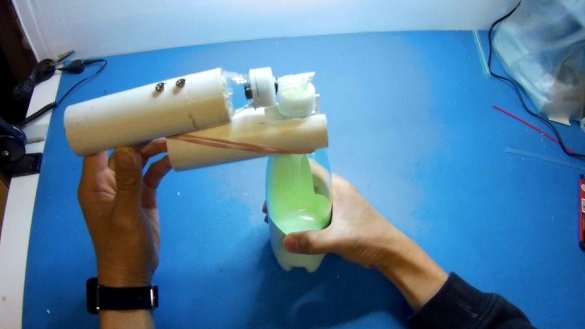
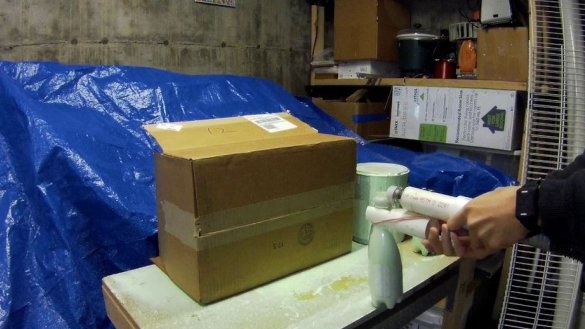
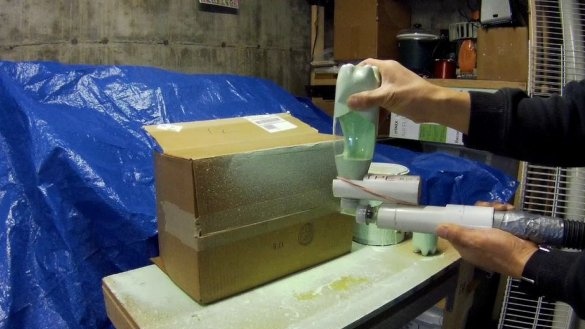
This is a good performance paint spray gun manufacturer's guide.
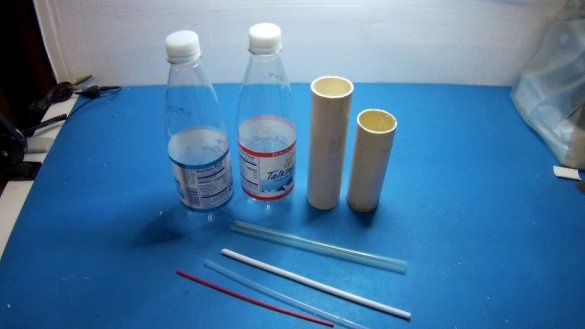
For its manufacture will need the following materials:
- two plastic bottles
- a pair of straws
- PVC pipe
- rubber tape
- two long screws
- some electrical tape and / or duct tape.
For a more accurate understanding of the build process, watch the video and read the step-by-step instructions:
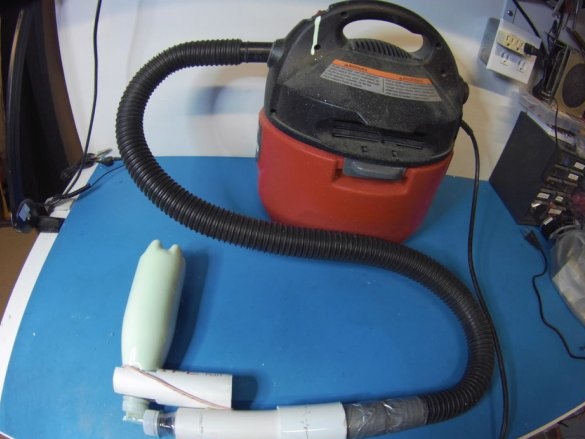
A spray gun will require compressed air. You can use an air compressor or some other type of blower, such as a vacuum cleaner with the ability to connect to the discharge side.
The author of this invention came up with a specific design for this atomizer, playing and experimenting in his the garage. This design allows you to turn the paint into an aerosol using compressed air, creating a uniform conical pattern. This is due to the position and orientation of the straws. When the straw is cut at an angle of 45 degrees and faces the oncoming compressed air, it gives the best results. The spray nozzle must also not extend too far beyond the nozzle, otherwise spraying will occur.
This spray gun can remove latex paint from the can without the need for dilution with water. Just make sure the paint is mixed properly.
The great advantage of this design is that it is incredibly cheap to manufacture, makes it easy to refill, and easy to clean (just throw the bottle away and make a few more bottles with spray nozzles next time).
This design is not limited to spray paint. You can spray varnish,
oil or fuel, as in the configuration of a waste oil furnace.
Step One: Materials Needed
This paint sprayer requires:
tea straw (thick straw)
ordinary tube
two pieces of plastic pipe made of PVC with a diameter of 32 mm. and 15 cm long
two plastic bottles
It seems liter ones are best suited, but they can be increased or decreased. The plastic bottle should have a neck diameter of about 25 mm.and should be flexible enough to squeeze it.
compressor or vacuum cleaner
two screws
From the tools you will need:
drill
hot glue gun
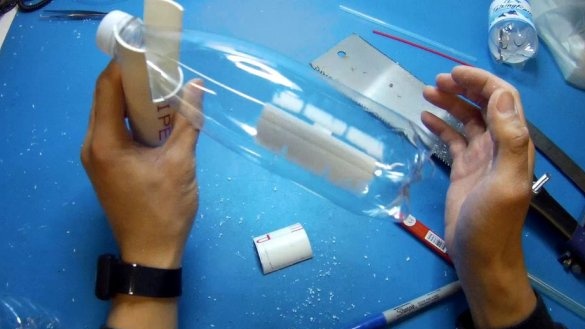
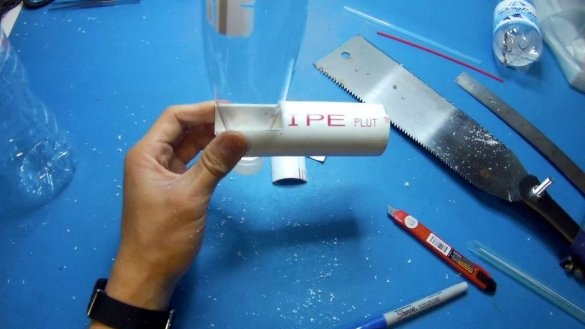
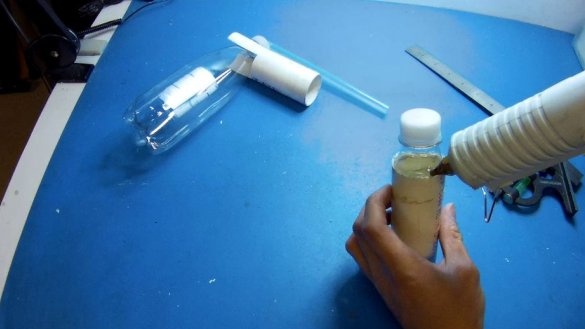
Step Two: Making the bottle holder from PVC pipe and bottle
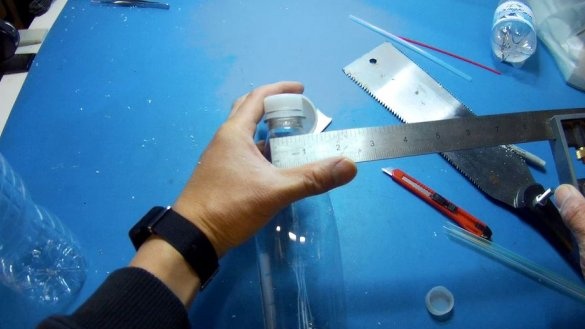
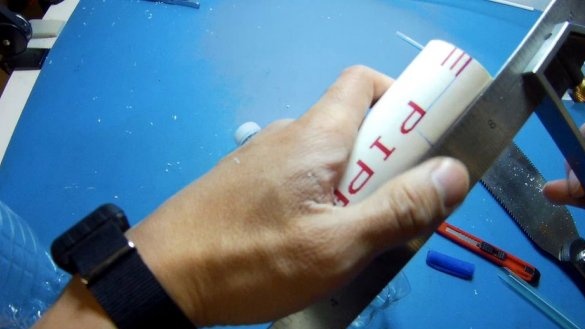
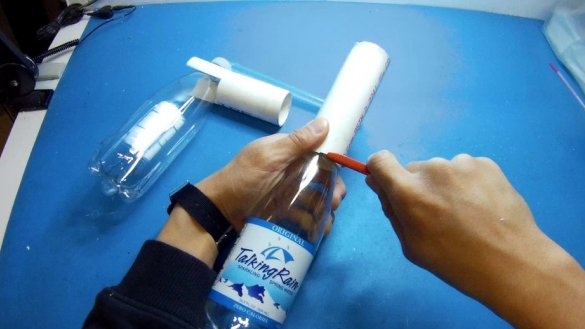
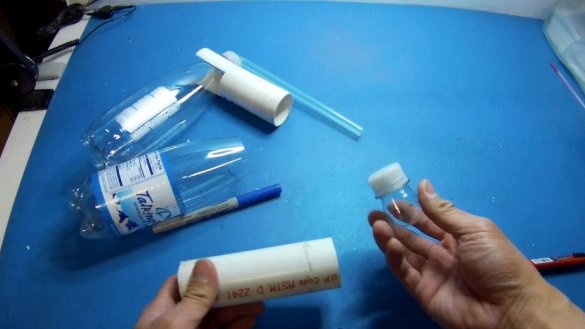
It is necessary to measure the neck of the bottle and mark the recess in the pipe, which is the same or slightly narrower.
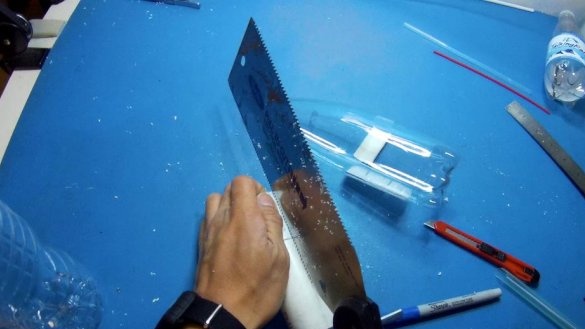
1. Make an incision, 5 cm deep, at least deep enough.
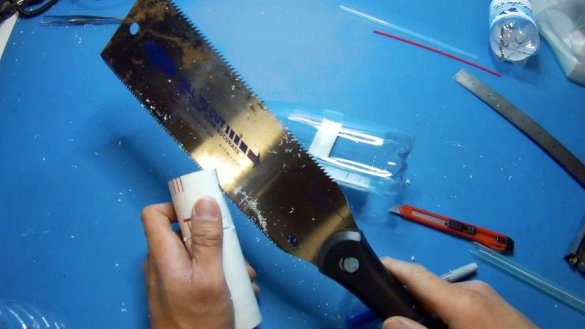
2. Then make a cut in the pipe.
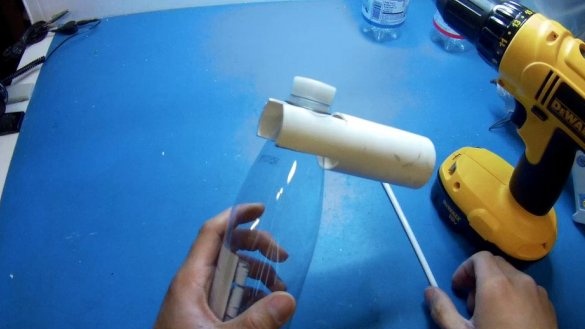
3. Place the neck of the bottle over the pipe and measure the wider cone to cut another groove in the pipe.
4. Cut the second hole in the pipe from the opposite side.
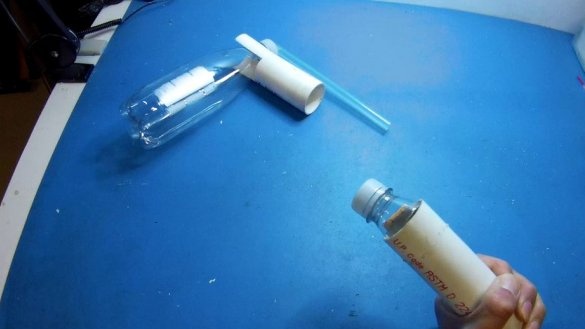
5. Make sure that the pipe fits snugly on the bottle.
Step Three: Making a Paint Sprayer from a Plastic Bottle
This will require only a few steps:
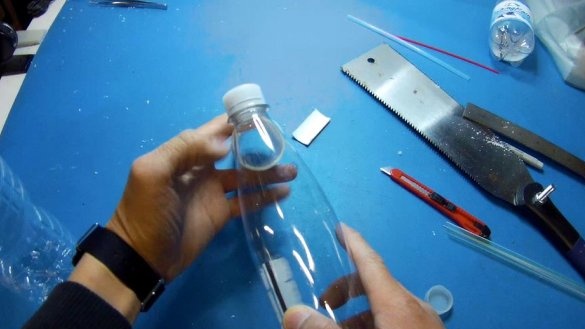
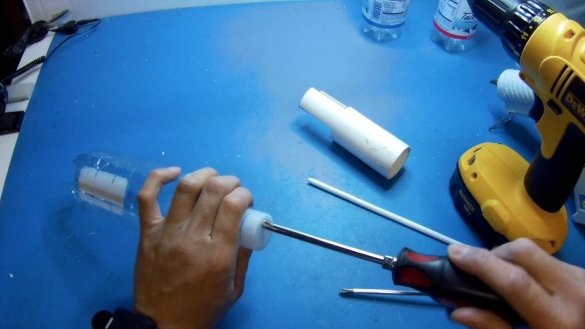
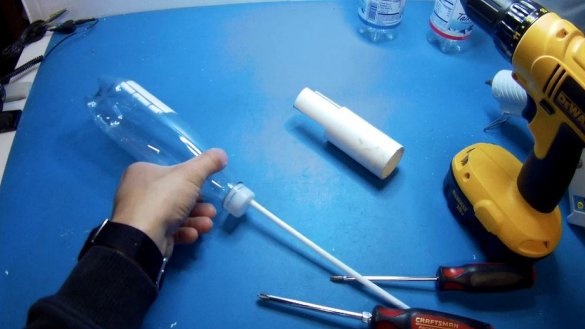
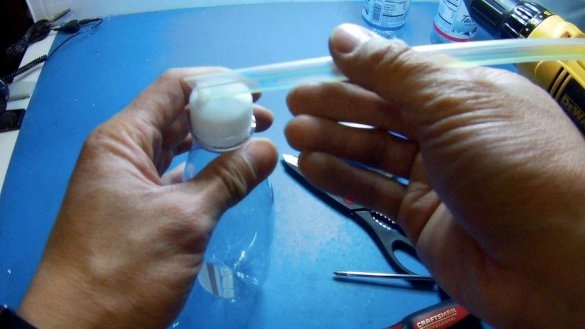
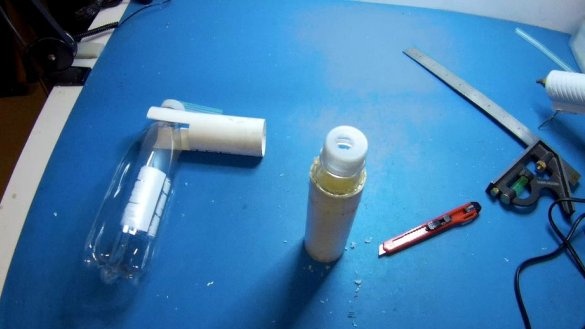
1. Drill a hole near the edge of the bottle cap so that you can carefully insert the tube.
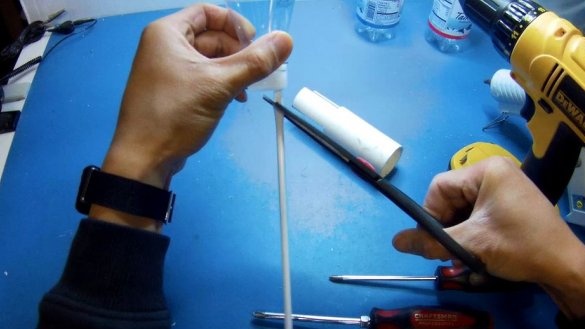
2. Insert the straw and cut at a 45 degree angle.
3. The straw should be cut so that it fits into a bottle less than 25 mm in size.
4. Align the cut at the straw at an angle of 45 degrees, towards the inside of the bottle (center of axis).
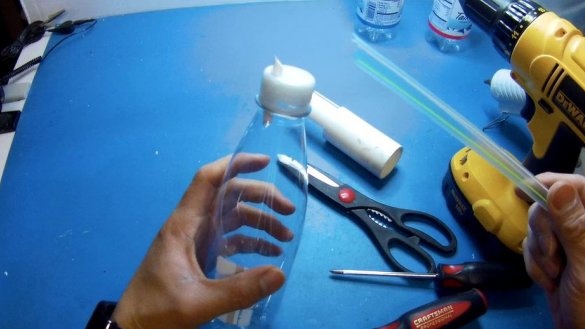
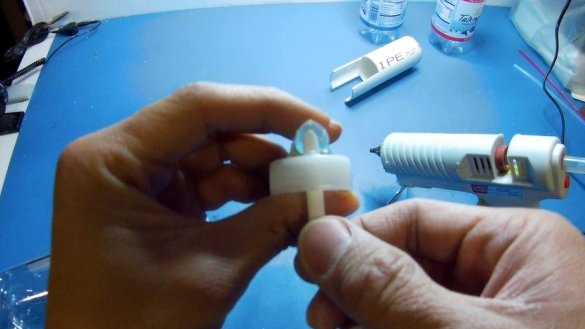
5. Take a larger tea straw and glue a 45 degree angle with a 45 degree angle of a standard straw.
6. It is necessary to insert a standard drinking straw into a tea straw so that it almost touches the top of the tea straw.
Step Four: Making the adapter for the compressor from the 2nd PVC pipe cut and the 2nd plastic bottle
1. Place the 2nd pipe on top of the 2nd plastic bottle to see where to cut the plastic bottle.
2. Cut the top of the 2nd plastic bottle, which is slightly larger than the inner diameter of the pipe.
3. Push the 2nd upper part of the bottle through the 2nd pipe so that it sticks out from the other end.
4. Next, glue the 2nd bottle cap to the 2nd pipe.
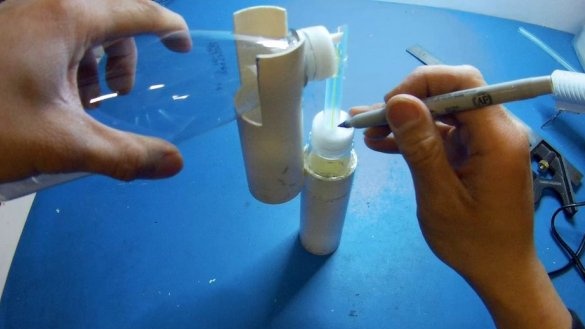
5. Mark where the hole in the 2nd bottle cap will be. To do this, place the 1st bottle (spray bottle with straws) + holder to it and mark the diameter of the tea straws.
6. Drill a hole in the 2nd plug.
7. Make sure that the tea straw is placed in the 2nd bottle cap.
If water dispersion paint is sprayed, a different nozzle configuration can be used, for example, using a straw to mix coffee as a bottle of paint and a regular sized straw as an air nozzle. In addition, if liquid paint is used, it is possible to extend the intake tube so that it reaches the bottom of the bottle, and also drill an additional hole on the bottle cap to create air pressure. Thus, thin paint will be consumed solely from the Venturi effect, and the paint sprayer will not need to be turned over and squeezed.
Or another option is to lower the air hole, pull the straw to the bottom of the bottle and squeeze the bottle. Adjust spraying by directing nozzle to ground.
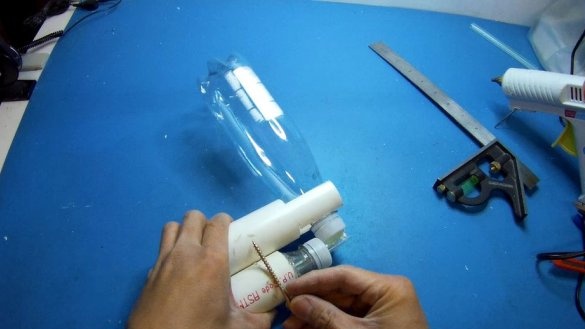
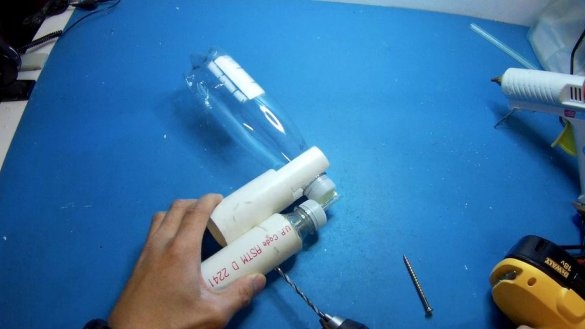
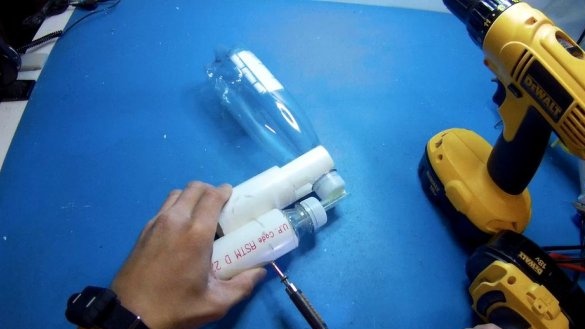
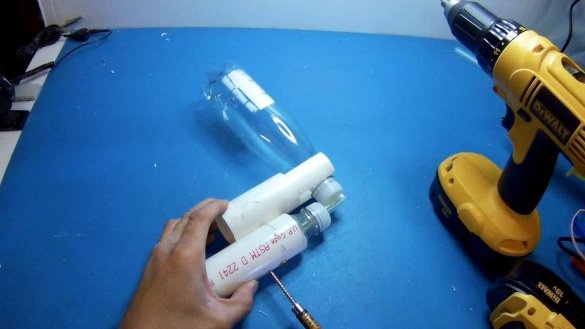
Step Five: Joining two pieces of PVC pipe together
1. Make sure that the screw / self-tapping screw is long enough.
2. Drill a hole for the two screws.
3. Connect the two pipes together using screws / screws.
4. Make sure that the bottles can connect to each other (make sure that the tea straw fits the bottle cap adapter)
Step Six: Attaching the Paint Bottle
1. When using a paint sprayer, the paint should be mixed and poured into a plastic bottle.
2. The cap / nozzle must be securely screwed.
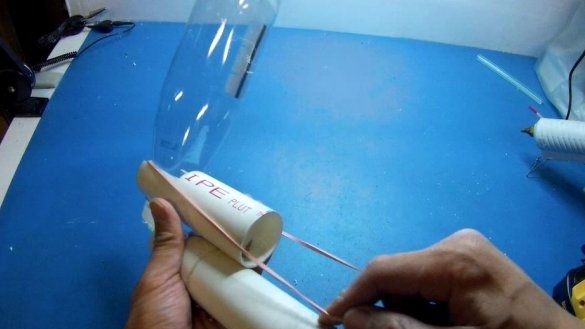
3. The bottle is attached to the handle with an elastic band.
Step Seven: Paint Spraying Procedure
For proper operation of the spray gun, it must be held on the side of the bottle.
Then the compressor turns on. When everything is ready for painting, the paint sprayer is turned upside down so that the bottle looks up.Then the bottle is squeezed slightly to distribute the paint for spraying. When spraying is complete, the spray gun should be turned down before the air is turned off to prevent paint from splashing when the compressor slows down.
Important clarification:
If a vacuum cleaner is used instead of a compressor, the paint sprayer should be attached to the discharge side of the vacuum cleaner, and not to the suction side. Otherwise, the vacuum cleaner will suck out all the paint from the bottle, and the paint will ruin the vacuum cleaner.

