

The author of this invention loves winter cycling, but keeping his toes warm has been a problem for many years. The pedal continuously maintains pressure on the forefoot and this interferes with blood circulation. As a result, the toes freeze faster than when walking. This is further exacerbated for those who suffer from Raynaud's disease when the body interrupts blood circulation in the limbs in response to exposure to cold.
Chemical heating pads are bulky, often do not fit into boots and cease to function without oxygen for a chemical reaction.
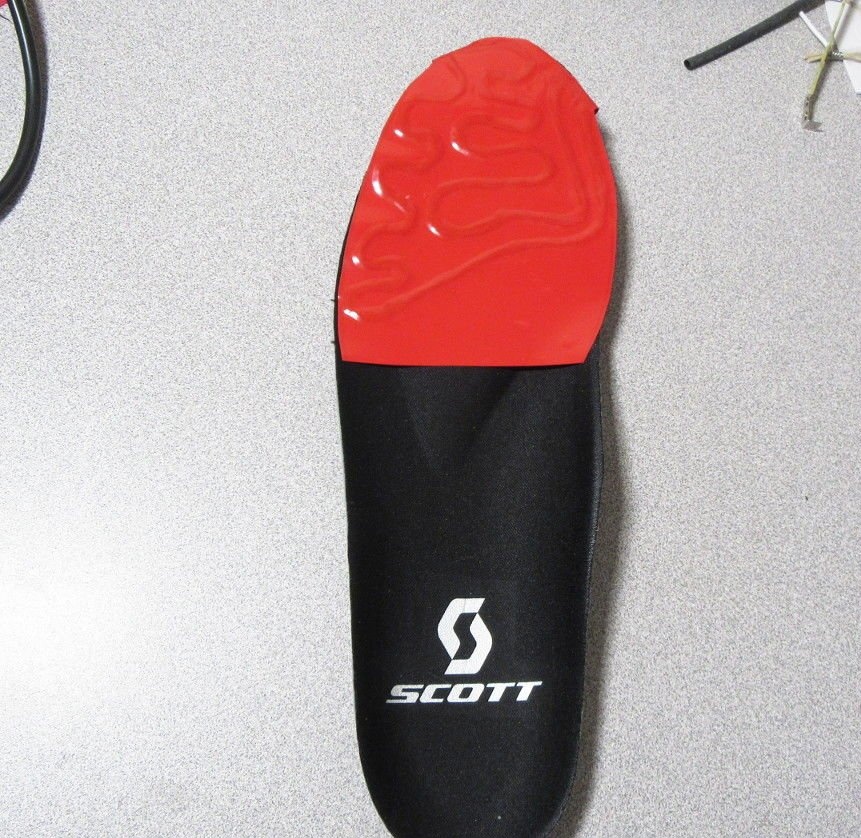
This solution is a pair of thin vinyl pads that can be inserted into any shoes and connected to batteries to deliver heat for several hours.
Step 1: Overview homemade and design

Process
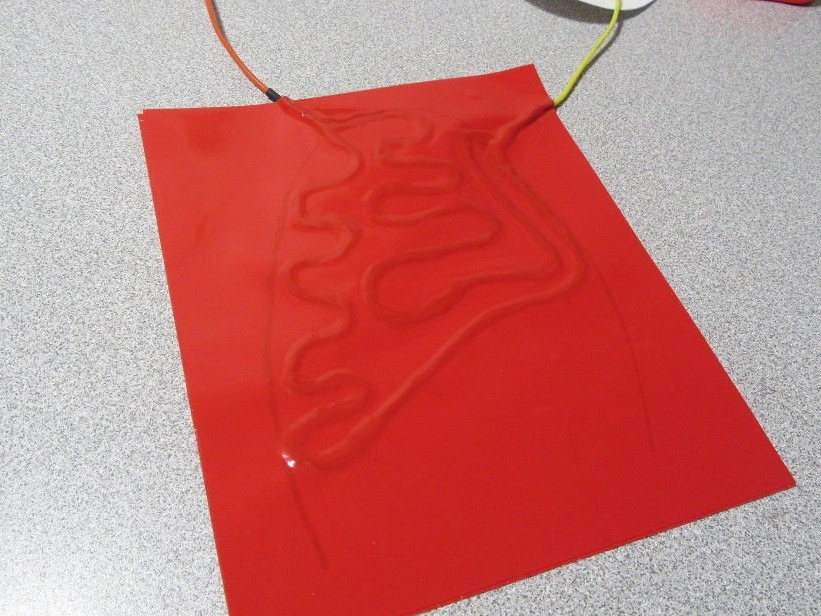
This project involves laying carbon fiber heating circuits between 2 layers of vinyl film and connecting each circuit to a 7.4 volt battery. The generated temperature decreases with increasing length, so both circuits are connected in parallel. IN e The carbon fiber scheme should make a loop without crossing itself, or another loop. You can also add a switch and a power plug.
Vinyl Choice
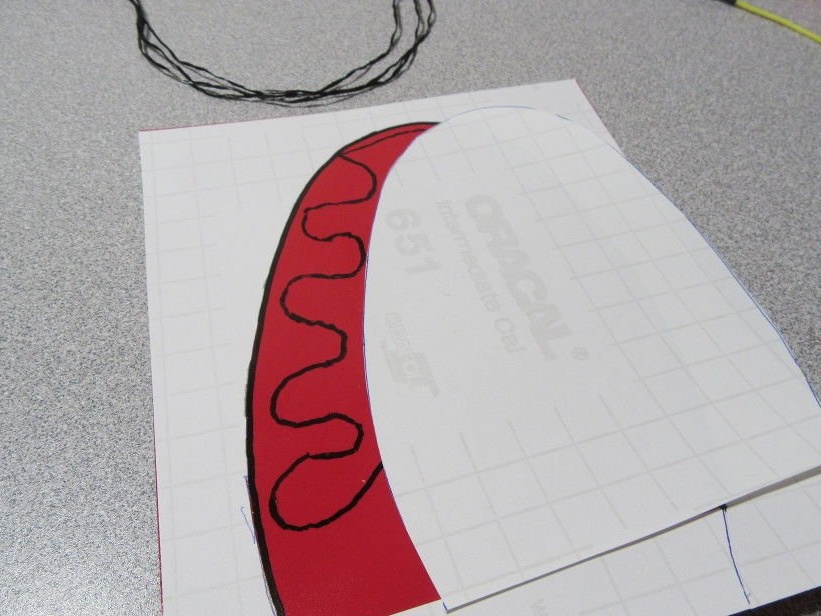
The selected Oracal 651 vinyl has a strong adhesive and is designed for several years of outdoor use.
Carbon fiber thermal rope
Carbon heat rope generates many times more heat than is necessary for use in this heating pad. Fortunately, the rope is a loose fabric of 12 smaller bundles of fibers, which makes it possible to further stretch the material and reduce heat to a more suitable level. The heating circuits, consisting of 3 beams, will reach a peak temperature of about 50 ° C when connected directly to a 7.4 V battery, consuming about 0.5 A. Since the heat loop has a low thermal mass, the legs will draw heat from it sufficiently quickly so that the toe pads are not hot.
Battery life
A heating pad that consumes a constant 0.5 A (excluding a battery exposed to cold) can last more than 4.5 hours on a lithium-ion battery for of bicycles with a capacity of 2600 mA / h or 2.5 hours on a 1500 mA / h LiPo dron battery.
Step 2: Required Components and Materials
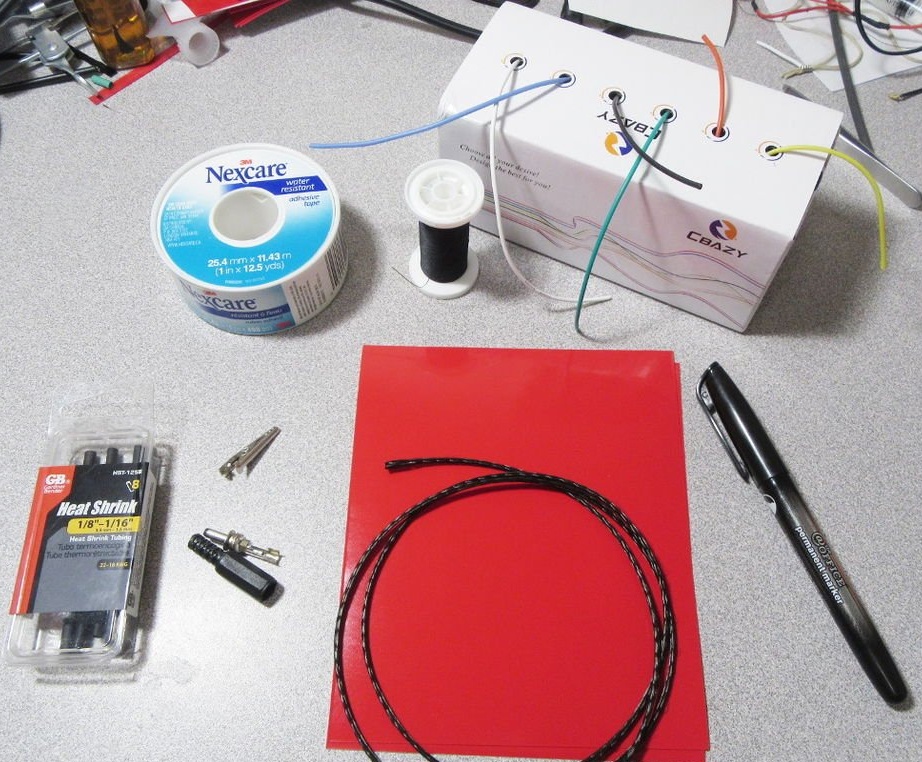
carbon heat rope: 40 cm
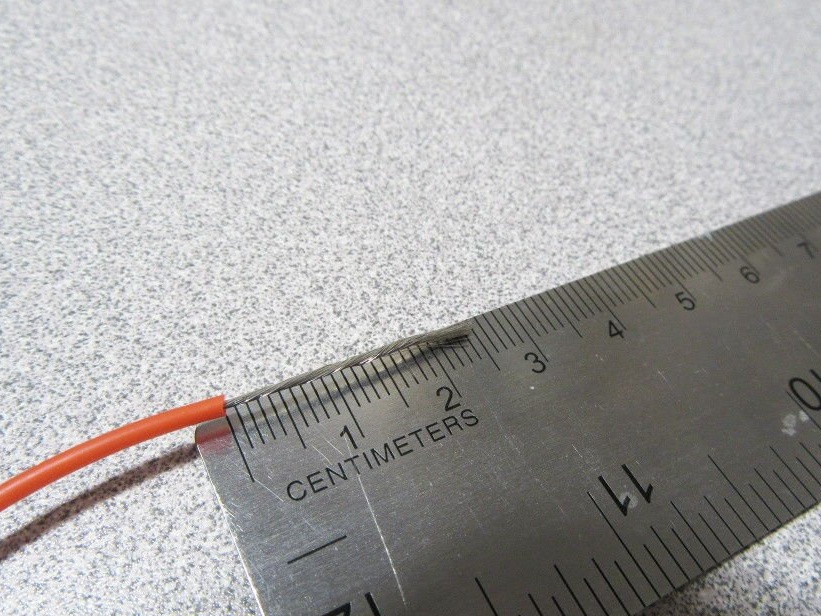
flexible silicone wire with a cross section of 1.7 mm.
vinyl sheet "Oracal 651 30x30 cm.
3 mm heat shrink tubing
crocodile clips
electrical tape / adhesive tape
2 x 7.4 V batteries
dark polyester sewing thread
marker
Additional elements depending on the choice of design:
Power Connectors (depending on battery choice)
Button Lights x 2
Power indicator x 2
Multifunction Power Controller x 2
Instruments:
Soldering iron and solder
Construction hair dryer
Step 3: Prepare the heating loops

Note:
The temperature that the heating circuits reach depends on the length, number of harnesses and battery voltage. The following guidelines should not be changed without testing to determine how changes affect the heat generated and the current consumption.
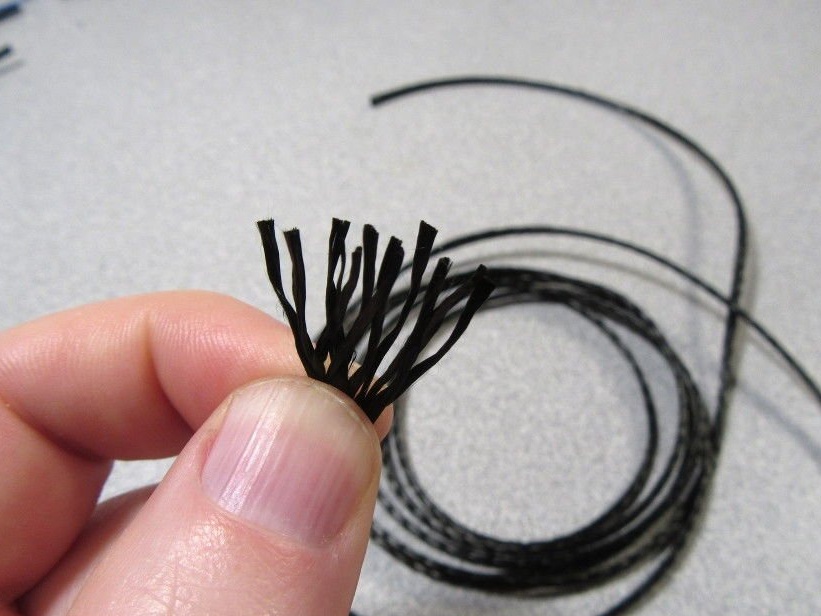
Separation of twisting rope:
1. Cut a piece of carbon fiber 39 cm long.
2. Squeeze about 3 cm from the end of the rope to separate the twist.
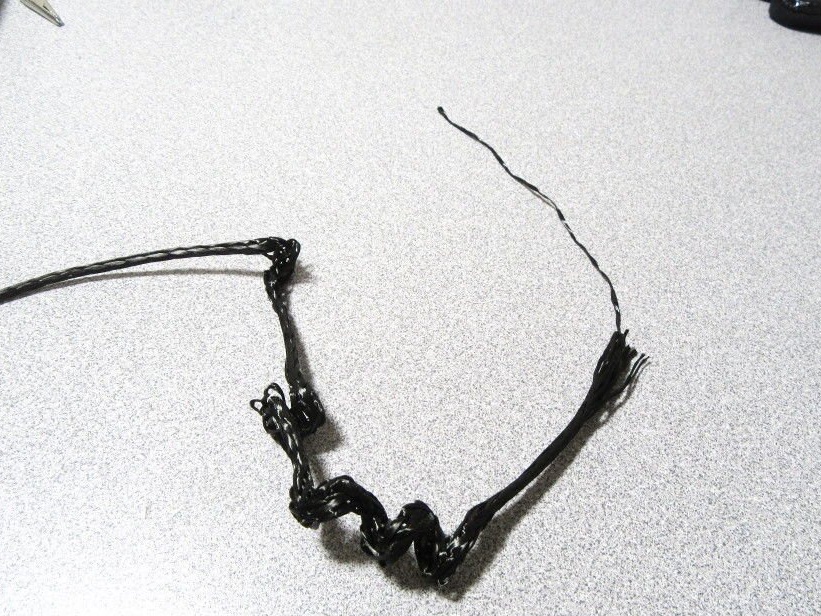
3. Slowly pull one thread until the rope begins to assemble into a knot.
4. With one hand, carefully dissolve the beam down until the rope straightens.
5. Slowly pull a single thread up until it comes out of twist.
6. Repeat until all threads are divided.
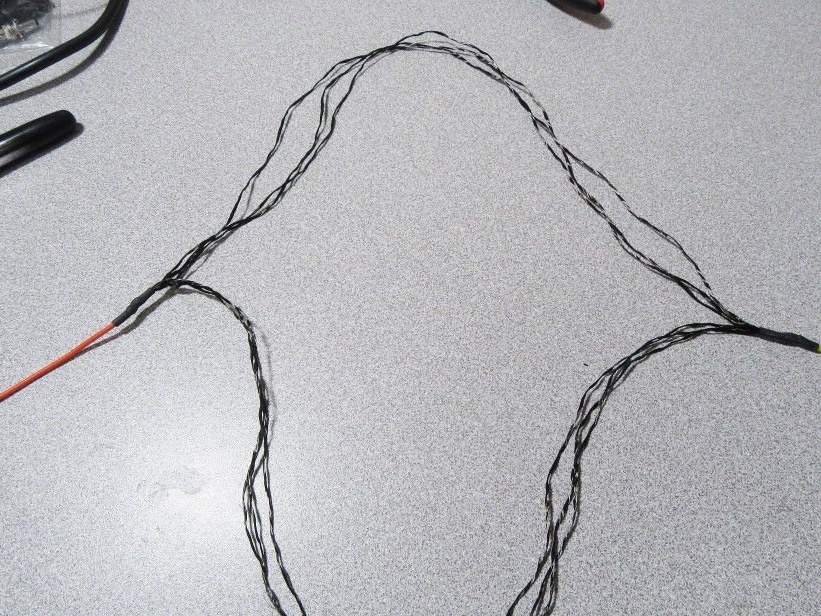
Production of heating loops:
1. Cut 2 pieces of wire of the same length.
This wire should go from the toe of the shoe to the back under the insole. The length will depend on the shoes and battery.
The author mounts the battery on the trunk. Thus, 65 cm is required from the boots to the boot.
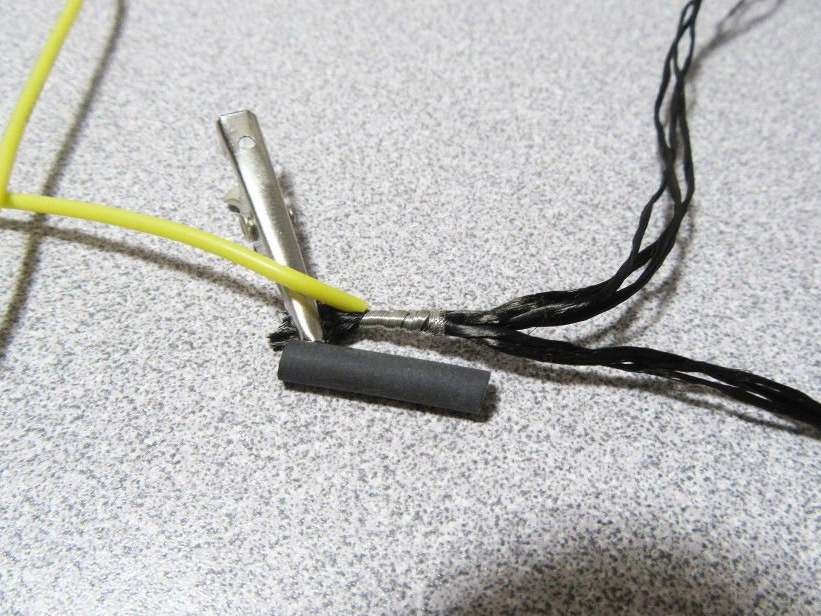
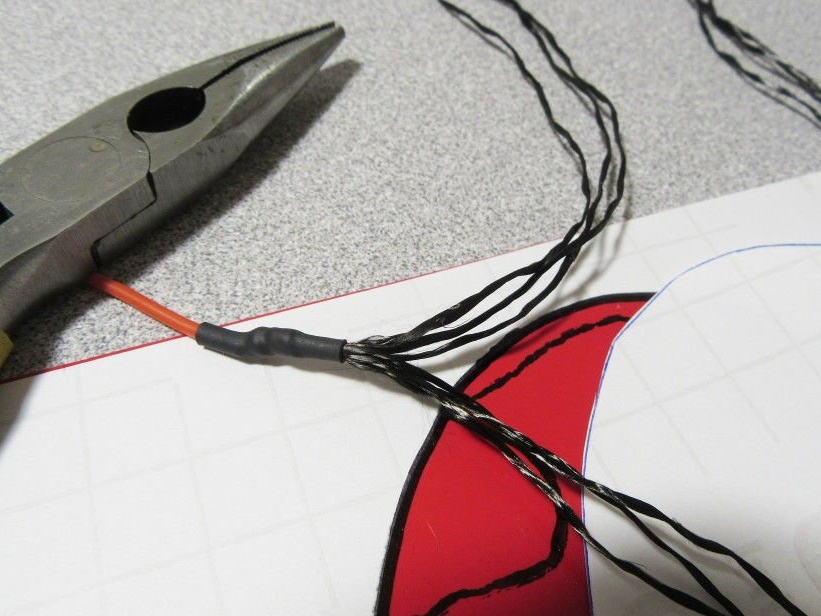
2. Strip approximately 2.5 cm of insulation from the end of each wire.
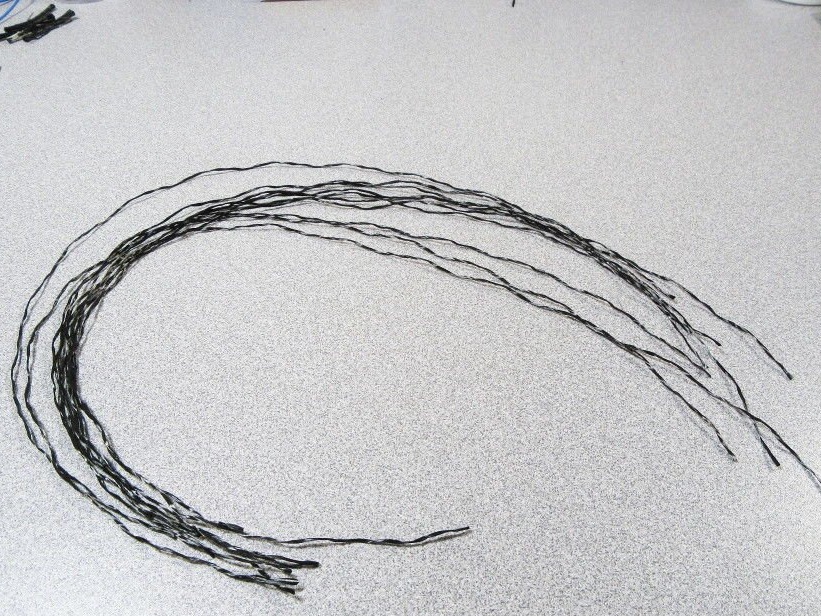
3. Lay out 6 strands of rope into 2 groups of 3.
4. Groups must not overlap.
5. Align 6 threads from one end and clamp with a “crocodile”.
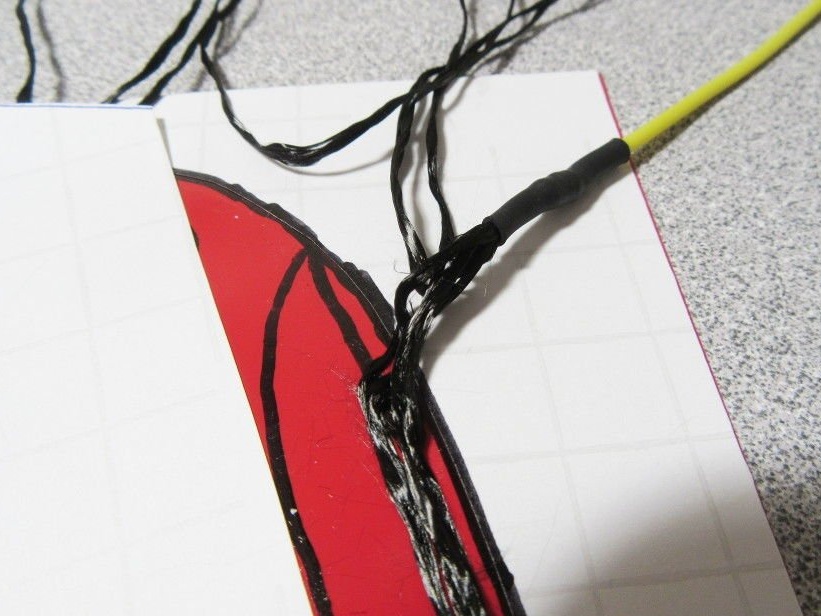
6. Wrap the wire tightly around the carbon fiber. Trim excess fiber.
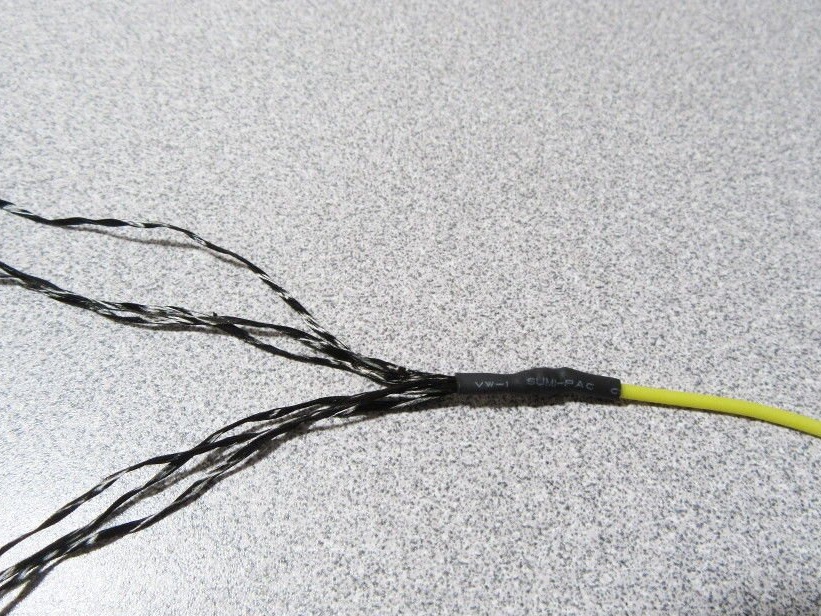
7. Cut a piece of heat-shrink tubing and cover the joint with a small overlap on each side.
8. Slide the heat shrink tube down the wire to the connection and heat with a hairdryer.
9. Repeat the previous steps for the other end of the carbon fiber.
Step 4: Preparing Vinyl Sheets
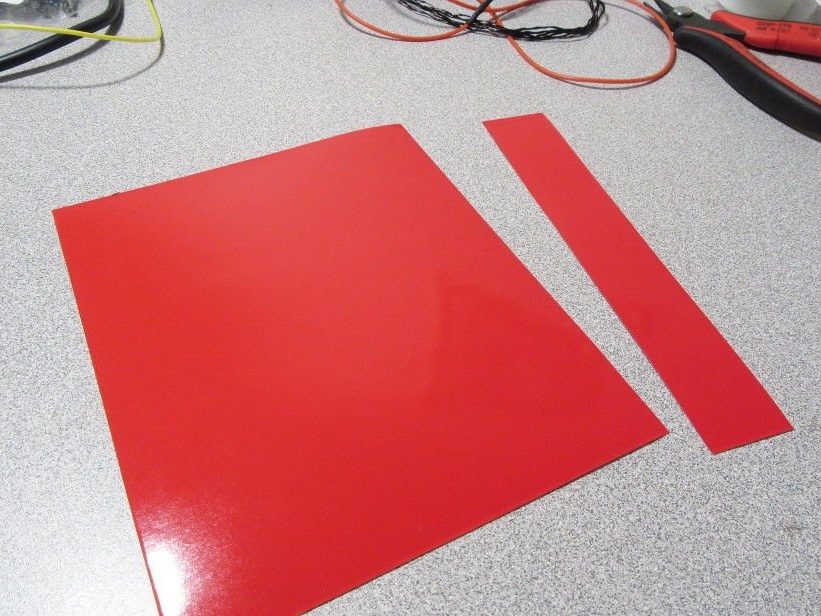
1. A sheet measuring 30 by 30 cm. Cut into squares measuring 10 by 15 cm.
2. Cut out one strip of 6 squares.
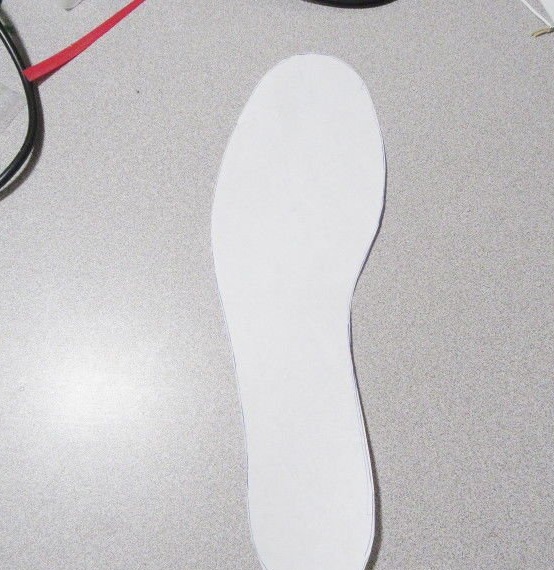
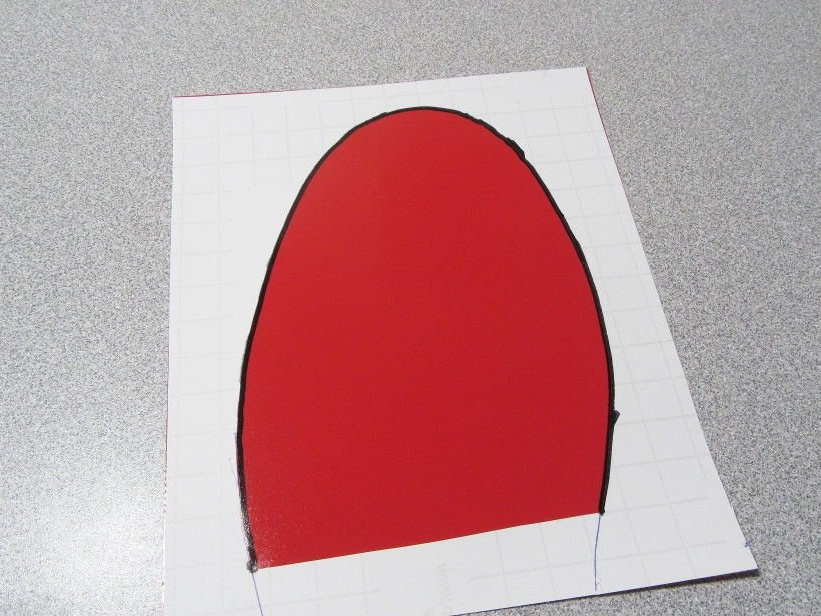
3. Draw the outline of the insole on a piece of paper and cut it out.
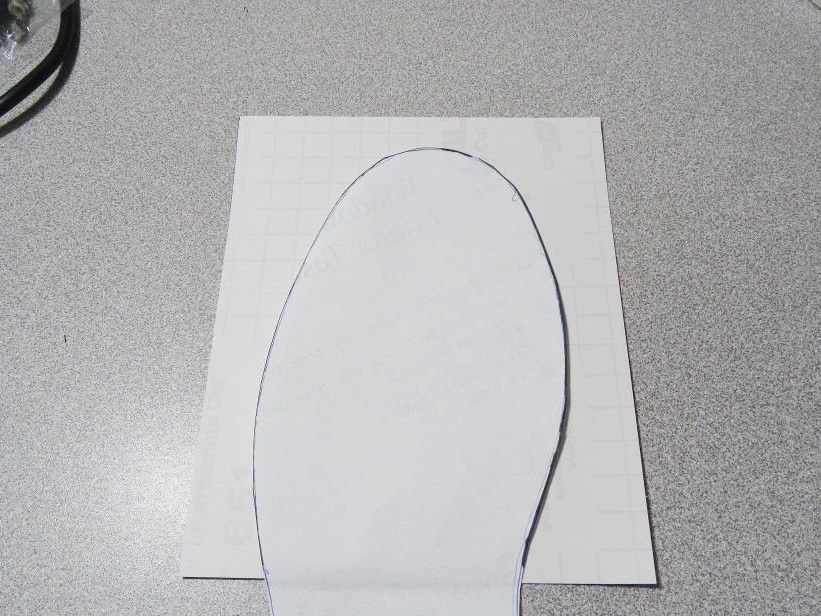
4. Use the outline of the paper insole to circle the top of the insole on the back of one of the vinyl rectangles.
5. Leave 1 cm clearance above.
6. The short ends of the vinyl rectangle should be above and below.
7. Remove the backing from the vinyl and lay aside the vinyl sheet to the side.
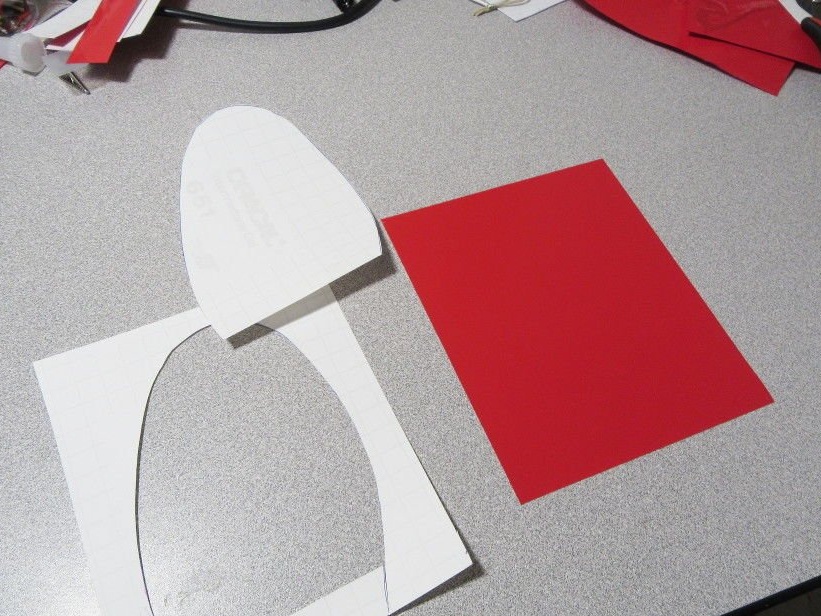
8. Cut the insole from the material in one piece.
9. Stop at a distance of 2 cm from the joint and cut horizontally to the beginning of the cut.
10. Carefully return the outer cut piece back to the vinyl sheet, leaving only the insole shape open.
11. Use a fine-tip marker to draw a line around the vinyl.
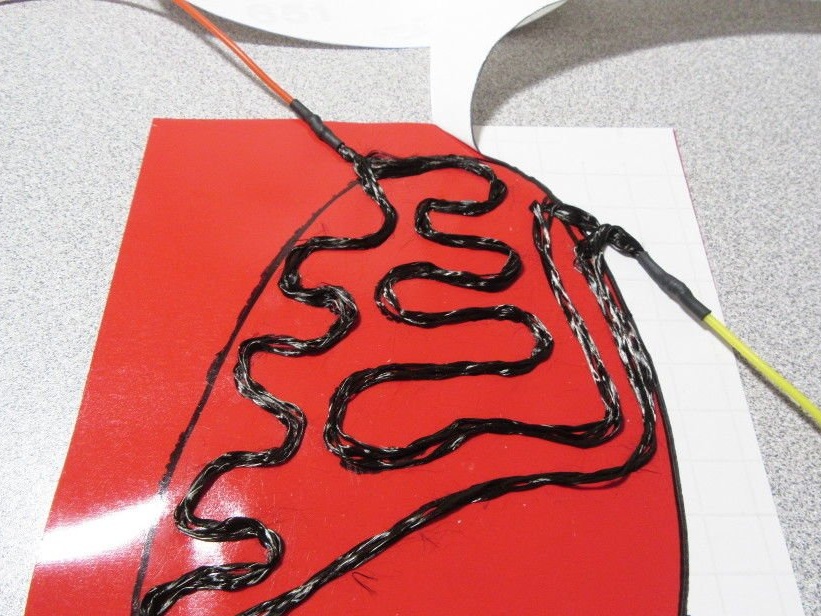
Step 5: Planning the heat loops
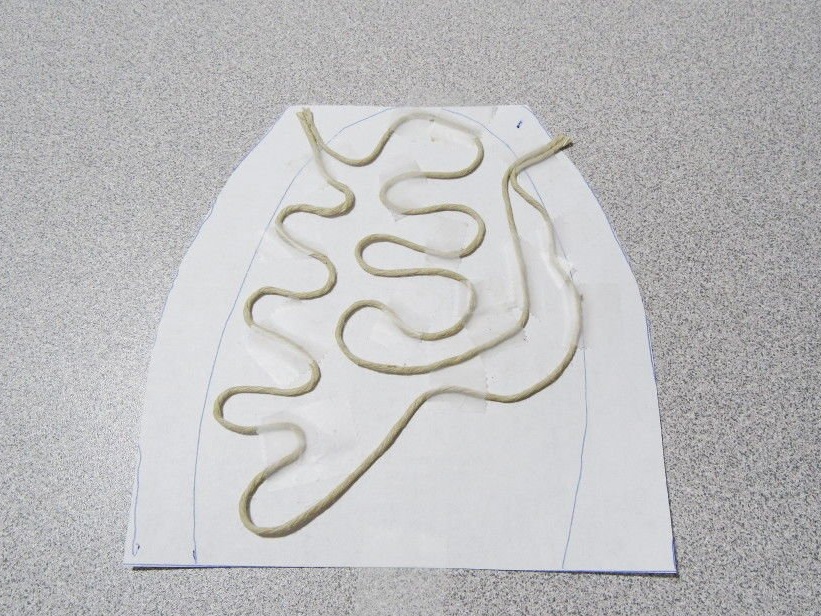
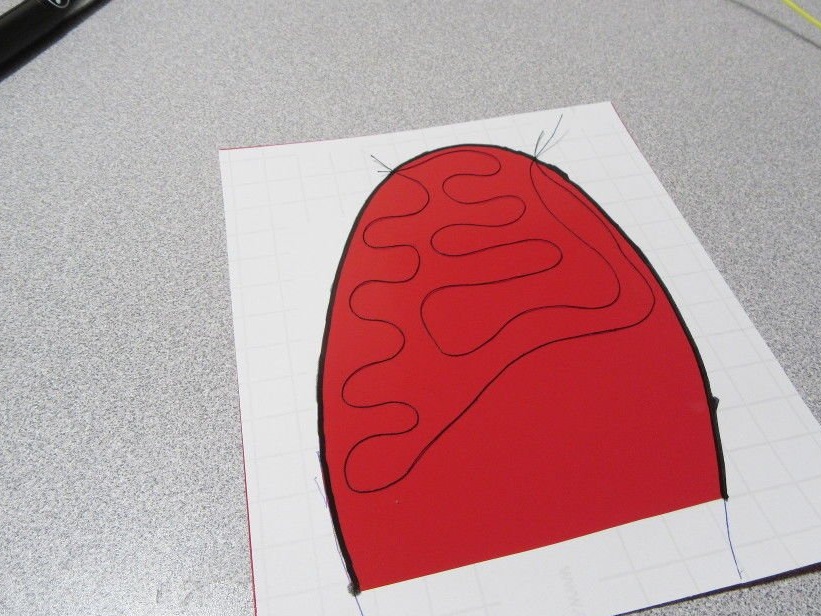
The carbon rope wears out very easily, so it should not be pulled after applying glue. To do this, you need to make a thermal loop template from another material. The loop pattern is a few cm shorter than carbon fiber, as there are electrical connections. If transparent vinyl is available, you can arrange your drawing on paper using a rope and ribbon. With colored vinyl, more effort is required since the pattern needs to be used twice.
To provide thermal coverage on the insole in the region of the little finger, the heat loop should be lower by about 11 cm down from the top of the insole.
Heat loop
With the exception of the beginning and end of the loop, the parts of the wiring should not touch each other.
Clear vinyl
1. Position the top of the insole cutout on a piece of paper.
2. Cut the trace, observing the border.
3. Glue a sheet of paper to the work surface so that it does not move.
4.Cut two pieces of thread 37 cm long.
5. Draw a drawing of the heating loop, leaving about 1 cm above the border at the beginning and at the end.
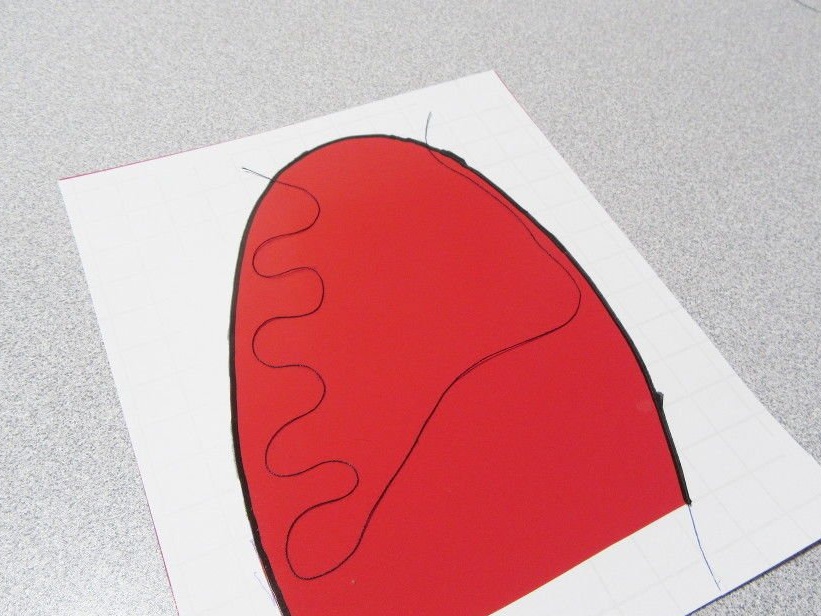
Color vinyl
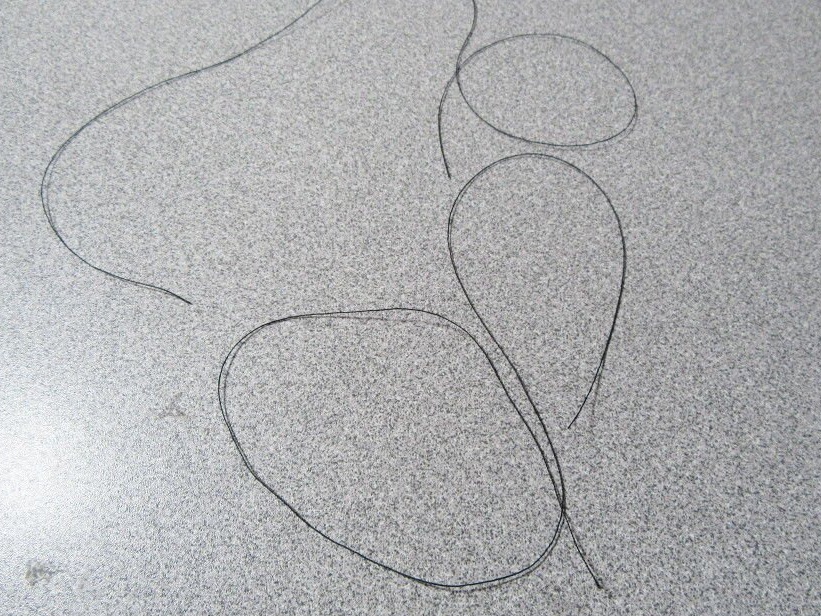
1. Cut two pieces of polyester sewing thread 37 cm long.
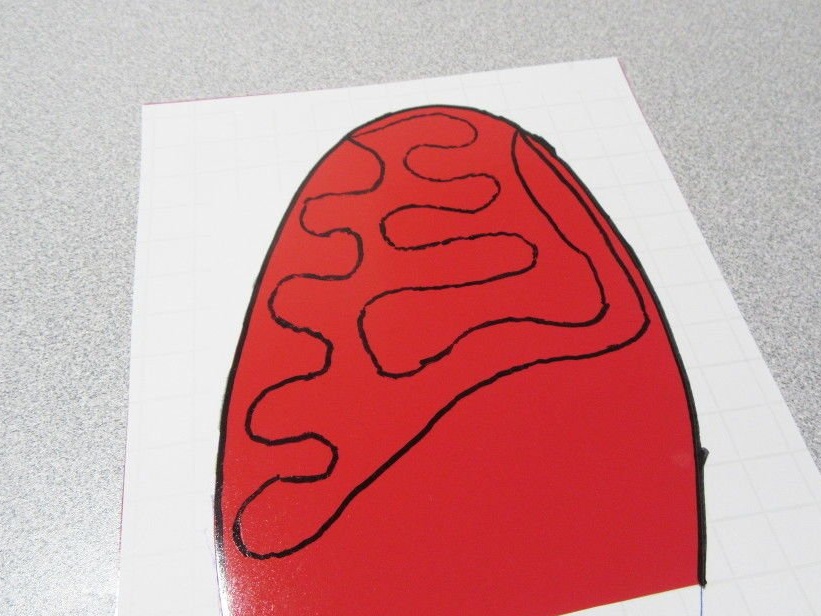
2. Draw a drawing of the heating loop, leaving about 1 cm above the border at the beginning and at the end.
3. Use a fine-tip marker to trace the pattern of the heat loop.
4. Remove the sewing thread.
Step 6: Attaching Heating Loops
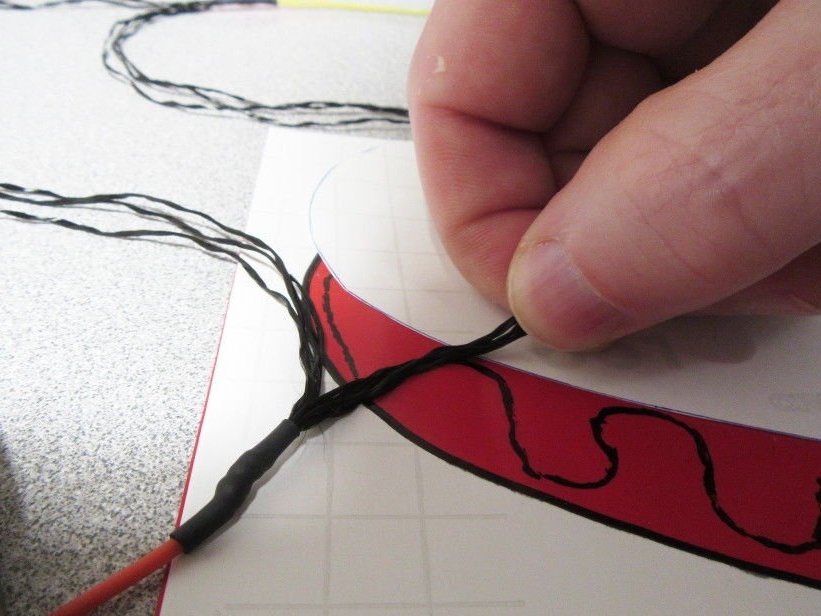

A carbon thread easily becomes unusable if it is first glued and then tried to tear off.
1. Use a piece of vinyl backing cut in the shape of an insole to cover areas outside the work area.
2. Leave about 1.25 cm of thread outside the insole, this will allow you to wear a shrink sleeve on the bottom of the insole.
3. Fold 3 strands of fiber approximately parallel to each other. This will reduce the thickness of the gasket.
4. At the end of the loop, leave 1.25 cm outside the insole, even if you have to slightly trim the pattern.
5. Remove the rest of the vinyl backing when the second loop is in place.
Step 7: Bonding and mounting the insole
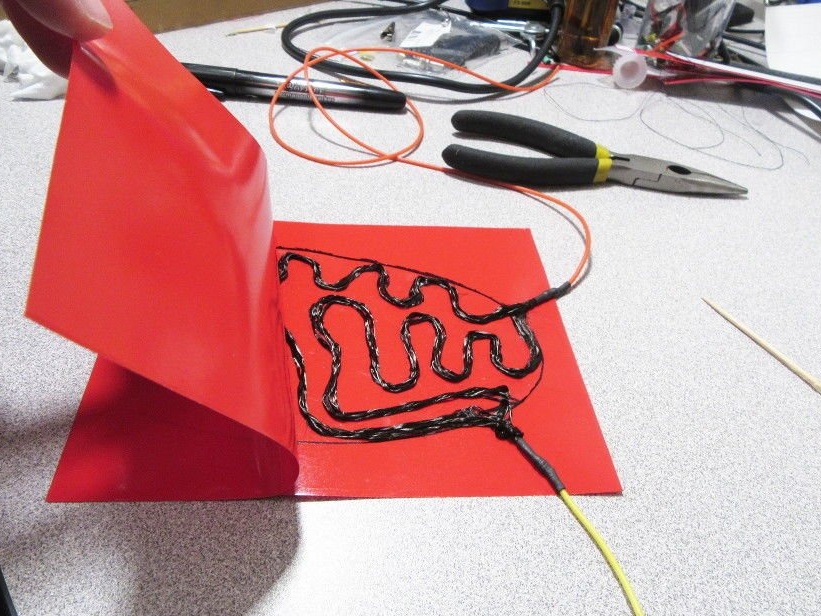
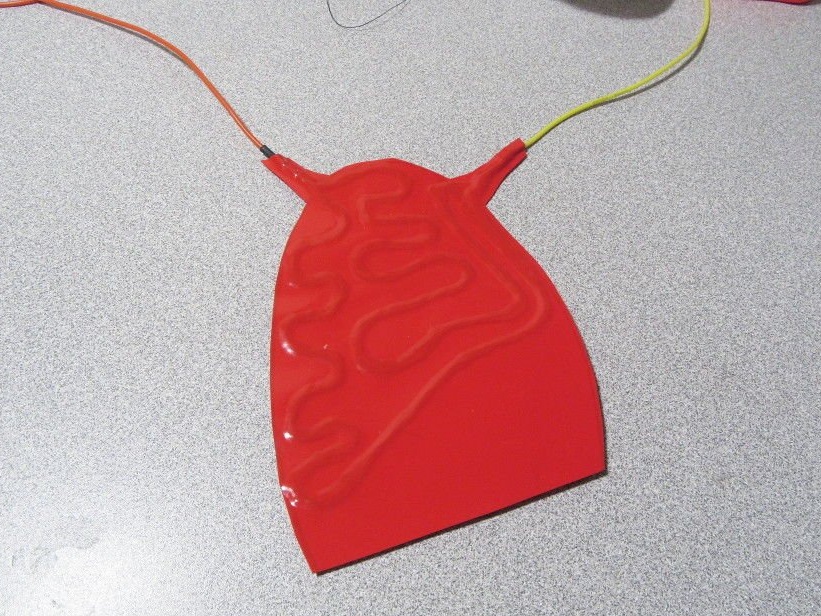

Gluing
1. Remove the backing from another vinyl rectangle.
2. Carefully align the edge with the bottom of the heating pad.
3. Slowly spread the top sheet towards the top of the heating pad.
4. Carefully squeeze the two sheets together, pressing around the heat loops and wires.
5. Even with colored vinyl, you can see the outline of the insole marker through vinyl to trim properly.
6. Keep a distance of several mm. from heating circuits and wires so that the gasket remains tight.
Mounting
1. Glue the wiring to the insole with adhesive tape.
2. Tighten the wires to the back of the insole and secure them along the entire length of the electrical tape.
Step 8: Batteries and Controller
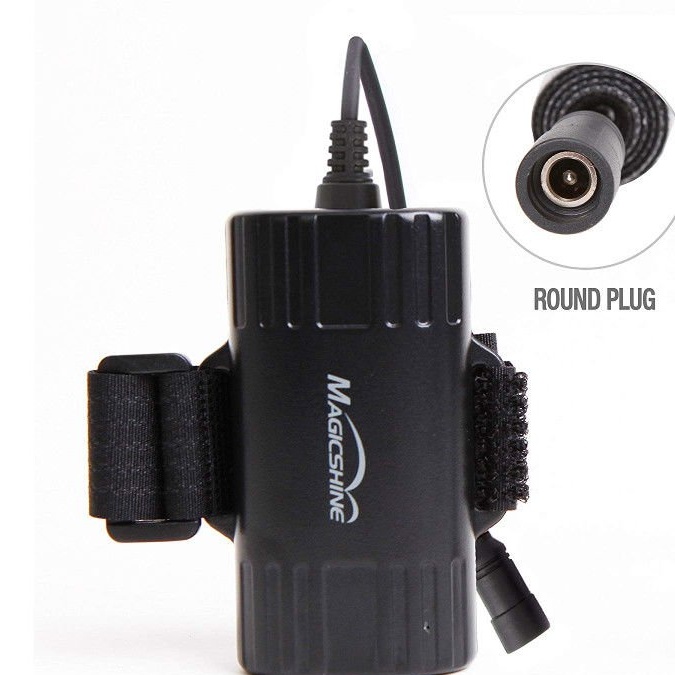

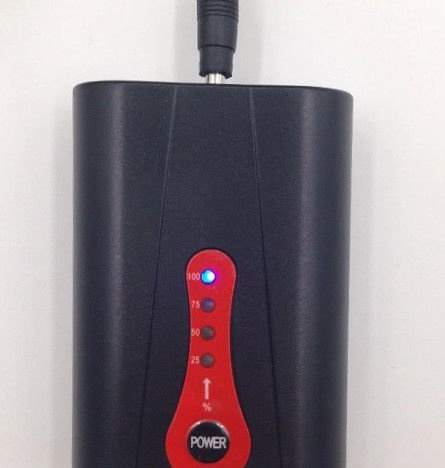
battery
Each insole is powered by a 7.4 V battery. Higher capacity lithium polymer or lithium ion batteries are needed. You can find many suitable batteries on AliExpress, some even include a built-in output signal with several power levels.
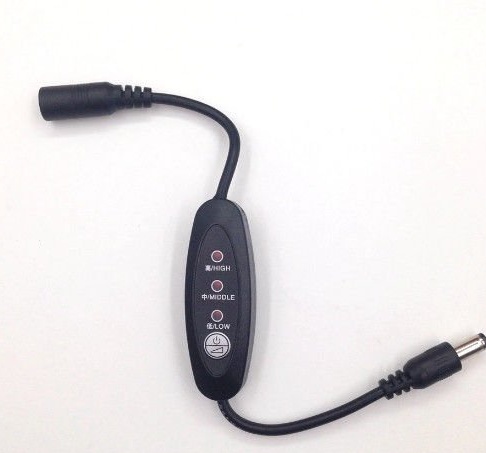
Power Controller / Switch
Through AliExpress, several multi-function controllers with heated clothes are available, which can be connected in a single circuit with the battery.
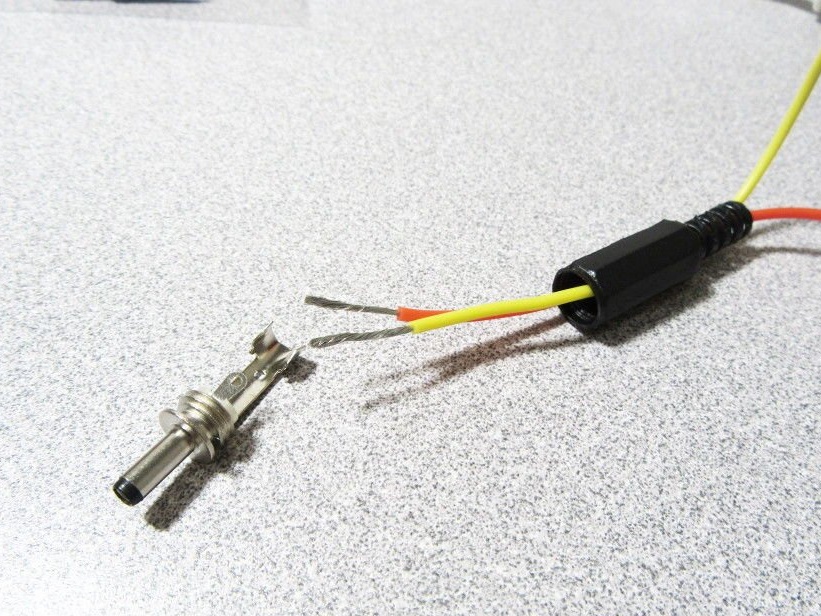
Pin connector
Connect the DC plug to the connector that corresponds to the battery socket. Overall dimensions are 5.5 x 2.1 mm and 3.5 x 1.35 mm.