
The author of this belt carries many things with him daily. Some things, such as keys, a wallet and a folding knife, he holds in his pockets. He prefers to wear other things on a belt. In a word, he likes to always have a multifunctional tool and a flashlight with him, and when he goes out into the field, he takes with him a few more things, such as rescue equipment and first aid items, which may be needed in a hurry (field dressings, harness, etc. .).
Belt bags are very easy to make, and much cheaper than buying. The author tells how he makes his waist bags.
Step 1: Materials
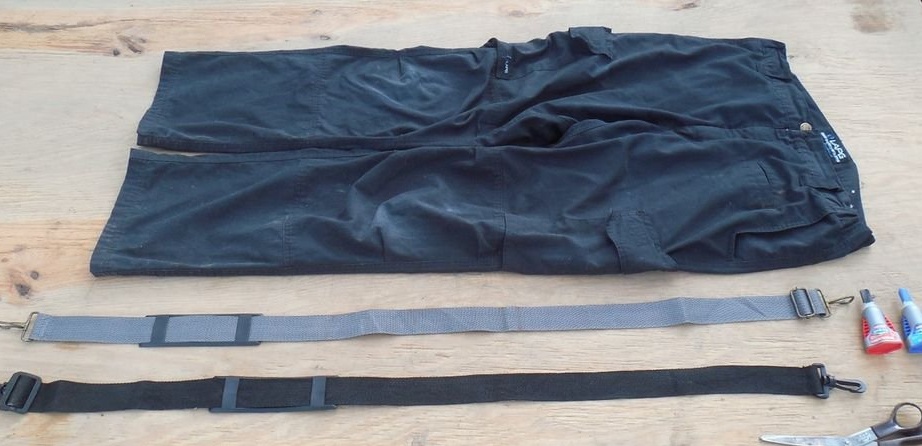
The first thing you need is a good durable material from which you can make bags. Vinyl, nylon or polyester material is best suited. The material used in this homemade, is a leg from tactical trousers. Tactical pants are usually made with a type of weave that prevents the fabric from tearing if it is cut. As with any fabric, it ultimately weakens from use or friction.
Other material that should be used is old backpacks and duffel bags. Most luggage bags are made from fairly durable material. However, for this project, the fabric should not be thick and stiff, as it may not be flexible enough.
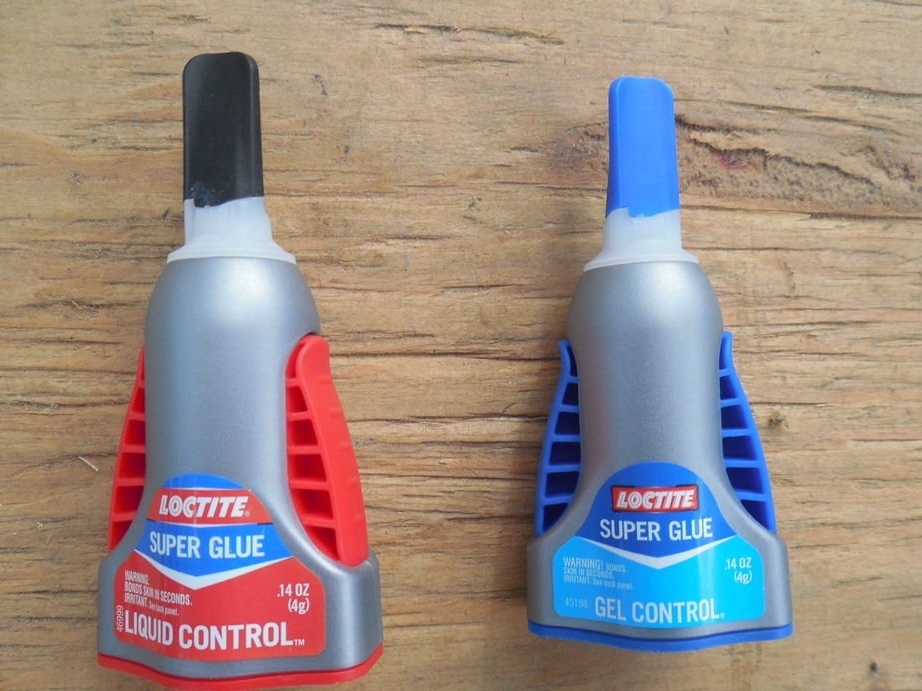
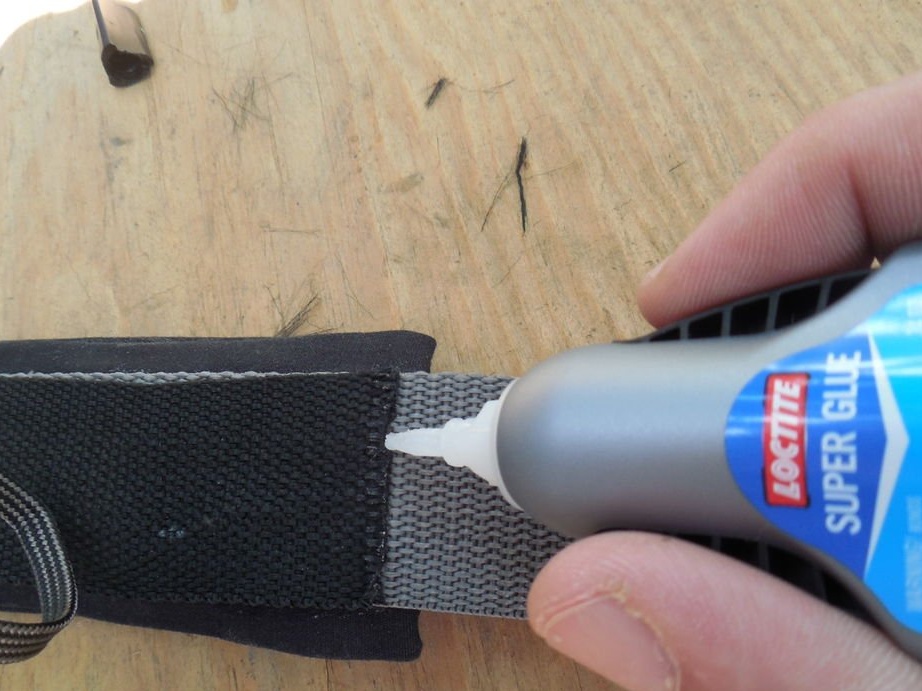
The author does not know how to sew, so the only thing that remains is the gluing of the material. To do this, you need a very good superglue. Glue in the form of a gel sticks faster than liquid superglue, it resists water and will function normally at temperatures below zero. Liquid superglue is also necessary for gluing the edges of nylon straps and bag seams.
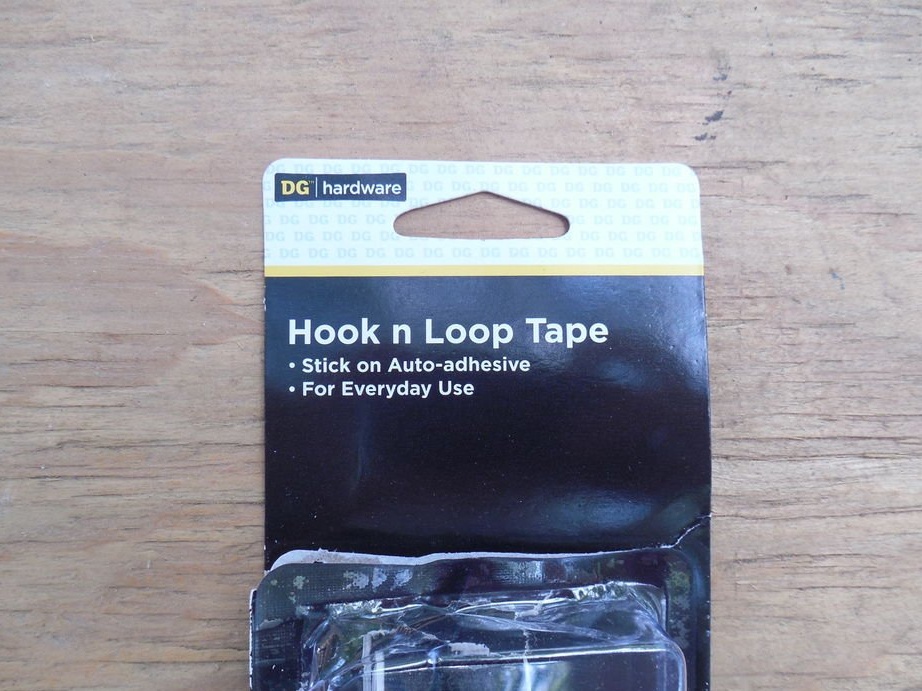
Velcro is used to close the bags, which is also glued.
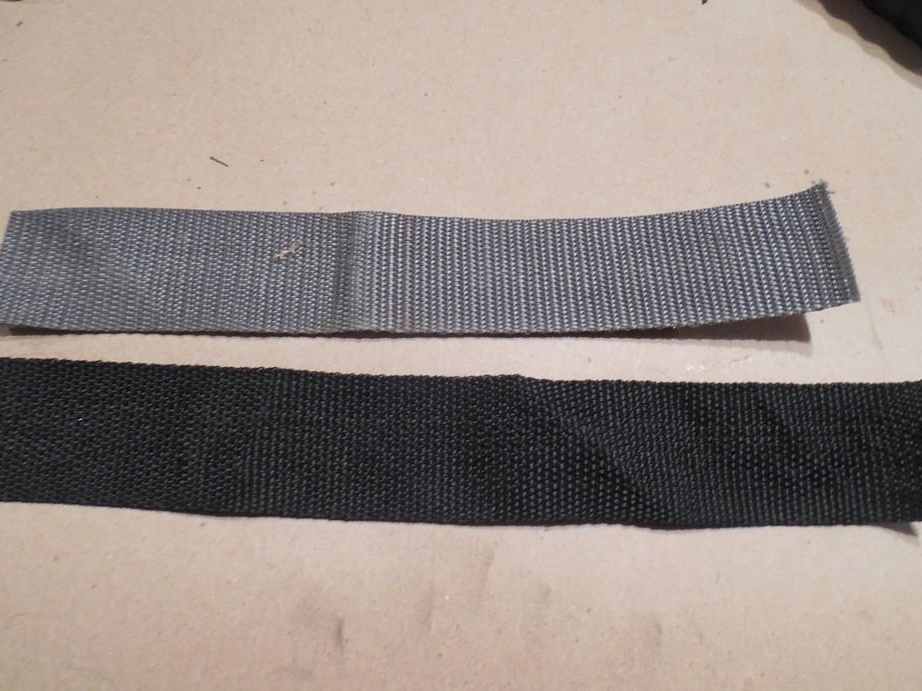
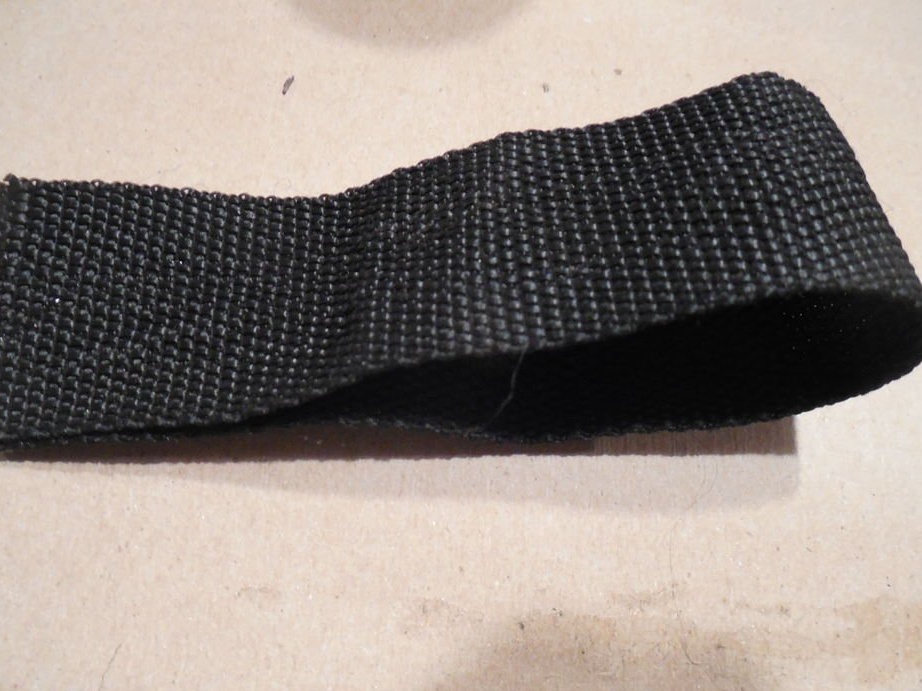
You will also need a nylon strap that can be torn from a backpack or sports bag.
After the nylon strap has been cut, it will immediately begin to unravel. The easiest way to fix this is to simply cover the edge of the strap with liquid superglue.
Step 2: Making the Item Bag
Tools required:
Scissors
Ruler or tape measure
Corrugated cardboard box
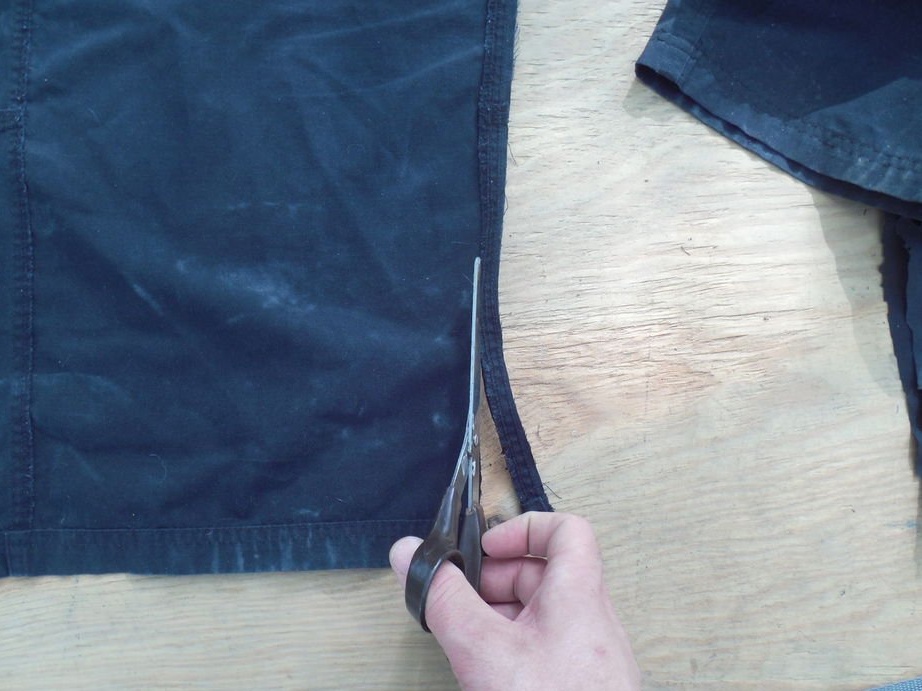
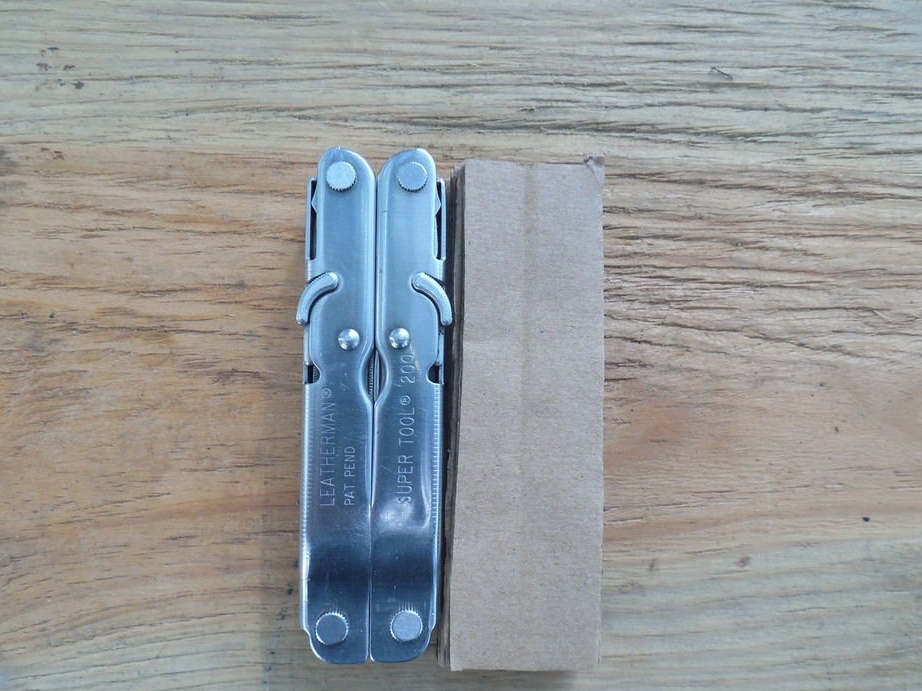
You should start with a multi-tool. For these purposes, from the tactical pants, the leg was cut off just below the knee.
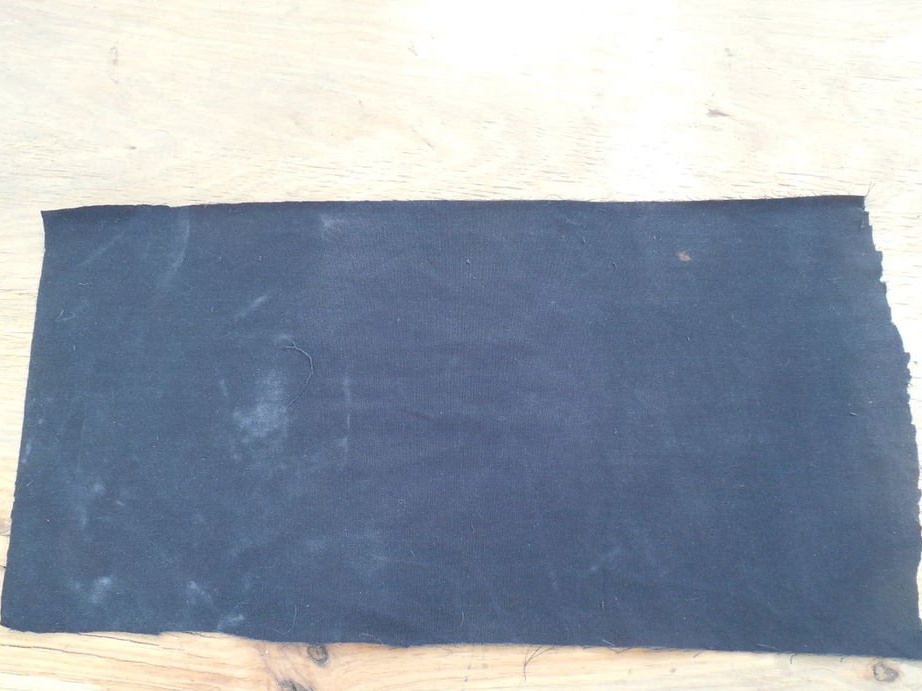
Then the leg was cut along, as close to the seam as possible. For this, scissors are best suited. All seams are cut so that a good and even piece of material remains.
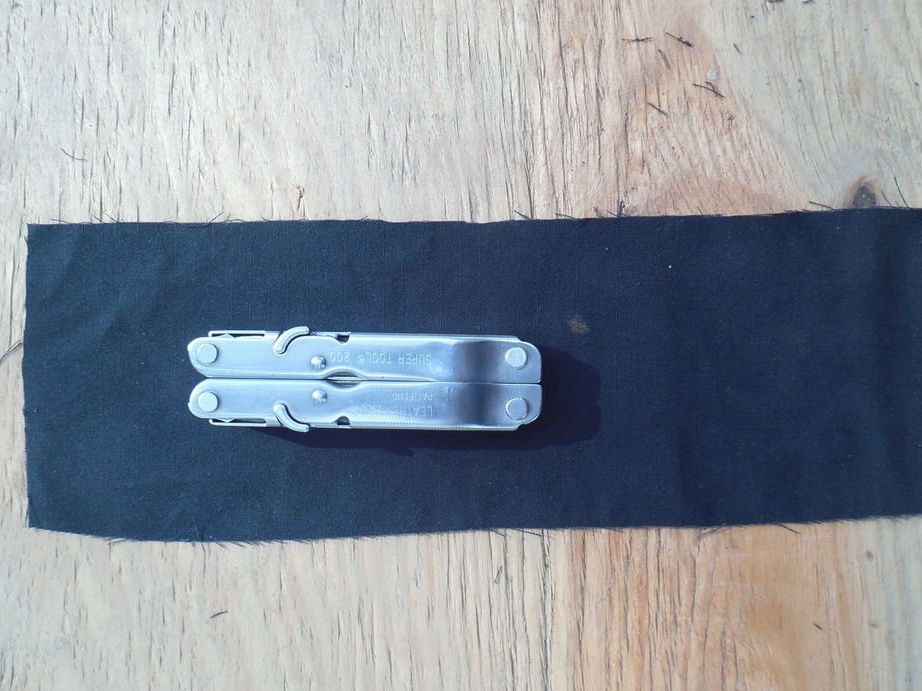
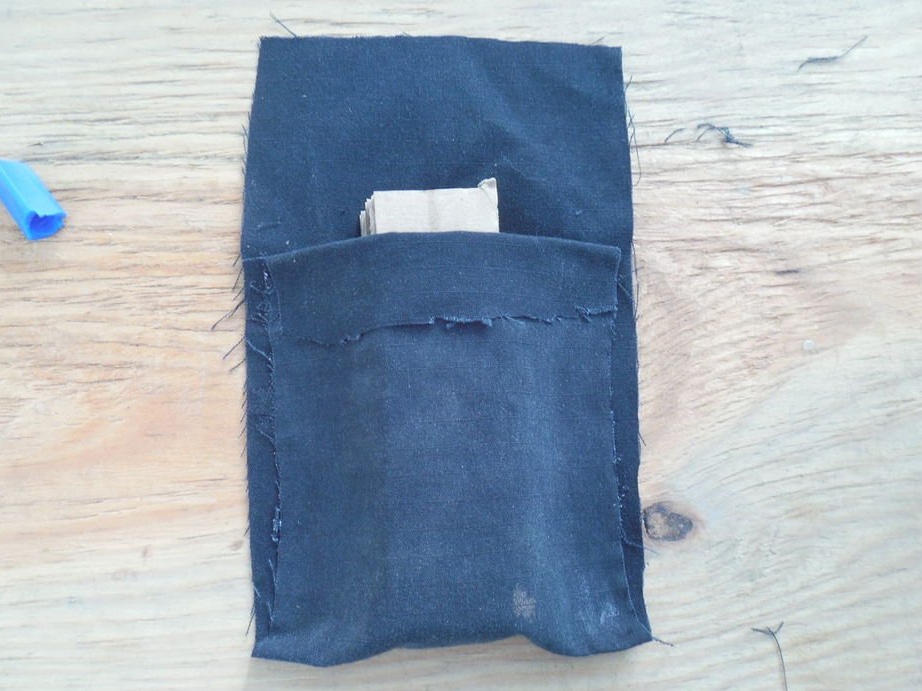
Then you should measure the tool for which the bag will be used. The multi-tool has a length of 115 mm, a width of 38 mm and a depth of 19 mm. Take one piece of the cardboard box and cut a few pieces along the length and width of your object and fold them until they reach the desired depth. You can even glue them.
The length of the material should be 3 times larger and 2.5 times the width. When the material is folded over the object to create a bag, the width of the material covers both the width and the depth, so it should be 2.5 times the width of the object, in this case a multitool.
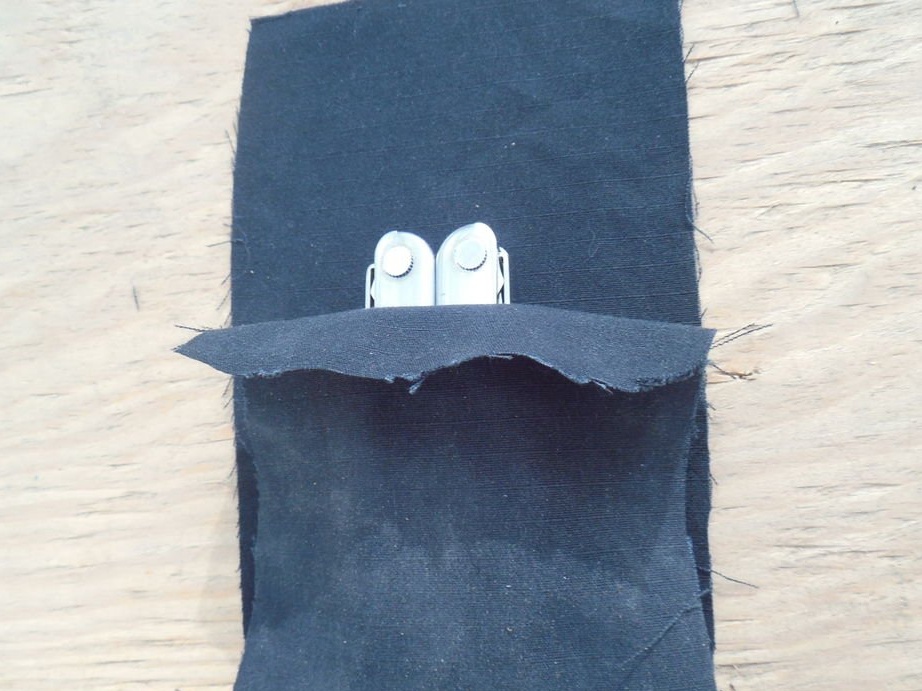
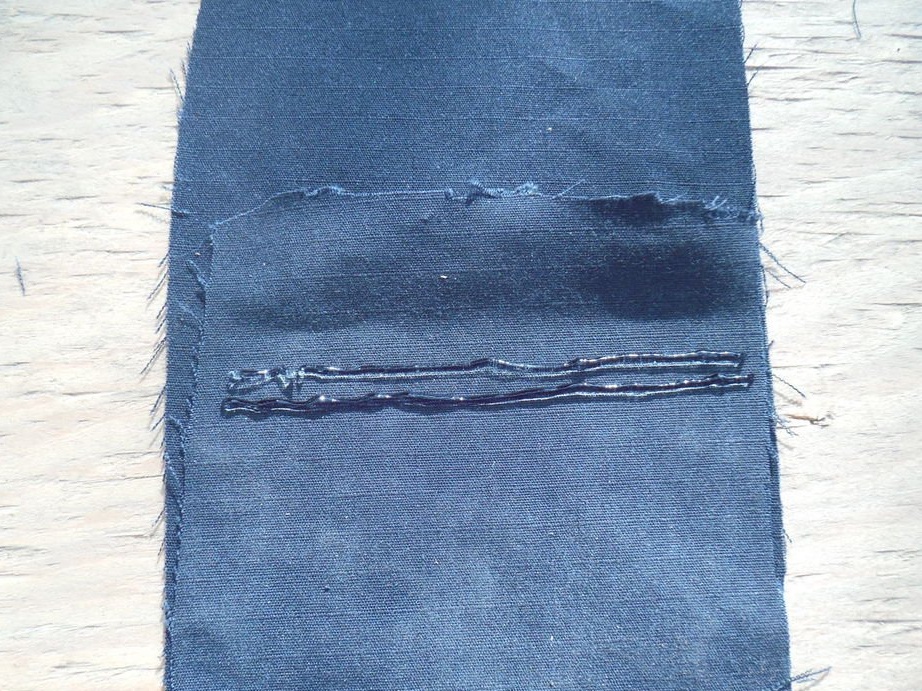
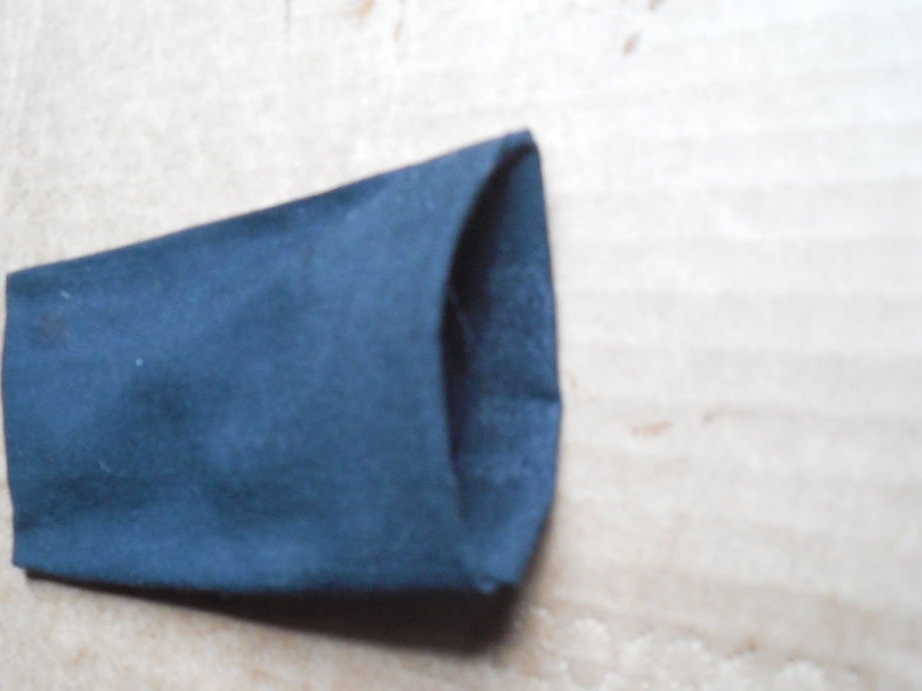
Fold the material evenly with the outside of the finished bag facing up. As soon as the edges are glued together, the workpiece will be turned inside out. Therefore, what is now the internal side is in fact external.
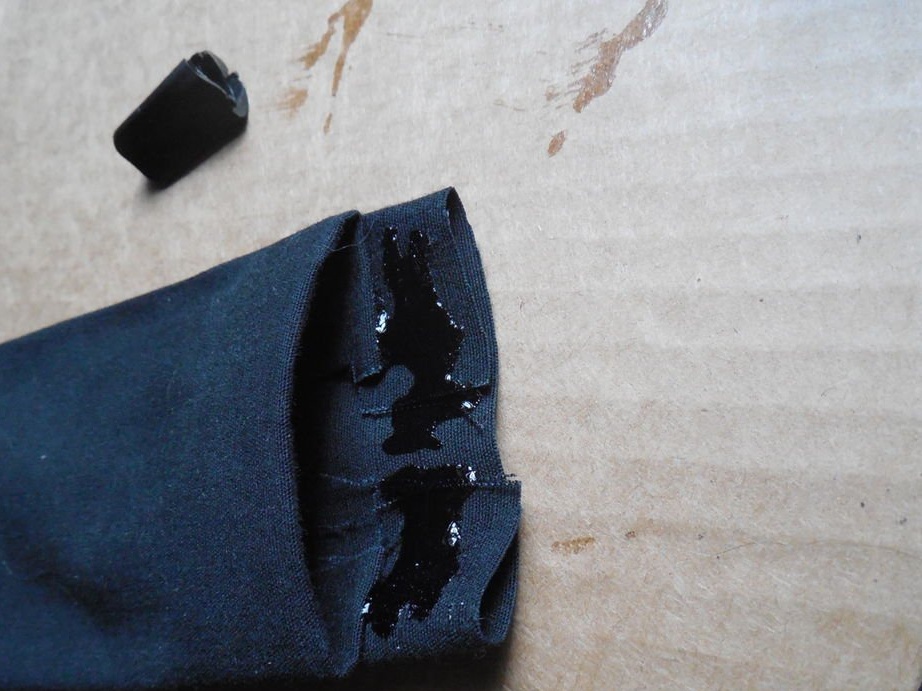
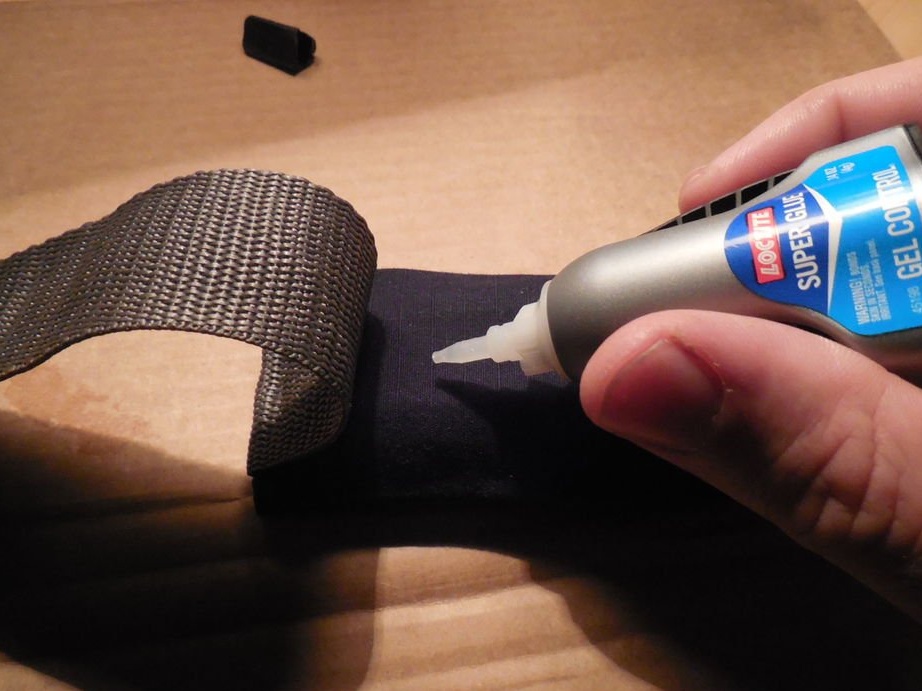
Lay a cardboard object on the material and pull it out so that it covers the entire object. Glue with a large amount of superglue gel. Let dry for 5 minutes. Then glue the sides together again with plenty of gel.
The glue seeps out and can stick the bag to the work surface, so be careful.
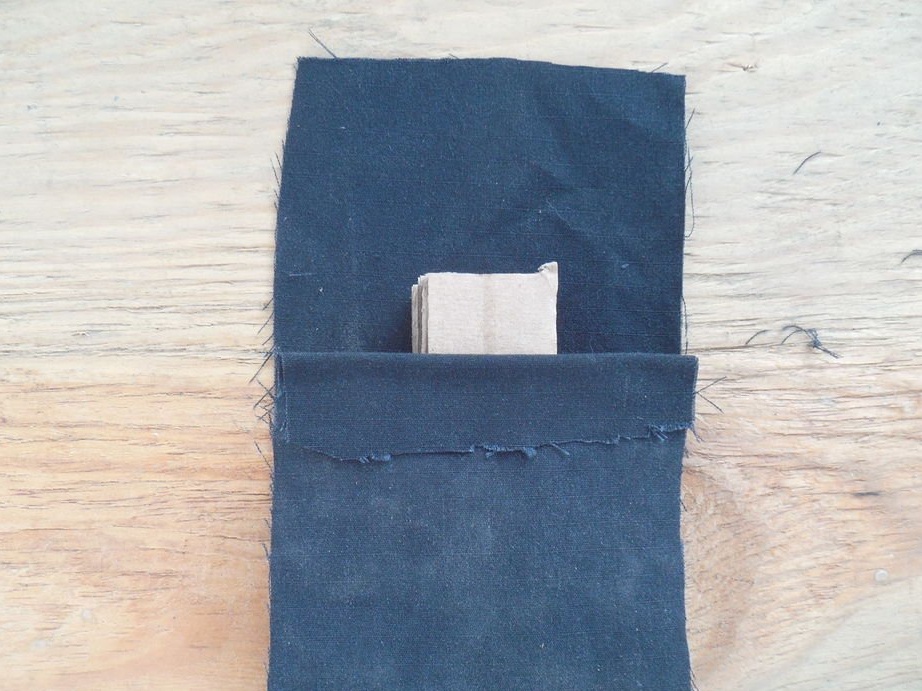
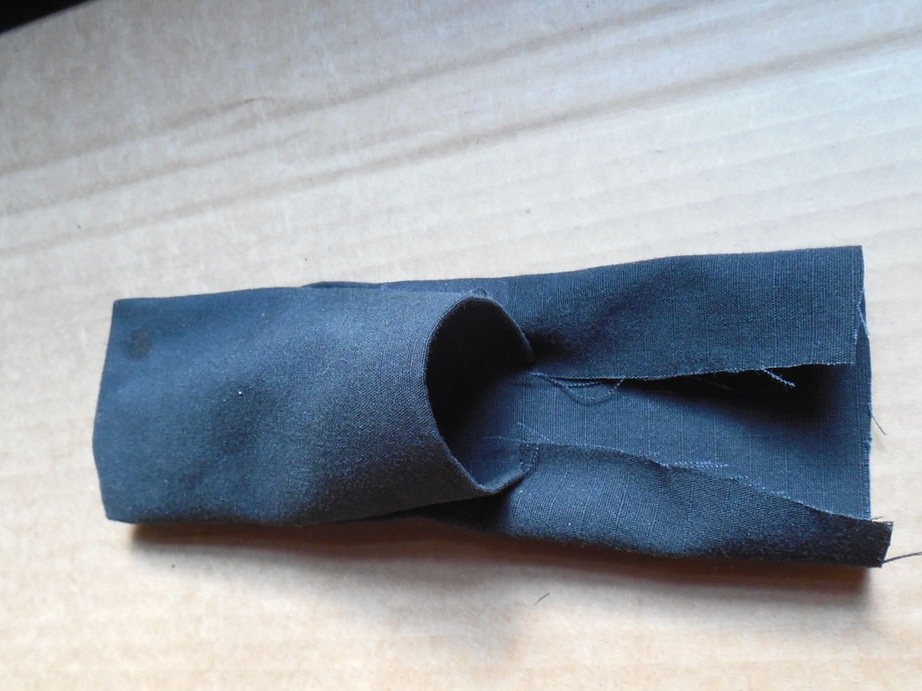
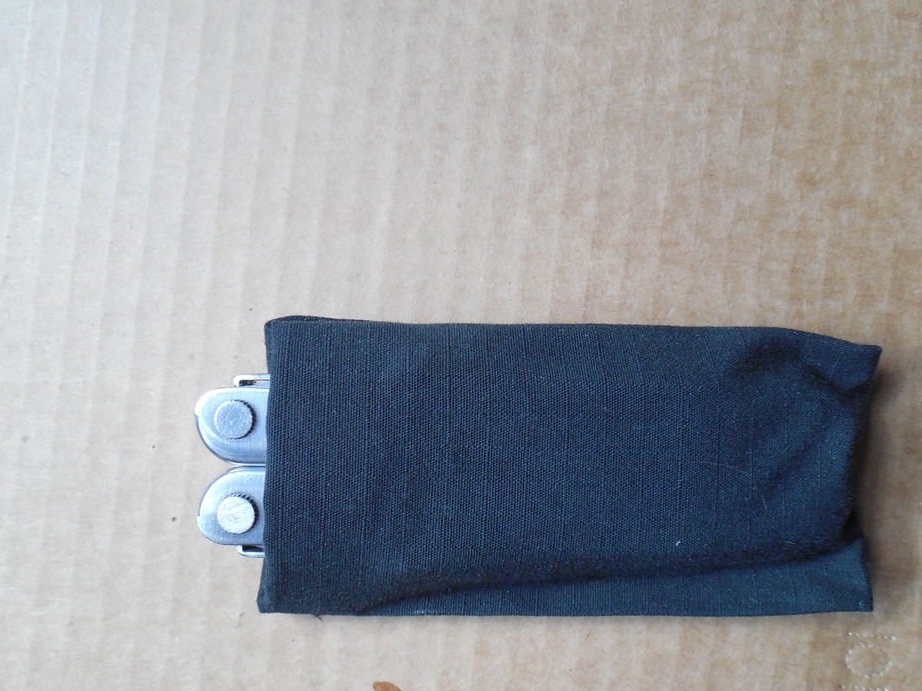
Next, turn the bag inside out. Make sure that the object slides easily. If so, then the excess should be cut off, leaving about 13 mm. Glue the sides and tuck the material inward. This will create a tough and durable top.
Step 3: Add Extra Strap and Velcro
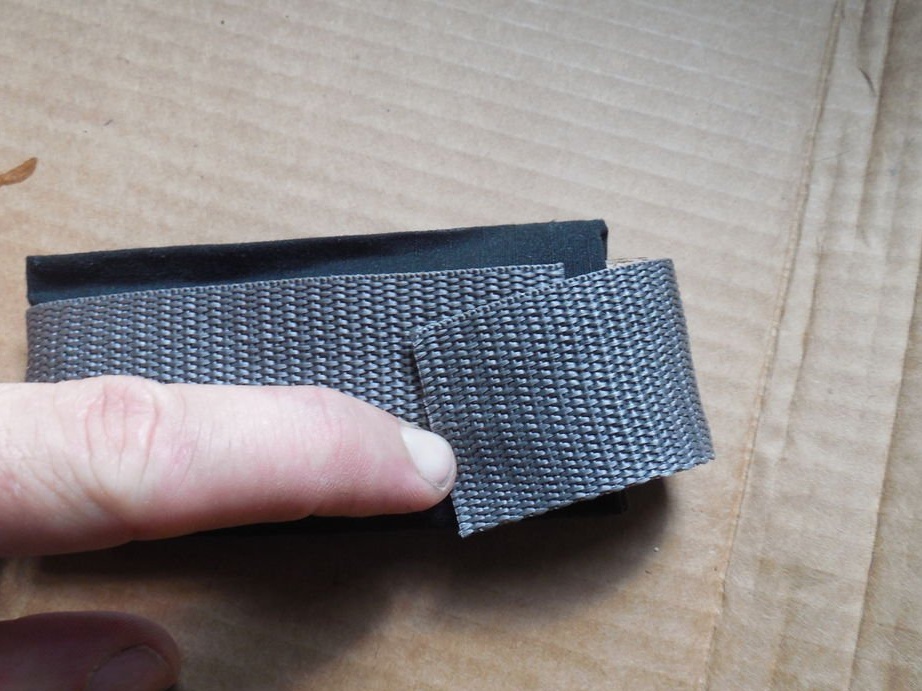
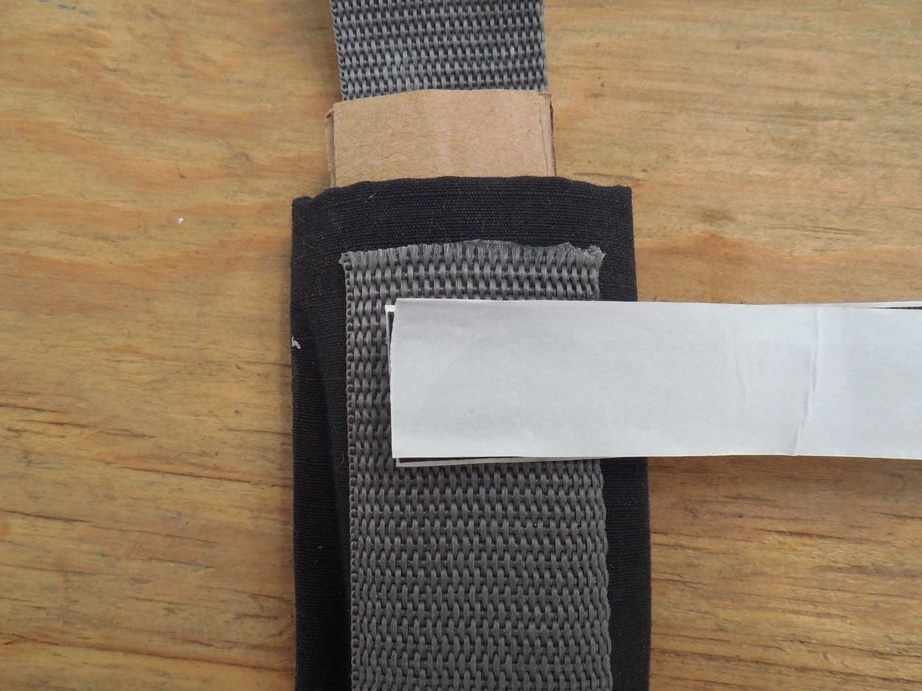
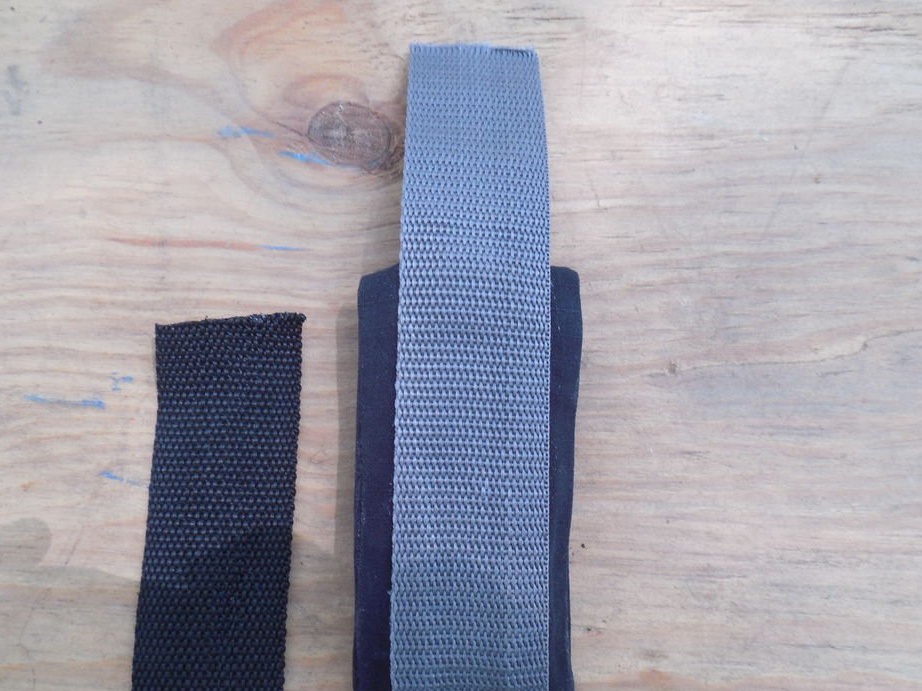
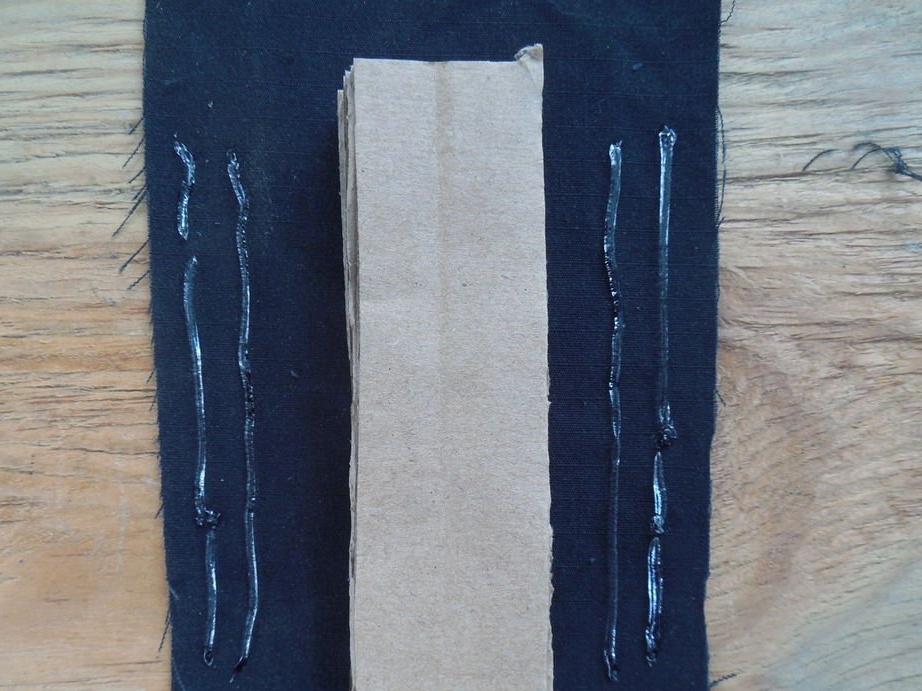
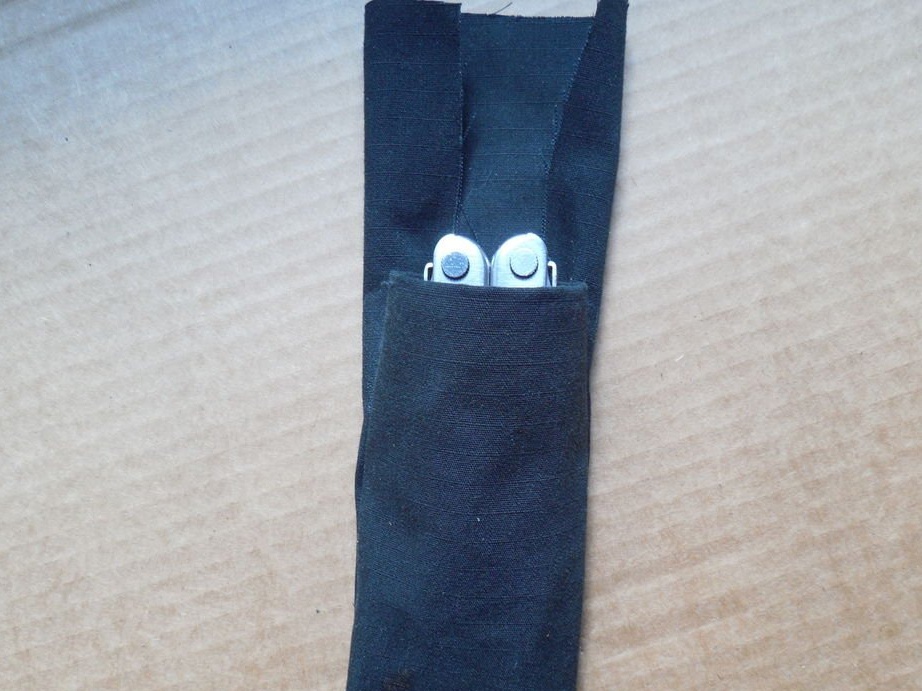
Then you need to put a real object in the bag. For stiffness, a nylon strap will be used. It is necessary to measure enough length to wrap the bag along the length and slightly overlap, so that it is enough to accommodate the Velcro.
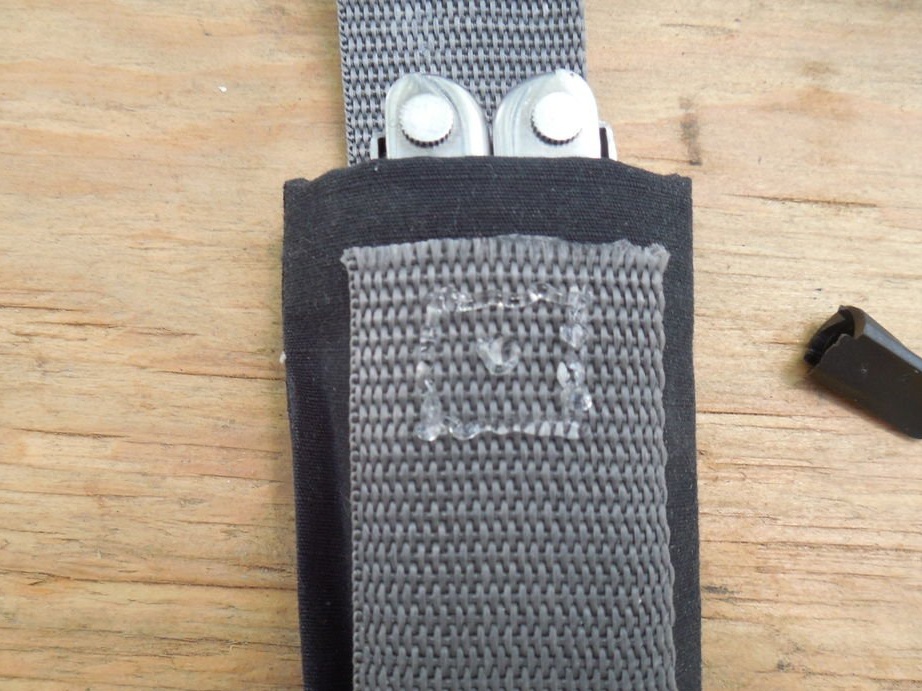
Then you need to insert a cardboard dummy for further gluing. It is necessary to apply gel glue to the bag on the front side and press the nylon strap to it. Then the strap is glued around the bag. Now you can cut the Velcro of the appropriate size, determined by the width of the bag.
The velcro itself is not strong enough to hold well when applied to the fabric.
When opening, this part of the bag will be under heavy load, so you should apply a large amount of gel-adhesive under Velcro. Superglue will dry in a few minutes, but it will take 24 hours to reach full cure.
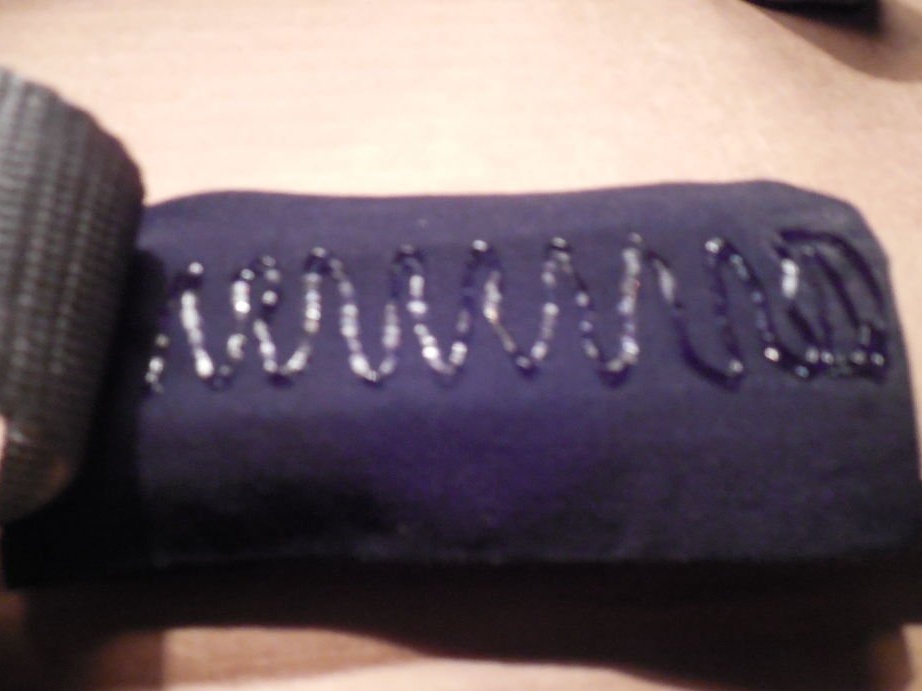
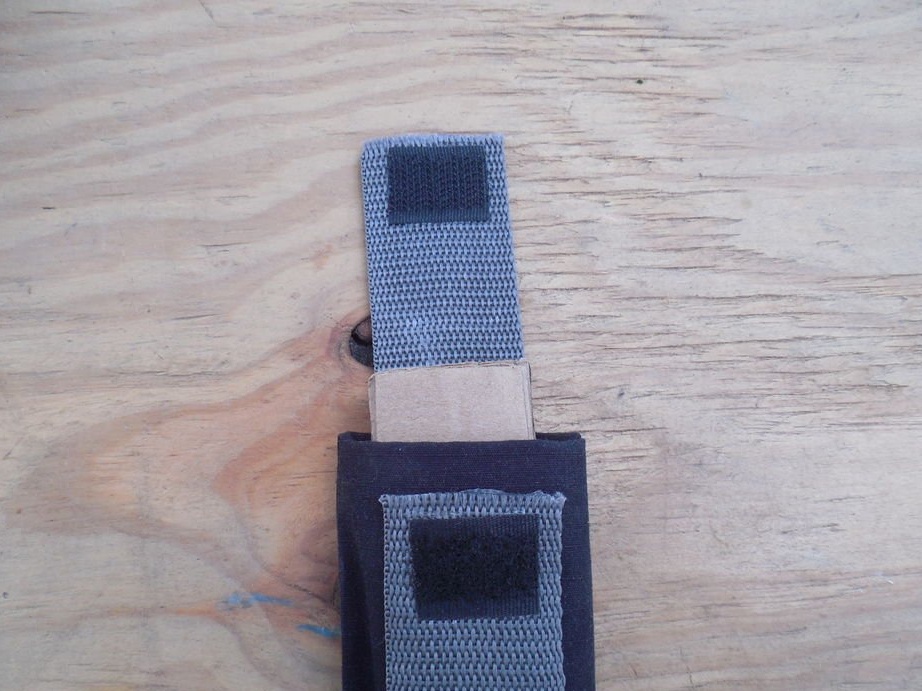
It remains only to add a belt loop. Cut another nylon strap. A width of 10 cm is passed by most tactical or nylon belts. It is necessary to glue all the seams and edges again with liquid glue.
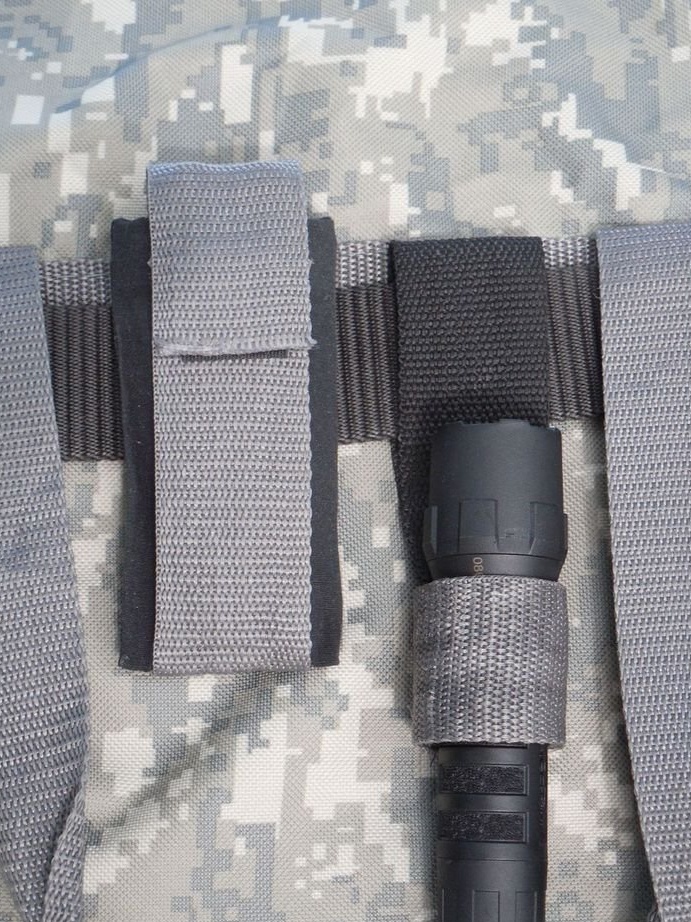
The sizes of the bags are selected taking into account the size of the things themselves.
Step 4: Holster for the flashlight
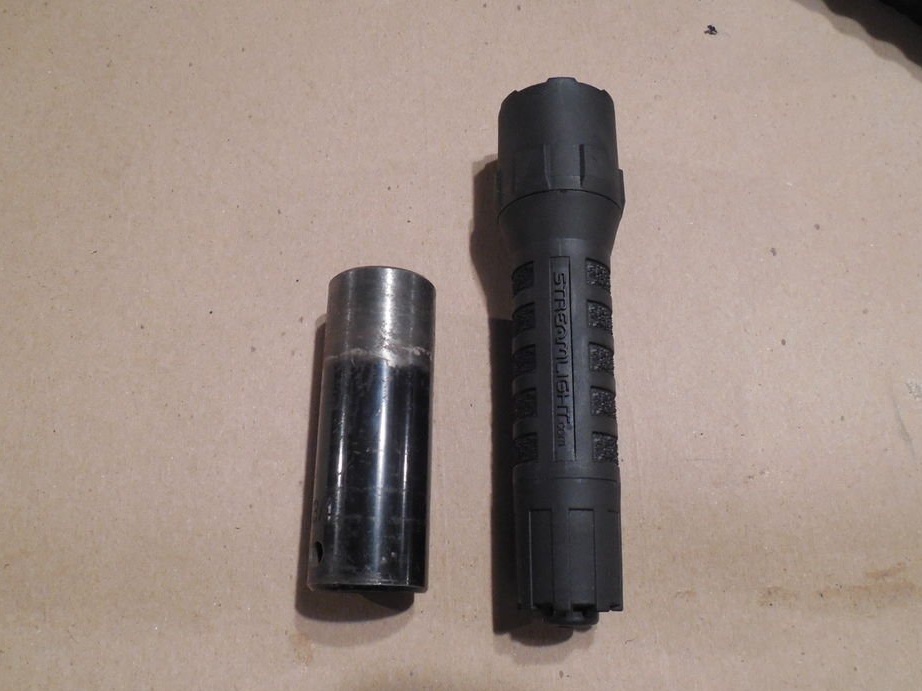
Making a holster for a flashlight is incredibly easy and simple. To do this, you will need two nylon straps. One is about 25 cm long for the waist loop, and the other is long enough to wrap the flashlight 2.5 times. You will also need some item a little - a bit larger in size than the handle of a flashlight.
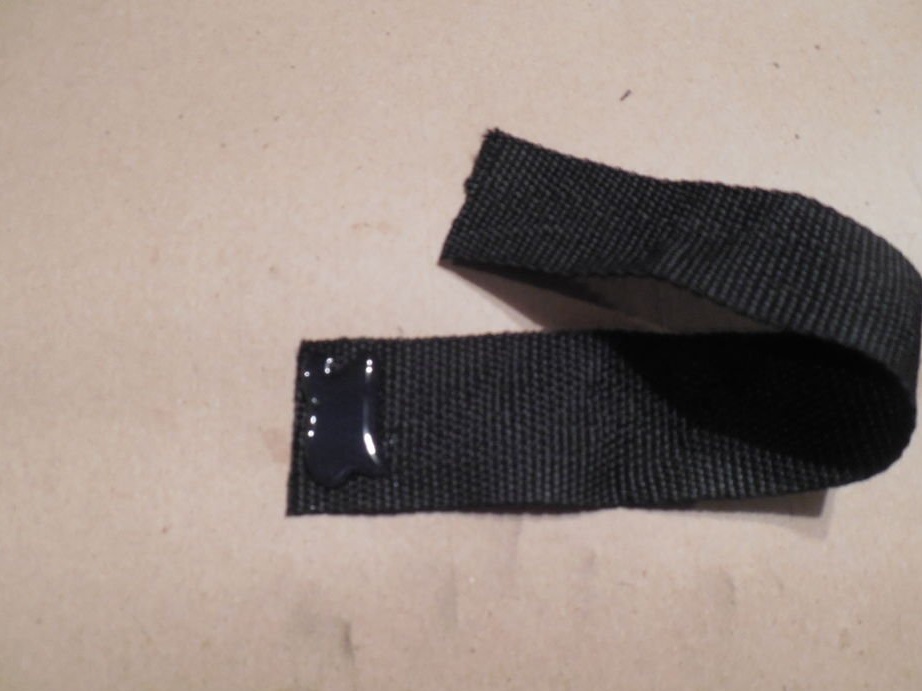
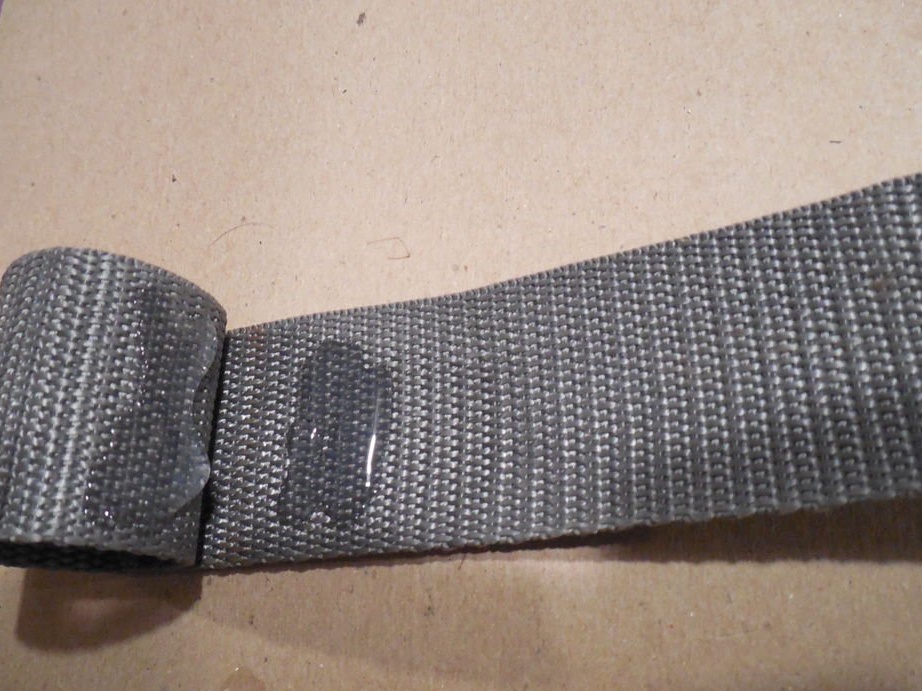
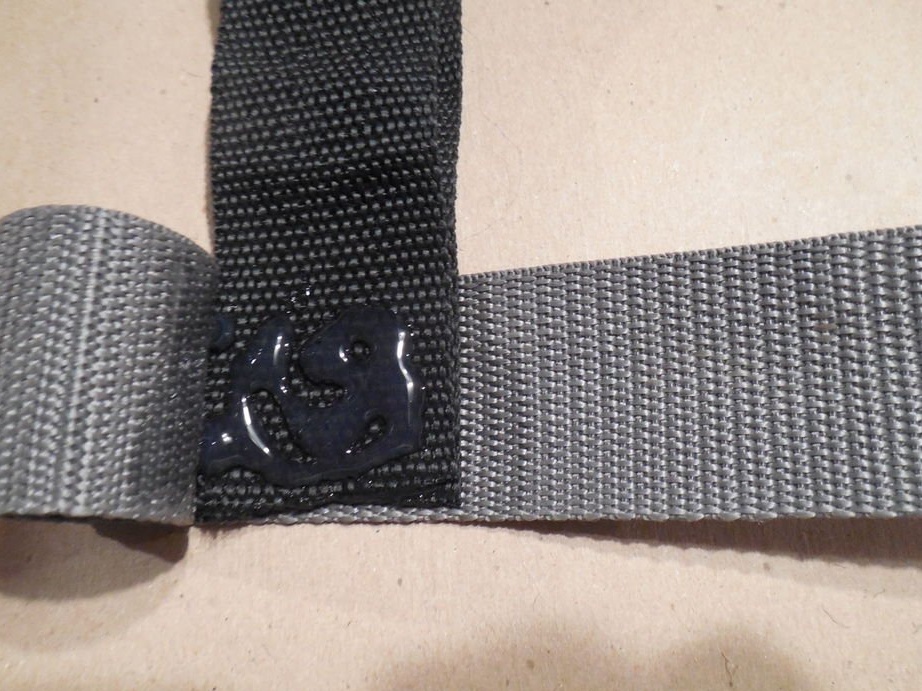
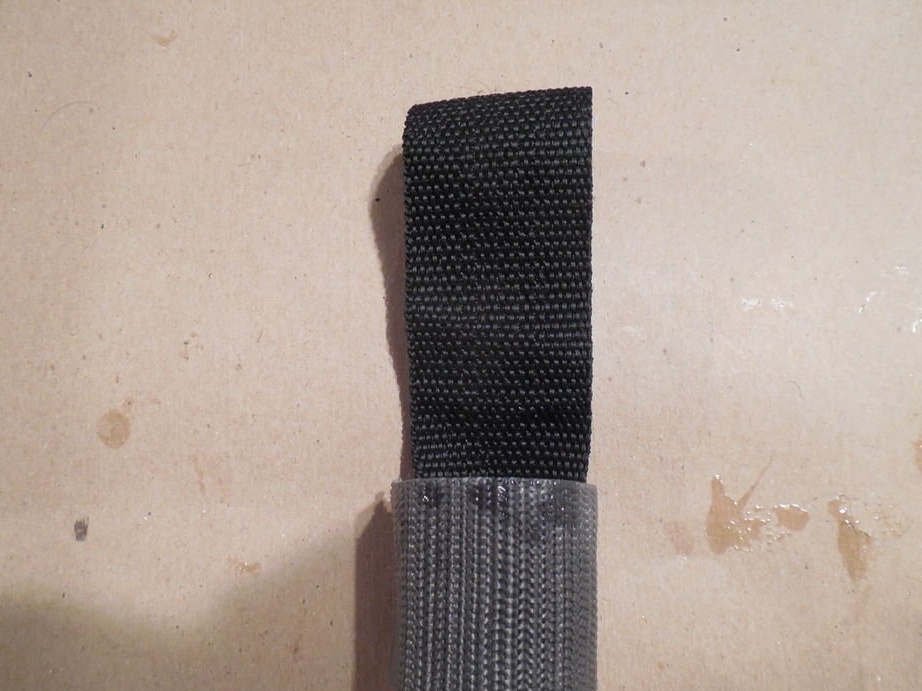
We fold the strap 25 cm long so that a loop of about 9 cm in size is obtained, and glue it together.
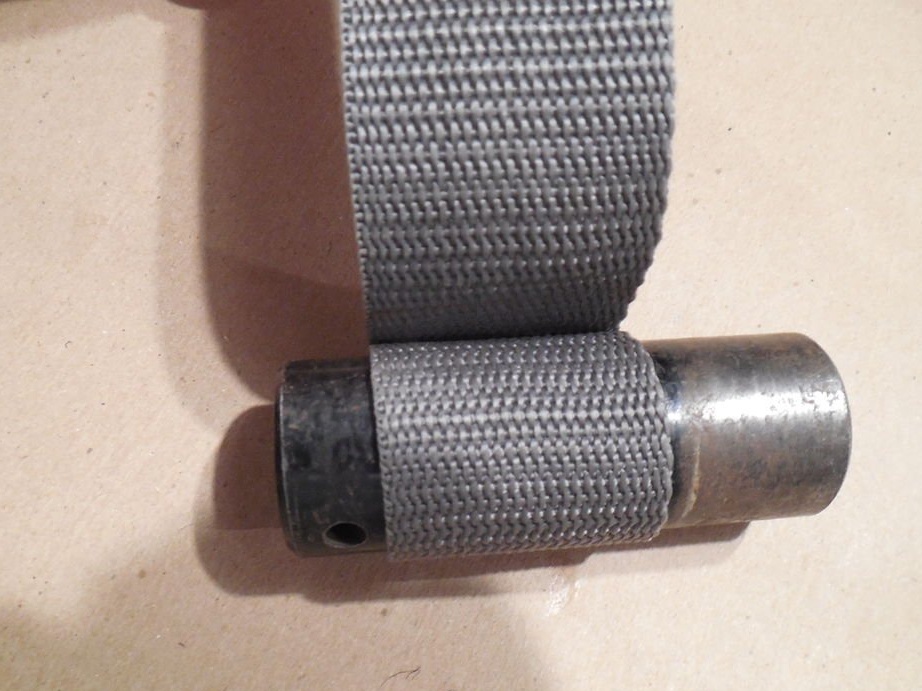
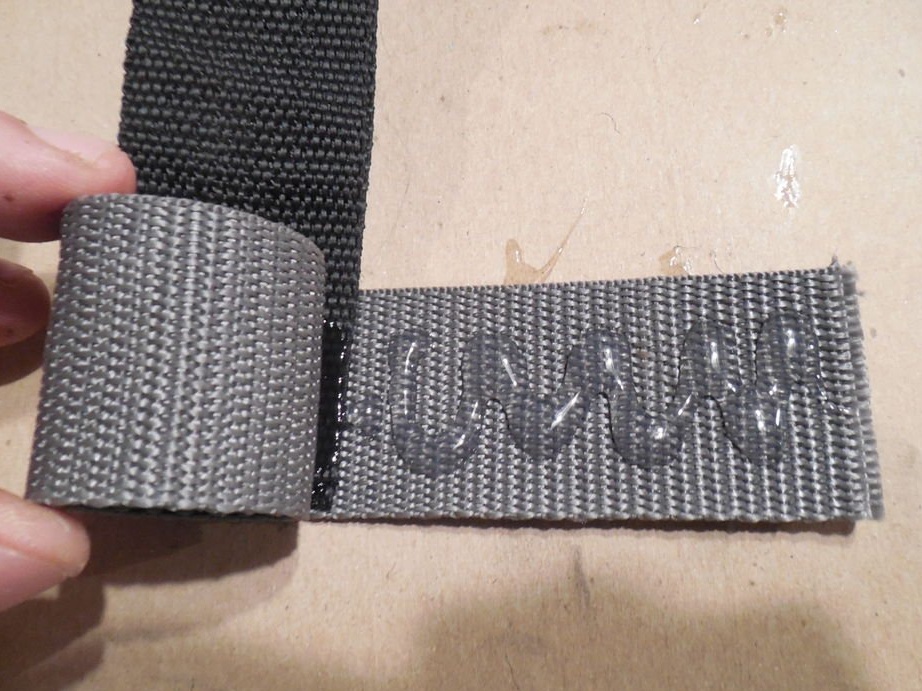
Then we wrap the second nylon strap around the "blank" until it reaches the overlap point, and apply a strip of gel glue. It will be a holster. We continue to apply glue and roll the strap for another quarter of a turn. Then you should put the belt loop on the holster and roll it inward. We continue to roll up and glue until we reach the end. If the end of the belt for the holster is on the front, then it can be cut so that it ends at the back, out of sight.
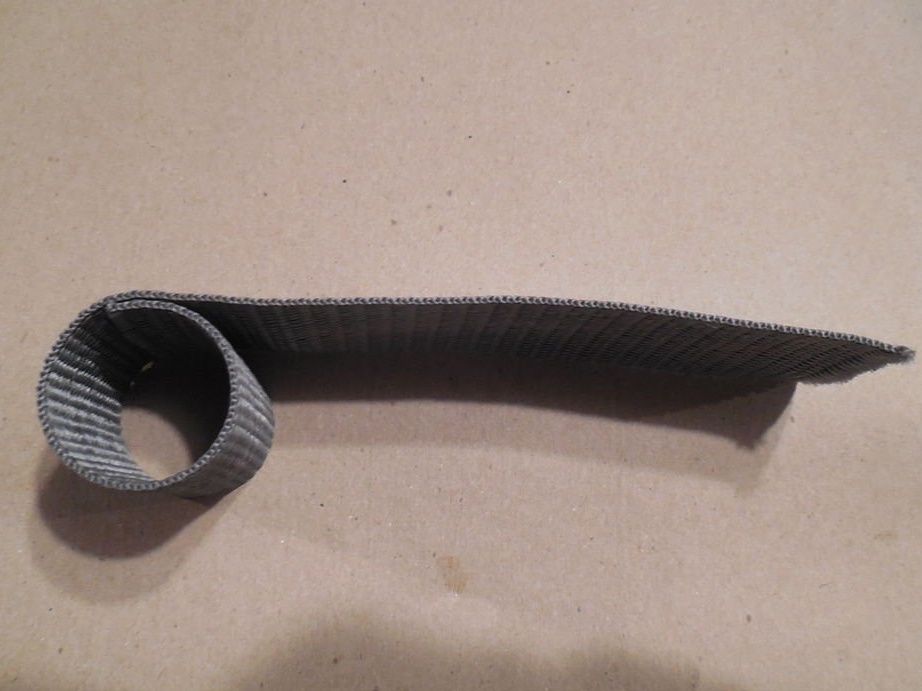
During drying, it may be necessary to clamp or fasten it around the “blank” of the lamp in order to maintain its round shape.
Again, glue all the seams and edges with glue to reinforce the holster. The same technique used for other bags will work well for a flashlight, but this design is better because it is lighter, provides easier access to the flashlight and will not hold water around the flashlight if it gets wet. This is especially important if the temperature is below zero.
Allow to dry for 24 hours before use.