
Good day to all dear friends! In today's article I would like to tell you and show a very interesting idea homemade, which will also be very useful to many.
I have already done several articles about homemade tools and they went very well and many liked it, so I decided to write another article on the topic of homemade tools. In general, today consider how you can make a very simple drilling machine do it yourselfliterally from junk material.
Well, I think you should not pull with a long introduction, let's go!
And so, for a simple drilling machine we need:
- a few pieces of thick plywood or fiberboard
-bolts, nuts of different sizes
-powerful electric motor with gear, you can buy on AliExpress or in the market, or use from an old screwdriver or drill
-patron drill
From the tools we will also need:
-electric drill
-glue
-Super glue
-electric jigsaw
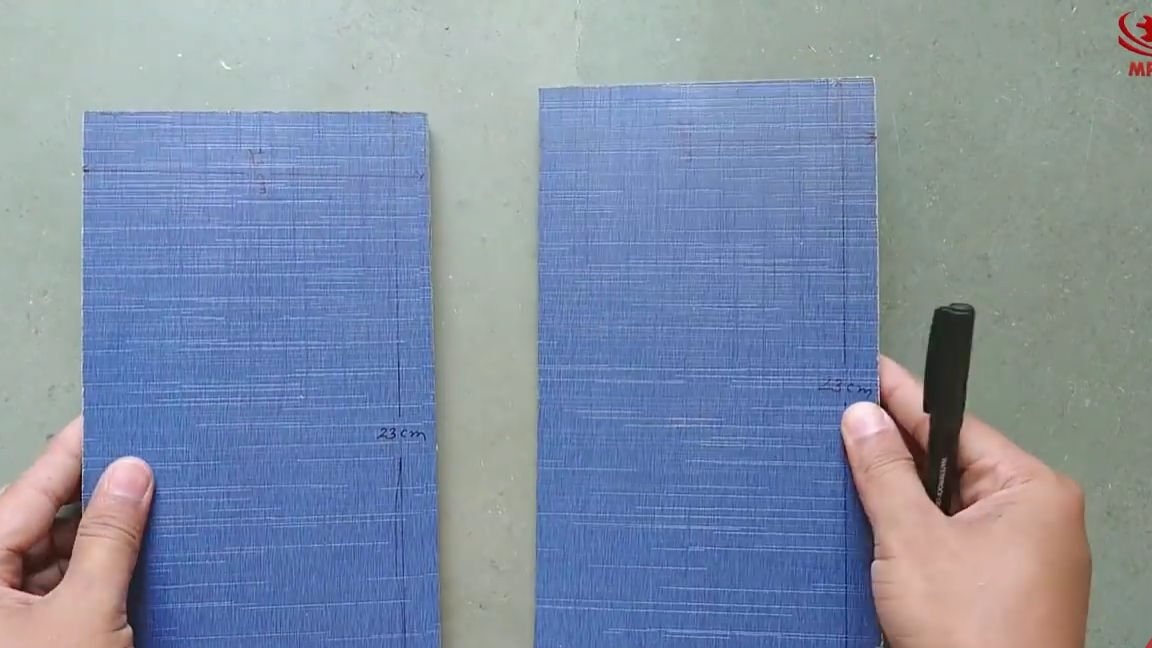
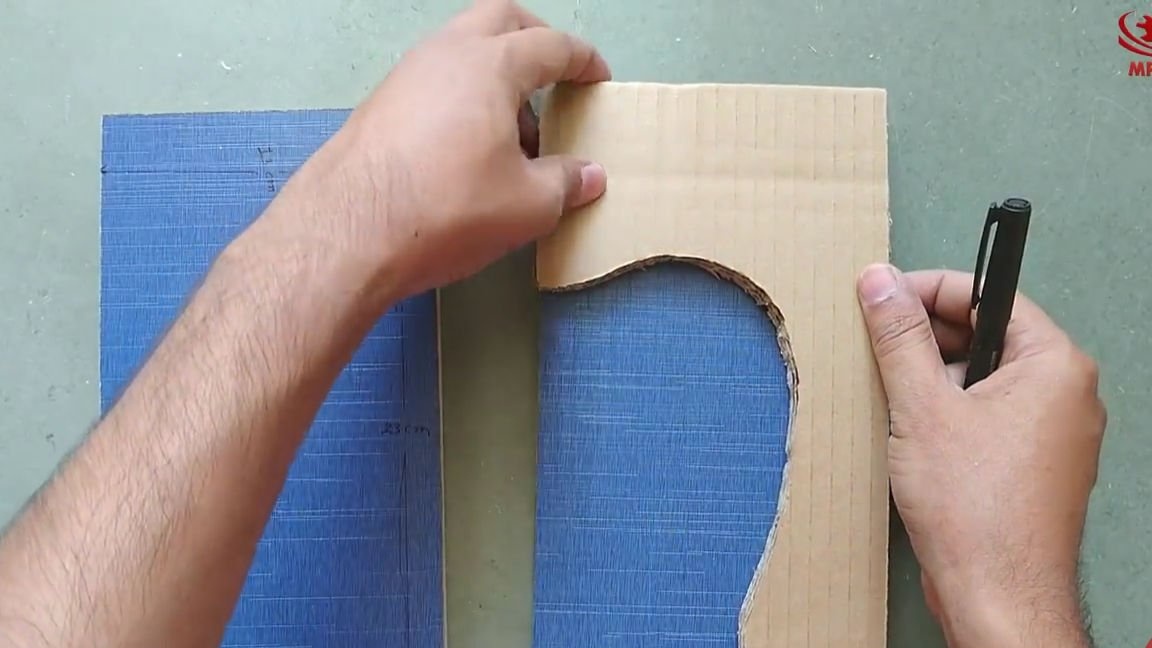
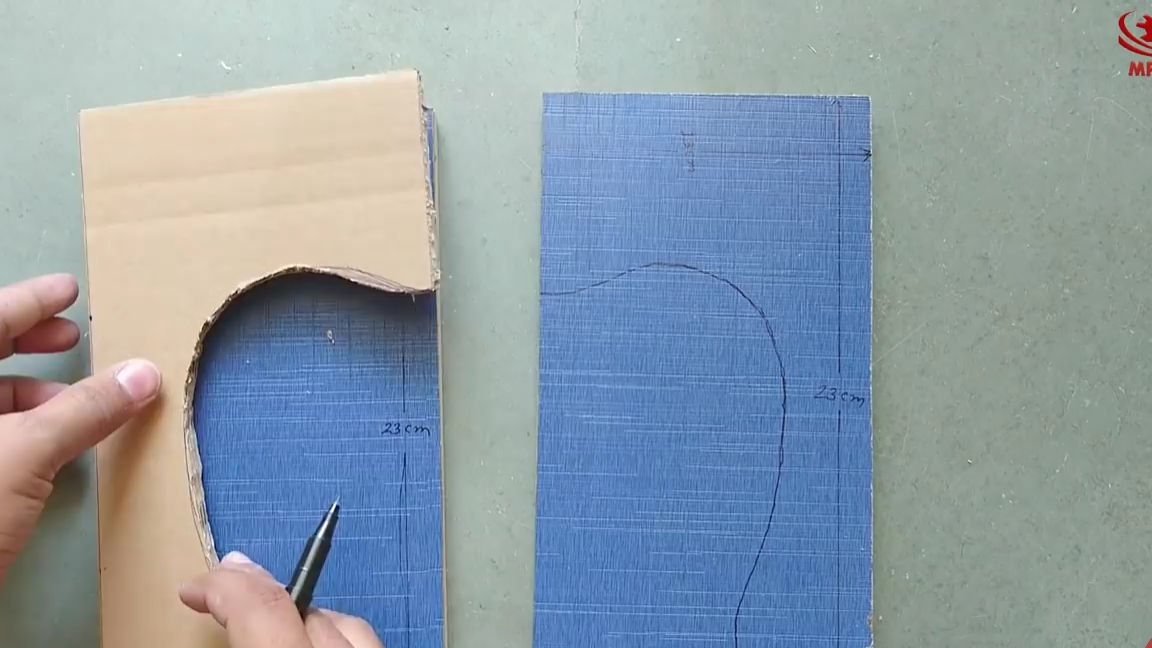
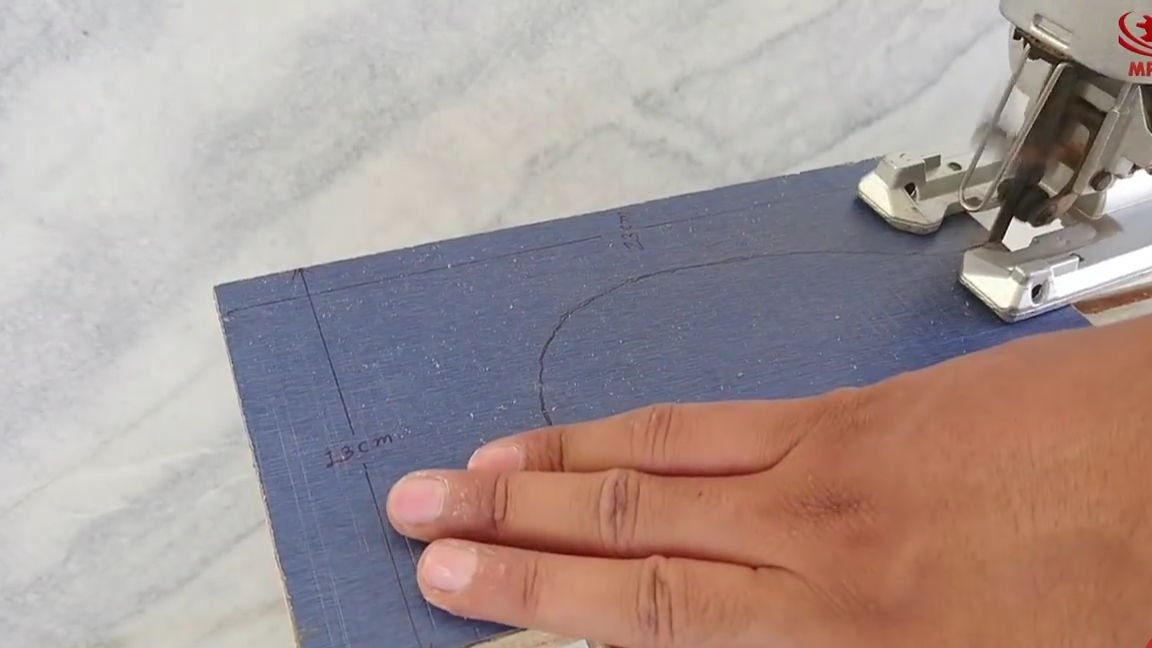
and so, first of all, we need to cut out a template from cardboard, the shape and size can be seen in the photo below, the author of this video even brought all the necessary sizes, for which, definitely respect.
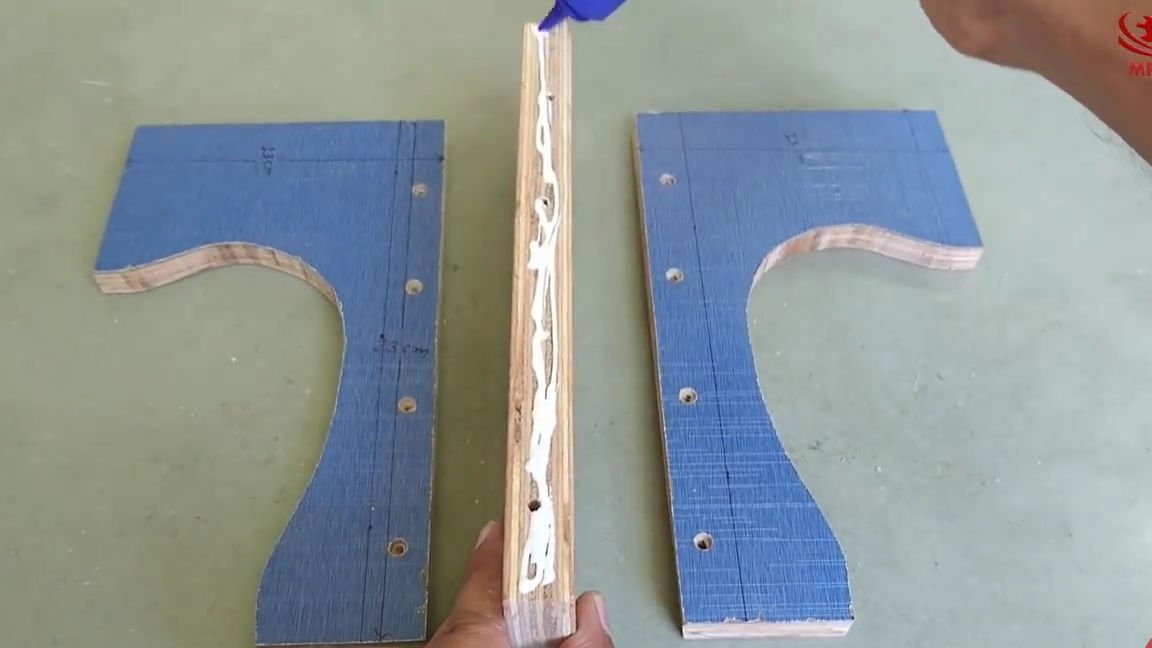
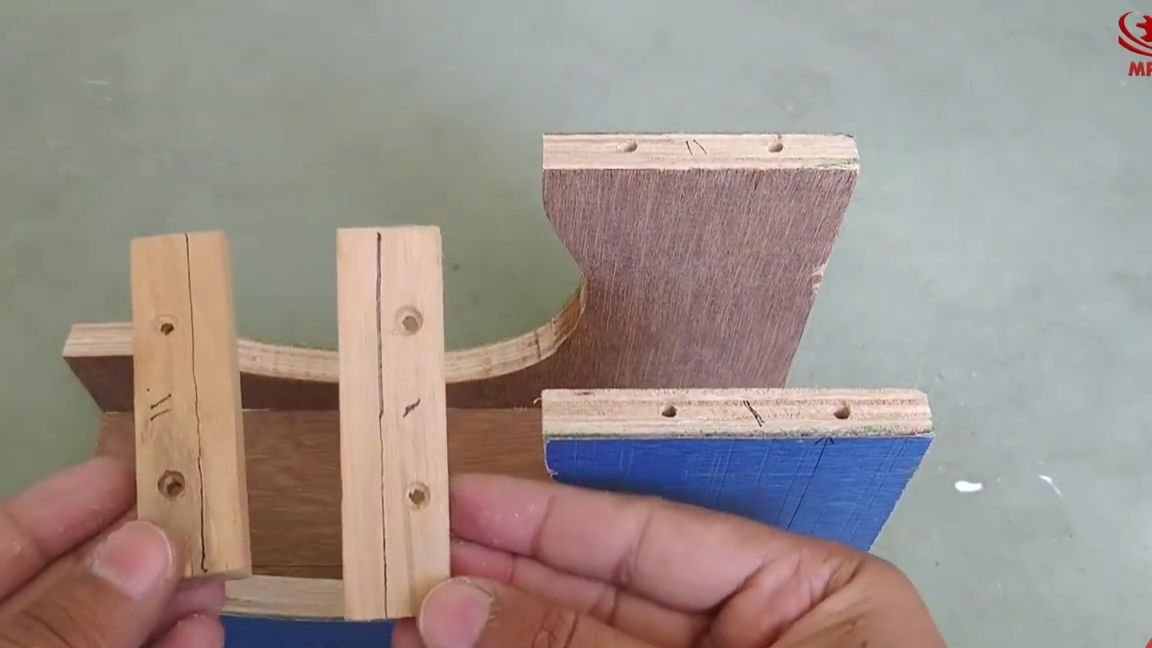
We attach the template to one of the plywood blanks and circle, after which we do the same with the second blank. Then we take an electric jigsaw and cut out our workpieces. It should turn out exactly the same as in the photo below:

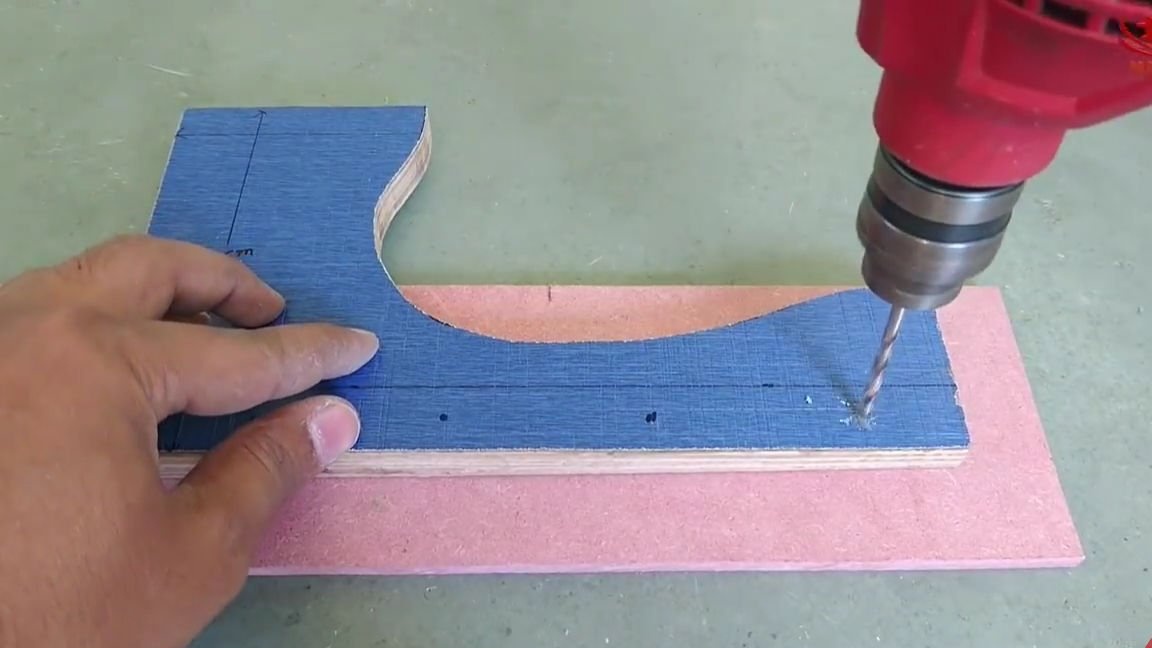
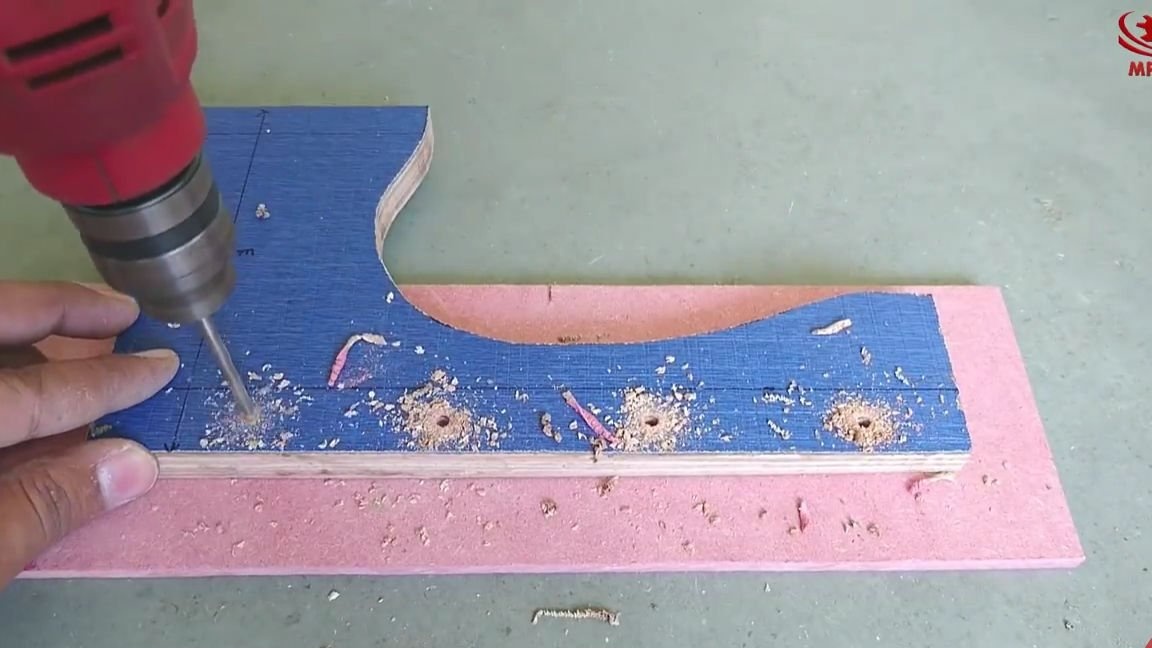
Now you need to take an electric drill and drill holes along the diameter of our workpieces.
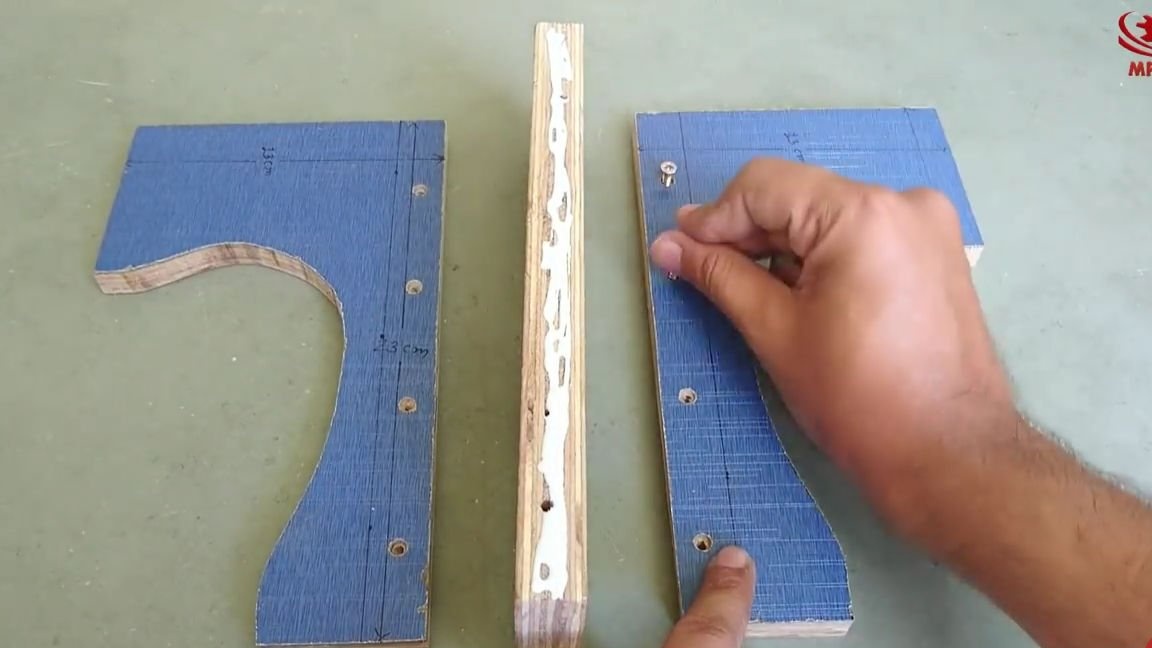
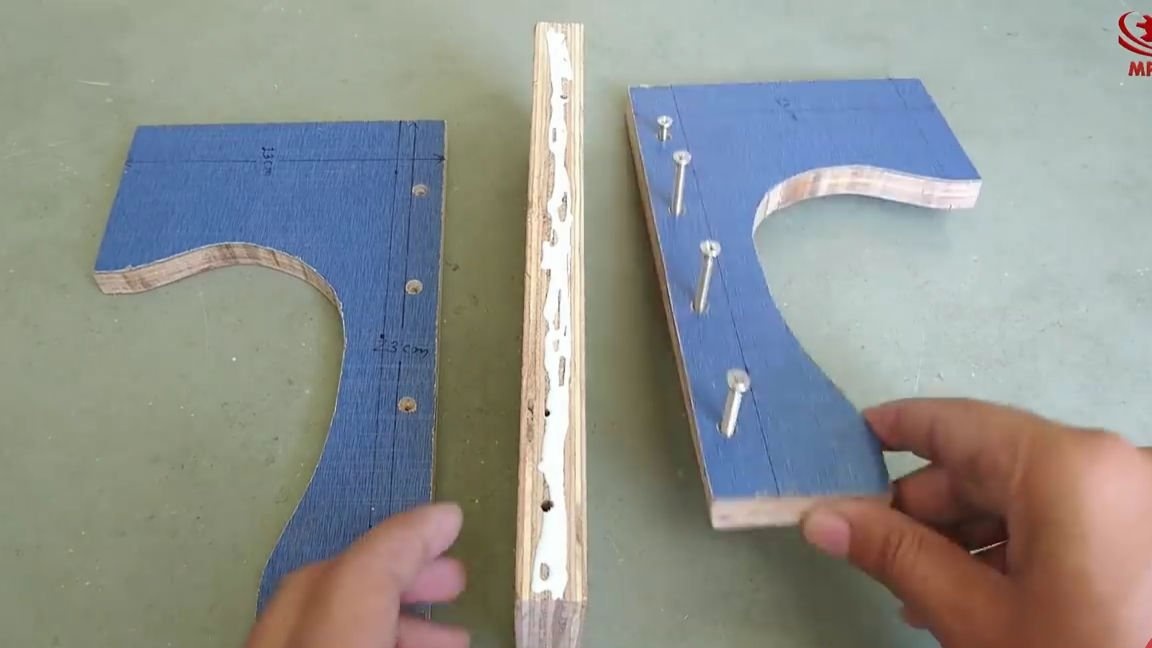
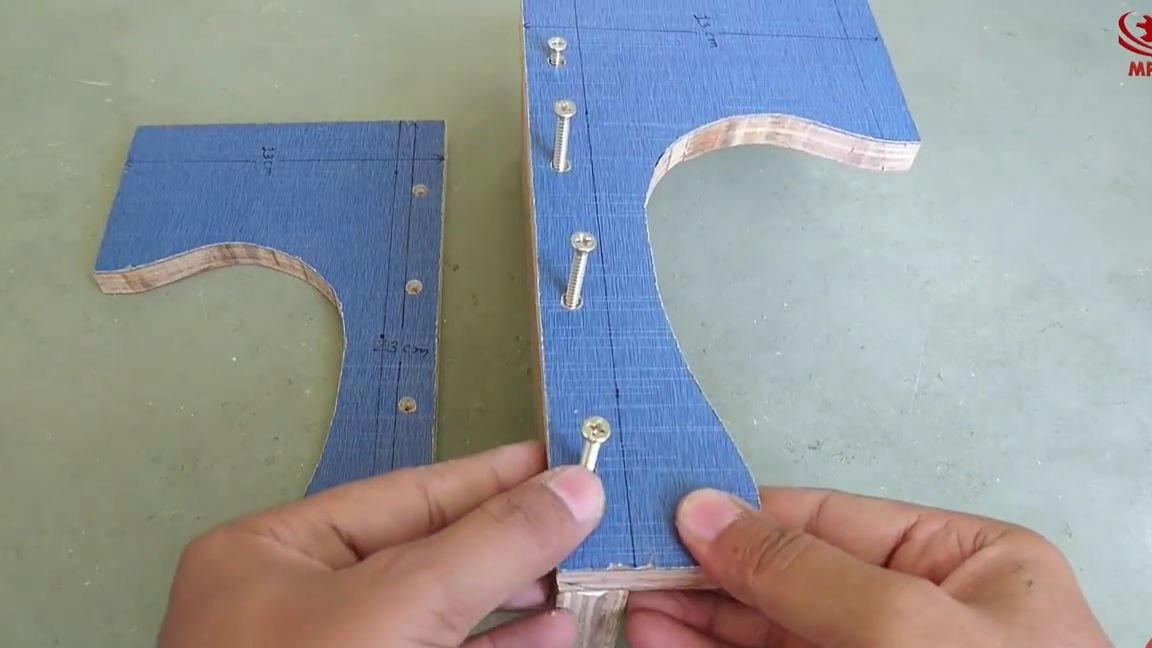
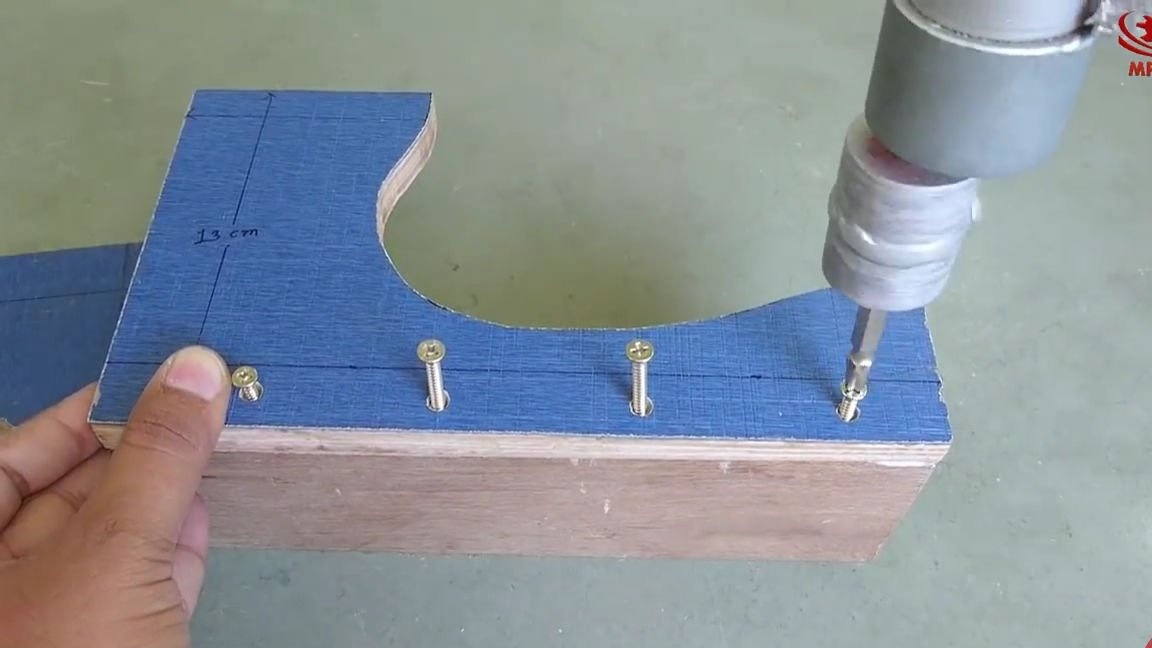
Take another rectangle of thick plywood, drill non-through holes on the sides. We first coat with one side, and then with the other masking glue, or something like that. We insert self-tapping screws into one of the blanks, apply it to the first blank, firmly press and screw the screws with a screwdriver or drill.
Then we do all the same operations with the second half.
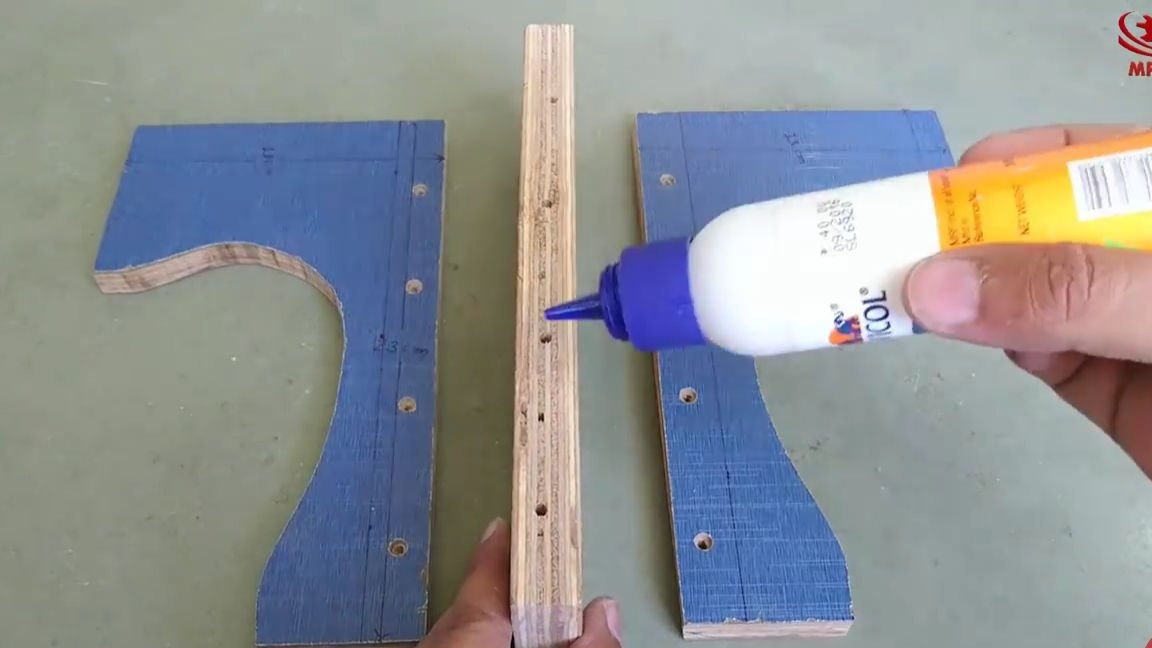
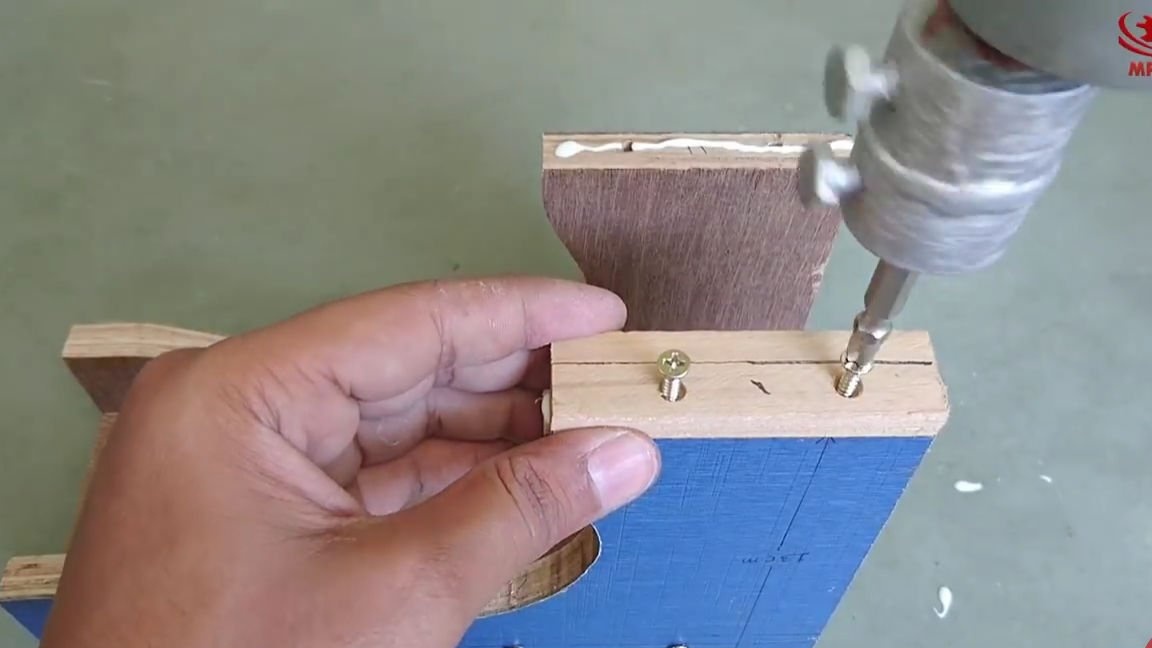
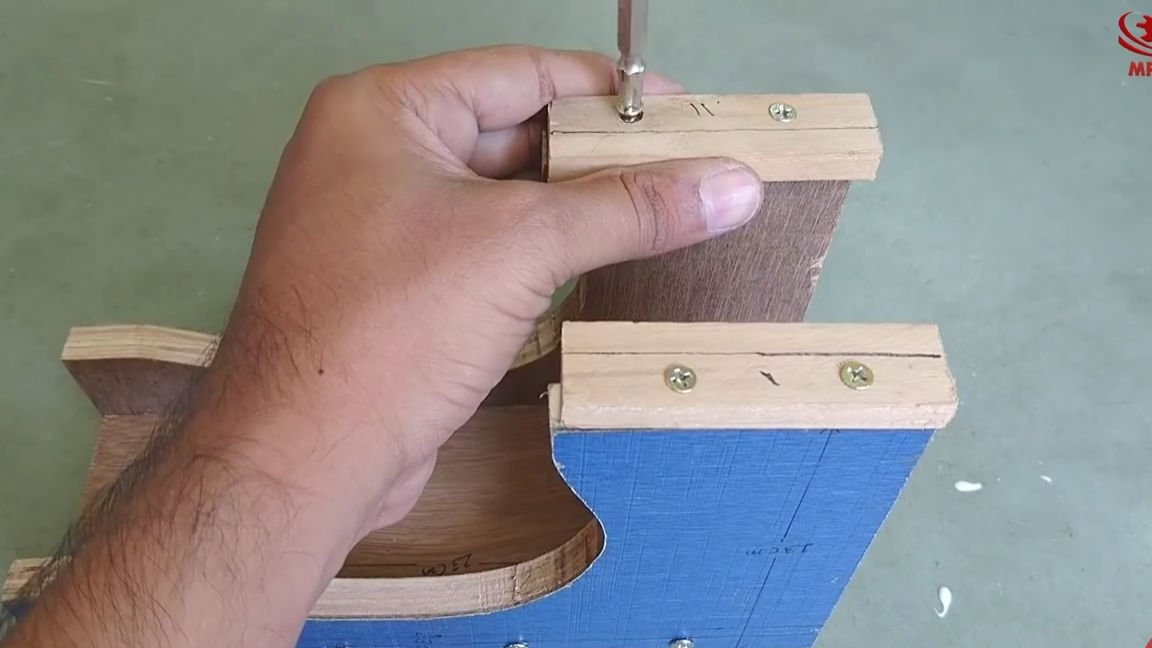
After that, it is necessary to saw out two small blocks of wood or plywood and pre-drill two holes in them, by the way, holes must also be drilled in the upper part of the workpiece, which was made earlier.
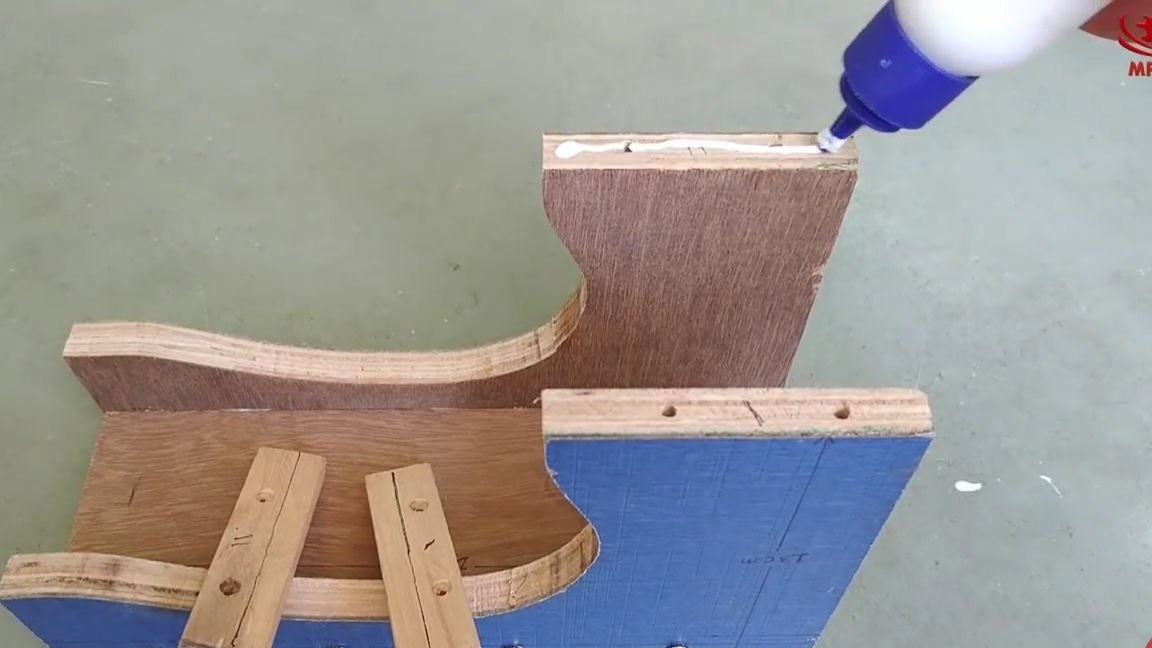
We lubricate all places of future joints with masking glue, insert self-tapping screws, apply whetstones and screw them in using the same drill:
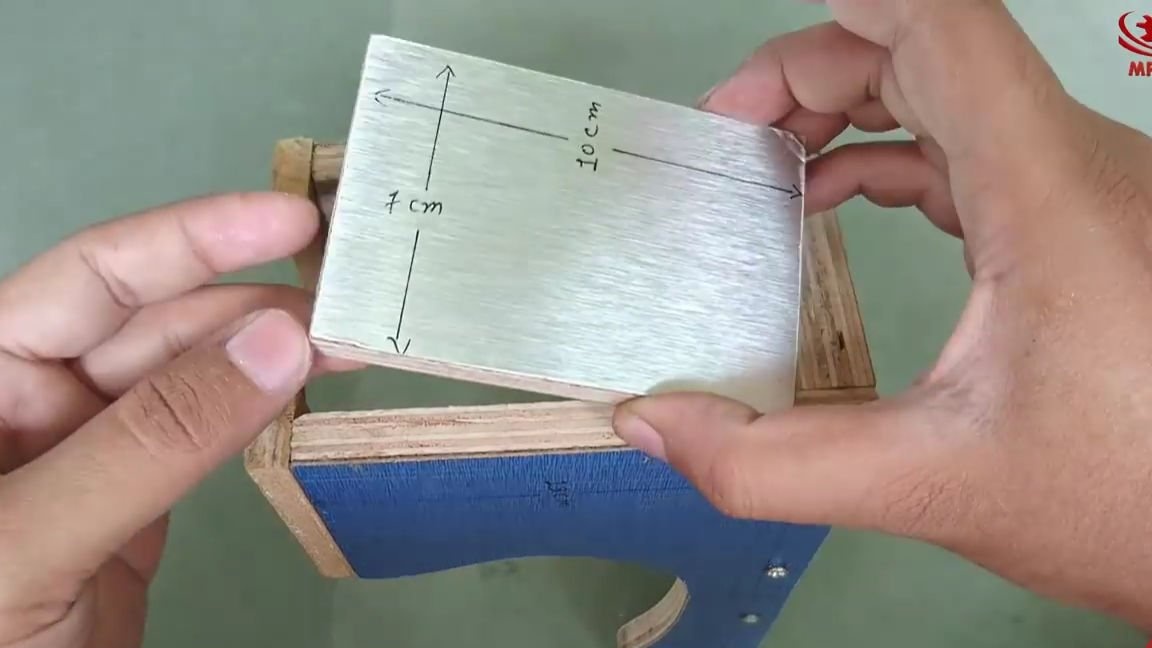
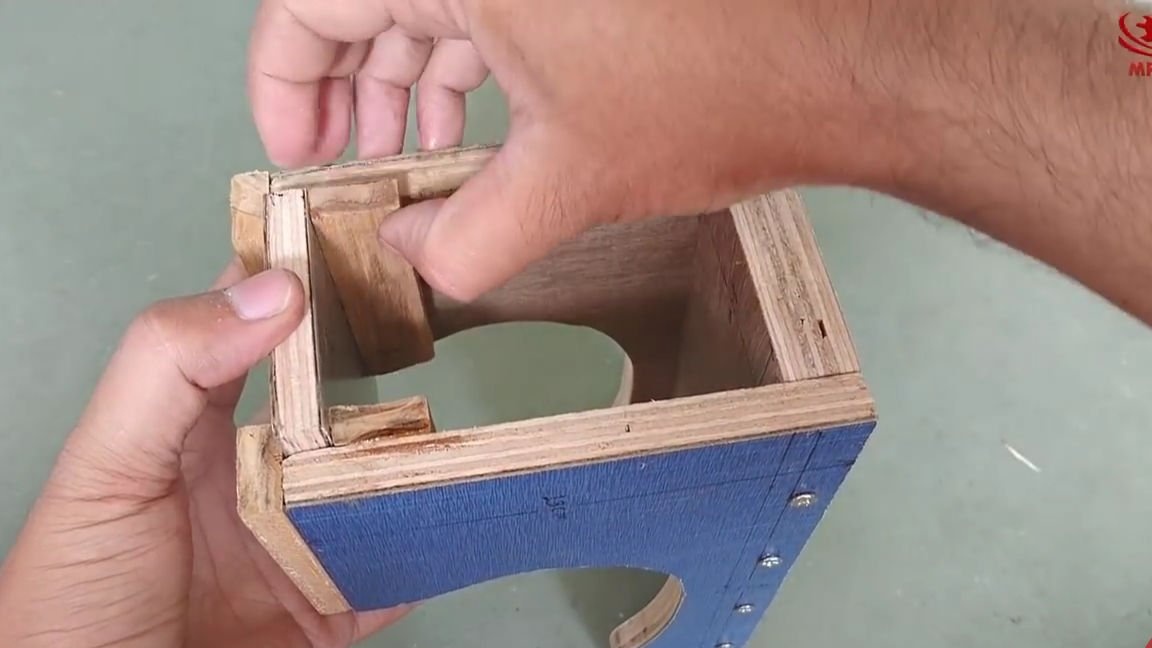
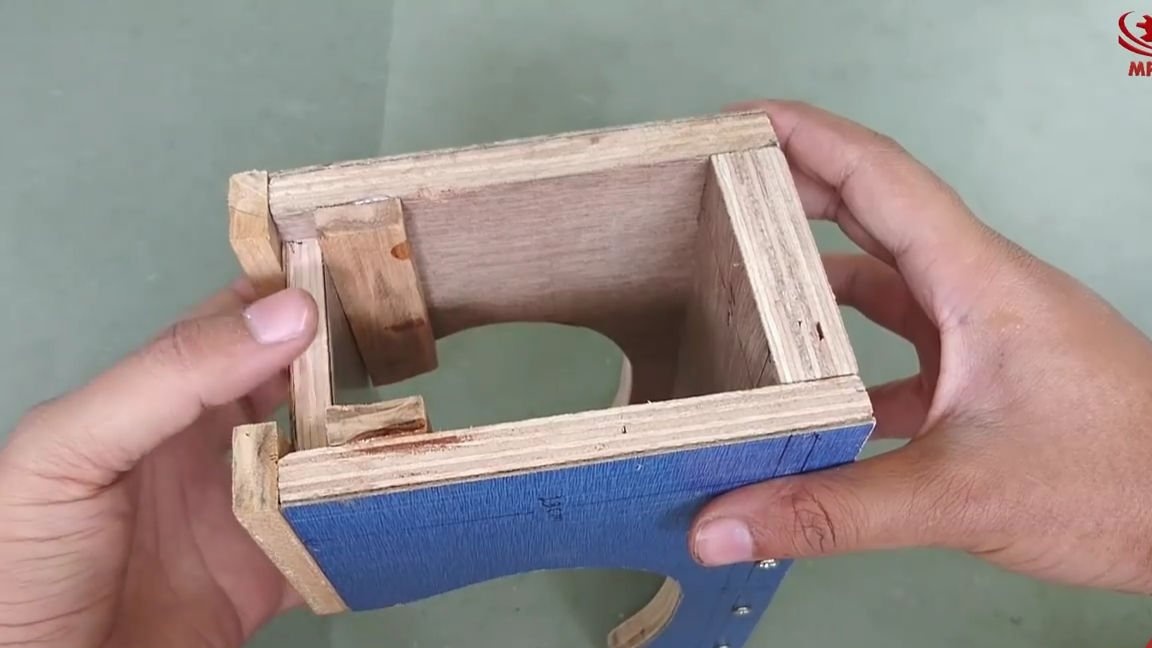
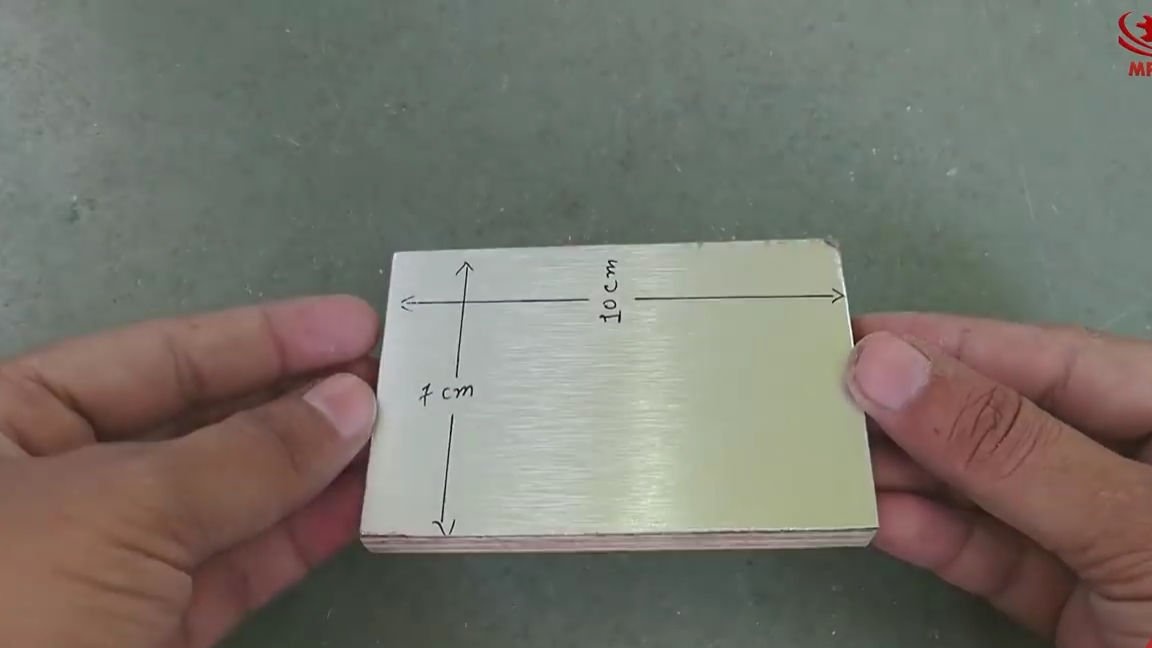
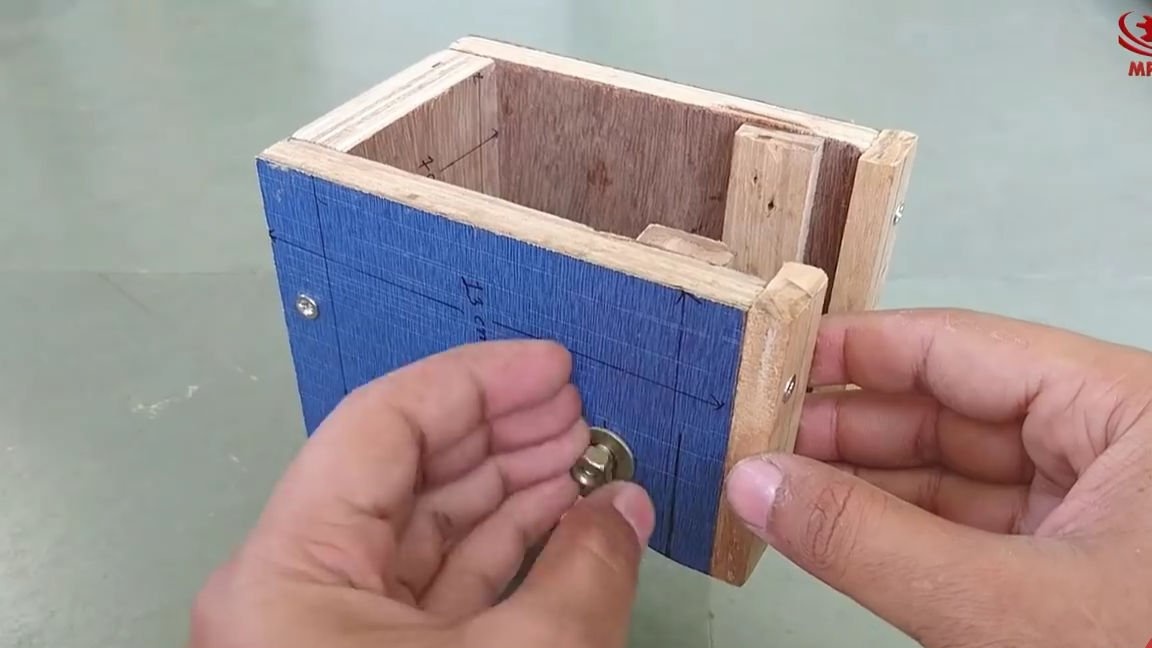
Now cut a small rectangle from plywood, with dimensions of 7 by 10 cm.This bar is applied to the structure, as shown in the photo below.
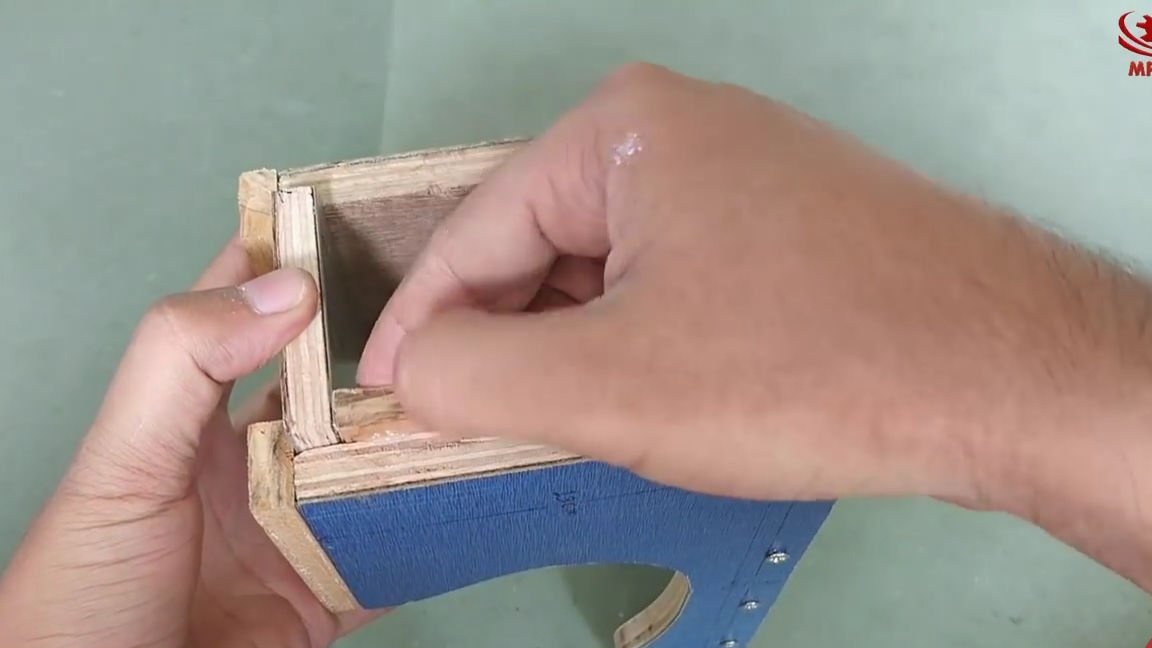
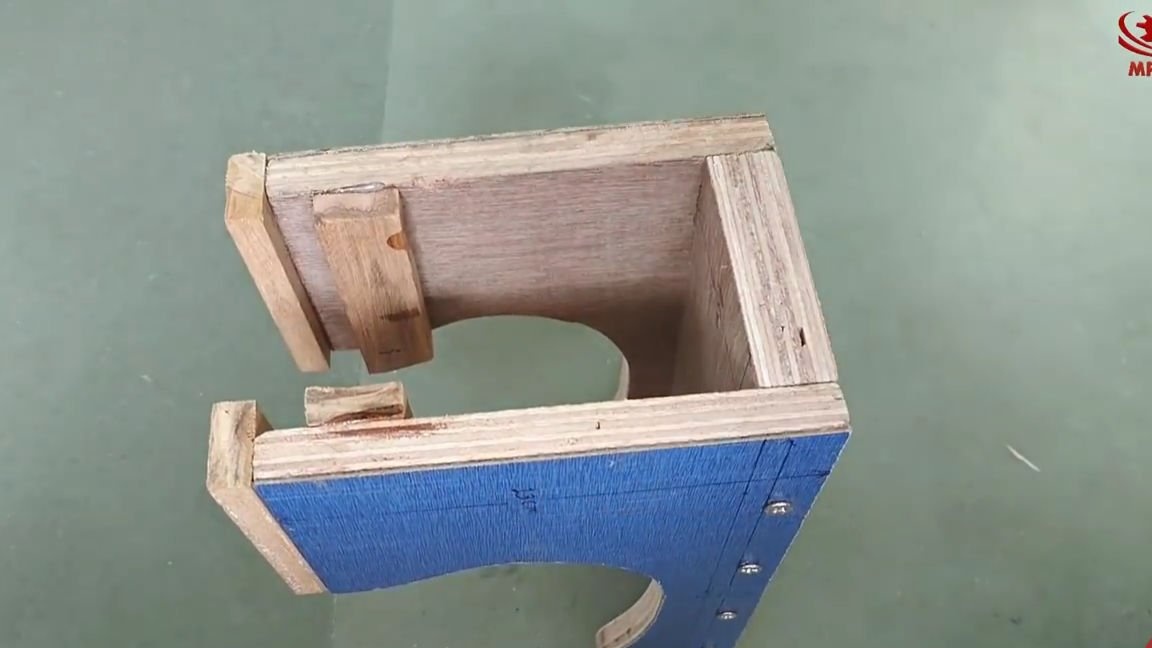
In advance, we prepare two small blocks of solid wood, lubricate them with super glue more firmly and glue them next to the part that was applied earlier. We are waiting for the glue to seize. The result should be a movable structure, which should move forward and backward. Everything should turn out as shown in the photo below:

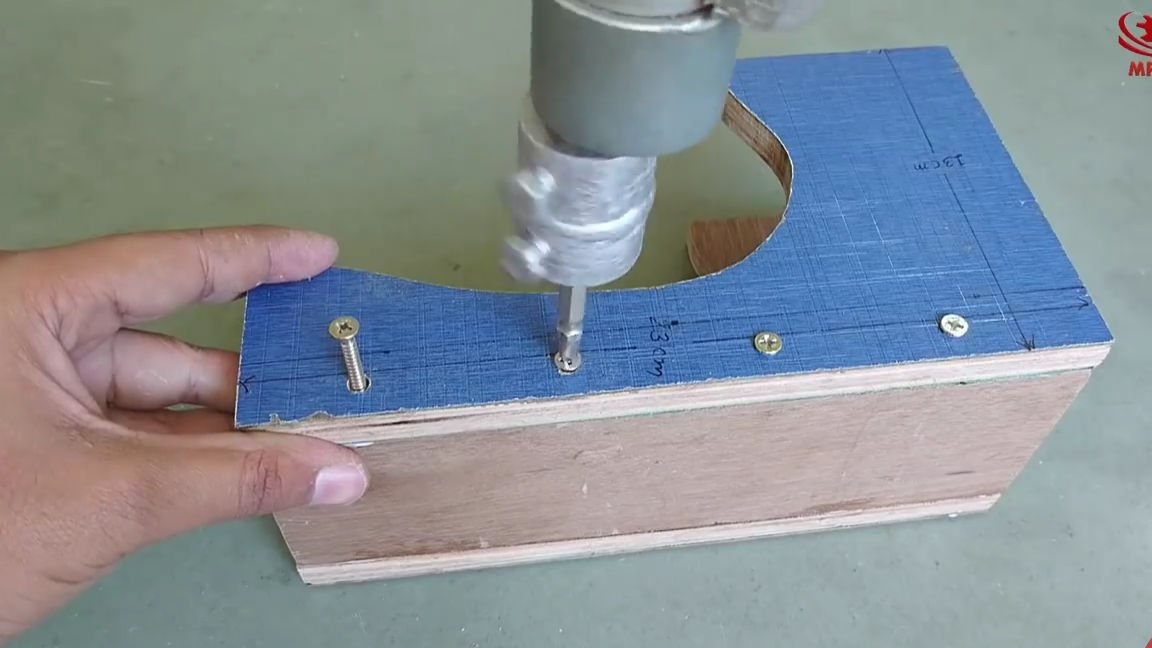
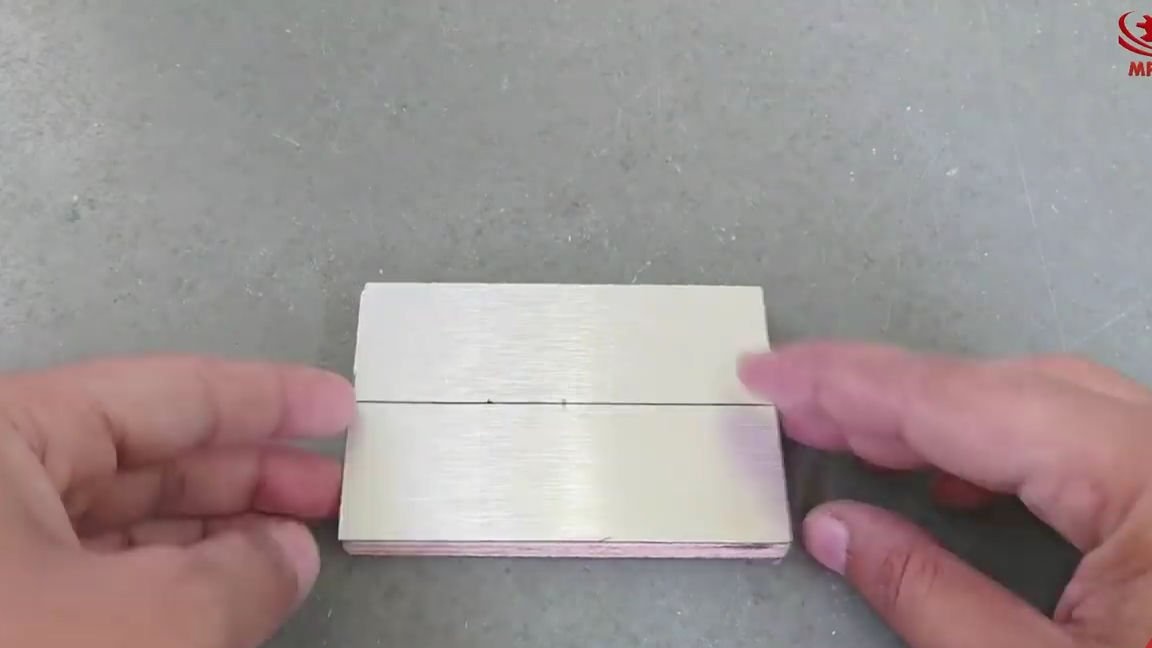
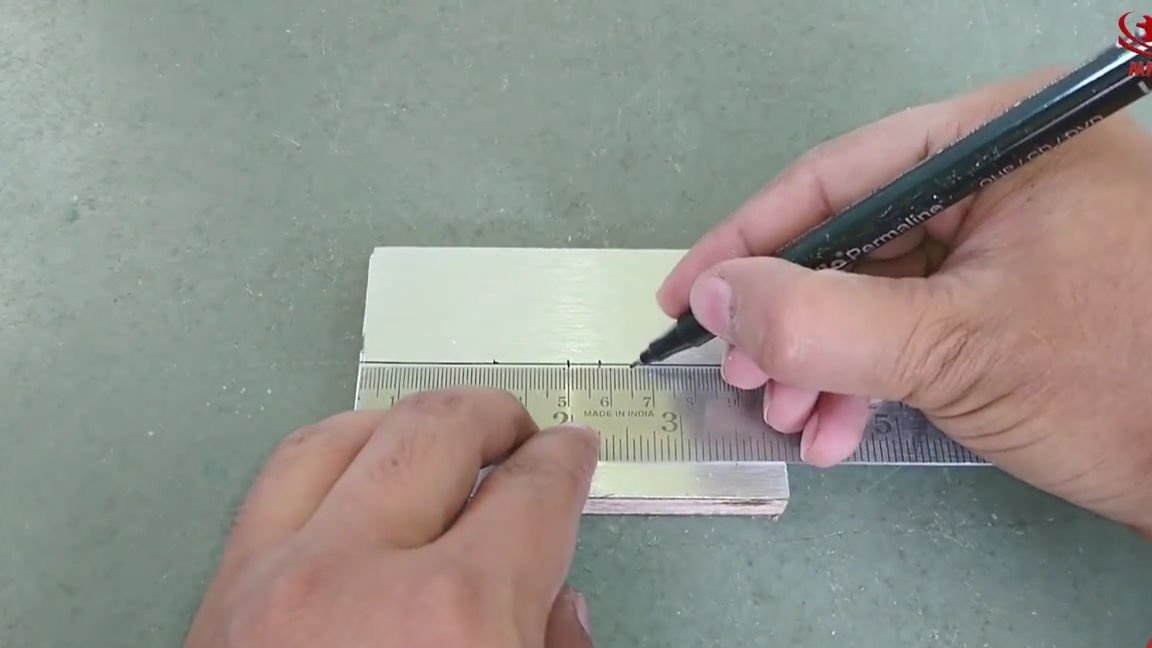
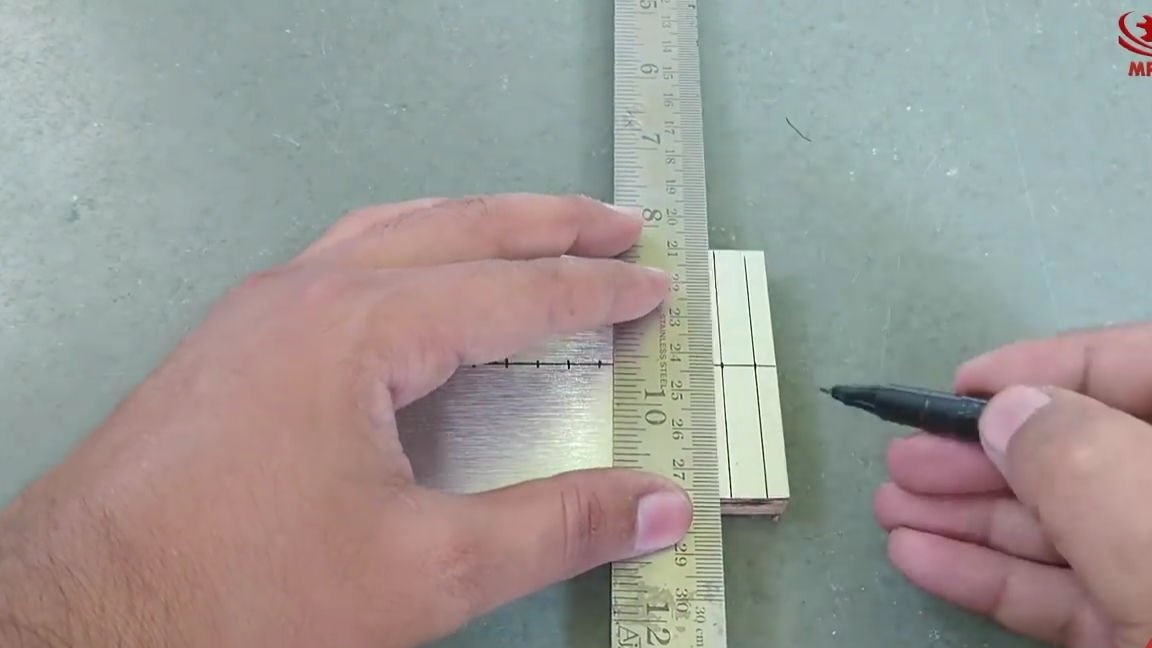
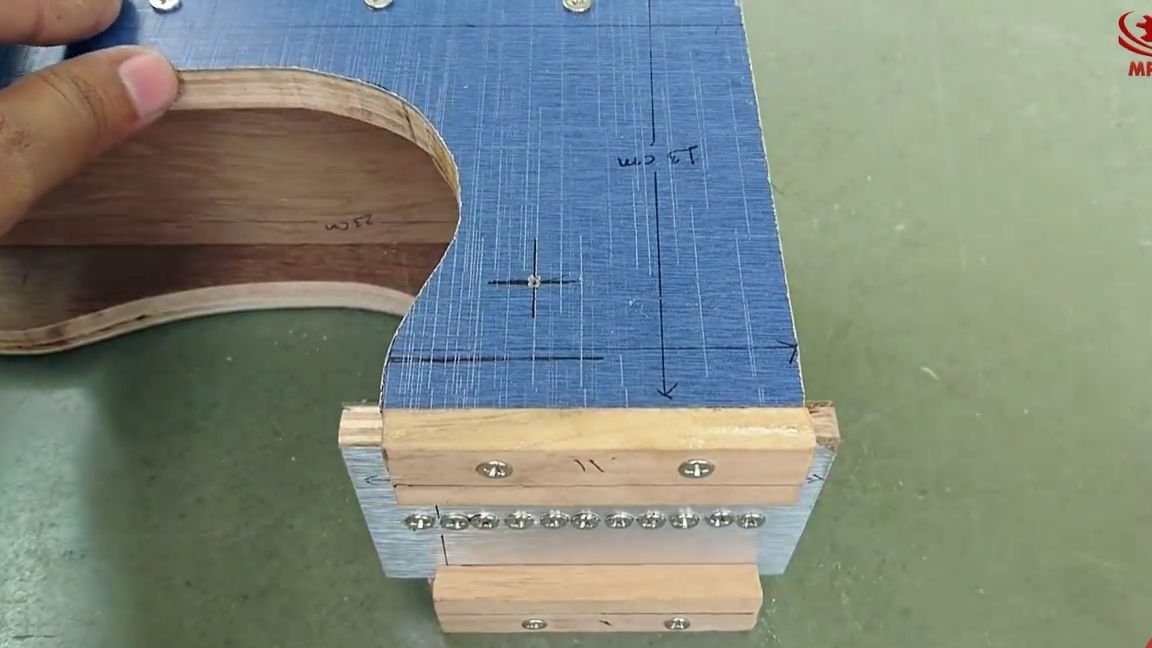
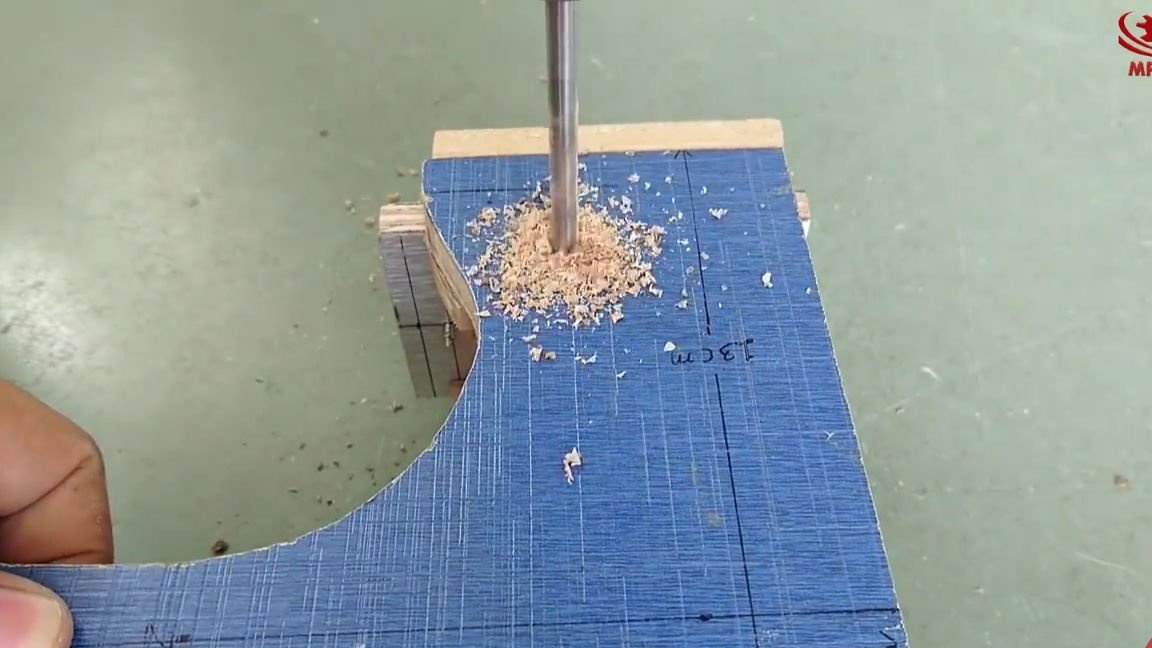
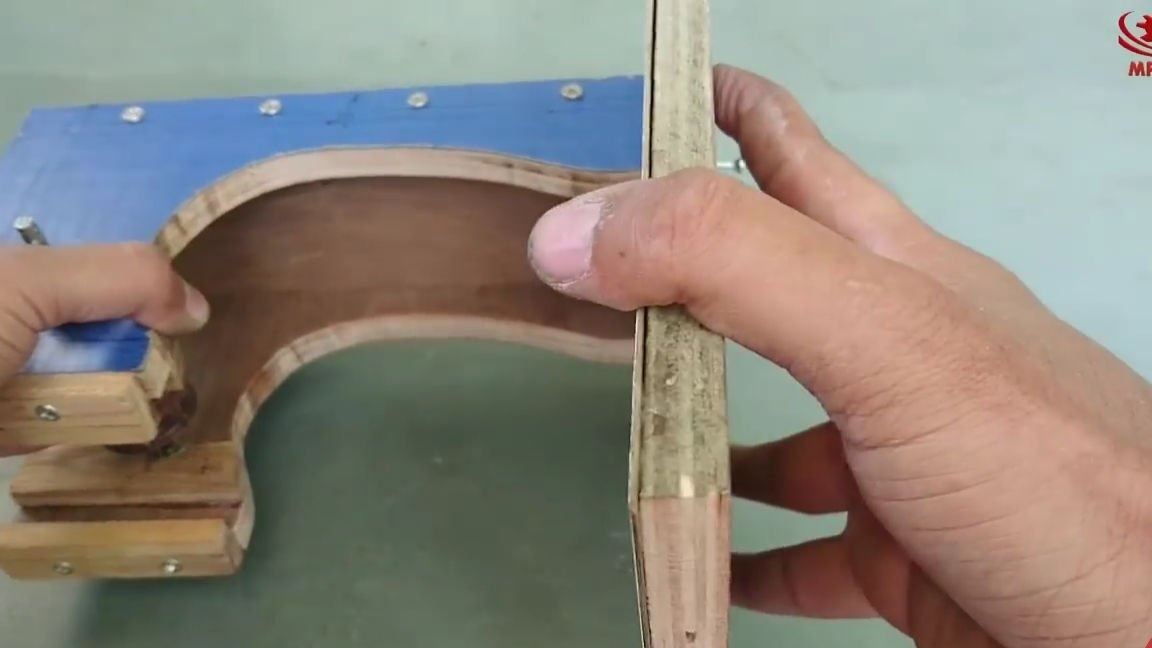
We get the blank, which was inserted between the two cubes. Using a ruler and a marker, divide the workpiece by gender and begin to make markings in the center line. In the photo, the author does it approximately every 7 mm, it is necessary to do it as accurately and accurately as possible. Then, using the same marker and ruler, we make the lines perpendicular to the center of the marks.
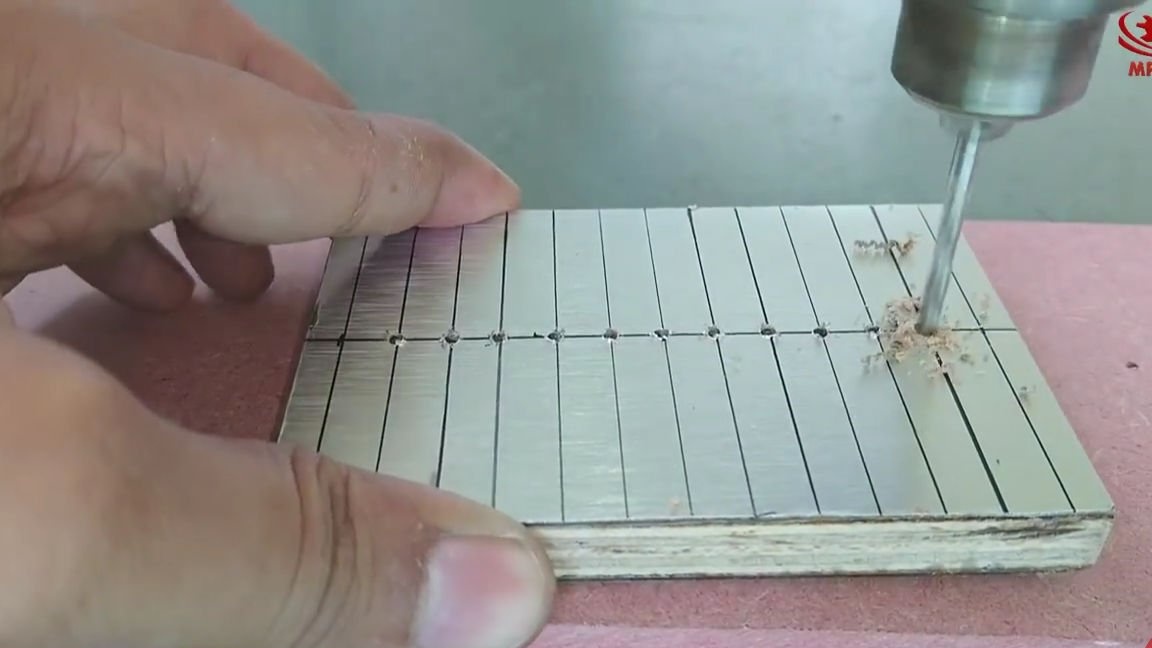
Then we take a drill and drill a bunch of holes according to the marks, then we drive in the screws of equal length, their sharp parts should come out a short distance from the back, in general, everything should turn out like in the photos below.
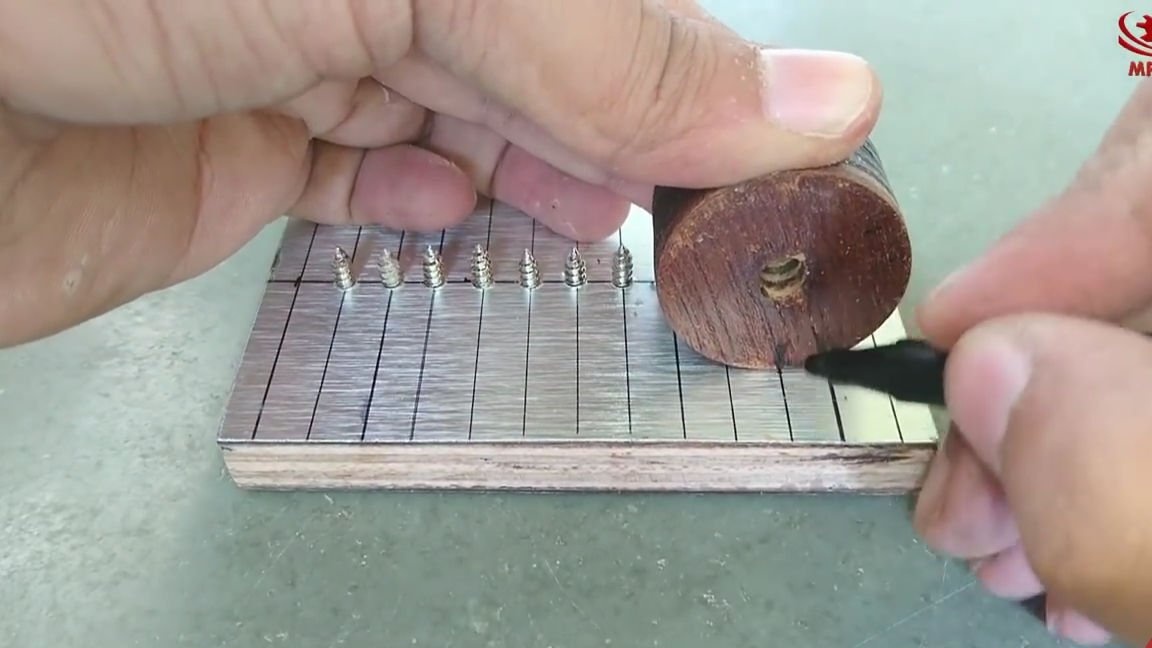
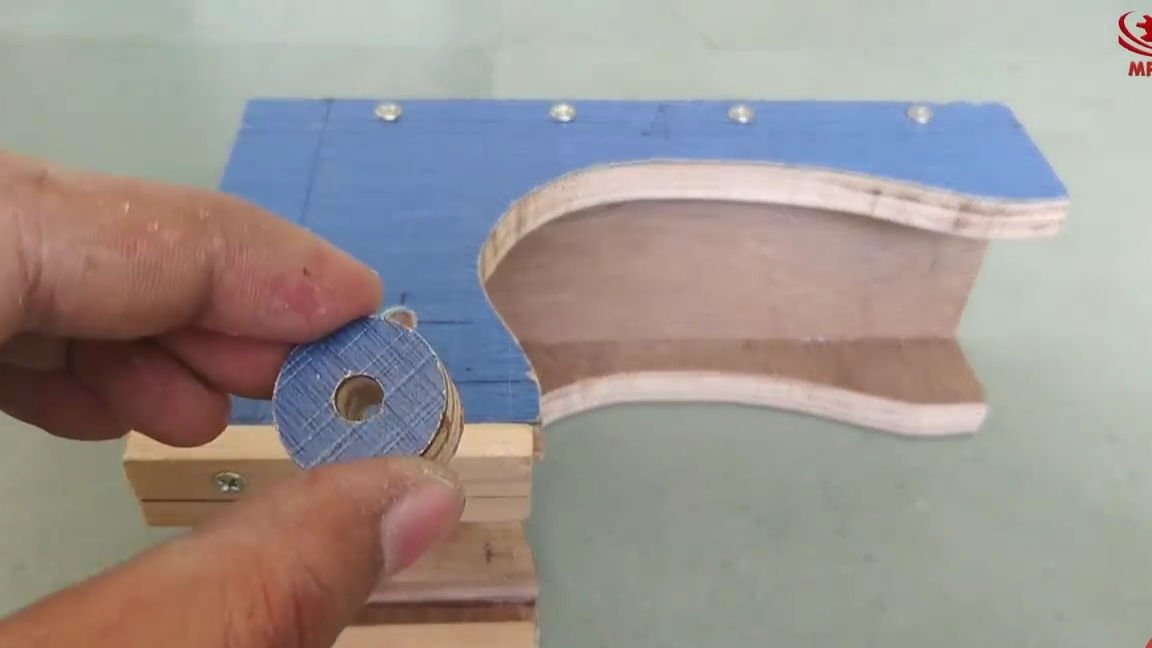
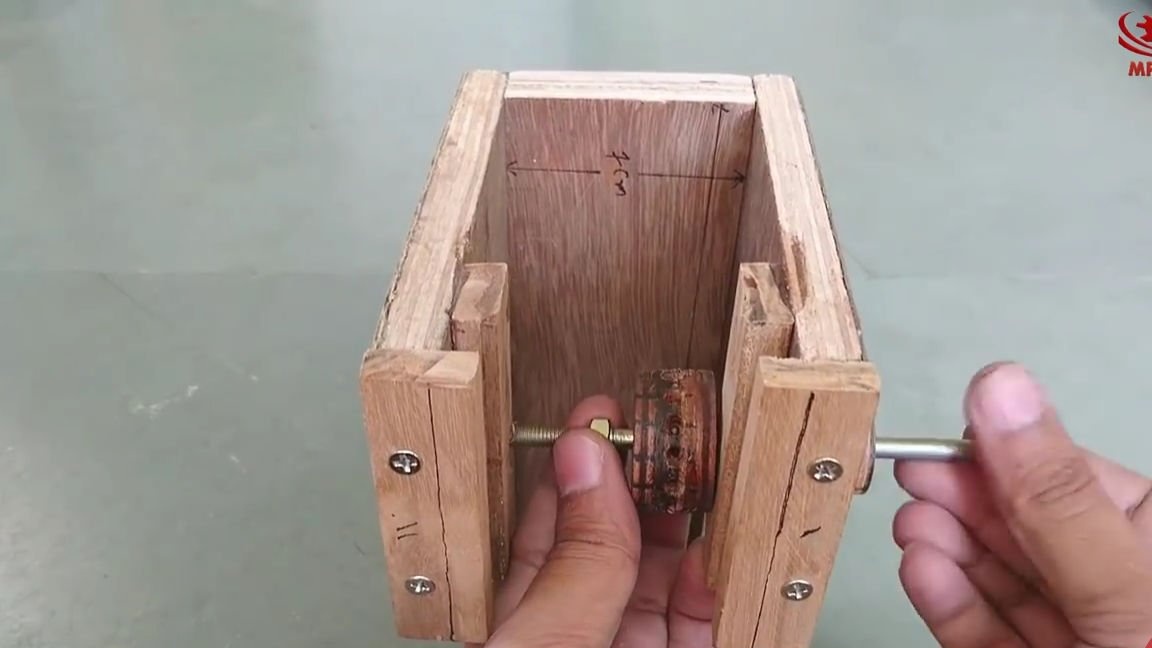
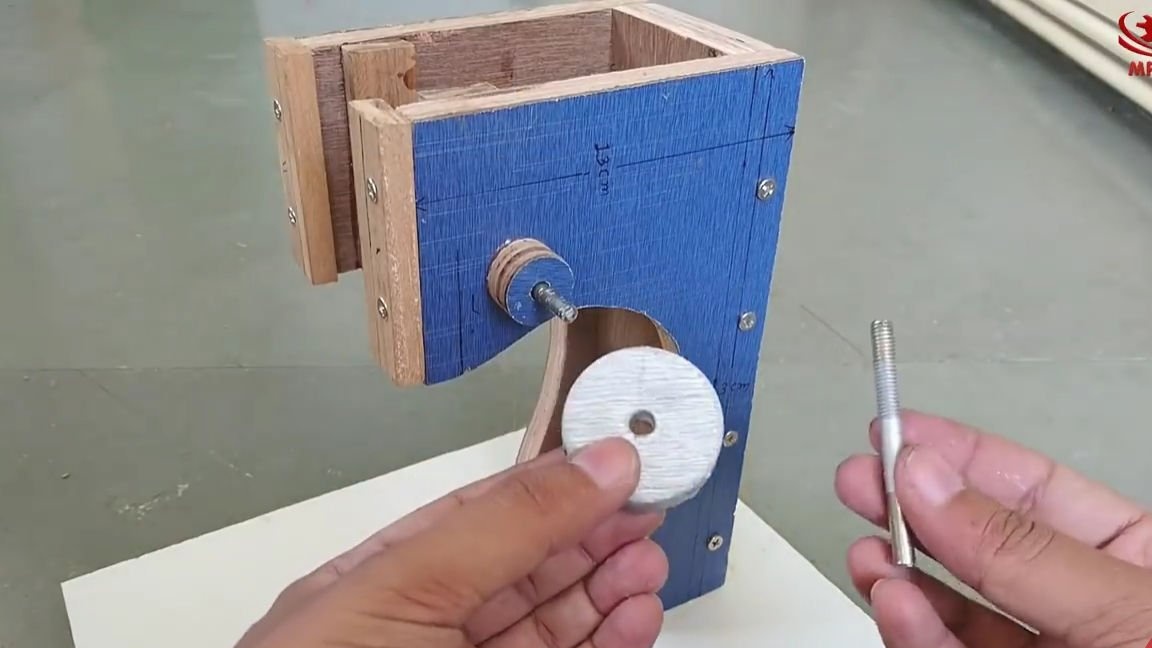
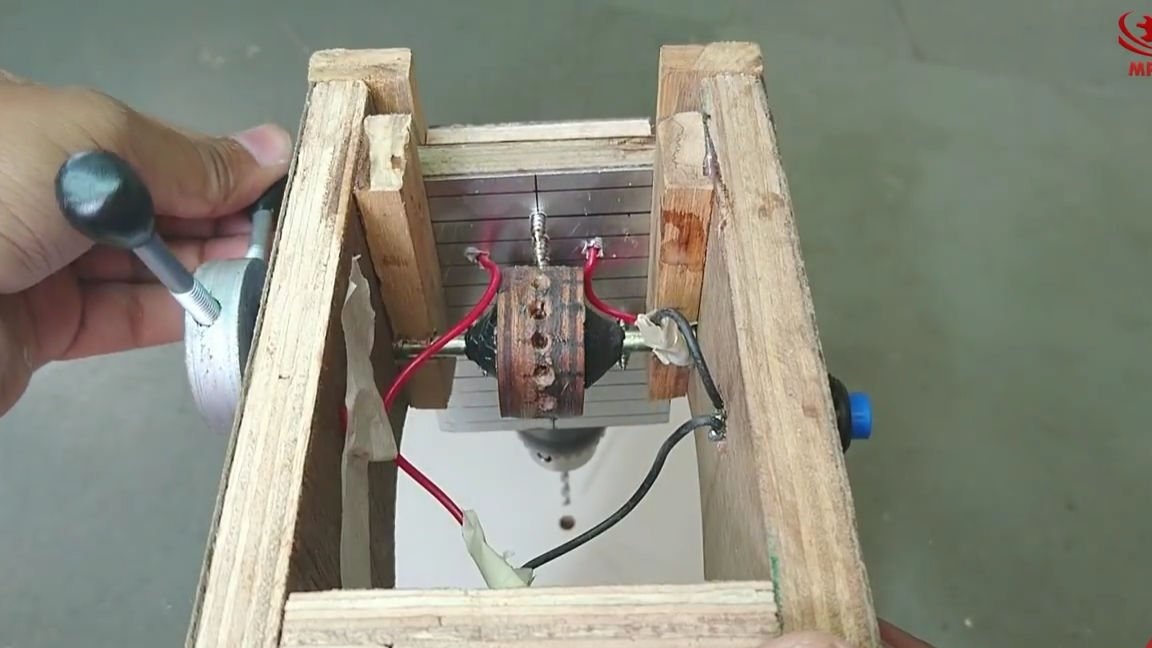
Well, now the most interesting. From thick plywood or fiberboard, it is necessary to cut a small wheel with a hole inside. We apply this wheel to the workpiece that we did earlier and begin to make marks opposite each self-tapping screw, while rotating the wheel itself, it is necessary to transfer the entire length of the workpiece to this wheel, I think everything is clear from the geometric point of view, because from the school bench, we were told at the lessons geometry about the simplest way to find the length of a circle in a horizontal surface, and purely logically this is more than understandable.
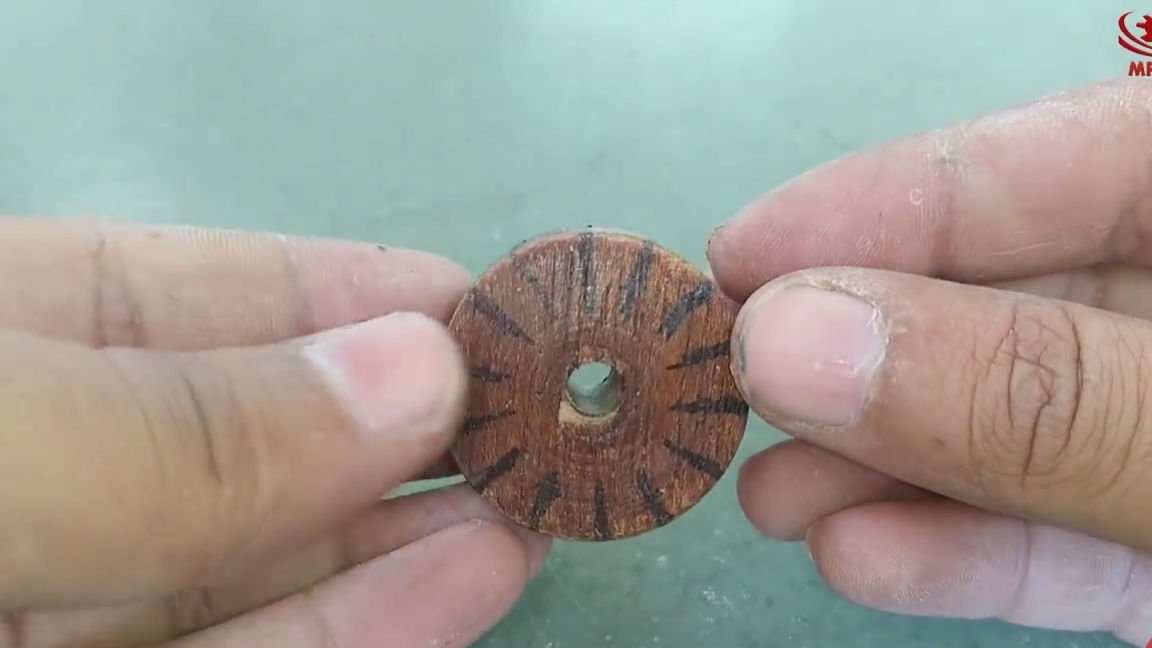
Now it is necessary to make non-through holes along the entire lateral perimeter of our wheel; these holes must be made exactly in the center of the marks that were made literally just now. Well, we are testing of course, what we got.
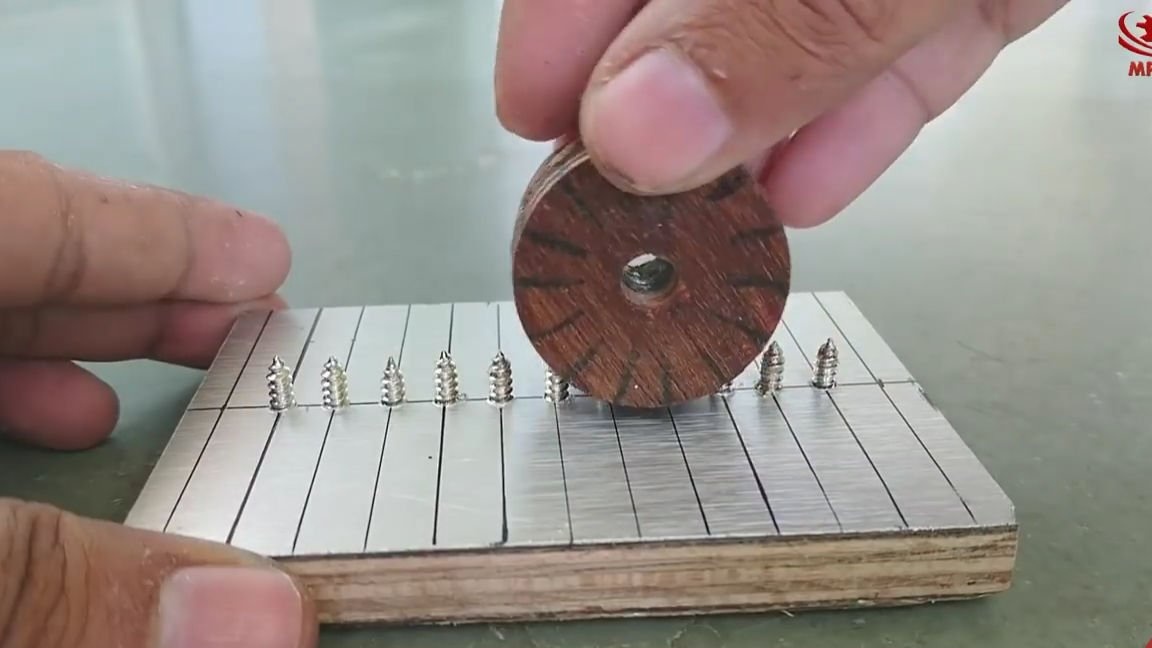
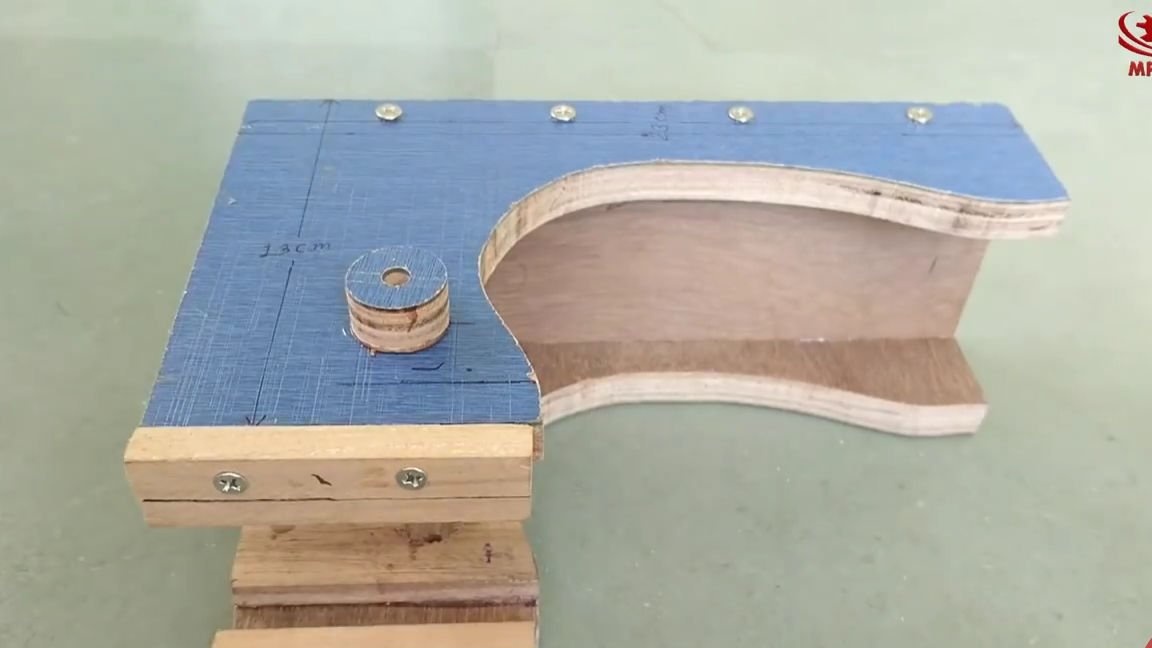
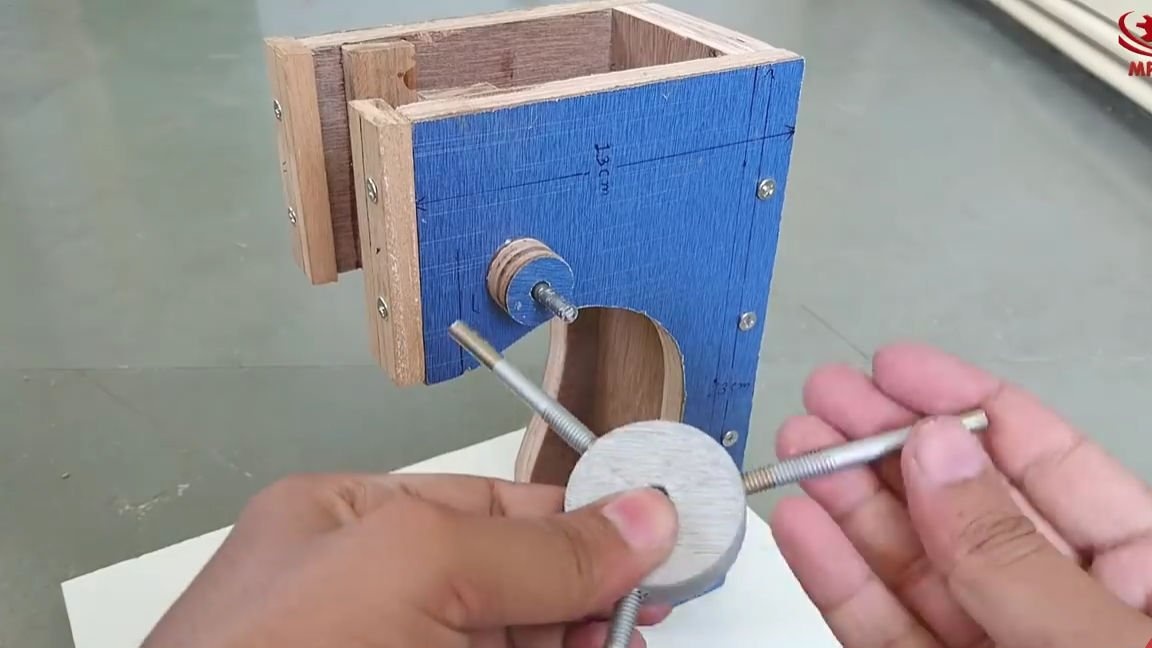
We attach the wheel to the lower parts of the screws, so that the holes coincide with the sharp ends and begin to move it forward, if the wheel freely moves forward and backward, then everything is done correctly and you can continue:

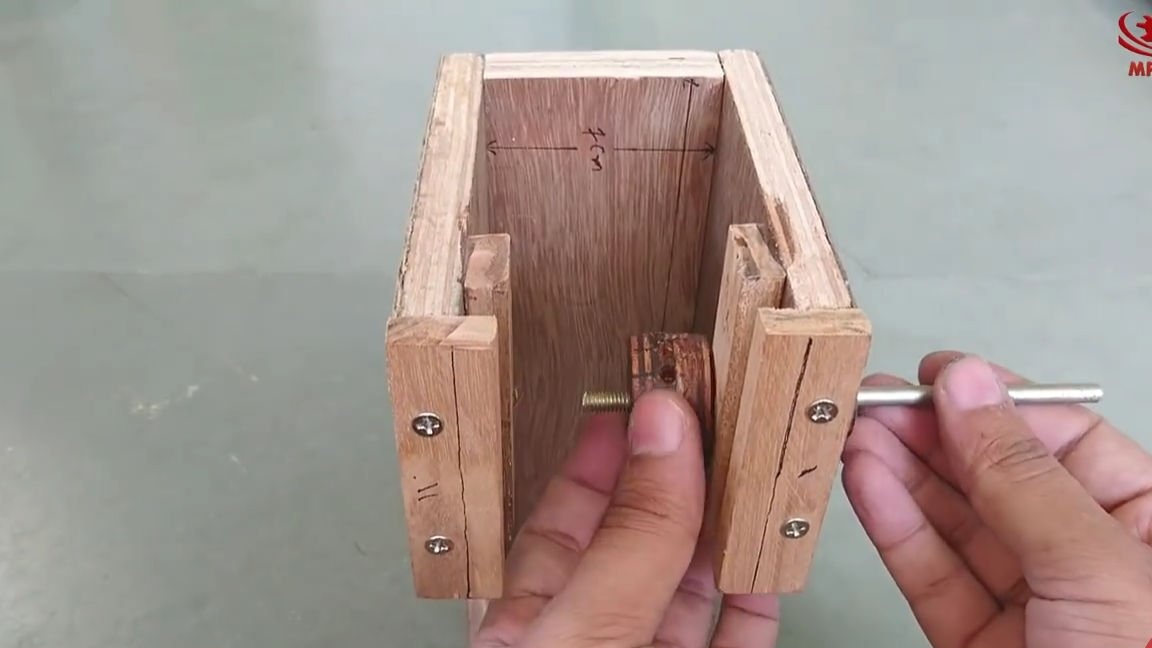
And so, now you need to insert our past blank into your groove, exactly the same as shown in the photo below.
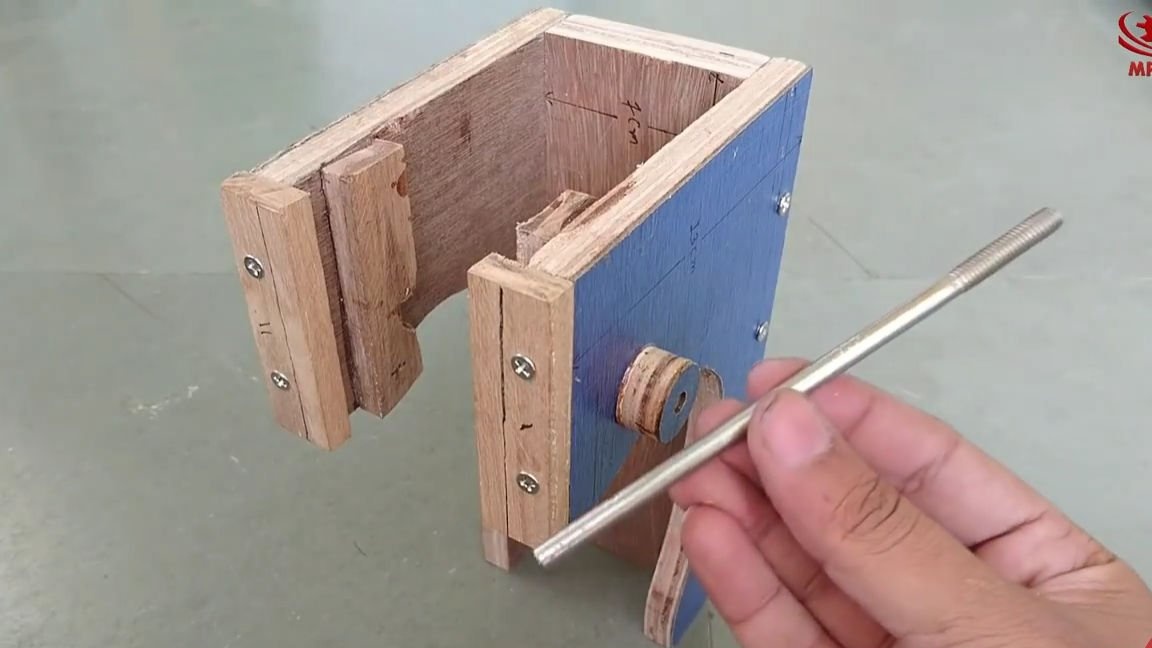
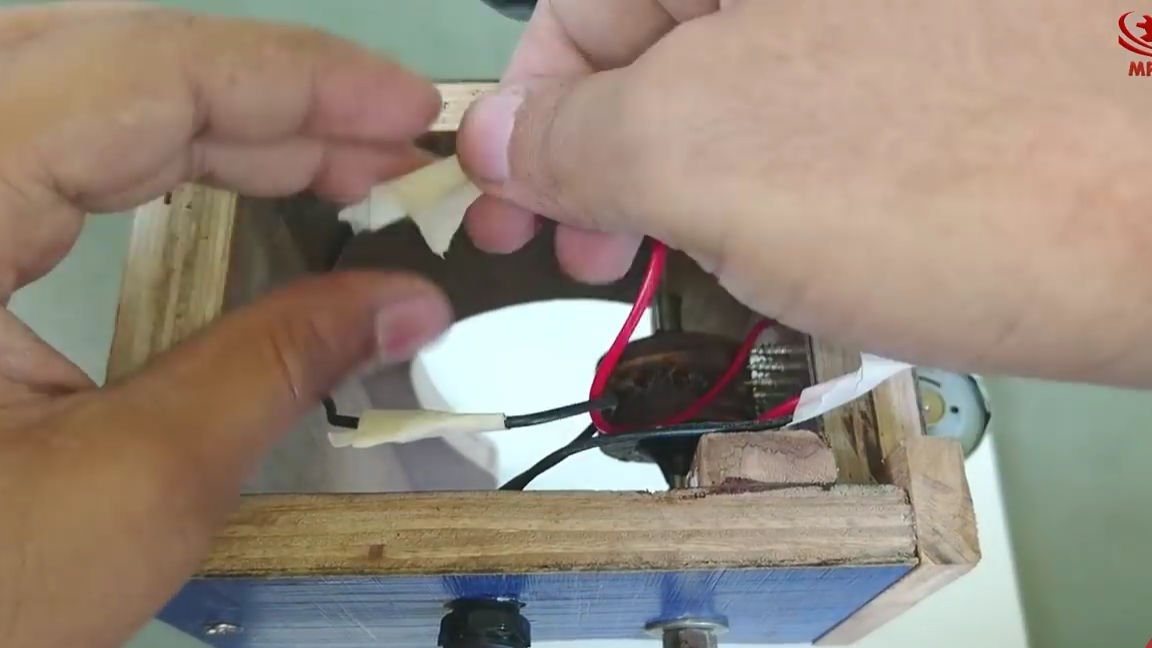
Using a drill and a not too thick drill, we drill a through hole under the groove itself. Then from thick plywood or fiberboard, saw a small circle with a jigsaw and drill a thick hole exactly in the center. After that, glue it exactly opposite the previously drilled hole under the groove.
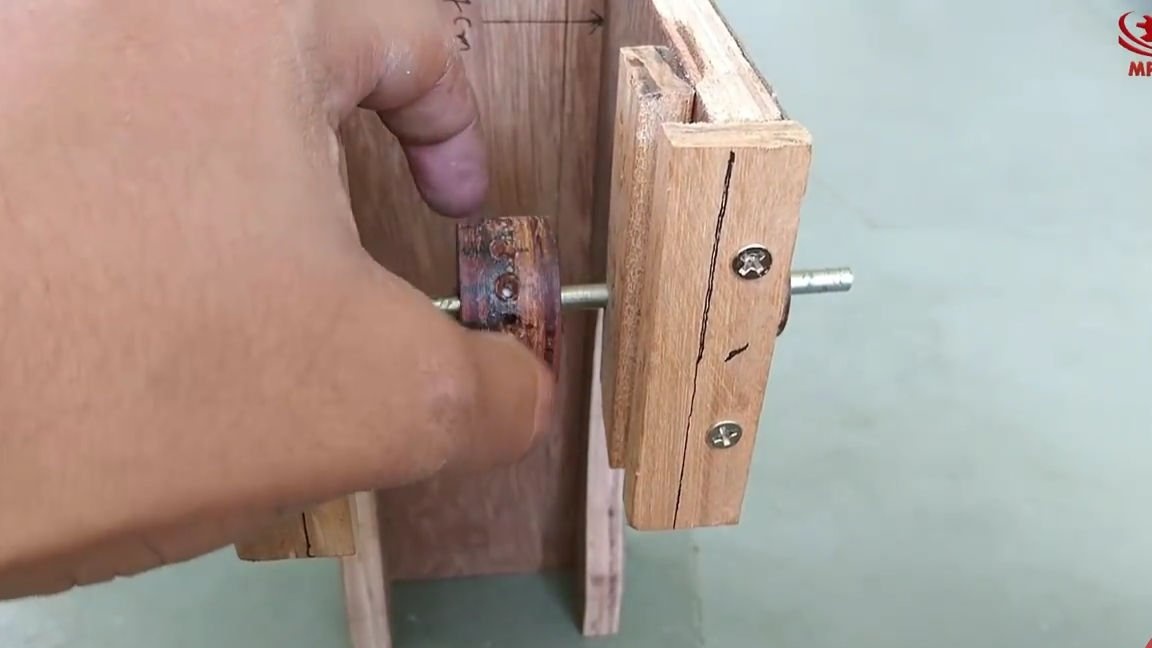
Now you need to take a long pin with a cross section at the end (as it is correctly called, I don’t know for sure, if you know about it, please write in the comments, it will be interesting to read). In general, we need to insert this pin into the hole in the circle, then insert it into the inside, put on the wheel with cuts, glue it as tight as possible to it, put on and tighten the nut, thread through and fix the whole thing finally with the nut and washer under pin. By the way, you need to glue the circle exactly in the center and do it best after all the above procedures:
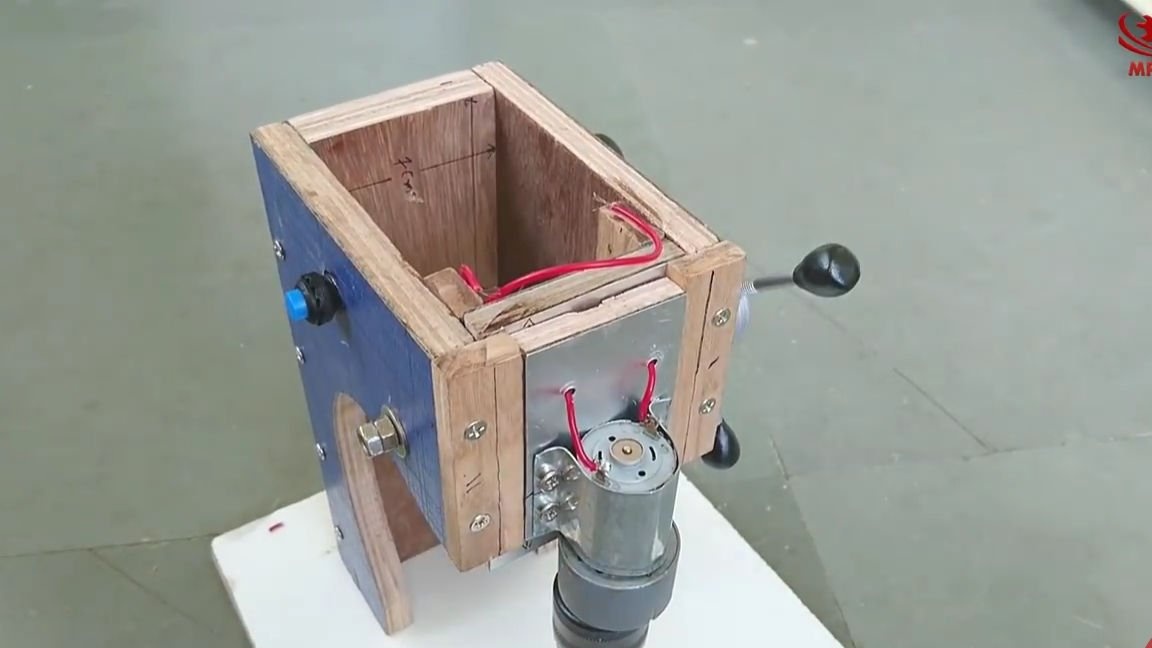
From a large sheet of fiberboard it is necessary to cut a large rectangle and it is good if it is heavy. On this sheet, you must install the entire structure, as usual, according to the old scheme: masking glue, screws.
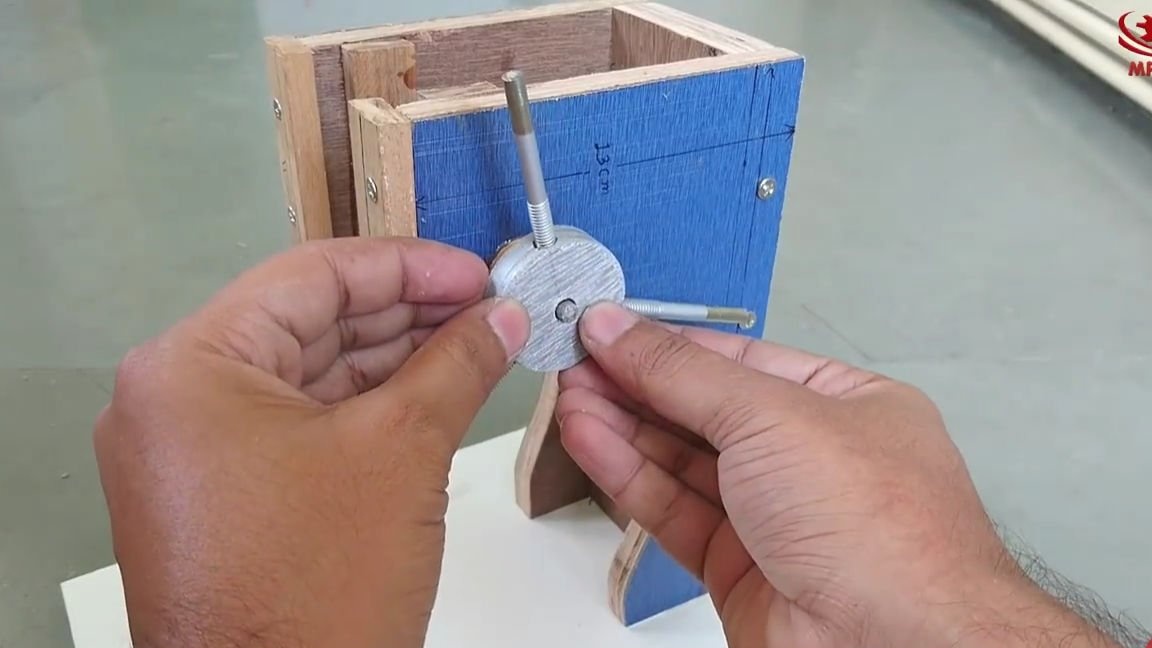
Now you need to take the plywood and cut another circle out of it with a hole in the center and three holes on the sides, three pins of the type of bolts should be screwed into these holes, they should not be too long. And we put on the resulting workpiece and fix it on the main large rod:
Well, let's finally get down to electronics.
We need to put on and fasten the chuck from the drill on the shaft of the electric motor, for this, the author of the homemade product decided to use roofing felts plasticine, roofing felts with special plastic, which hardens and takes the desired shape over time, if anything, this plastic can be bought either in special stores, or order them from China, and plasticine is unlikely, it just seems to be.
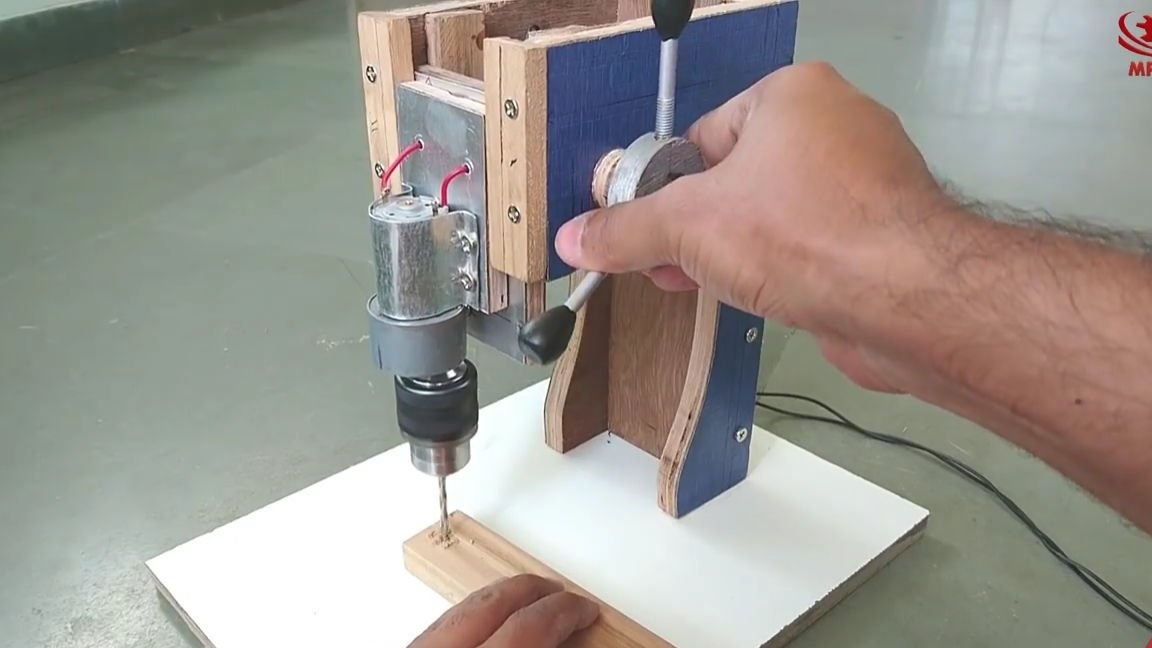
Well, now you just need to fix the electric motor on a movable structure, there’s nothing complicated in it, so we just do everything as shown in the photo below:
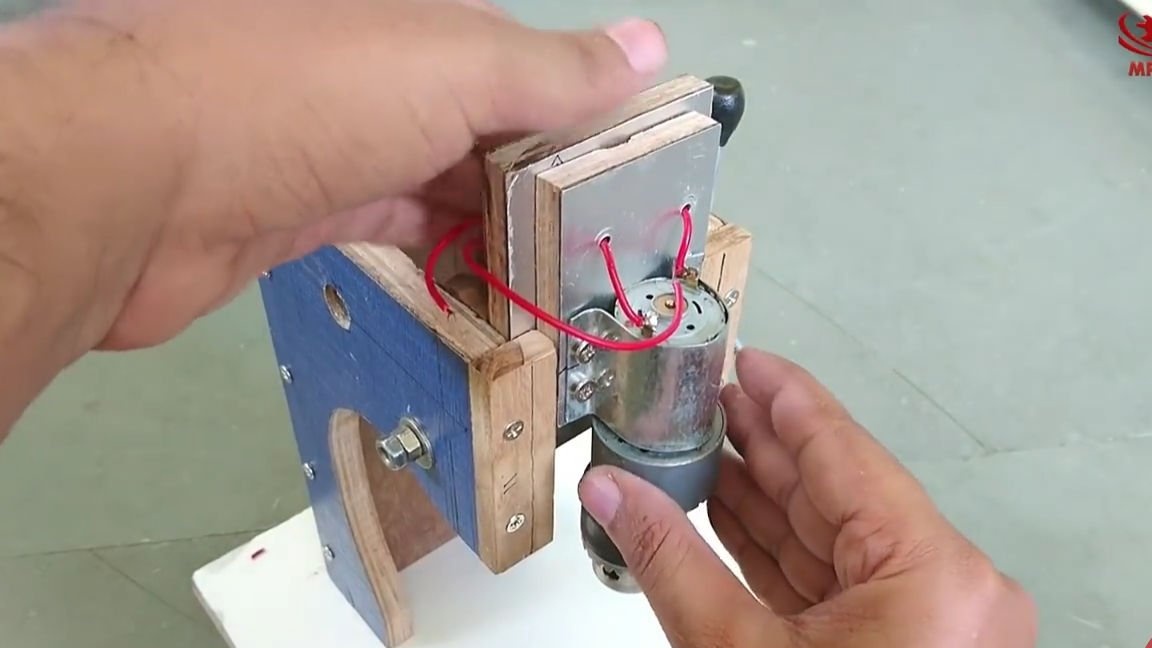
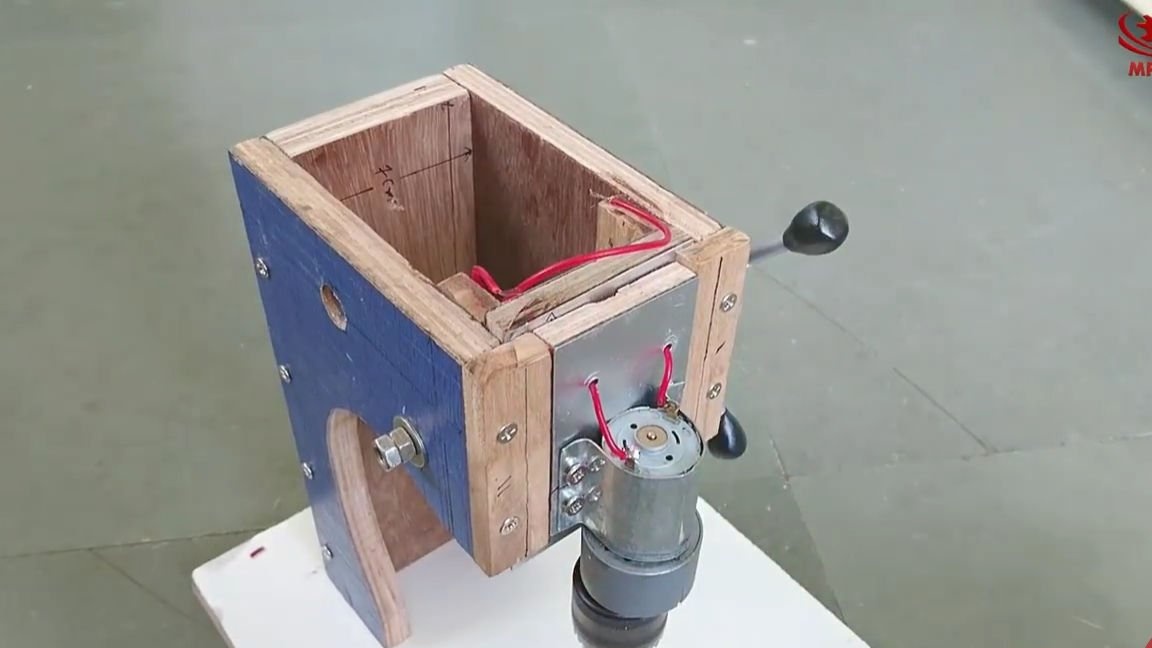
And we check, but at the same time we insert into the general design:
We insert the button and start connecting all the electronics together, the author decided to simply twist the contact points and insulate them with tape or tape, but as for me, it is better to solder of course. In general, we connect everything into one electric circuit and connect it to the power supply for this electric motor. By the way, they usually make an emergency shutdown button for such tools, but there’s just one button:
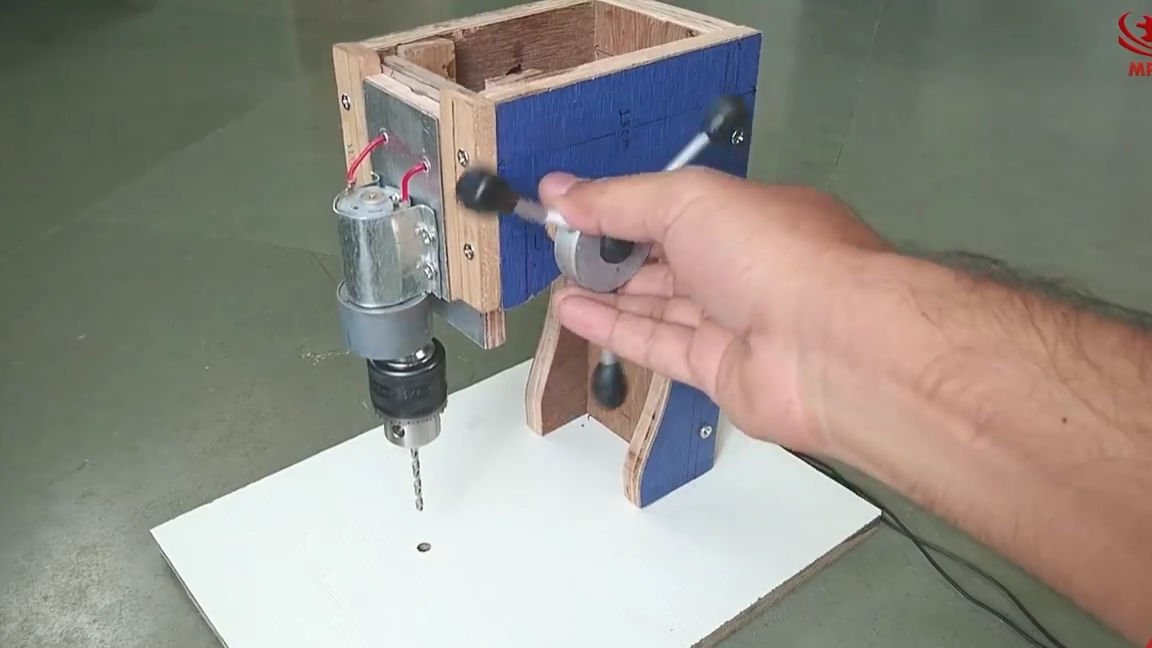
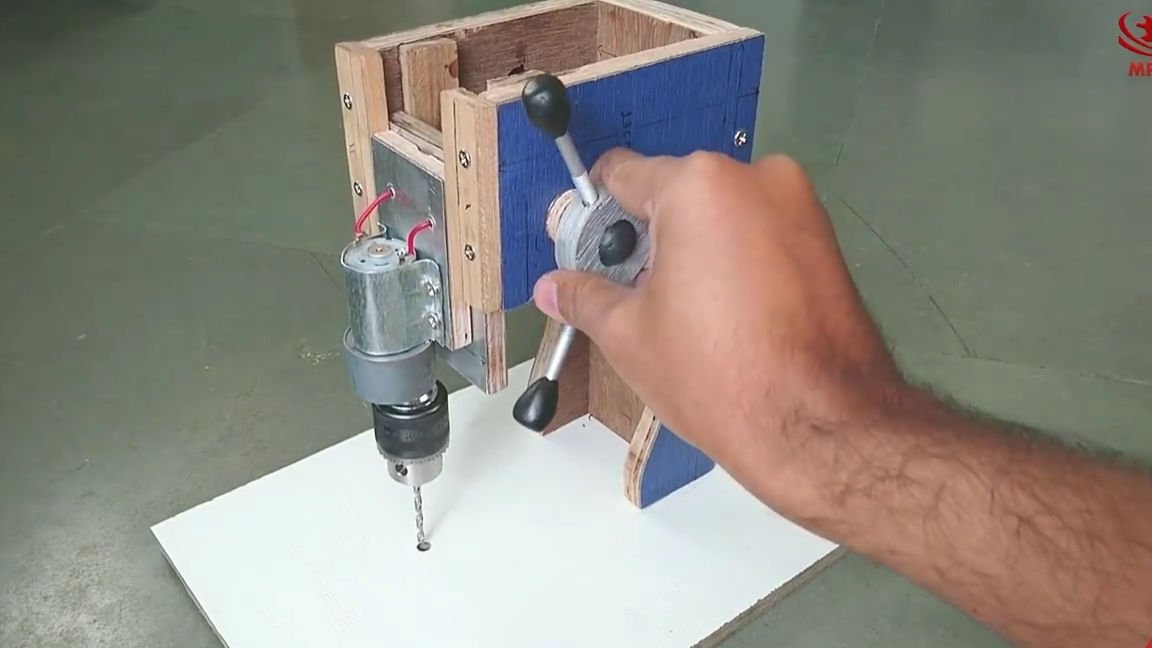
That's it! A simple drilling machine is ready and you just have to test it!
You can purchase accessories that can be useful for assembling this homemade product here:
Here is a video from the author with a detailed assembly and testing of this homemade product:
Well, thank you all for your attention and good luck in future projects, friends!