Most of the winter has passed and it's time to think about the upcoming warm season. In this article, we will look at how to make a device that attracts light and kills insects with current. The main part of the device is an electric clapper. Such crackers are sold as electric fly swatter and cost around 200-300 rubles. Although, having such a device in the past, I personally could not fly, to persuade a fly swatter to get on a metal mesh or to catch them with this thing myself)))) Night insects are another matter, if there is a source of ultraviolet light, they will all fly on him and get on the grid under voltage. By the way, such a device, in stores already costs from 1200 rubles.
So, for the manufacture of such a device will need the following
Tools and materials:
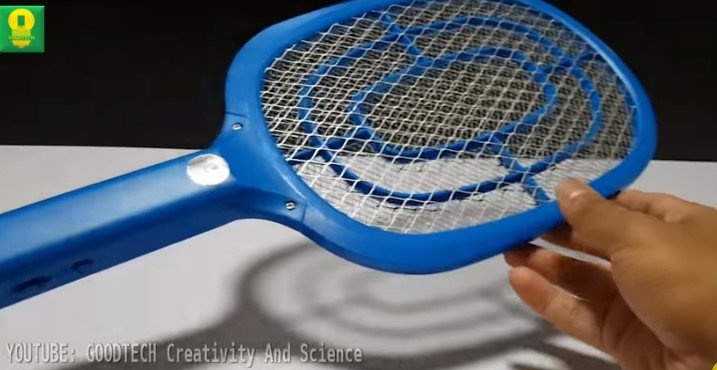
-Electrical fly swatter;
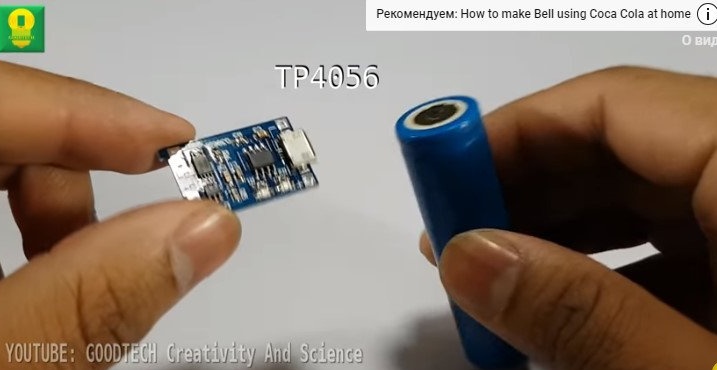
-3.7 V lithium-ion battery;
- TP4056 charging module;
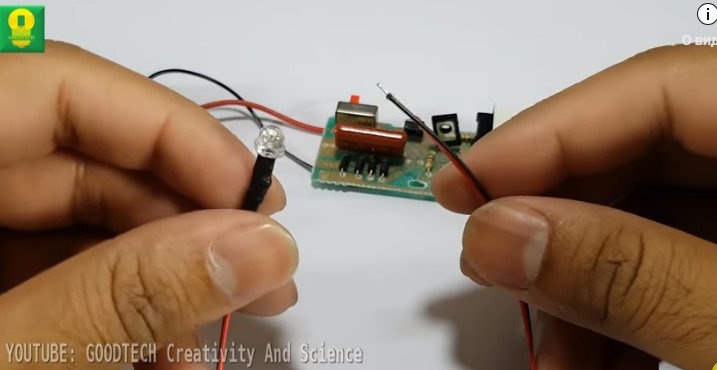
- UV LED 5mm;
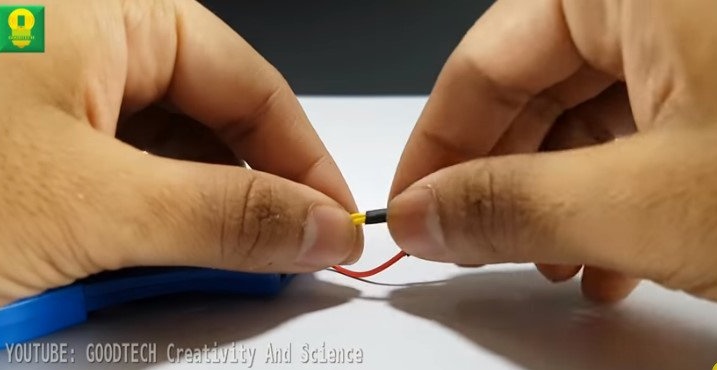
-Shrink tubes;
-Cardboard;
-Wire;
-Soldering accessories;
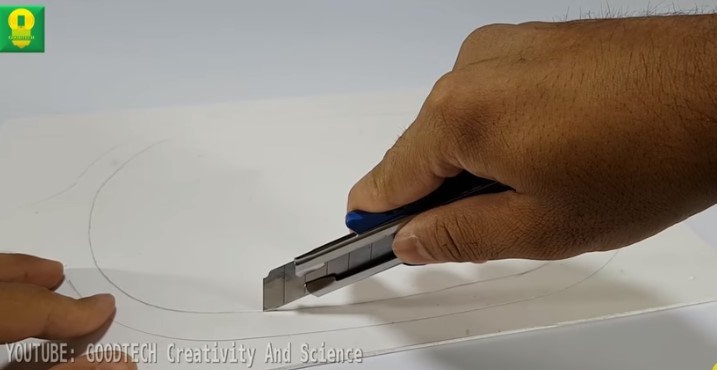
-Knife;
-Pencil;
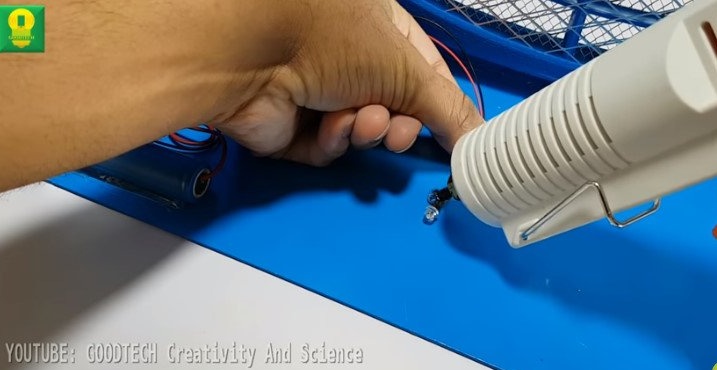
-Glue gun;
-Screwdriver;
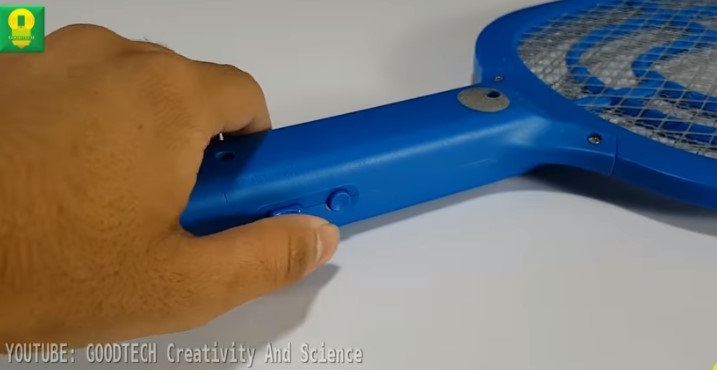
Step one: disassemble the fly swatter
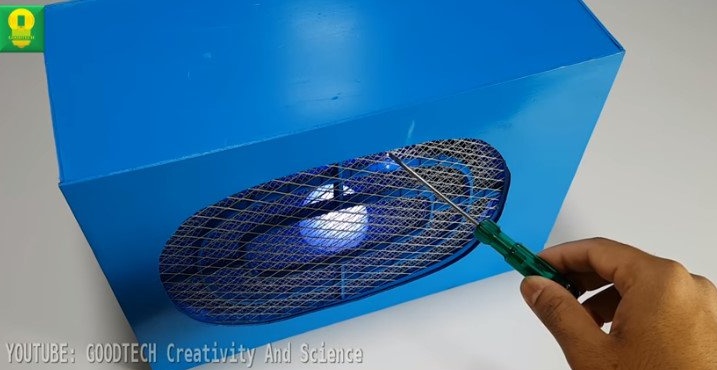
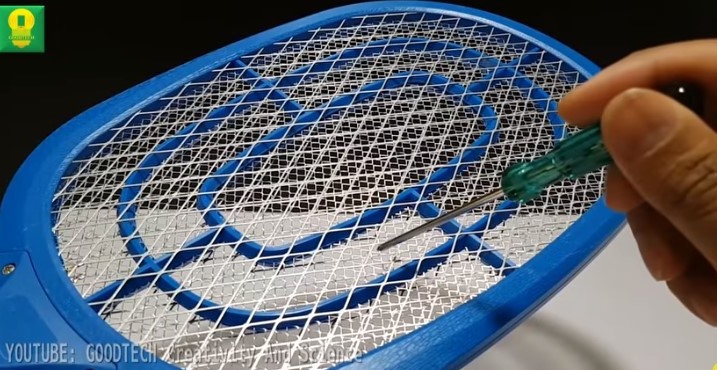
We check the operability of the fly swatter by holding a screwdriver to it.
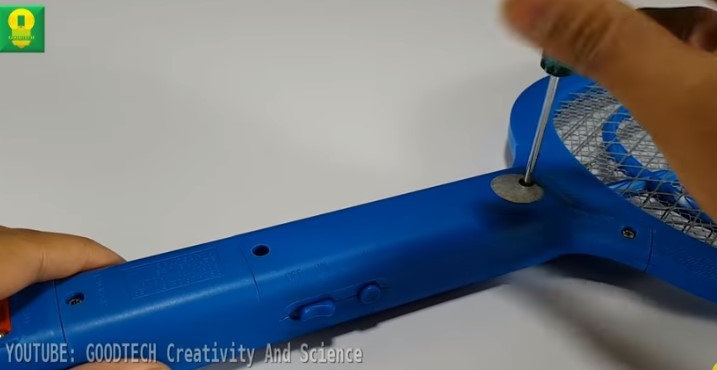
Unscrew the screws and disassemble the case.
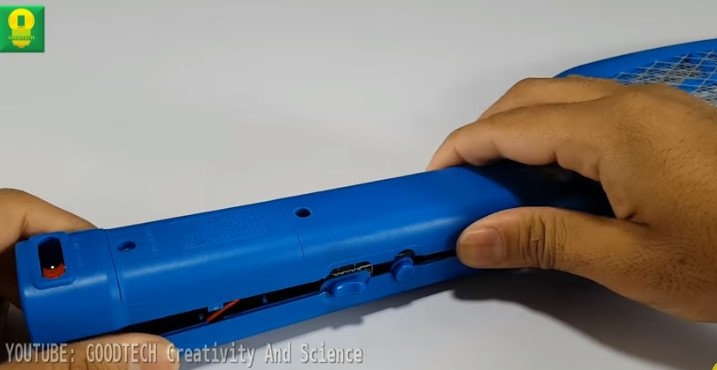
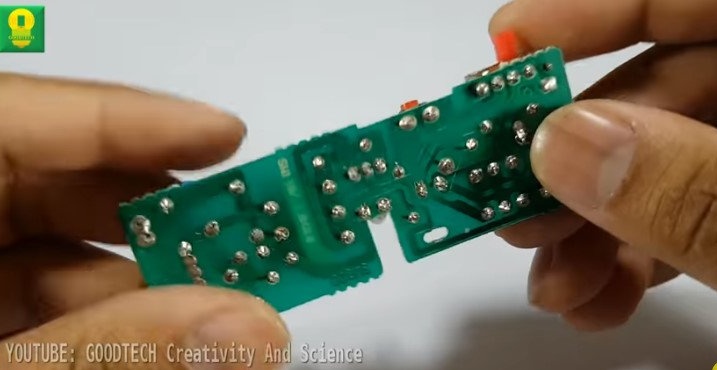
Dismantle the board.
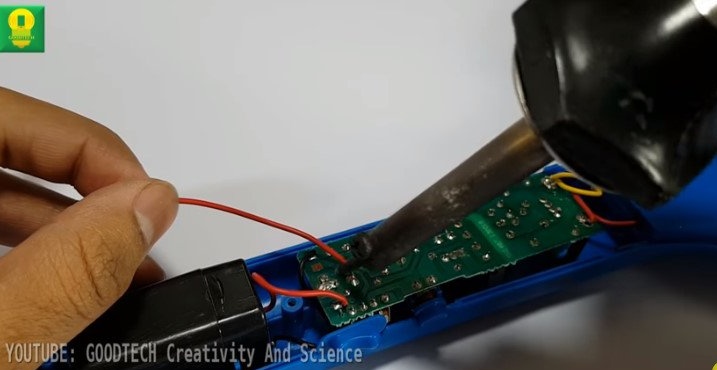
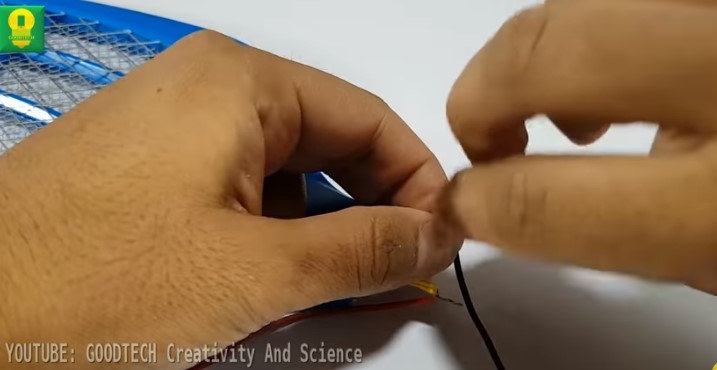
We increase the wires going from the grid.
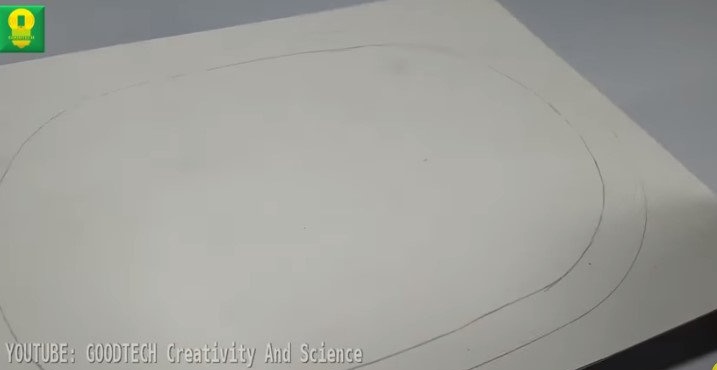
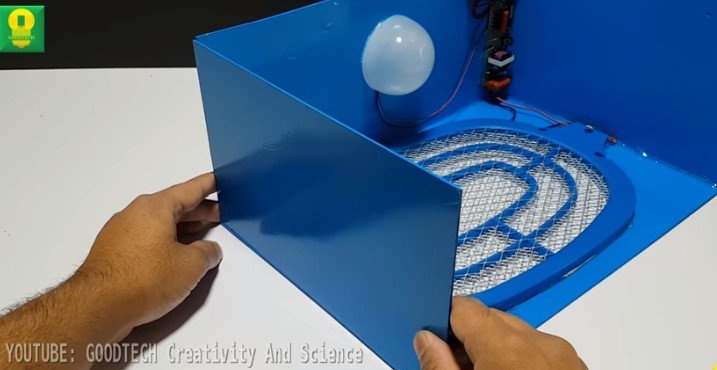
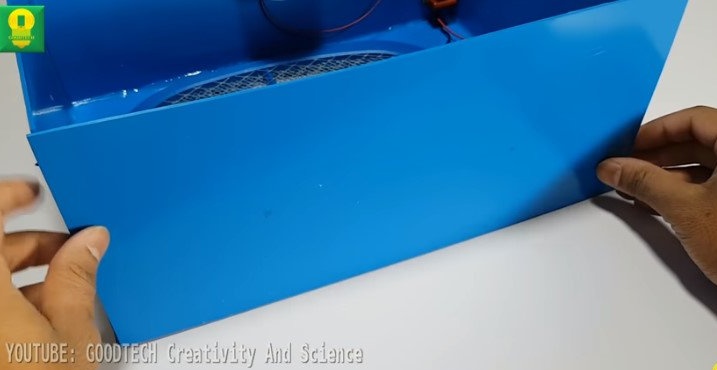
Step Two: Case
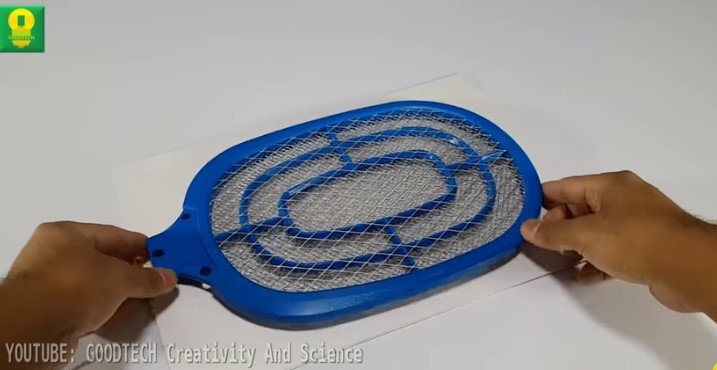
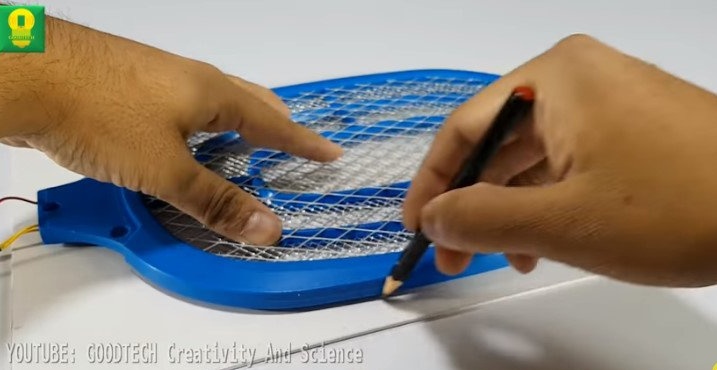
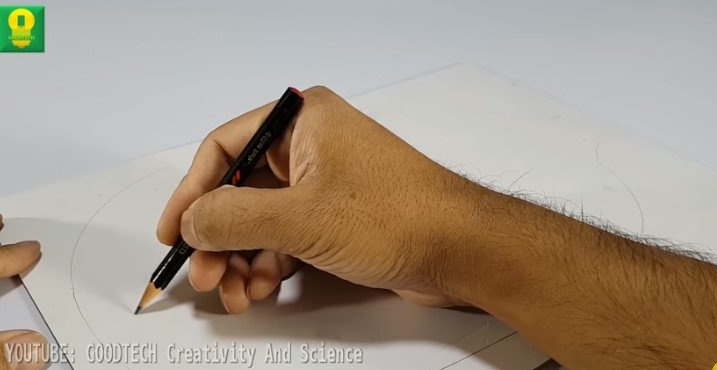
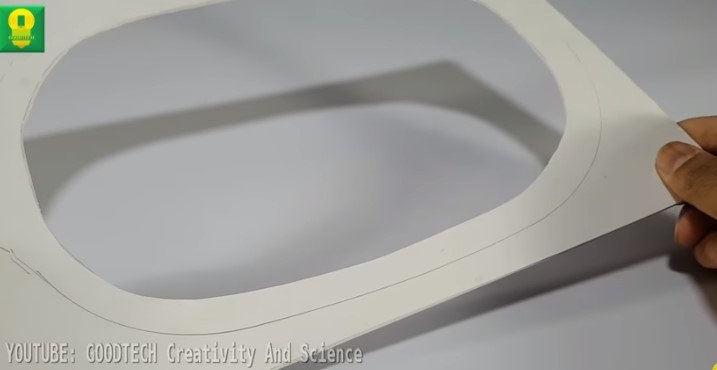
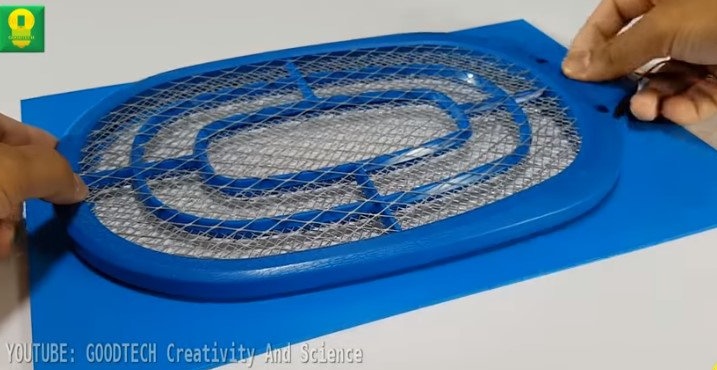
The body of the device is made of thick cardboard. In one wall, a window is cut to the size of the fly swatter grid.
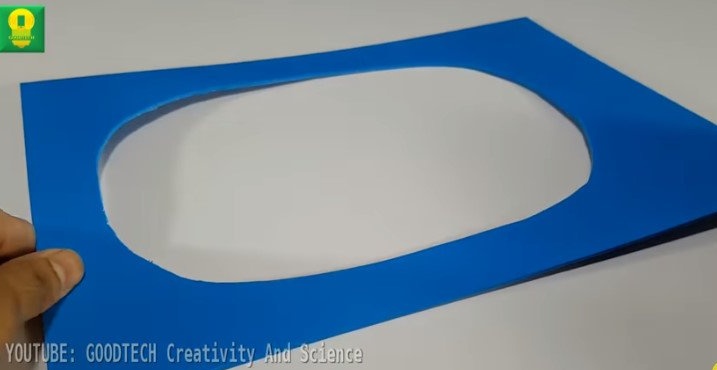
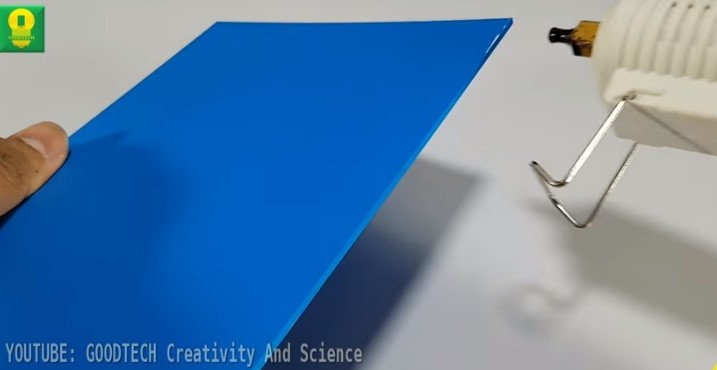
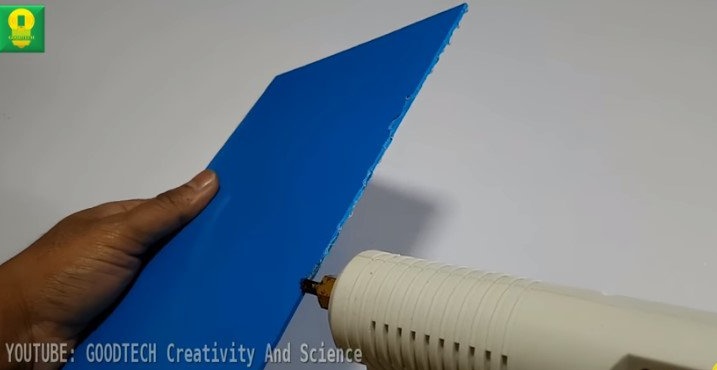
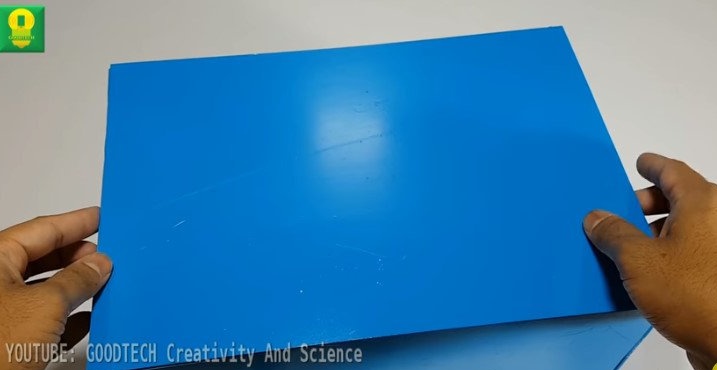
Paints box details in blue.

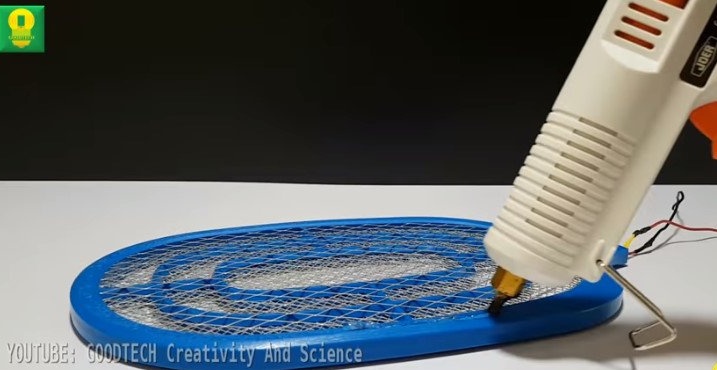
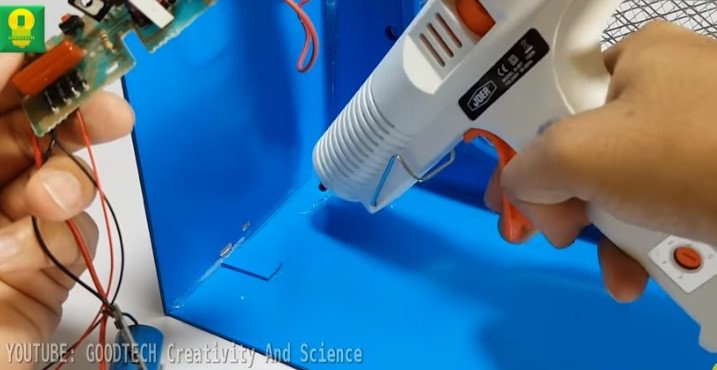
Glues the spark gap to the cardboard.
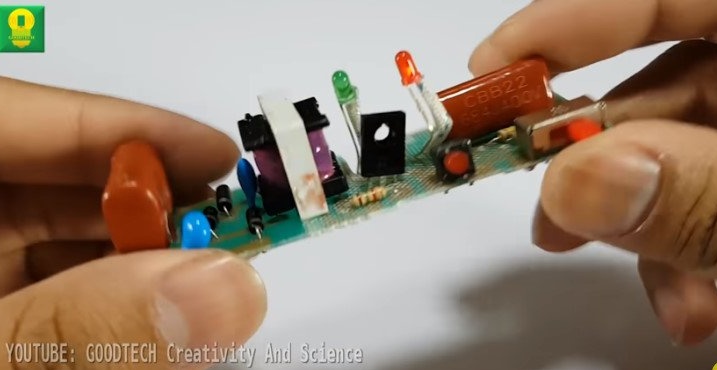
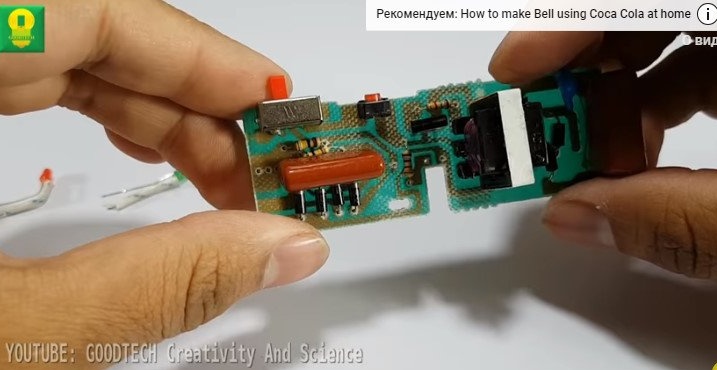
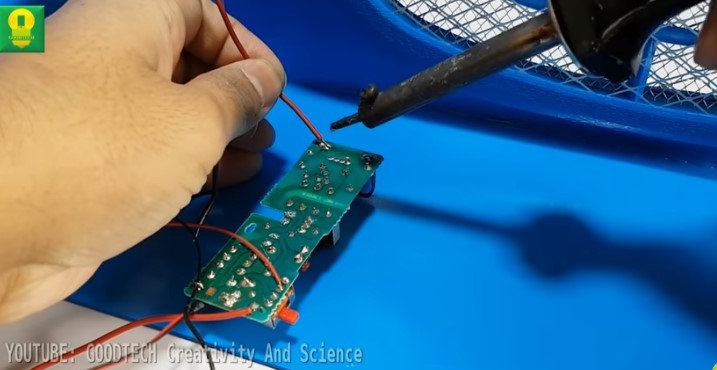
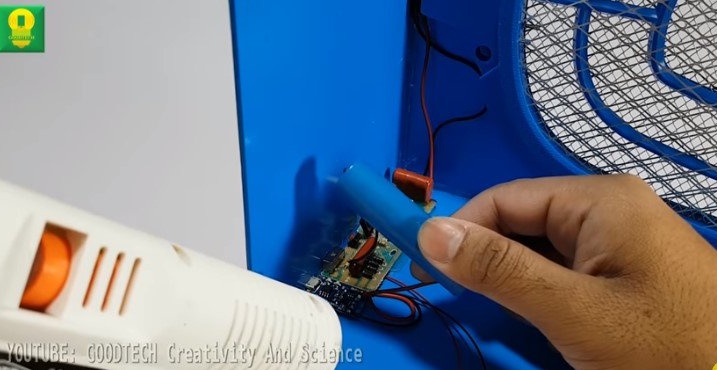
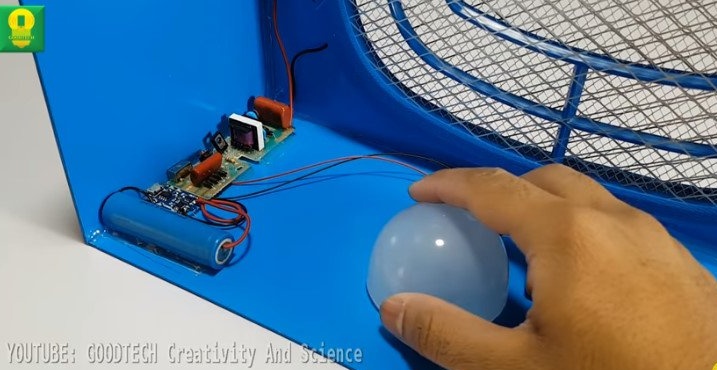
Step Three: electronics
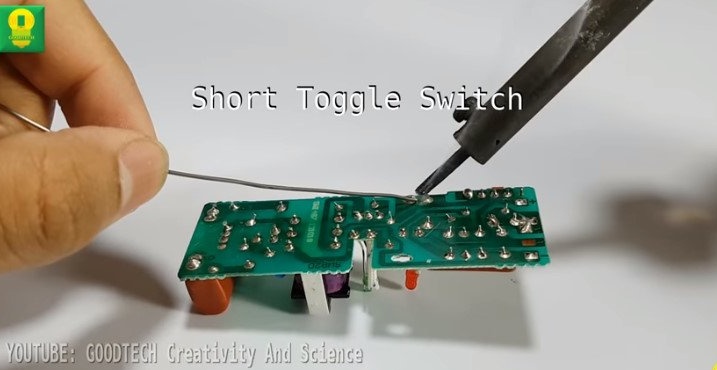
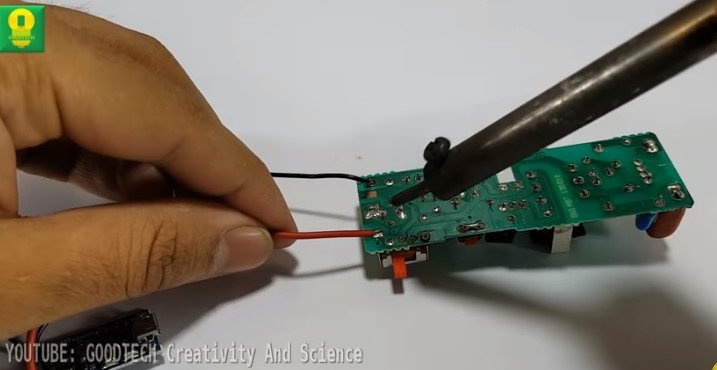
Now you need to finalize the board. Solder the jumper to the switch and solder the LED.

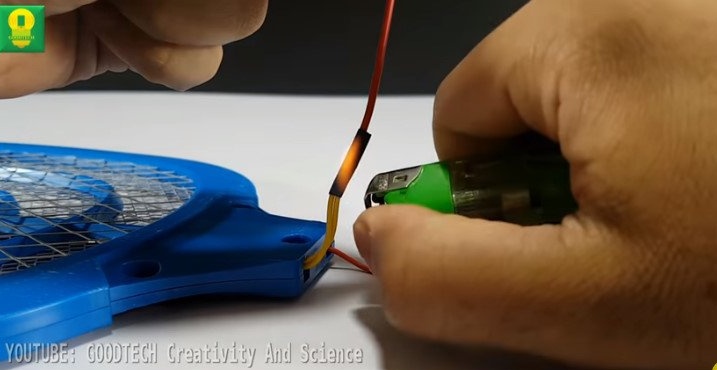
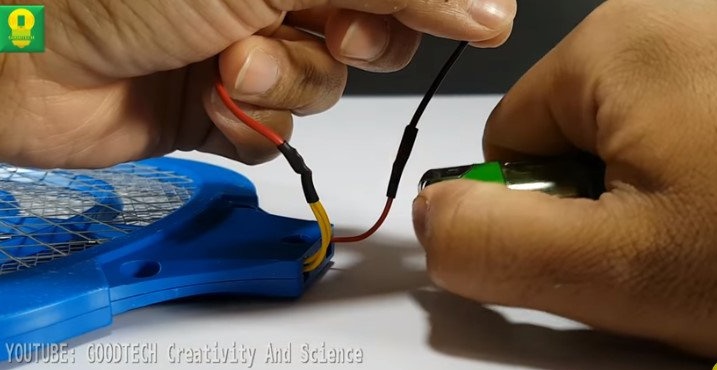
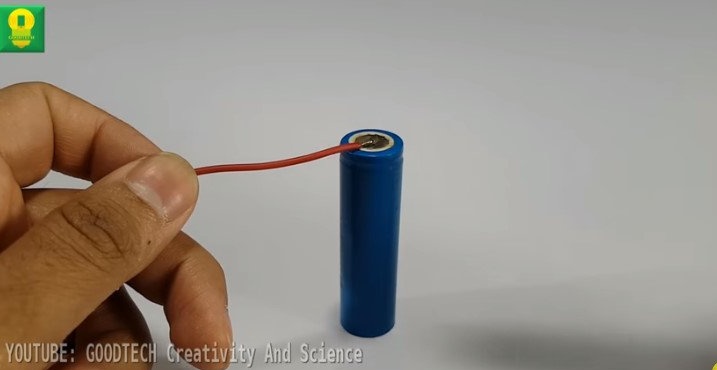
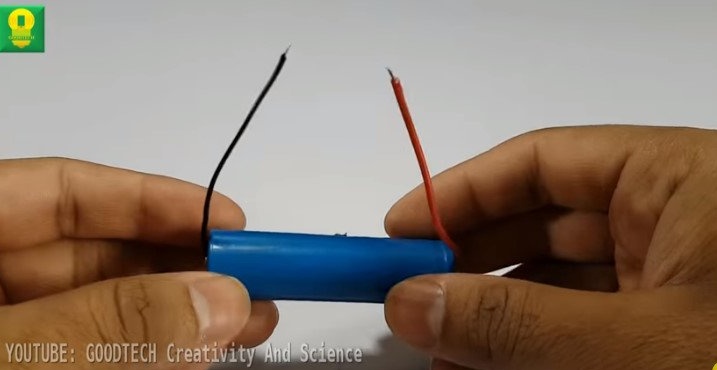
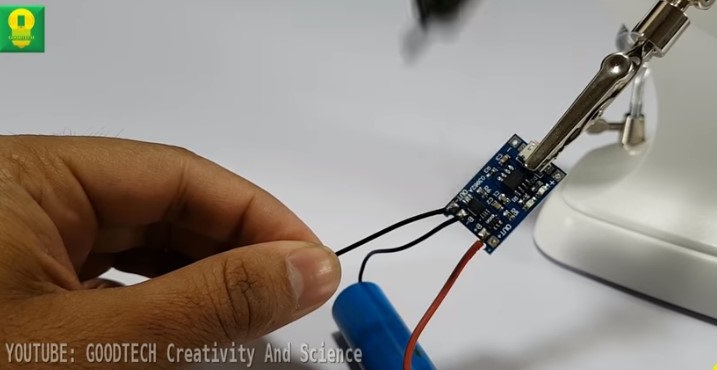
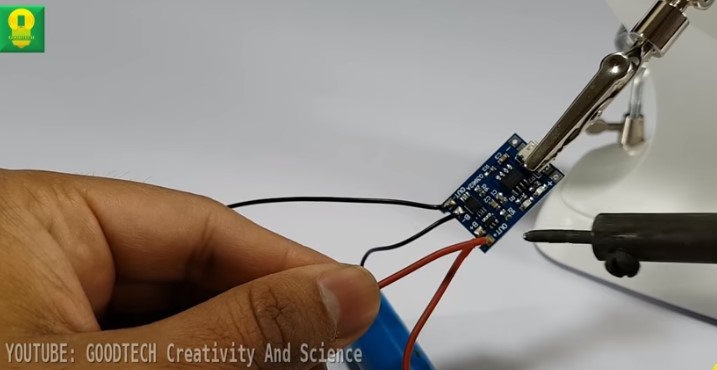
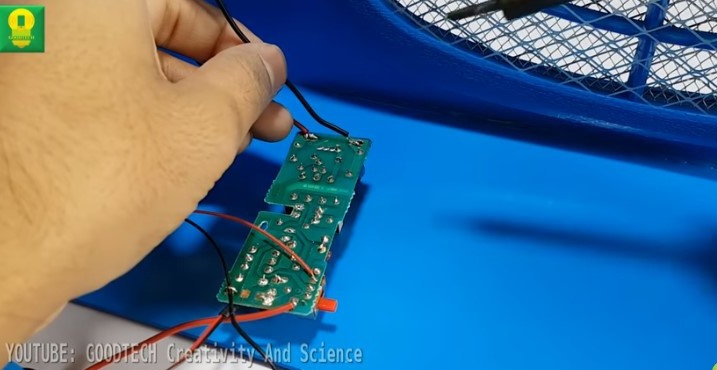
Solder the wires to the battery, the second ends to the charging module.
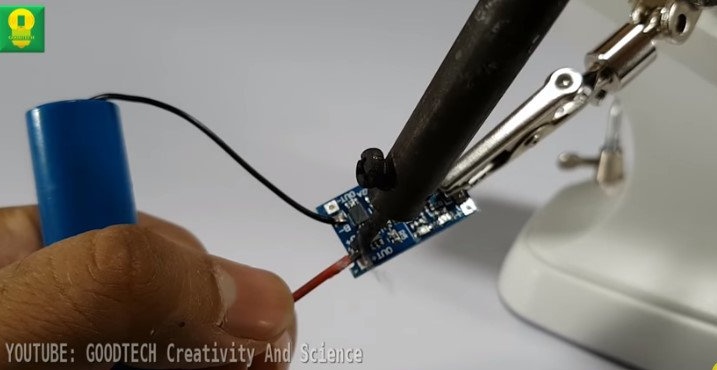
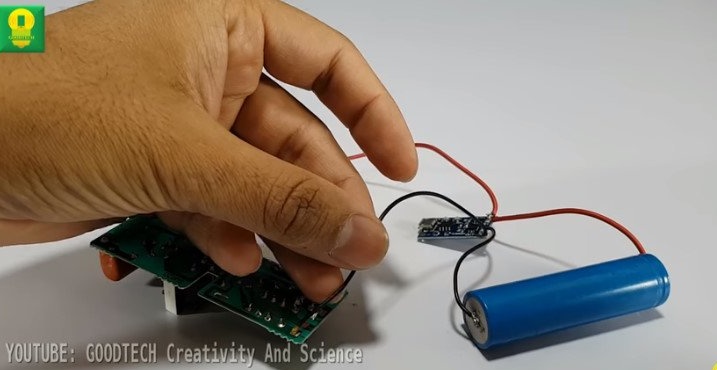
Solder a couple of wires to the output of the charging module, the second ends to the input of the board.
Solder the LED.
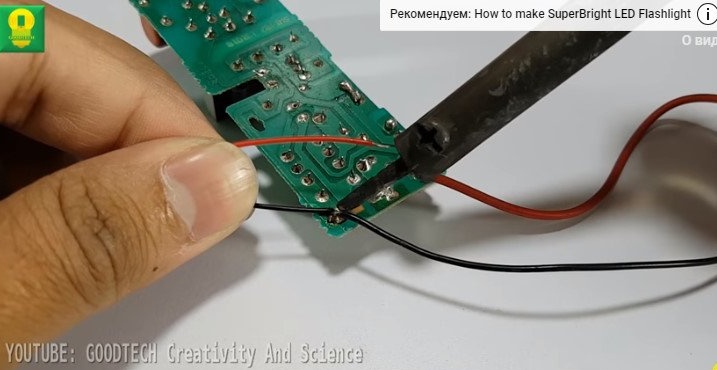
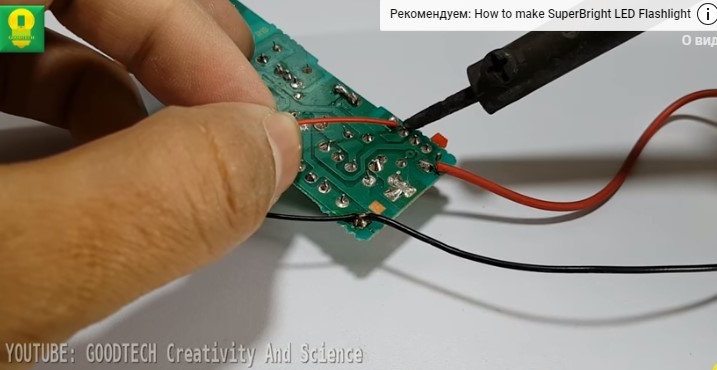
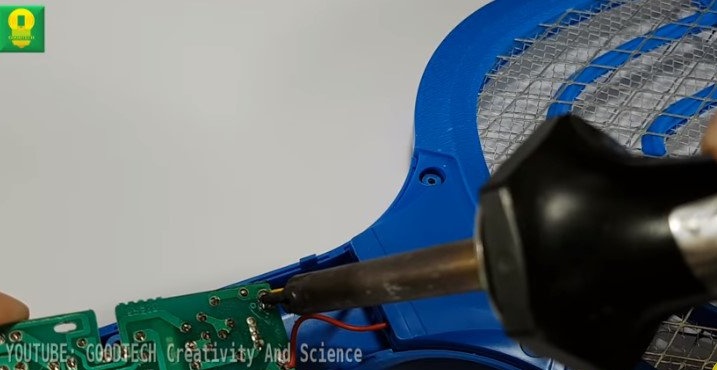
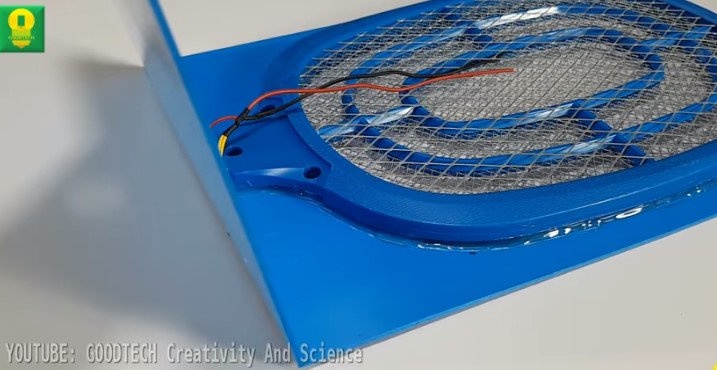
Now you need to solder the wires from the spark gap to the board contacts (to those contacts from which they were soldered).
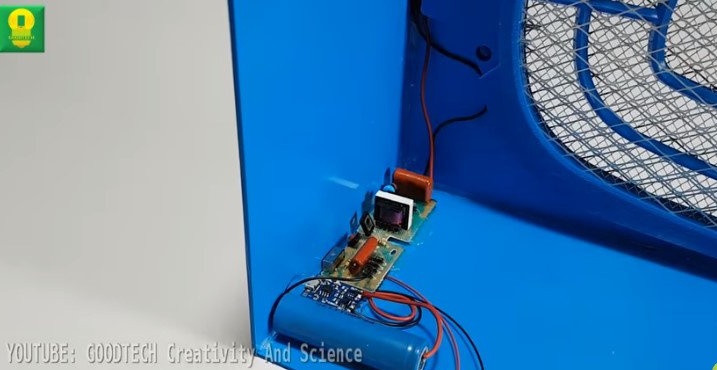
Step Four: Build
We fix all the electronics inside the case.
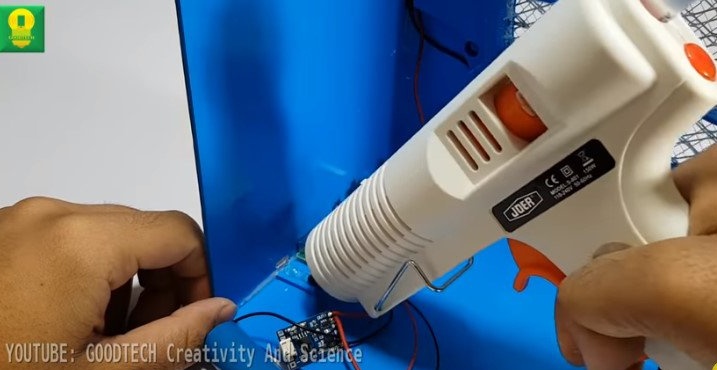
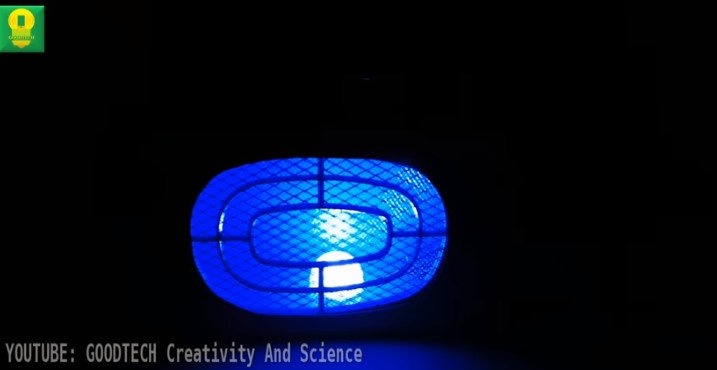
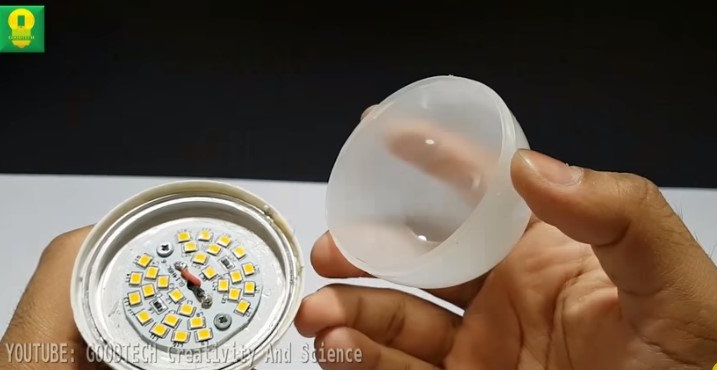
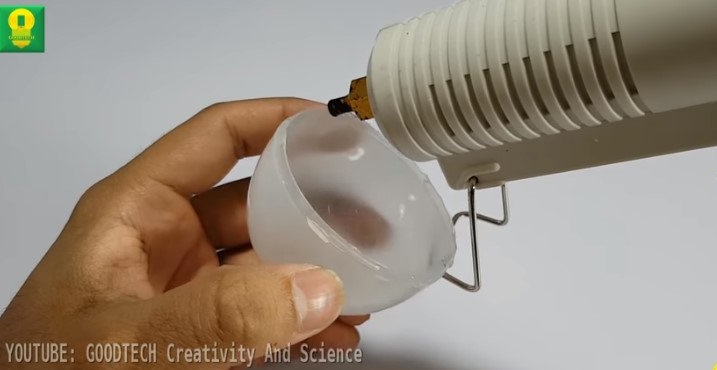
Removes the diffuser from the LED lamp and sticks it above the LED.
Secures the walls of the housing.
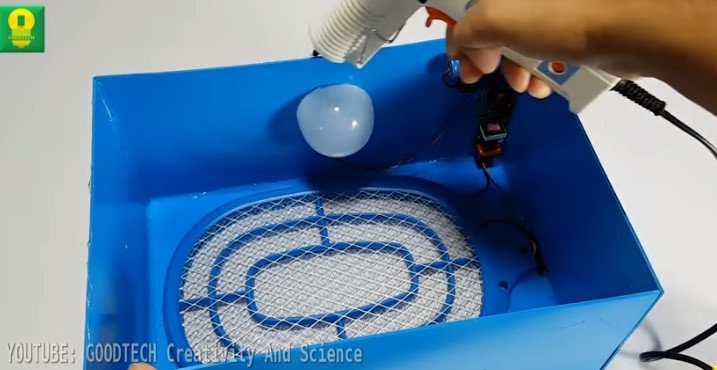
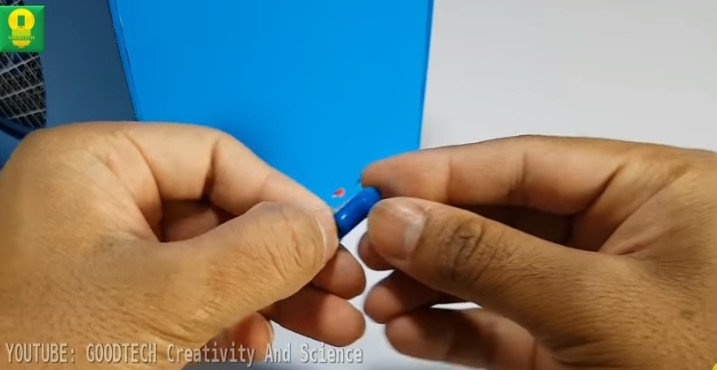
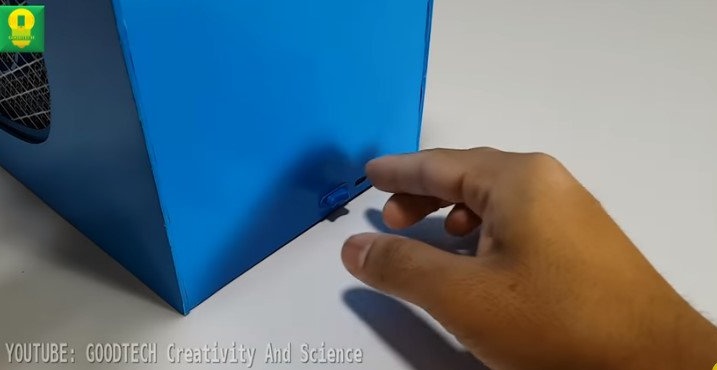
Sets the button.
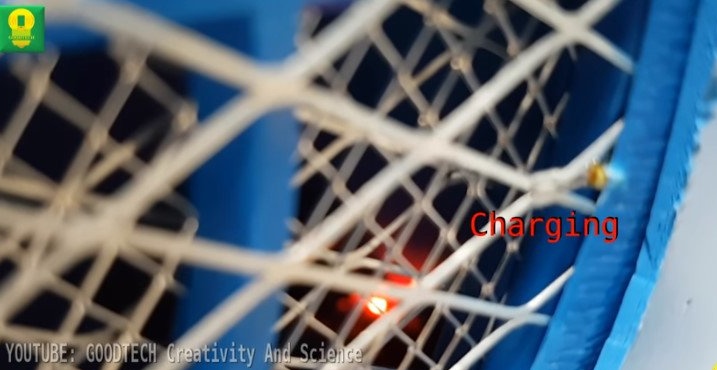
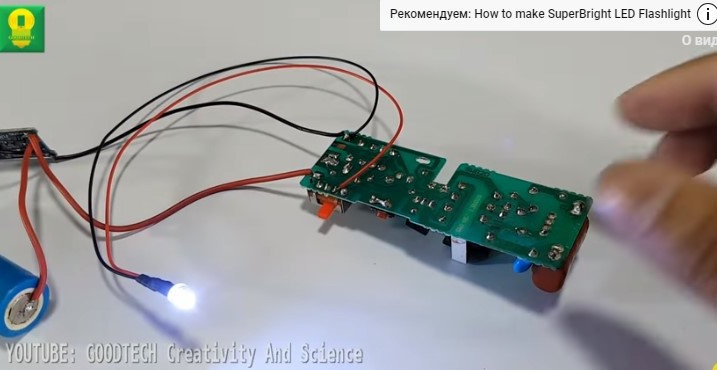
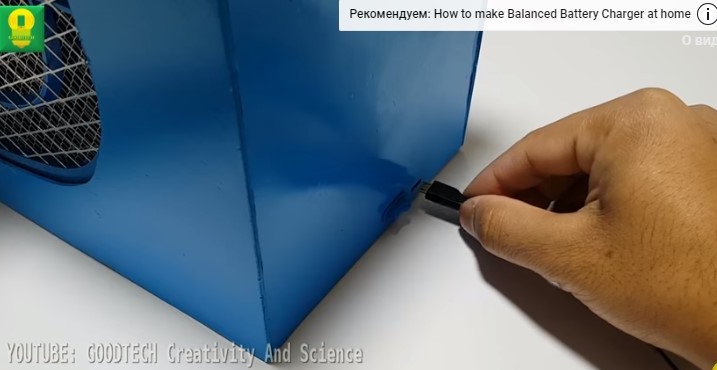
Now it remains to charge the device.
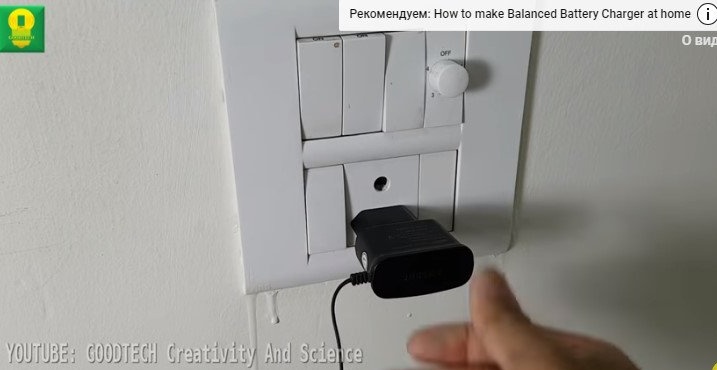
And check out his work.