

Suddenly, the laptop battery stops holding a charge, and then works. Many people are familiar with this situation. It does not charge, and as soon as the charger is pulled out, the laptop turns off. The battery is dead. The author of this article knows how to revive him. He will tell you how to do it.
Please note that we are only restoring a dead battery. If your battery is completely dead, read on!
Yes, and by the way ... The author is not responsible for any problems that you may encounter, such as damaged batteries, fires, explosions, and any other damage. You all do everything at your own peril and risk.
Step One: Theory

A laptop battery usually consists of three pairs of batteries. Each pair consists of two battery cells soldered in parallel. With a parallel connection of the battery cells, the voltage remains the same, but the capacity of the entire block increases (you can “draw more amperes, more electrons from them”).
Typically, each battery cell (and therefore the pair) has a voltage of 3.7 V. When they are connected in series (either individual cells or the aforementioned pairs), the voltage increases, so 3.7 x 3 = 11.1 V.
Each pair should have 3.7 V.
Why is the battery not charging? This is due to the fact that one of the pairs does not have the same voltage as the others, which does not allow the computer to charge them all at the same time.
Step Two: Action Plan
First you need to open the laptop’s battery pack and examine each of the three “pairs”. They must have the same voltage. If not, then you need to recharge the low voltage pair back to 3.7 V.
Step Three: Tools
Multimeter
Charger, about 4-5 V (from an old phone)
You may also need:
A small knife to remove paper from the battery.
Battery screwdriver
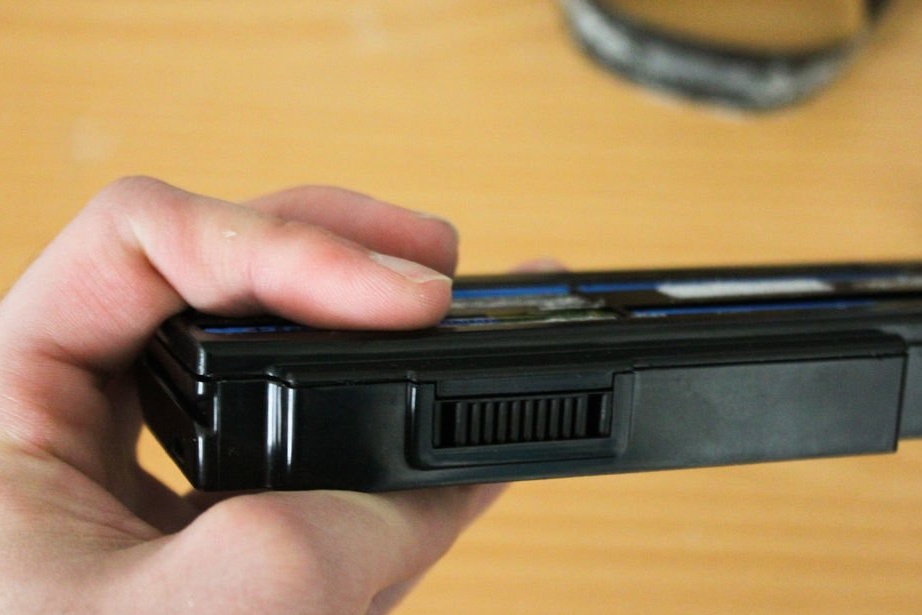
Step Four Removing the battery pack

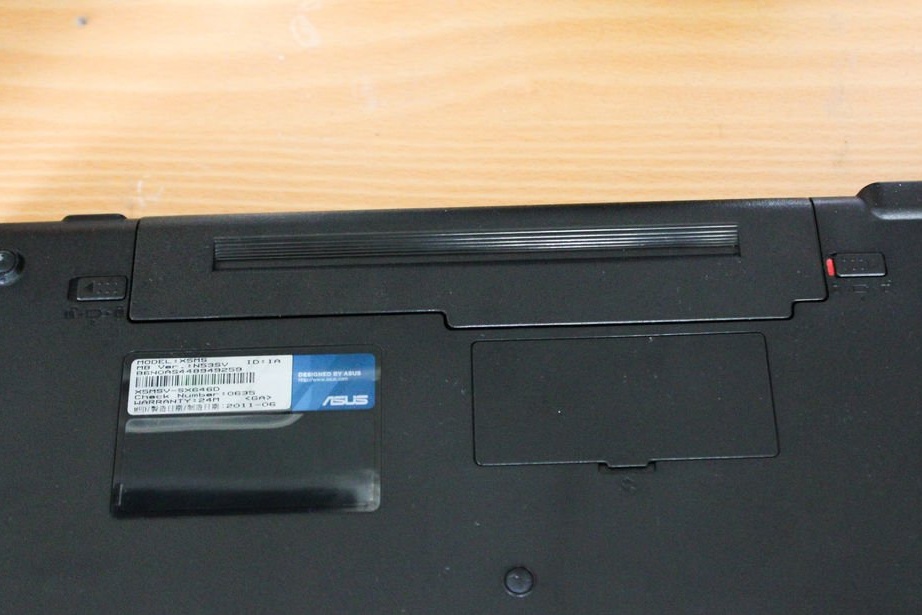
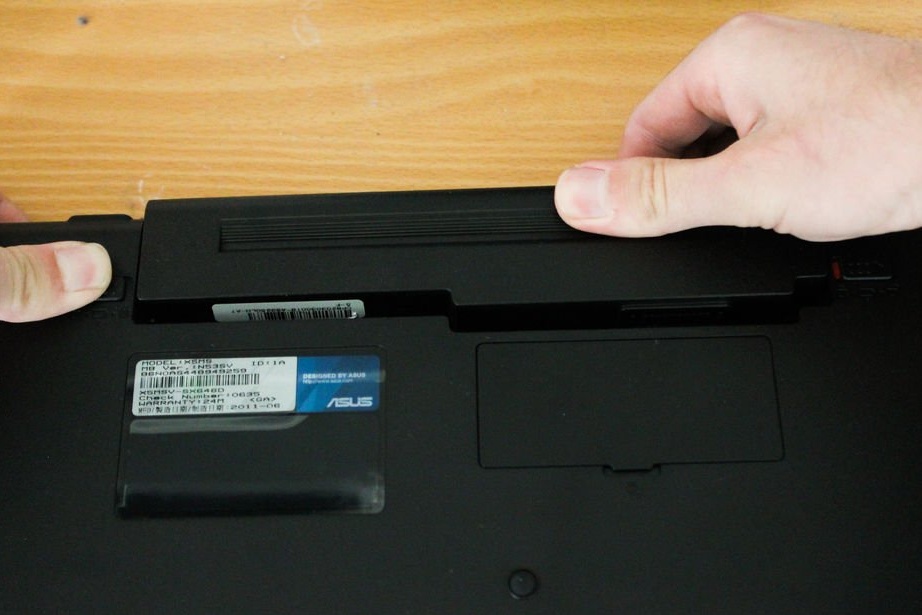
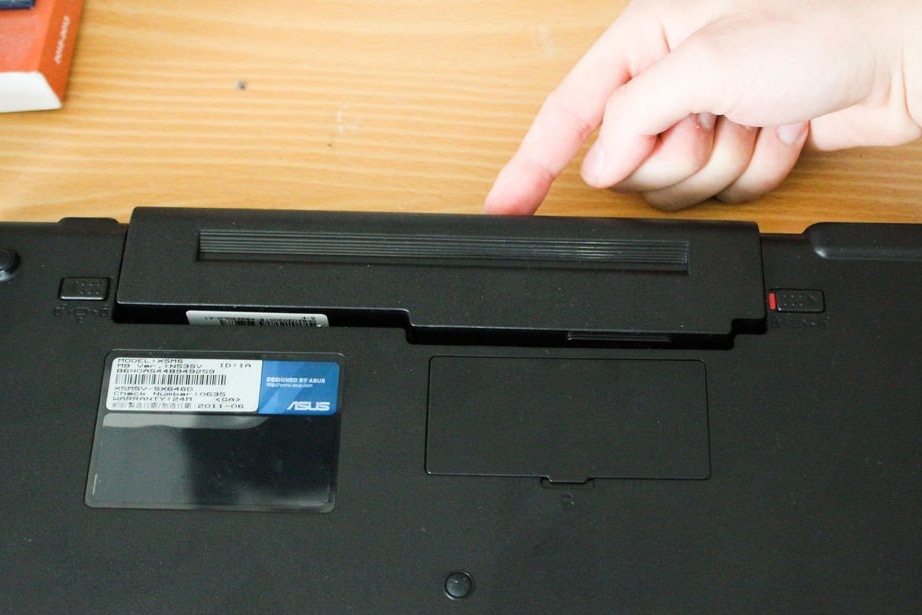
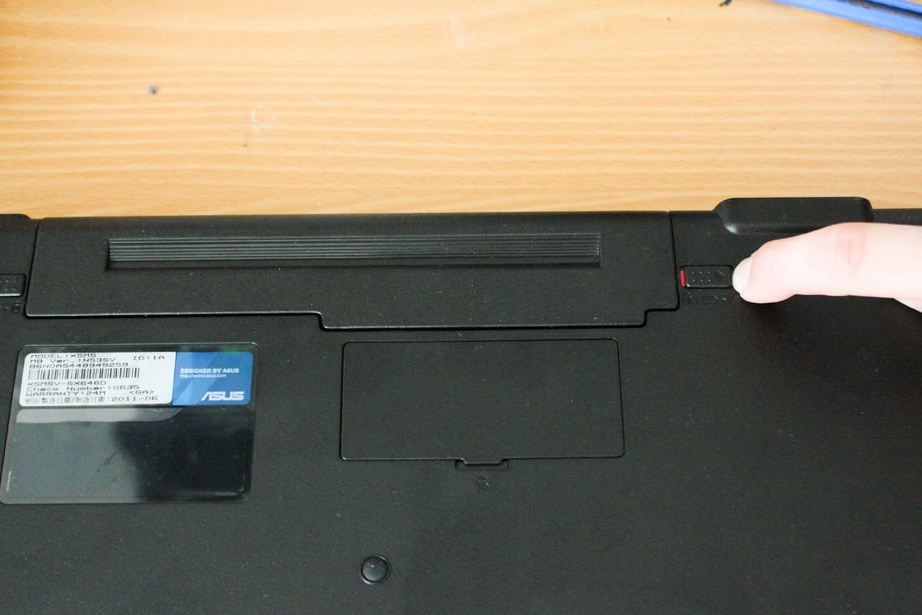
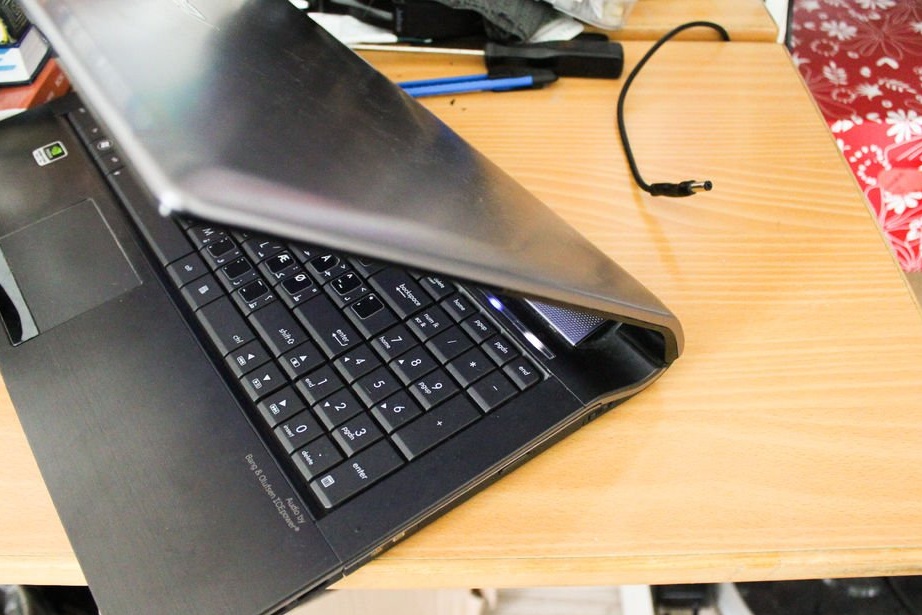
Disconnect the charger, turn the laptop over and find the battery on the back of the laptop.
May have two buttons. One of them is the lock, move it away from the battery. Now press another button and pull out the battery.
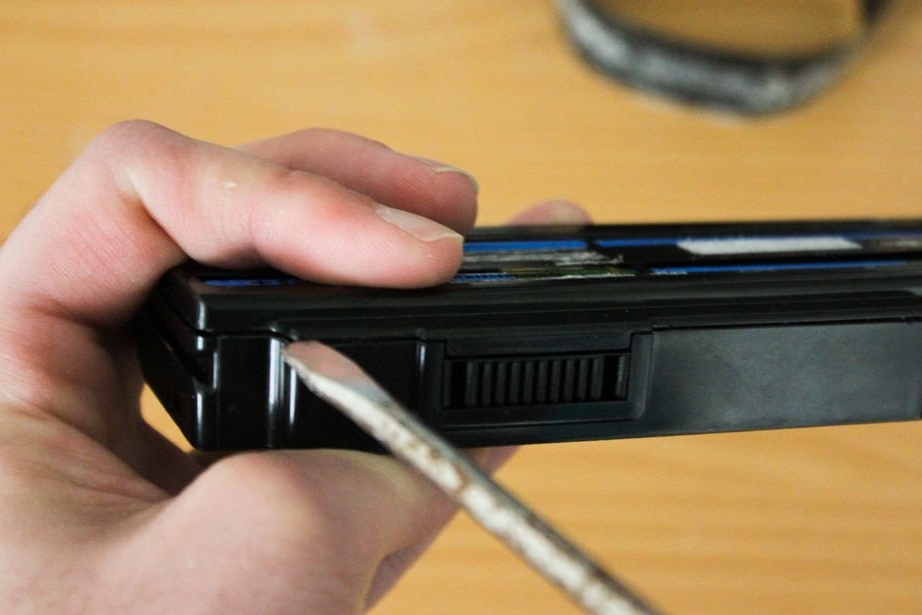
Step Five: Removing the sticker
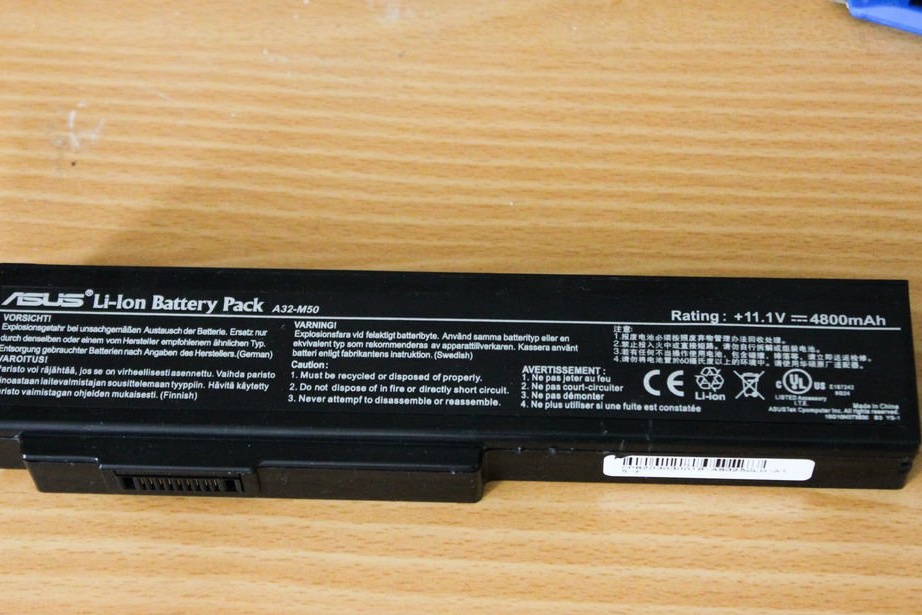
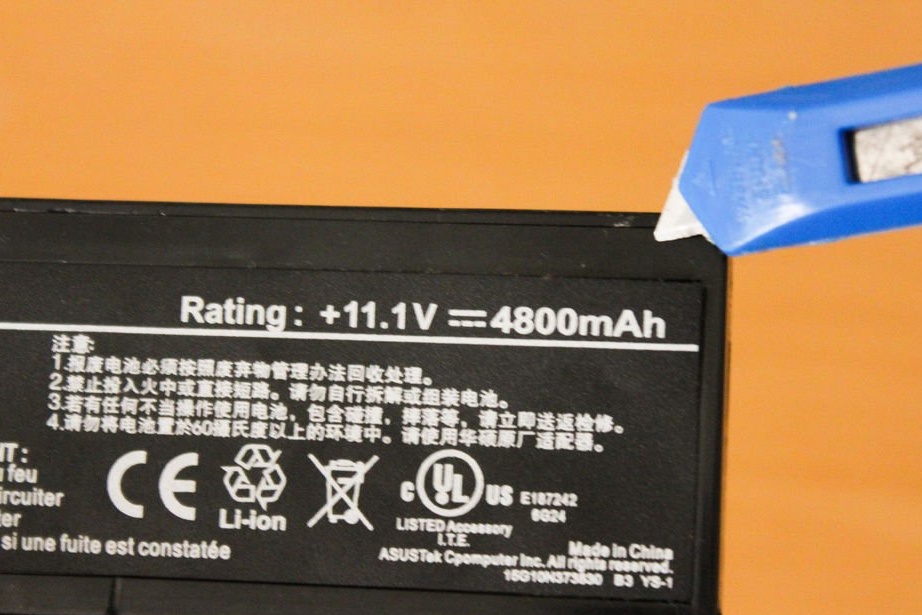
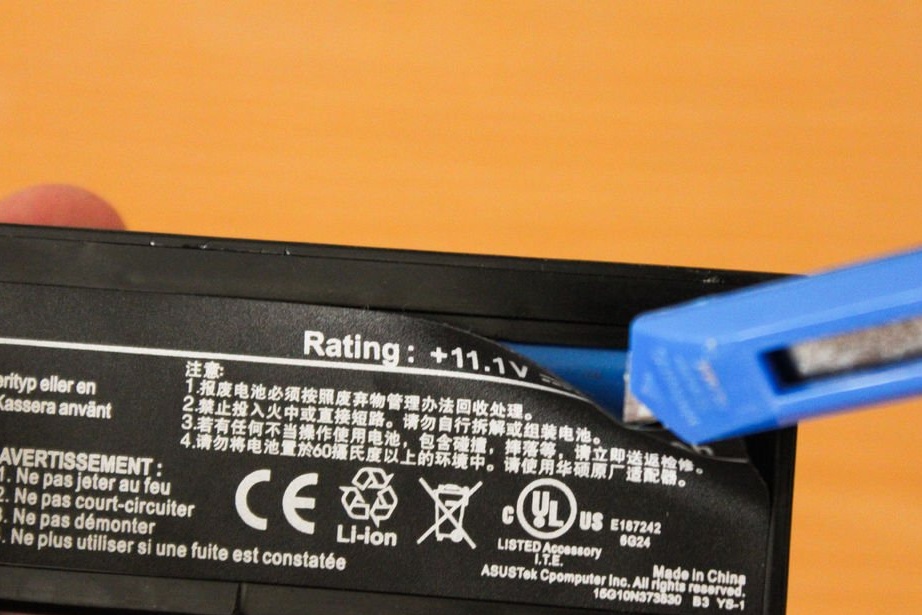
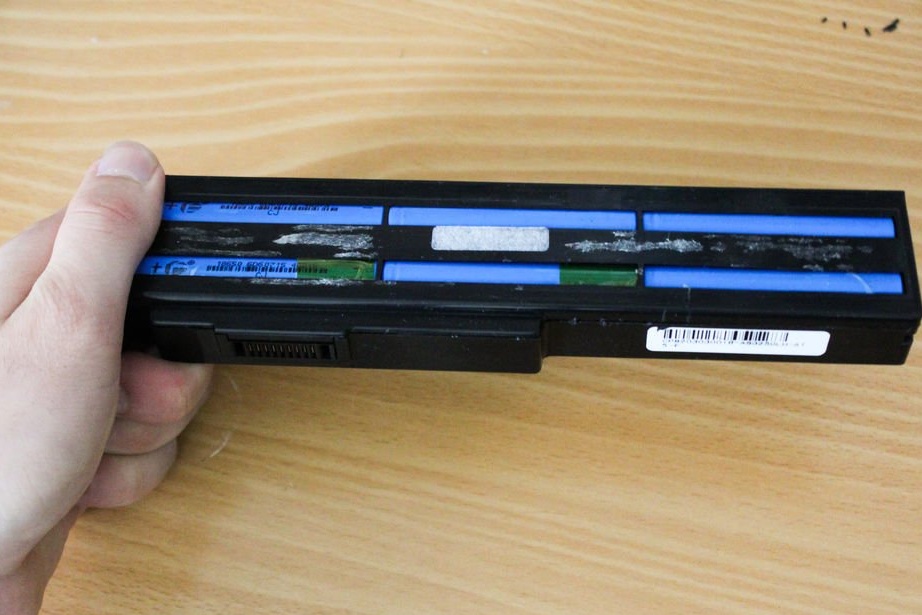
Now turn the battery pack over and find the side with the text. What you are looking at is a thick sheet of special paper. You can safely remove it with a small knife or any sharp object.You just need to pick up the sticker with the cutter and continue to tear it off with your fingers.
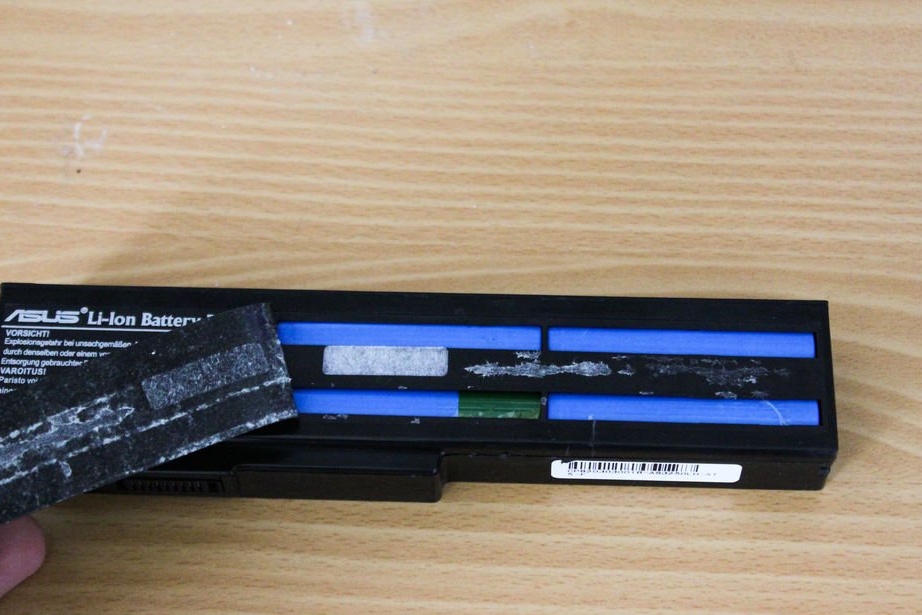
Step Six: Removing the Cover

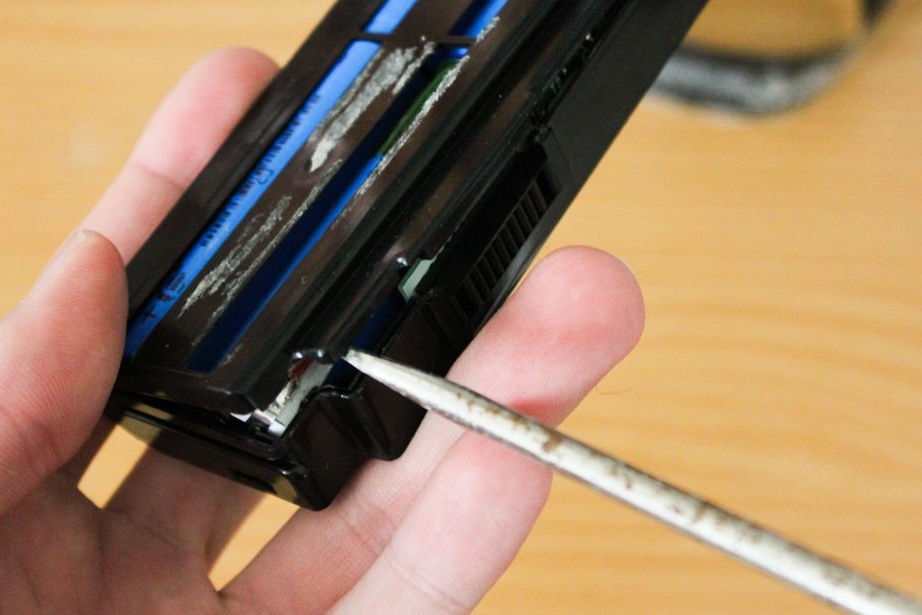
What you see is actually the lid that opens.
You may need a screwdriver to insert it into the "slot", turn it and open the battery pack in this way. Once it works, just remove the cover as shown in the photo.
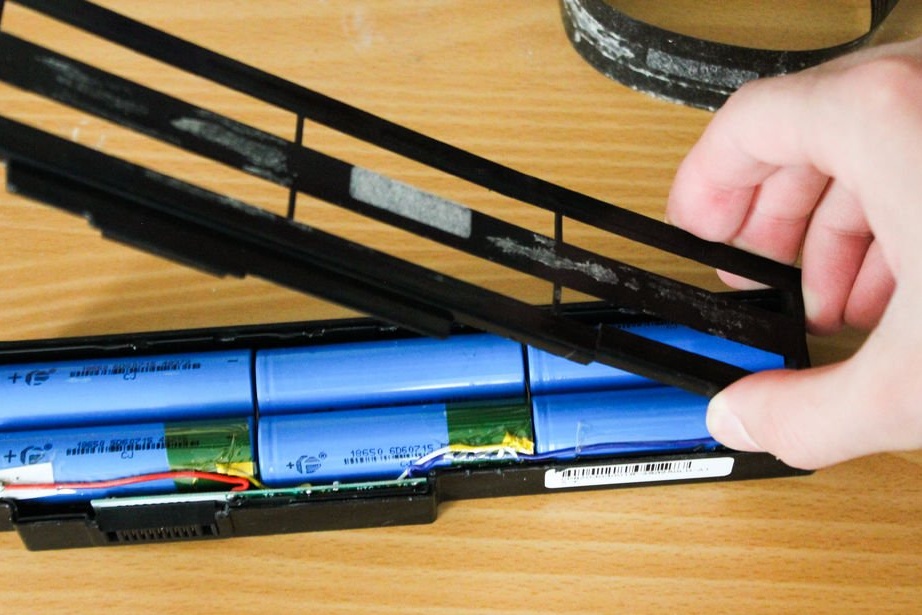
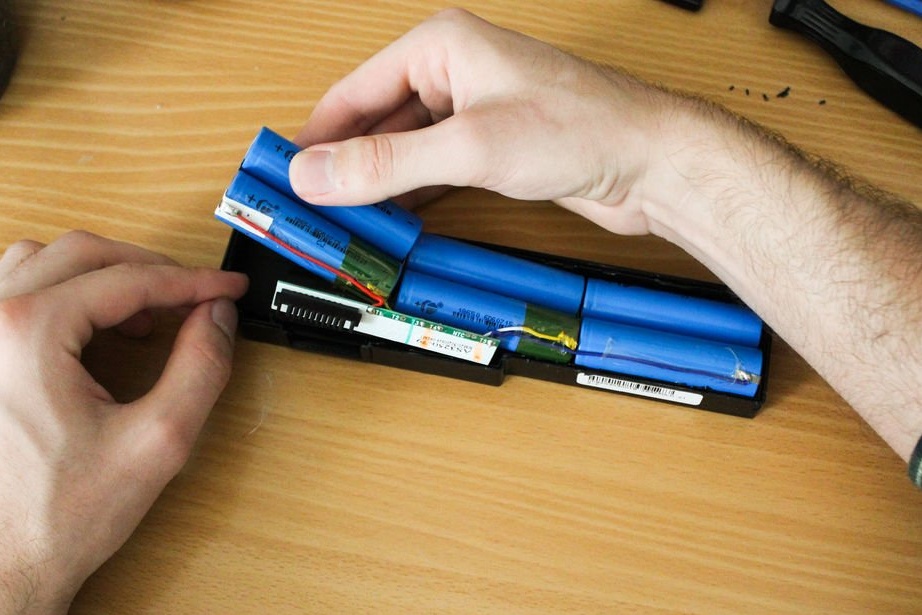
Seventh step: Removing the battery

Carefully lift the batteries from one end and then from the other to make sure that they do not stick to the compartment. Now flip it over and let the batteries fall into your hand. Make sure the circuit board also comes with the batteries.
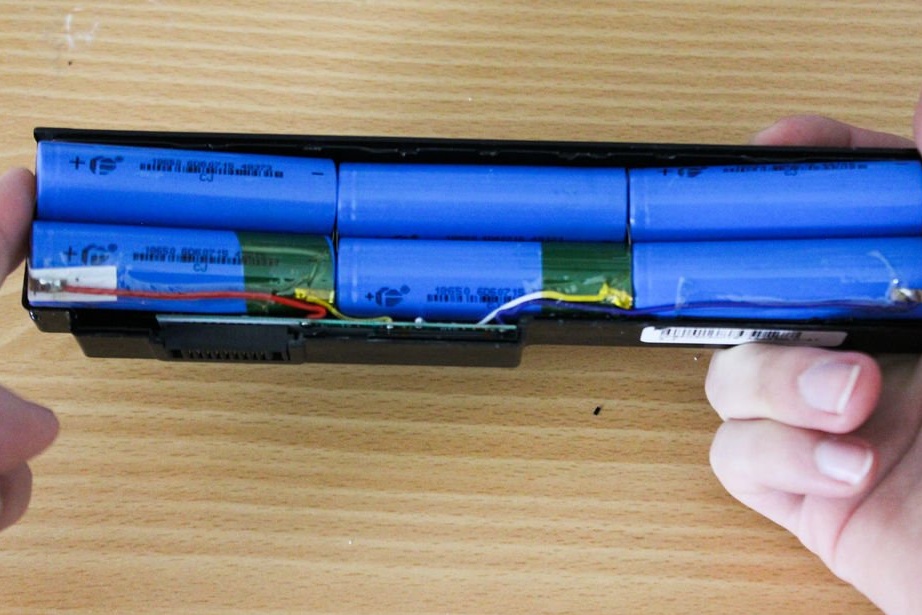
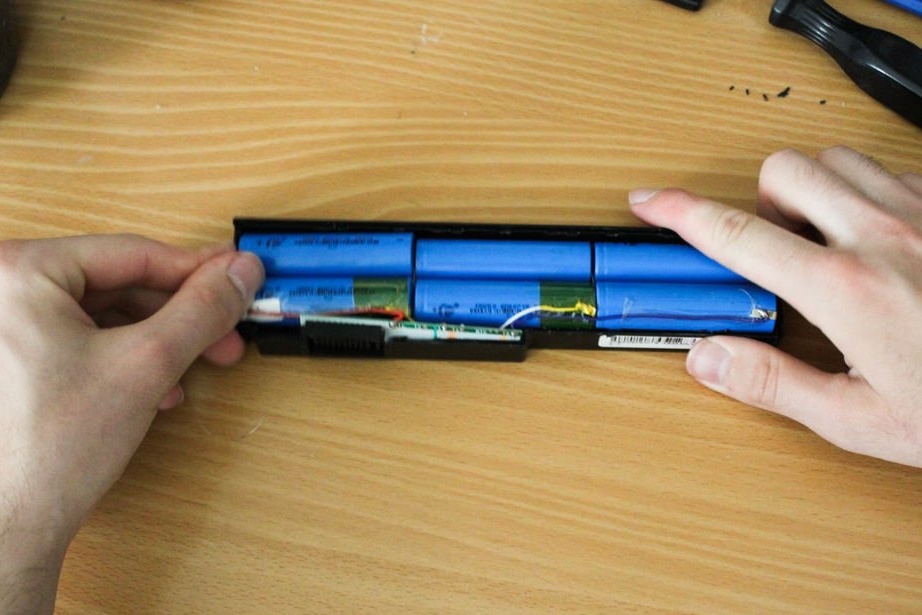
Step Eight: Separating Paired Blocks

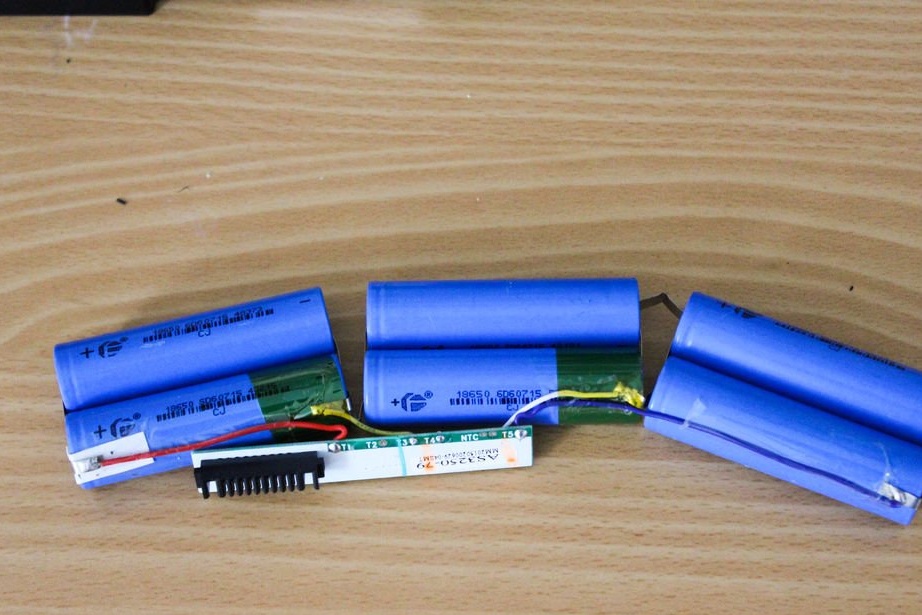
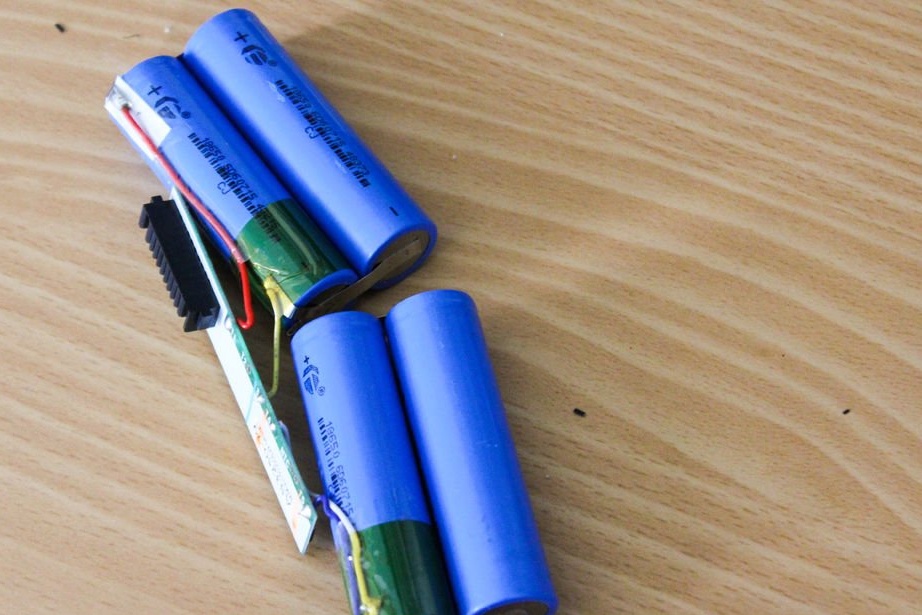
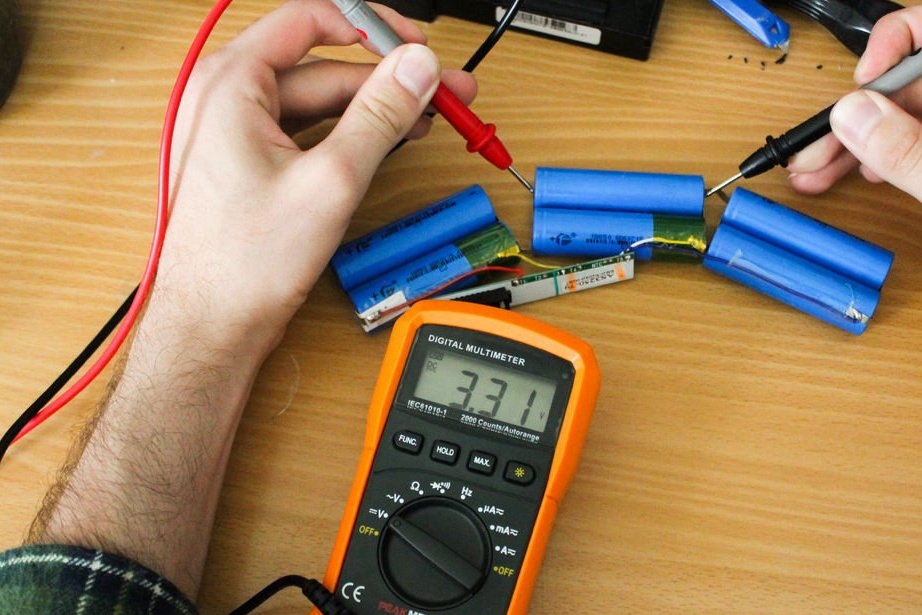
Separately separate the three pairs of batteries so that their ratings can be measured. This will require a multimeter.
As you can see, they are soldered in pairs, so it does not matter where to get the values. It is necessary to measure the voltage of the pair.
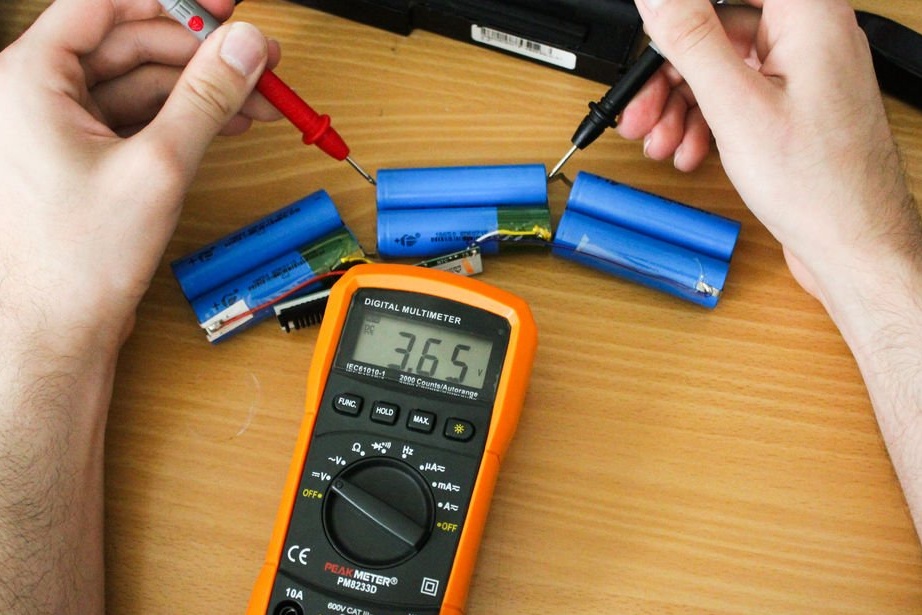
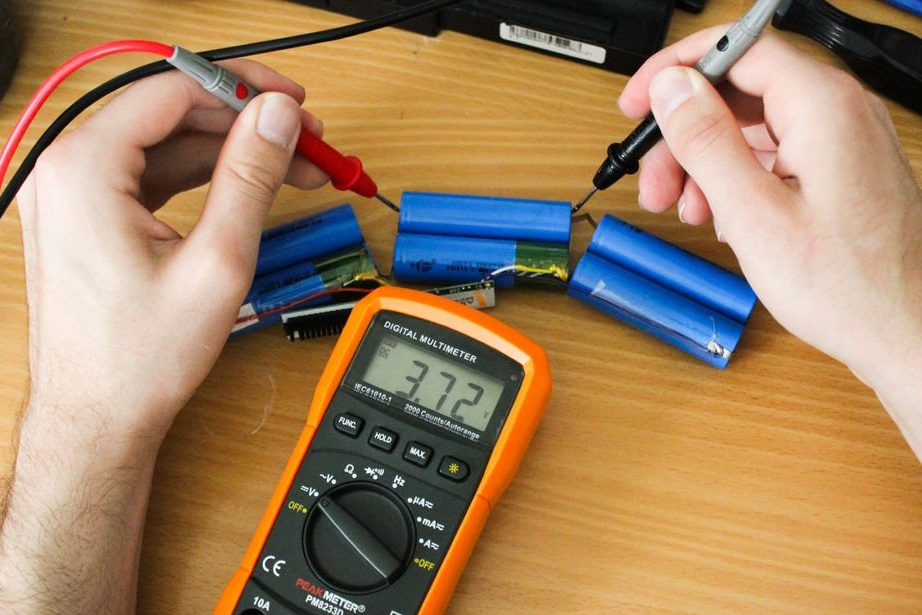
Step Nine: Measure voltage pairs
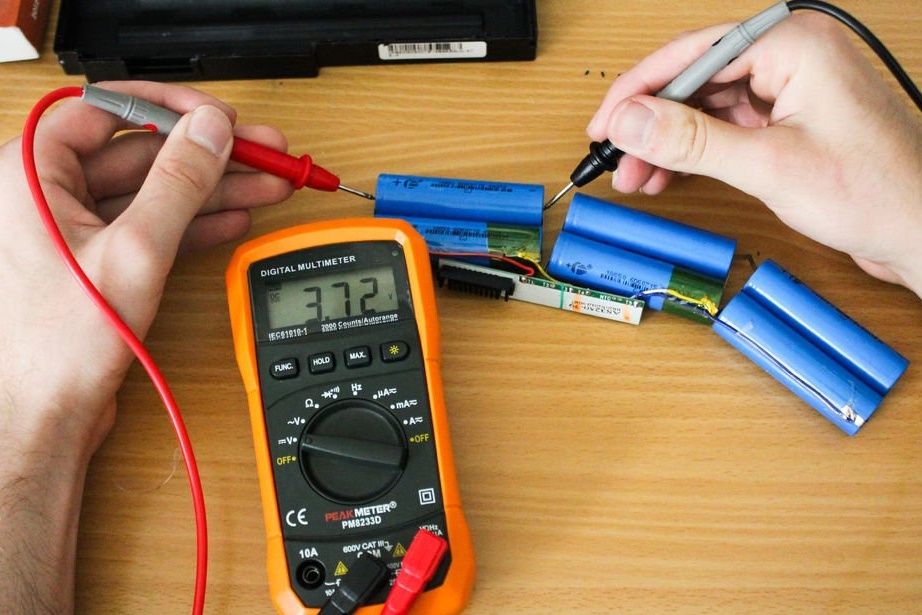
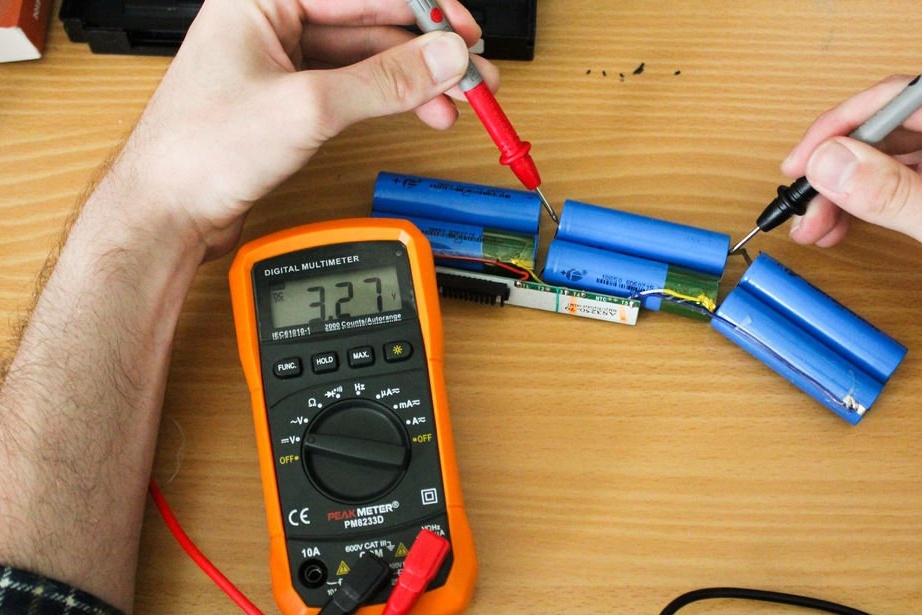
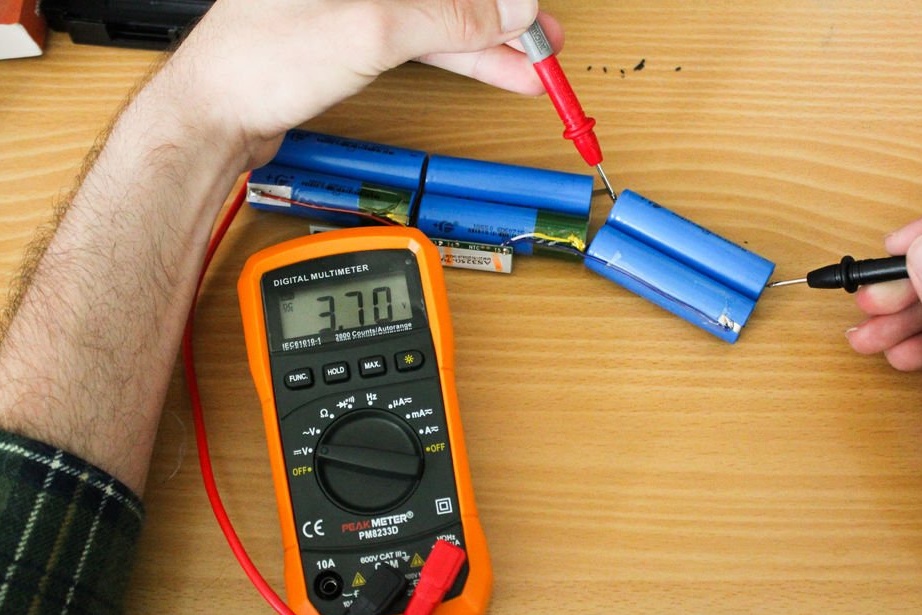
The voltage should be 3.7 V. With this in mind, we take the measurement.
As you can see, the average pair is bad here.
Step Ten: Connect the Charger
Now we begin the process of correcting this situation.
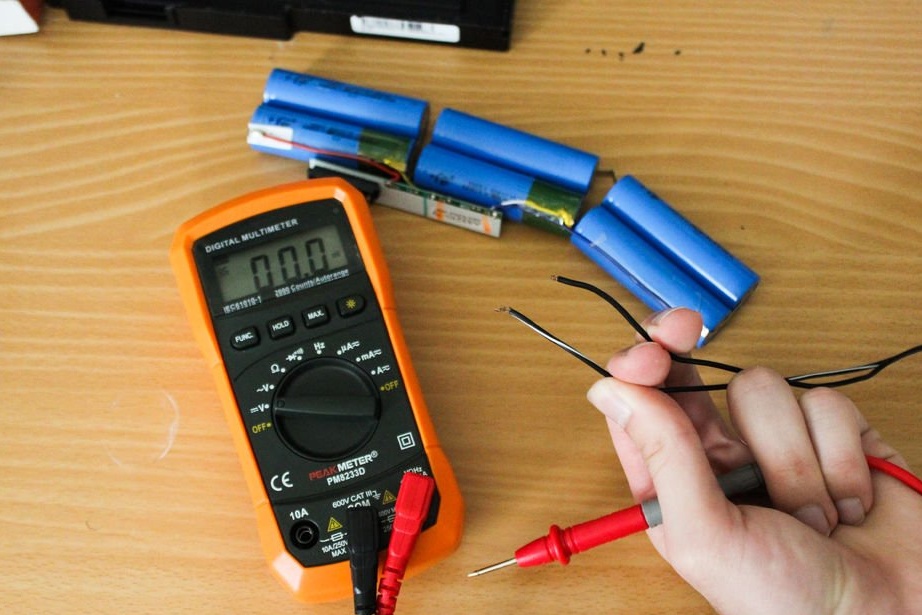
Take the charger. Determine which wire is positive and which is negative. Often there is a white or gray line on one of the wires. Measure with a multimeter. If the displayed voltage is a positive number, then the red tip refers to the positive, and the black to negative.
If the displayed voltage is negative, then the opposite is true.
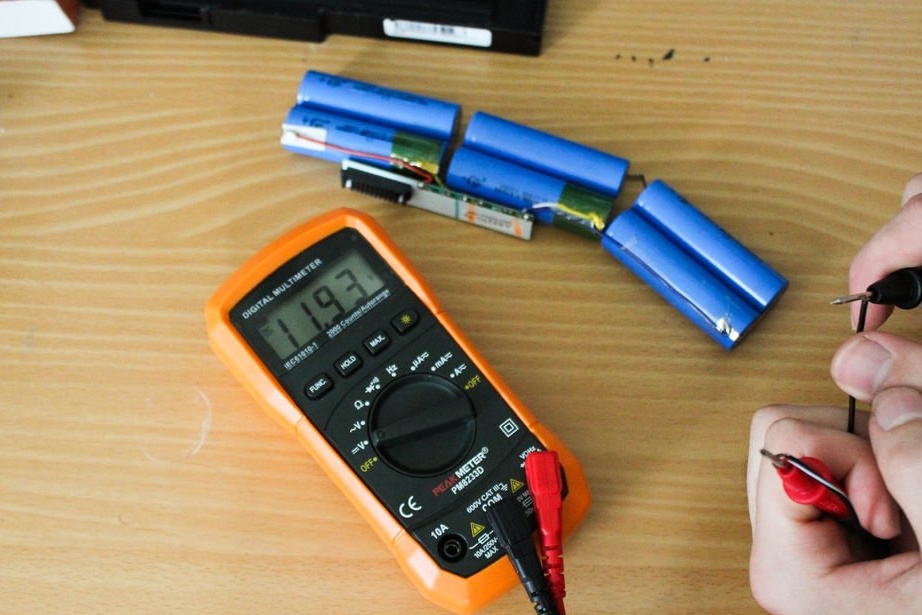
The photo measured 11.9 V.
Step Eleven: Battery Recovery
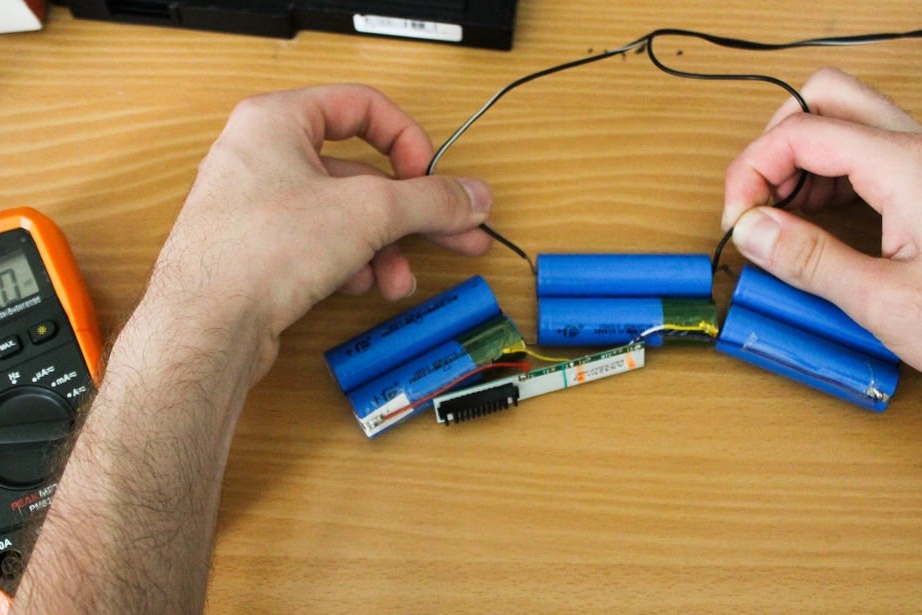
Attach the positive wire to the positive end of the battery and the negative to negative. Recharge for a few minutes. Then wait 10-20 seconds before measuring. This is necessary in order to normalize the charge, since the voltage in the elements drops when they stop charging.
When it seems that you have finally reached the desired voltage, you should wait half a minute and try again to make sure that the elements are no longer needed.
Step Twelve: Putting Items Back
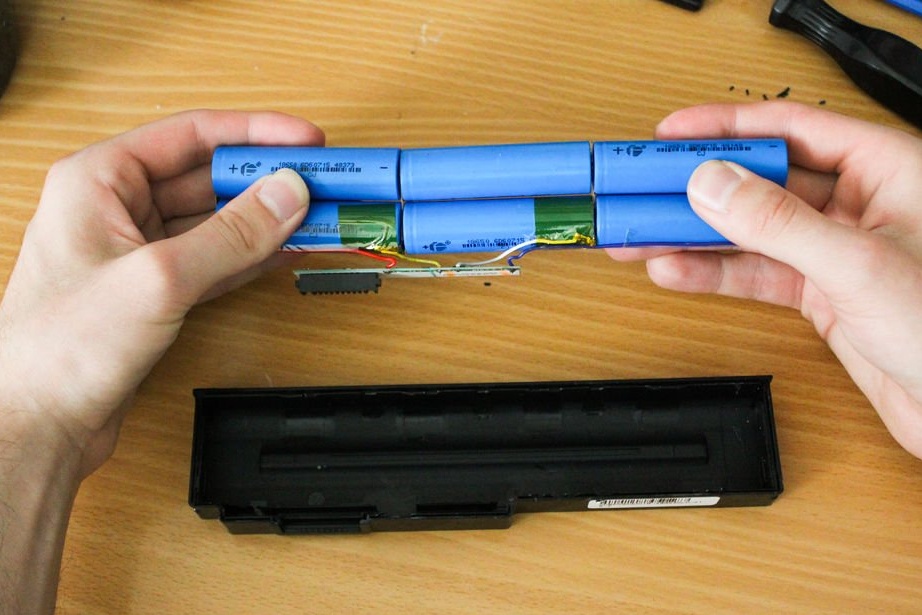

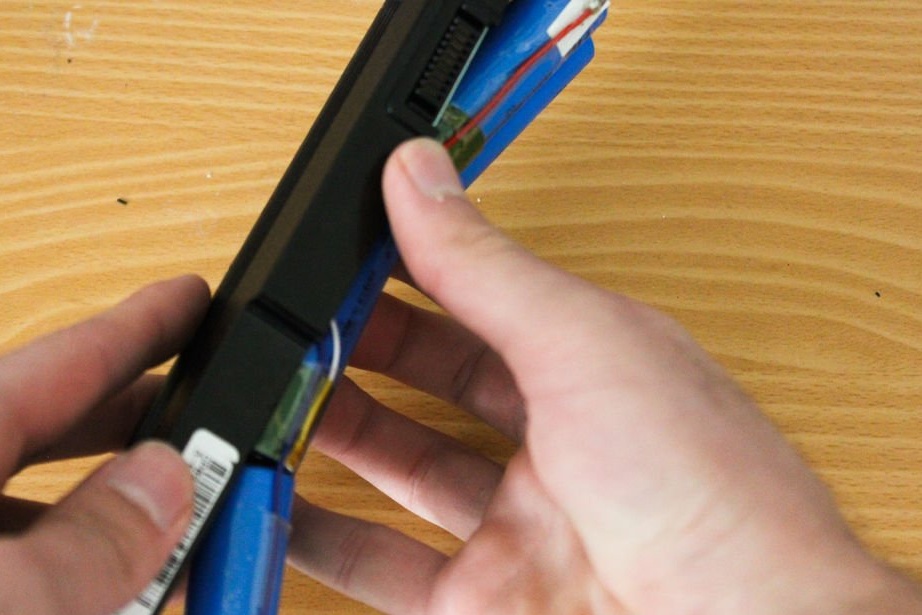
Reconnect the cells and place them in the battery box as shown. Make sure the circuit board is fully inserted.
Then insert the cover back into place. Then stick the sticker. If it does not stick, which is likely to happen, just use a transparent tape or glue.
Step Thirteen: Returning the Battery Pack to the Laptop
Insert the battery pack back into the laptop and slide the lock to the locked position toward the battery.
Step Fourteen: Battery Operation

These battery manipulations really work.
Let it charge for one minute, then unplug the laptop’s charger and try turning on the laptop.
Then let the battery pack fully charge before using the laptop without a charger.
Step Fifteen: Optional: if there is no charger
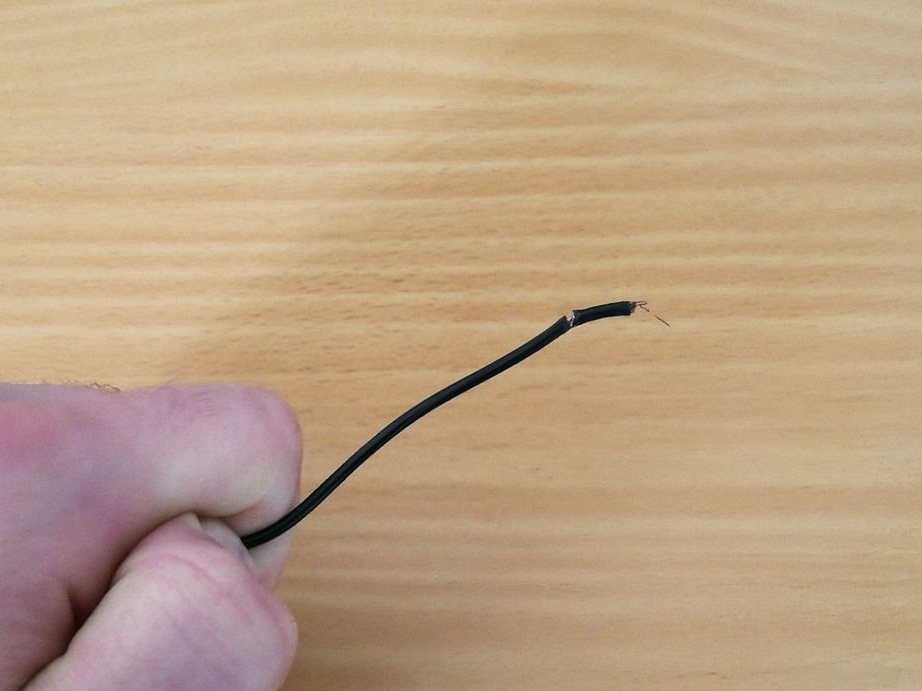
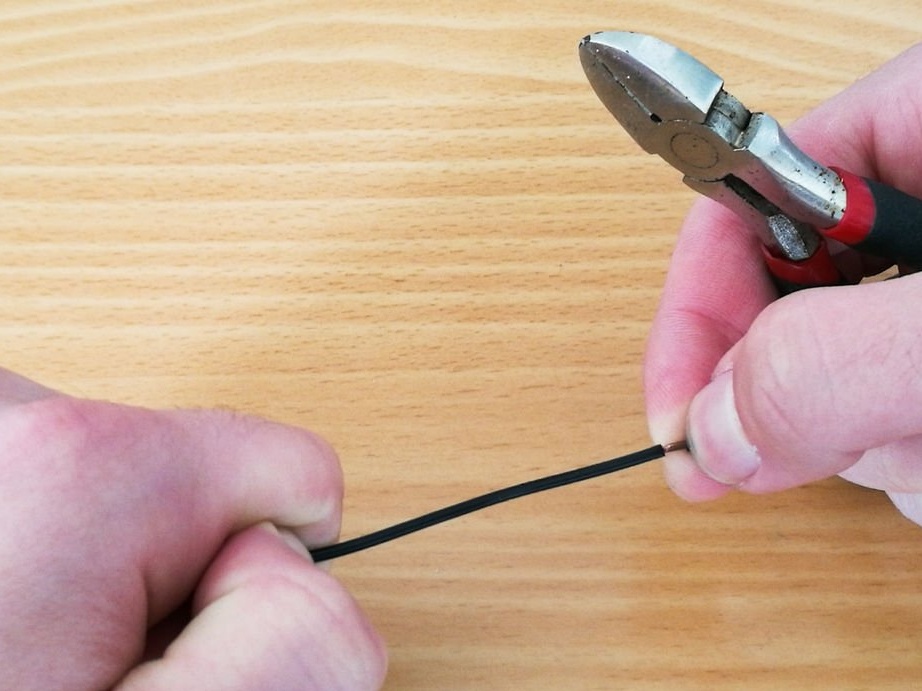
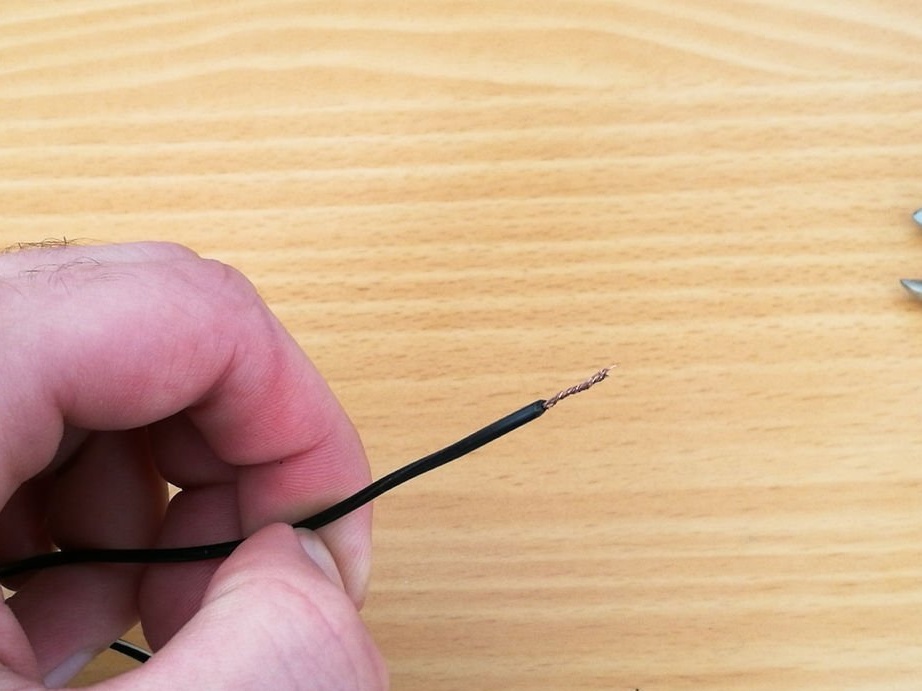
If there is no necessary charge to recharge the battery packs, then you just need to do it.
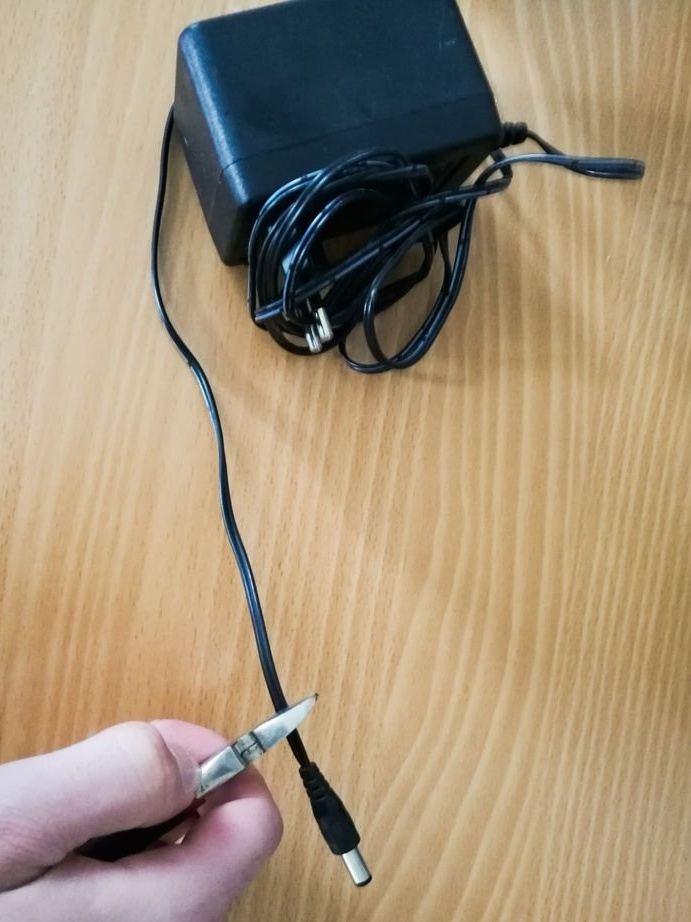
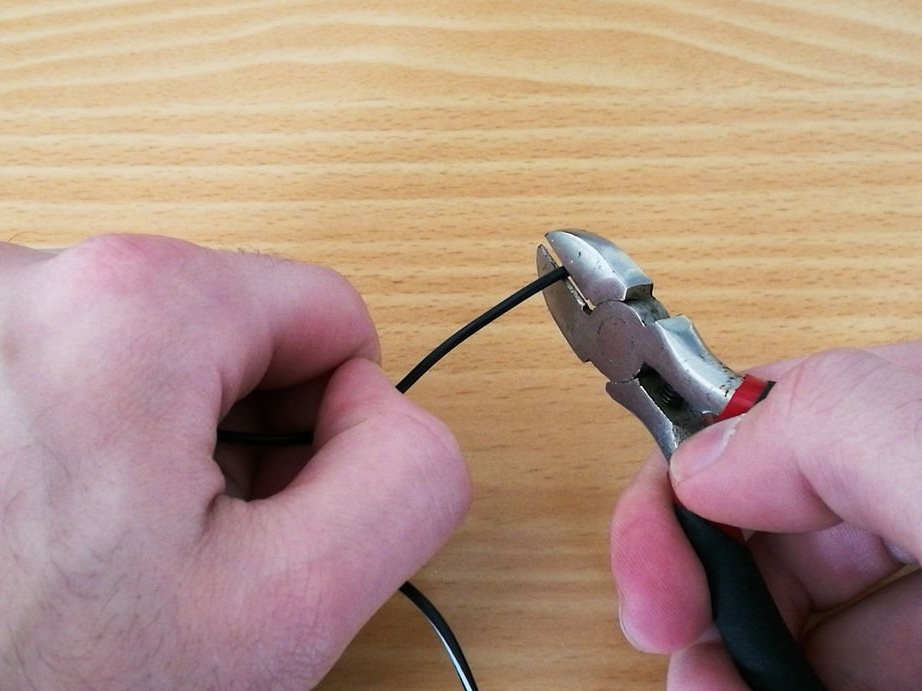
Take an old 4-5V charger that you no longer use. For example, from an old mobile phone.
Cut off the plug. Separate the wires. Unclip and twist the wiring.
Step Sixteen: Final Words
This is how the laptop battery is fixed. Completely free and in just half an hour! The author’s battery, after such treatment, continued to work for six months until she needed a new treatment.