
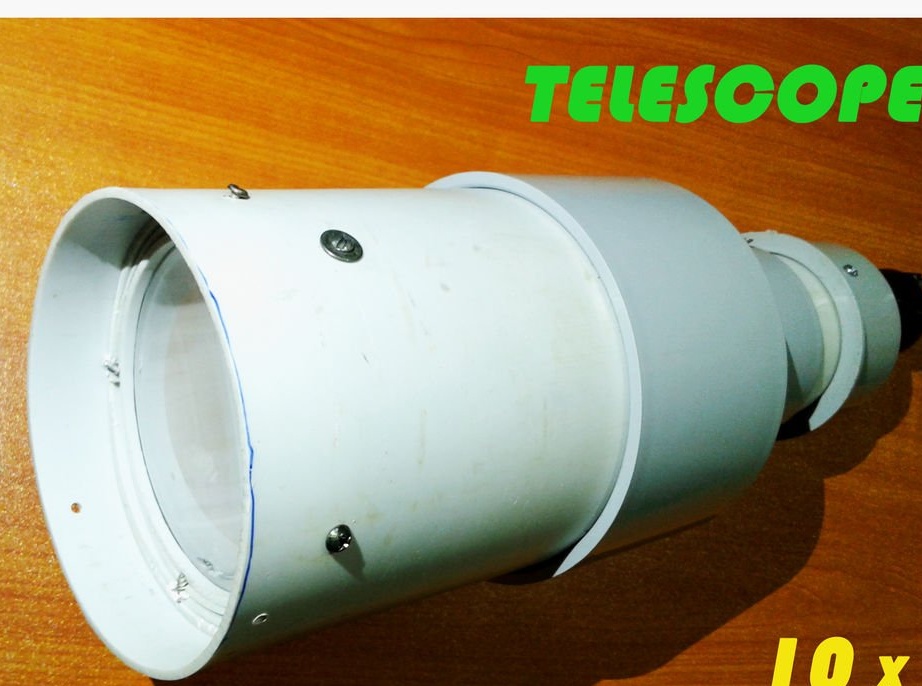
Winter is a good period for observing the sky. In winter, you can see many stars and planets, as well as the Milky Way. The Milky Way is very beautiful (visible only in the clear sky). It is visible to the naked eye. In a clear sky, if you do not take into account the artificial satellites visible in the sky, you can see the ISS (international space station) with the naked eye. It looks like a moving high-intensity light source, similar to Venus. The author of this homemade he personally observed all this personally and after that decided to acquire a telescope, but found that it was a very expensive pleasure. Therefore, he decided to make a simple home telescope. For its manufacture, PVC pipes and lenses will be required.
Step 1: Theory
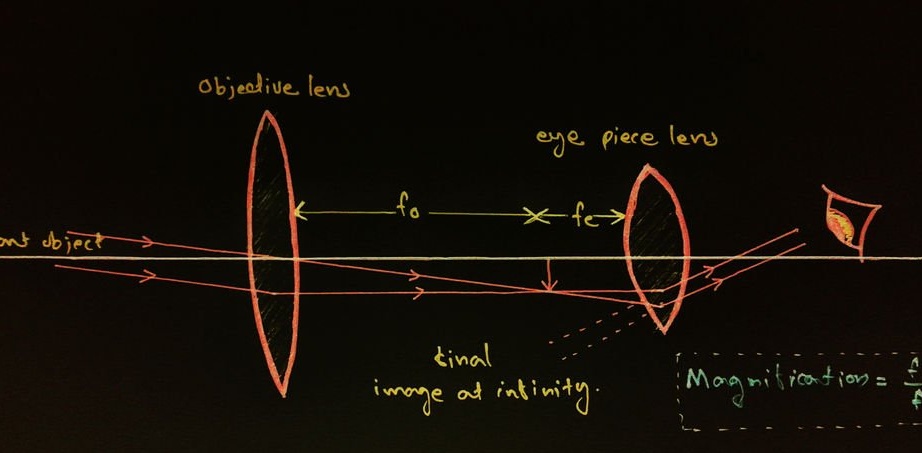
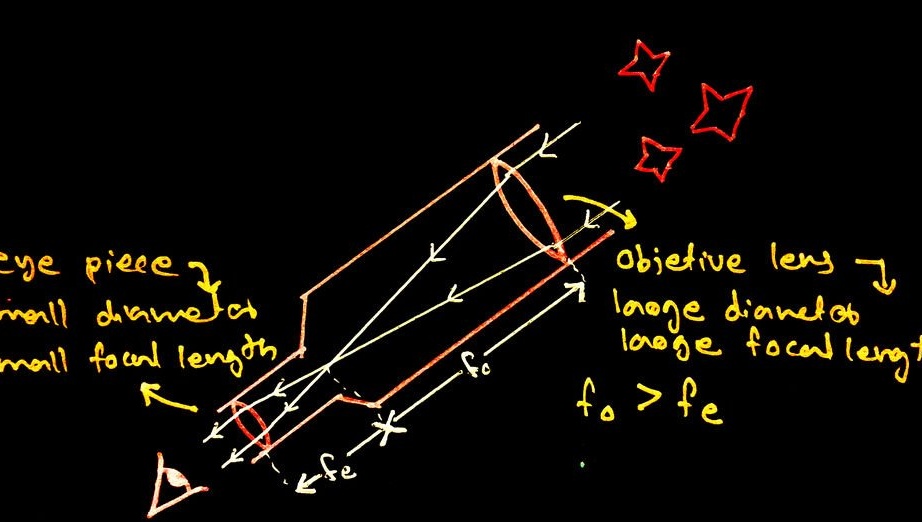
A telescope is used to see a distant object that is not visible to the naked eye. The telescope scales a specific area. The field of view is reduced and focuses on a small part, which leads to a more detailed view.
The main components are a large lens and a small eyepiece. The lens has a large diameter, which increases the ability to collect light. More light means a sharper image, and there is also a large focal length that provides a magnification effect. The eyepiece has a smaller diameter and a smaller focal length (to ensure high magnification). The lenses are convex.
The lens converts a parallel ray of light from infinity (in the far distance) to one point. The eyepiece diverges from convergent light, because our eye needs parallel rays (our eyes have a convex lens). Using this arrangement, we get an inverted image. To view the sky, inversion is not a problem. The scaling effect (increase) is determined by the given equation:
magnification = focal length (lens) / focal length (eyepiece)
The telescope operates based on the refraction of light rays. He has problems of chromatic abrasion caused by the fact that different colors are focused at different points, so bright objects seem like a rainbow color.This problem is reduced in a reflective telescope. It uses mirrors, so the refraction does not work. But a reflecting telescope is difficult to build, so we will create a refracting telescope.
This telescope does not have a larger magnification. It is made more for educational purposes, so it has flaws.
Step 2: Required Materials and Tools
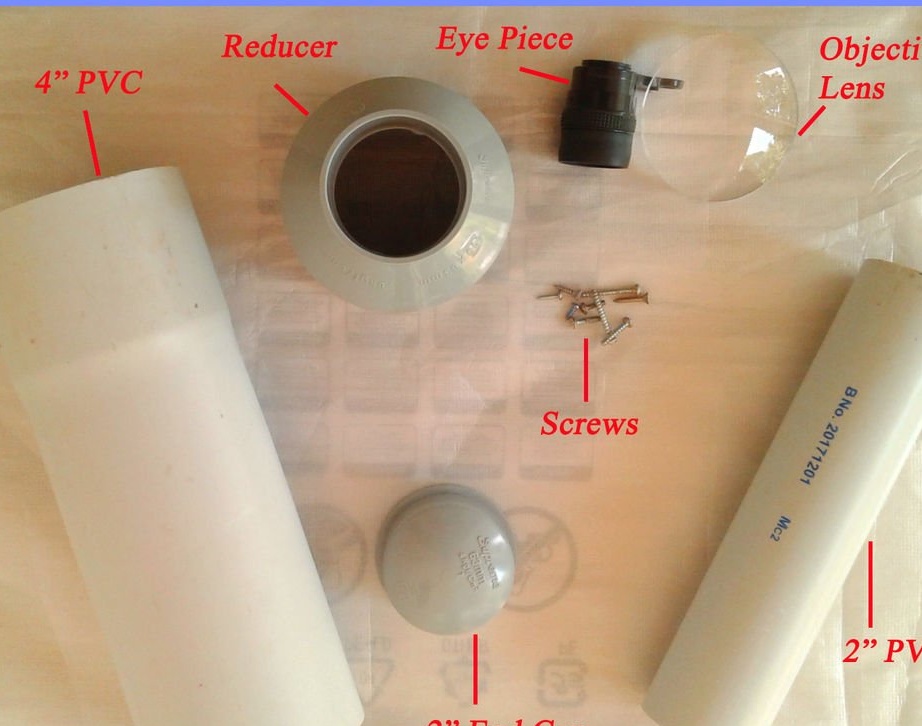
Convex lens 8.5 cm diameter
27 cm focal length lens
Eyepiece from old binoculars, diameter 3.5 cm, length 5 cm, focal length 2 cm
PVC pipe with a diameter of 100 mm and a length of 25 cm
PVC pipe with a diameter of 50 mm and a length of 8 cm
PVC reducer (adapter) from 100 mm to 50 mm - 1 pc.
PVC plug, 50 mm in diameter - 1 pc.
Screws (as required)
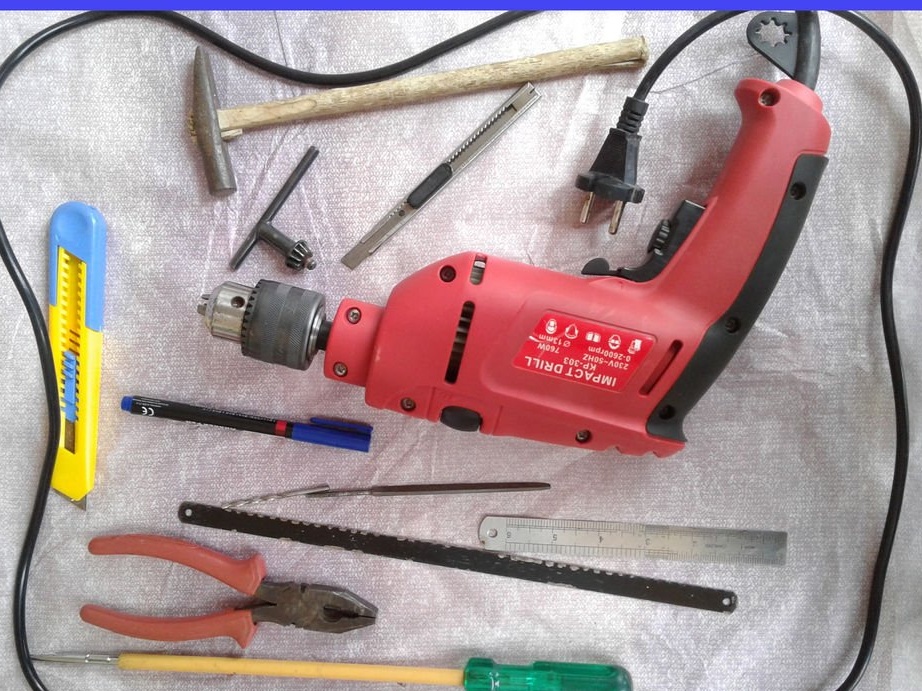
The main tools and materials are shown in the figure.
Step 3: Preparation of materials
To build a homemade product, you first need to prepare all the necessary materials:
Lens parts
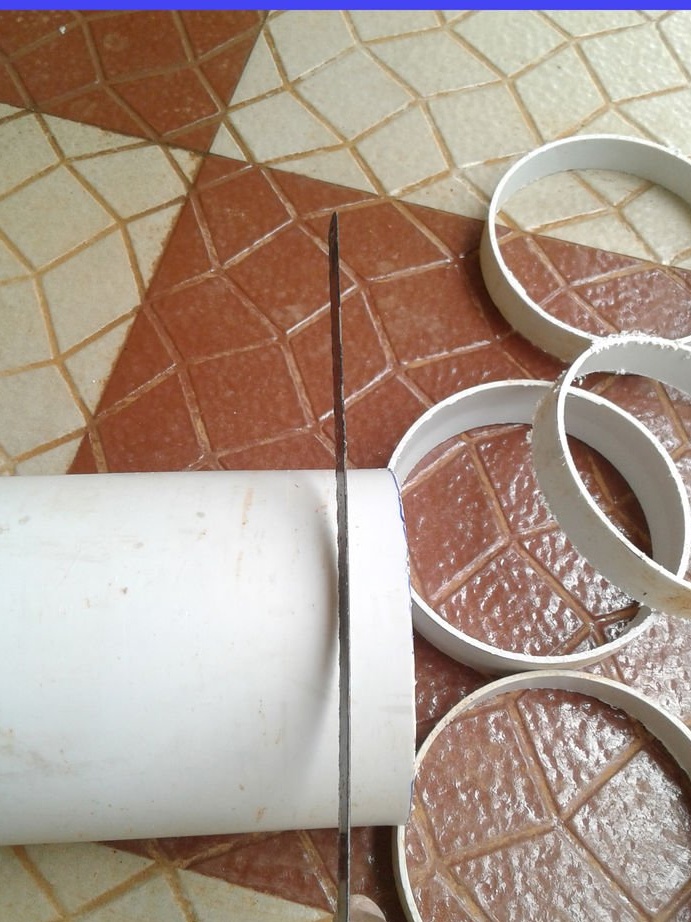
1. Cut a part from the PVC pipe, with a diameter of 100 mm and a length of 17.5 cm, using a hacksaw blade.
2. Cut a part from the PVC pipe, with a diameter of 100 mm and a length of 2 cm, using a hacksaw blade.
3. Cut 3 parts 2 cm long.
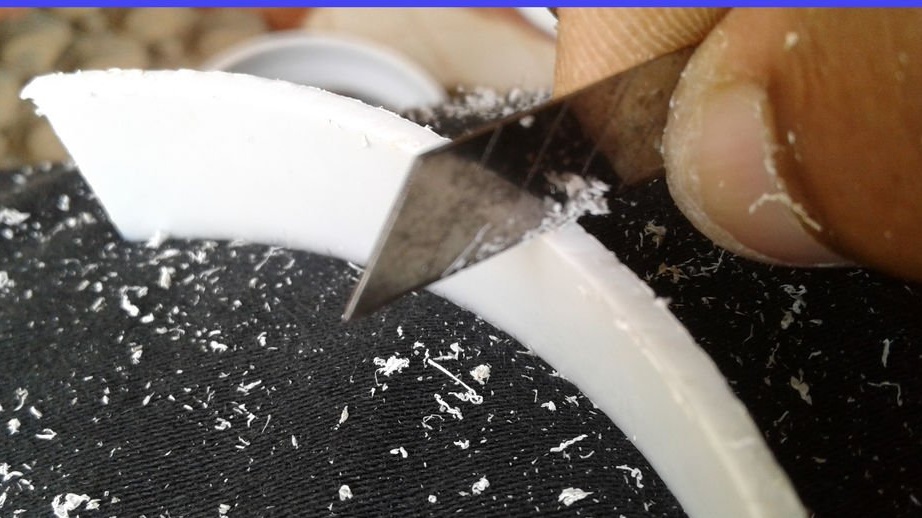
4. To clean and process the edges using a small knife.
Eyepiece Parts
1. Take 8 cm of PVC pipe.
2. Peel and trim the edges using a small knife.
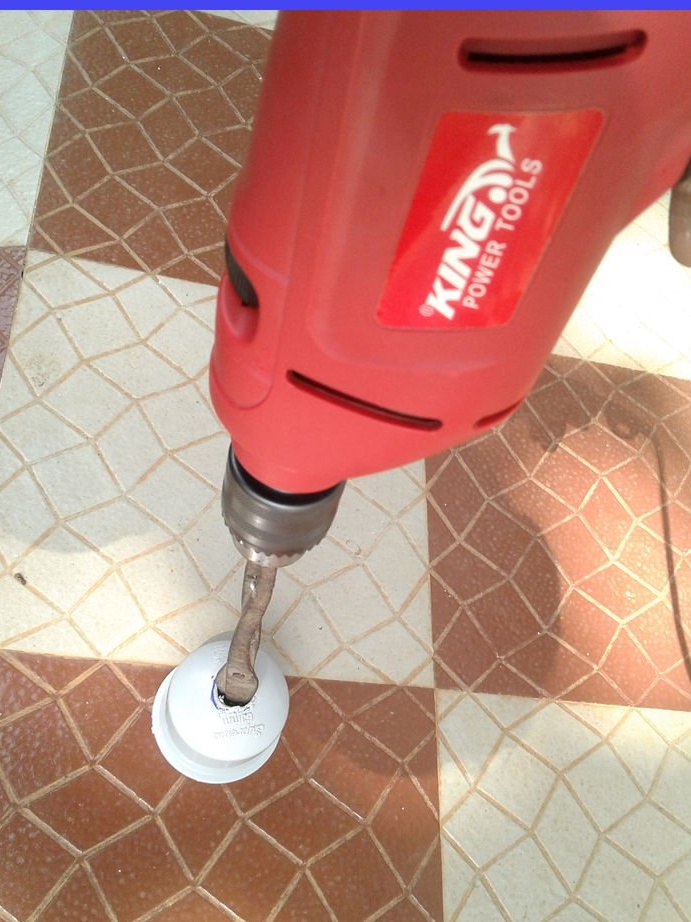
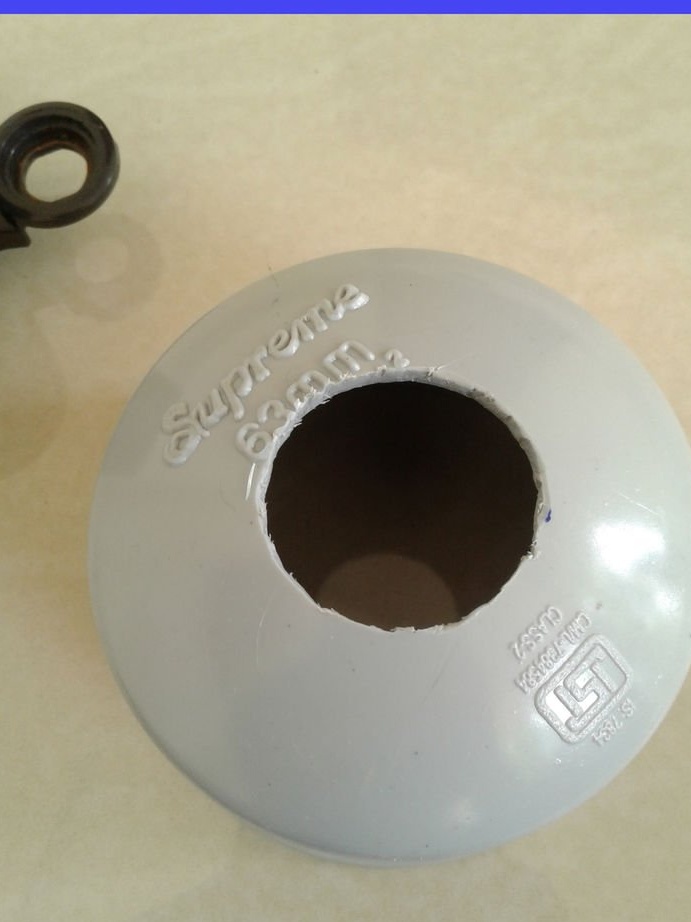
3. Take a 5 cm end cap and drill a hole in its center using a drilling machine or an alternative method.
4. The hole size is 2.8 cm (the diameter of the binocular eyepiece is used).
The author does not have a suitable drill for drilling holes. Therefore, he first drills a hole with a small drill, and then enlarges it using old wire cutters and a drilling machine. All this is shown in the figures.
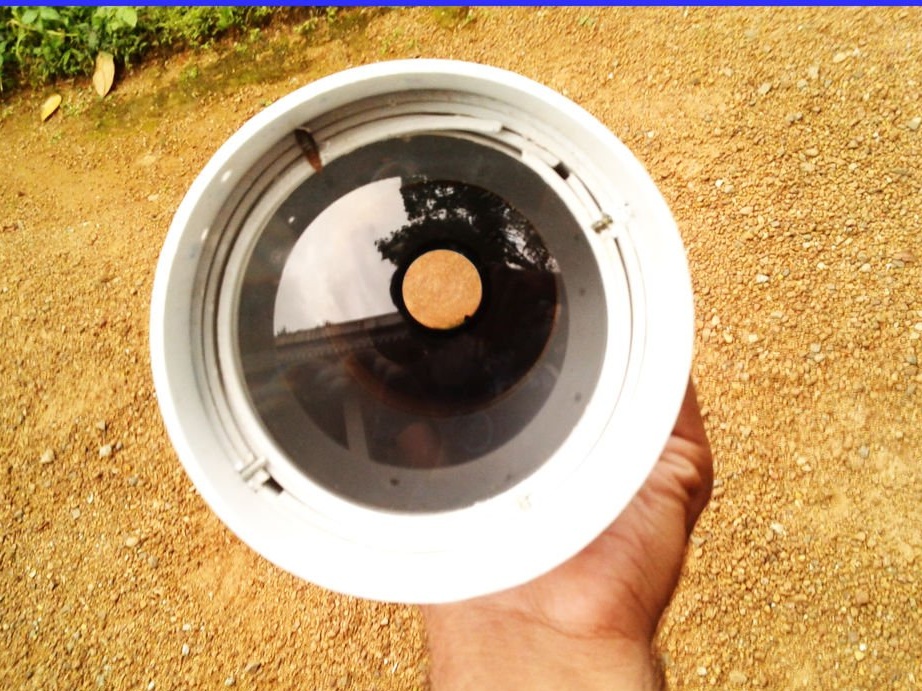
Step 4: fixing the lens
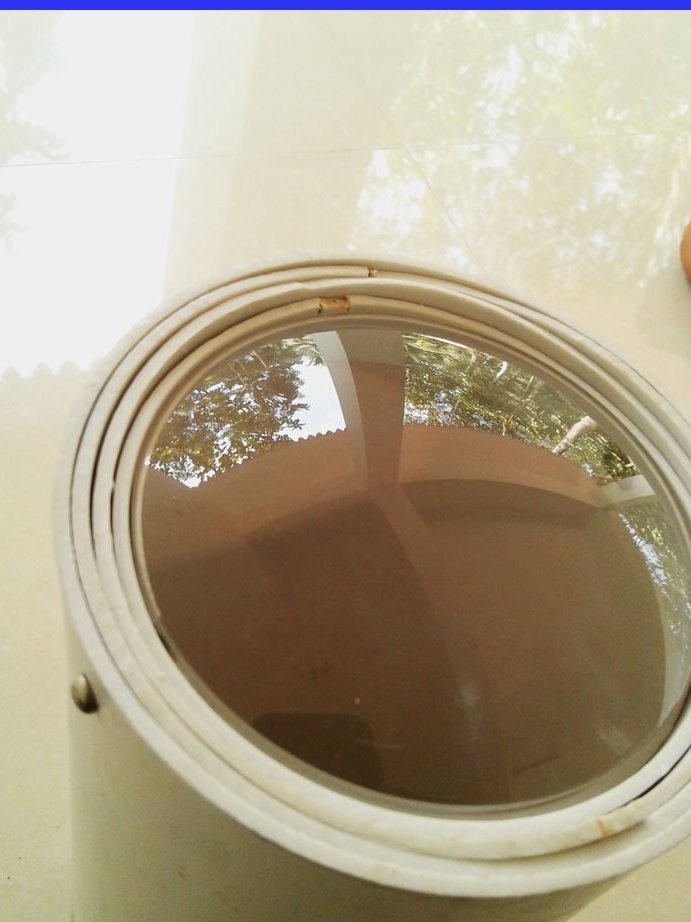
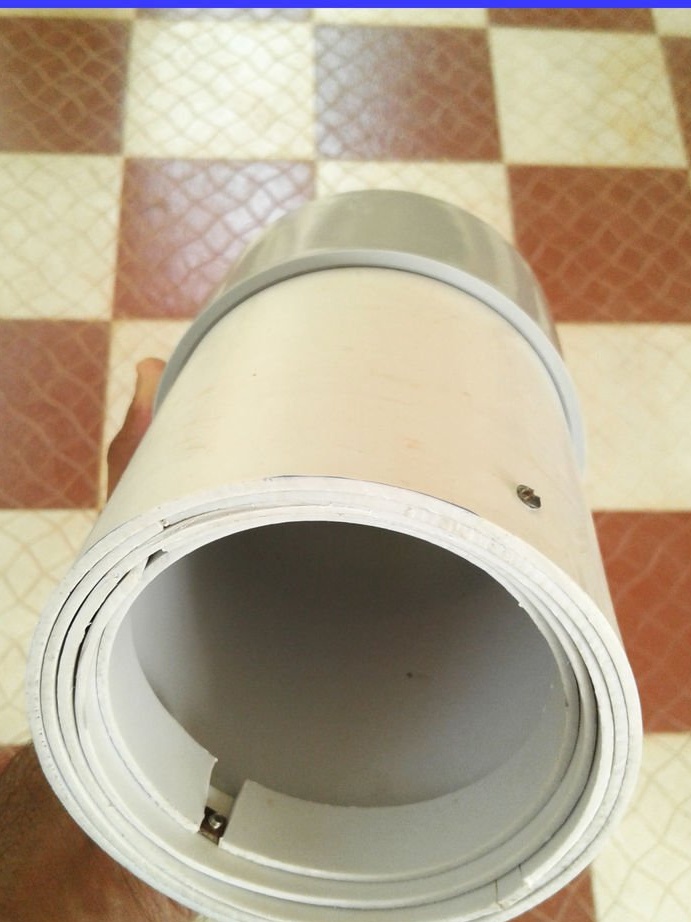
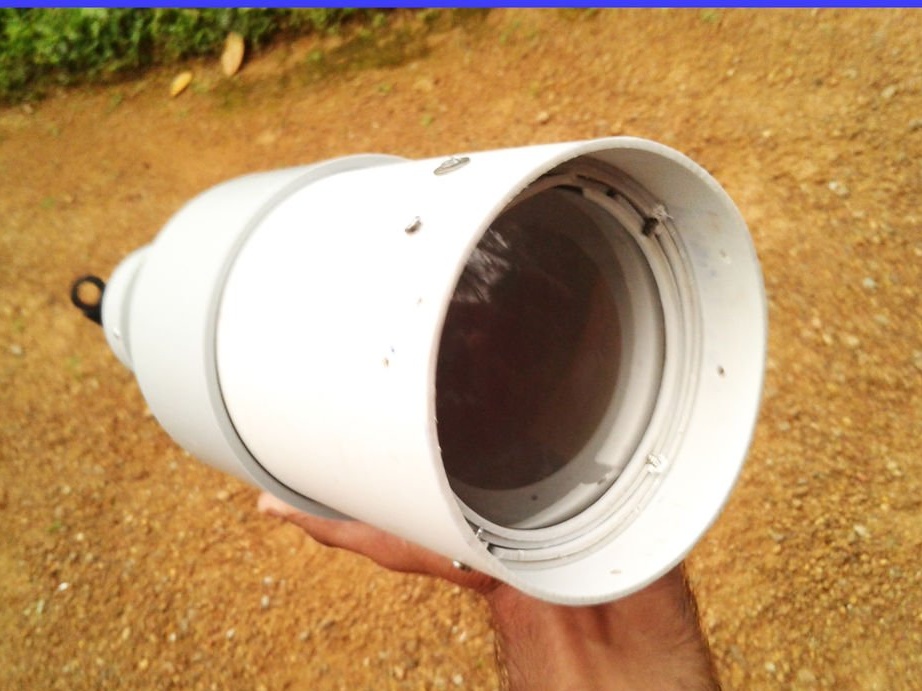
First you need to fix the lens in the PVC pipe. The lens has a smaller diameter than a PVC pipe. Therefore, to reduce the diameter, it is necessary to place a piece of PVC with a length of 2 cm in the pipe. The lens is placed 2 cm inside the tube to reduce glare from side lights falling into the telescope.
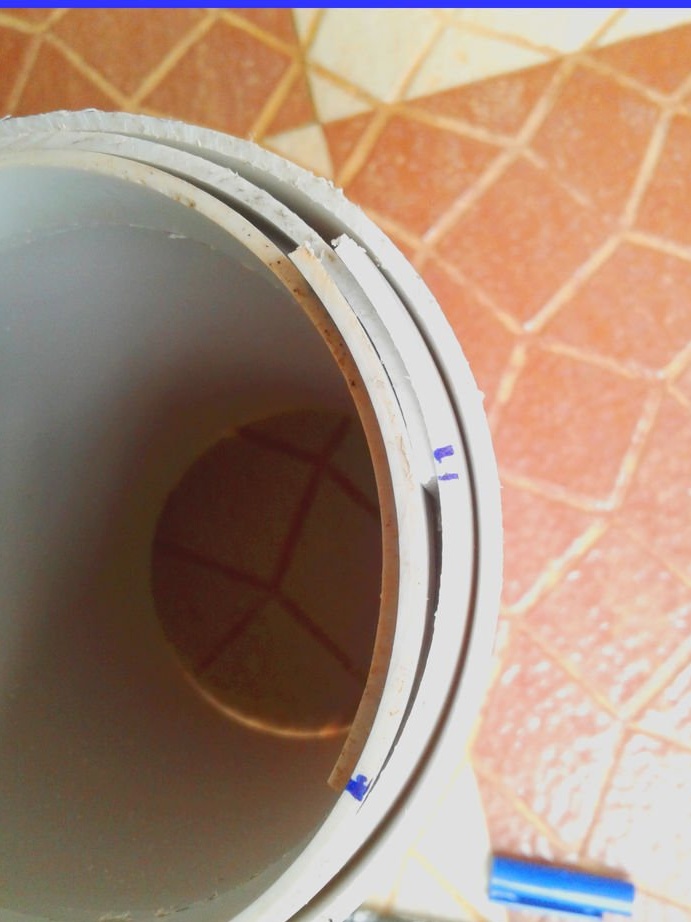
1. First, PVC of small width is cut and a part is removed to fix this piece inside the PVC pipe (2 cm inside from the edge).
2. Then another piece of PVC is cut and some portion removed to fit in the first placed piece.
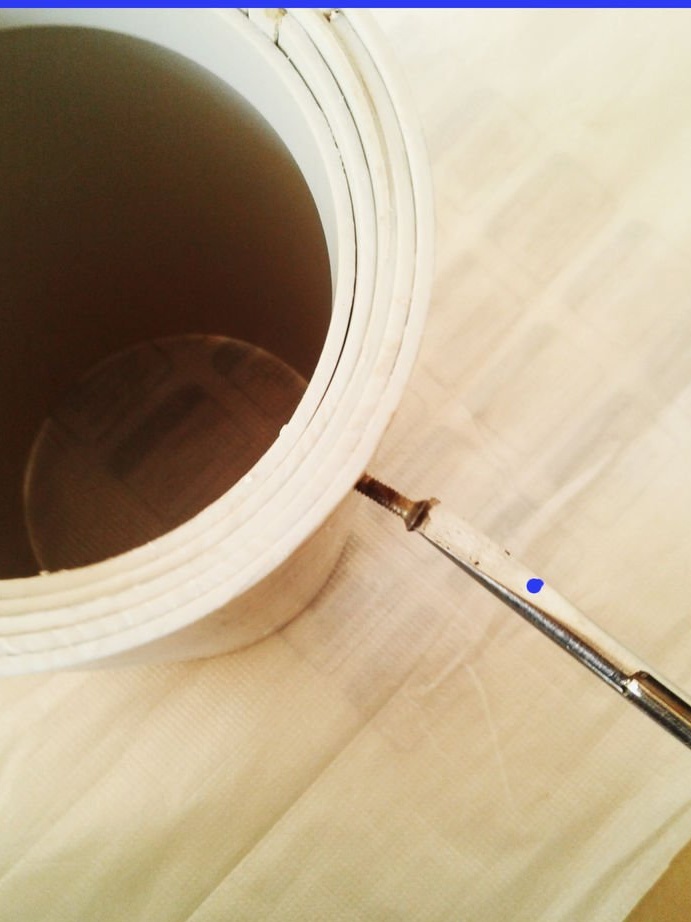
3. Make sure that the part is 2 cm away from all positions, and then fasten it with screws (the screws do not penetrate the PVC pipe).
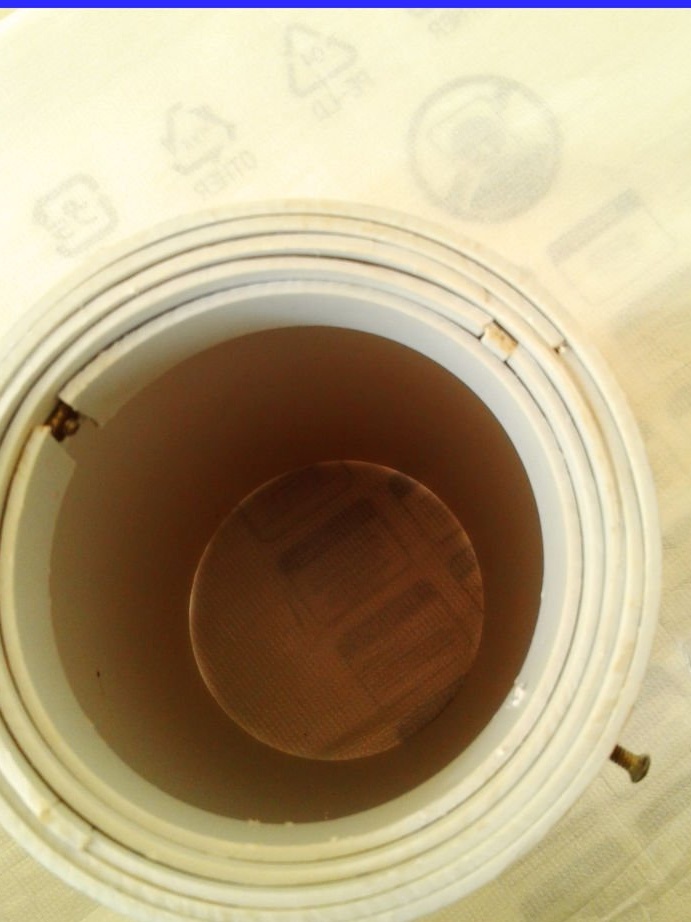
4. Then place the lens and fix it using other small pieces of PVC and screws. This is shown in the photo.
5. Then fasten the gearbox to it. Use screws to secure the structure in case of loosening. Make sure that the screws do not penetrate the PVC.
6. Be guided by photos if it is not so clear. Images are taken step by step.
Step 5: Fixing the Eyepiece
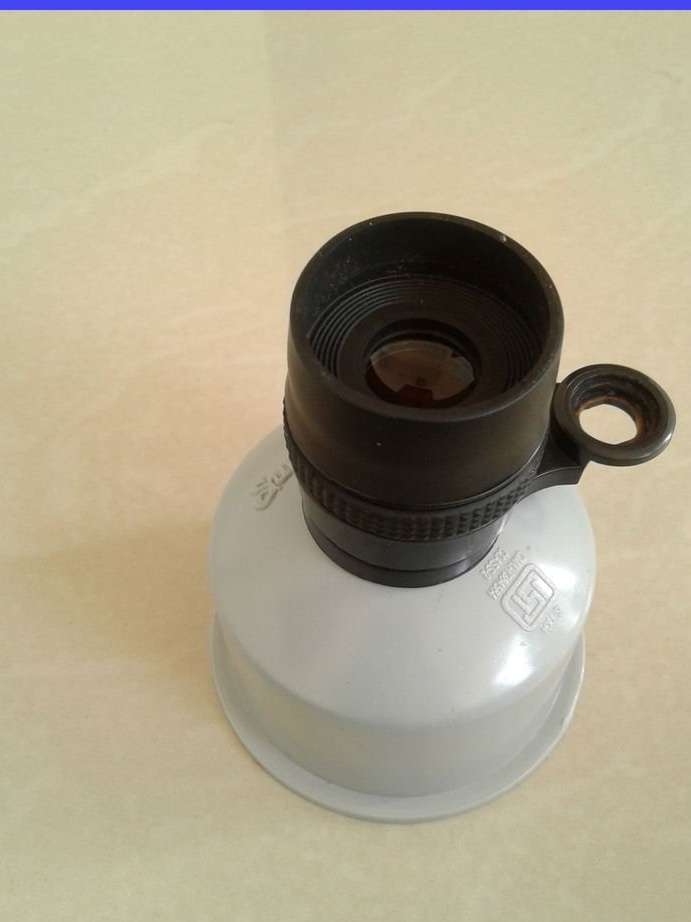
The author uses an eyepiece from old binoculars. Otherwise, you need a convex lens with a diameter of 3-4 cm and a focal length of about 4 cm.
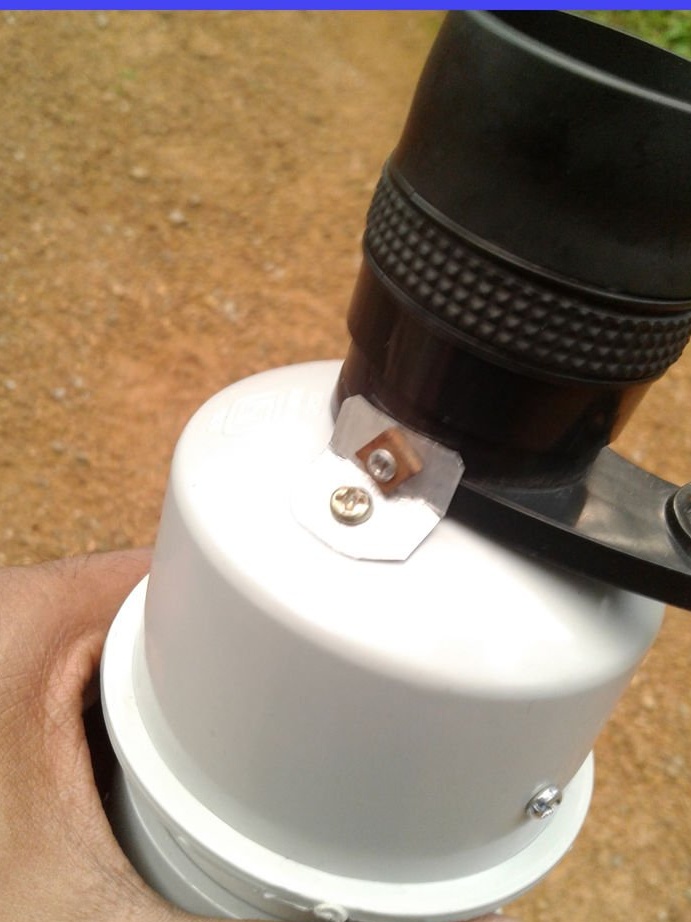
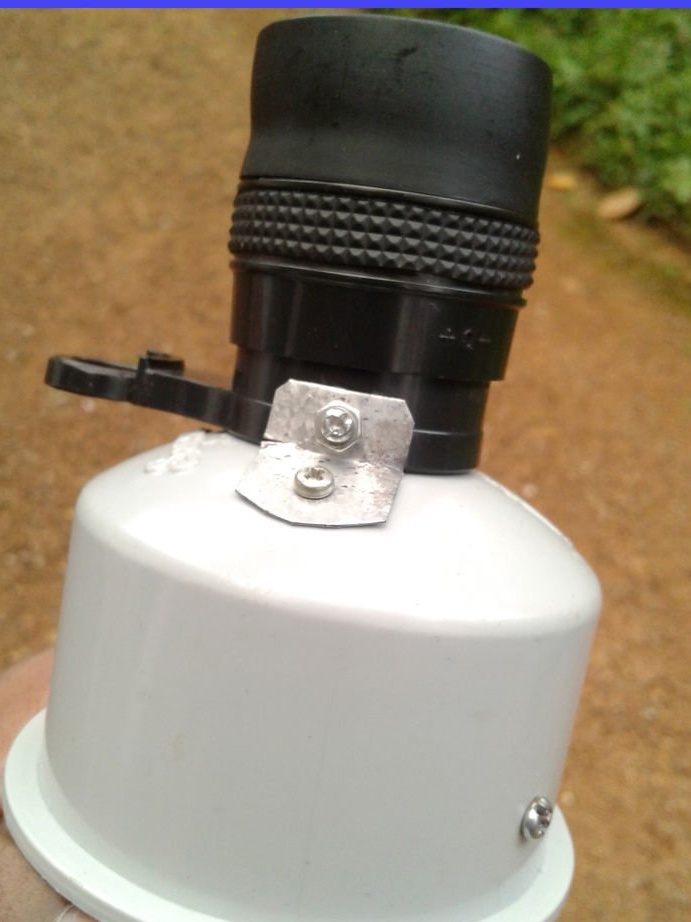
1. Attach the eyepiece to the hole in the end cap using screws and metal strips.
2. Make sure that the screws do not penetrate into the eyepiece.
3. All actions are shown in the photo.
4. Connect the PVC adapter (gearbox) with a diameter of 100/50 cm to the end cap and fix it with a screw.
Step 6: Assembling the telescope
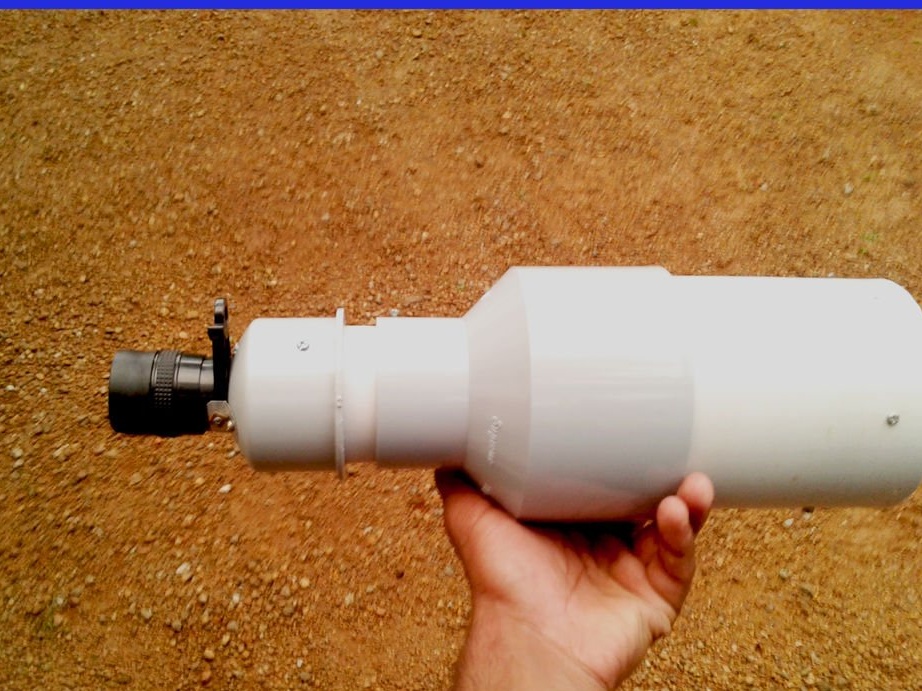
Make sure that the 100 cm pipe moves freely inside the gearbox.
If necessary, grind the surface of the PVC pipe.
The movement of the PVC pipe in the gearbox is used to precisely focus the telescope.
To adjust the focus, look at a distant object through a telescope and find a clear image. A sharp point is a focus point. Fasten this position with the screw to fix the telescope at its focus point.
Step 7: Lens Tips
This is the author’s scheme of the telescope. He uses lenses that can be purchased from him in the city. Similar lenses may not be sold everywhere, so he gives advice on choosing the right lenses. Make sure that the lenses meet the specified parameters of the assembly scheme.
Lens selection (convex lenses)
Use a large diameter of 8 to 16 cm. A larger diameter provides high light-picking capacity, which increases image clarity.
Use lenses with a large focal length of 30 to 100 cm. A high focal length means a large increase, which means high zoom.
Eyepiece selection (convex lenses)
Use a small diameter of 2 to 4 cm.
Use a short focal length of 2 to 10 cm. These lenses provide high magnification.
PVC pipe length selection
The length of the PVC lens is about 70% of the total focal length.
The length of the PVC eyepiece is about 40% of the total focal length.
Adjust the length yourself to ensure a clear image. This is a rough calculation.
Step 8: Conclusion
For a good and clear observation, it is necessary to wait for a clear night sky.
In clear weather, you can see many stars that are not visible to the naked eye. It is very interesting.