Many of us have been at a museum or at some exhibition dedicated to a particular art form at least several times in our lives. The most interesting and unusual art form, in my opinion, is just a diorama. An artificial volumetric composition, in which some composition, scene or a certain moment in life is shown in volume.
But not everyone can even say what they are looking at while standing on the observation deck of the museum. Organizers of exhibitions or traveling museums quite often use dioramas in their shows. After all, they can be not only stationary, huge, occupying large halls, but also small enough. There is little to compare in the beauty and emotional component of this art form, and the information content of such viewing is assimilated several times.
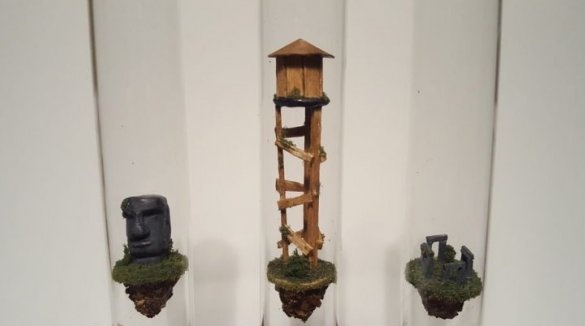
And so the author of this master class, apparently inspired by one of this kind of art, decided to reproduce and create his own mini-diorama. And, in my opinion, he did it quite well!
So, let's begin!
In order to create this wonderful composition of three elements, the author needed tools and accessories such as:
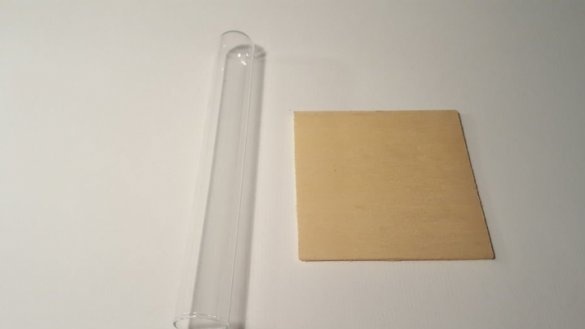
- test tubes or transparent plastic tubes
- thick paper
- polymer clay
- acrylic paints
- stain
- ice cream sticks or coffee stirrers
- a small segment of a thin board
- wooden block
- small wood chips or shavings
- artificial moss or something for decoration
- Super glue
- decoupage glue
- thermal gun and glue sticks
- stationery knife
- scissors
- a simple pencil
- saw
- pen drill, drill or screwdriver
- sandpaper.
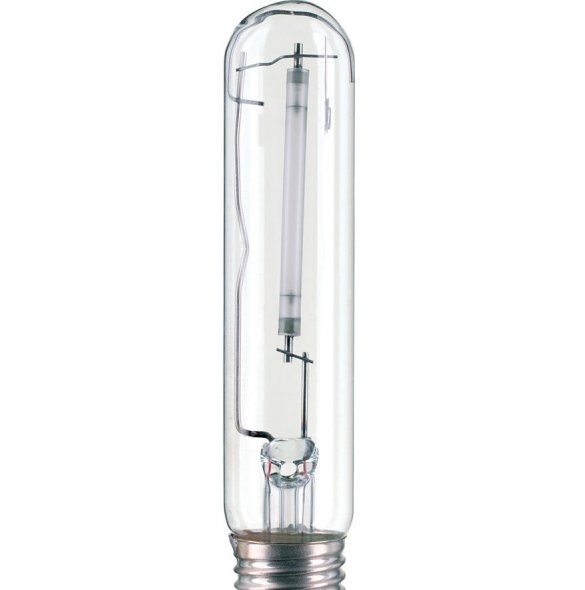
A plastic transparent tube, test tube or lamp with a high luminous element is taken, for example, like this one or something similar
When using such a base instead of a test tube, the difficulty will be to pull out all the “offal” from there so as not to break the flask.
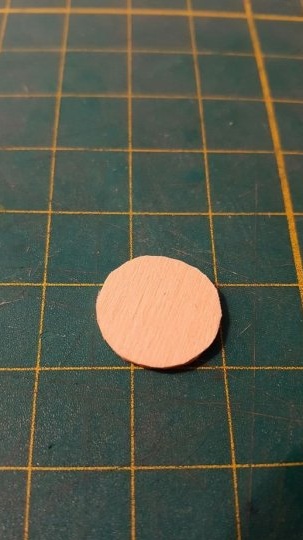
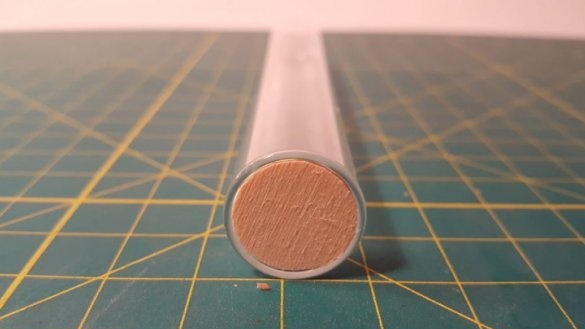
A circle is cut out of a thin plank or plywood to serve as a cap for the tube. It should enter the flask tight enough.Of course, you can use thick cardboard, but working with it will become more complicated. It can be easily remembered, which will spoil the appearance of the created composition. It will be a platform.
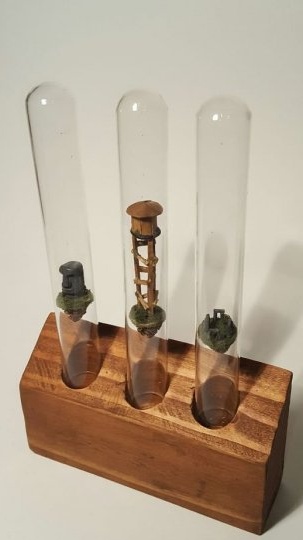
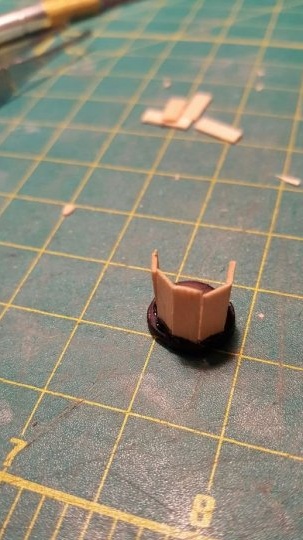
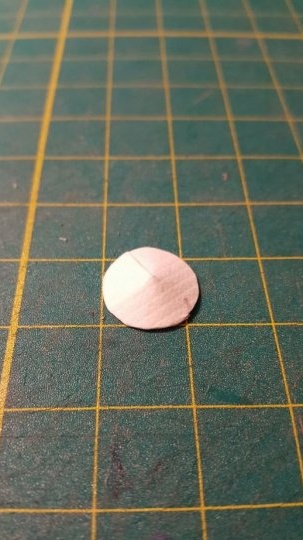
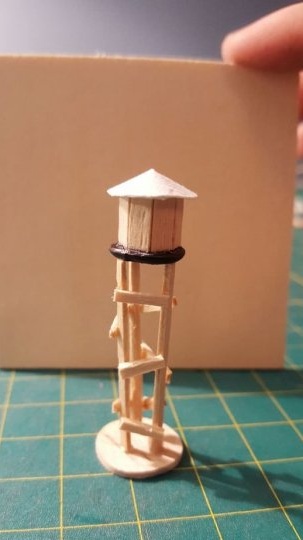
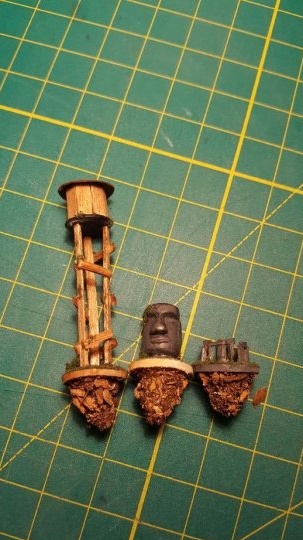
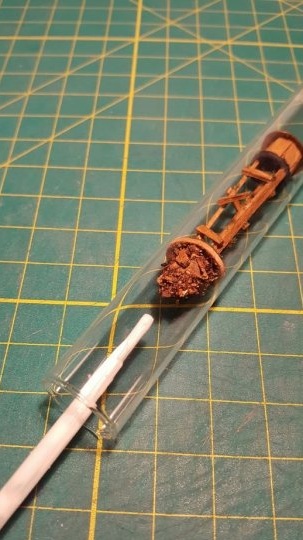
The author creates three pieces at once for the dioramas: a water tower, a head from Easter Island and Stonehenge. For the tower we need ice cream sticks or stirrers for tea or coffee. Of these, tower supports and crossbeams are created. A circle of smaller diameter at the top is the basis for a container of water. It is also made of sticks. The roof is assembled from cardboard. The whole structure is painted in the color you need.
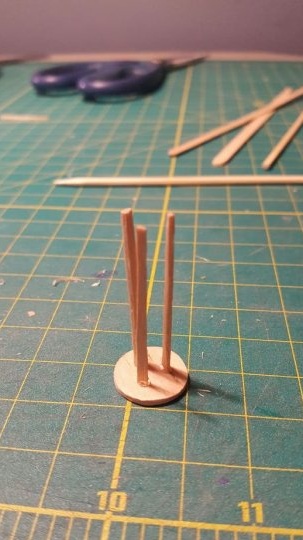
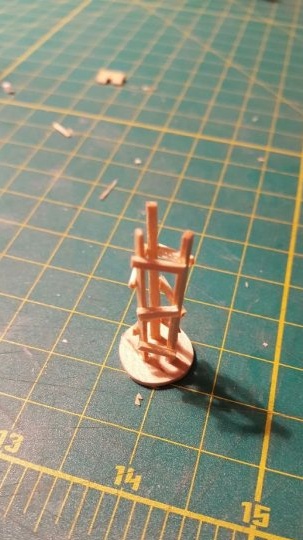
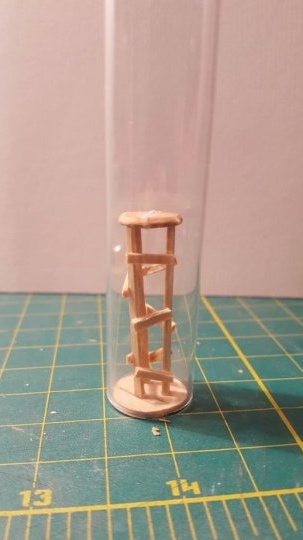
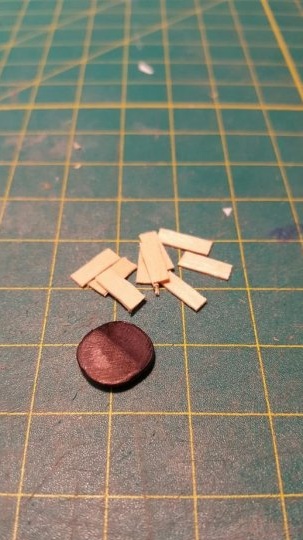
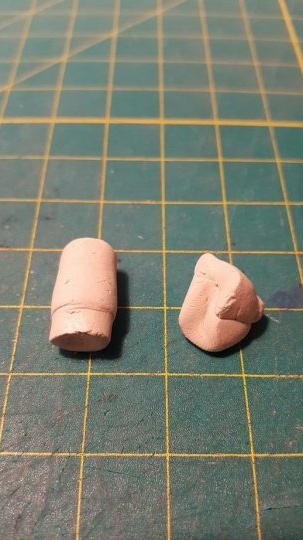
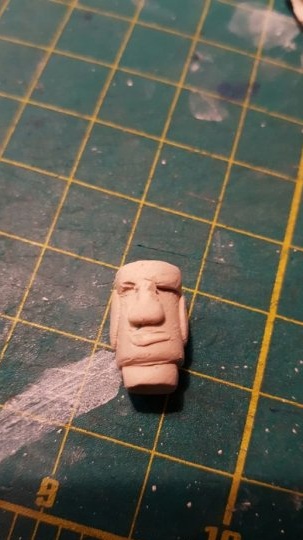
To create a head from Easter Island, polymer clay and the necessary tools to work with it are used. The head is molded, then it is baked in the way the manufacturer advises in the instructions for use. The finished head is later glued to the wooden base with superglue.
In the "construction" of Stonehenge, the same ice cream sticks are used and are also glued together with superglue.
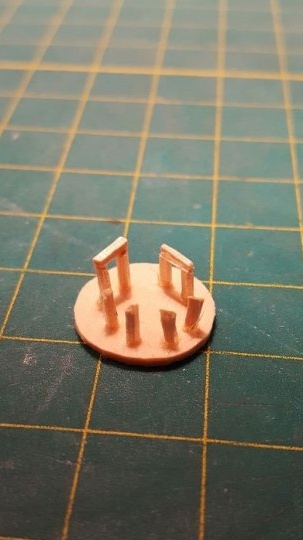
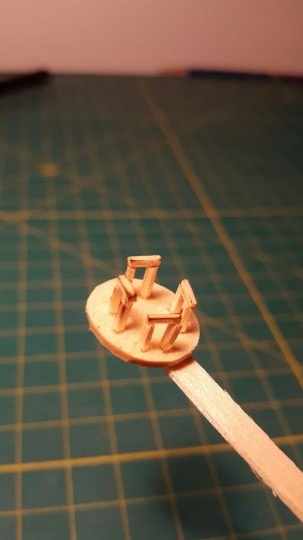
All blanks need to be painted. Colors for your choice. To cover wooden elements with wood stain or varnish for a certain color of the tree - oak, walnut, etc. .. At the bottom of the bases of the dioramas, the author advises making small bumps using hot glue for a more spectacular look.
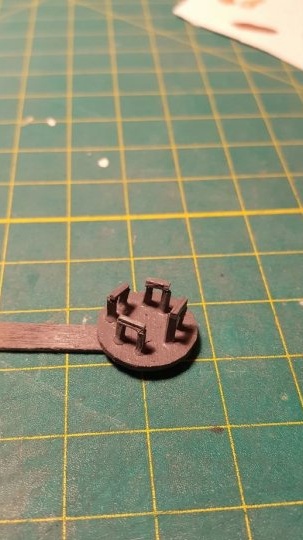
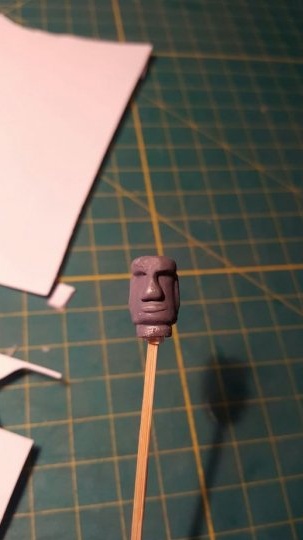
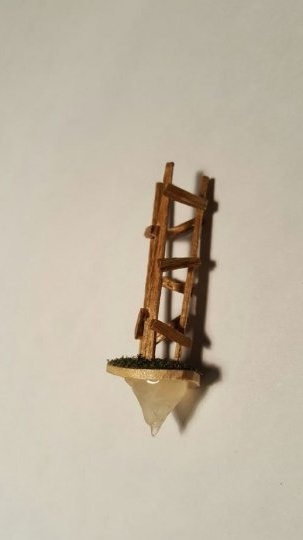
Now you need to decorate all the resulting elements. A decorative pile or moss is taken and the parts you need are decorated with decoupage glue.
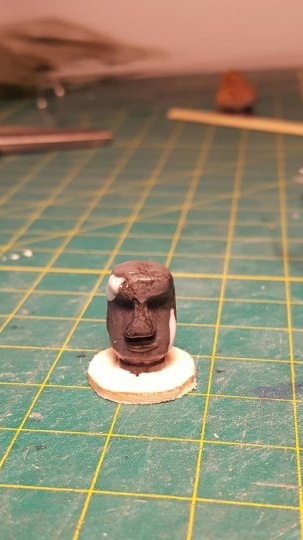
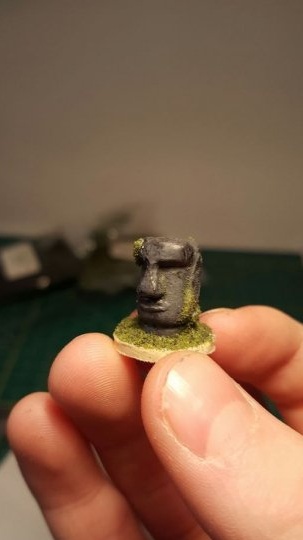
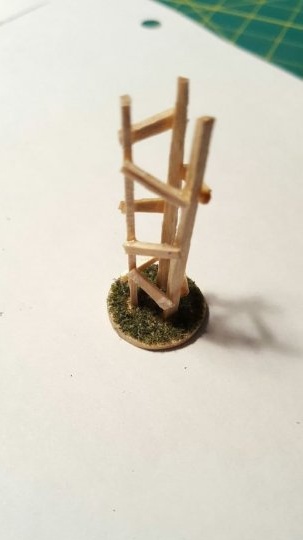
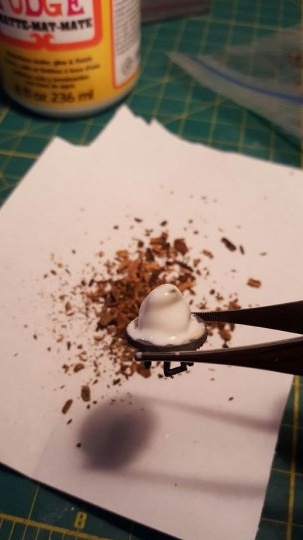
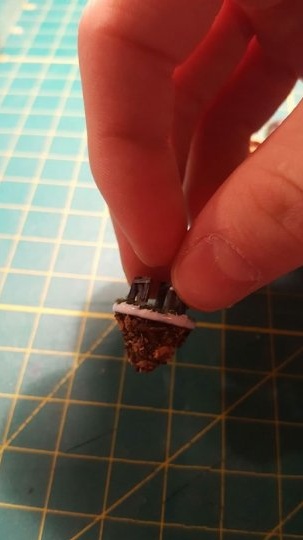
Glue slides are now decorated in the lower parts of the base platforms. Wooden shavings are taken, as in the author, or what is more to your taste and glued using decoupage glue. We give the glue time to dry and after that, with a thin skewer or something else convenient, insert the mini-dioramas into test tubes.
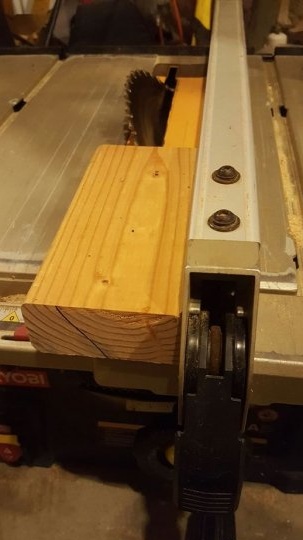
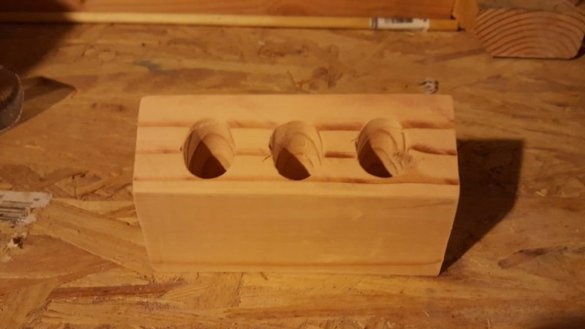
Now a wooden block is used. This is the future pedestal holder for all three tubes. Holes for flasks are drilled in it and the necessary form is given. The finished form is covered with stain. After drying, flasks with figures are inserted and everything is ready! Enjoy the result!

