
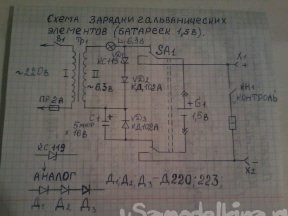
Hello dear friends, and "the inhabitants of our site". All of you have probably faced this problem, where to put the discharged batteries? I have more than a dozen of them. Moreover, many of them are discharged by only 0.2 - 0.3 V, and naturally are no longer operational. I decided to build a charger for 1.5 V batteries. I found the circuit on the Internet. It is not complicated, but it works pretty well. Here is a diagram of the device
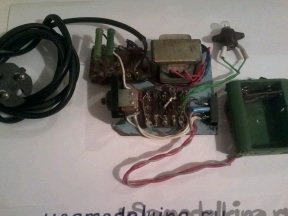
To assemble the circuit, we need the following parts and tools.
1 - step-down transformer 220 / 6.3 V; one switch type TP1-2; two position switch; 6.3V bulb at 0.3A; lamp holder; Zener diode KS119; instead of a zener diode, you can put three series-connected diodes D 220; 223; two diodes KD 102 A or KD 105; 5 uF electrolytic capacitor at 16 V; 10 ohm to 1 watt resistor and power cord with plug. 2 - soldering iron; solder; mounting wires; circuit board; tweezers; nippers; pliers; a screwdriver; drill; drill . We assemble as follows.
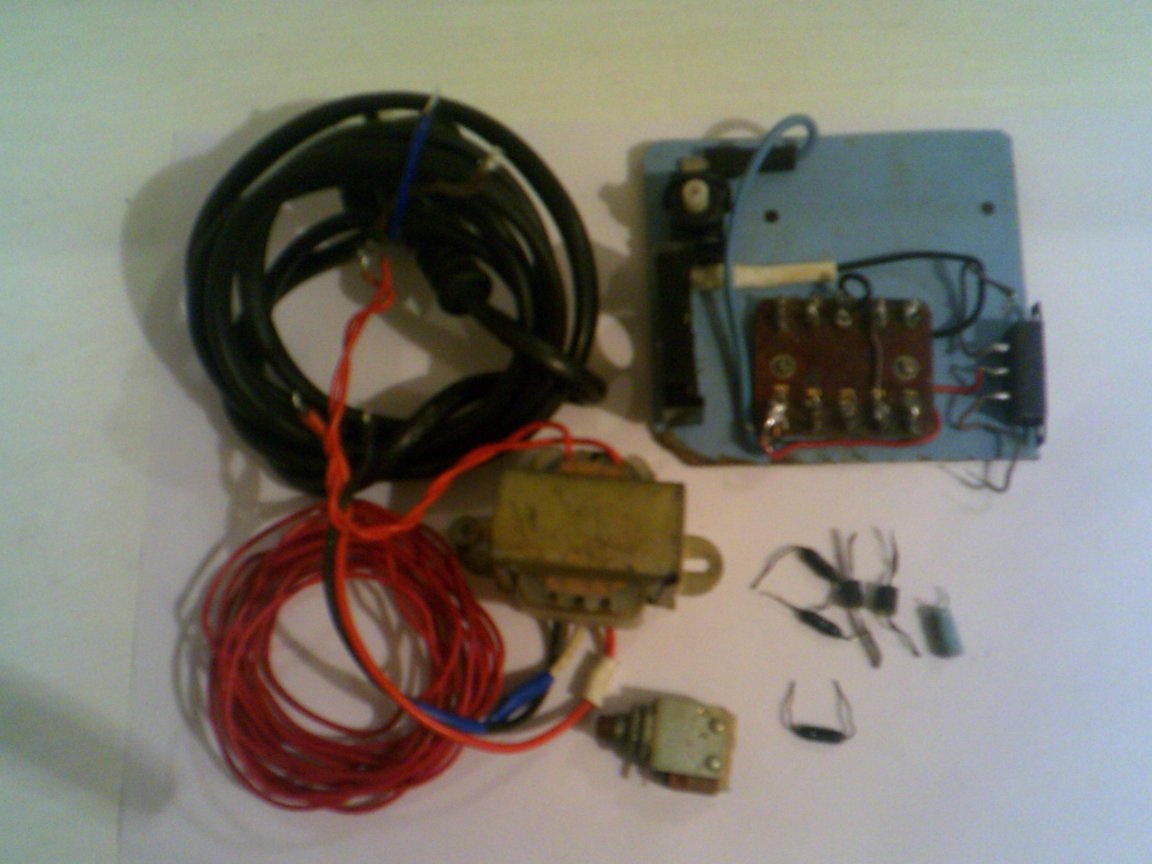
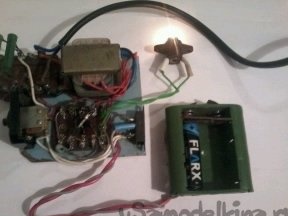
Step 1 . On a 10 x 10 cm PCB strip, we install a transformer, a fuse, a toggle switch and a switch, and a circuit board.
Step 2
We solder the whole circuit, check the correct assembly.
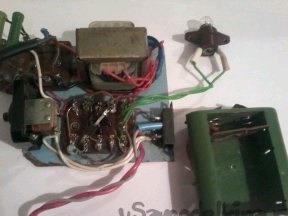
Step 3 Connect the battery
set the SA 1 switch to the lower position according to the diagram; press the KN1 button for 2 seconds

in this case, the battery voltage should decrease by no more than 0.2 V, if the voltage drops by more than 0.2 V, then such a battery cannot be restored. Then we put the switch SA1 in the upper position according to the scheme, apply the mains power to TP1 and start charging the battery.
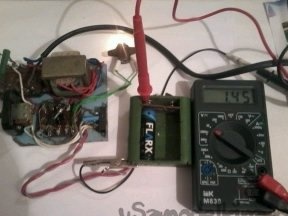
The normal state of the charge corresponds to a voltage of at least 1.4 V, and its decrease when the load is connected no more than 0.2 V. The degree of charge can be judged by the brightness of the lamp. Before connecting, the lamp burns in full, and after a charging cycle, disconnecting and connecting the element does not cause a change in brightness. Before charging the batteries, we check their voltage. If it is less than 1 in, then it is better to throw such elements. The charging process lasts 4-5 hours and 6-8 hours. It is necessary to constantly monitor the charge. If the battery is warming up - throw it out. Salt batteries cannot be charged !!! With this charge, I charge the 1.2 volt little and finger batteries. The entire charging process is shown in the photo. Charger checked, working properly. That's all I wanted to tell you about. I wish you all the best of luck in designing homemade products.