
In this article, the creator of TheDacchio’s YouTube channel will tell you how to make a workbench clamp with a long reach.
This is the next version of the table clamp.
Materials
- Steel profile pipe
- Sheet steel
- Stud M16, extended nut
- Steel round timber
- A bolt with a lamb
- Spray paint
- Steel pipe.
Instruments, used by the author.
- Lathe
- Welding machine
- clamps
- Band-saw
- Hydraulic Press
- Bulgarian grinder, stripping and cutting discs
- Drilling machine
- Drills, taps
- Vise, wrenches, hammer
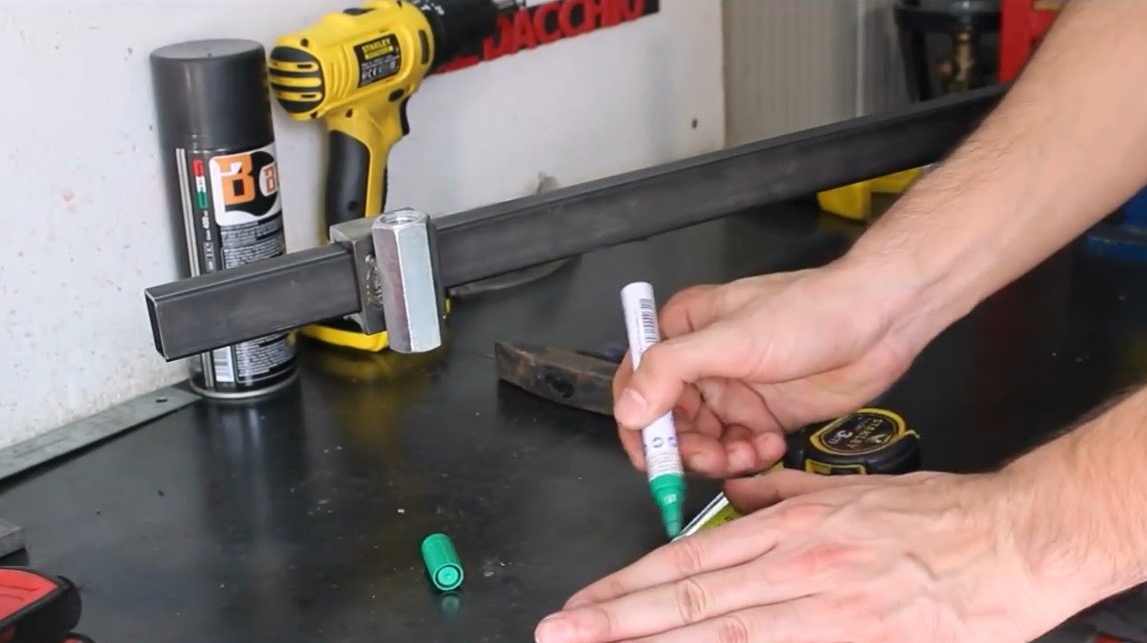
- Roulette, marker.
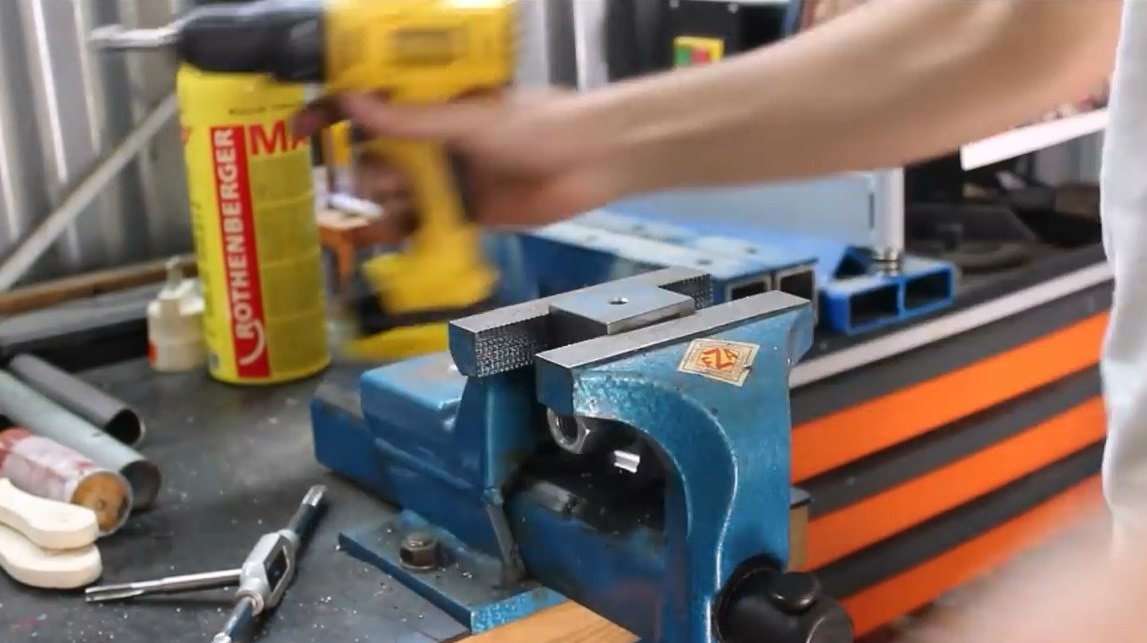
Manufacturing process.
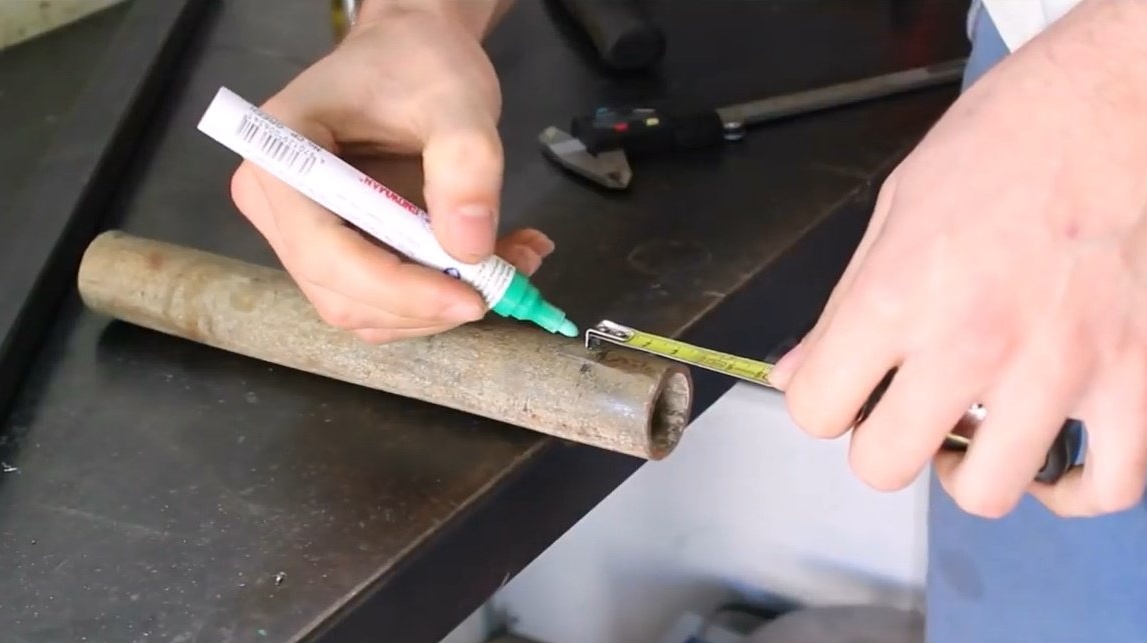
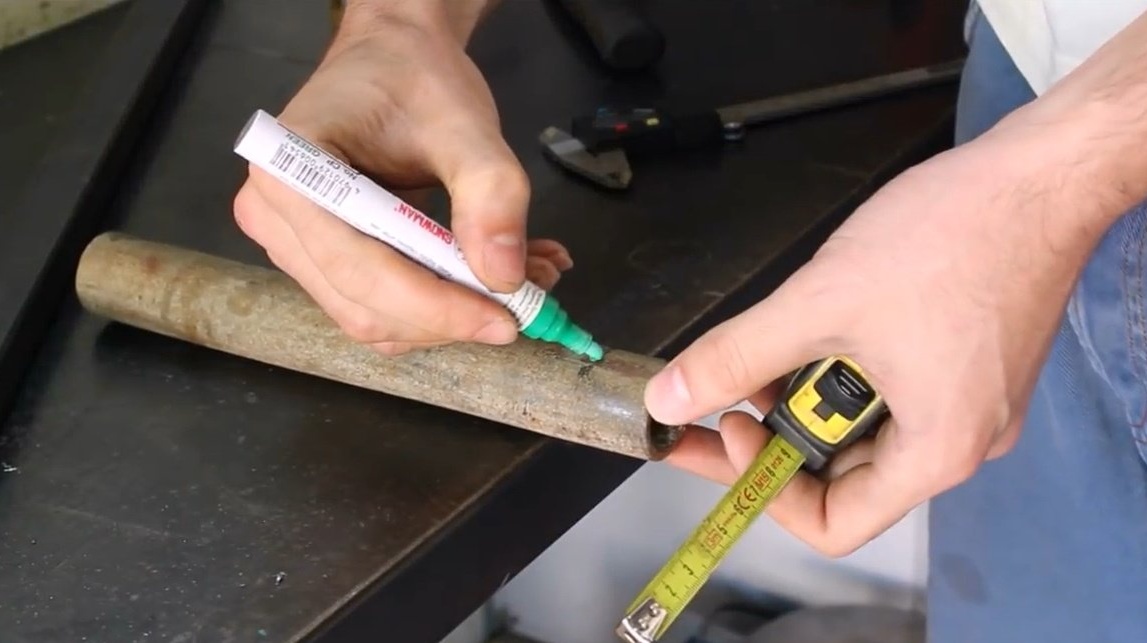
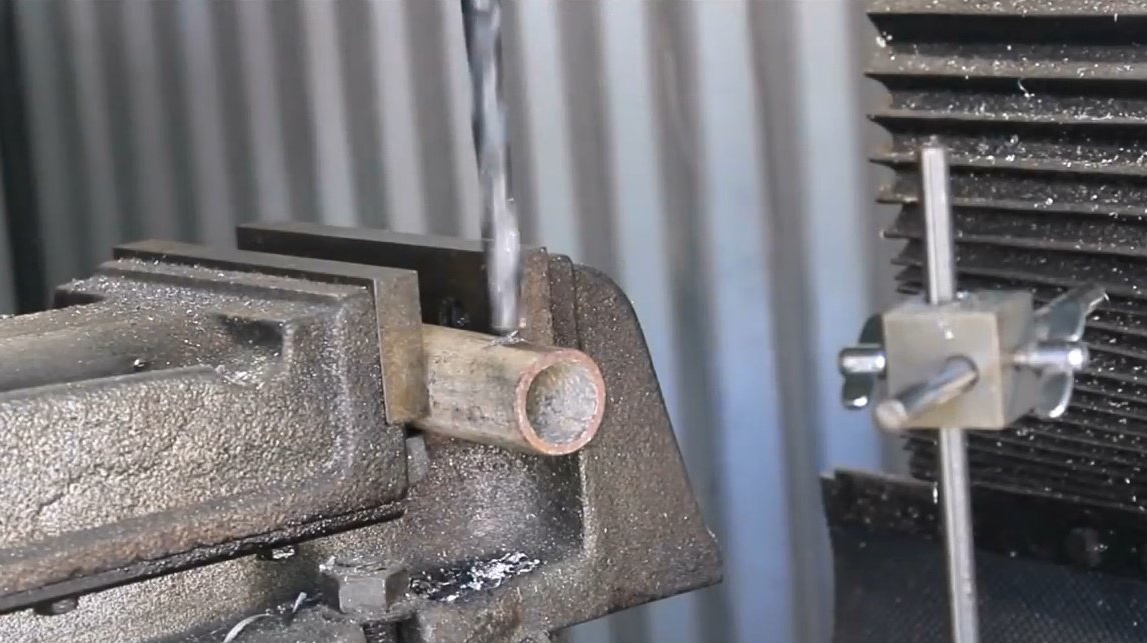
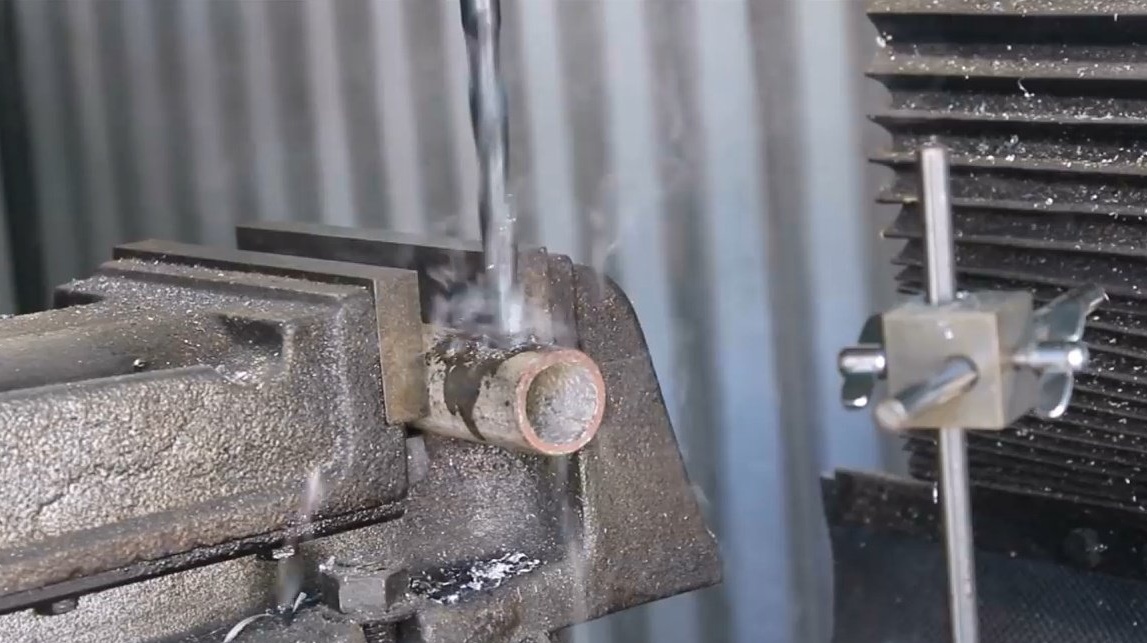
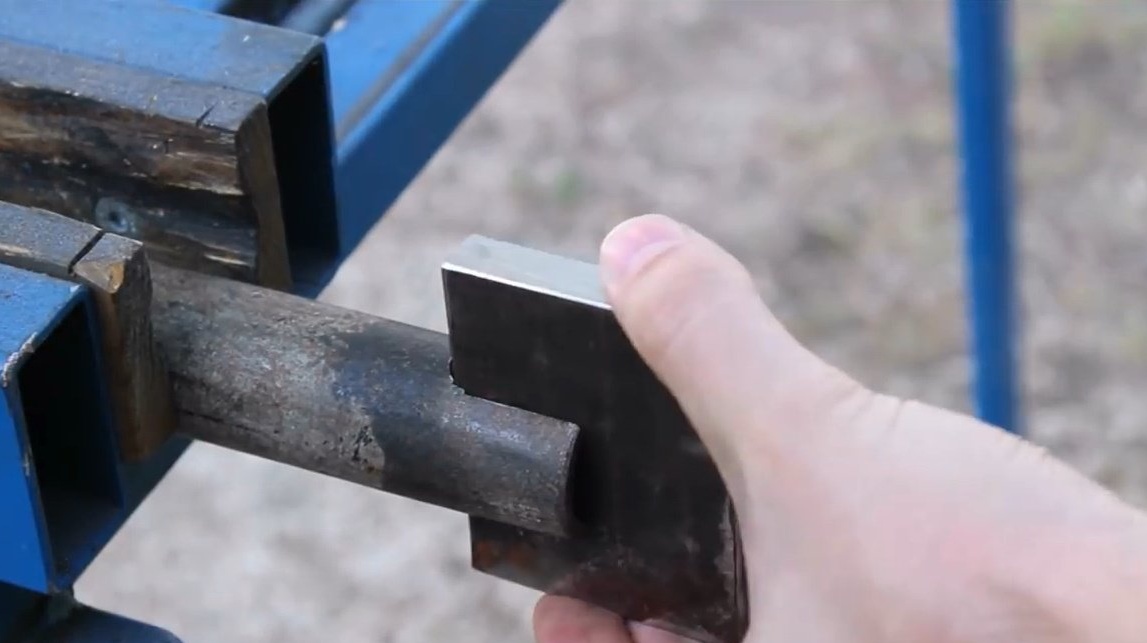
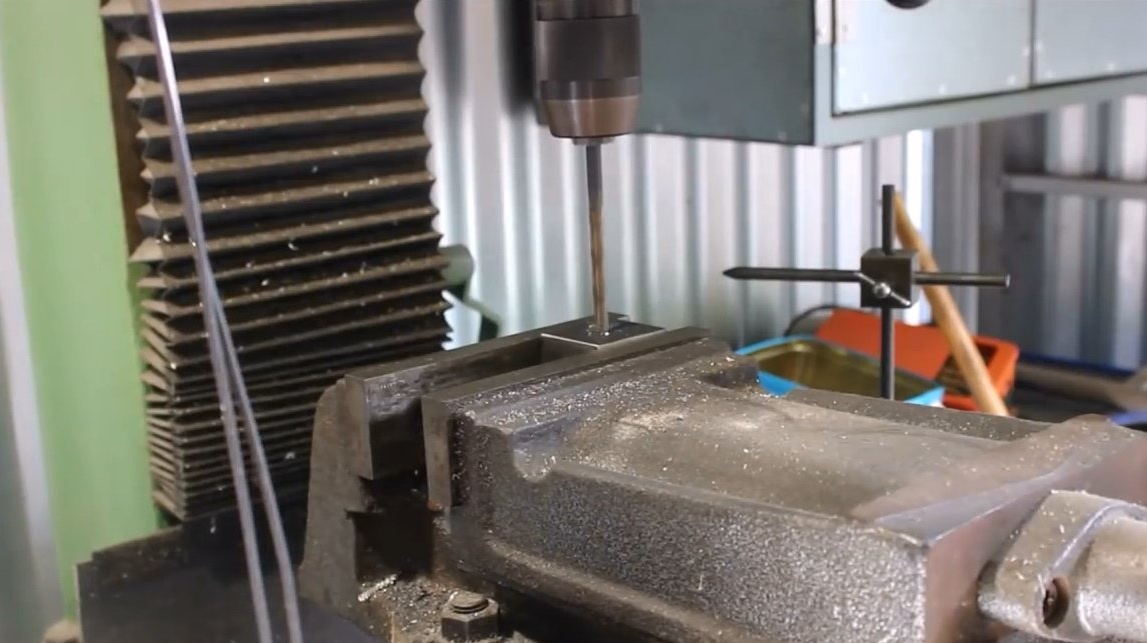
On a steel pipe marks the place of drilling, clamps the workpiece in a vice and drills a through hole.
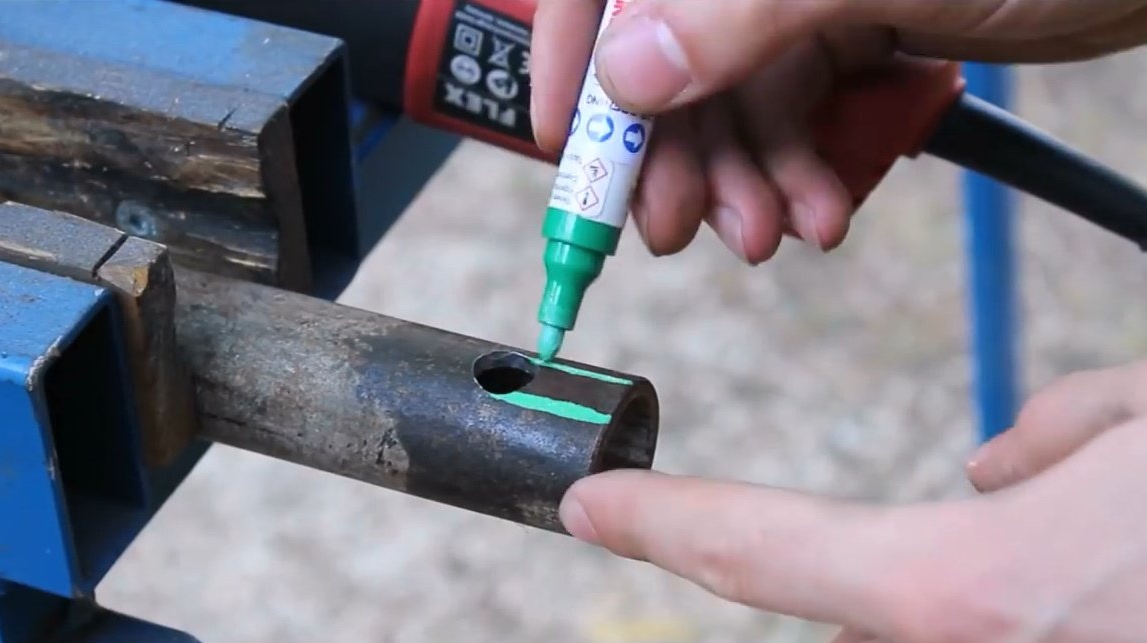
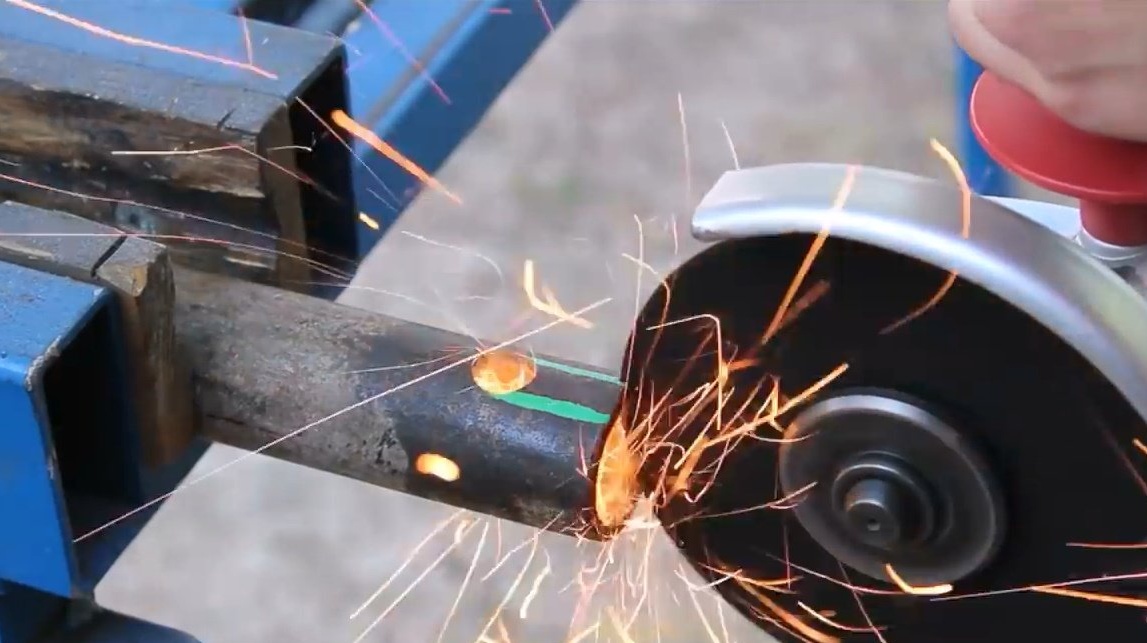
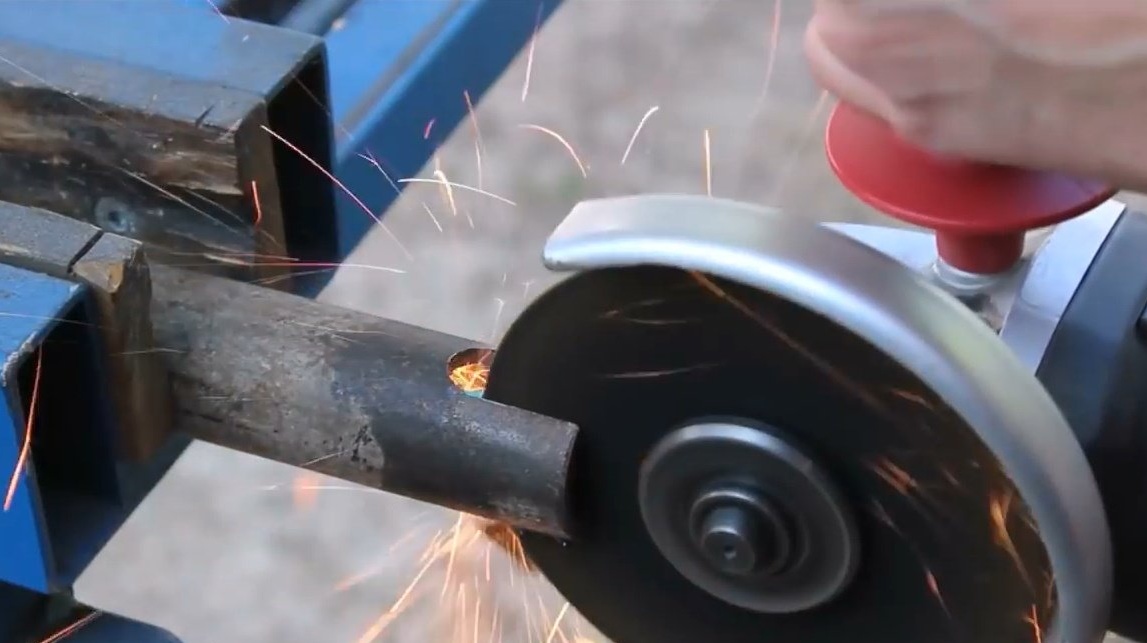
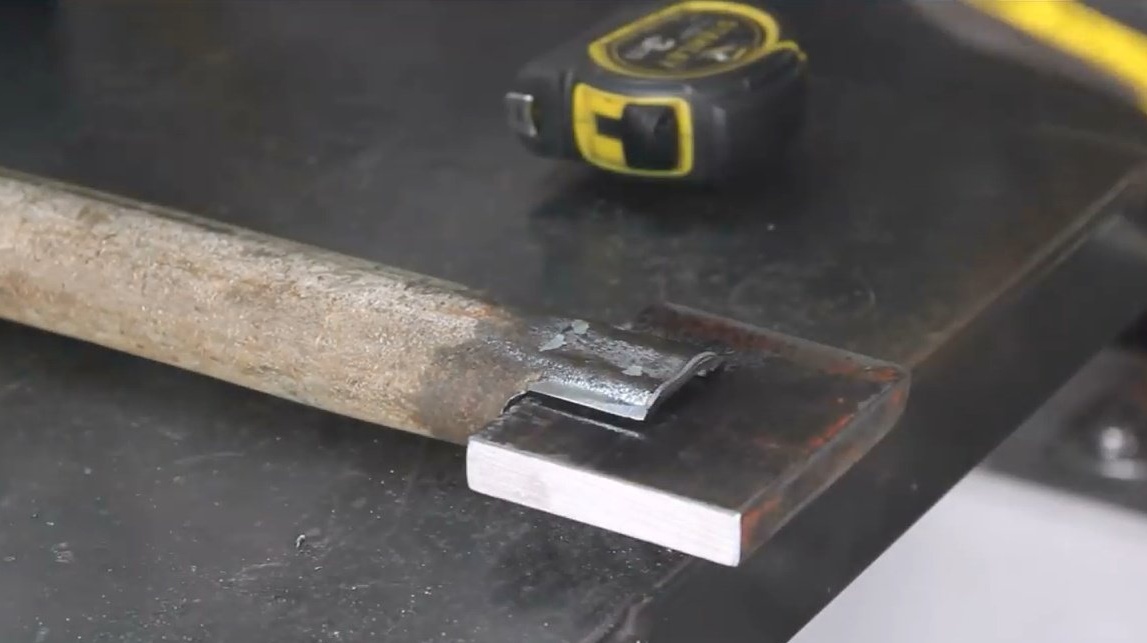
Then marks the place of the cut, makes a groove with a grinder.

Inserts a steel plate into the groove, press-fit on a hydraulic press.
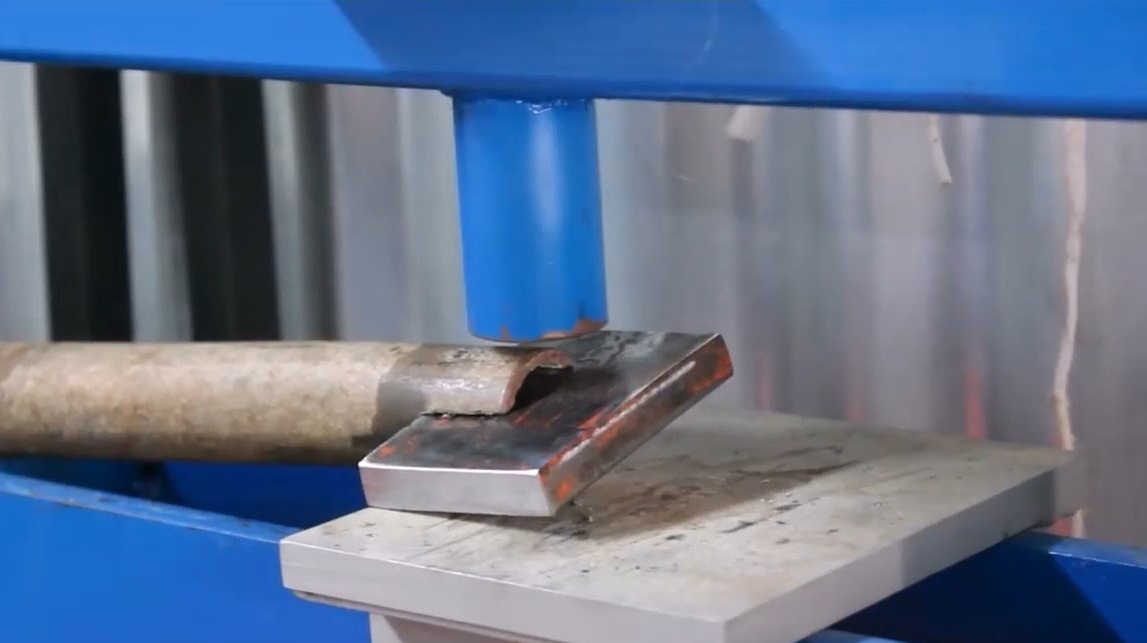
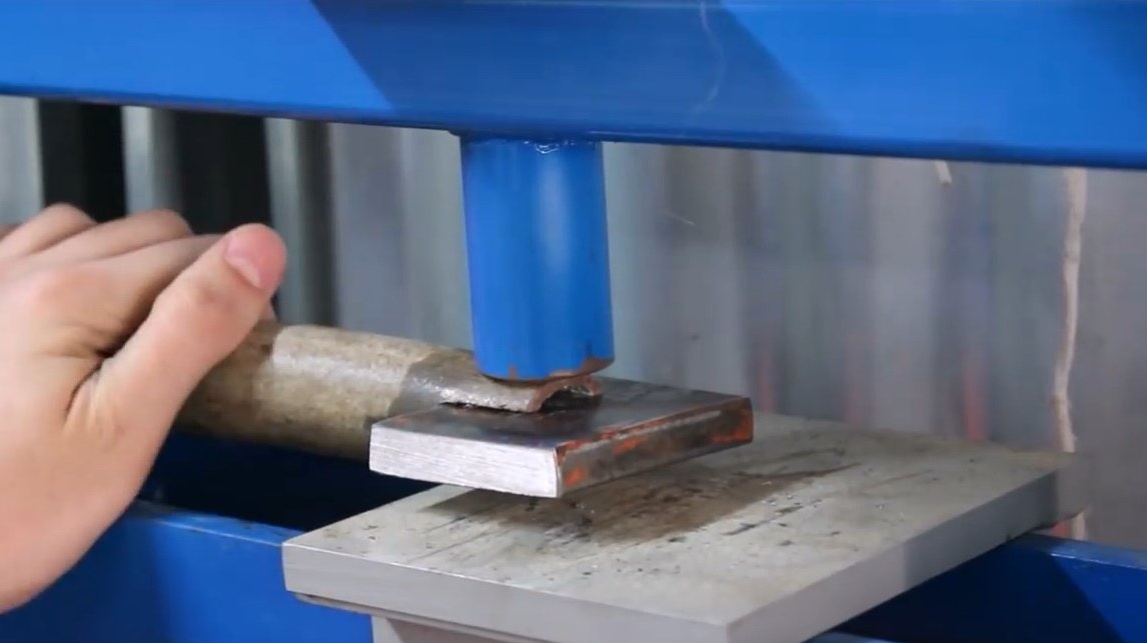
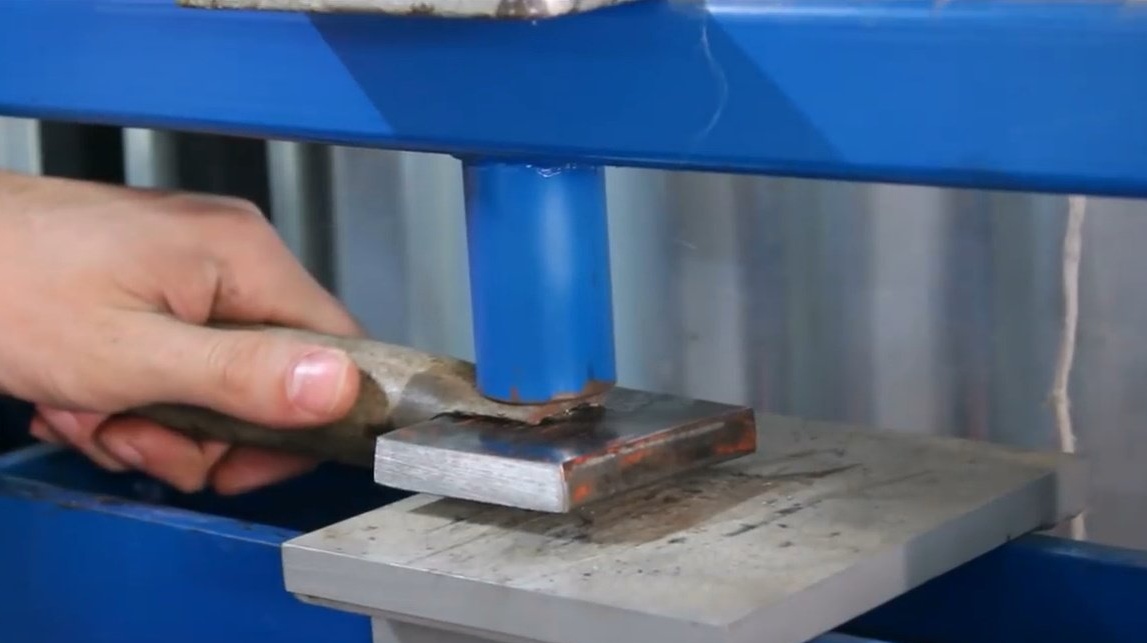
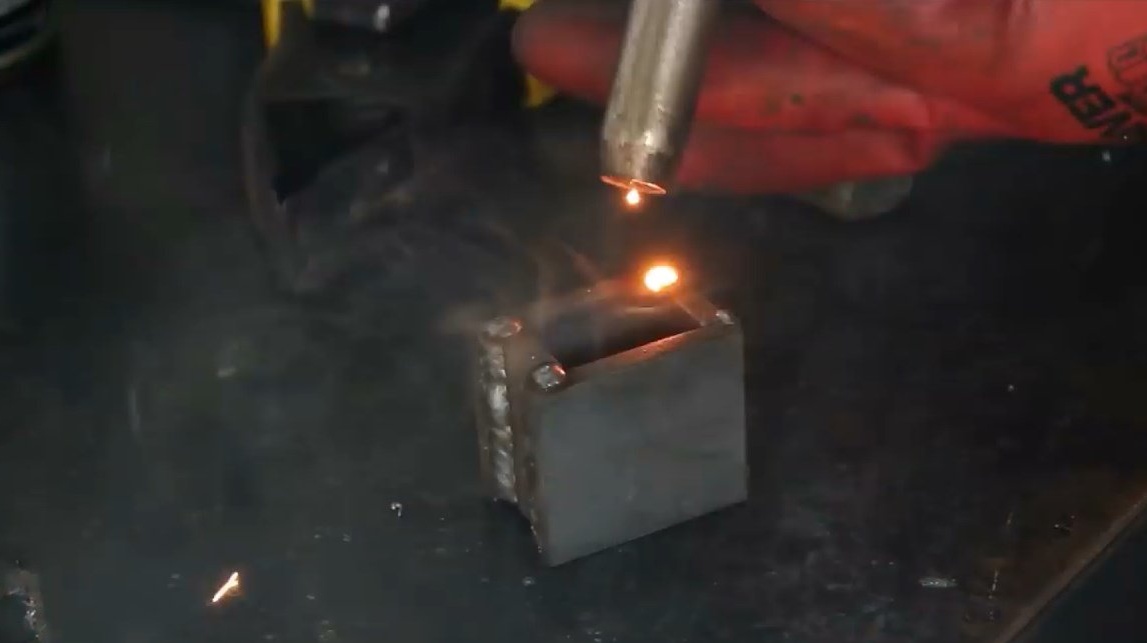
Then thoroughly boils and cleans the seams.
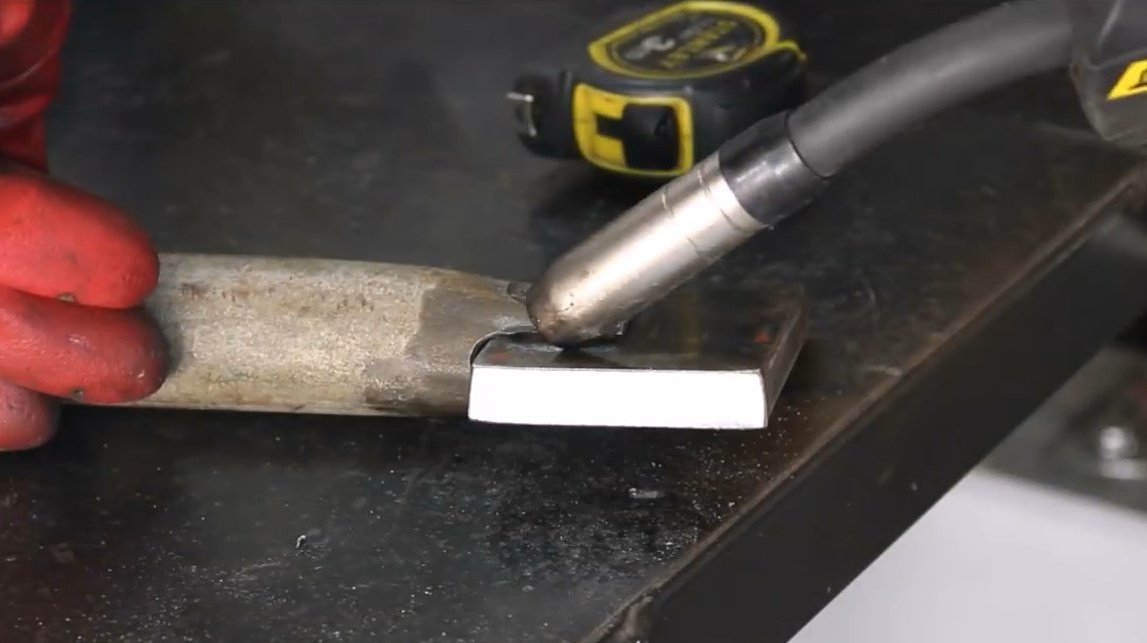
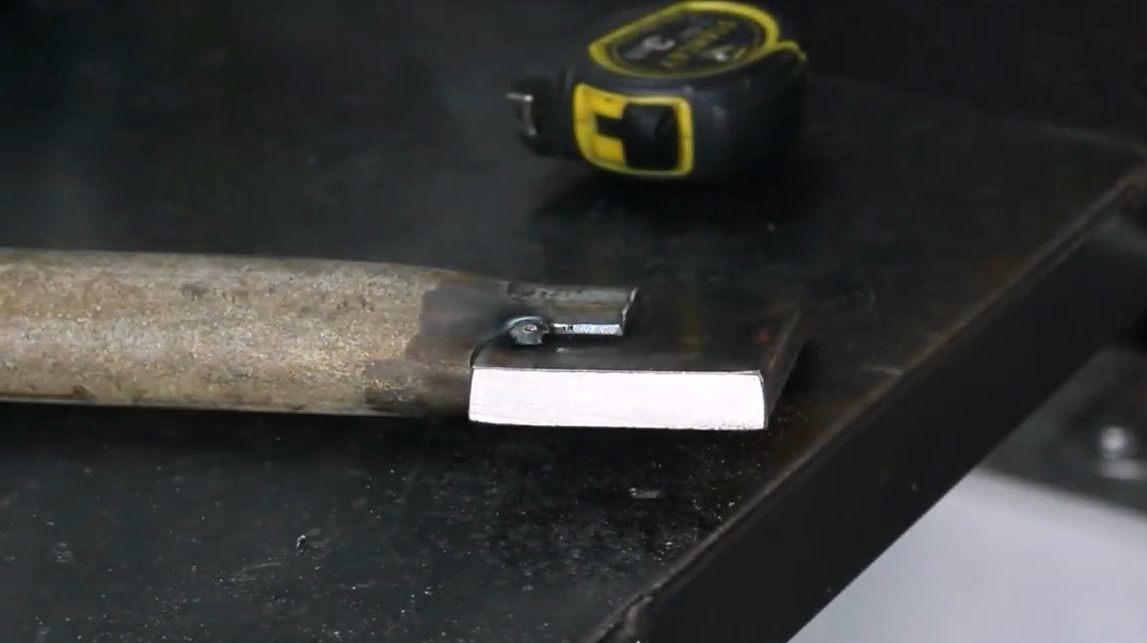
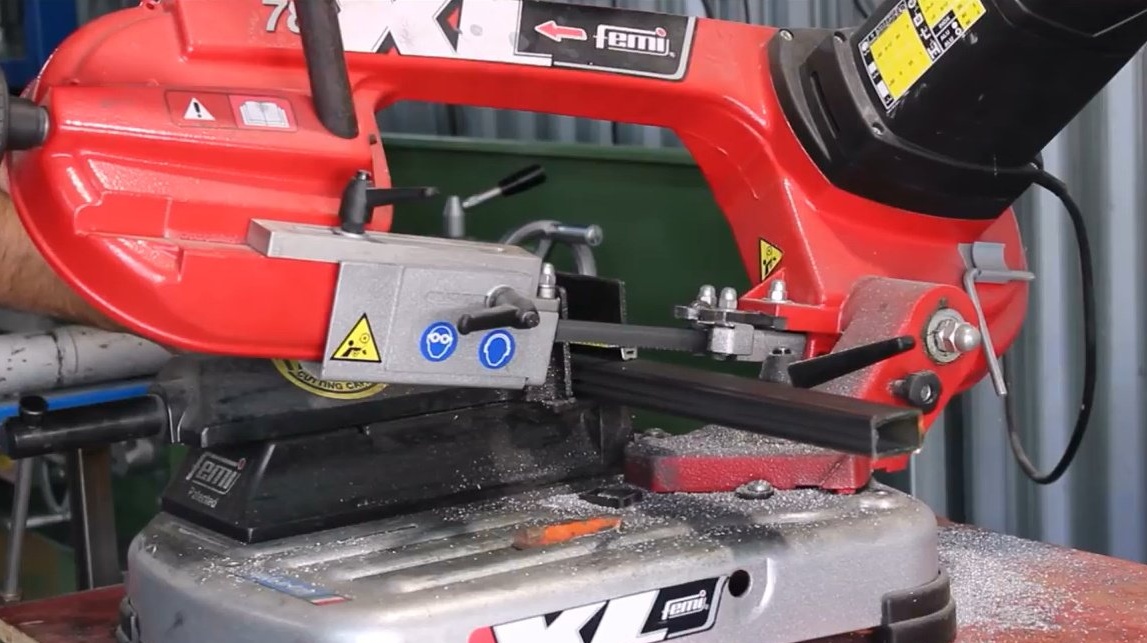
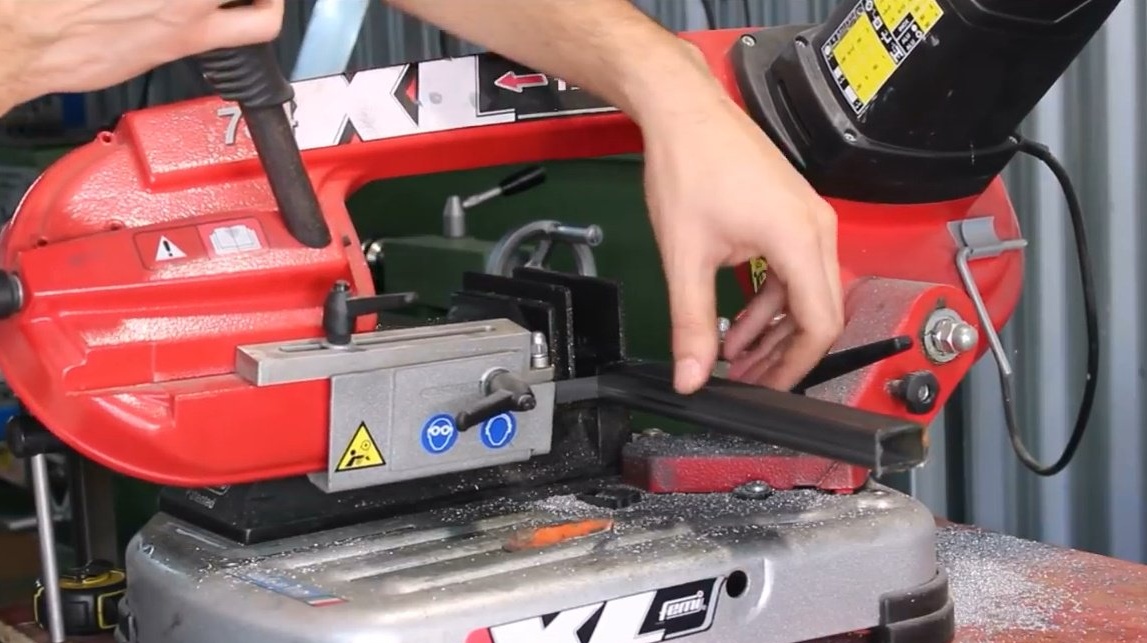
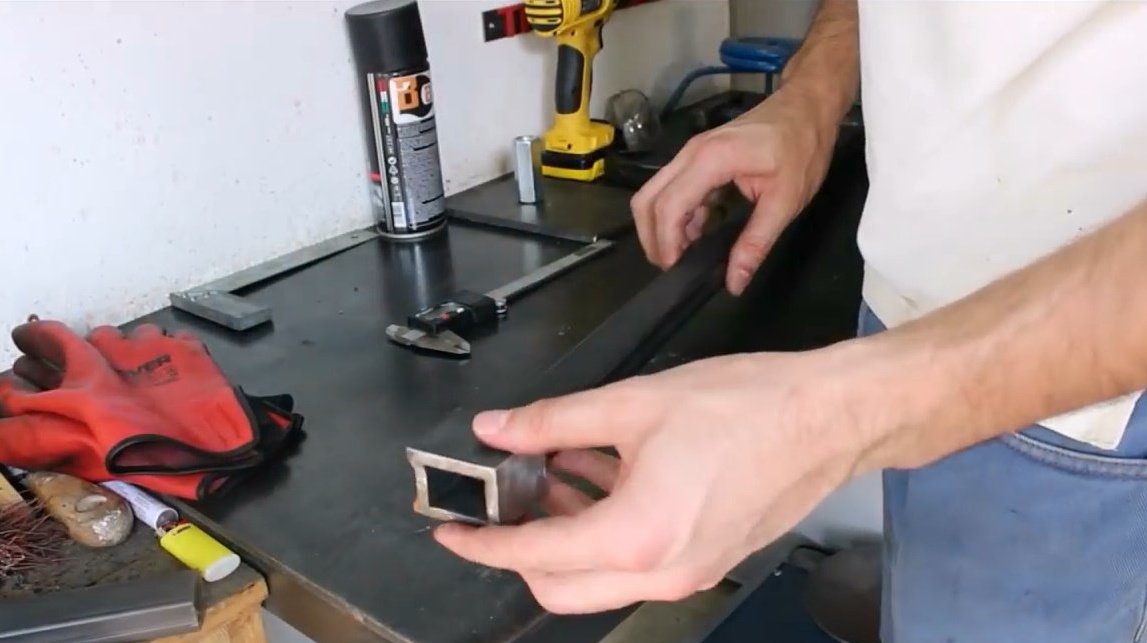
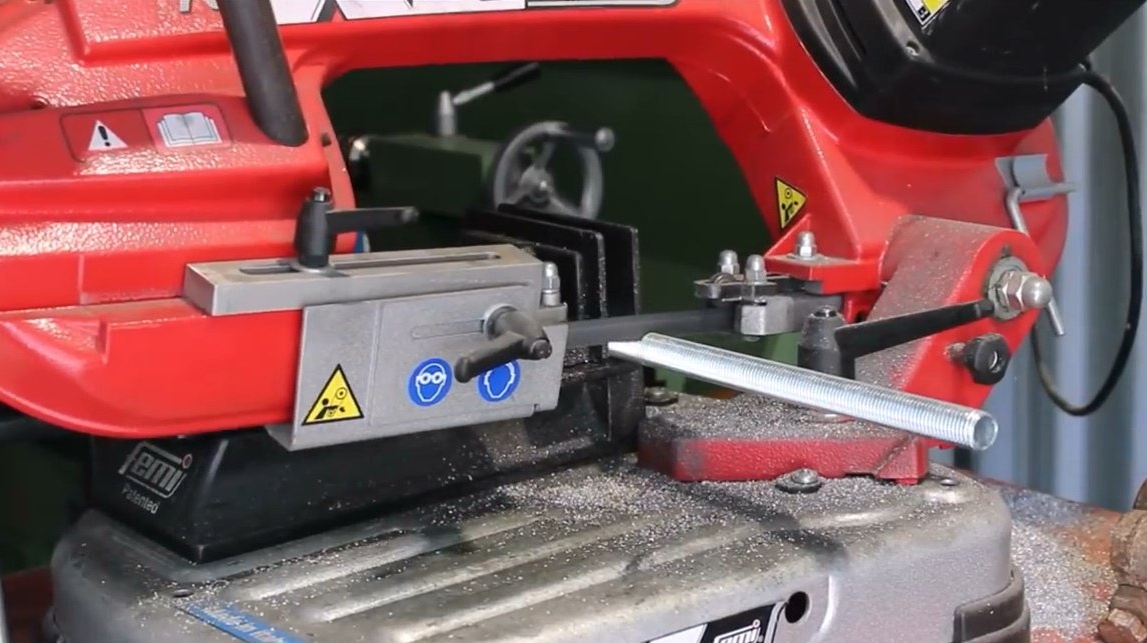
On a band saw cuts a suitable piece of a profile pipe.
Now a piece of pipe is welded to its end.
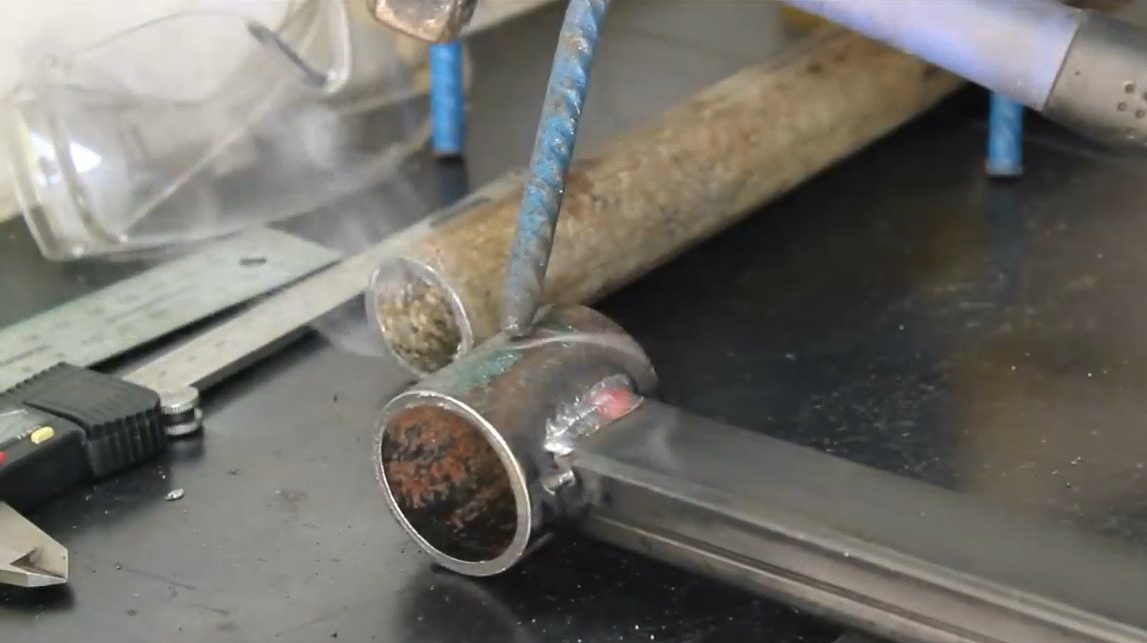

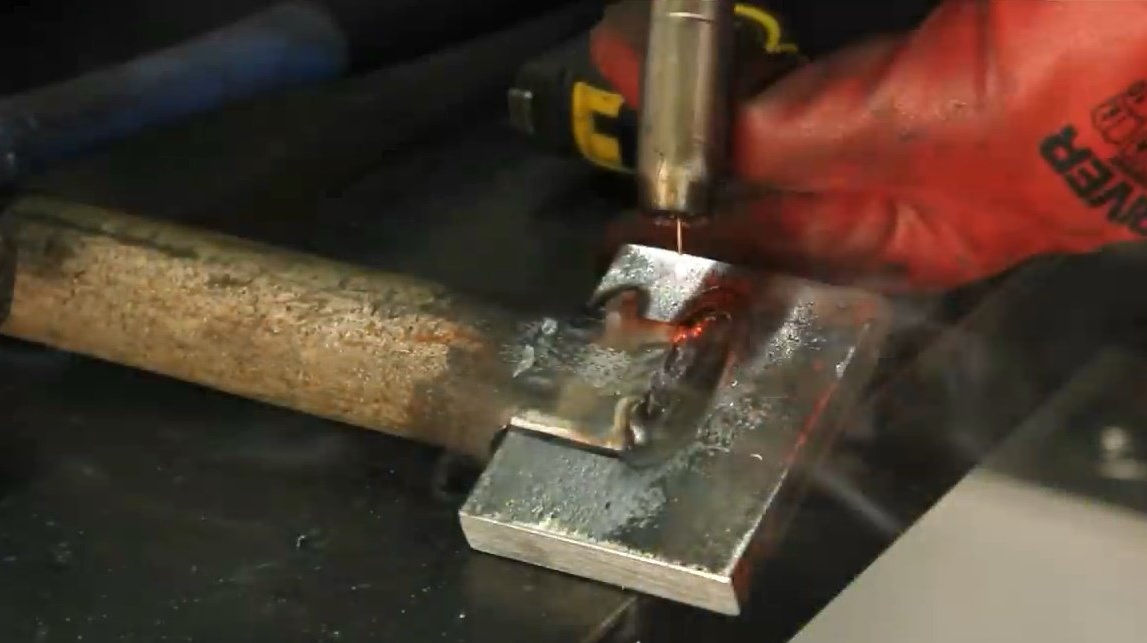
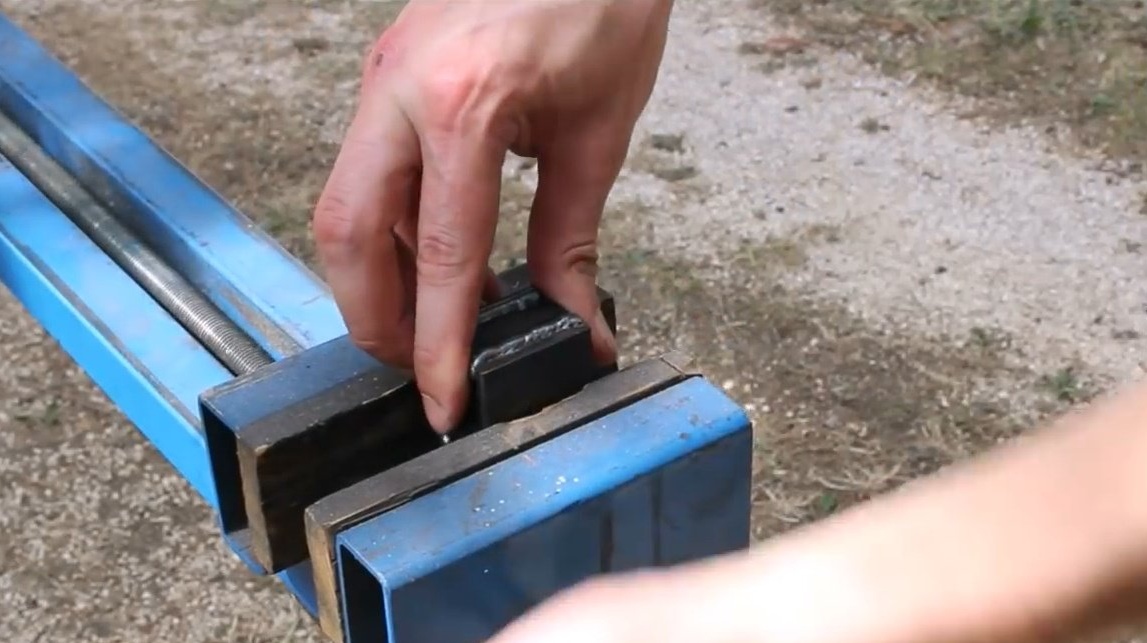
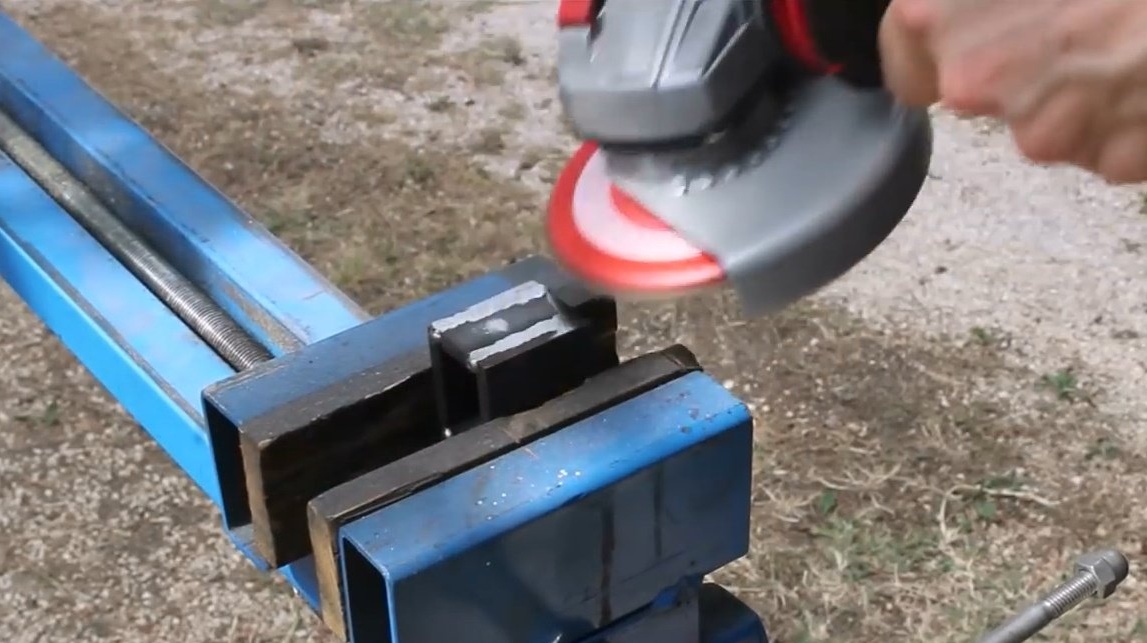
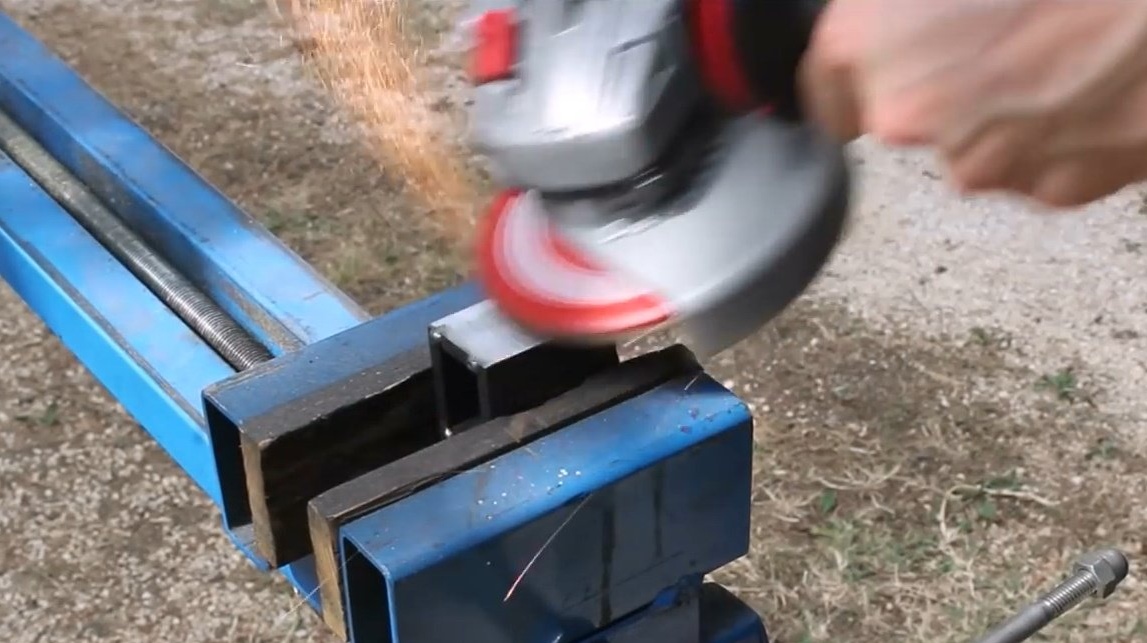
Around the profile pipe forms a lining, fixes it with a clamp and boils the seams.
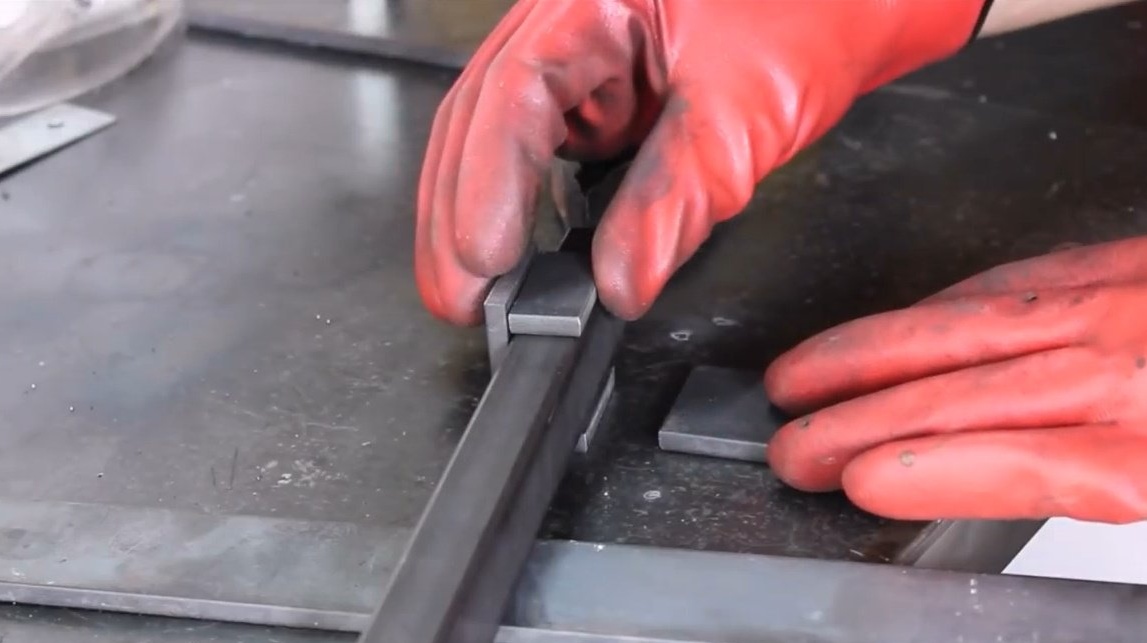
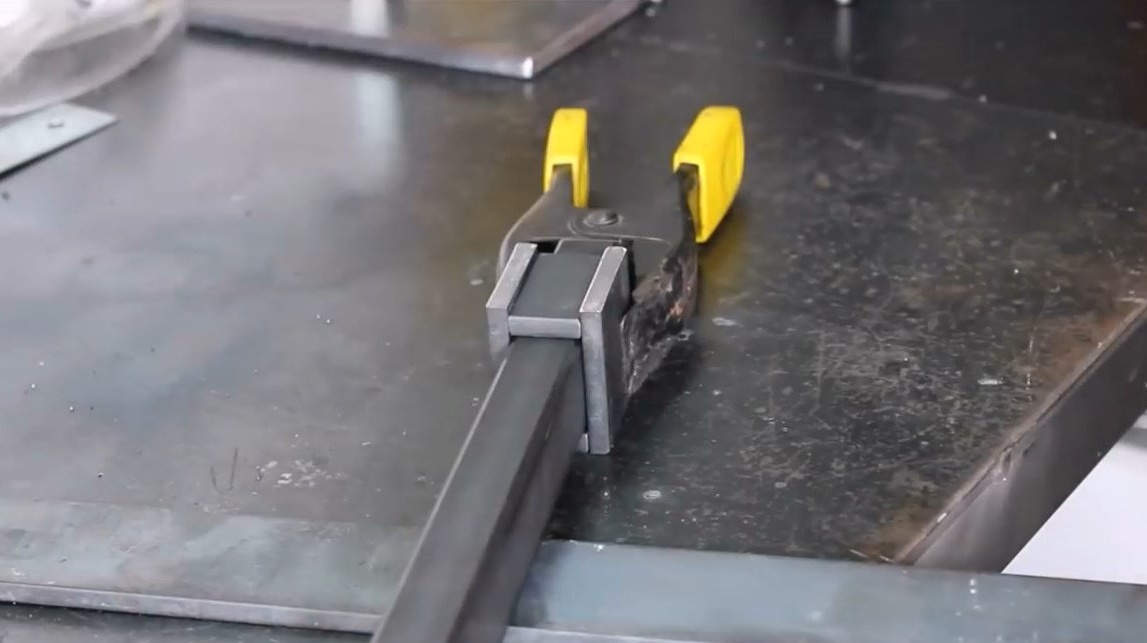
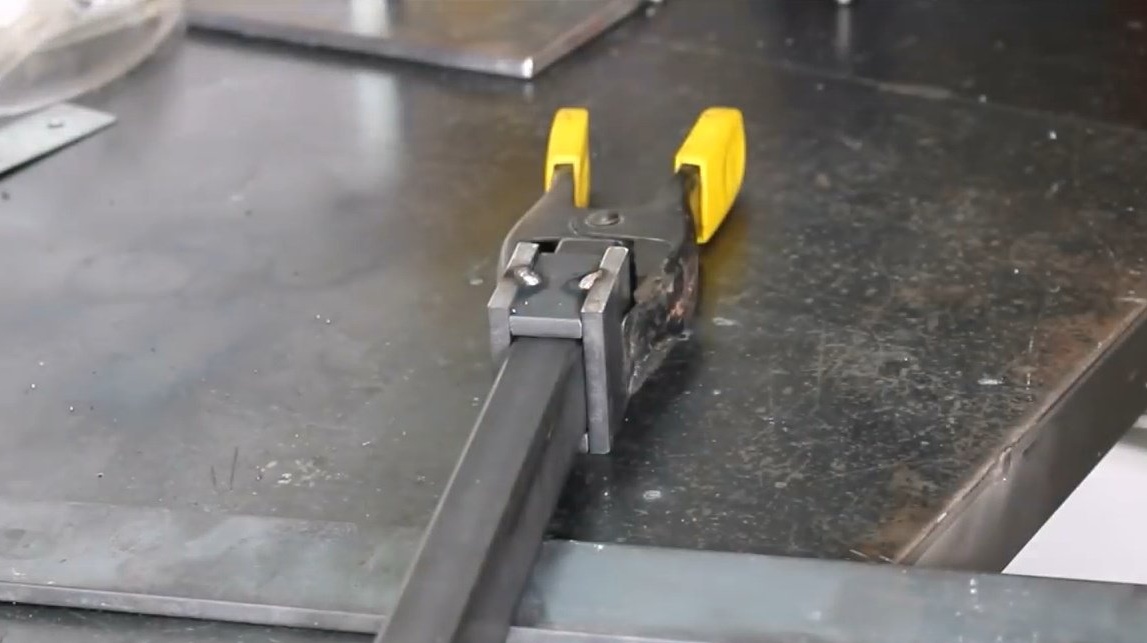
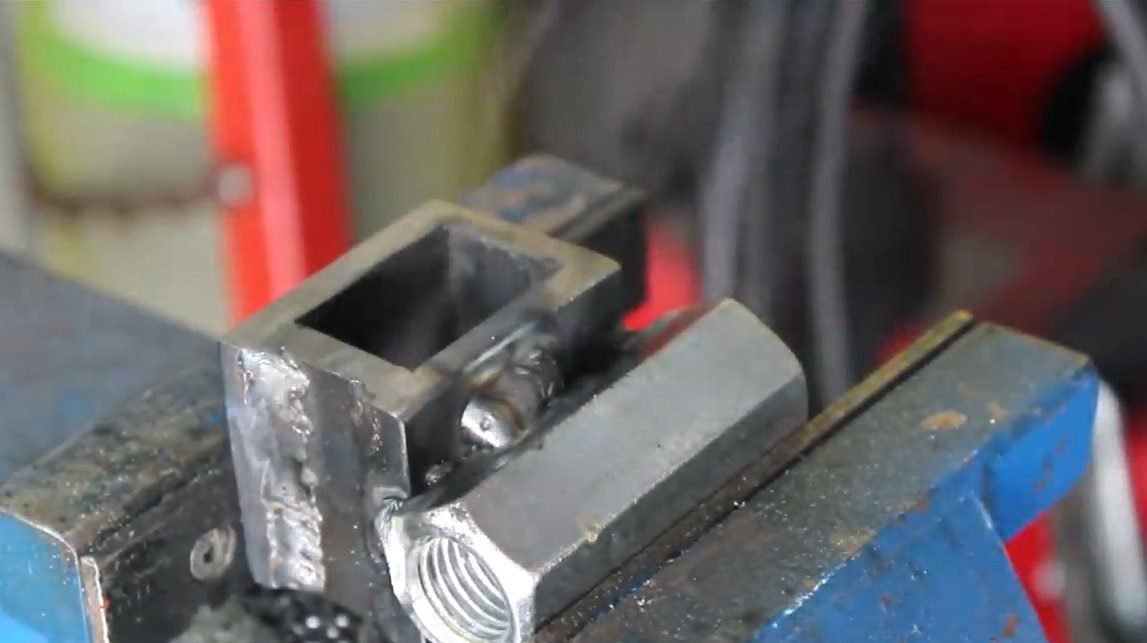
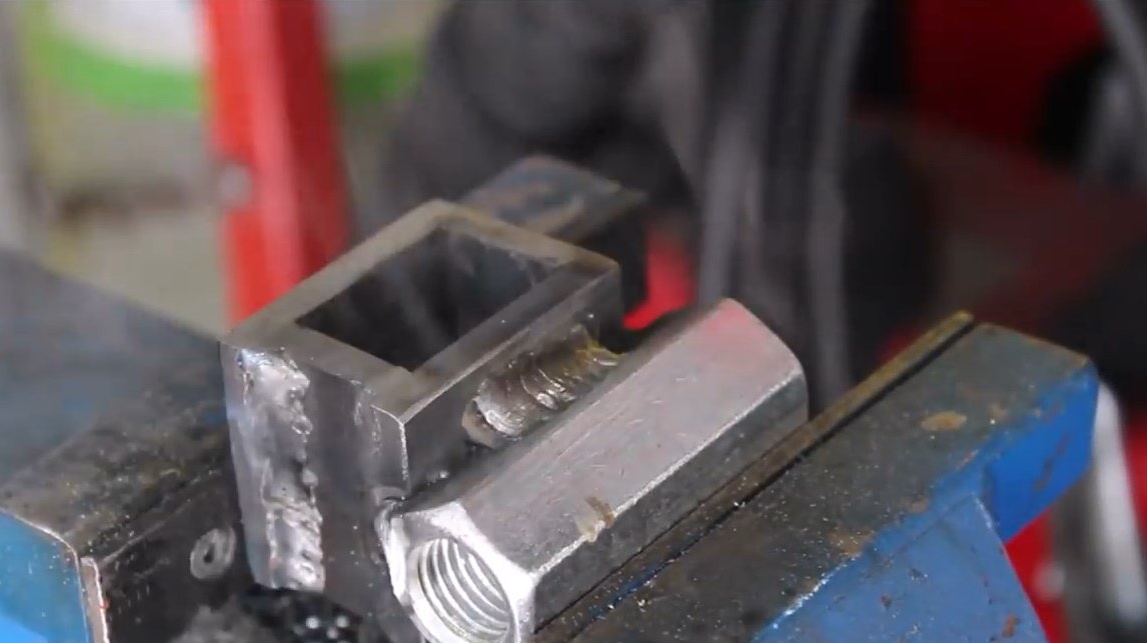
Clamps the resulting rectangle, cleans the seams with a petal disk.
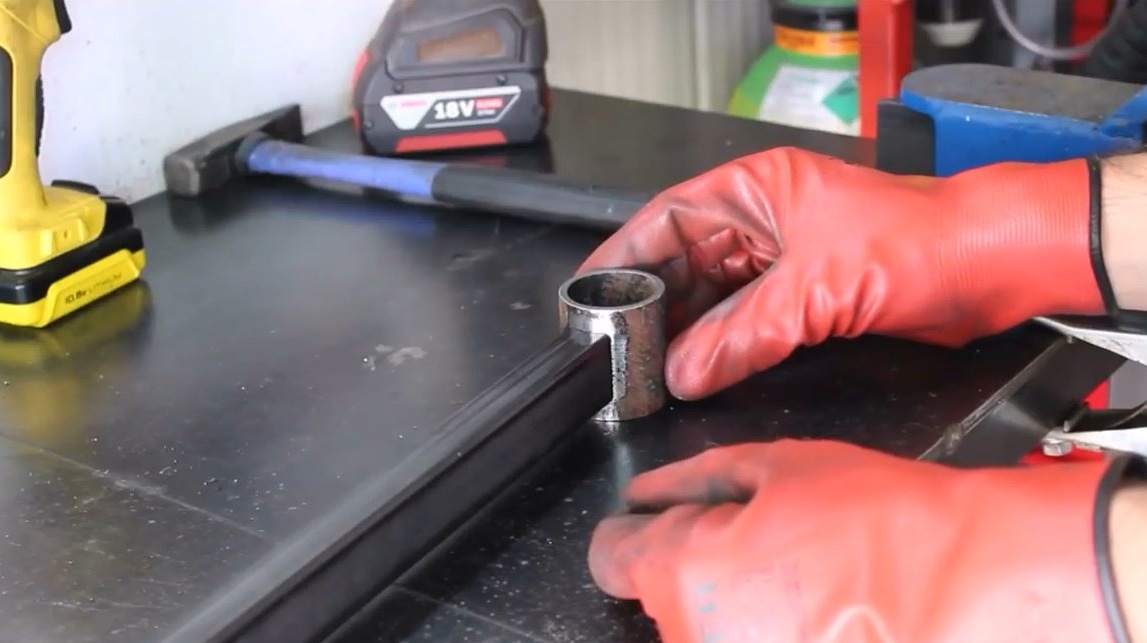
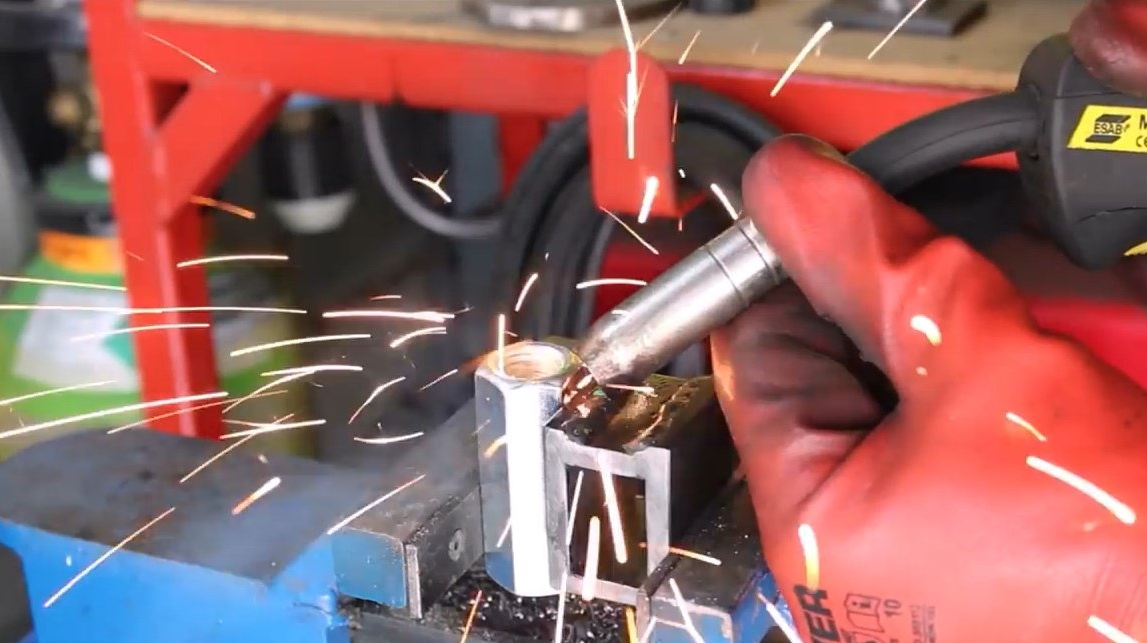
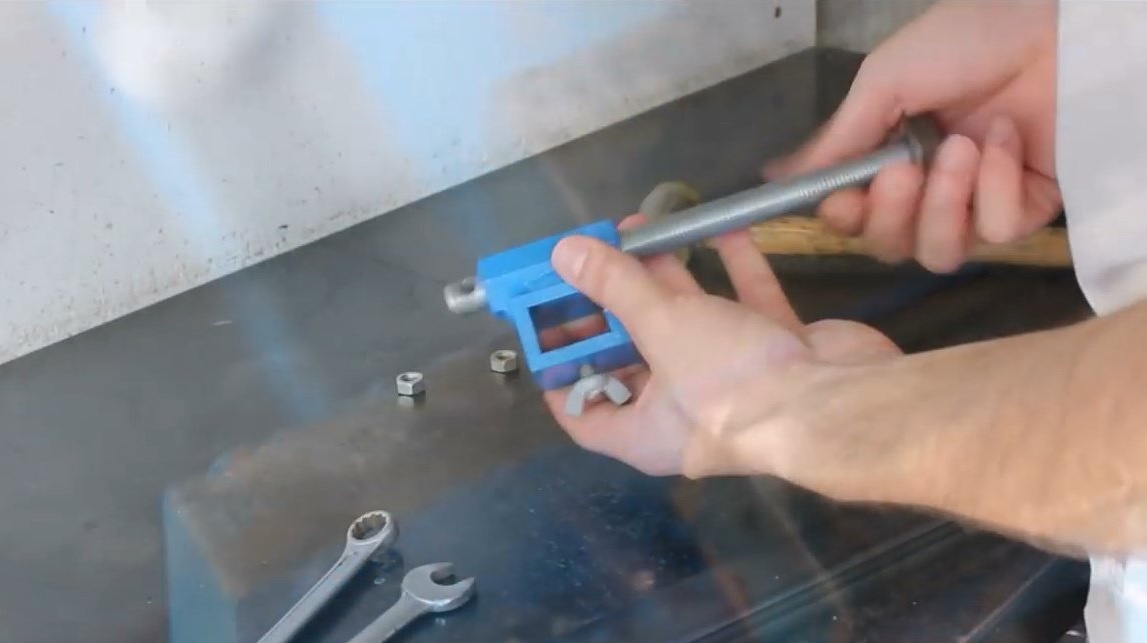
He puts the workpiece on the pipe, tries on an elongated nut.
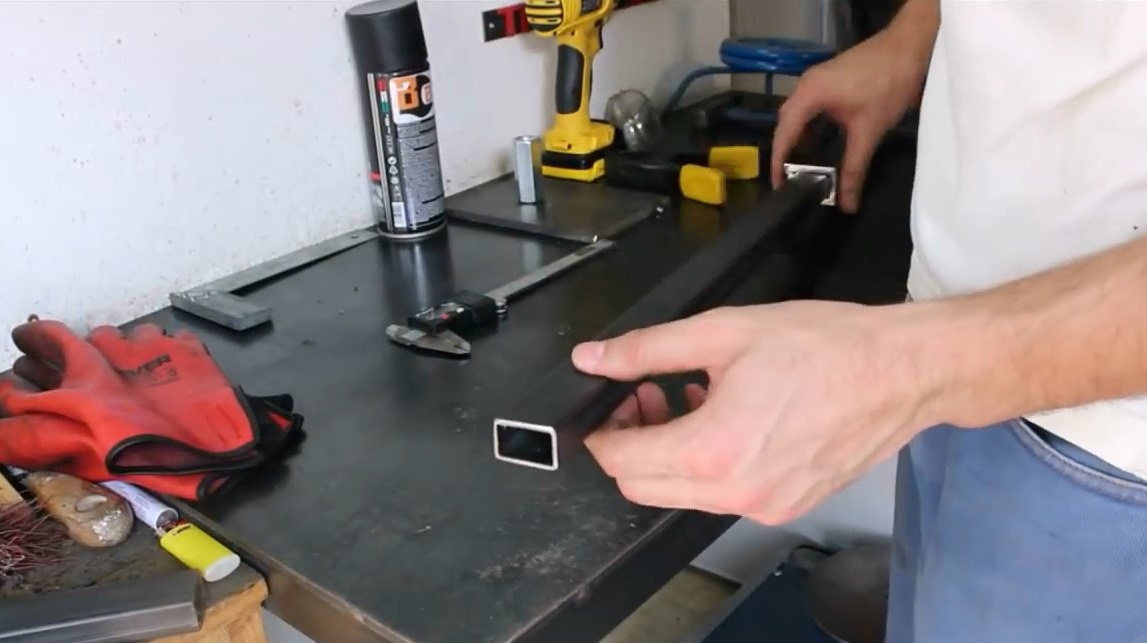
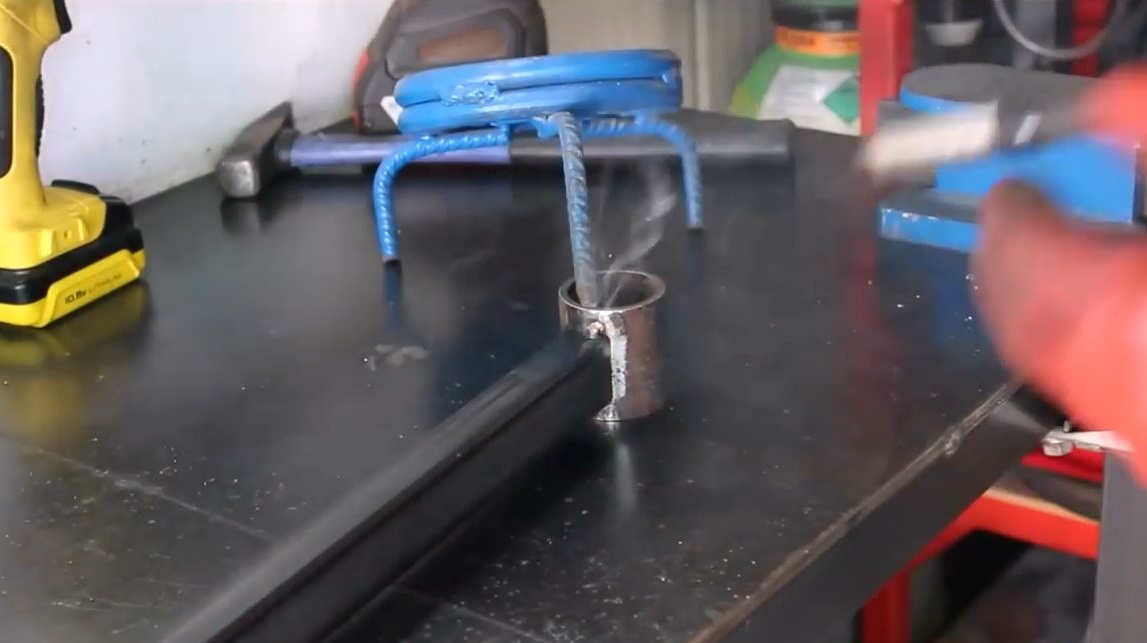
Then it is welded to the workpiece in this way.
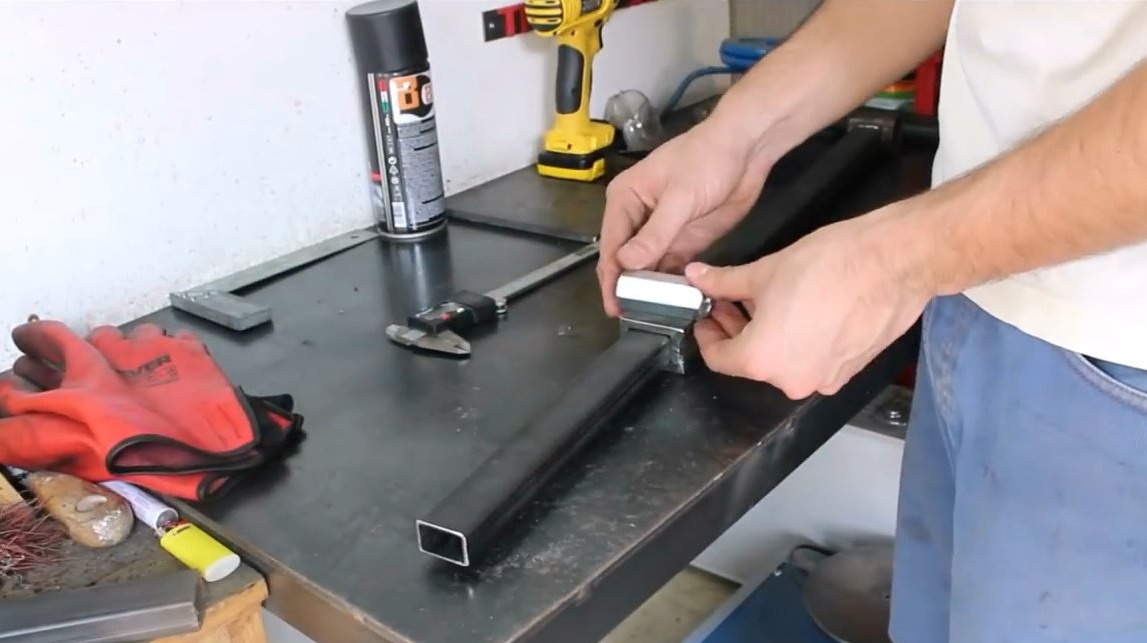
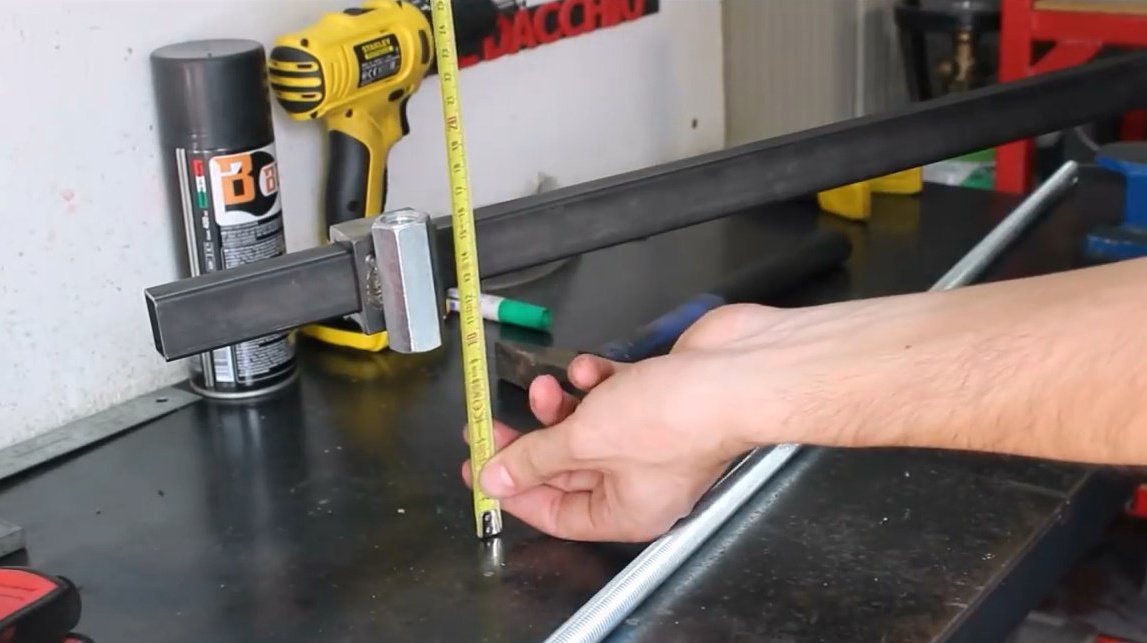
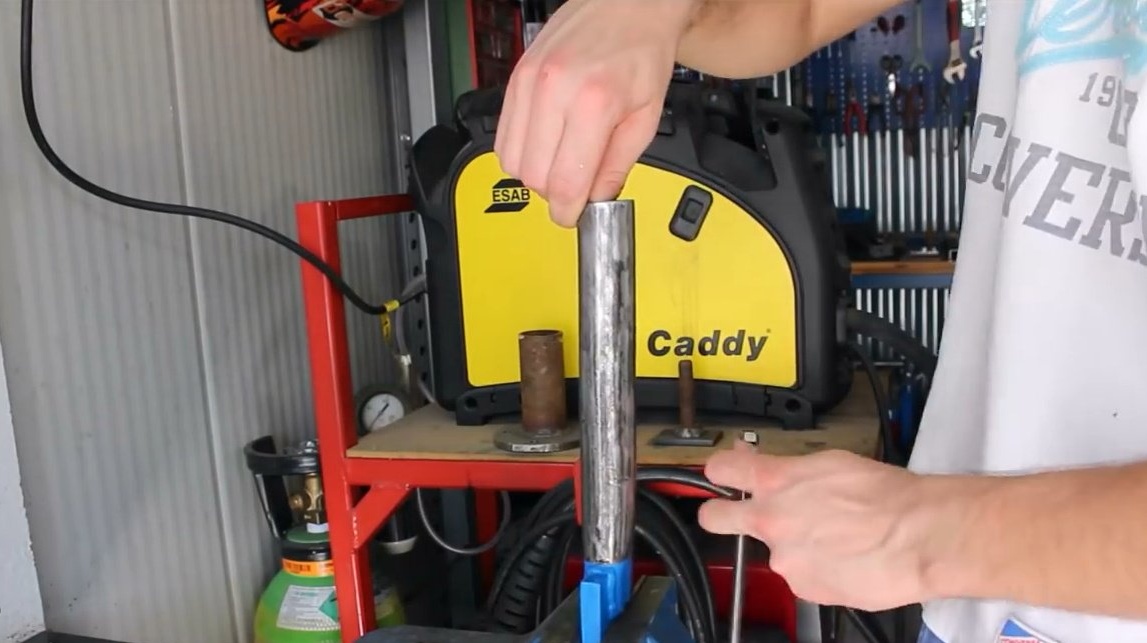
Measures the length of the studs he needs, cuts off on a band saw.
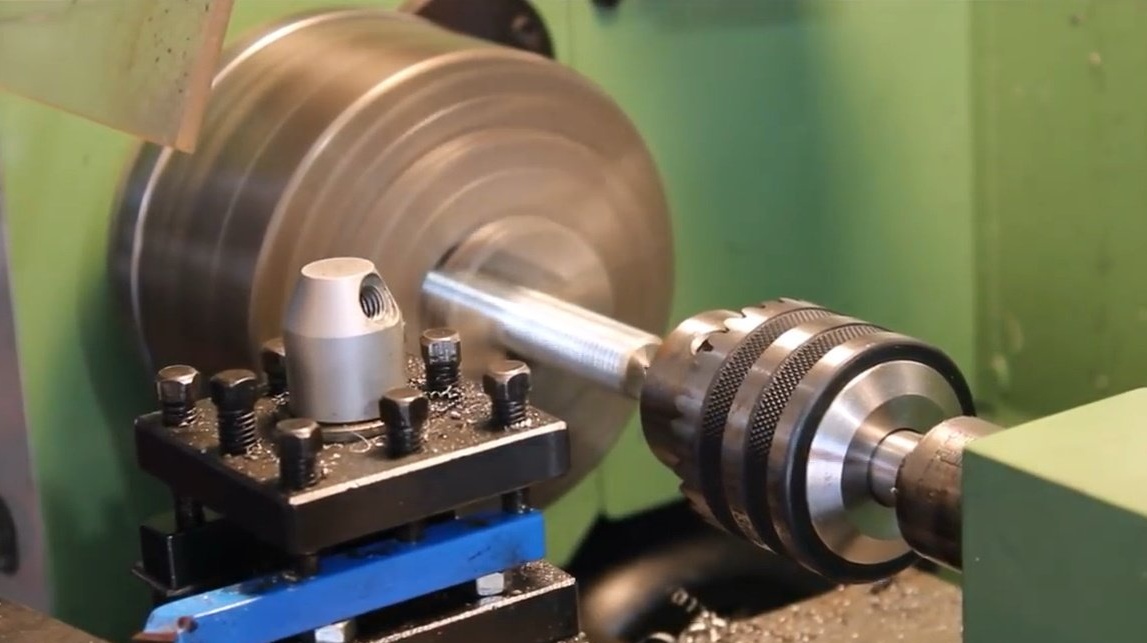
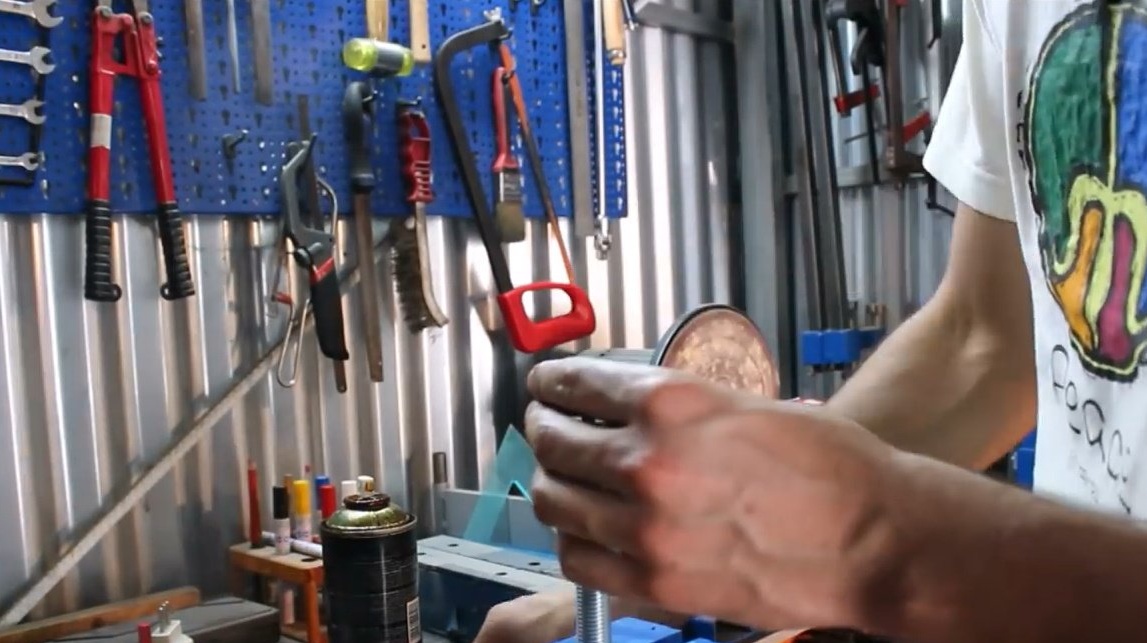
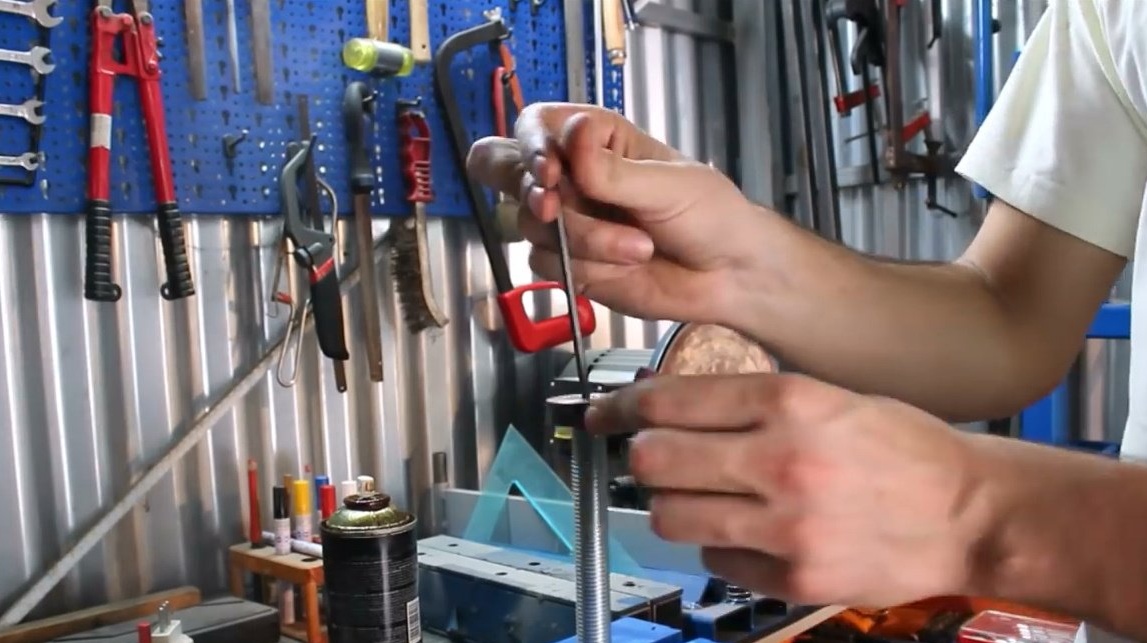
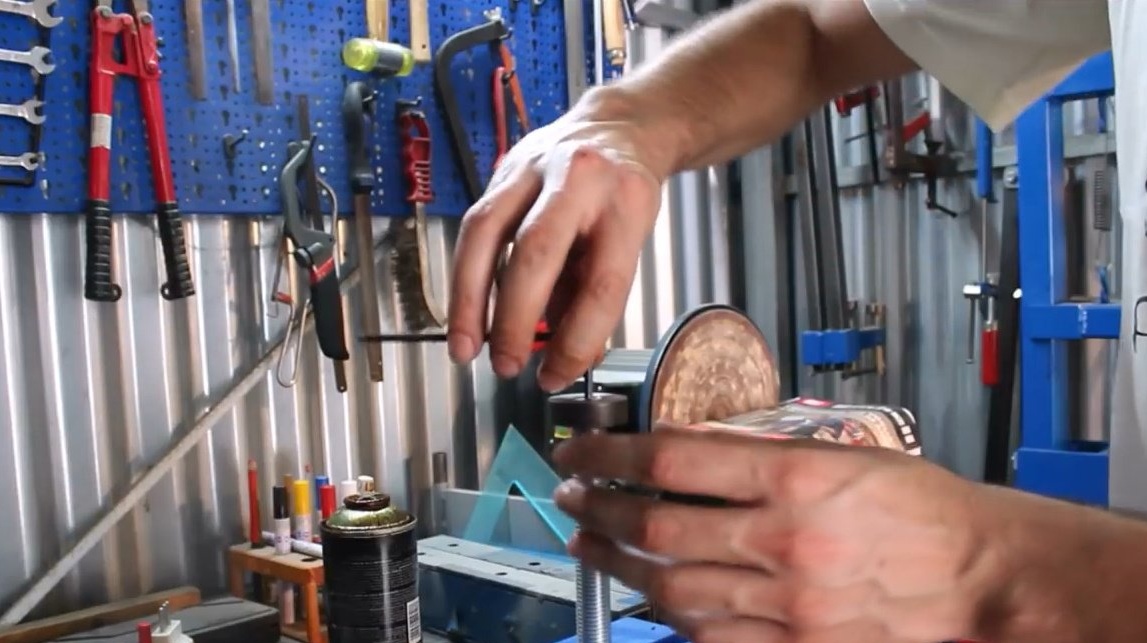
In a piece of round timber drills a central hole, countersinks it under the head of the bolt.
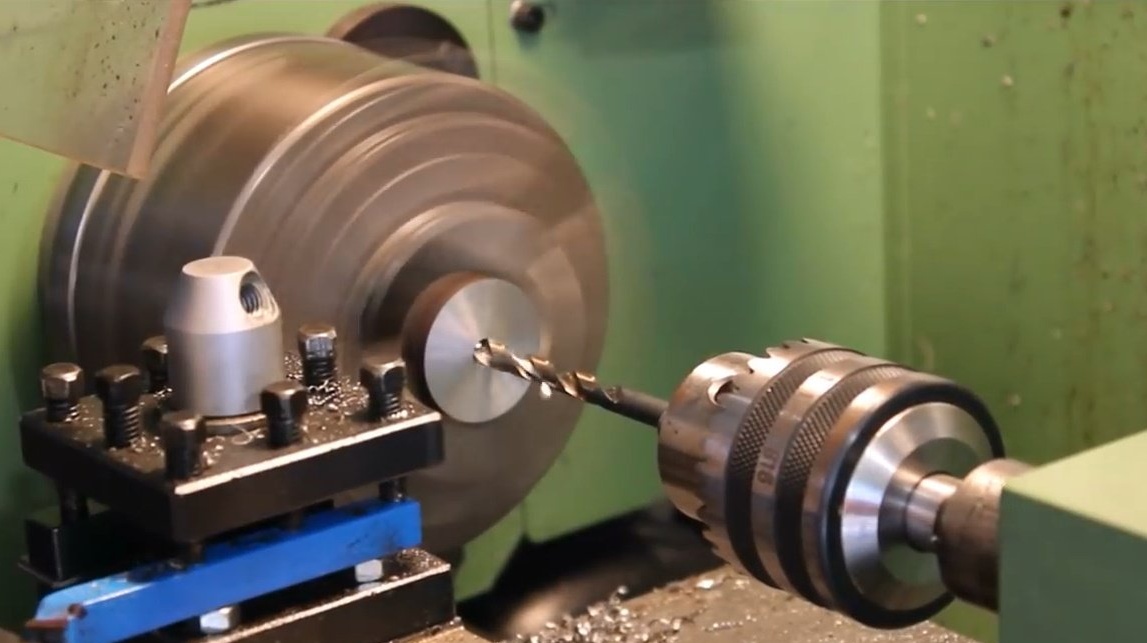
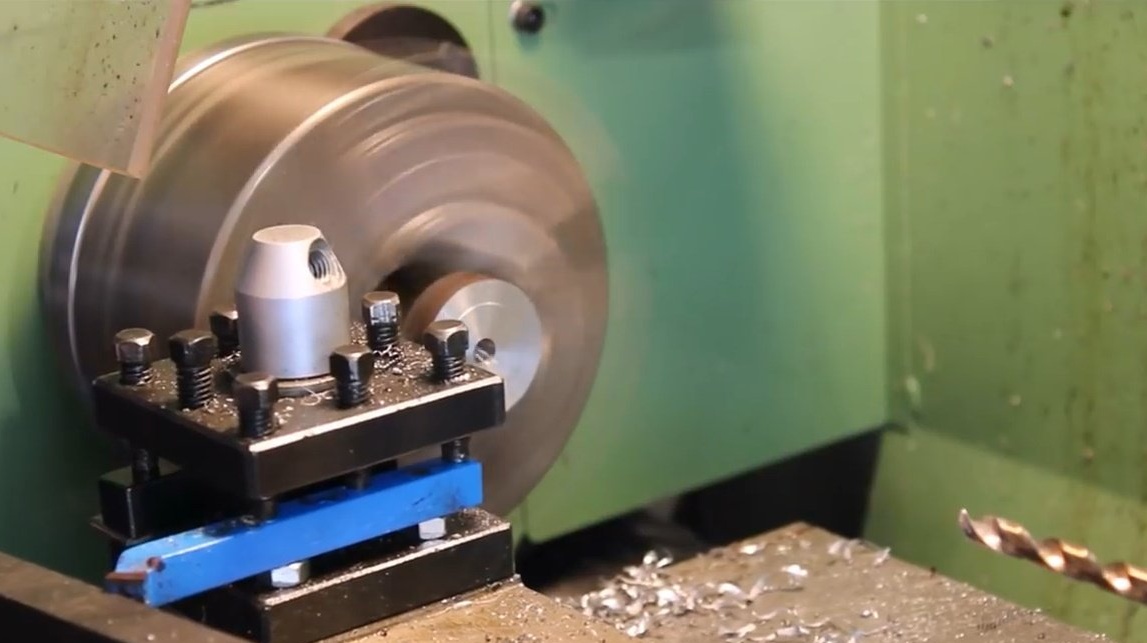
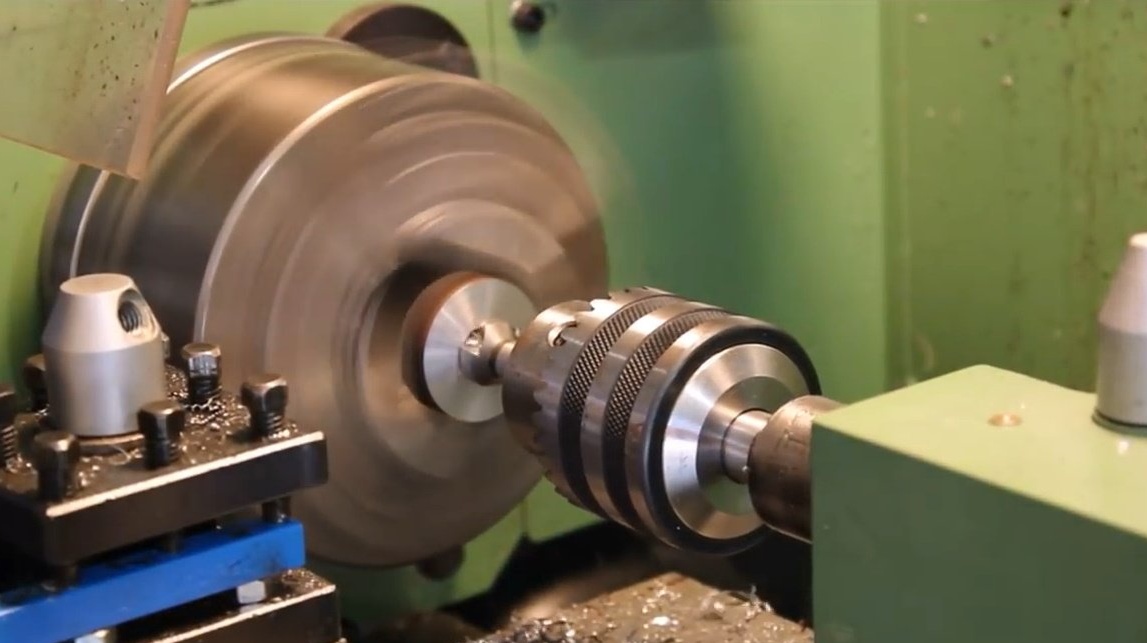
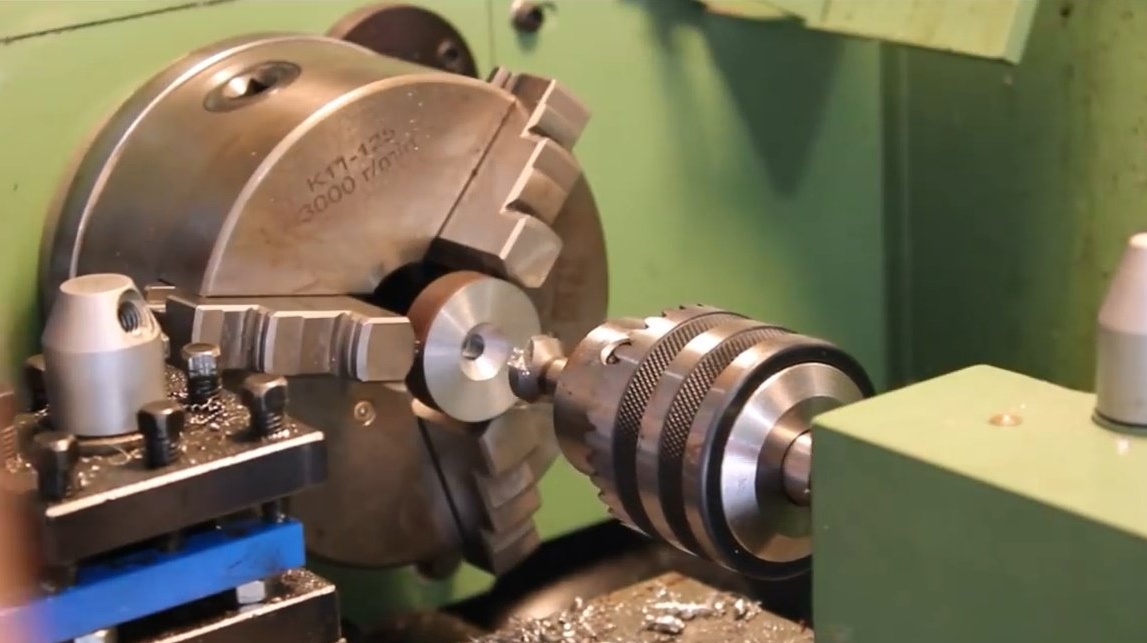
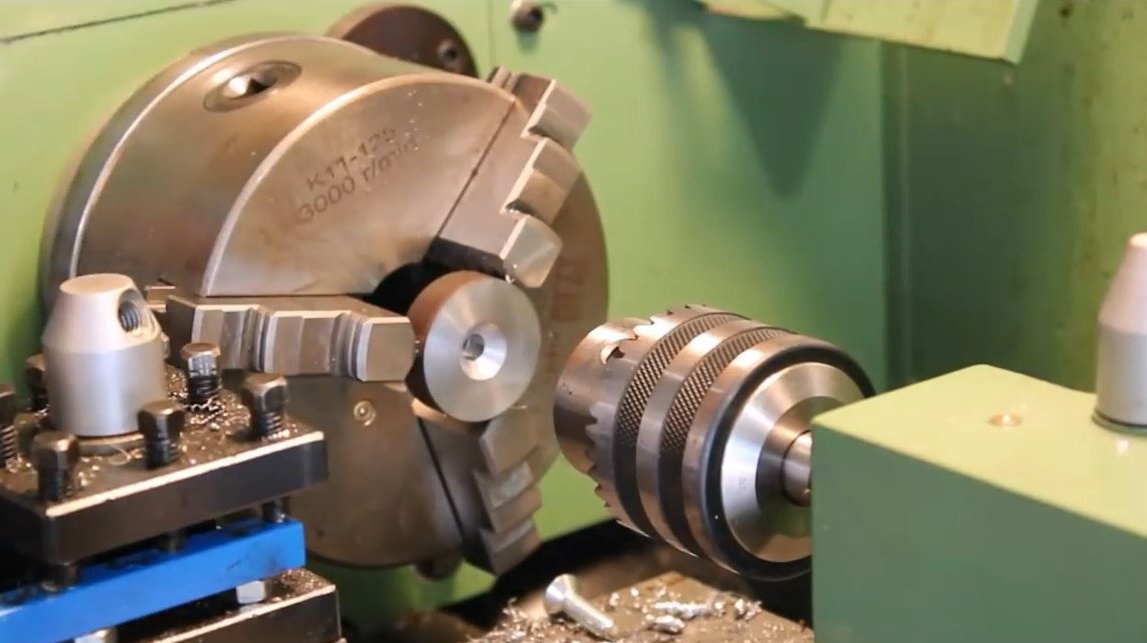
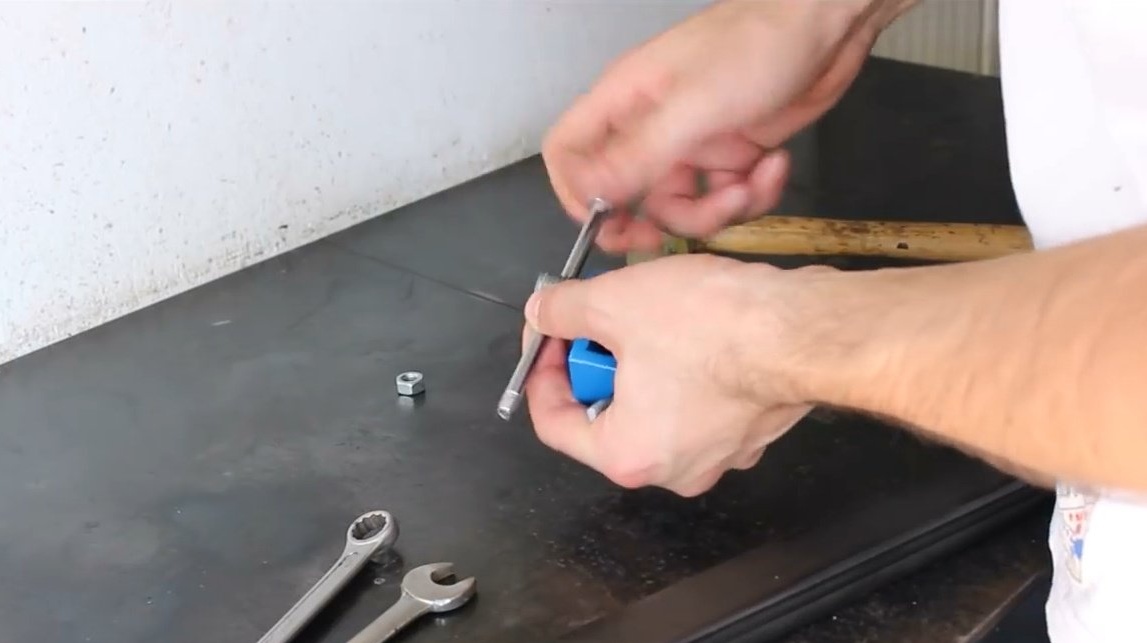
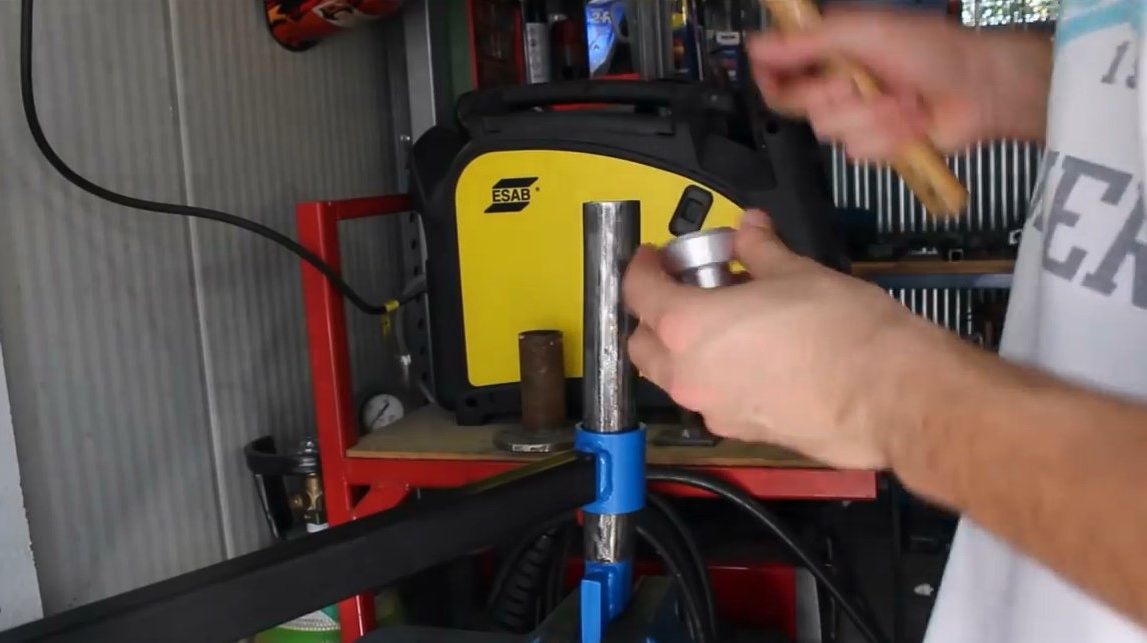
It fixes the pin in the cartridge, drills a hole in the center.
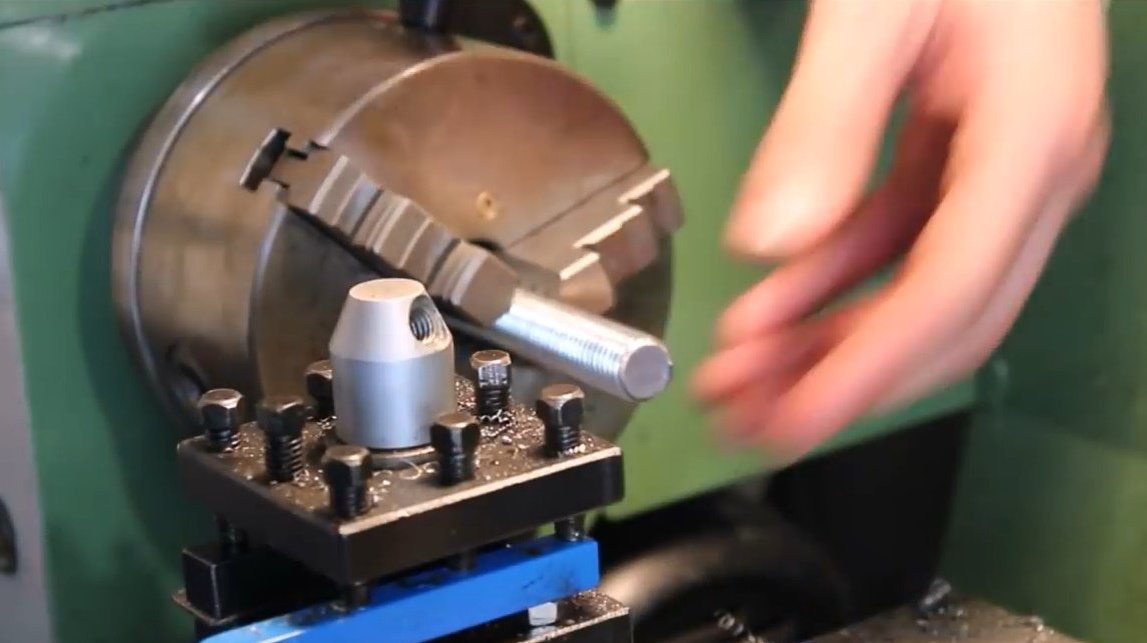
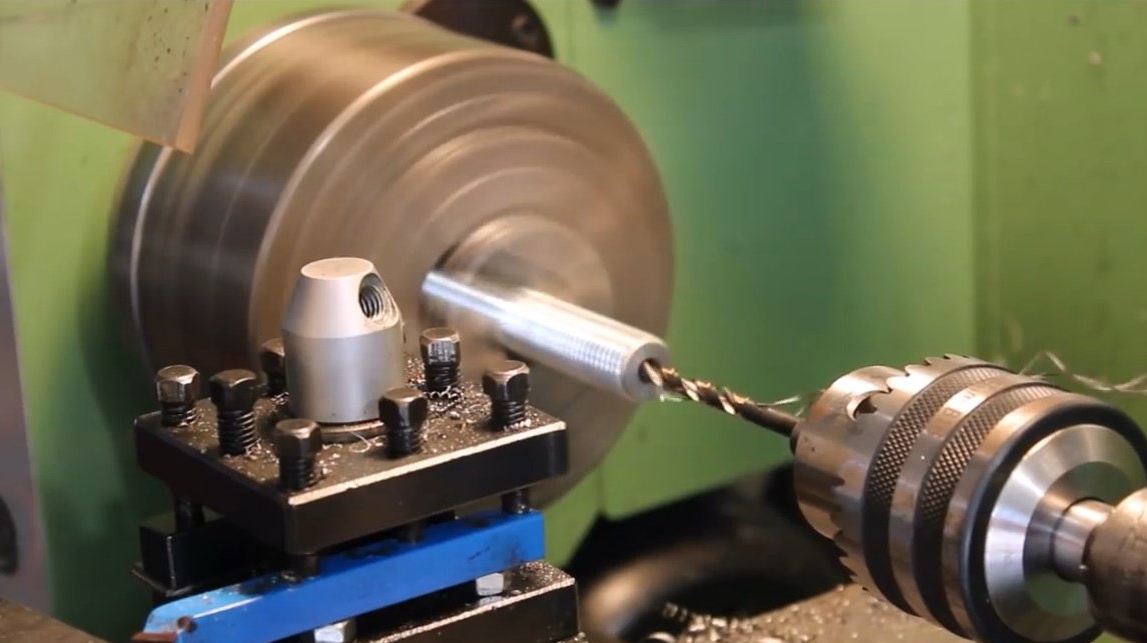
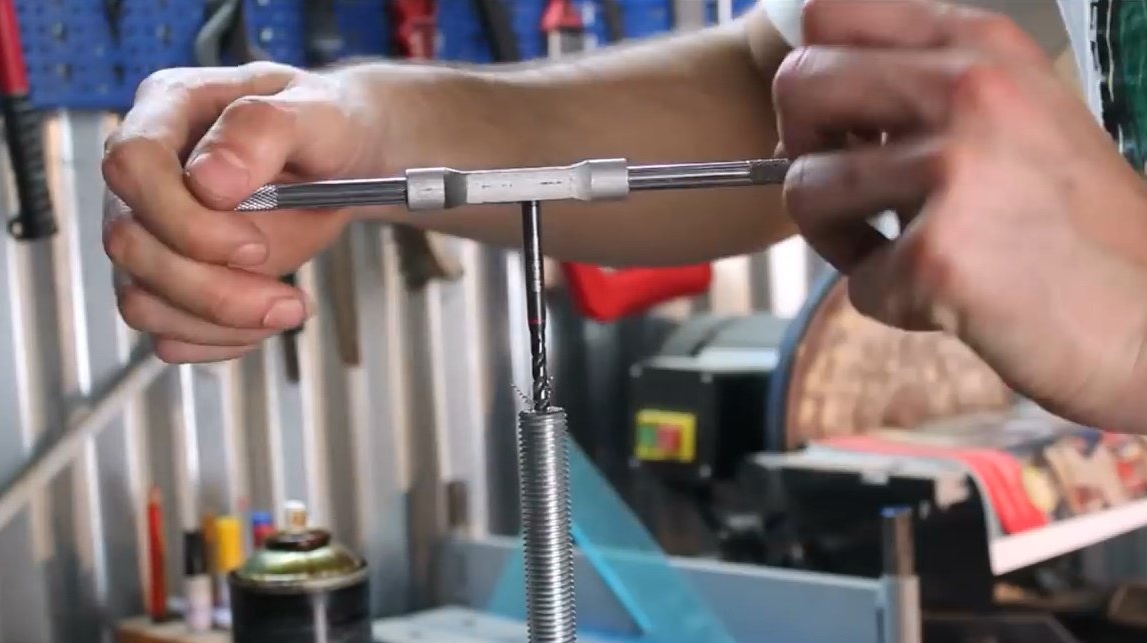
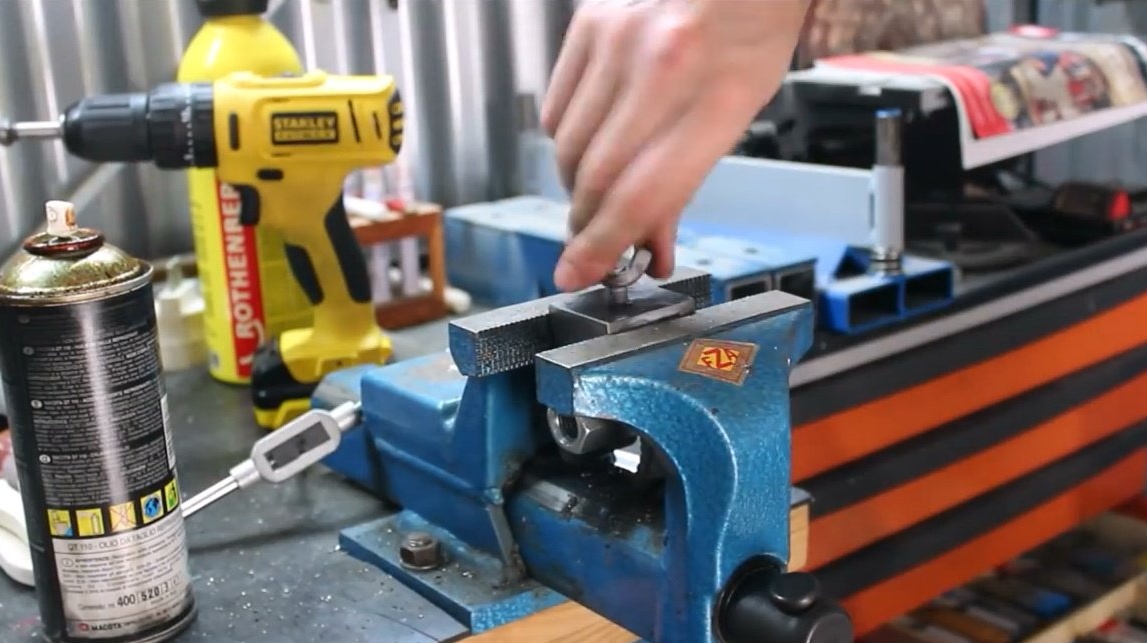
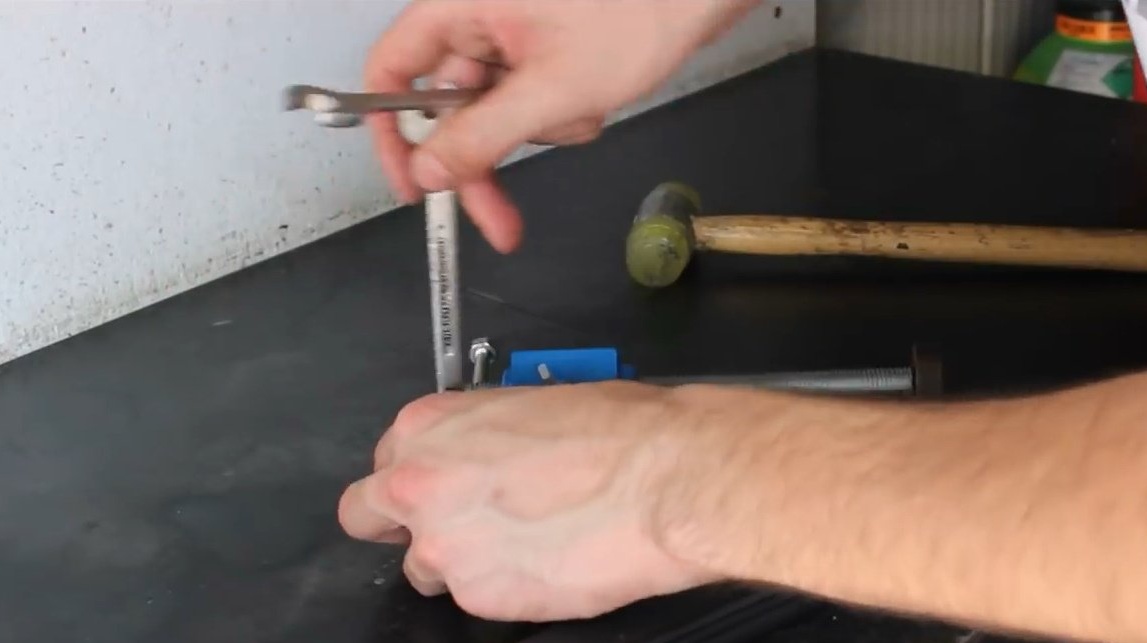
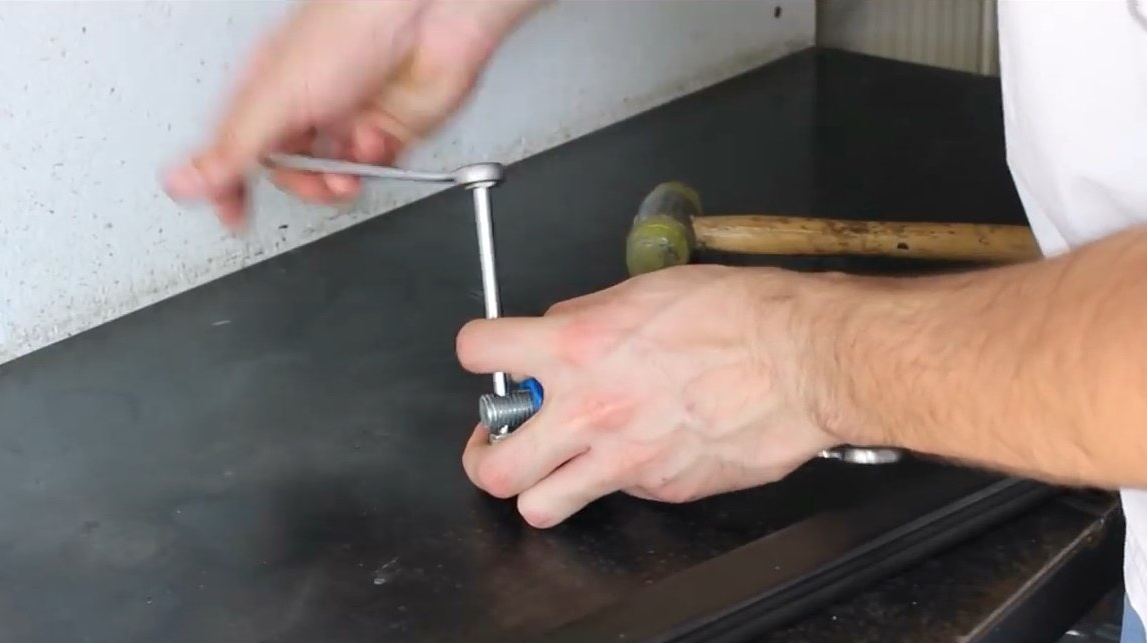
She cuts a thread for a bolt in a hairpin, fixes a clip to the hairpin with a stud on the thread lock. The clamp should rotate freely.
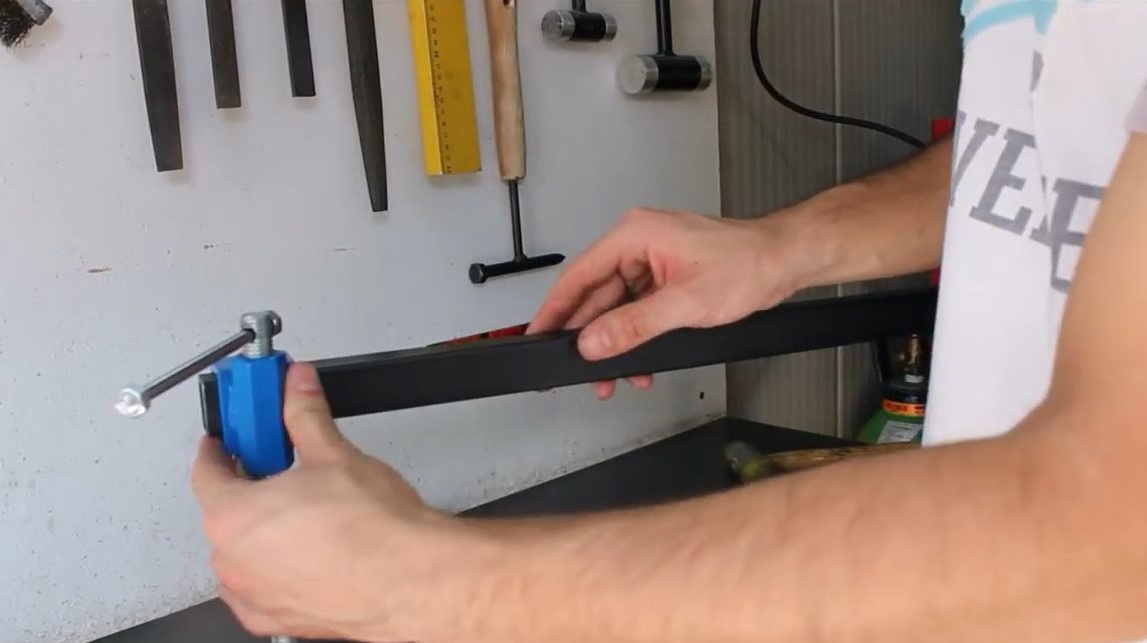
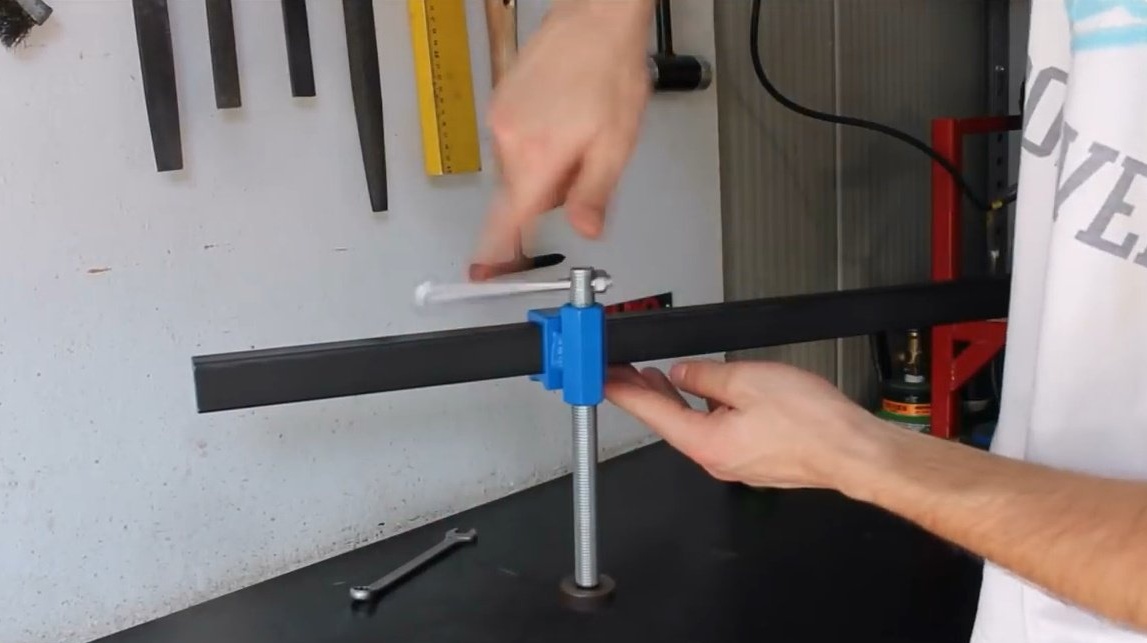
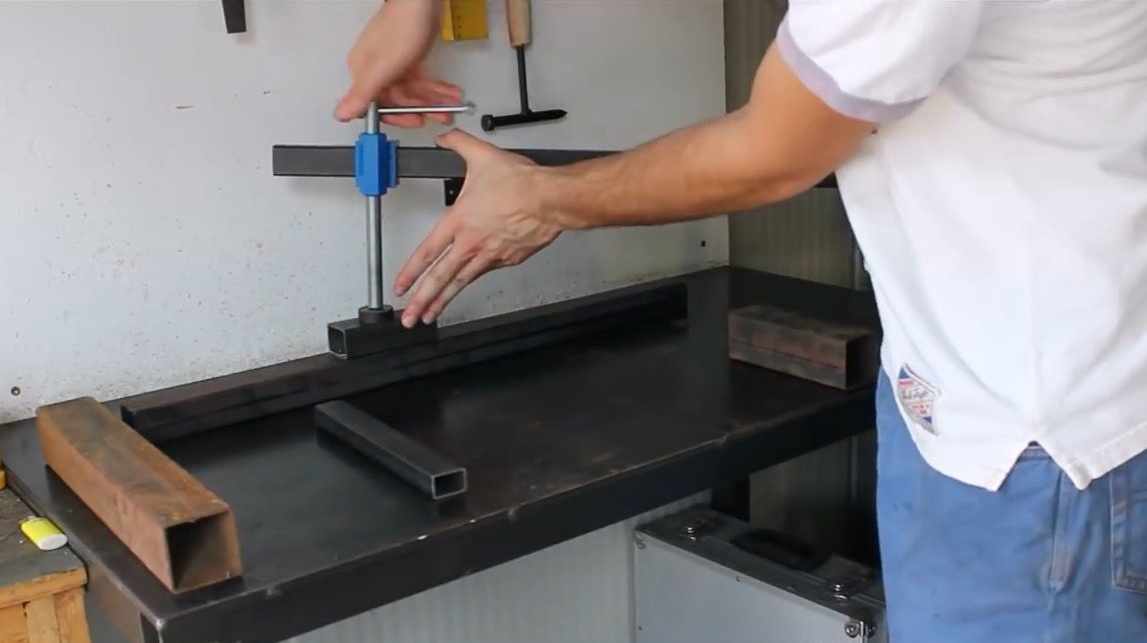
In a rectangular workpiece, drills a hole, cuts a thread, and screws a bolt with a wing.

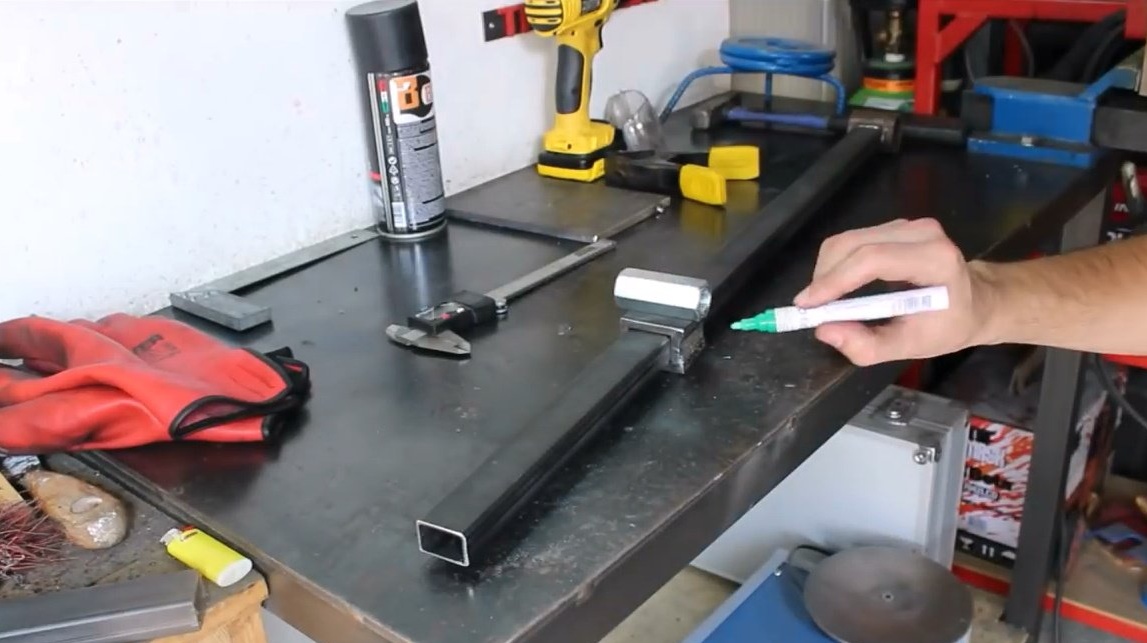
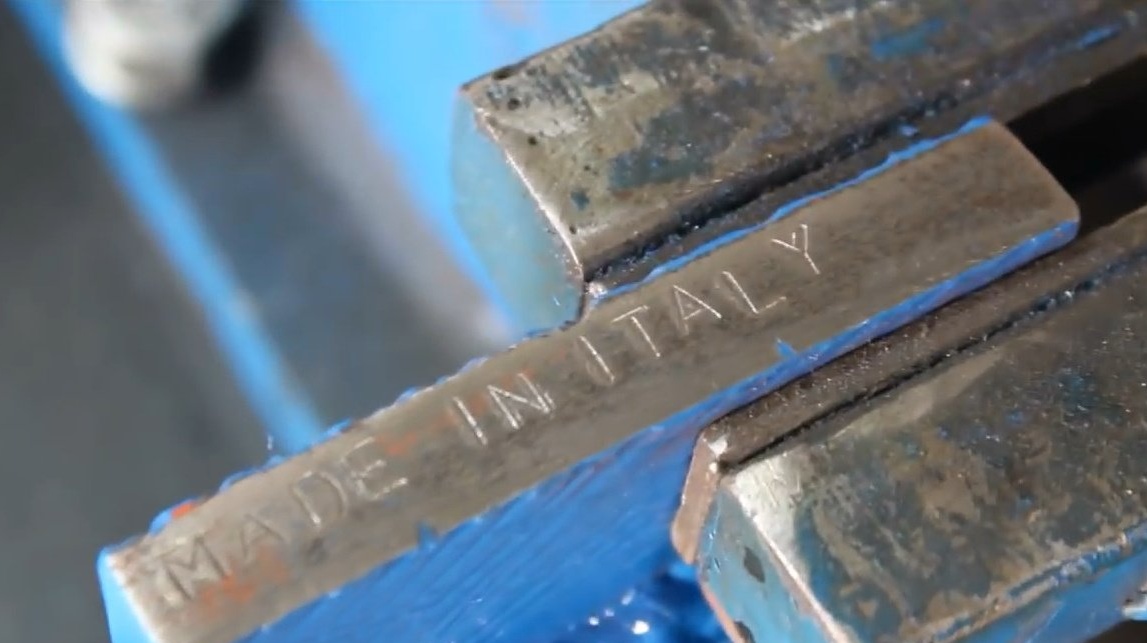
Be sure to mark "made in Italy"
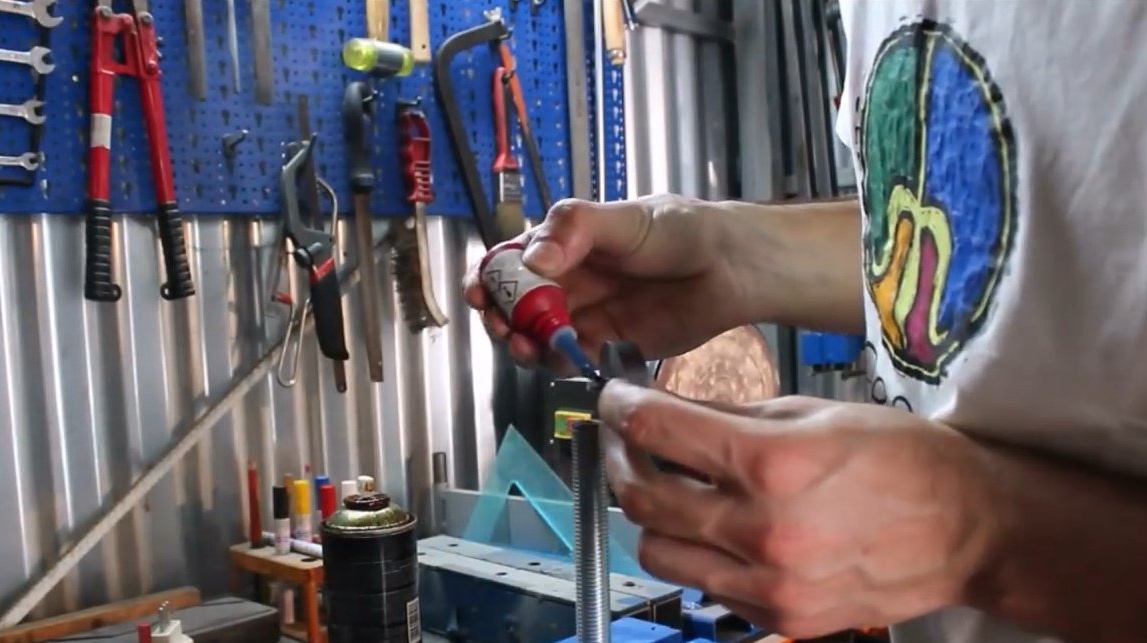
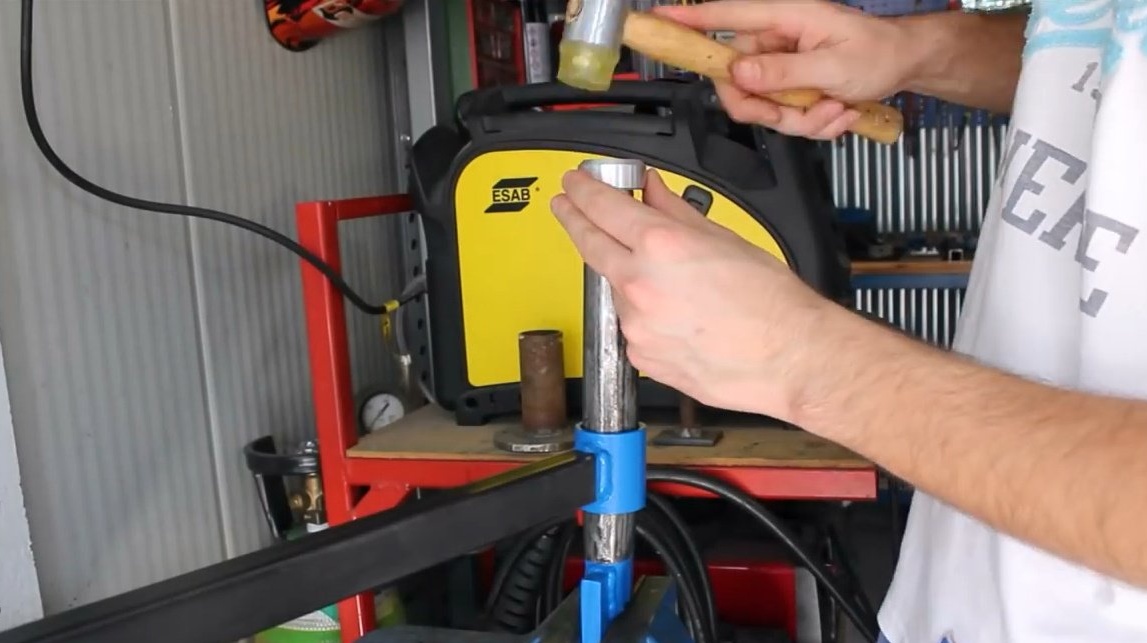
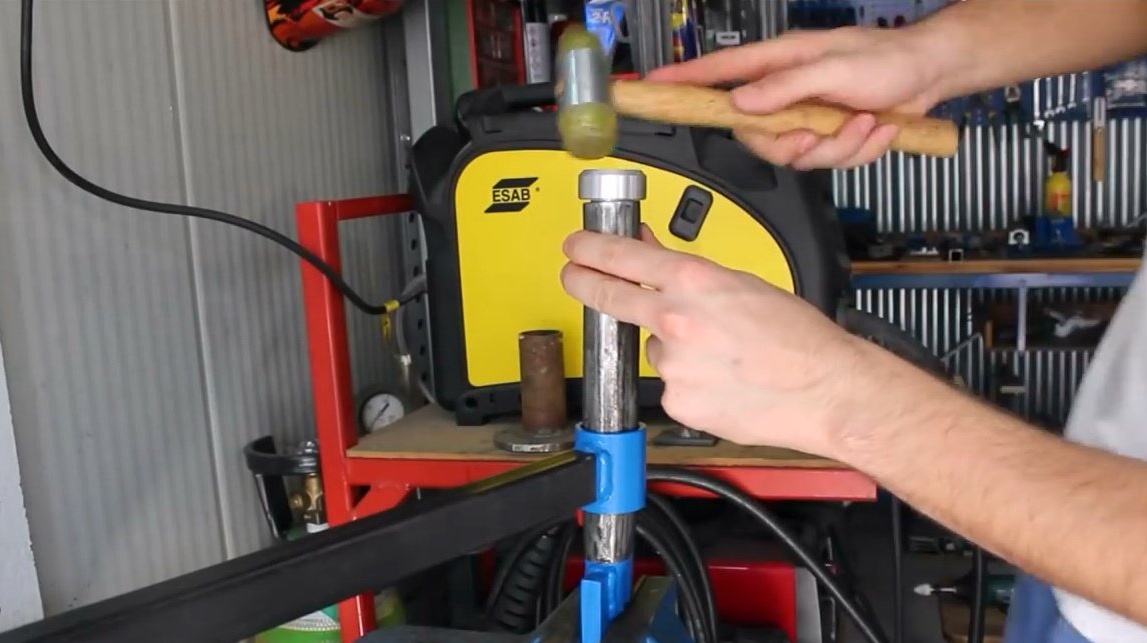
Having drilled a transverse hole on the other edge of the hairpin, and painting the workpieces, it collects the swivel.
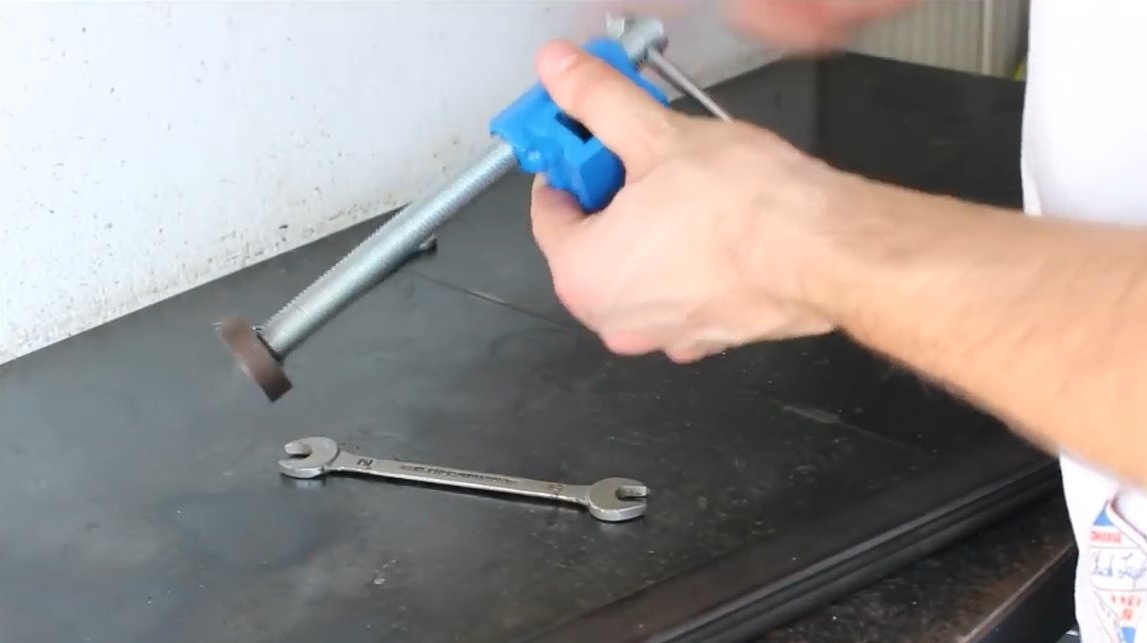
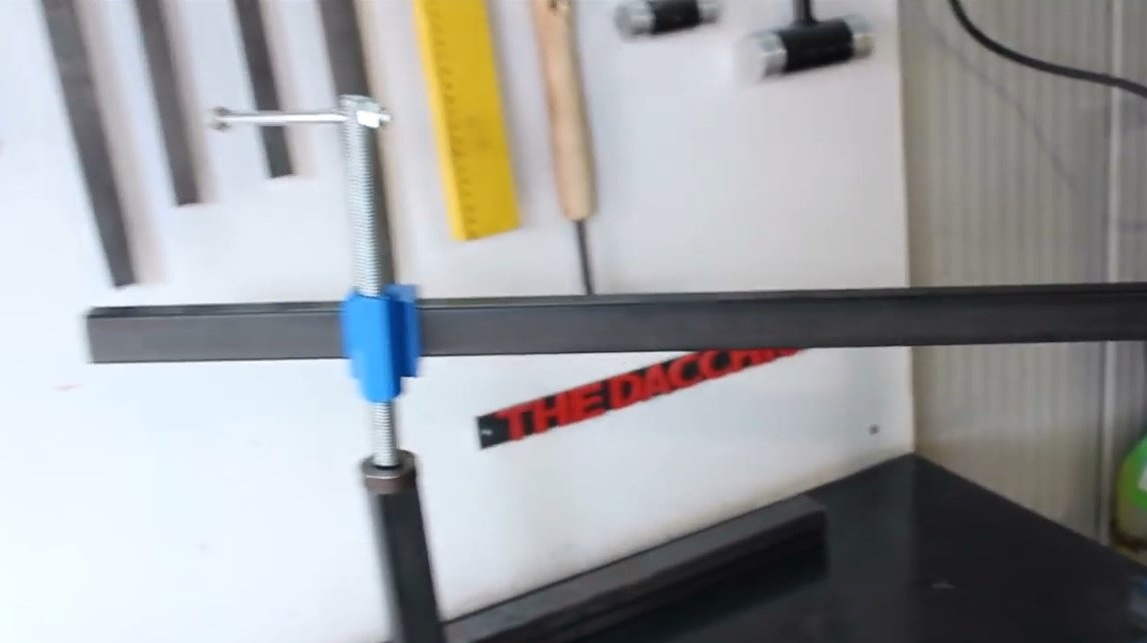
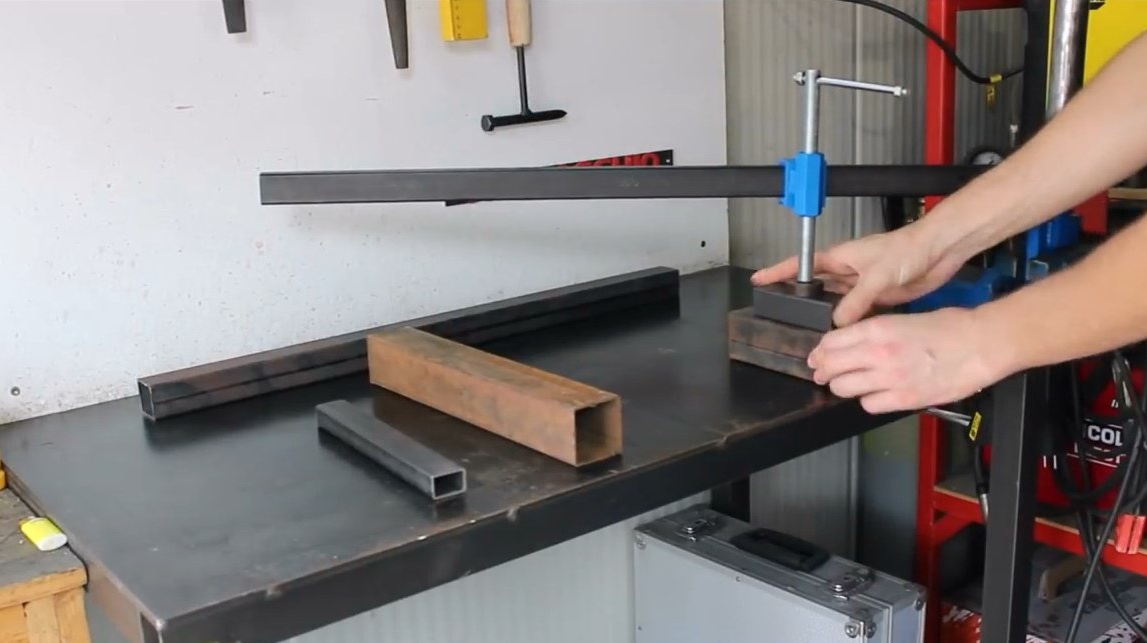
Clamps a support in a vice, puts on a clip, in the top part clogs a cap in the form of a fungus. She will not let the “arm” of the clip come off.
Puts on the clamping part.
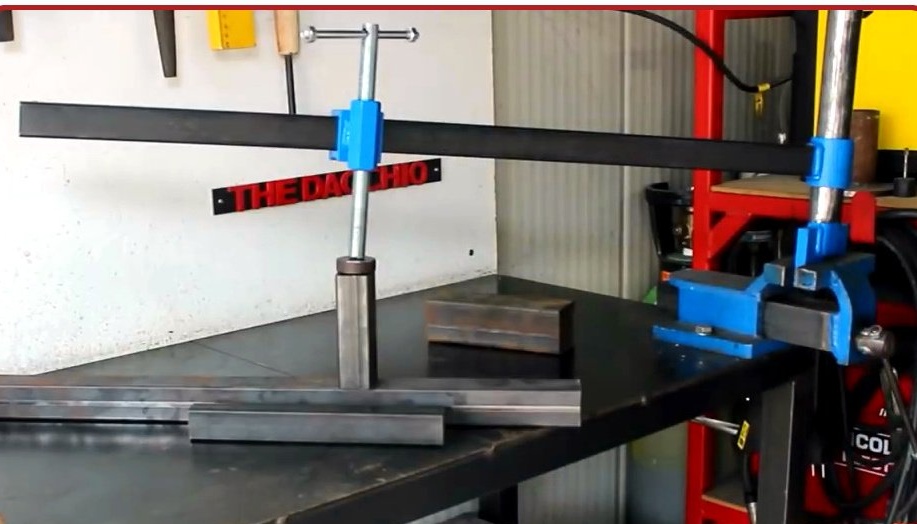
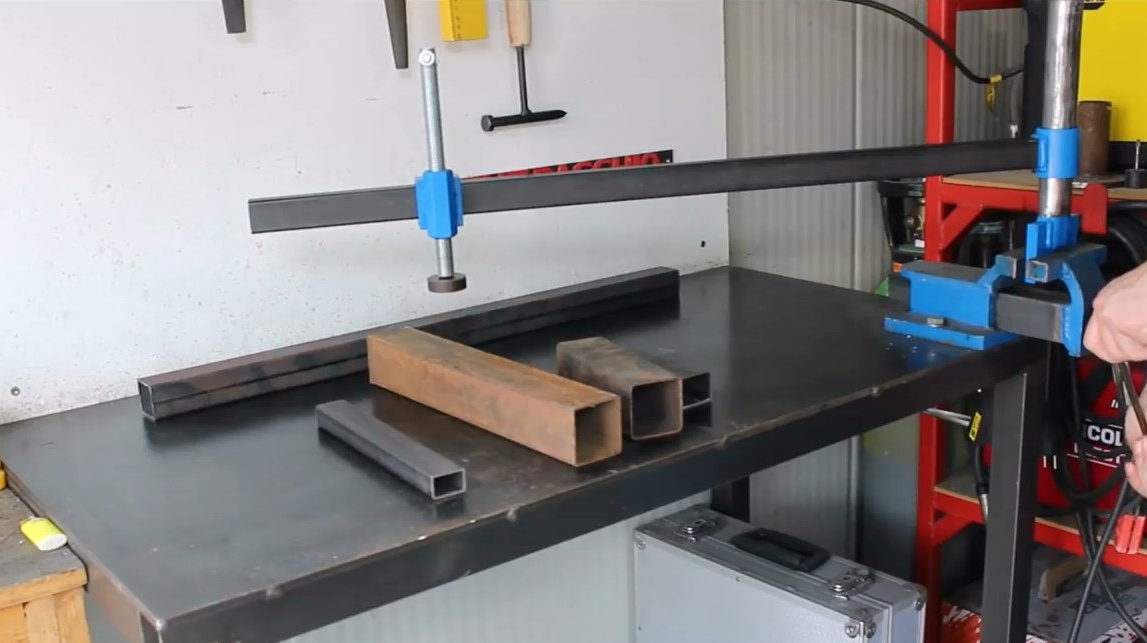
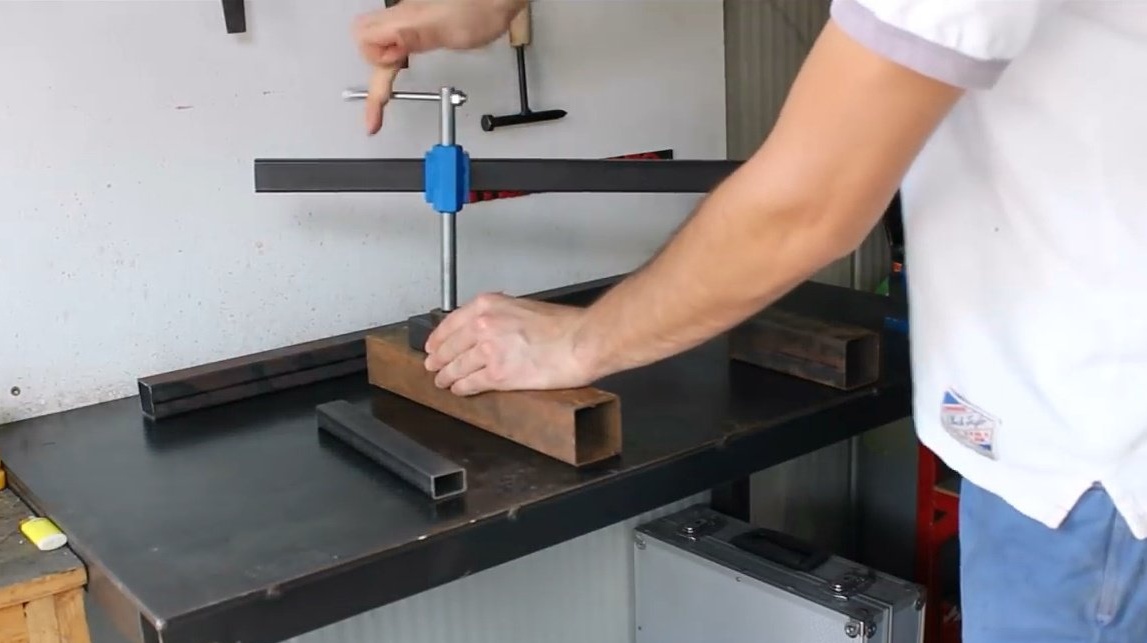
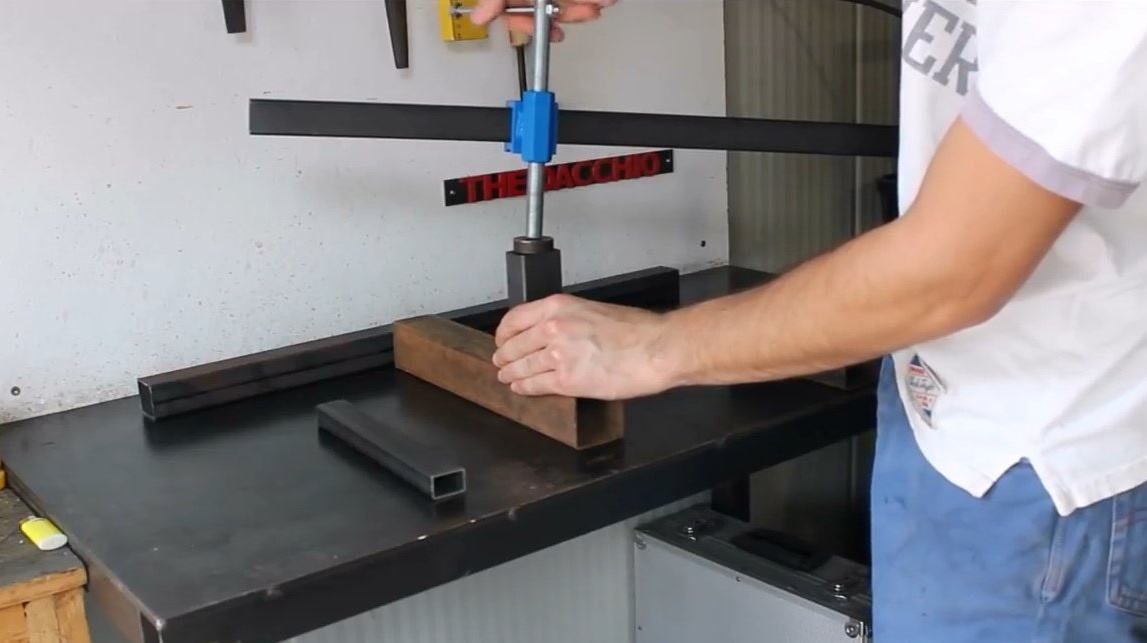
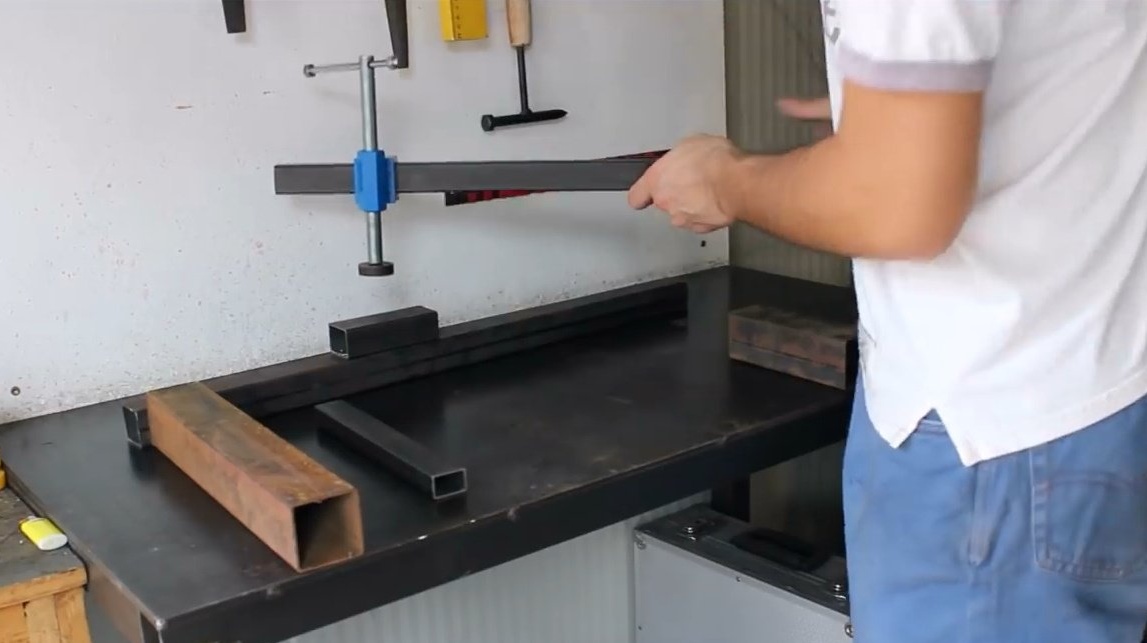
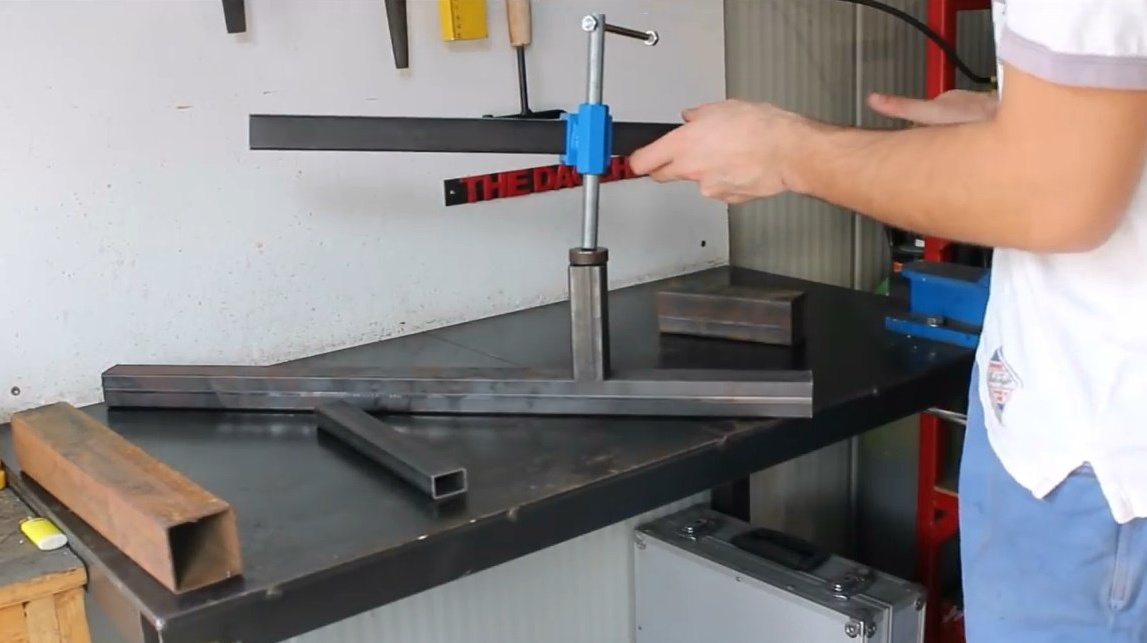
Now the necessary details can be fixed almost anywhere on the workbench, even near the wall.
Moreover, there are two ways of pressing - one - by sliding along the support, and the second - actually with a swivel.
Thanks to the author for the simple but useful device for the workshop!
All good mood, good luck, and interesting ideas!