Hello,
Today, do it yourself - sausage thermometer with remote sensor.
Today, do it yourself - sausage thermometer with remote sensor.
For the preparation of various sausages, as well as for baking bread, especially at the initial stage, a thermometer is very necessary to control the temperature inside the body of the product.
Not expensive mechanical ones are sold at all, but they are not very convenient, since the temperature indicator (dial) is firmly attached to the probe and during baking, being in the oven, is poorly visible.
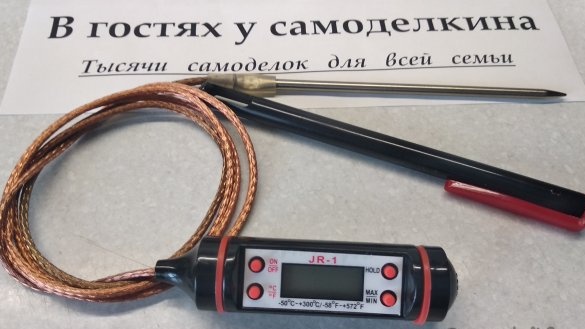
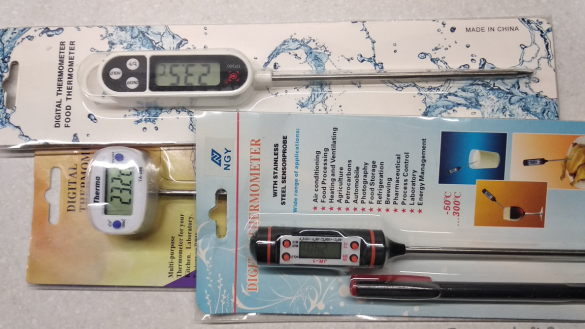
Good in this regard electronic, with a remote sensor on a flexible wire, but it is quite expensive, so I decided to convert the more common and not expensive electronic thermometer, with a hard probe, into a thermometer with a remote sensor.
Thermometer with remote sensor. Revision.
Material and components for the manufacture of a thermometer:
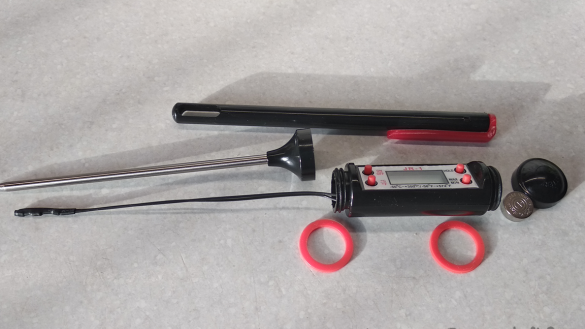
High-temperature electronic thermometer (-50 ° С ... + 300 ° С) - 1 pc.
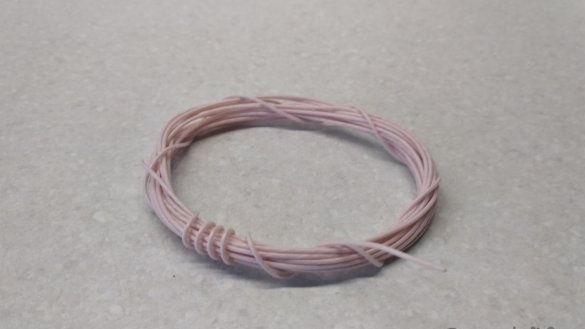
Heat-resistant wire MGTF 1 × 0.2 mm² - 2 m.
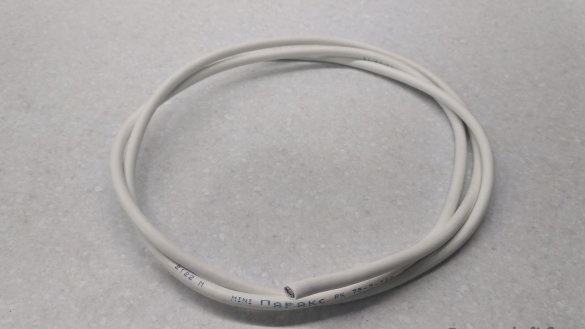
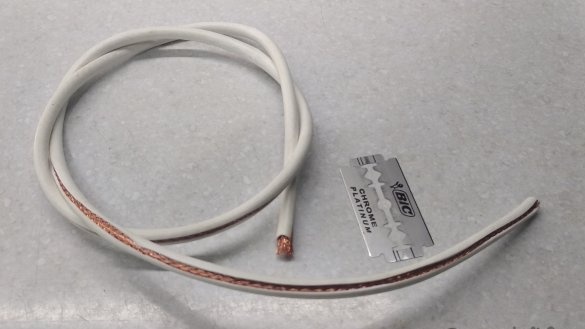
Coaxial (antenna) cable RK 75-3, RK 50-3 - 1 m.
When choosing a coaxial cable, and almost any one is suitable, you need a denser braid
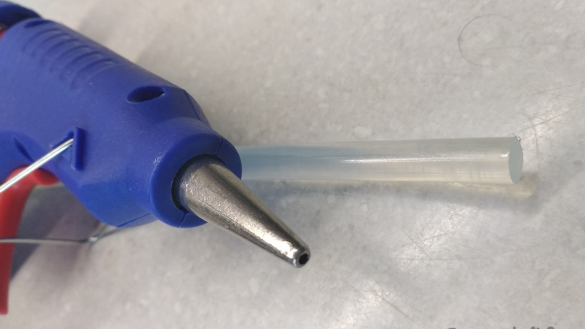
Hot glue
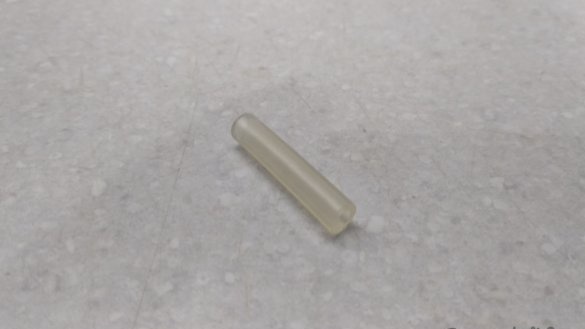
Heat shrink tube Ø 2 ÷ 3 mm. - 20 mm.
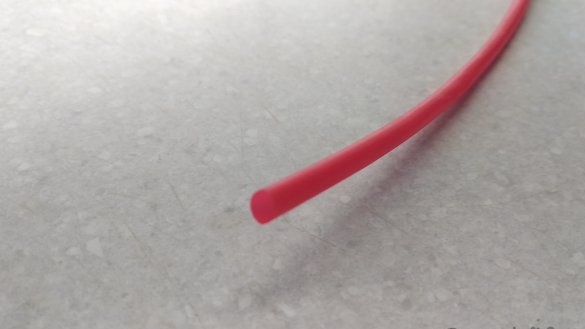
Silicone! tube with an internal diameter of not more than 4 mm. - 20 mm. (not necessary)
Plus small soldering skills.
Alteration of the thermometer:
The design of the thermometers is different, but the principle of alteration is the same.
I will show you an example of one of these thermometers.
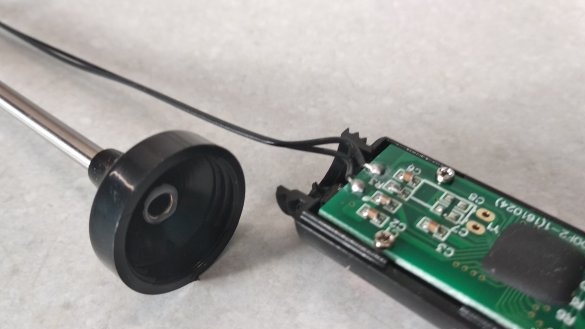
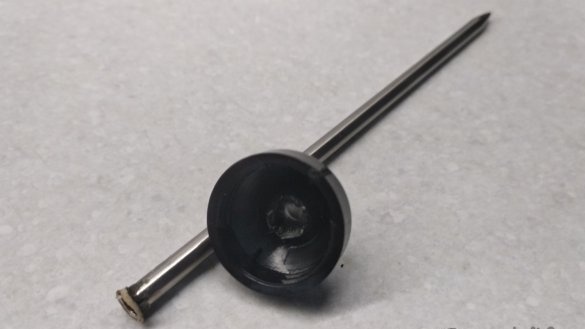
At the first stage, it is necessary to carefully disassemble the purchased thermometer.
Next, you need to make a remote probe.
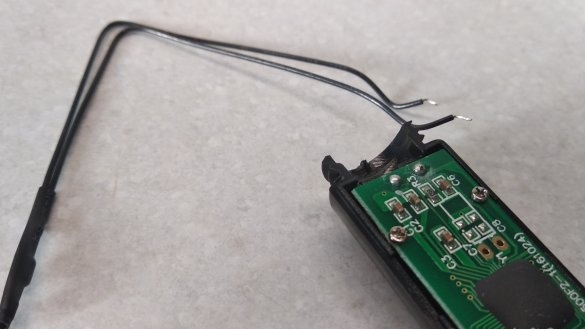
Disconnect the sensor from the board.
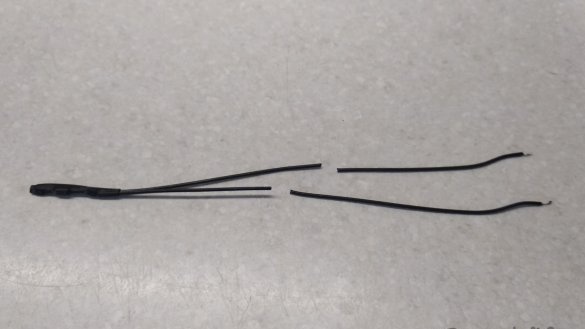
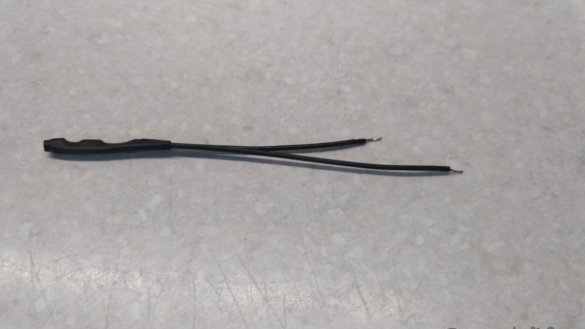
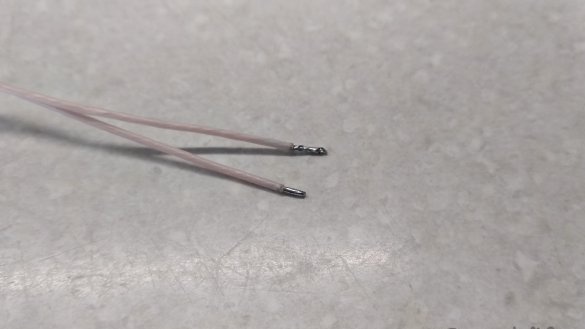
Trim the sensor wires approximately in half, at some distance from each other.
Strip the tips and tin.
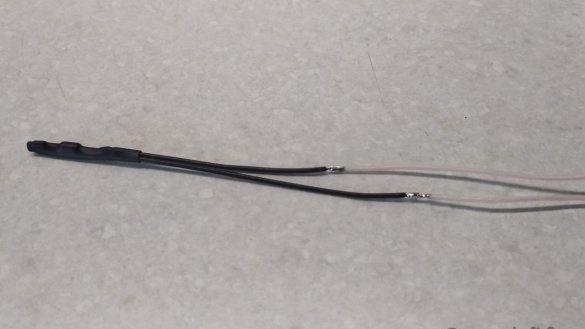
Fold the prepared heat-resistant MGTF wire in half, and peel and tin the ends.
Solder the tinned ends of the sensor wires and the heat-resistant MGTF wire.
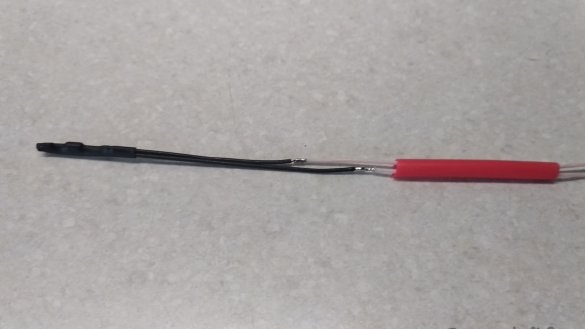
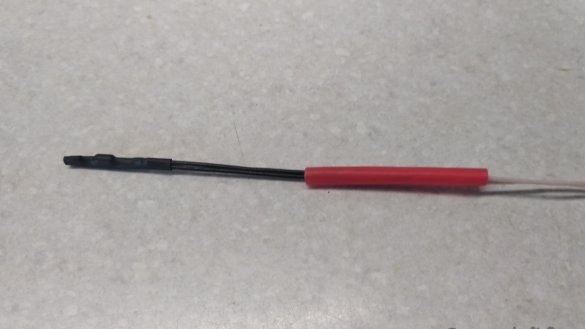
Insulate the soldered ends of the wires with a heat shrink tube.
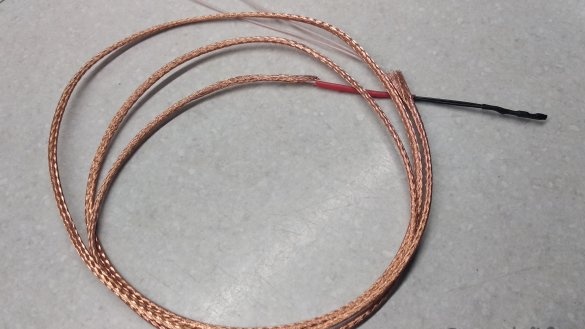
From a coaxial cable, make a protective flexible cover (thermal jacket) for the heat-resistant MGTF wire.
With a safety razor blade, along the entire length of the coaxial cable, make an incision and remove the outer insulation.
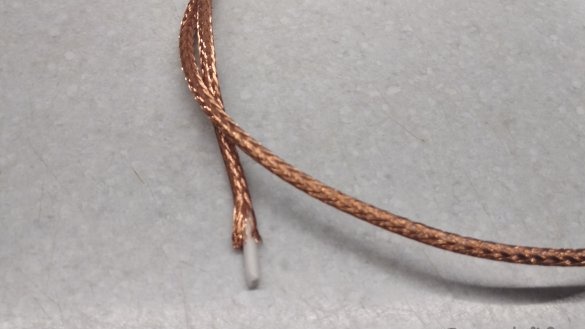
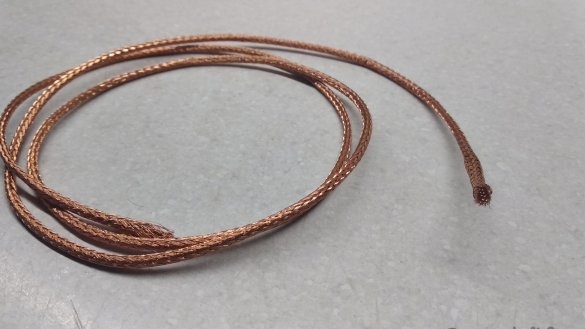
Release braid from insulated core.
Insert the prepared heat-resistant MGTF wire with the sensor at the end into the braid.
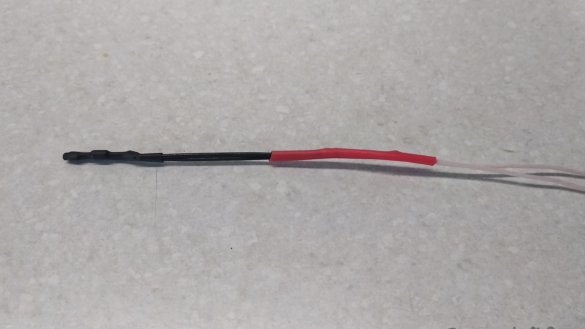
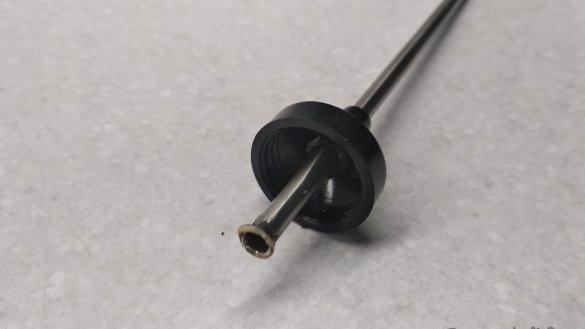
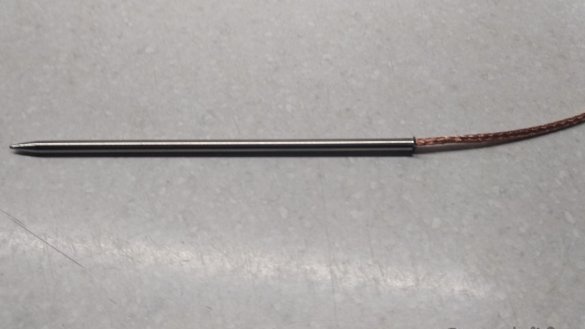
Slightly warming up the probe tube with a soldering sting, carefully pull it out of the housing.
Insert the prepared sensor into the probe inside until it stops.
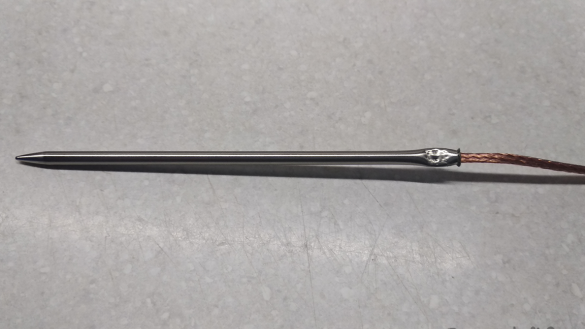
With narrow pliers, squeeze the probe tube at the edge, holding the braid and heat-resistant MGTF wire.
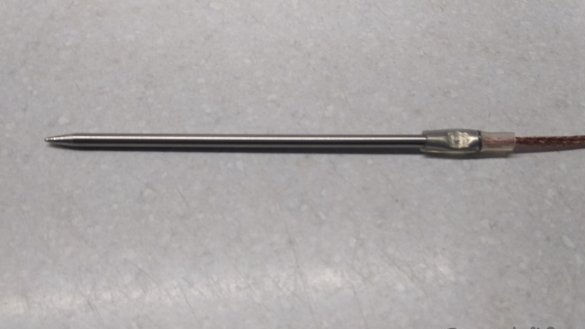
Put a silicone tube on the edge of the probe (optional), it is needed for thermal insulation and as a limiter.
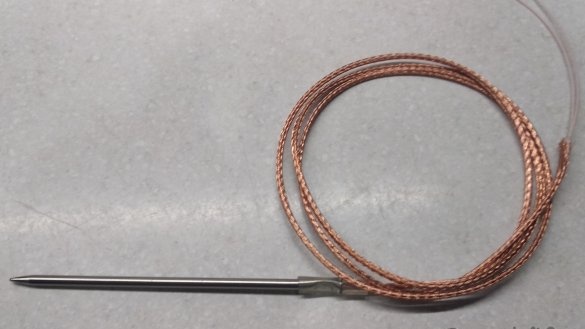
The probe - the sausage thermometer sensor - is ready.
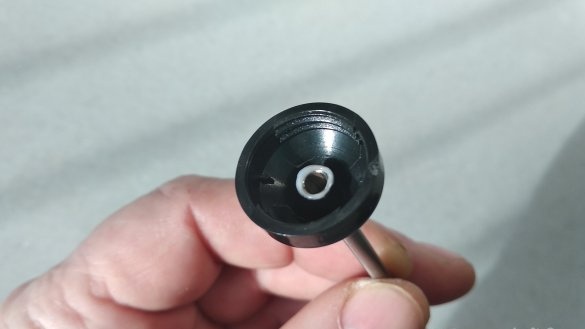
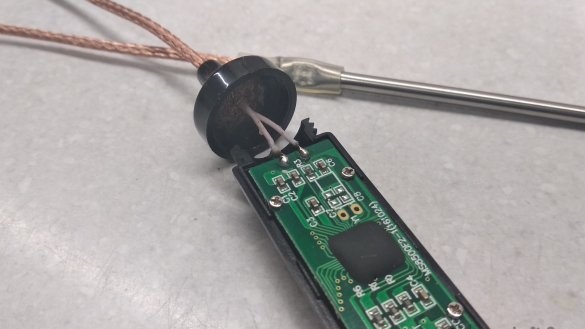
Next, using hot-melt adhesive, you need to fix the free end of the sensor in the housing and solder the wires to the board, assemble the thermometer.
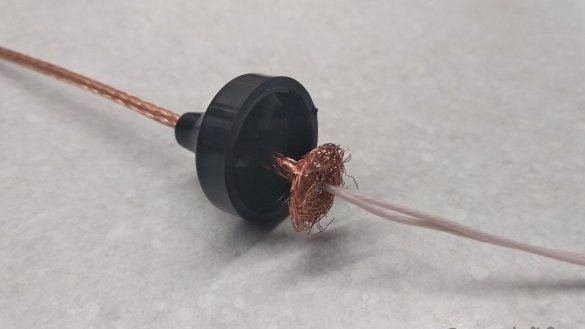
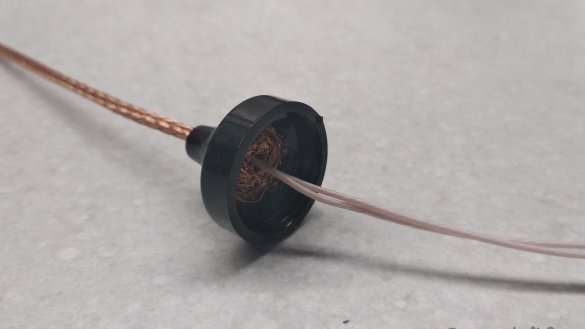
But in this thermometer, since the cap is threaded, it is only necessary to fix the braid.
To do this, having fluffed the edge of the braid, fix it inside the cover with a small amount of hot glue.
Then, when screwing the cover, the soldered wire will rotate inside the braid without harming the thermometer board.
Thermometer with remote sensor - ready.
P.S.
Also, the thermometer described above, especially for beginners, is needed when making bread.
Due to the fact that ovens for baking have different design differences, you are faced with where, how and how much time to bake, so that the bread turns out for sure.
Everything is simple. The issue is resolved once, using the thermometer described above.
Having decided where the bread will be baked in the future (choose an oven for baking, even a slow cooker), and during the first baking of bread, some time after the start, insert the probe of the thermometer inside the bread.
Observing the author’s recommendations of the recipe for baking, bring the temperature inside the bread to 96 ° C for rye or 97 ° C for wheat and having done this once, remembering the time at the set temperatures and doing it constantly in the future, there is no doubt in the final result, and already without thermometer.
And the color and thickness of the crust depend on the design of the oven (volume, convection, top, bottom heating, distance from the bread pan to the heat source) and are selected experimentally.
That's all.
Good luck
Good luck


