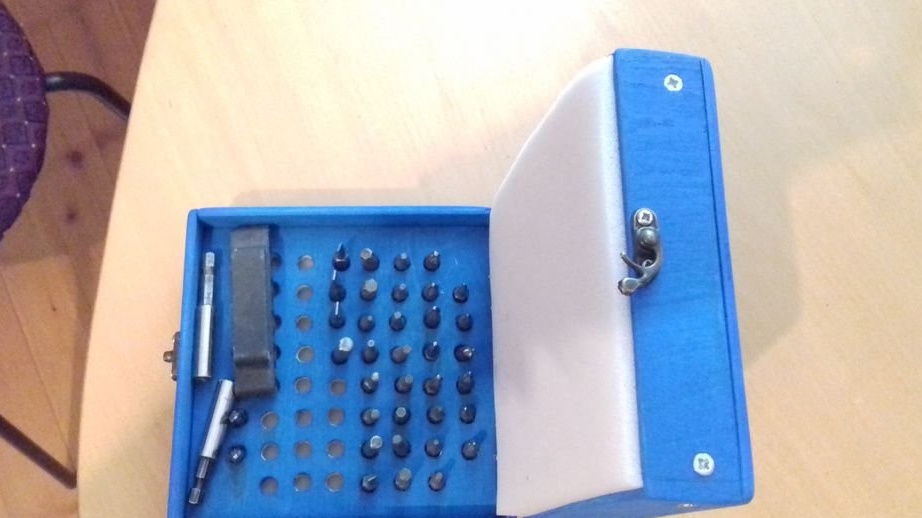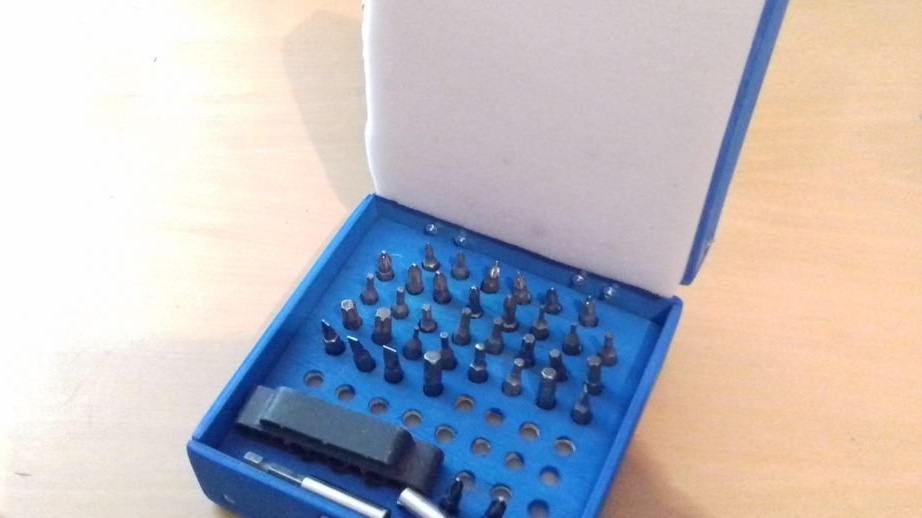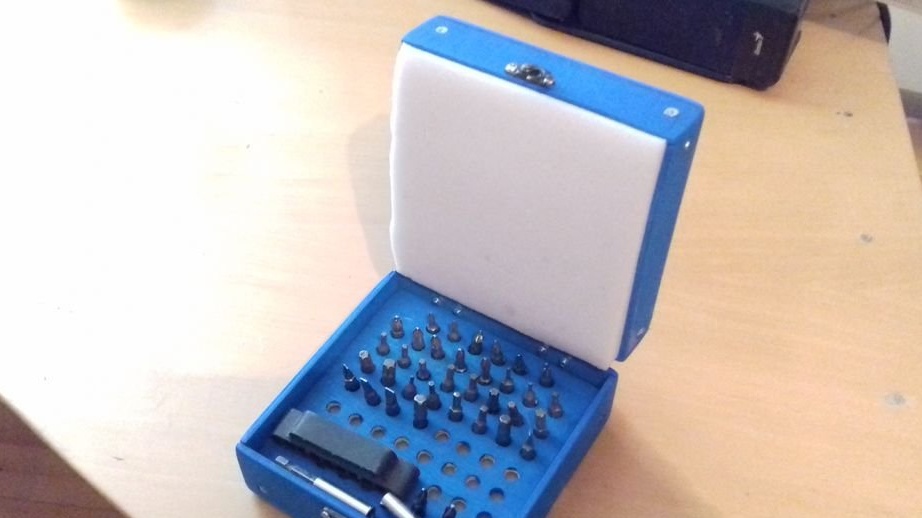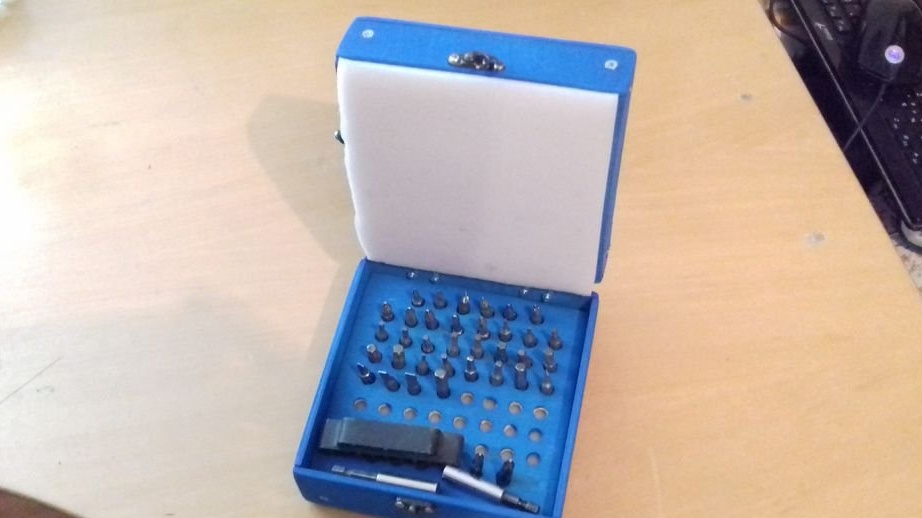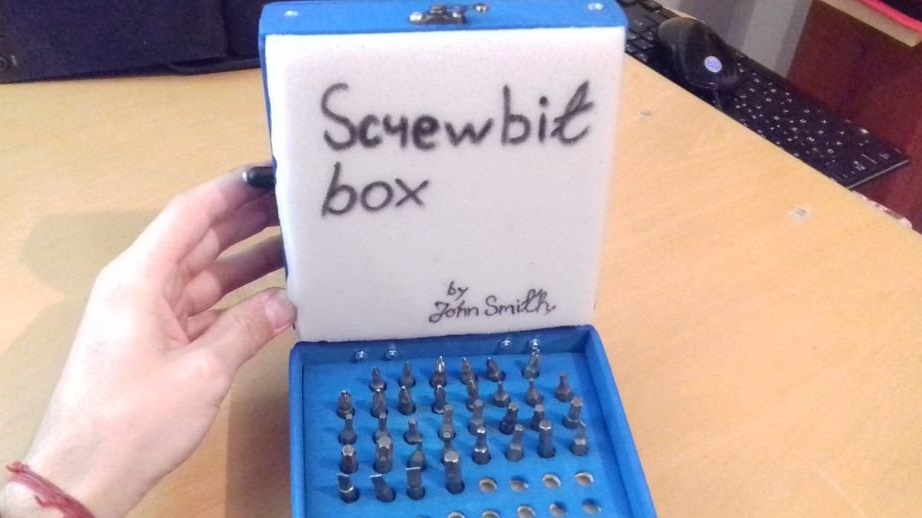

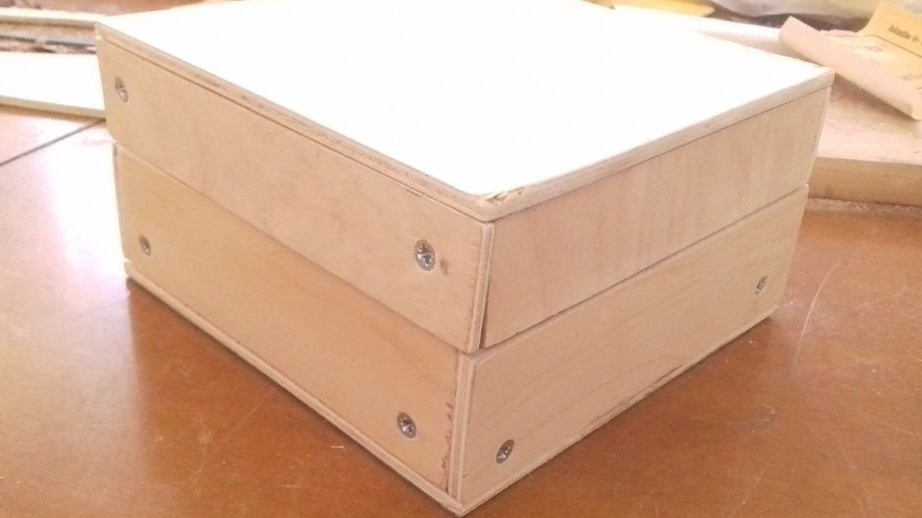
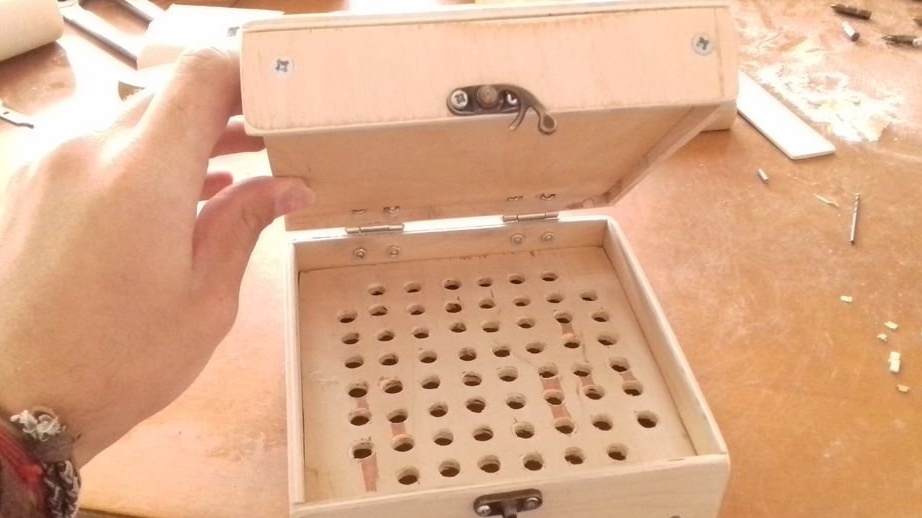
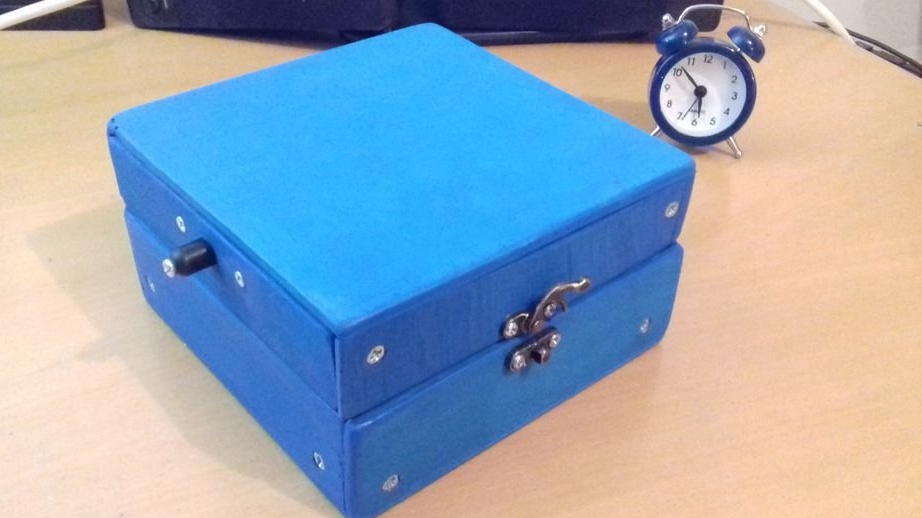
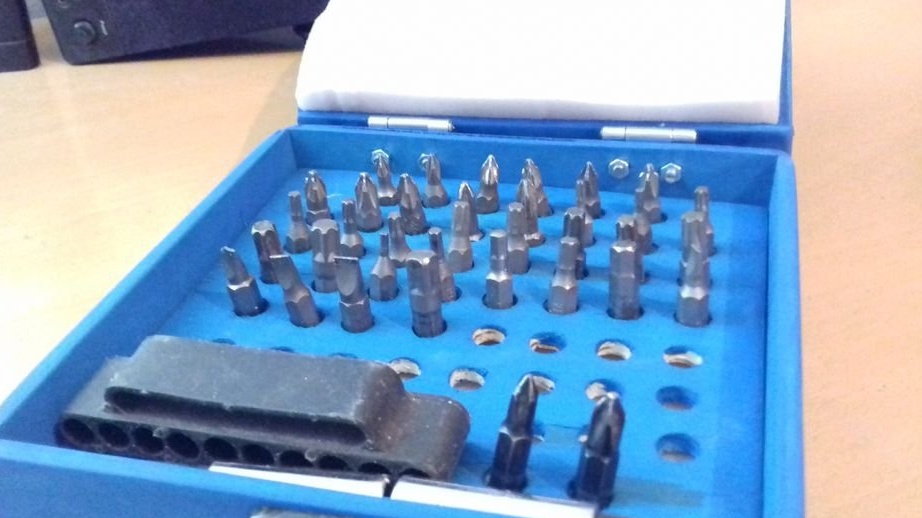
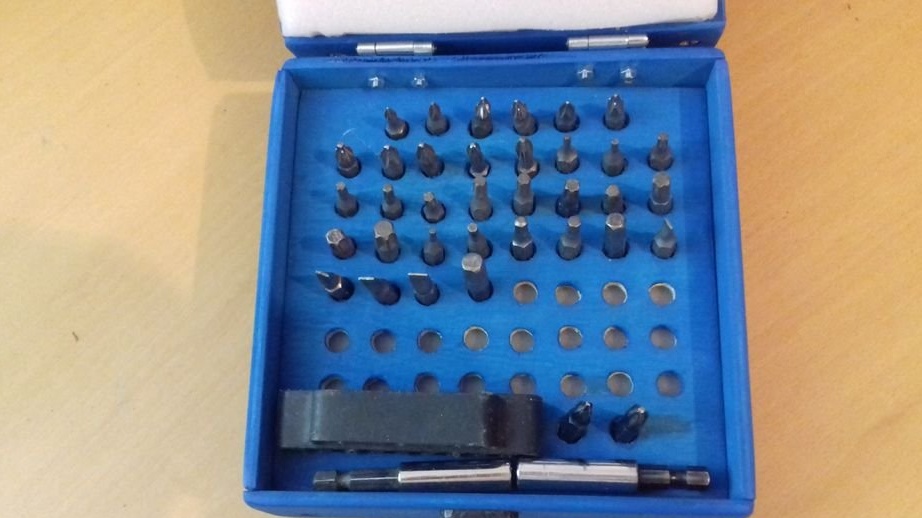
This box has 60 holes in which you can store absolutely any bits for a screwdriver. There is also an extra small drawer for drills and other little things.
Step 1: Tools and Materials
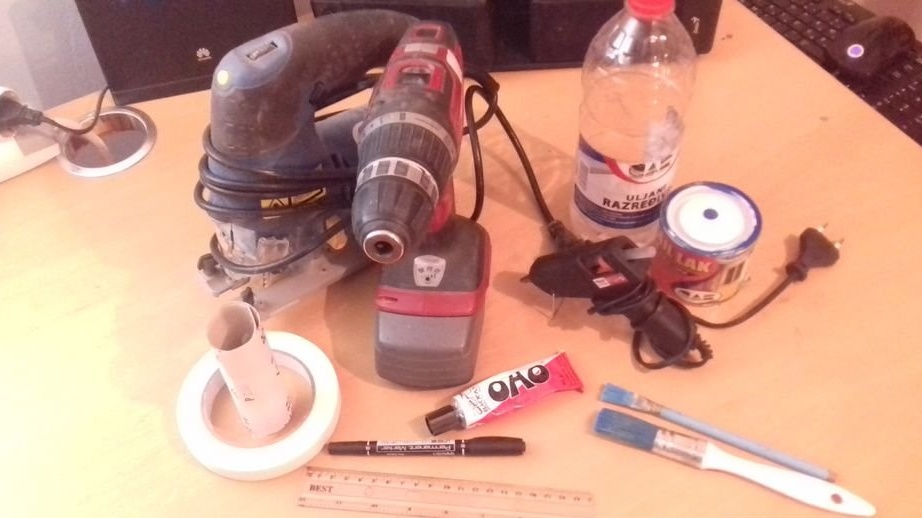
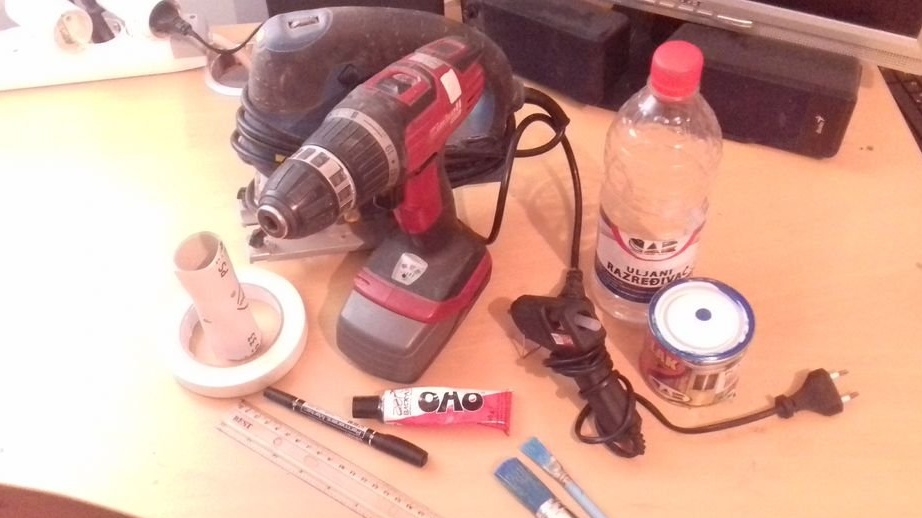
Instruments:
Jigsaw
Cordless drill
Pen or marker
Drills 3 and 6 mm
180P or 240P sandpaper
Glue gun
Plain glue
Scalpel or knife
Paint and brush
Soldering Iron (optional)
Materials:
Thin plywood - 2pcs.
Plywood or wood (20 mm thick) - a small piece
Screws 3.5x16 mm - 14 pcs.
M3 nuts and screws M3x20 - 11 pcs.
Latch
Small loops 25x25 mm - 2 pcs.
Plastic square box
Large marker
Sponge 14x14mm, thickness 15mm - 2pcs
Small screws
Felt pads - 4pcs.
Protective tape
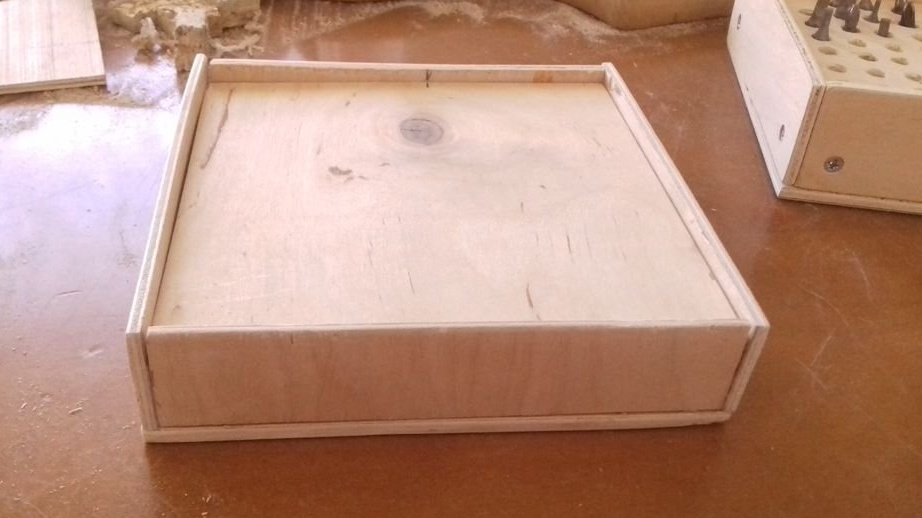
Step 2: Making the bottom
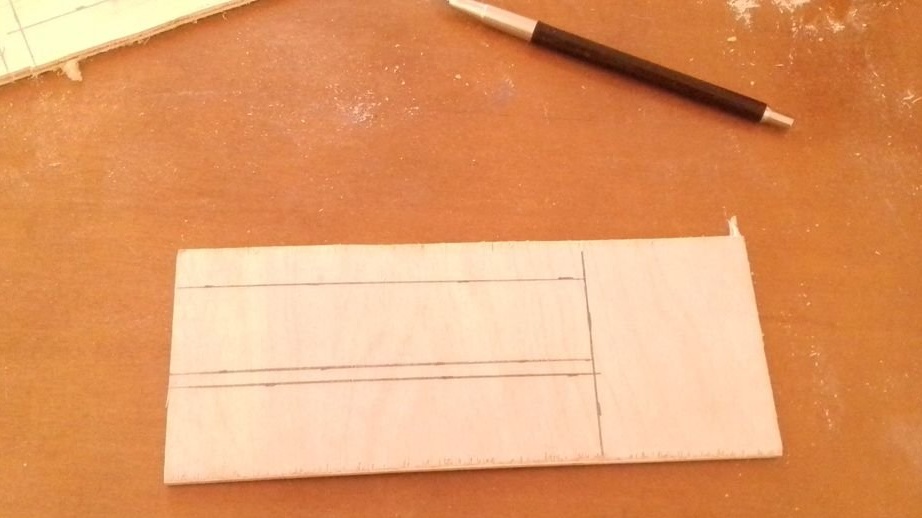
First of all, you need to determine how big the box should be.
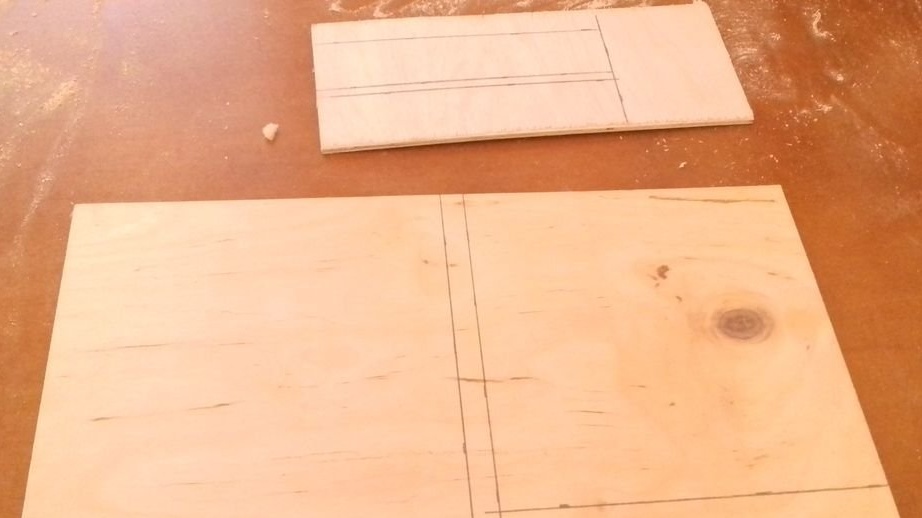
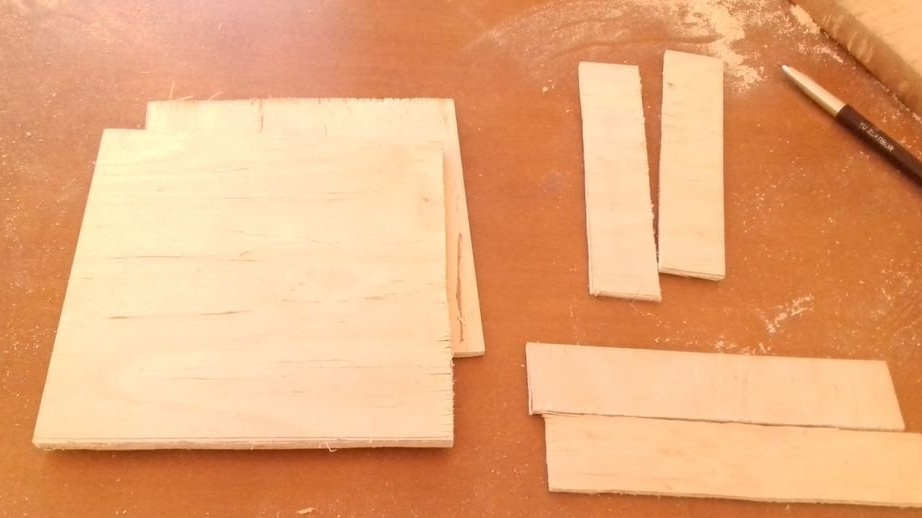
For this homemade 15x15 cm, more than enough. So, a pair of rectangles and squares is drawn on plywood 5 mm thick. One part is the base of the box, measuring 15x15 cm and 14x14 cm, where there will be holes for bits. The sides of the box are 14x4 and 15x4cm.
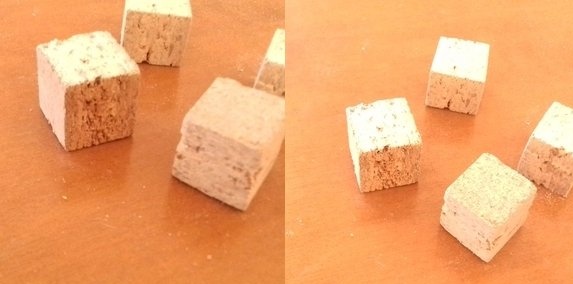
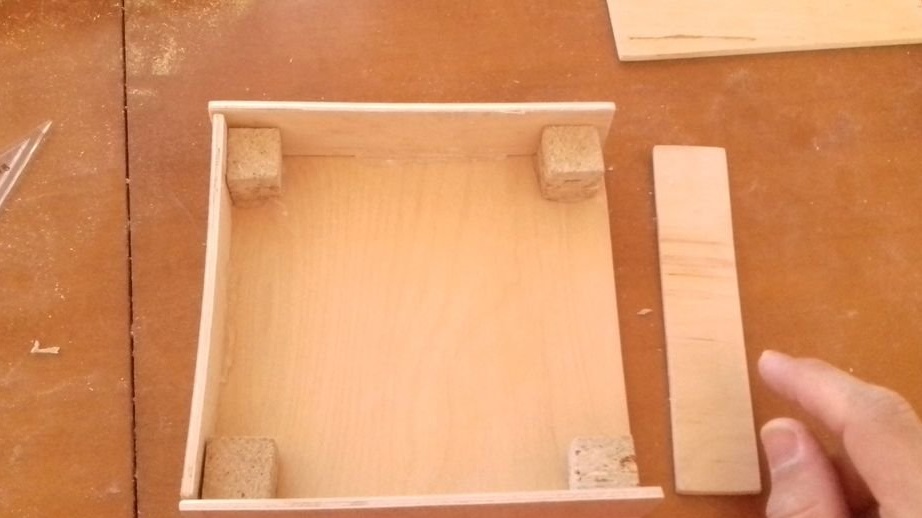
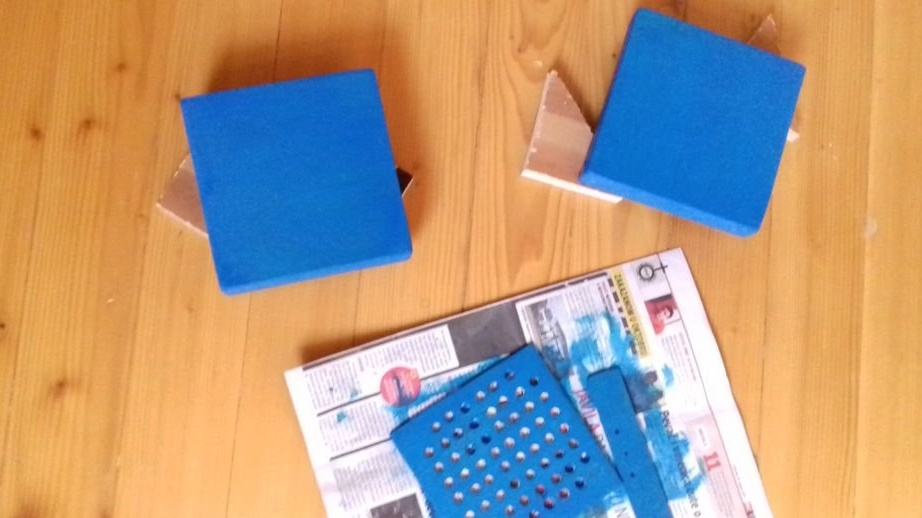
Also from plywood or wood you need to cut small cubes.
The sizes of these tricky cubes are 2x2x2 cm, 4 pcs.
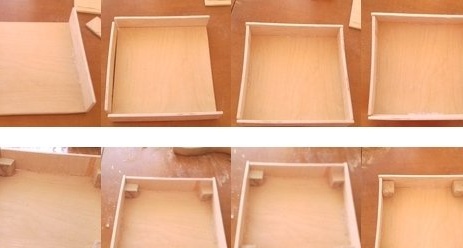
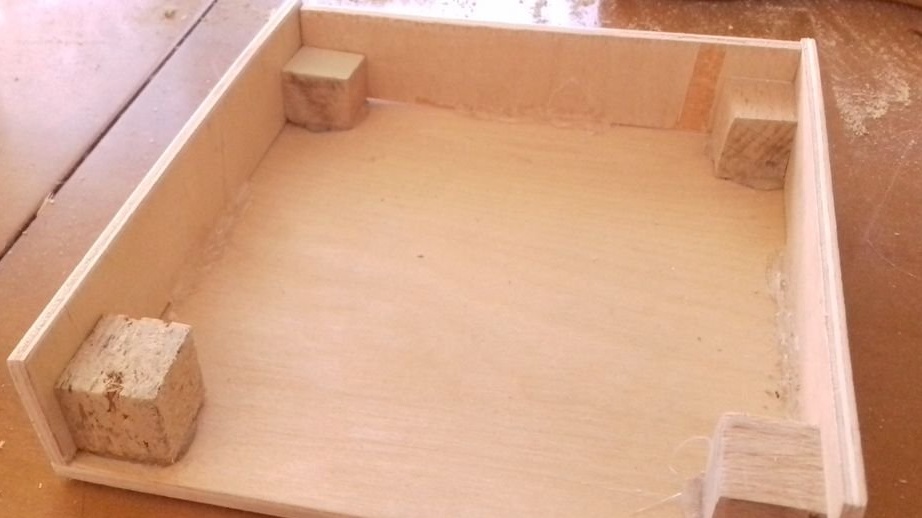
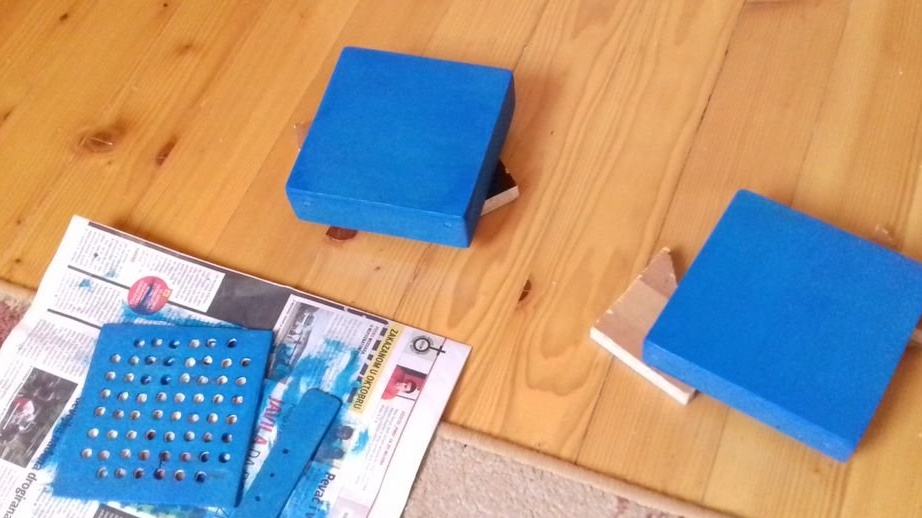
It is time to assemble all these parts into a single whole. This will be the bottom. A glue gun comes in handy here.
Now gently align the sides with the bottom plate and apply a little hot glue to hold them in place to make a rectangular shape. Adding small cubes in this situation will provide support for the screw connection.
Step 3: Making the bottom 2
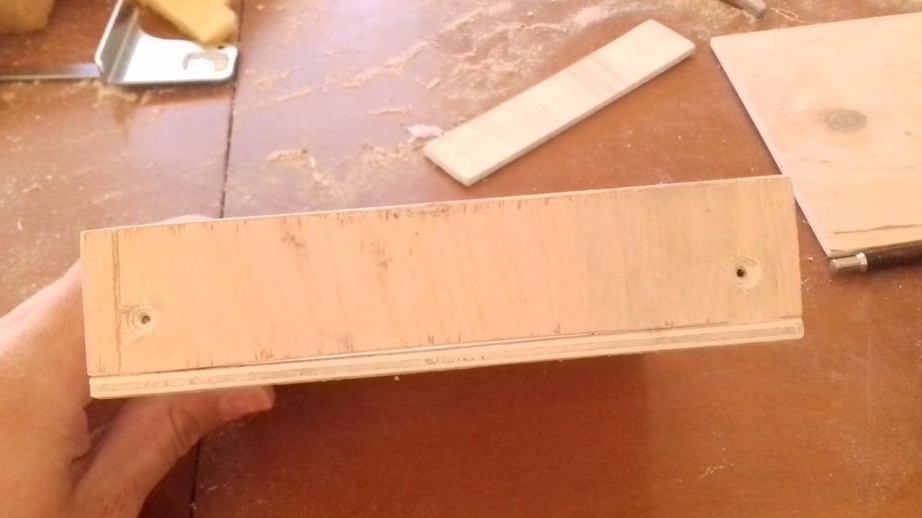

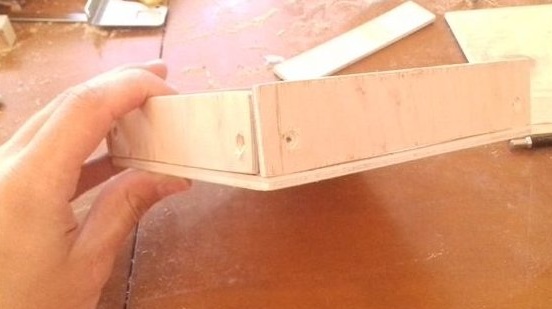
Mark the points so that the holes go through the middle of these small cubes ... Install a 3 mm drill and make holes for the screws.
After the holes are made, they must be countersunk using a 6 mm drill.
Then twist the whole box with screws.
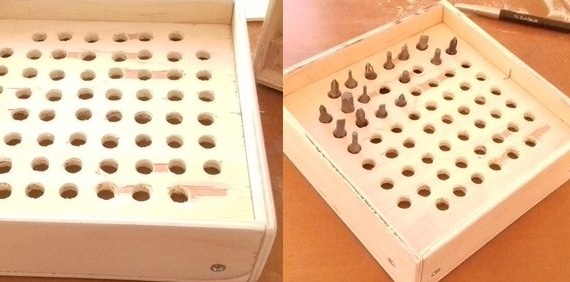
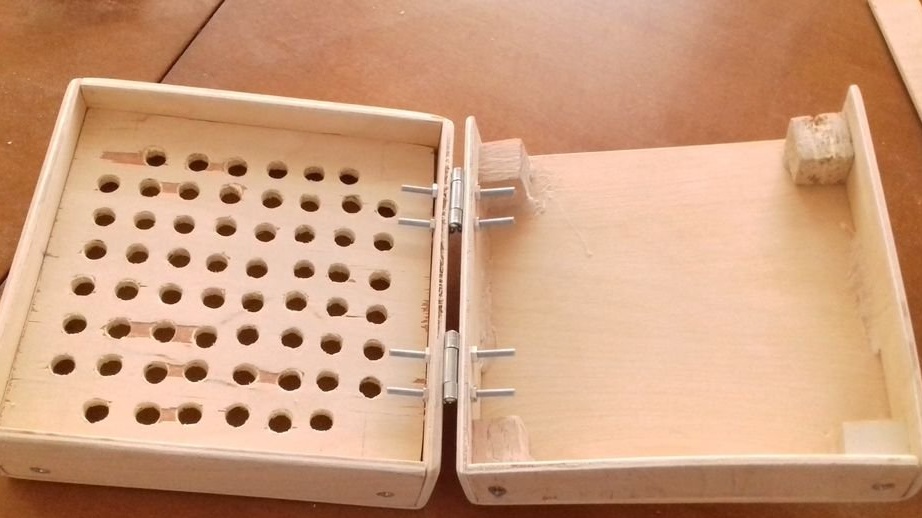
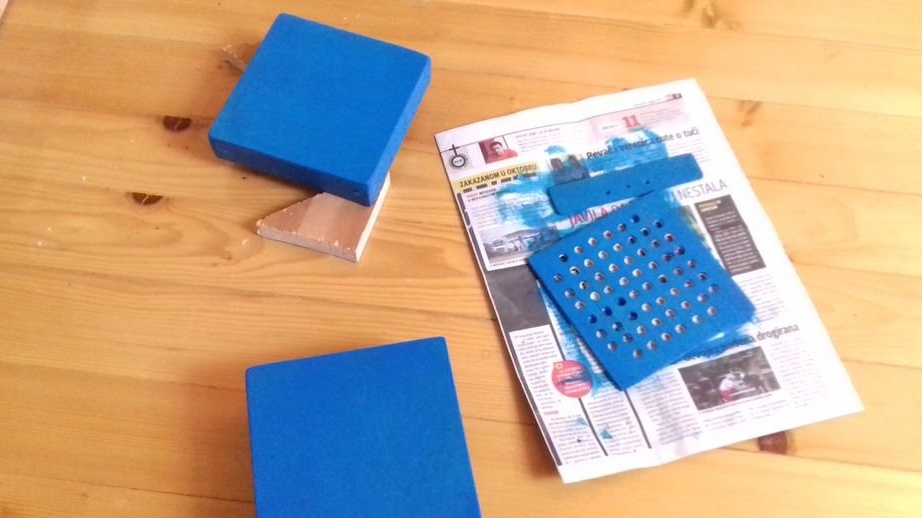
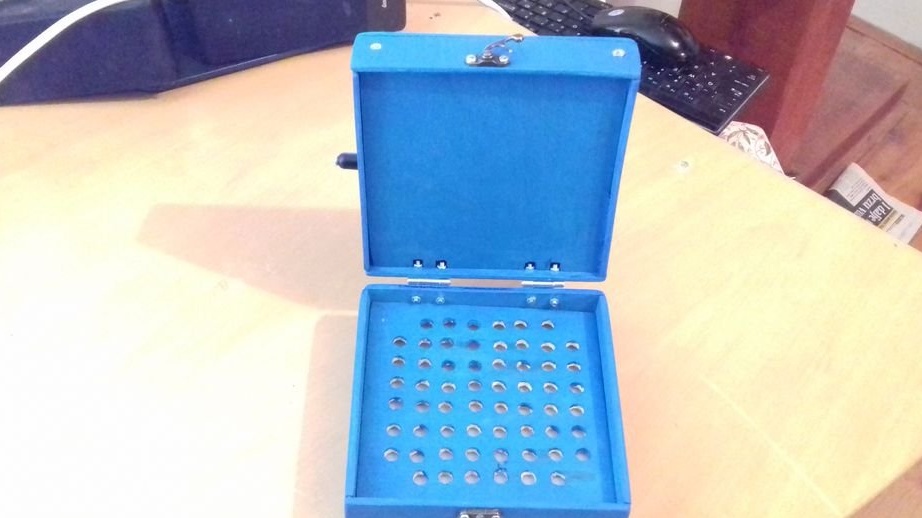
Now you can start making the stand for the bits.
There is a hole pattern in pdf format so that you can print it and drill it according to the markup.
In this home-made stand made of thin plywood.
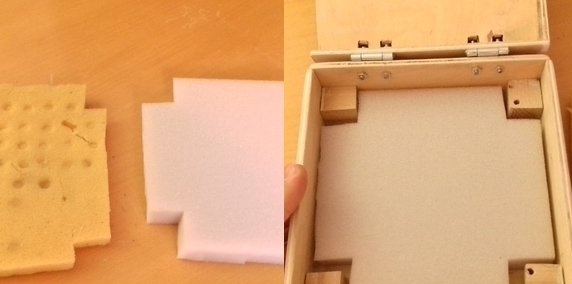
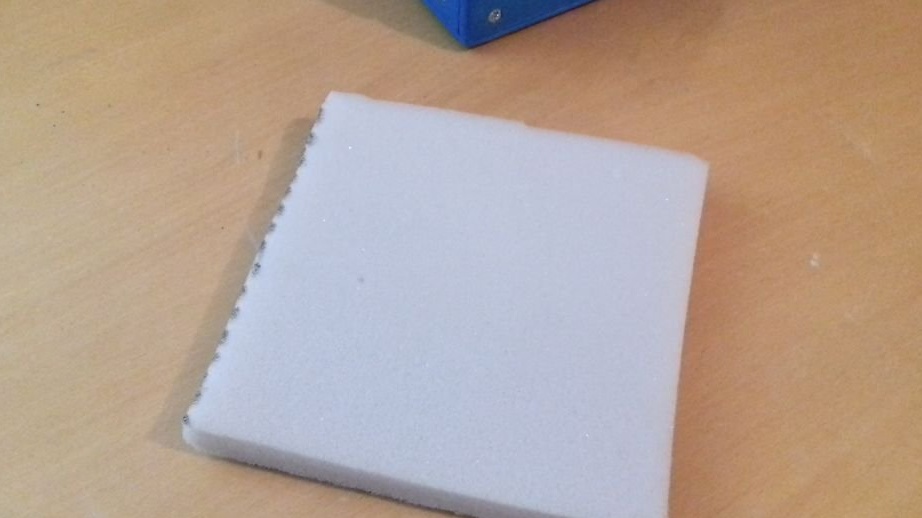
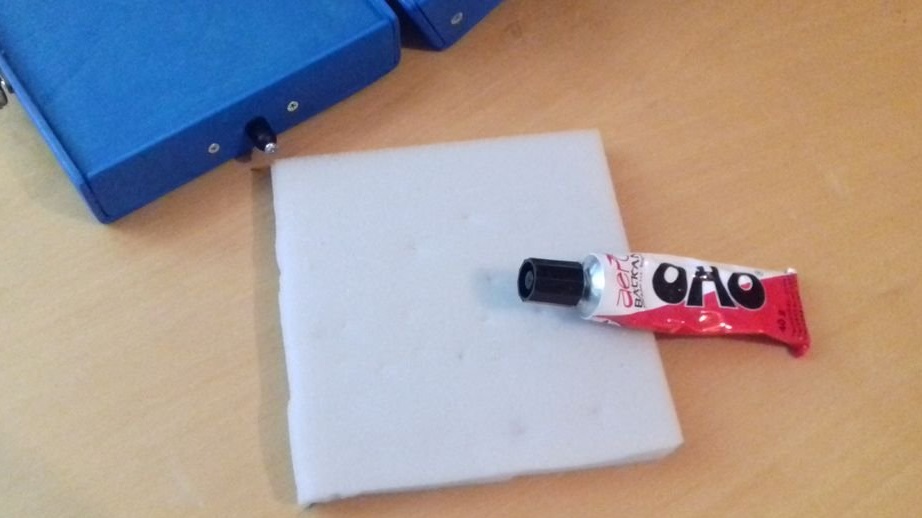
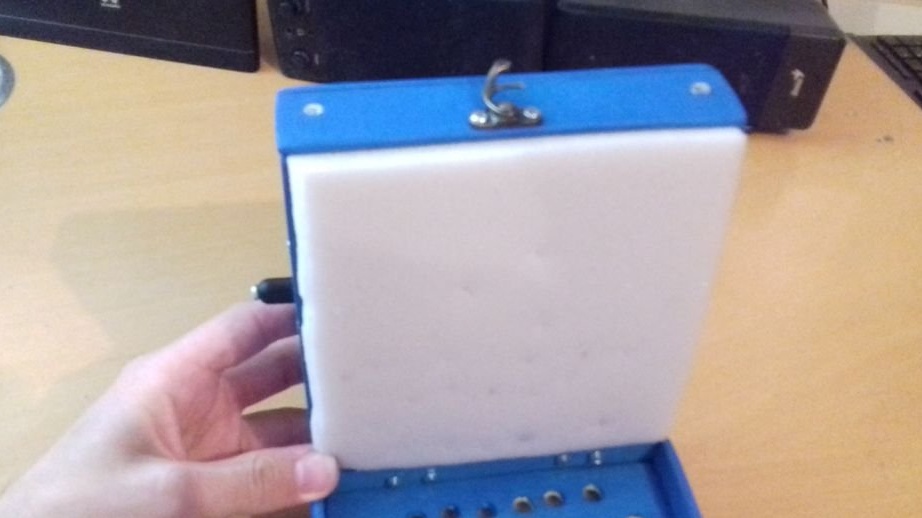
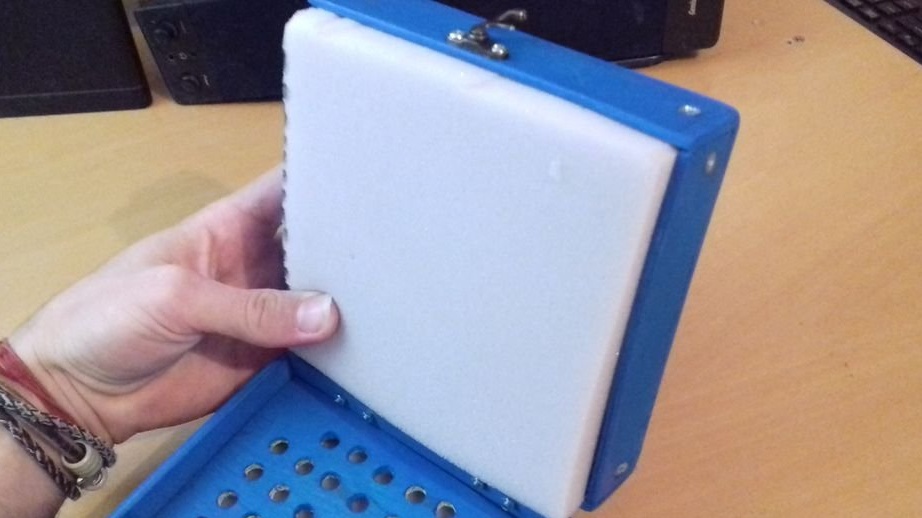
The next step is to add a sponge.
After you put the sponge in the right position; glue it with superglue and mark the points where the bit stand sits tightly around the edges of the box.
Attachments:
Screw plate, model
Screw tip plate
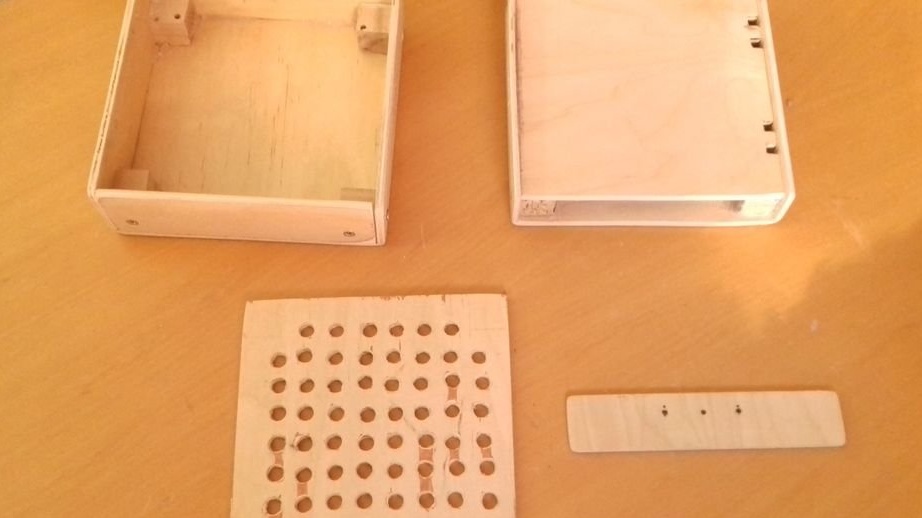
Step 4: Create the Top
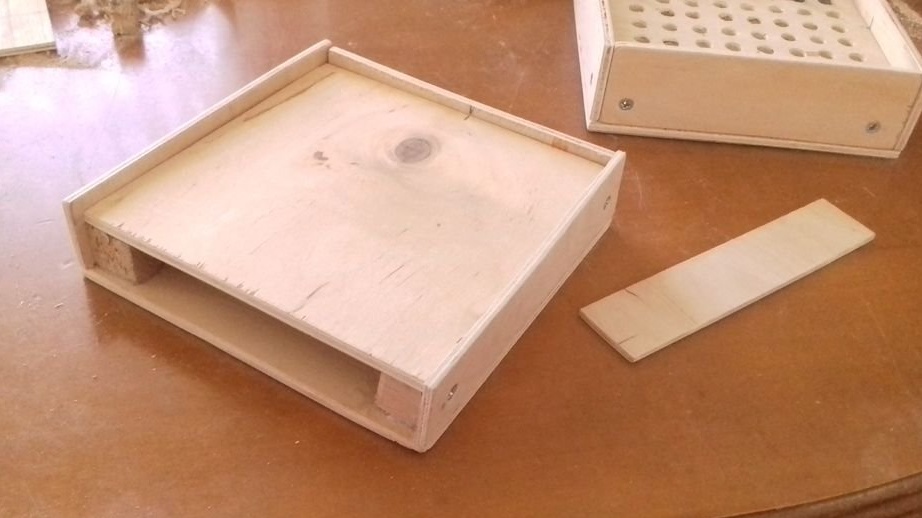
The manufacturing process for the top is slightly different from the bottom.
Again, it is necessary to make two sheets of plywood with dimensions of 15x15 cm and 14x14 cm, but there is a difference in the manufacture of the sides, which will now be 14x3 cm - 2 pcs. And 15x3 cm - 2 pcs. Also, be sure to make small cubes with exactly the same dimensions as before.
Glue the pieces, as in the previous parts, but with one exception. Leave one side 14x3 cm not glued, because it will be the front of the drill drawer.
Do not forget to drill holes and tighten the screws. But do not stick the patch plate. Bonding of this part will be after the hinges are installed.
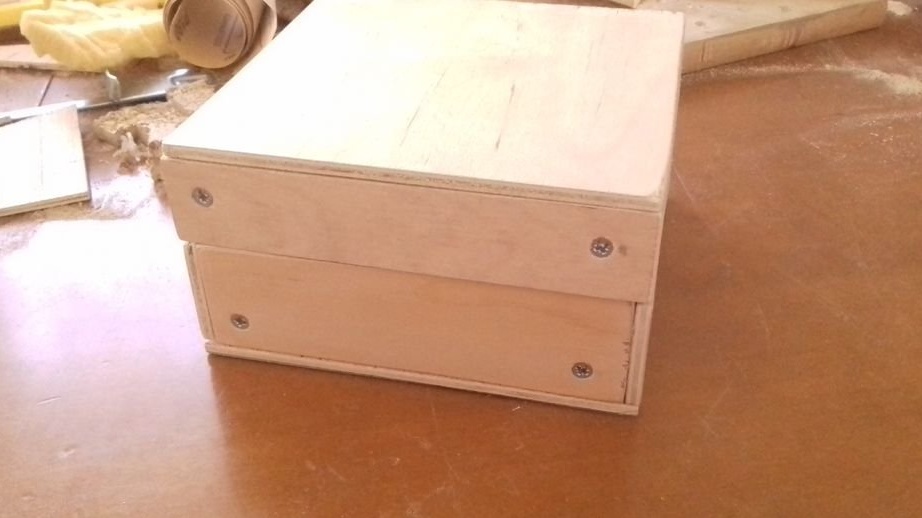
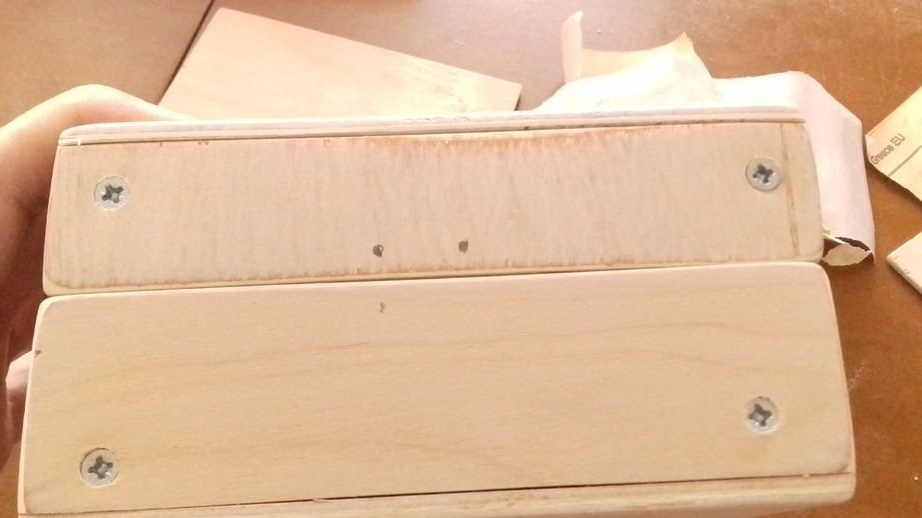
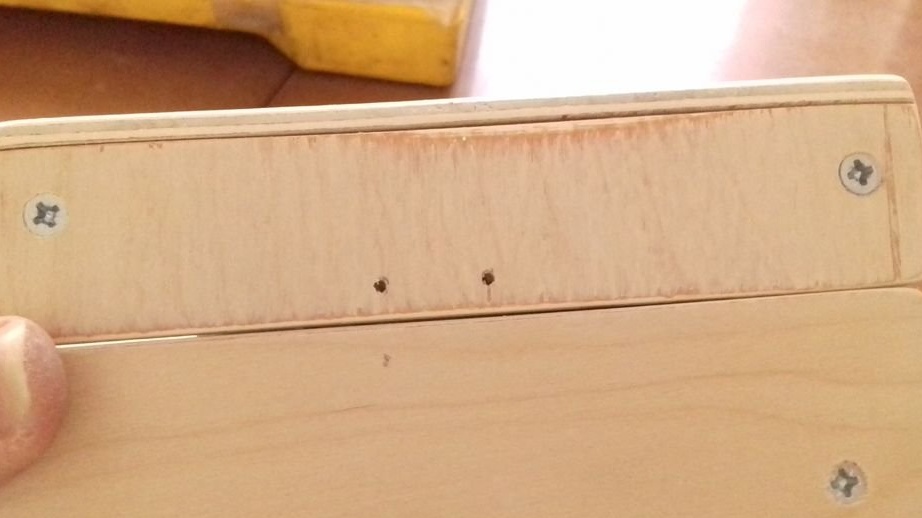
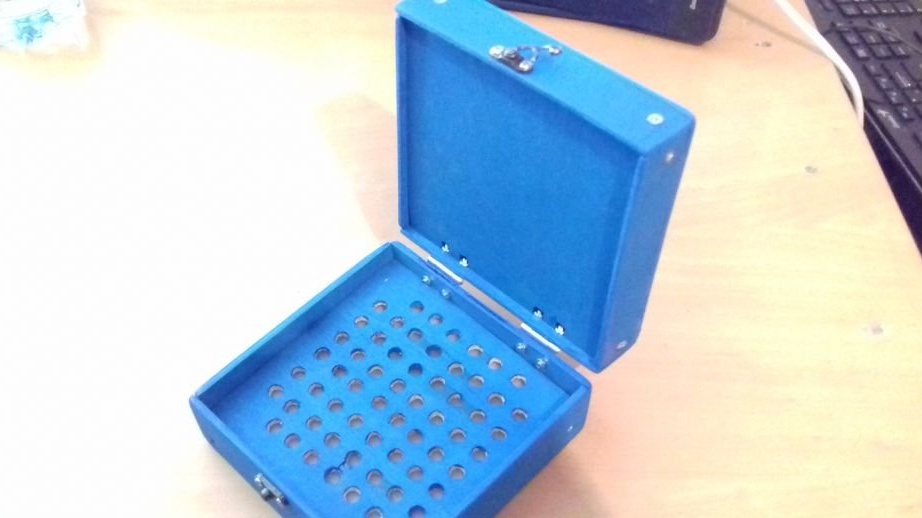
Step 5: Loops
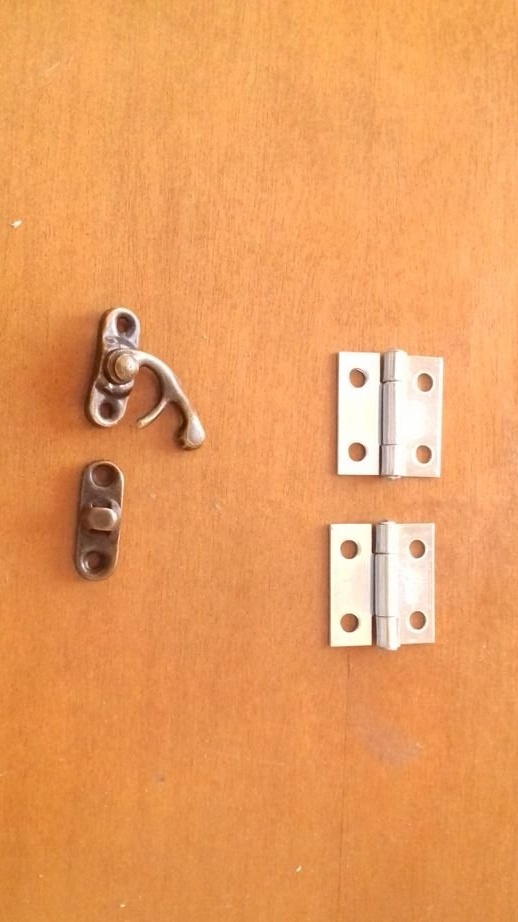
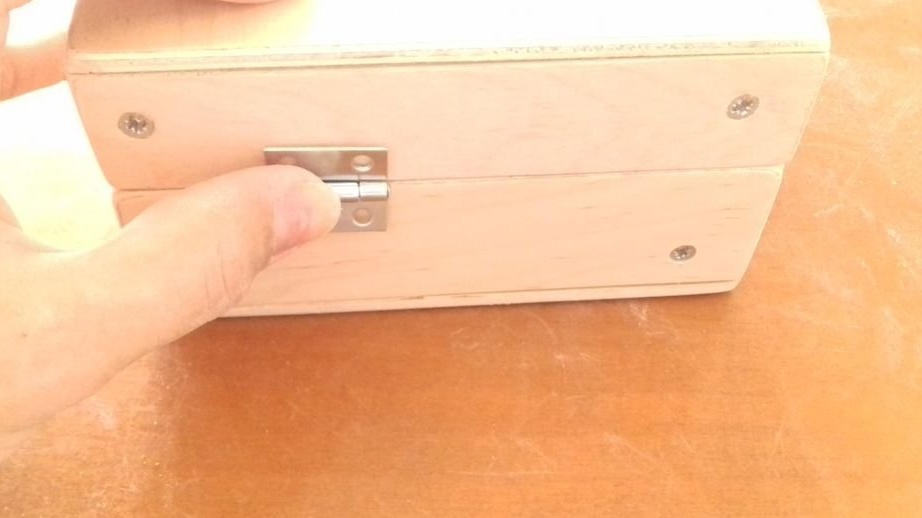
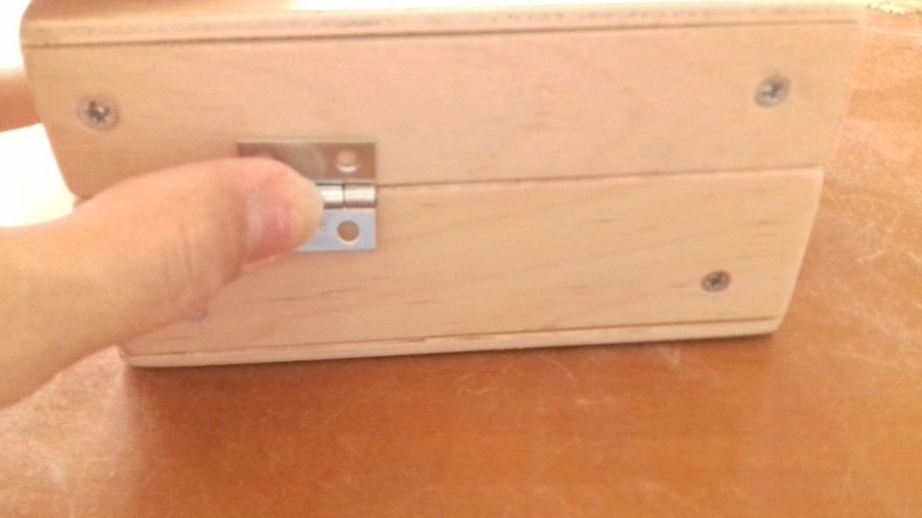
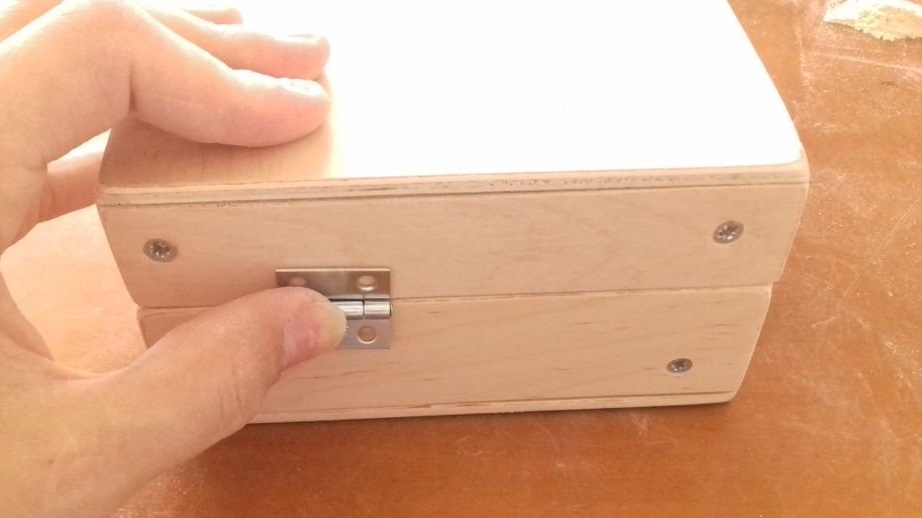
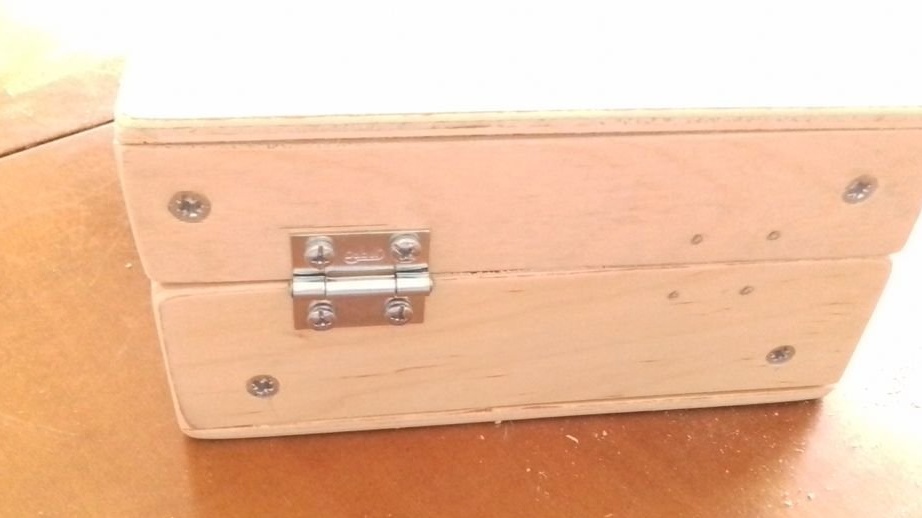
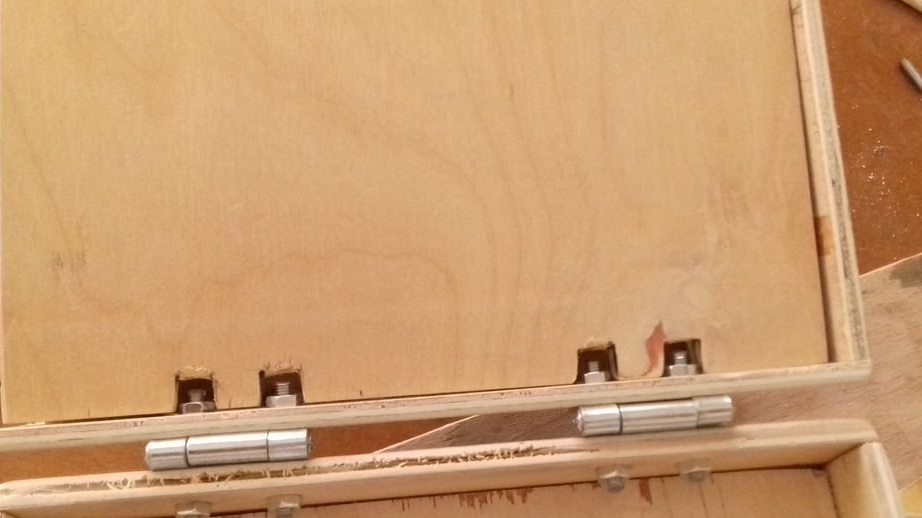
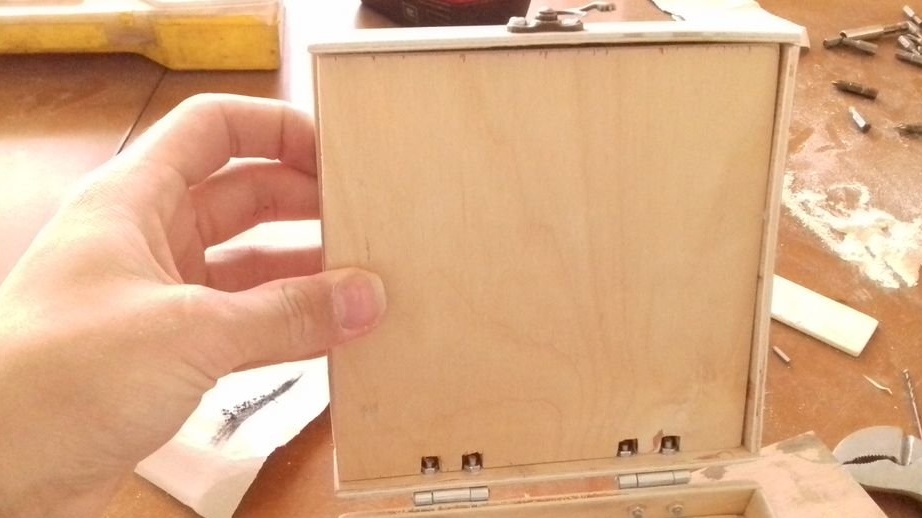
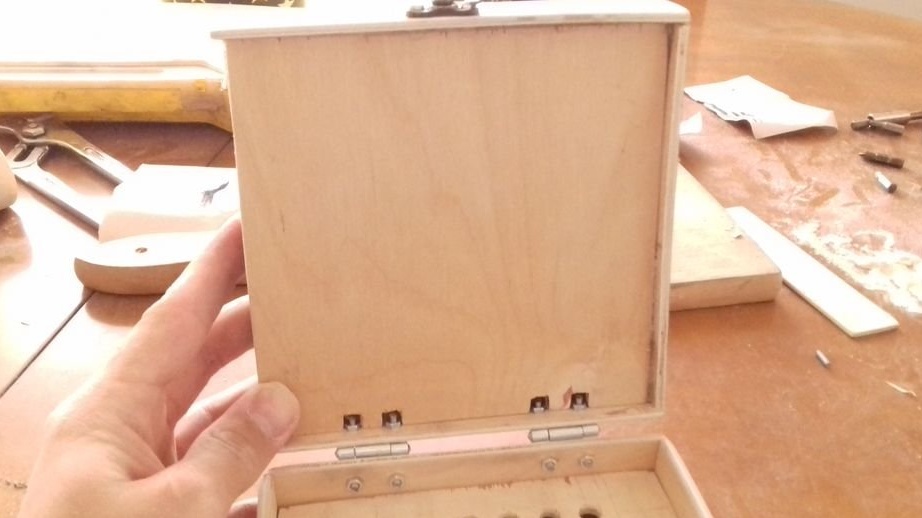
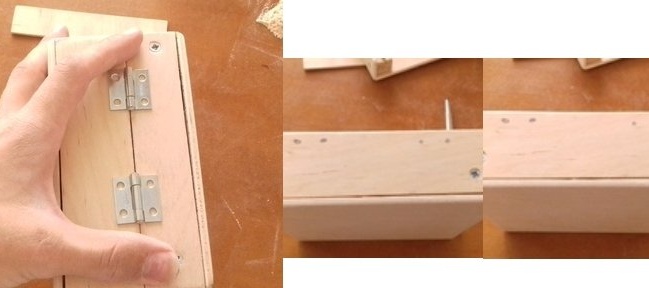
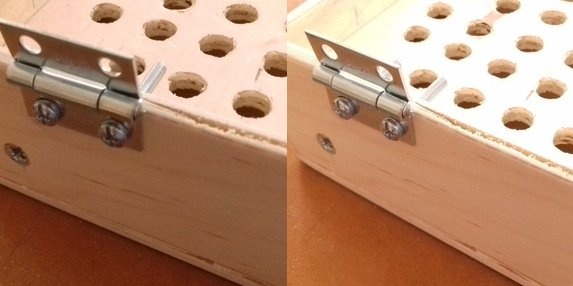
Hinges have a size of 3x3 cm.
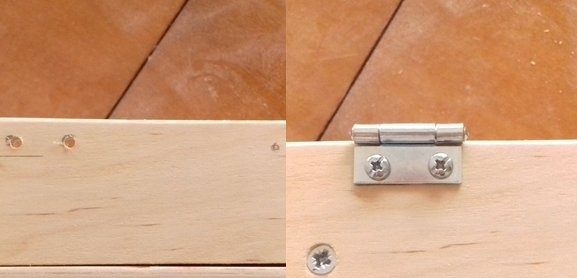
Align the upper and lower parts so that they coincide with the edges, relative to each other. Position the hinges where they should be and mark their holes. The holes must be in the same plane.
After drilling the marked points with a 3 mm drill, install the M3 screws and nuts to secure the loops in place.
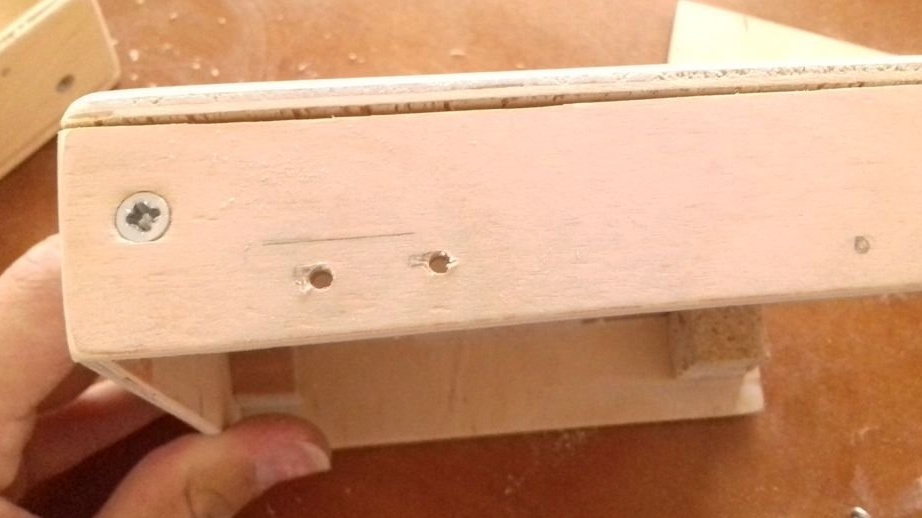
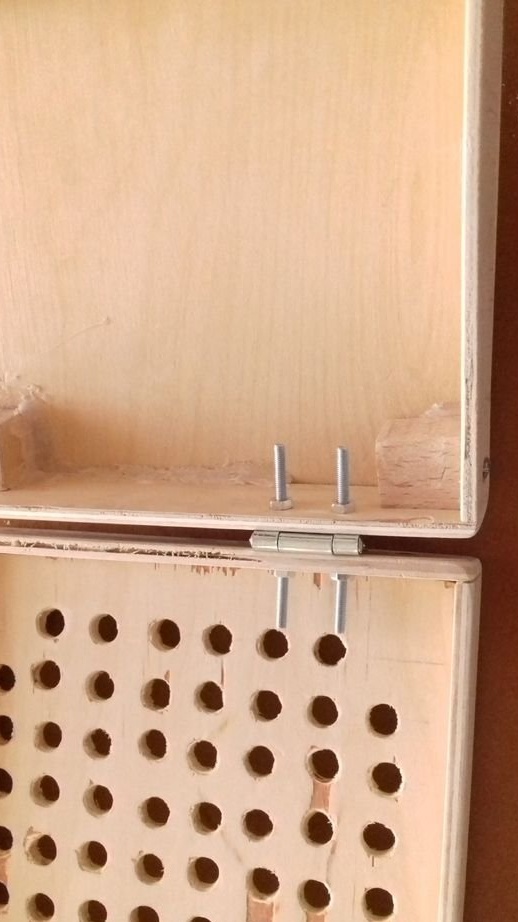
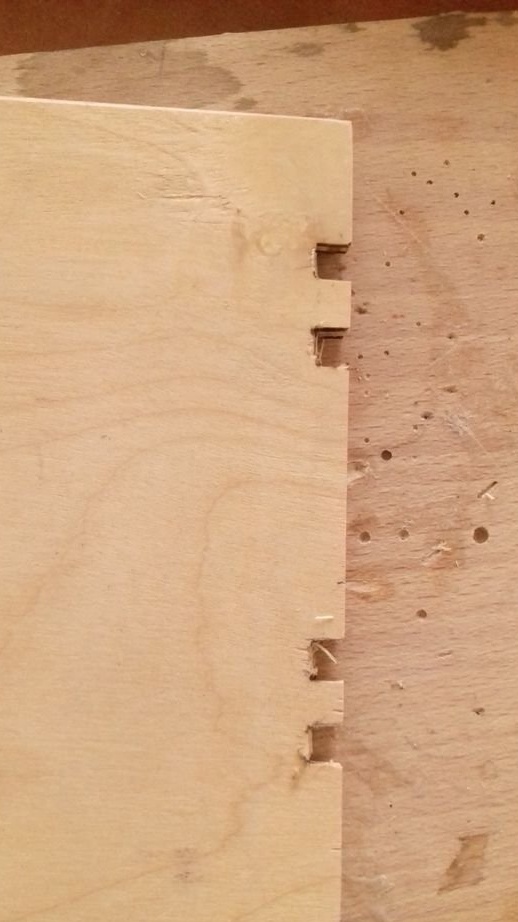
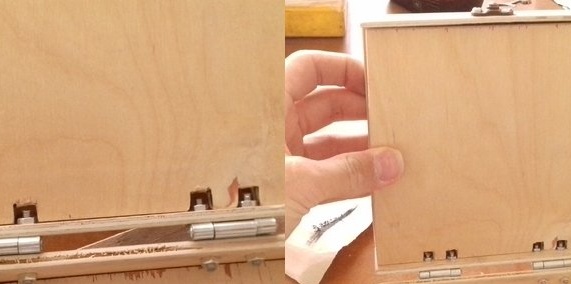
There is a small problem. The stand for bits rests on the screws. Thus, the next mini-step is to cut out the small grooves where the screws rest against the stand. An electric jigsaw was used to perform this operation.
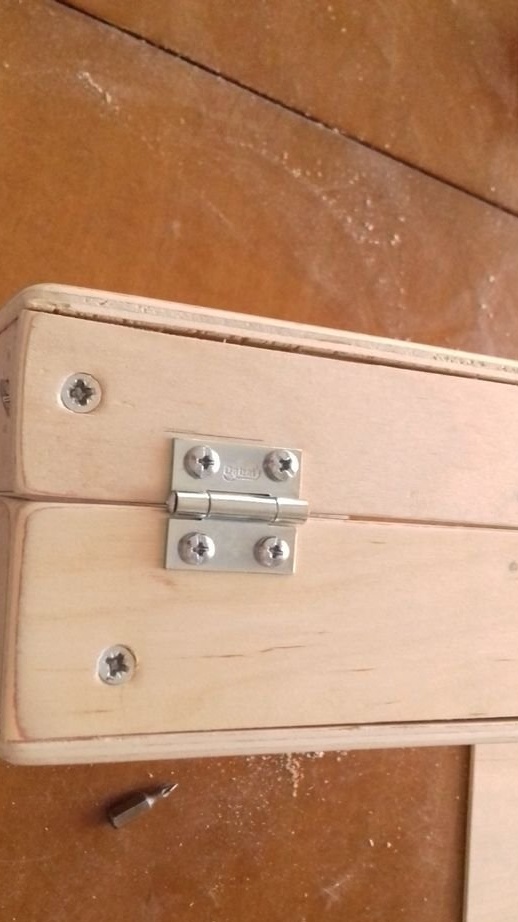
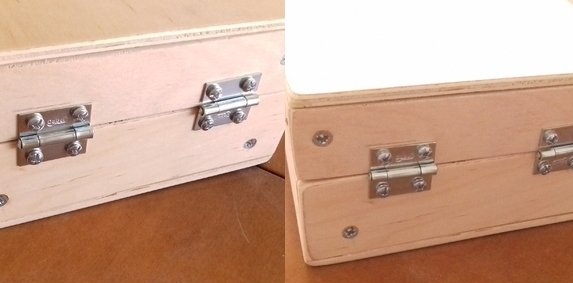
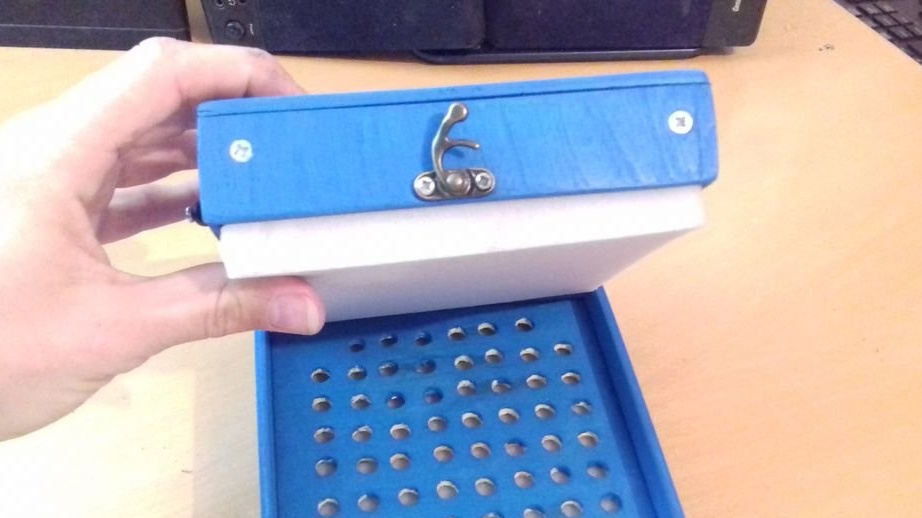
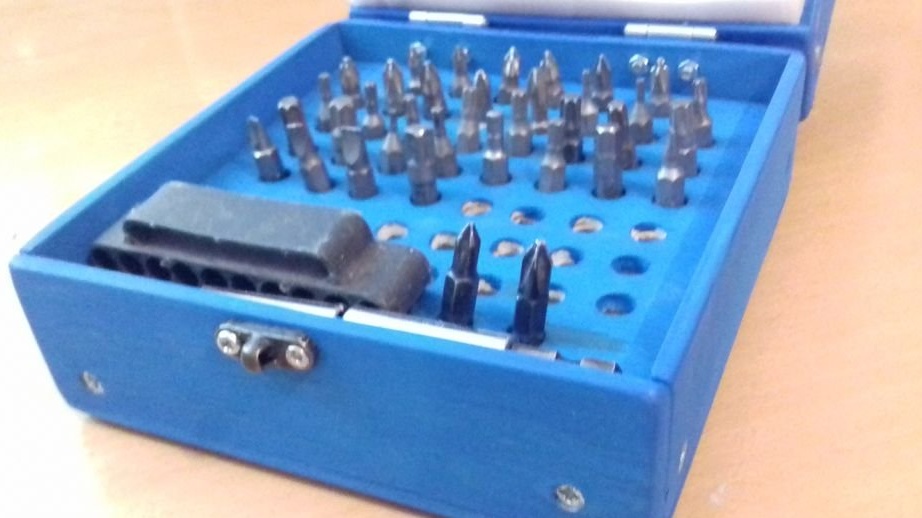
Step 6: Add Latch
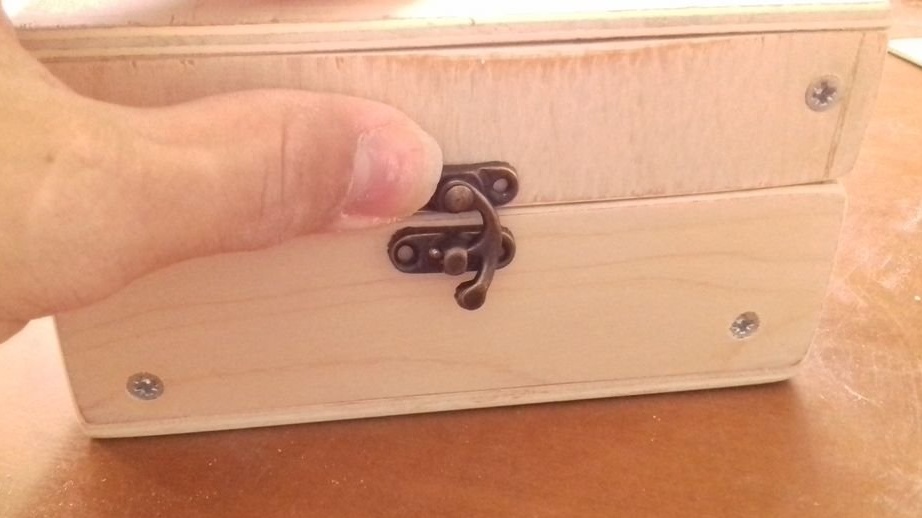

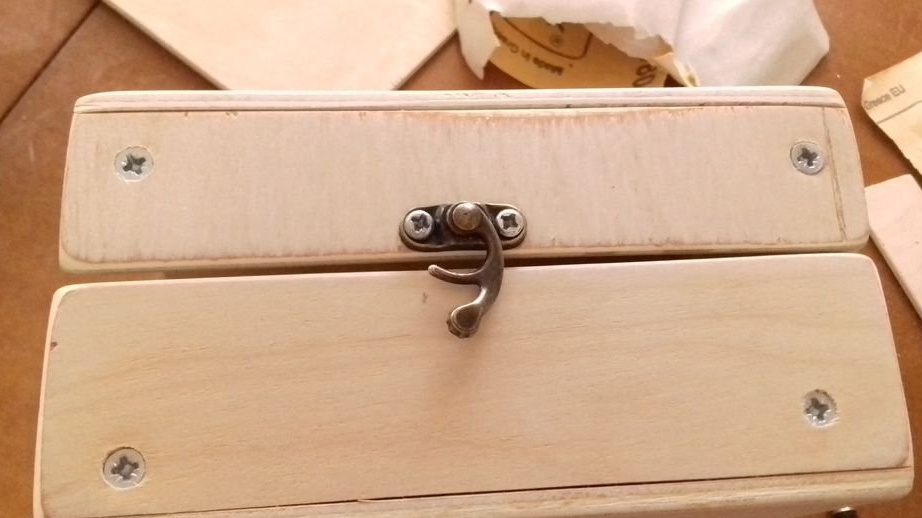
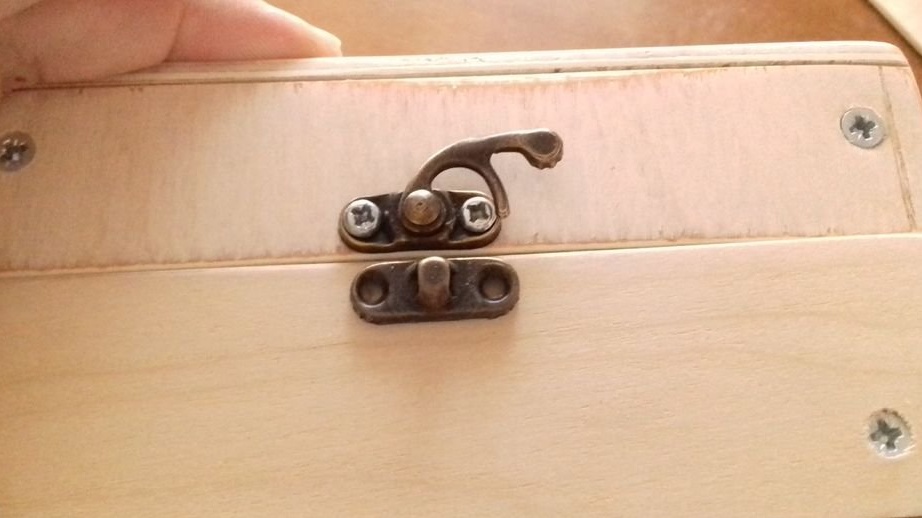
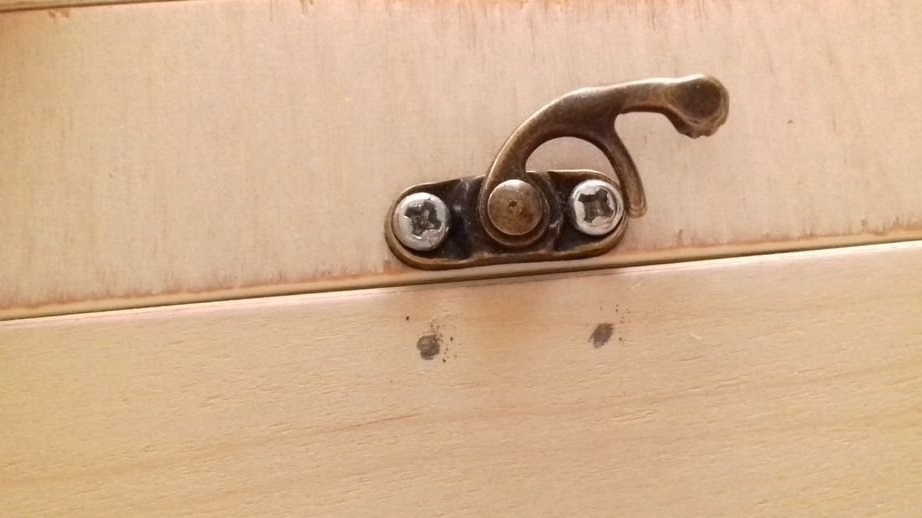
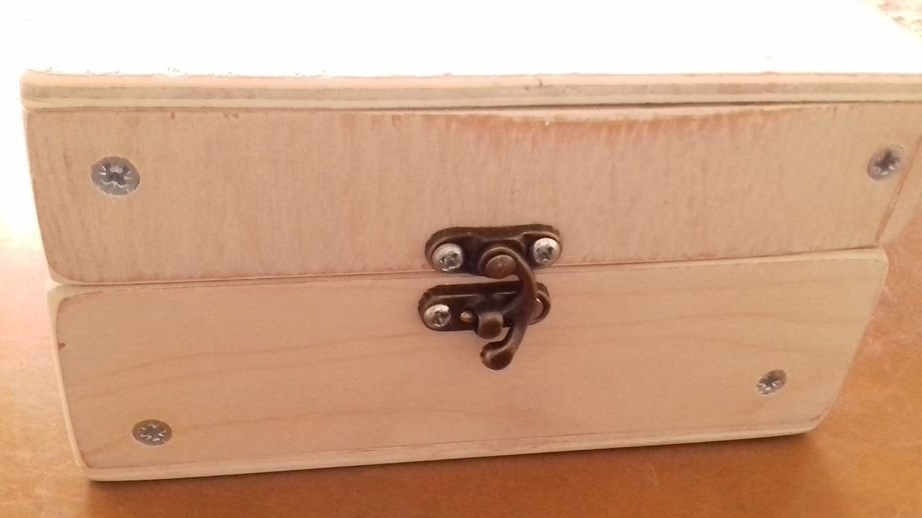
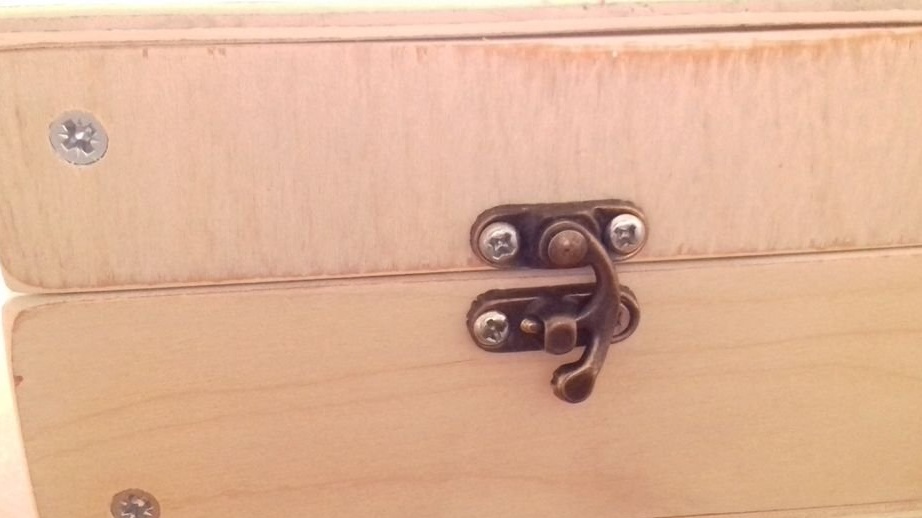
The mounting process of the latch is almost the same as the previous step with the hinges. Align all edges and mark the points of the holes, drill and tighten the screws.
It should be mentioned that there is a possibility that the screw head may get in the way of the latch. You just need to "grind" it or screw it in flush instead of a screw.
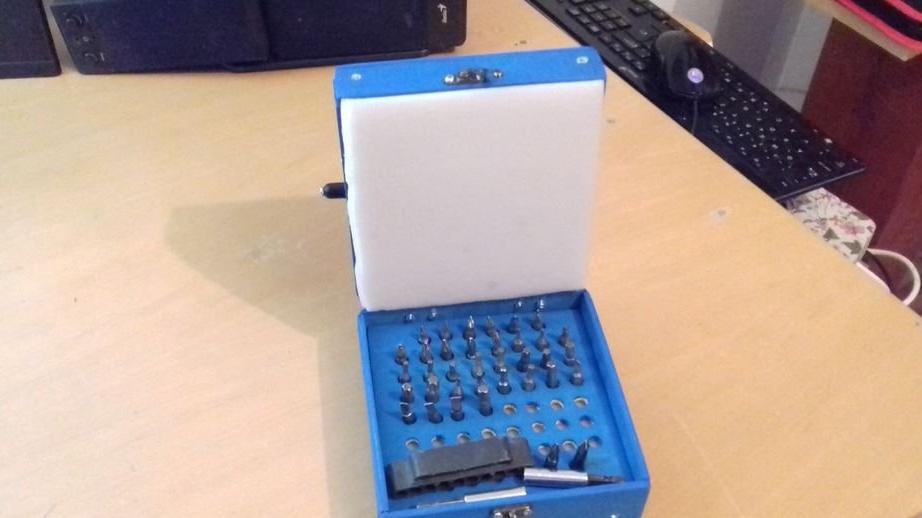
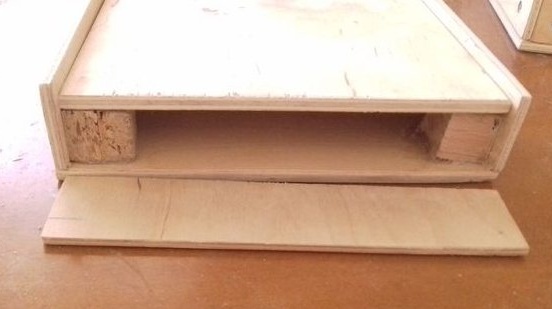
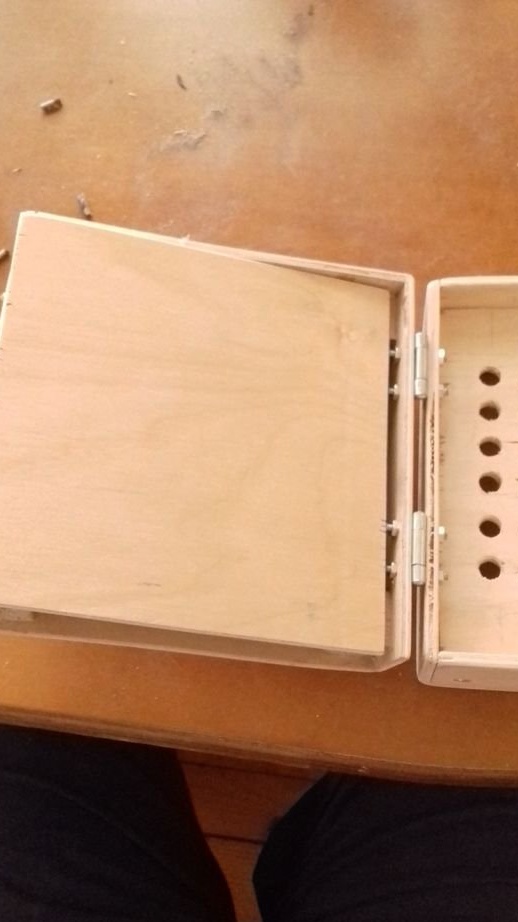
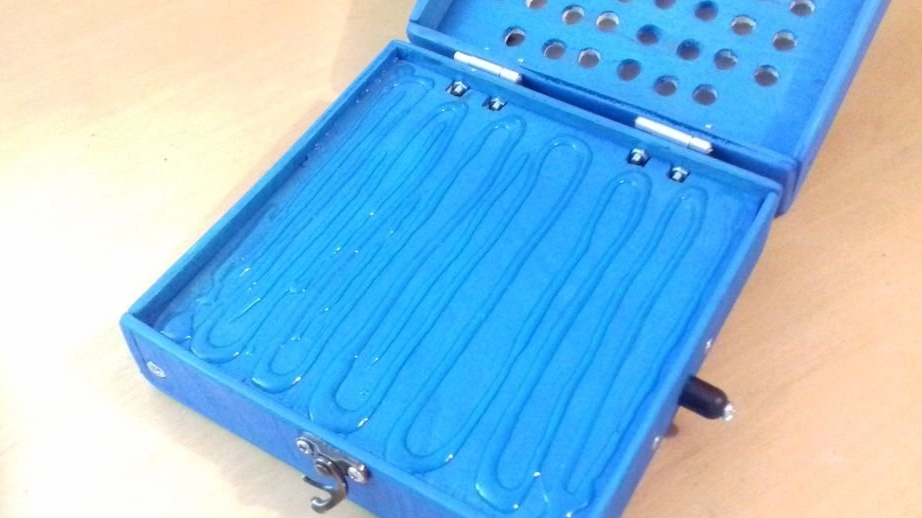
Step 7: Drill Box
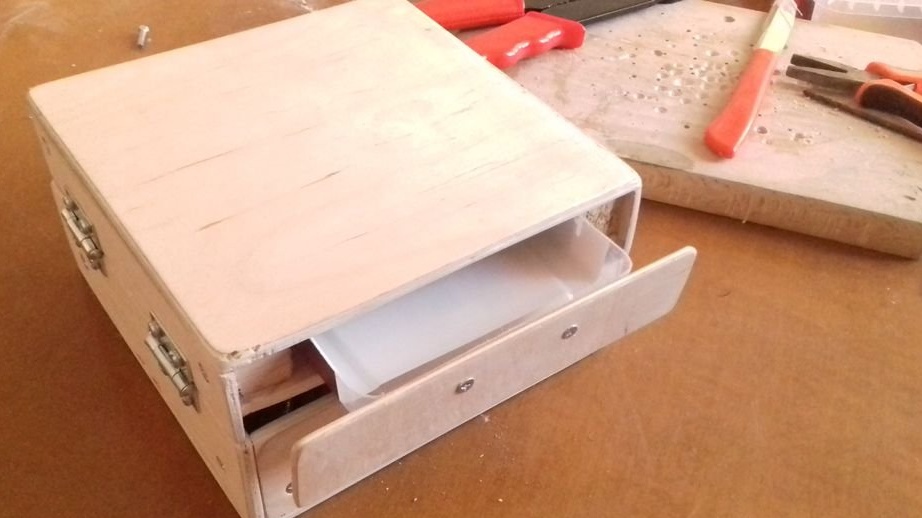
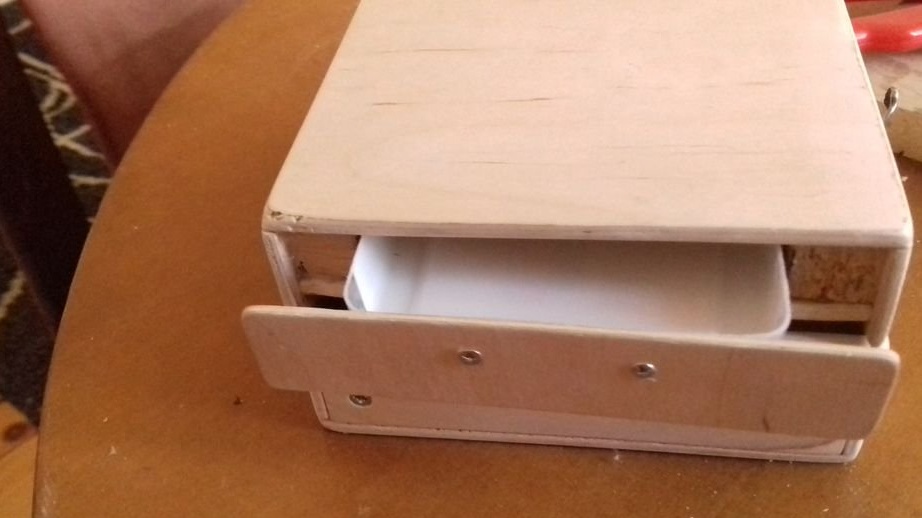
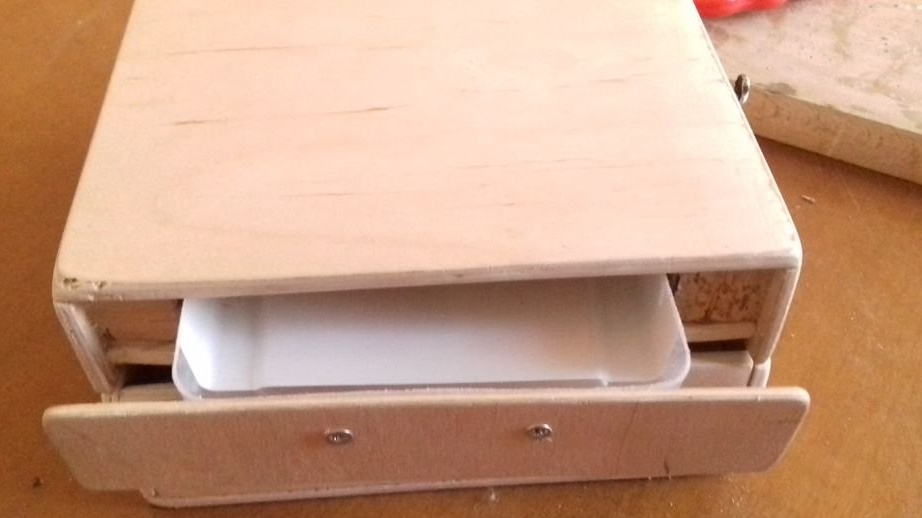
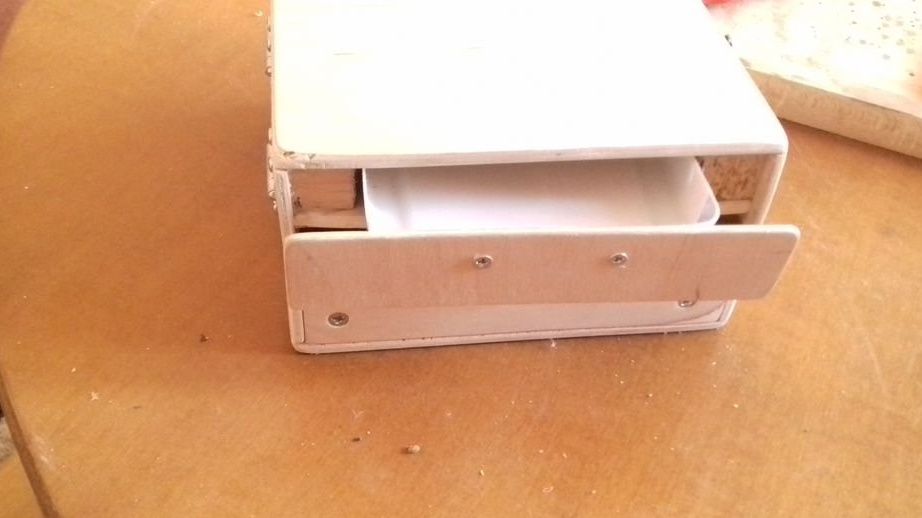
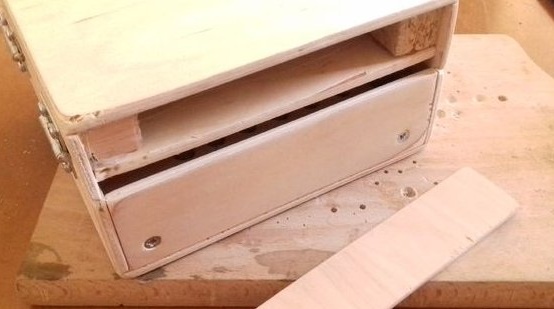

There is sufficient space in the lid of this box in which the drills will be stored.
The dimensions of the upper section are limited in size. They are 14x10 cm and less than 2 cm high. It remains to choose a box with similar requirements.
An old plastic ice cream box came to the rescue, which had to be trimmed slightly with a knife.
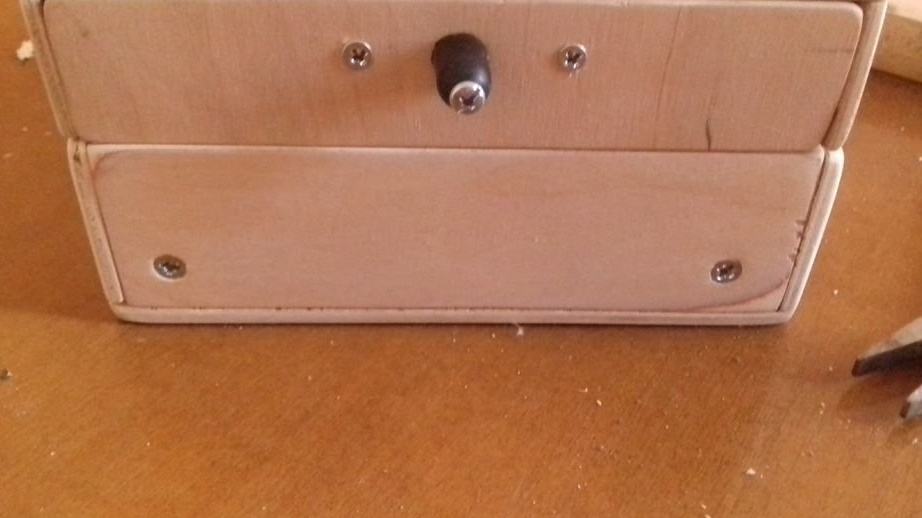
Then put the plastic box in its place and lean the front of the box. Then mark the holes for the M3 screws and nuts.
The handle for a box is made of a cap from a felt-tip pen.
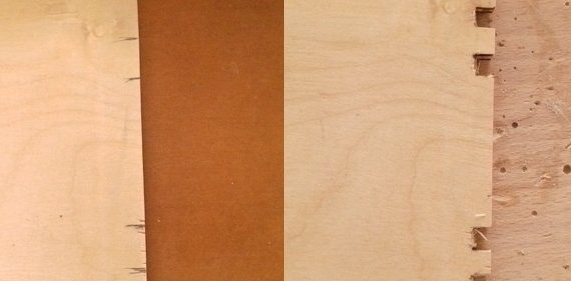
Step 8: Sanding and Painting
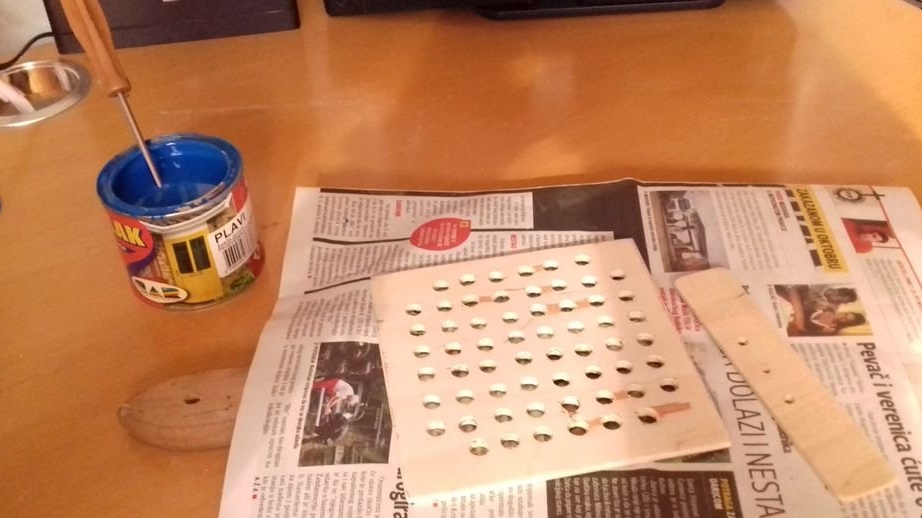
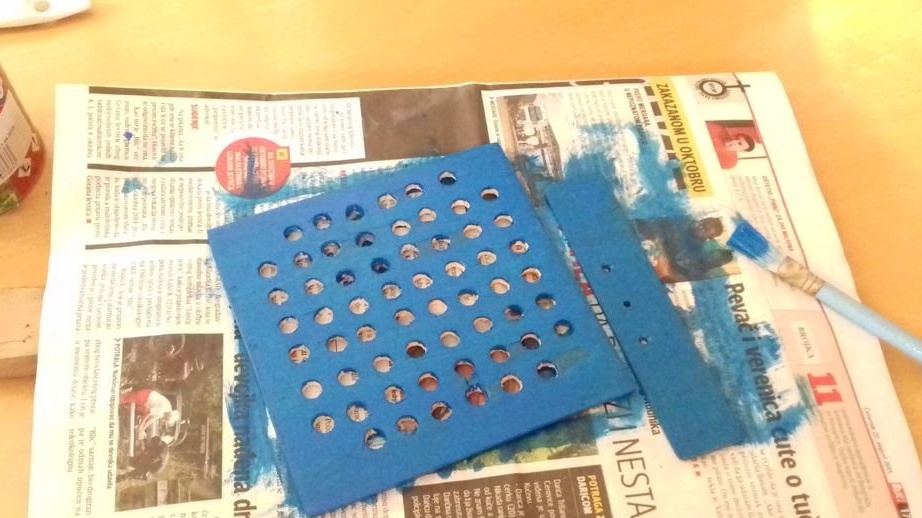
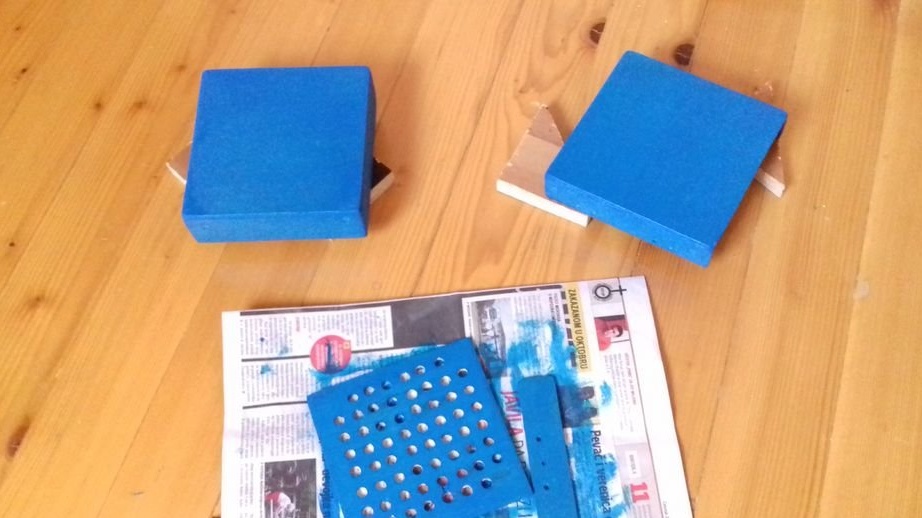
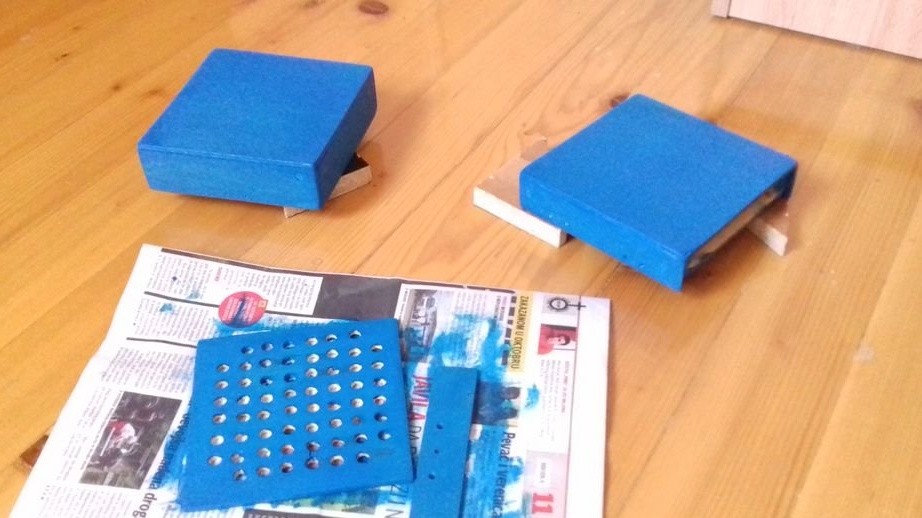
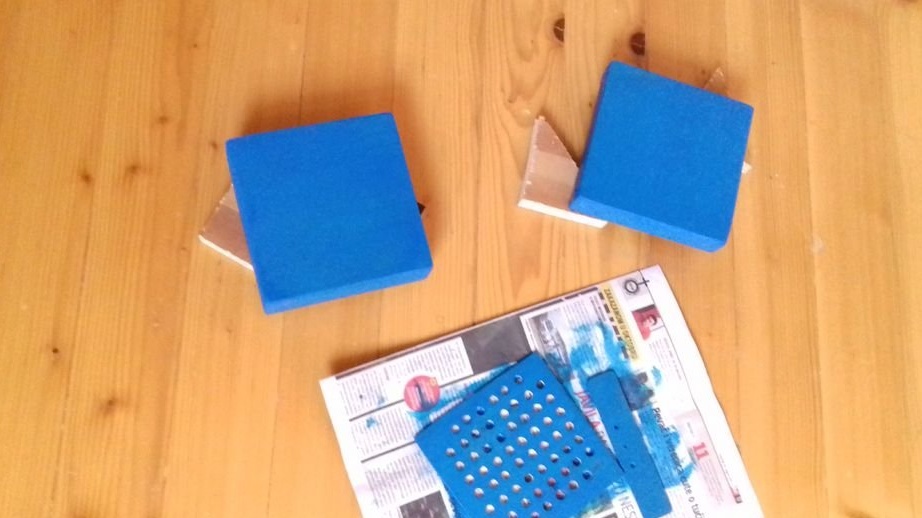
For grinding and painting, it is necessary to disassemble everything, grind it and, finally, paint it. In the grinding process, sandpaper was used, grit 180 and 240.
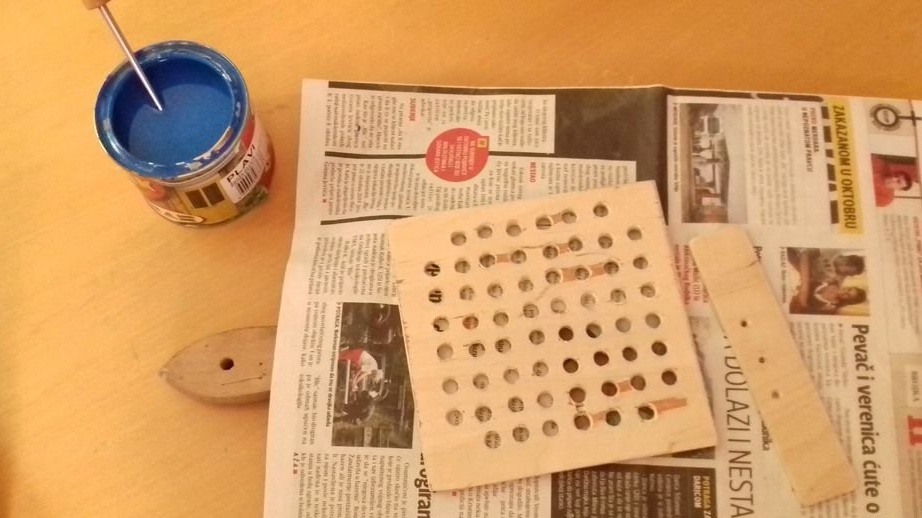
Then protect the screws and other parts with duct tape.
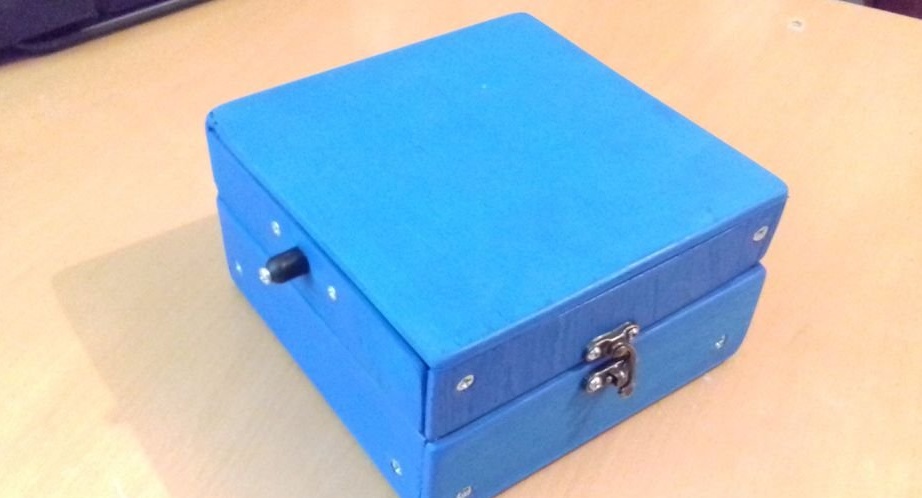
And at the end, paint the box in your color.
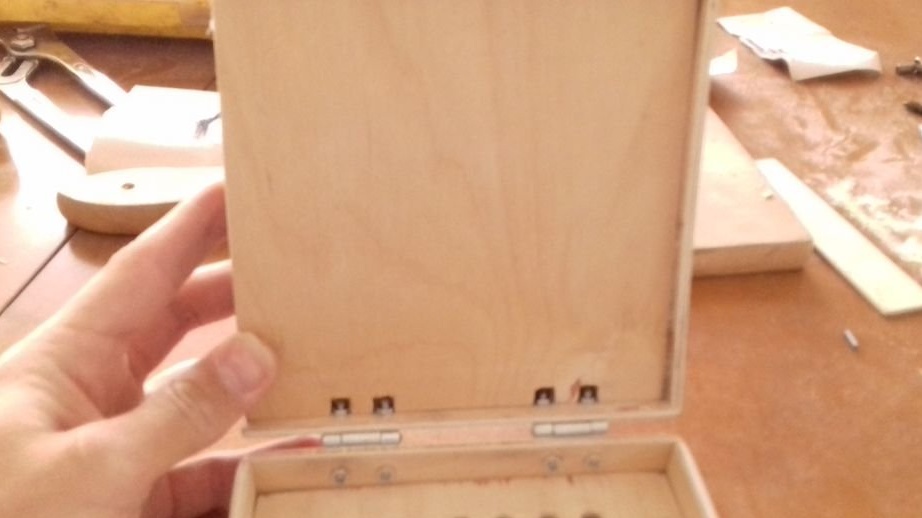
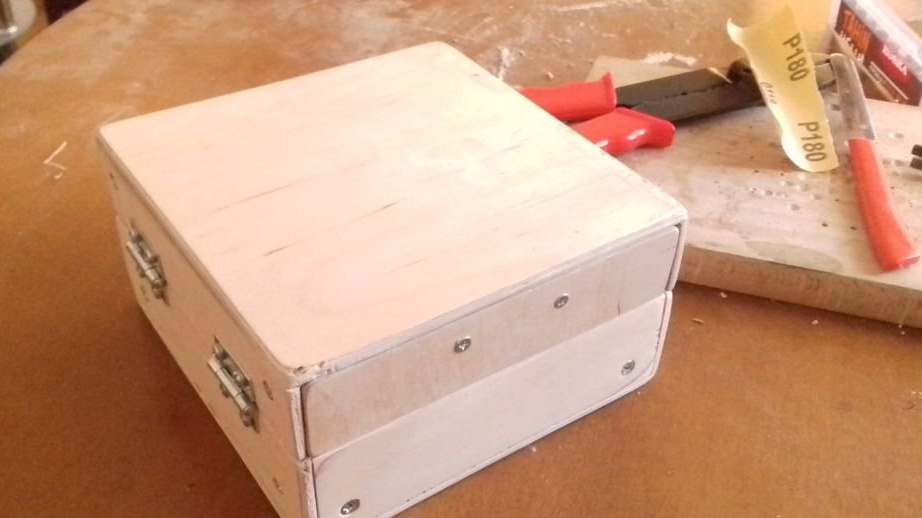
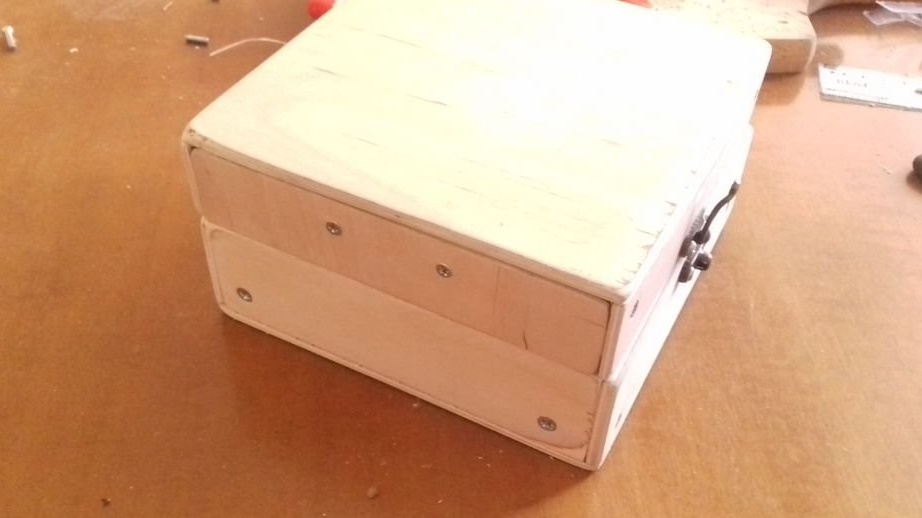
Step 9: Finish
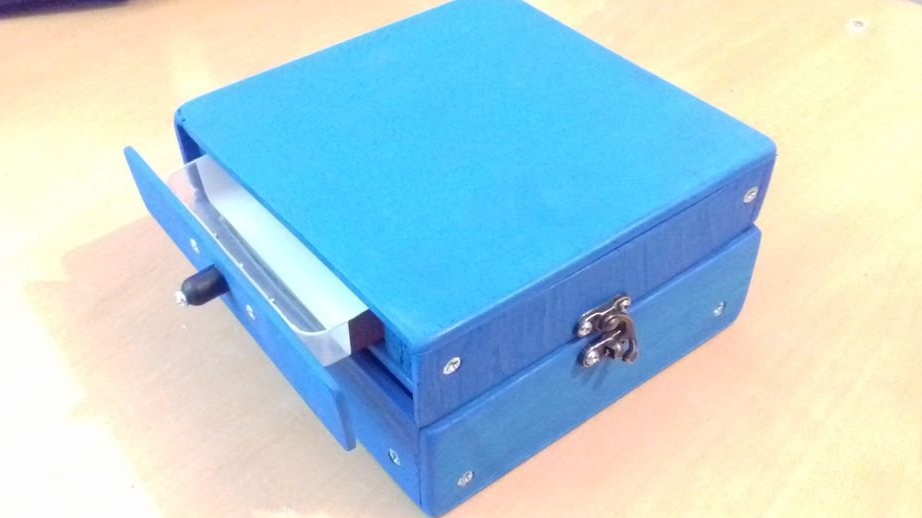
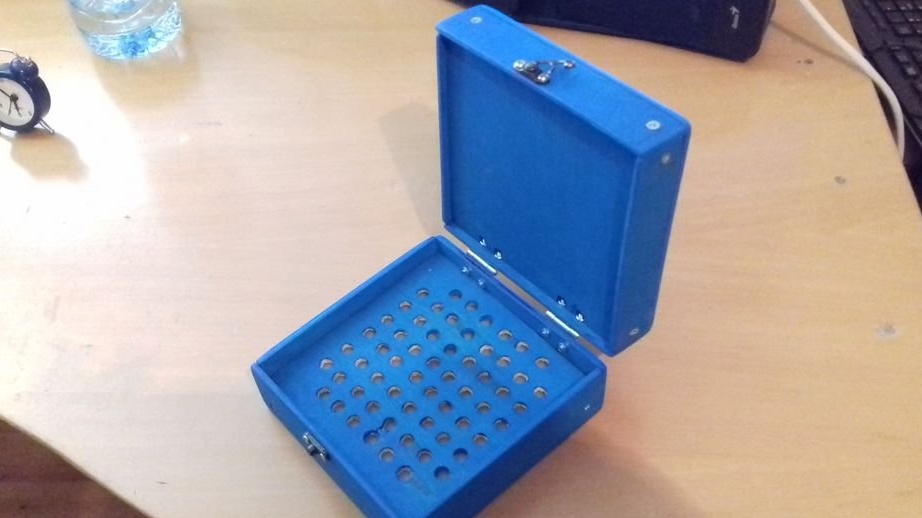
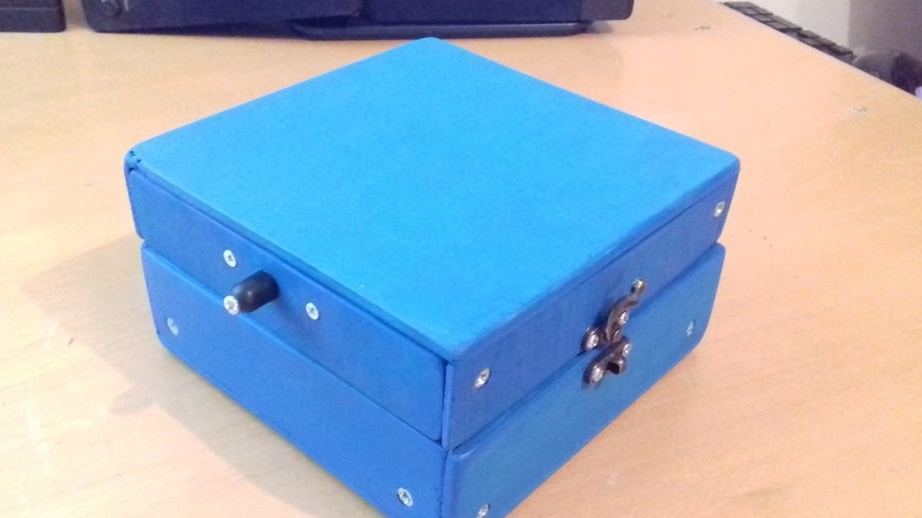


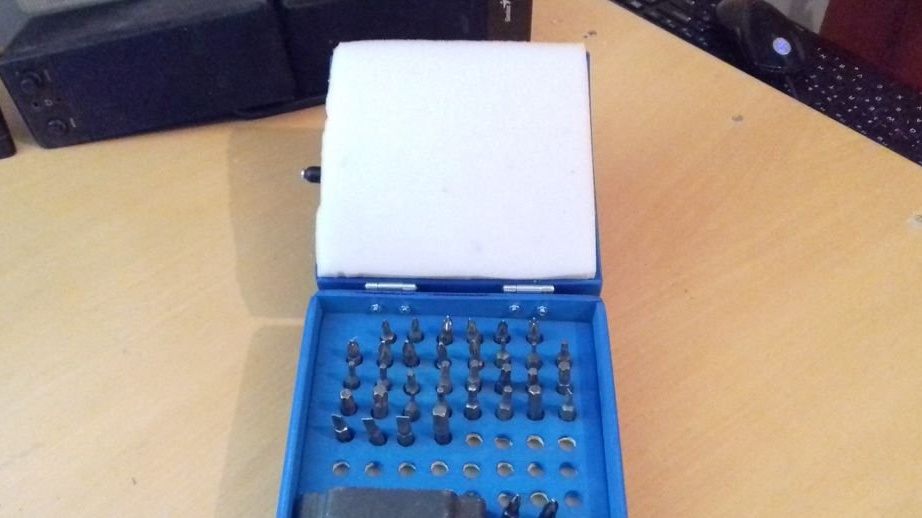

When the paint has dried, it is necessary to reassemble all parts of the box together, remove the adhesive tape, and finally add some felt pads.
A sponge has also been added to hold the bits in place.