

And again, good time to all. Today, the author of the Techno Cracy channel will tell and show how he made a tray from a bar. The complexity of this work, the master estimates above average. Indeed, in a good way, for the manufacture of such things, you need at least: a thicknesser and a sawing table with a circular saw, or a miter saw. But the author does not have these machines, and therefore he will do so with an improvised hand tool. The speed of work will certainly decrease noticeably, but such skills as ingenuity and the ability to work with different hand tools will show themselves well.
To do this, he needed the following materials:
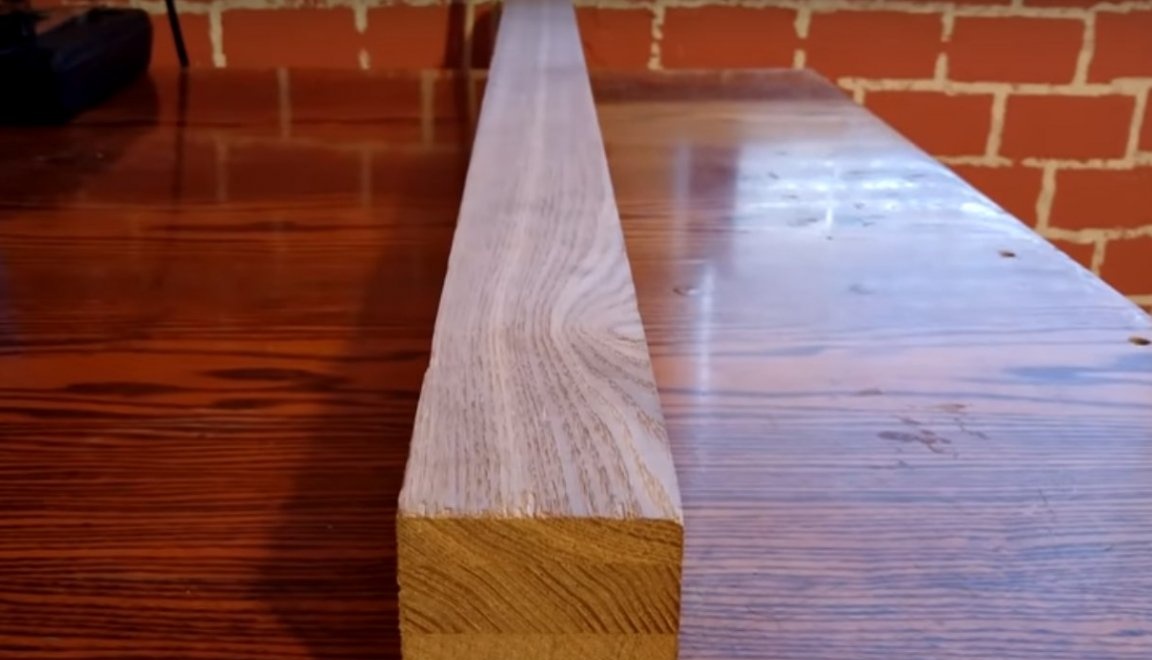
Ash beam
PVA wood glue

Linseed oil

Instruments:
Household hair dryer
Precision miter box
Clamps
Calipers
Belt sander
Flat grinding machine
Sandpaper
Milling cutter
Milling cutters
File
Plane
Ruler
Simple pencil
Jigsaw
Paint brush.
The rags are cotton. That, perhaps, is all that is needed. To begin with, the author will set the miter box on a workbench.
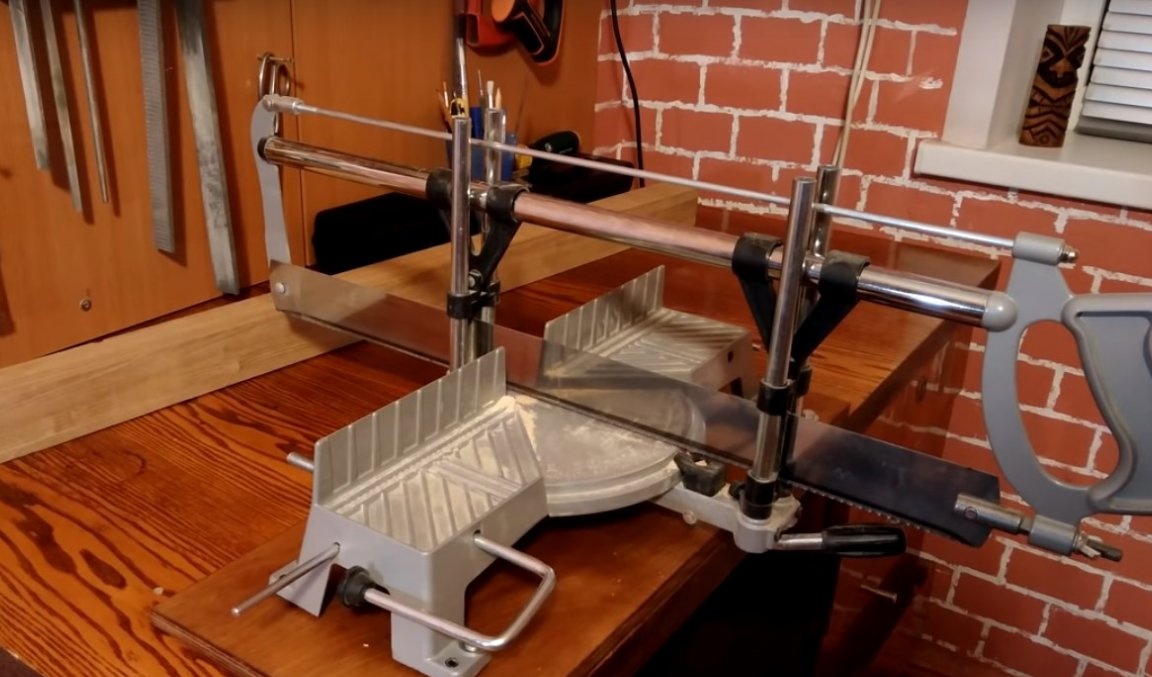
After fasten to it, not a large piece of the bar with a clamp. This will be a limiter, so that it is possible to cut the beam into blanks of the same size, without resorting to measurements every time.
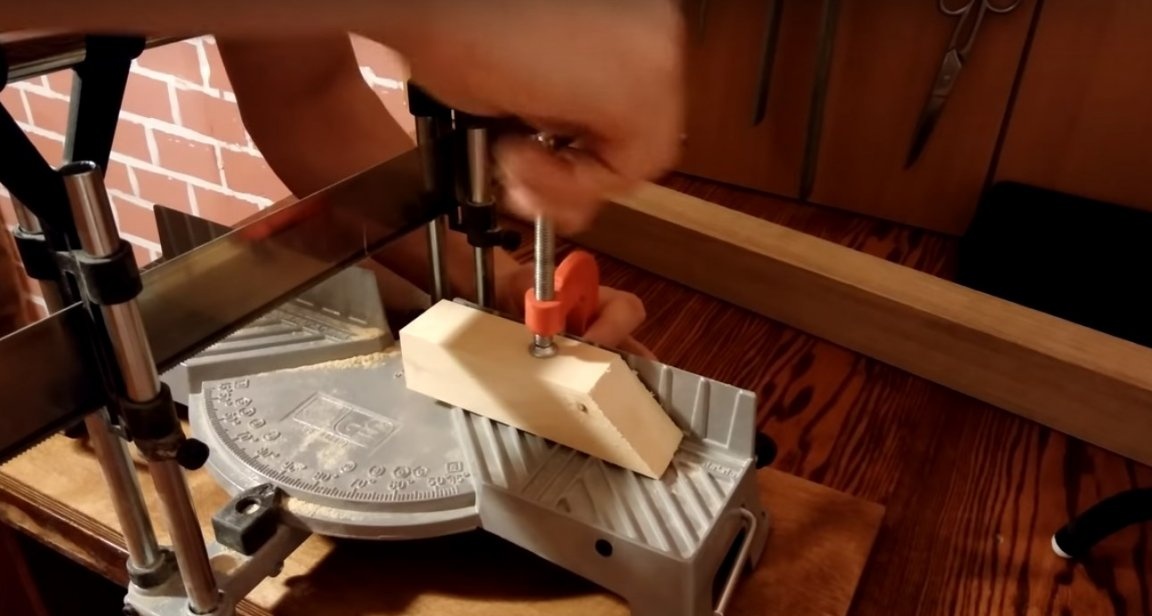
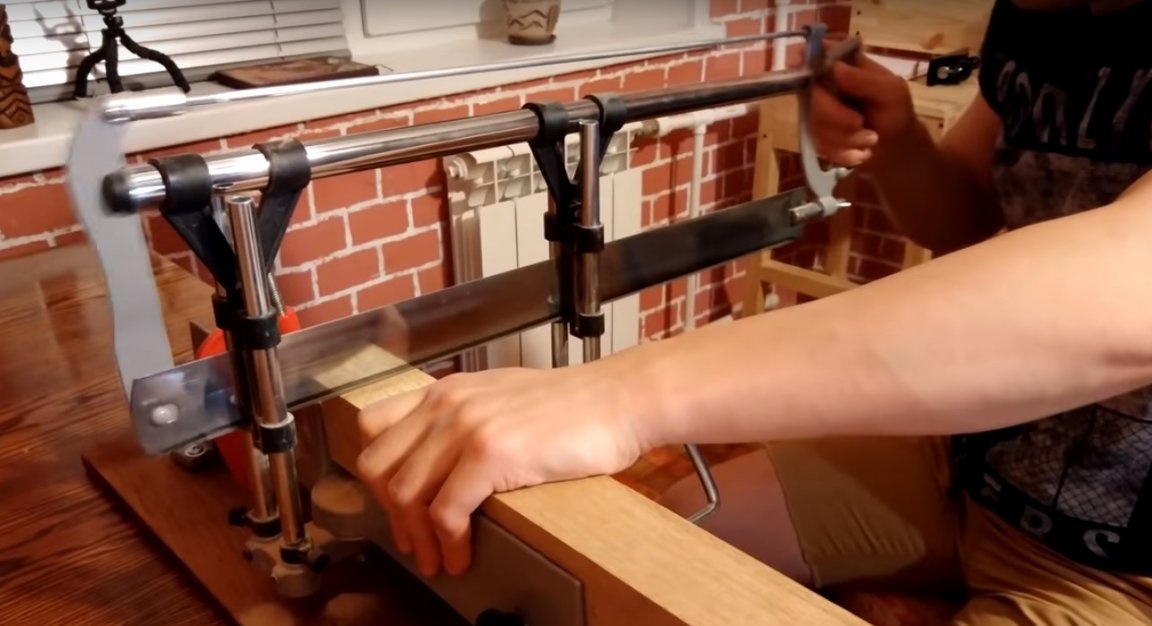
Further, the ash timber was fixed.
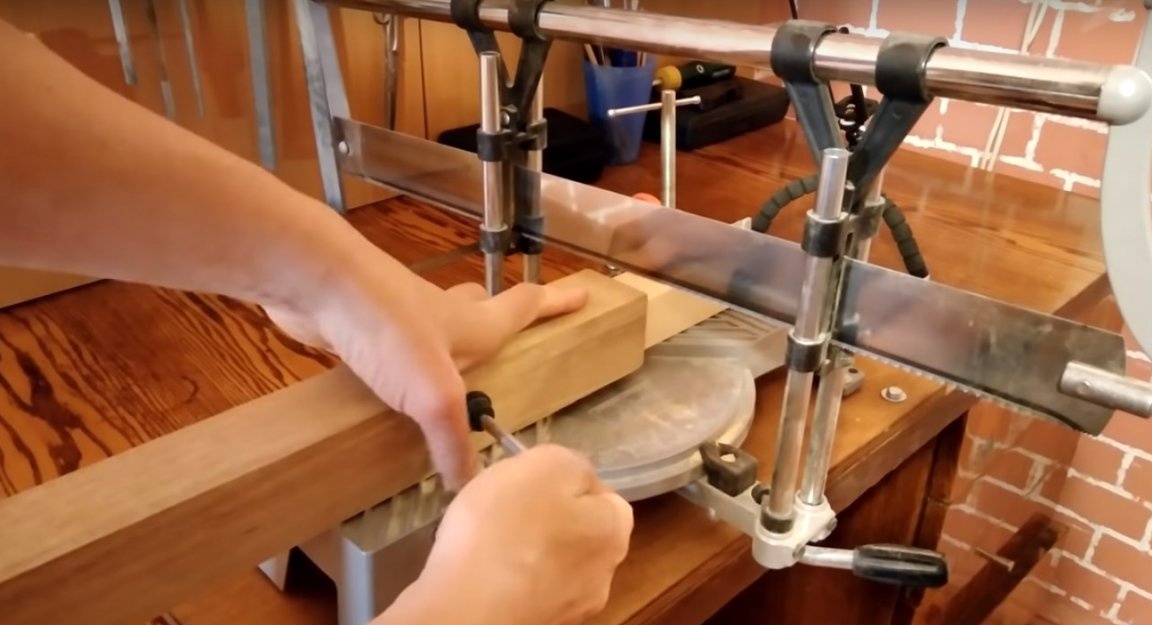
And he proceeded to sawing the timber into billets 20 mm thick.
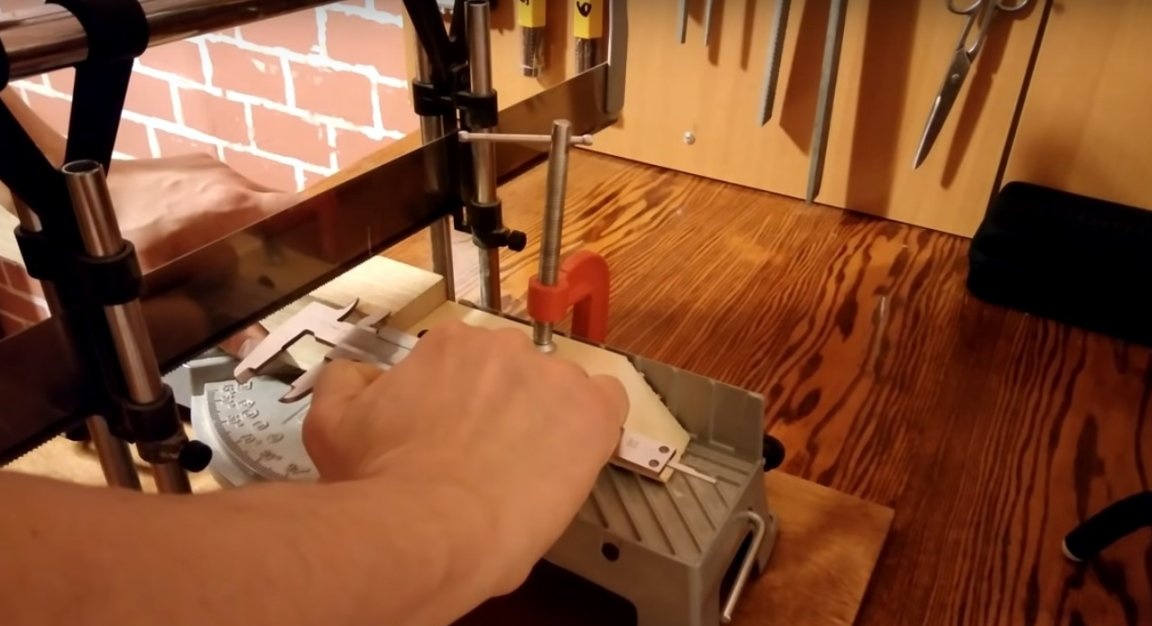
This tool does not give a clear right angle. The difference in the workpiece of 50 mm to 50 mm is about 1 mm. This, of course, is not critical, but a file revision is required.
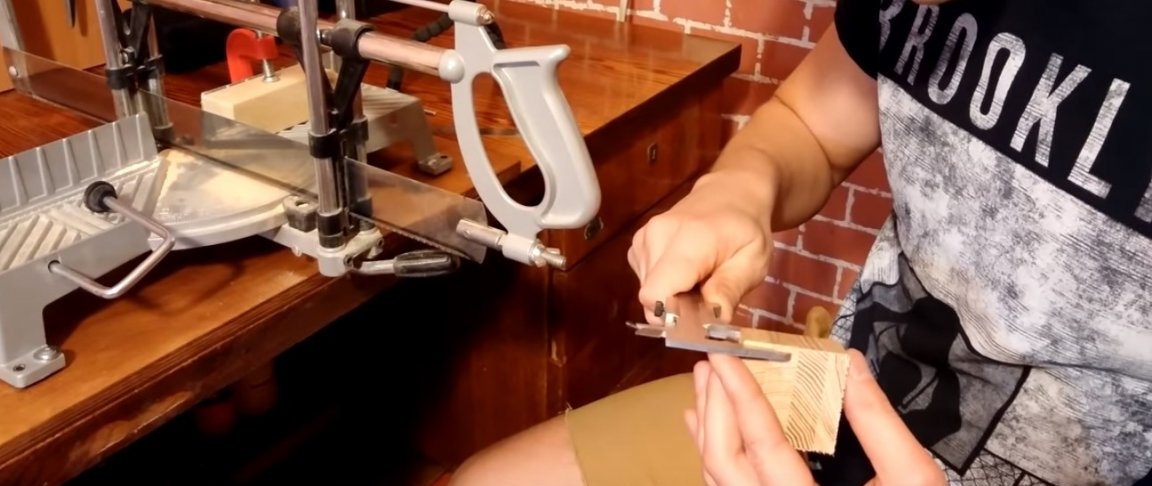
The author obtained 35 pieces of such blanks. each slightly thicker than 20 mm.
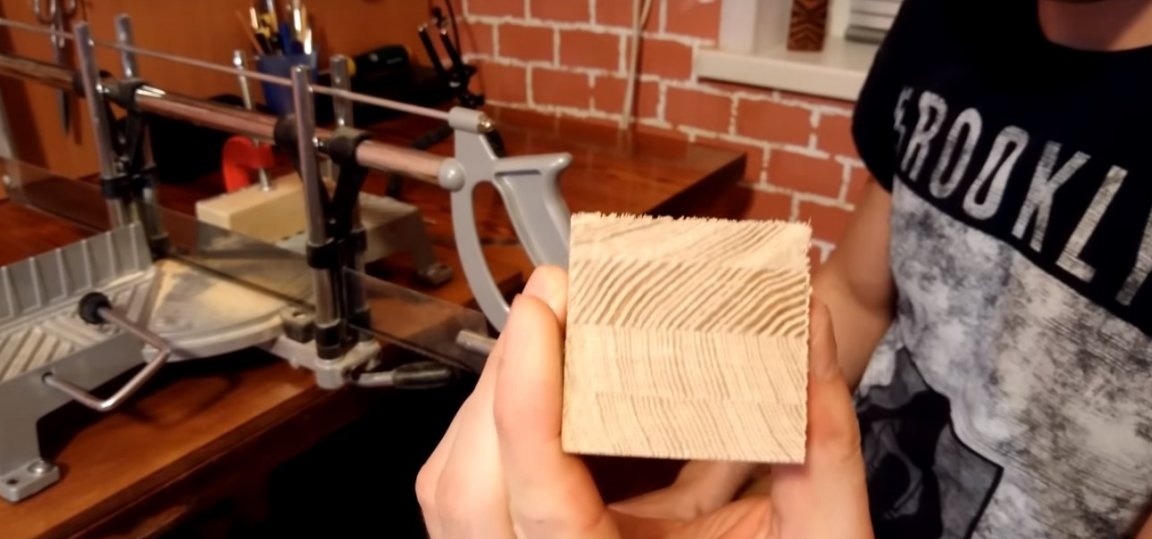
After finishing with a file, the master removed the roughness on all the blanks with sandpaper.

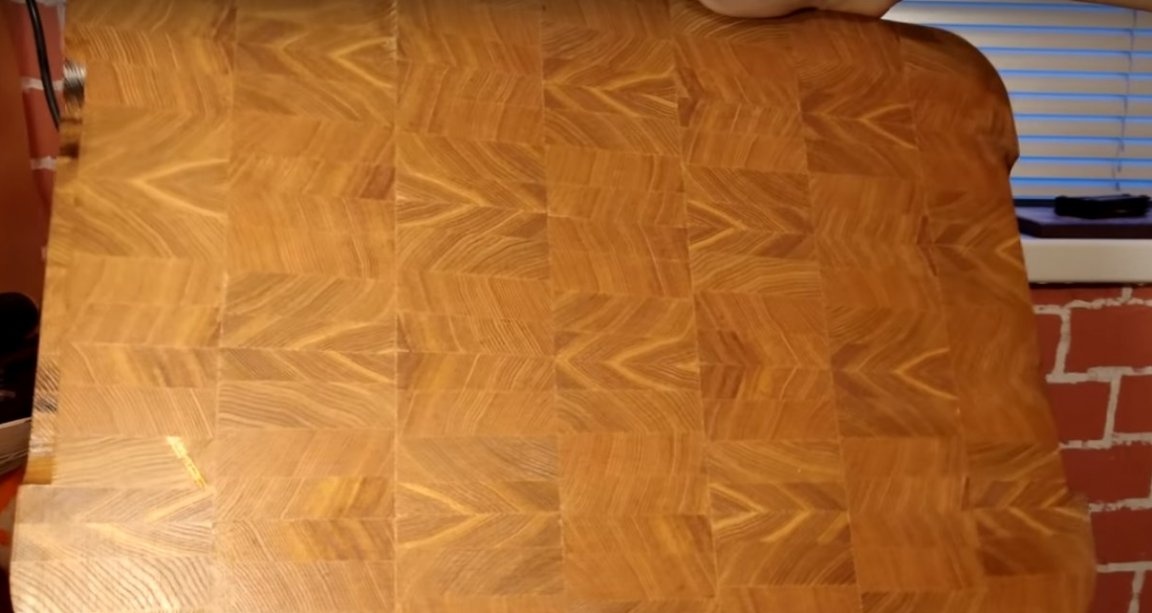
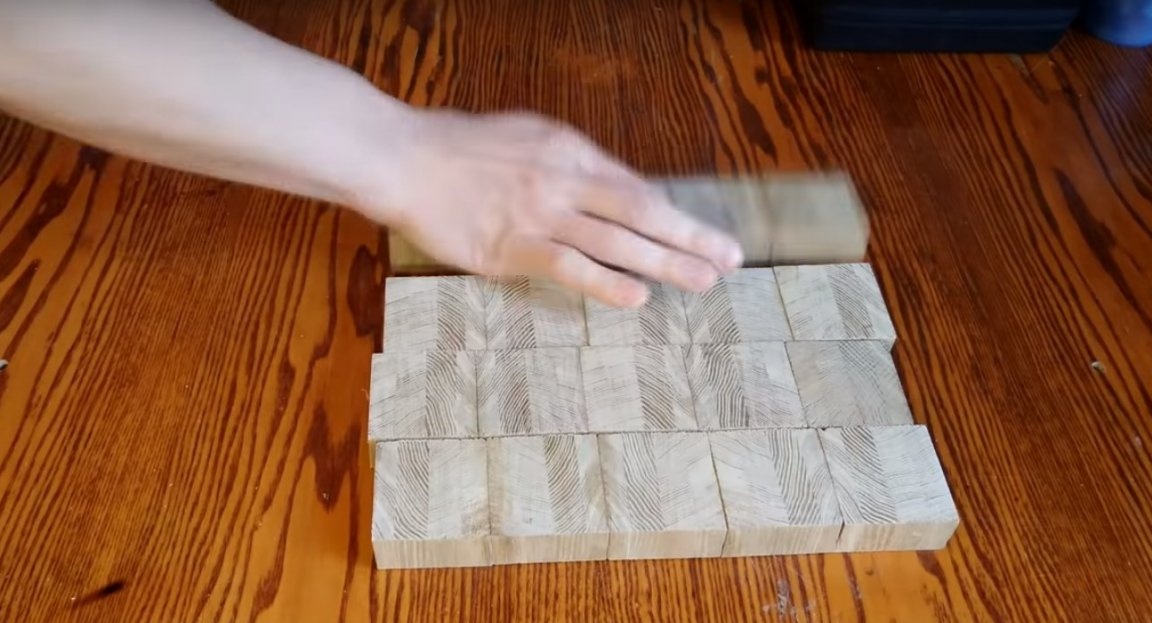
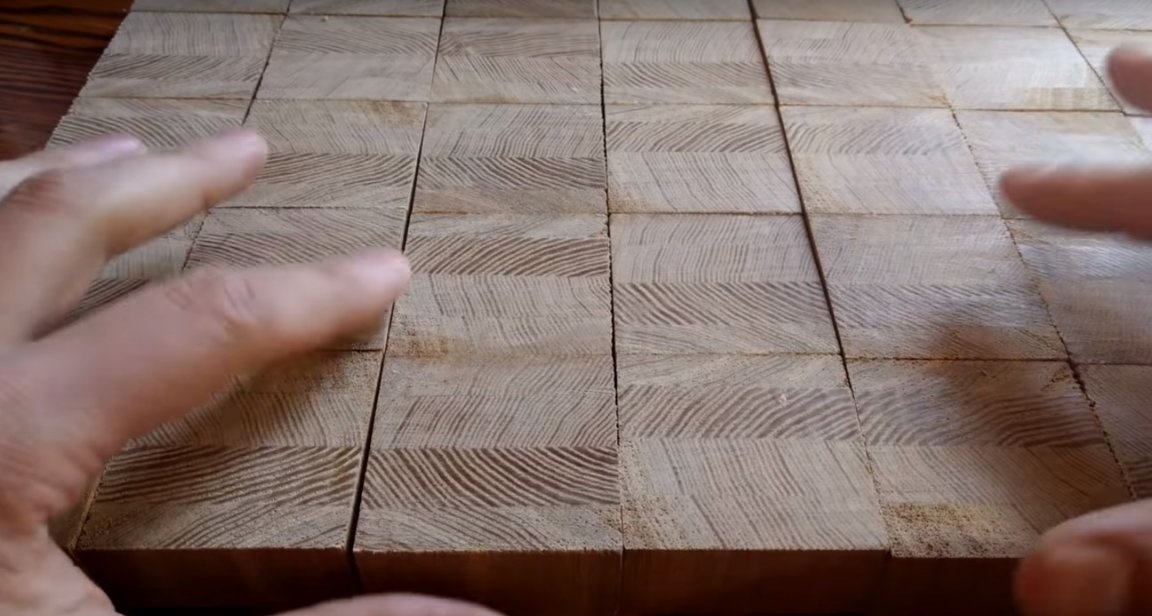
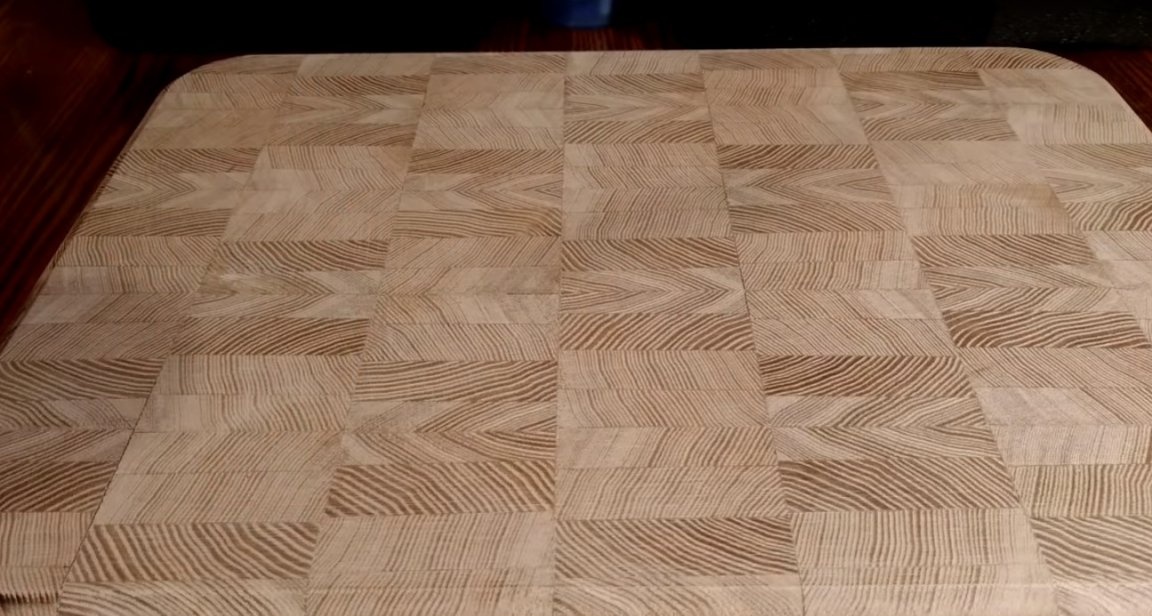
Then the author laid the blanks on a flat surface and docked them, firstly: in a shape that, by the way, the master turned out to be far from, not perfectly smooth, and secondly in texture to make it beautiful.
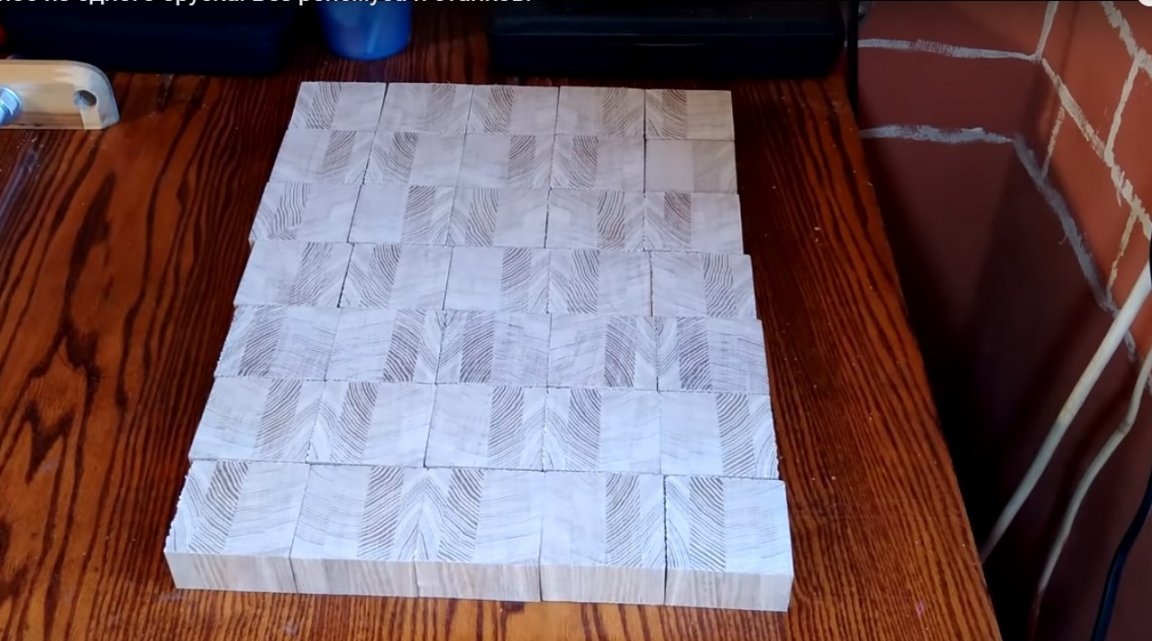
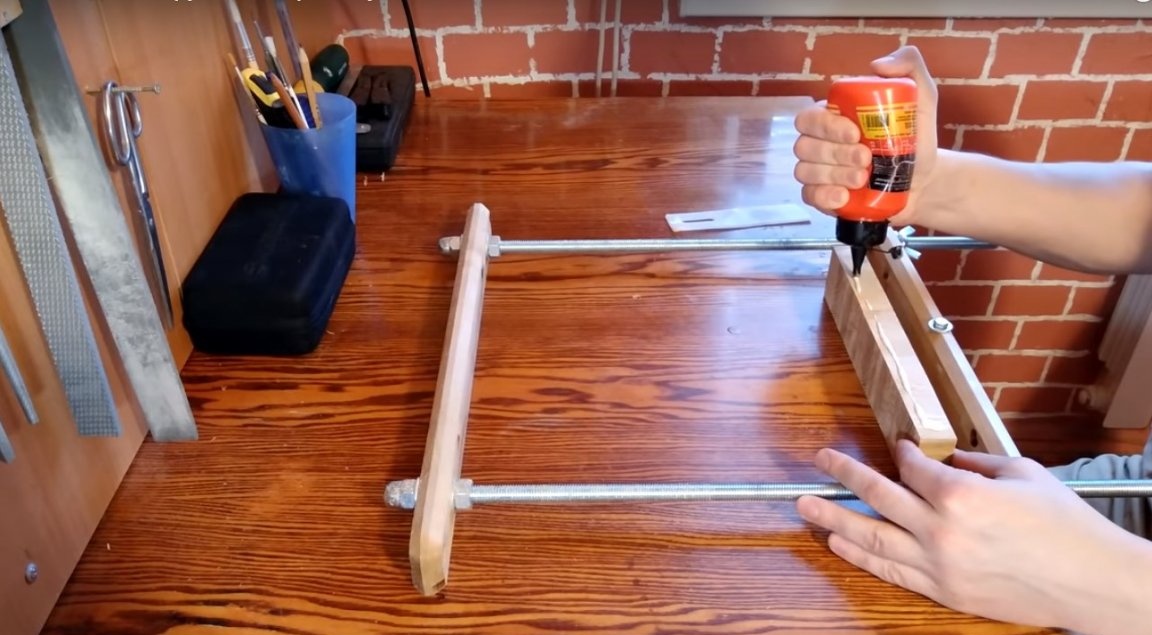
The author produces gluing in two stages, first glues strips of five blanks in length.
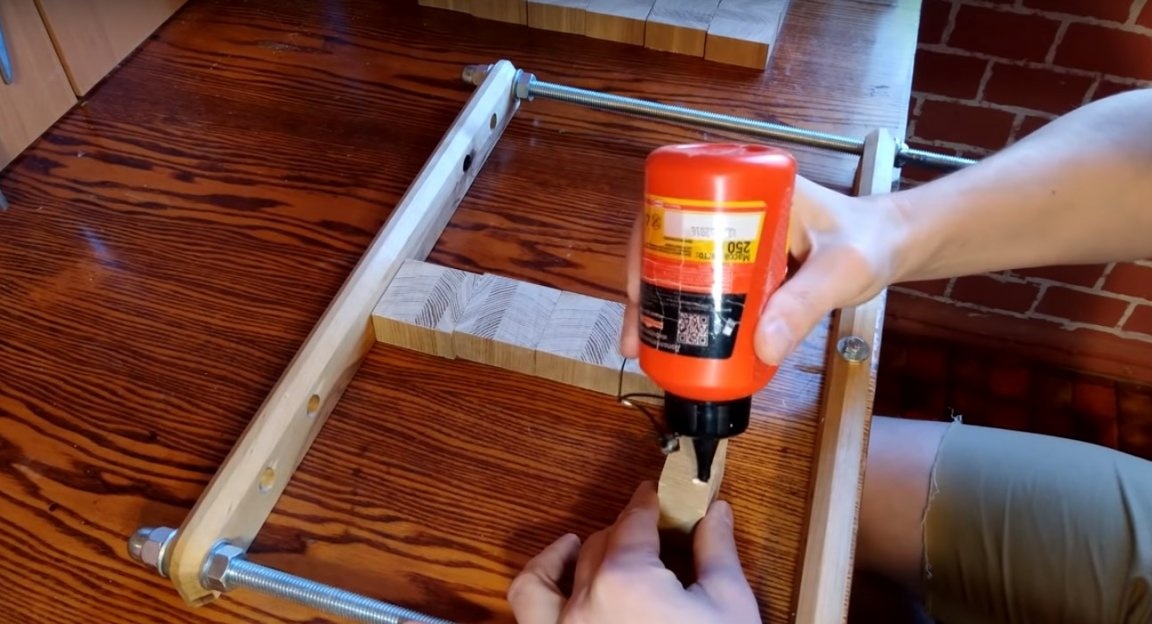

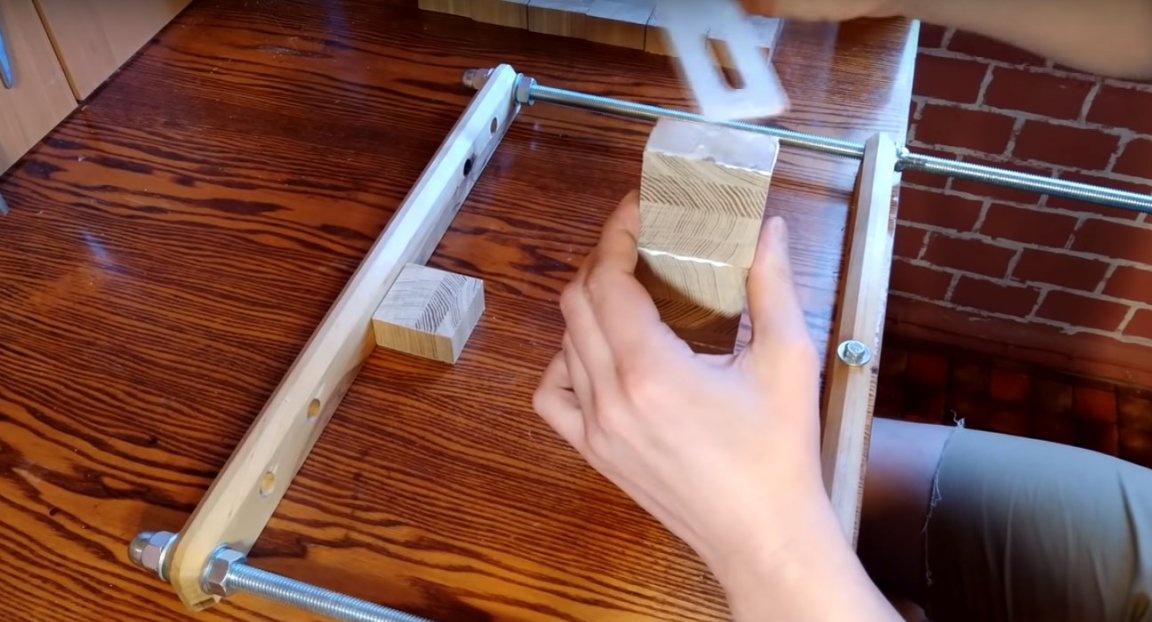
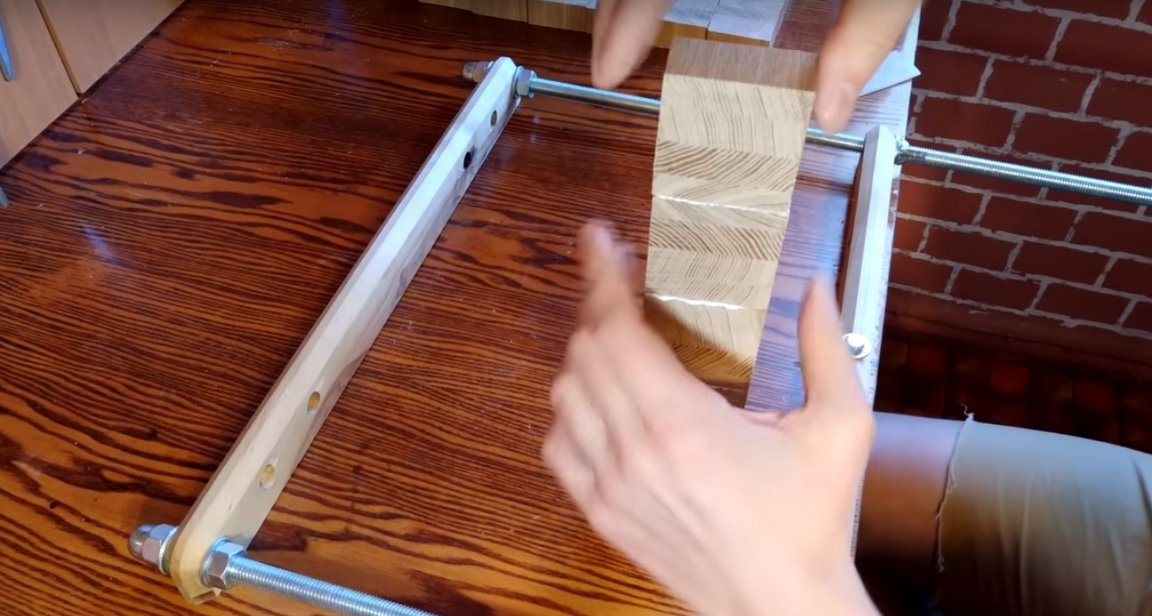
After it clamps the glued strips into the clamp. The drying time of the glue, the author recommends at least a few hours, and even better to leave it all night.
The glue has dried and the author proceeds to the next step.
And this is the alignment of the side faces of the resulting parts, the author will remove all the cracks and unevenness with the help of a planer. Clamping the part in the clamp.
Sandpaper is not suitable for this, it will simply fill up the edges, and the details will be damaged. The author tried to do this with both belt and flat grinders. In both cases, the results were not very good.

The author controls the result using a regular ruler.
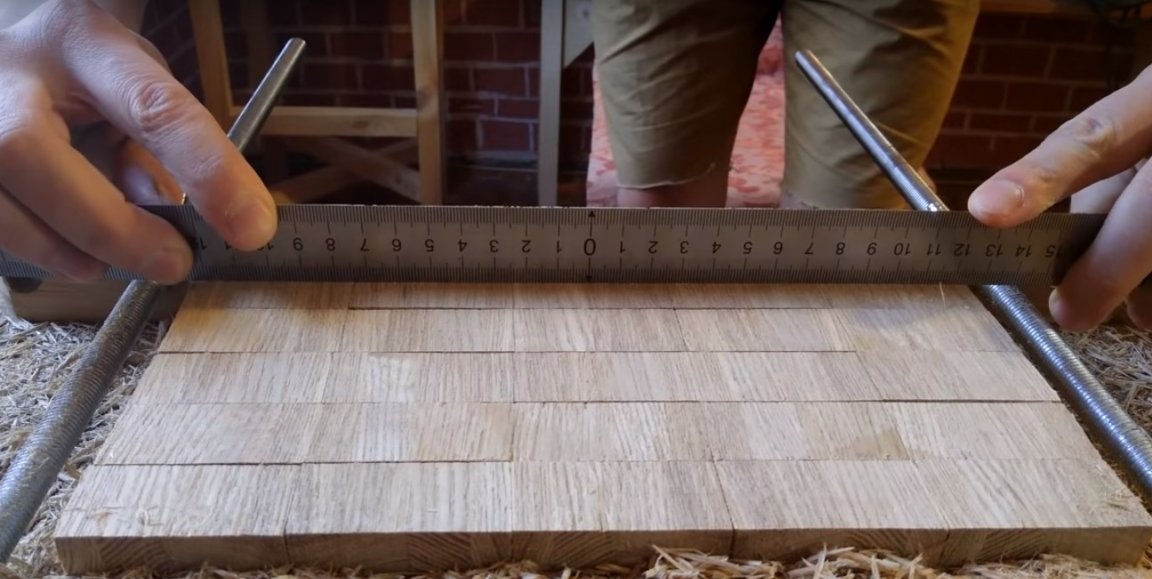
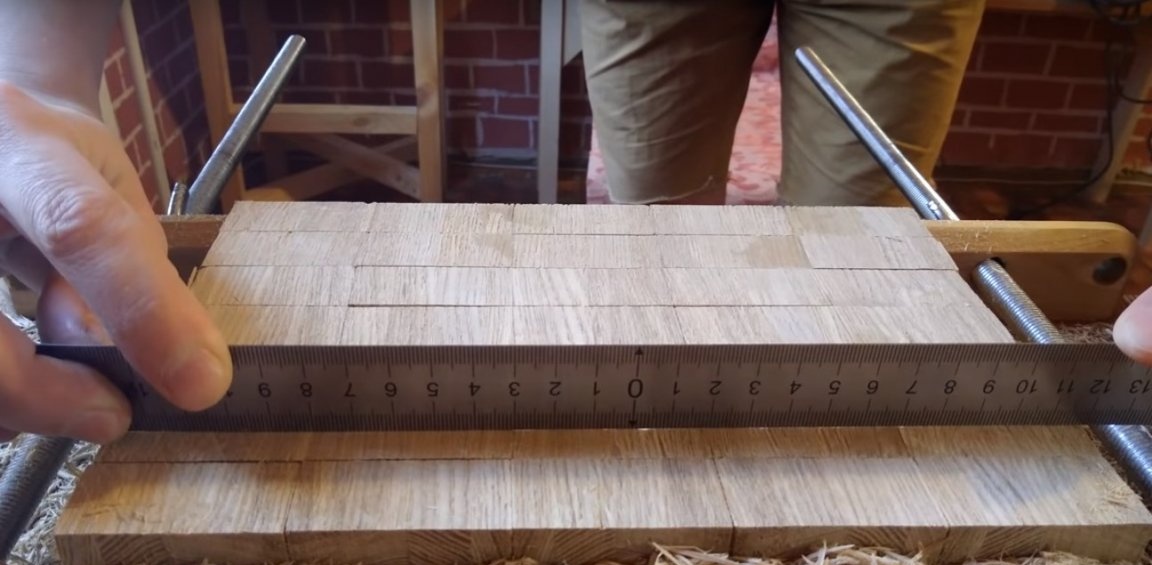
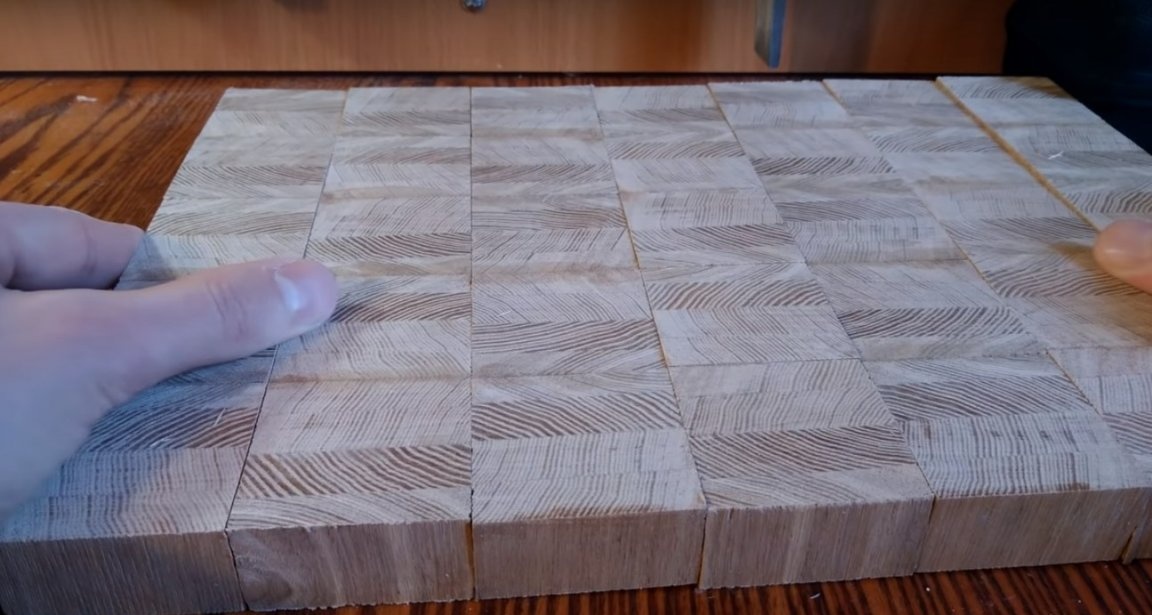
After processing, the parts fit tightly against each other, there are no cracks and play.
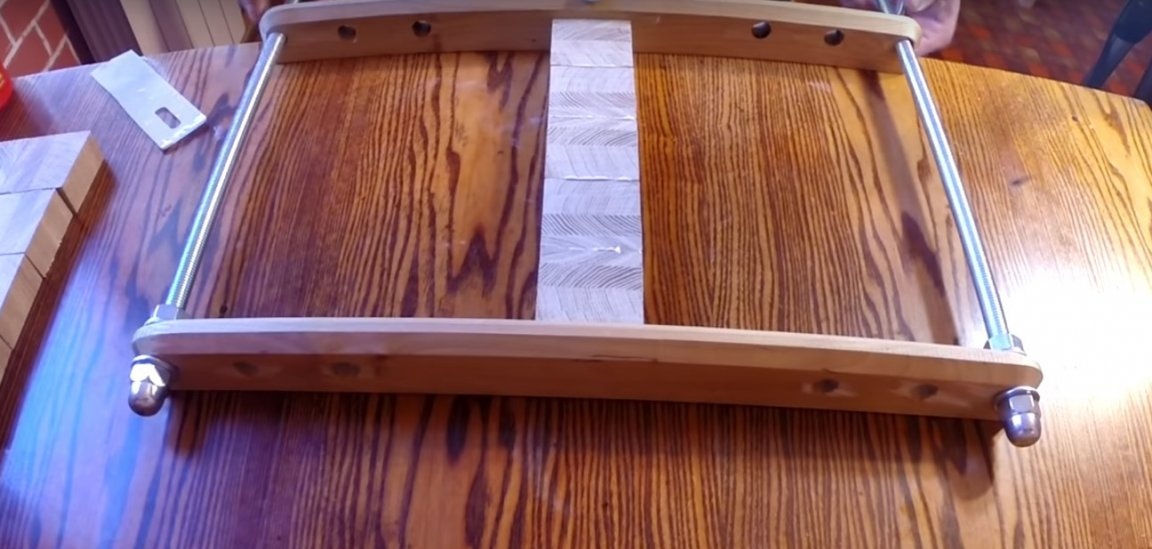
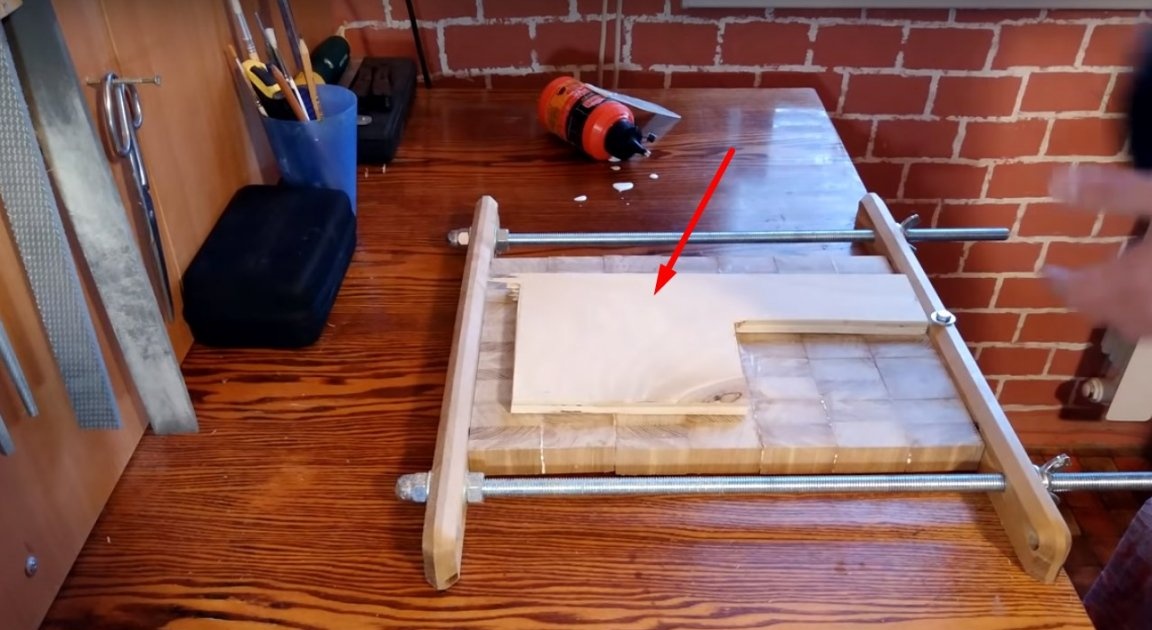
Now the second stage of gluing, by and large, is no different from the first. It also quickly and evenly applies glue, smoothes parts and clamps into a clamp.
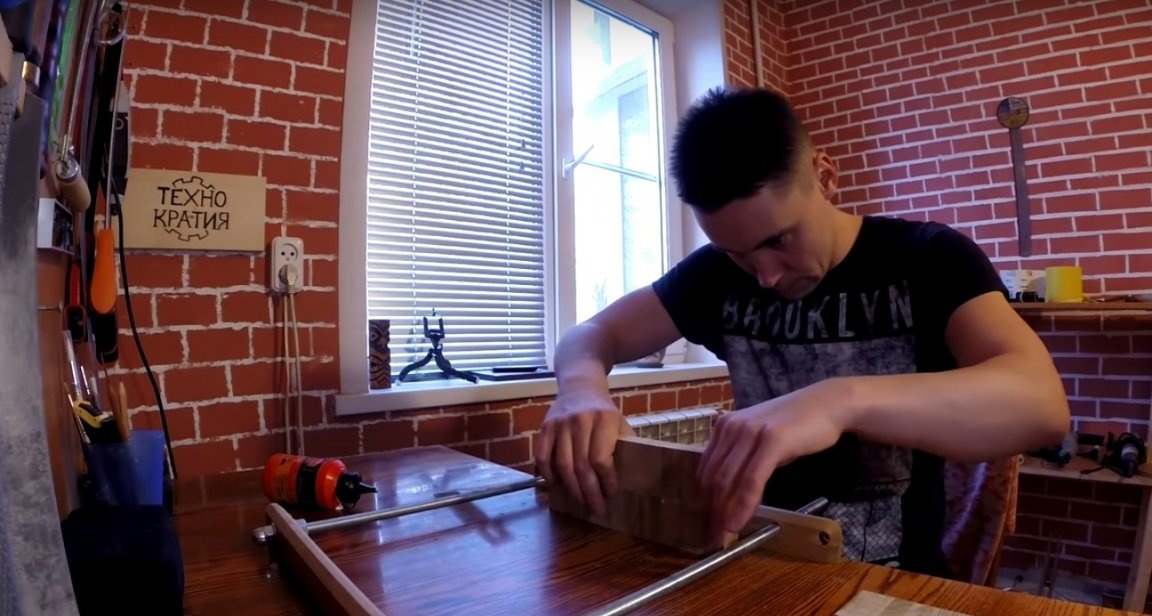
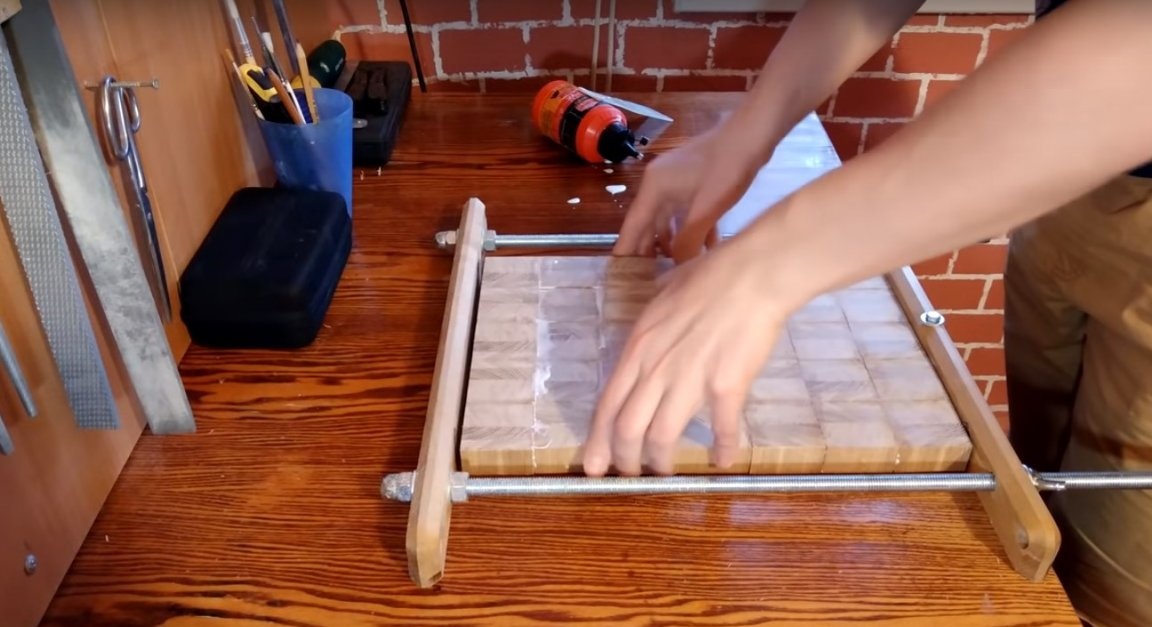
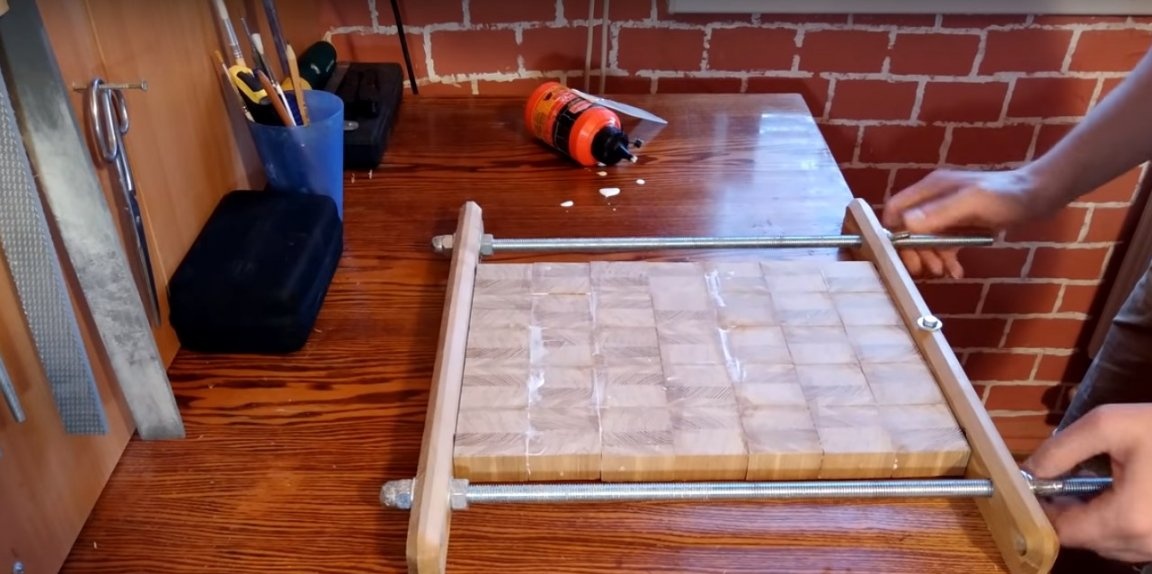
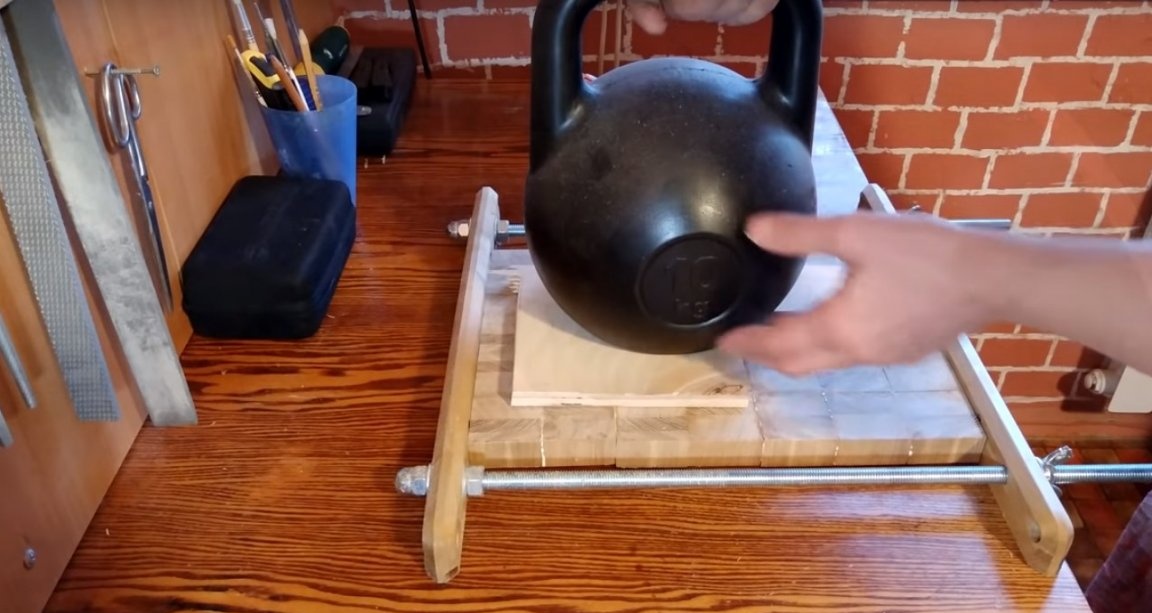
The only difference: on top of the details, the author put a piece of old plywood and crushed the weight.
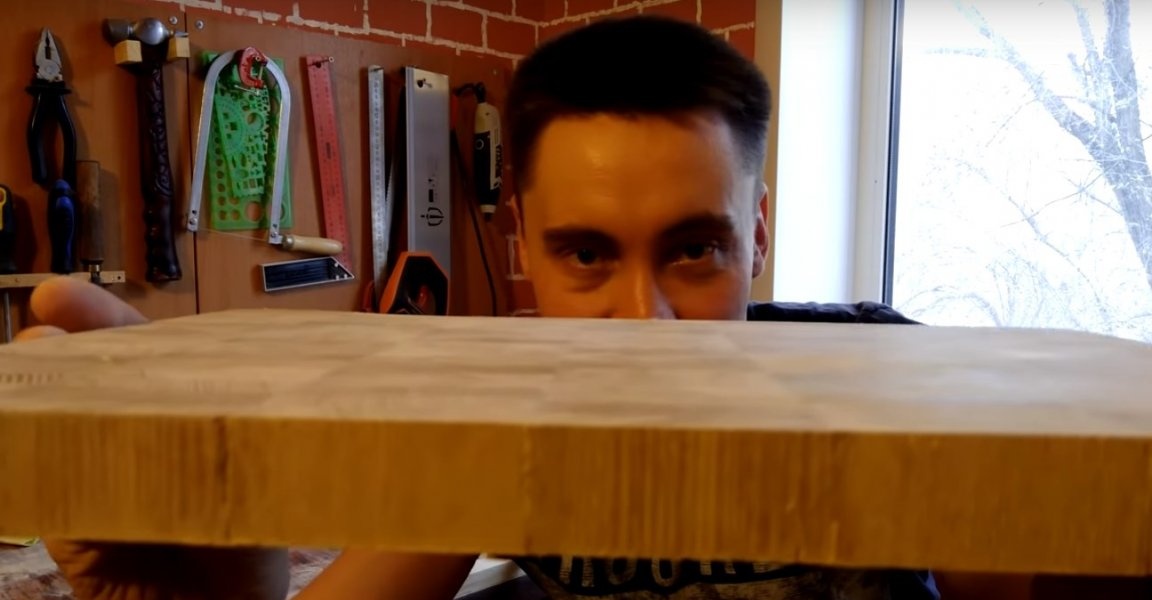
After 24 hours, making sure that the gluing was strong, the author proceeded to the next stage of the work.
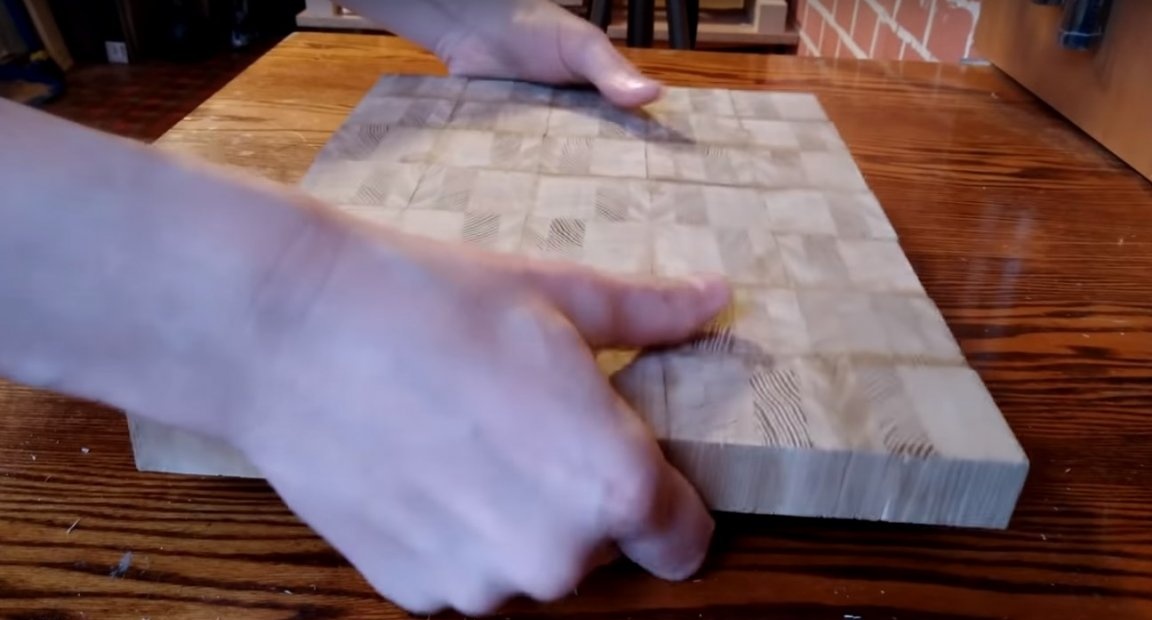
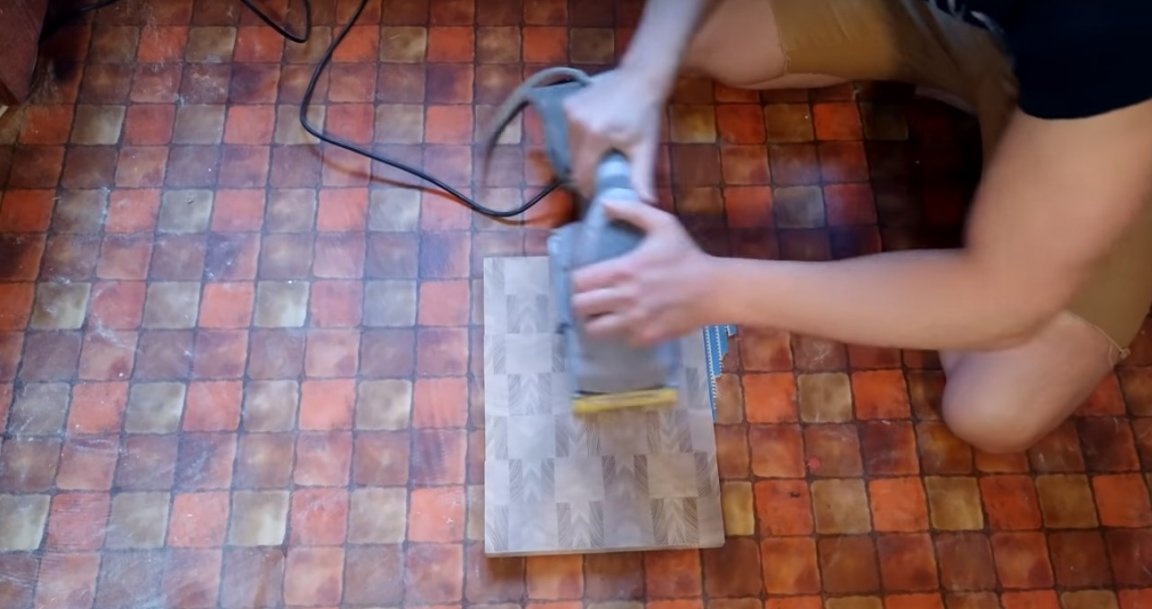
Leveling the surface with a belt sander.
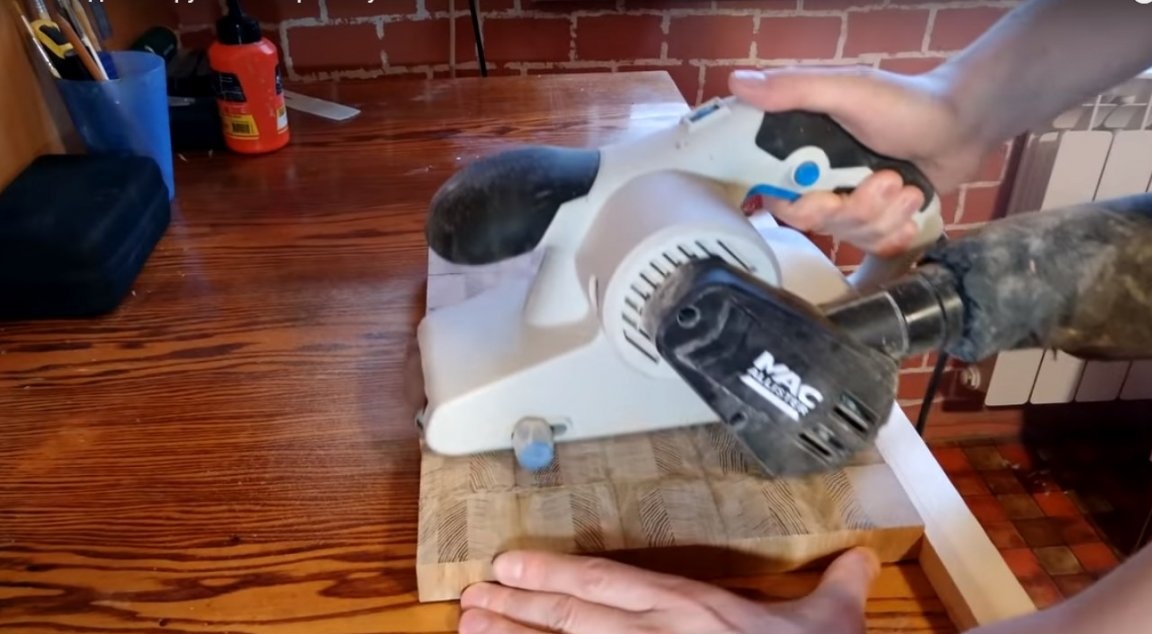

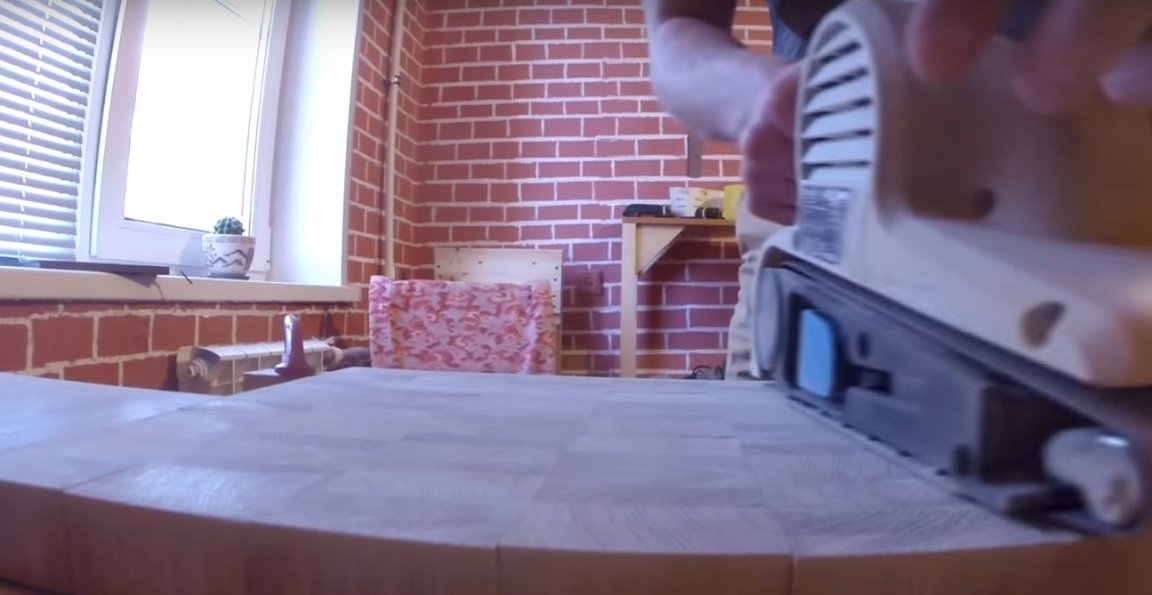
The result was not perfect.
Therefore, he slightly treated the surface with a flat grinder. It will not only help in the formation of the plane, but will also remove the furrows from the coarse grain of the tape.
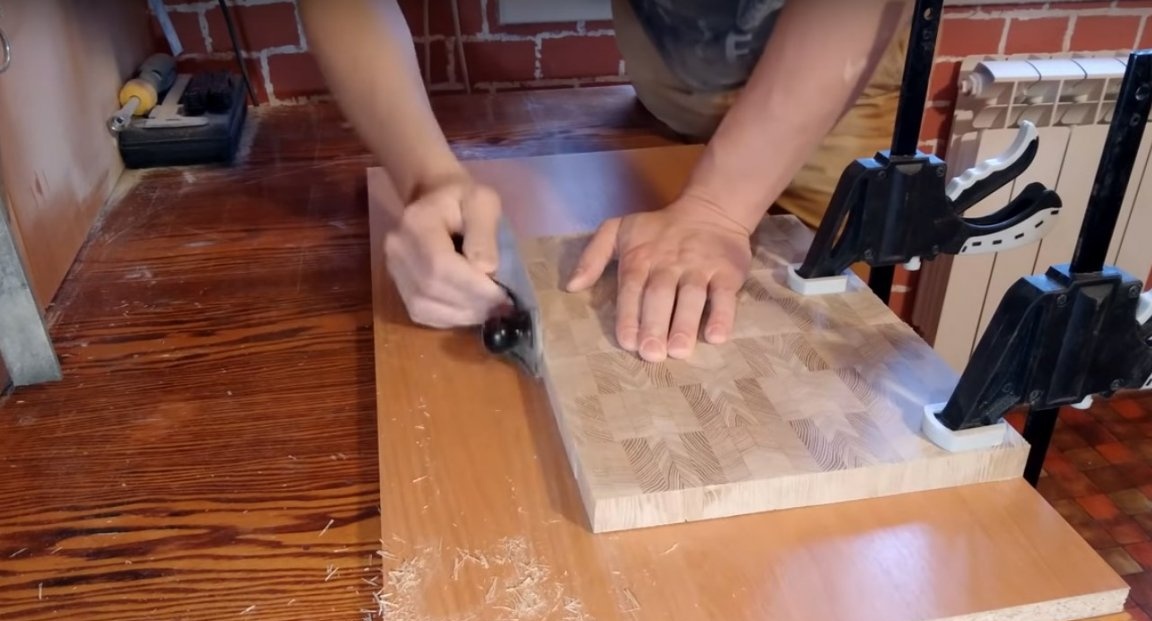
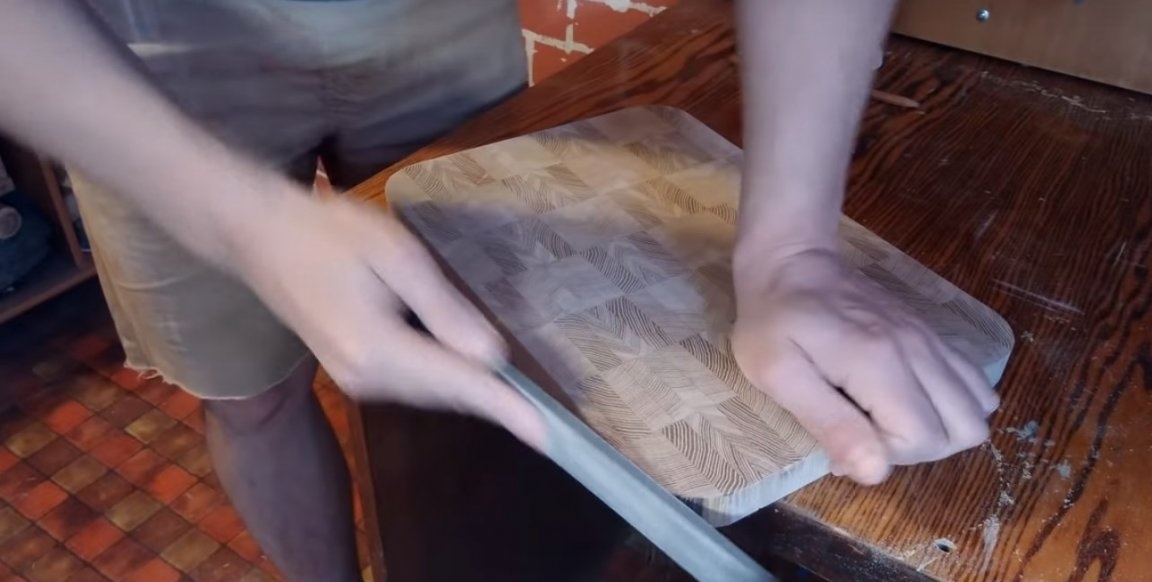
Then a plane, aligned the side faces.
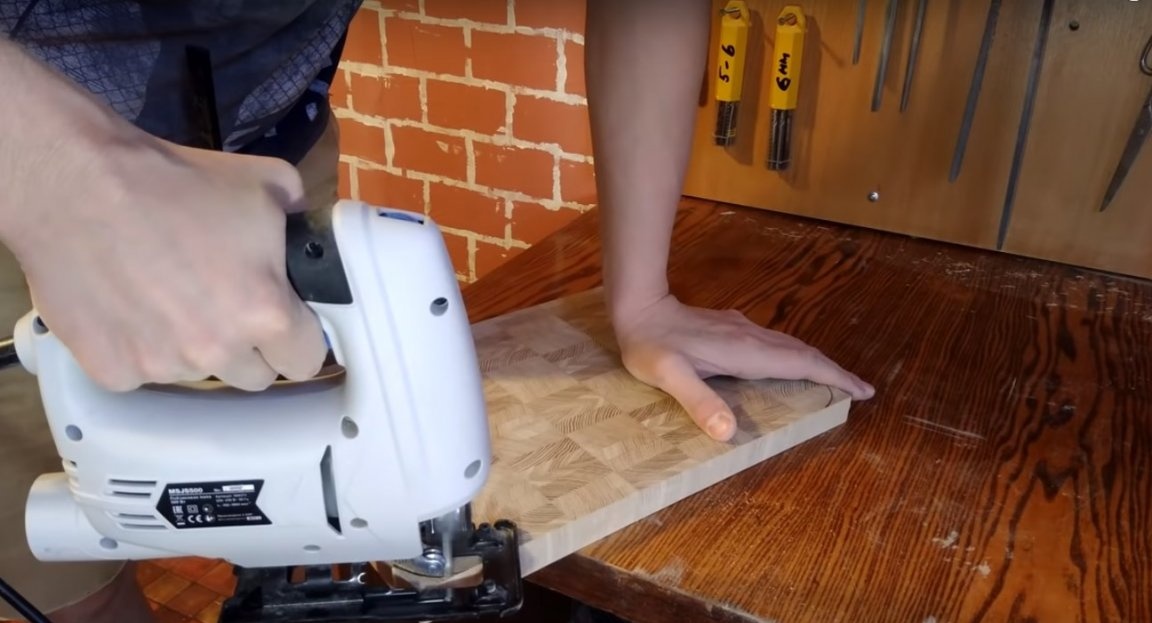
He further rounded the corners of the product with an electric jigsaw.
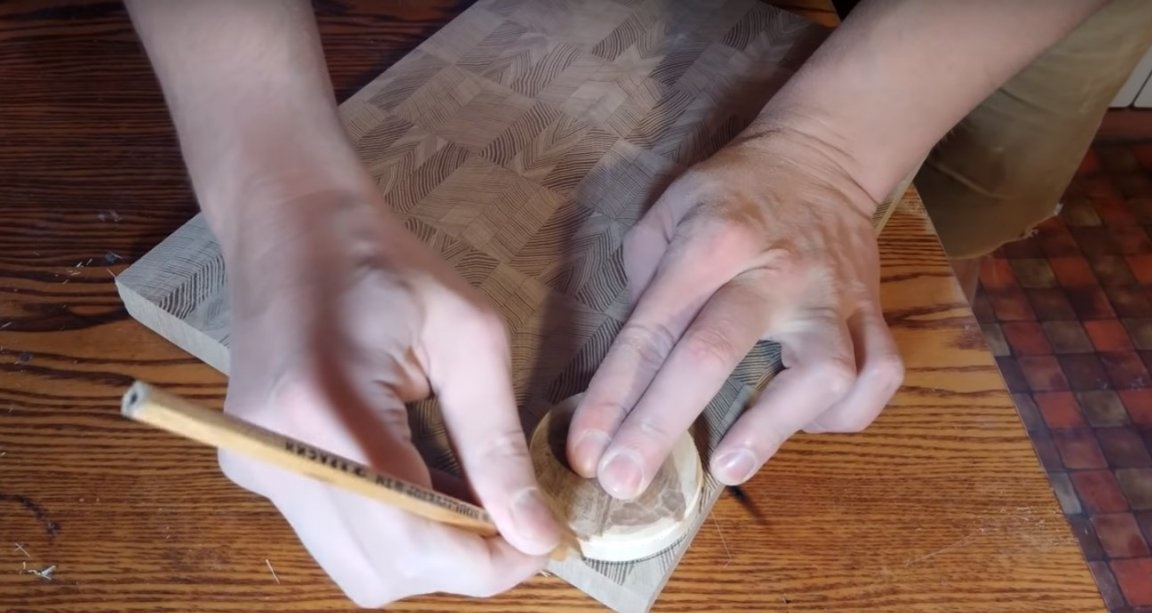
Then trimmed with a file and sandpaper.
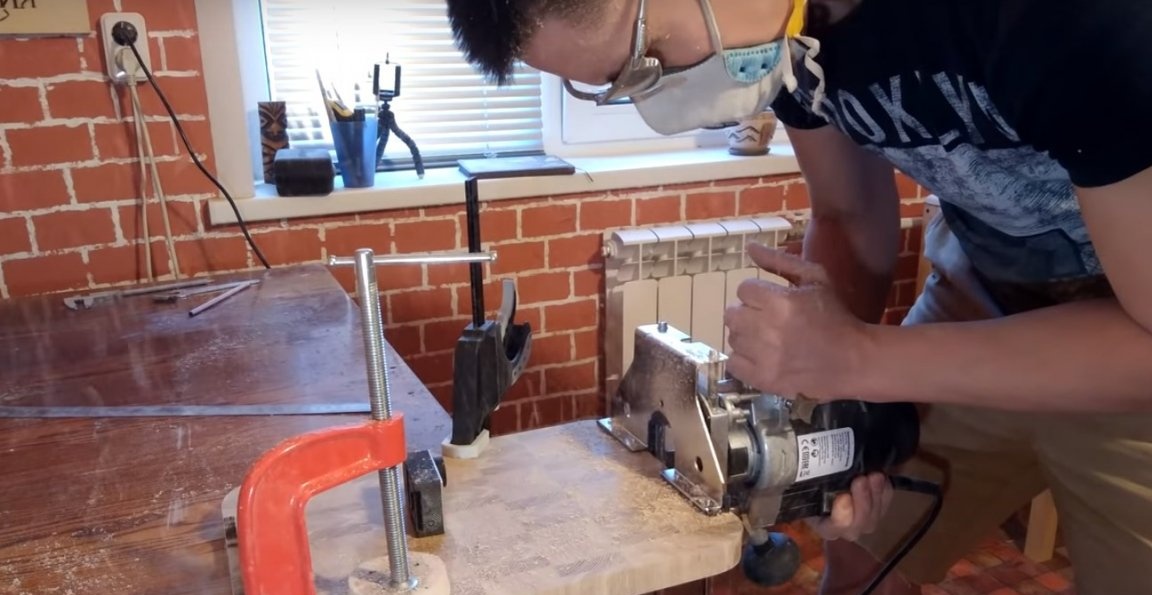
After firmly fixed the product on a workbench.
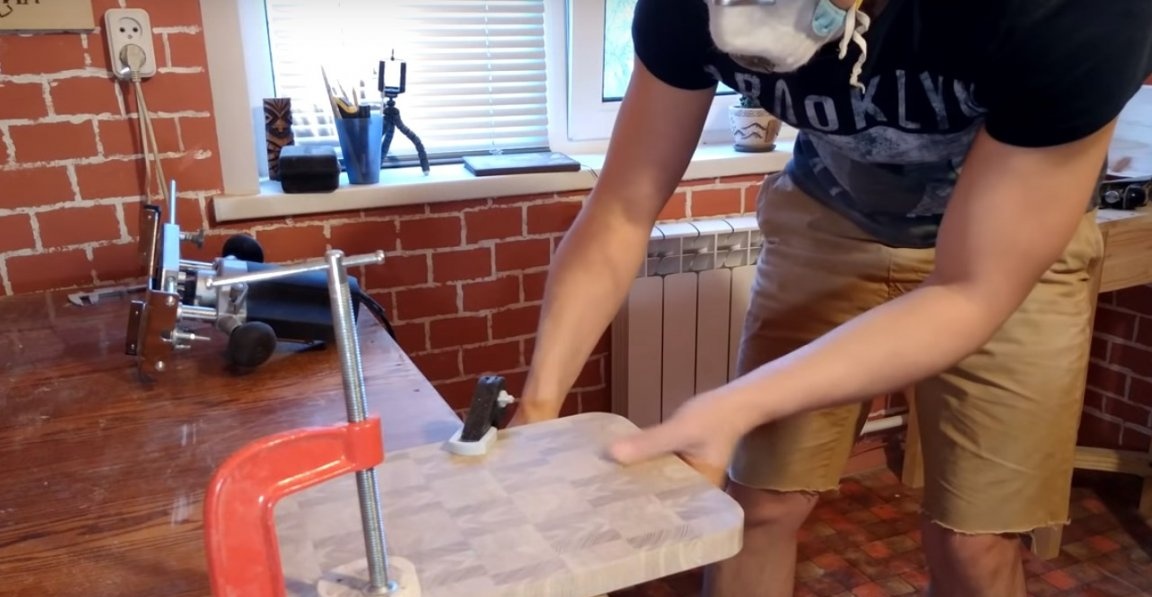
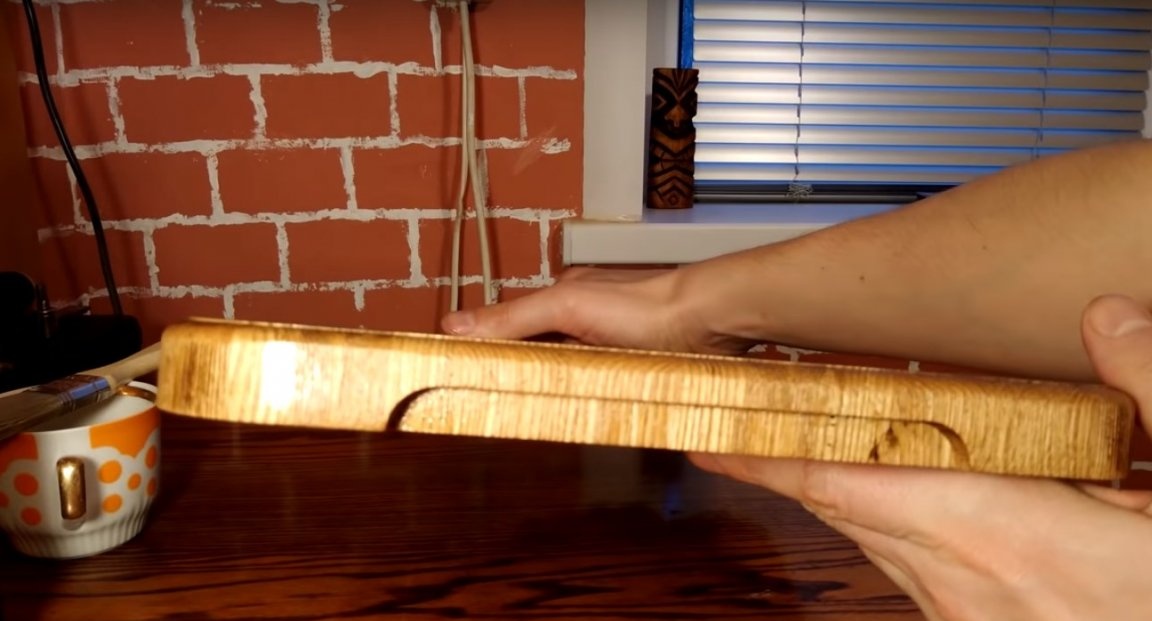
And with a milling cutter with a milling cutter with a diameter of 20 mm, he chose two symmetrical grooves on the bottom of the product. These will be the handle of the tray.

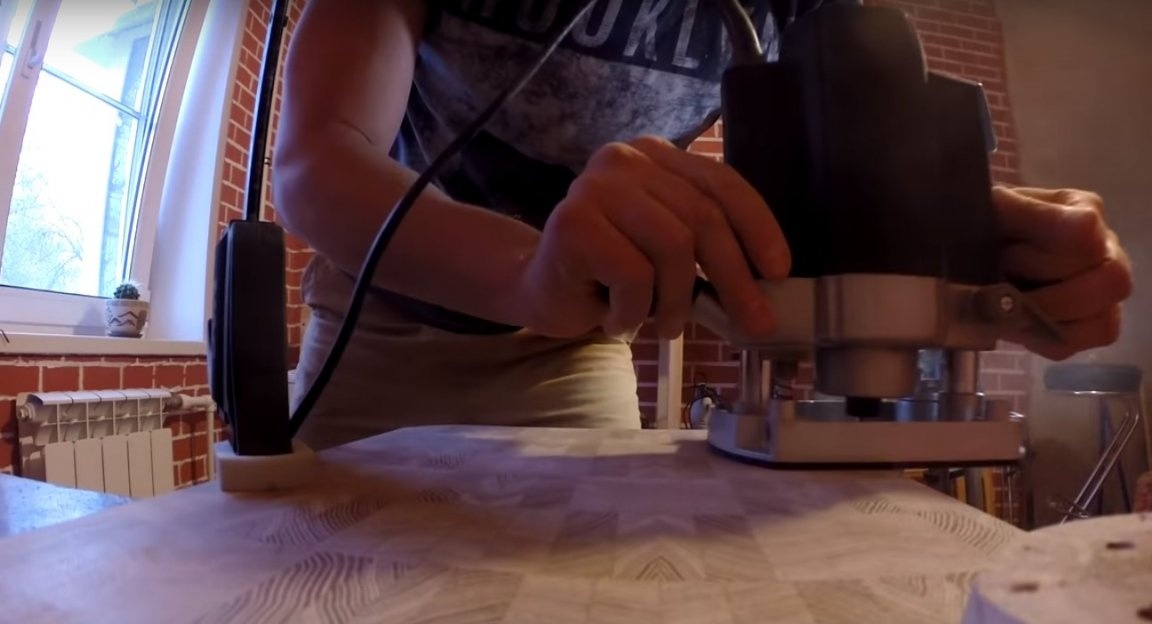
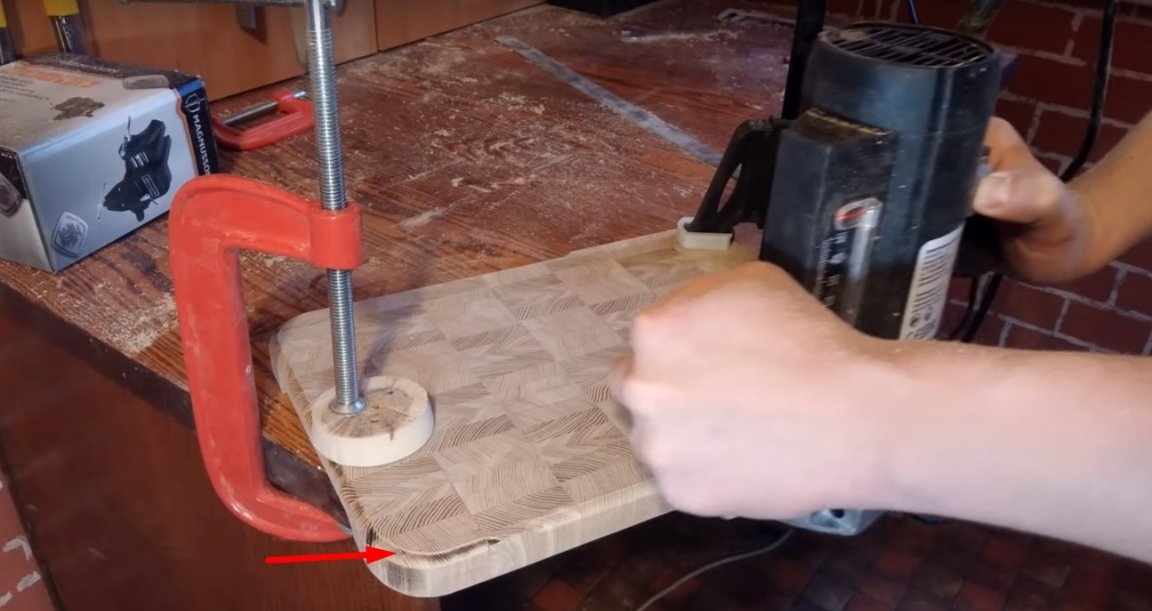
After the shaped milling cutter formed a semicircular edge of the front surface.
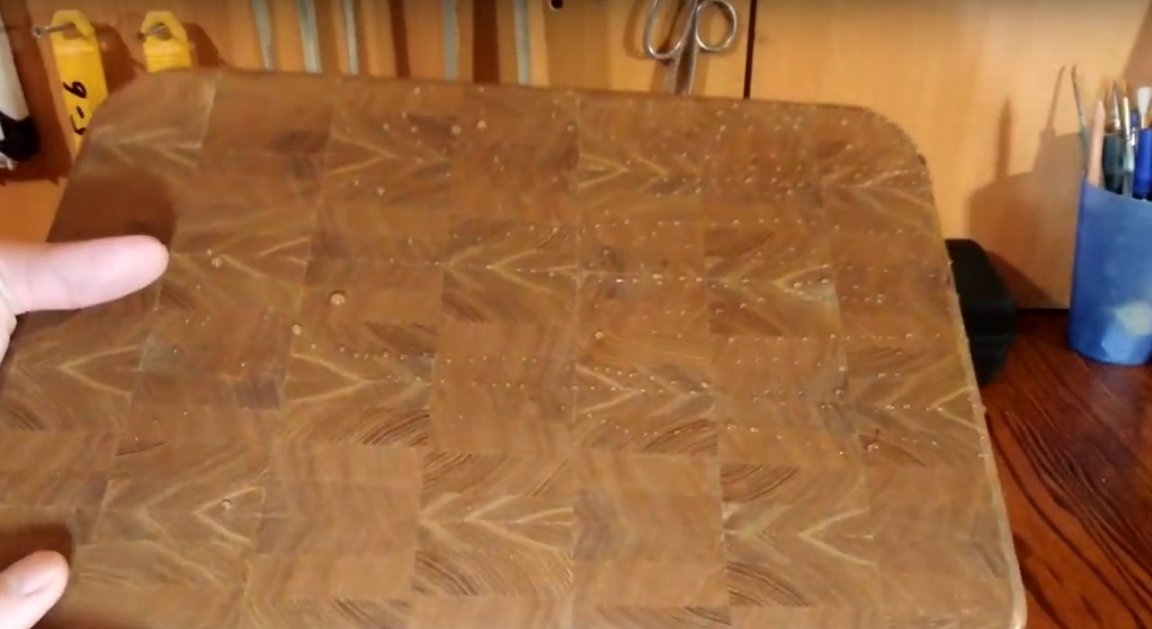
Then he soaked the product with linseed oil.
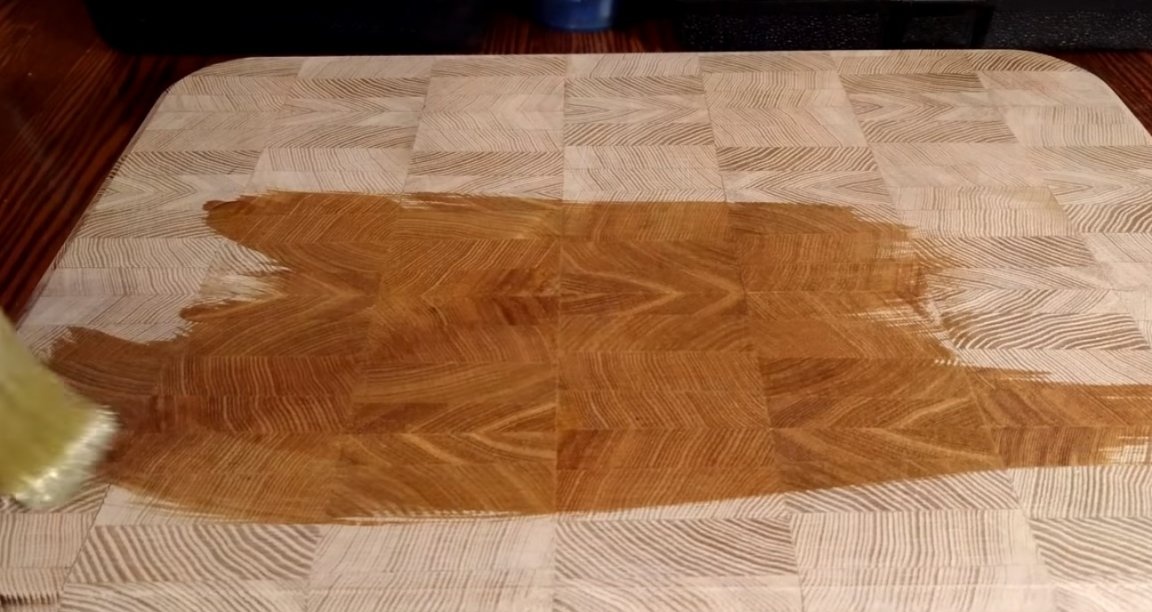
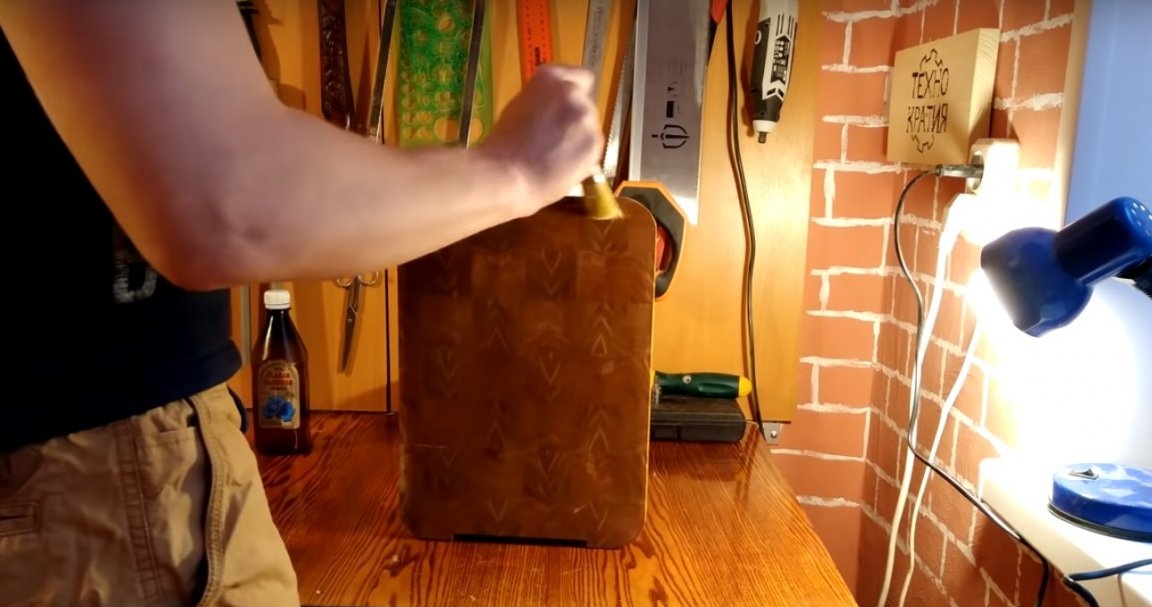
Then applied mastic, this will protect the product from moisture. Below is a link to a video in which the author will explain in detail how to prepare this mastic.
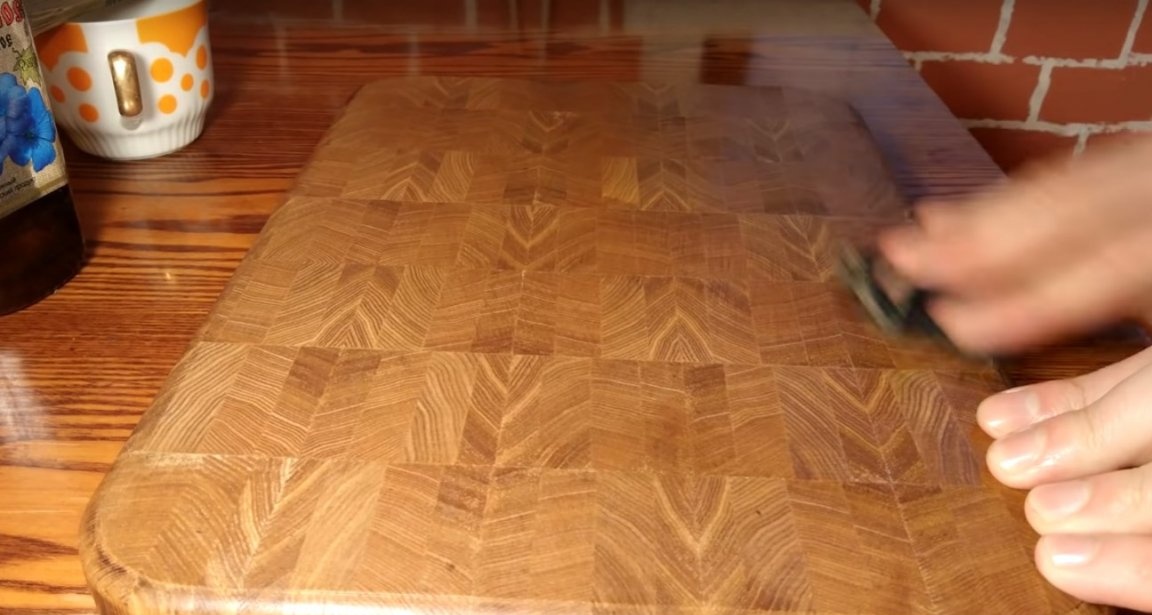
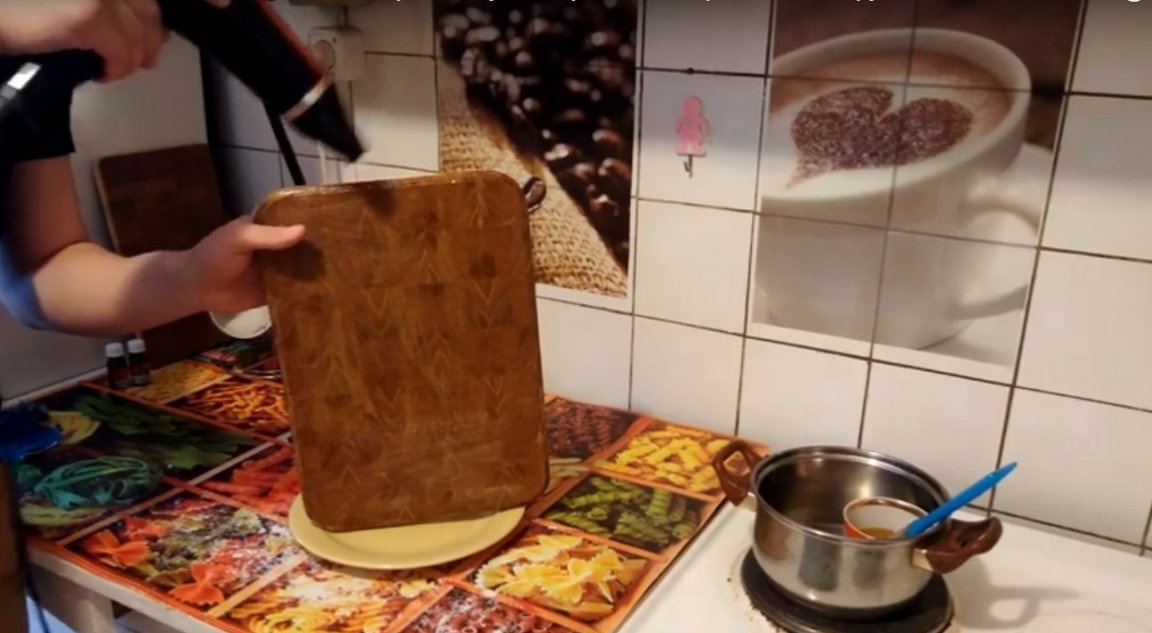
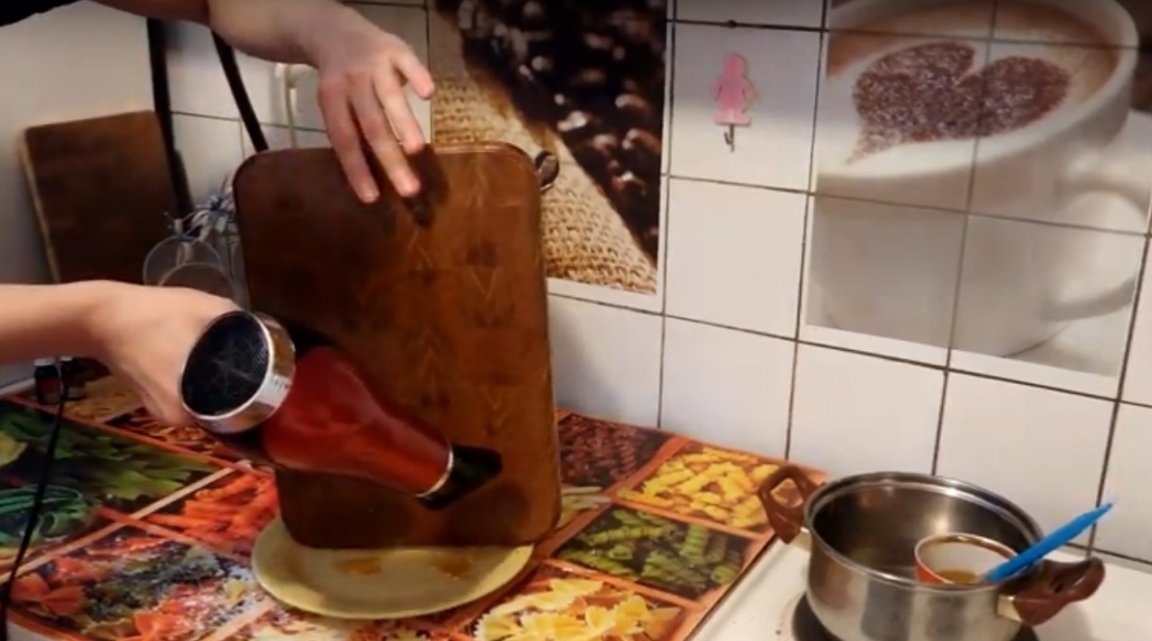
After a little warmed up the product with a hairdryer, for better penetration of mastic into the product.
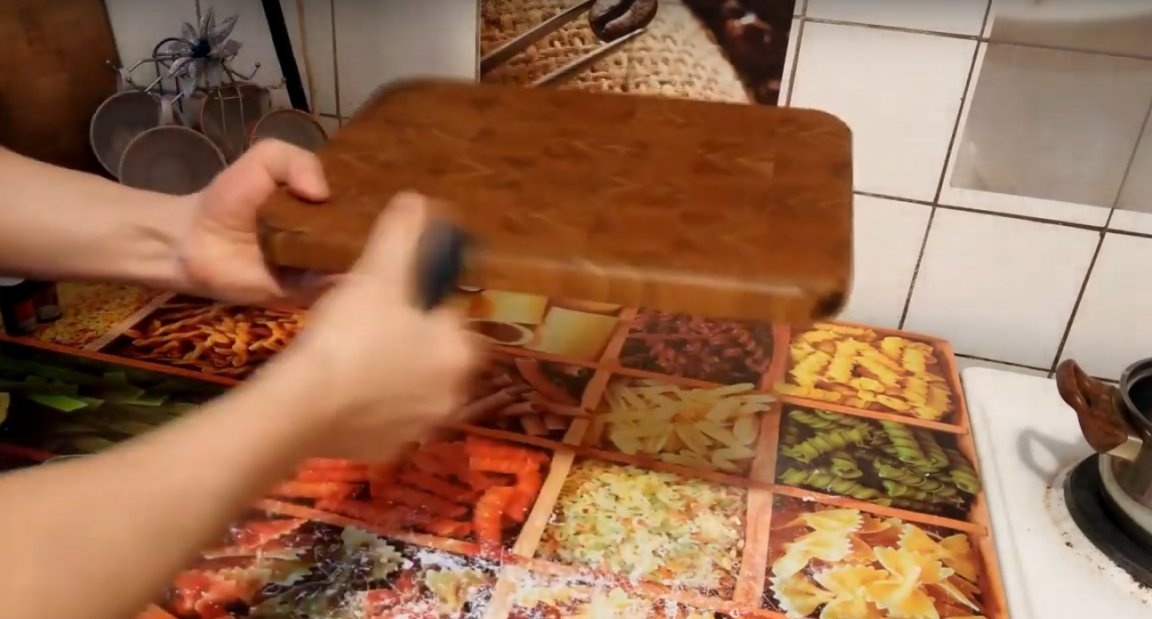
Then he removed the excess mastic with a rag.
Moisture resistance test.
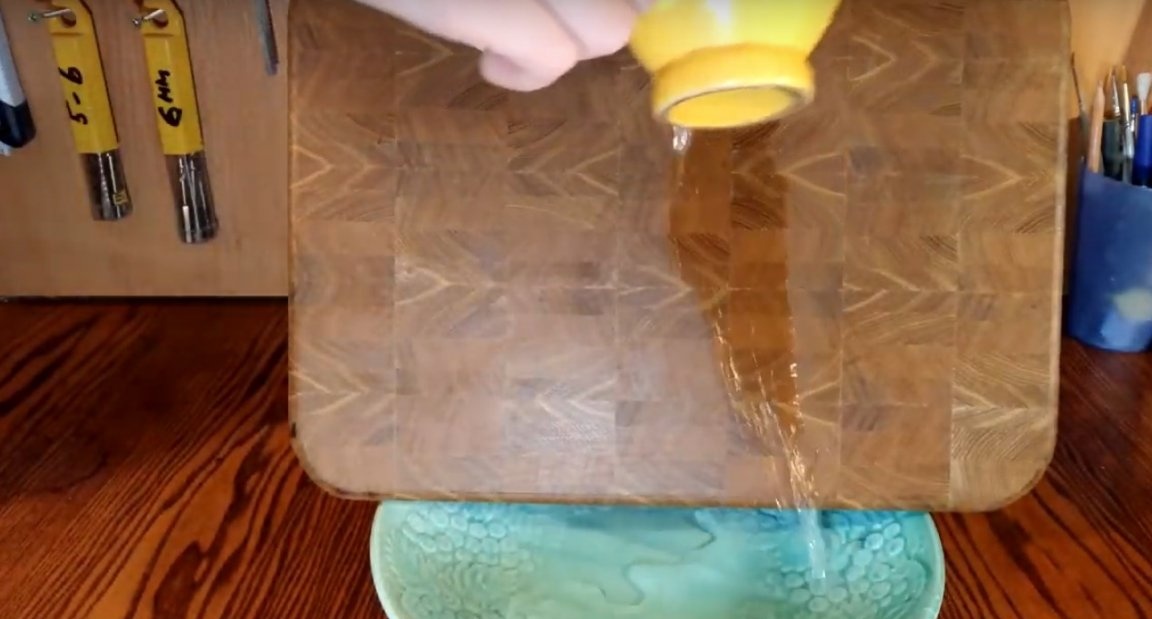
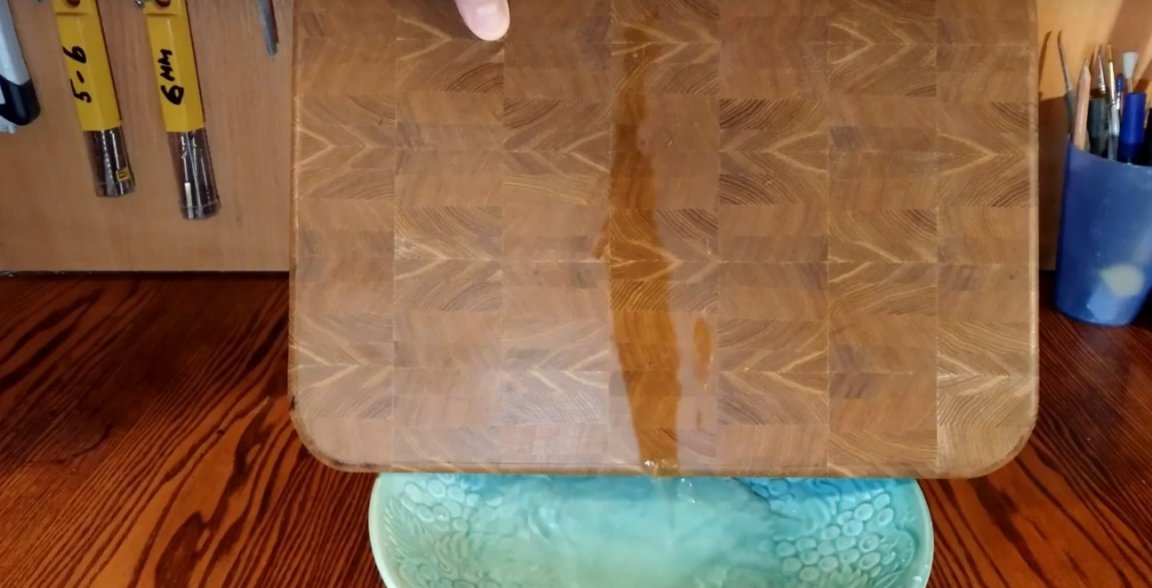
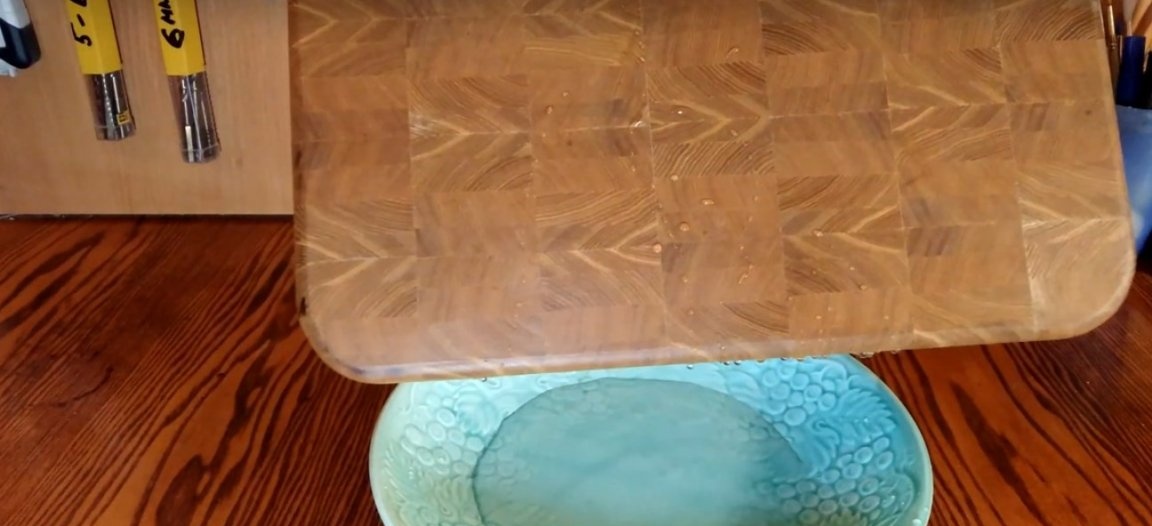
The test is passed, it repels moisture perfectly. Thanks to the author for this homemade.
And now the promised bonus. .