
Hello friends the inhabitants of our site! In today's article, we will look at how to make a very interesting and original upgrade for your personal computer. Namely, today I’ll try to describe to you in a similar way how to make an unusual PC start button, namely a kind of Touch ID (i.e. a fingerprint scanner). It should be noted right away that this method does not protect your computer from intruders, but it can certainly surprise your friends. Well, you can also use this homemade product if you do not want your child to use a PC without your knowledge. We will collect homemade products from the most popular components, and it will not be difficult to get them from our Chinese friends. I also want to add that even a kettle can assemble this homemade product, since the assembly will be described in great detail. In general, the homemade product is very interesting, so let's not pull with a long introduction, let's go!
Links to the main components are left at the end
For this homemade product we need:
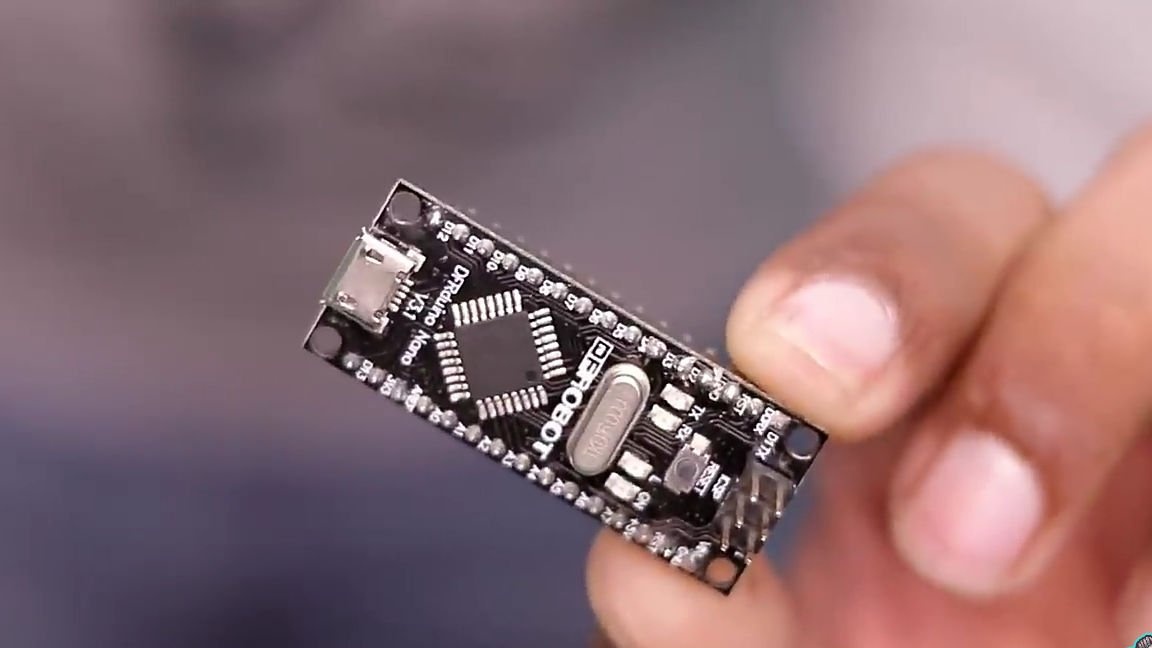
- Arduino Nano format
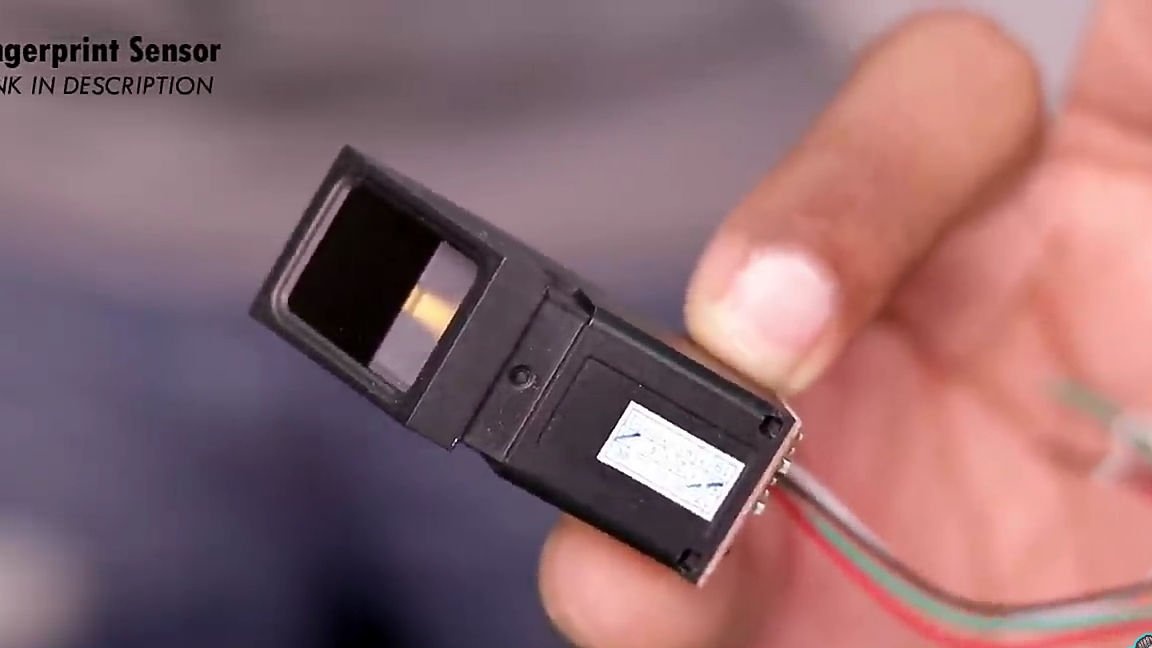
- Fingerprint Scanner for Arduino
- Mounting wires (preferably colored, it will be easier)
- Relay module for Arduino
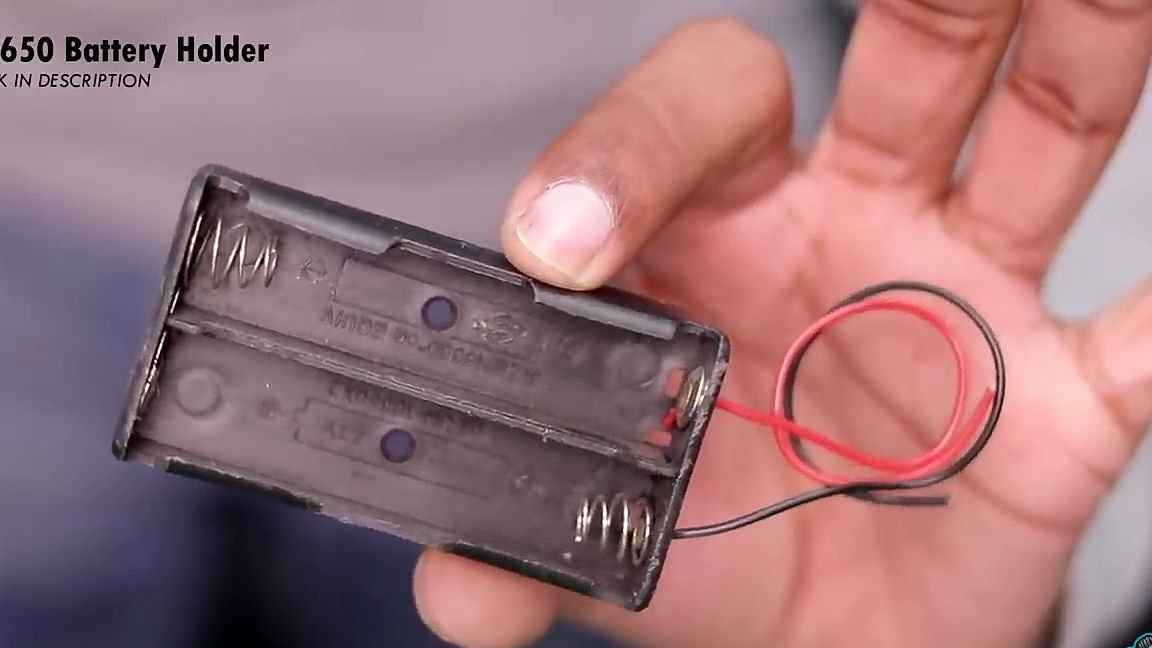
- Battery compartment for two 18650 batteries
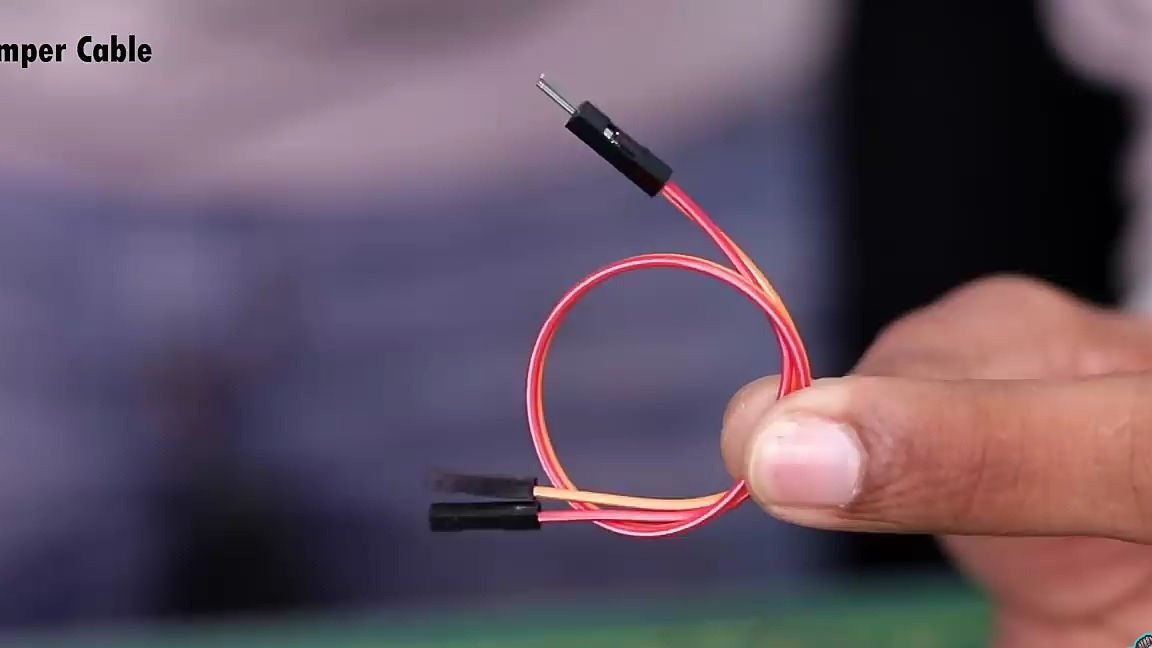
- Connecting cable "mother / father" 2 pieces. (those that are often put by sellers as a gift to Arduino)
- switch
- Not a large plastic container (will serve as a housing for e toppings)
- Rechargeable batteries of 18650 format 2pcs
Of the tools we will also need:
- Soldering iron (with a thin tip)
- solder
- screwdriver
- Hot glue
- Double-sided tape
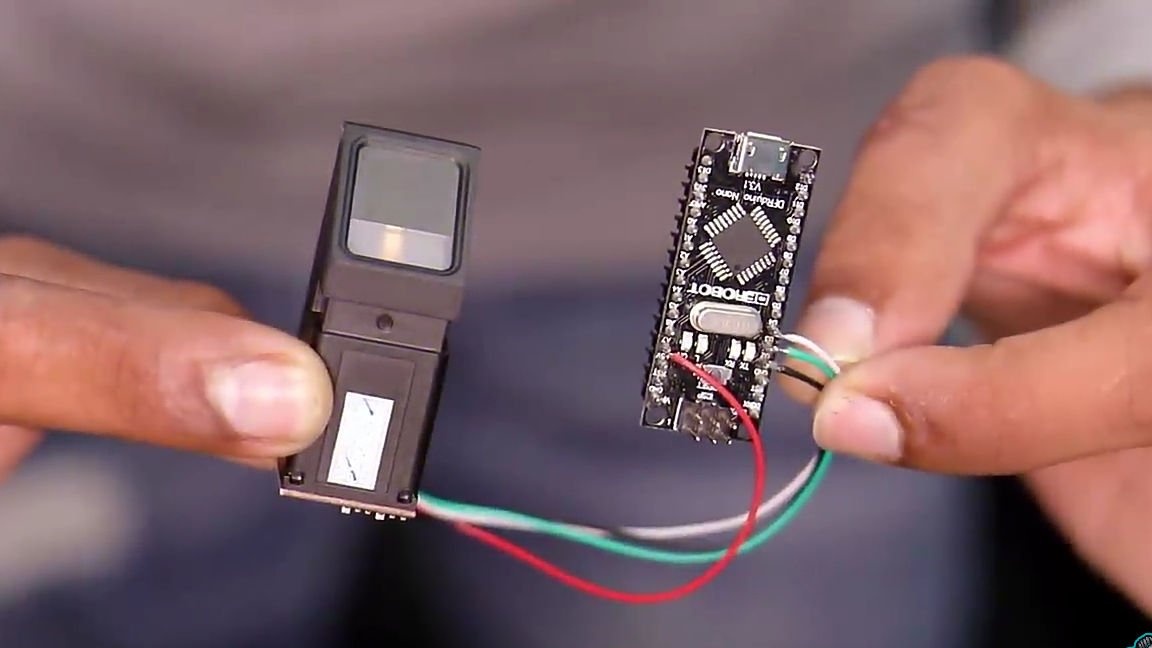
Well, let's start assembling the homemade thing. To begin with, we should take the most important component of homemade work, namely Arduino nano format. This "microcomputer" is so widespread that it can be easily found in any radio store (albeit at an exorbitant price). But if you want to save, you can purchase it from our Chinese friends (a link to it will be at the end of the article). Well, we also need such a module for Arduino as a fingerprint scanner.
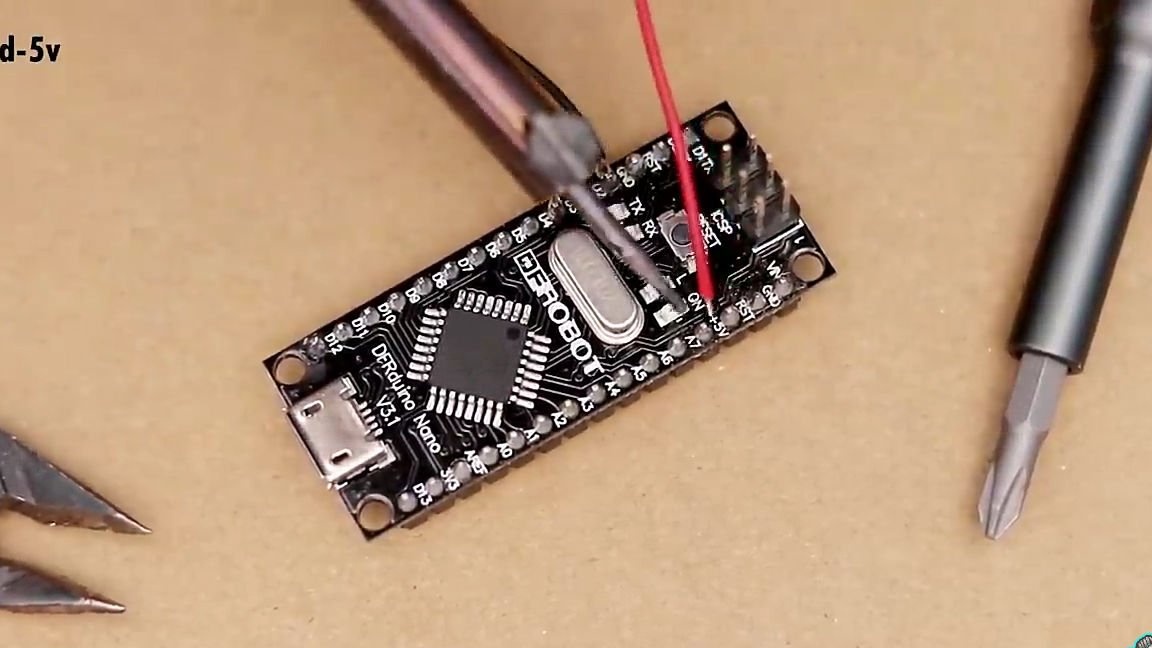
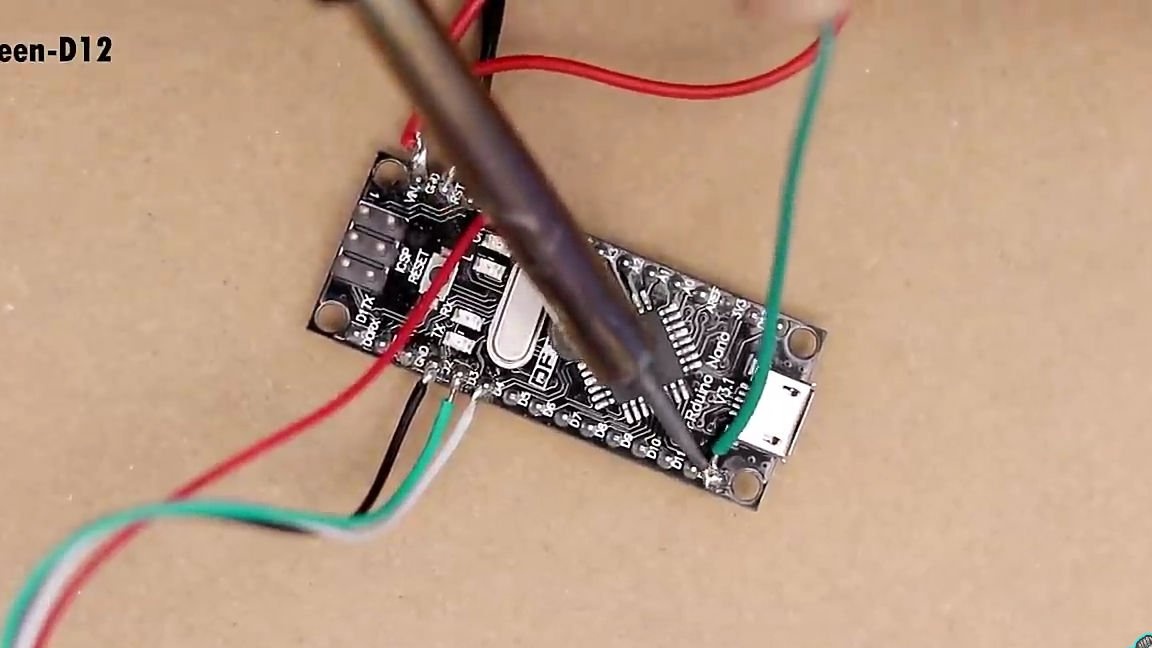
Let's start soldering the above components. Namely, the wires coming from the fingerprint scanner should be soldered to the contacts on the board of the Arduino itself as follows.The black wire from the fingerprint scanner should be soldered to the pin labeled “GND”, the green wire to pin “D2”, the white wire to pin “D3”, and the red wire to pin “+ 5V”. At this stage, you should get the most similar design that is shown in the photo below.

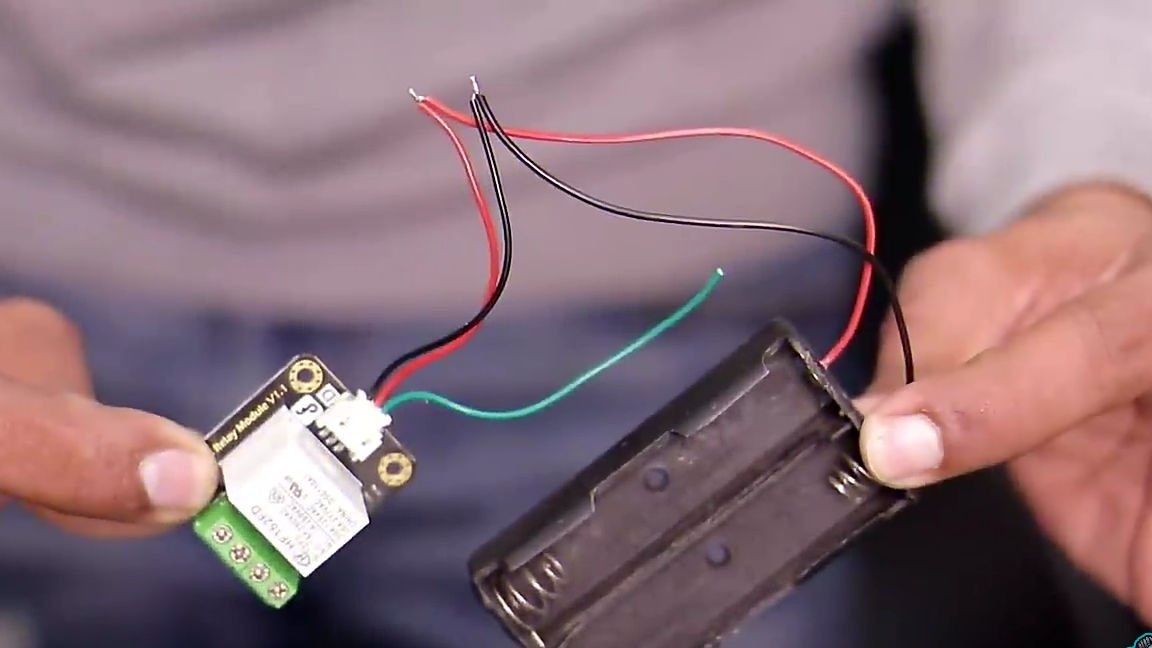
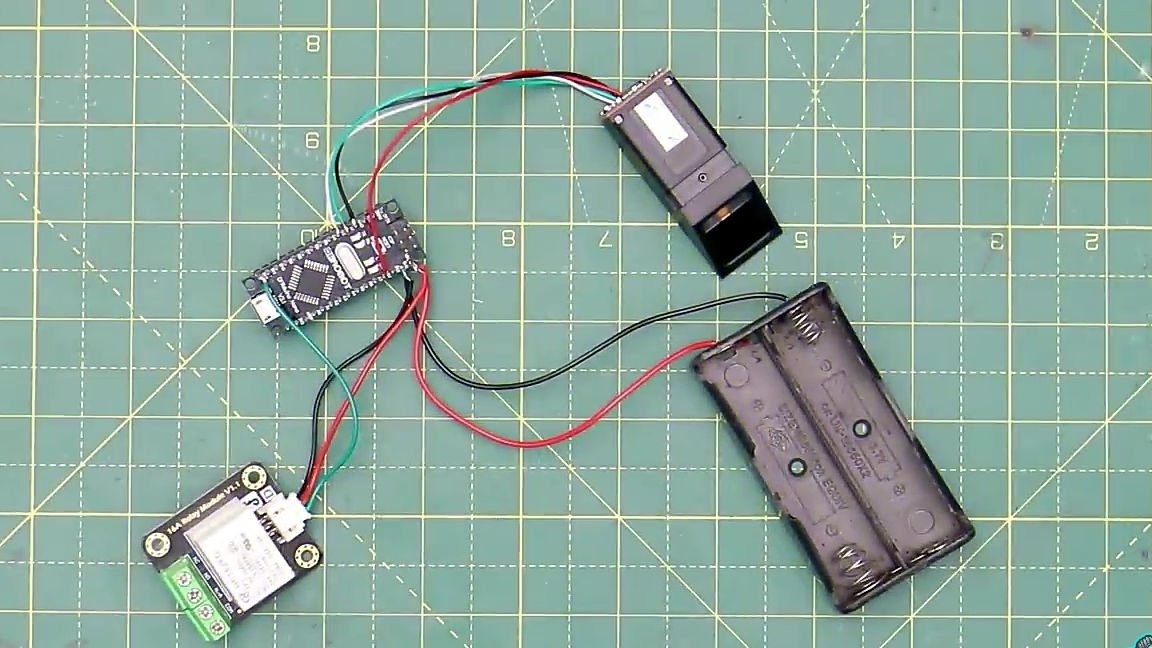
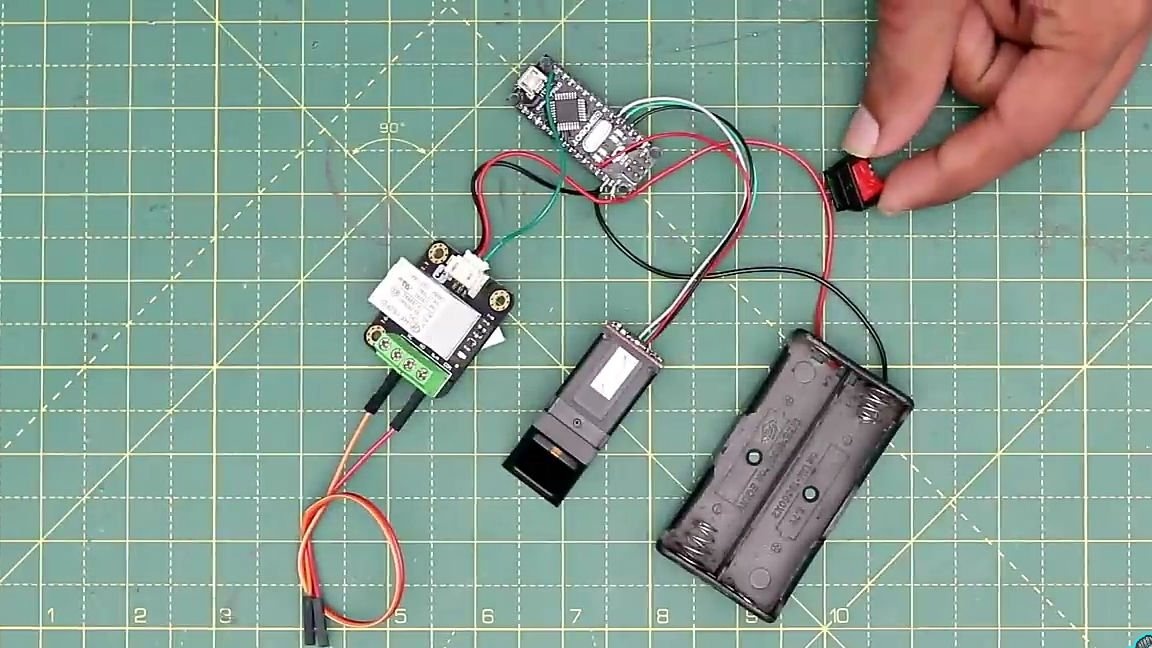
For the next step, we need a relay module for the same Arduino (you can also find a link to it at the end of the article), and you should also take the battery compartment for two rechargeable batteries of the 18650 format, the link to which is also at the end. We connect the above elements together. Namely, we solder the red wire from the relay module to the red wire coming from the battery compartment, and accordingly the black wire from the relay to the black wire from the battery compartment.

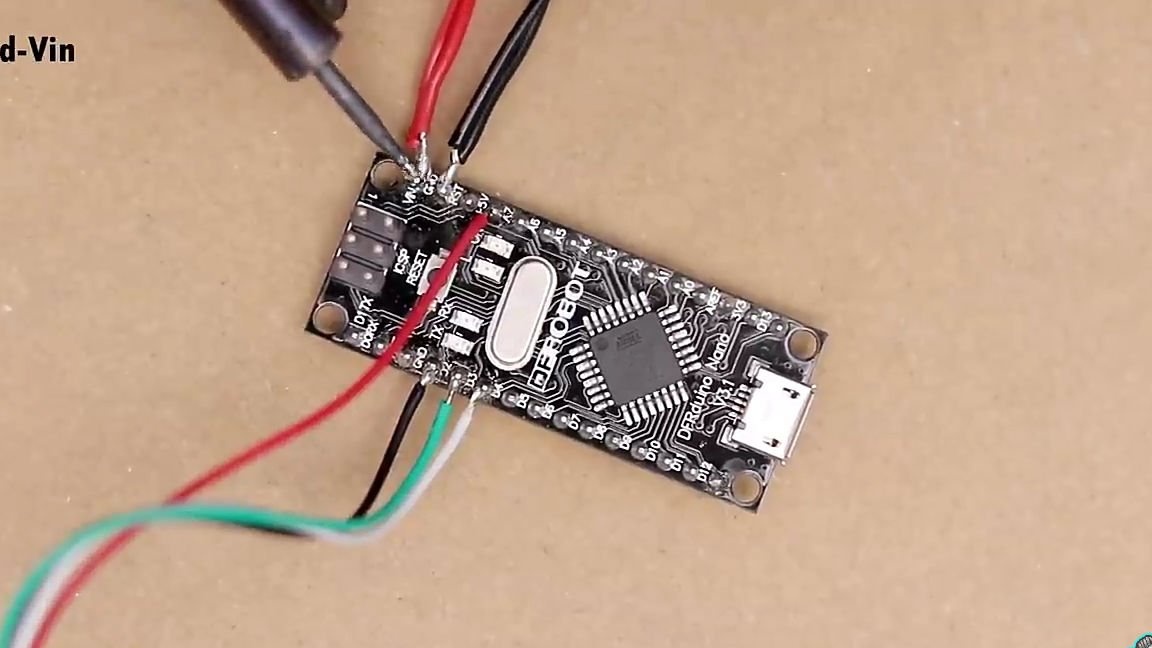
We continue to solder the elements. Namely, the two previous "blanks" we should connect together. The wires from the relay and from the battery compartment (in uninsulated places where they are connected to each other) should be soldered to the Arduino, namely the red wires to the pin with the designation “Vin”, and the black wire to the pin with the designation “GND”. As you have already noticed that the relay module also has a green wire, it should be soldered to pin “D12”.
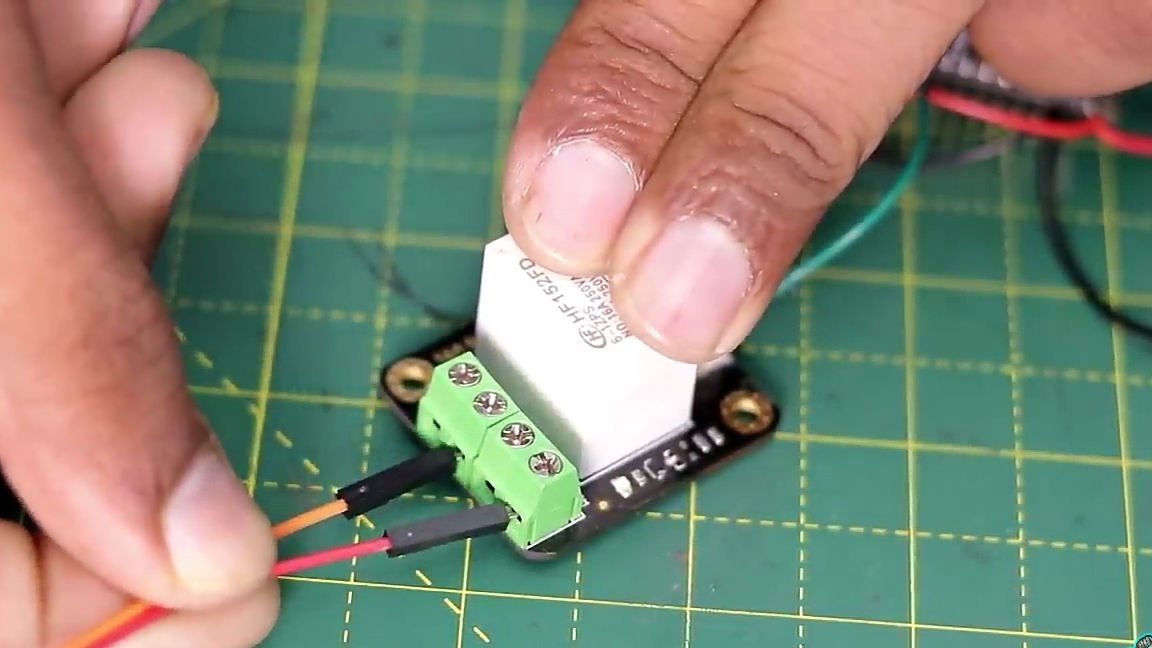
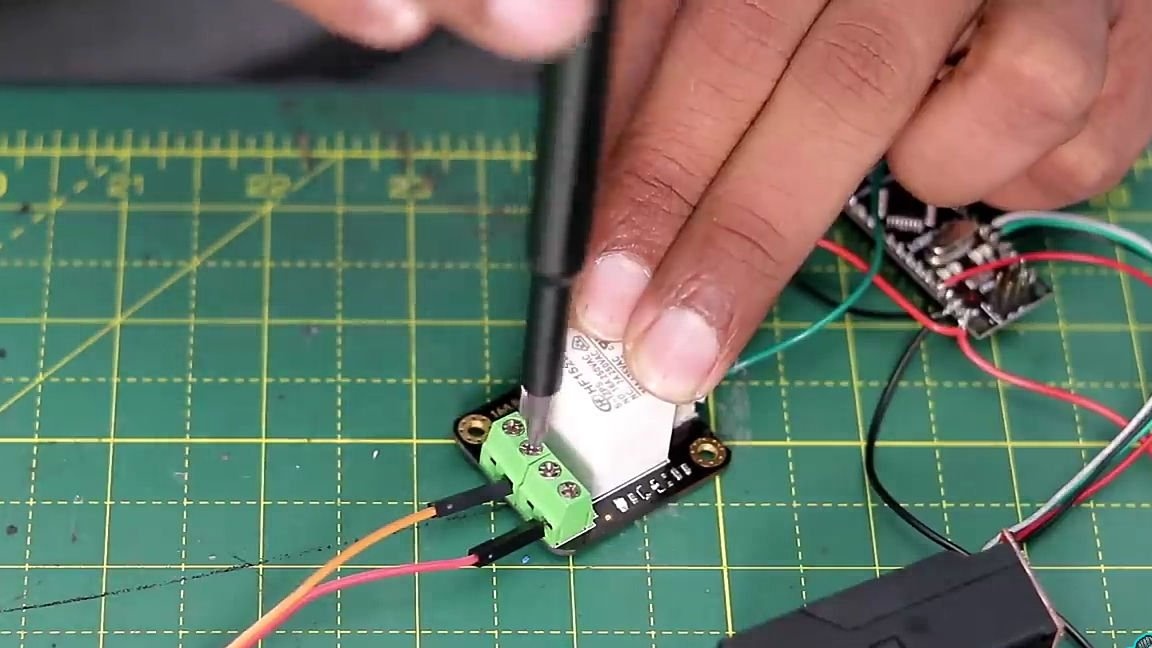
Then we need a pair of connecting wires (mother / dad format) those that are usually used for breadboards and sometimes come with Arduino (there is a link to them at the end). The ends of the connecting wires are inserted into the rightmost holes in the quick-clamp terminals (see photo) on the relay (side “male”). And we tighten the terminal screws tighter, for a reliable connection of the wires inside them.
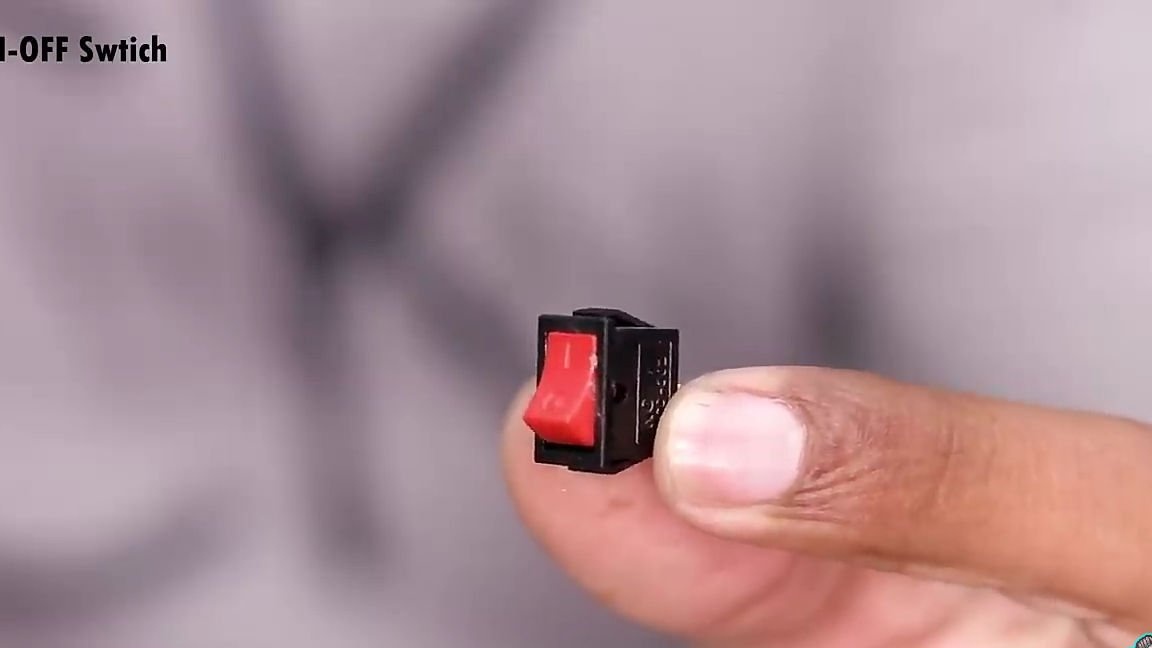
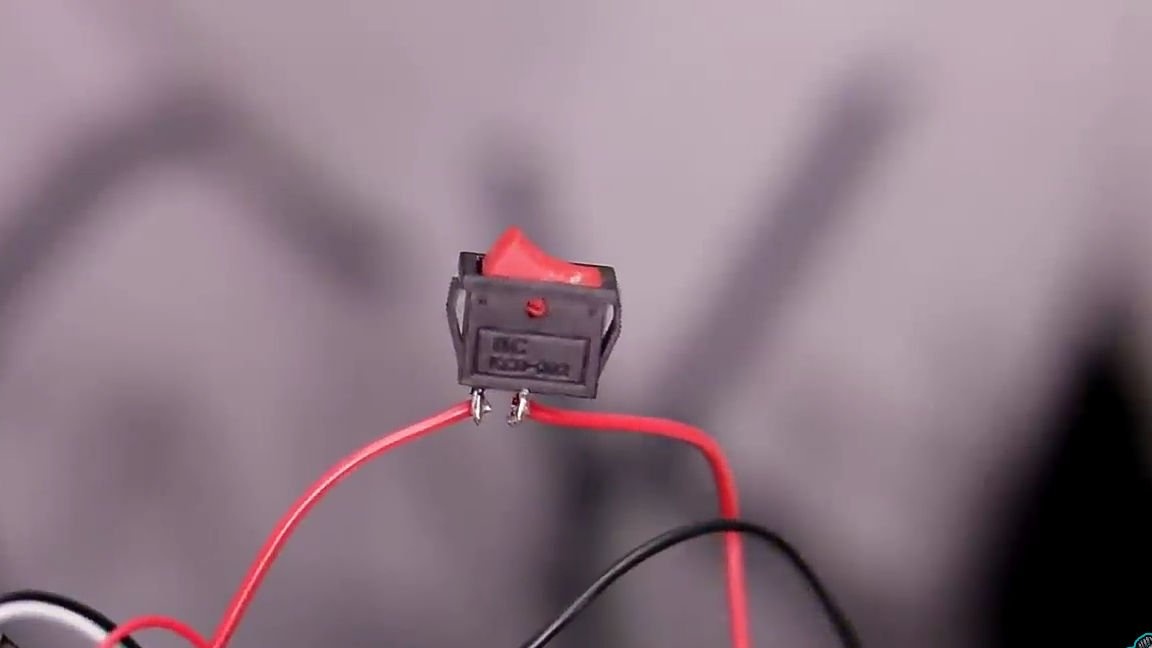
Then, to save energy, we should solder the circuit breaker into the circuit. Well, for this we need to take the switch itself. The switch should be soldered into the circuit between the battery compartment and the Arduino. To do this, simply use the scissors or wire cutters to cut off the said length of wire above, remove the insulation from the ends of the wire and solder the switch.
The next step is to upload the firmware to the Arduino. You can see the firmware itself and fully step-by-step instructions by watching the video given by me below. The firmware can be found in the description for this video (for this, open the video on the YouTube page, and already there under the video you will find all the necessary links).
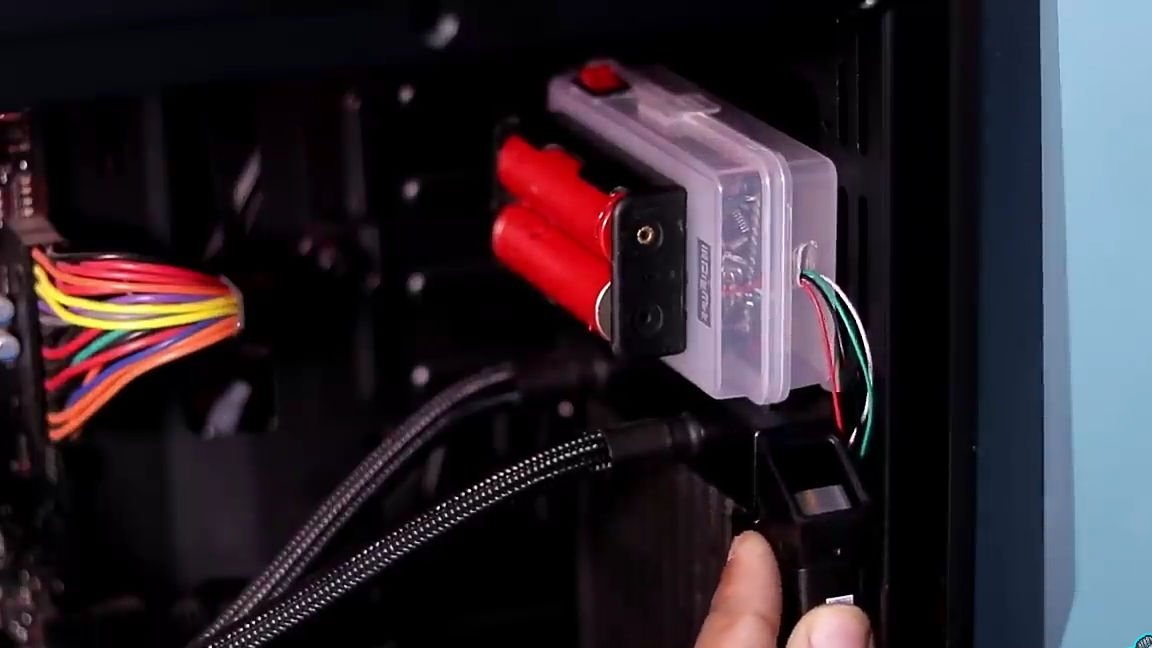
Filling the firmware in Arduino according to the step-by-step instructions given above (it is important to repeat the steps in the same way as in the video!), We continue the assembly of the homemade product. Namely, for the next step, we should get some small plastic container that we will use as the electronic filling of our design. We put in the container Arduino and relays. We fix them inside the body with hot melt adhesive. In the case, it is also necessary to make a through hole for the switch. We make a hole and install the switch, fixing it with hot glue. Also, holes should be made in the case for the output of wires (from the battery compartment, wires from the fingerprint scanner and those wires that are responsible for starting the PC).

Then we need rechargeable batteries of the 18650 format. I would like to note that for long-term operation without recharging, capacious lithium batteries should be used, and metal hydride batteries are not recommended, since they quickly lose voltage over time. A pair of lithium cans is enough for more than a year! Insert the batteries into the battery compartment according to the polarity.

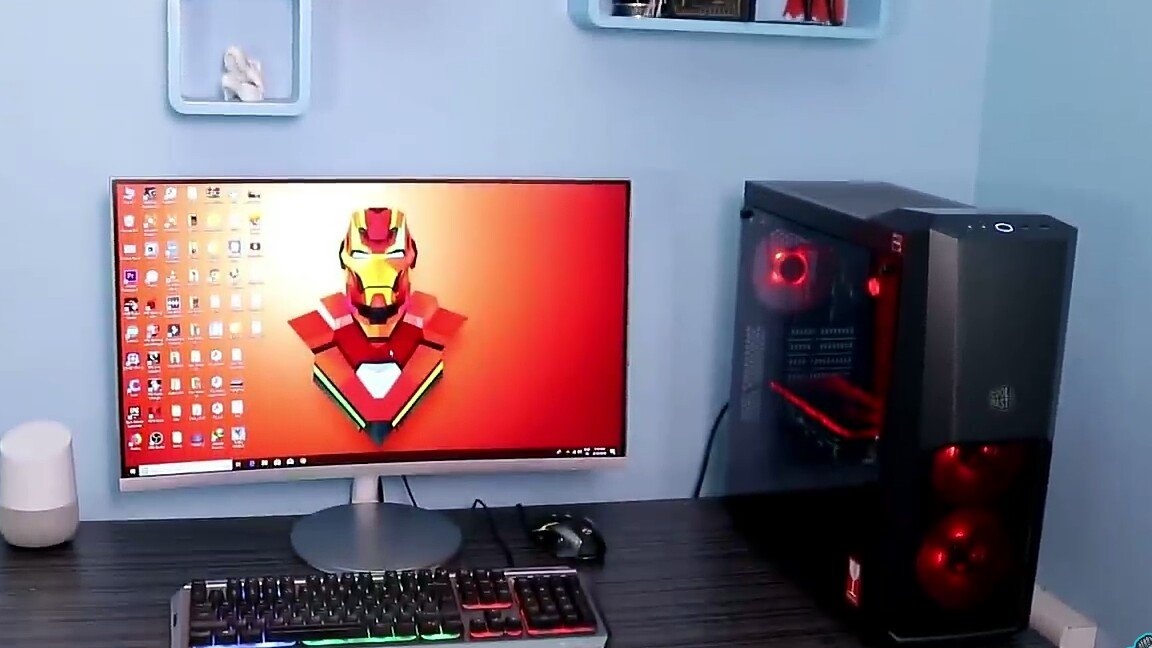
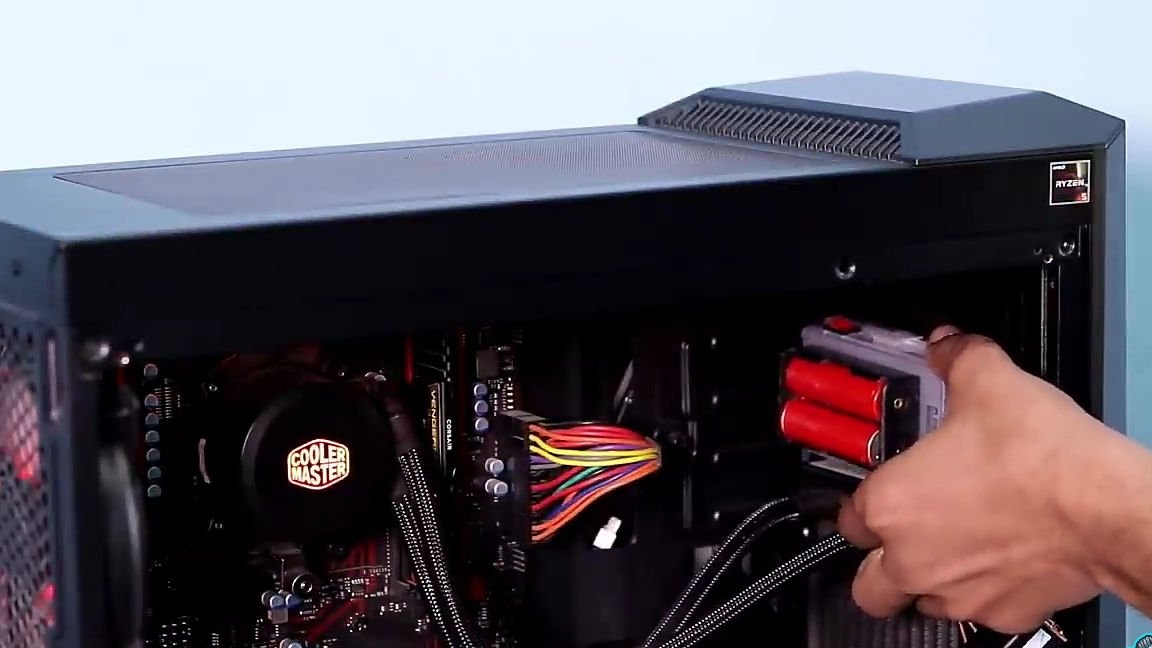
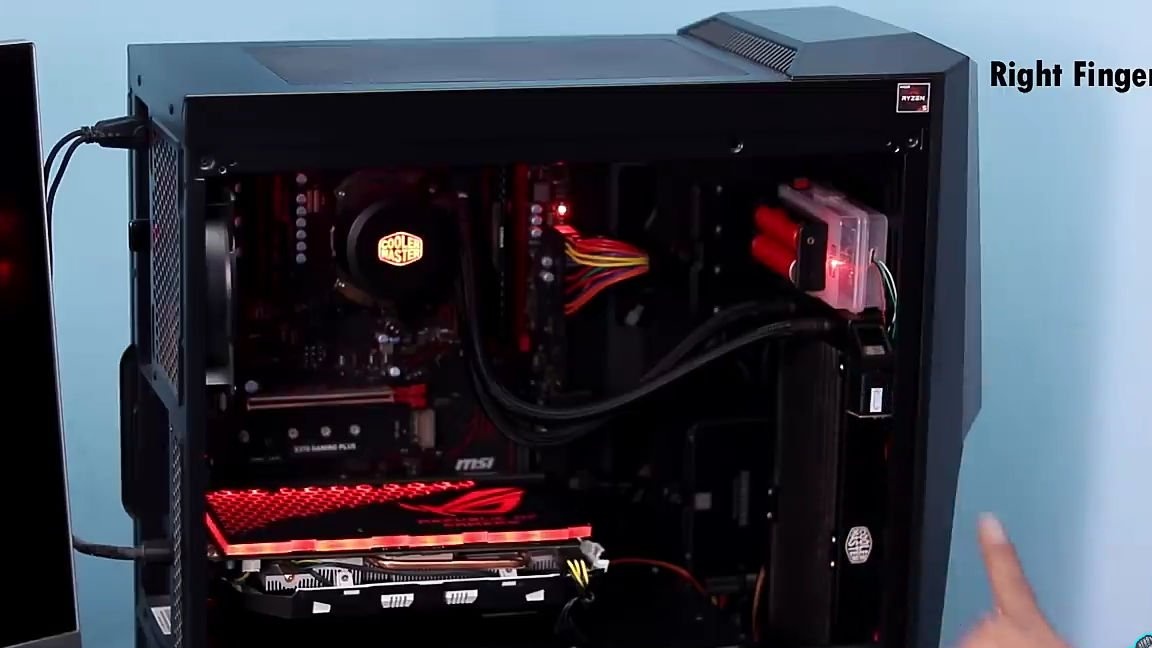
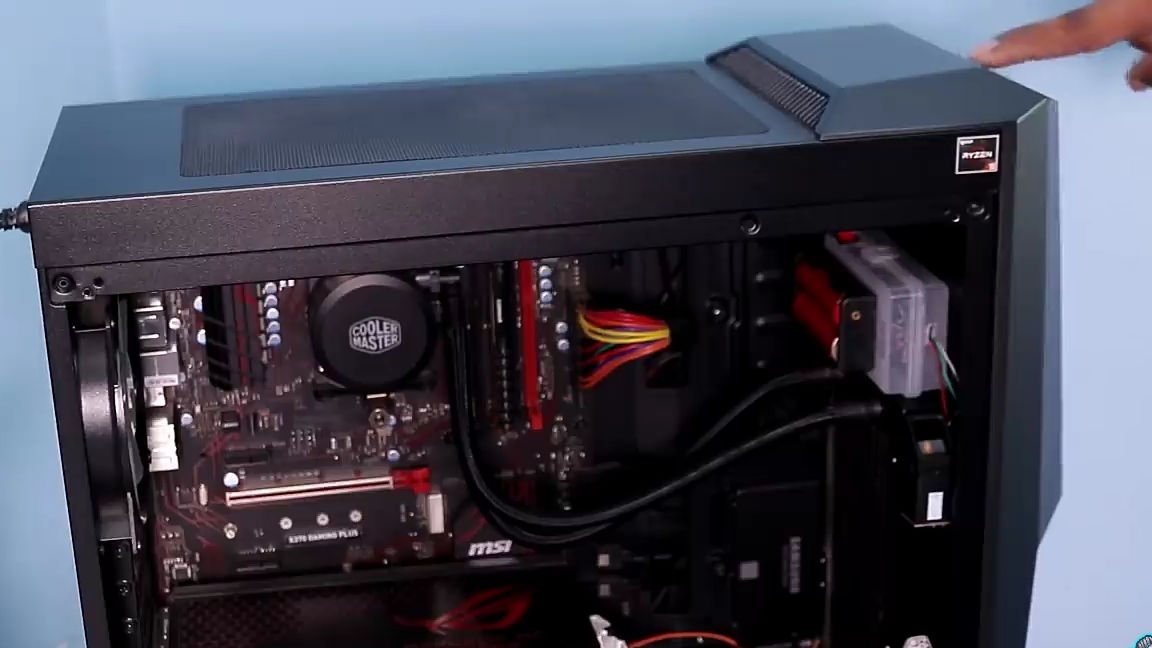
In principle, everything is ready! It remains to connect the homemade product to the PC and test the homemade product. To do this, move to the PC. If you have a new and beautiful “game” case, so to speak, and you don’t want to integrate a fingerprint scanner into it, but you still want to have such a function, you can do the same as the author of the homemade product, namely, attach the sensor itself to a double-sided tape to case.
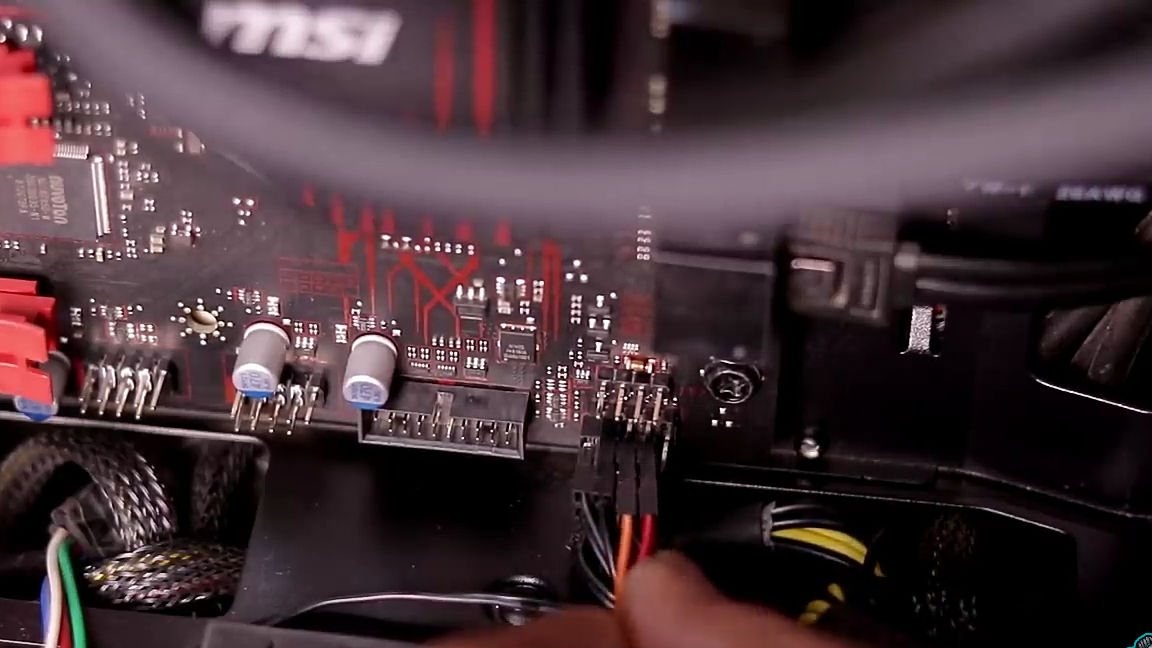
In short, remove the housing cover and glue the homemade body on double-sided tape. On the computer motherboard, we find the wires coming from the case, namely from the drive button and remove them. Instead of the removed wires, we put our wires (those from homemade ones) with the "mother" connector. We turn on the homemade product and put our finger on the fingerprint scanner, and the computer turns on. How to register a fingerprint can also be seen in the video given above.
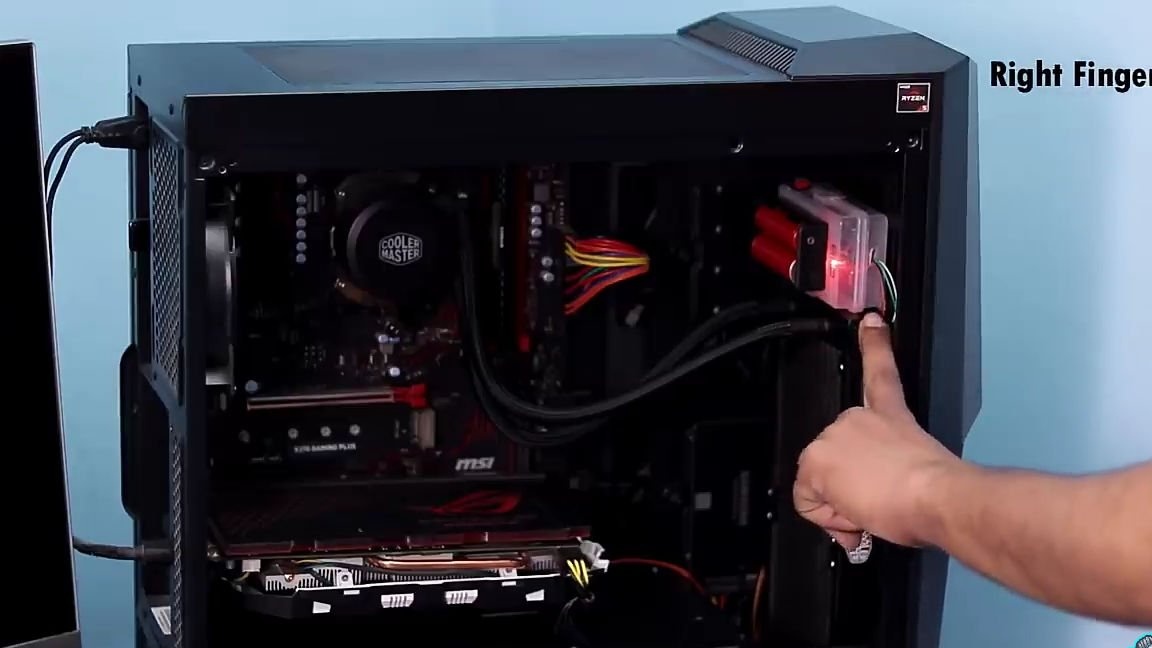
That's it! Homemade ready and tested. As a result, we got a cool button that can surprise your friends and acquaintances. It should be noted that it is advisable to turn the scanner on and off as necessary, since the battery lasts for a very long time.
You can purchase accessories that can be useful for assembling this homemade product here:
Here is a video from the author with a detailed assembly and testing of this homemade product:
Well, thank you all for your attention and good luck in future projects, friends.