
Paper cutters are divided into three main types: roller, guillotine and saber. It is the manufacture of the cutter of the latter type that we will consider in this material.
Tools and materials:
-Boards;
-Metal corner;
-Old hacksaw;
-Plywood;
-Capacity;
-Water;
-Lemon acid;
-Brush;
-Roulette;
-Pencil;
-Hacksaw;
-Vise;
-Drill;
-Screwdriver;
-Fasteners;
-Milling machine;
-Manual frezer;
- Joiner's glue;
-USHM;
Cutting disc;
- Petal disc;
- Clamps;
-Tape grinding machine;
- Sharpening machine;
-Metal ruler;
-Chisel;
- Hacksaw for metal;
-Aluminum profile;
-Wooden ruler;
-Gon;
-Stationery knife;
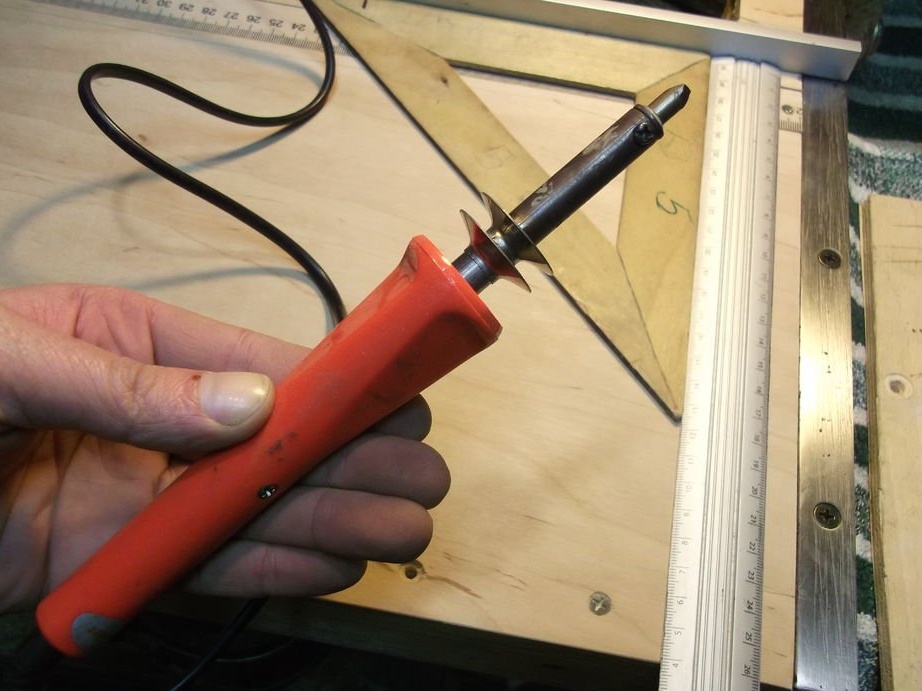
- Burner for wood or soldering iron;
-Protractor;
-Varnish furniture;
-Retail;
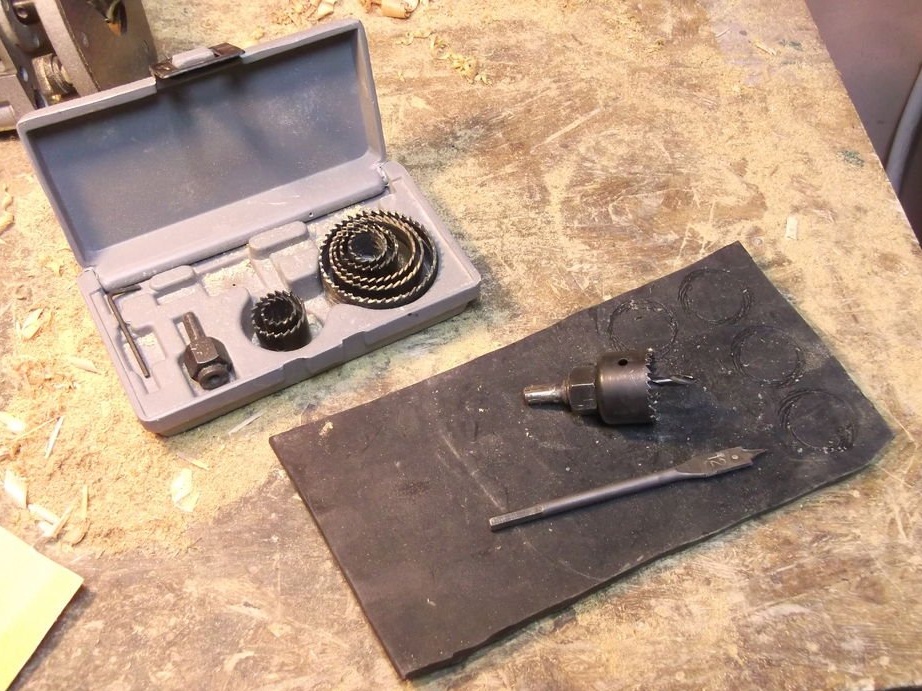
-Crowns on wood;
-Drilling machine;
- Feather drill;
-Rubber;
-Olyfa;
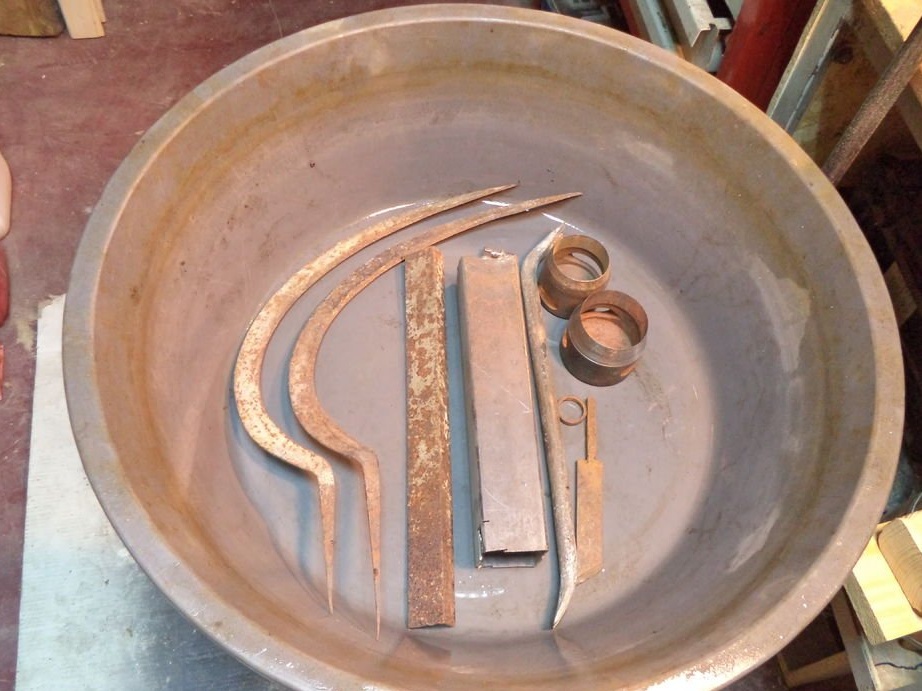
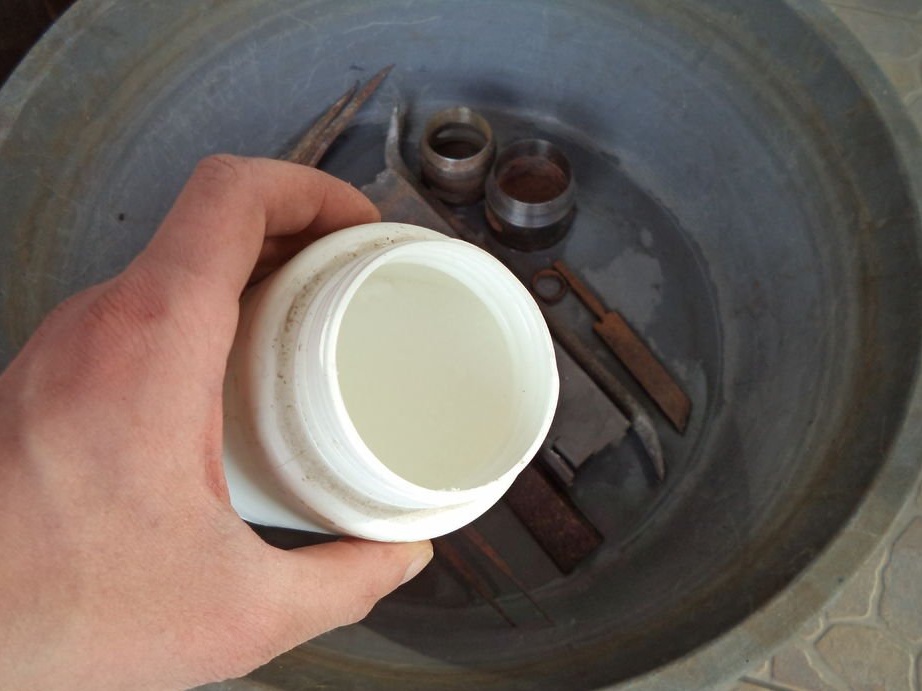
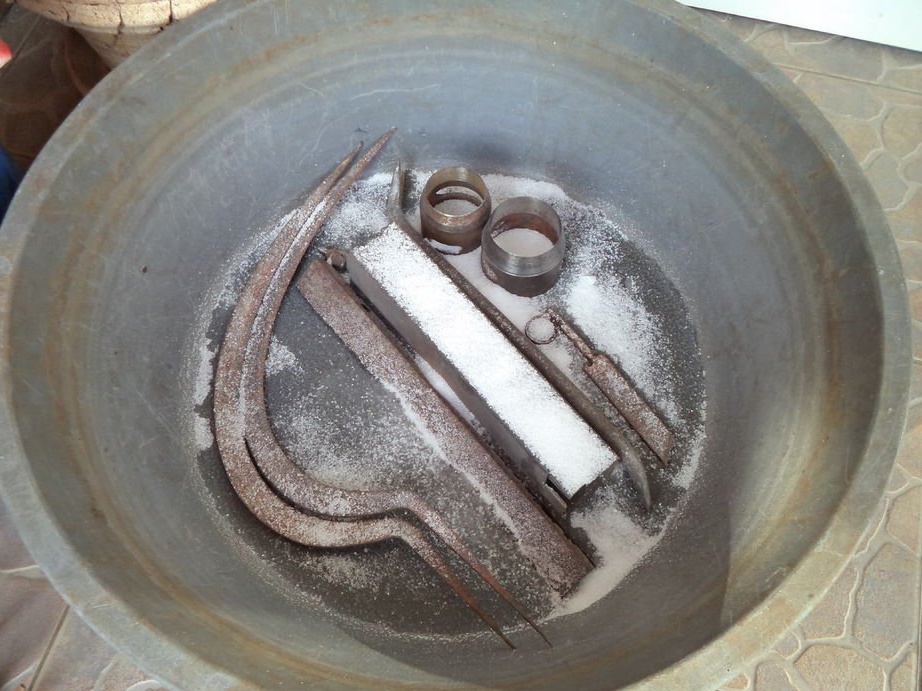
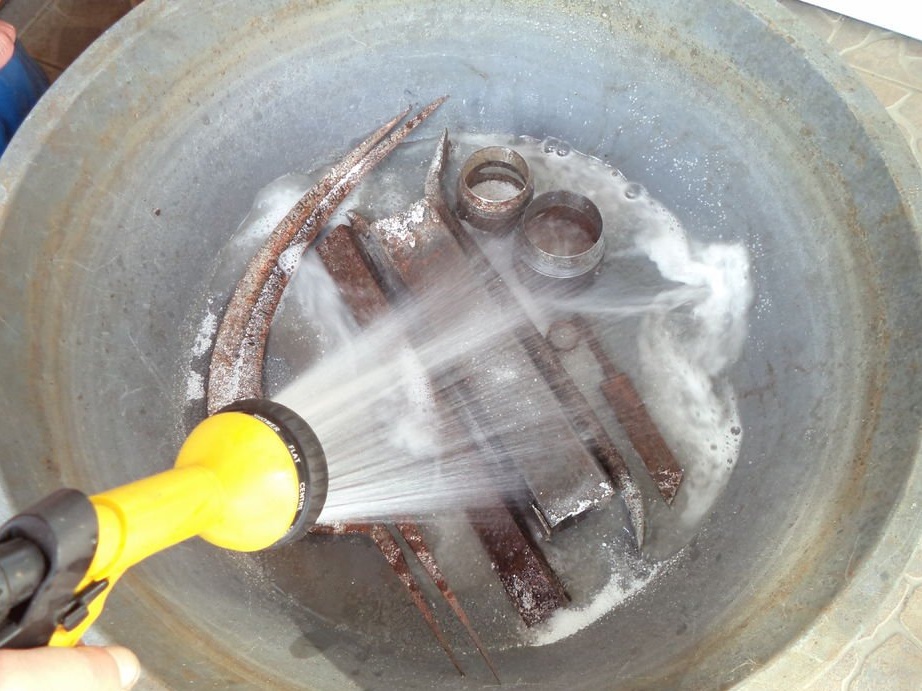
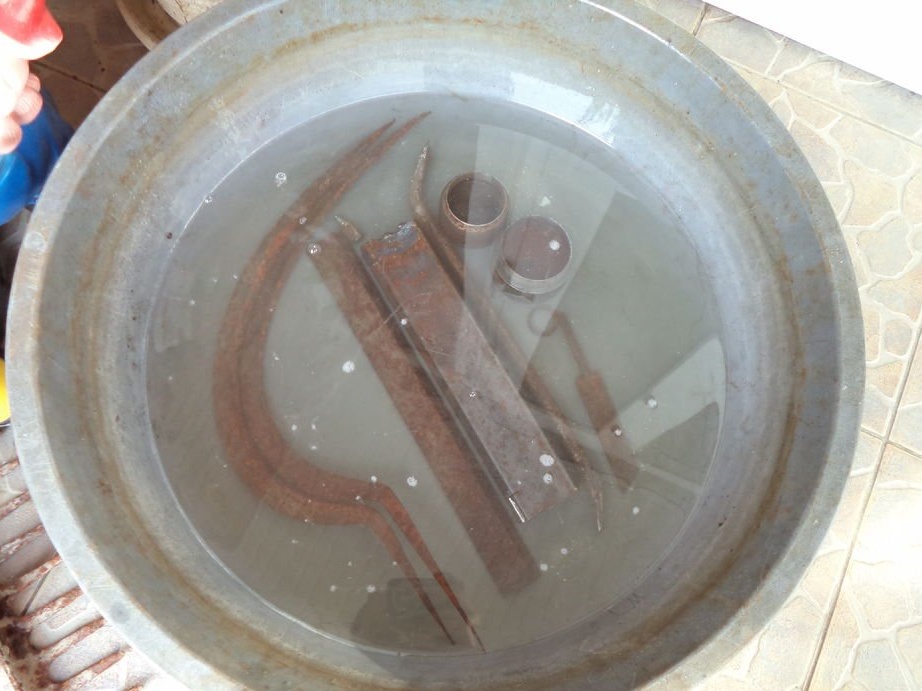
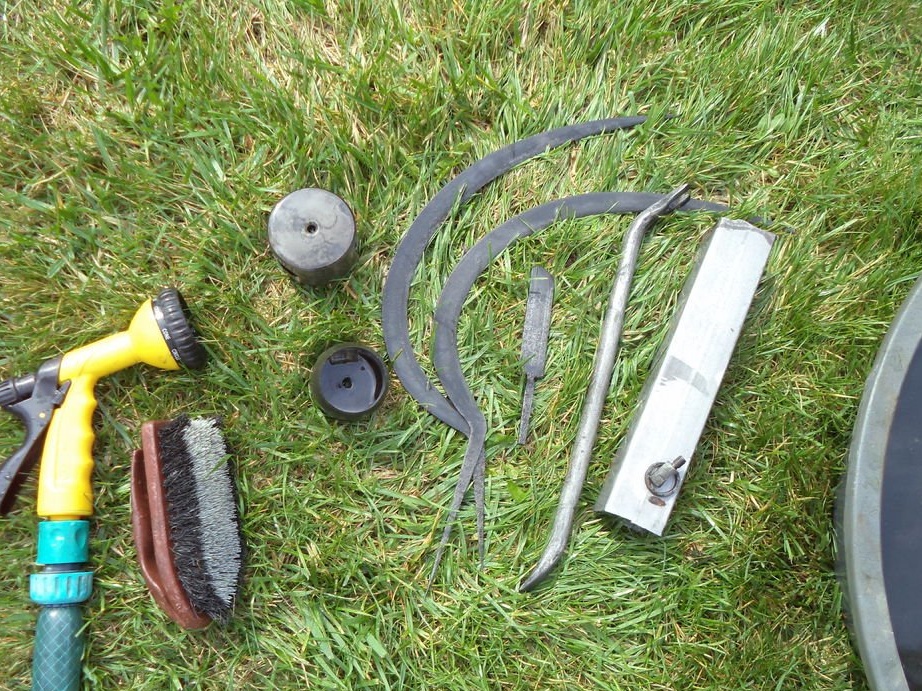
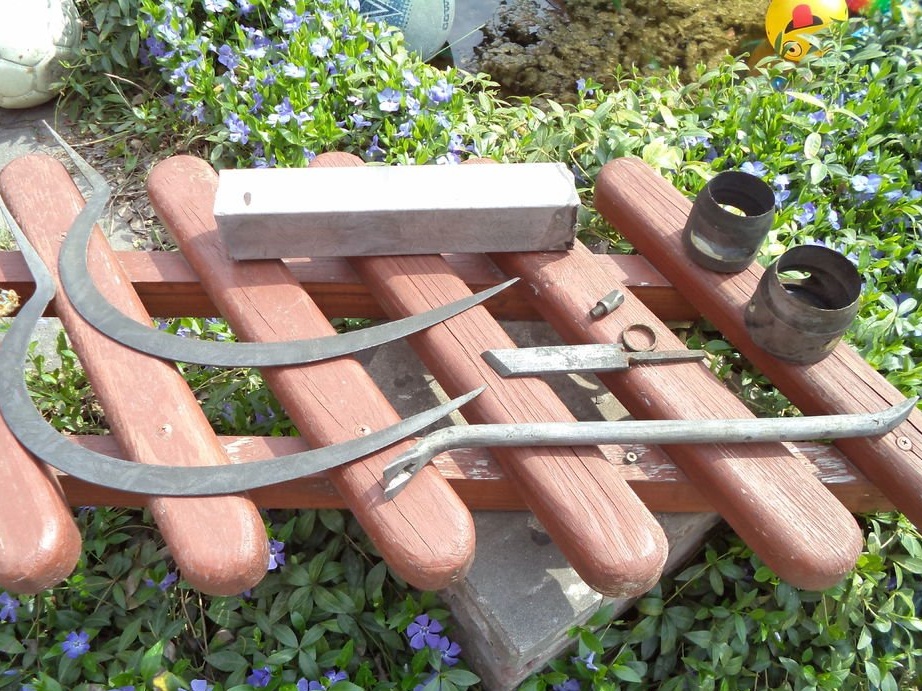
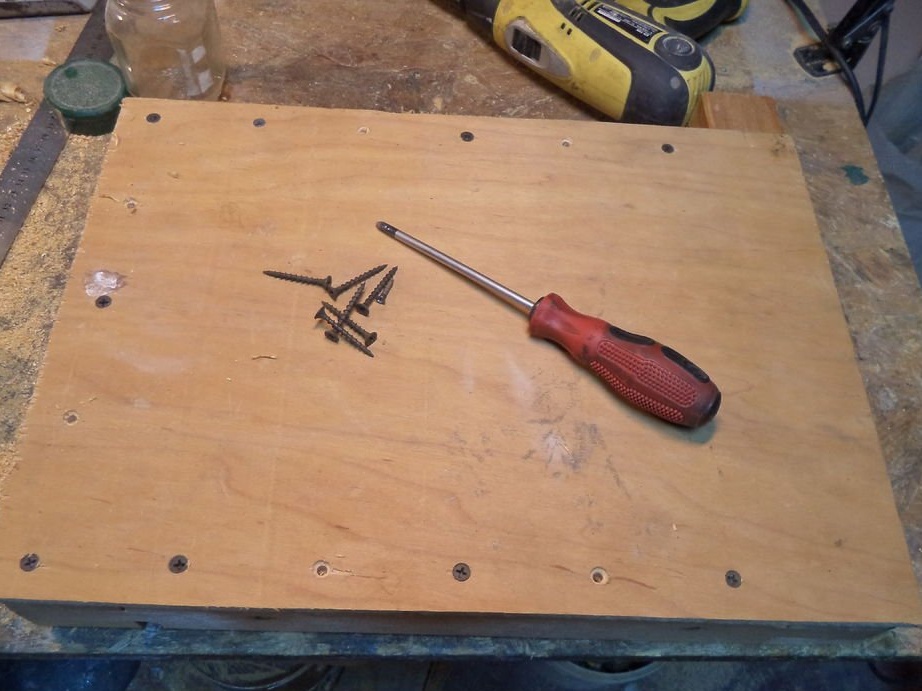
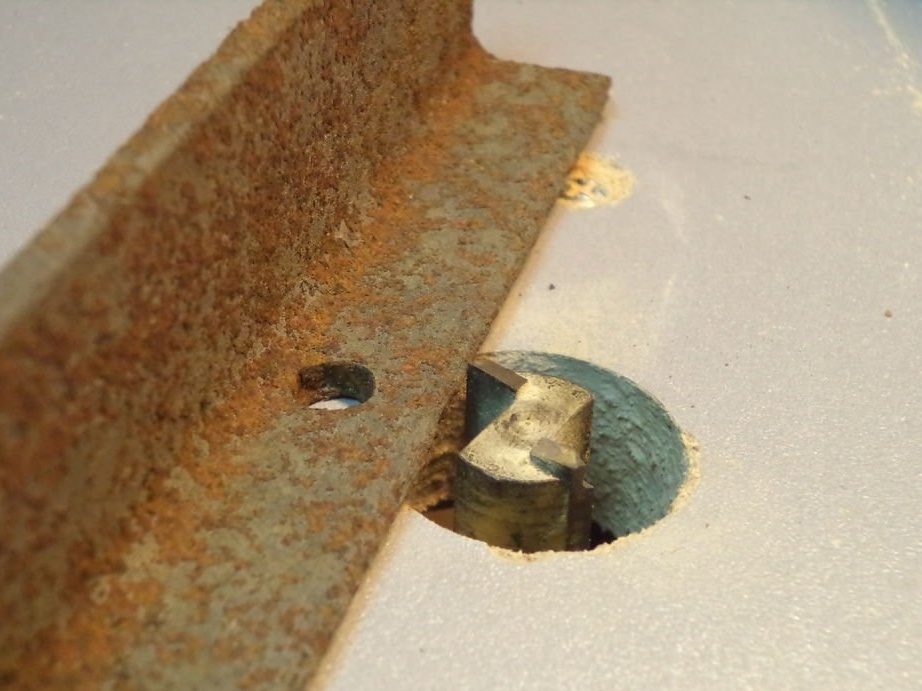
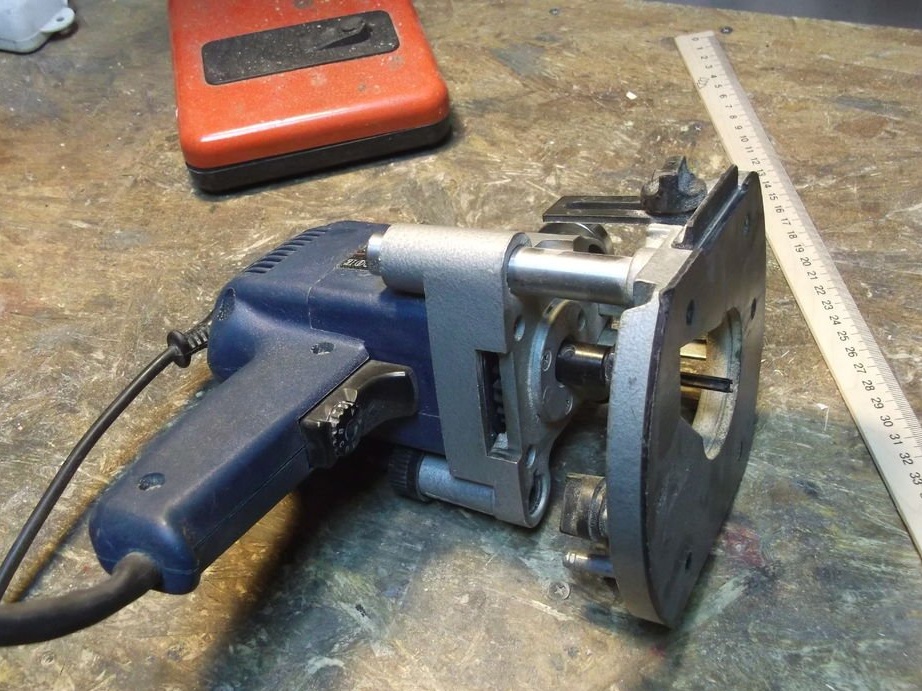
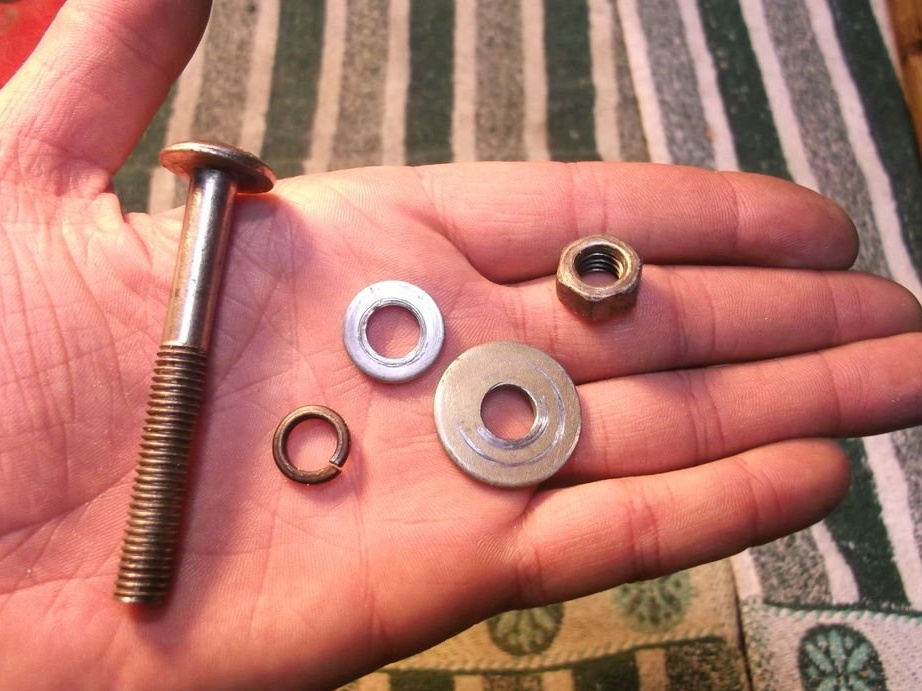
Step One: Cleaning Metal Parts
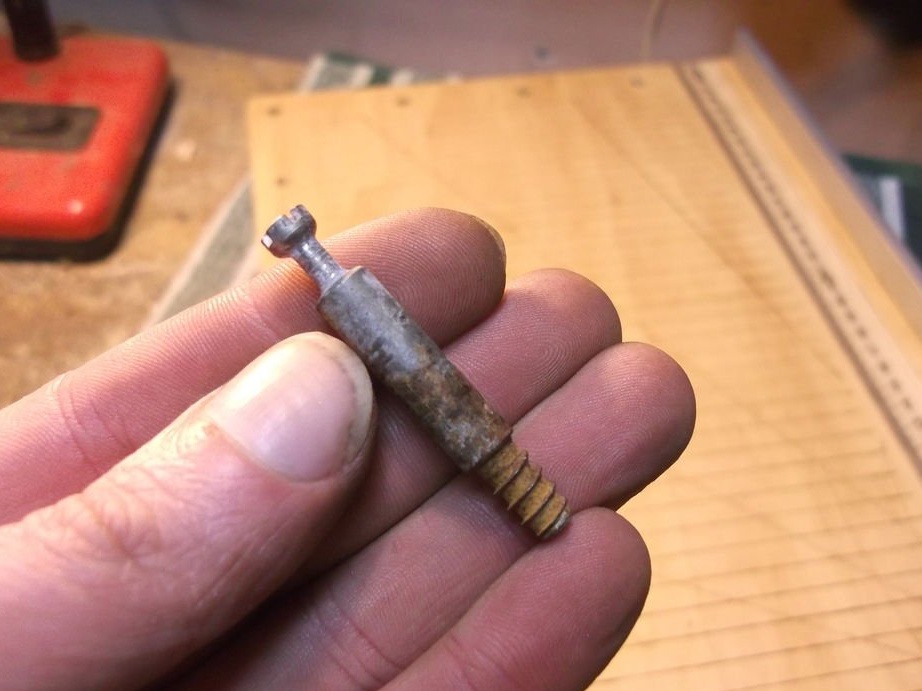
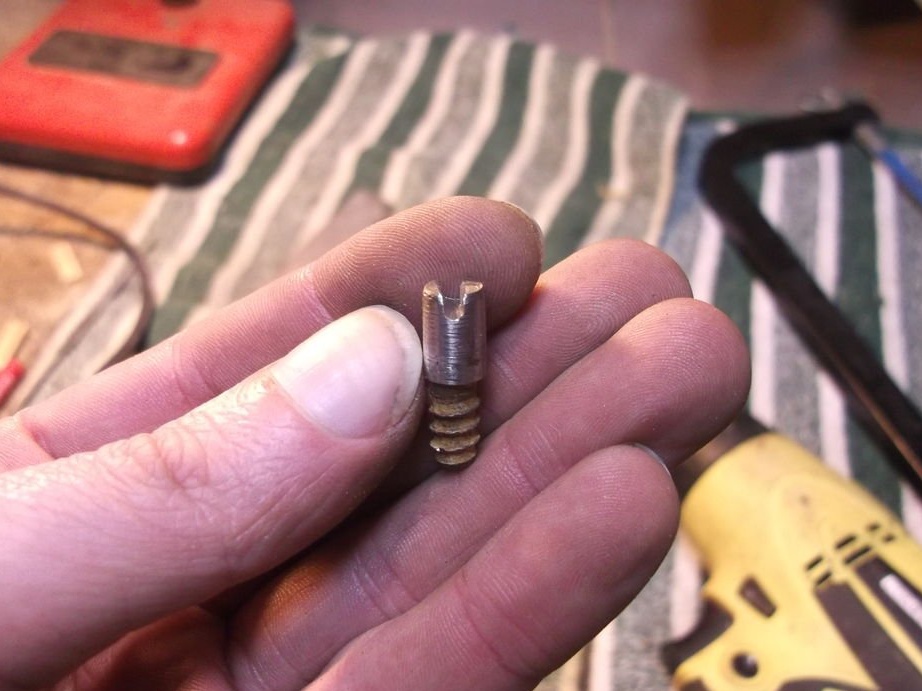
In his homemade the craftsman uses several old rust-coated metal parts. To clean the parts, he places them in a container, fills them with water and stirs citric acid in the water. After a few days, the acid will corrode the rust and the parts will need to be brushed and rinsed.
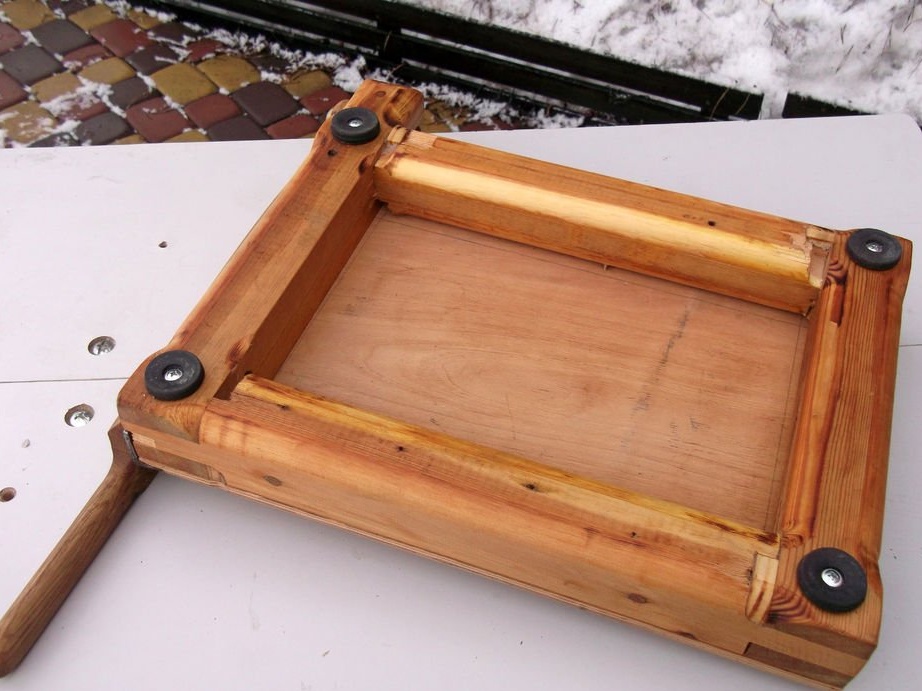
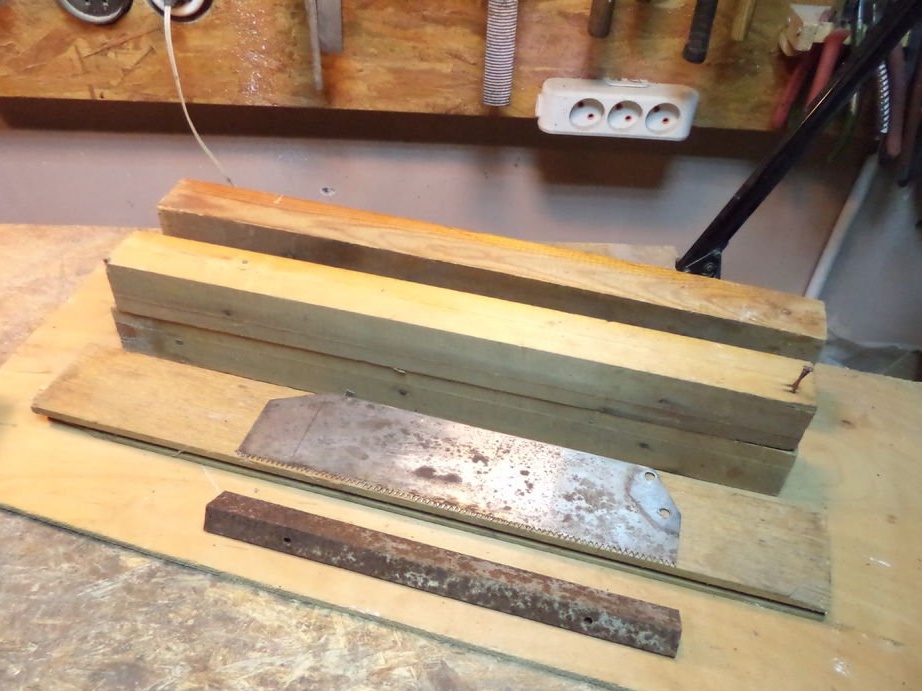
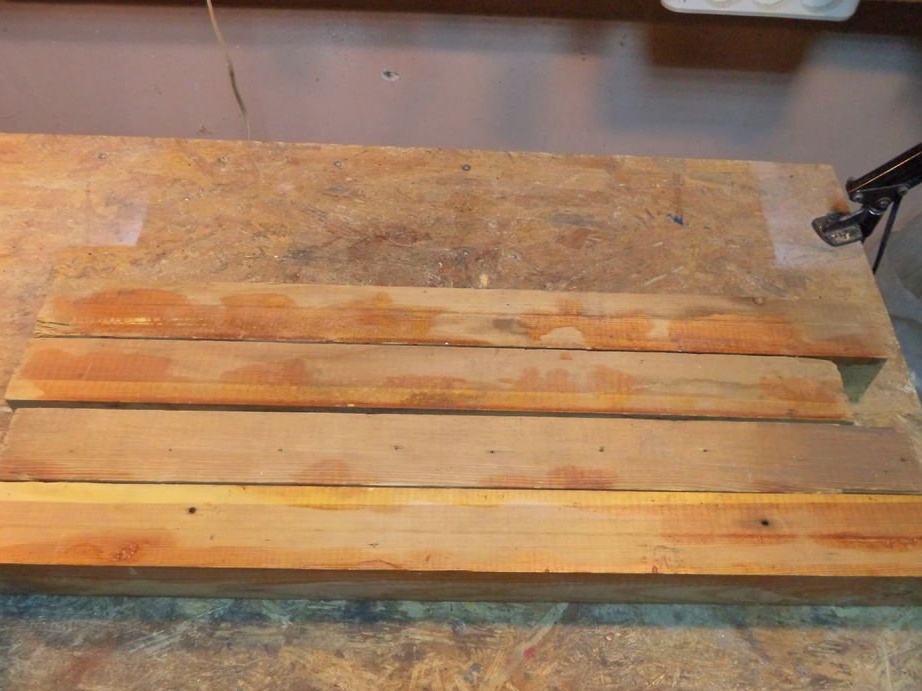
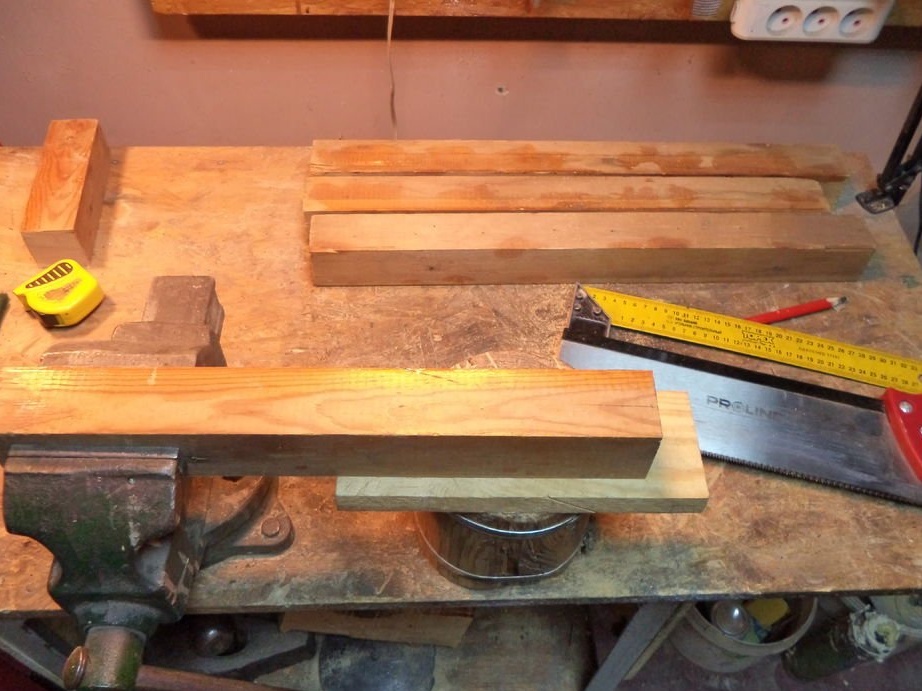
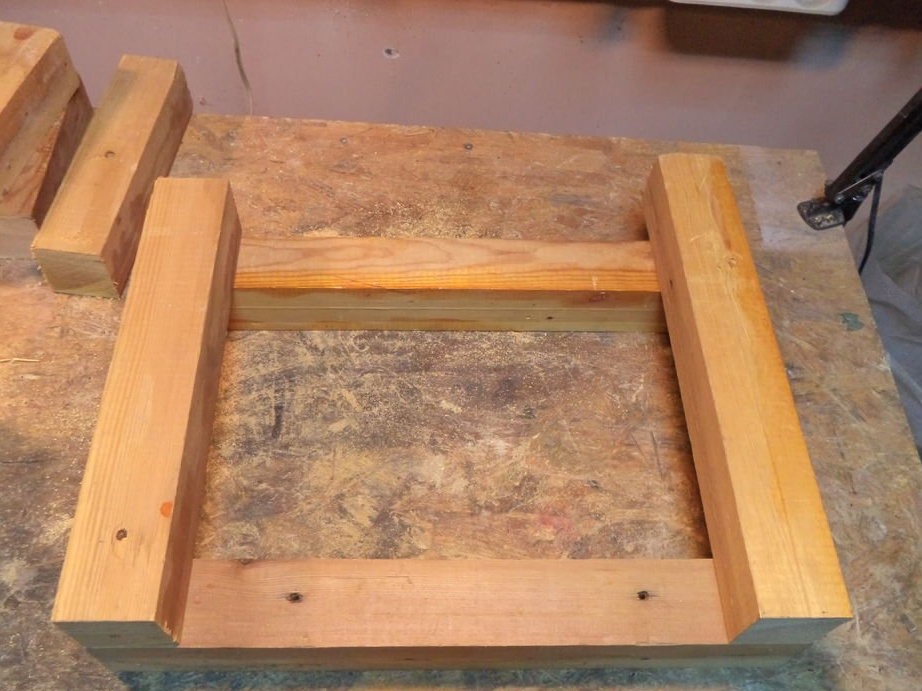
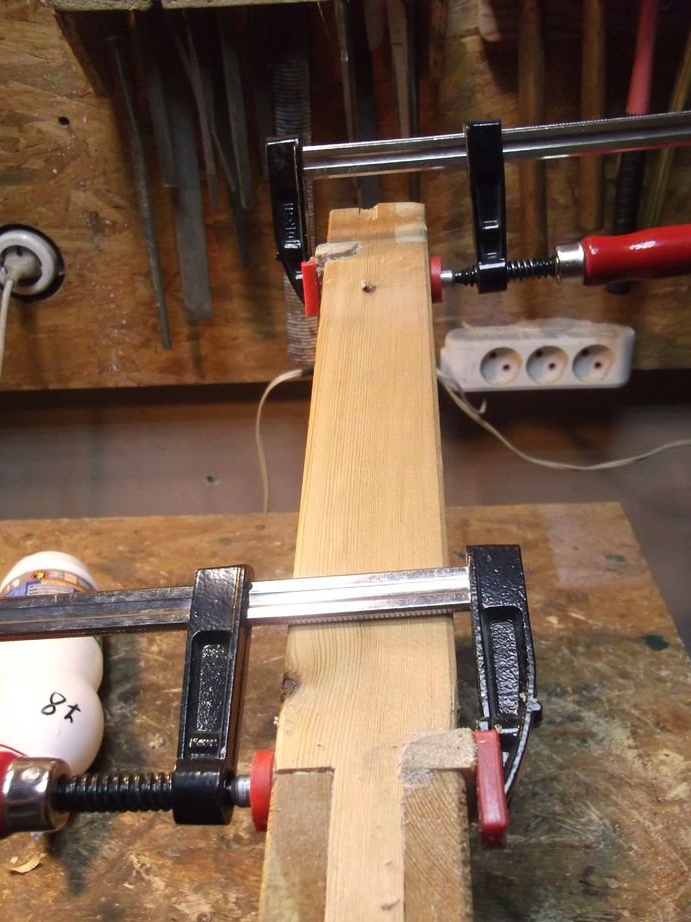
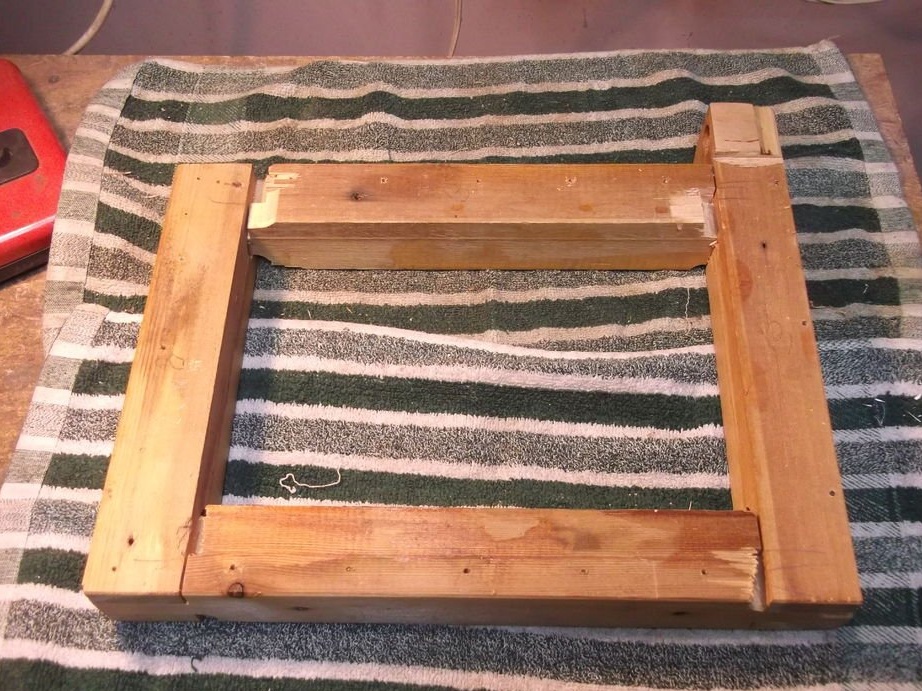
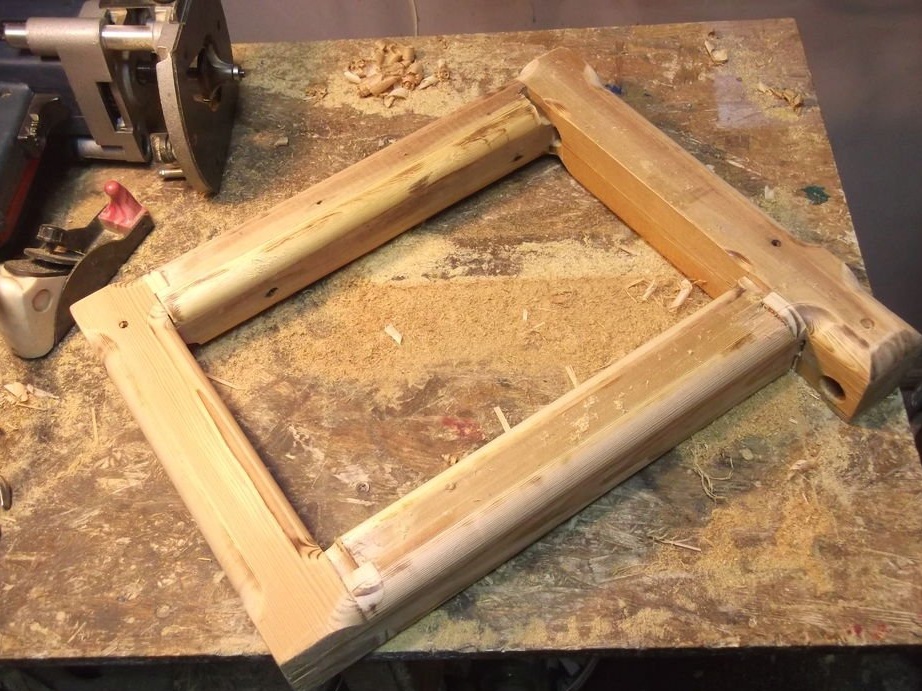
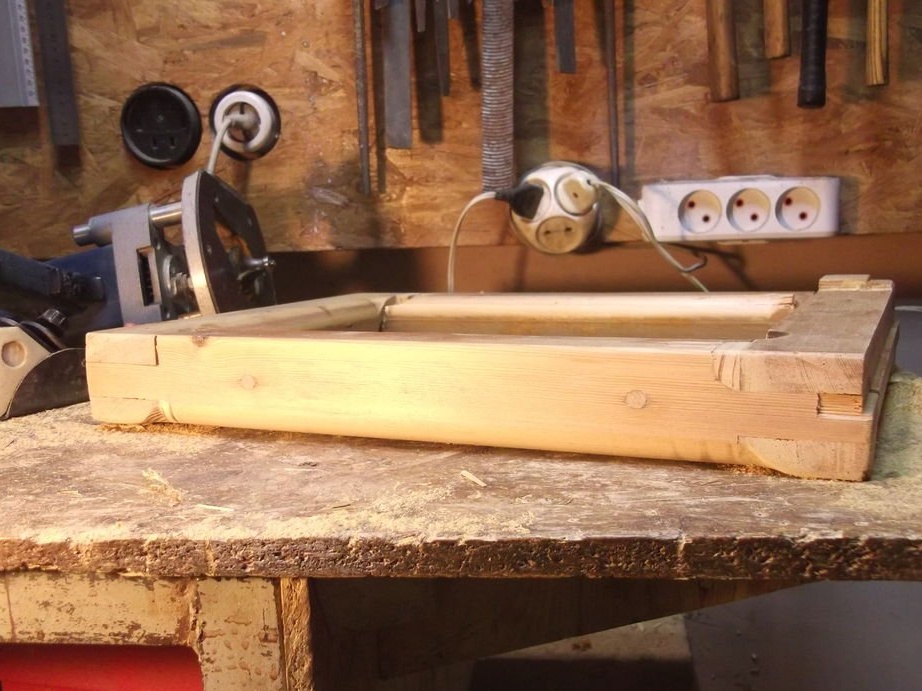
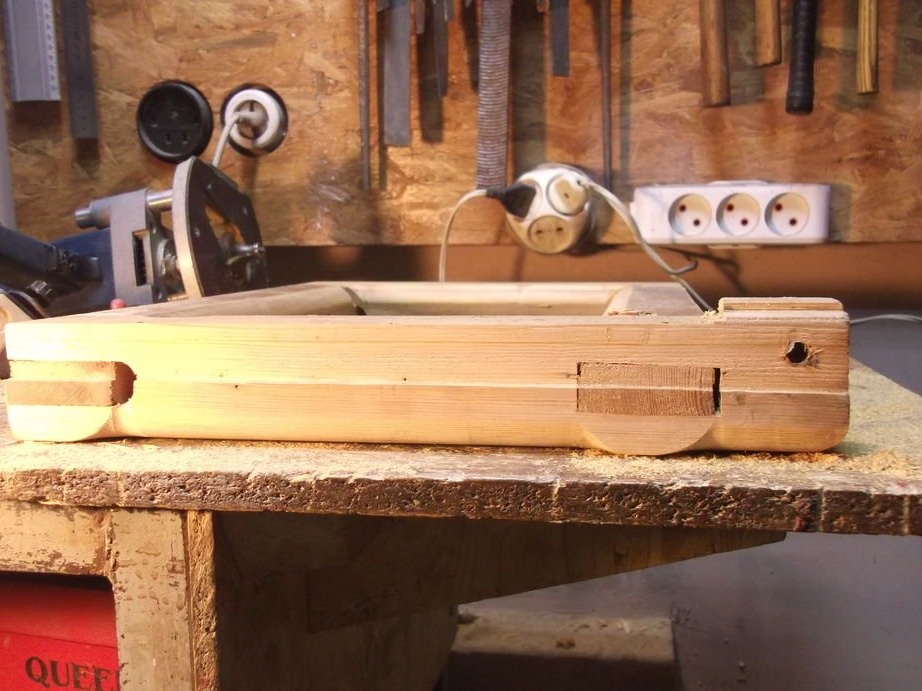
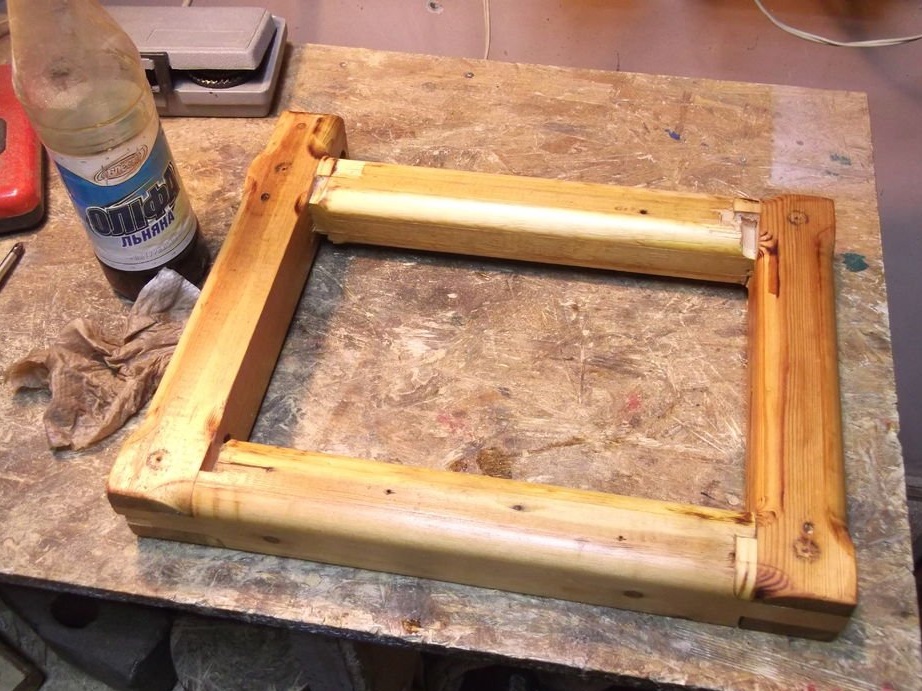
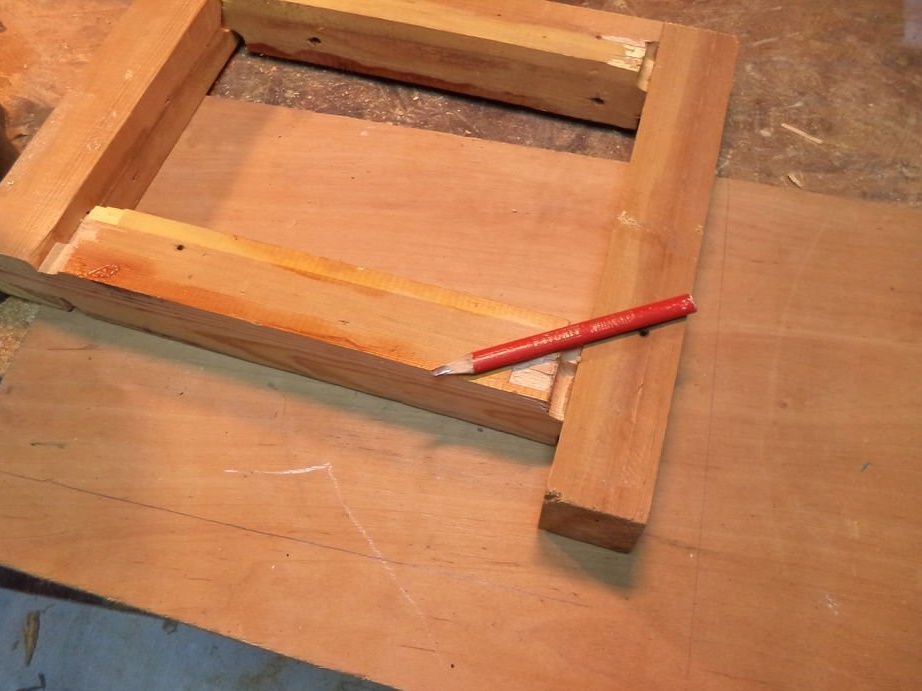
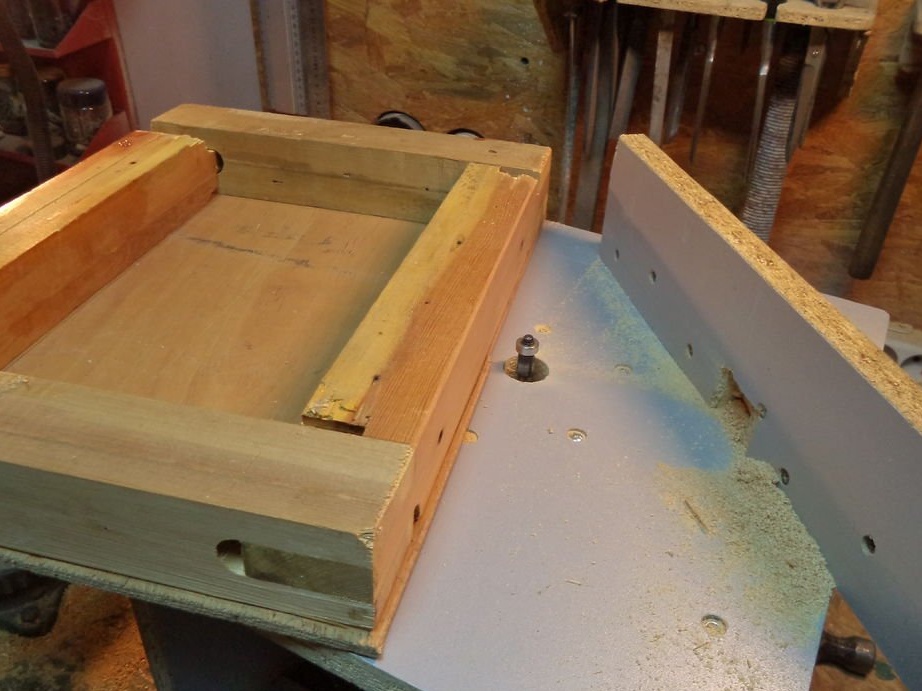
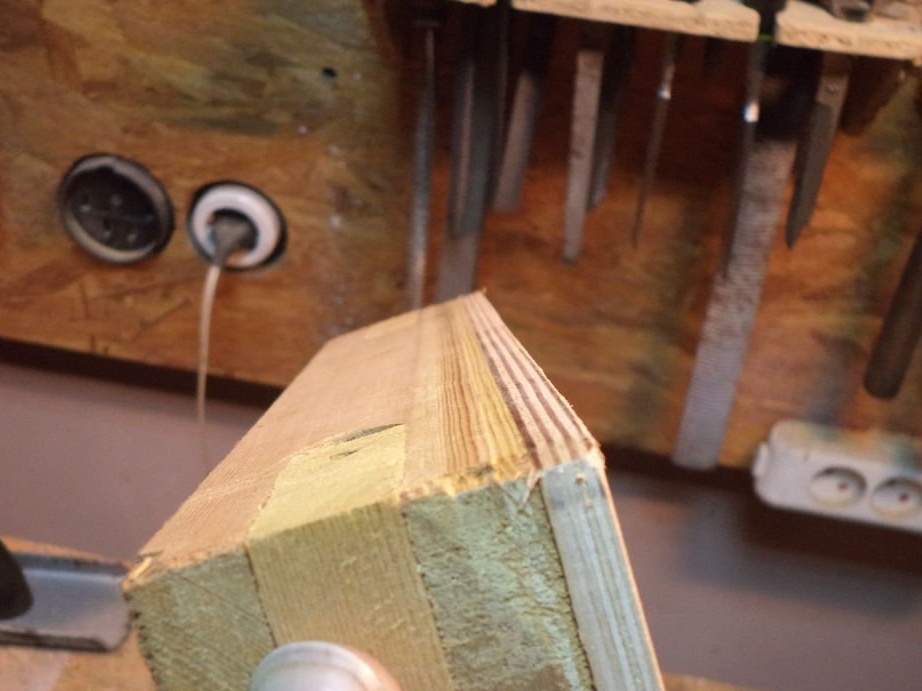
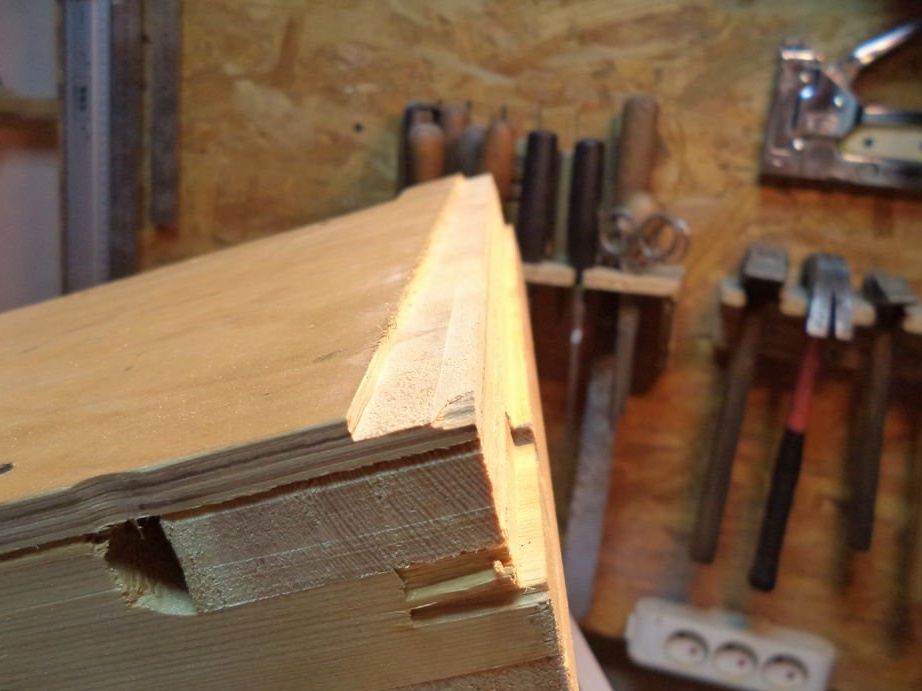
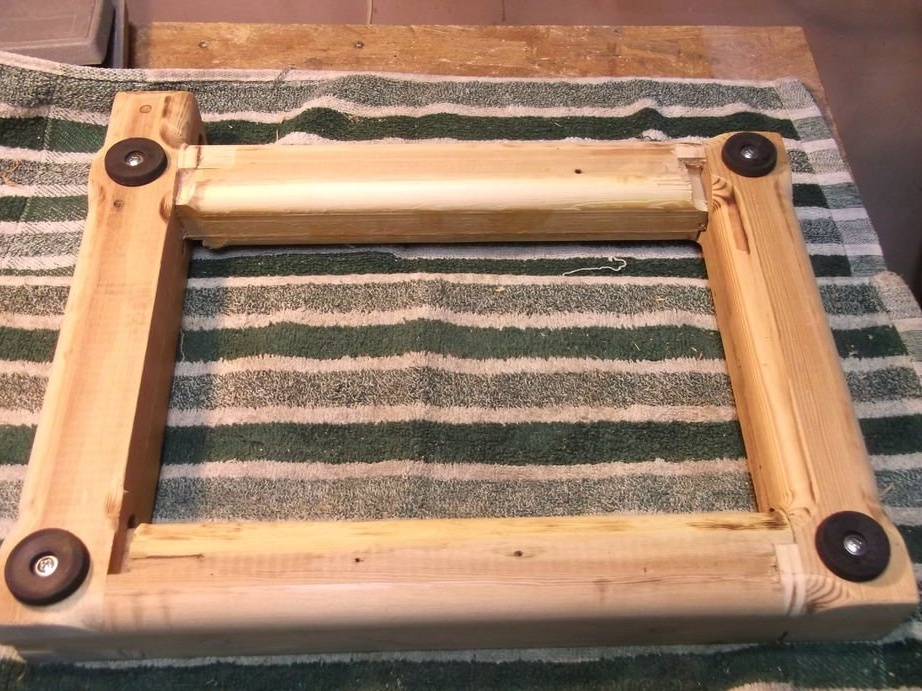
Step Two: Frame
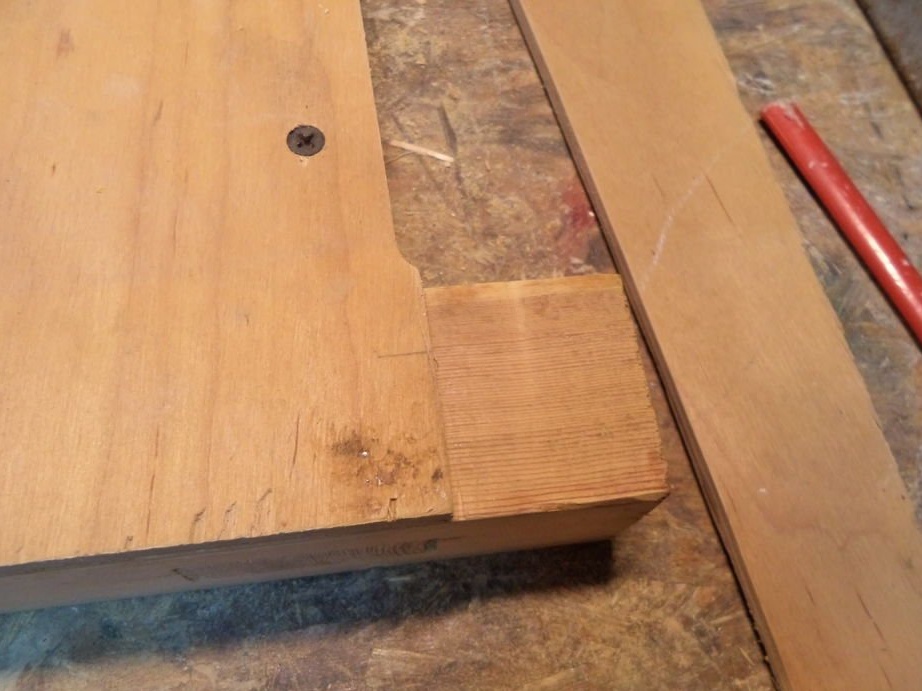
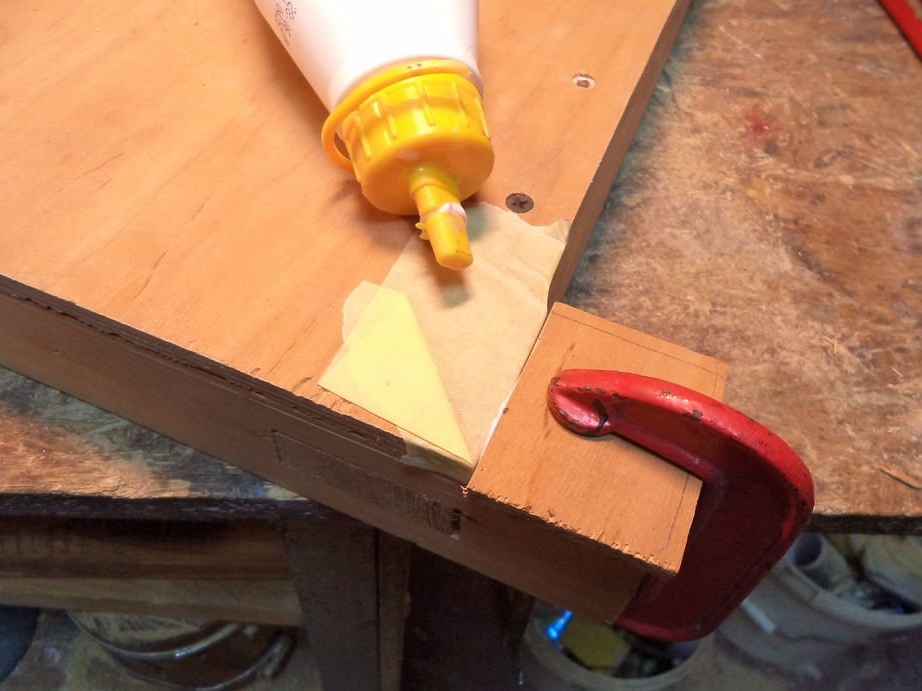
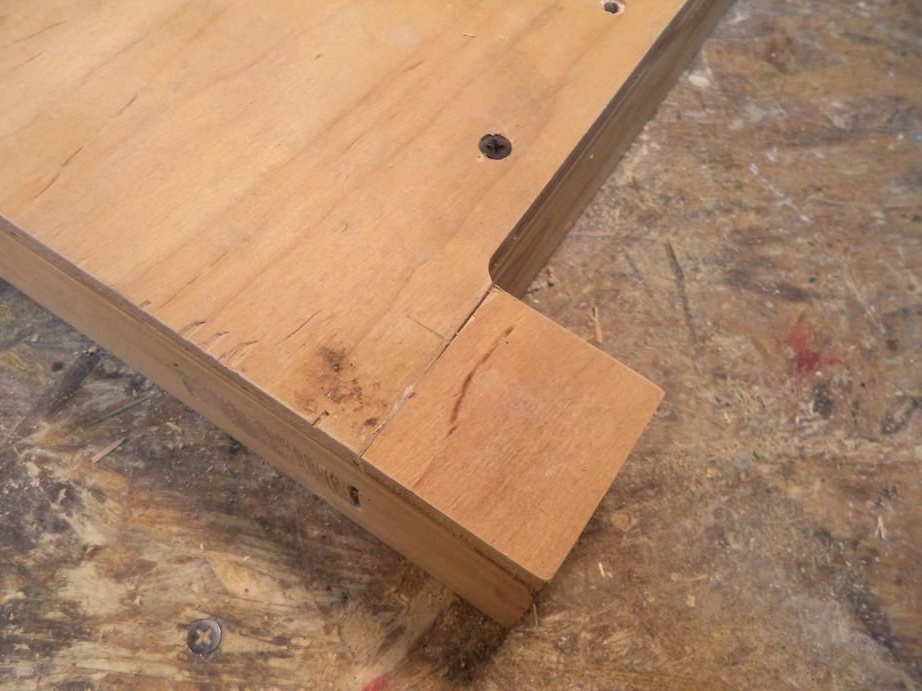
The frame is made of four bars. The frame size is larger than A4. One bar protrudes beyond the frame, a knife will be fixed on it. The bars are connected in a groove-tongue manner and fixed with carpentry glue and screws. The tongue-and-groove joints are made using a milling machine.

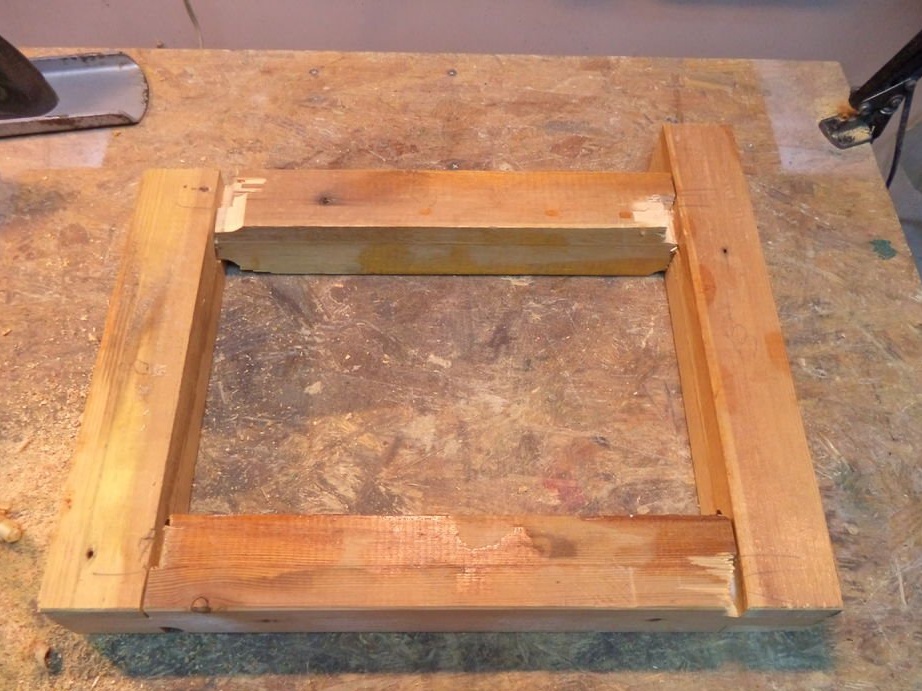
He worked the corners and polished the frame.
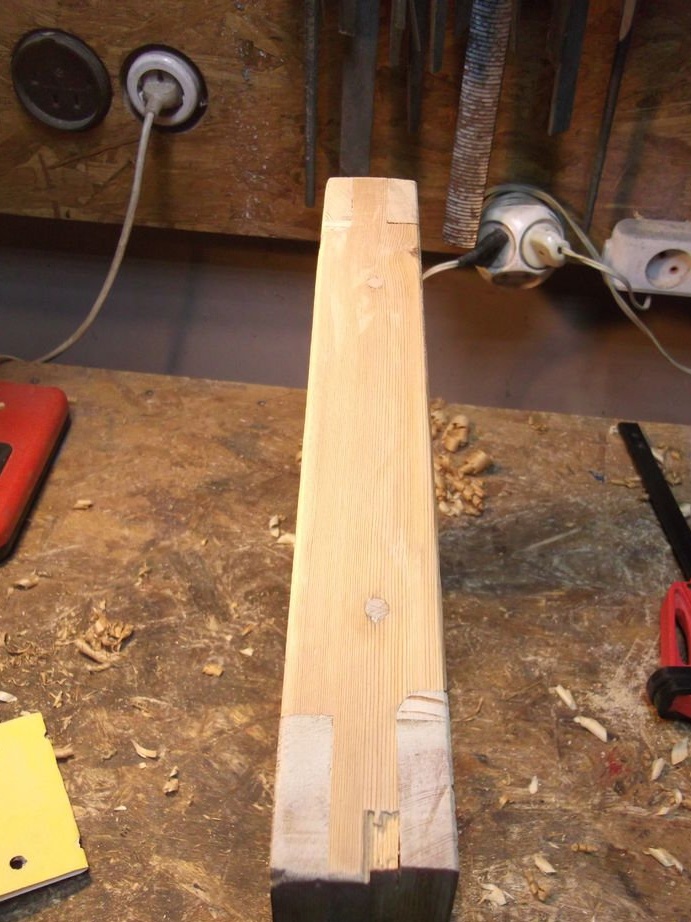
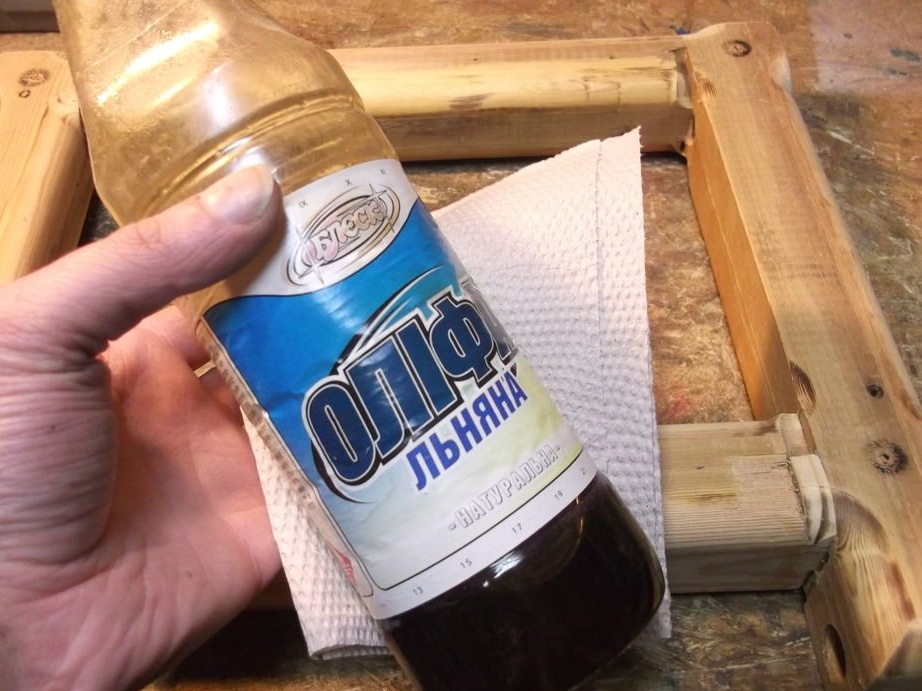
Covered with drying oil.
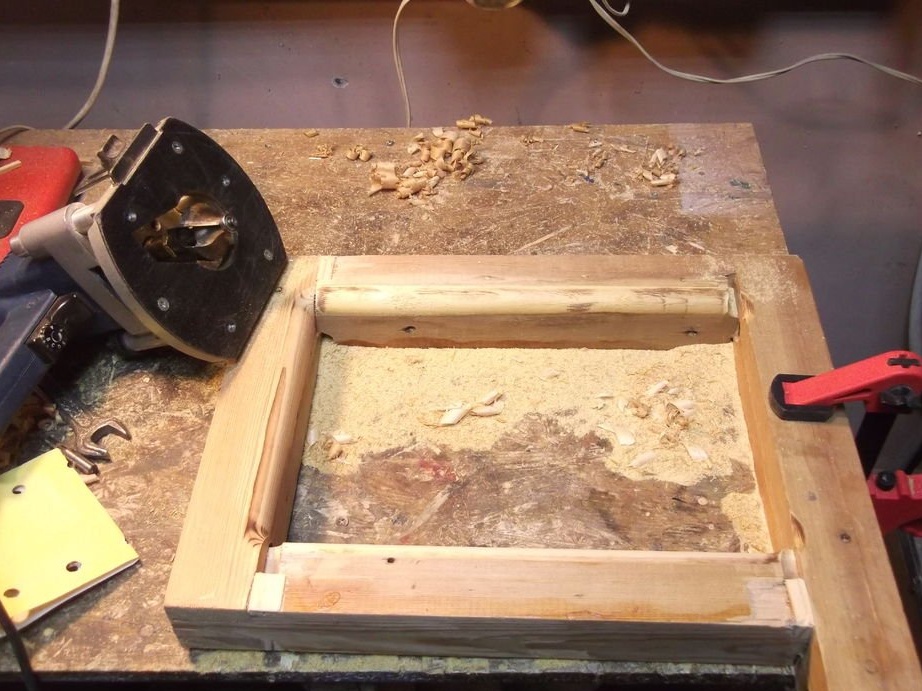
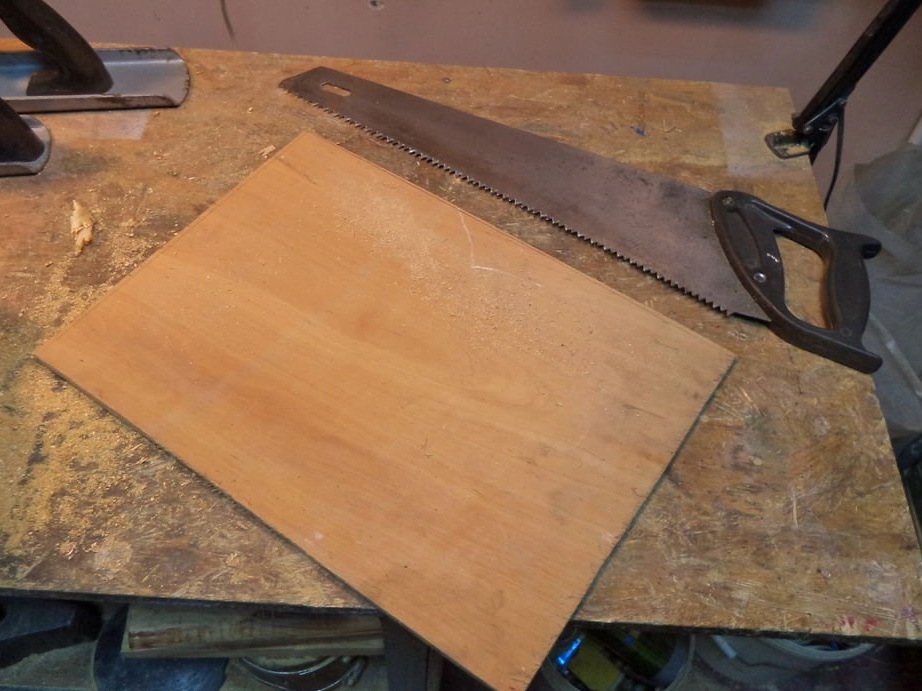
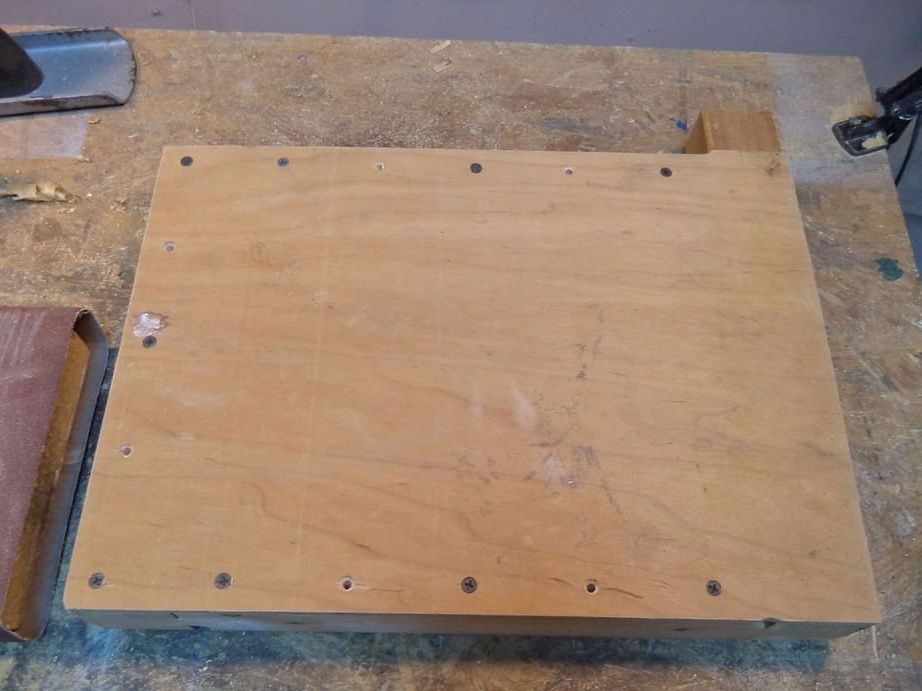
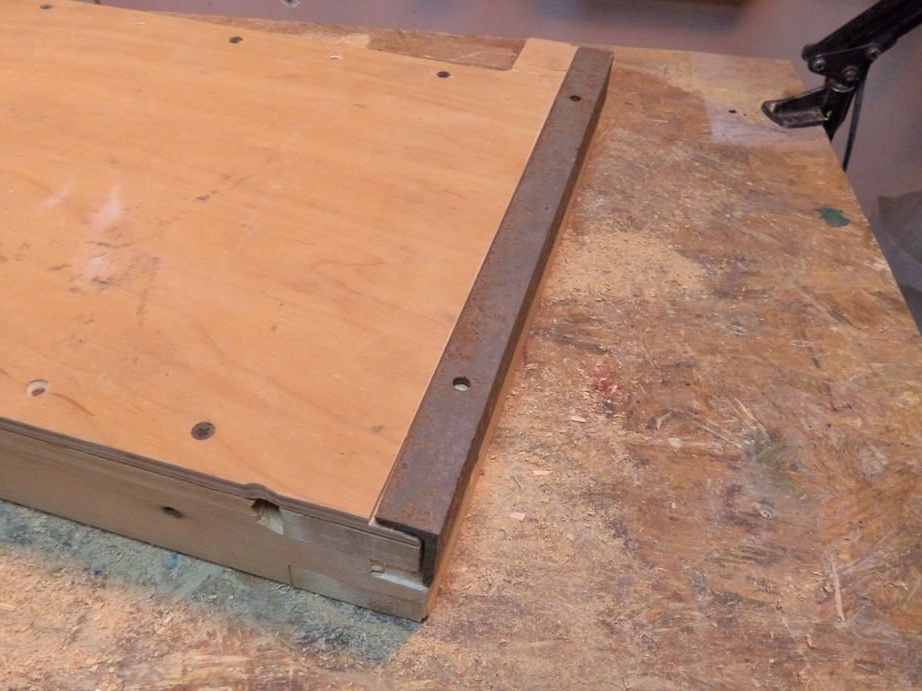
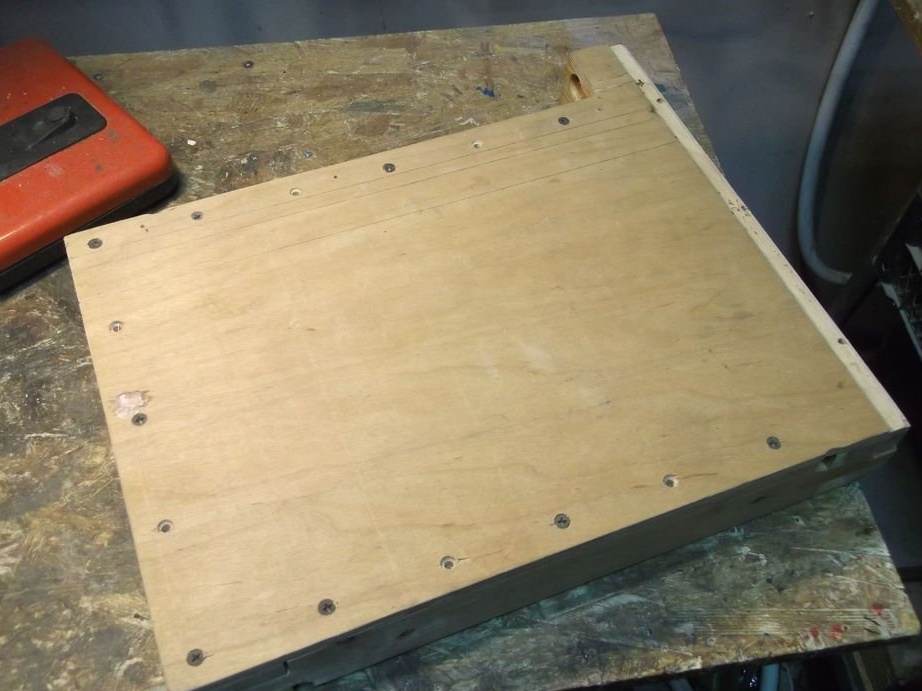
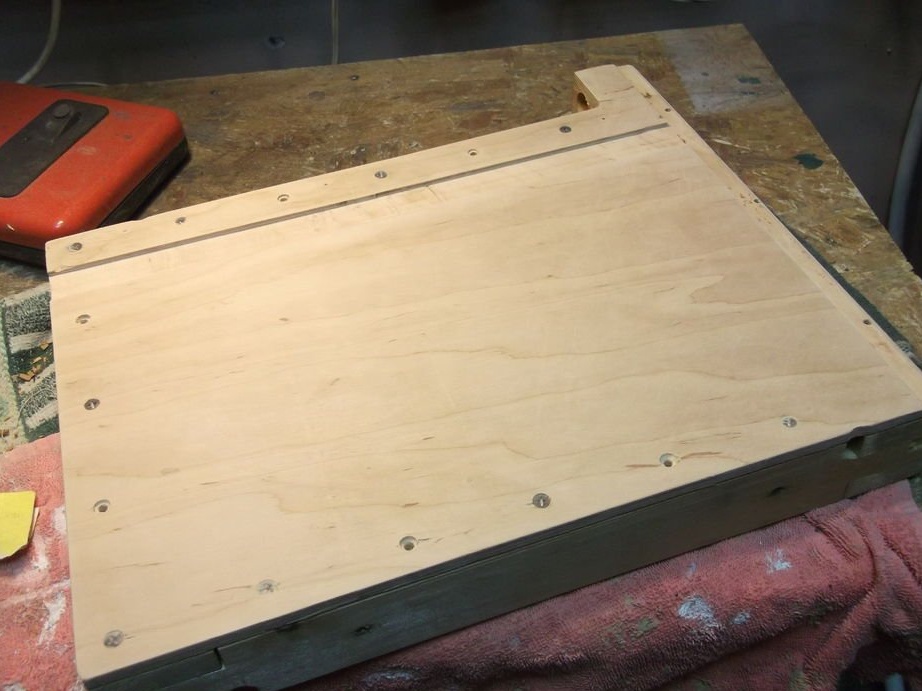
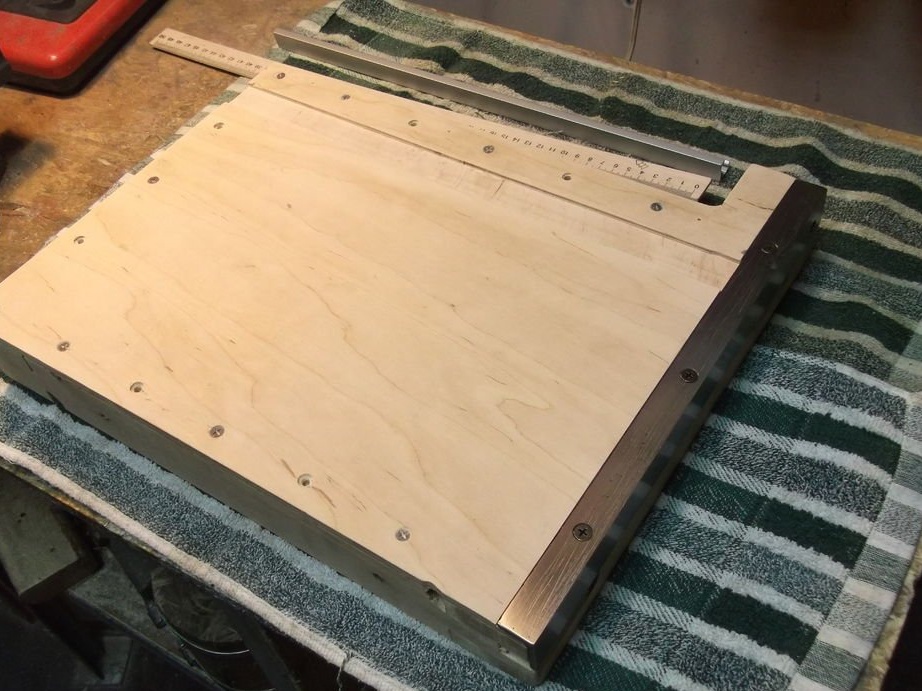
Step Three: Desktop
The working surface of the table is made of plywood 6 mm thick. Plywood is screwed to the frame with screws.
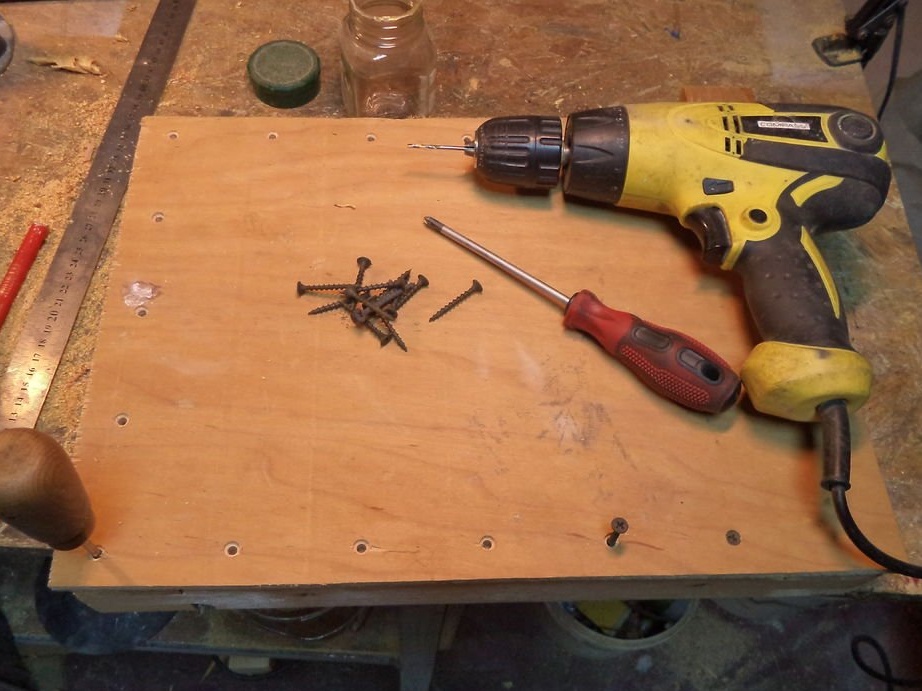
The plywood is screwed and the master mills the edge of the desktop.
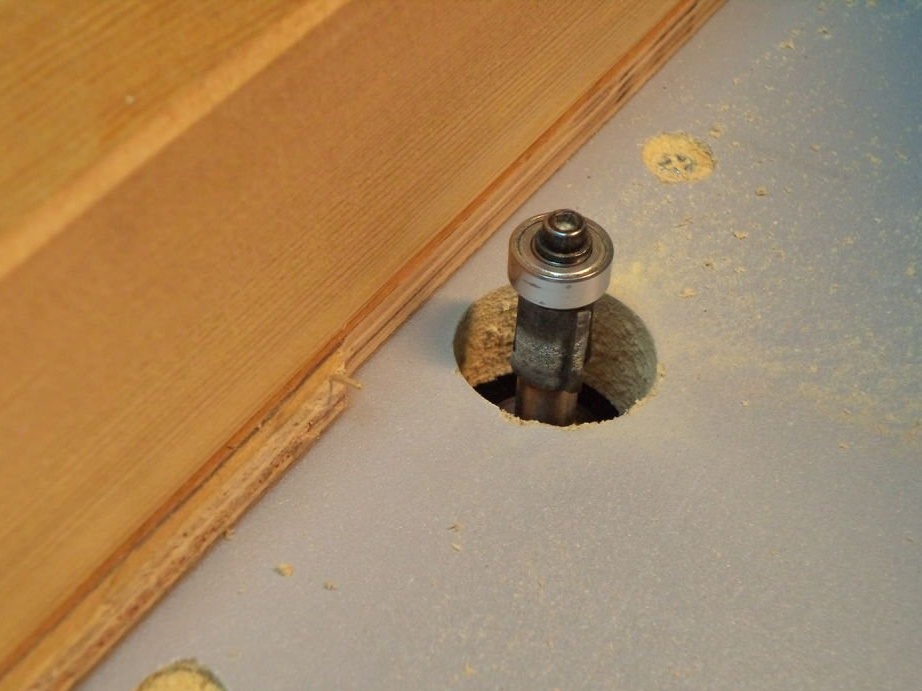
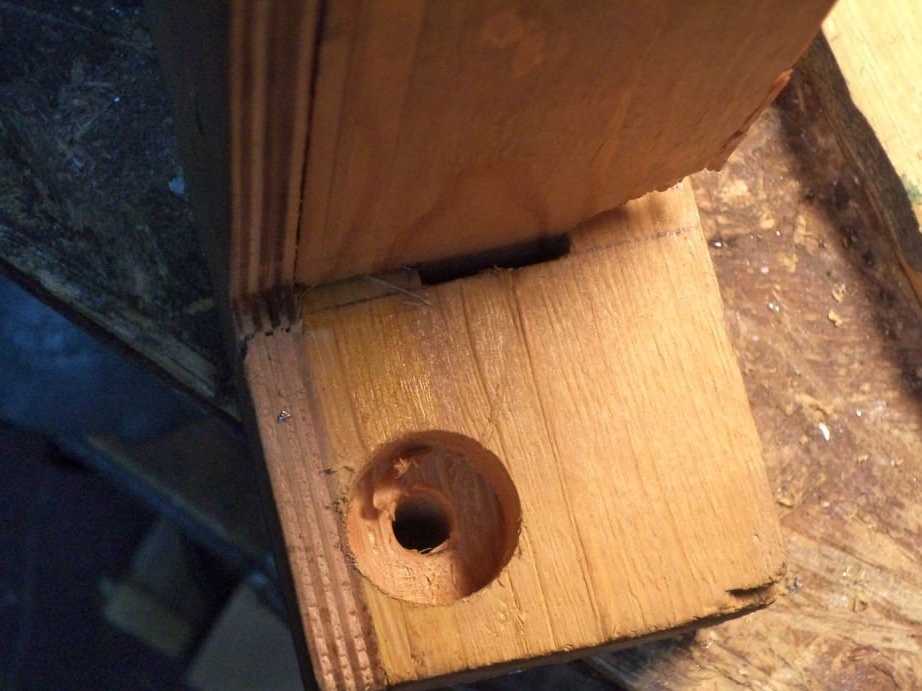
On the protruding part of the frame glues a plywood pad.
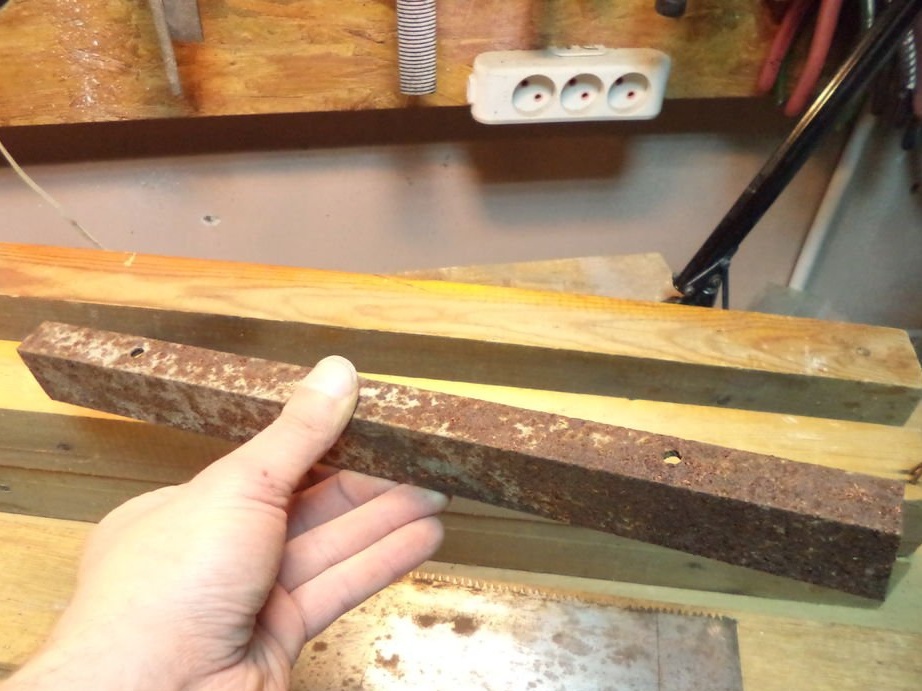
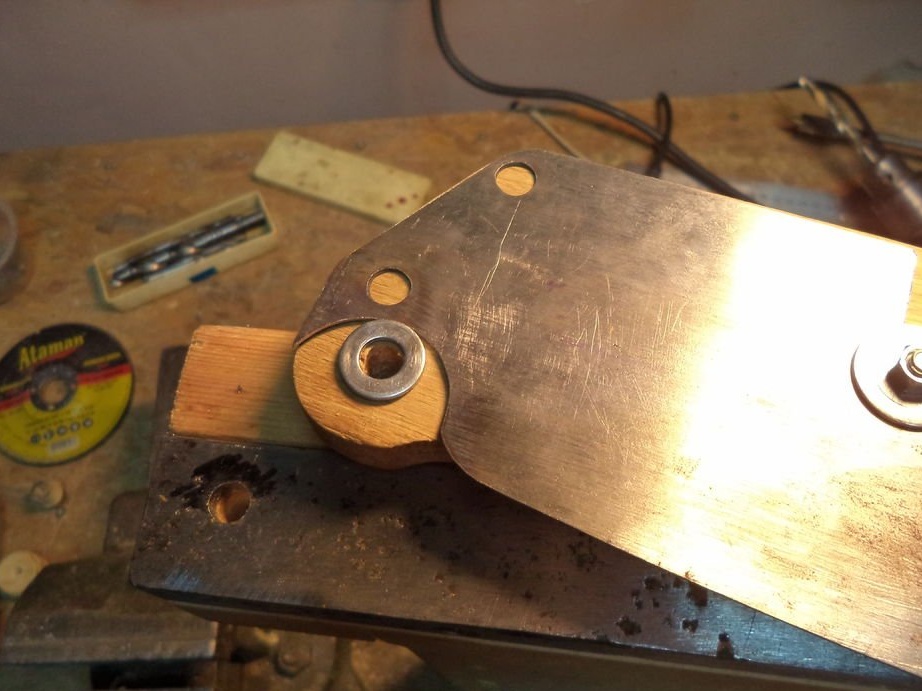
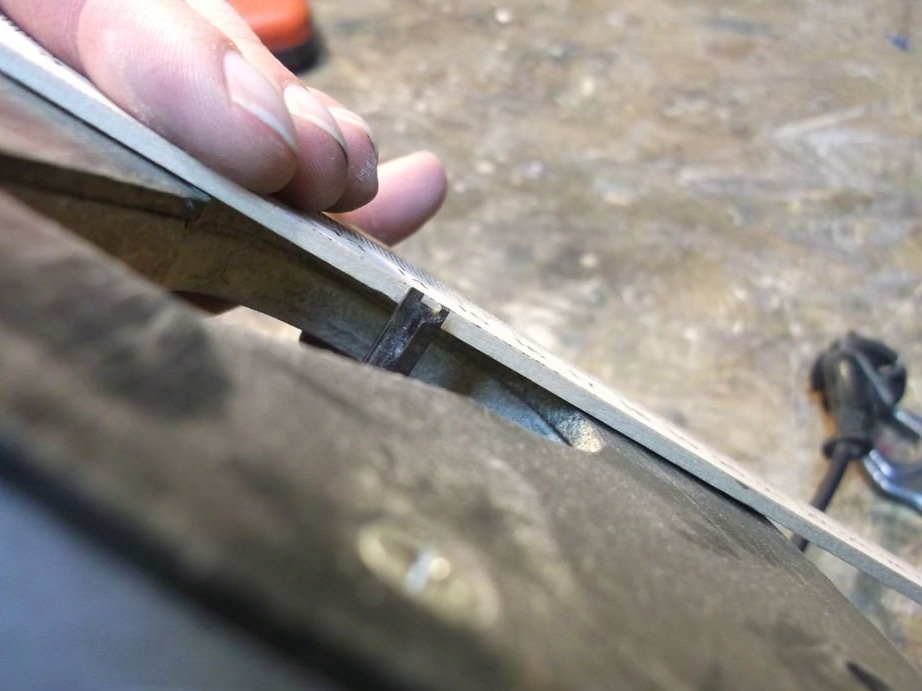
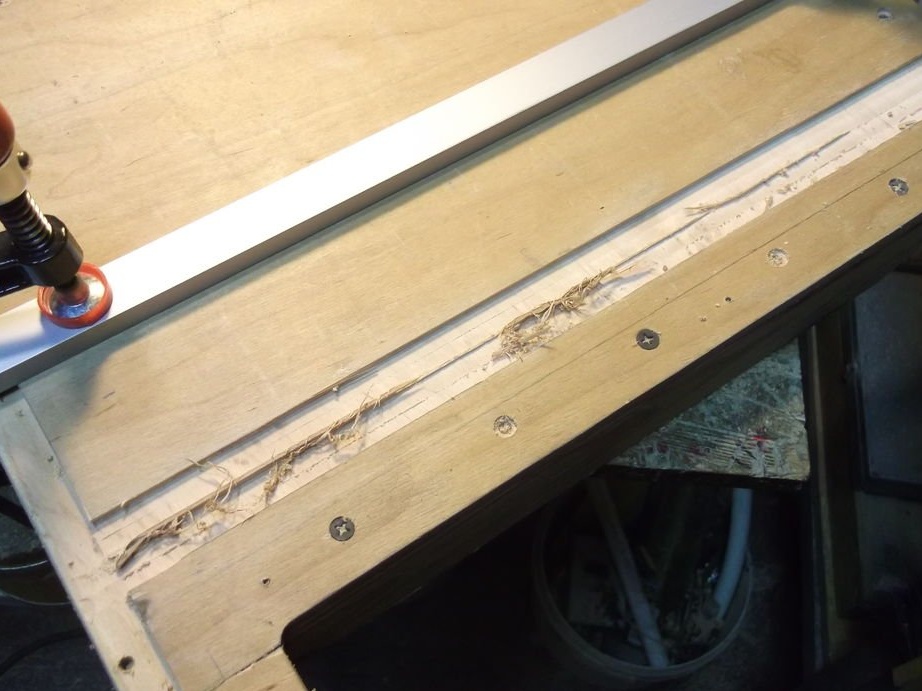
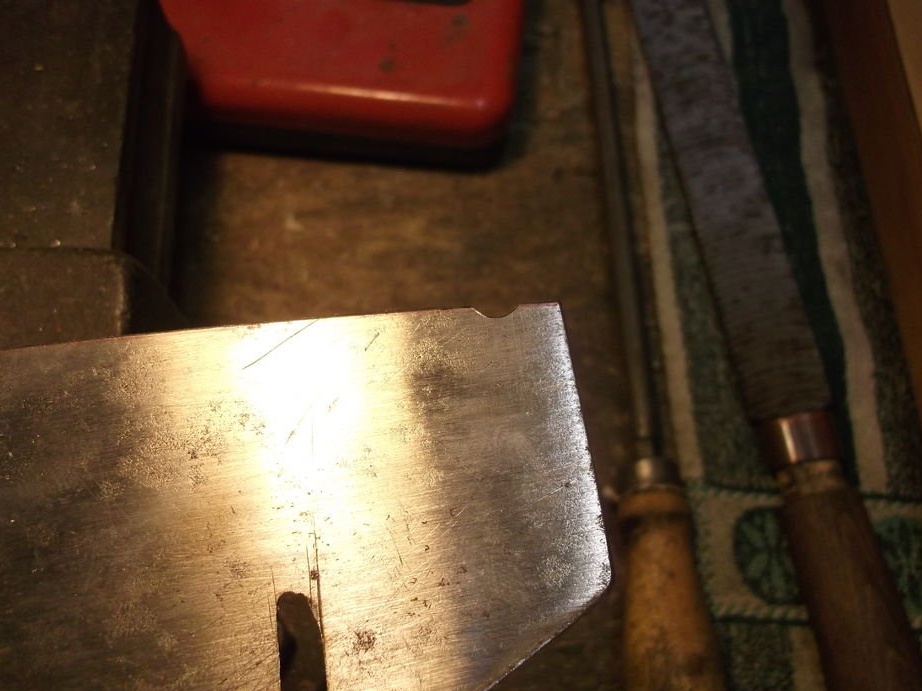
Step Four: Counter-Knife
The counter-knife master made a corner. In the work, I made a groove in the width and thickness of the corner.
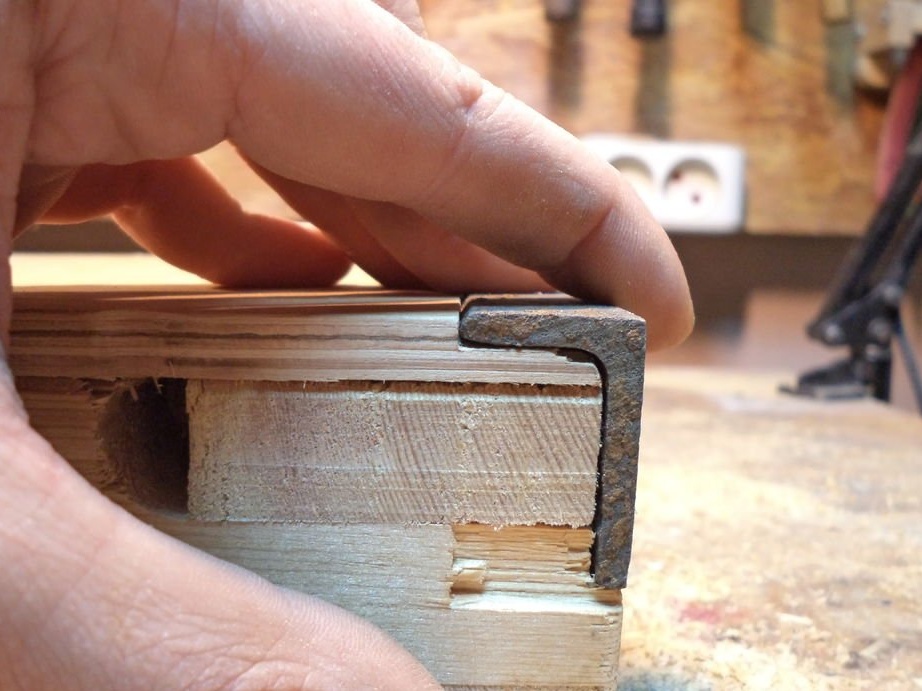
The corner itself was cleaned of rust, sinks, drilling holes were drilled. Ideally, the knife and counter-knife should be made of metal of the same brand, but the master does not often use a cutter and a corner is enough for his purposes.
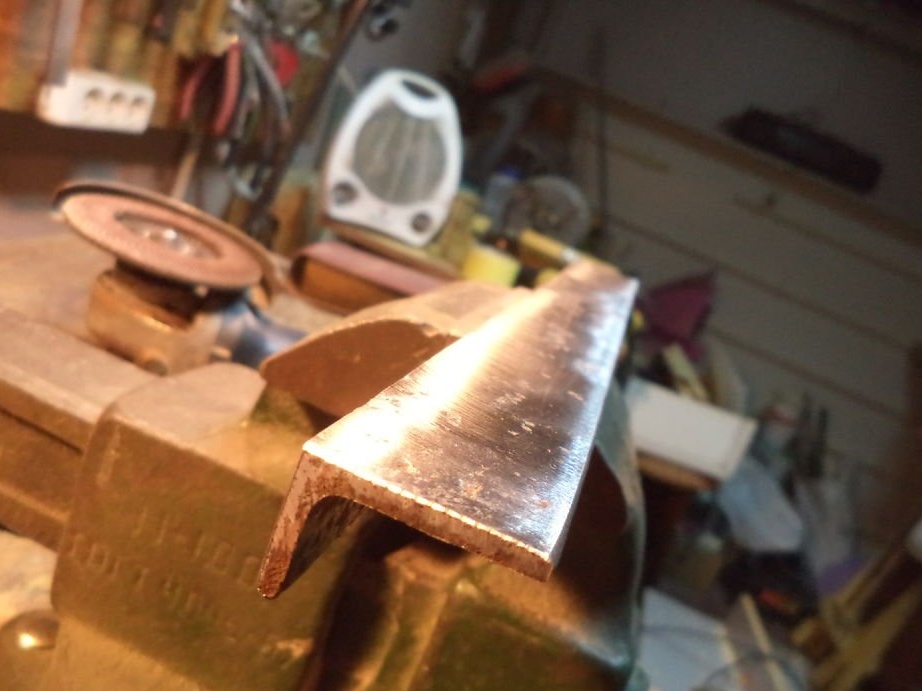
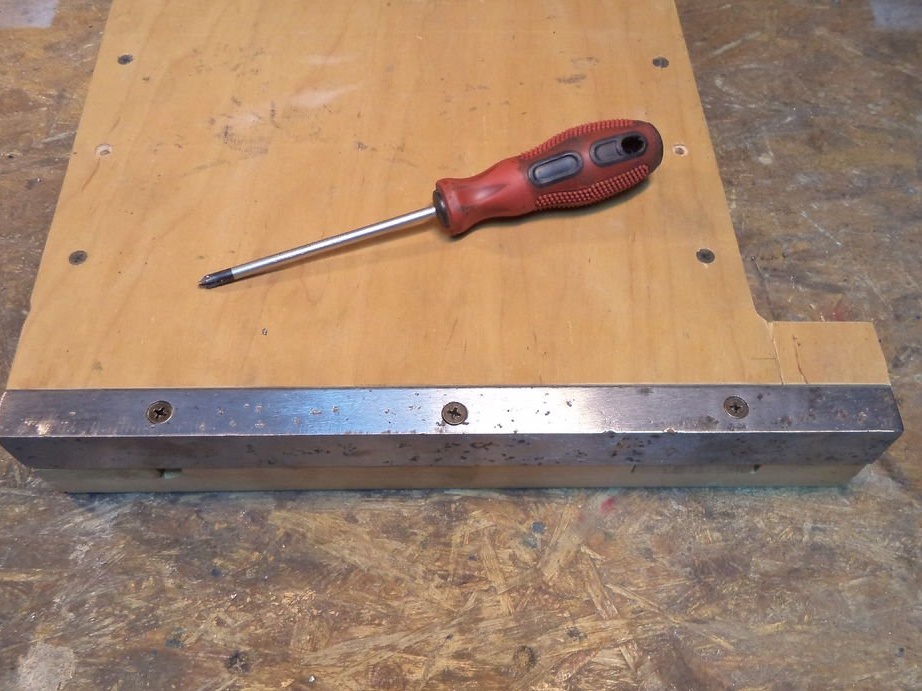
It is also important that the angle of the counter-knife is flat.
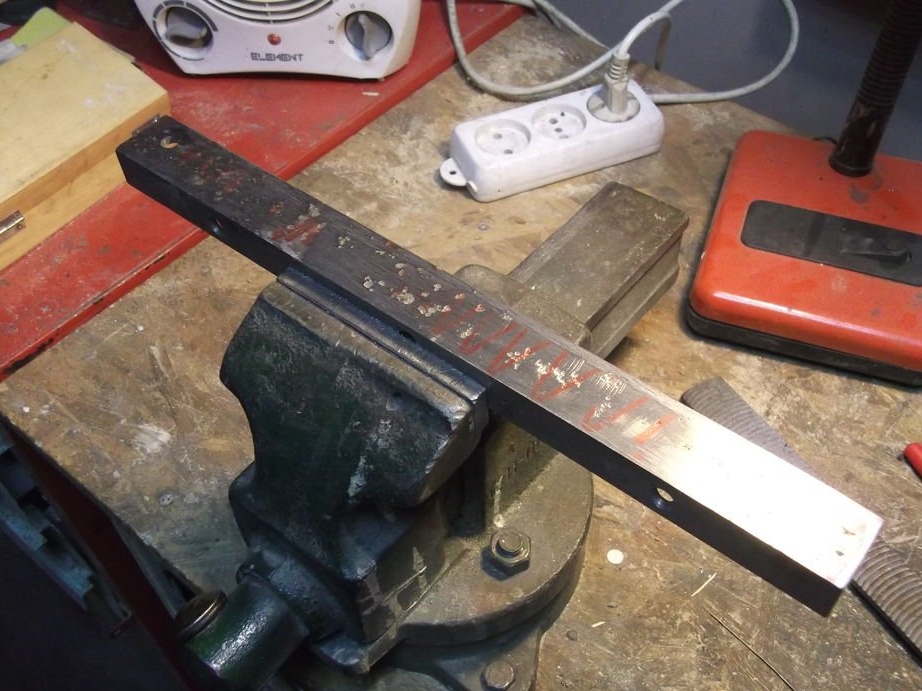
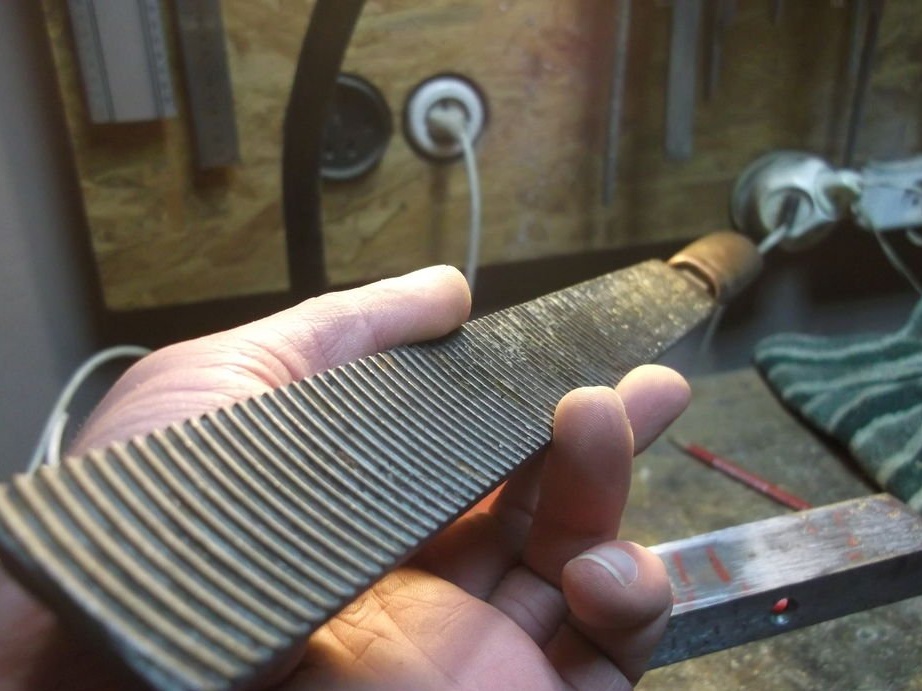
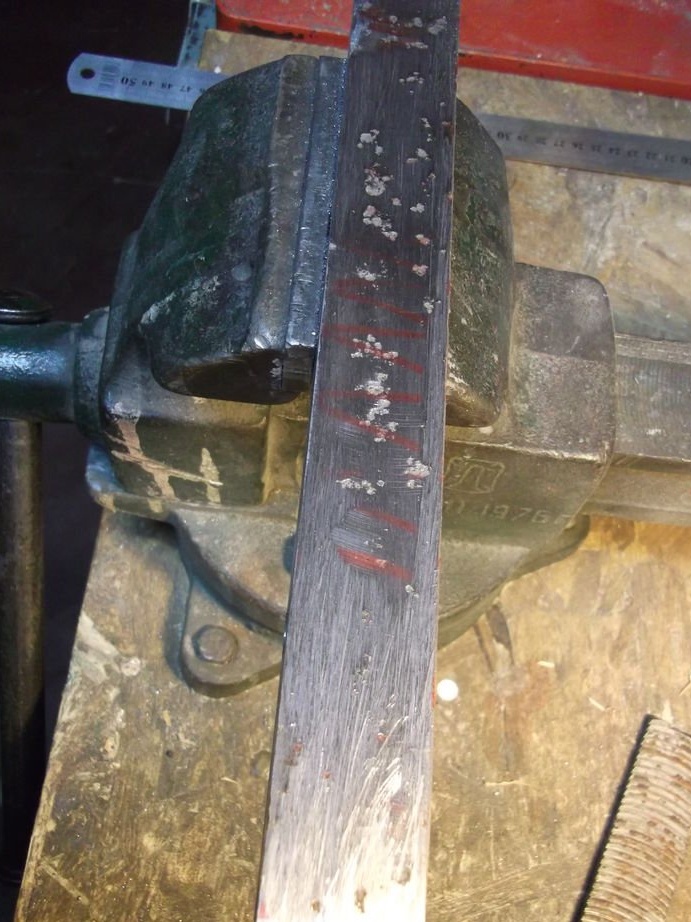
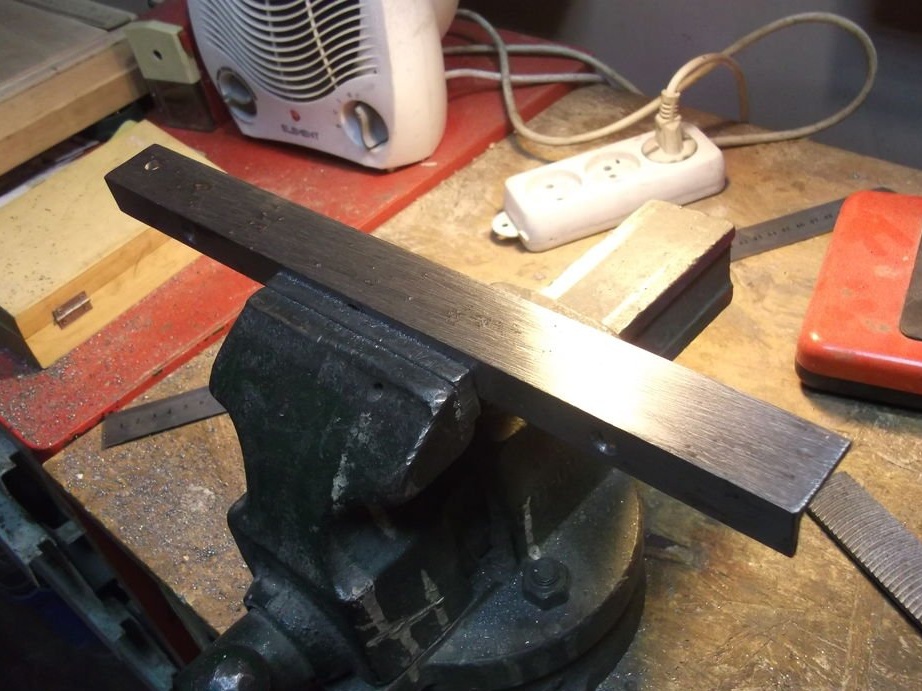
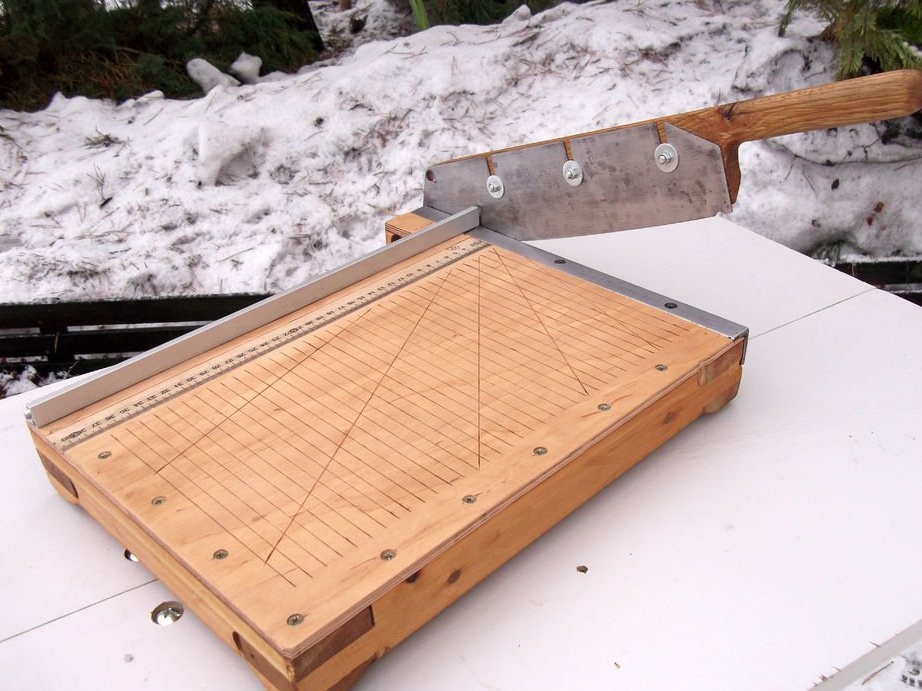
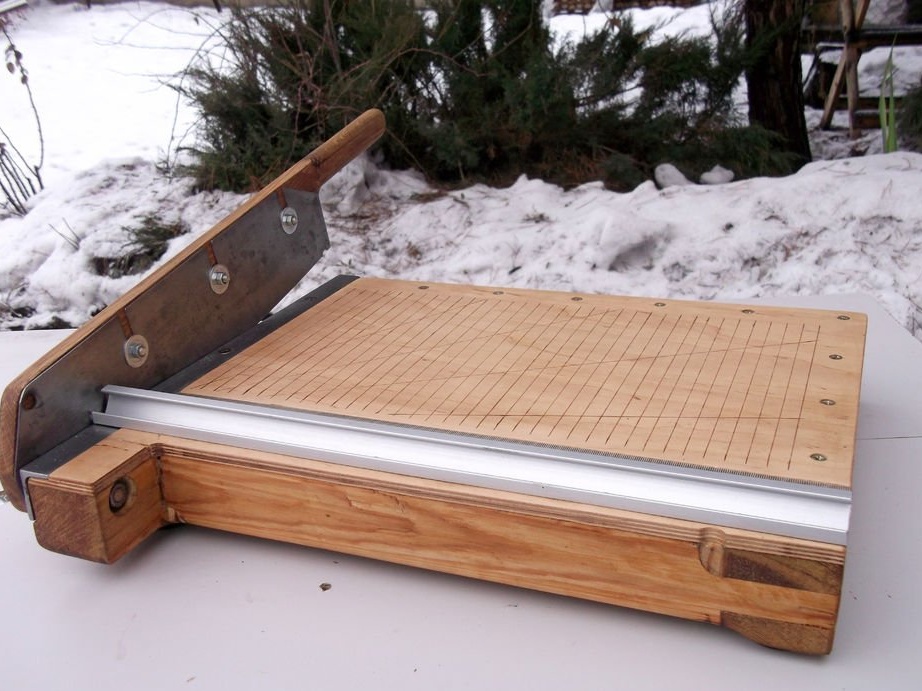
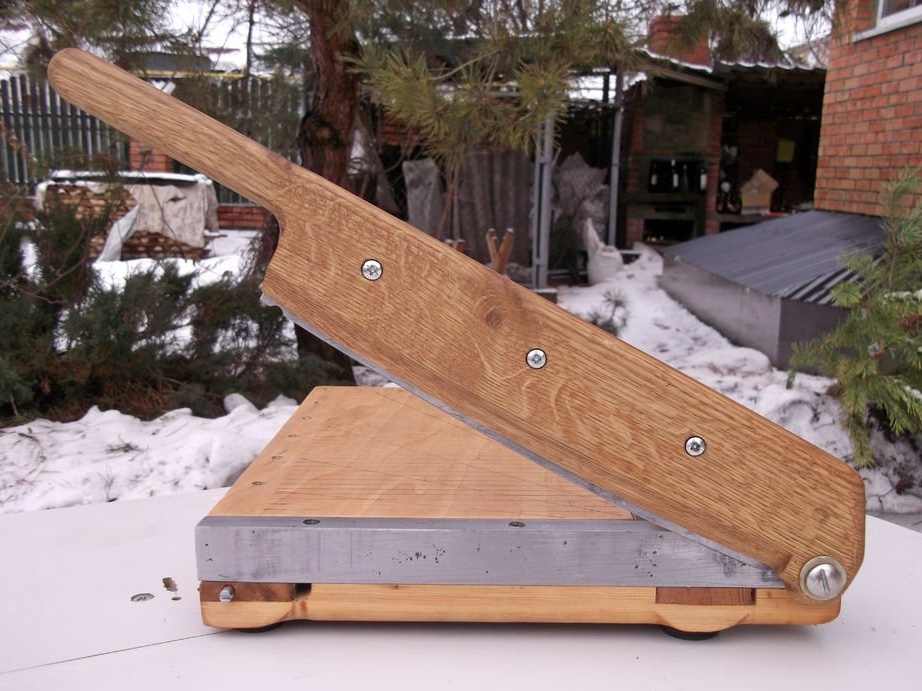
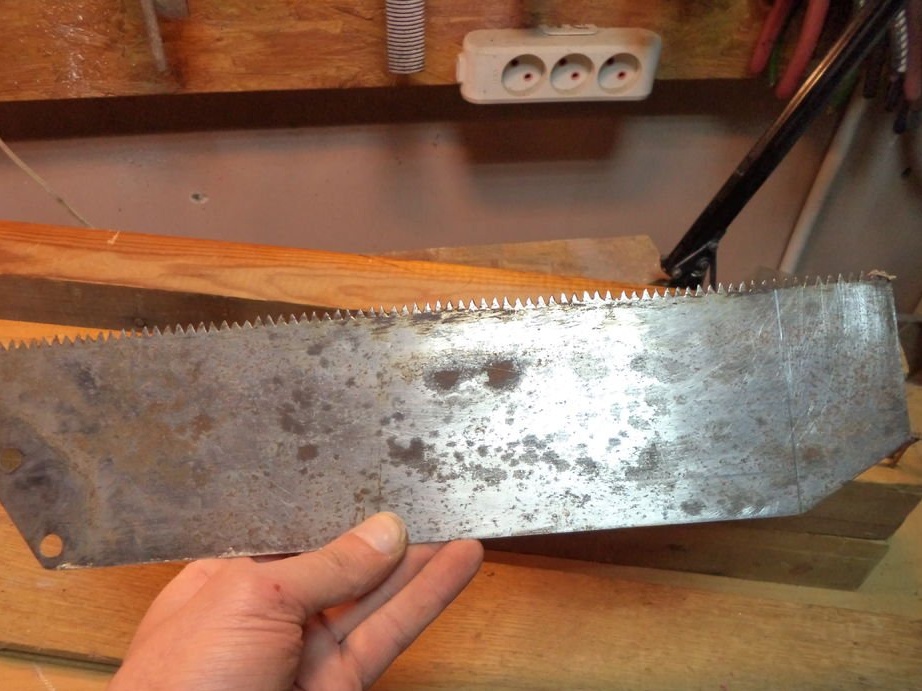
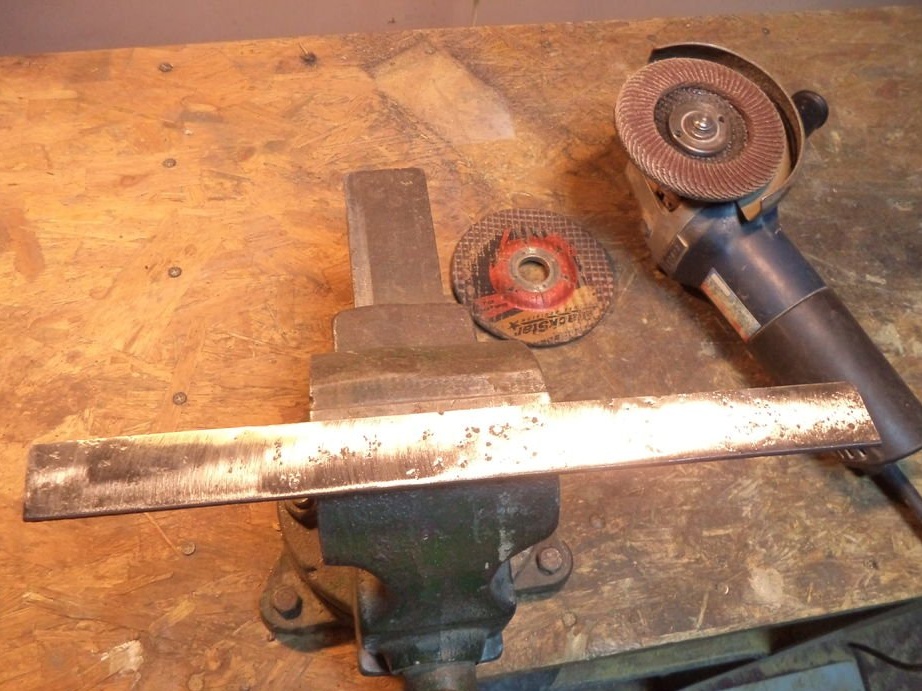
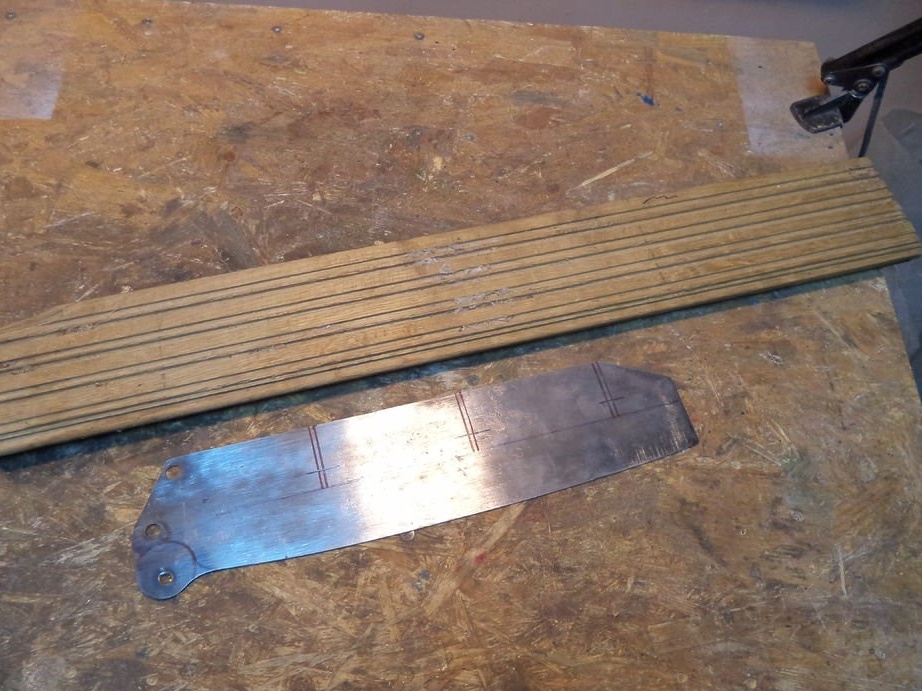
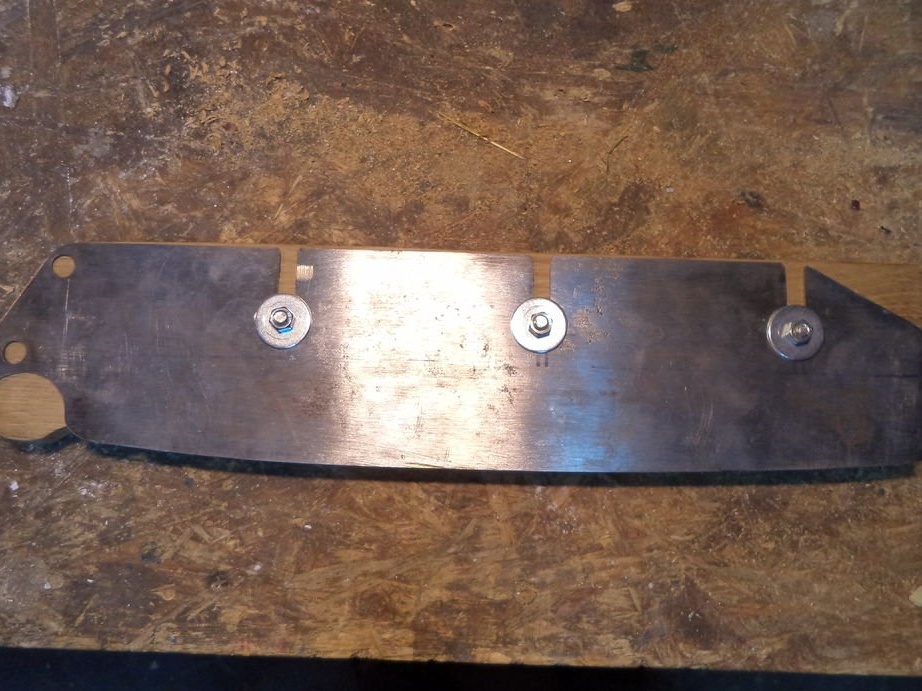
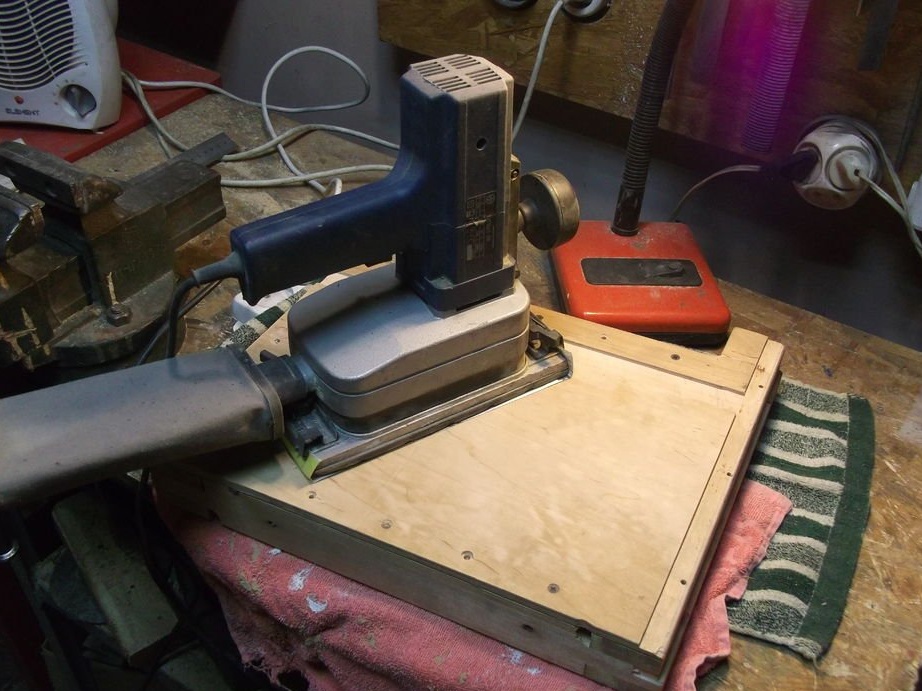
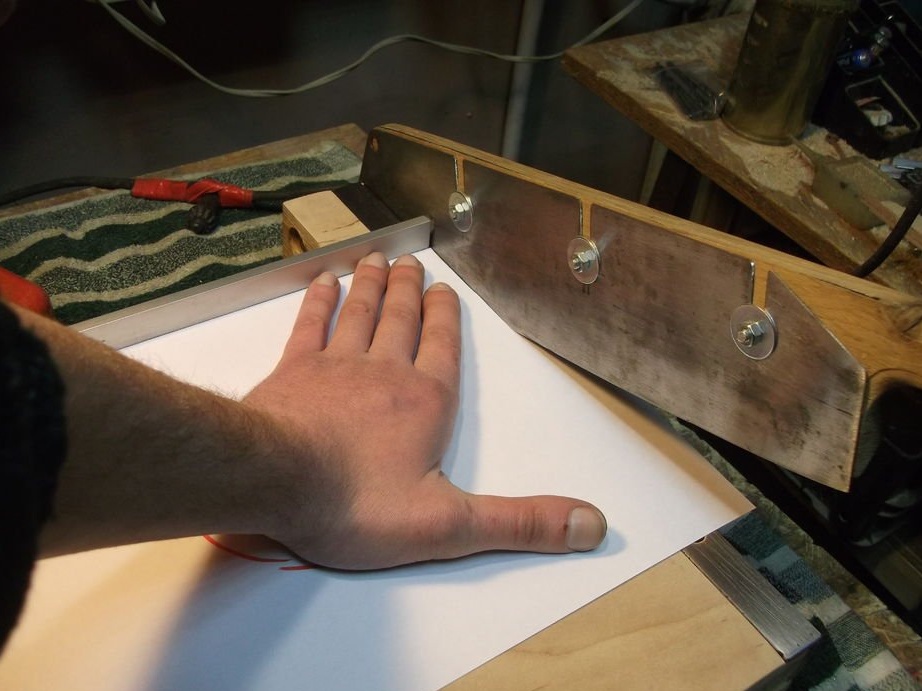
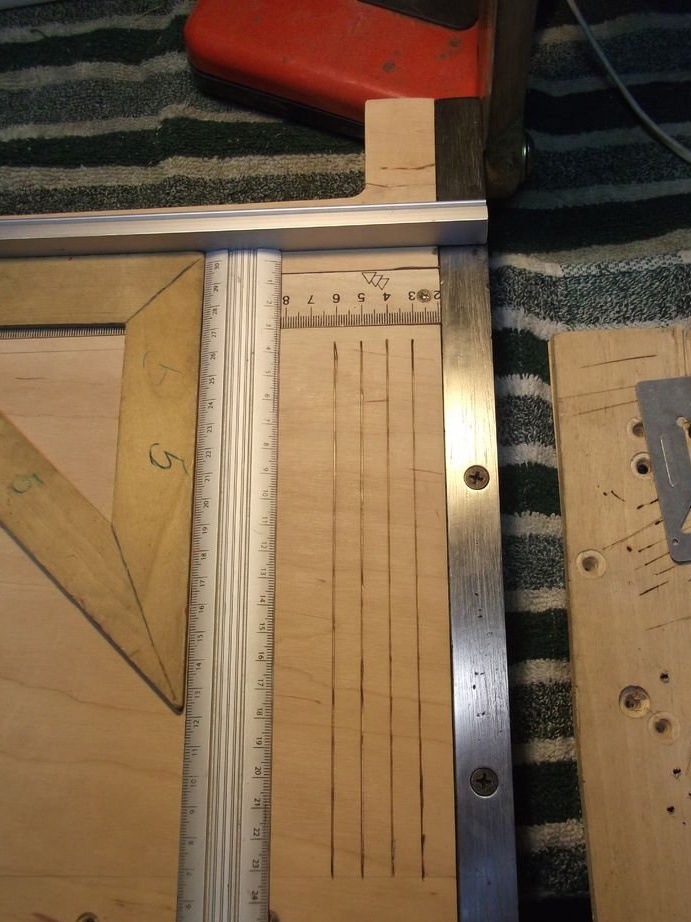
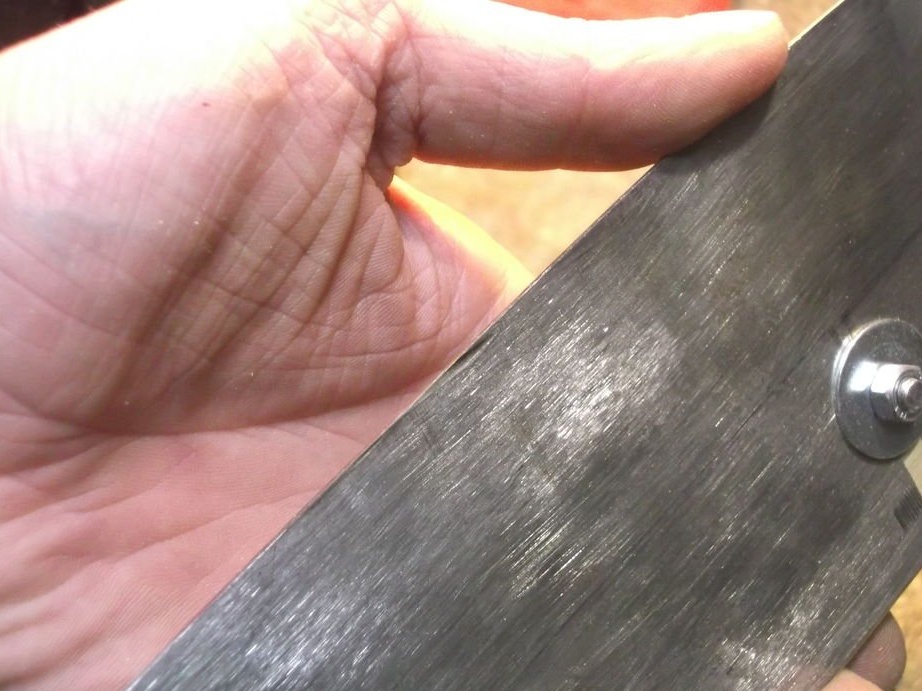
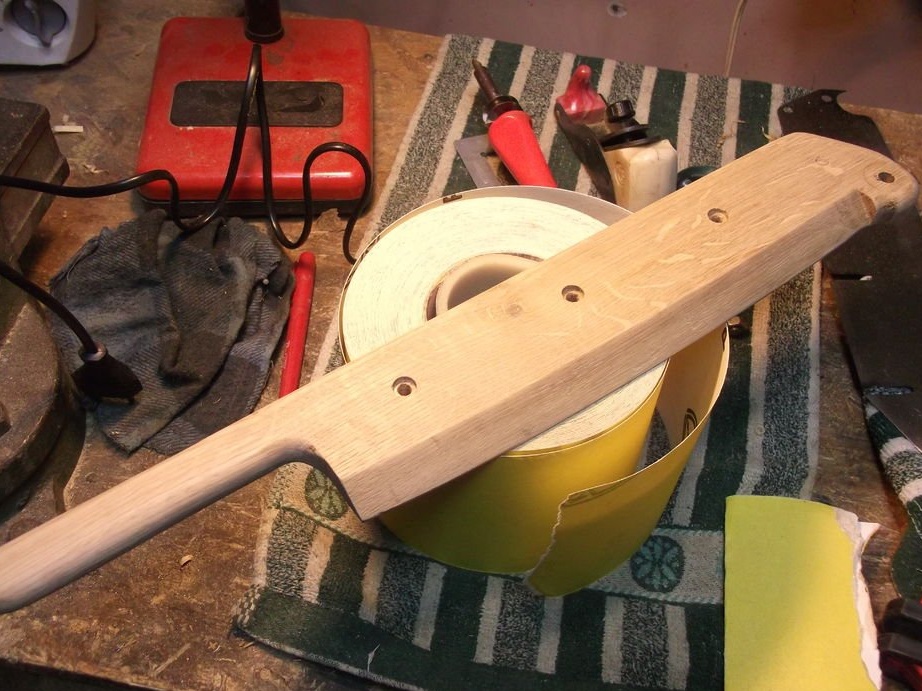
Step Five: Knife
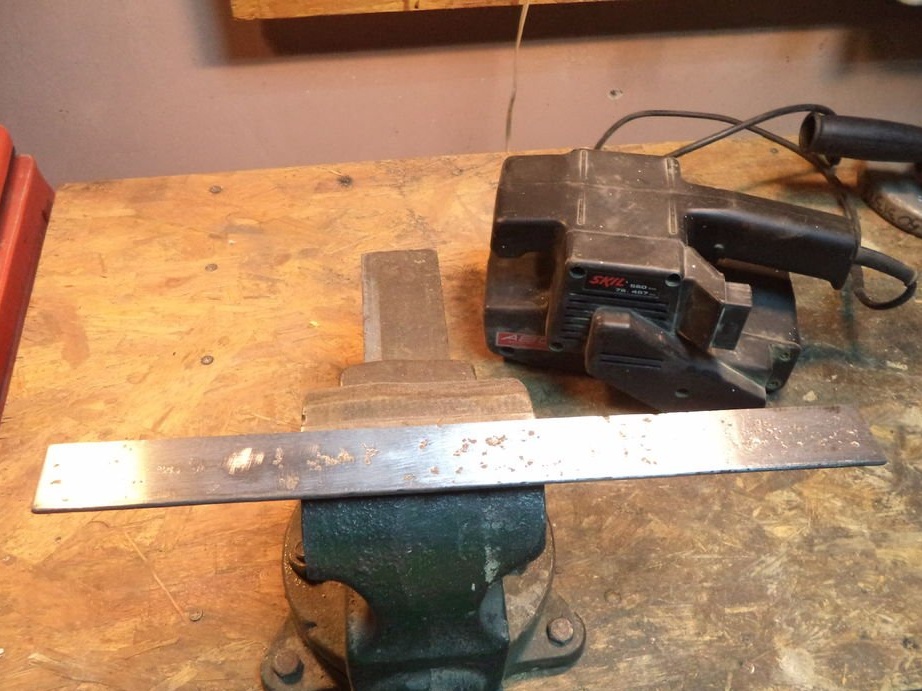
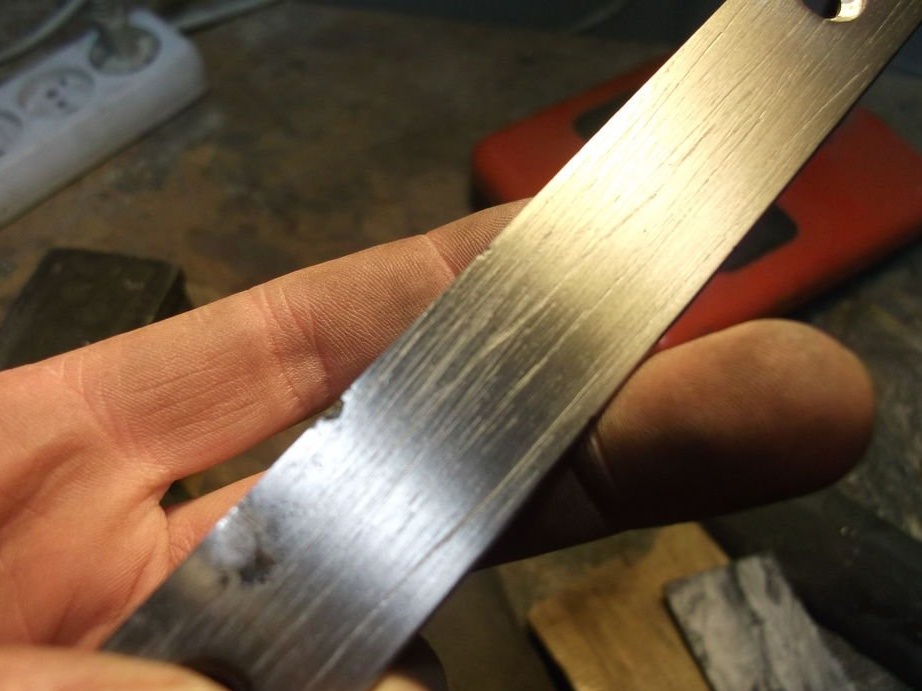
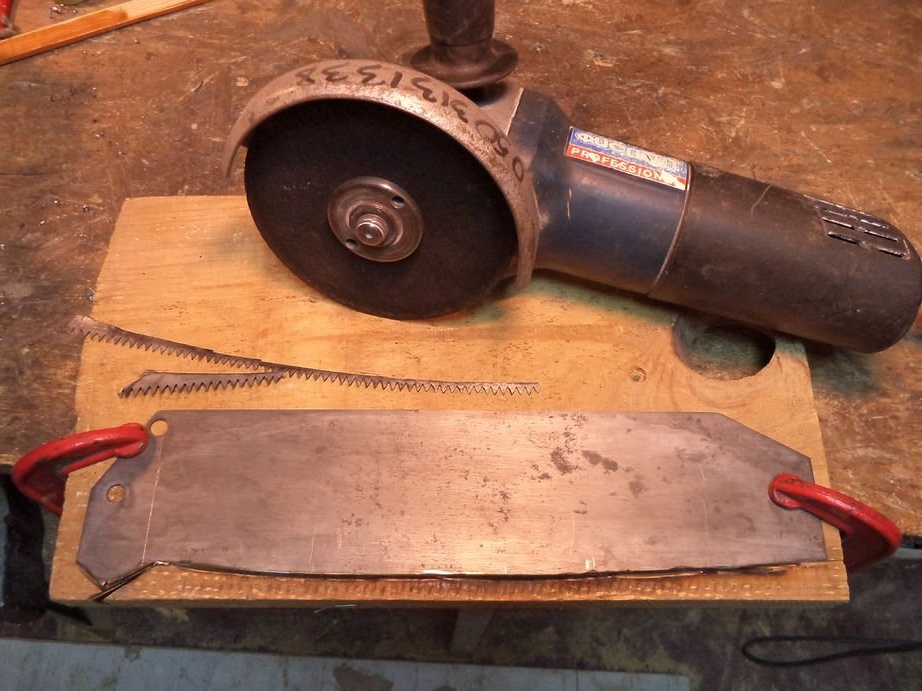
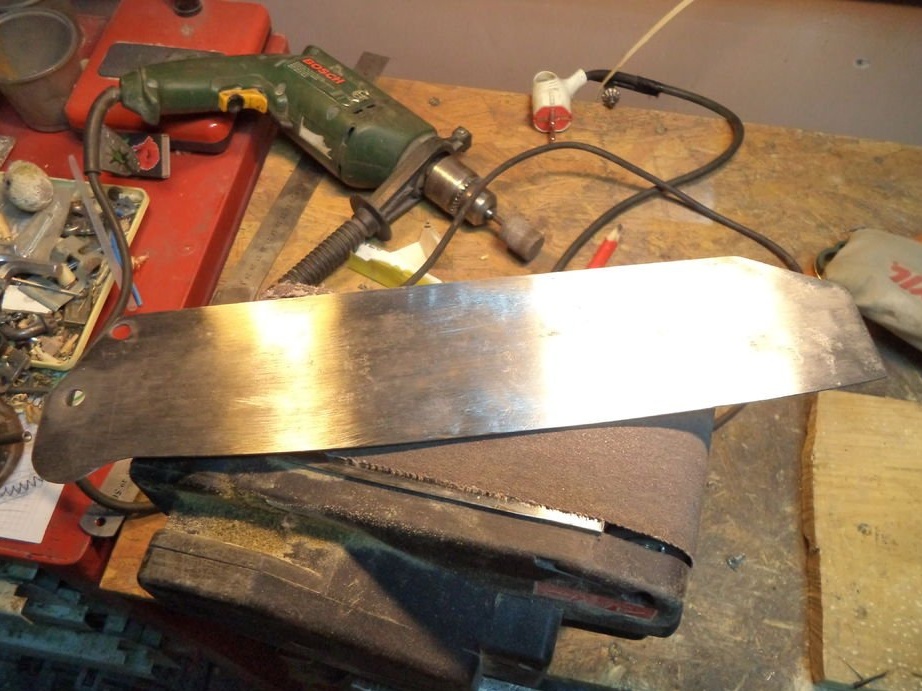
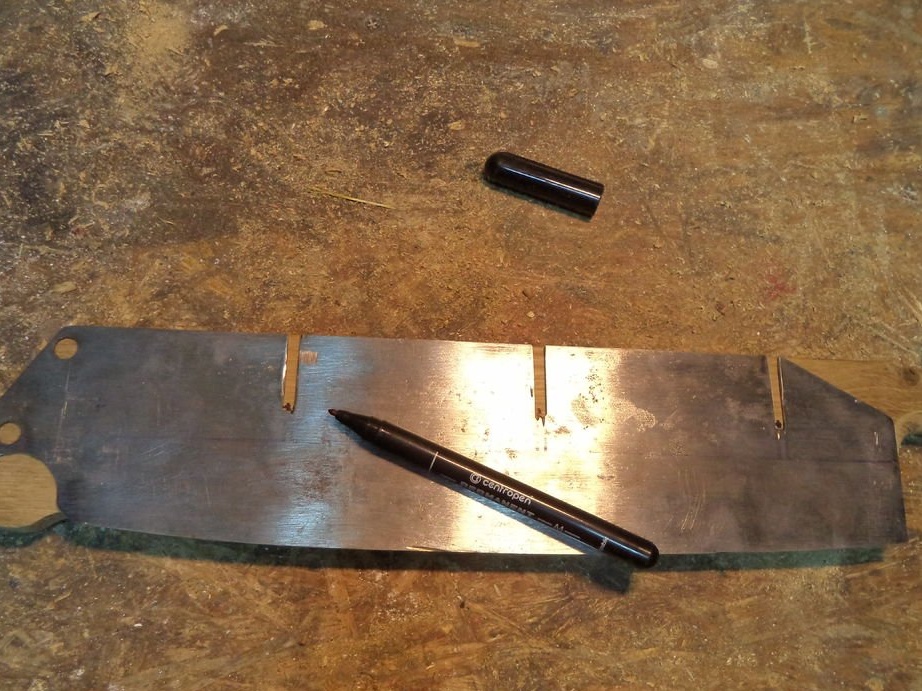
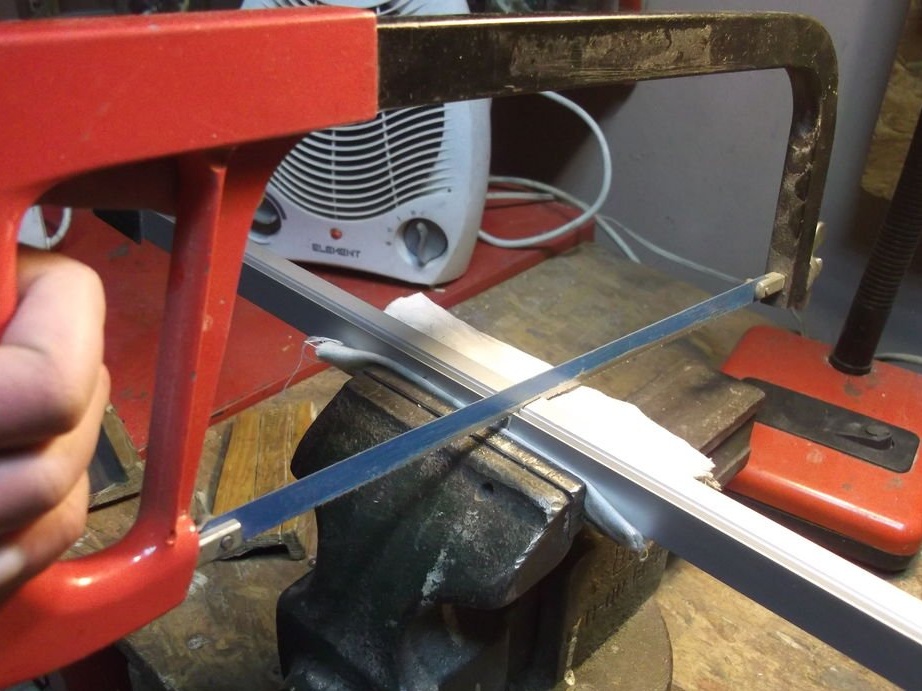
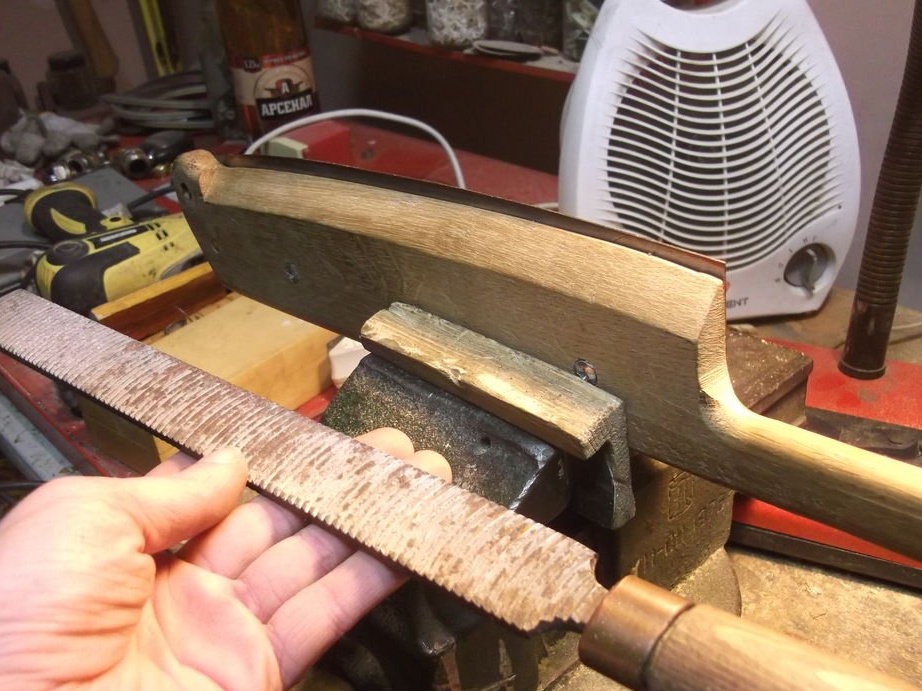
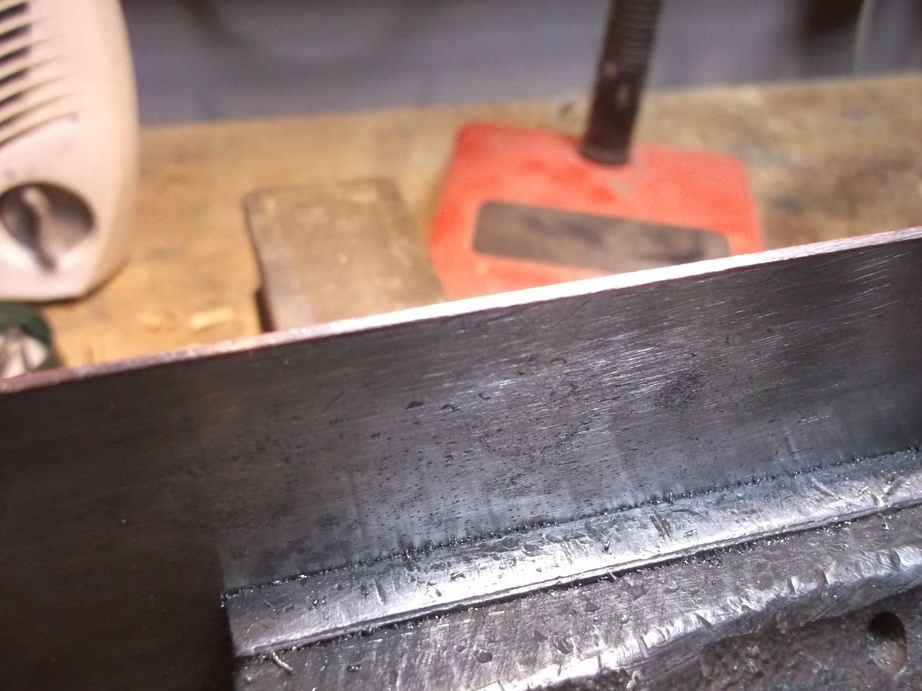
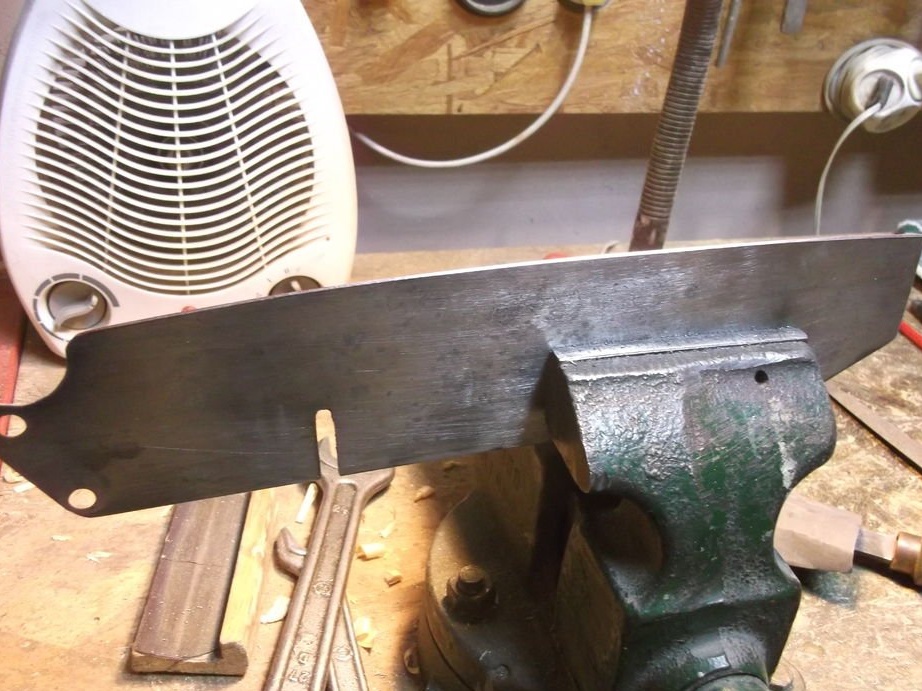
The master made the knife blades from a hacksaw blade. Cut off part with teeth, polished the canvas.


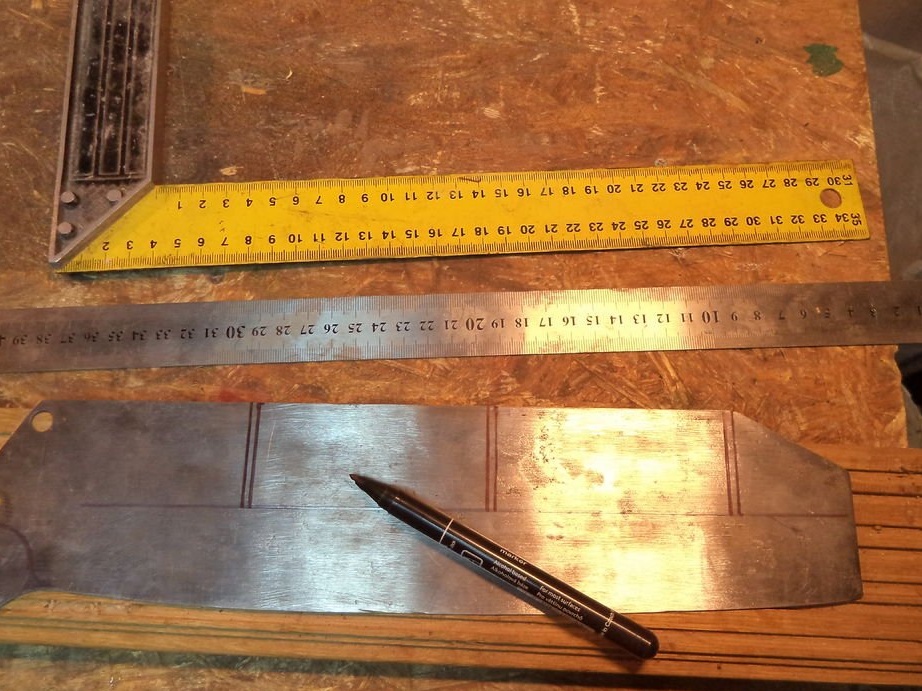
On the opposite side of the blade makes three longitudinal cuts. Thanks to them, it will be possible to adjust the reach of the blade.
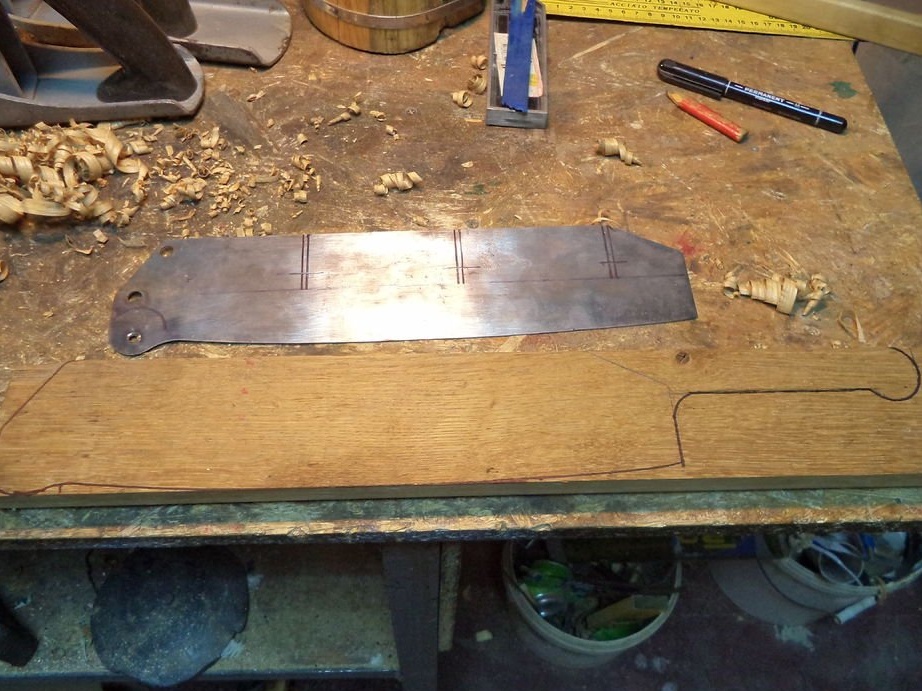
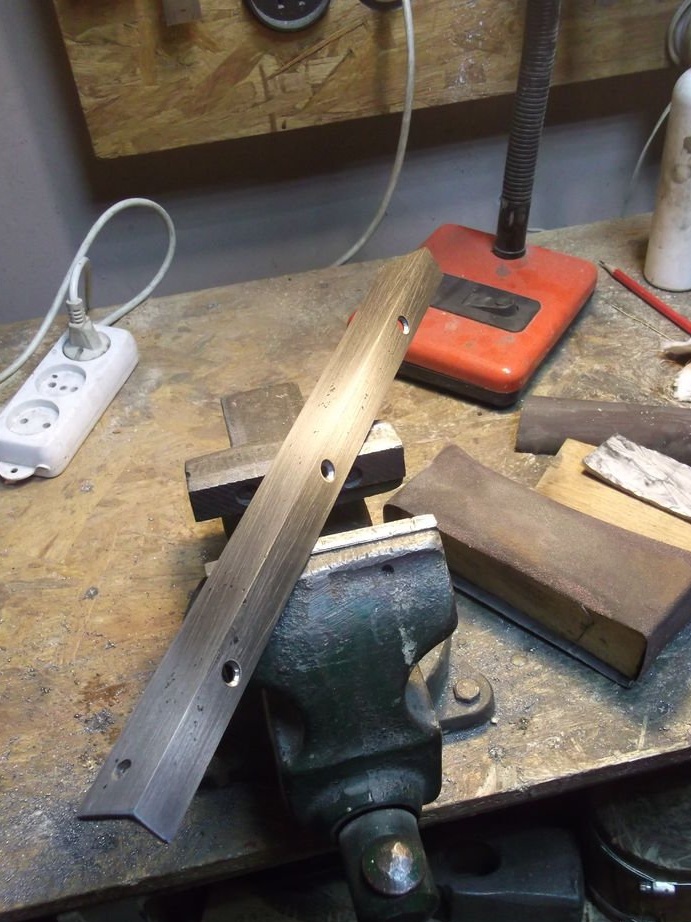
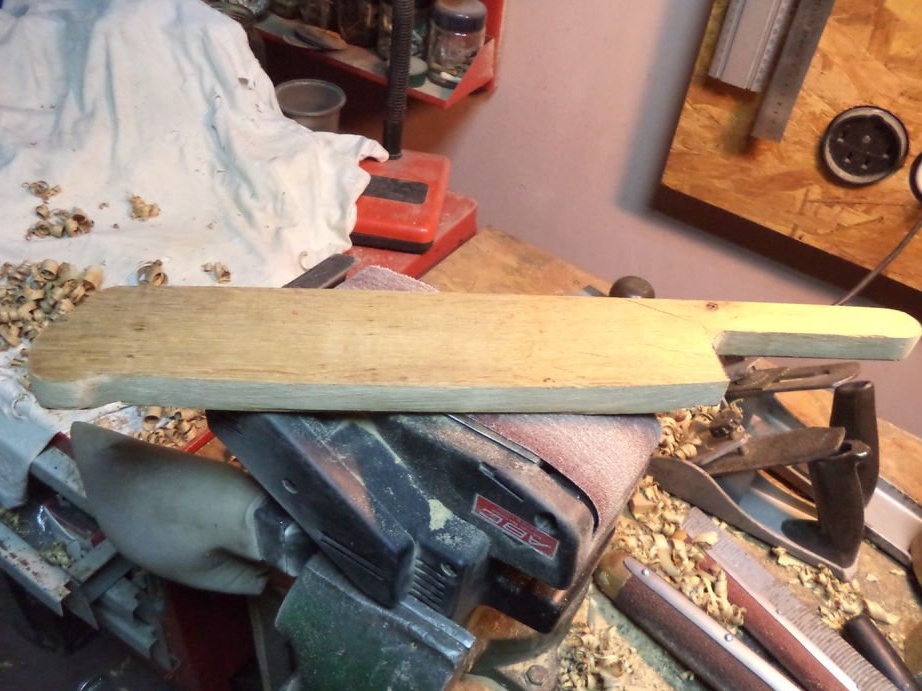
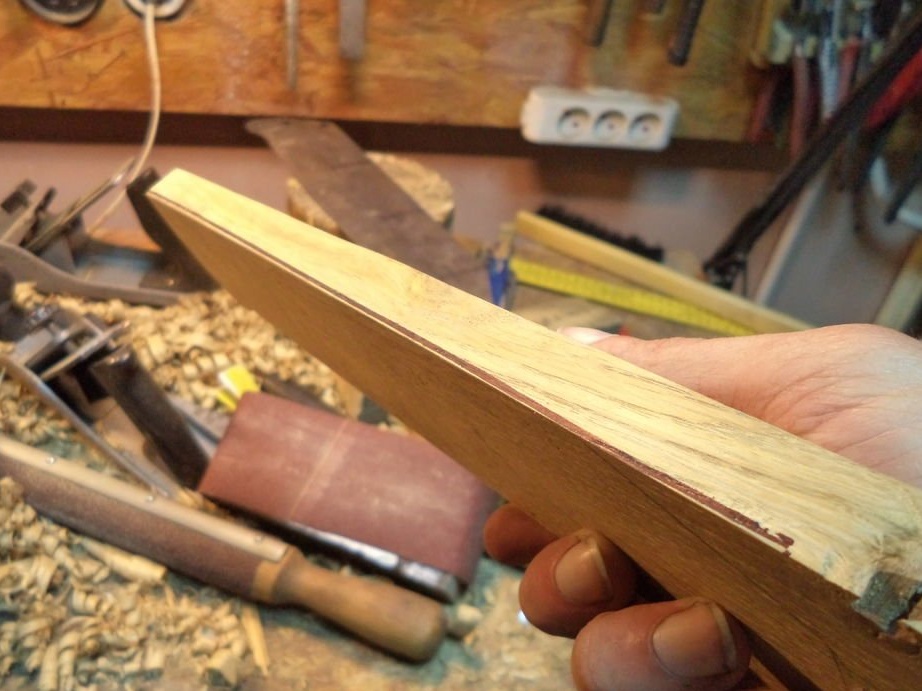
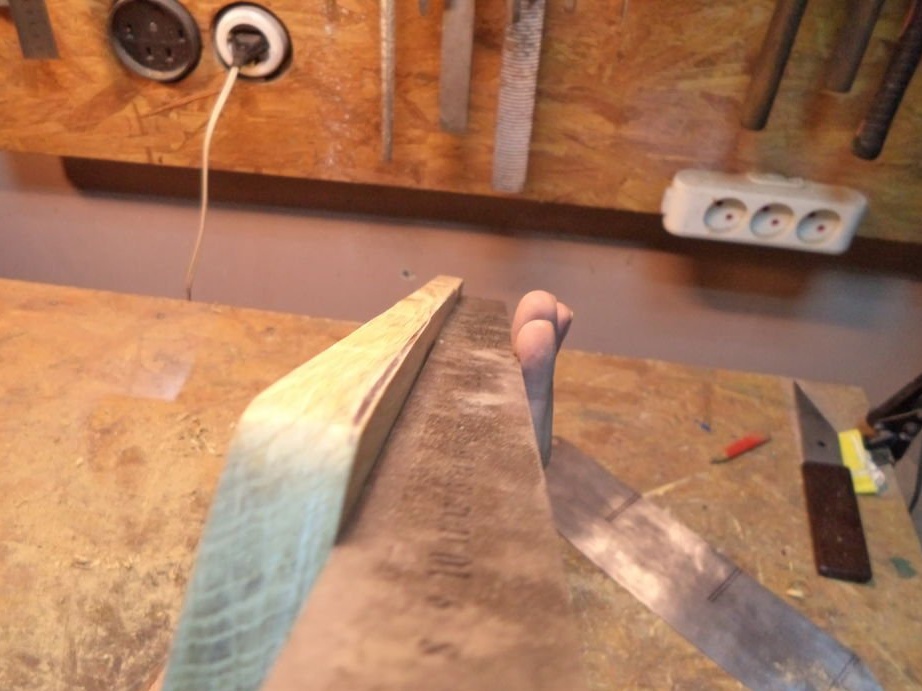
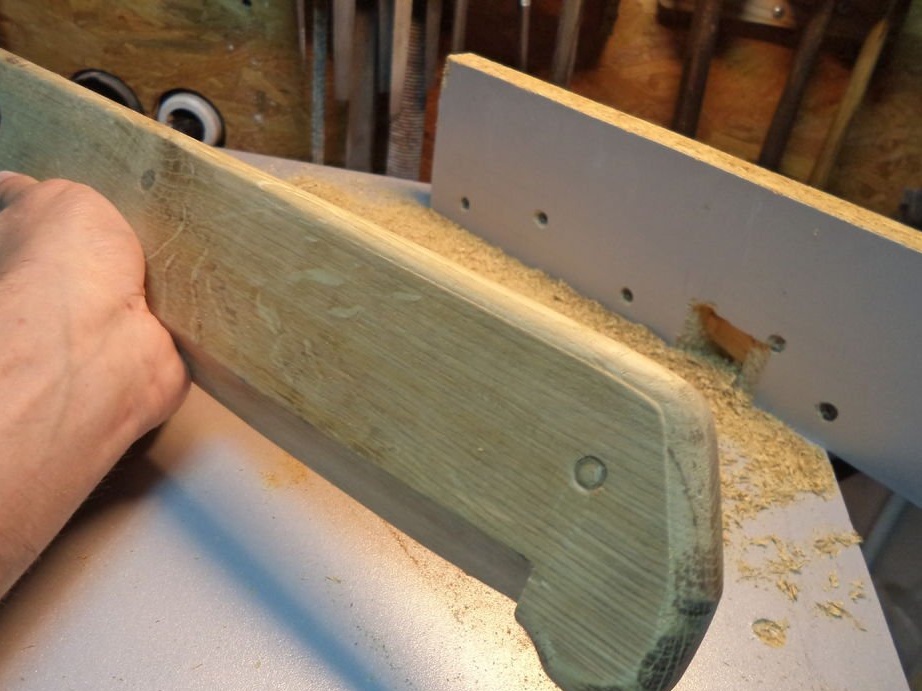
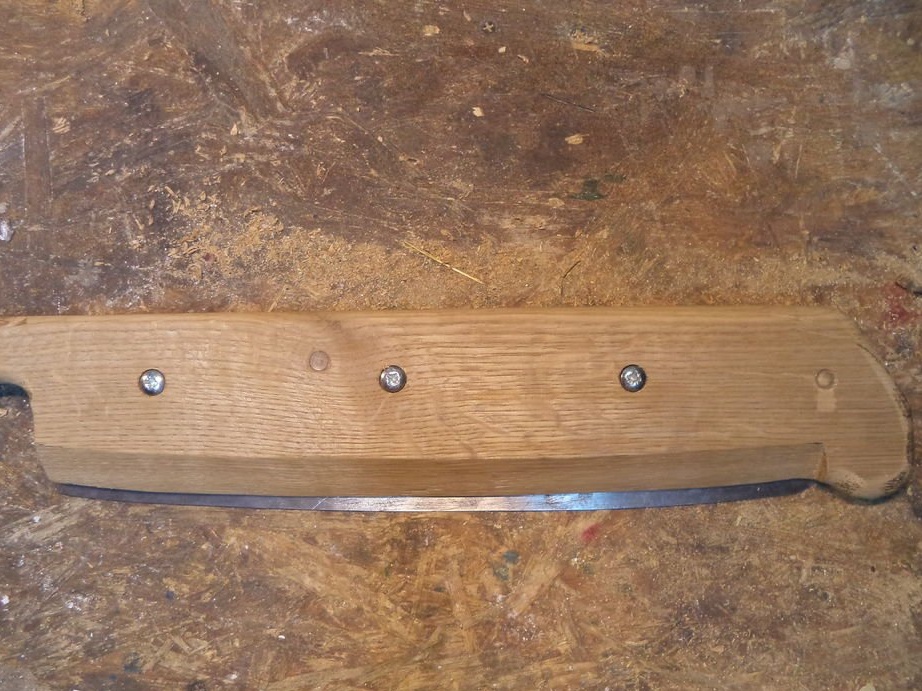
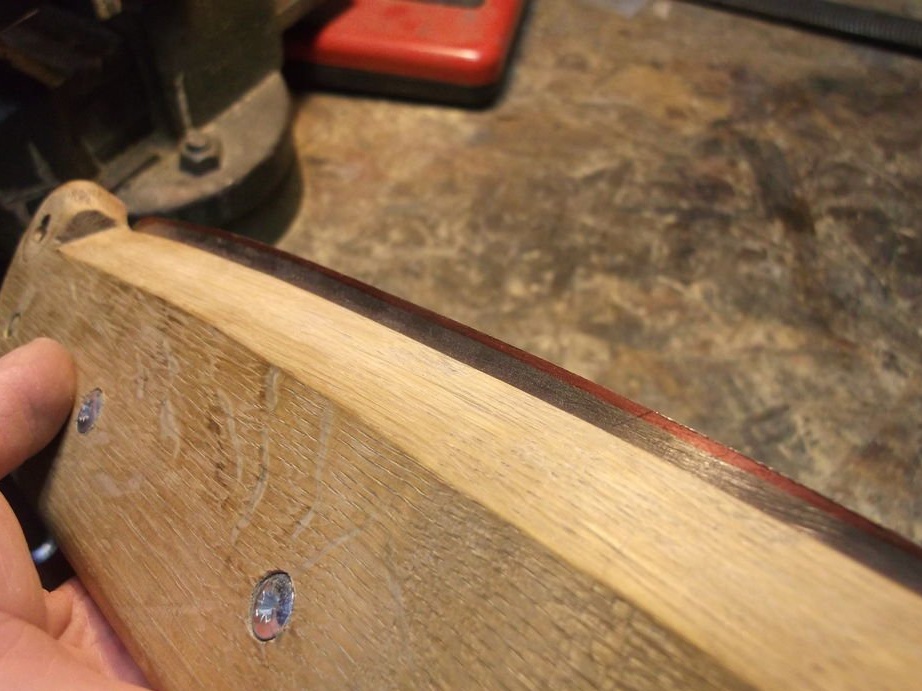
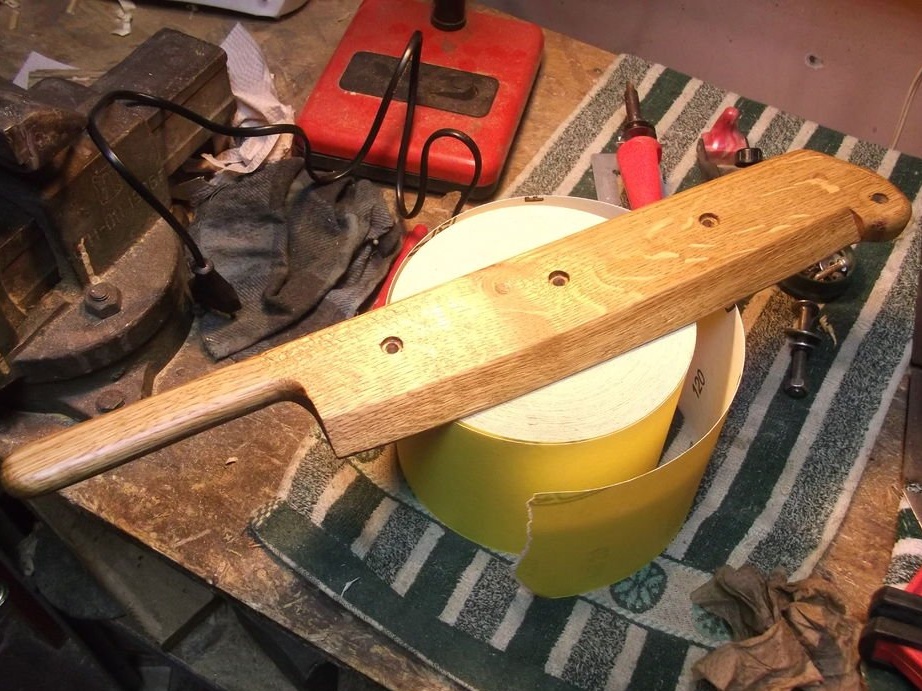
The blade holder is made of oak plank.At the bottom, a cut is made for the entire length of the knife.
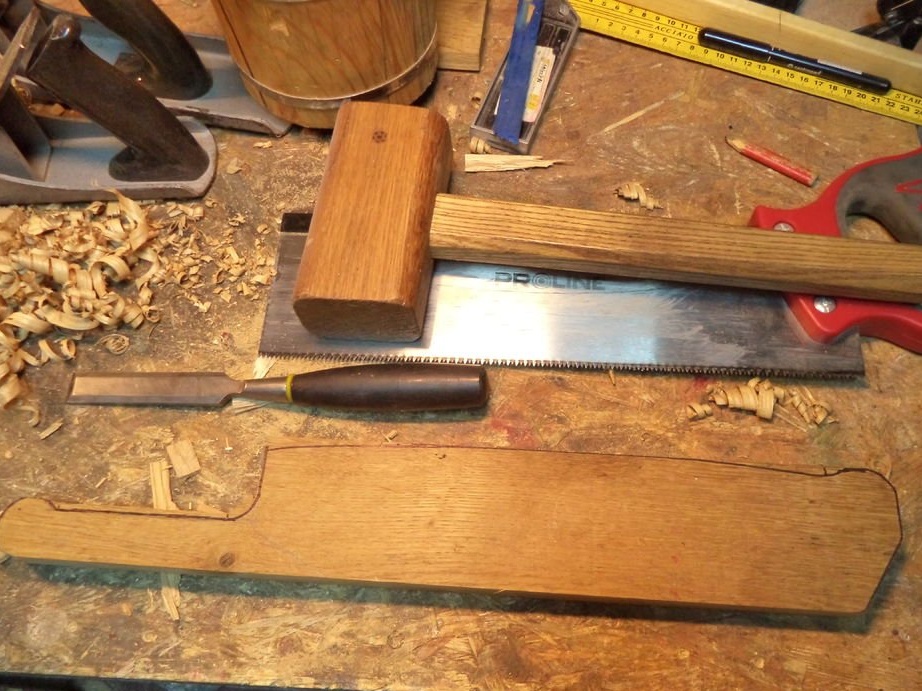
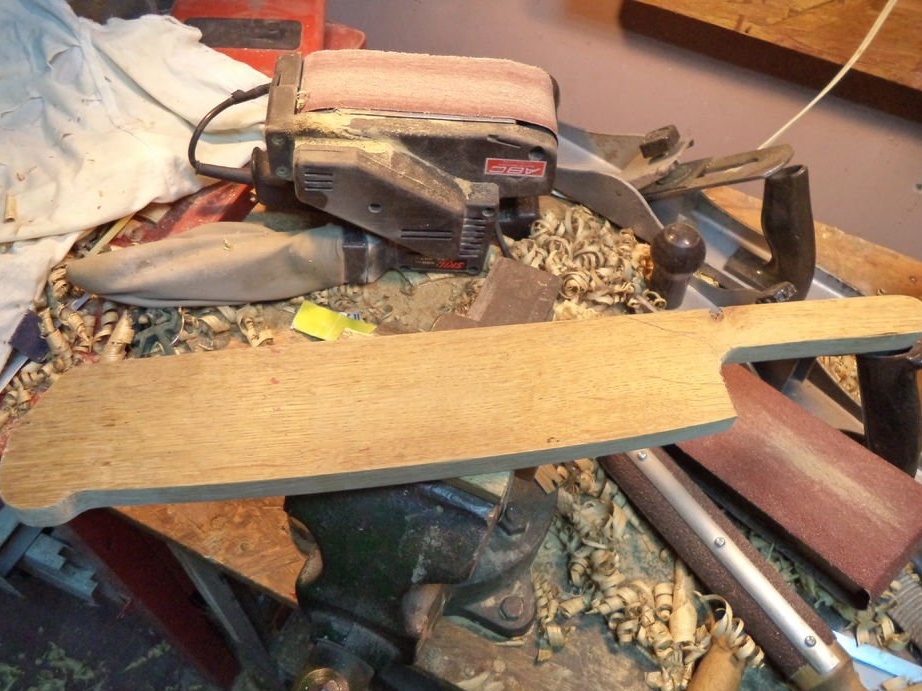
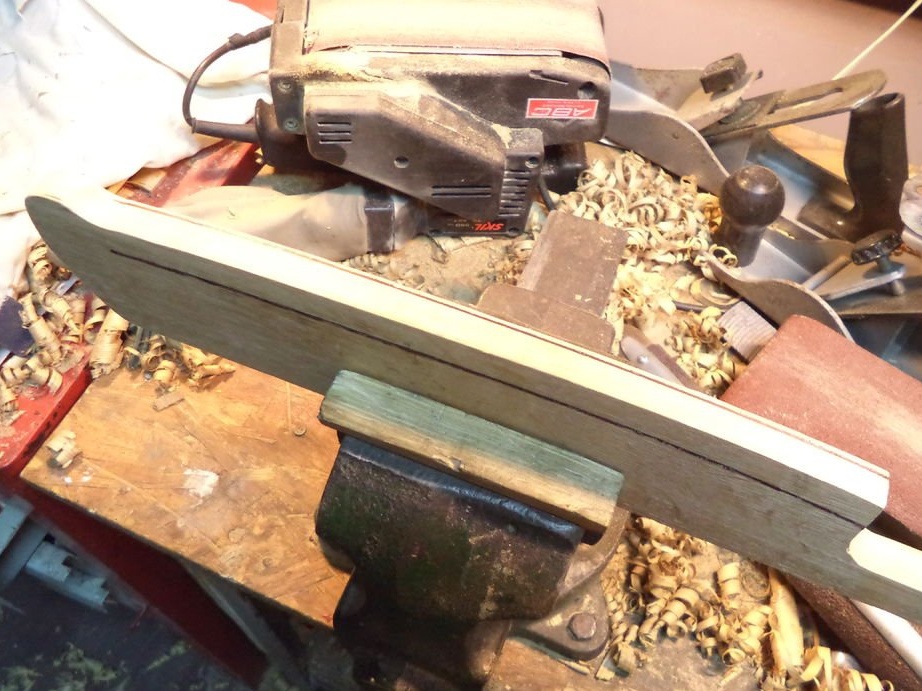
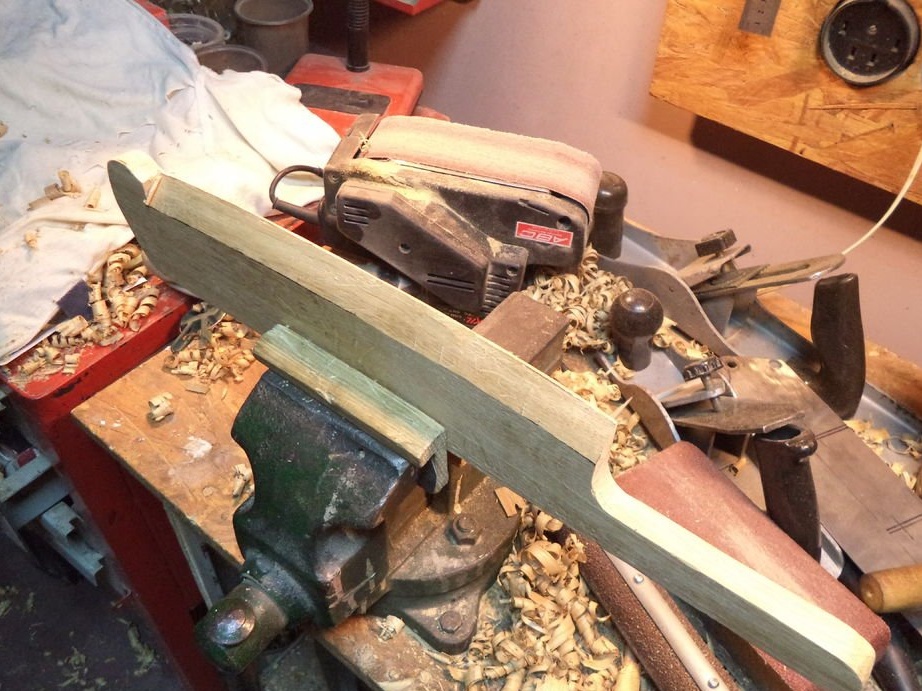
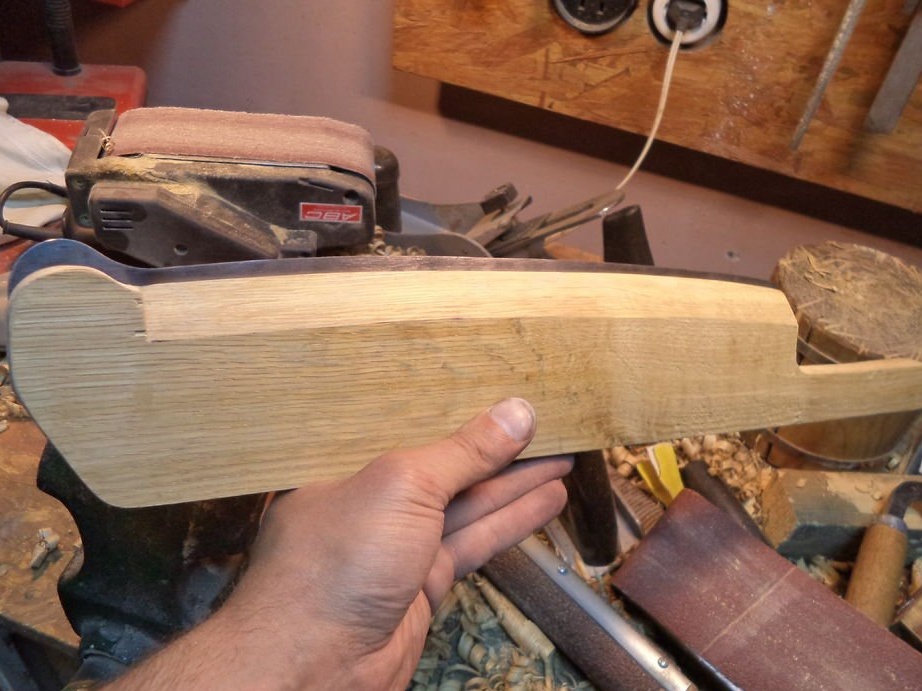
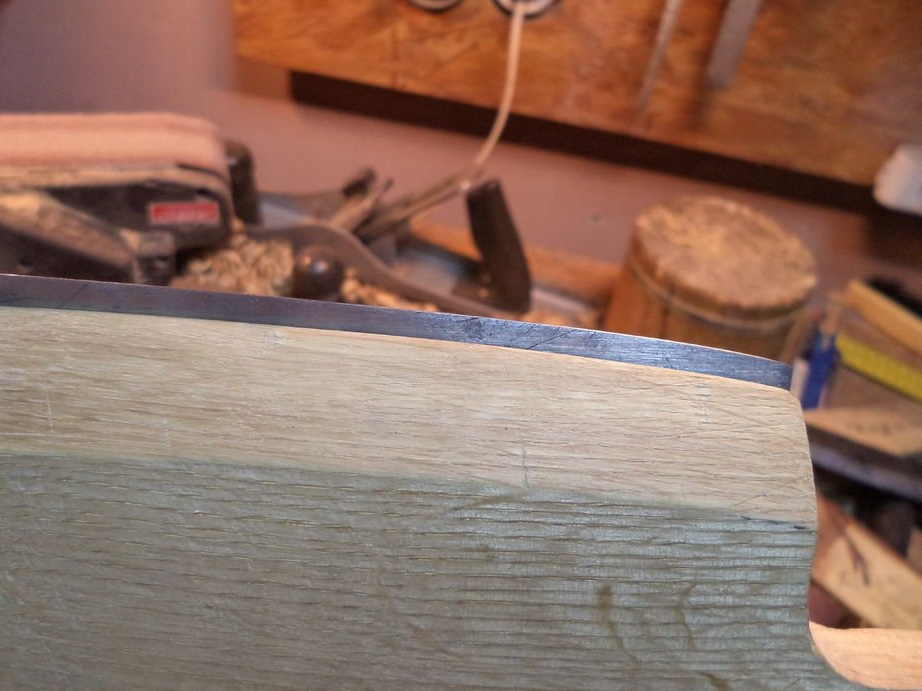
The plane of the holder to which the blade will be fixed must be sanded from the middle to the edges. Material from the middle is removed more to the edges less. This will create an effect, like on scissors, slightly curved blades to each other.
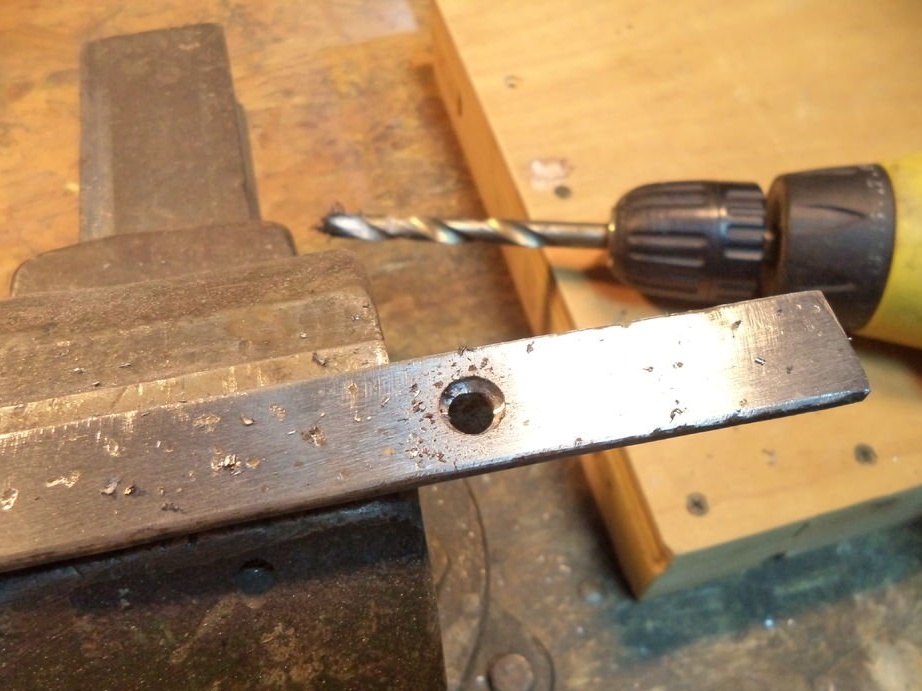
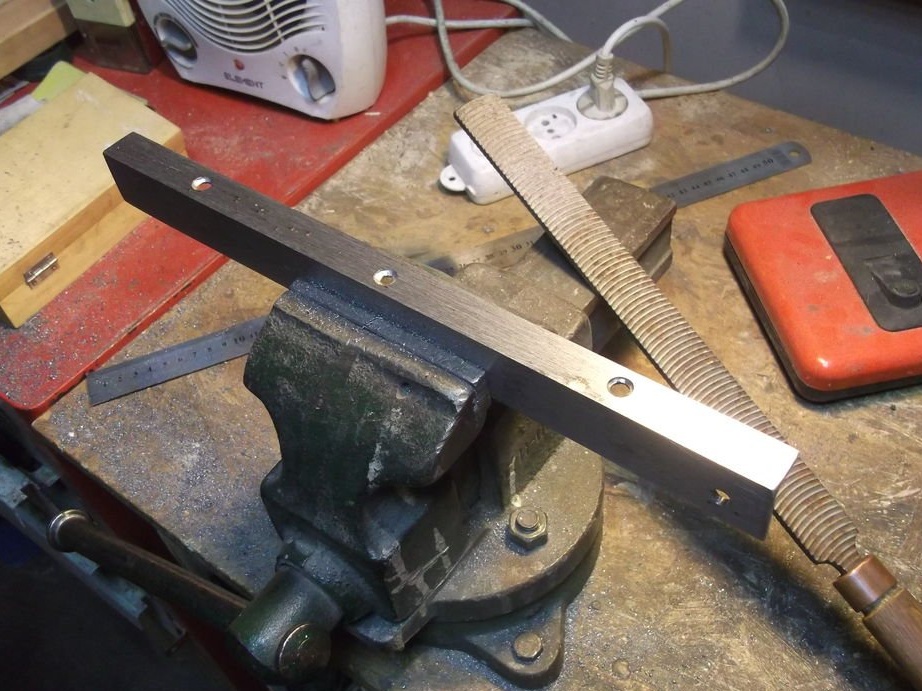
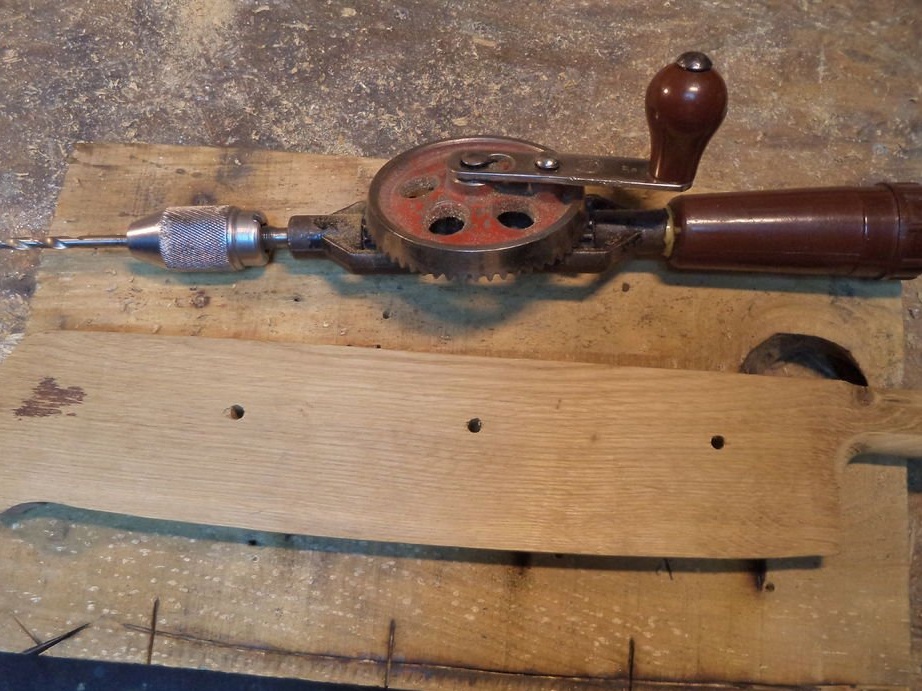
Now you need to fix the knife on the holder. Marks mounting holes.
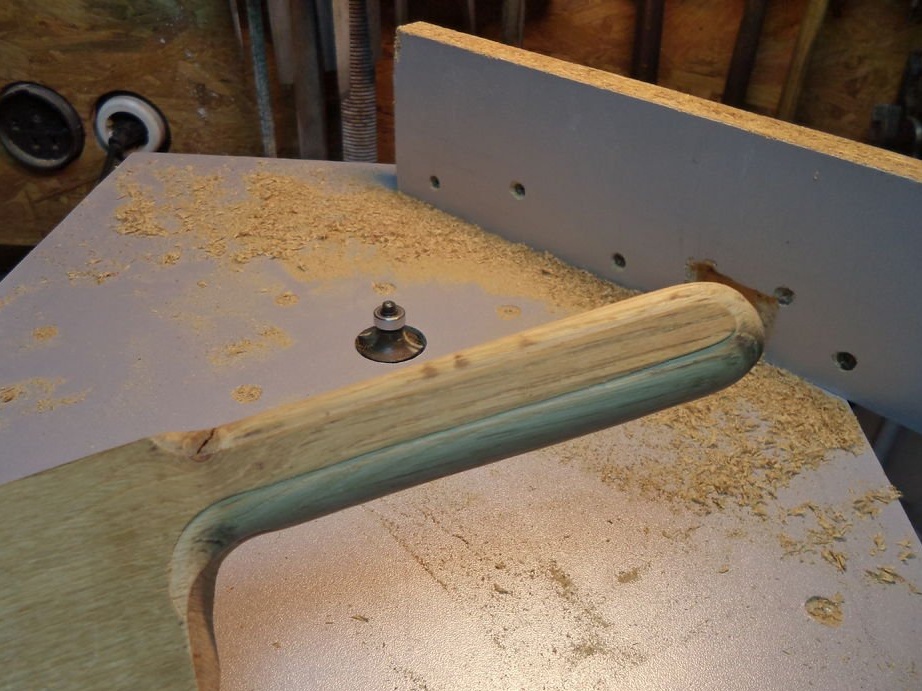
Drill holes. Pre-screw the knife to the holder.
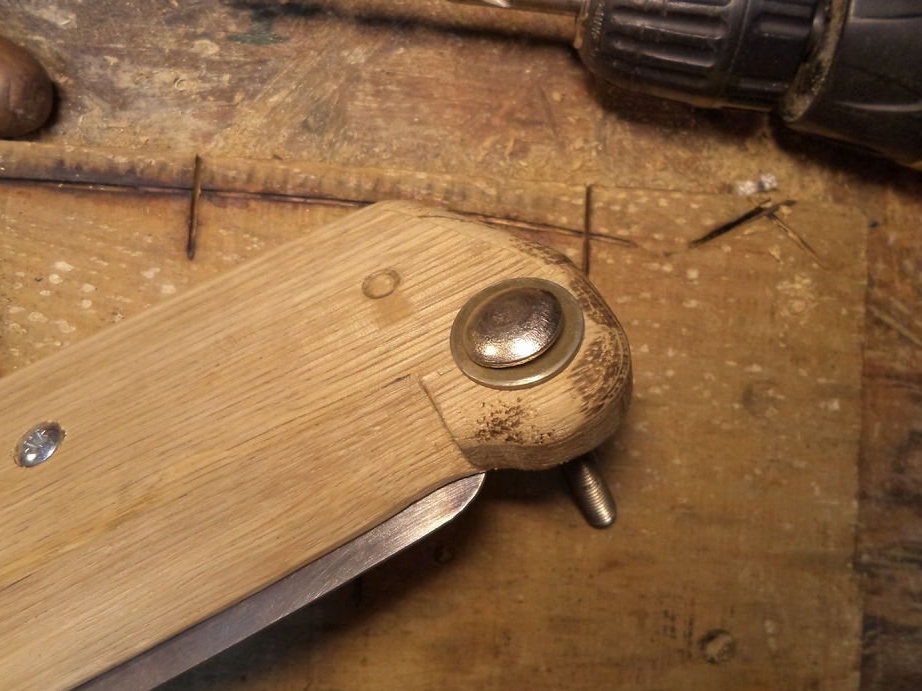
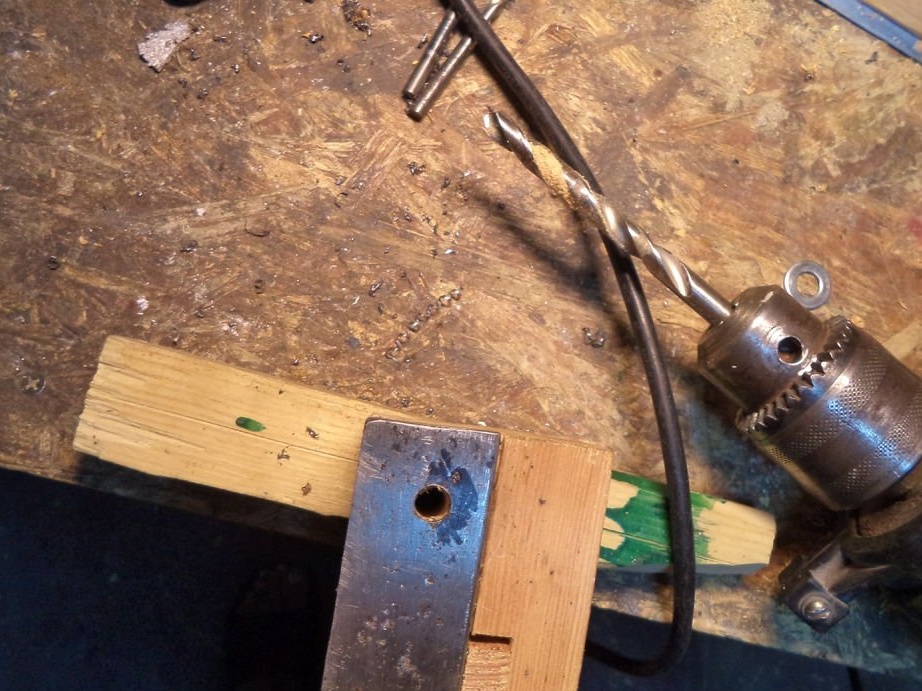
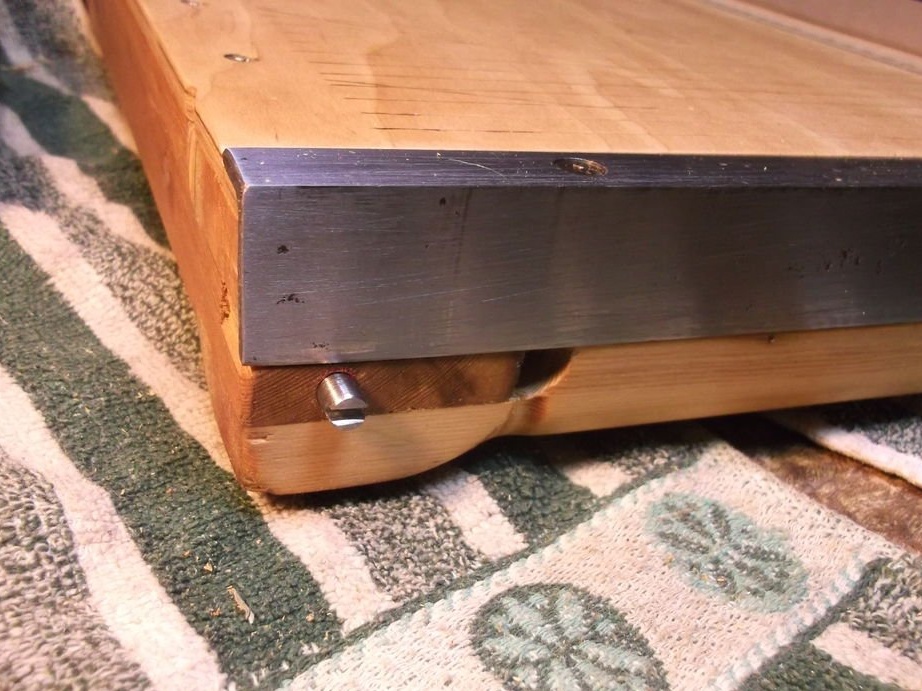
In the corner and the protruding part of the frame, drills holes for the mounting bolt.
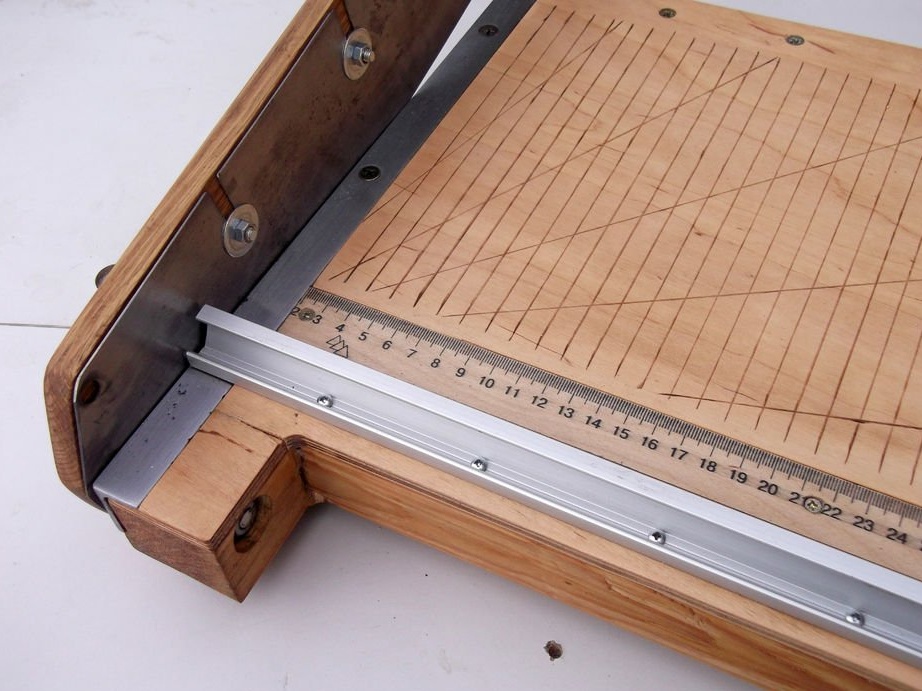
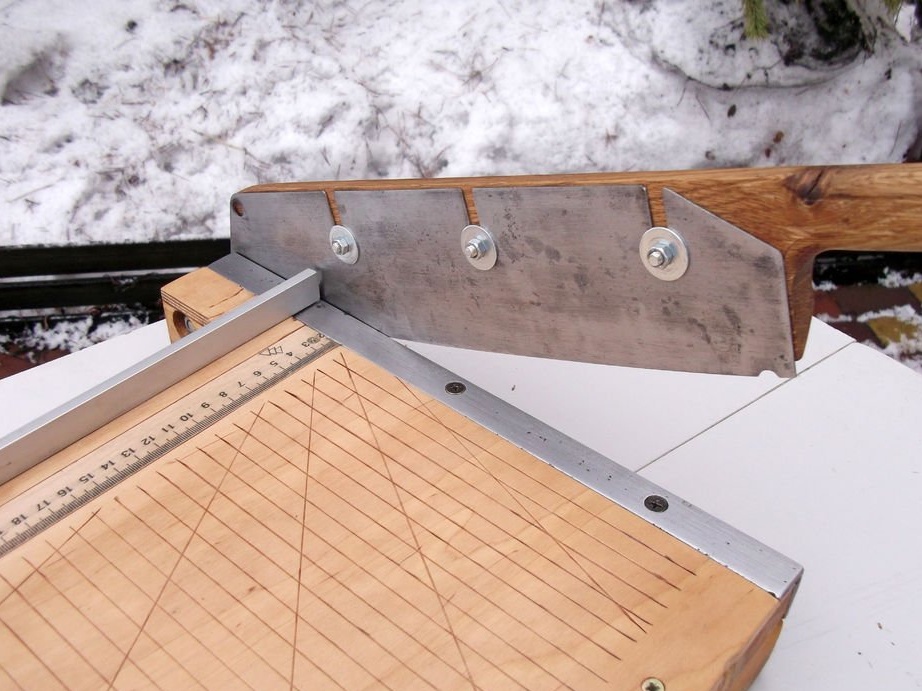
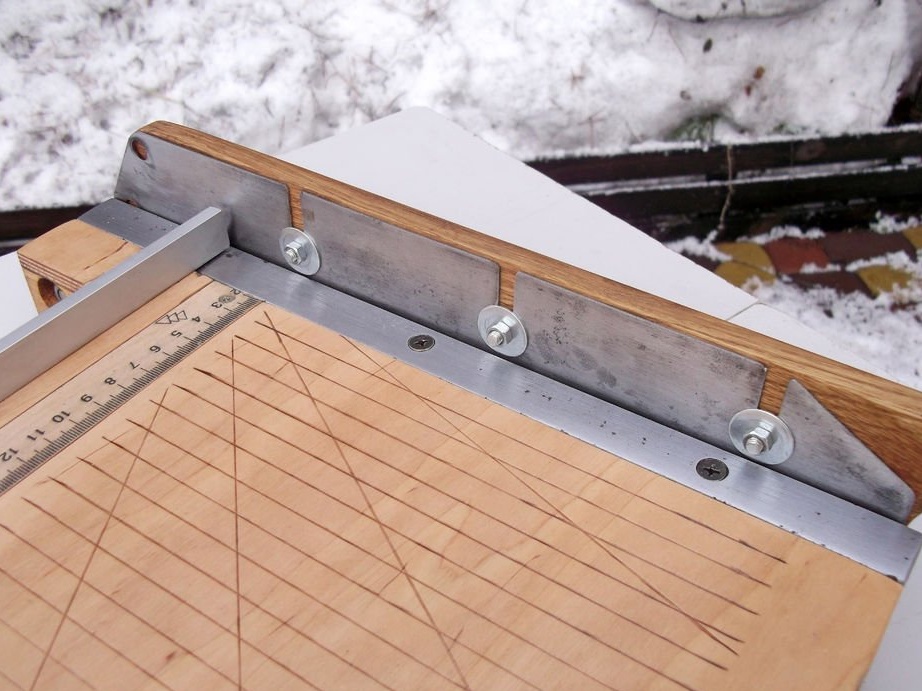
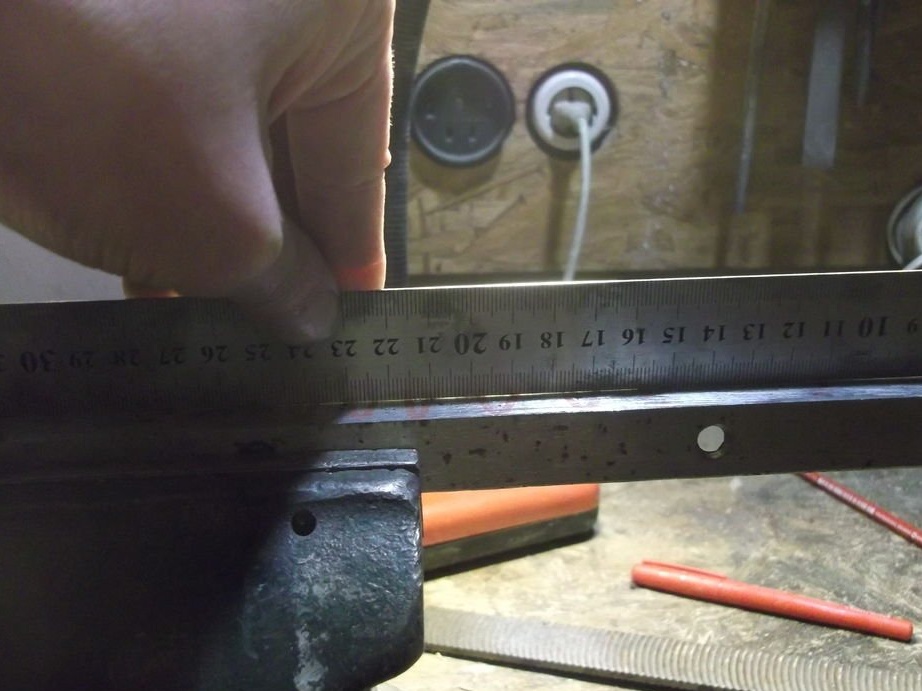
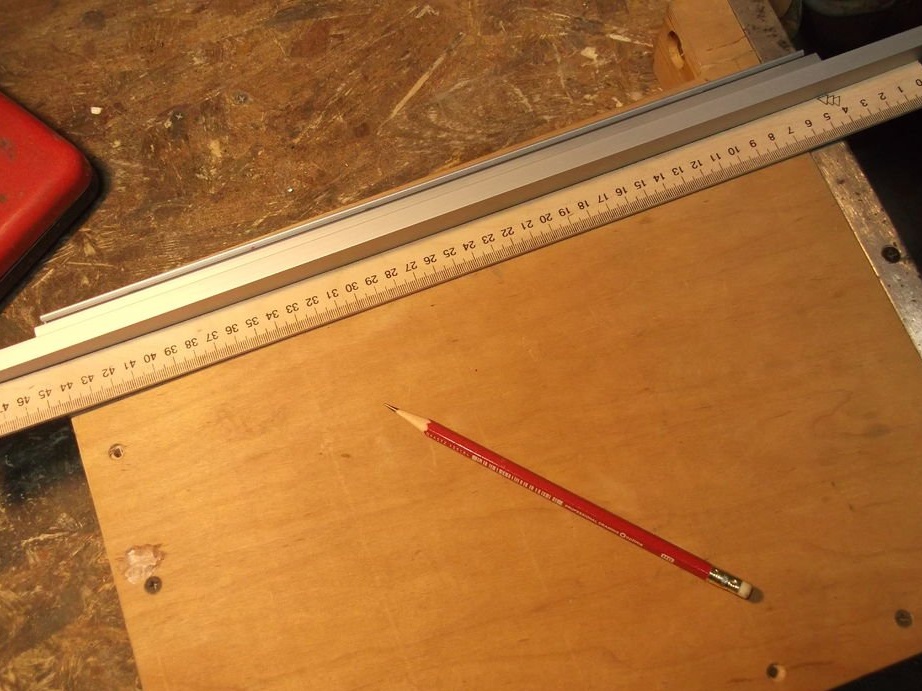
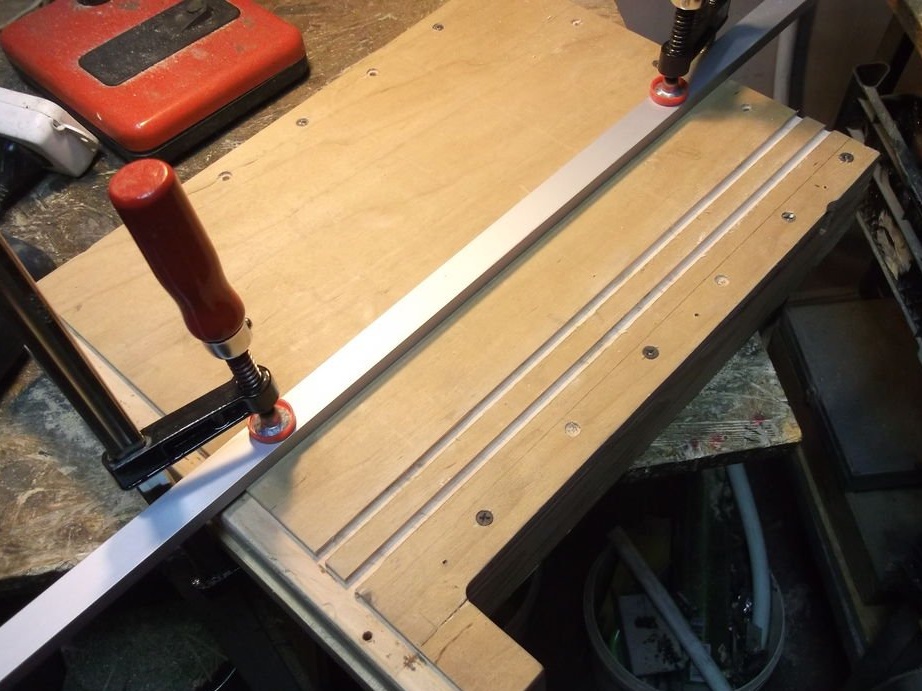
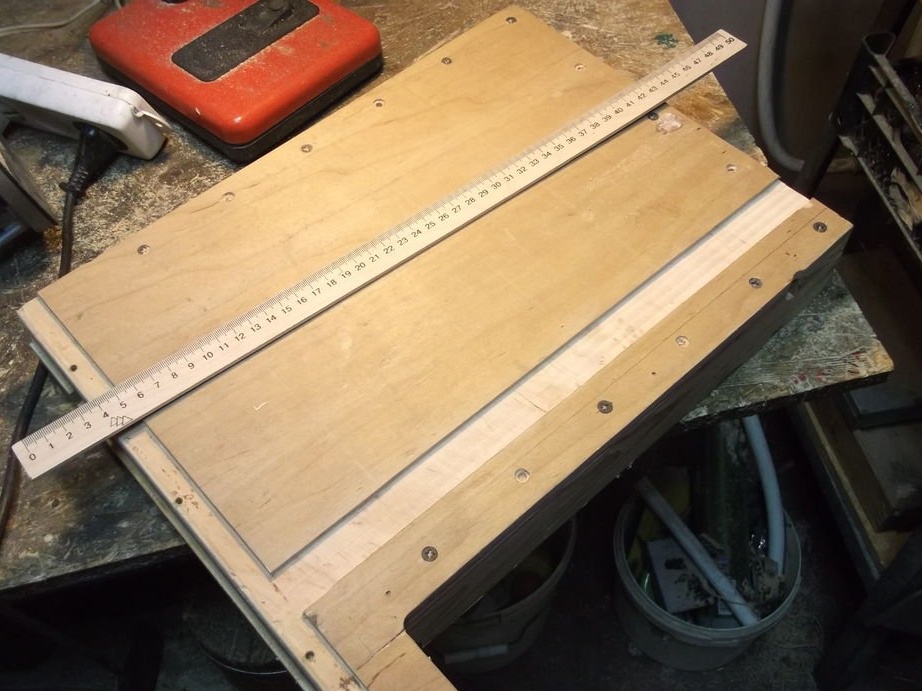
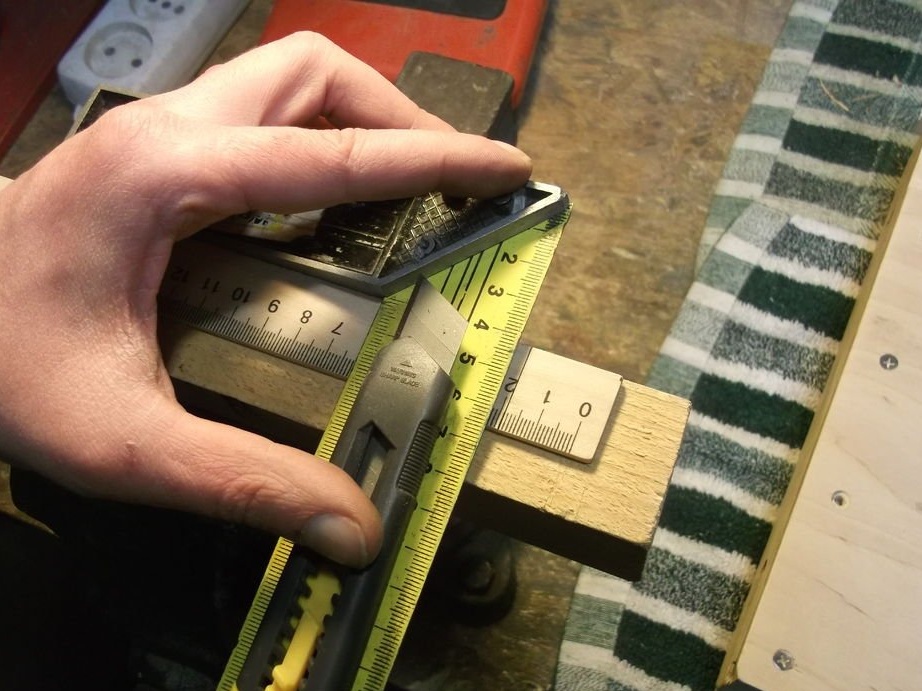
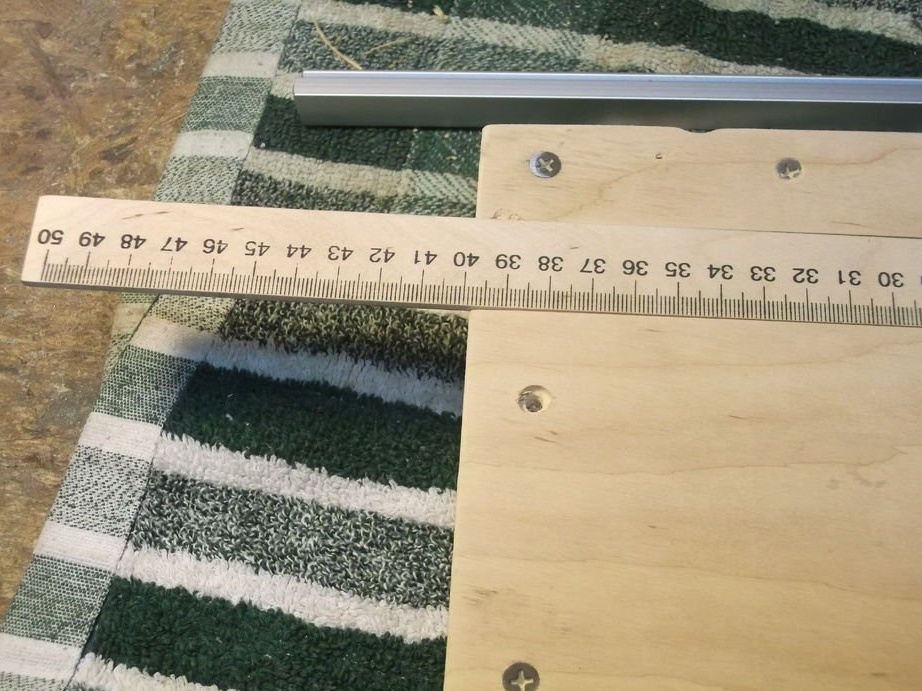
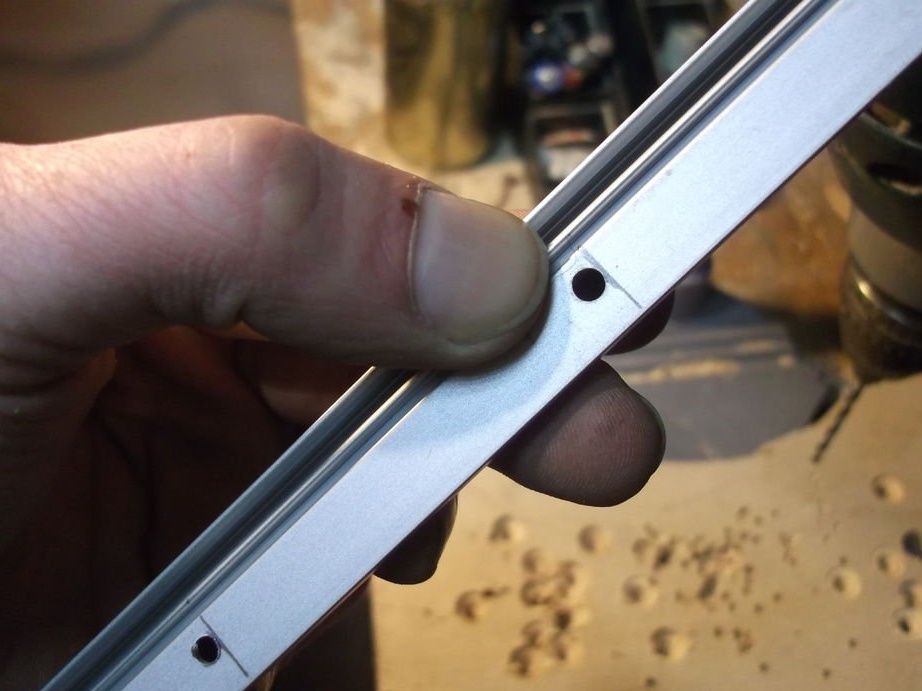
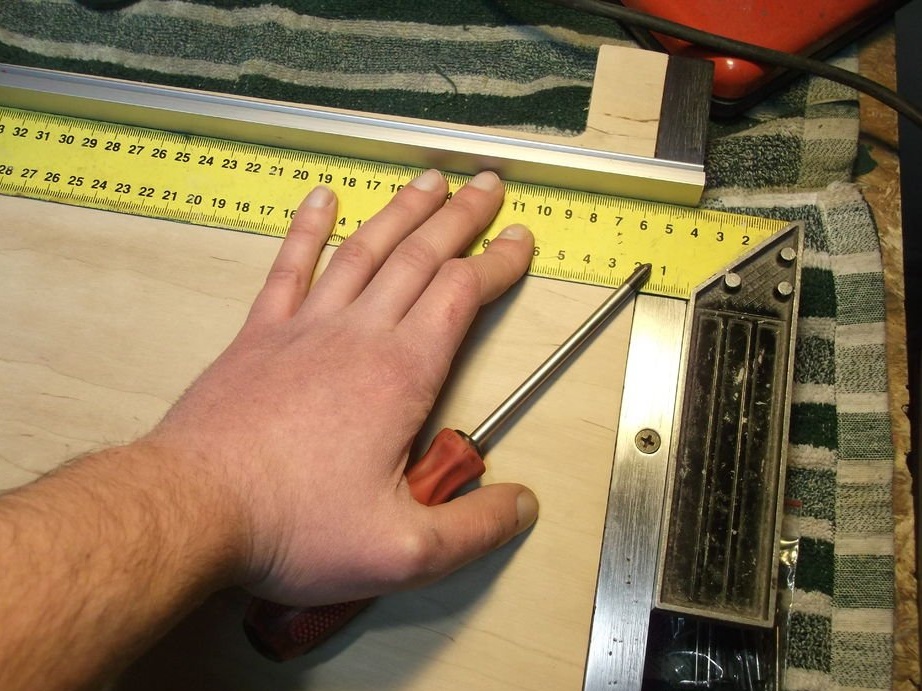
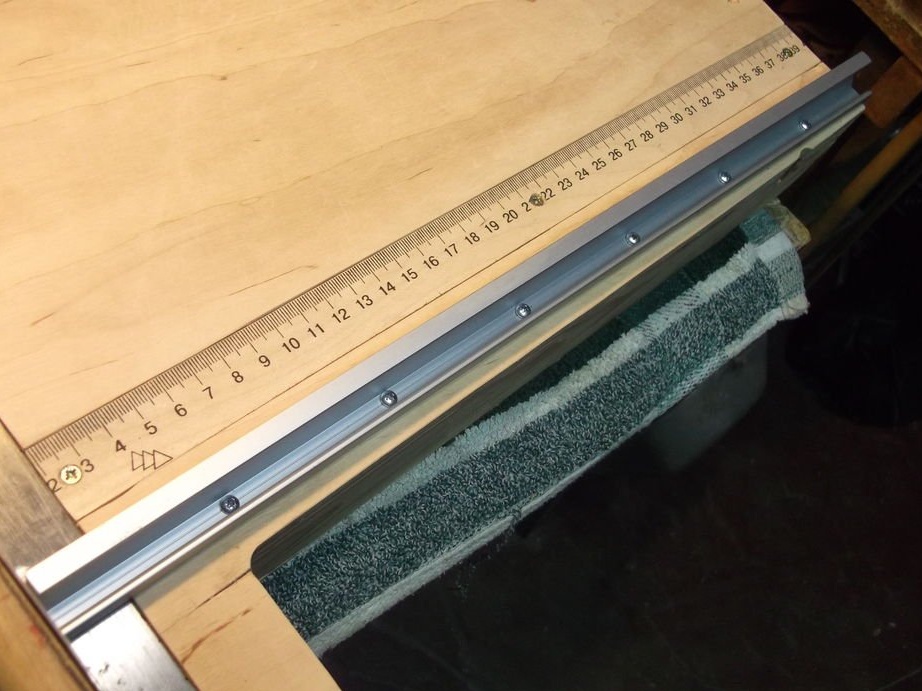
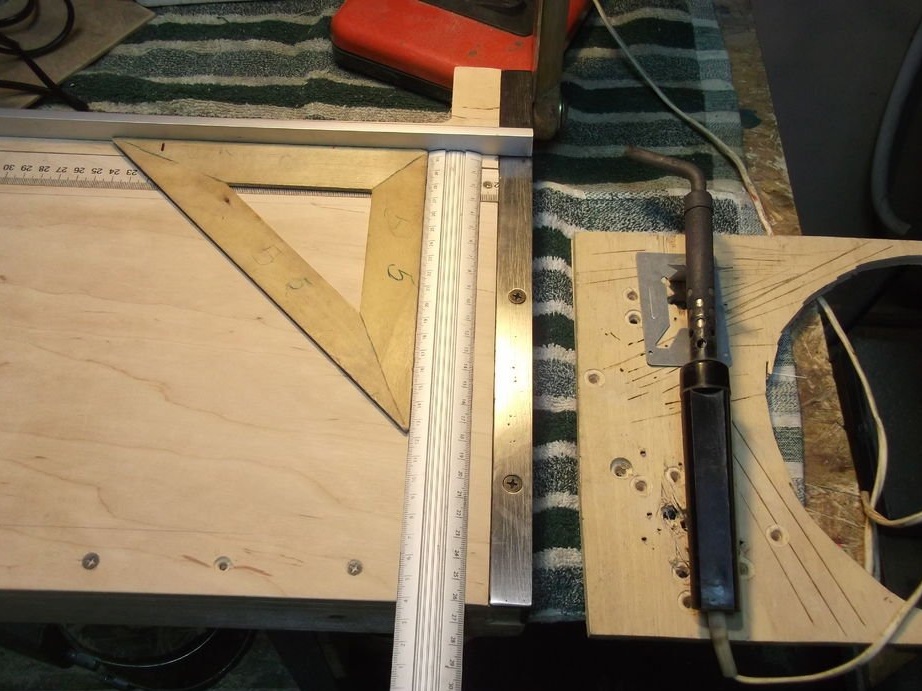
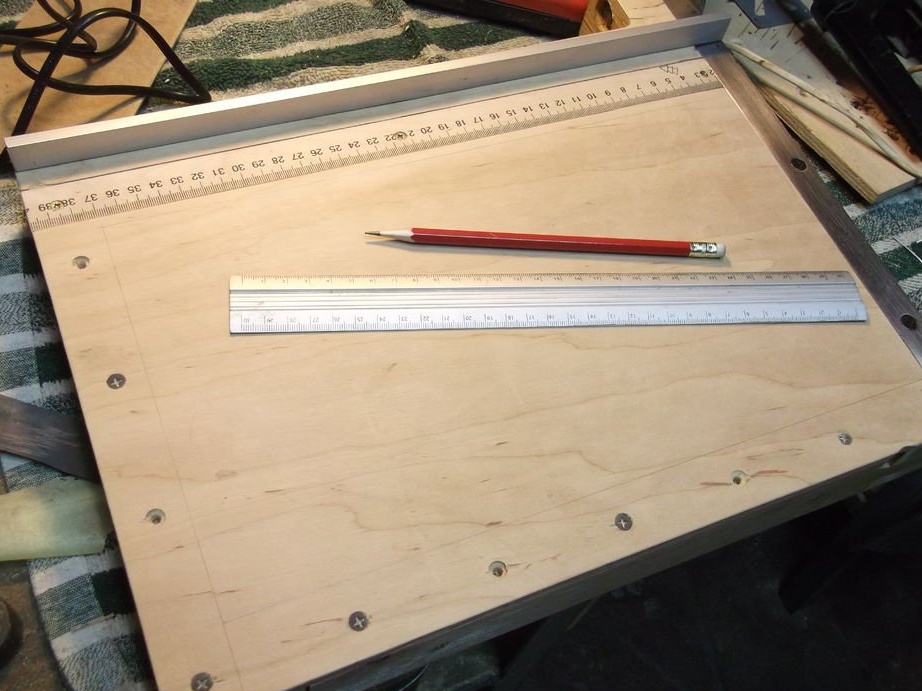
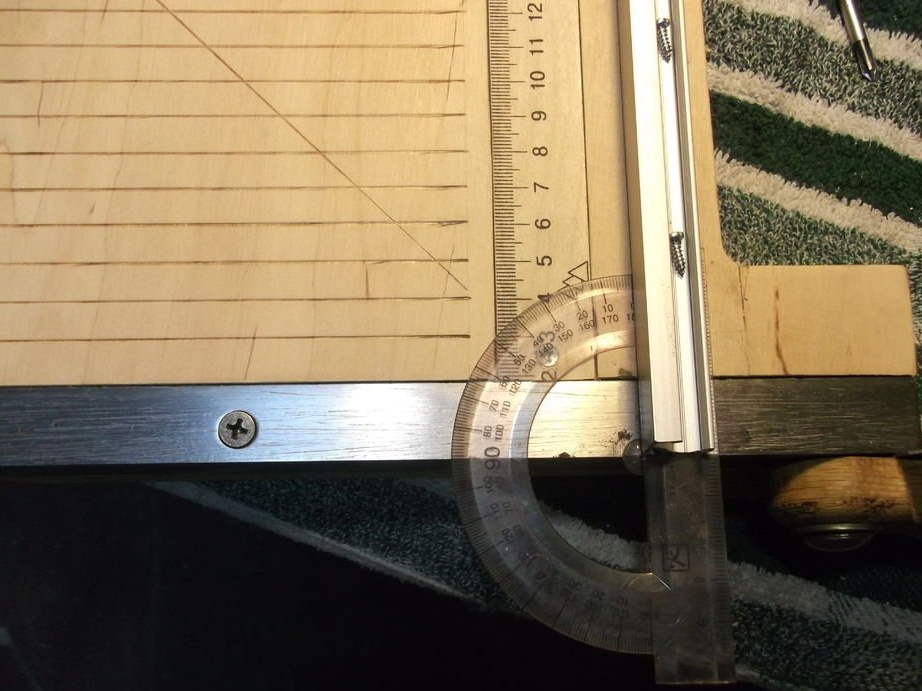
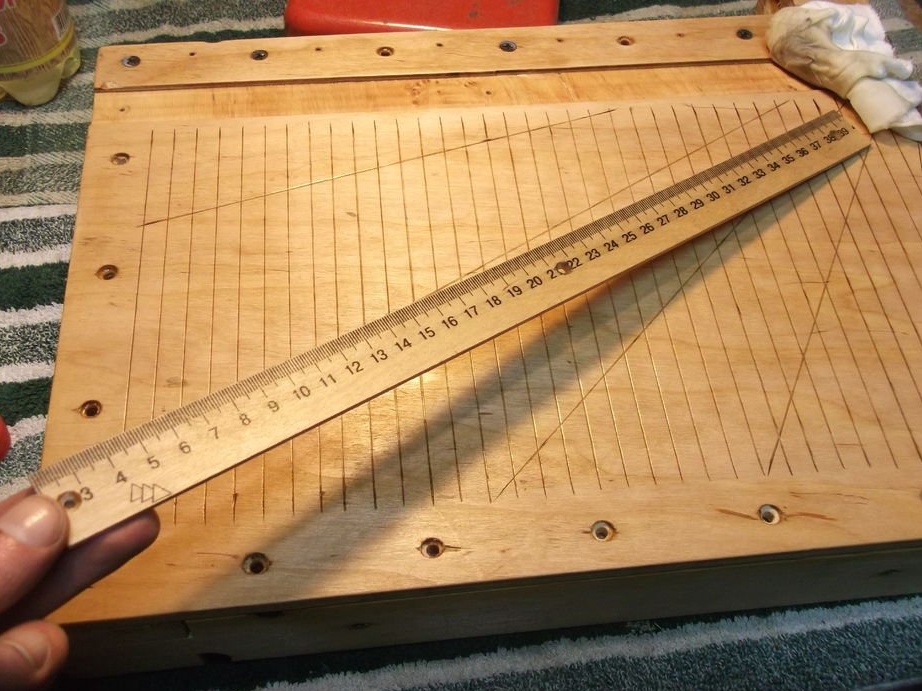
Sixth step: emphasis and measuring ruler
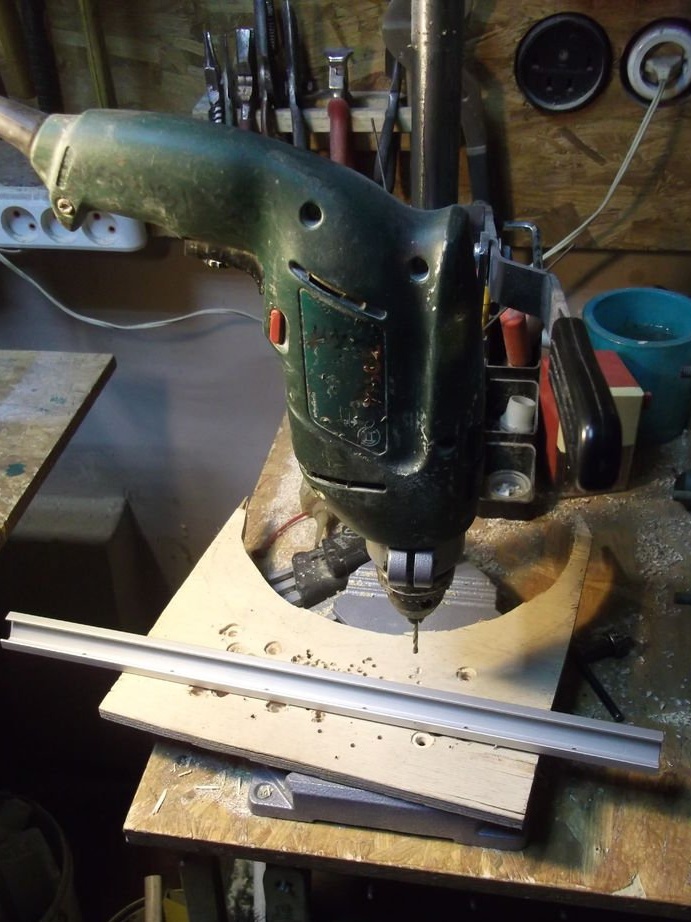
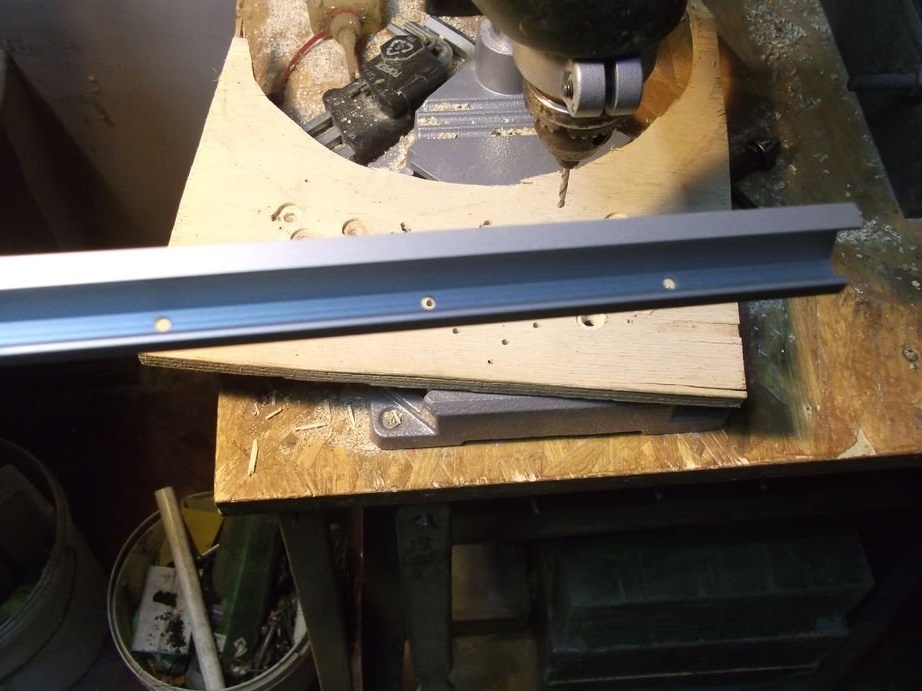
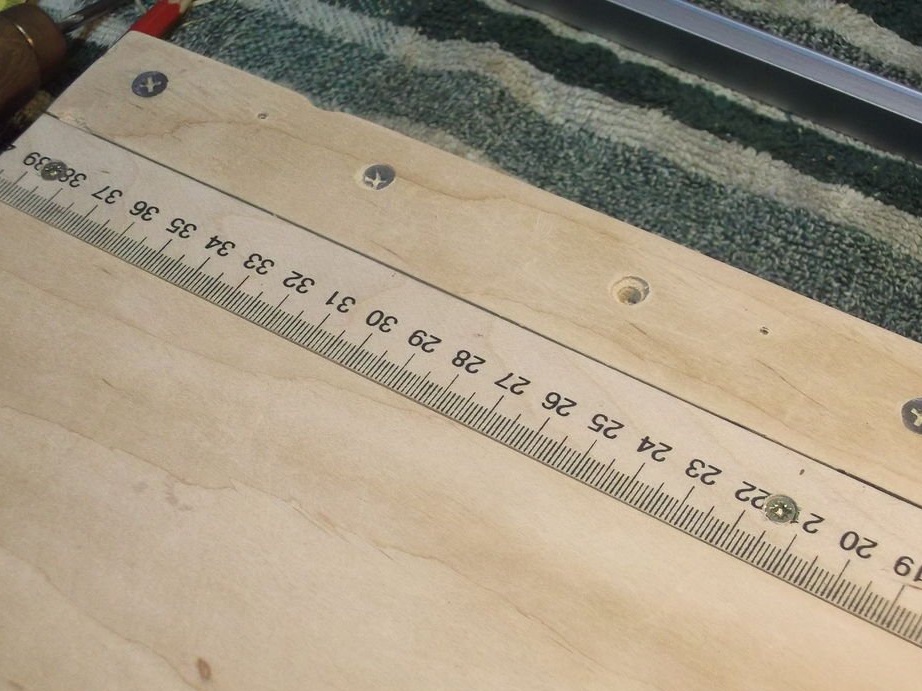
The emphasis is made of an aluminum profile, an ordinary wooden ruler is used as a measuring ruler.
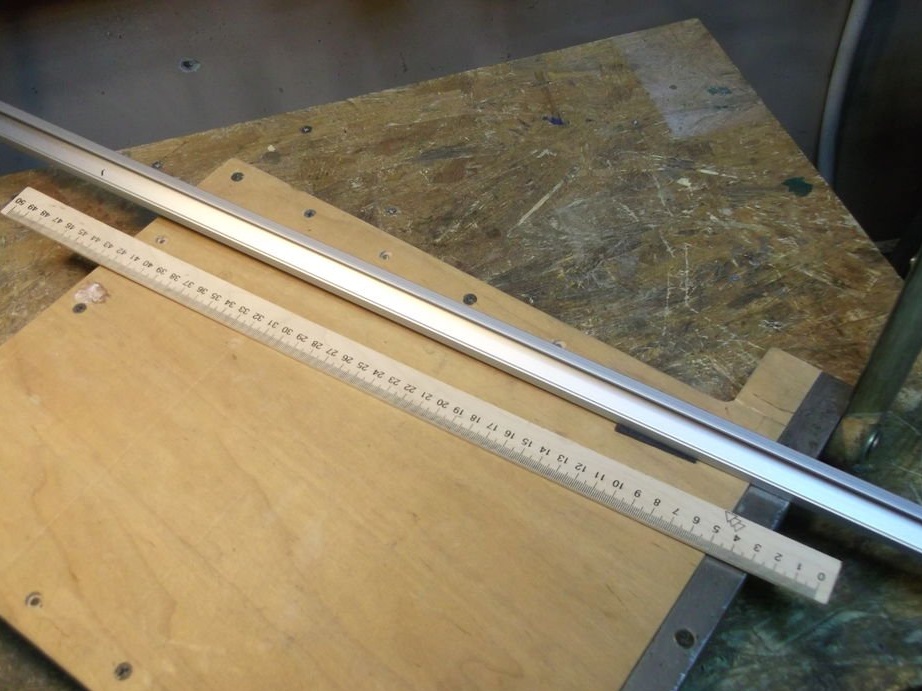
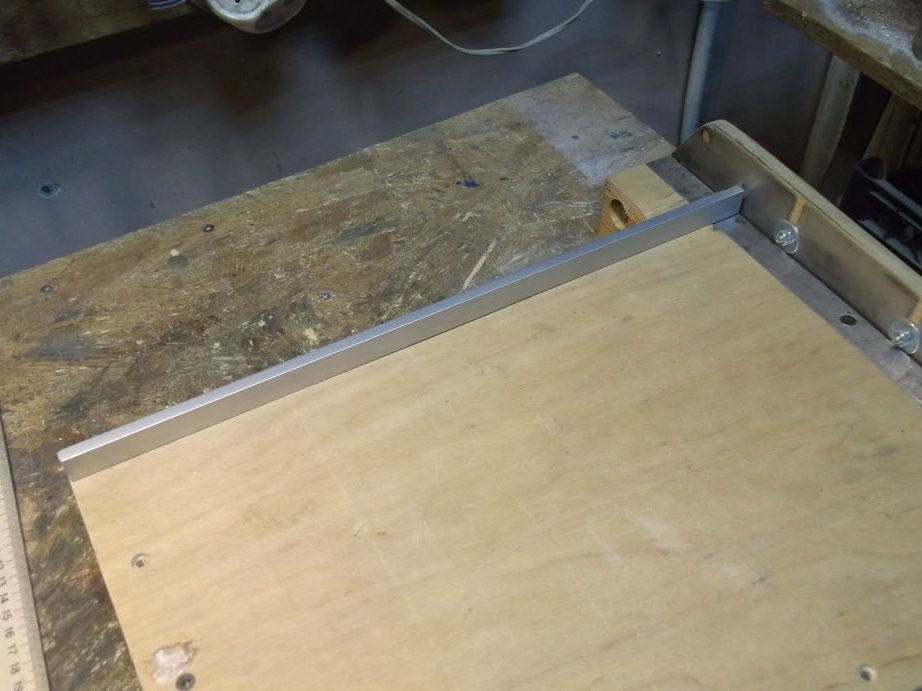
Mounting holes were drilled in the profile.
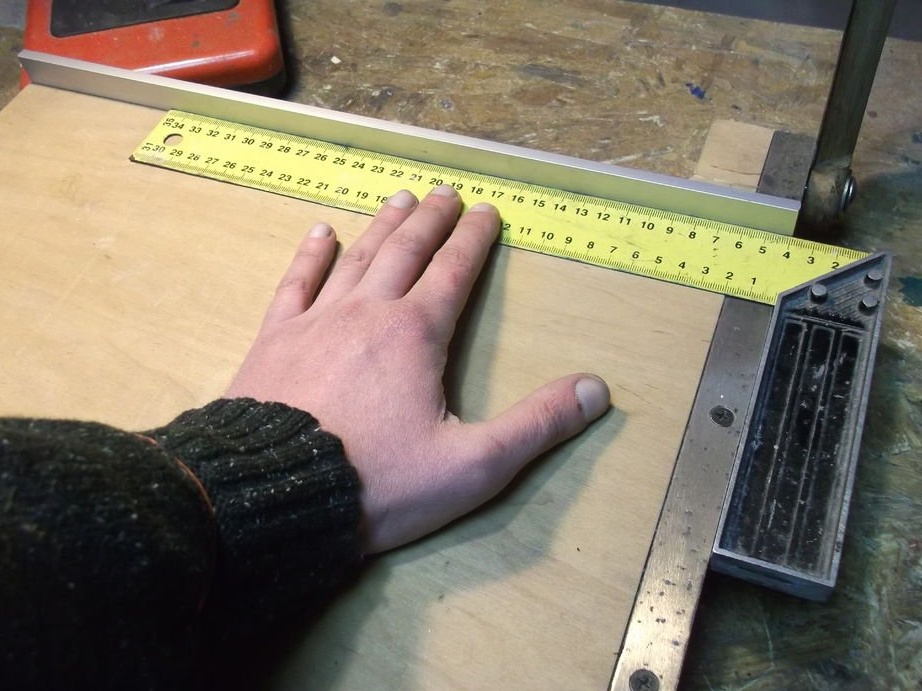

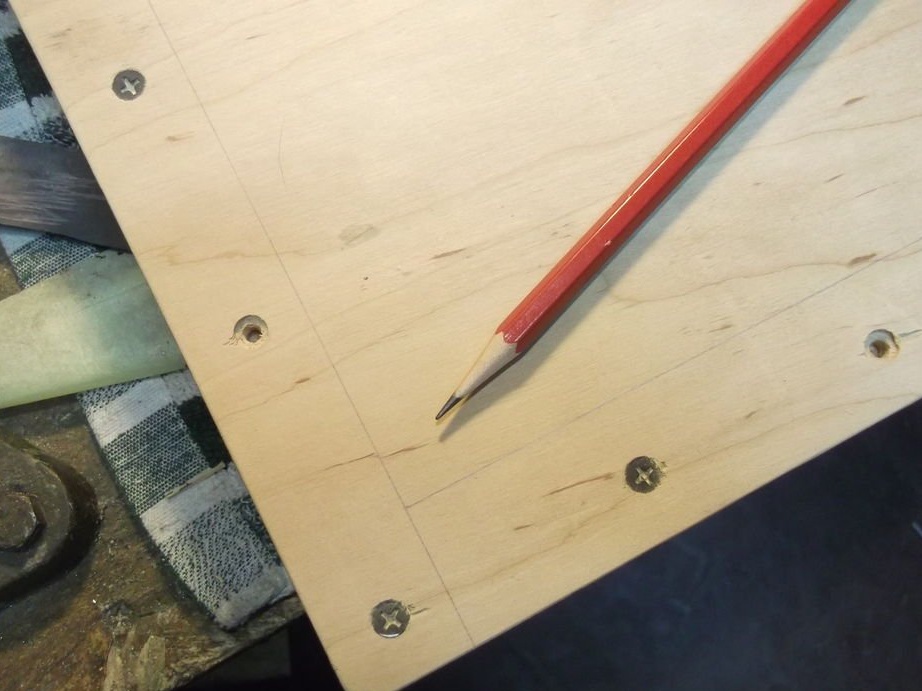
On the desktop, markings were applied along the width of the ruler.
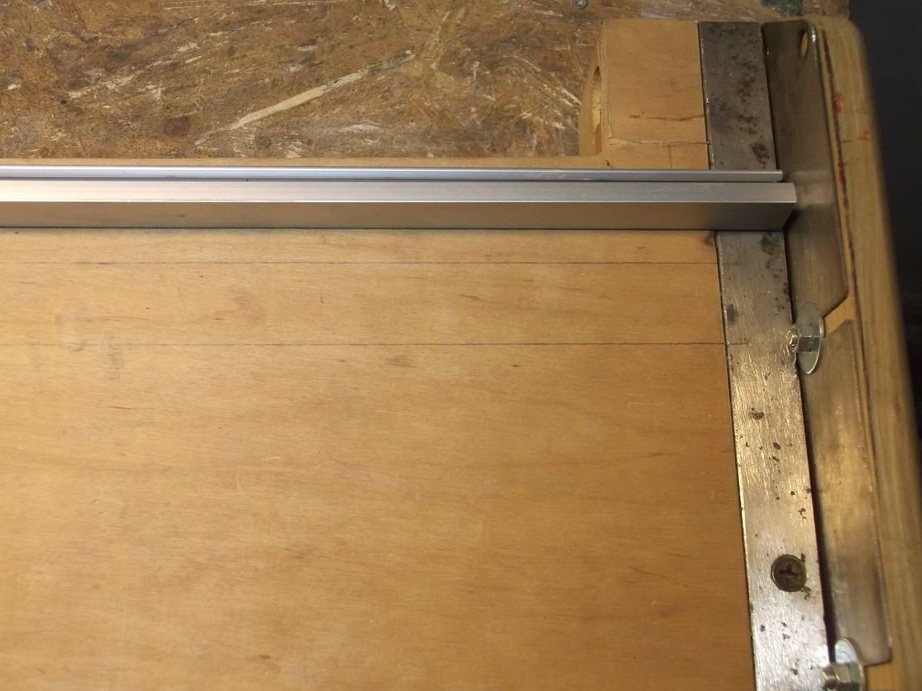
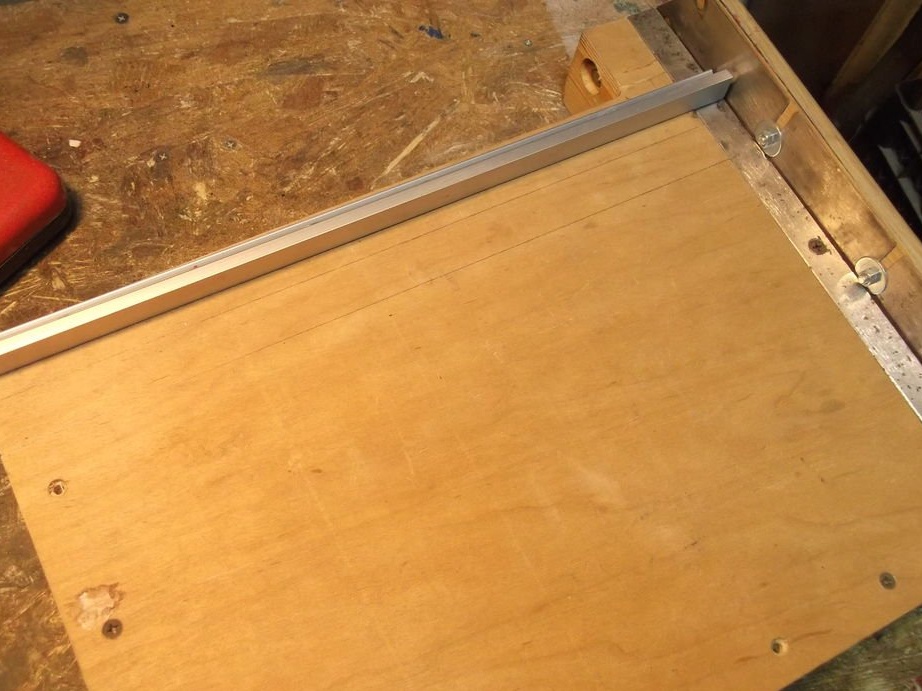
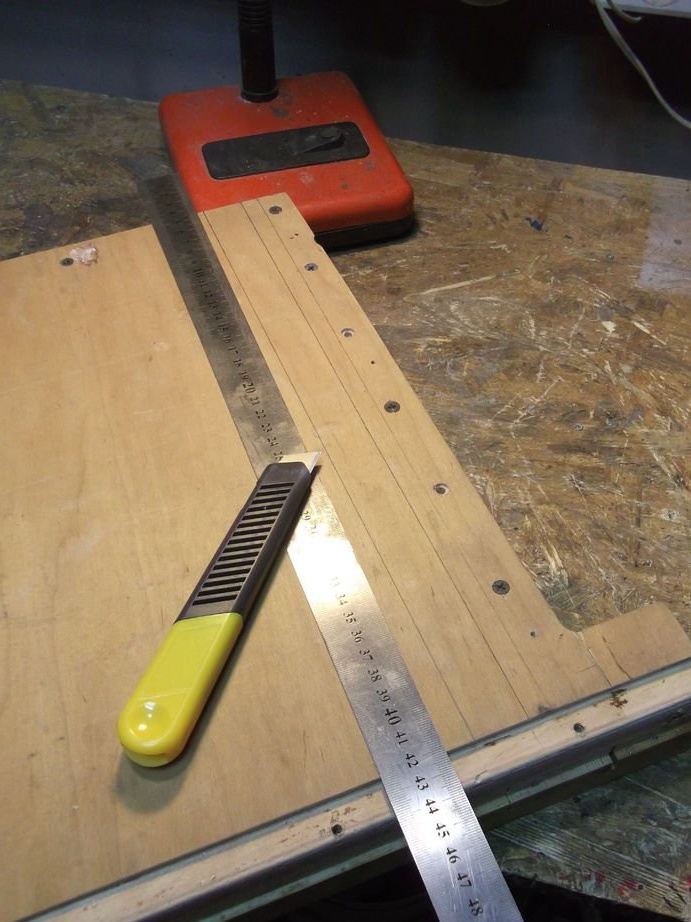
Frezoy and a chisel was chosen groove for the ruler.

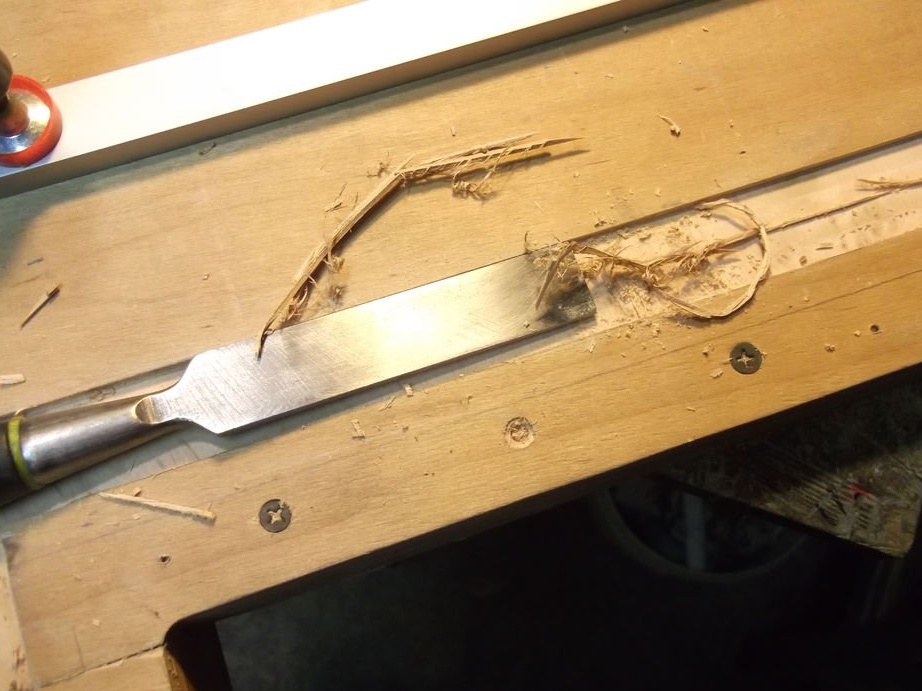

Grinds the surface of the desktop.
Combines the edge of the counter-knife and 0 rulers. Cuts the protruding part.
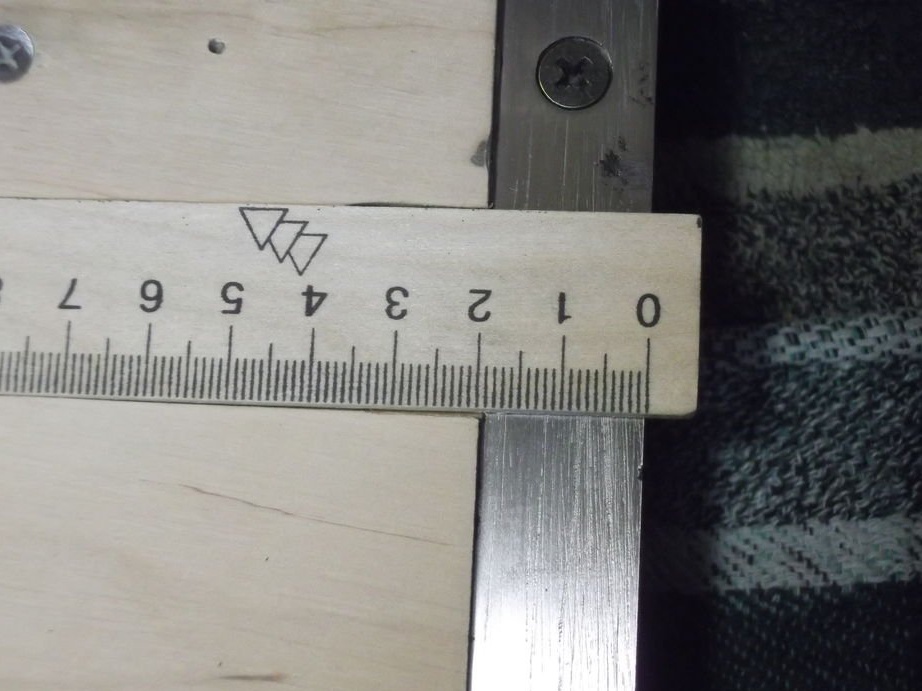
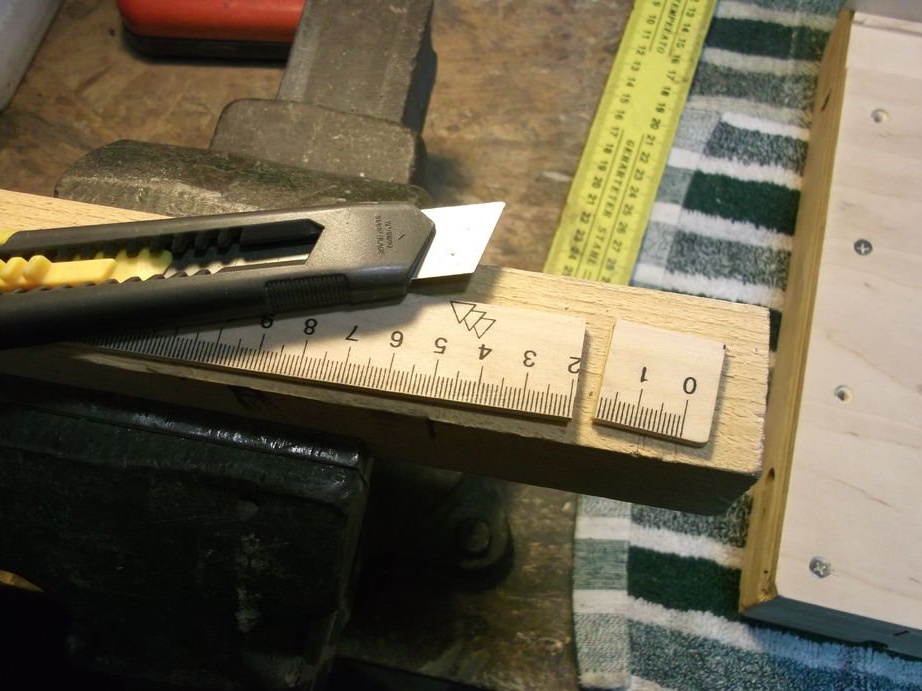

The line will be attached to two screws.

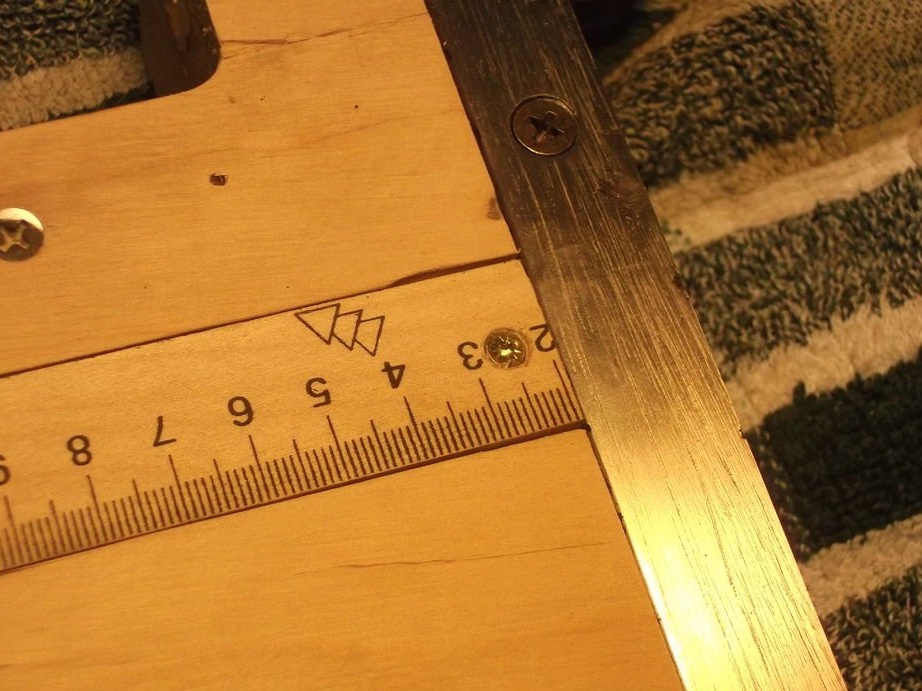
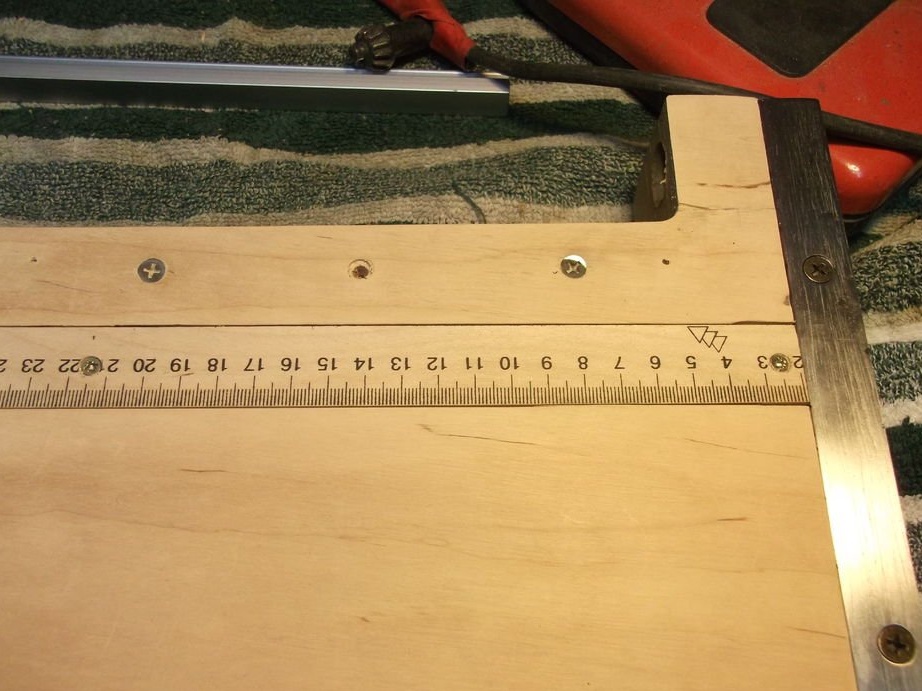
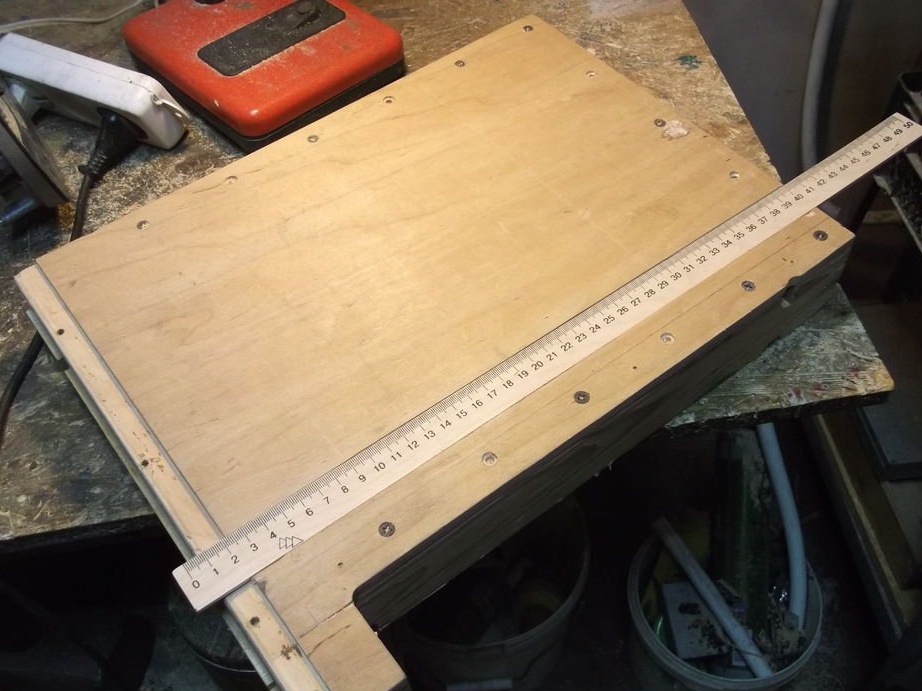
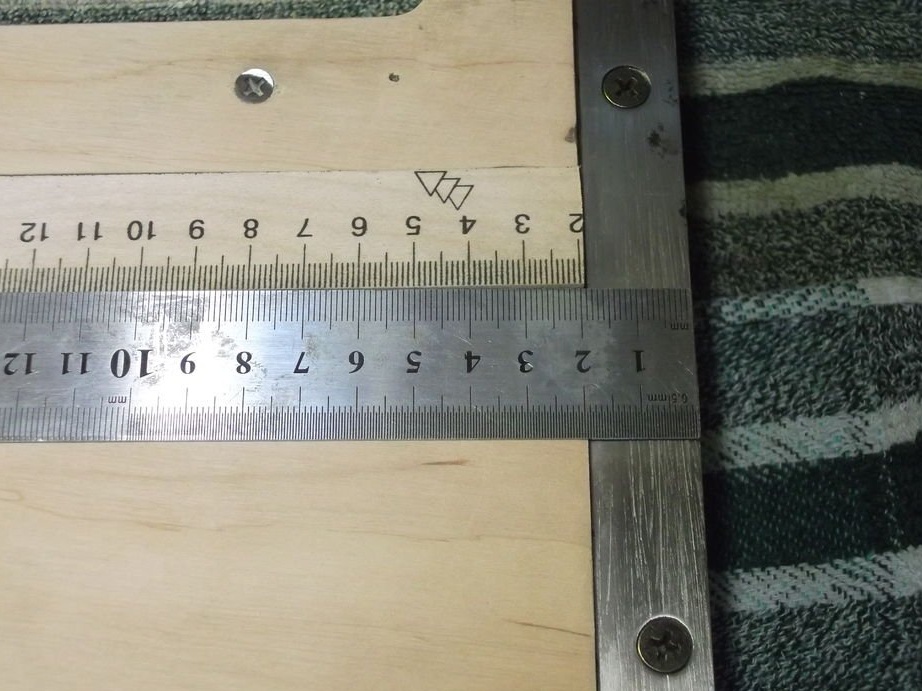
The emphasis must be fixed at right angles to the counter-knife.

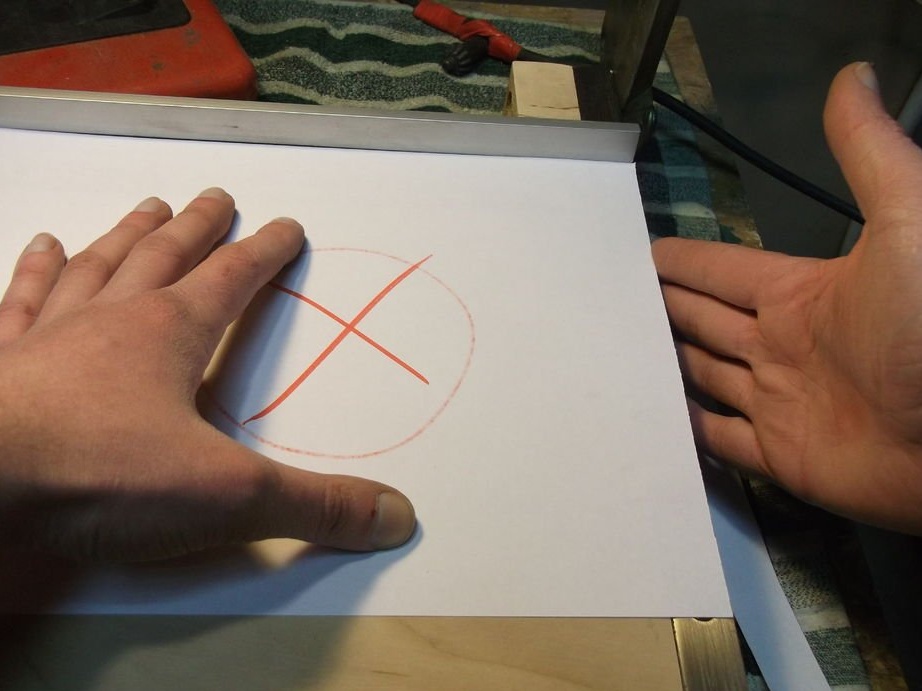
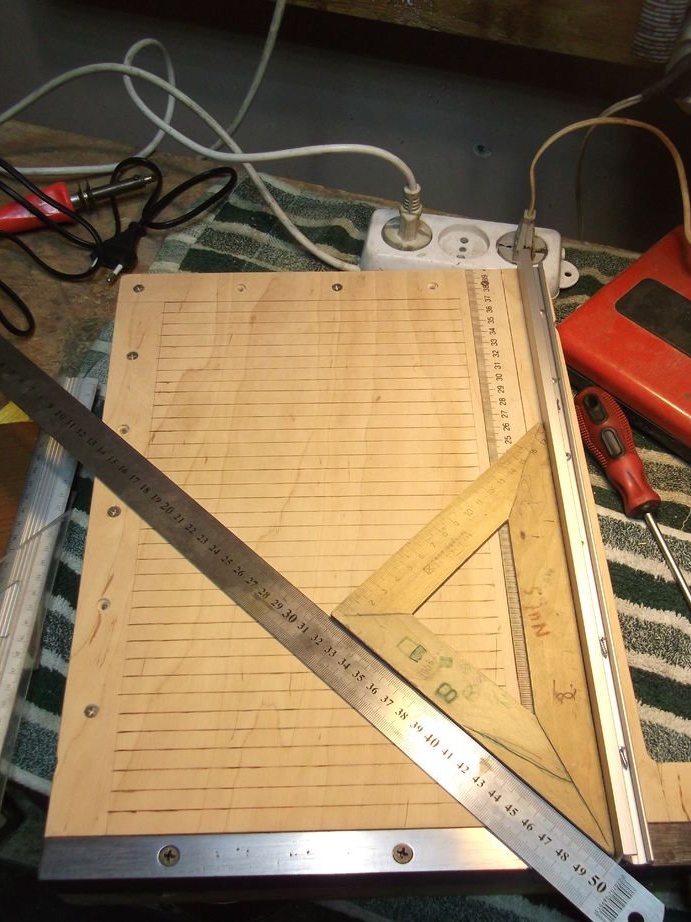
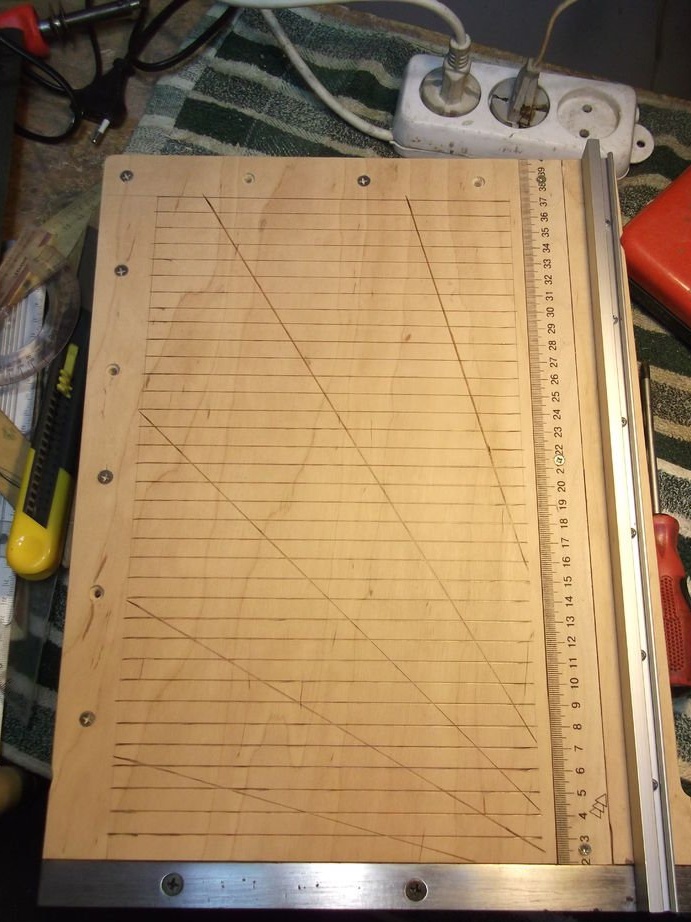
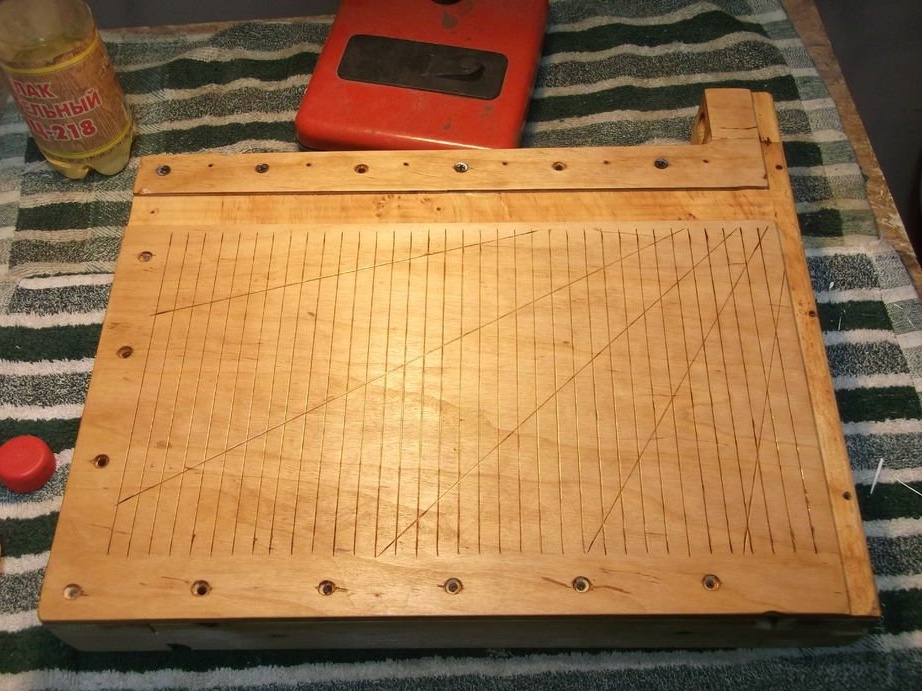
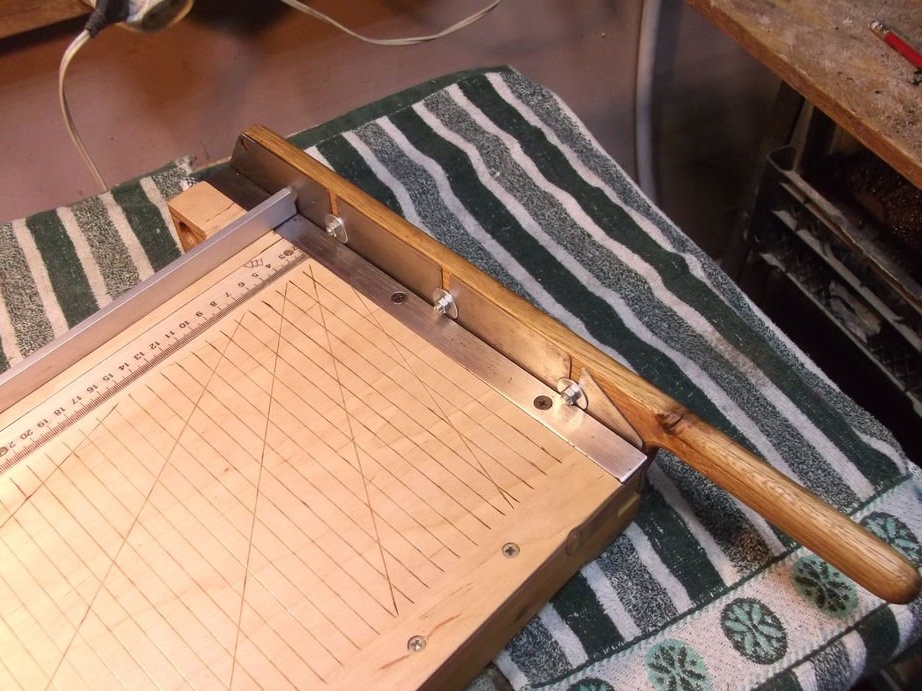
Seventh step: markup
The markup is applied by the master in two coordinates. One, from the counter-knife along the desktop, with a step of 1 centimeter, the second from the corner measuring ruler - stop - counter-knife, in increments of 15 degrees.

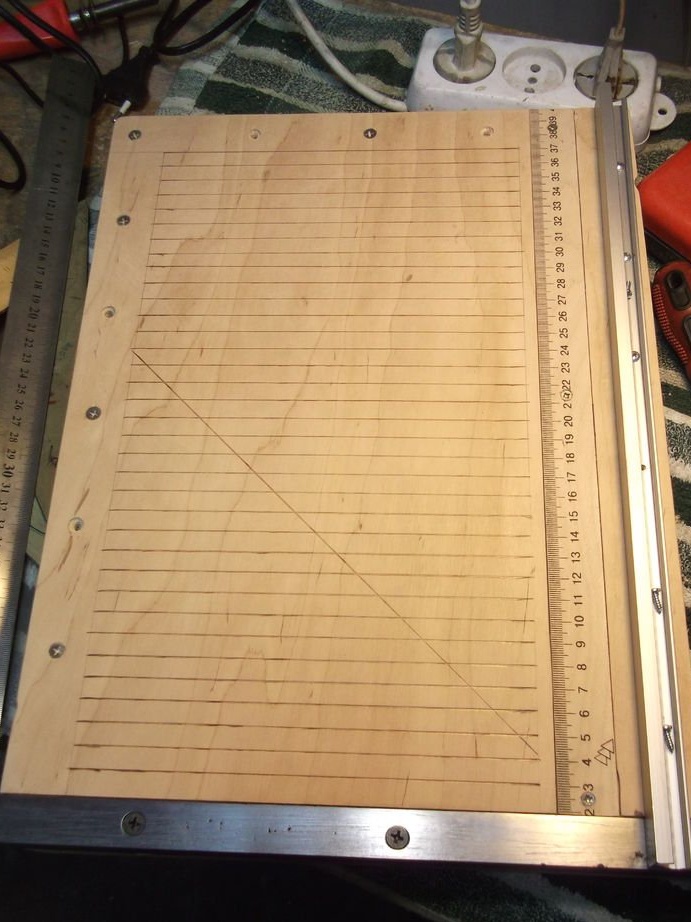
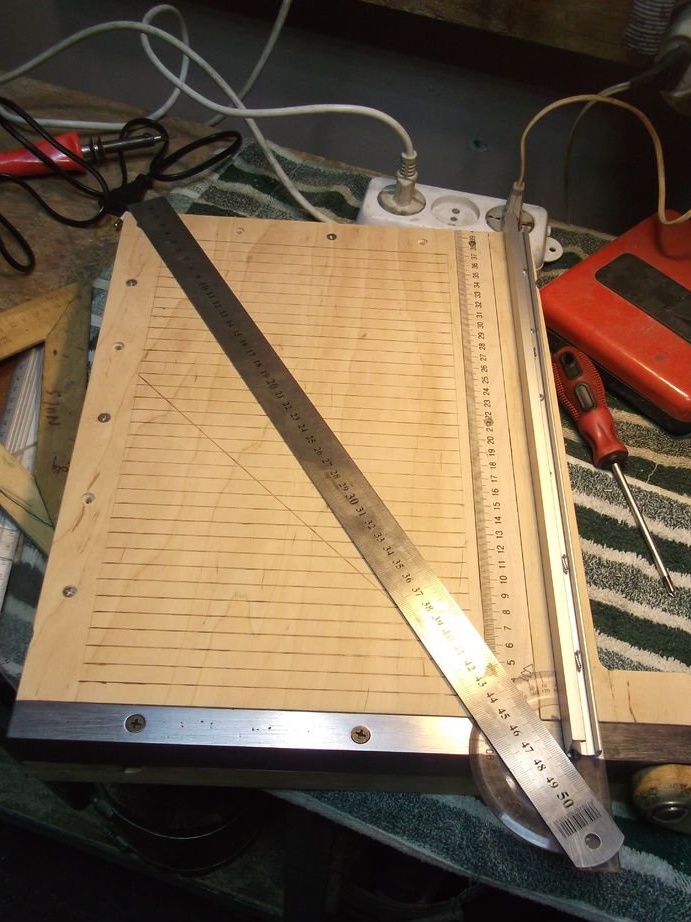
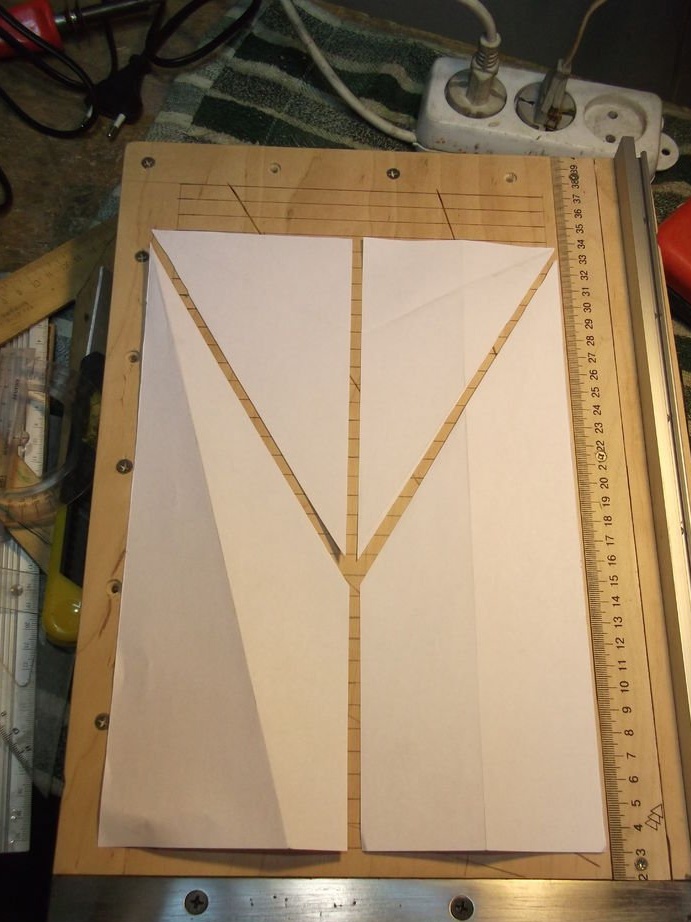
After marking, it burns out the lines with a burner and a soldering iron.
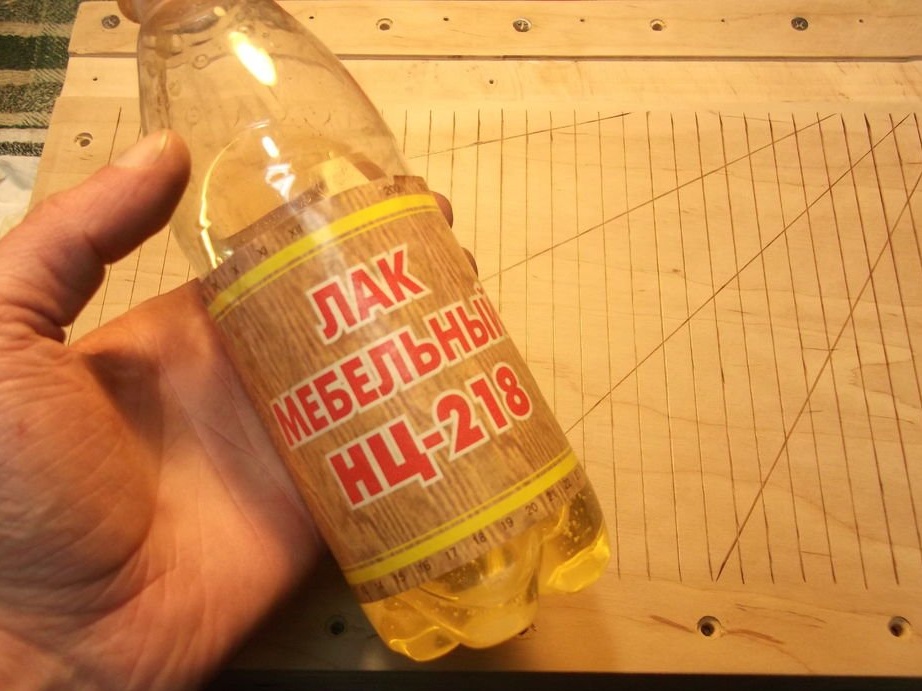
Step Eight: Protective Coating
To protect the desktop, it is covered with furniture varnish.

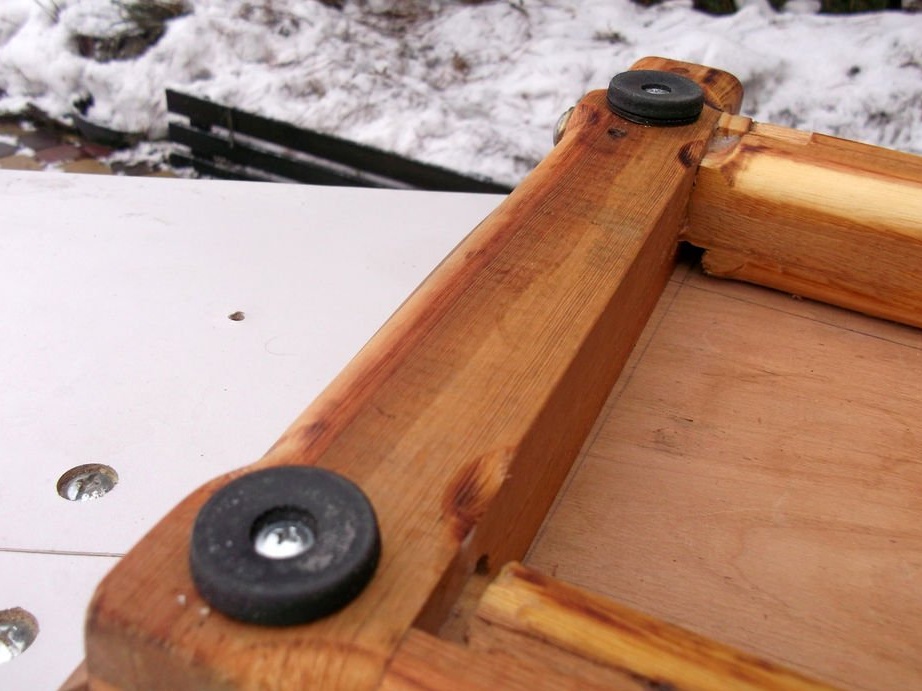
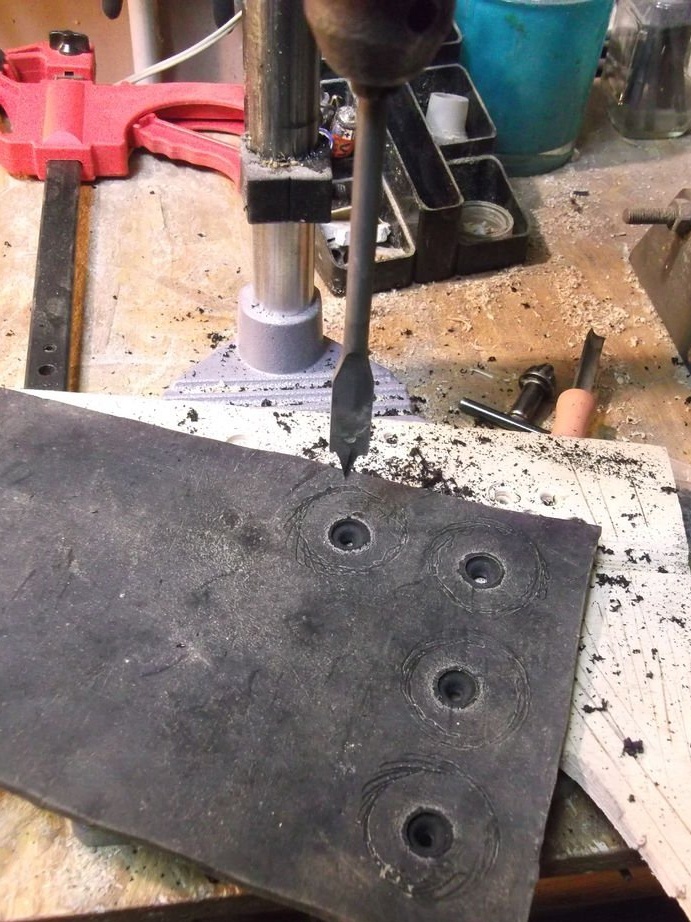
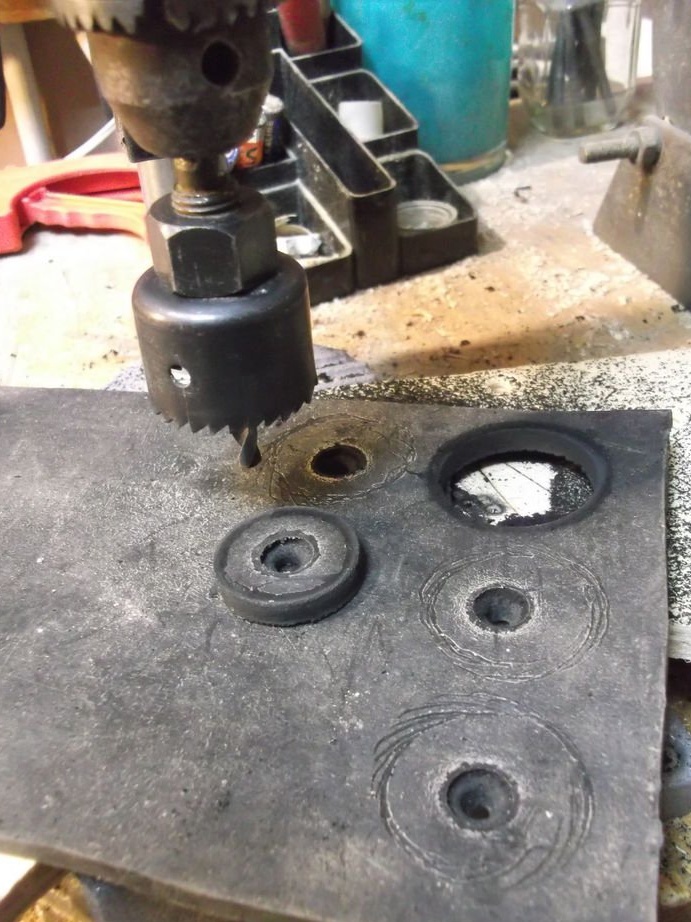
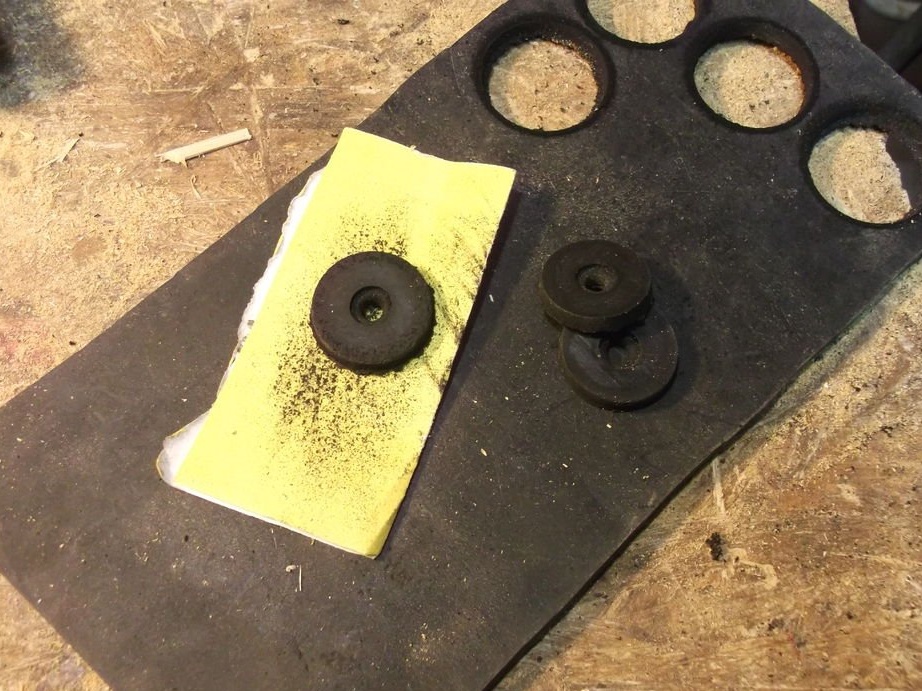
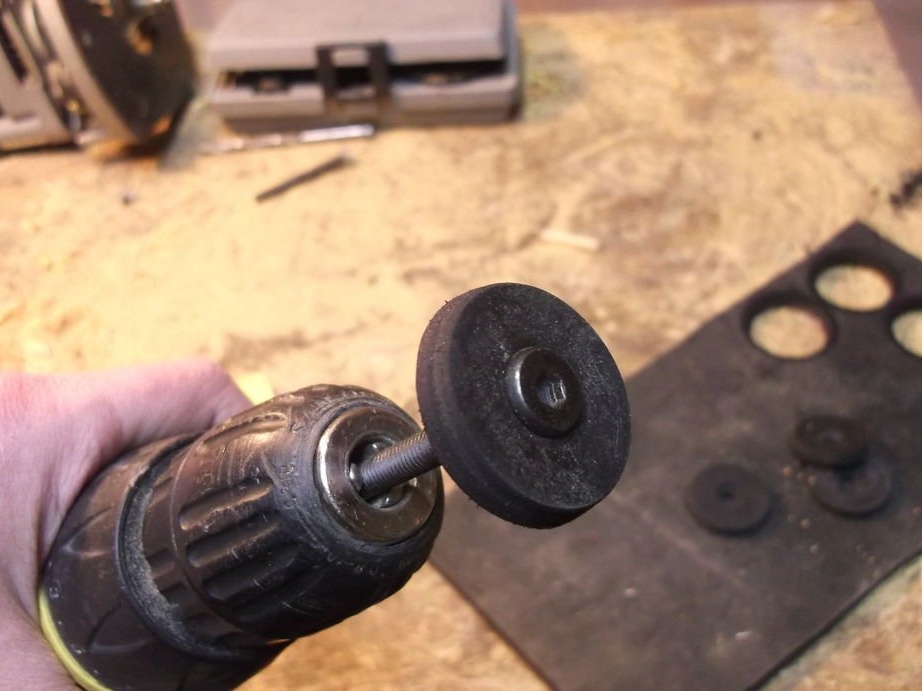
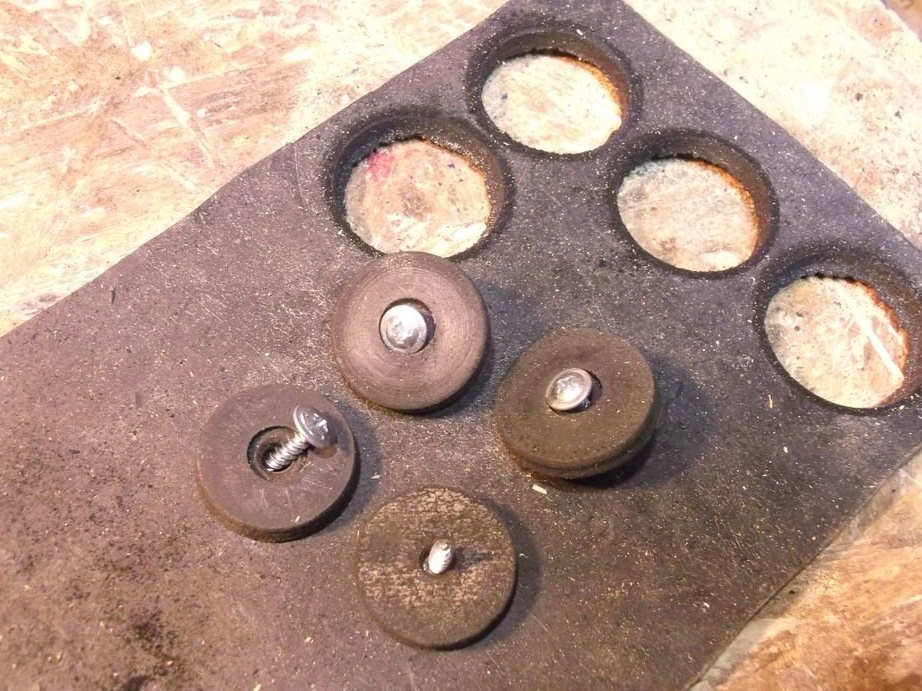
Step Nine: Feet
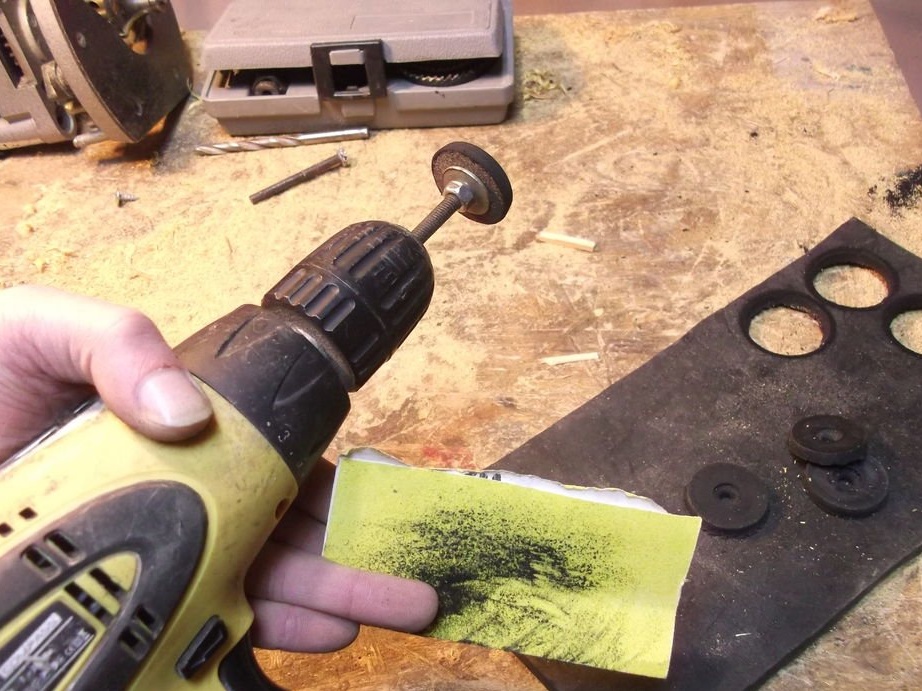
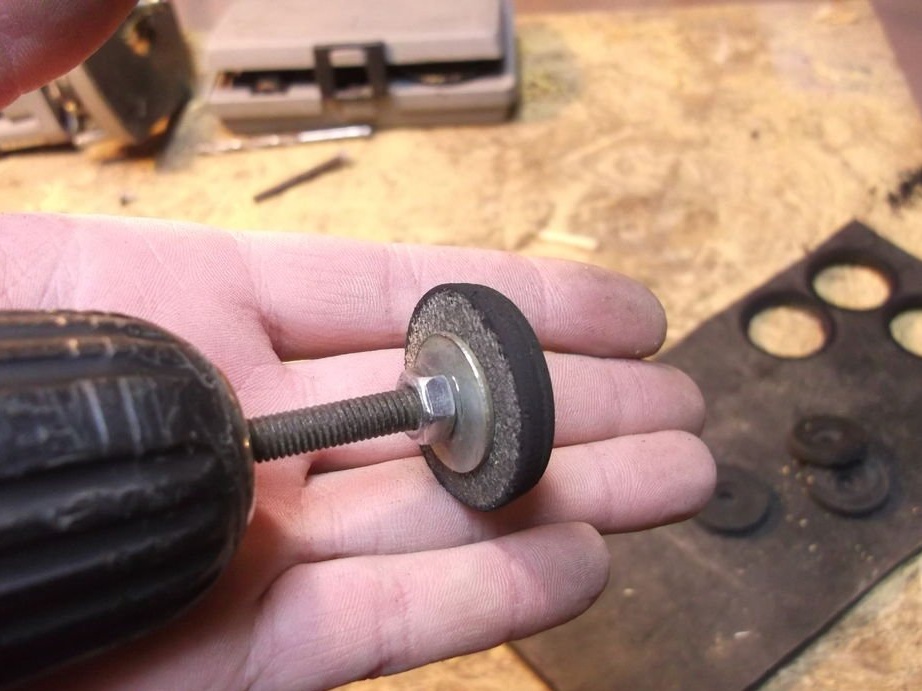
The master made legs of rubber. He drilled holes in the rubber and cut out a crown on wood. I polished it.
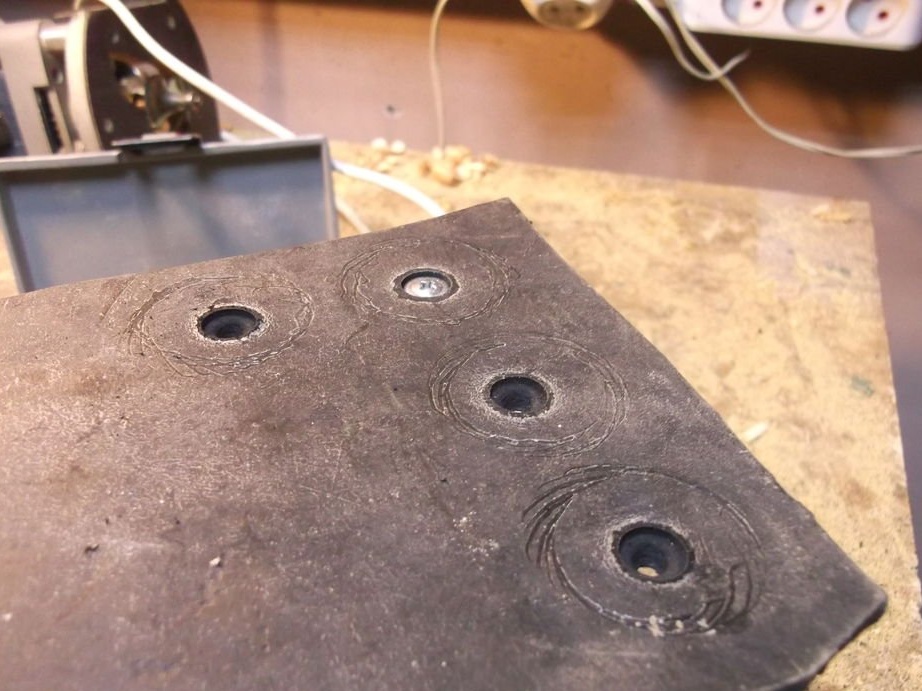

Screwed the legs to the frame.
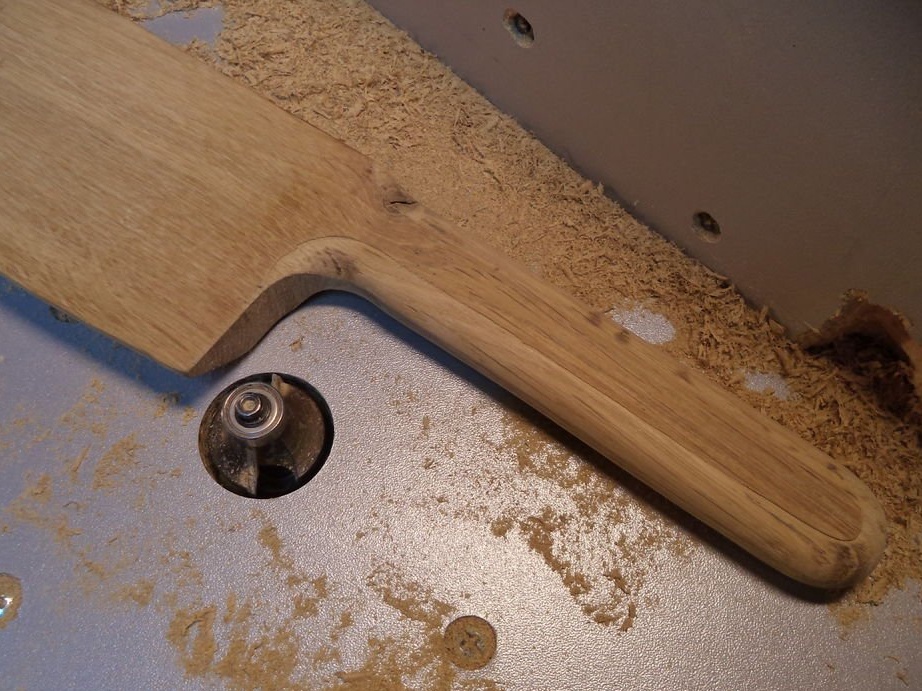
Step ten: finalizing the knife
Sharpen the cutting edge of the knife.
Makes a small semicircular cut for a persistent bolt.

Covers the handle with varnish.

[medium] https://bestdiy.washerhouse.com/uploads/posts/2019-02/155012 7343_1-151.jpg [/ medium]
Screws the knife to the base.
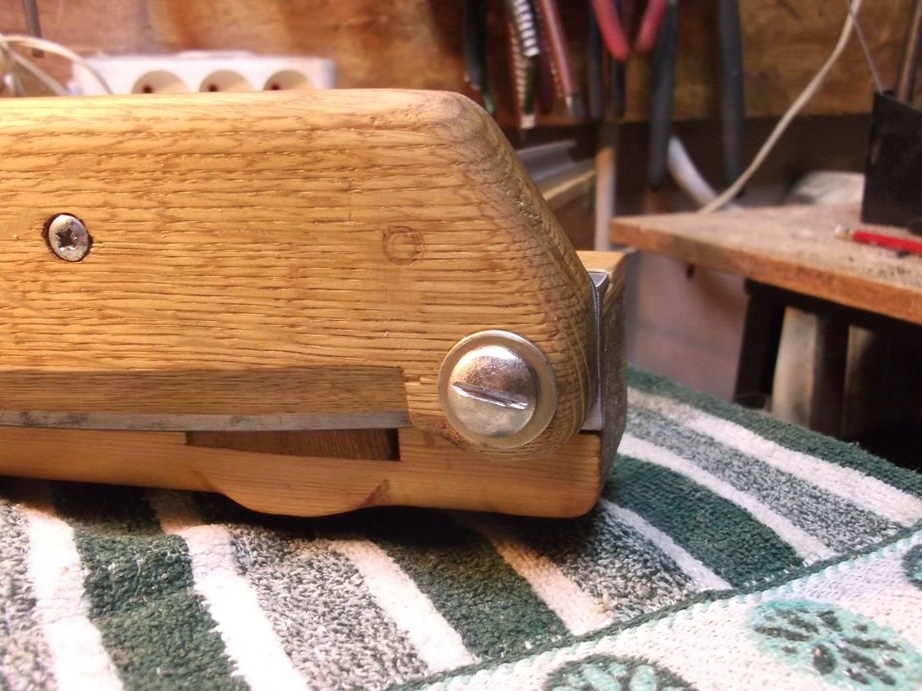
Screws a stop bolt into the base.
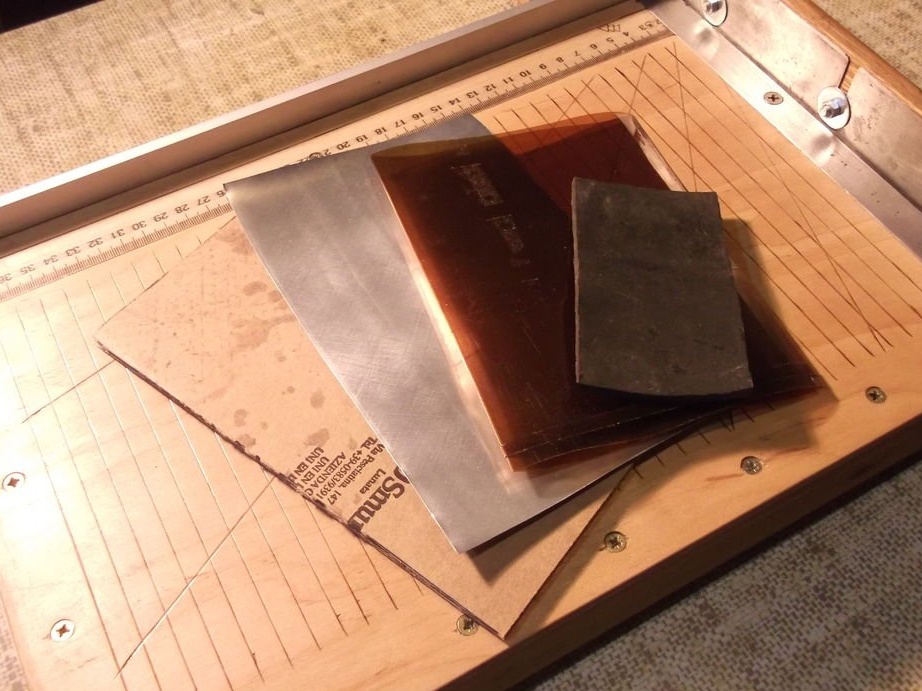
The following photo shows the results of testing the torch. The following materials are presented: paper, corrugated cardboard, plastic bottle, aluminum can and rubber.