

There are several modern simple processes using a source of ultraviolet (UV) light, the use of which in home a lab or workshop can be very helpful. This transfer of images using photosensitive materials (varnish, self-adhesive film) and UV glue. With ultraviolet light, a number of interesting experiments and experiments can be carried out, used to search and determine certain substances.
Image transfer - A great way to get an exact "hard copy" of a drawing made on a computer. The pattern can be transferred to metals, probably glass and plastics. It can be plates, nameplates, front dashboards, scales, decorative gizmos, jewelry. This method is widely used in electronics for the manufacture of printed circuit boards. Allows you to get an image with a very high resolution, which fully meets the usual requirements. A set of chemicals for the process is available. A stencil printed on the printer is placed on the “sensual” blank and exposed in UV light (contact photo printing). The highlighted areas are dissolved - we get a protective mask. Unprotected areas of the material are etched with the appropriate chemical. For better contrast patinate.
UV glue is a chemical that has become available recently, a very convenient way to connect. It is especially convenient at. Remaining liquid for a long time, quickly polymerizes under the influence of UV light.
For everything described above, a “black light” lamp, similar to a fluorescent one, is perfectly suitable. Like fluorescent ones, they are tubular and compact, including with electronic ballast integrated in the base. Such lamps are especially suitable for exhibiting workpieces of a small area.
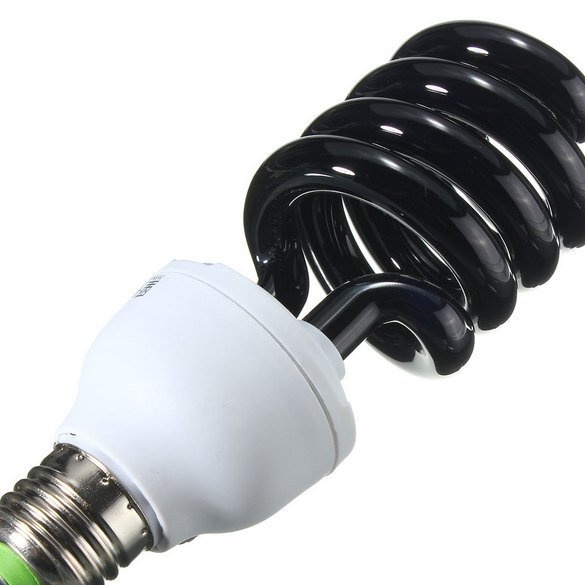
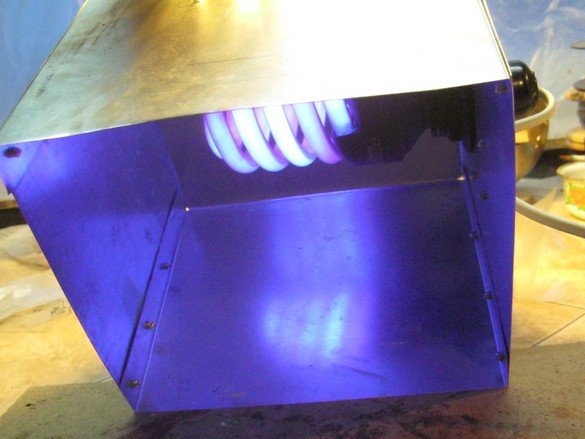
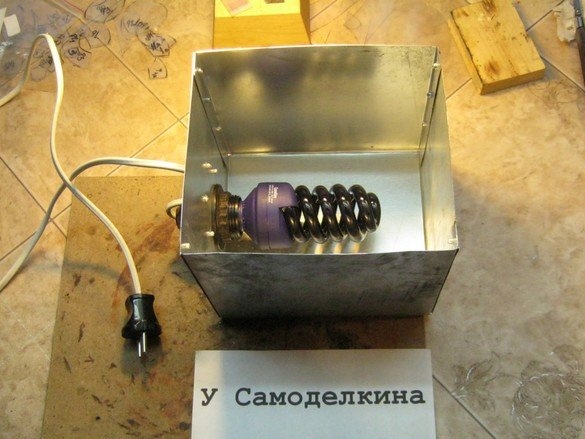
Lamps of this kind give a "soft" ultraviolet, a long-term effect on the eyes, however, is not very useful. Therefore - an opaque lampshade. The mobile portable design is convenient - you can fold an unstable workpiece with tweezers, fix it “on a live thread”, apply UV glue and jam the lamp from above, without transferring a delicate thing. The design takes up little storage space and can be used in two ways - as a lamp and as a miniature light table. In certain cases, this is convenient.Experiments and the forensic search application of the lamp were not provided, otherwise, a convenient handle should be provided in the design. A rectangular casing of the simplest construction was used here, measuring 17x19 cm. Its height is also 17 cm. The illuminator is one lamp of an "energy-saving" design with a power of 26 W with an E27 lampholder. The casing is made flexible of a blank-reamer made of galvanized roofing steel 0.5 mm thick. The sides are fastened with aluminum rivets.
What was needed for the manufacture.
Instruments.
A set of bench tools, certainly scissors for metal, a marking tool. Electric drill or screwdriver, metal drill ø3.5 mm. Jewelry jigsaw with accessories, a set of tools for electrical installation. Special tool for installing blind rivets.
Materials
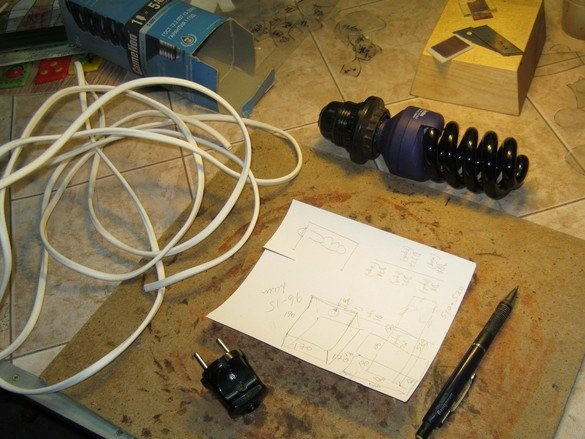
Galvanized steel sheet, wiring accessories - electric socket, lamp, power cord, plug.
Practical part
So let's get started. First of all, we will prepare everything we need, we will select the installation elements, draw a scan without forgetting to provide the petals for attaching the sides.

Transfer the scan to a piece of tin and cut it with scissors for metal. He drew with a sharpened-out simple pencil of medium softness, more conveniently a thick alcohol felt-tip pen. When bent in the corners, folds and bumps are obtained to prevent them, small holes are drilled there. In our case, extra holes are undesirable, so we make them the smallest possible diameter. I made them a 2 mm drill, it turned out quite acceptable. Drill holes before cutting.
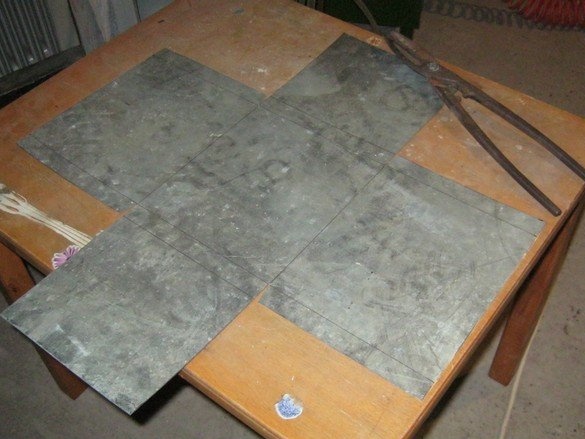
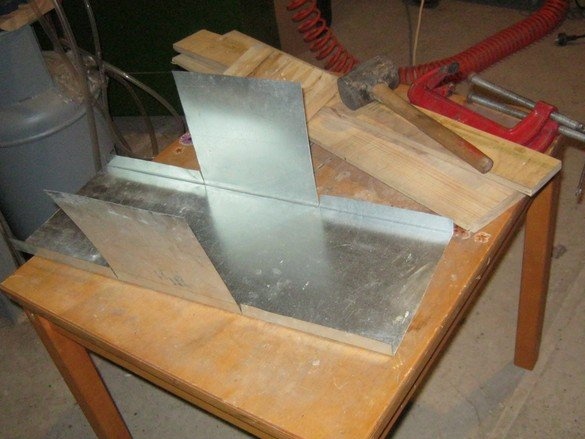
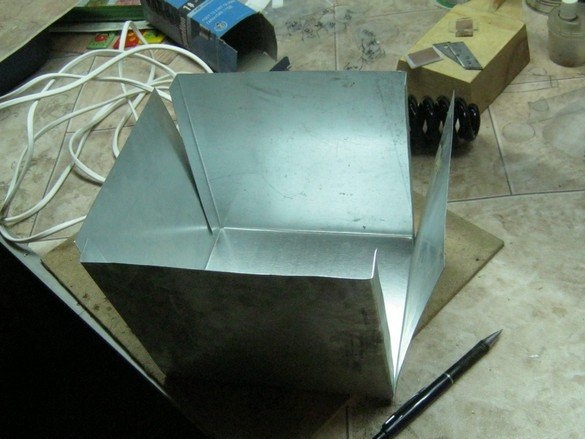
Clamping a protruding line between two planks with smooth edges and fixing the entire sandwich with clamps, we wield a rubber mallet. So we form two walls of the box and the petals on the remaining sides. Holding a piece of plank with a smooth edge, inside the box most of it along the fold line, form the remaining two walls. We direct the petals inward, there is nothing for them to loom outside.
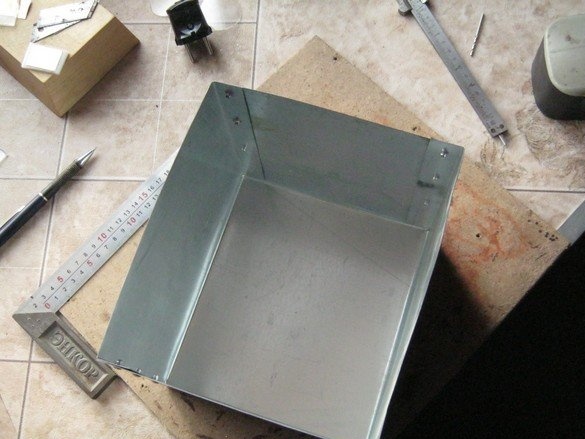
Uniformly mark on the outside of each side, above the petals, places for rivets. I made three pieces per rib, there are no large gaps, the strength is quite enough. Places for holes are pre-marked and screwed up. For emphasis from the inside, a wooden block is selected. The holes were first drilled with a thin drill, then drilled up to 3.5 mm. This is more accurate.
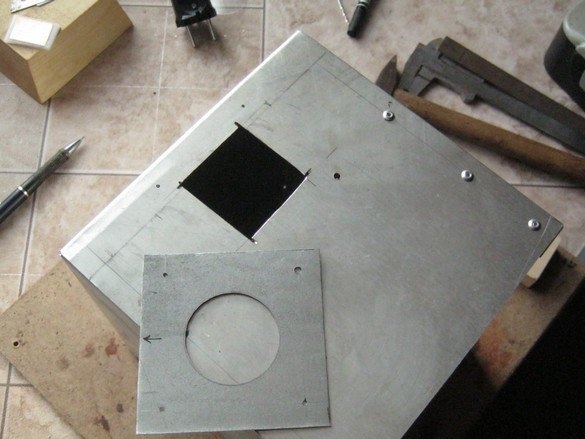
Cutting large holes in thin metal is a particular problem. There are a number of special tools for this, allowing you to get a very good result, but with infrequent use, they usually work the old fashioned way - holes in a circle and working with a magic file. I used my favorite tool here - a jewelry jigsaw with a dovetail stand made of thick plywood. The jigsaw has a small depth of the frame, for small gizmos, so the circle was sawed in a separate blank and it was already riveted to the lampshade. A square opening in the lampshade simply sawed a small angle grinder. It turned out a miracle as well.
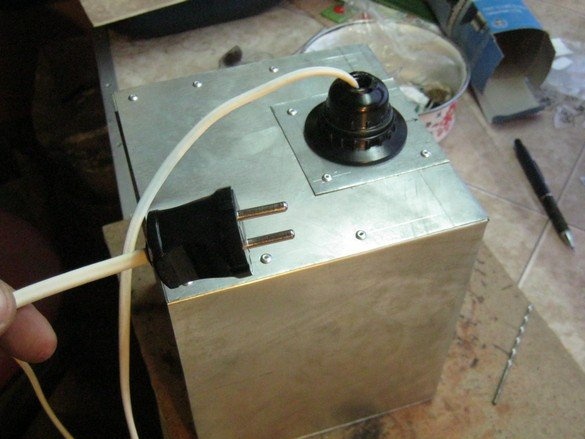
I cut the ends of the power cord to connect to the screw terminals of the plug and cartridge. For the plug - stripped the ends of the wires from insulation, twisted the wires in the direction of the coil, irradiated. He removed the remains of the flux, connected it to the plugs of the plug, clamped the wire to the insulation, assembled the plug. Similar work when connecting the wire to the chuck, only here the ends of the wire should be formed into a loop on the drill shank ø3 mm. Solder the loop, align the "knot" with pliers.
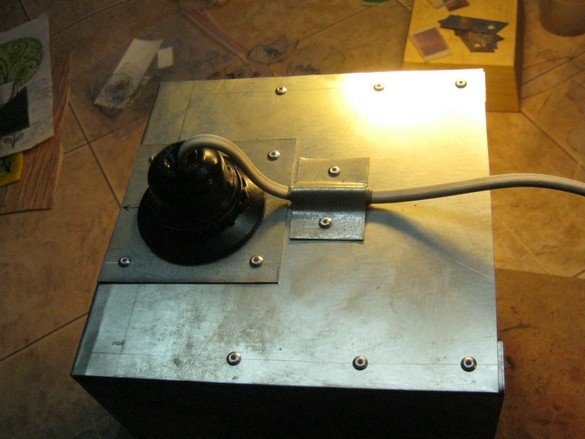
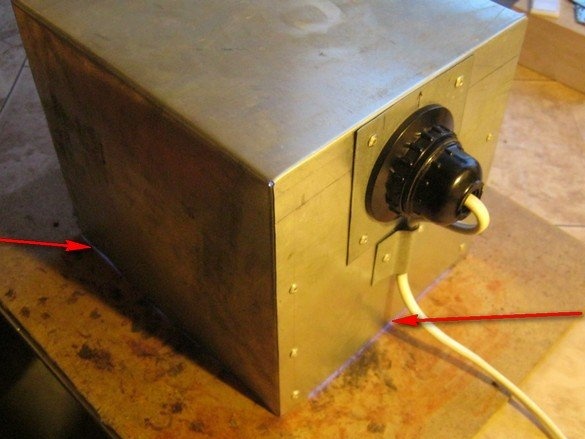
On the lamp cartridge, no means of clamping the wire for insulation are provided, and periodic mechanical stresses on the rations' places will quickly break off the wire. I had to make a mechanical mount on the outside. He picked up a piece of tin, cut a rectangle with metal scissors.On the shank of a suitable drill, formed a gutter, marked and drilled two holes for the same blind rivets. I wound several layers of adhesive insulating tape on the wire, providing a tight clip, installed a clamp.
Conclusion
As a result of the work done, we got a UV lamp, despite the utmost simplicity, which is quite convenient for small jobs. The width of the lamp is such that it can be raised, carried with one hand. Not quite convenient, but possible.
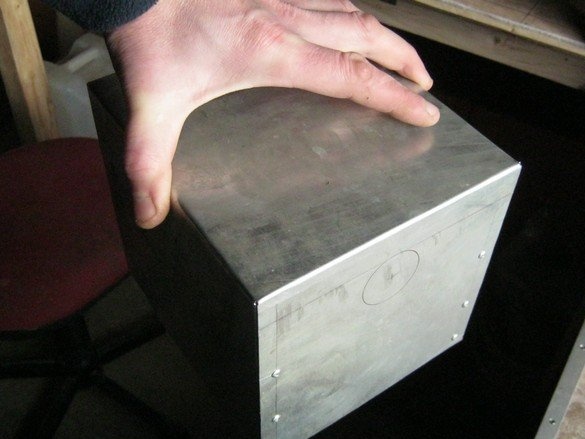
The “square-nested" design of the device is very convenient - the lamp is stable in any position, convenient for storage. All compounds, with some accuracy in manufacturing, turned out to be dense, not translucent. When bending, allowances for bends were not taken into account at all. The error turned out to be quite acceptable, the UV light of the lamp is in the working position, practically does not penetrate out. This is convenient - you can work next to yourself, without eye protection.
Another possible use of the lamp is as a miniature light table. This may be convenient for some UV applications, although you will have to protect yourself from radiation, for example by covering the lamp with a thick cloth. For a light table, only a suitable piece of glass is required. It is advisable to dull its sharp edges - sanding paper, whetstone.
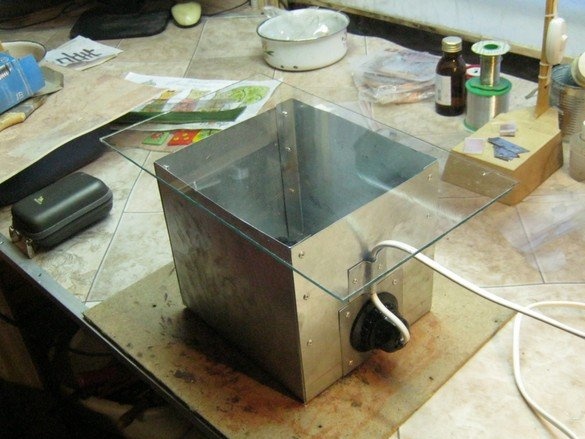
The E27 cartridge makes it easy to use a conventional white light lamp - energy-saving or LED. As such, a light table can be used in applied photography, for experiments and fun, as a small “draloscope”, and as a basis for a polariscope (a device for detecting internal stresses in glass). Probably, in this case the diffused light will be more appropriate, then an improvised diffuser, for example, a sheet of Whatman paper, can be placed under the glass.
Babay Mazay, February, 2019