Hello readers.
Winter is almost over, which means that the picnic season will begin soon. In this article, the author of the product proposes to make a barbecue grill, from an already empty cylinder from under freon. The order for the brazier came from his relative, and for this the product needs to be done carefully, and not as for yourself (ahh ... and so it goes). In addition to this, the barbecue should be folding and more or less portable. So if you are interested in this topic, I suggest you familiarize yourself with the manufacturing process by reading an article or watching a video.
Necessary tools and materials.
Manufacturing process.
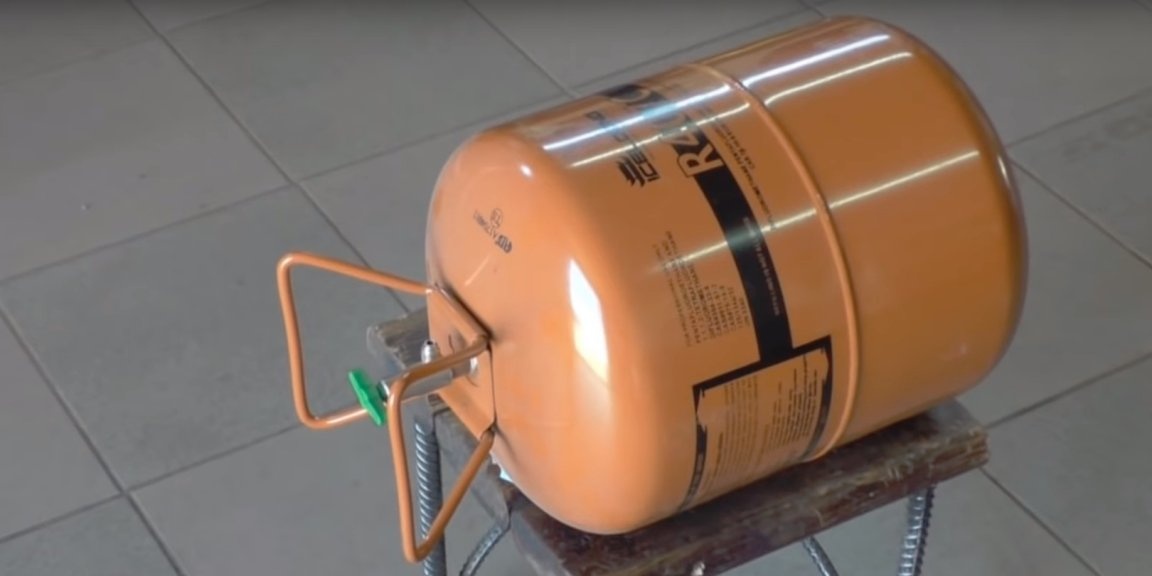
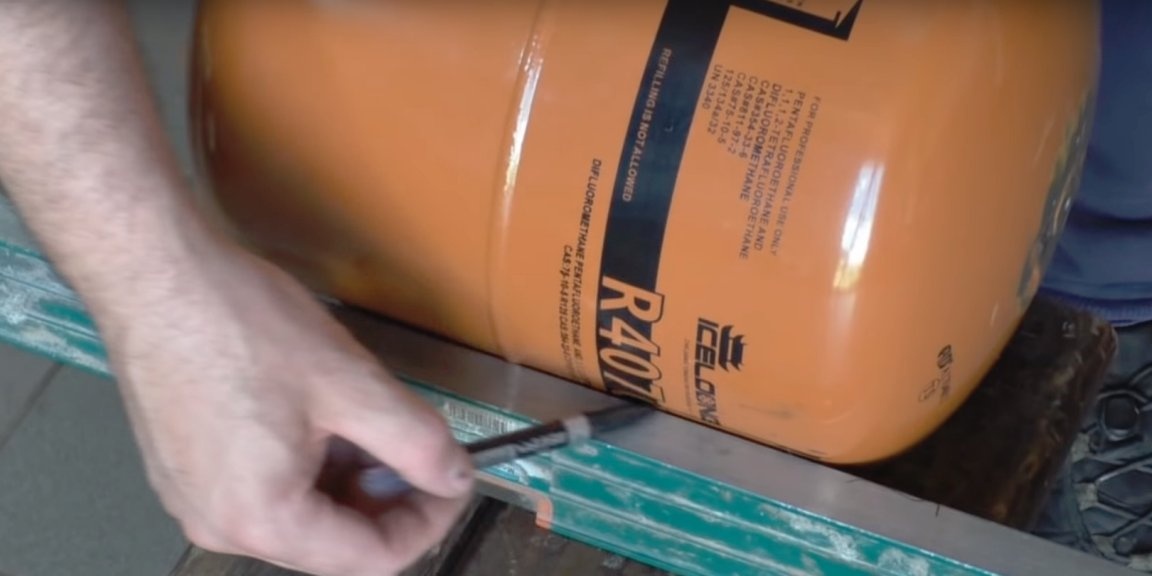
As mentioned above, the author will use a freon cylinder to make the brazier, such cylinders can be begged or purchased from refrigerators, air conditioners, or in the car repair shop in which they refuel auto-conditioners. Just googling, I quickly found several ads with people who wanted to sell such cylinders in my city, so there shouldn’t be any problems with purchasing this item.
Attention!!! Before starting work, make sure that the cylinder is really empty and there is no residual pressure. Although freon gas is not combustible, it’s all the same, so to speak, just in case. Although there are now flammable types of freon, this is R32. In general, neatly.
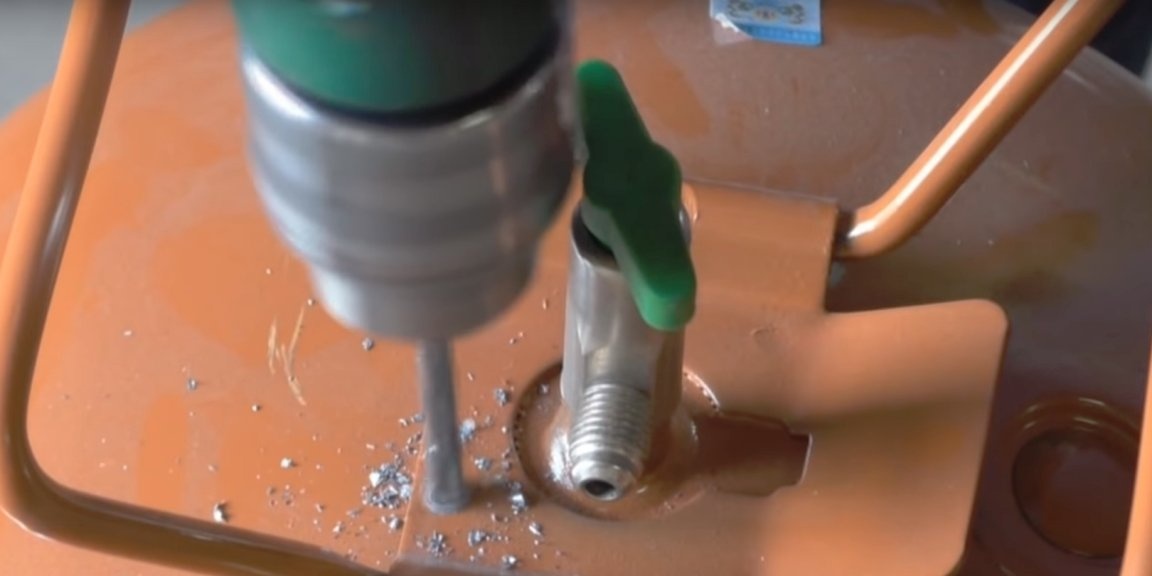
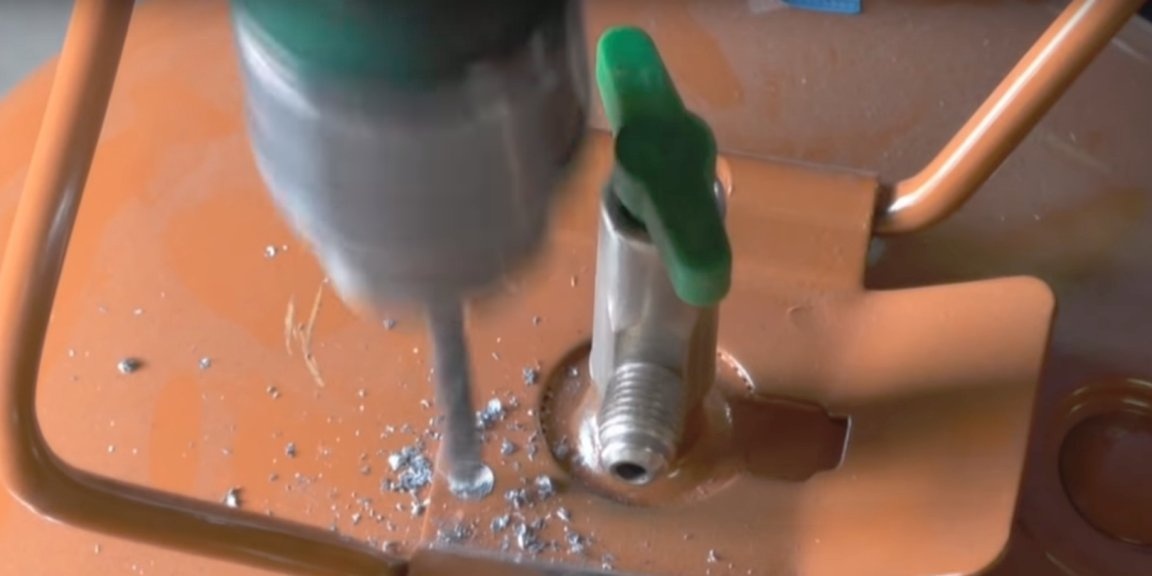
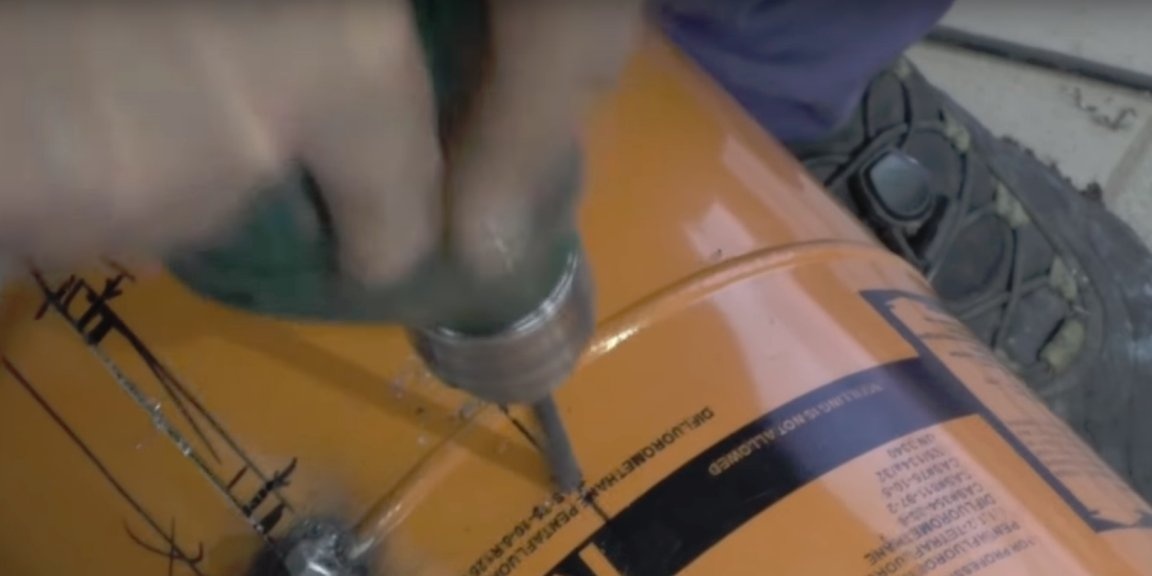
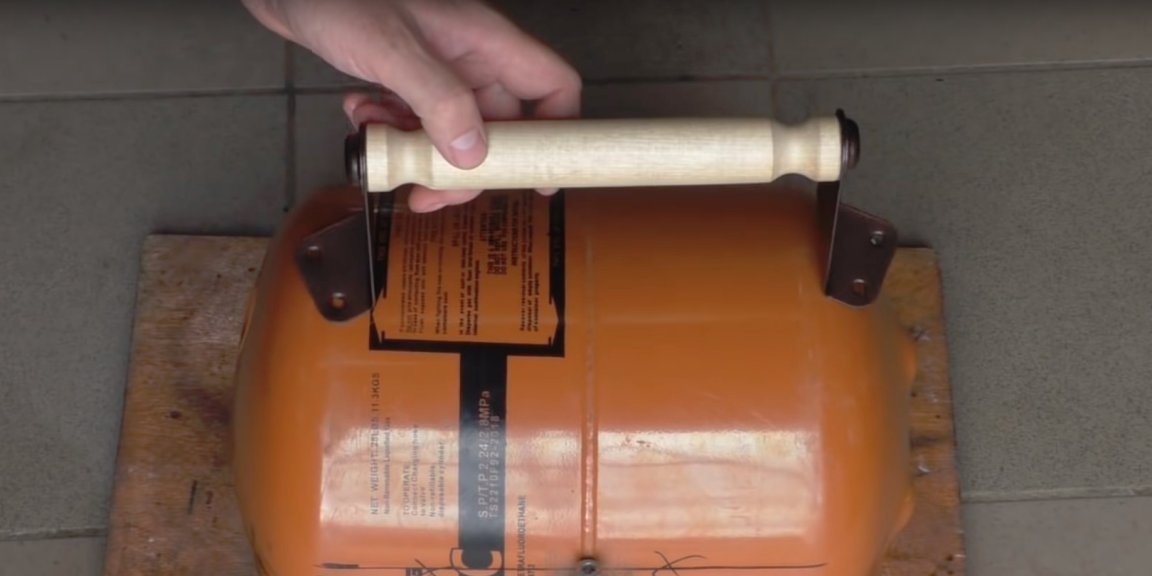
In the beginning, the author removes the cylinder from the metal handle and valve; we will no longer need them. The idea of tearing the handle with a screwdriver turned out to be a failure, as the balloon began to deform, and the handle refused to fall off.
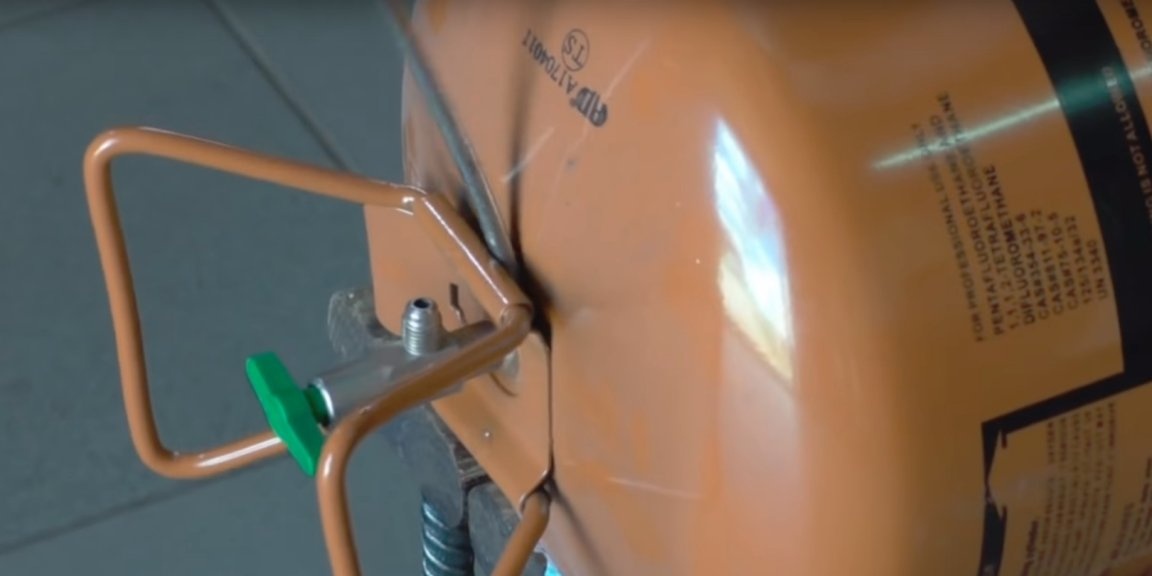
Therefore, he changed his strategy, and decided to carefully drill resistance welding using a 6mm drill and drill. Do not drill through, the metal of the cylinder should remain intact. After these operations, the handle was removed without any problems.
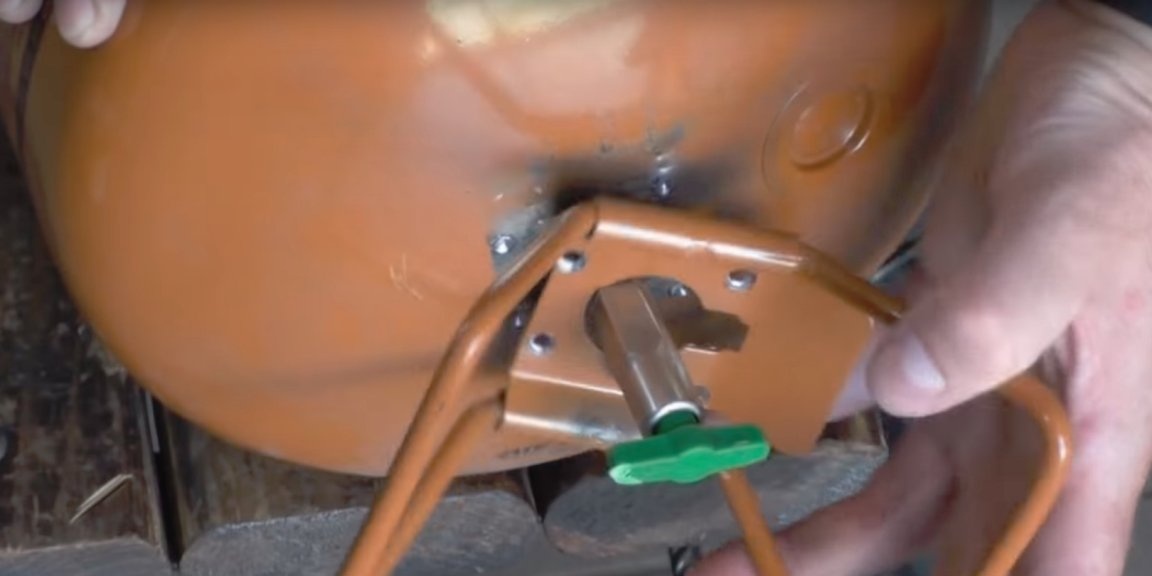
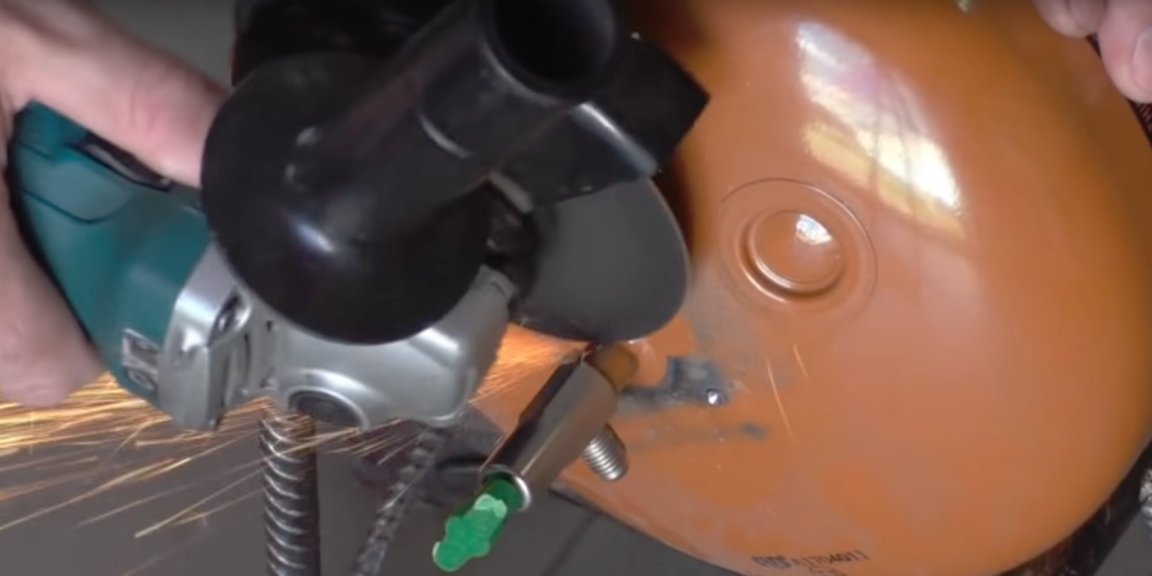
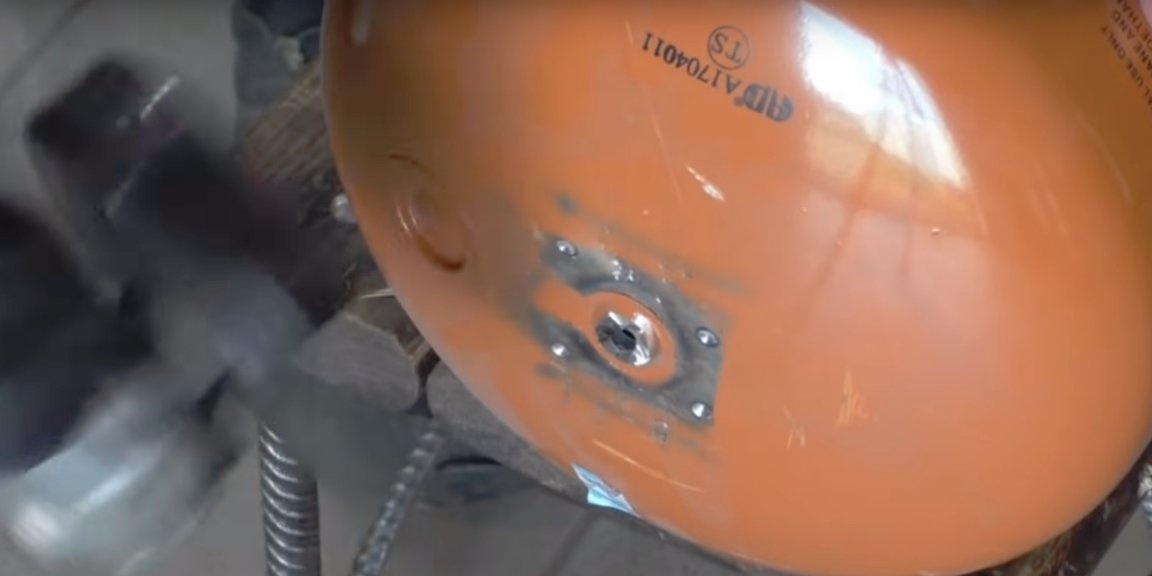
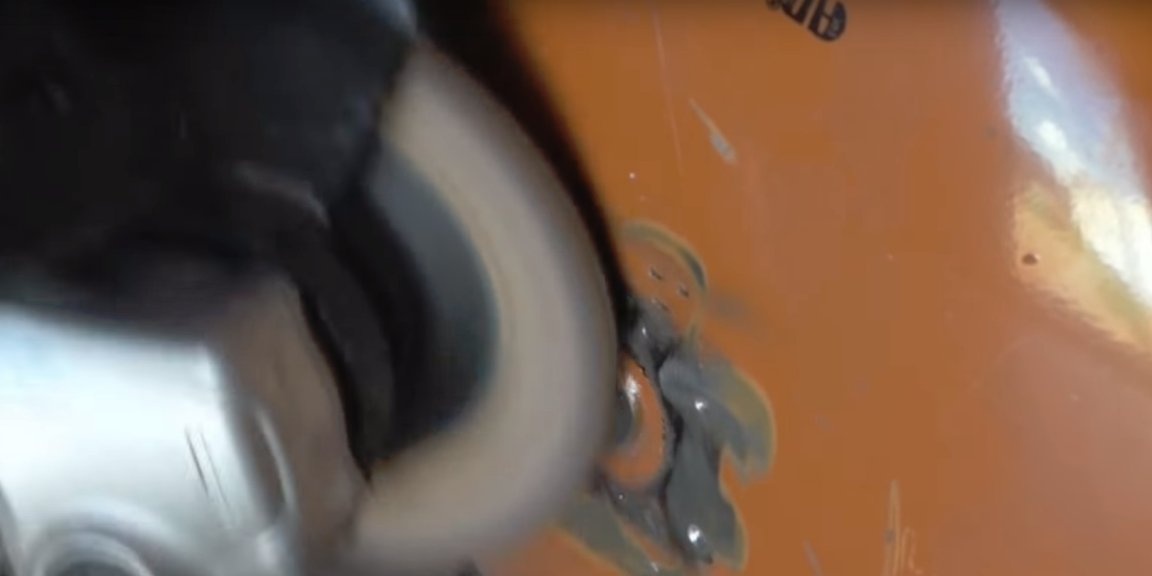
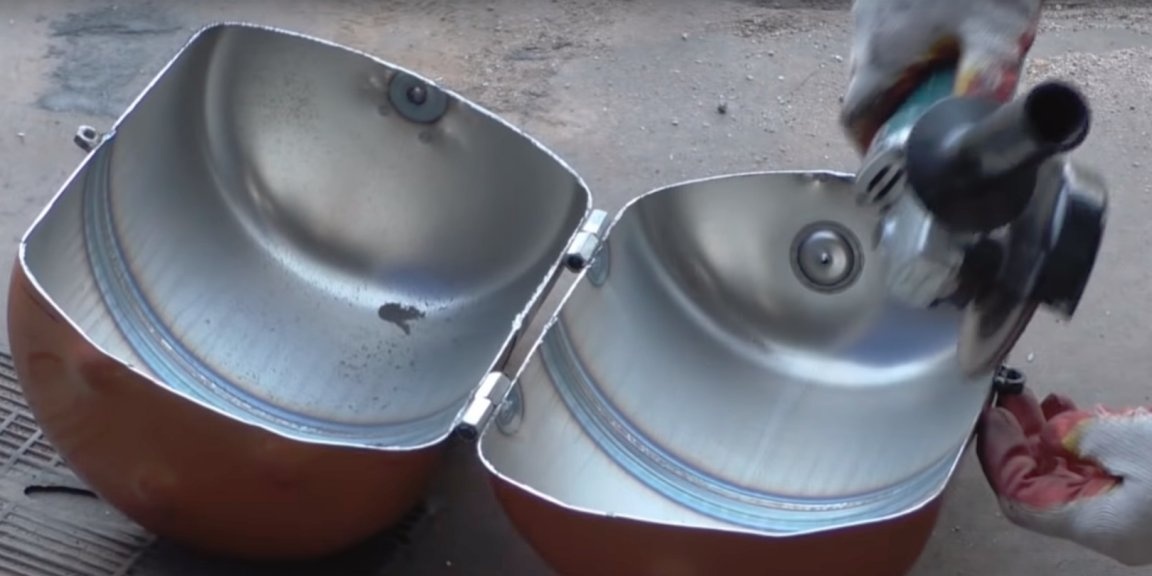
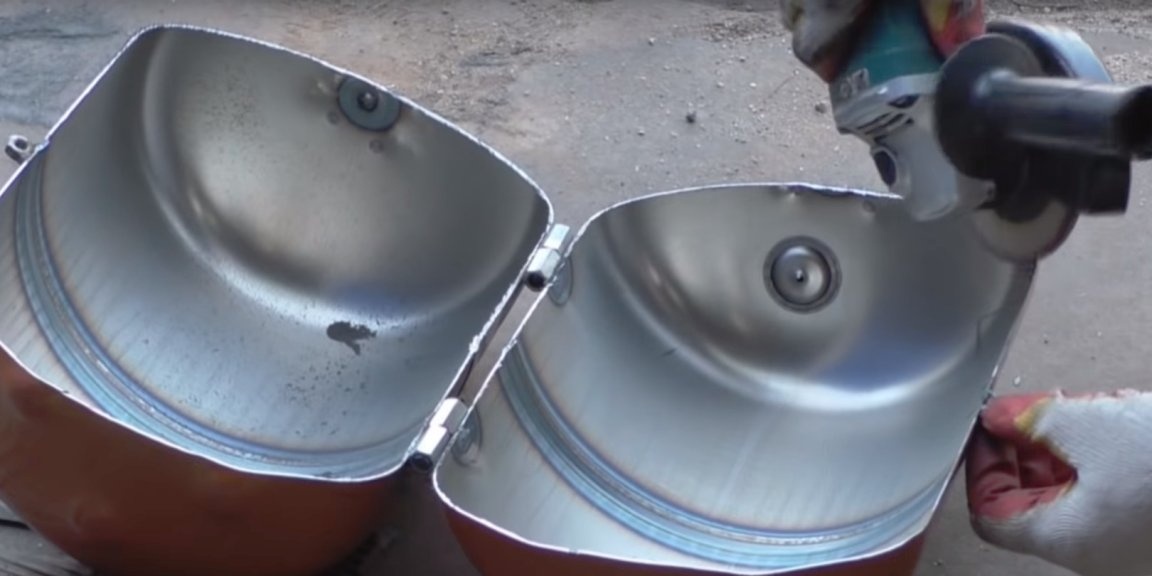
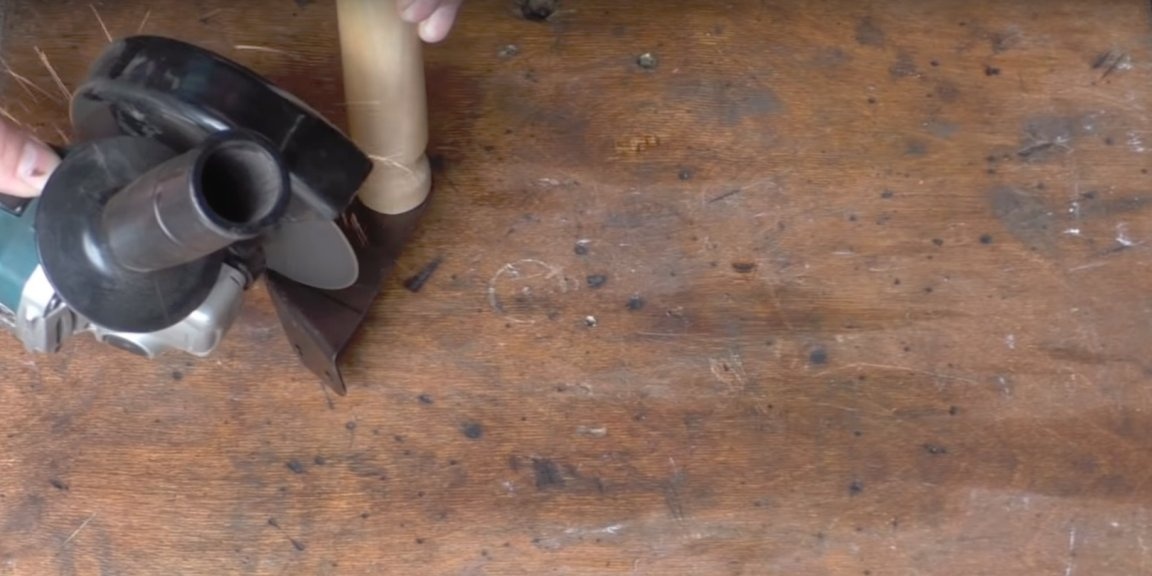
Now you can cut the valve without pipe. The place of the valve and the handle, the author cleans the grinder using a petal wheel.
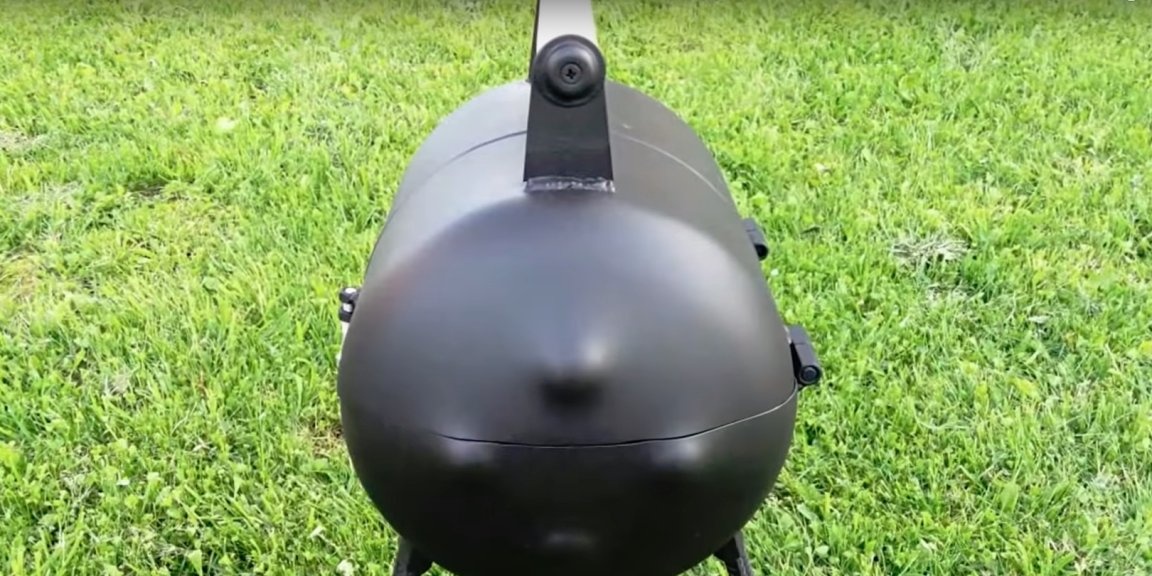
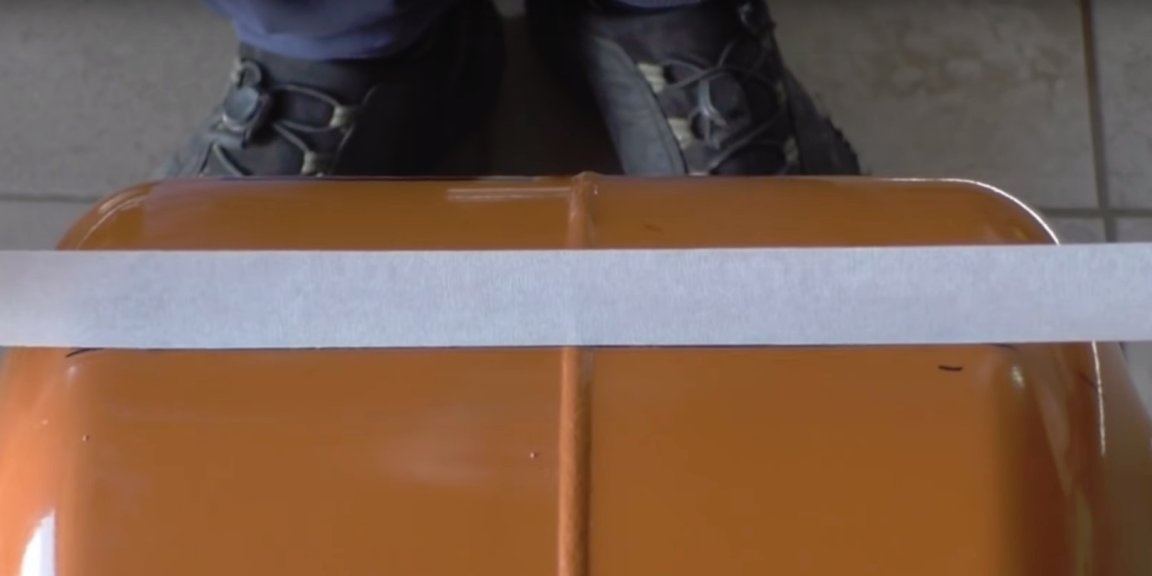
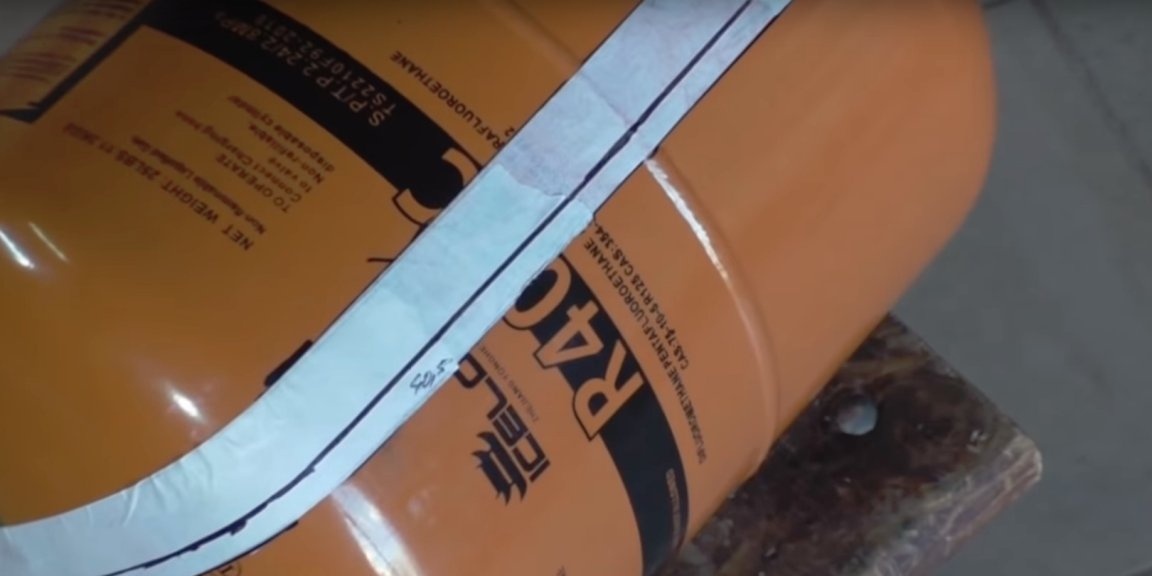
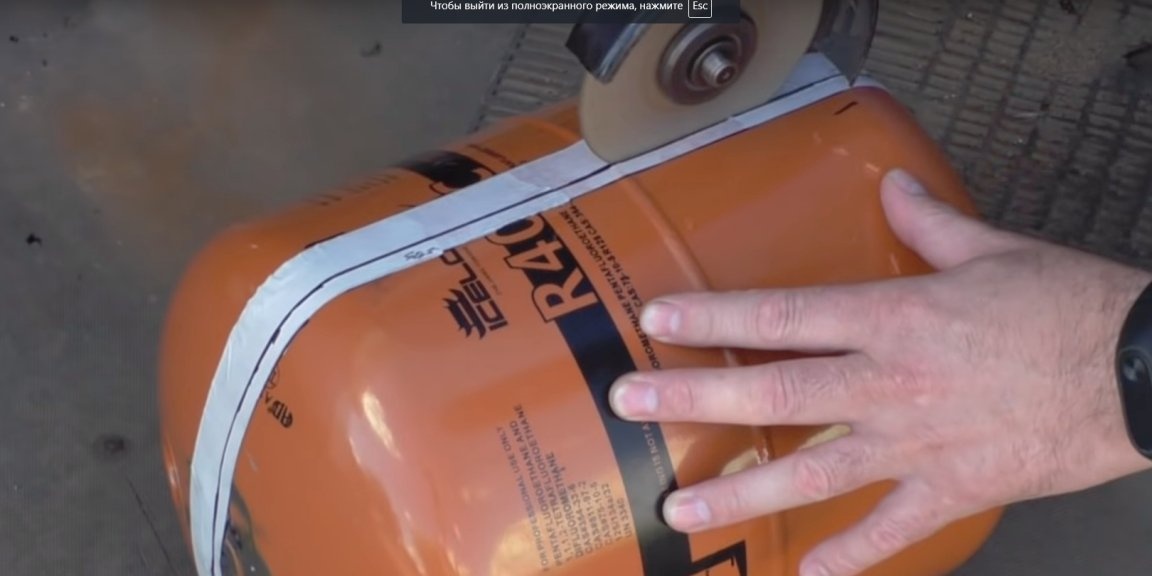
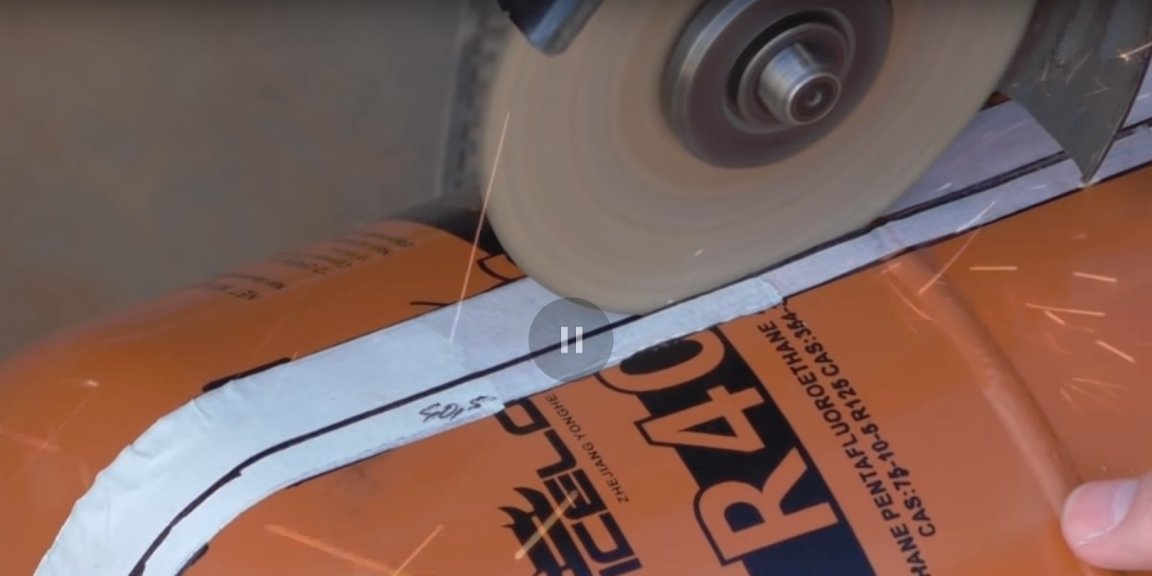
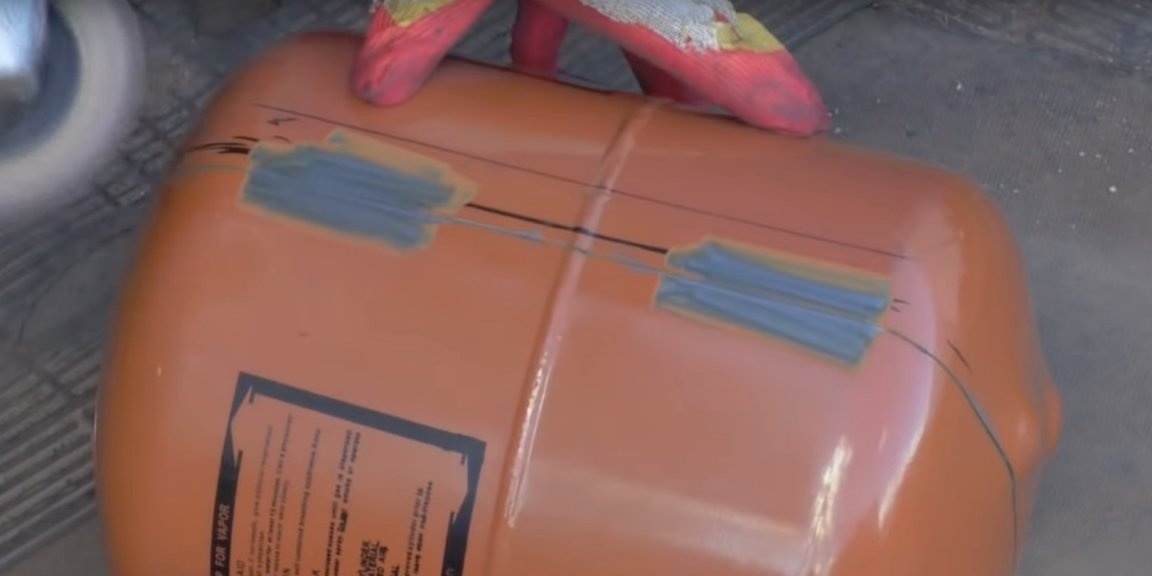
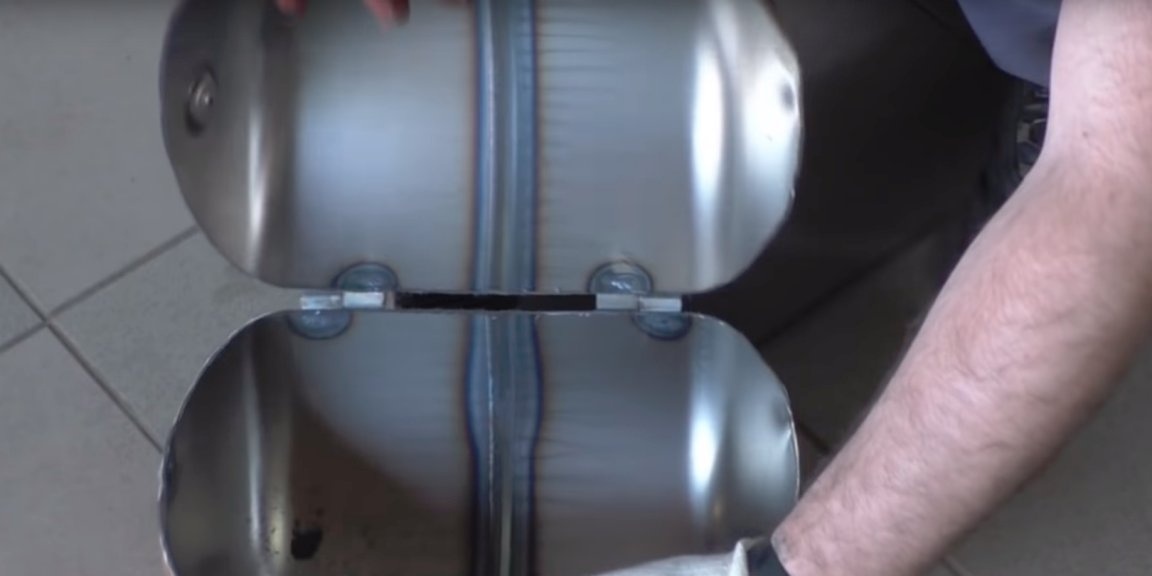
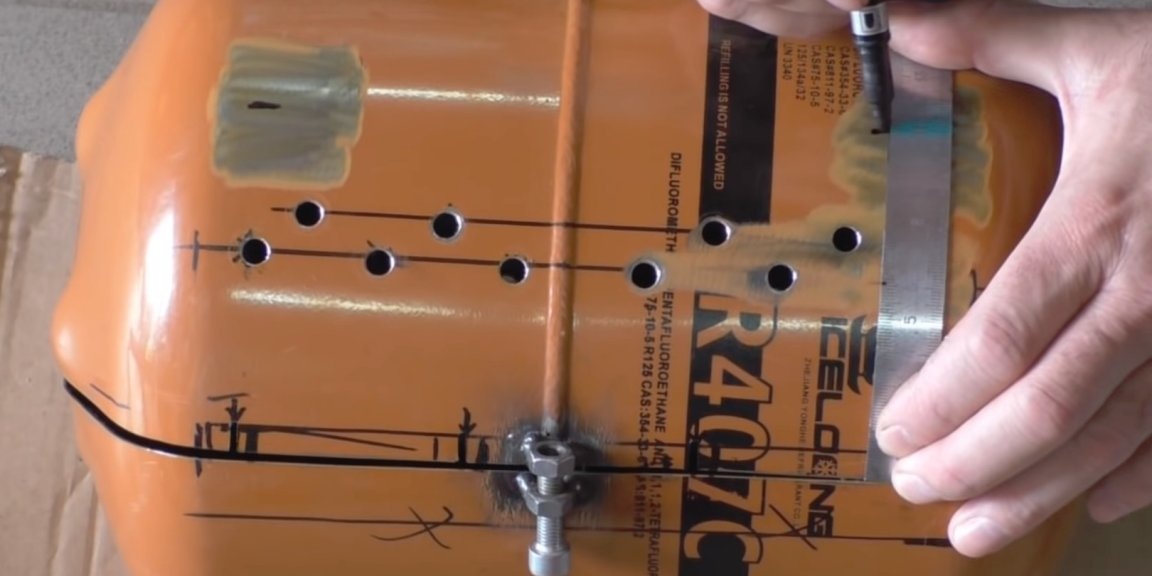
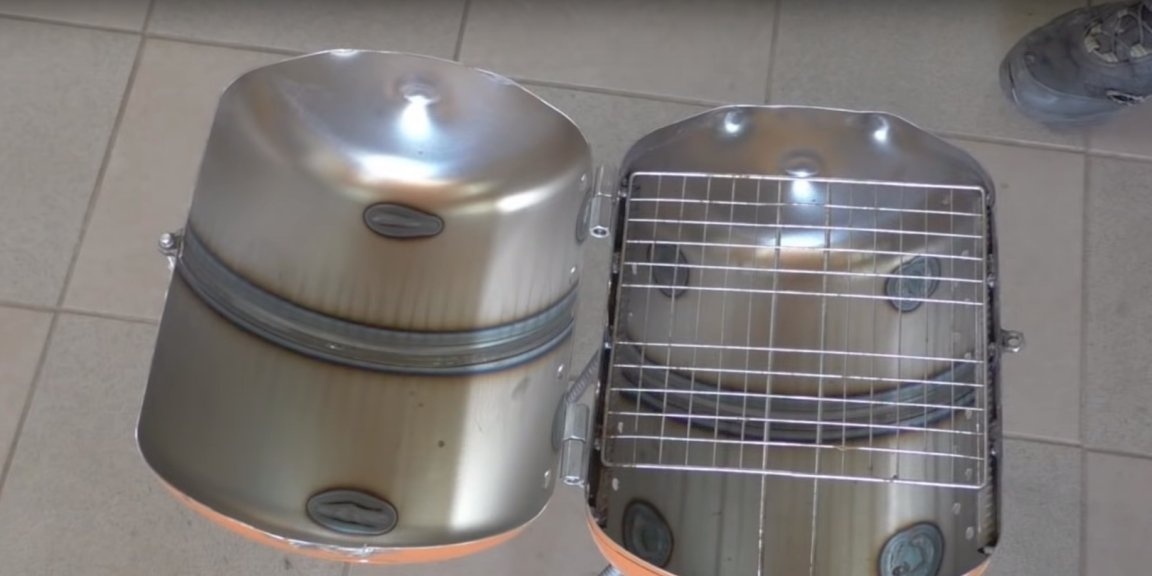
Now you need to mark the balloon, the cut line will go through its center, dividing the balloon into two equal halves.The masking tape glues along the contour, and the final marking will be applied on it.
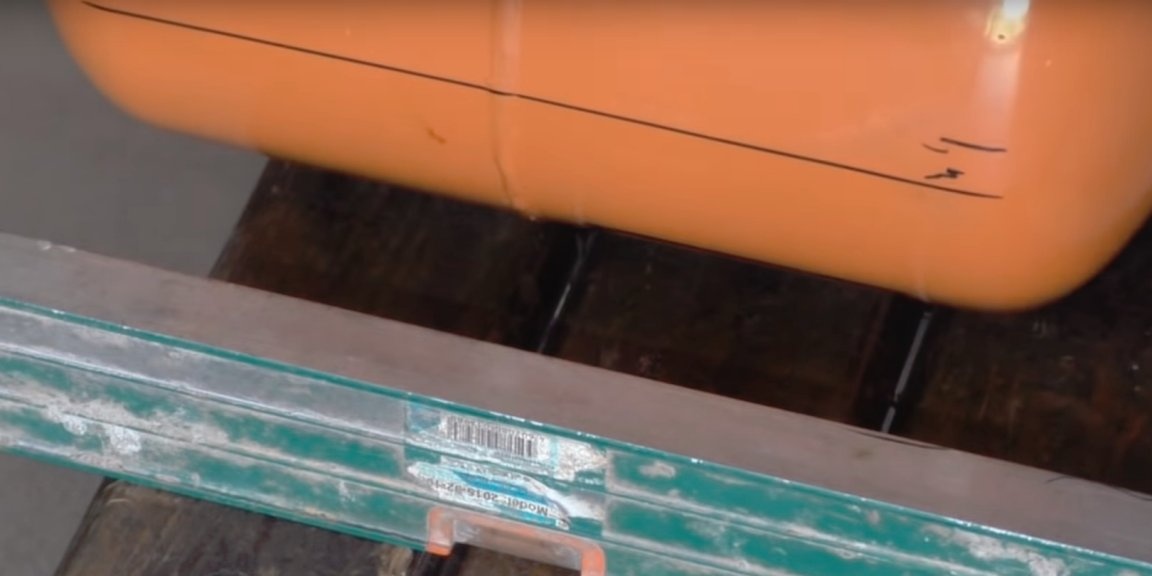
Everything can be cut, but we can’t cut it a bit at the ends of the cylinder. We still need the balloon not to fall apart.
Now we clean from the paint the places where we will have the loops installed.
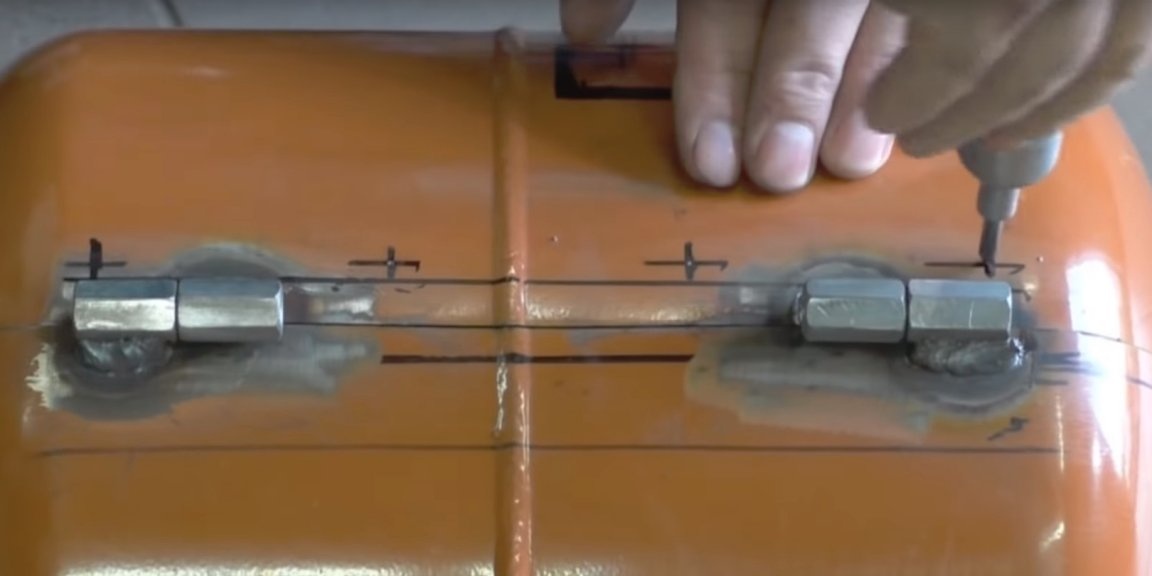
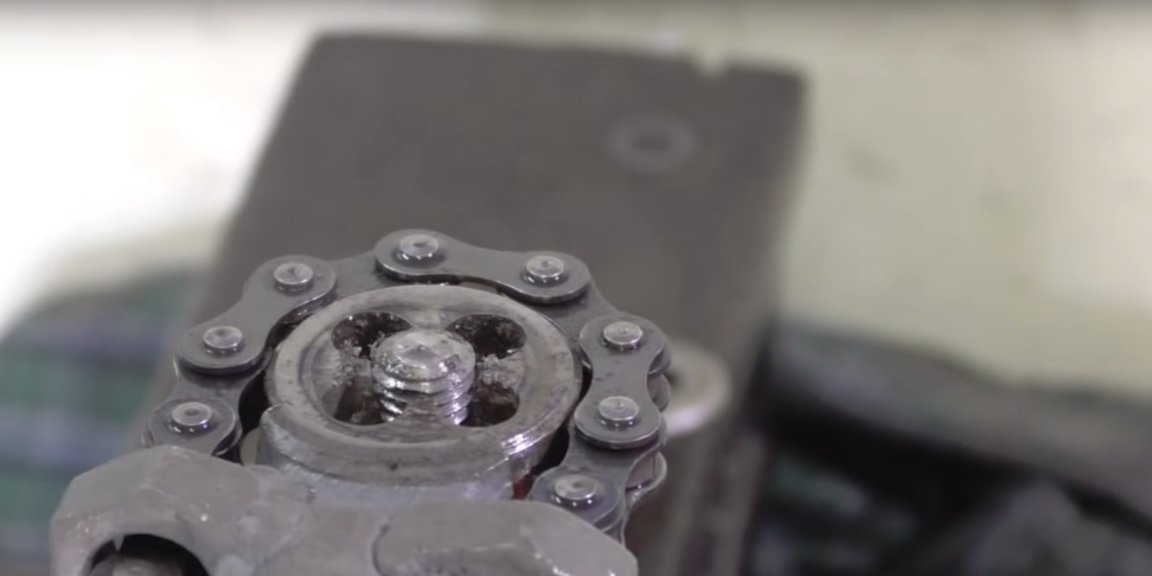
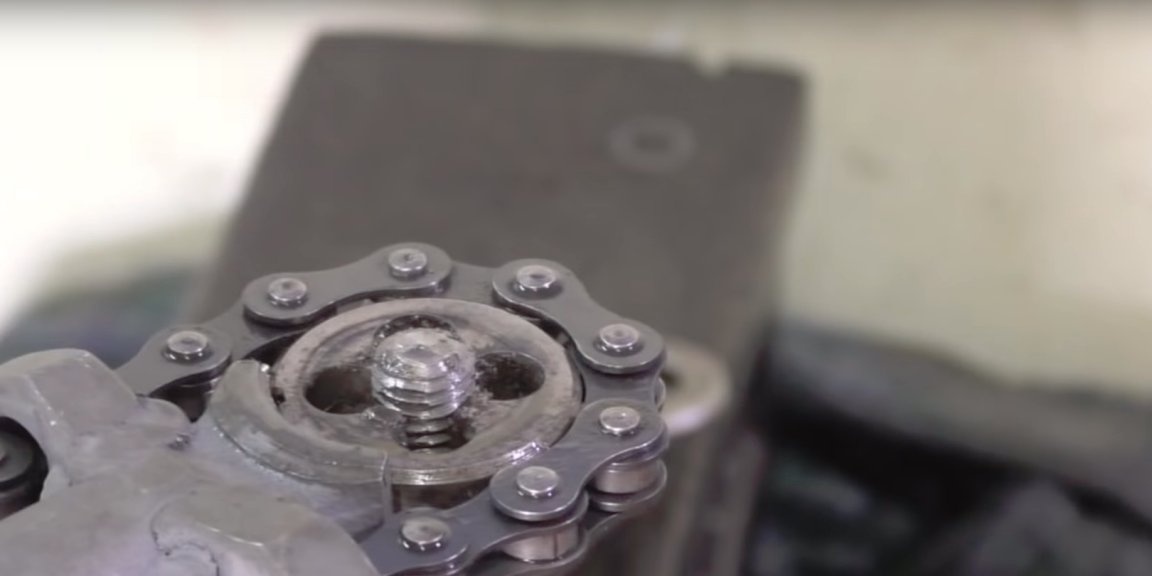
The author proposes to make hinges for the barbecue on your own, while you do not need to have sophisticated equipment, such as a lathe, etc.
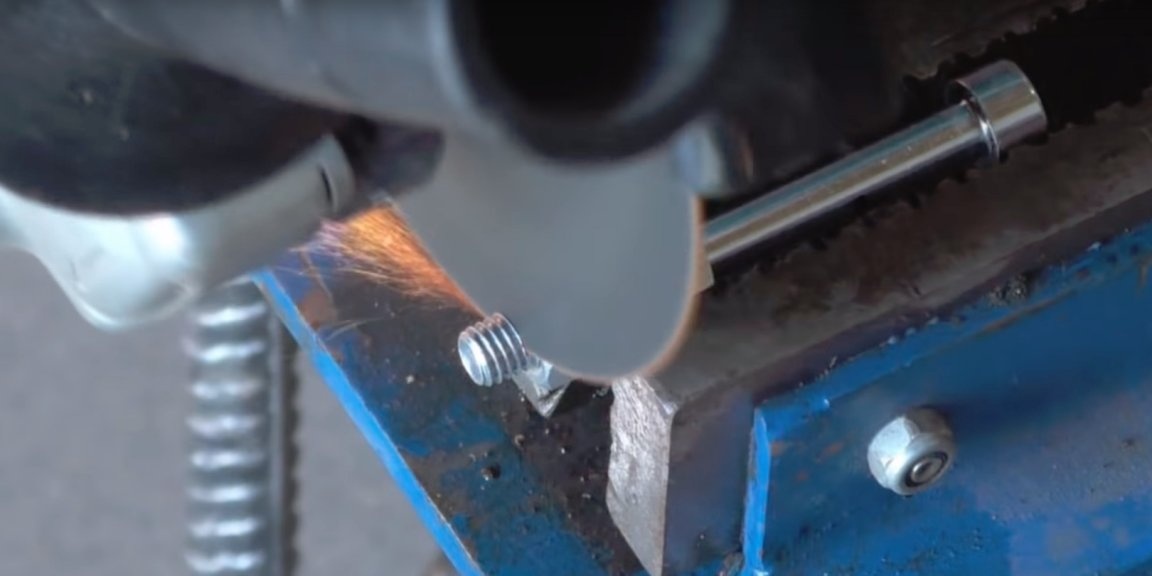
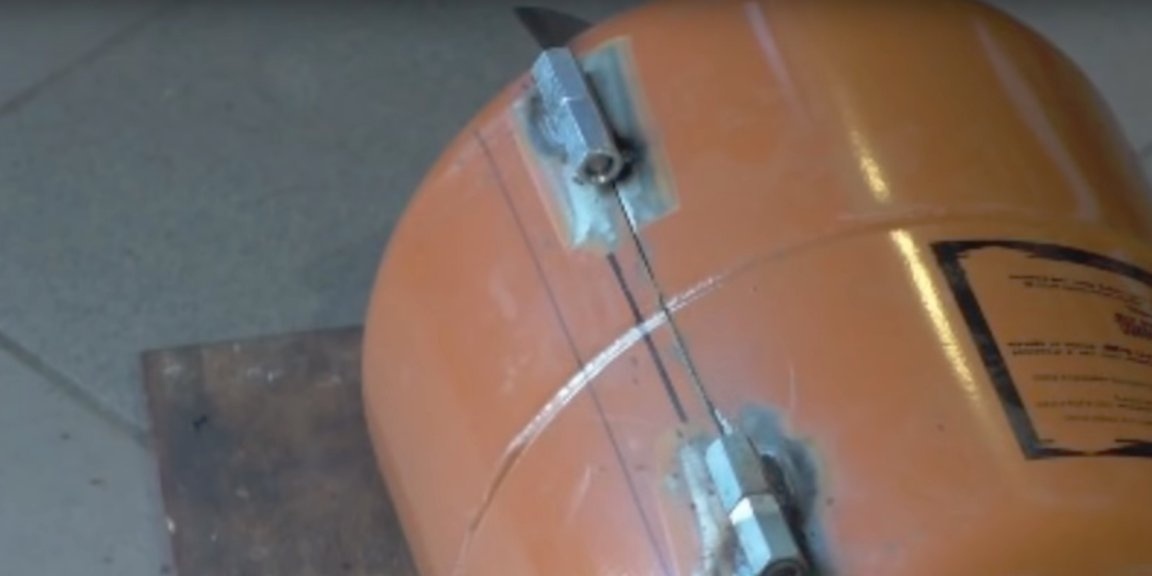
For this we need a bolt with an incomplete thread and two connecting nuts (M8 thread), for each loop.
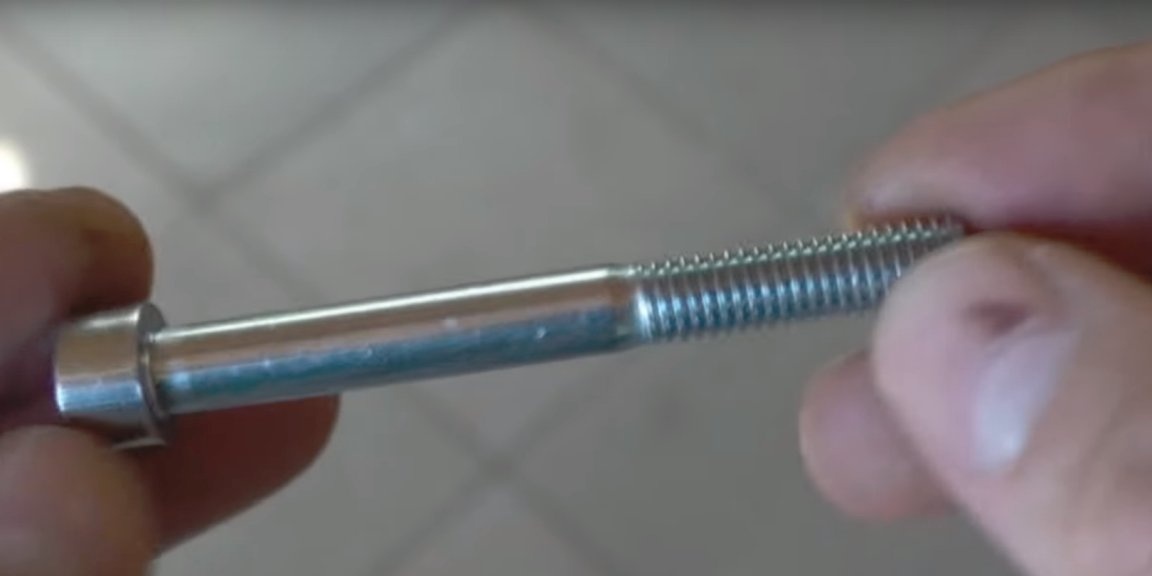
We tighten the nut onto the bolt until it stops and tighten it with a wrench.
The resulting workpiece is clamped in a vice and cut the remaining thread.
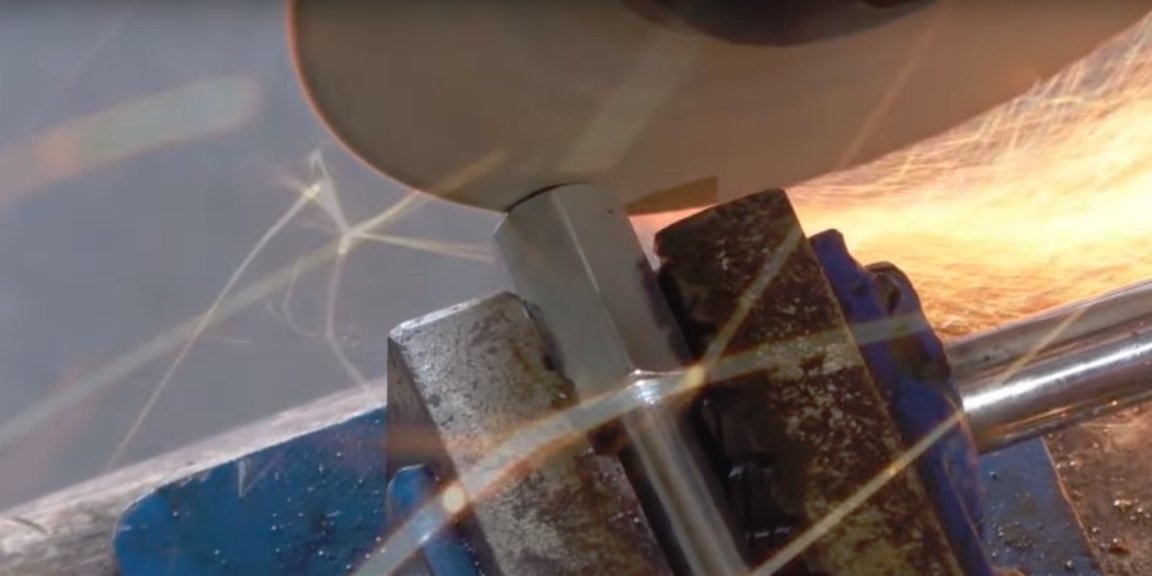
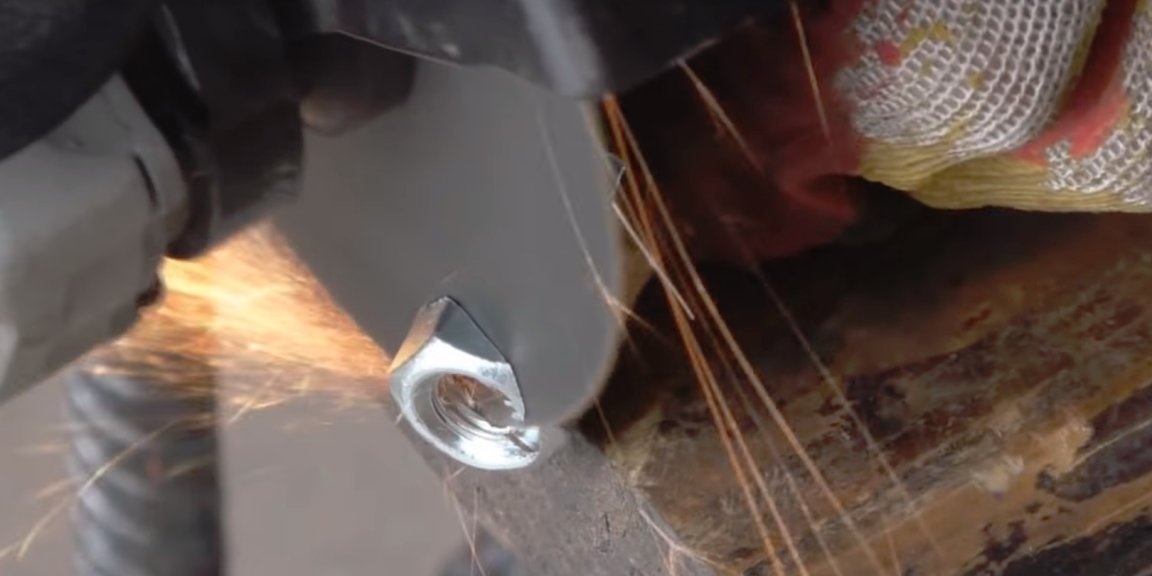
Next, you need to cut the bolt stem itself, the remaining part of the rod should correspond to the length of the remaining nut. We grind the ends of the rod.
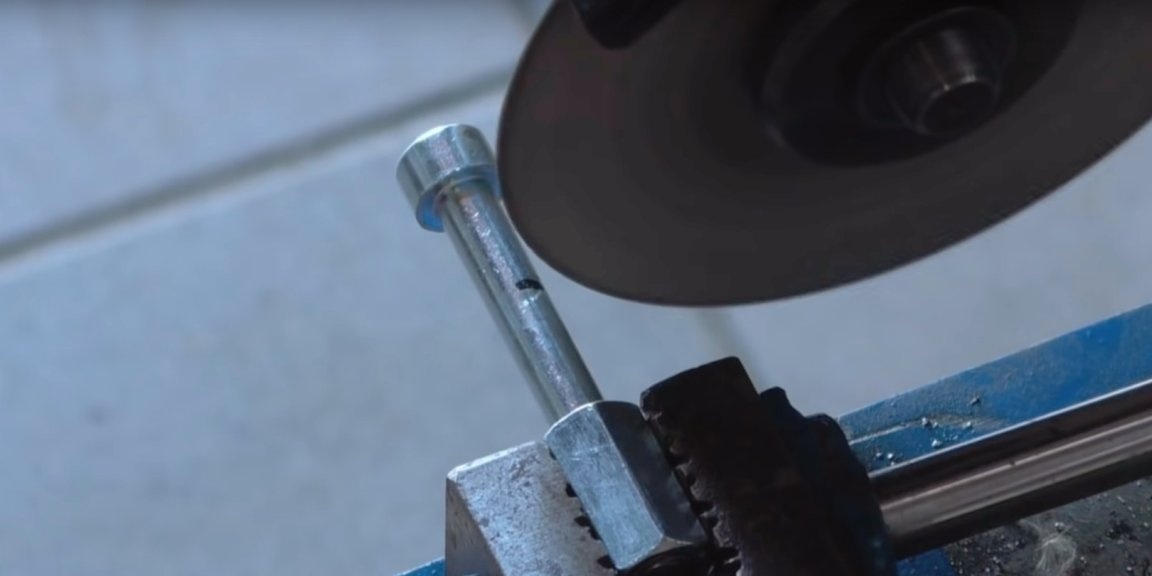
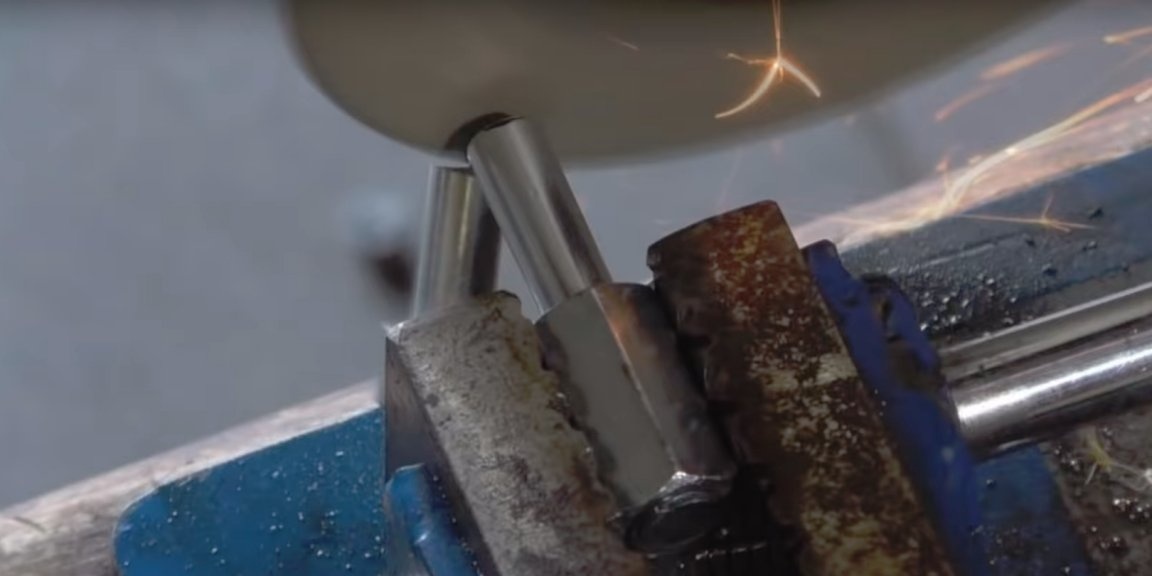
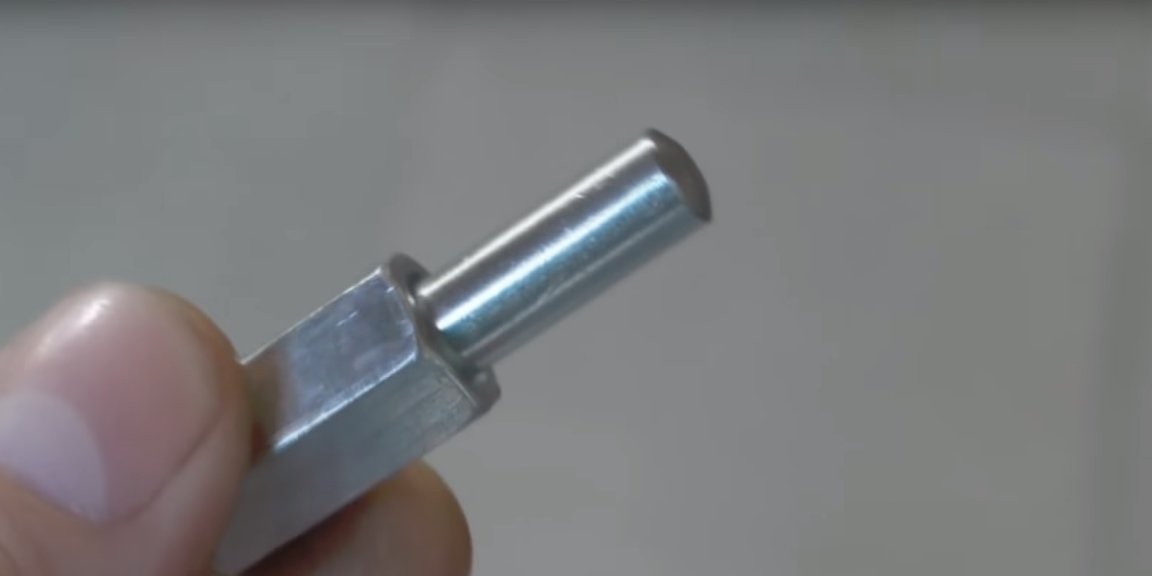
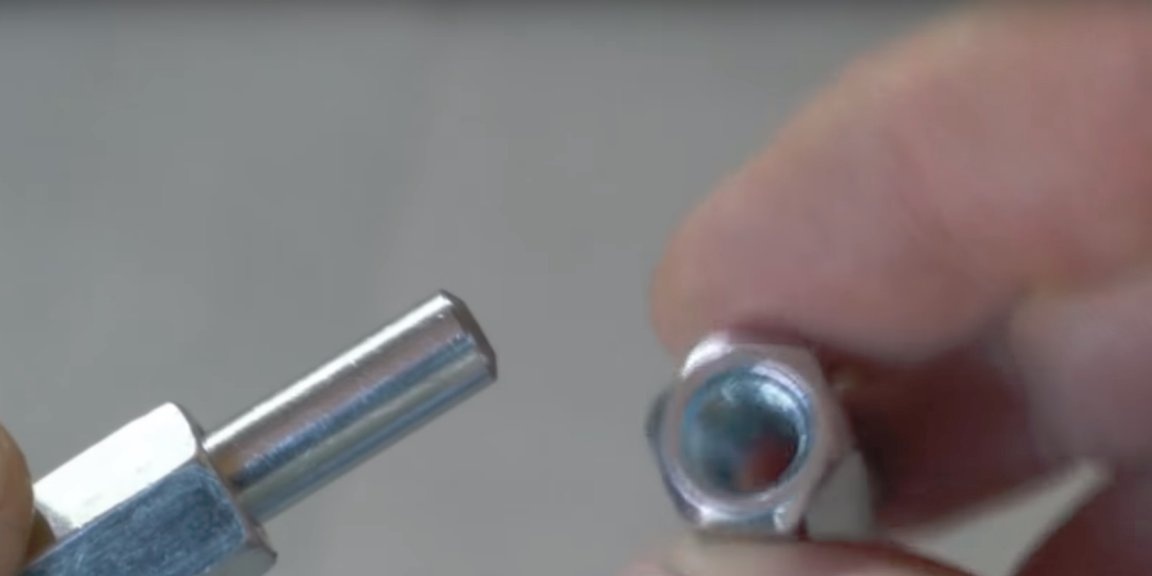
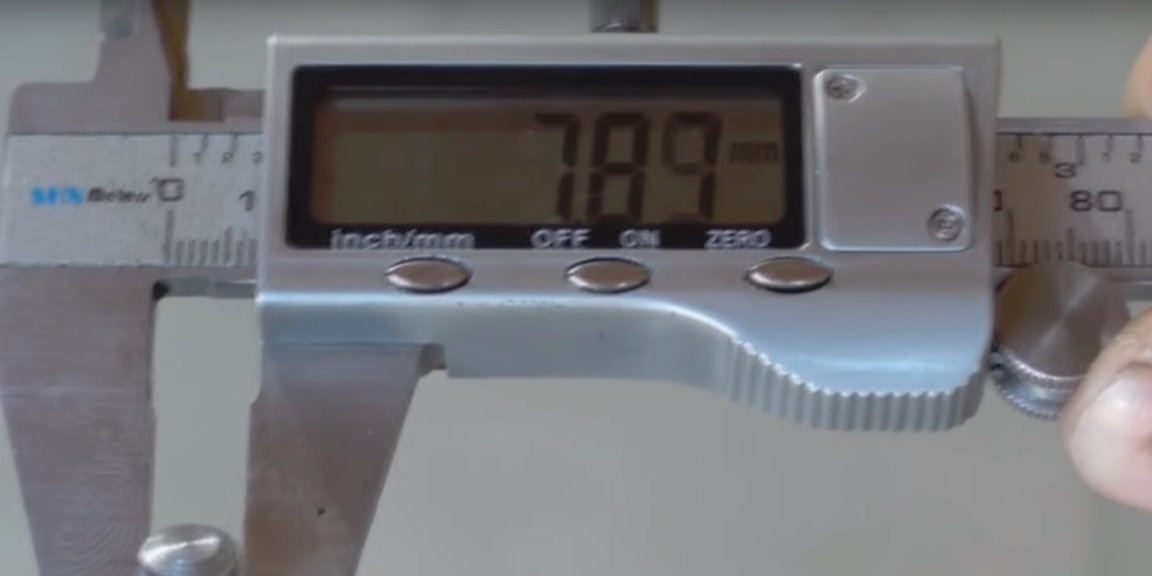
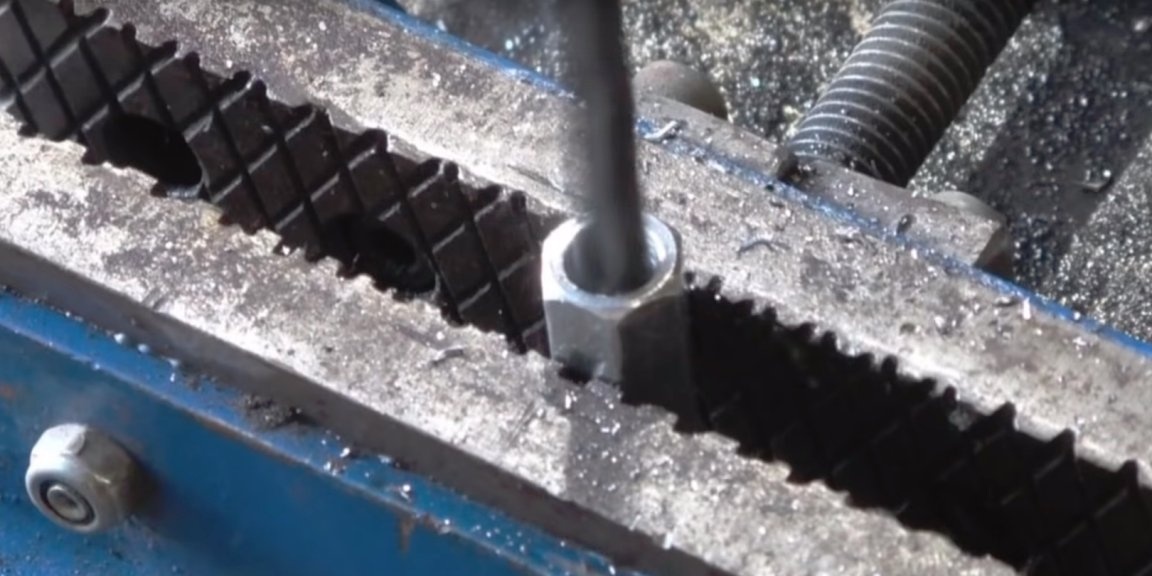
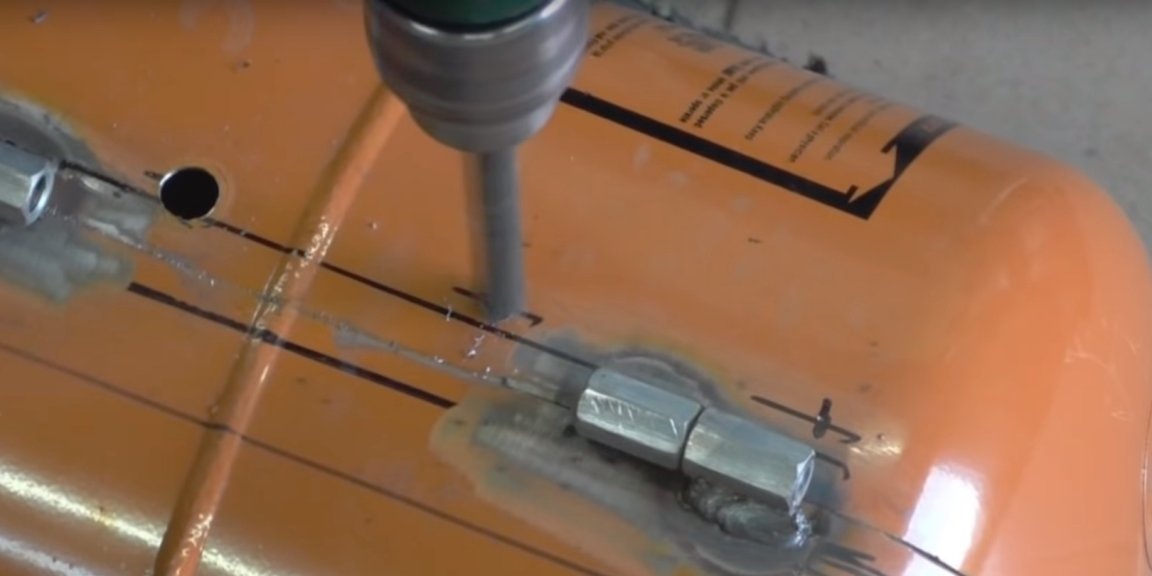
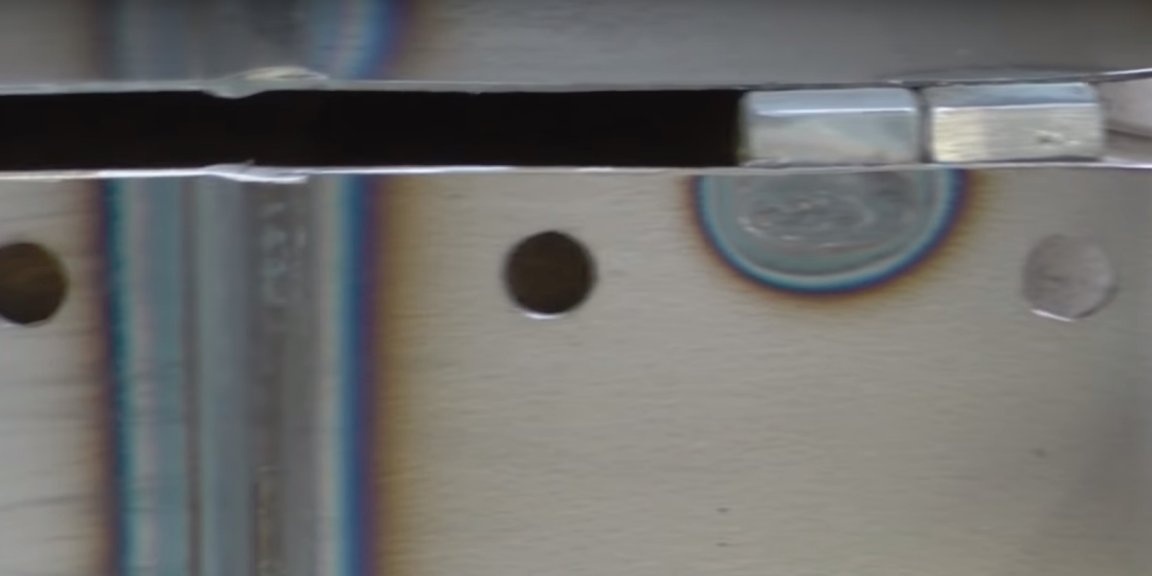
The hinge is almost ready, in the second nut you need to drill a hole with an 8mm drill, since the stem diameter is 7.8mm.
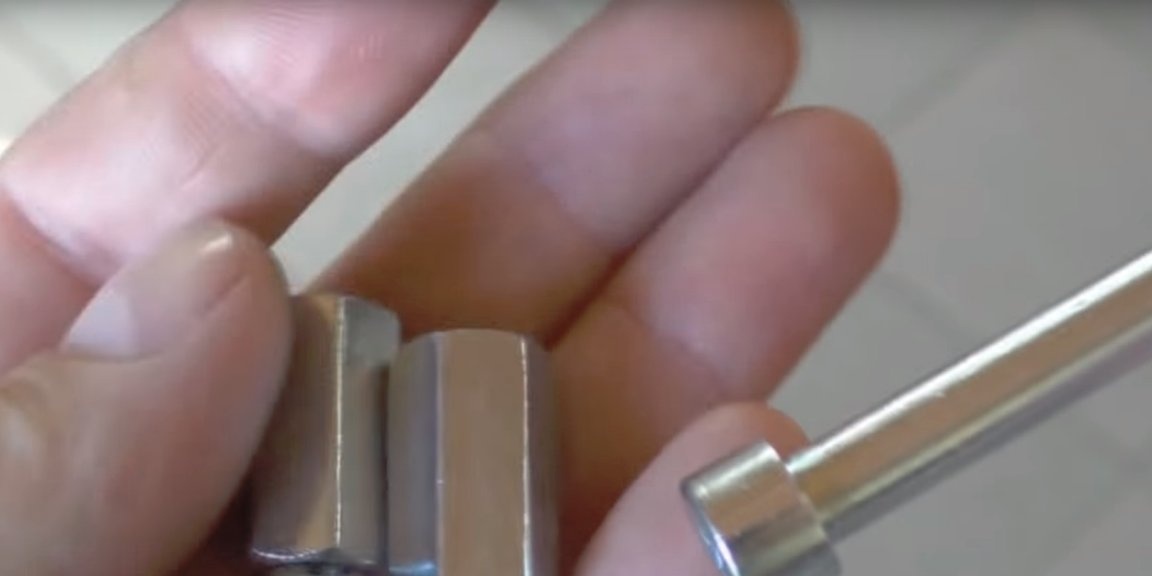
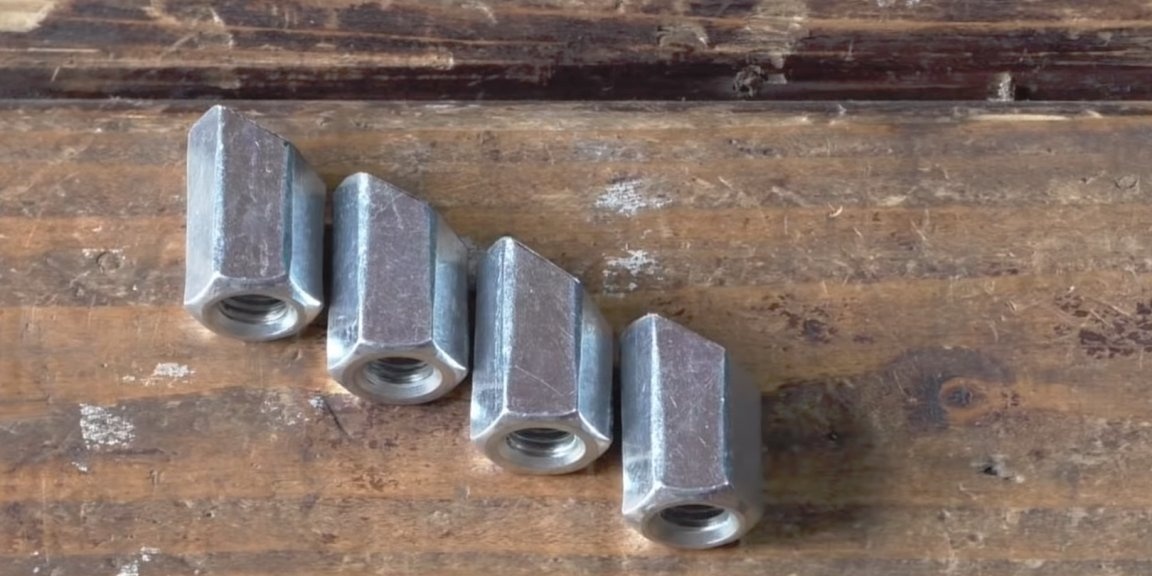
That's it, it turned out a very attractive and practical loop. There are two such loops.


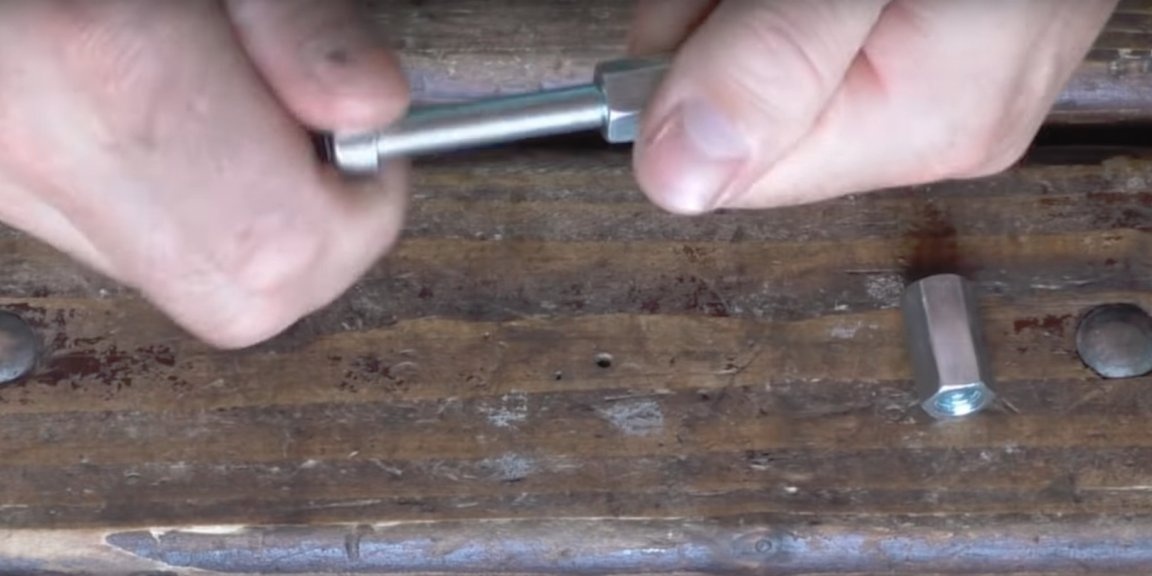
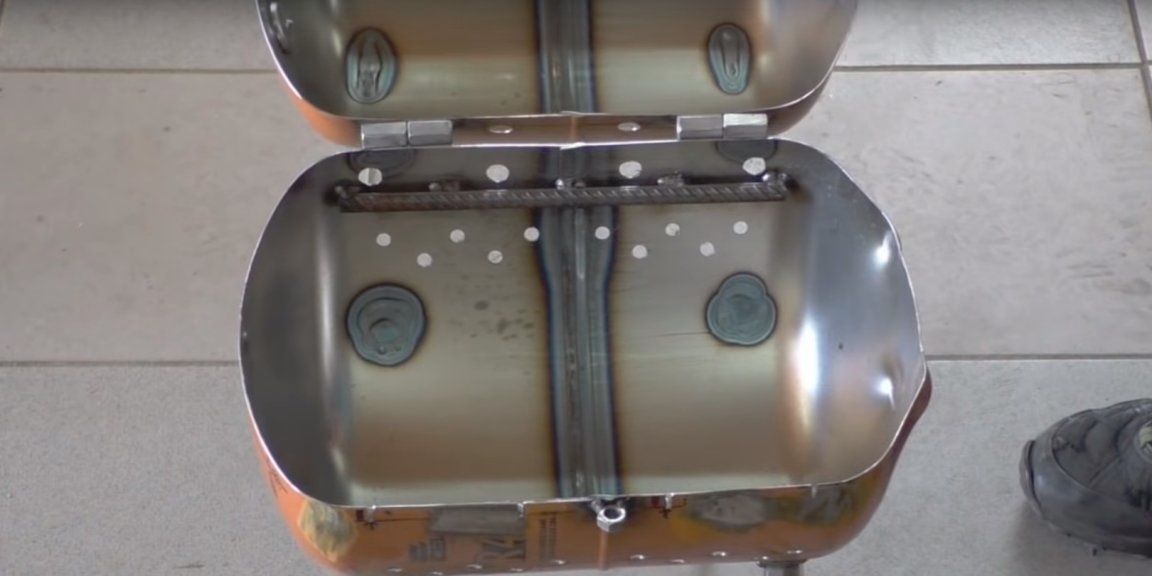
The resulting loops can be welded to the cylinder.

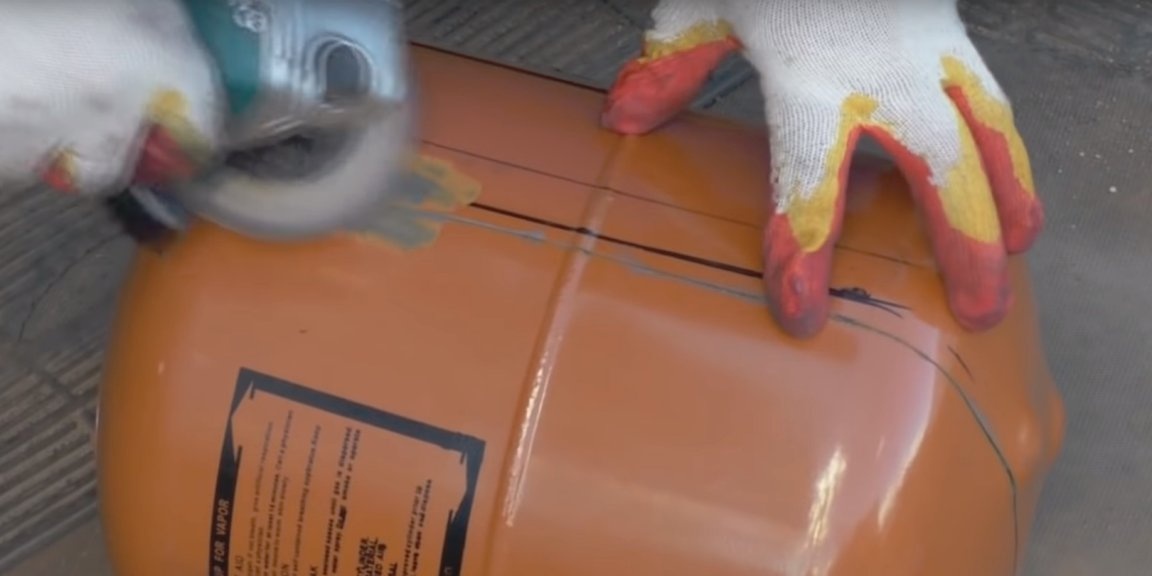
But now you can cut the places along the ends that were previously left uncut.
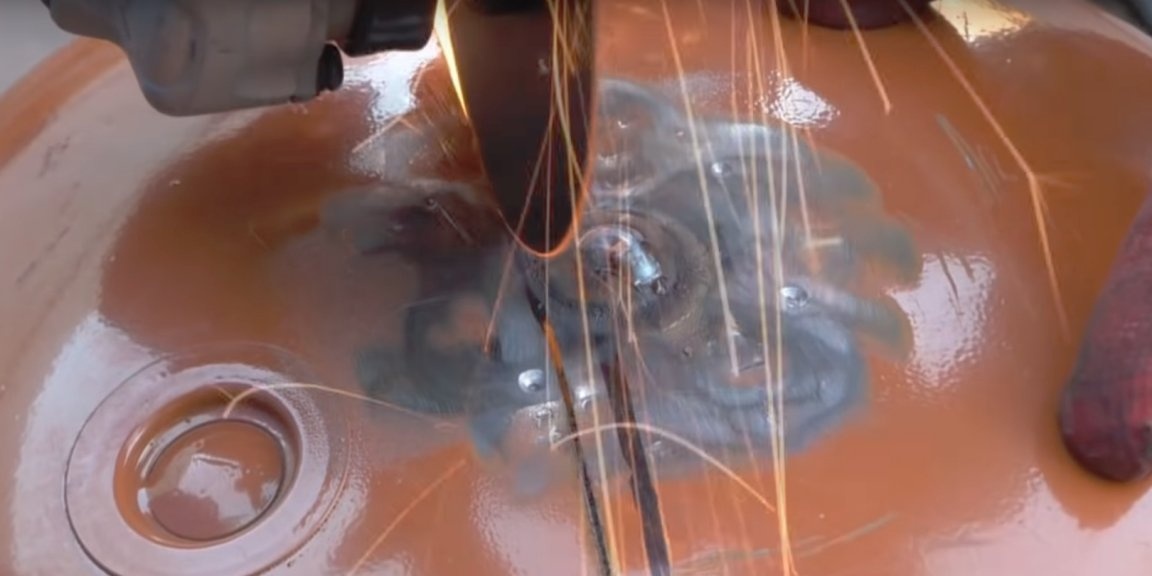
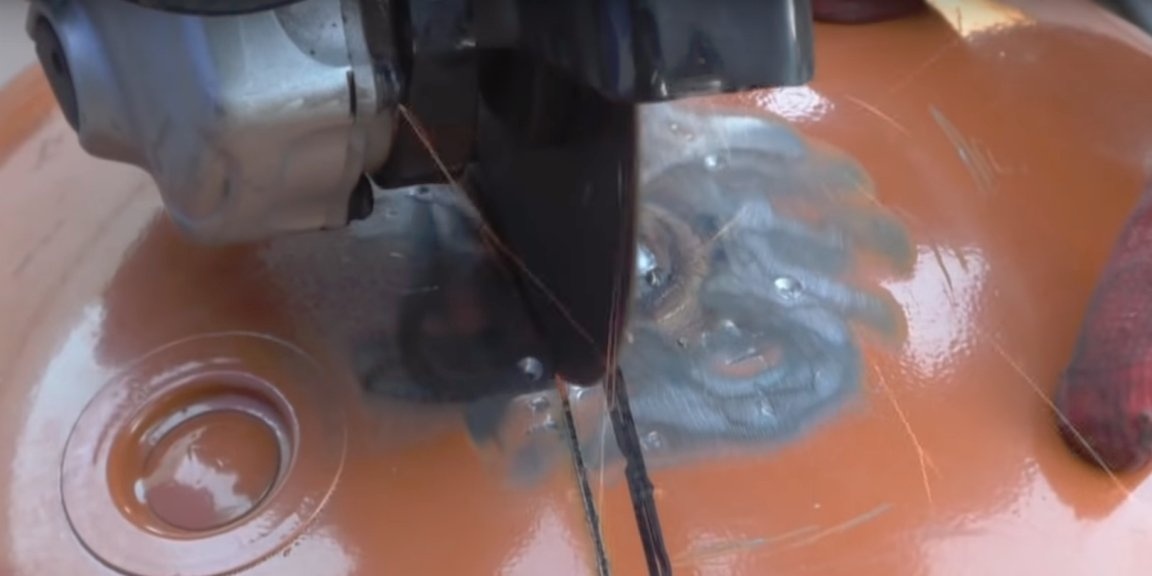
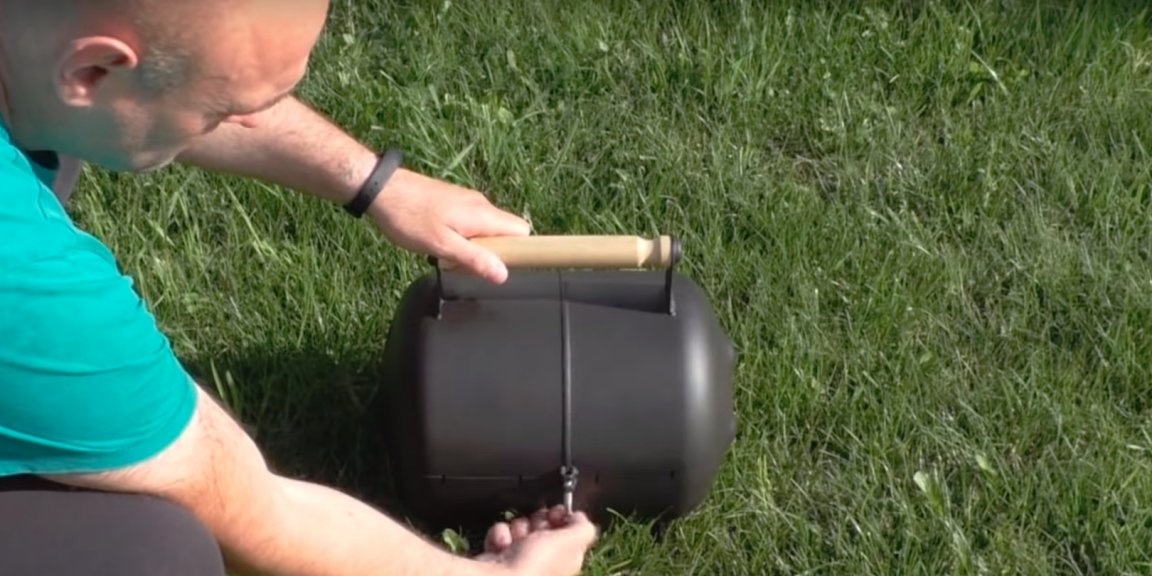
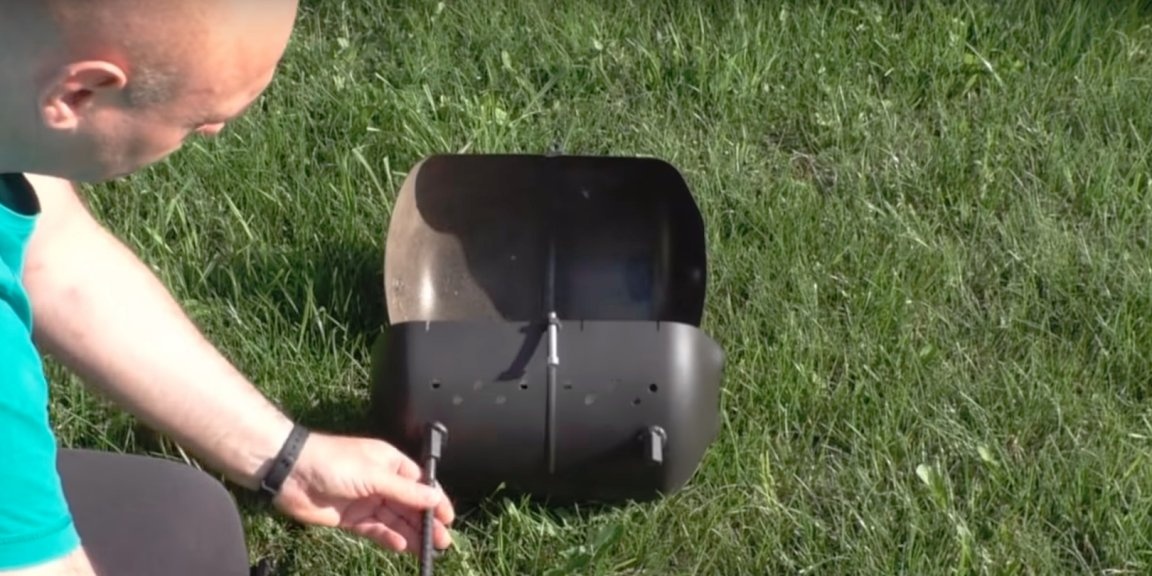
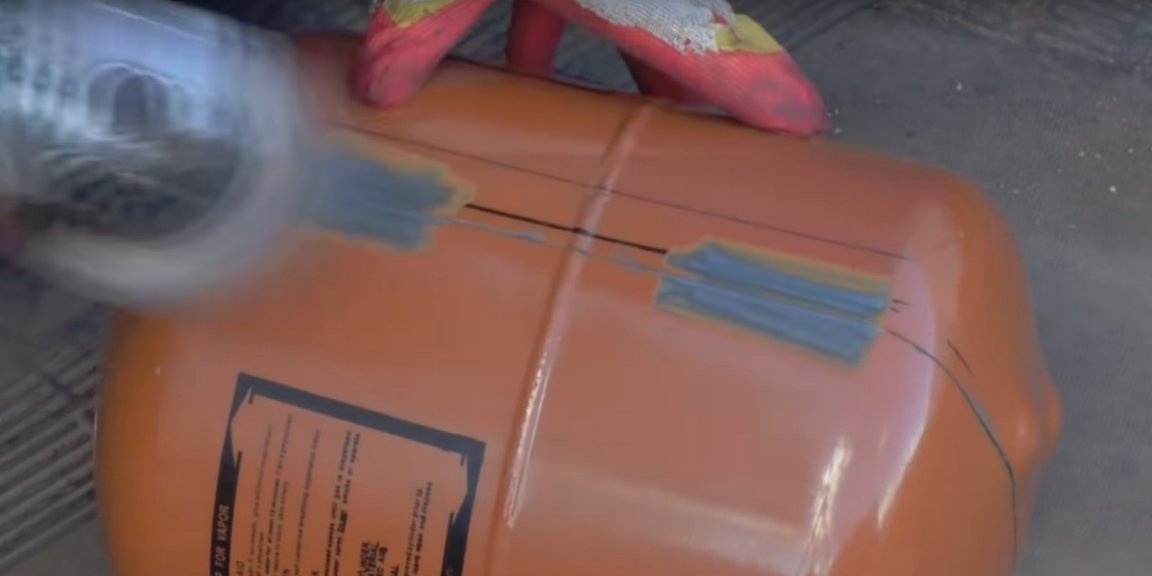
By the way, here I noticed that the author welded two nuts on the front of the container, in the center of the product, one on each of its halves. A bolt will be screwed into these nuts, thereby fastening the halves together, such a kind of lock.
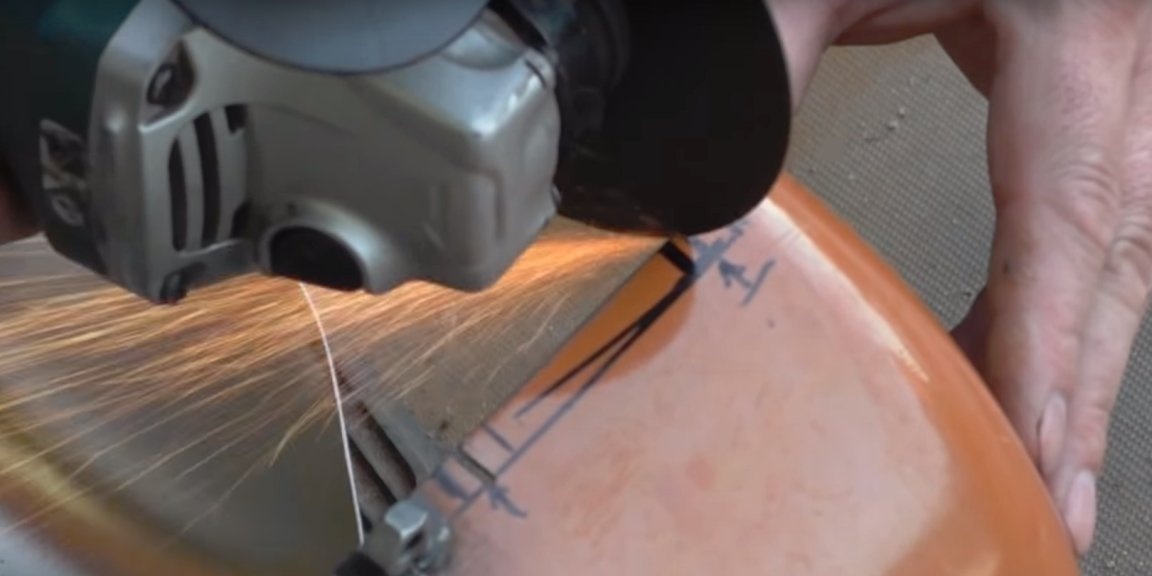
The edges of the cylinder are deburred using a grinder with a petal circle.
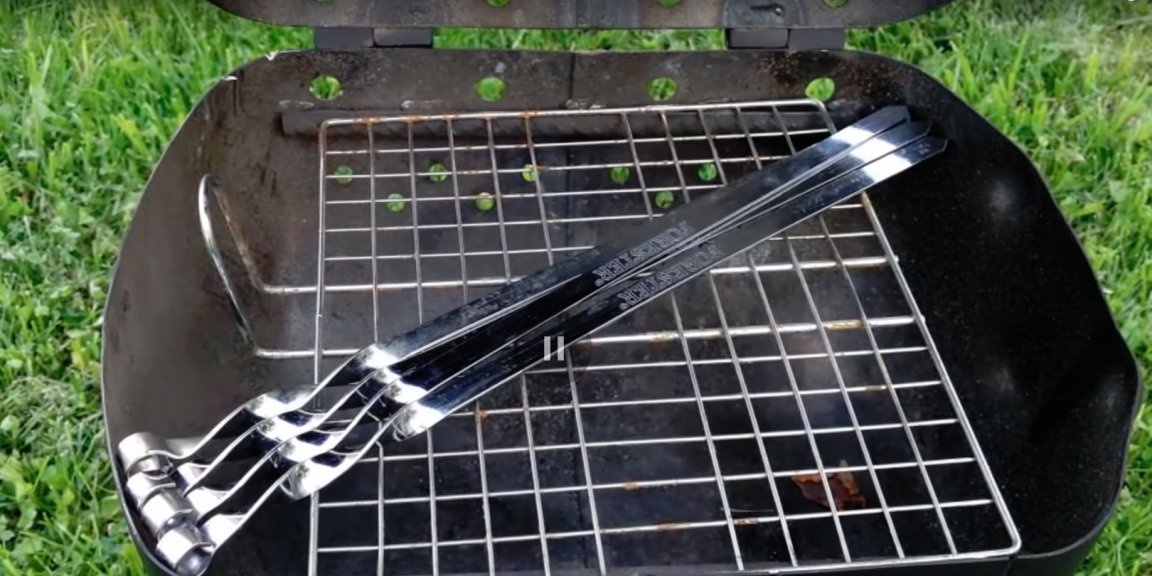
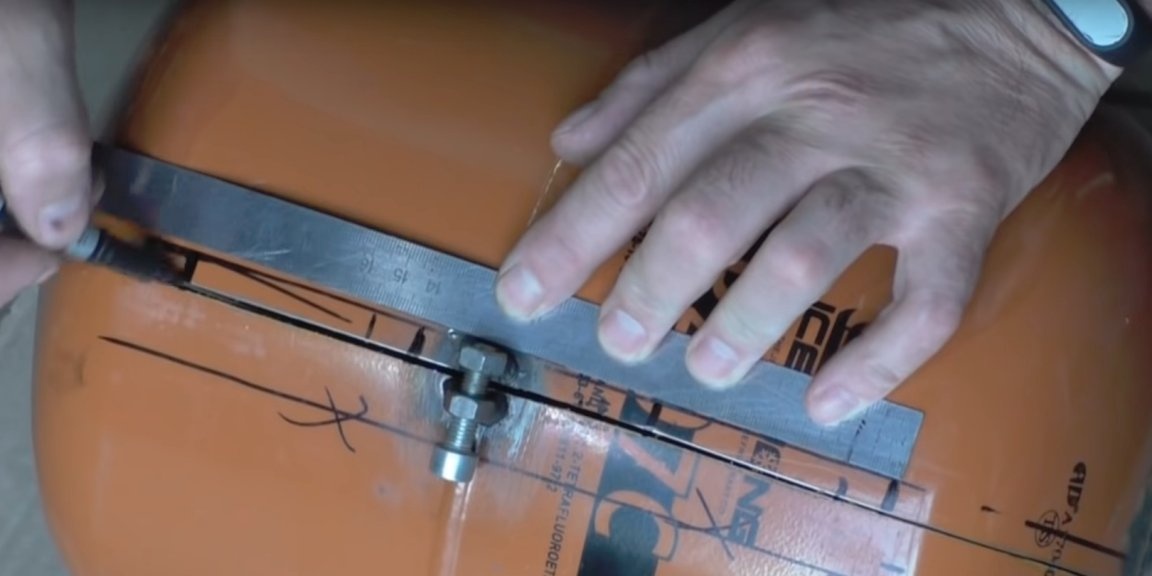
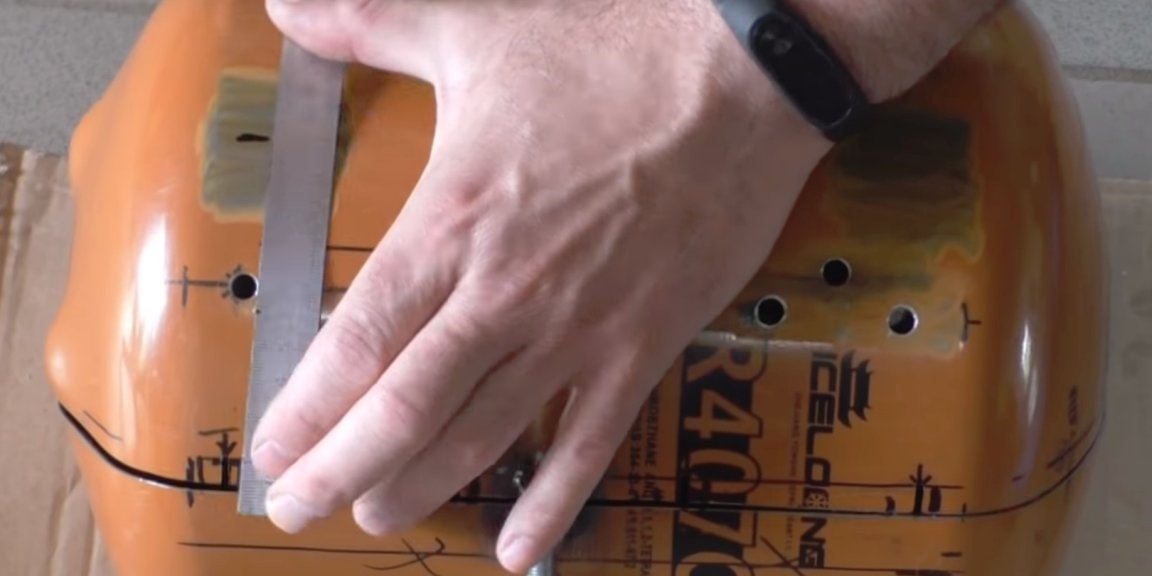
Now you can do the markup. The distance between the skewers will be 70mm, there will be four in all. The author notes and makes cuts under a skewer on the front of the barbecue.
From the back at the same distance, drill holes with a diameter slightly larger than the width of the skewers to be used. The edges of the skewers will be inserted into these holes.
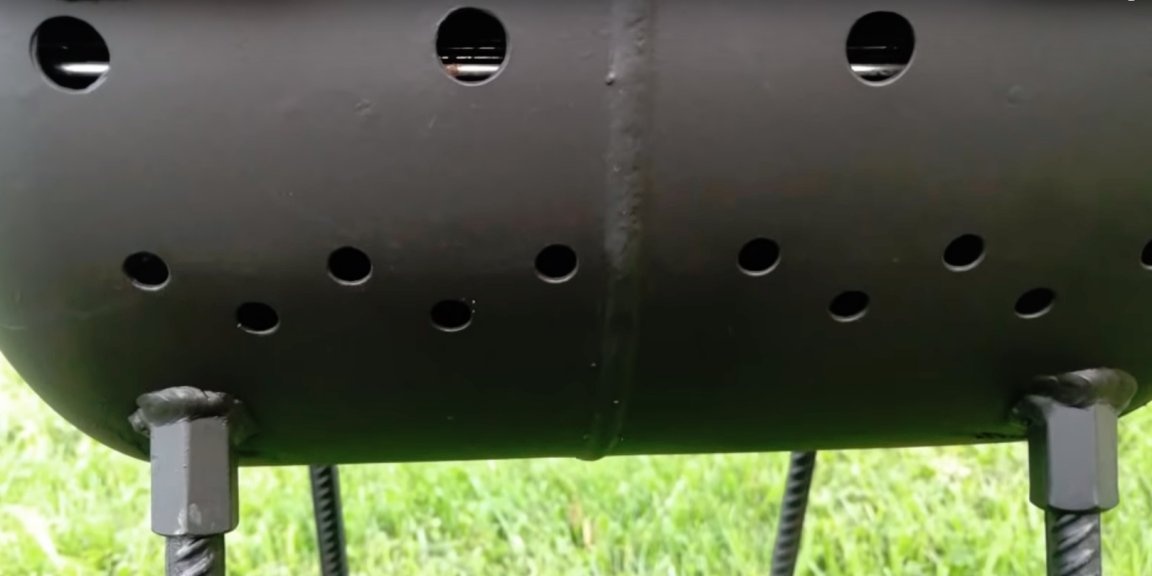
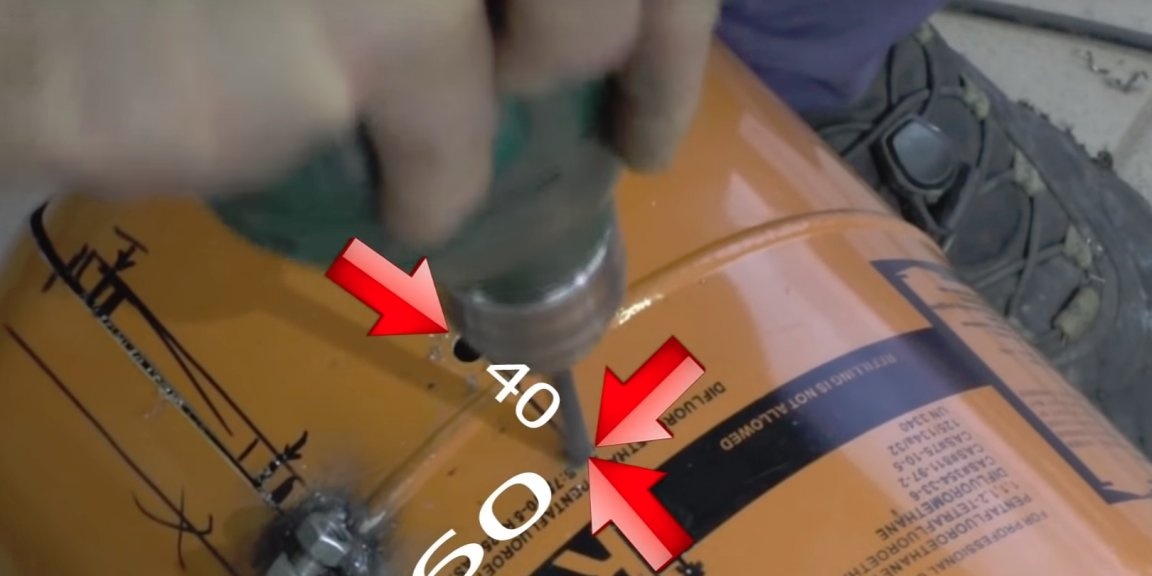
Then he makes blow-out holes in the lower part of the barbecue. For this, the master steps back from the edge of 60mm, the pitch between the holes is 40mm, the diameter of the drill is 8mm.
Fasteners for folding legs are made from elongated nuts M10, the edges of which must first be cut at an angle of about 45 degrees. There are four such nuts.

The author cleans and marks the mounting points of the nuts, stepping back from the edge of 110mm. Welds nuts.
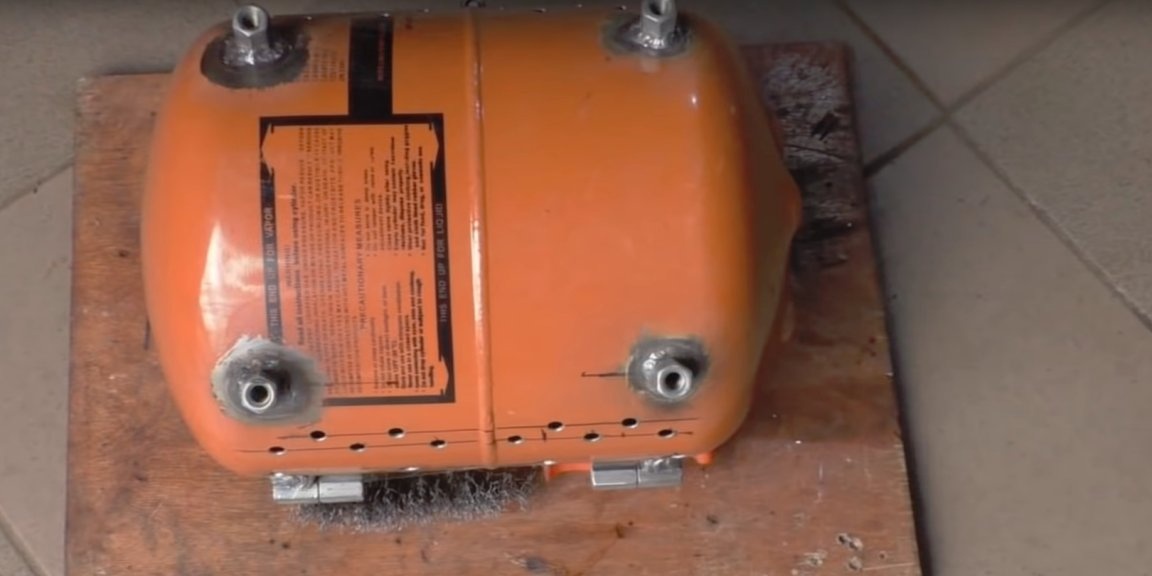
After the nuts are welded, it cuts the thread on the legs.
As legs uses pieces of reinforcement with a diameter of 10 mm, a length of 320 mm. In order not to cut the thread, you can simply use a stud with M10 thread as legs.
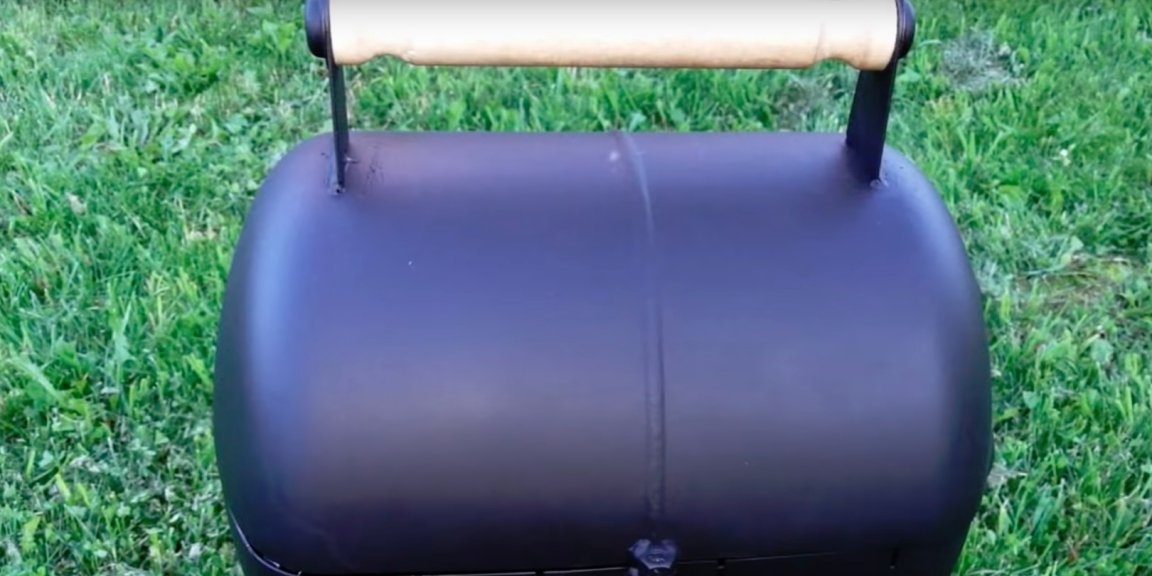
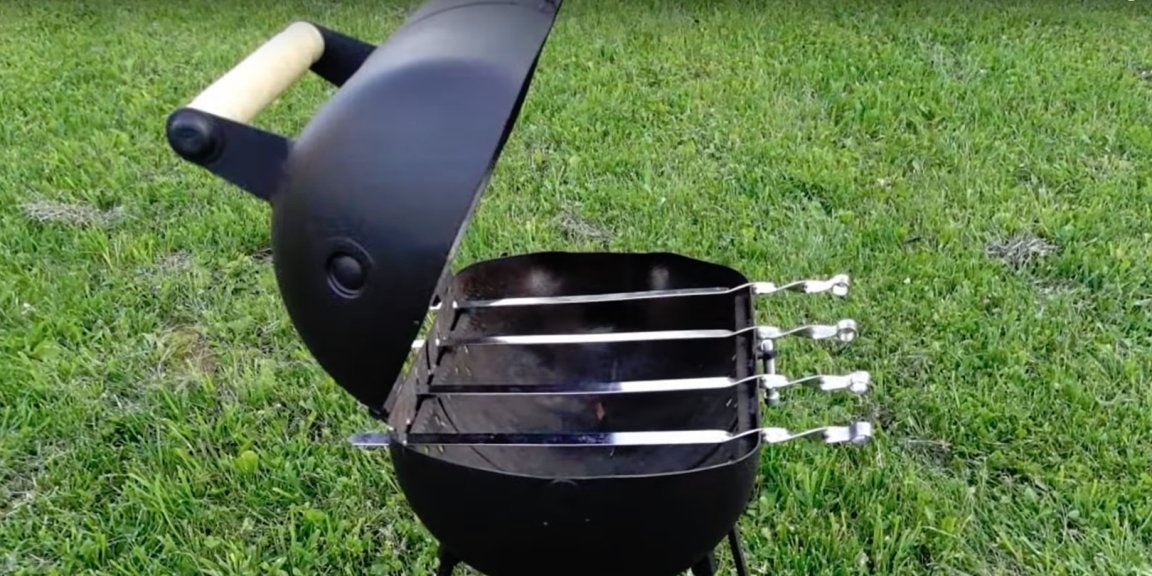
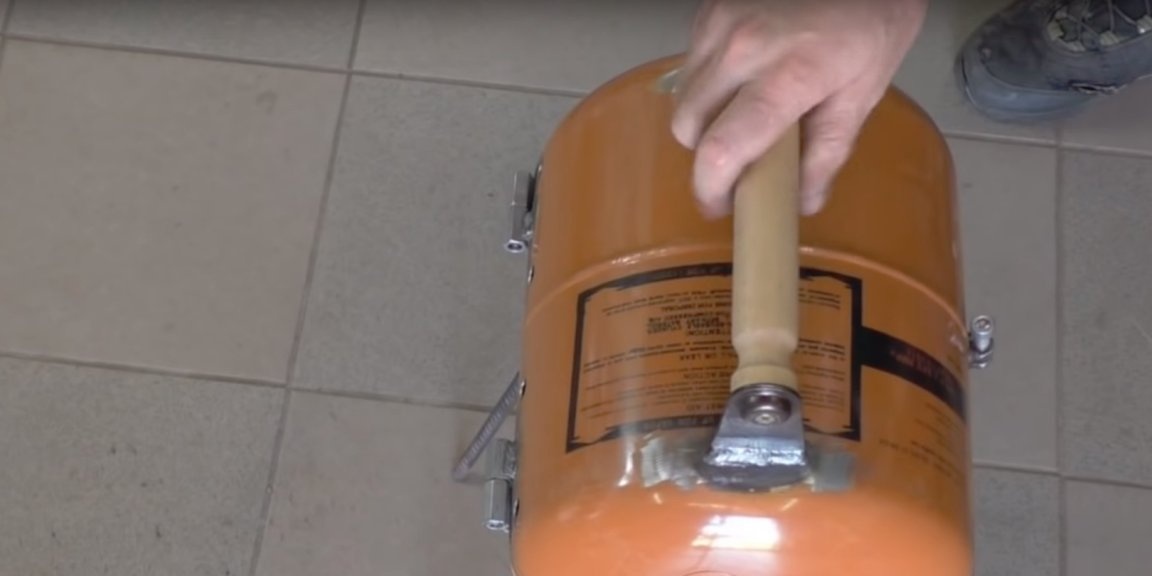
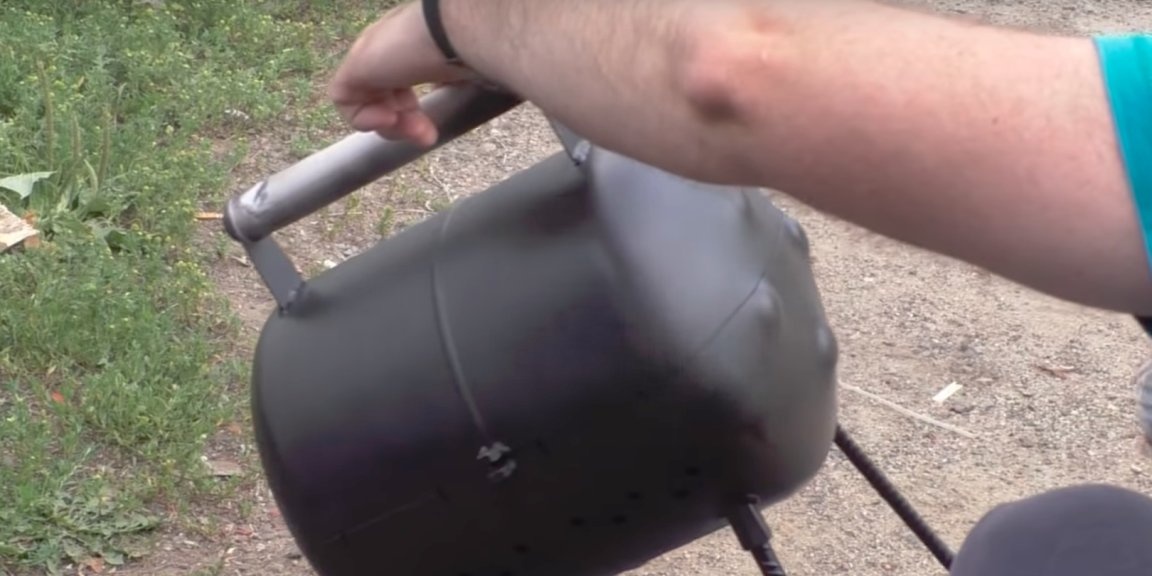
I bought a handle for carrying and opening the barbecue at a hardware store. I cut the excess parts and welded to the top of the barbecue. Although you can use a previously cut native cylinder handle as a handle.
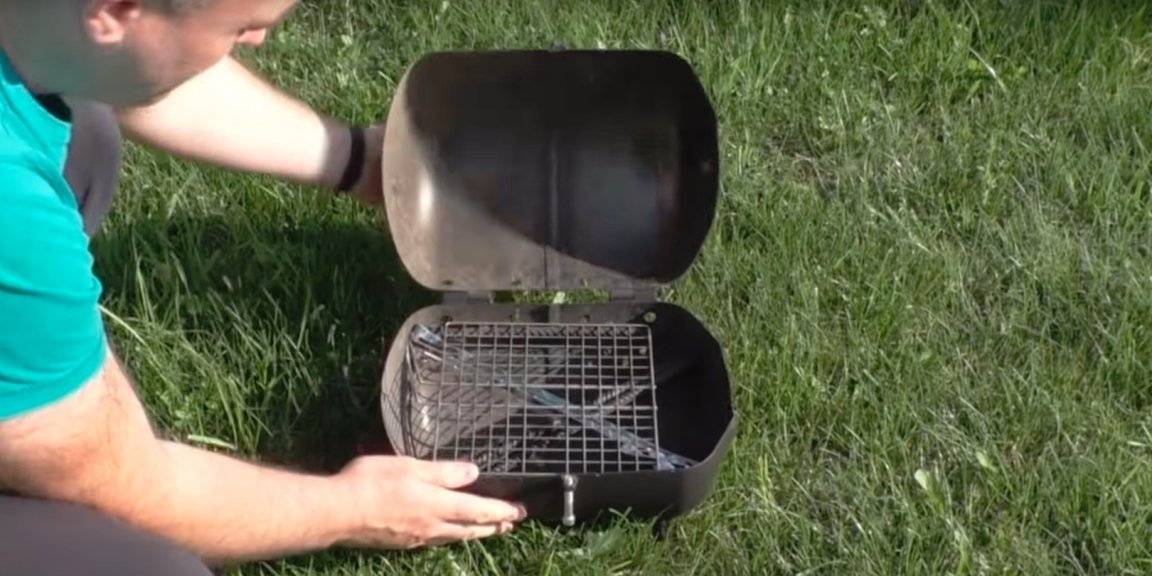
To be able to use not only skewers but also a grill in the grill, I welded two pieces of 10mm reinforcement. Thus reinforcing the barbecue frame itself.
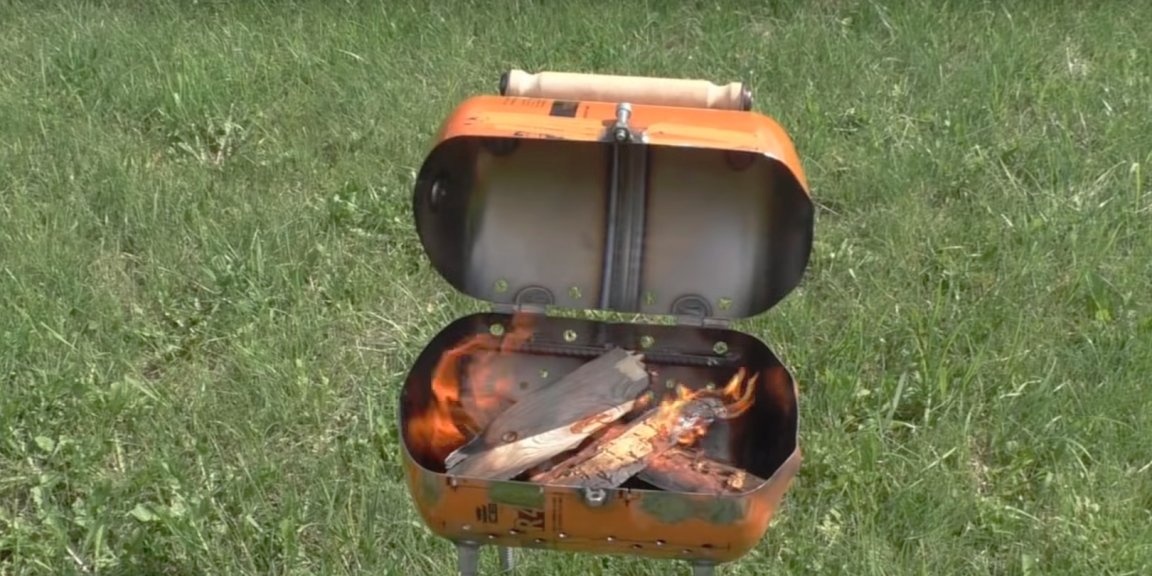
On this assembly is completed, it remains to give the barbecue aesthetically completed look. To do this, the author loads his first portion of firewood into the brazier and thoroughly burns it, while getting rid of the old paint.
After the brazier has burned and cooled, it colors the outside of the thermocrack.
While the paint dries, you can run to pickle the first portion of meat. You can’t give the barbecue to the customer unchecked)))
That's all the brazier is ready, you can start assembling it.
Inside the barbecue you can freely store its legs, grill and skewers.
On this, I say goodbye to you, thanks for reading. Good luck to everyone, bye, bye !!!