
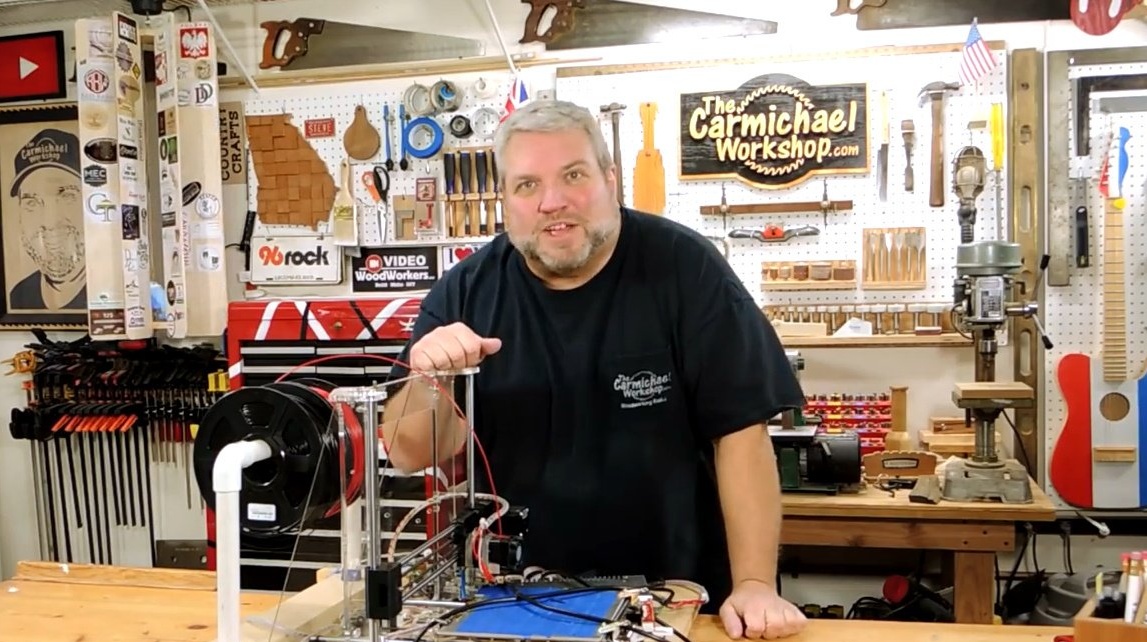
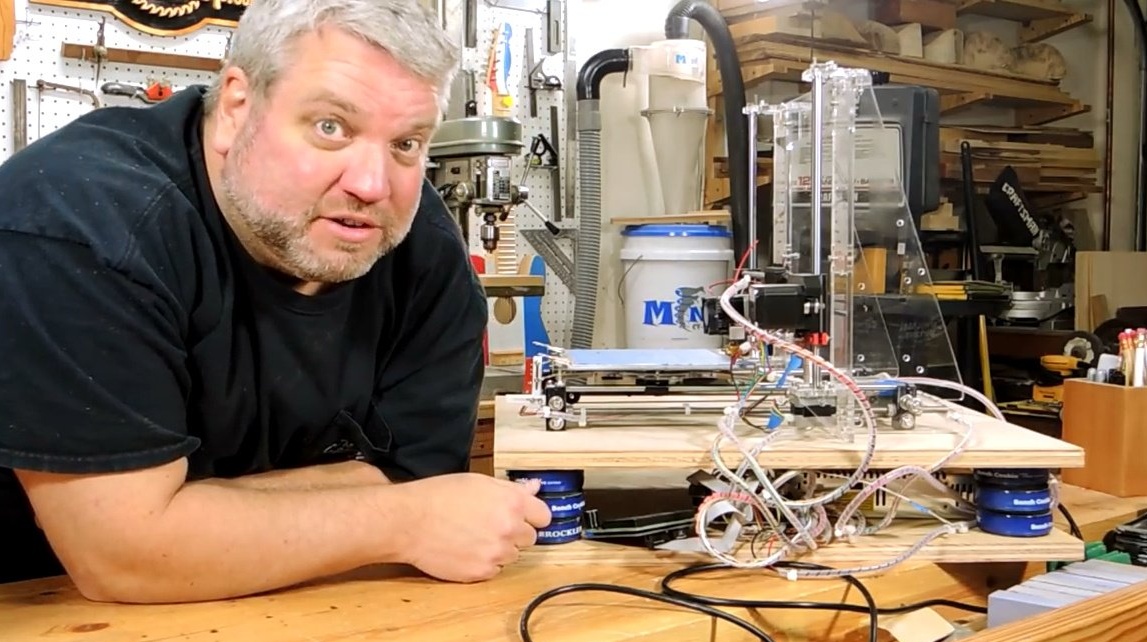
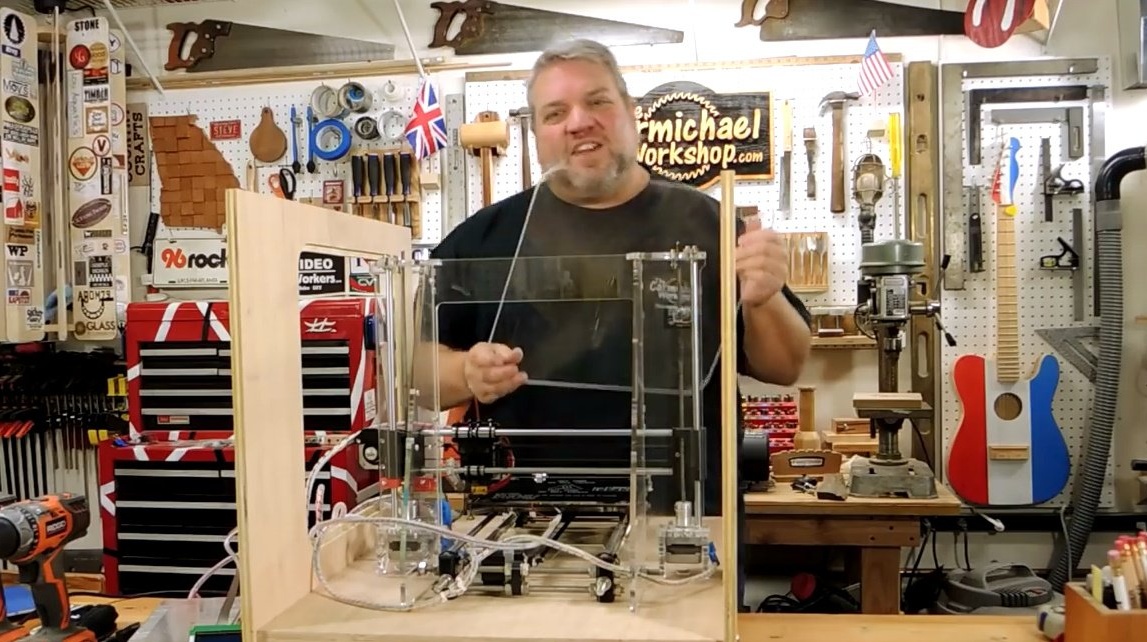
In this article, YouTube author Steve Carmichael will tell his readers how to make a transparent case for a 3D printer. This will be a more reliable version of the case with a demonstration effect. The author took the device as a basis, which he got unassembled. Steve reassembled the device, introducing several useful modifications.
The new printer housing will be made of Plexiglass. Moreover, electronics and randomly hanging wires will be neatly laid out and aesthetically built according to the scheme, so that as a result, the "inside" of the device will take on an aesthetic, ordered look. Ultimately, the user will be able to freely observe the operation of the mechanism, receiving from this aesthetic pleasure and passively controlling the correctness of the task. In the drawing of the new building, the author provided a removable top - a cover that can be easily torn off if it becomes necessary to interfere with the system.
All electronics will be installed on the plywood base of the enclosure. Coils with plastic thread will be installed inside the case. Thanks to the plexiglass case, the entire structure will be reliably protected from dust and moisture.
Materials
- Sheet plywood 18, 12, 6 mm thick
- Sheet plexiglass 6 mm thick
- Wood screws
- PVA glue
- Prusa i3 RepRap 3D Printer
- Color LED strip controller
- Aerosol varnish
- Sandpaper.
Instruments, used by the author.
- A circular saw
- pendulum saw
- Screwdriver
- Manual frezer
- Feather and conventional drills
- Pliers, clamps
- Drum sander
- Ruler, square, pencil.
Manufacturing process.
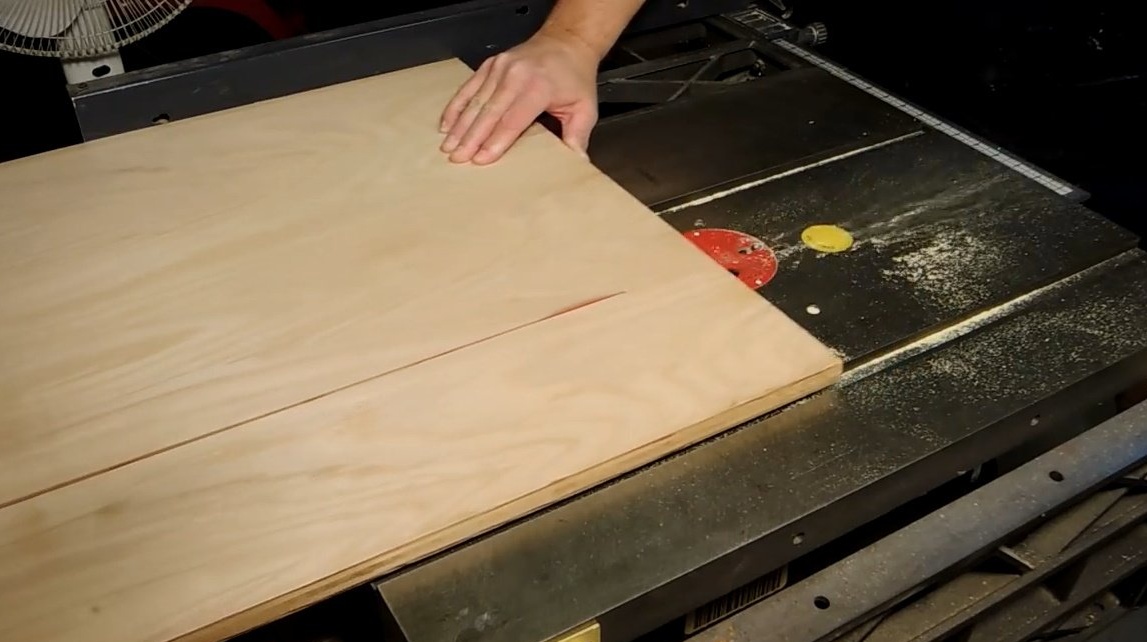
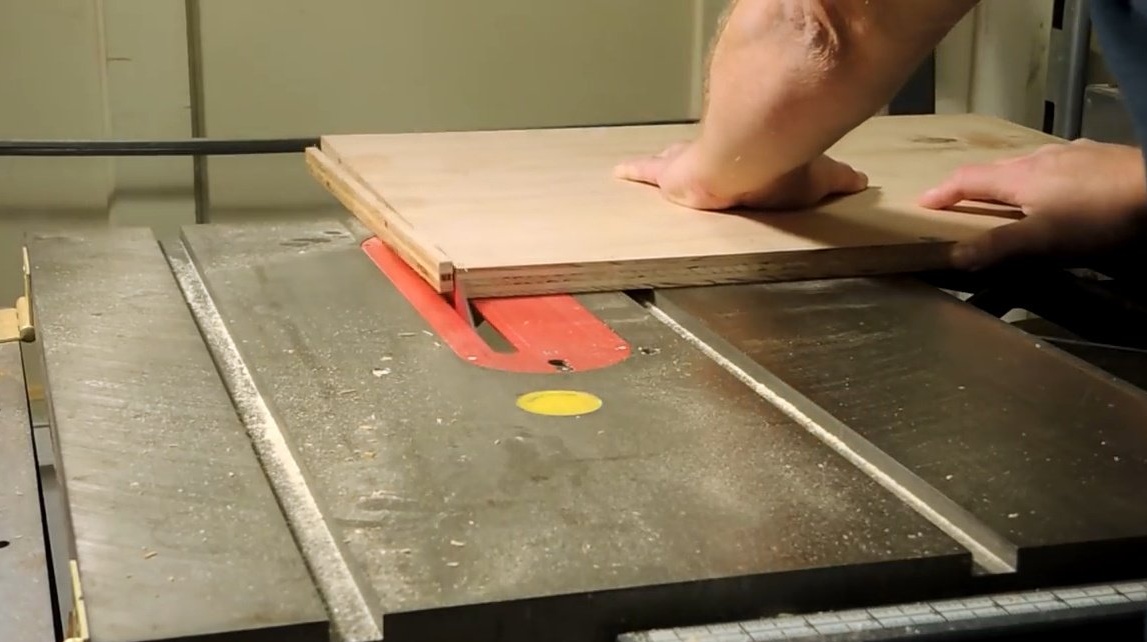
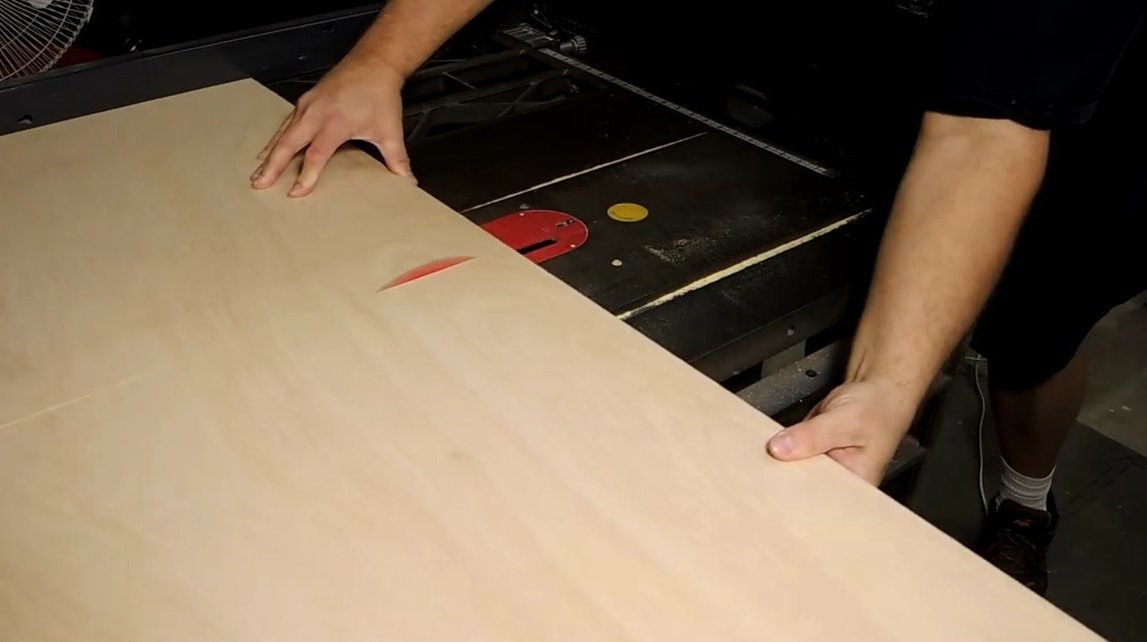
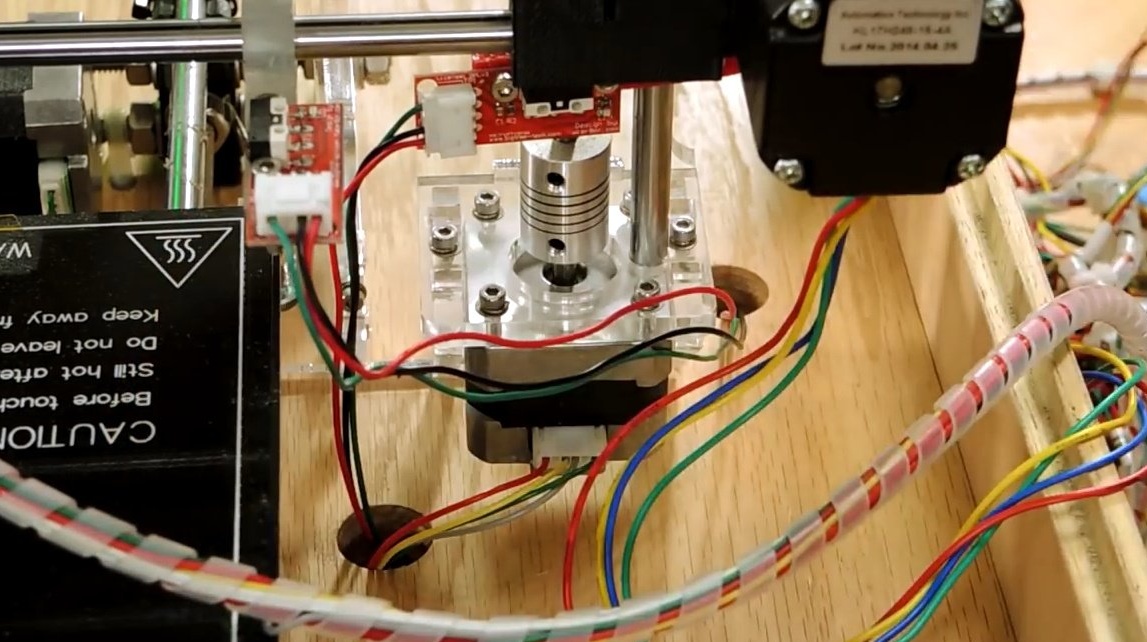
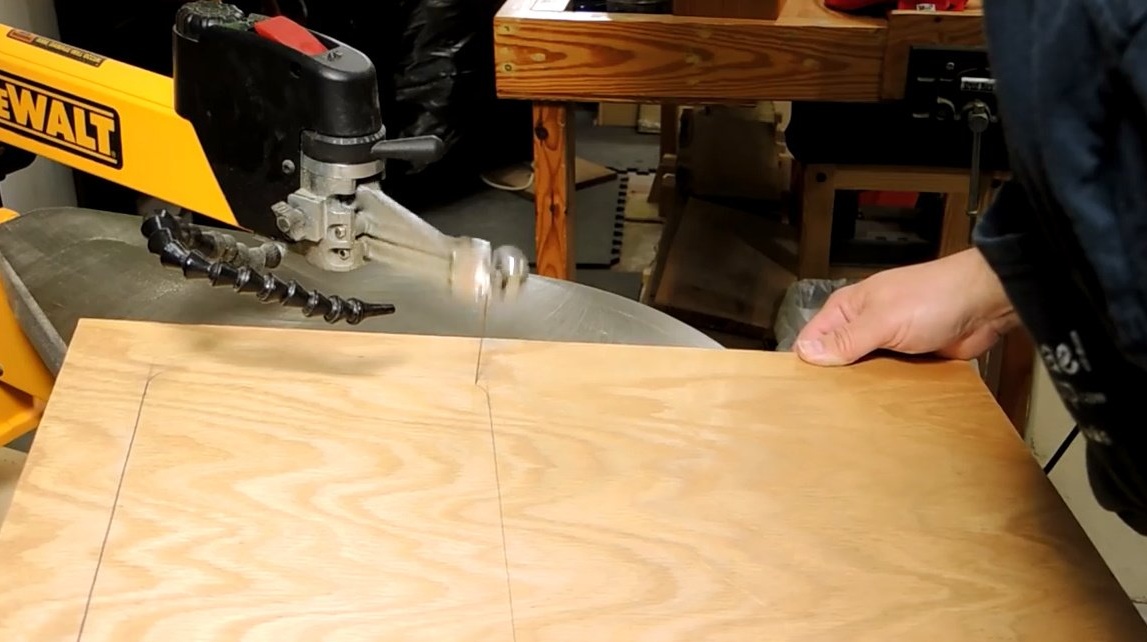
The first thing the wizard begins with is to cut out a plywood plate for the base of the case on which the printer's sole is located.

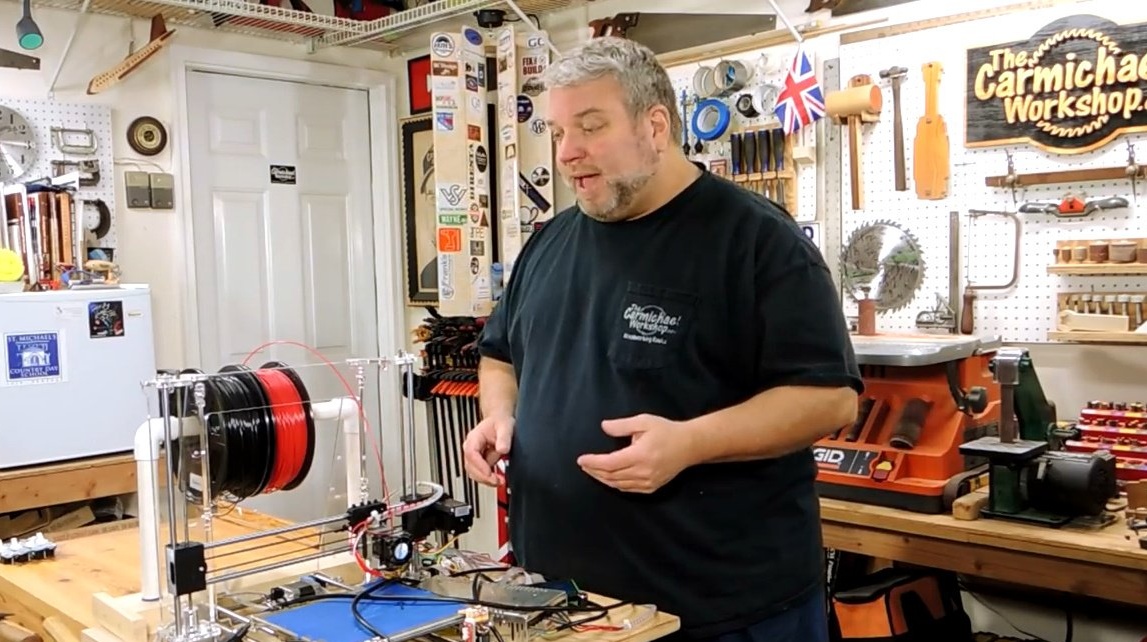
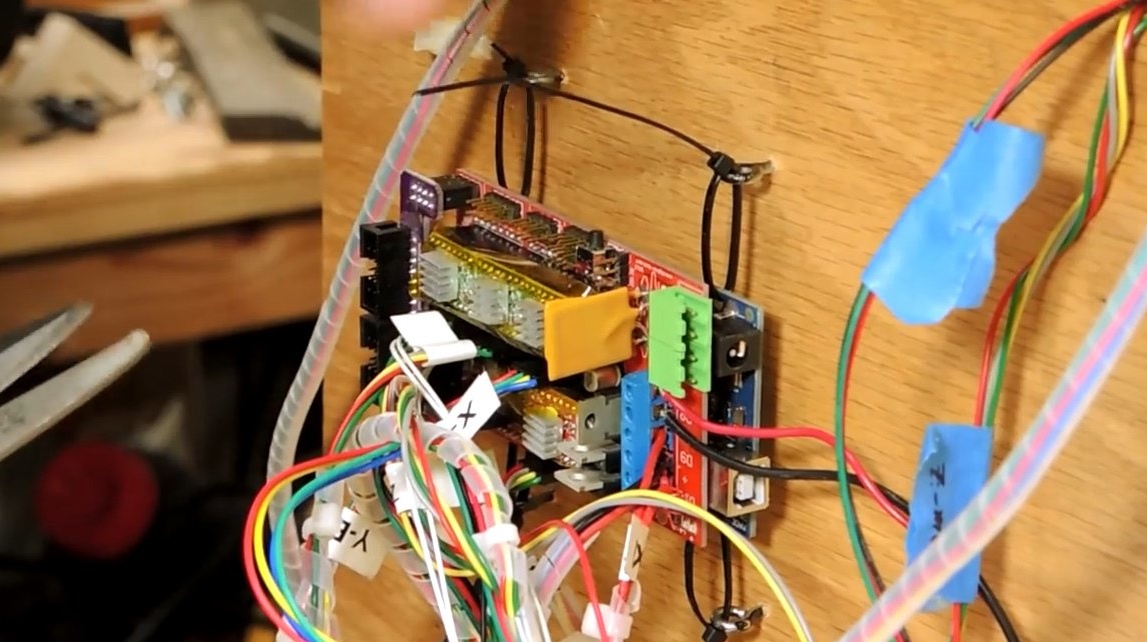
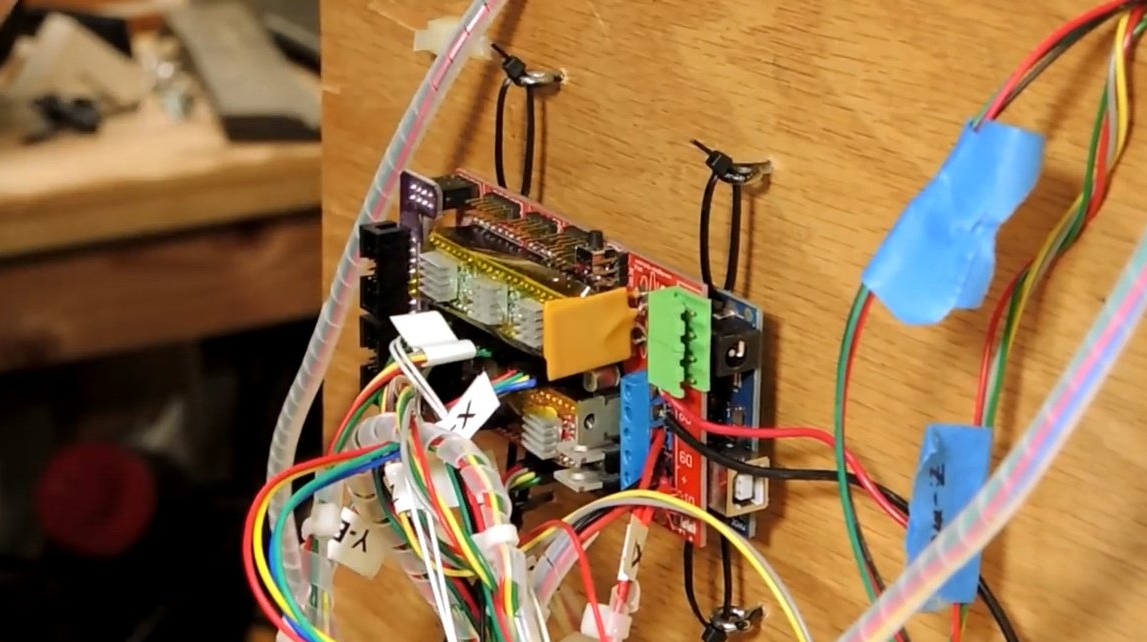
All these heaps of wires and the controller screen will have to be streamlined.


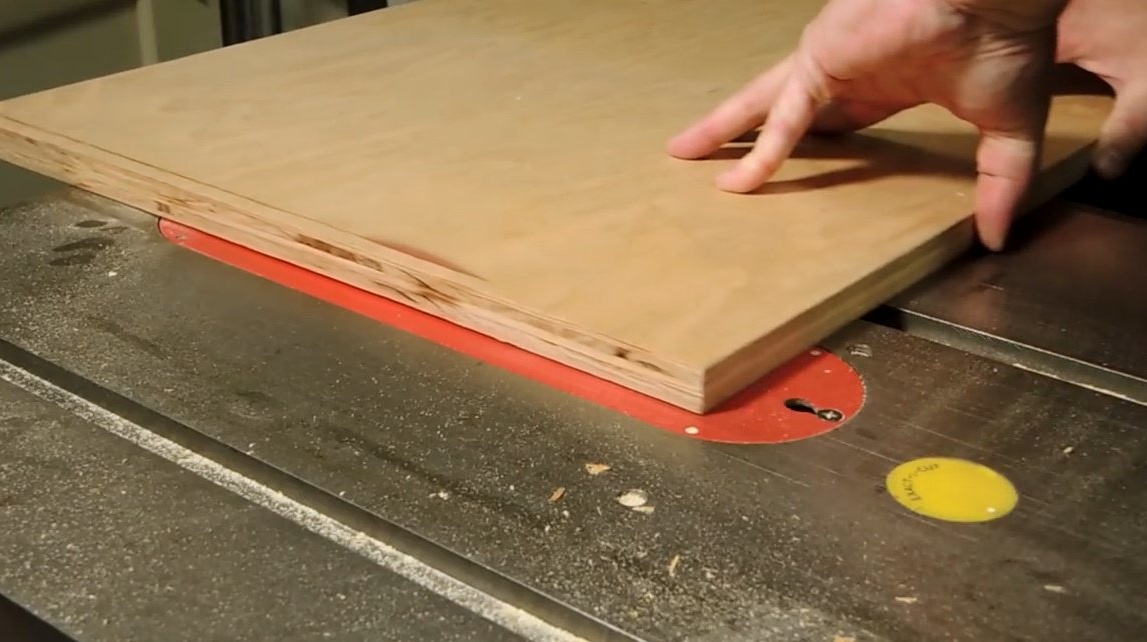
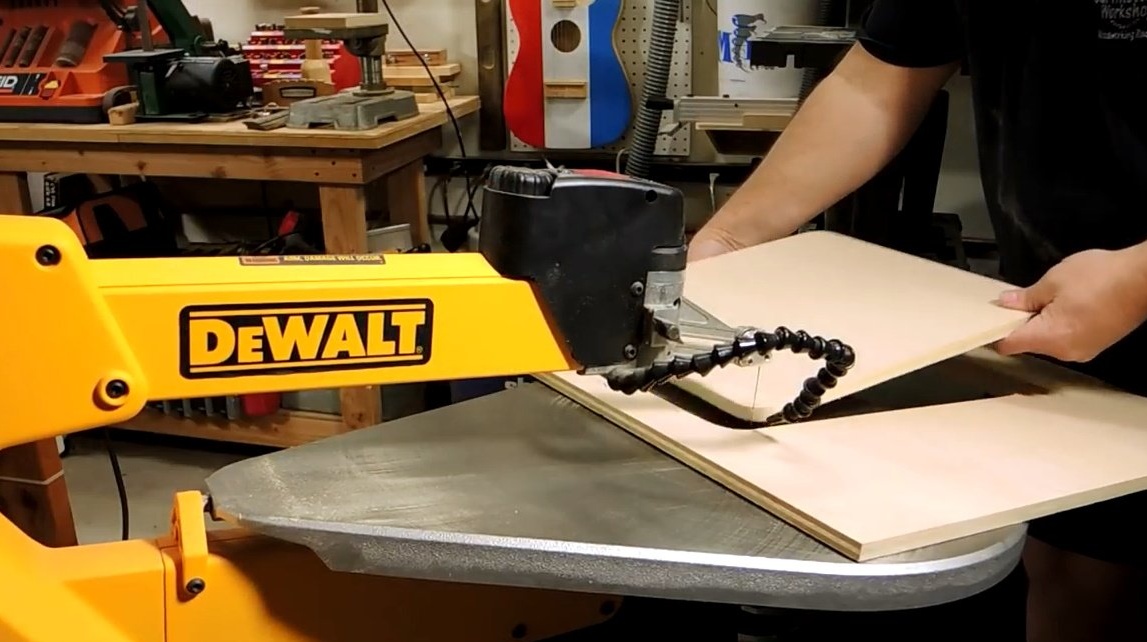
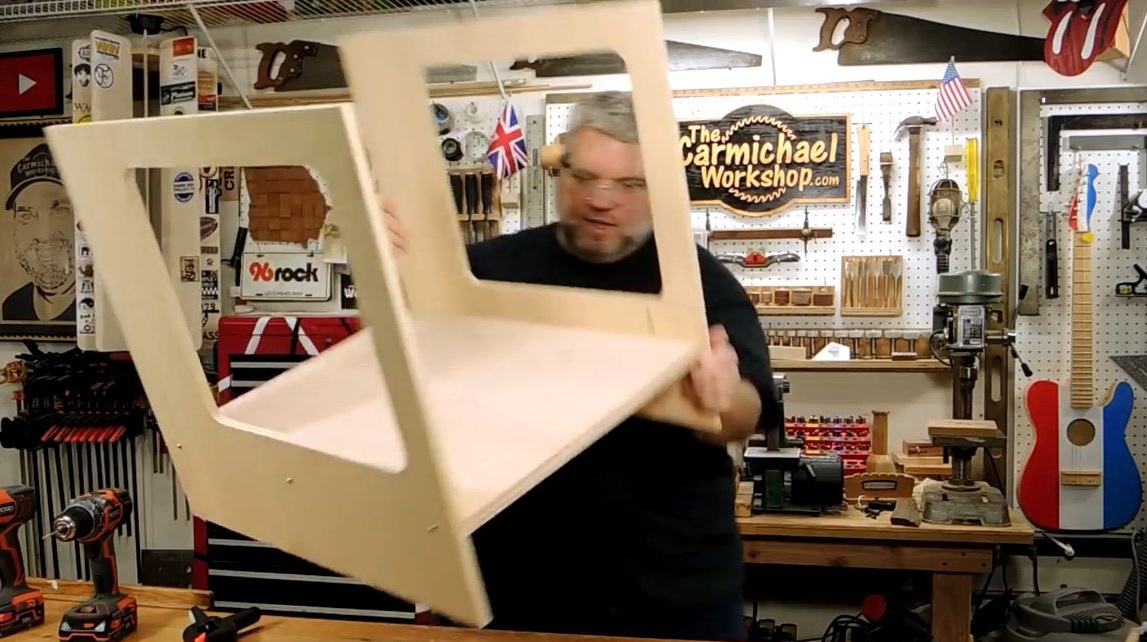
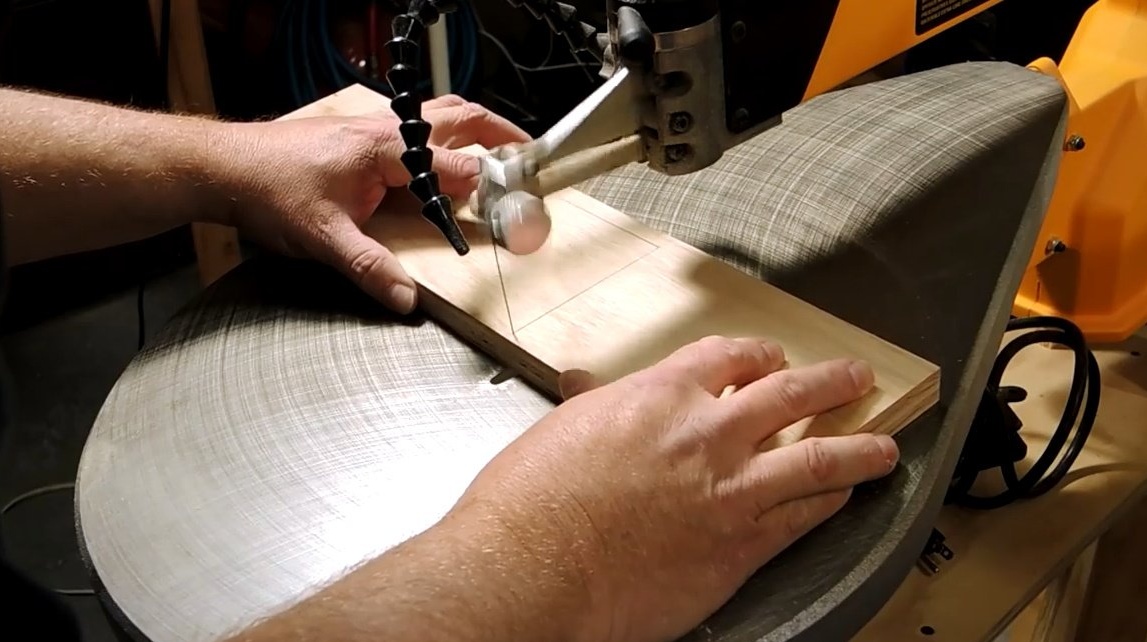
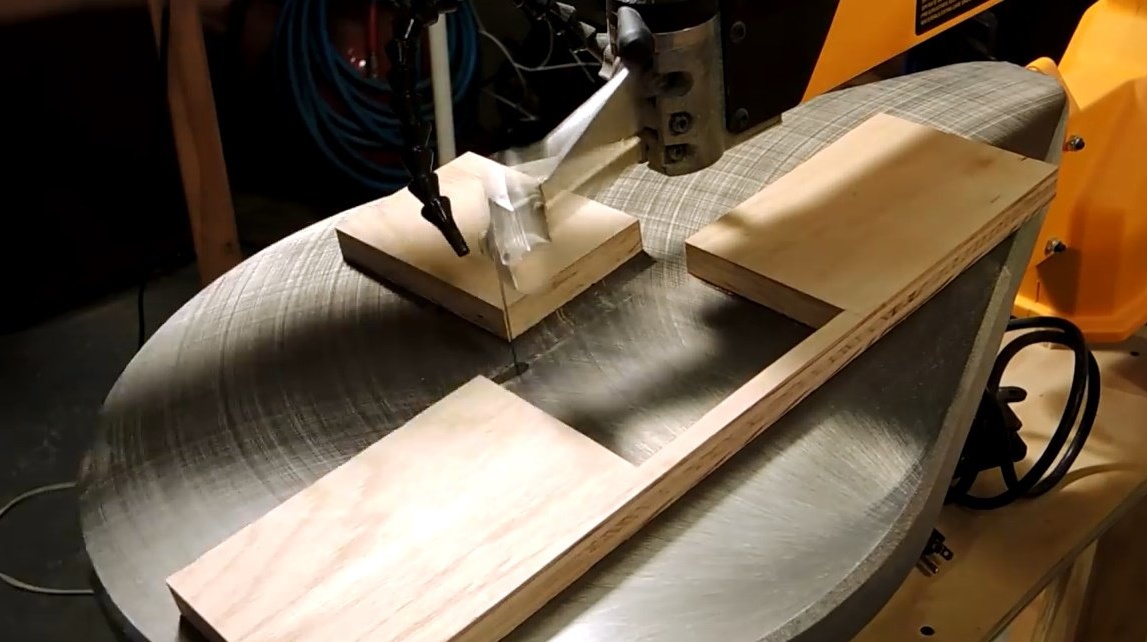
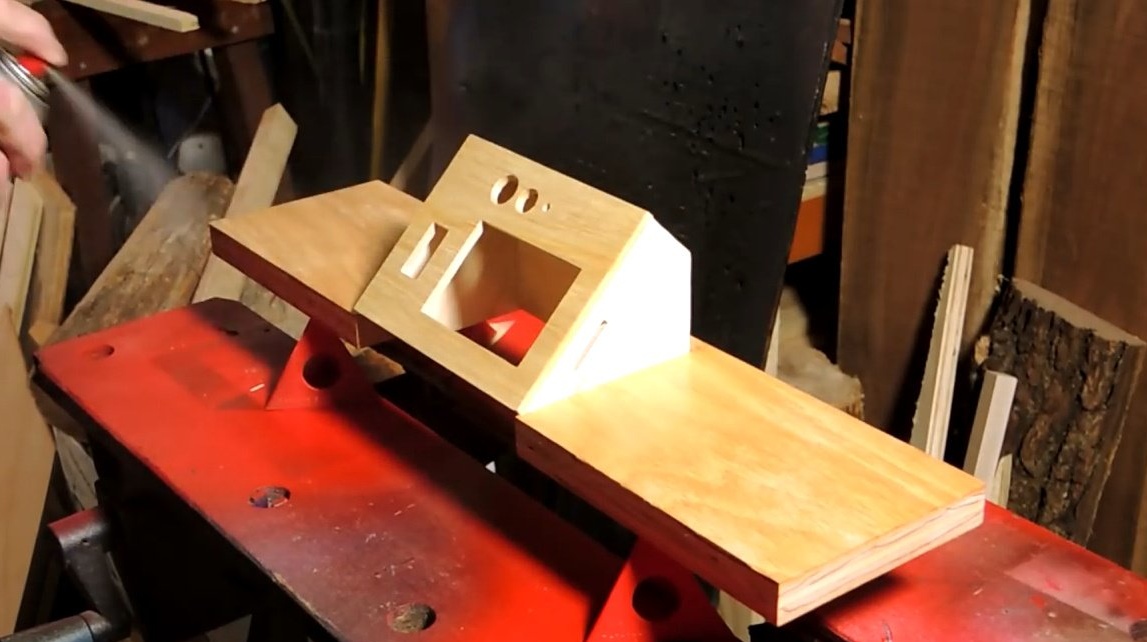
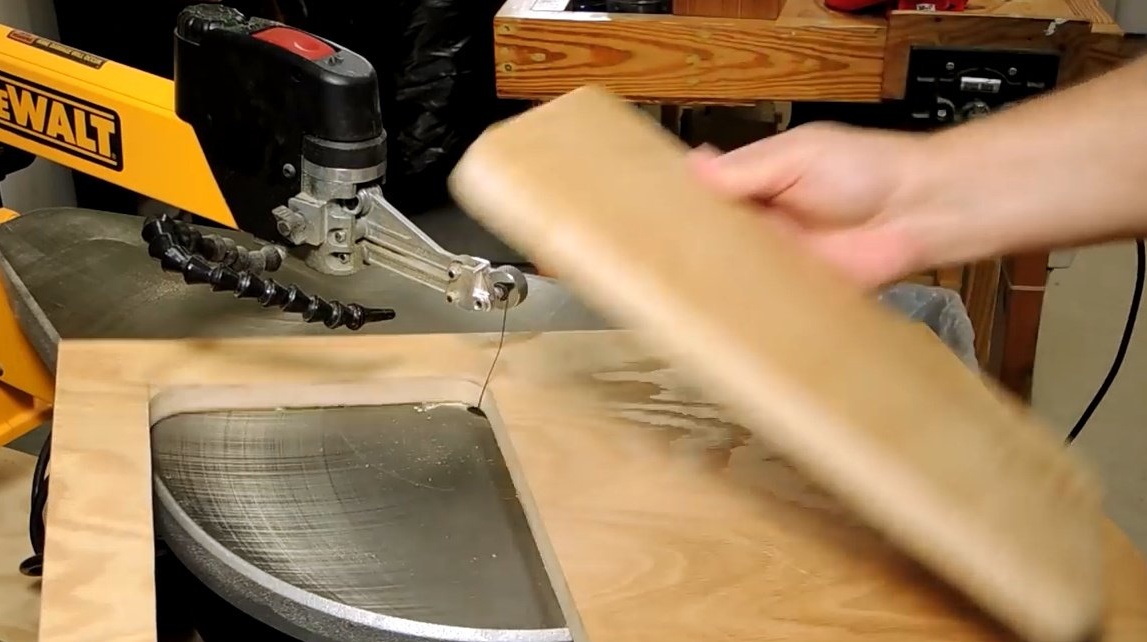
Then the author cuts two 6 mm plywood boards for the side walls.
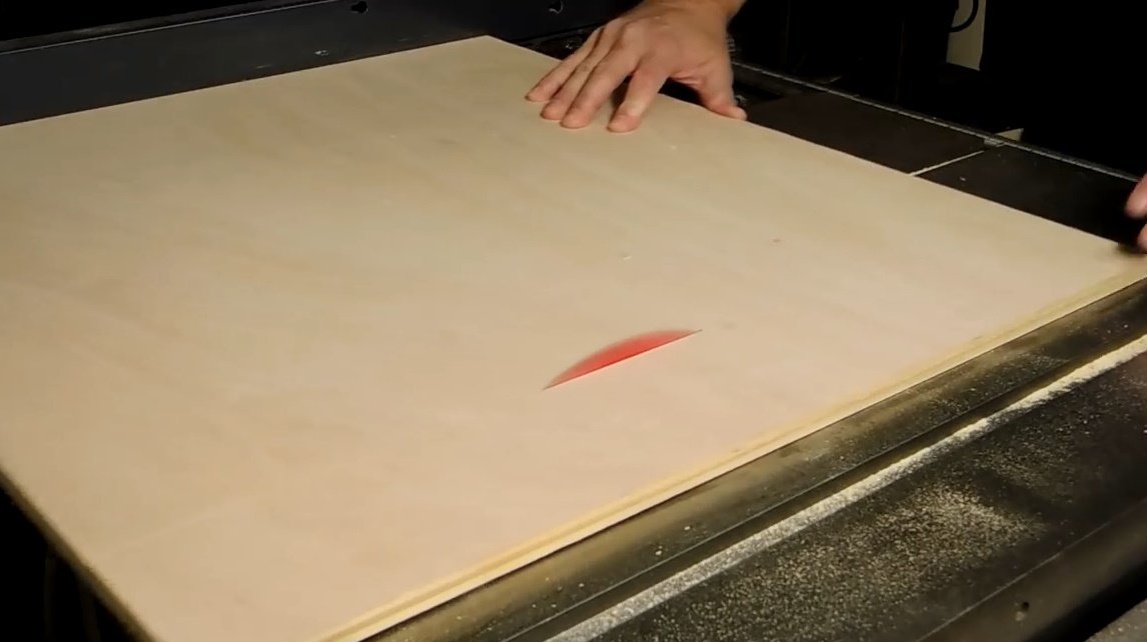

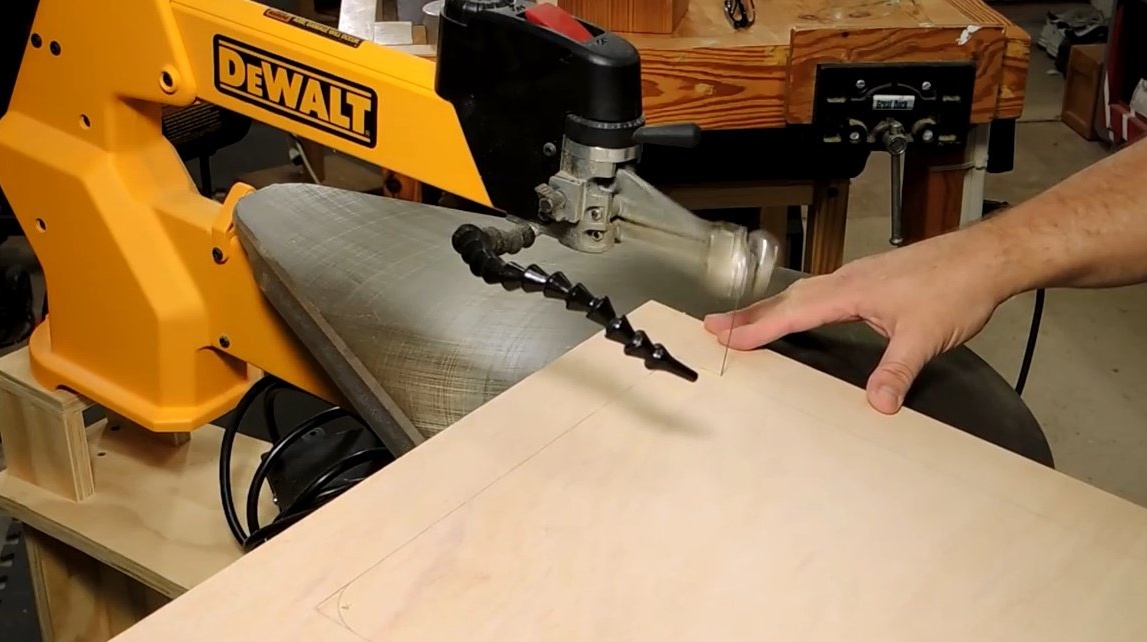
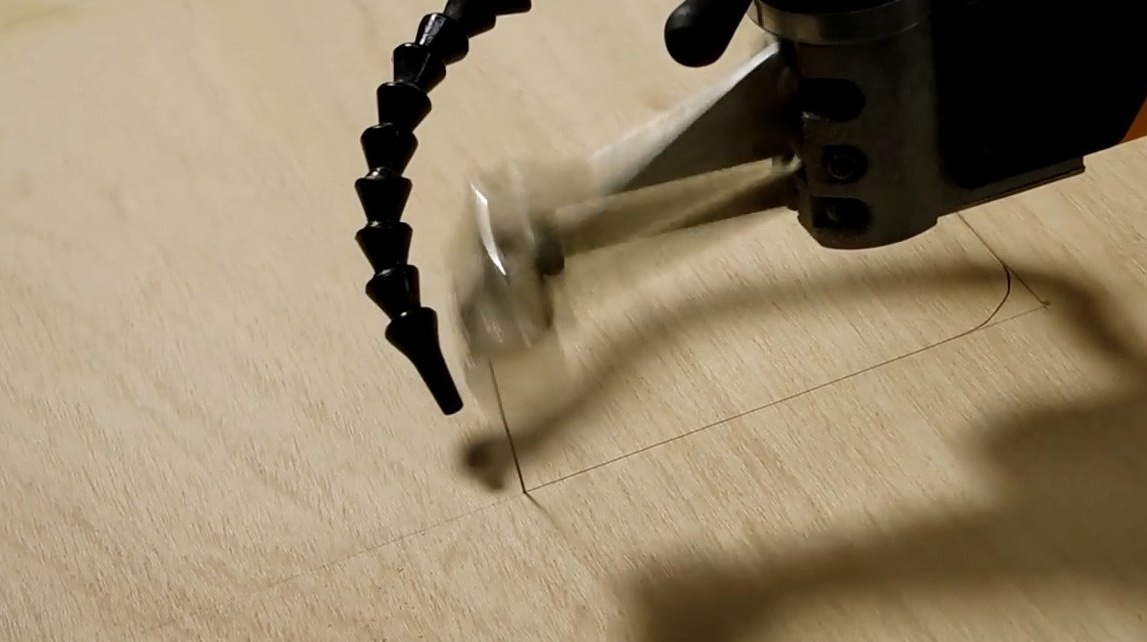
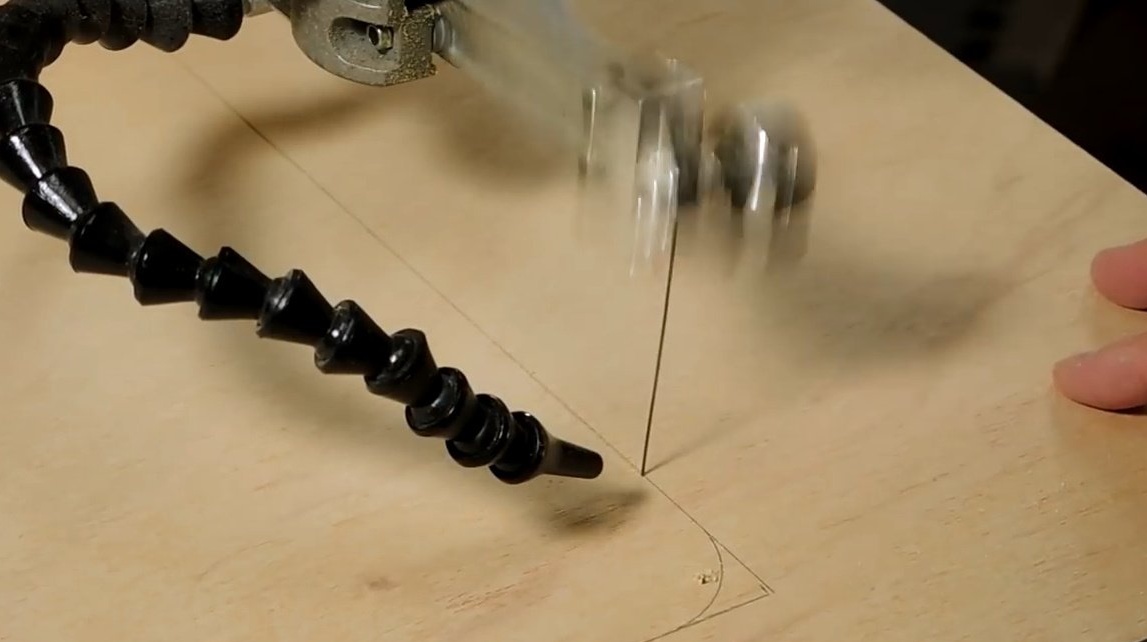
Cut windows with a pendulum saw, which will then be installed glass.
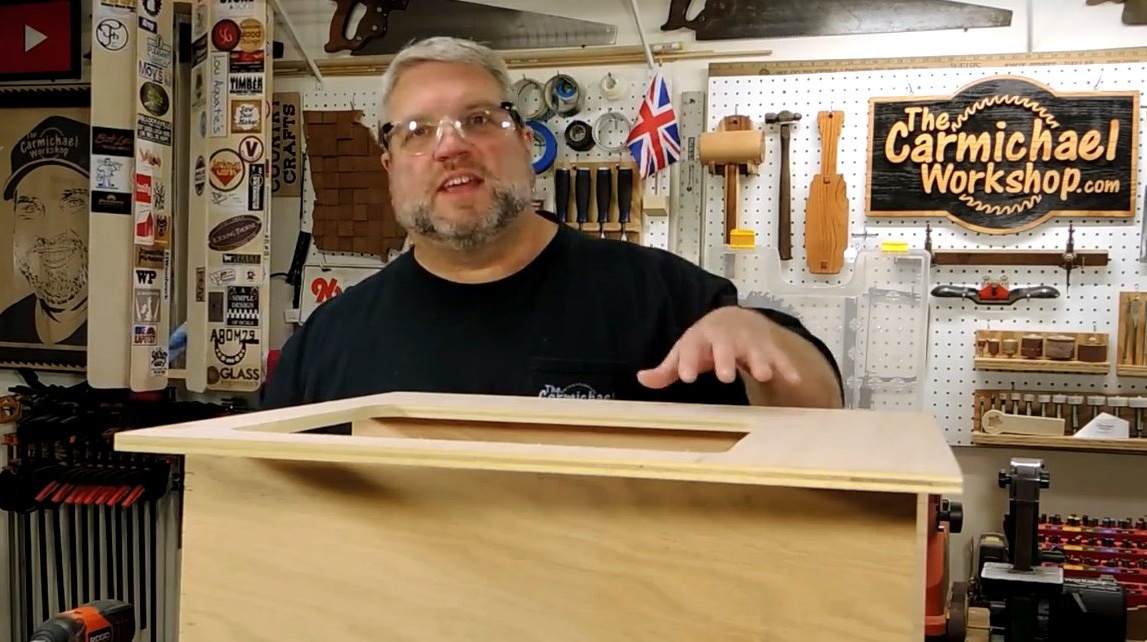
And he arranges them in such a way as to have at least an approximate idea of how all the structural elements should be built.
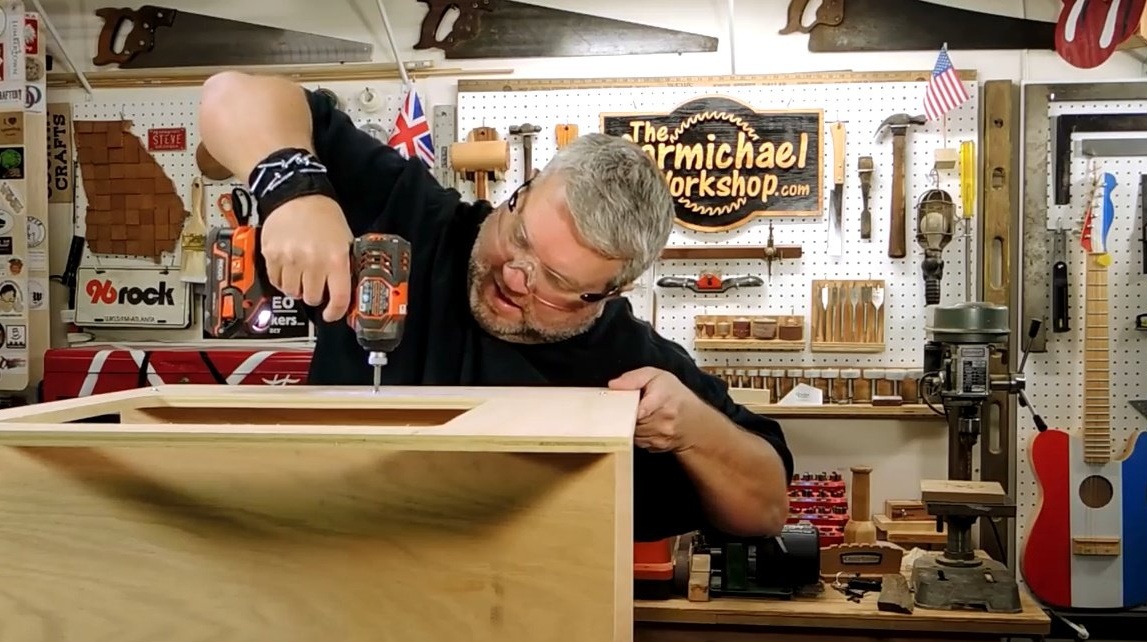
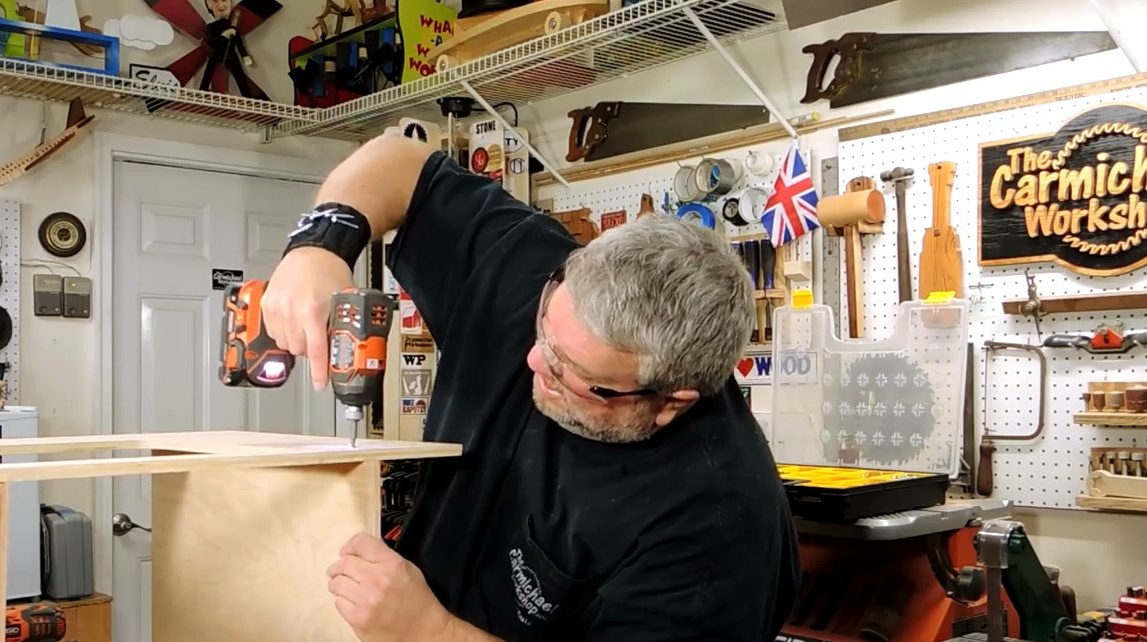
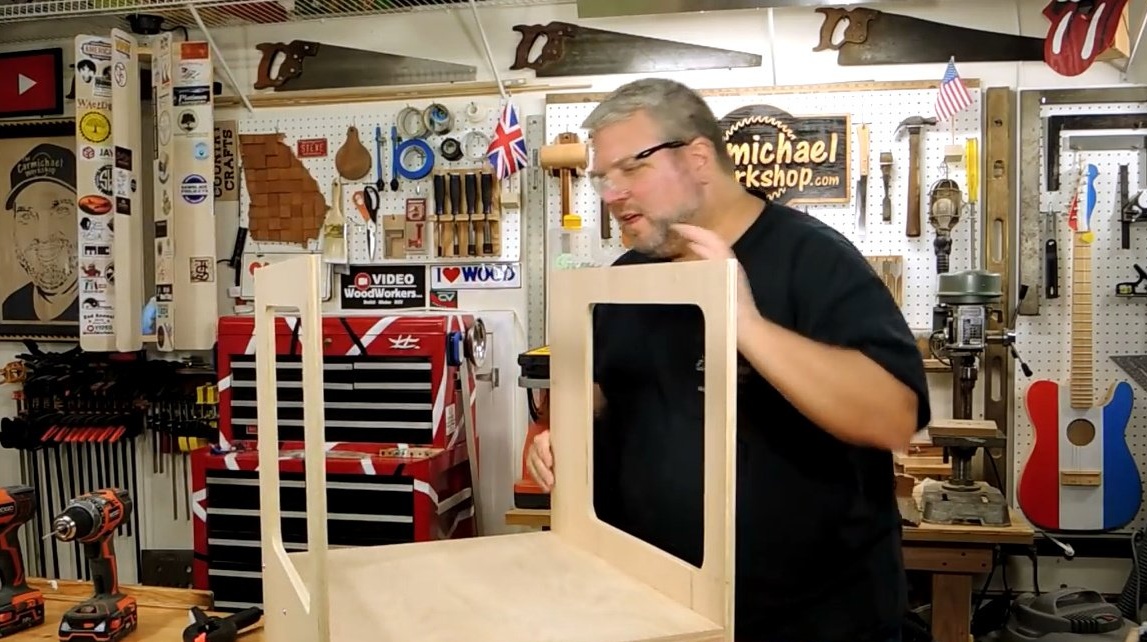
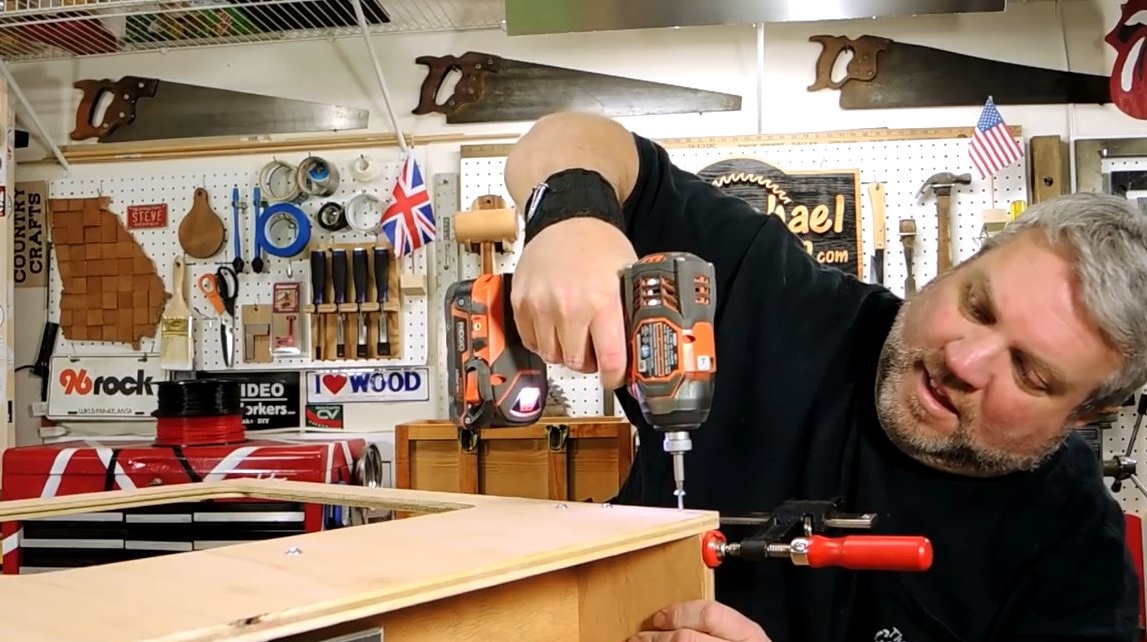
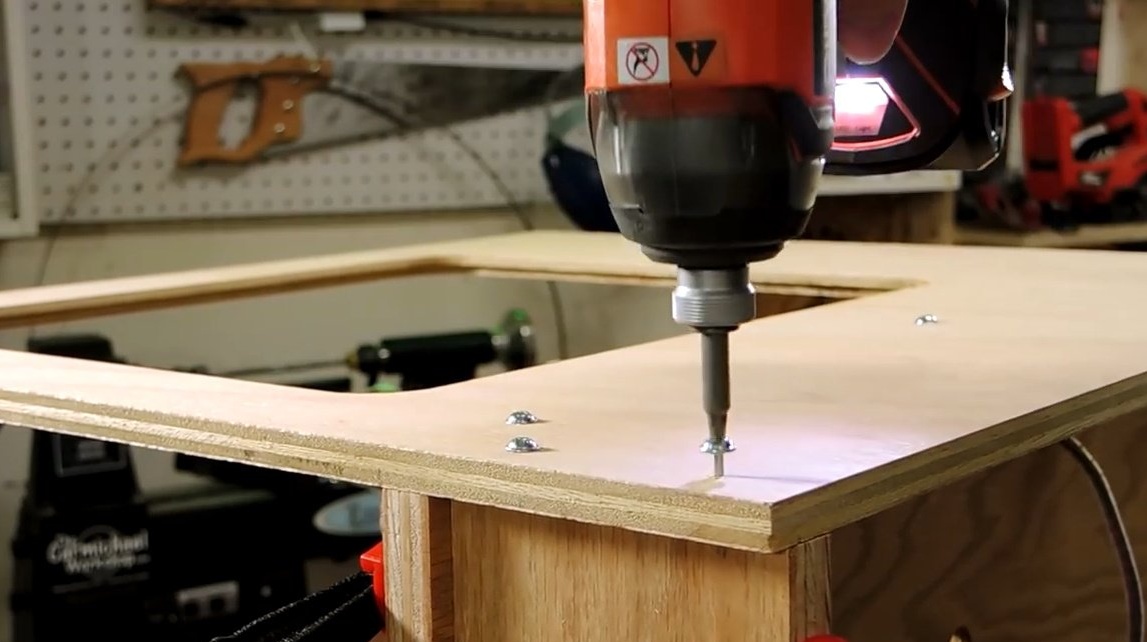
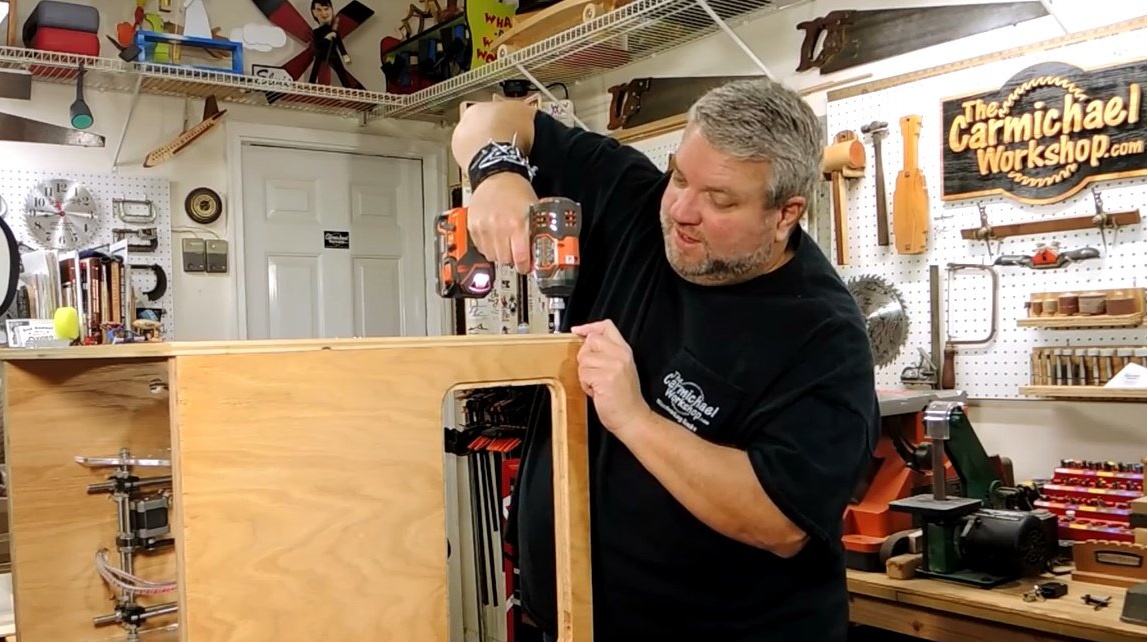
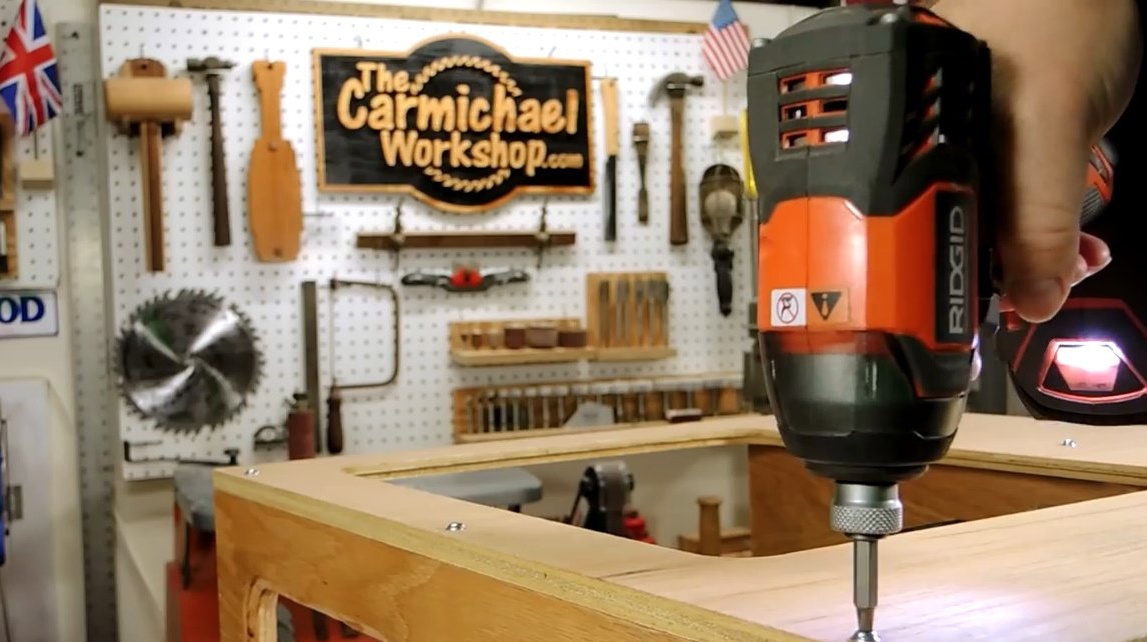
Steve uses ordinary screws to assemble the housing to reserve the possibility of dismantling the structure in case something has to be changed.
First, he fastens the two sides to the base on which the printer will be located.

The author has several scraps of plexiglass, which he intends to put on protective glasses. There are some minor scratches on the material, but they should not be very visible.
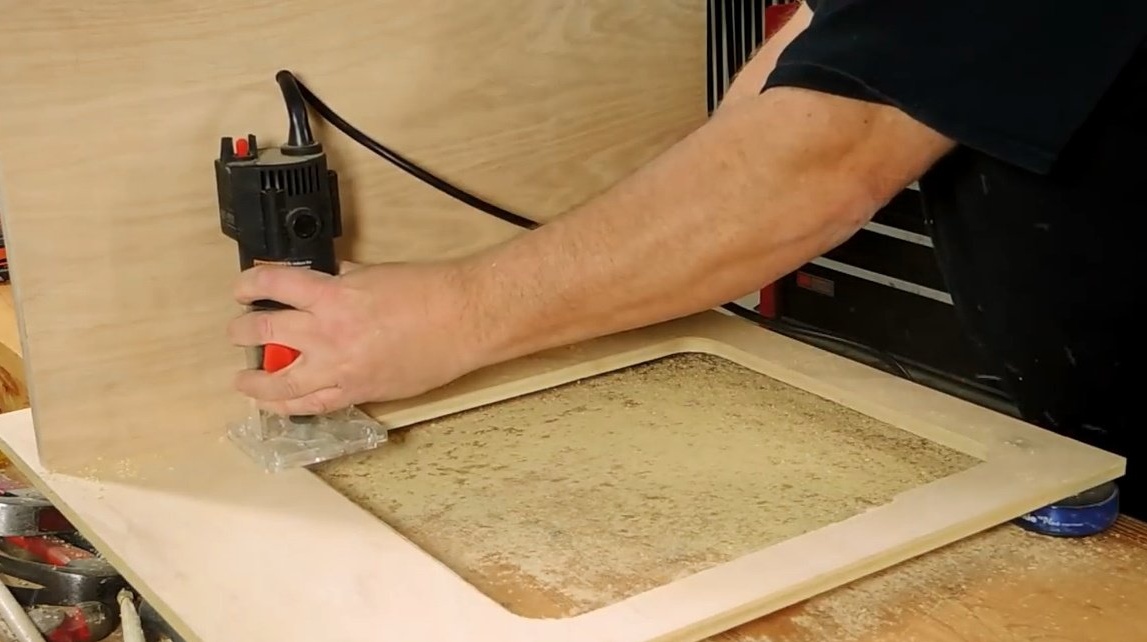
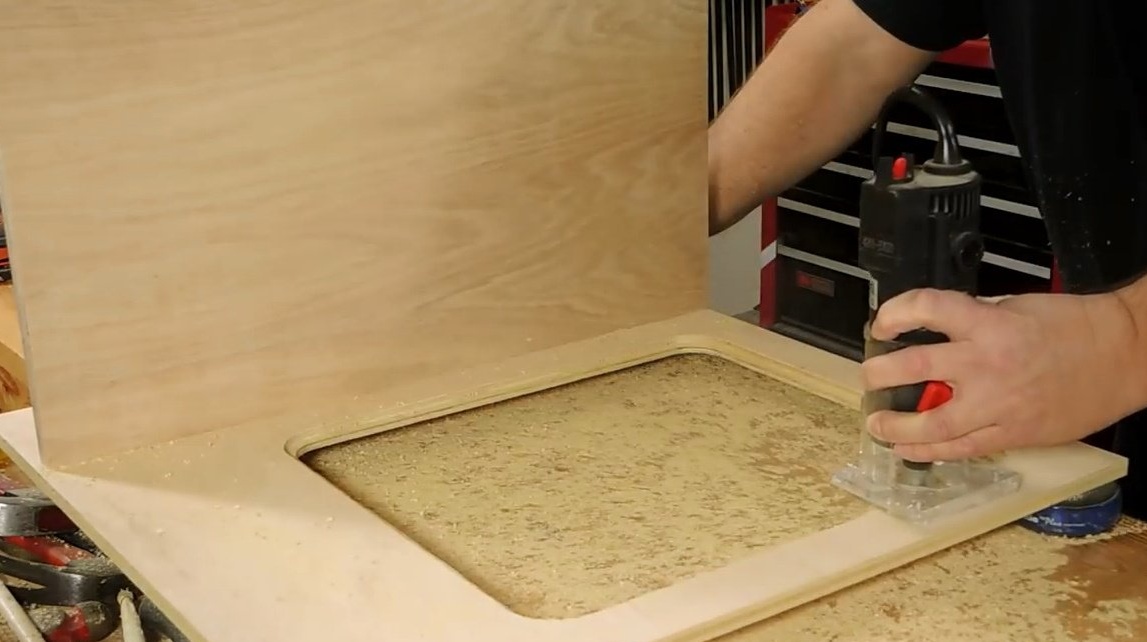
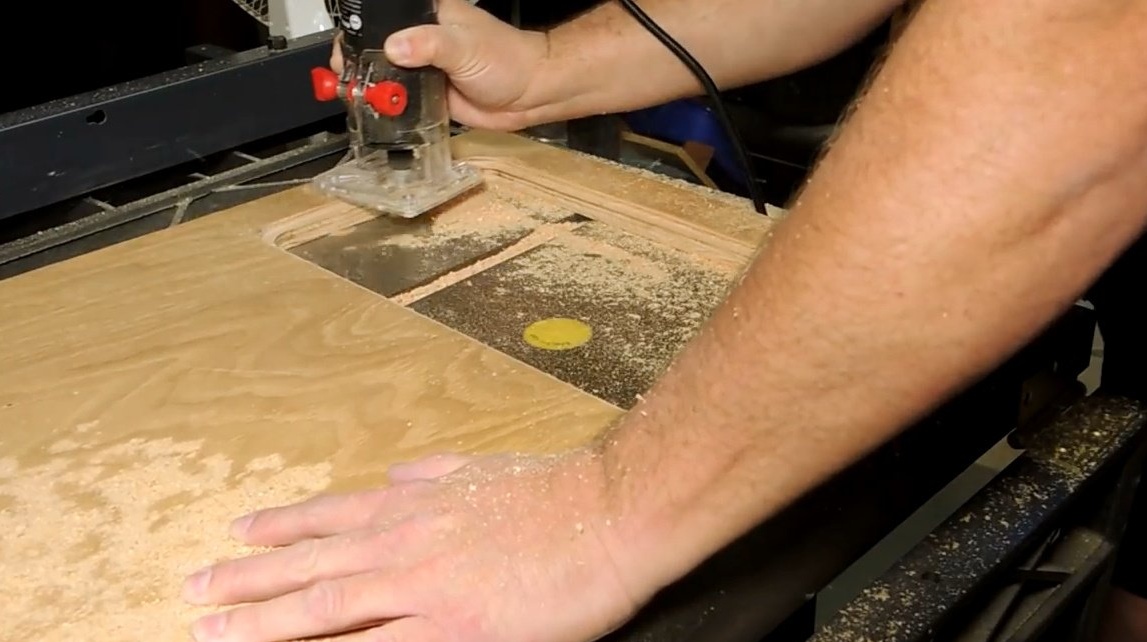
With the help of a milling cutter, Steve makes neat grooves under the glass in each window frame.
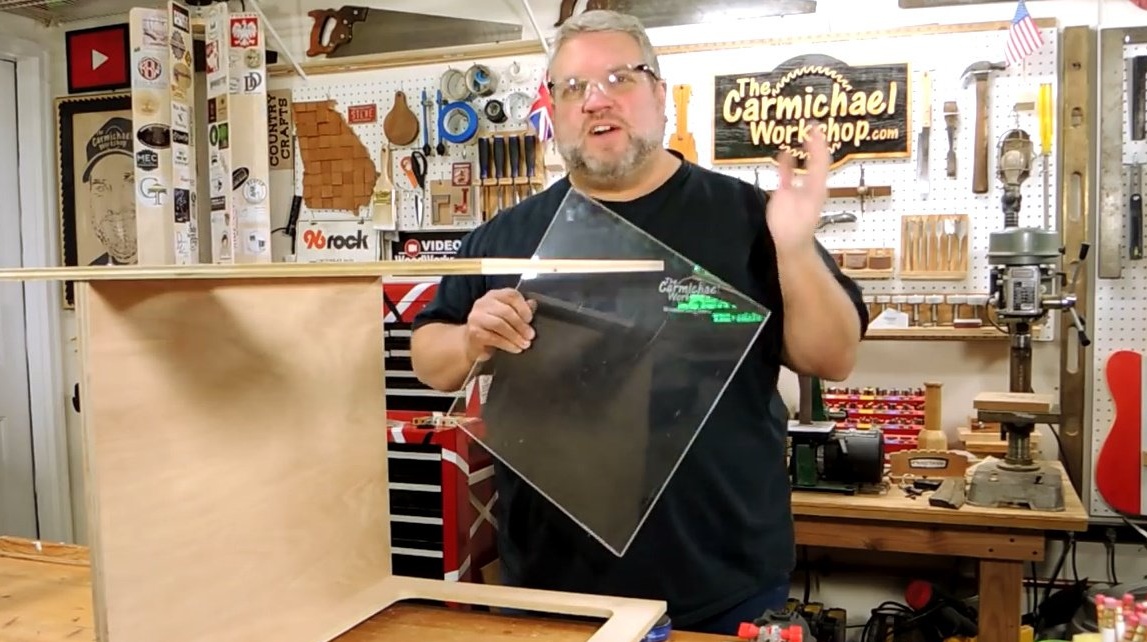

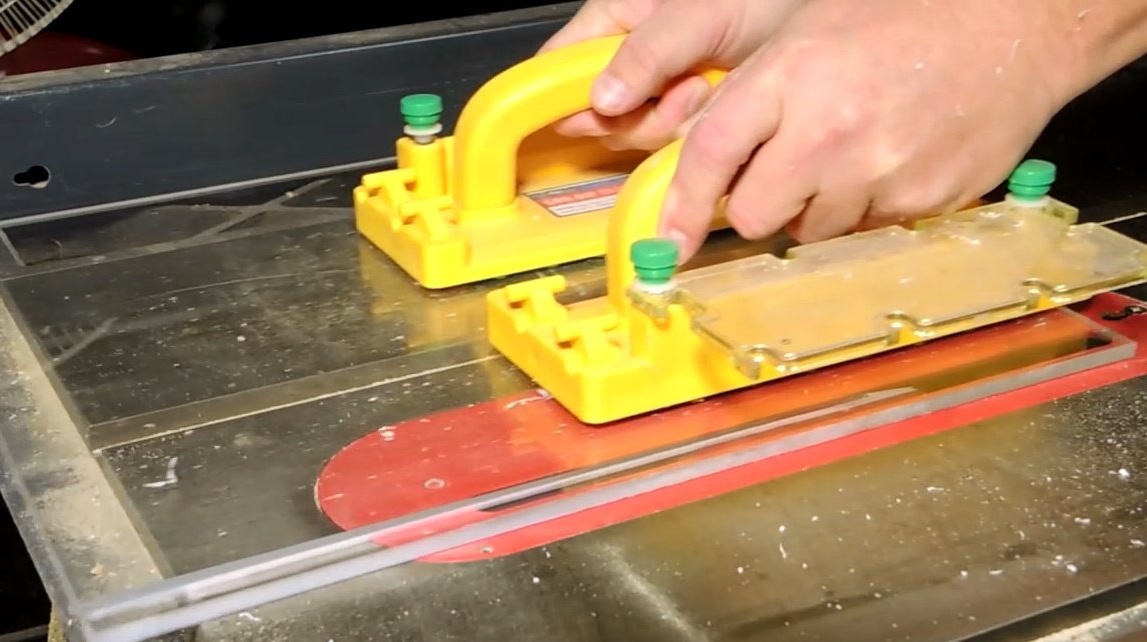
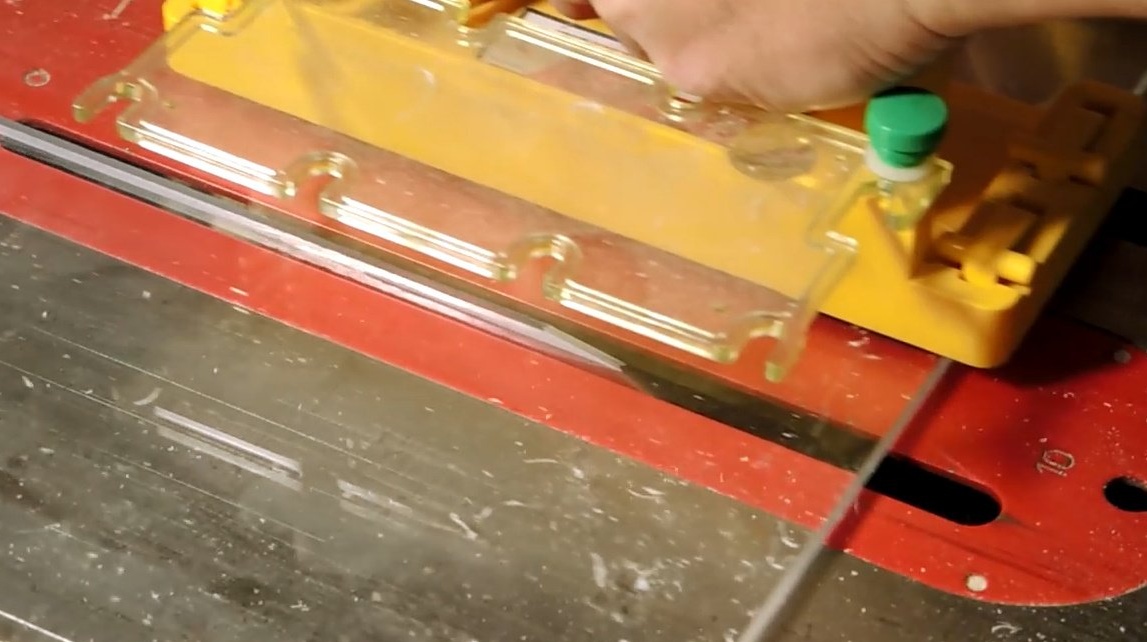
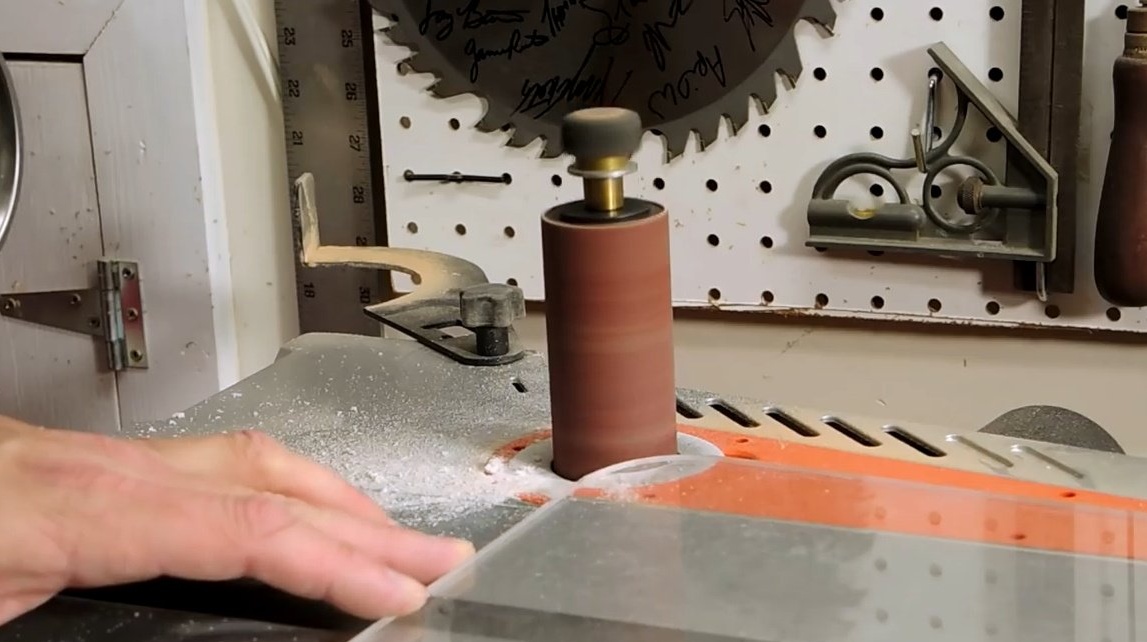
Then cuts the plexiglass to the size of the slot, and rounds the corners on the grinder.
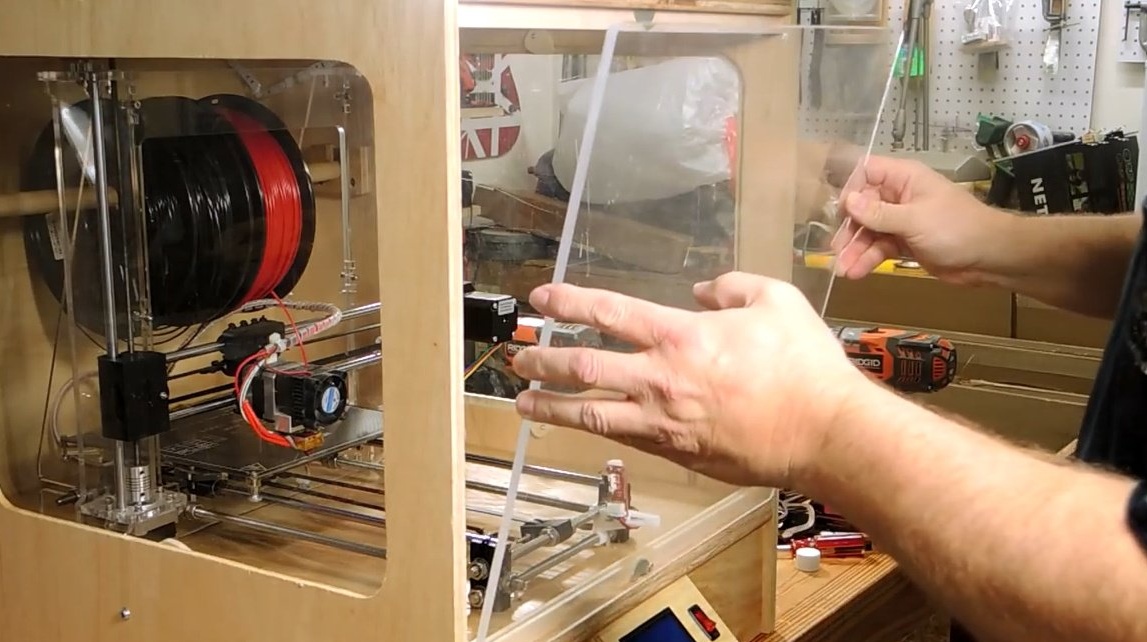
And plastic glasses fit perfectly into the openings. He will think about how to fix them later. The author intends to fix them so that the glass can be easily removed in case access to the printer is required from the side.
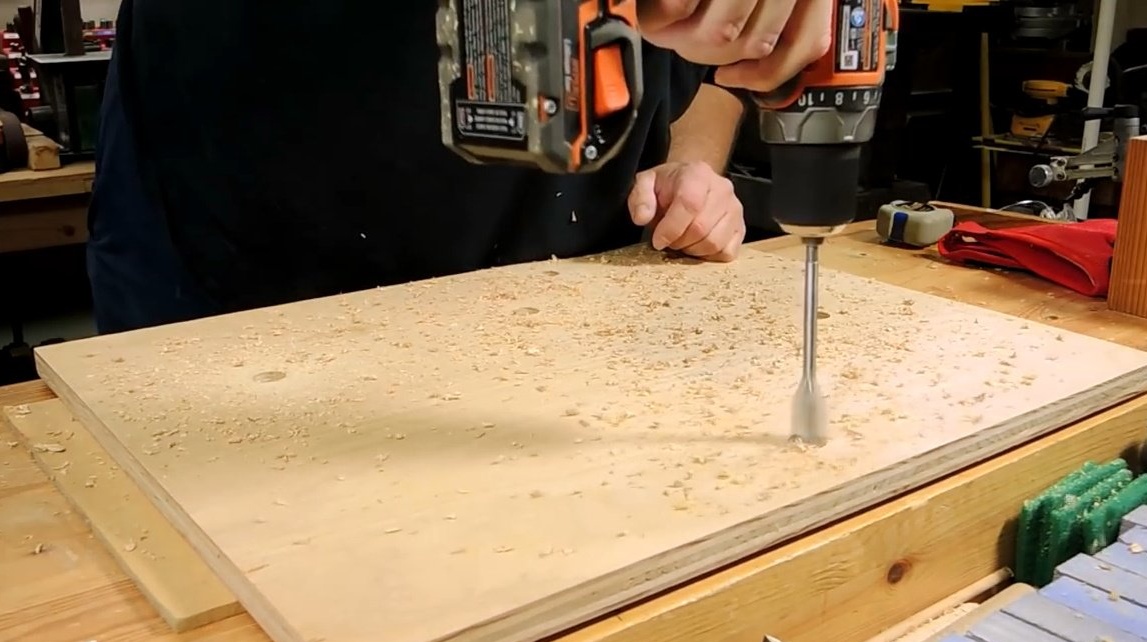
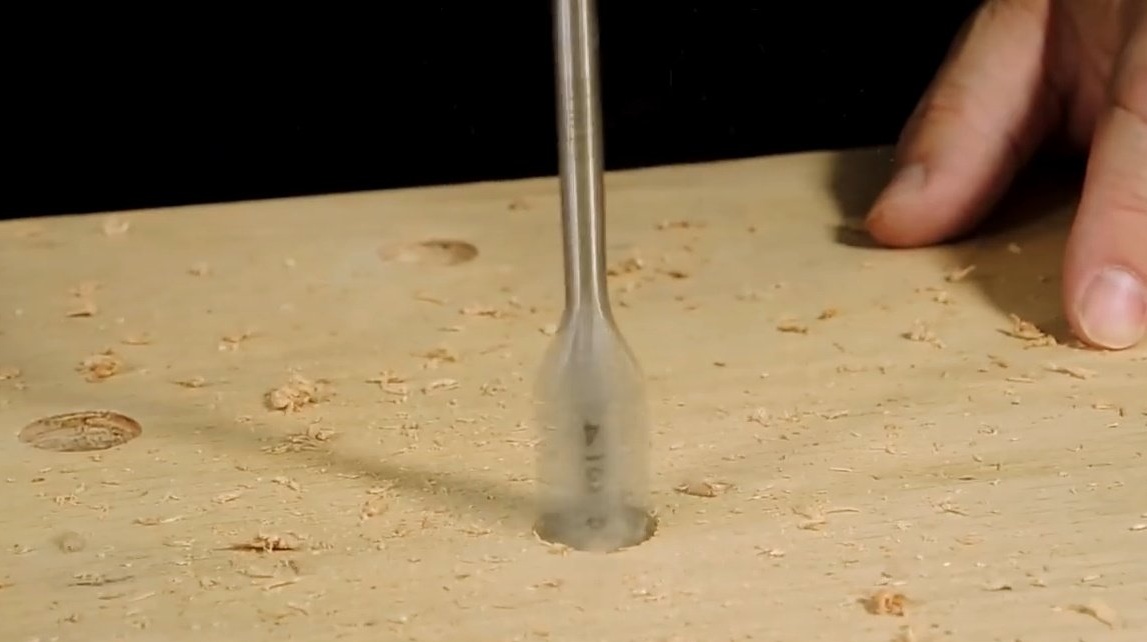
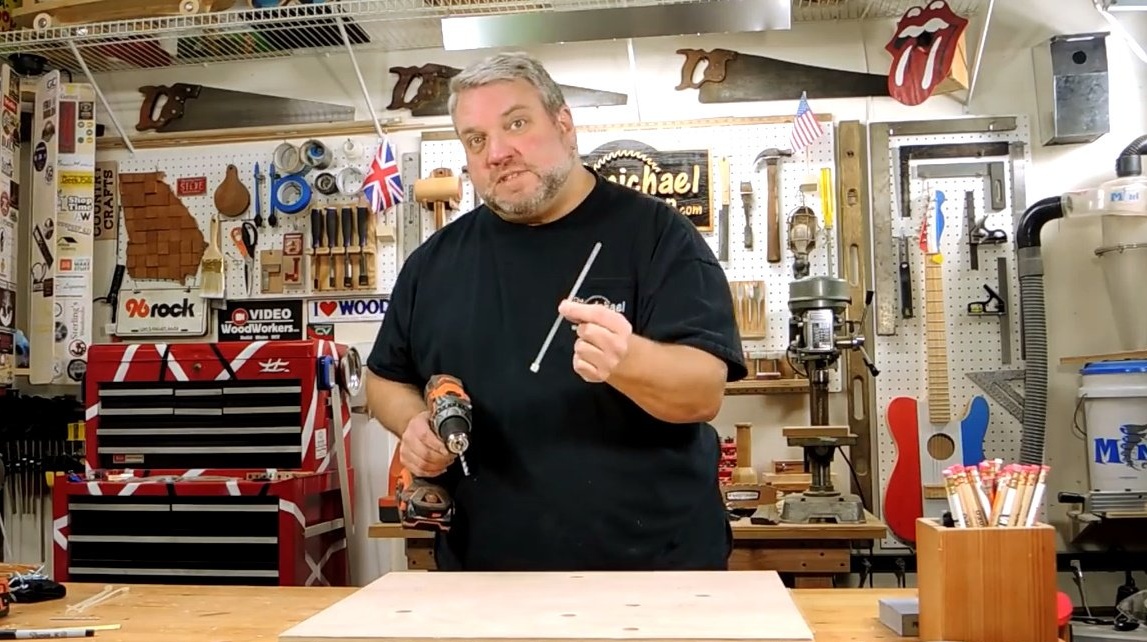
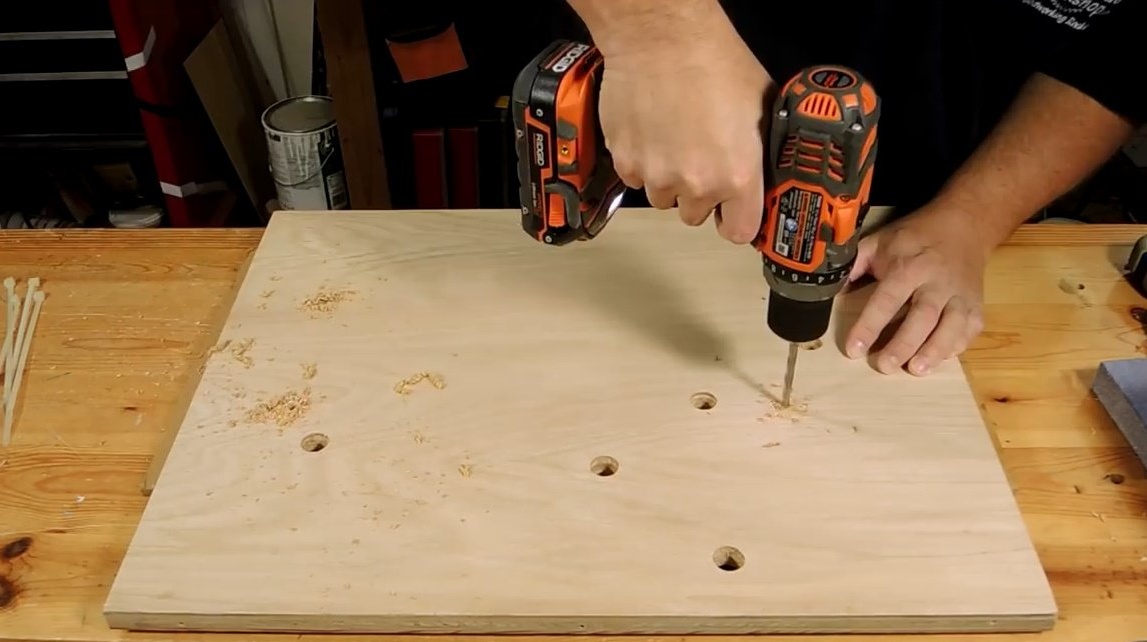
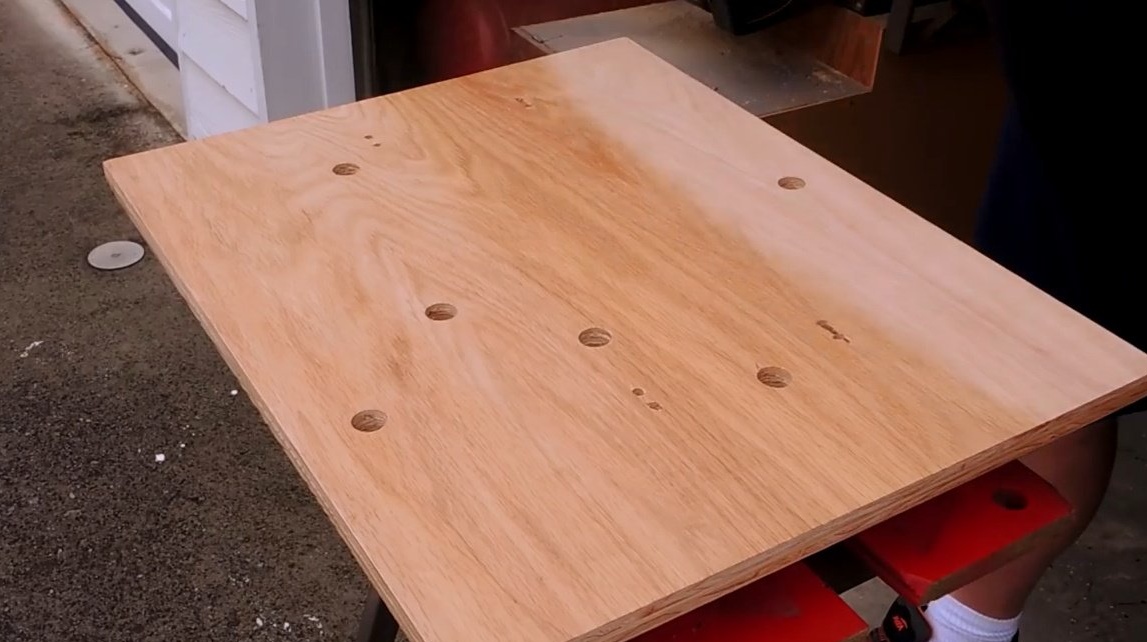
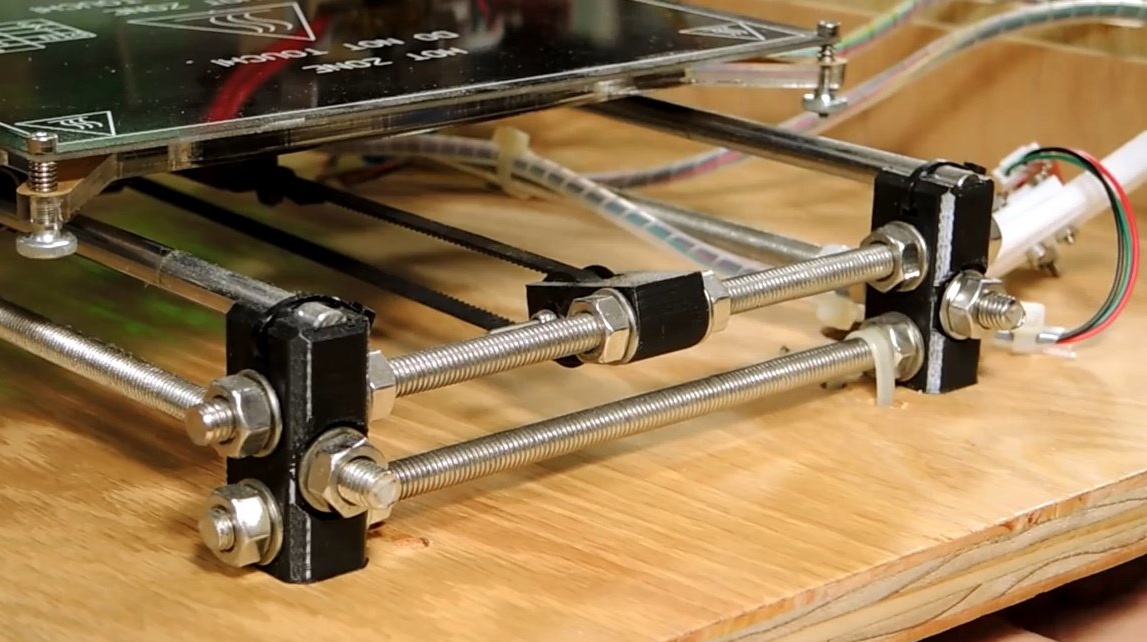
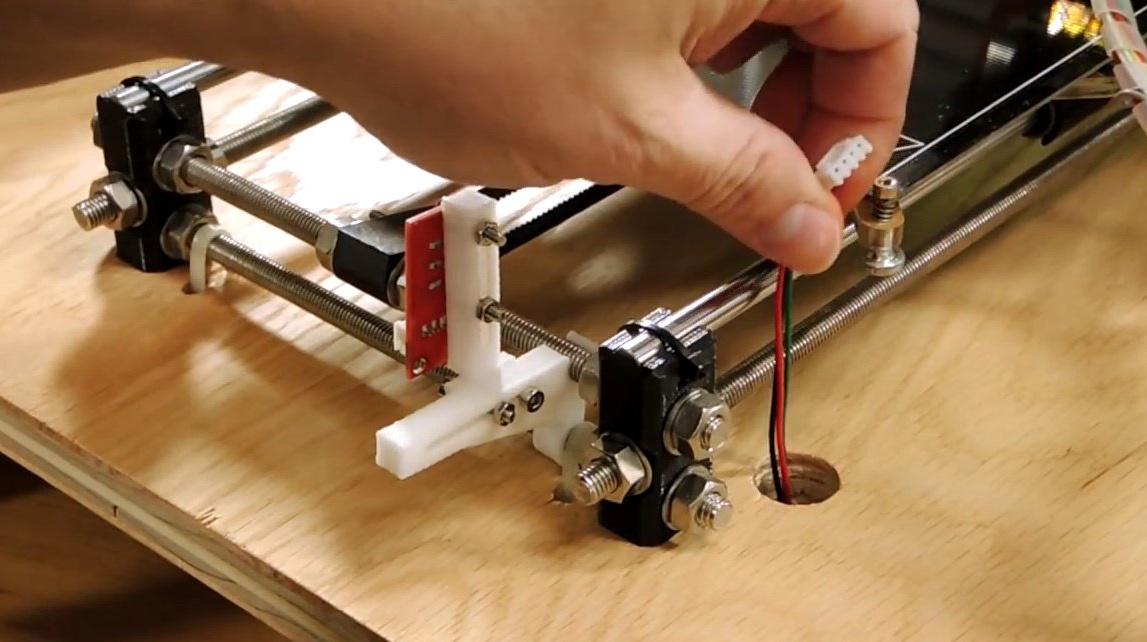
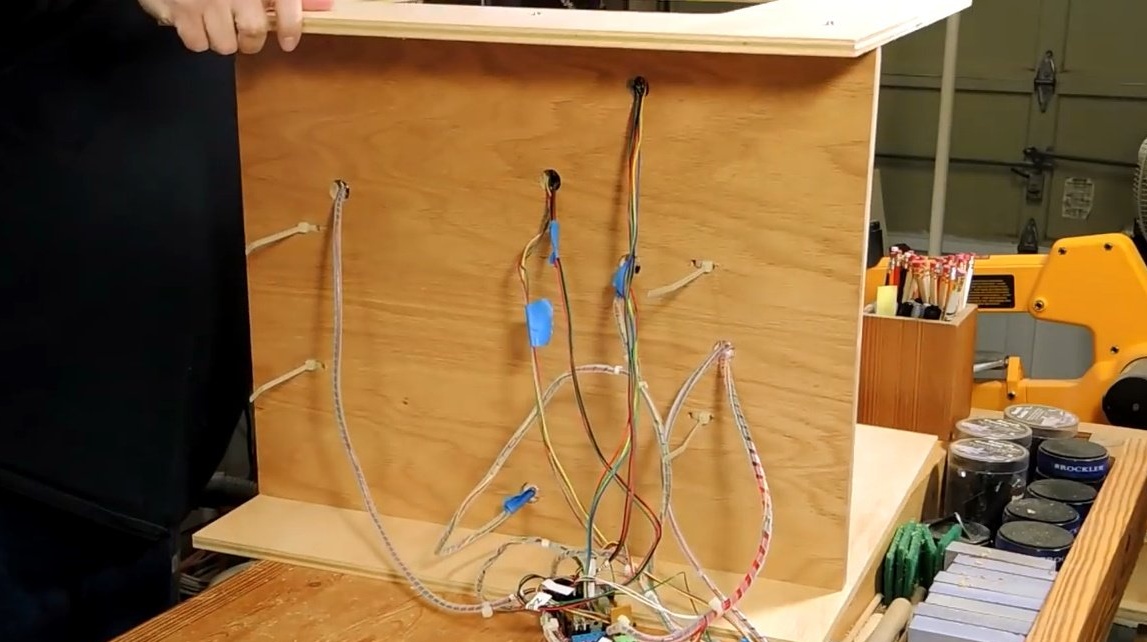
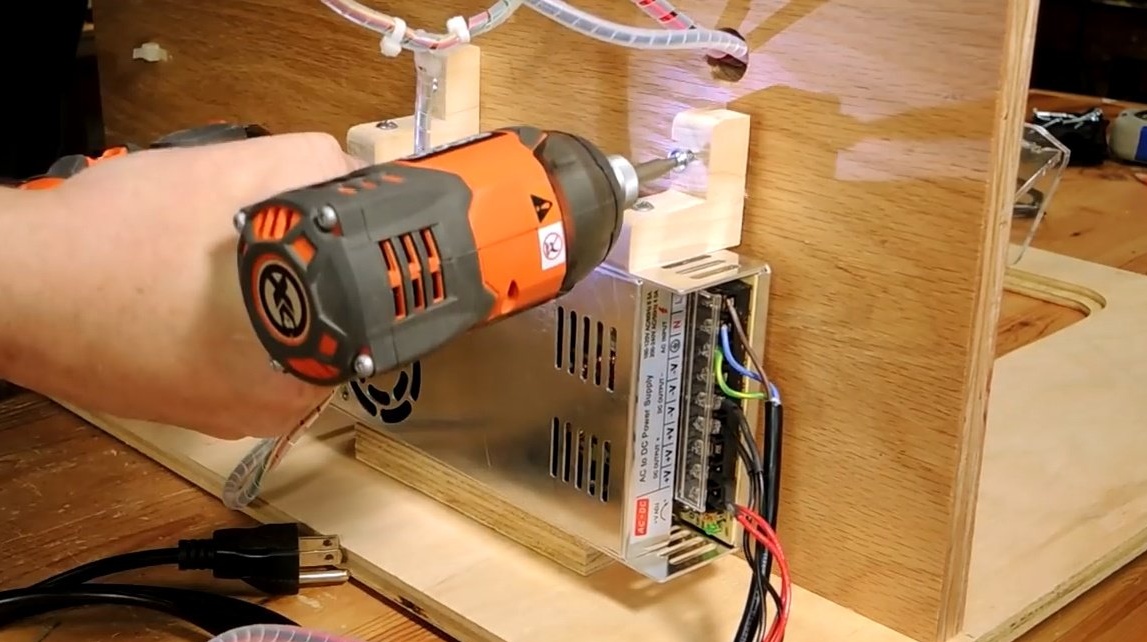
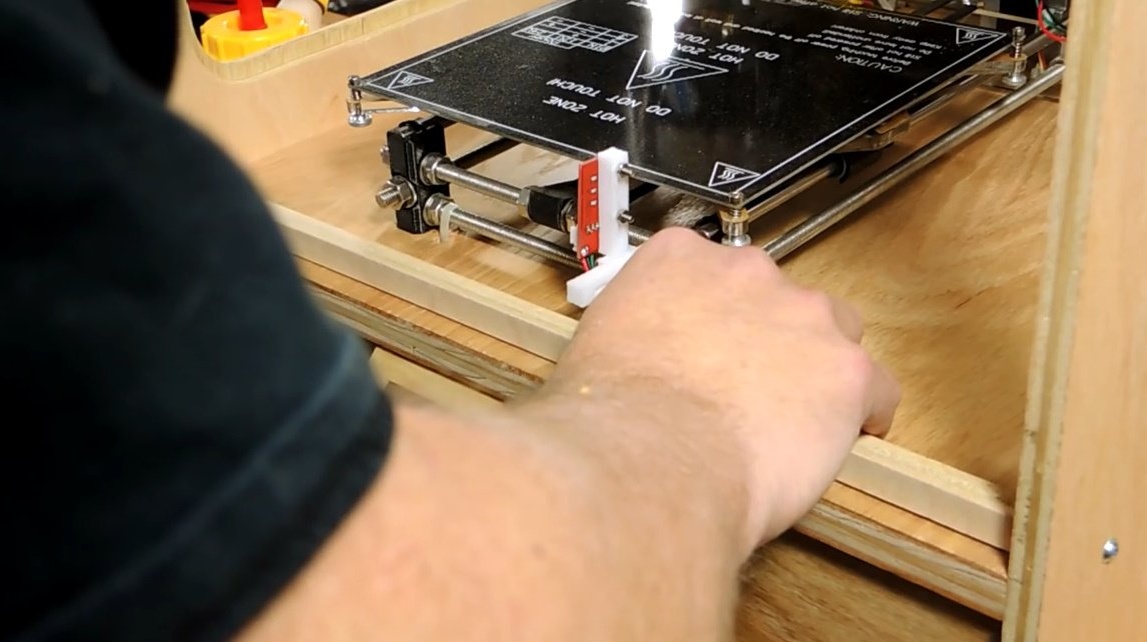
Now, Steve immerses the device inside the structure and drills 6 holes for cable wiring, which he intends to skip from below, where the electronics are mounted.
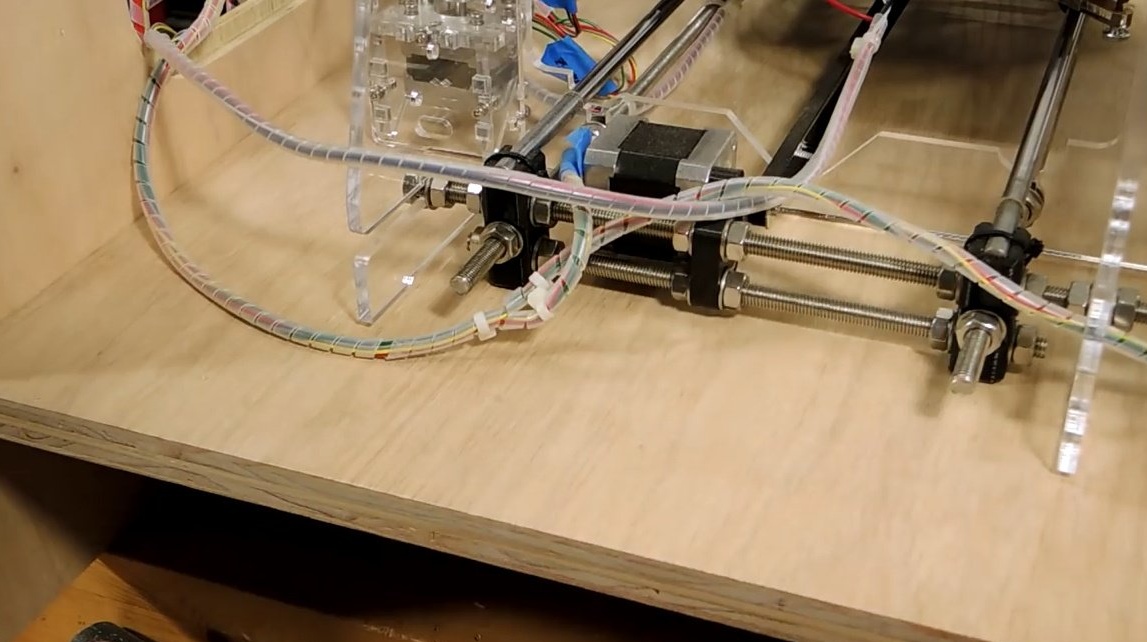
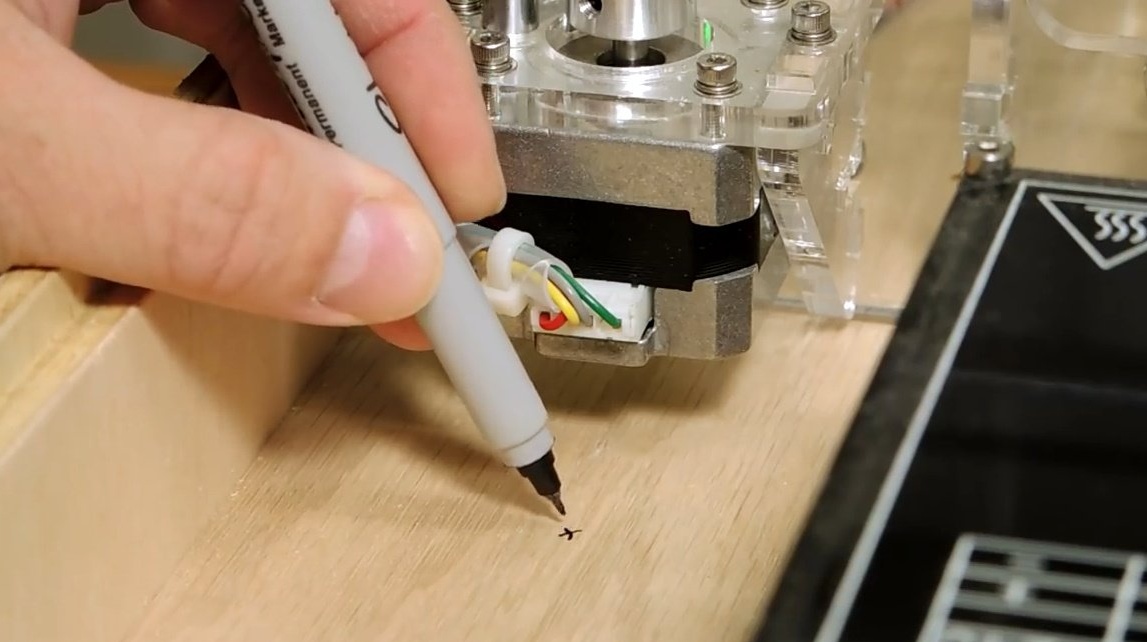
He marks the places where there will be holes through which the master ties the instruments and wires to the base with ties.
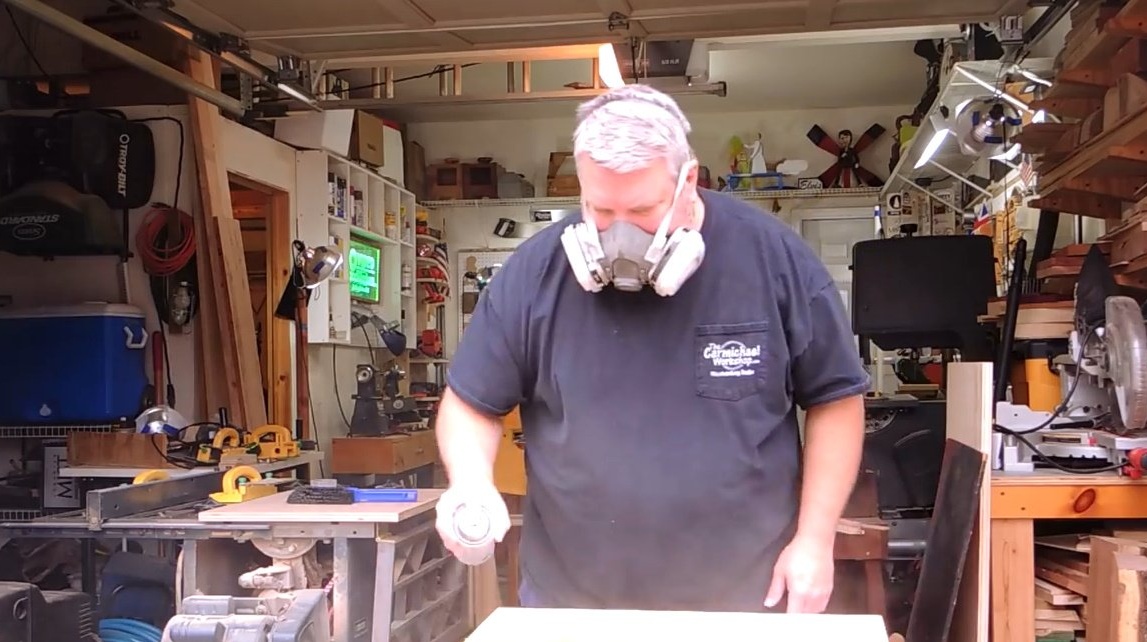
Now you can varnish the parts.

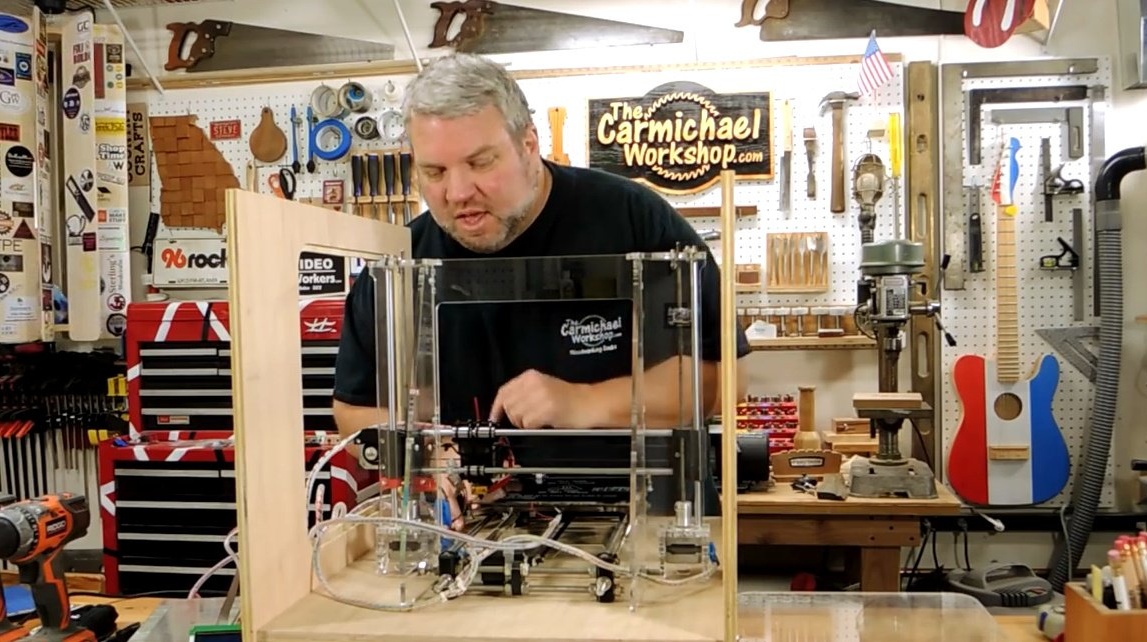
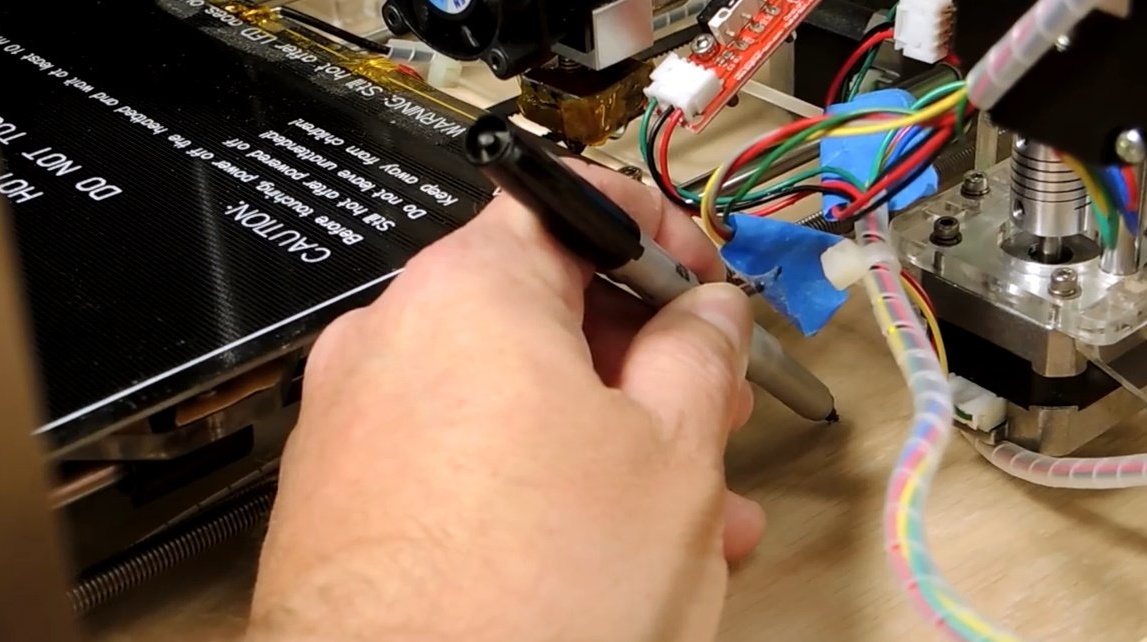
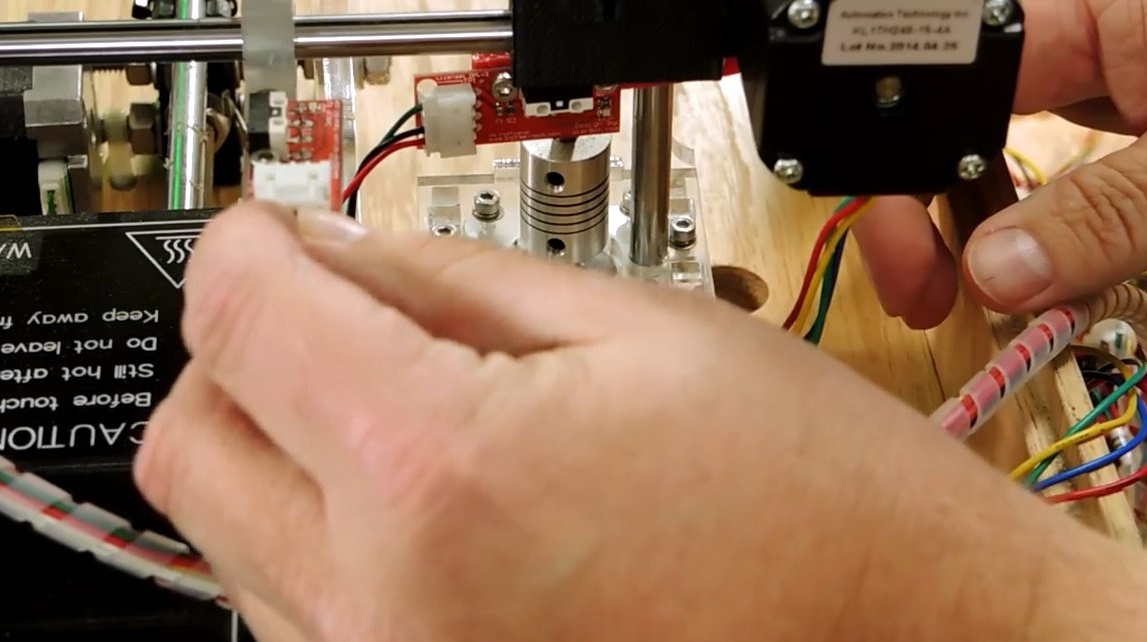
Tightens some wires and connects.
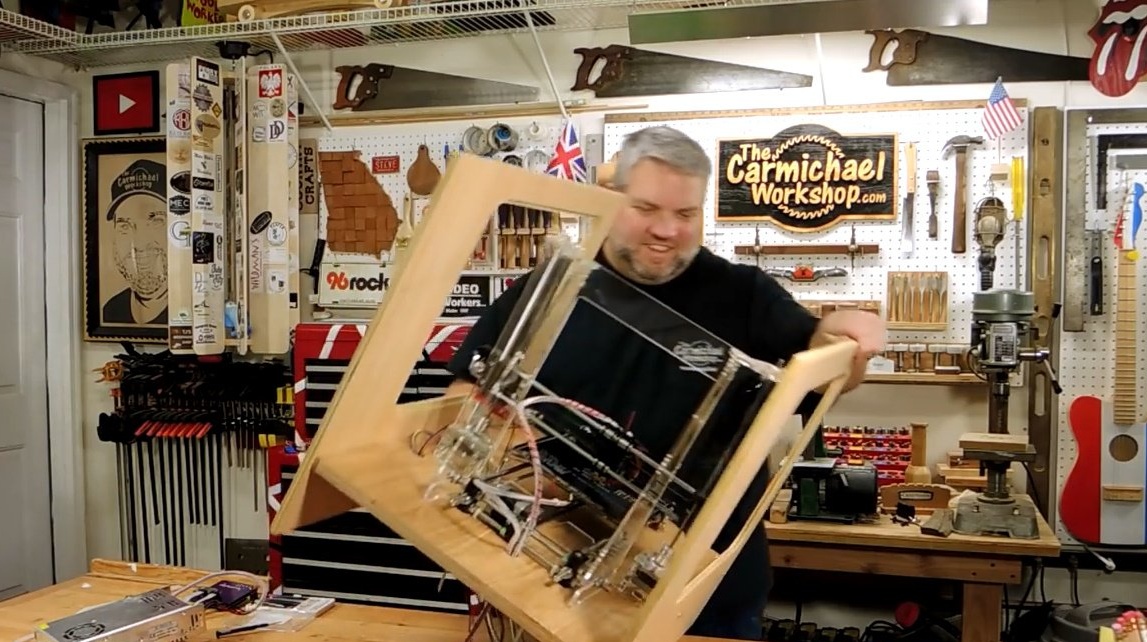
So, now flips the box to the side.
The next step, Steve installs the power source and circuit board on the bottom side of the upper panel and fastens them in such a place that the screen and the main controls can be brought to the front of the structure and thus were easily accessible. Of course, the author will have to disconnect some of the cables and drill a few holes in the top plywood panel, in order to then fix the above elements on it. They can be later connected to the circuit board.
Then he makes several small wooden staples on which a power source will be suspended from the bottom of the plywood.
Some doubts arose about the master about how to suspend Arduino. There are several holes on its back side and the author can only use them. Ties also came in handy and saved the situation.

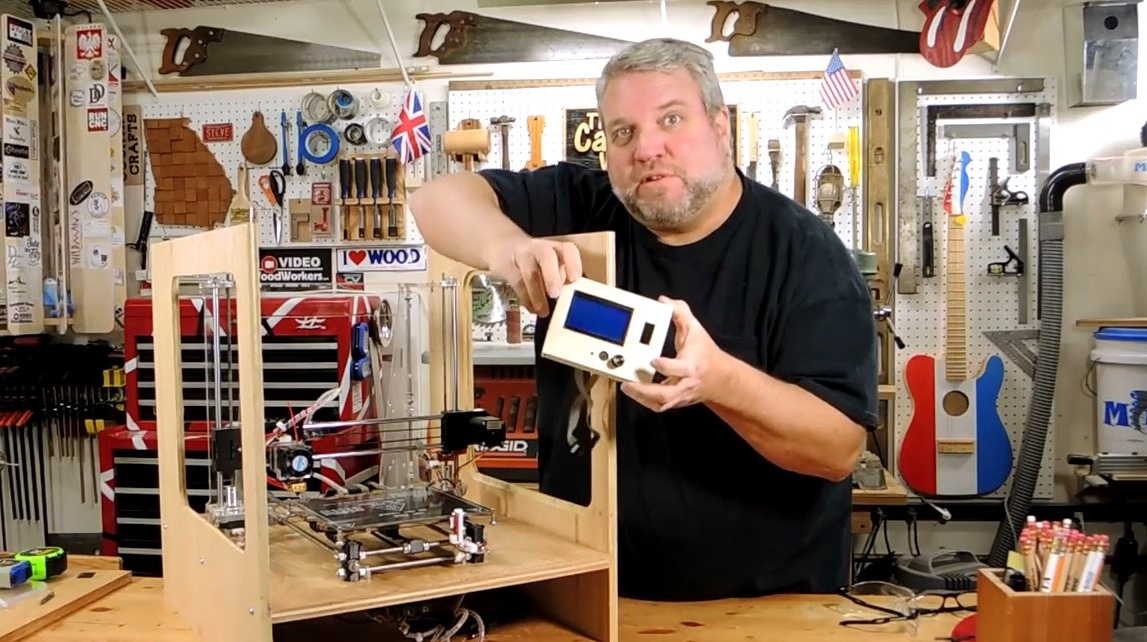
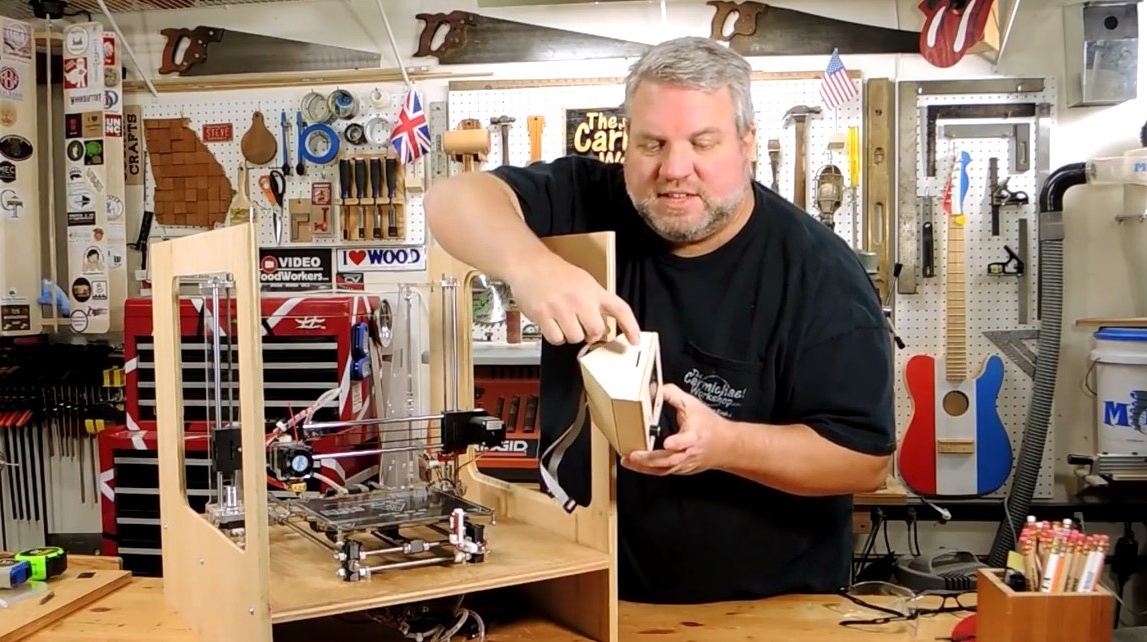
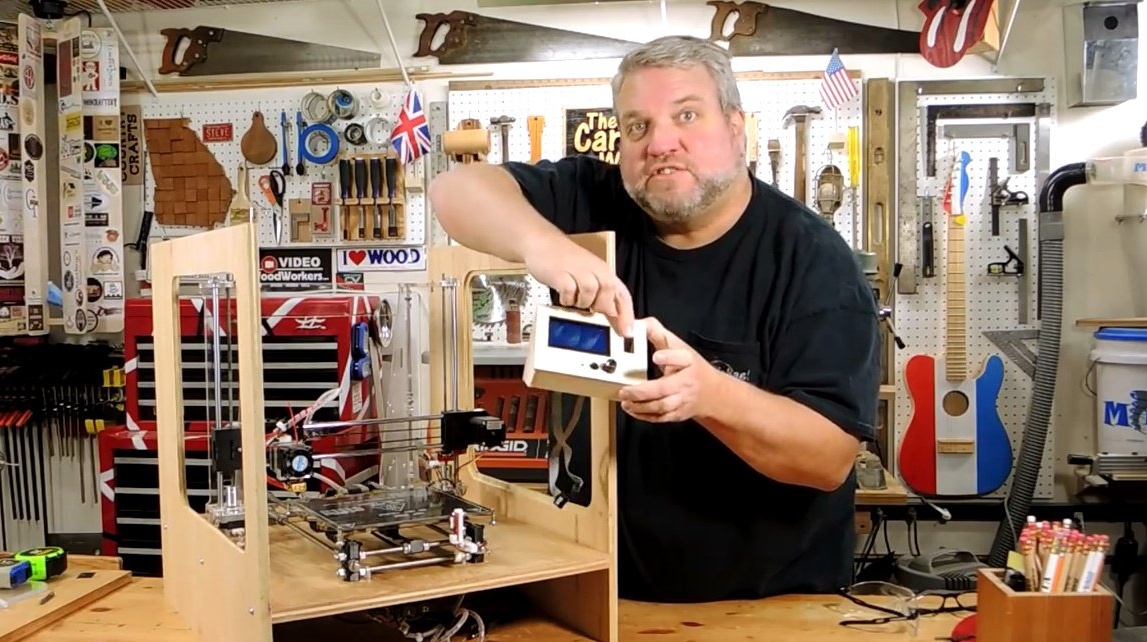
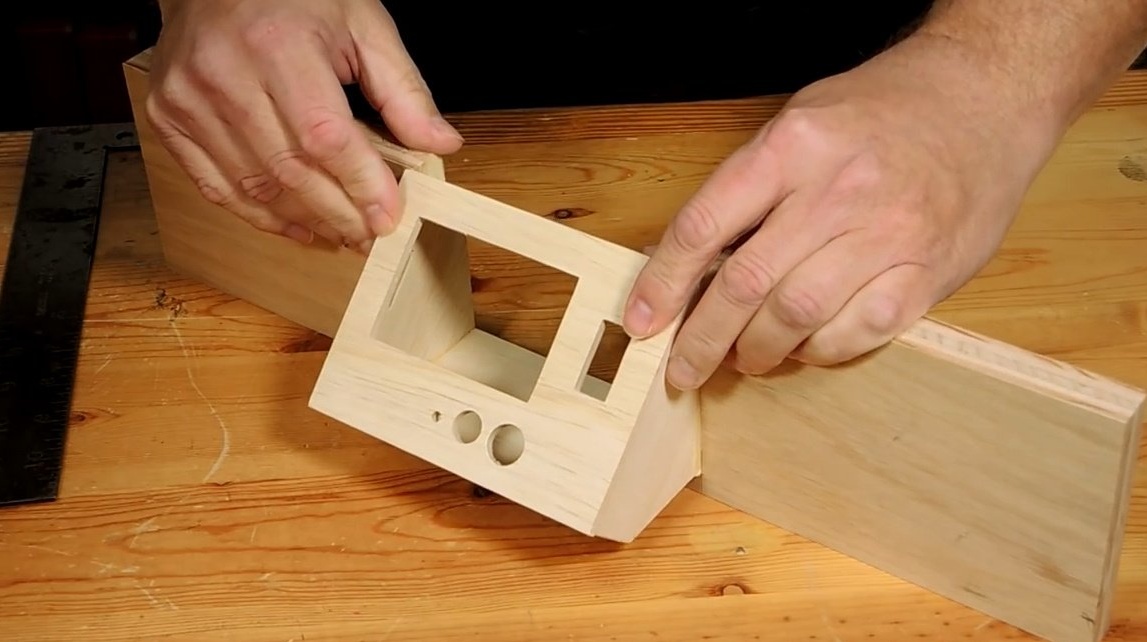
For the smart controller, Steve makes a separate small case. In it, he makes a slot for the SD card and the switch key. He mounts this unit in the front panel of the structure, deliberately setting it at an angle to better see the display.
Next, the author needs to cut out the front panel itself, on which the controller case will be mounted. Glue and paint the part.

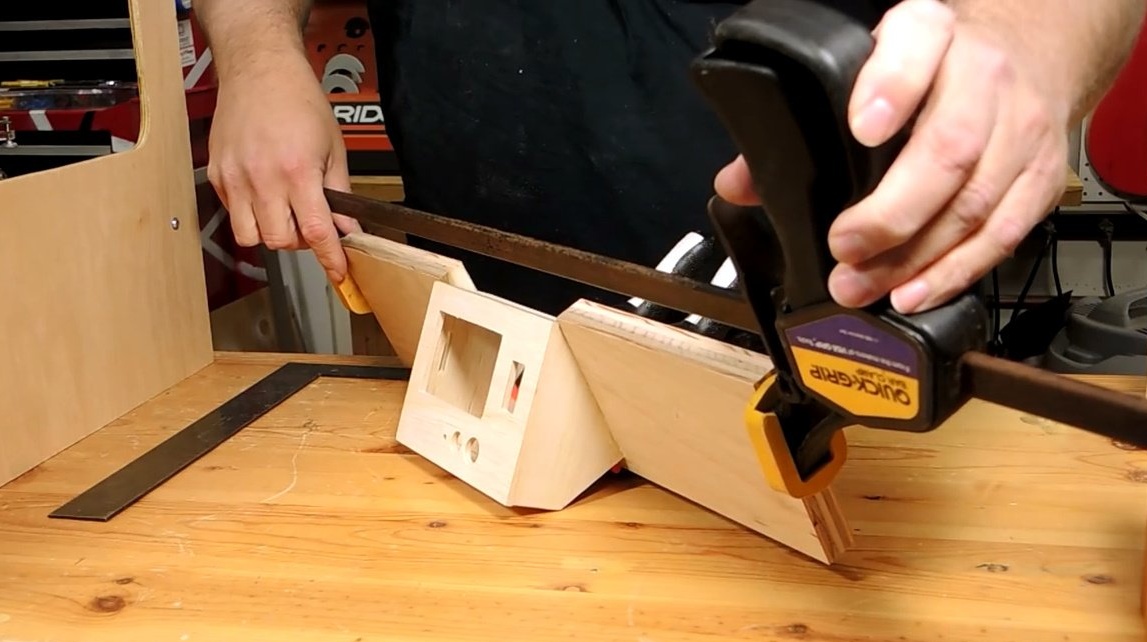
Now you can screw the panel into place.

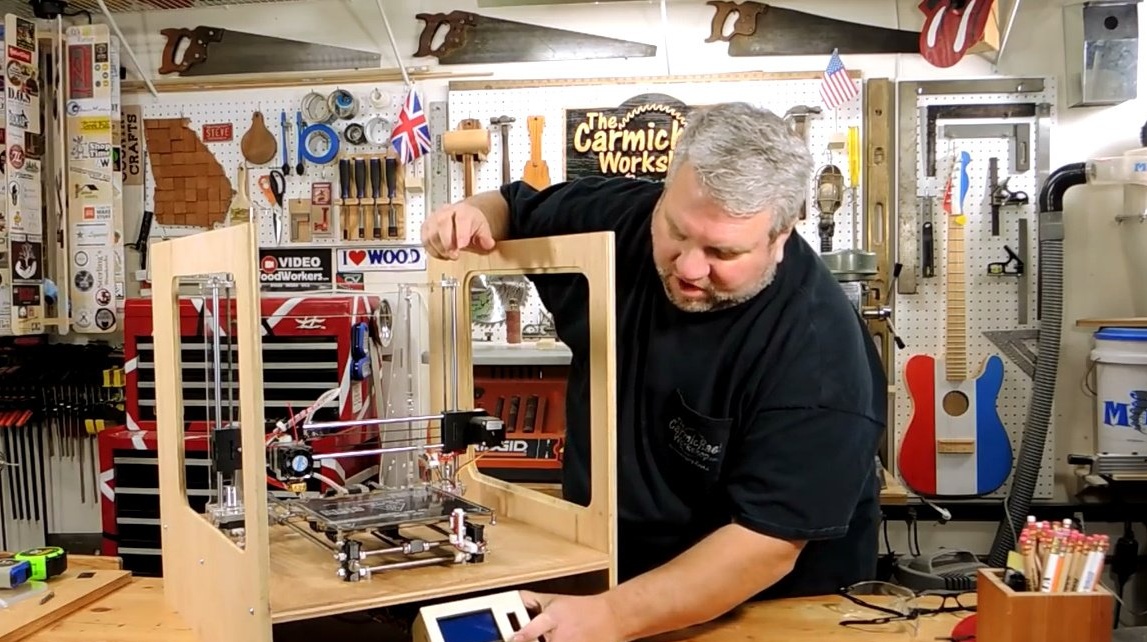
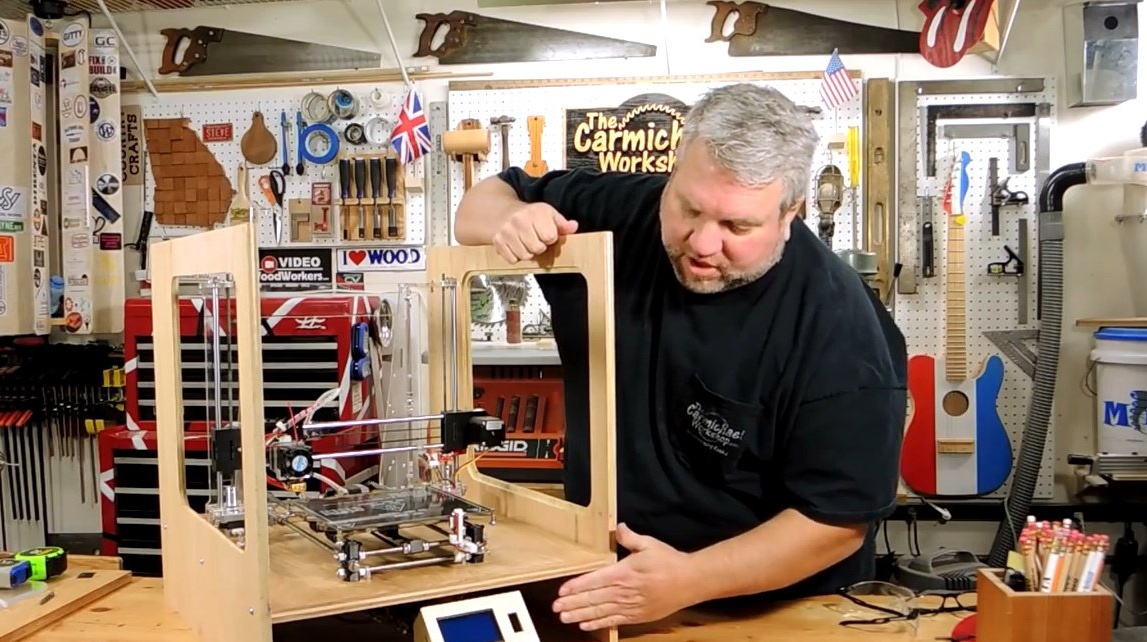
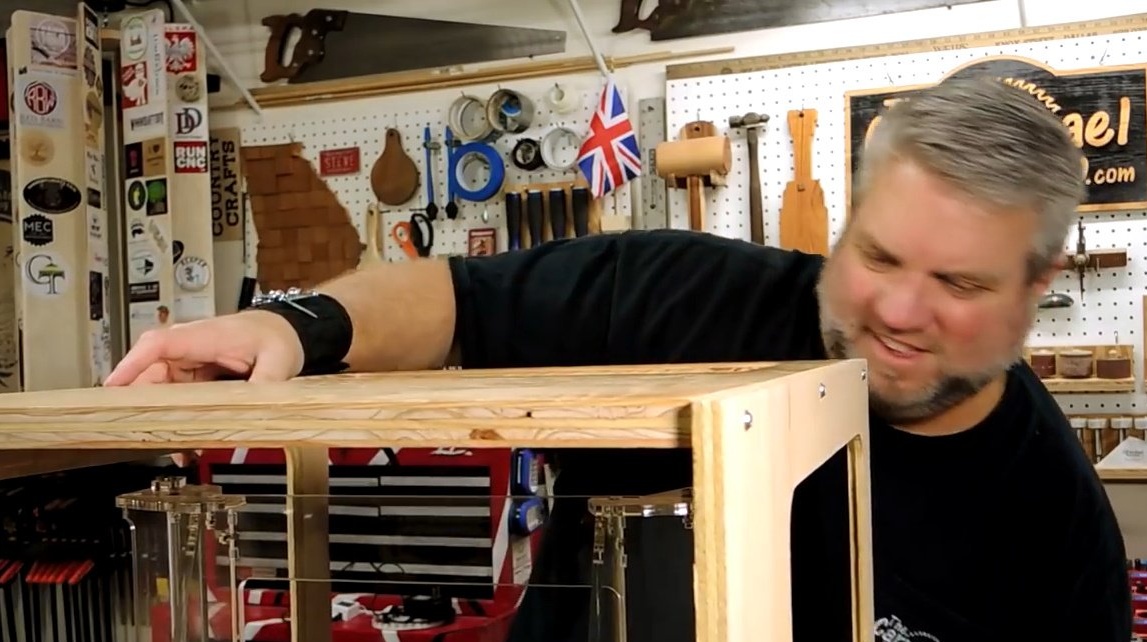
On the top cover, cuts a window, secures it to the structure.
From a separate piece of plexiglass, he cuts another window for the top wooden panel.
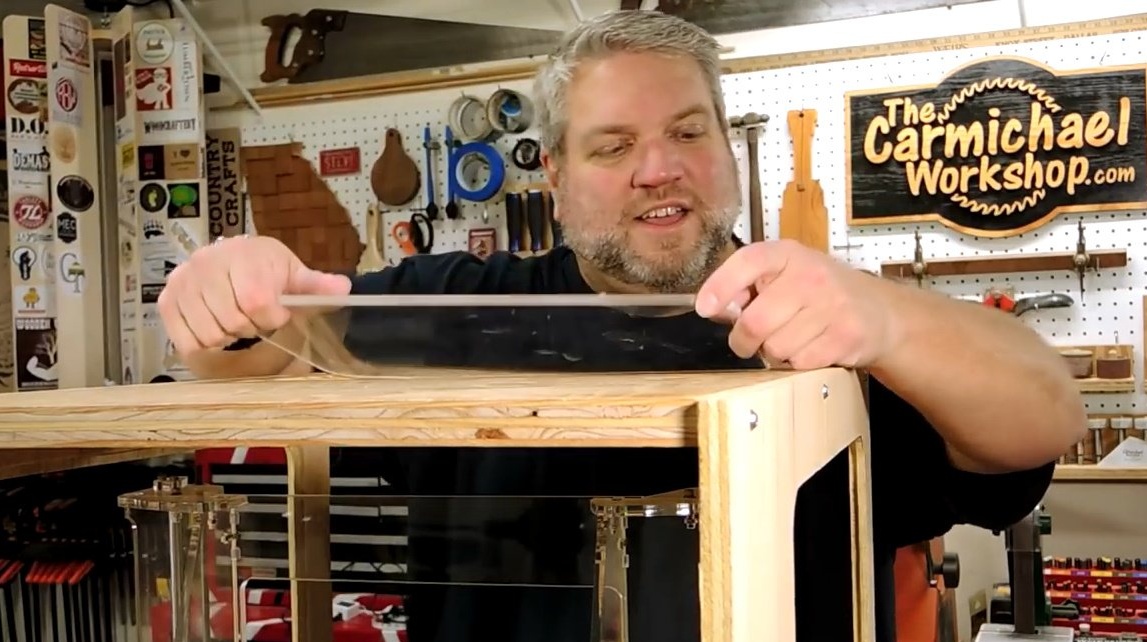
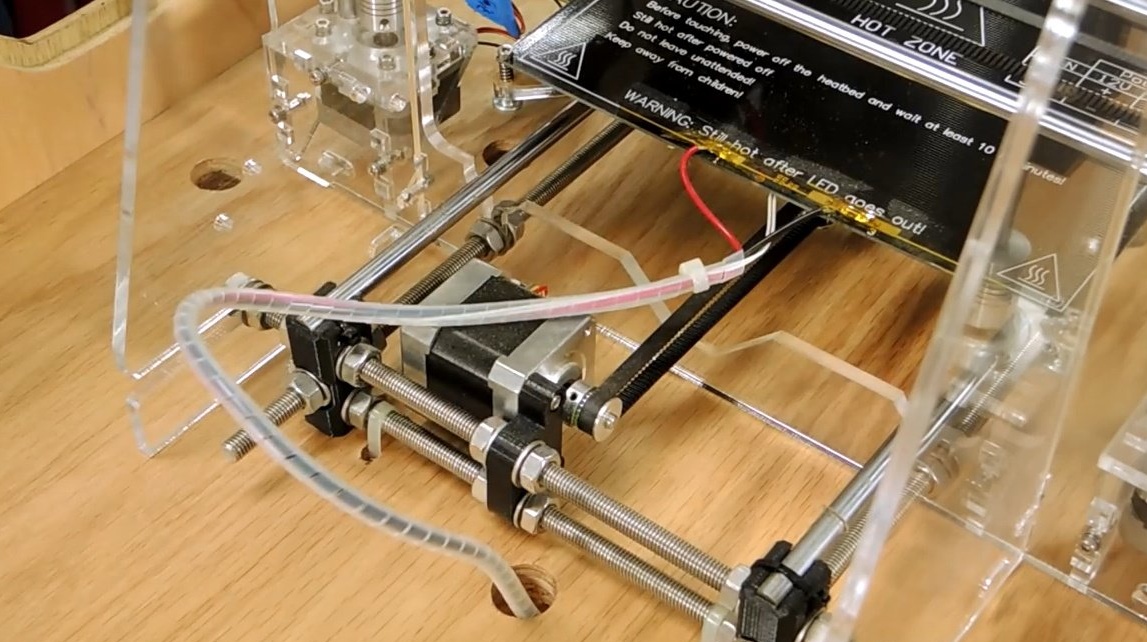
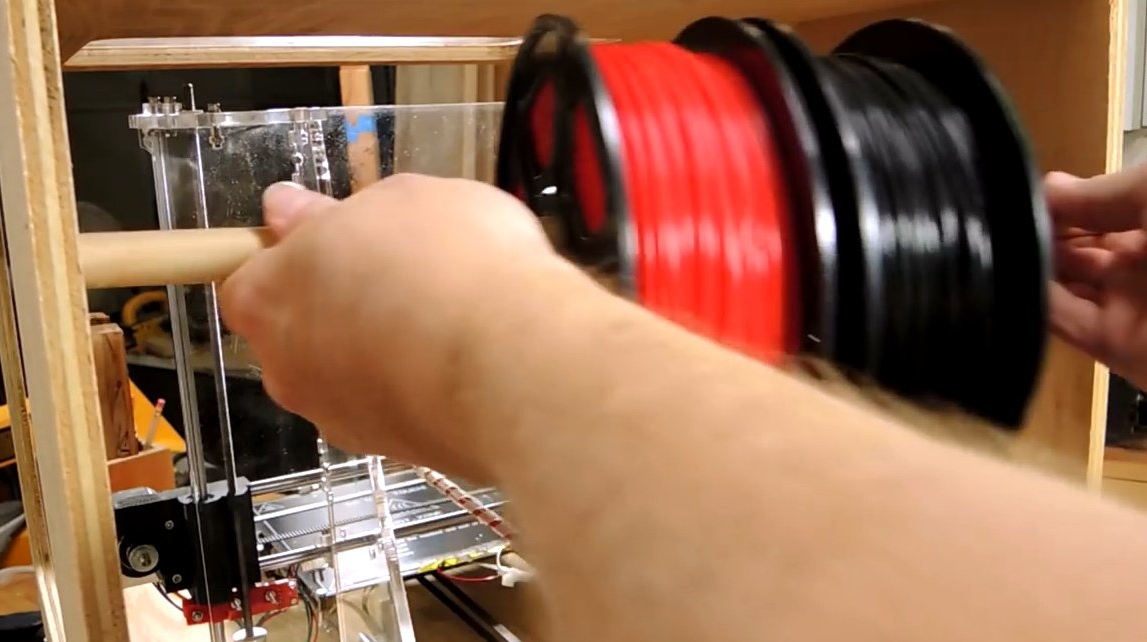
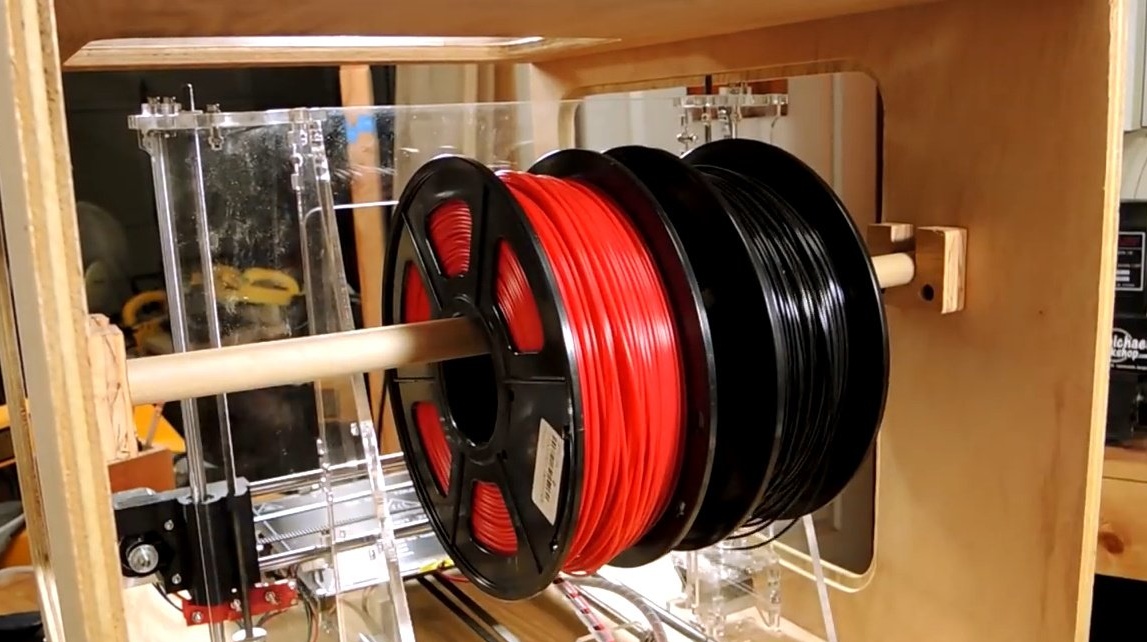
Installs drums with plastic on the crossbar.
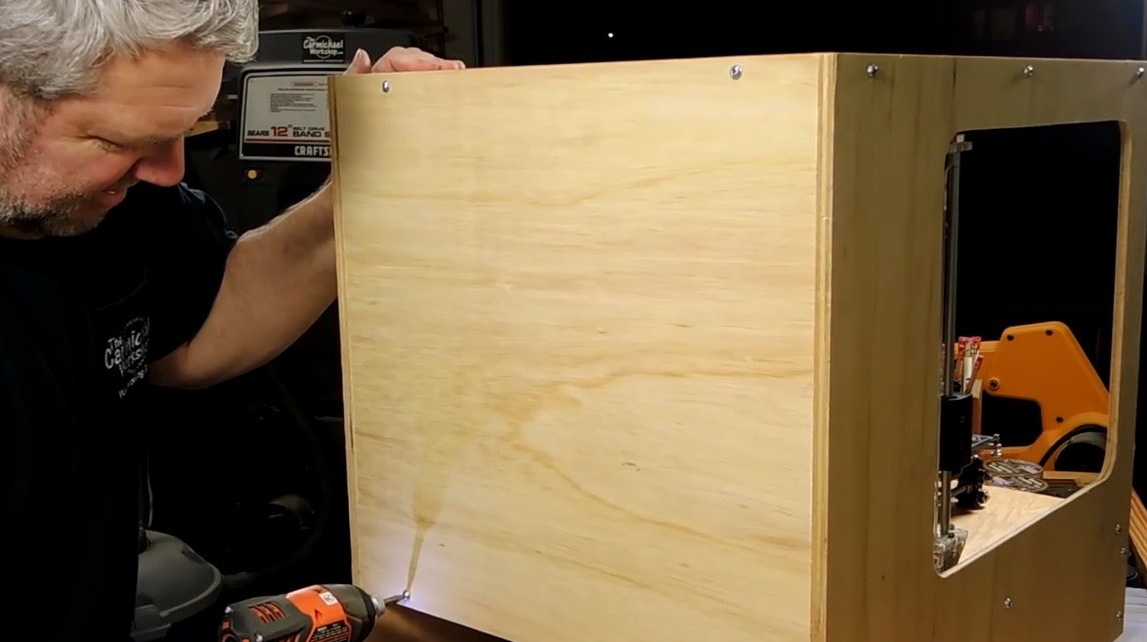
And the master also makes the back panel of plywood, but without windows ..
Glues persistent strips to the top and bottom of the facade.
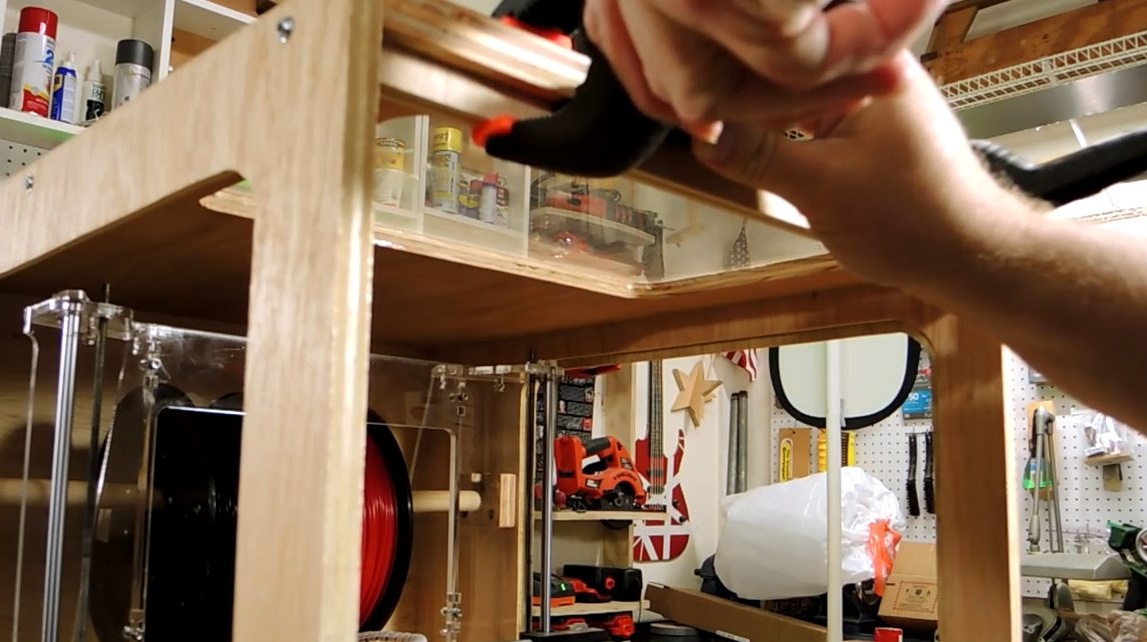
Steve uses magnets to hold the front door.
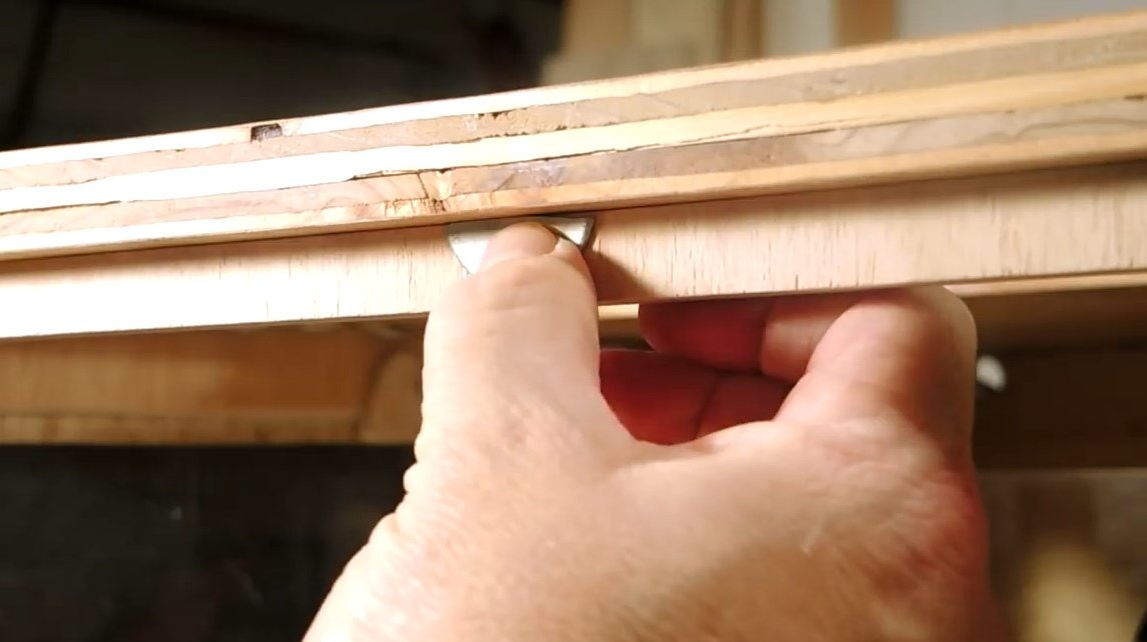
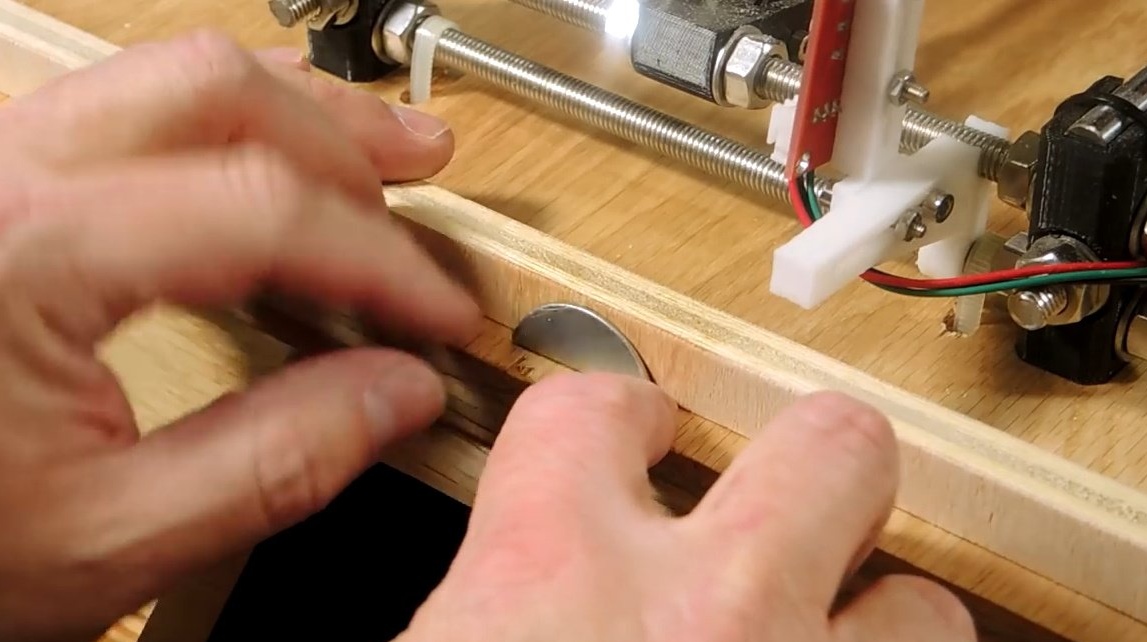

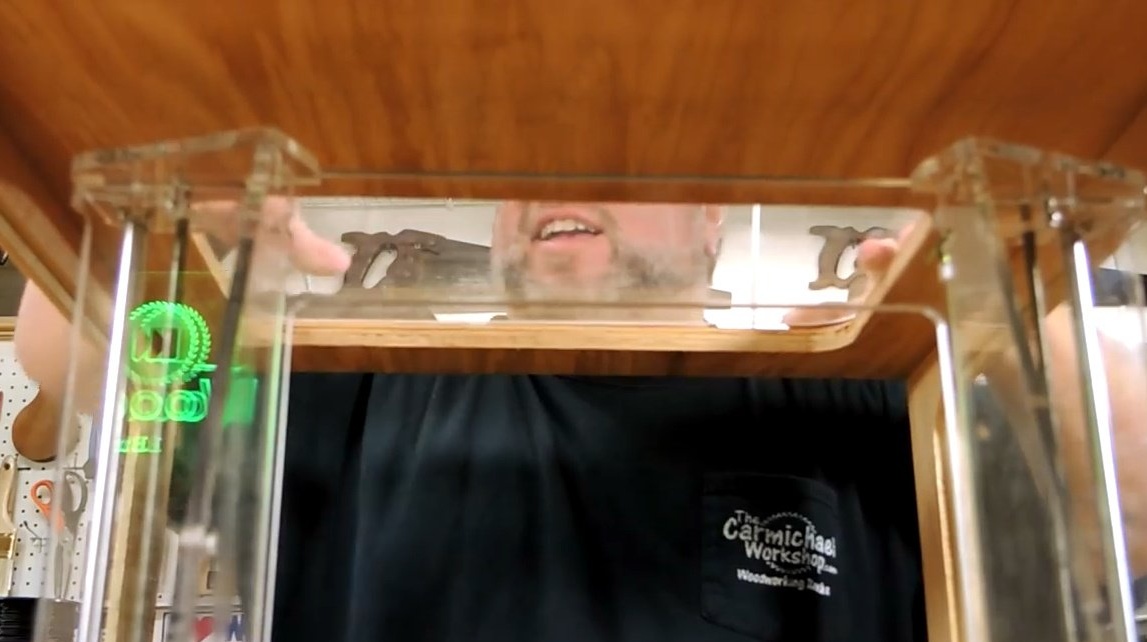
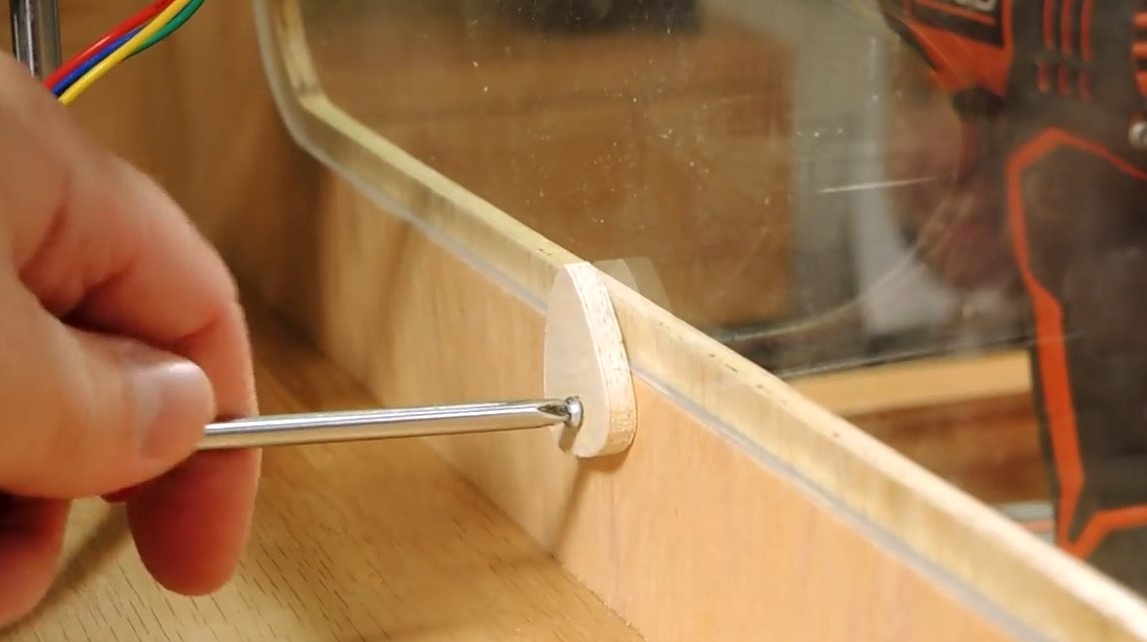
To fix the side windows, the craftsman uses such clamps in the form of a guitar pick.
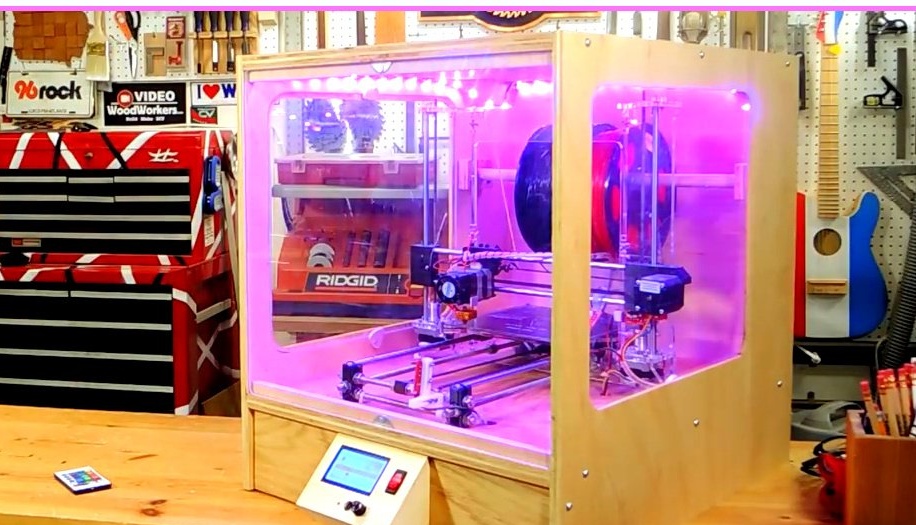
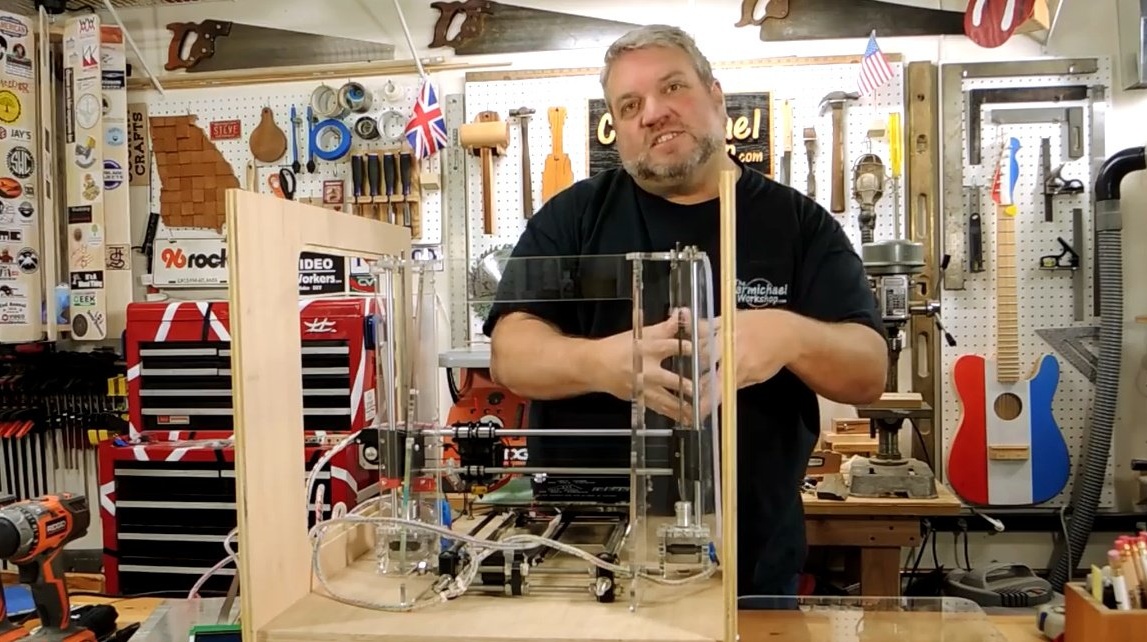
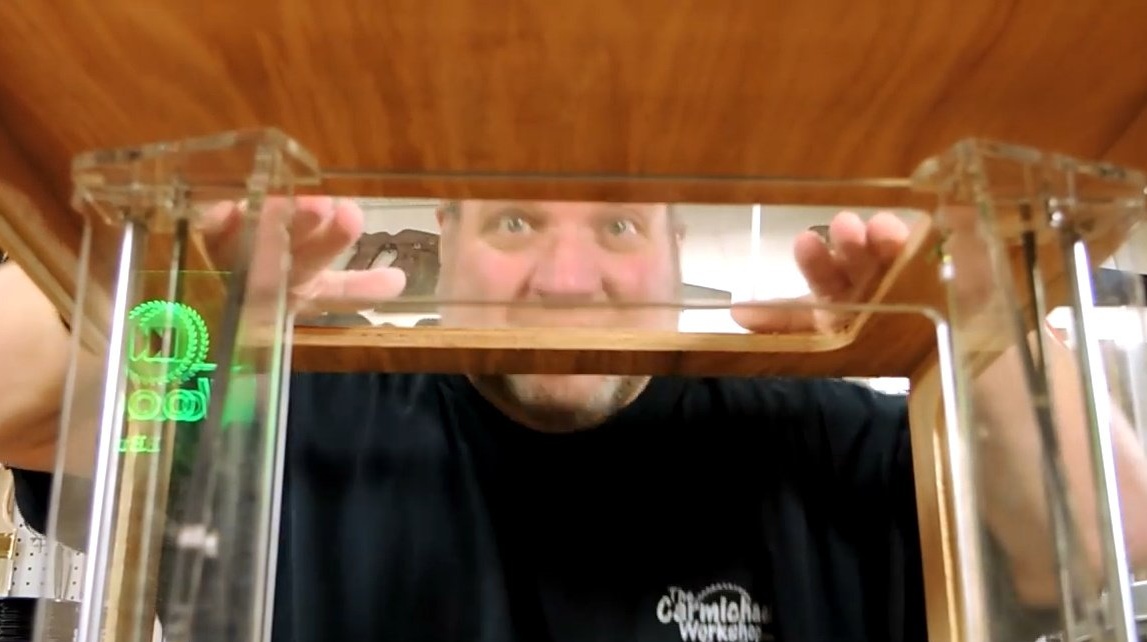
And now the homemade housing for the 3D printer is ready!
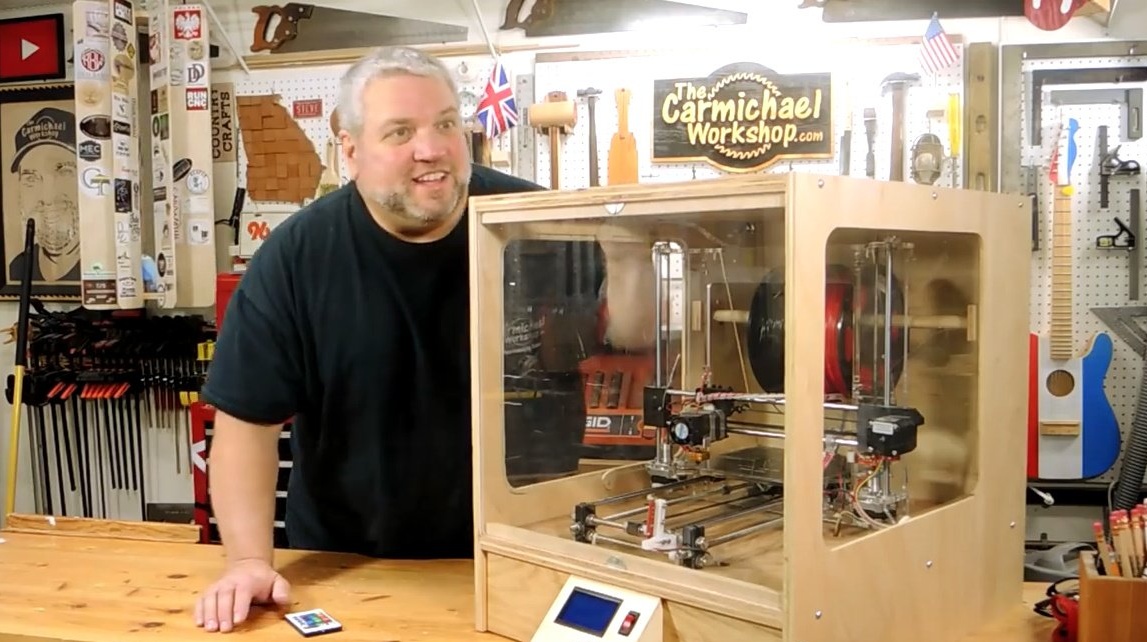
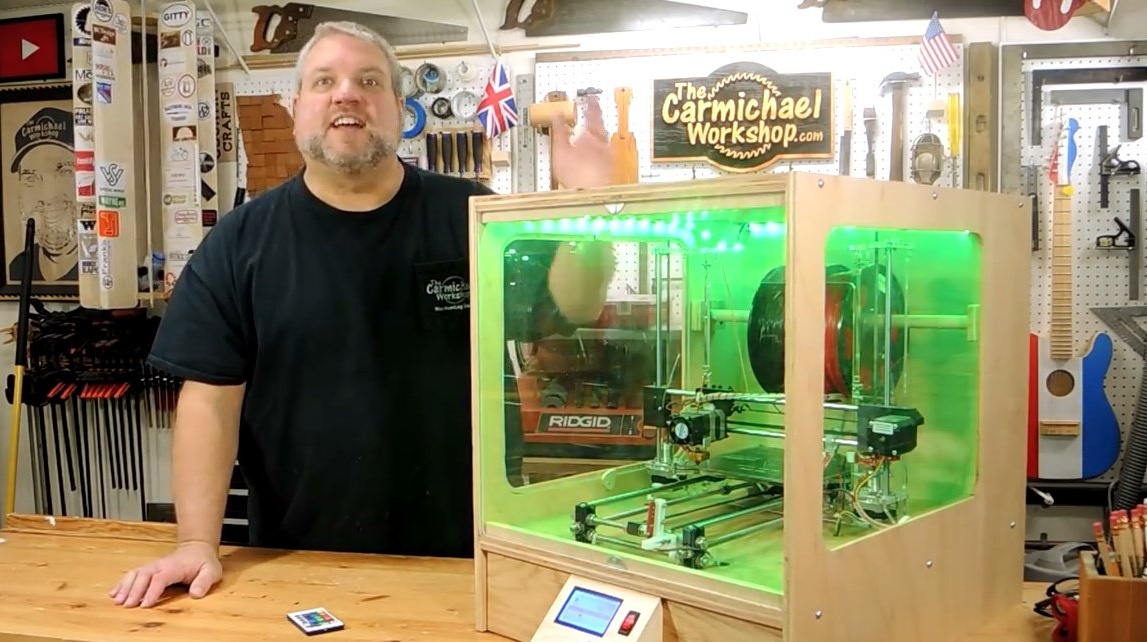
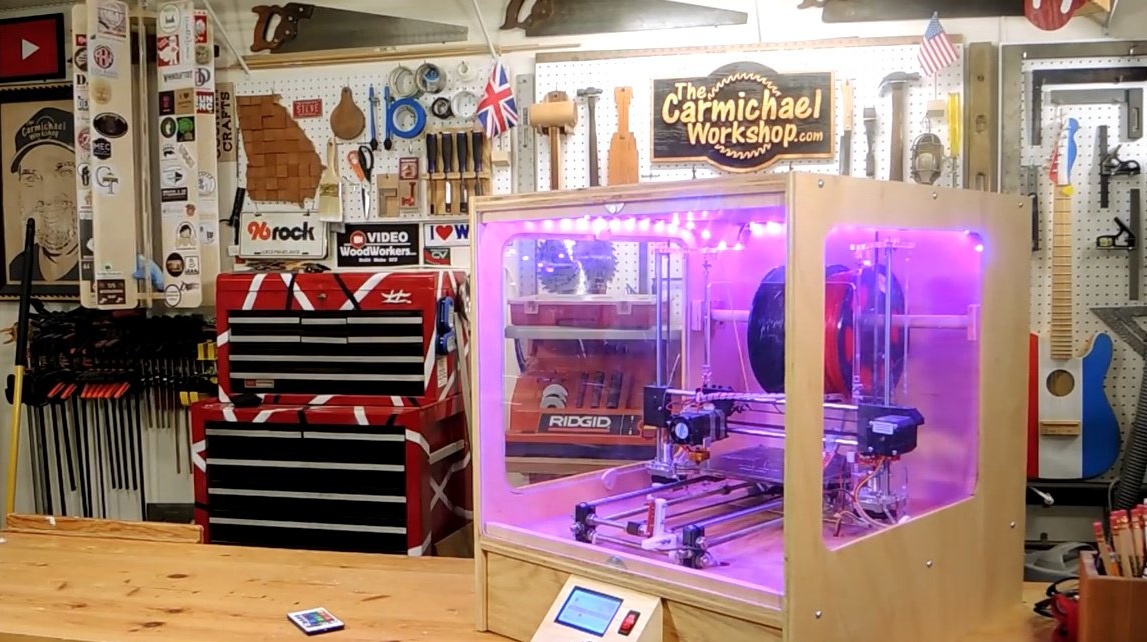
It gives an extraordinary pleasure to watch how everything automatically moves inside.
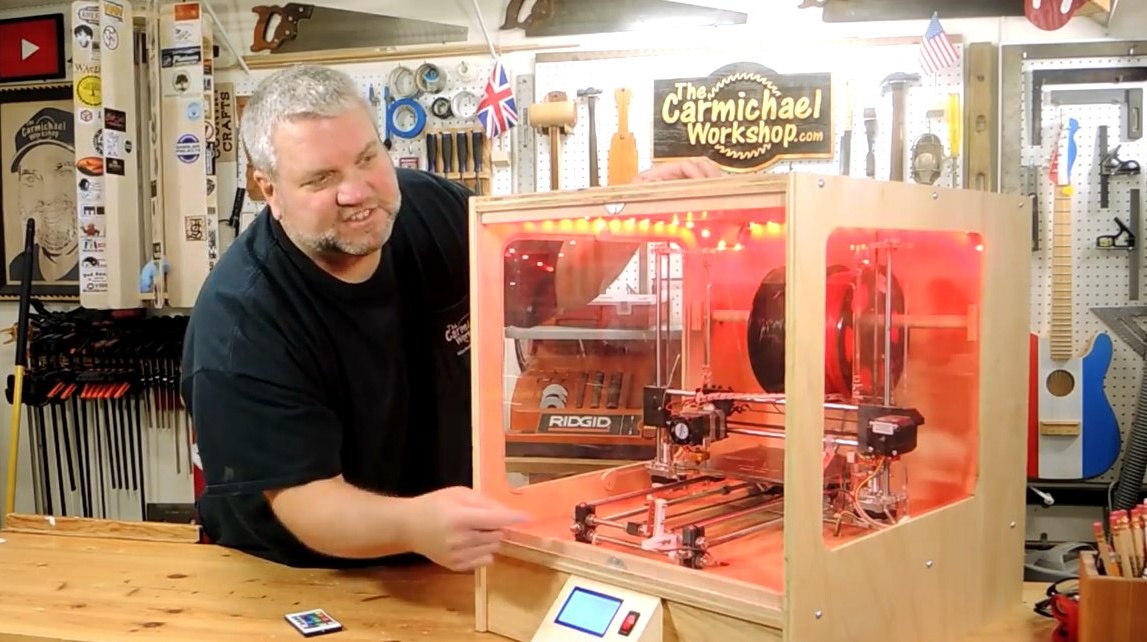
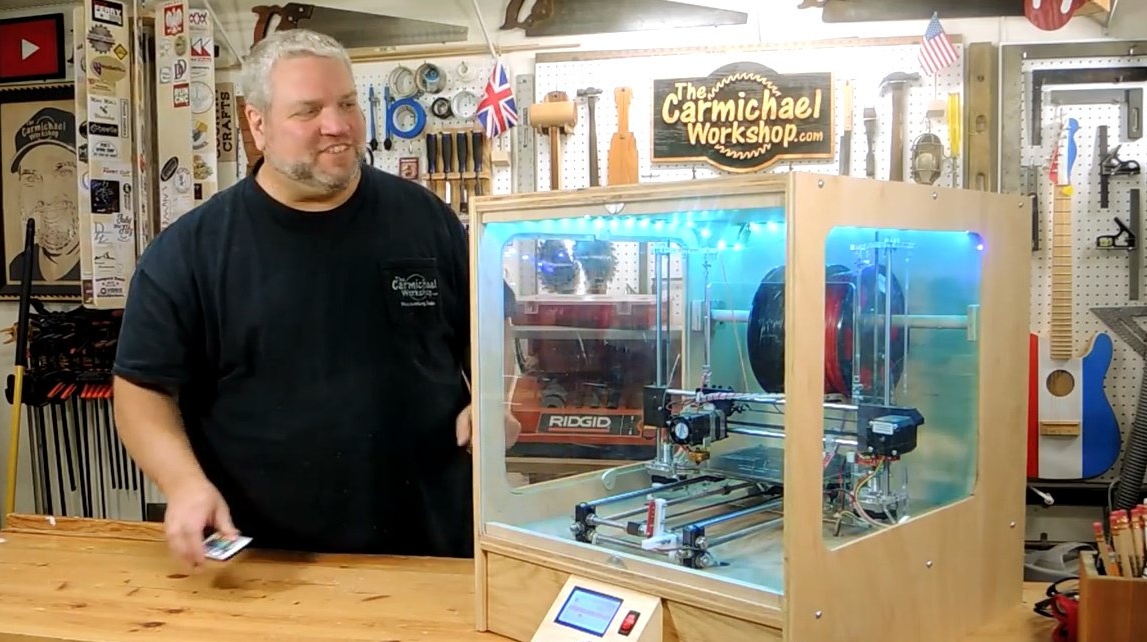
And the best part in all this venture is that at the same time as pressing the power key, the LED lighting inside the case lights up. Steve also uses a remote control from which he can change the light mode. It turned out beautifully!
Thanks to the author for an interesting way to refine the machine, and protect it from dust in the workshop!
All good mood, good luck, and interesting ideas!