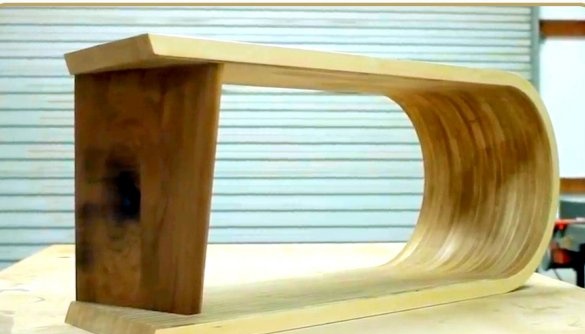
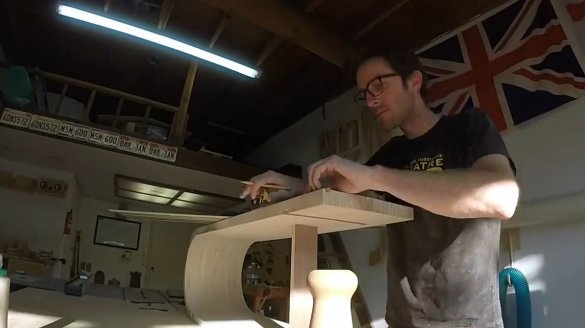
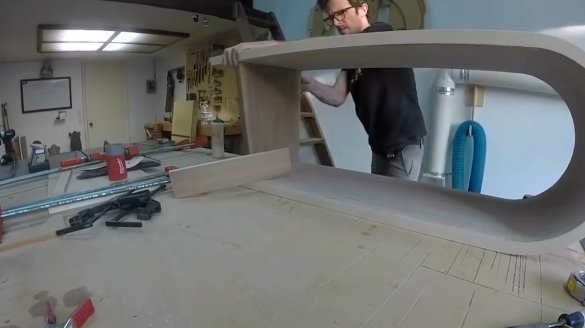
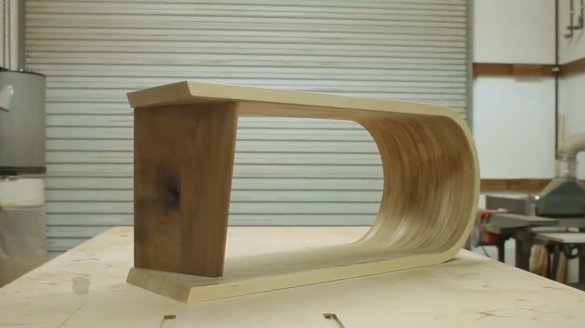
In this article, the author of the Shaun Boyd YouTube channel tells you how he made a bench of a very unusual shape from plywood.
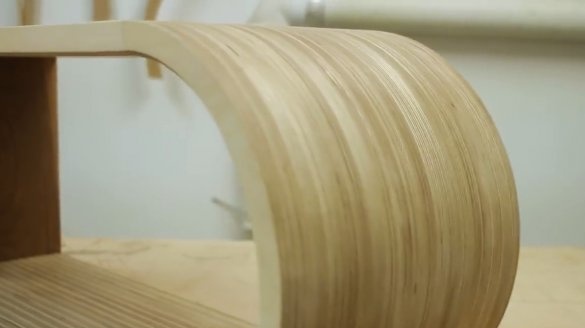
By mastering this simple processing technique, you can create furniture very unusual shape and texture.
Materials
- sheet plywood
- Walnut board
- Sheet MDF
- PVA glue
- Sandpaper
- Impregnation for wood.
Instruments, used by the author.
- Band-saw
- Compass, pencil, tape measure, ruler
- Screwdriver
- Clamps, vise, mallet, hacksaw
- Tape clamps
- Lamellar milling cutter
- Manual and stationary milling cutter
- Circular saws - stationary and manual
- Electric jigsaw
- Reysmus
- Belt grinding machine.
Manufacturing process.
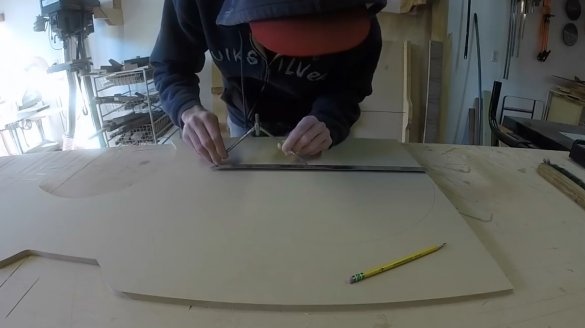
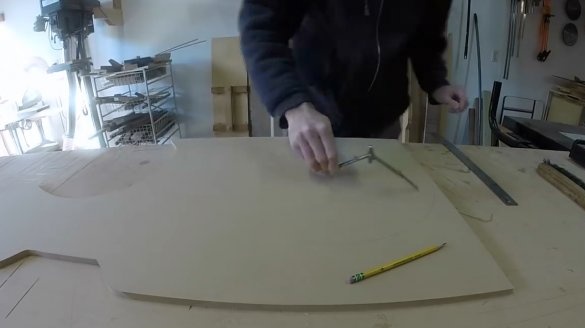
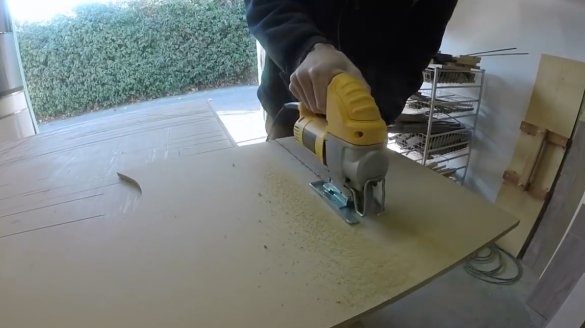
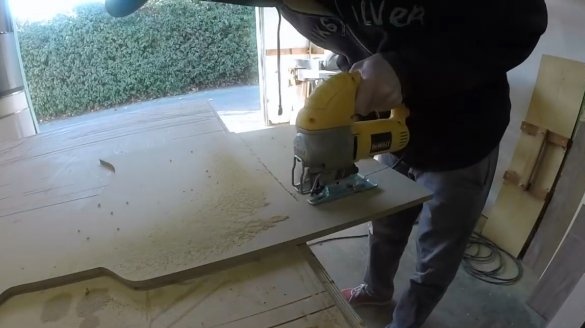
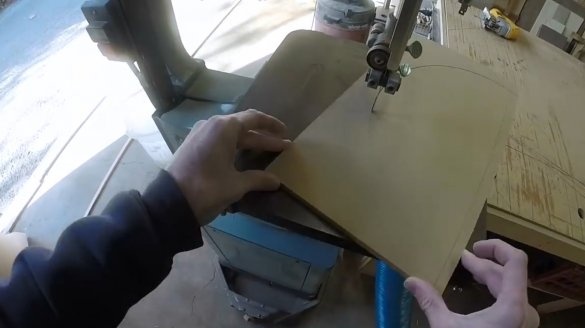
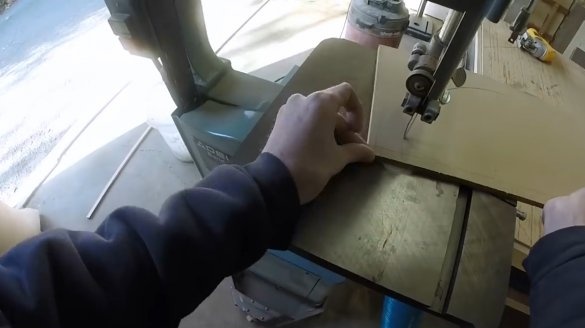
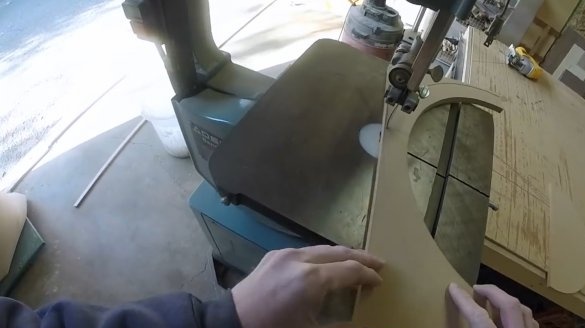
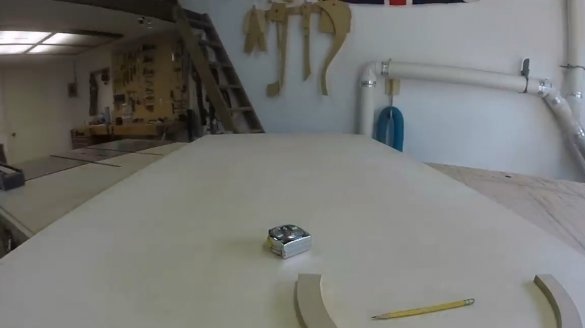
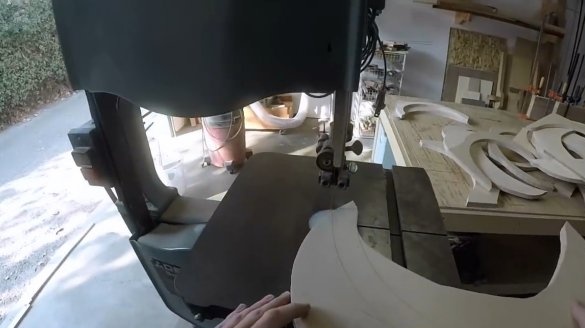
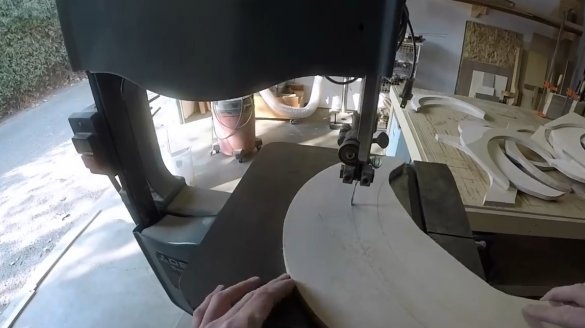
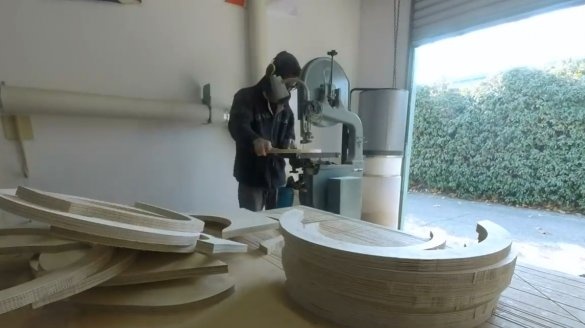
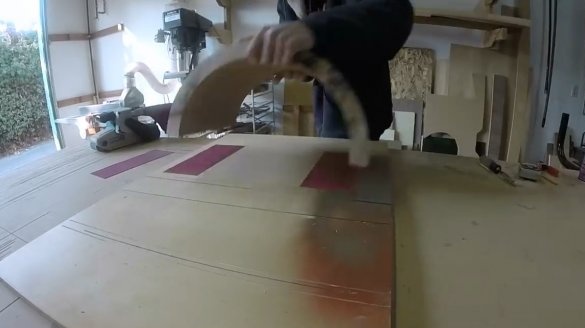
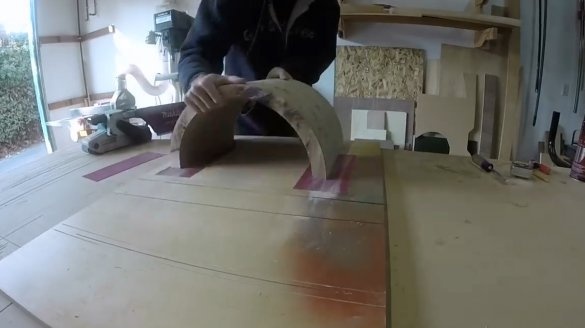
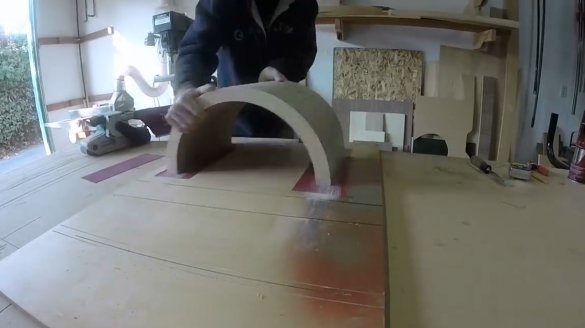
First of all, the author begins to make a template in the form of an arc, he makes it from a sheet of MDF. Then he cuts with a jigsaw and cuts out the template on a band saw.
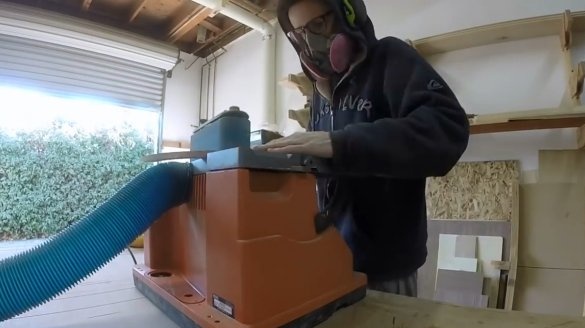
Then he polishes the ends of the template on a tape machine.
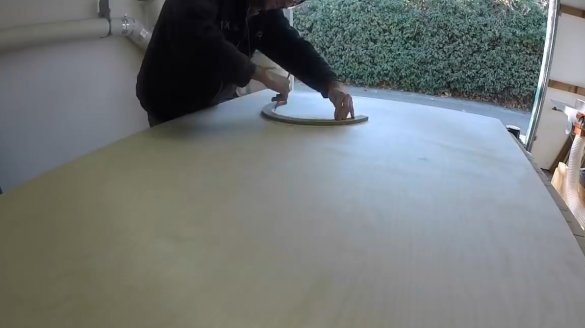
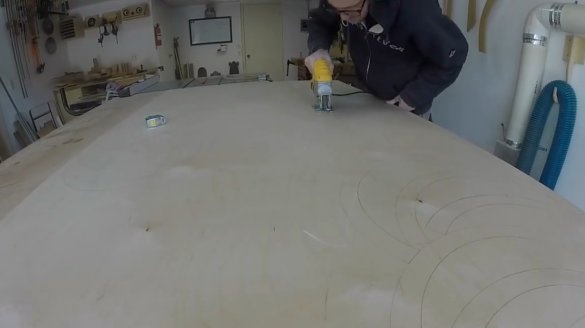
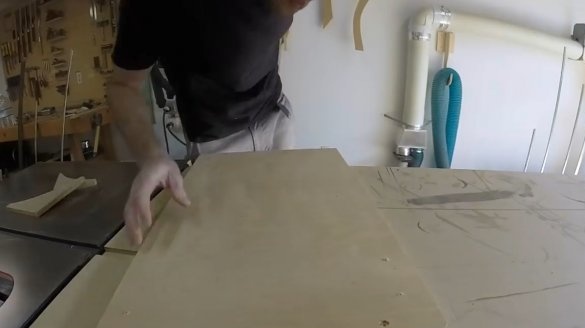
Now he takes a large sheet of birch plywood, and transfers the markup to it according to the template. Such arcs will need quite a lot.
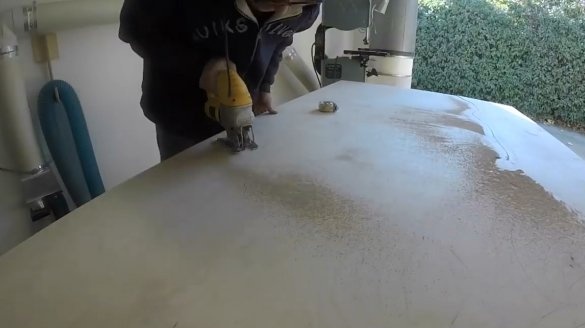
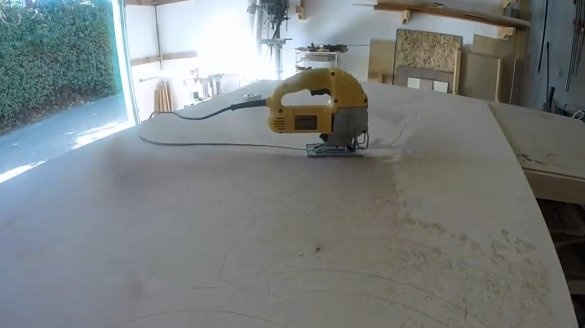
Slices a piece with marked out arcs from a sheet with an electric jigsaw.
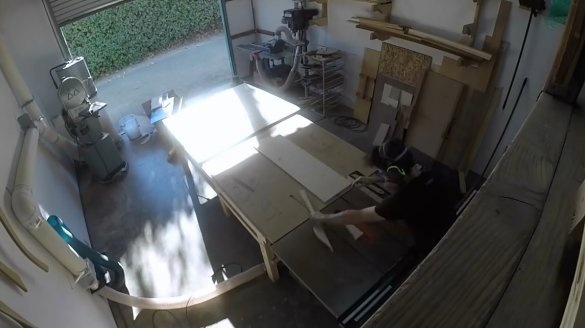
From the remains of the sheet, cut long strips of the same width.
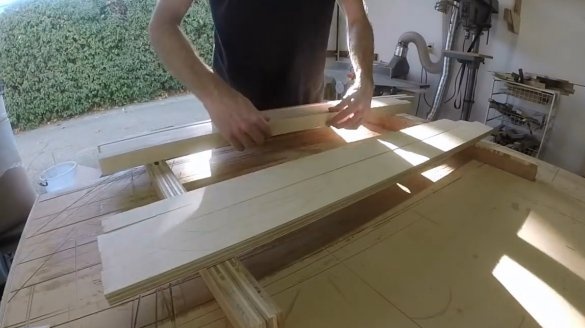
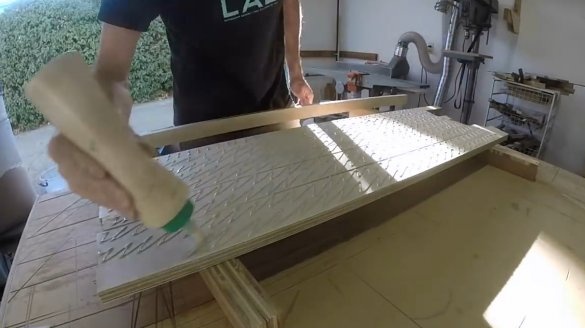
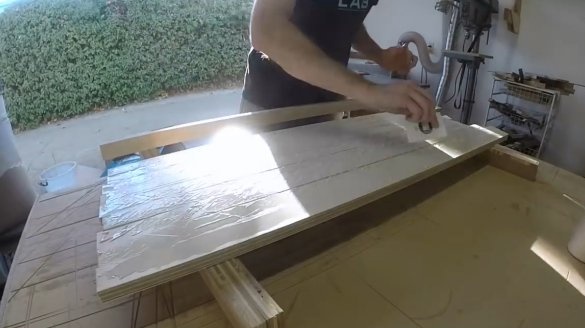
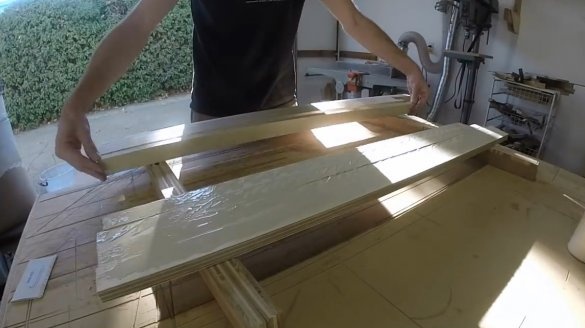
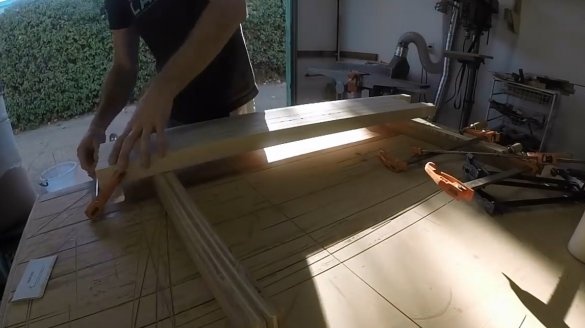
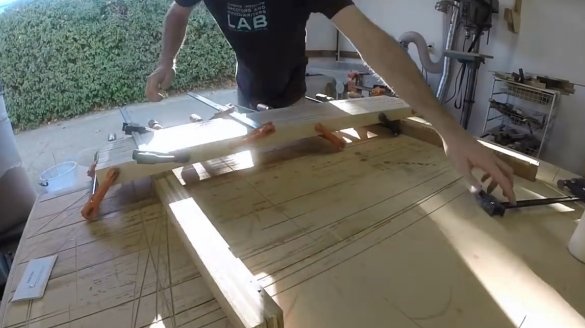
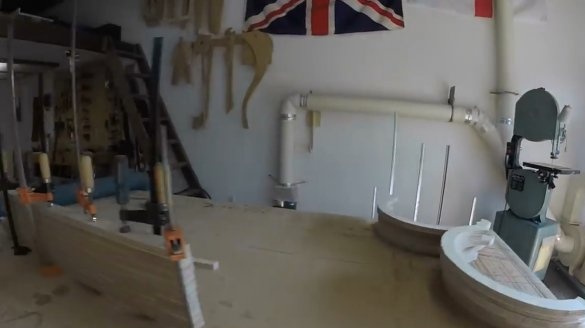
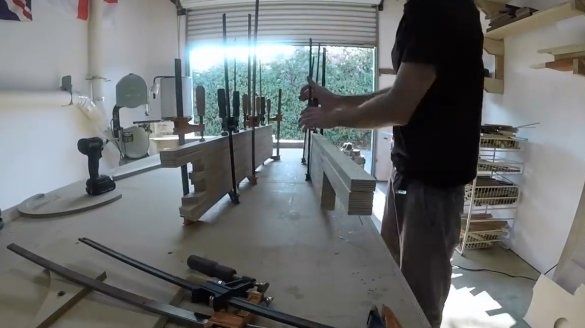
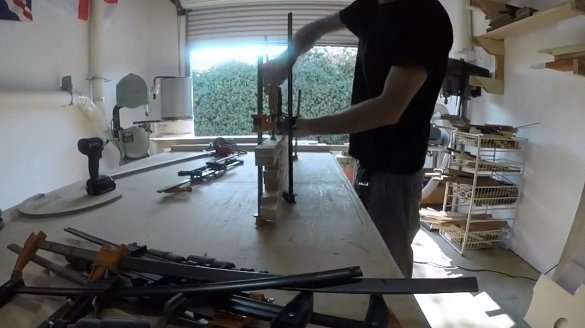
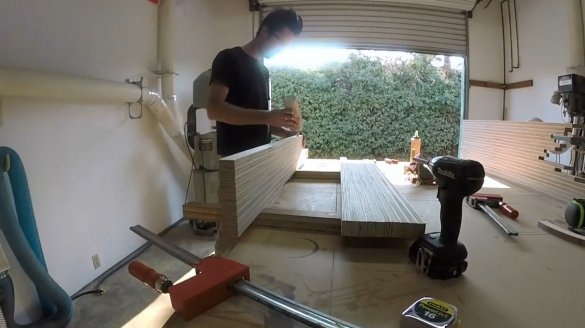
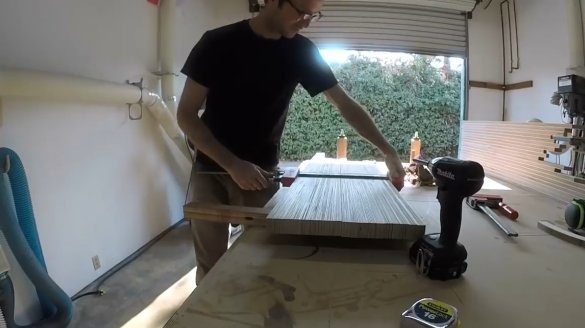
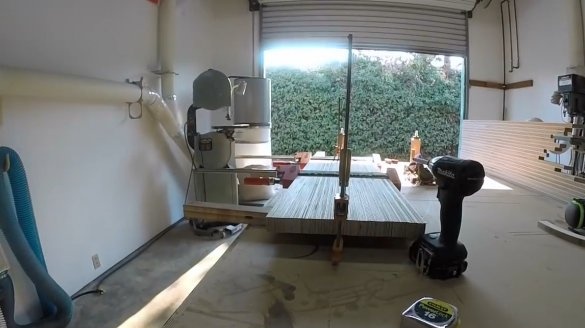
Then, several panels are glued from the strips, with the cuts out. It tightens with clamps.
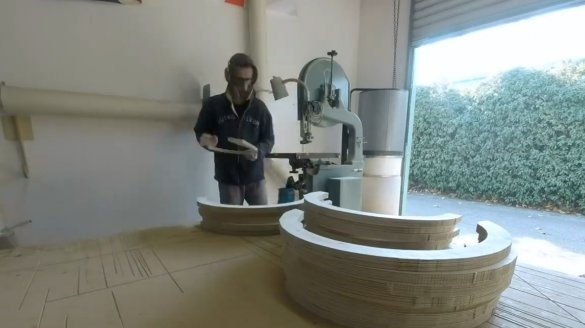
While the panels are dry, the wizard cuts out arcs from the sheet according to the layout.
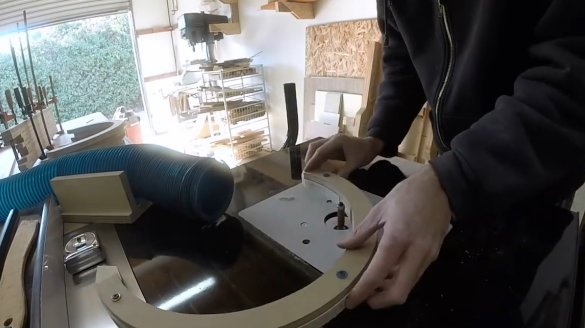
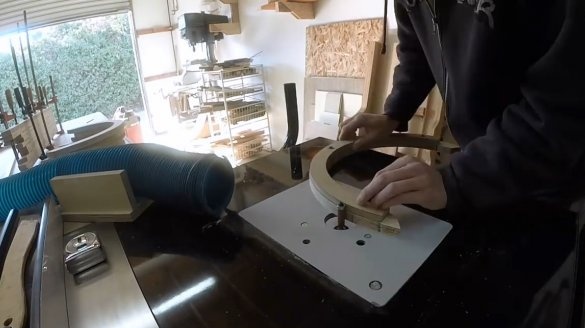
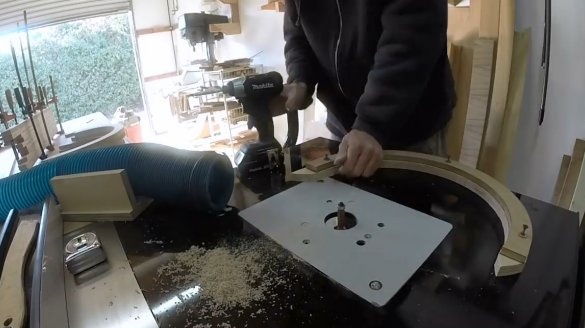
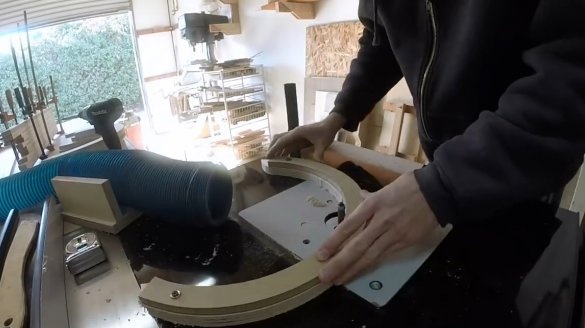
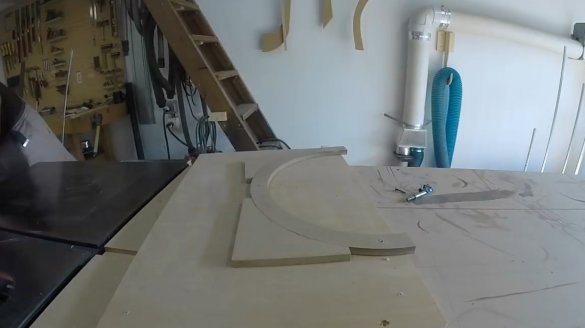
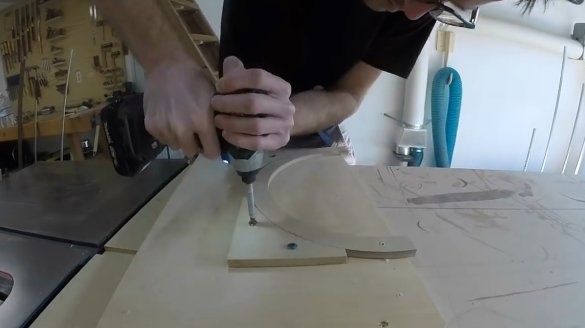
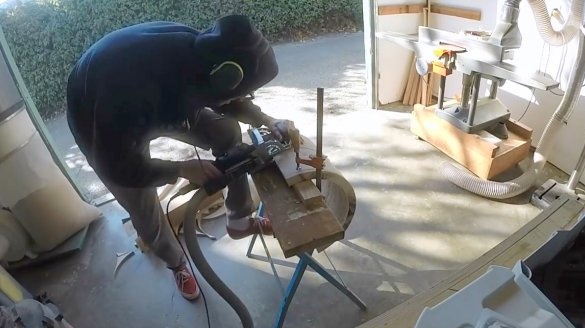
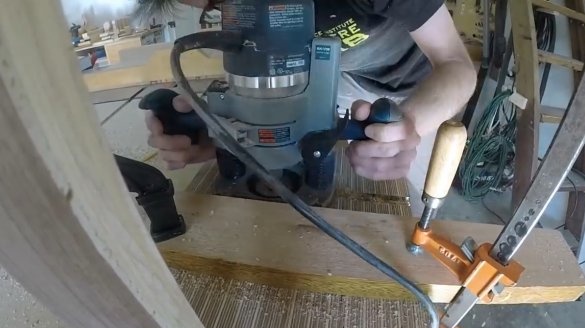
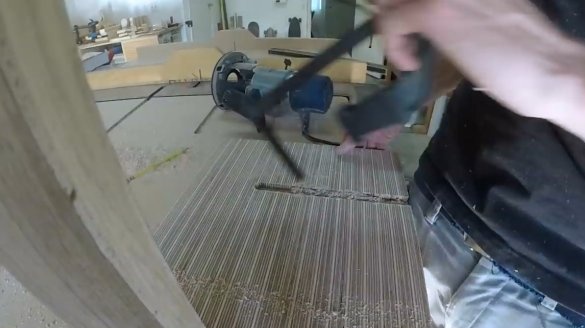
Now, screwing each arc in turn to the template, processes them on a milling cutter with a thrust bearing, it achieves the same shape for all workpieces.
Then, from an unnecessary, but even on one side of the sheet, MDF makes a simple conductor.
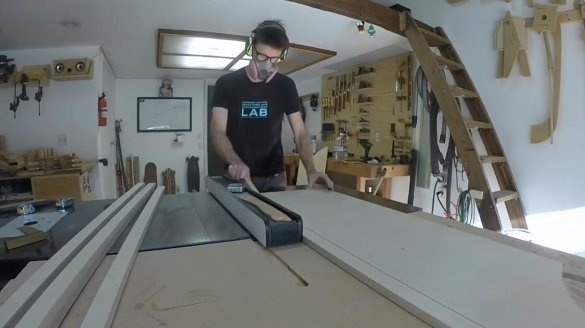
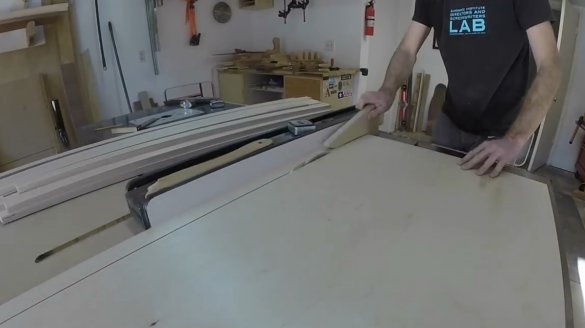
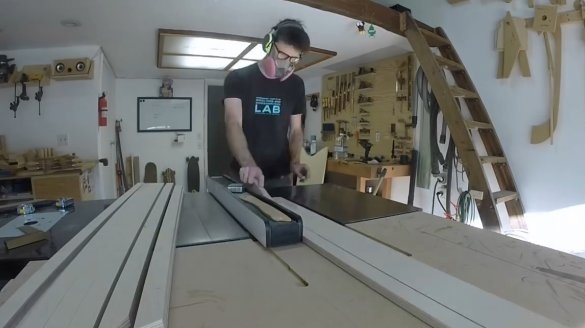
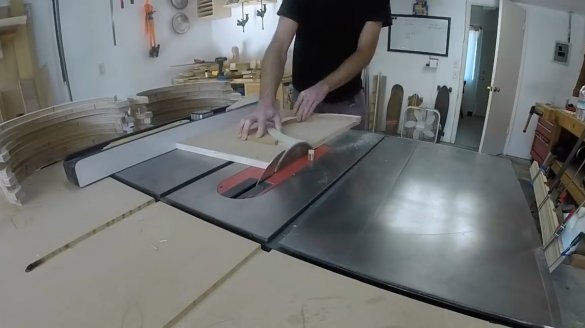
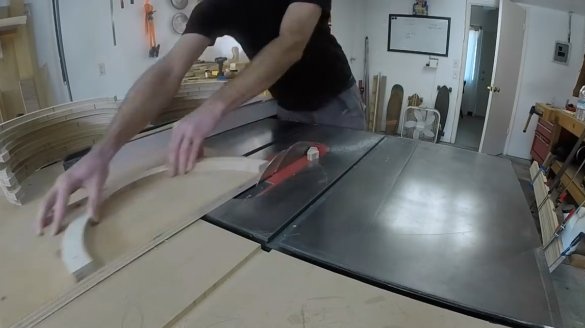
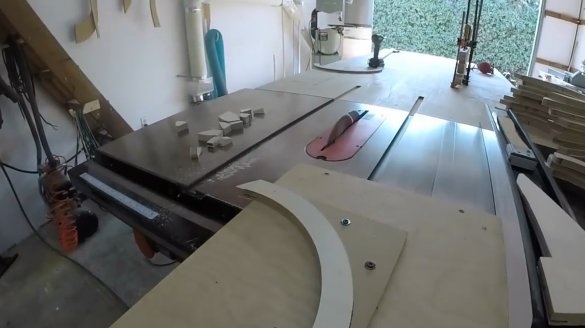
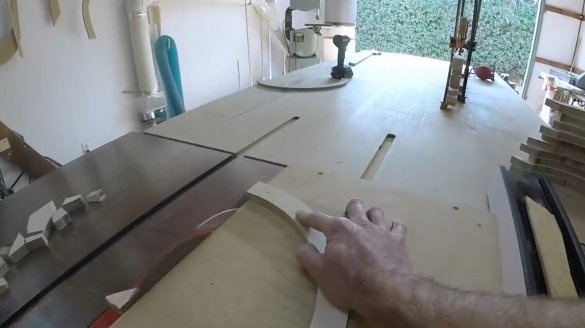
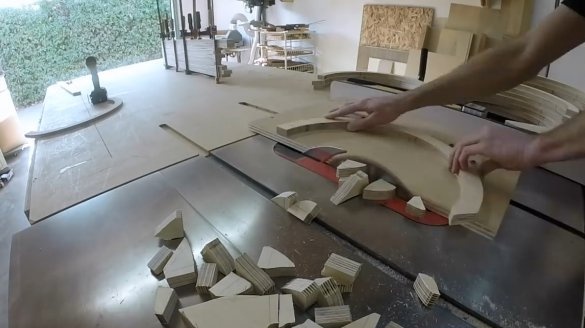
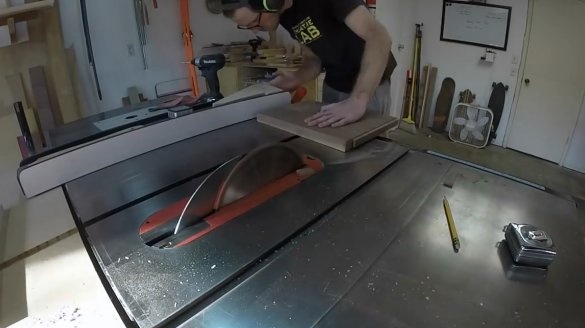
Abuts the arc in the conductor so that both edges protrude. Then she cuts them on a circular saw. So all the blanks will be the same.
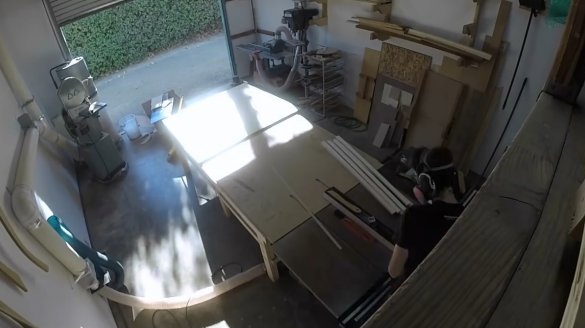
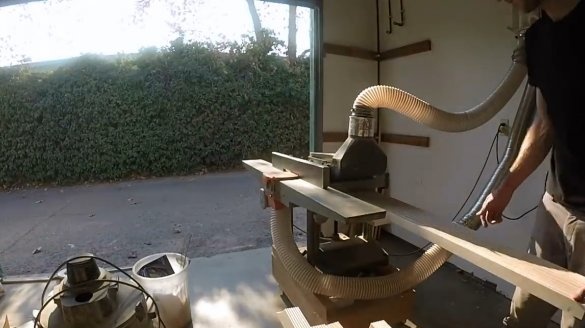
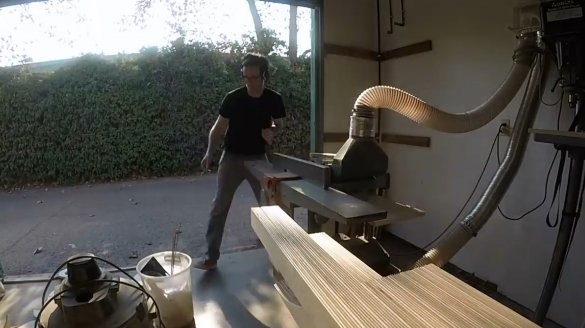
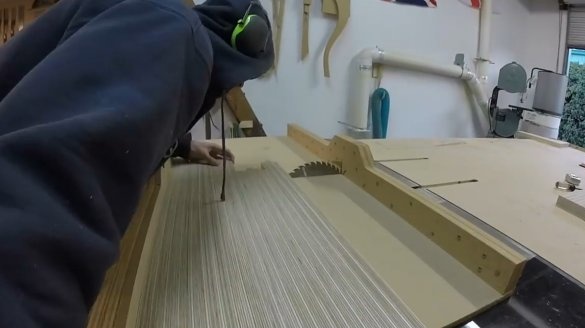
The panels have dried up, the master removes the clamps and drives each of them through the thicknesser, processing both sides.
The width of the panels is not enough, it repeats the gluing.
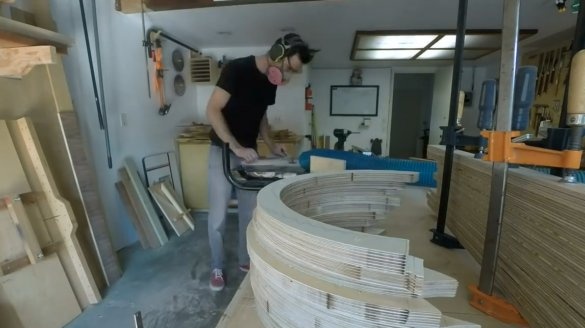
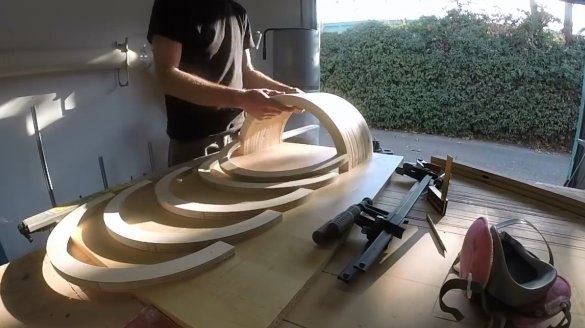
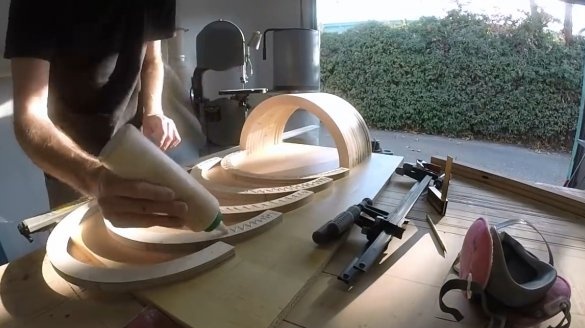
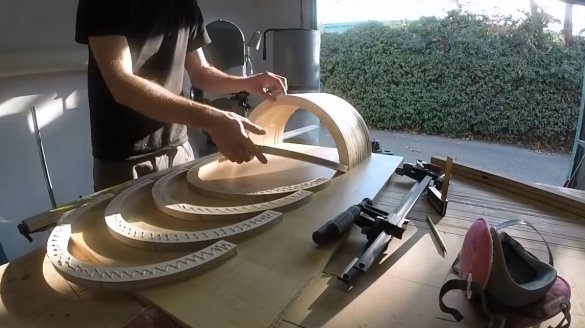
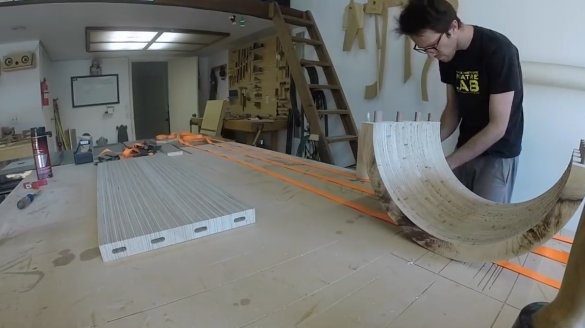
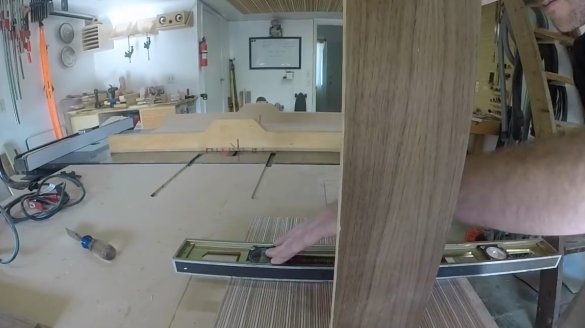
Now proceeds to gluing the arcs between themselves. Levels them on a flat board.
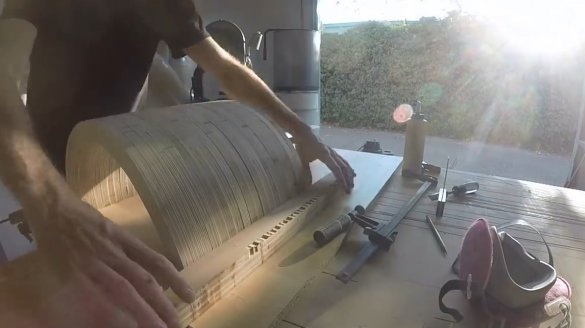
Clips the ends of the glued shield.
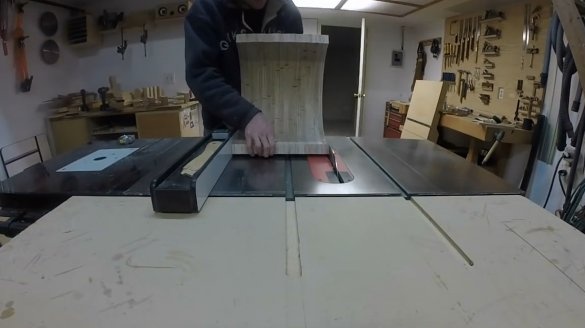
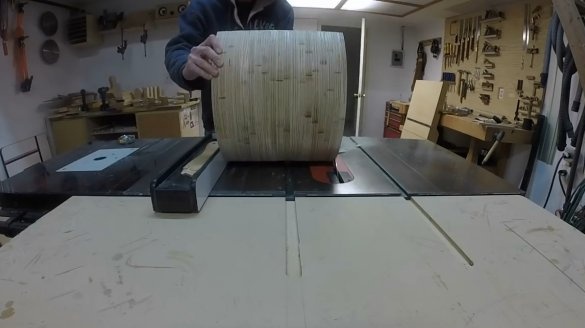
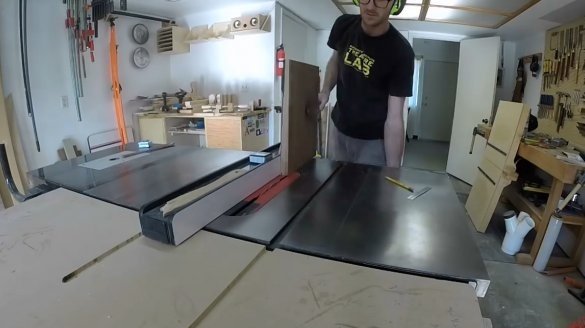
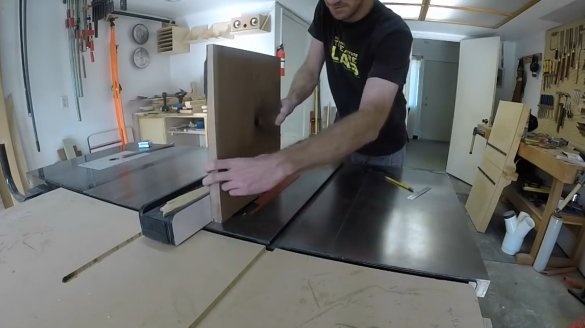
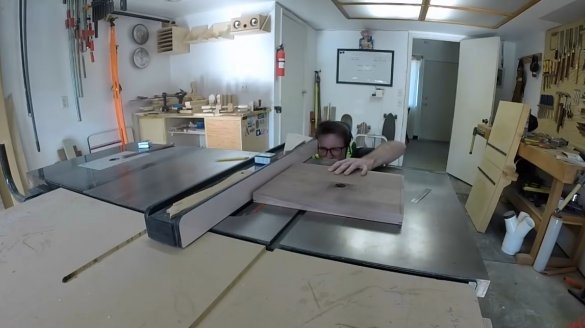
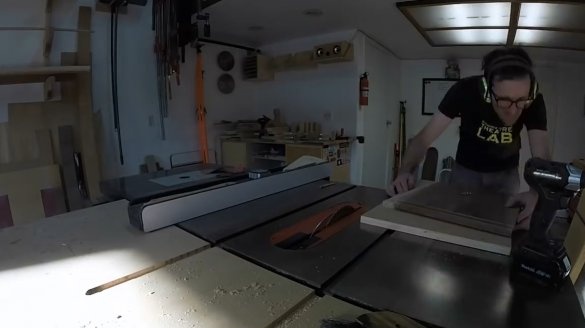
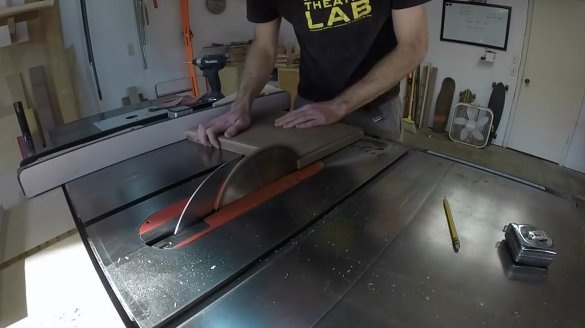
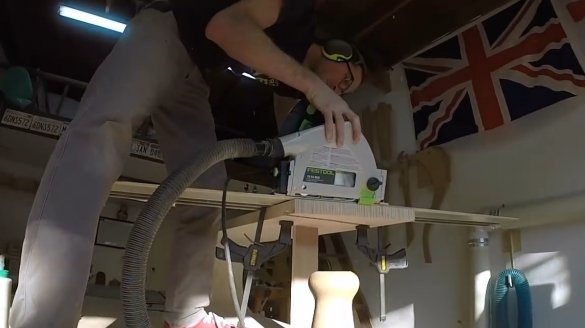
The ends of the glued arcs are processed on a circular saw, as if turning a part.
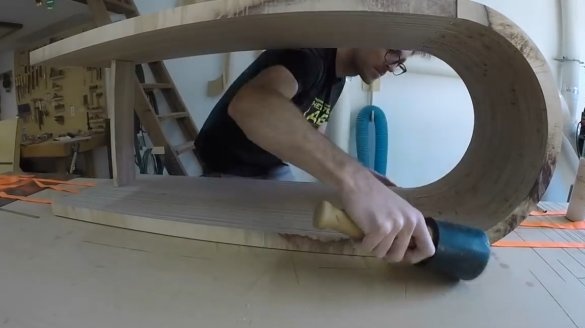
On a flat board, the master glued two pieces of fine sandpaper and wiped the ends of the resulting half-barrel.
The lamellar milling cutter makes grooves for dowels at the ends of shields and arcs.
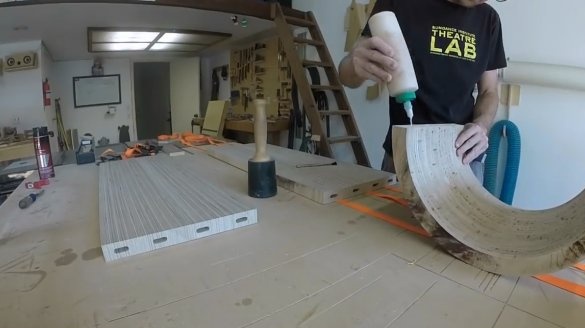
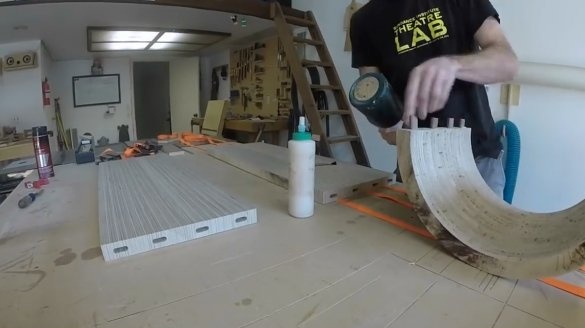
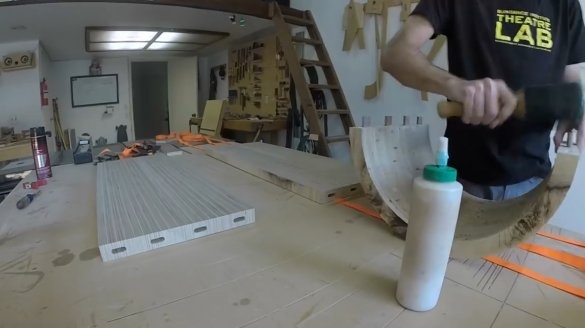
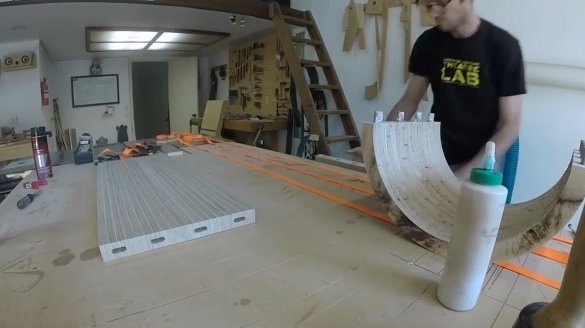
He spills grooves with glue, clogs flat dowels, lubricates their protrusions.
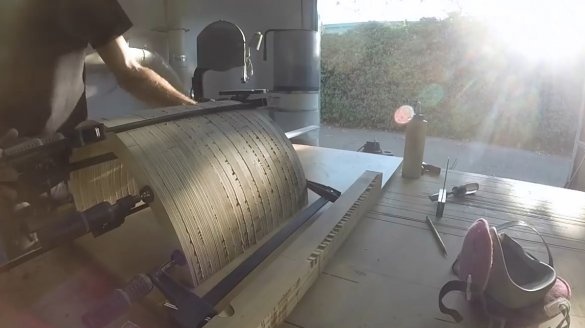
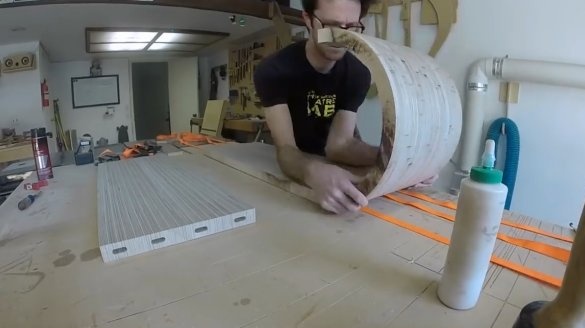
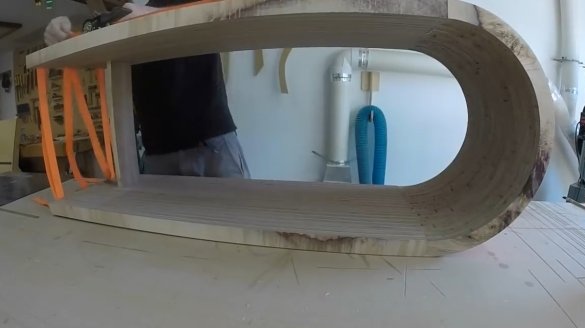
It connects both panels and the arc with each other using tape clamps.
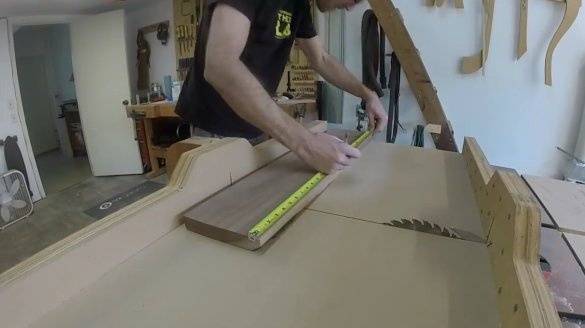
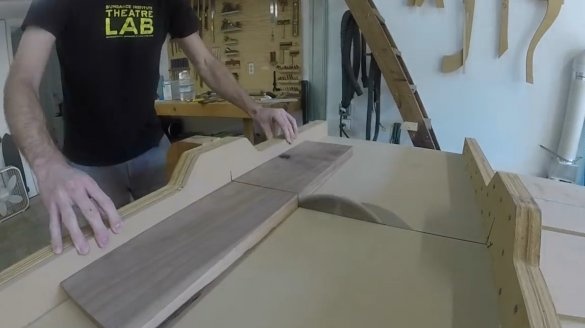
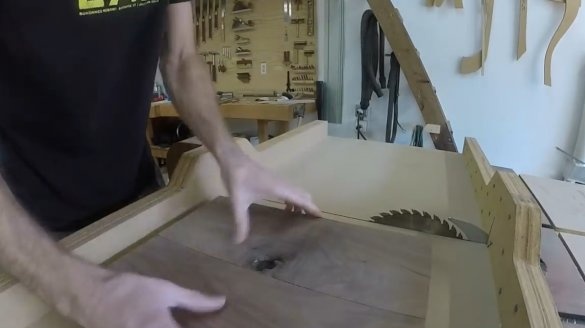
As a backup, the author decided to use a walnut board. Divides her in half.
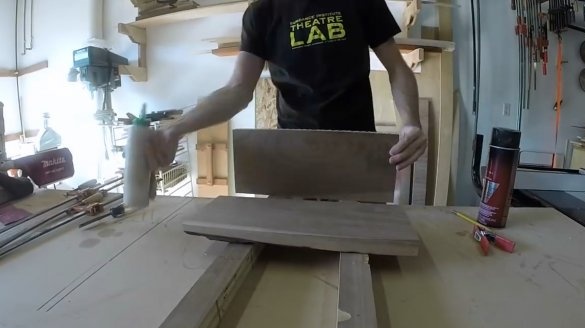
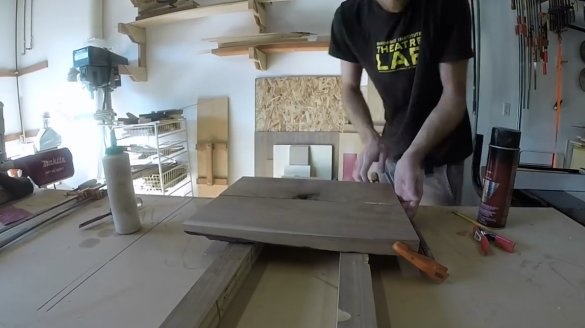
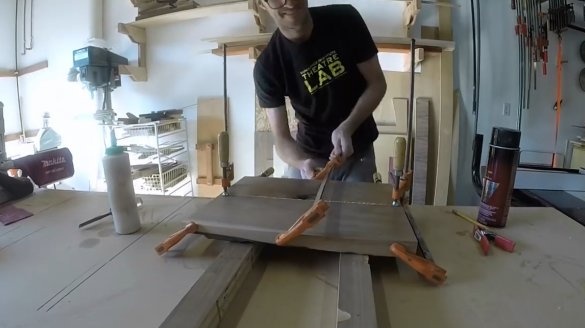
Then glues it into a shield.
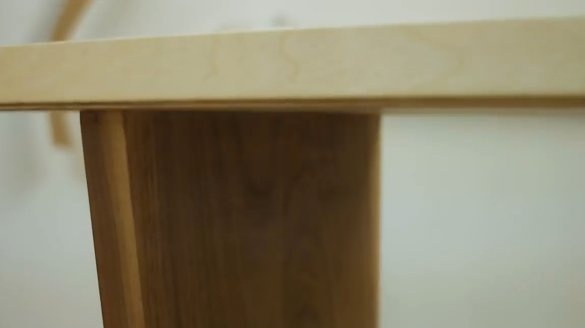
On a dried shield creates a spike connection at the upper and lower ends.
By pressing the shield to the jig, it cuts at an angle.
The edge of the spike cuts, it should not be visible.
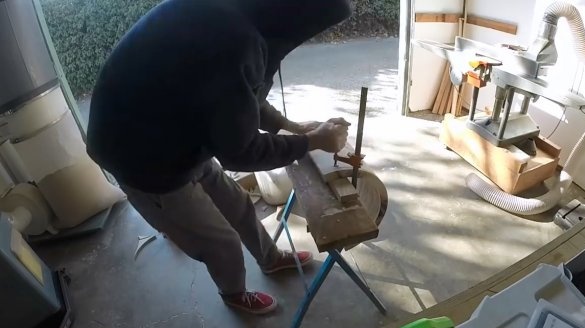
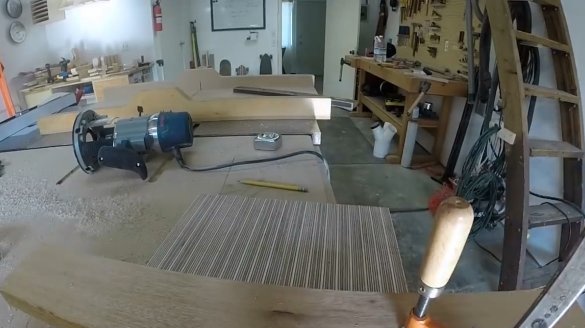
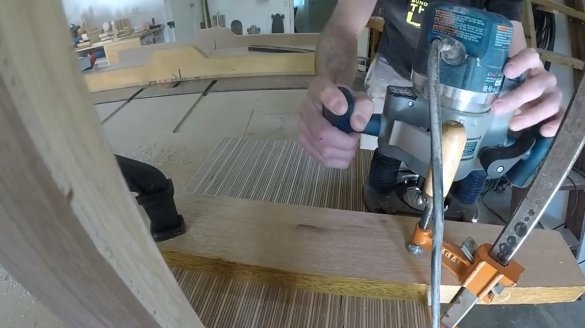
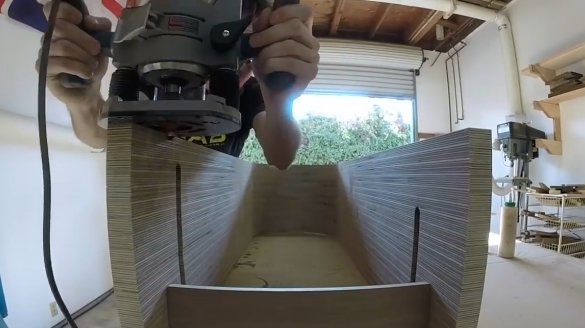
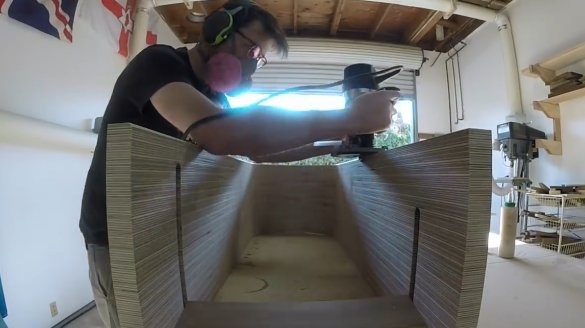
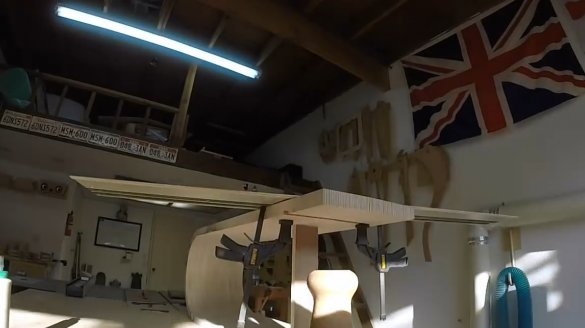
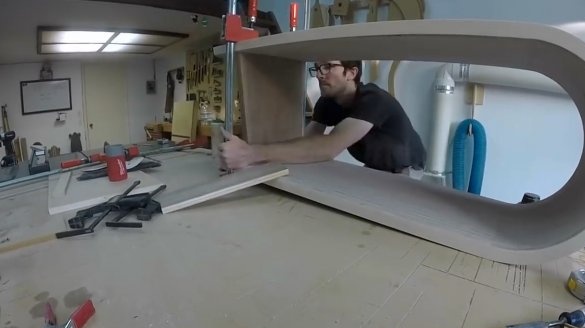
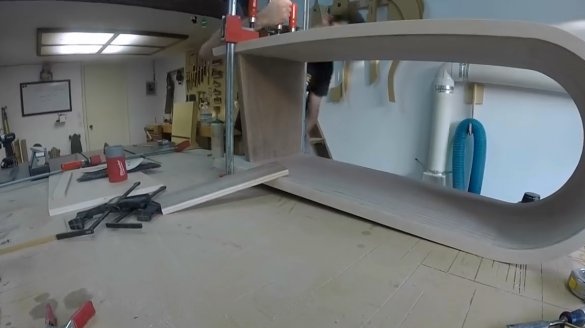
Having pressed clamps to the bottom of the bench as the guide board, the groove for the backup is milled. It should be equal to the width of the spike. Repeats the same actions on the top.
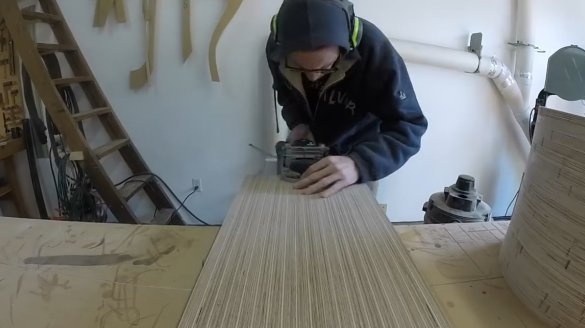
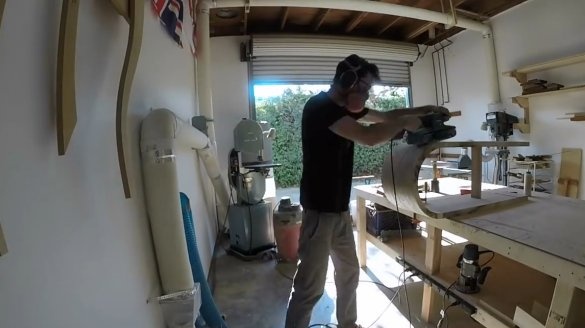
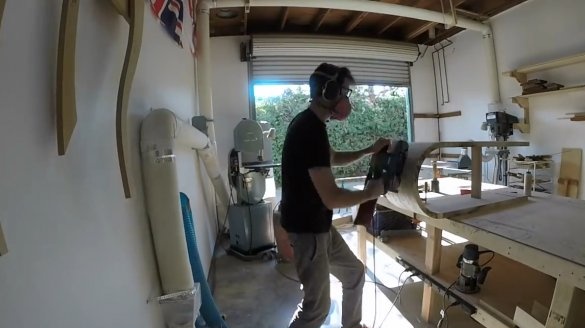
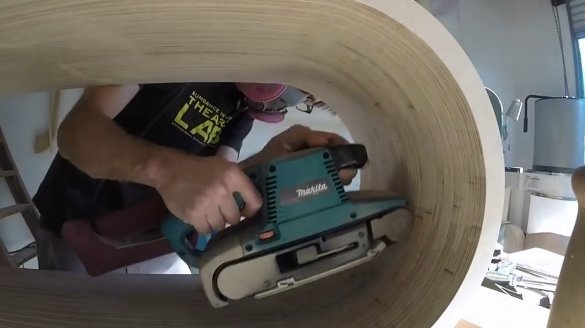
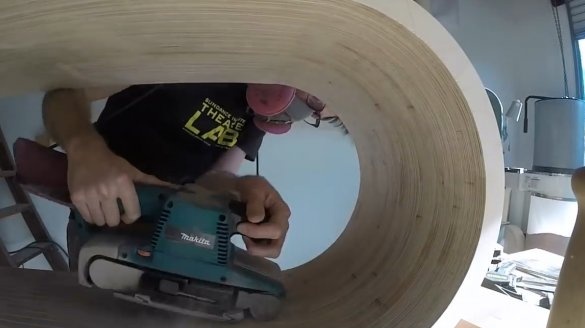
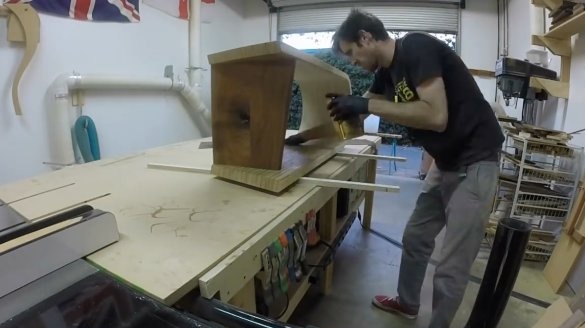
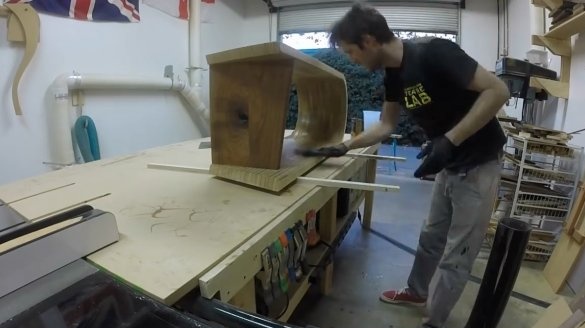
Grinds the external and internal surfaces with a belt sander.
Now all the ends are milled, slightly rounding them.
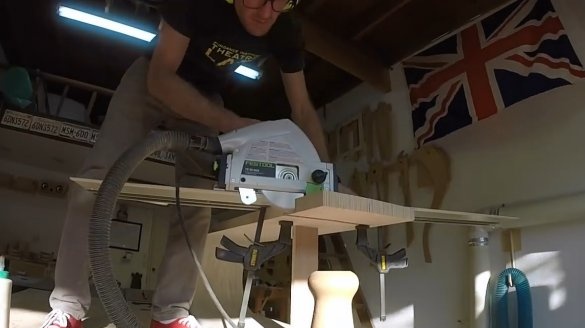
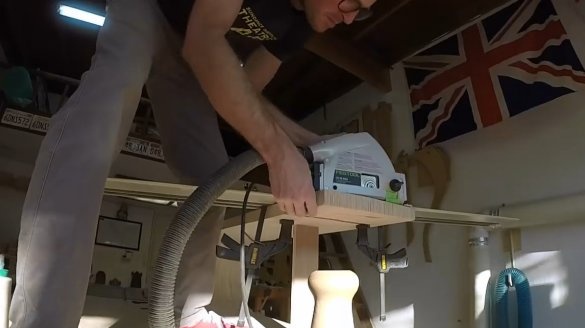
It fixes the guide again, and cuts off part of the top at a slight angle.
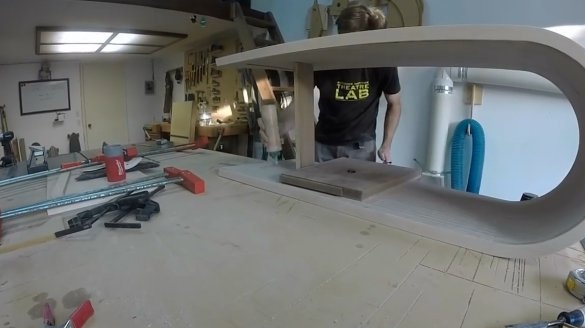
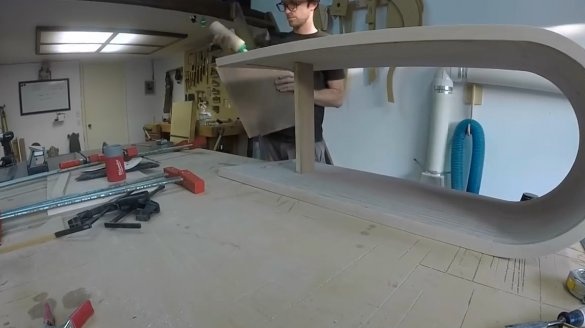
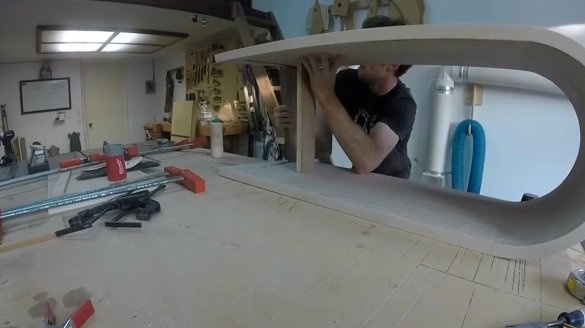
Lubricates the grooves and the spike with glue, sets the support in its place.
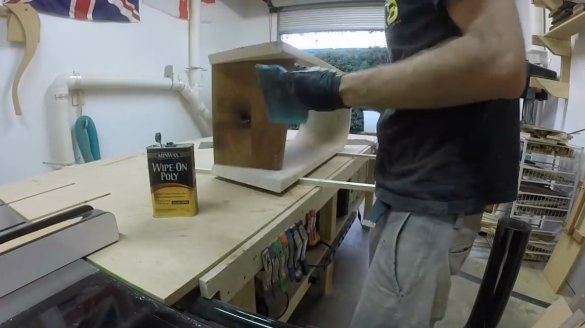
After the glue has completely dried, begins to impregnate the wood with oil. This will protect against moisture and reveal the texture of the wood.
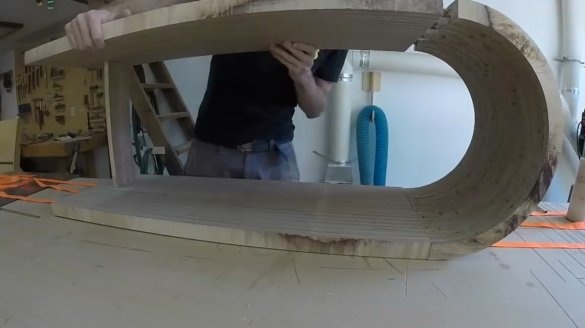
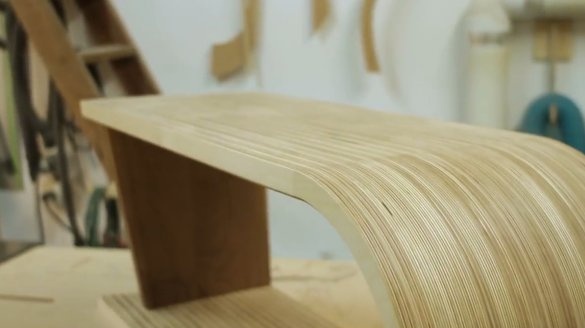
That's all, the bench is ready! Let them now guess how the author achieved this shape and texture!
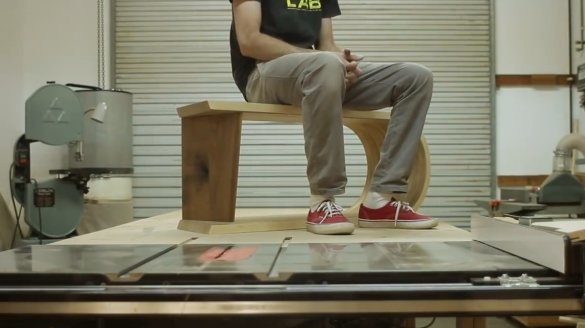
A little strength test.
Of course, in this way you can do not only benches, but shelves, tables and much more!
Thanks to the author for an interesting and original plywood processing technique!
All good mood, good luck, and interesting ideas!

