
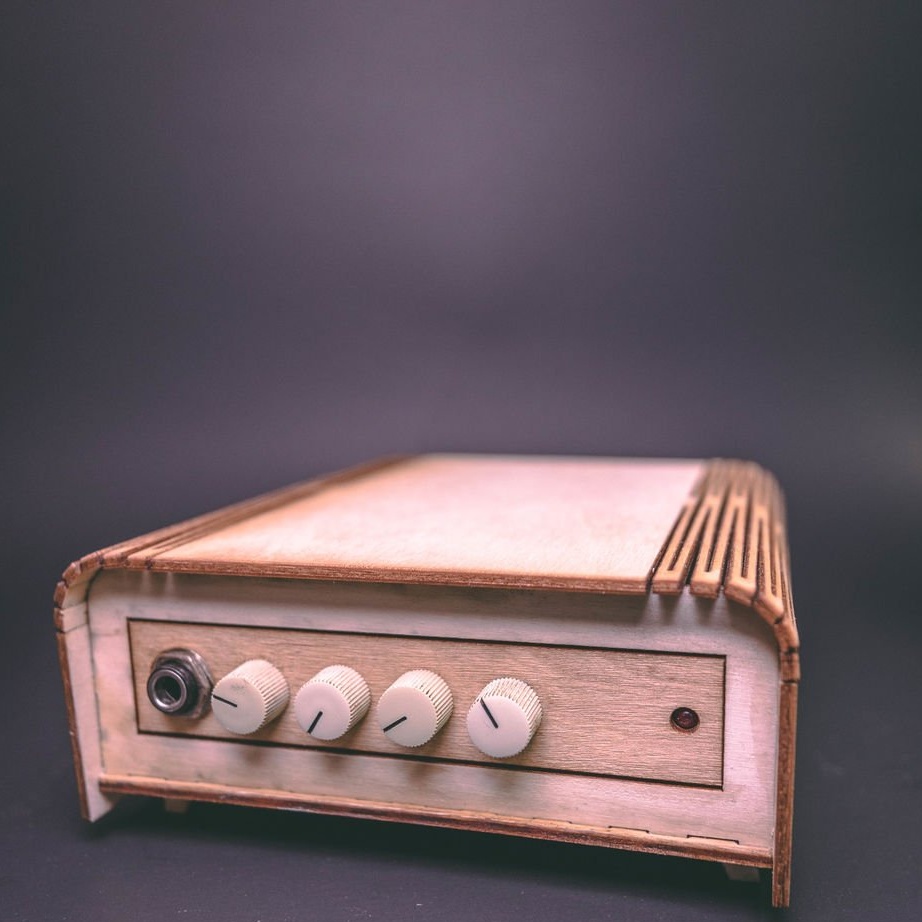
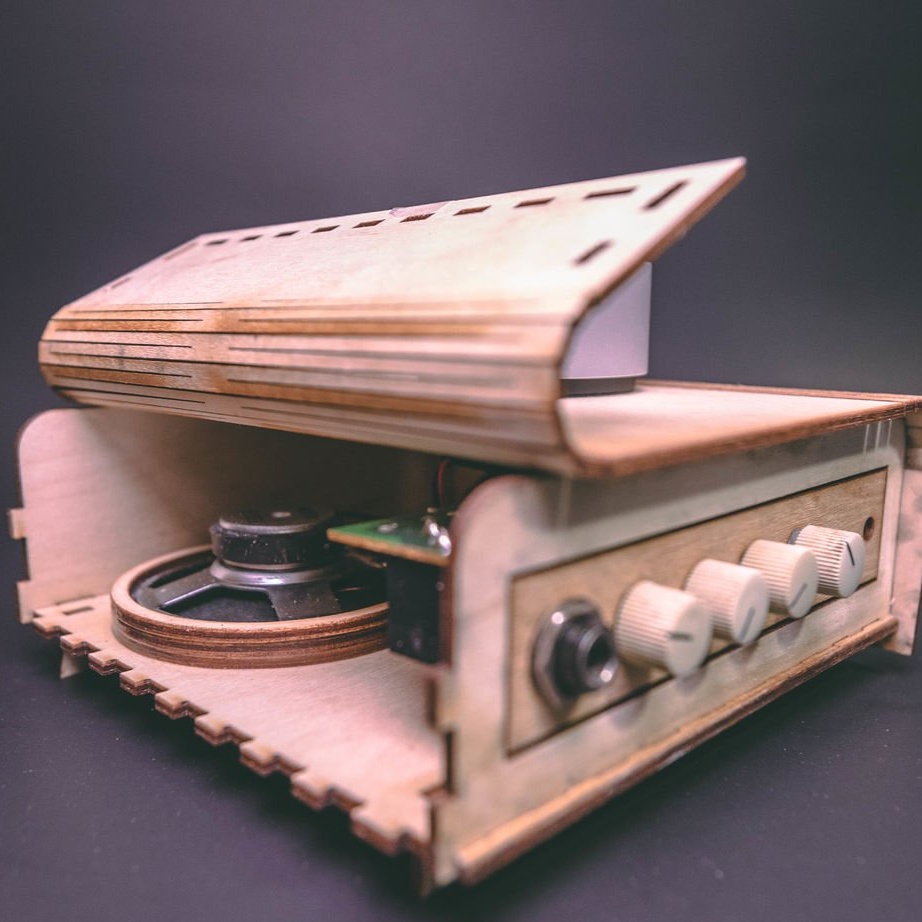
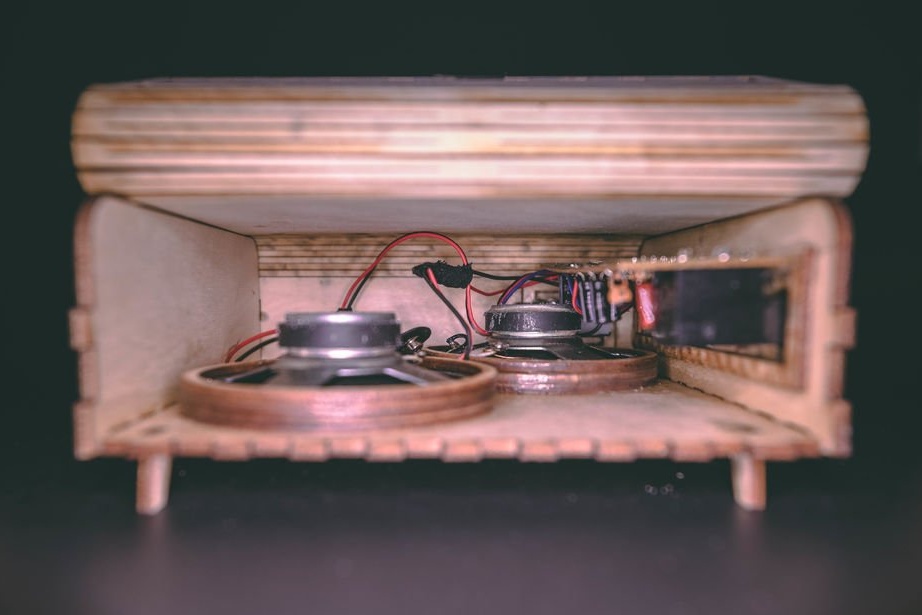
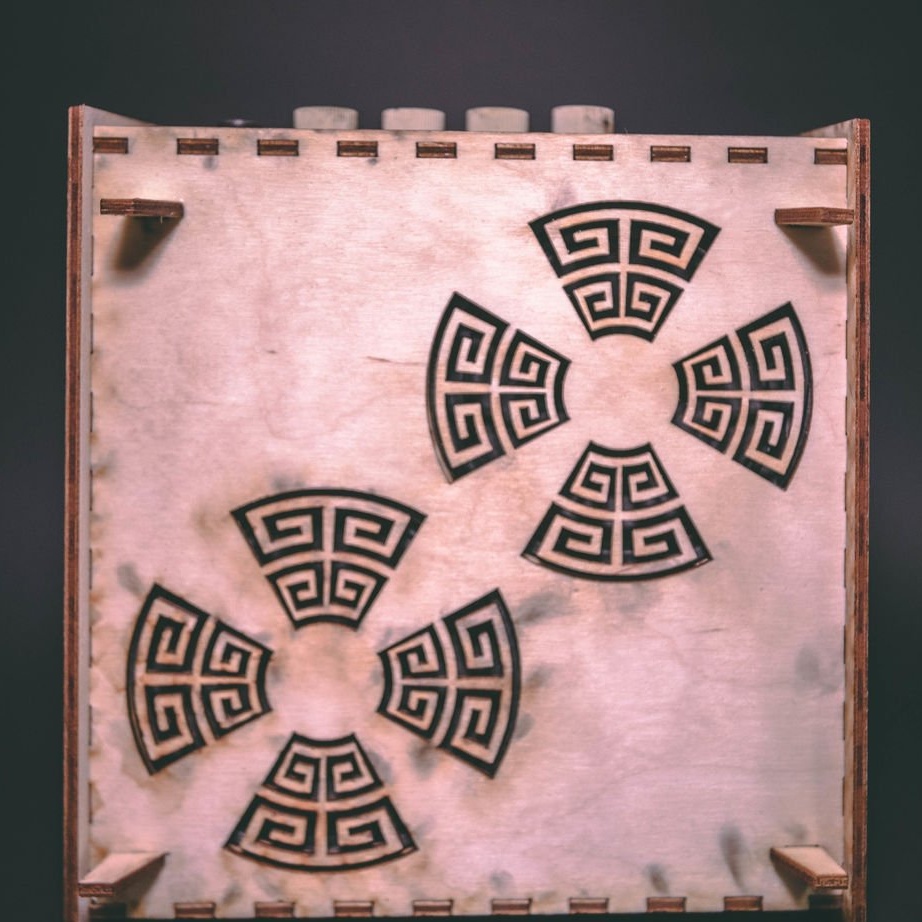
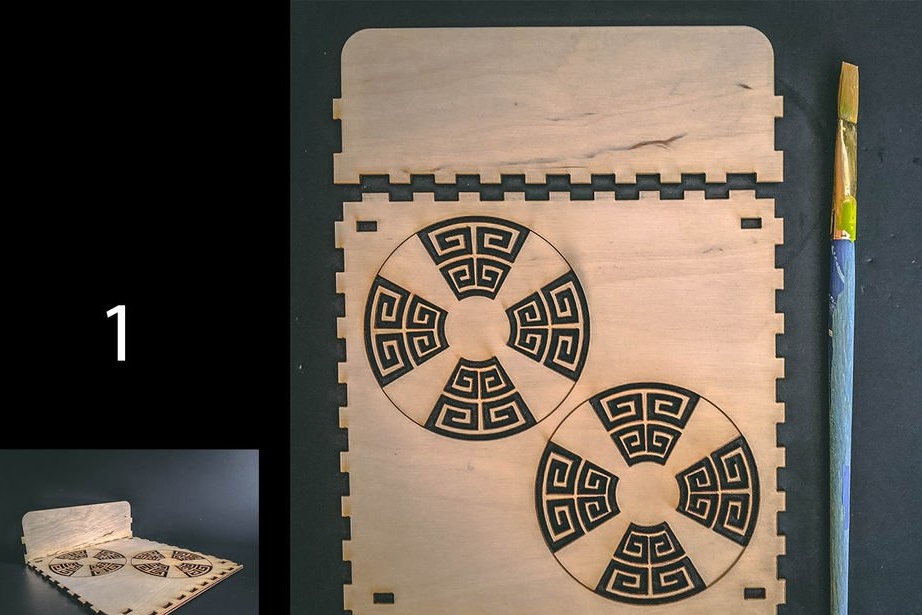
The author of Instructables under the nickname OmidE3 made a new plywood case for the Fender Mini Tone Master combo. It has a horizontal layout, the dynamic heads are directed down, the sound comes out of the space between the raised lower wall and the table.
The master paid attention even to those design elements that are not visible because they are turned to the surface of the table:
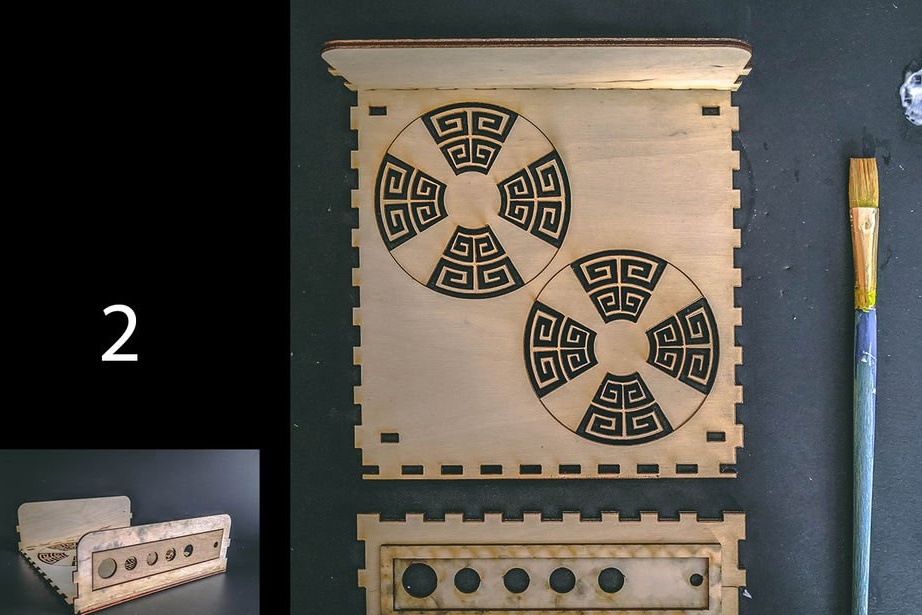
A blank for the case was a sheet of plywood from the Baltic birch, measuring 22 by 14 inches, 1/8 inch thick. Despite the fact that most of the work for the master was performed by a laser machine, the finishing of parts, assembly and painting were manual, for which they were needed: very fine sandpaper, file, glue, masking tape, stain.
OmidE3 prepared file for laser cutting, if you have the same combo with the same dynamic heads, you do not need to change anything in it. Otherwise, it is necessary to adjust the sizes of the rings holding the heads, change the number and diameter of the holes for the controls, connectors, and also increase the case itself if the board does not fit into it.
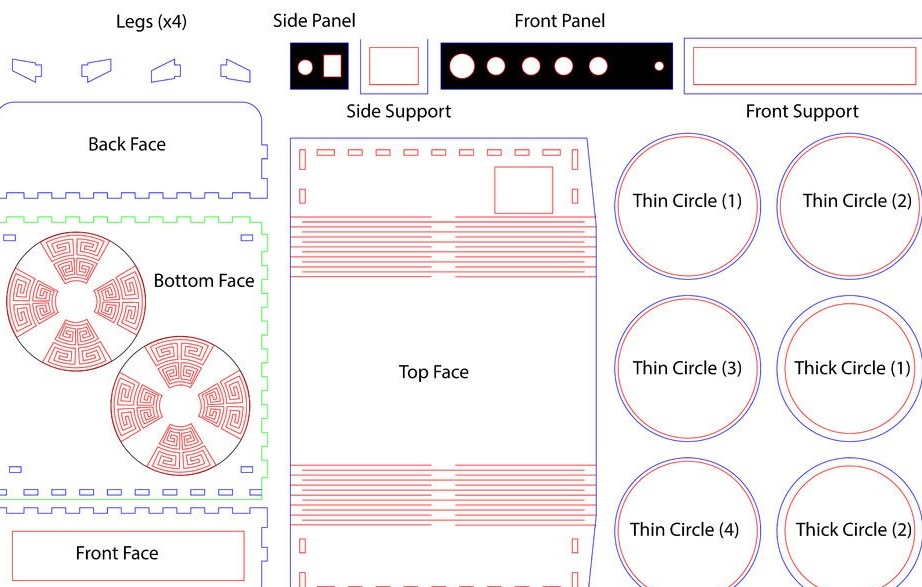
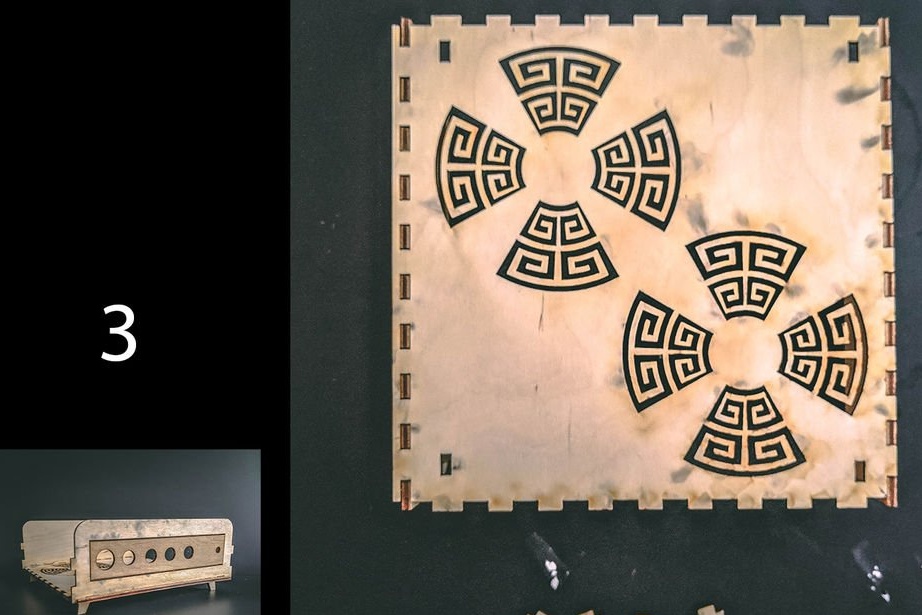
The translator had to turn off his favorite monochrome mode on the smartphone for a few seconds to watch it. Lines of various colors in the figure indicate: black - engraving (not through), red - processing in the first place, blue - in the second, green - in the third. Finished parts of the body before assembly must be processed with fine sandpaper and file.
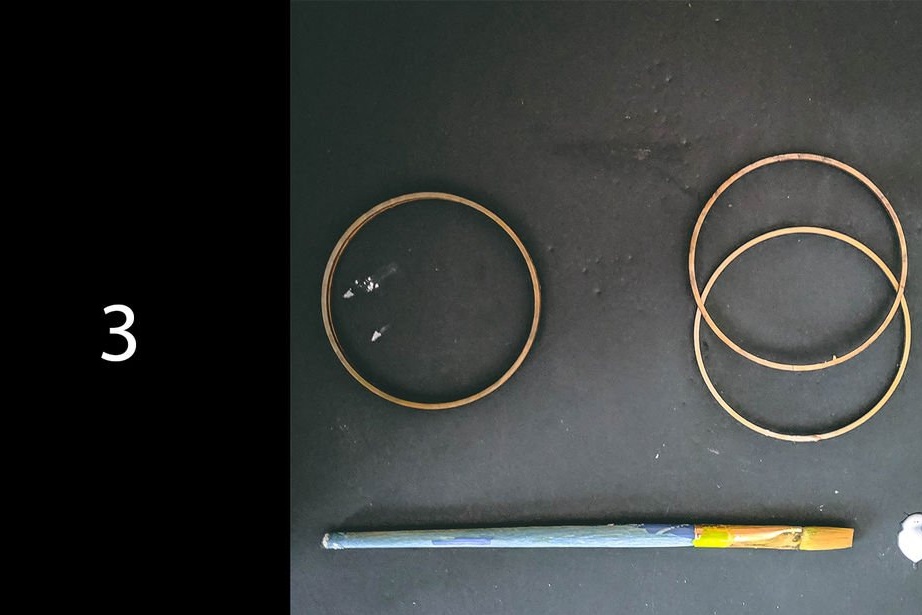
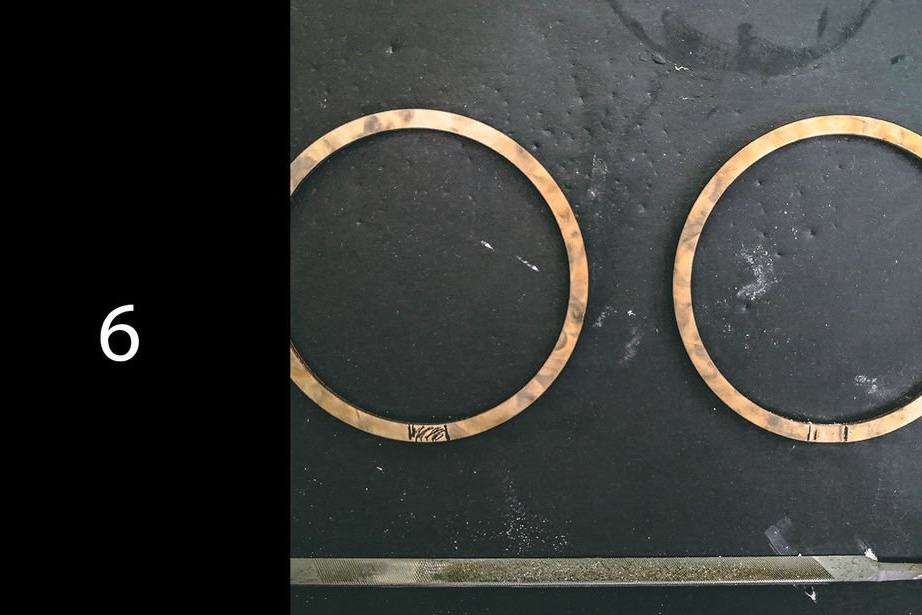
There will be four rings, although there are two dynamic heads, this is done specifically so that they can be glued in two, increasing the height. So they will hold heads better.
The master glues the resulting double-height rings to the corresponding places on the bottom wall:
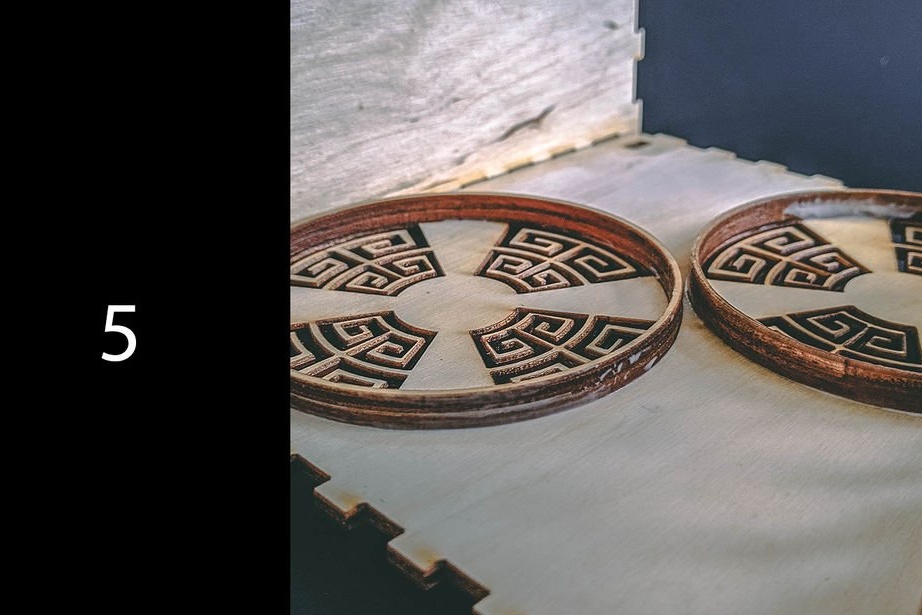
And these rings are thicker, they need to be glued to high and thin after the dynamic heads are in place. They will not allow the heads to fall out, and the master cuts the files manually to cut out the recesses intended for the withdrawal of conductors. It is clear that when gluing thick rings, you need to turn the recesses to thin ones to make a gap.
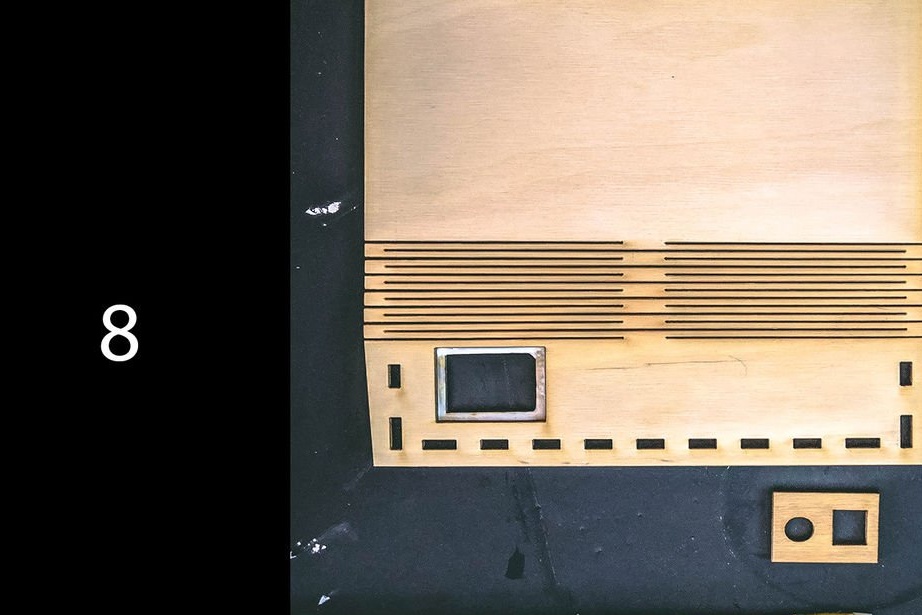
So OmidE3 glues together the details of the front panel:

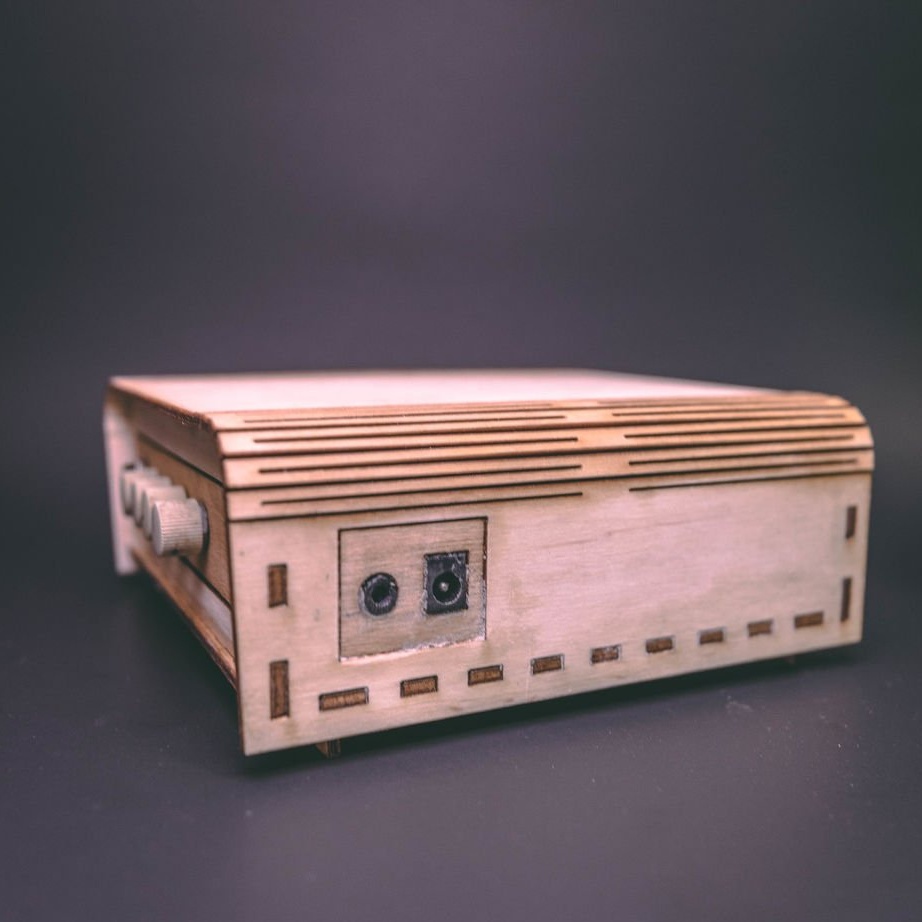
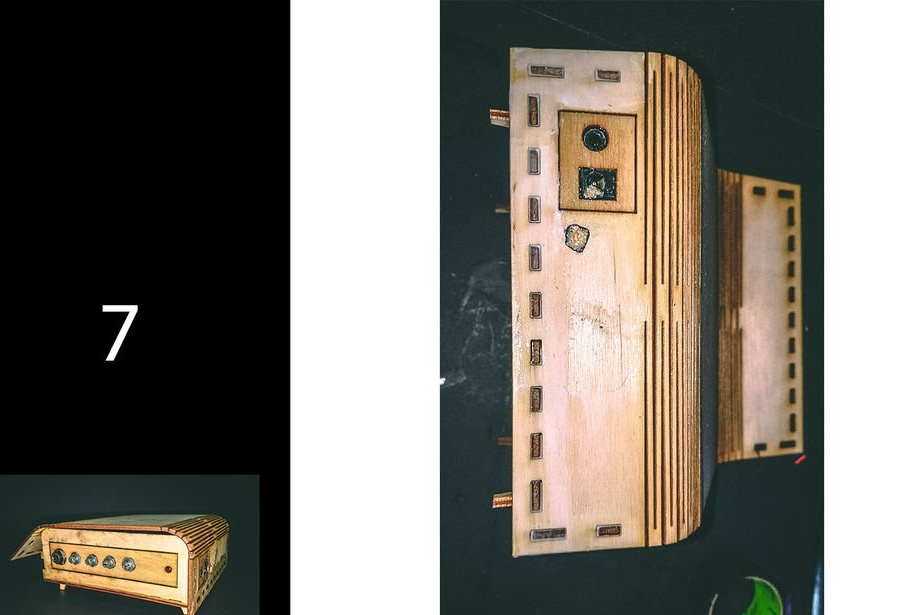
The top cover is made flexible by using multiple slots - a technique often used in laser-cut cases. In it, the master glues a small side panel for the connectors:
Then proceeds to assembly of the housing. Attaches the back to the bottom wall:
Then the front:
Pastes legs raising the comb above the table:
Installs dynamic heads as described above:

Glues a side board with connectors:

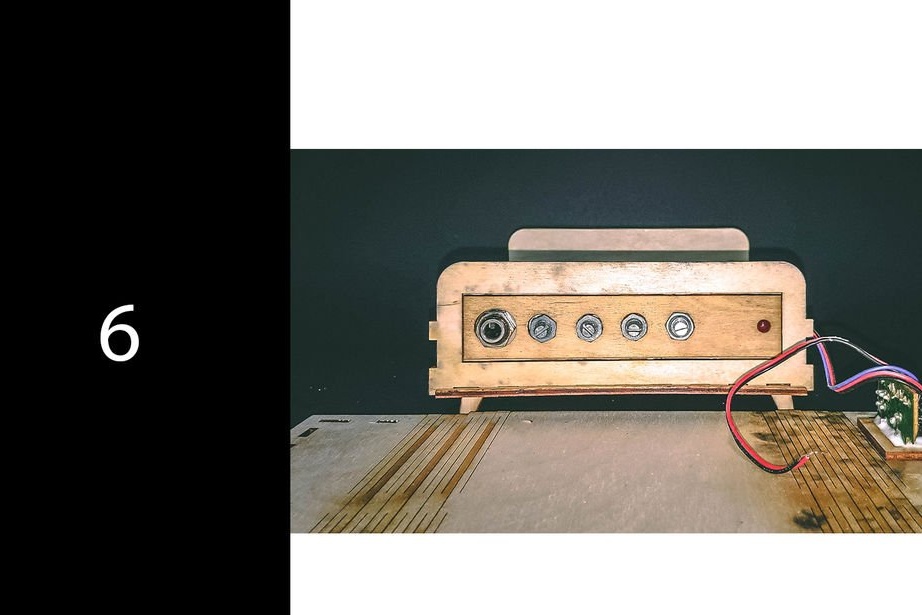
Installs an input connector and variable resistors on the front panel:
Glues the top cover only on the right:
Replaces the amplifier board, closes the case. On the left does not stick so that you can open:
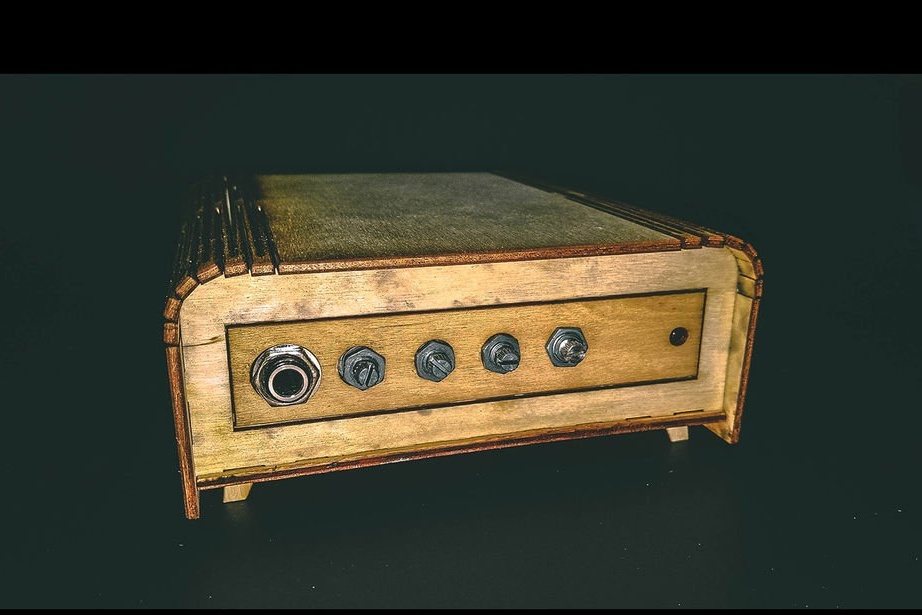
Now you can personalize the case: sanded, treated with a stain, applied, painted, etc.