

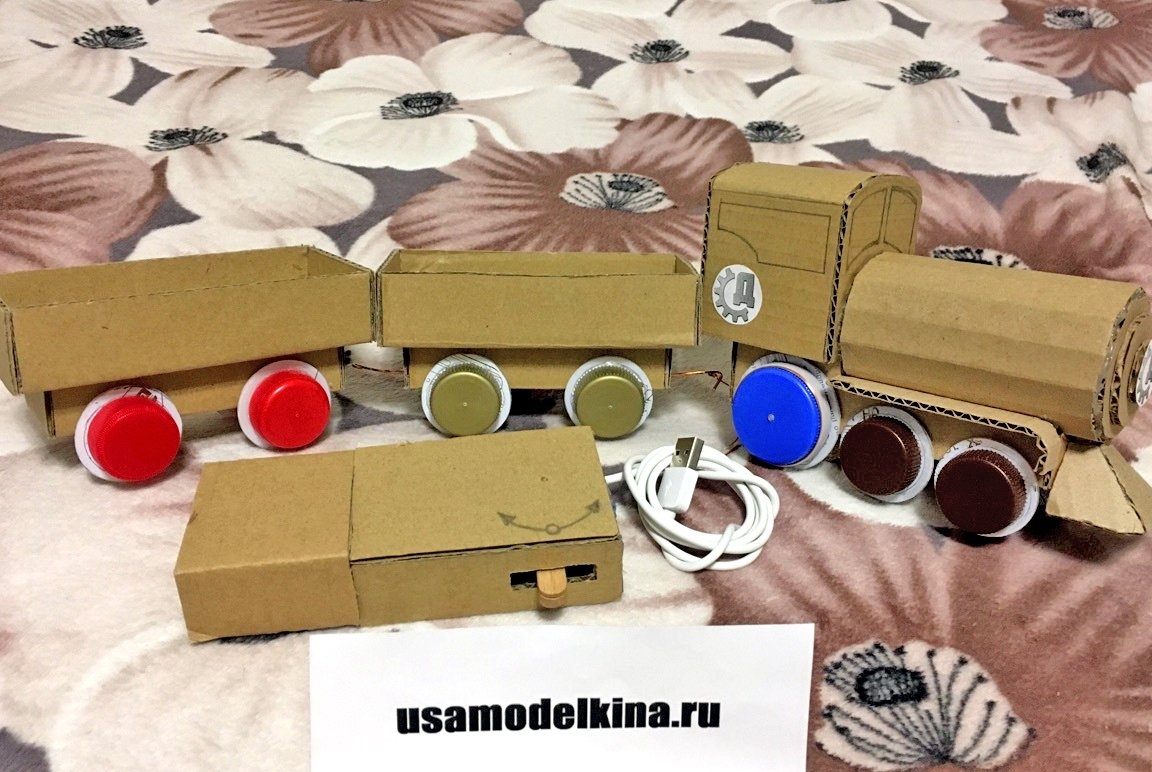
Video with the process of manufacturing and testing a paper train.
In this article, we will show how to make a railroad out of cardboard and covers, as well as a console with which we will operate the train.
We will need:
- corrugated cardboard
- purchased on AliExpress.com
- old USB cable with socket
- a piece of elastic sheet
- caps for plastic bottles
- a piece of plastic (you can take an old CD-ROM)
- Soldering iron, wire cutters and other tools.
Rail Manufacturing:
1: Making a train.
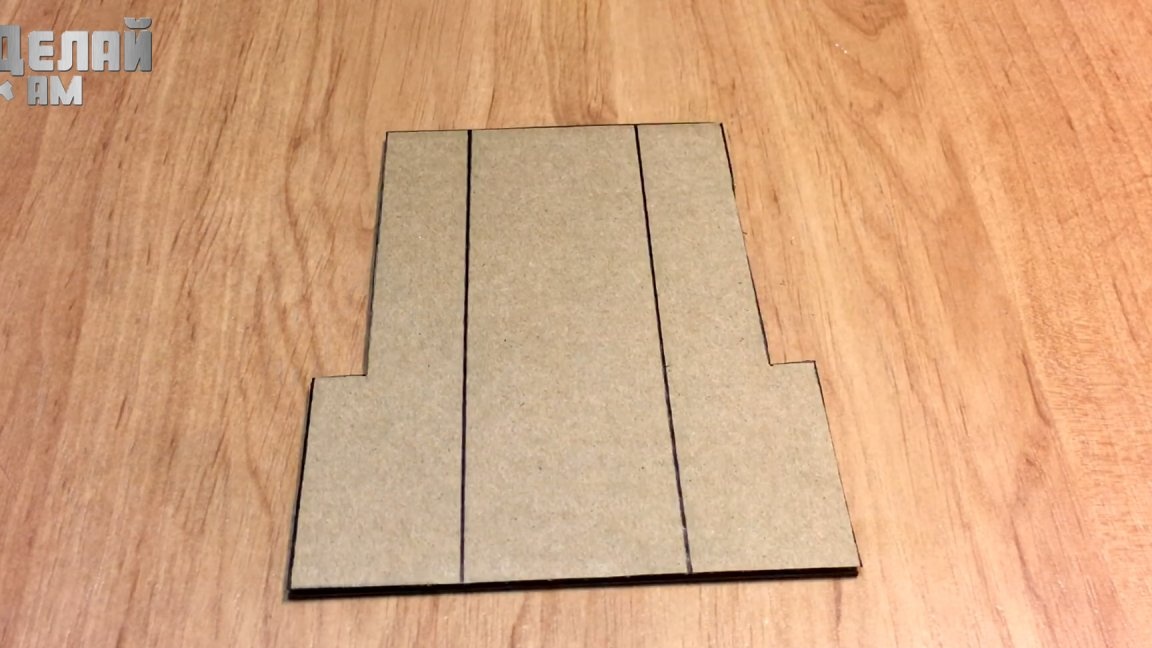
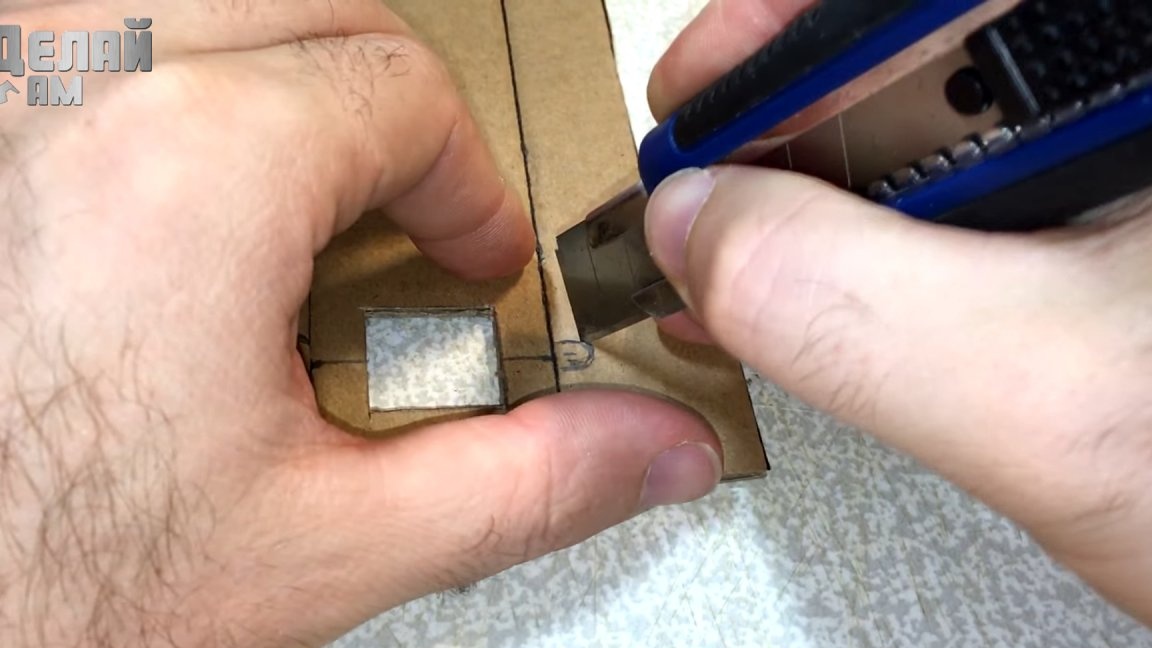
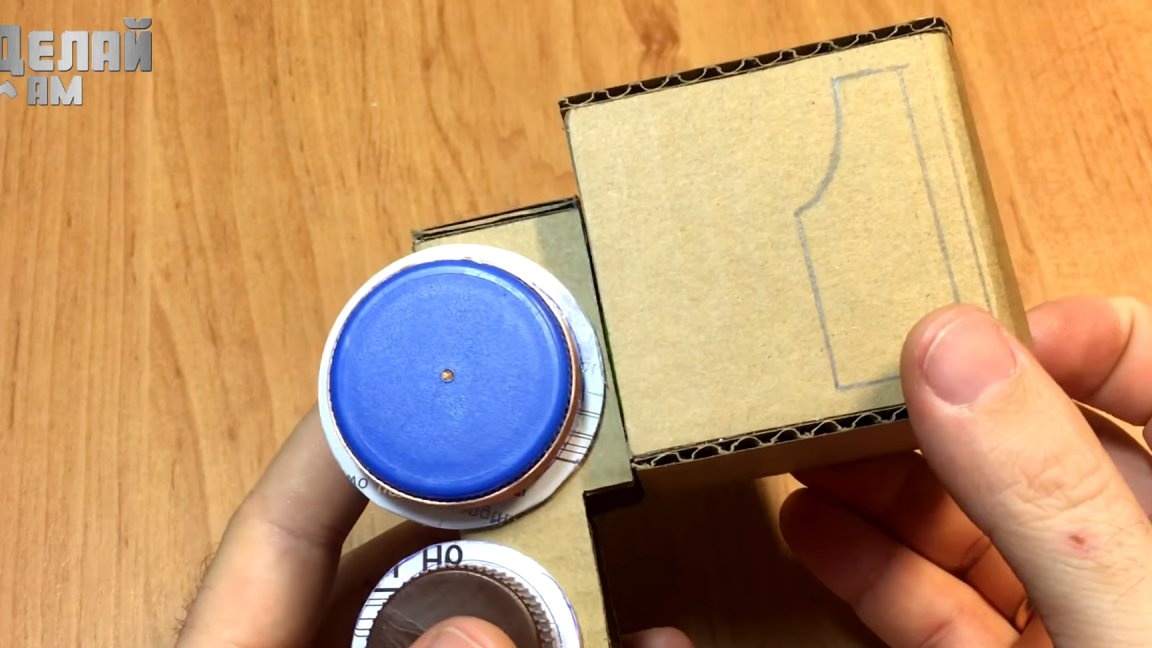
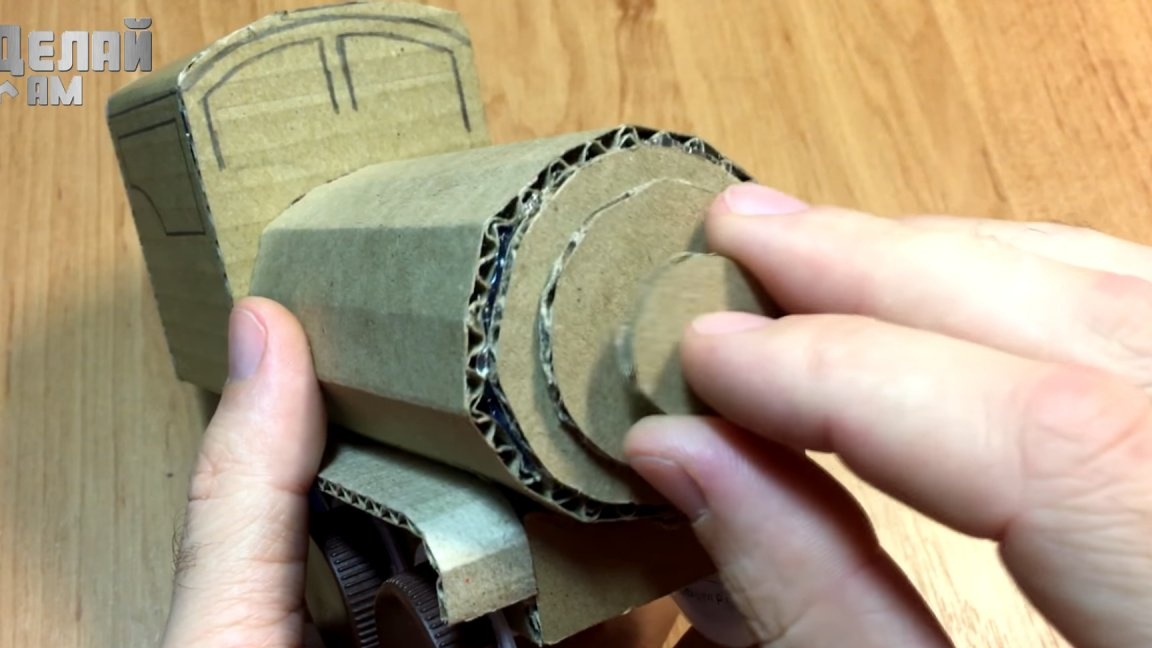
First, cut out the base of the train as in the picture.
Next, mark the place for the engine and make a seat for it.
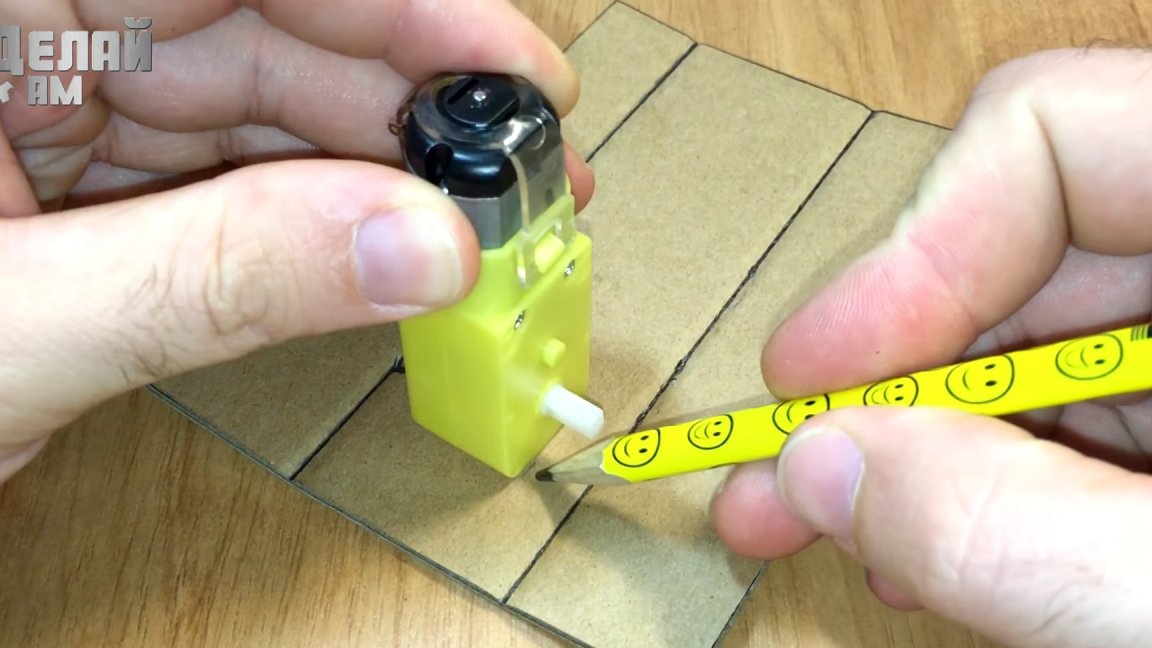
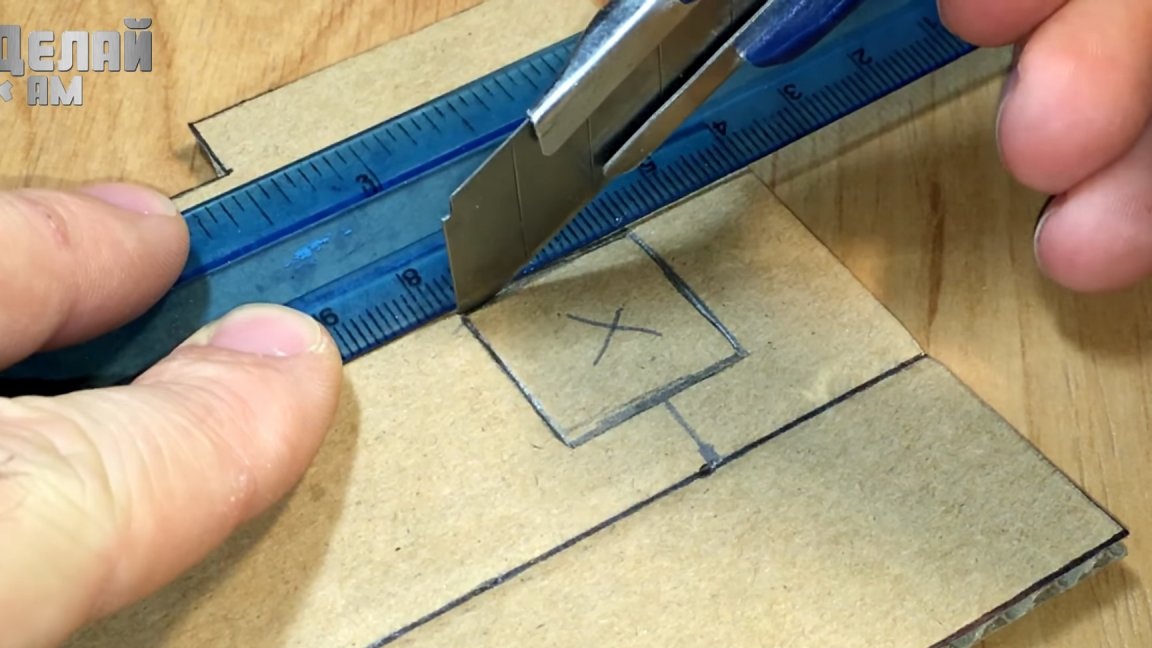
We also make holes for the gearbox axis where we install the wheels.
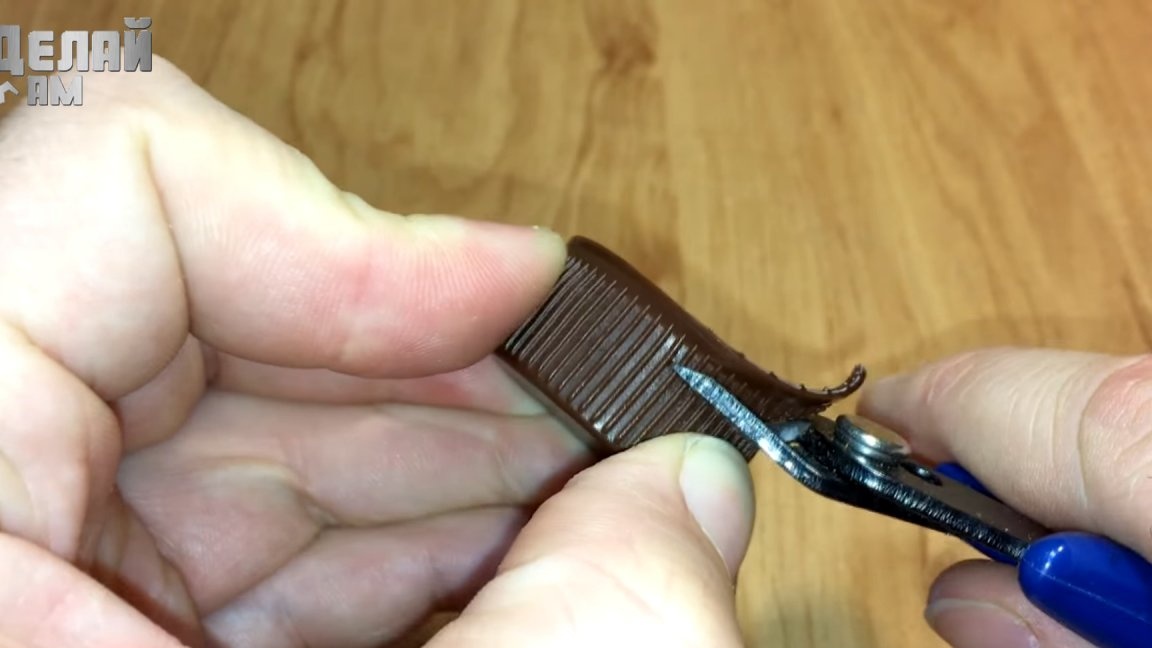
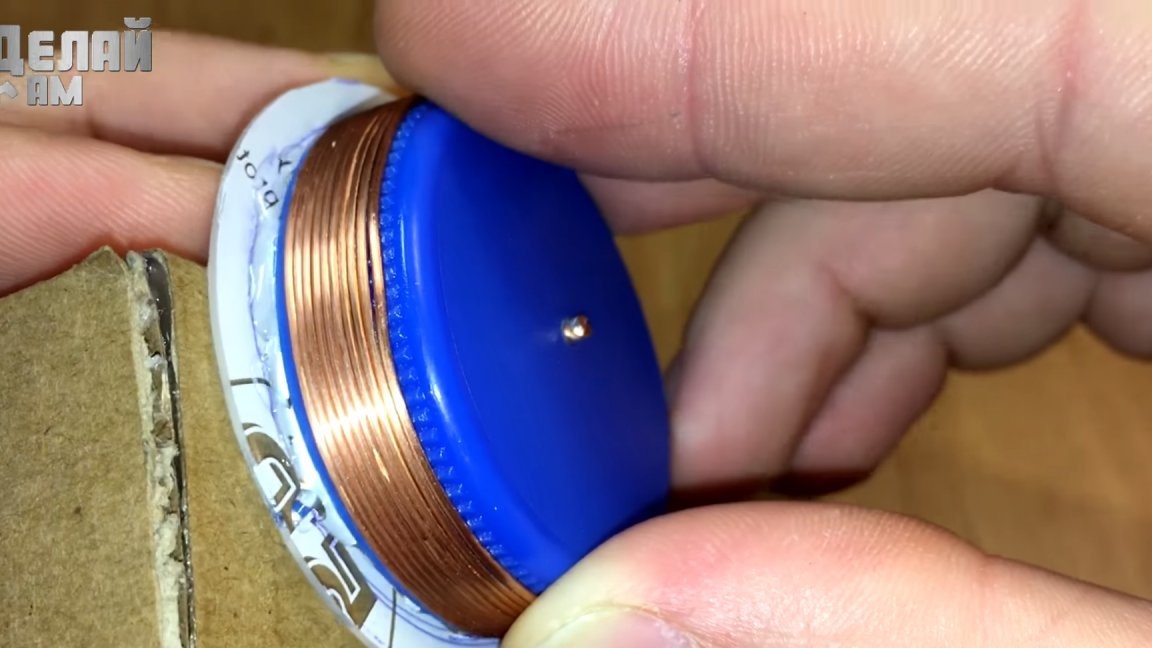
We prepare the lids, cut off the excess part and smooth the edge, we make small covers the same size as large ones.
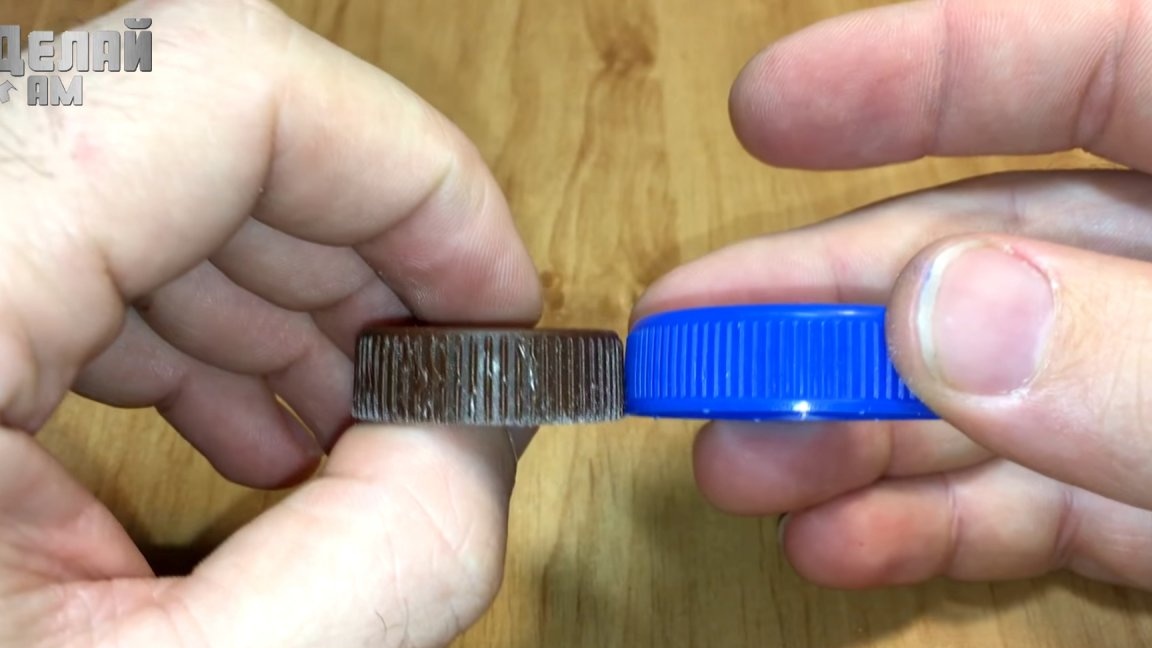
We cut a circle a few millimeters more than the prepared lids from a CD or similar plastic.
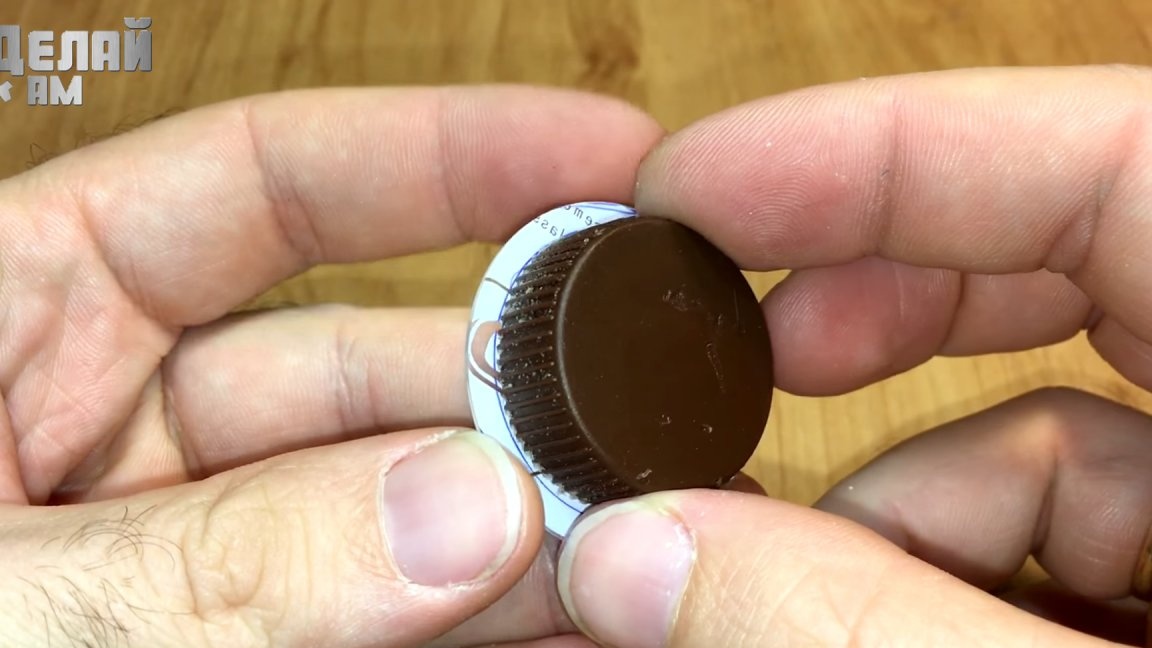
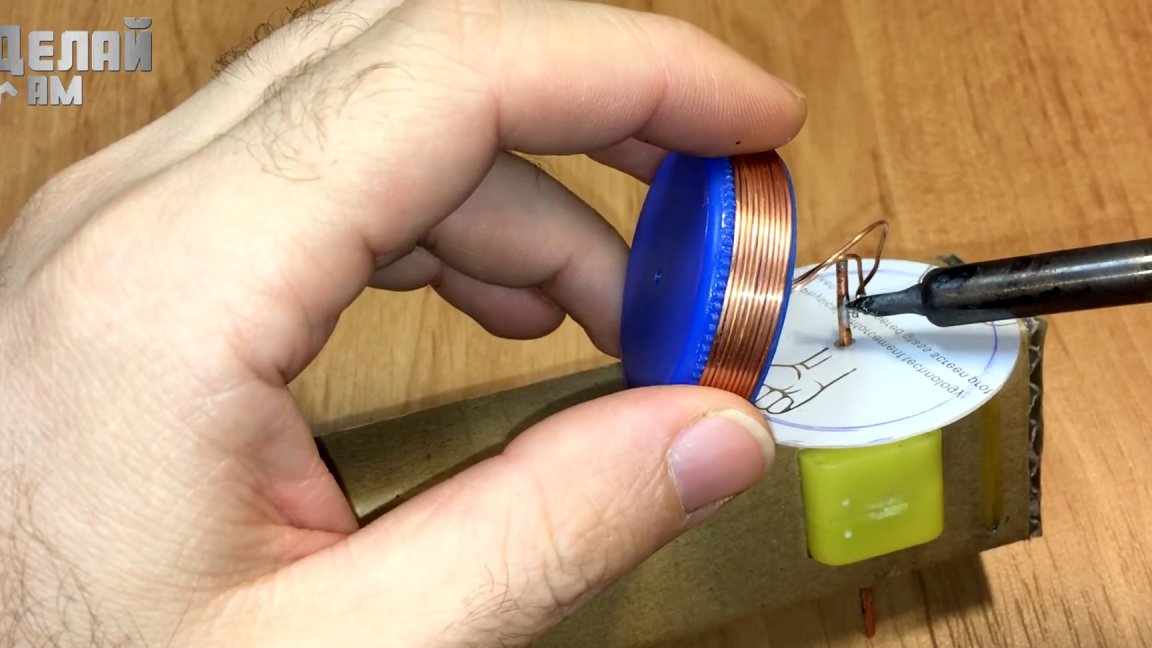
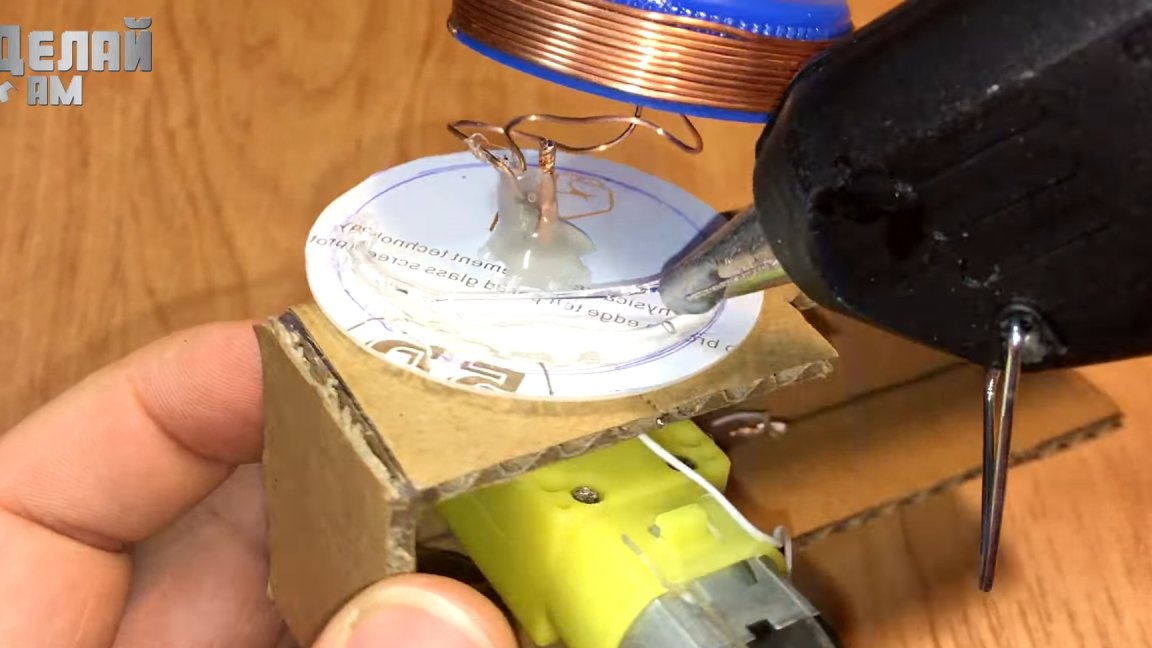
We wind the copper wire onto large wheels, having previously sanded it from varnish, these wheels will be electrically conductive.

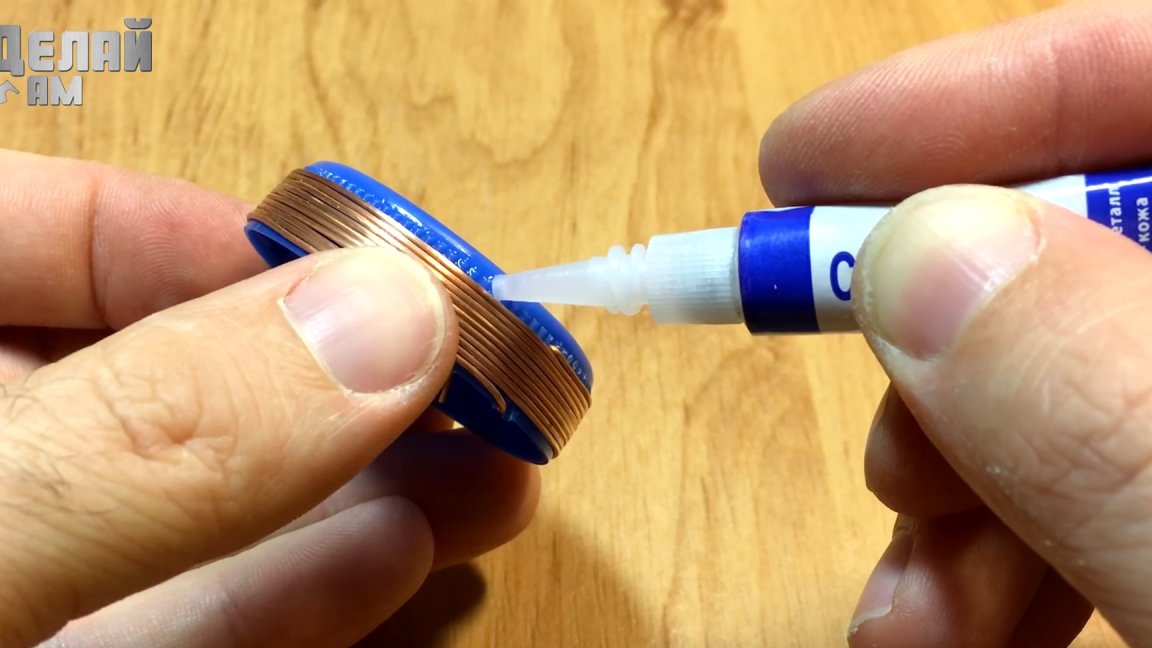
We fix the wire with super-glue on the lid.
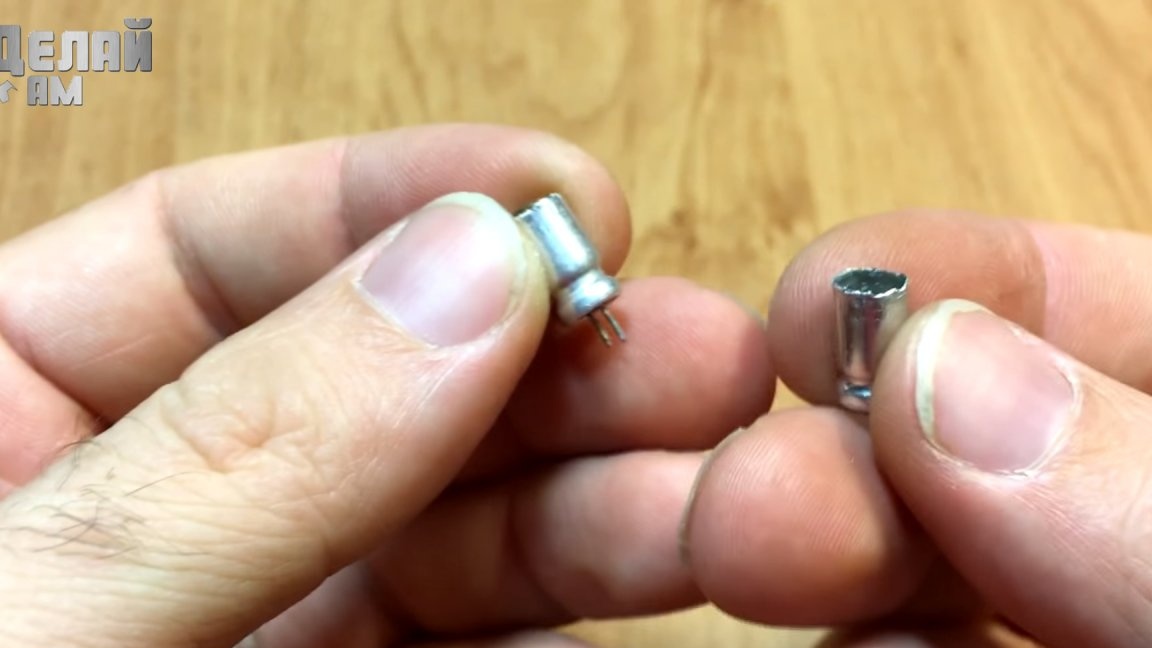
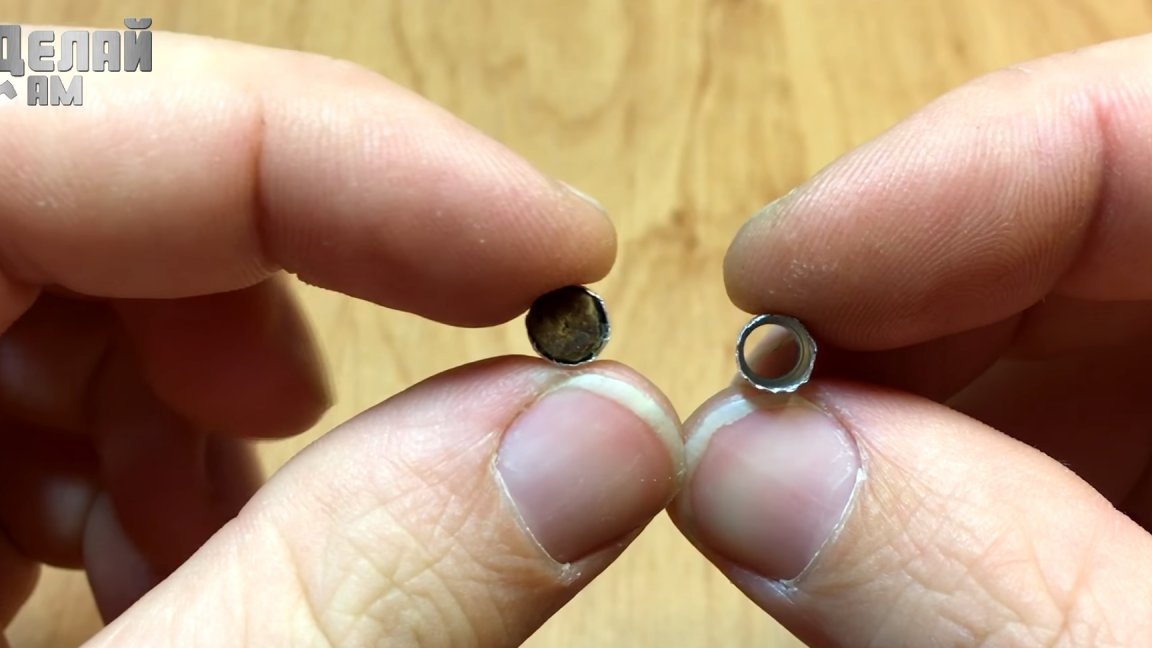
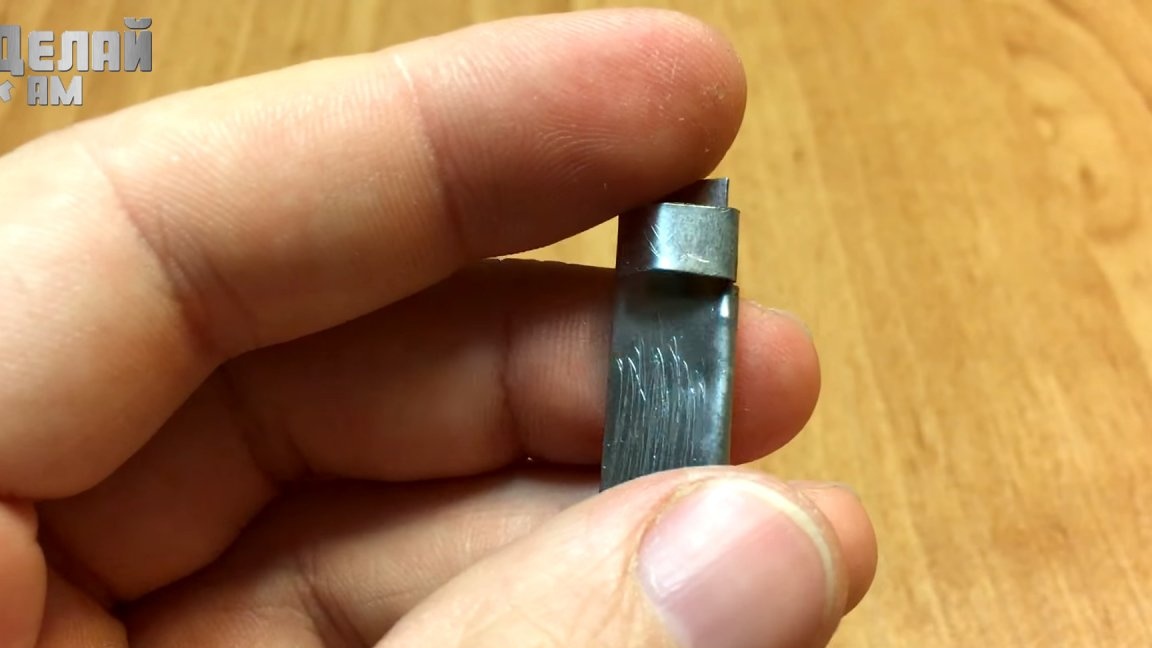
We select a pair of capacitors of approximately the same diameter as the axis of the gearbox shaft and disassemble them. We only need the external aluminum part of the capacitors.
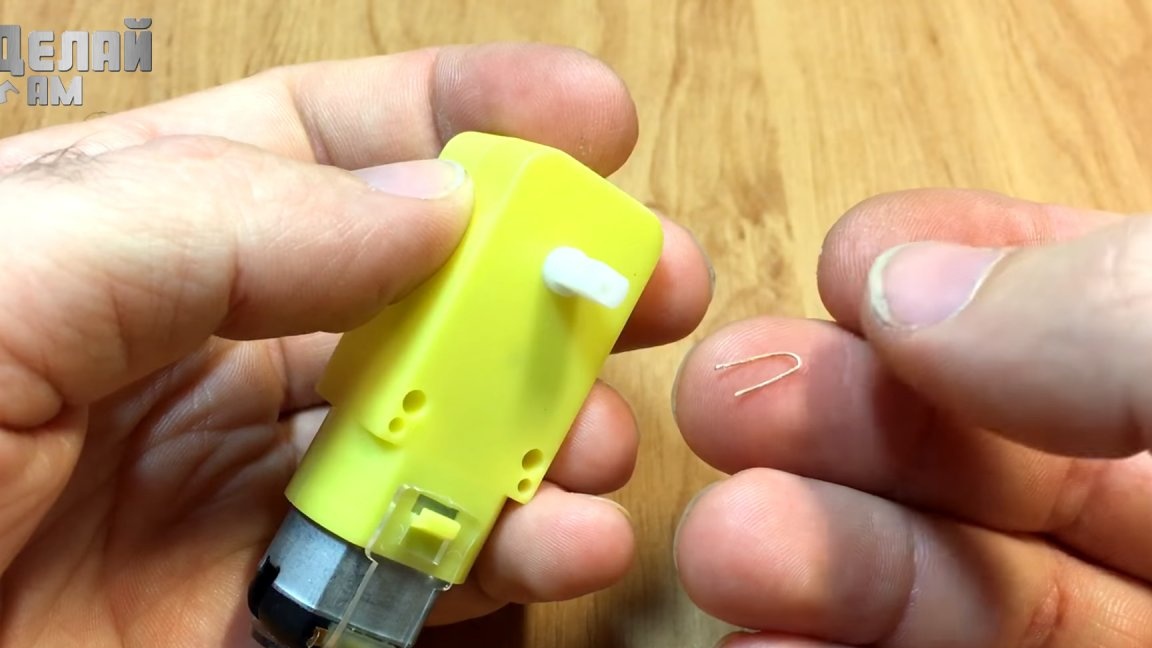
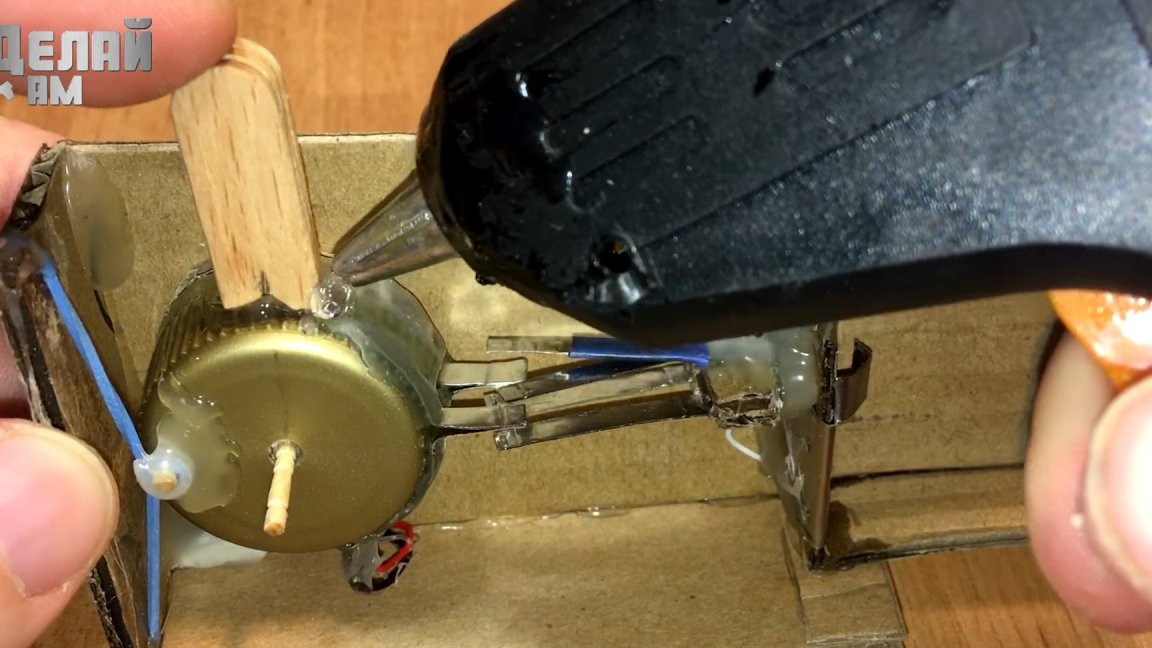
We put a "P" shaped wire on the axis of the gearbox and fix it by installing a 3 cm wire.
We dress the sleeve from the capacitor to the axis and fill it with super glue so that our design holds well.
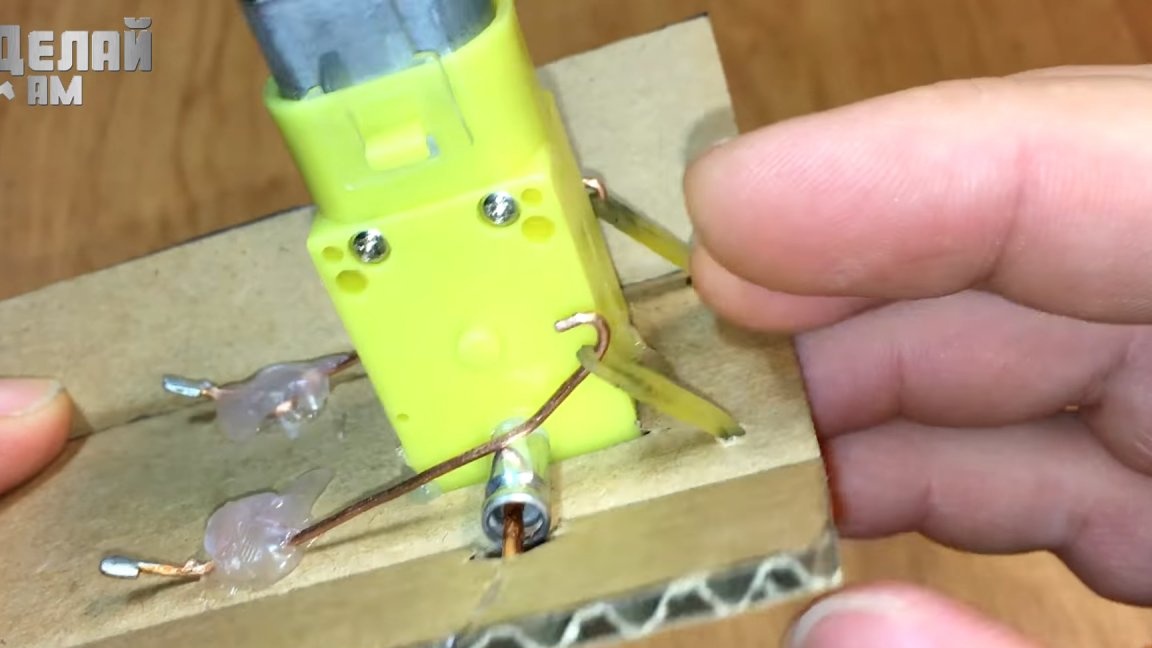
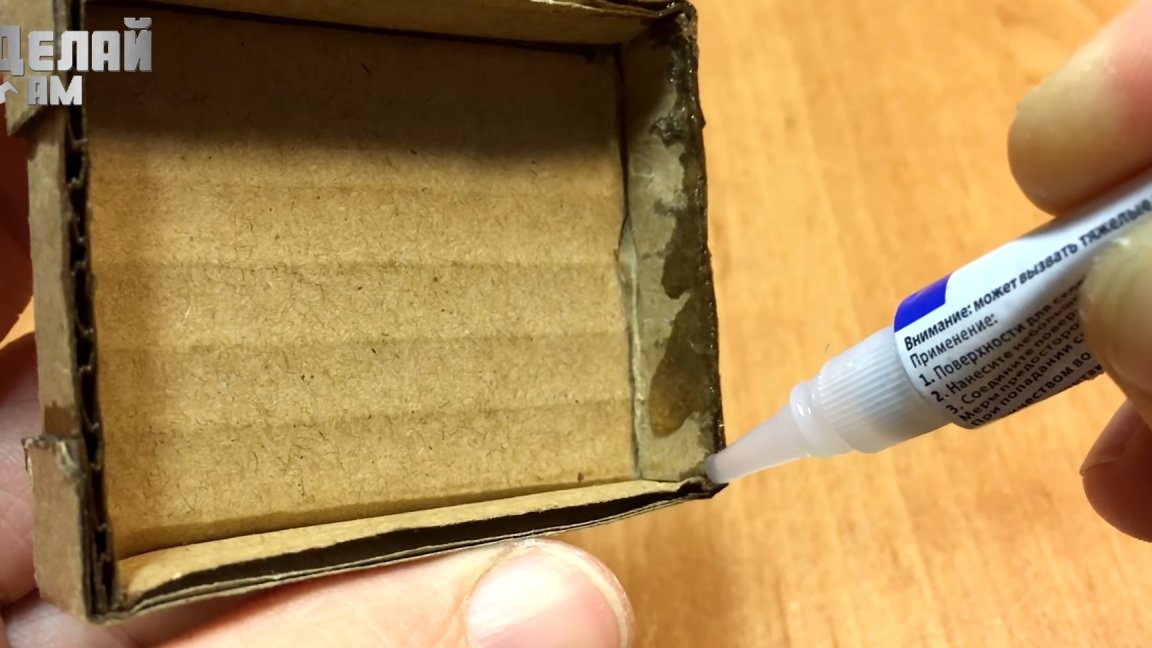
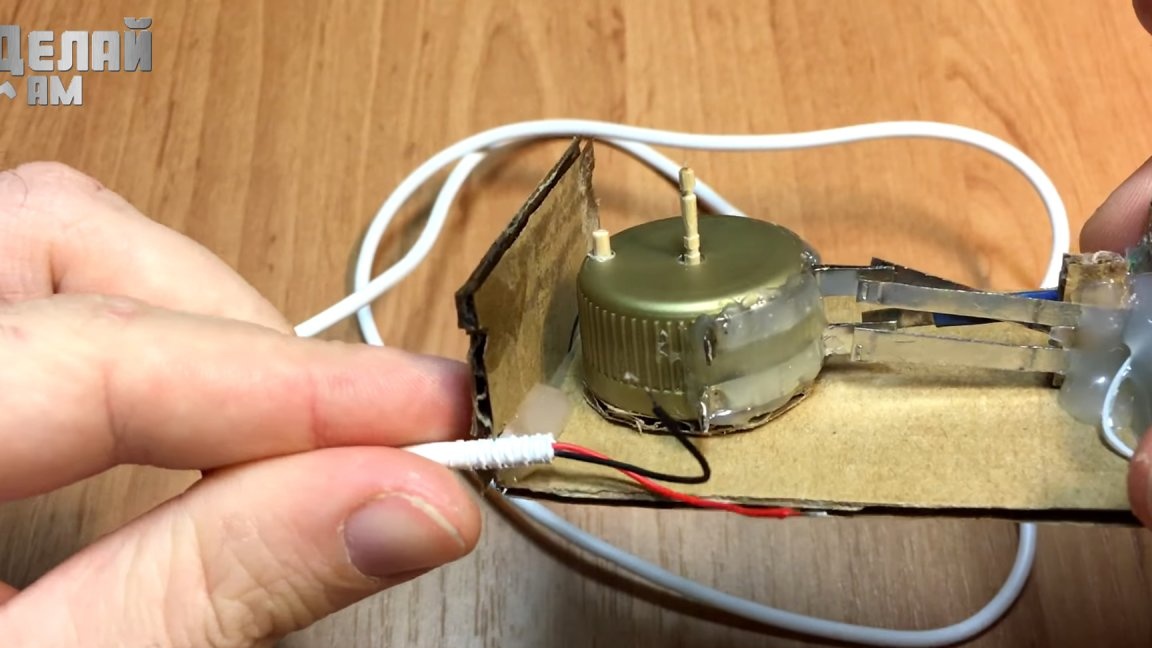
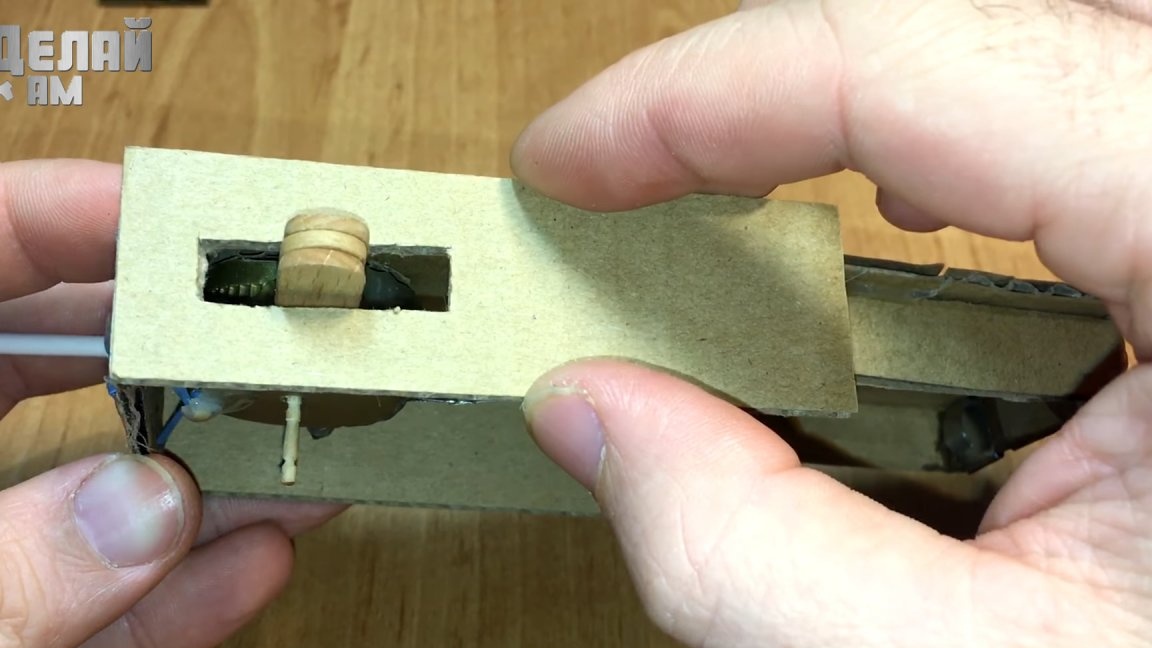
We install the prepared gearbox on the train frame and glue it with thermo-glue.
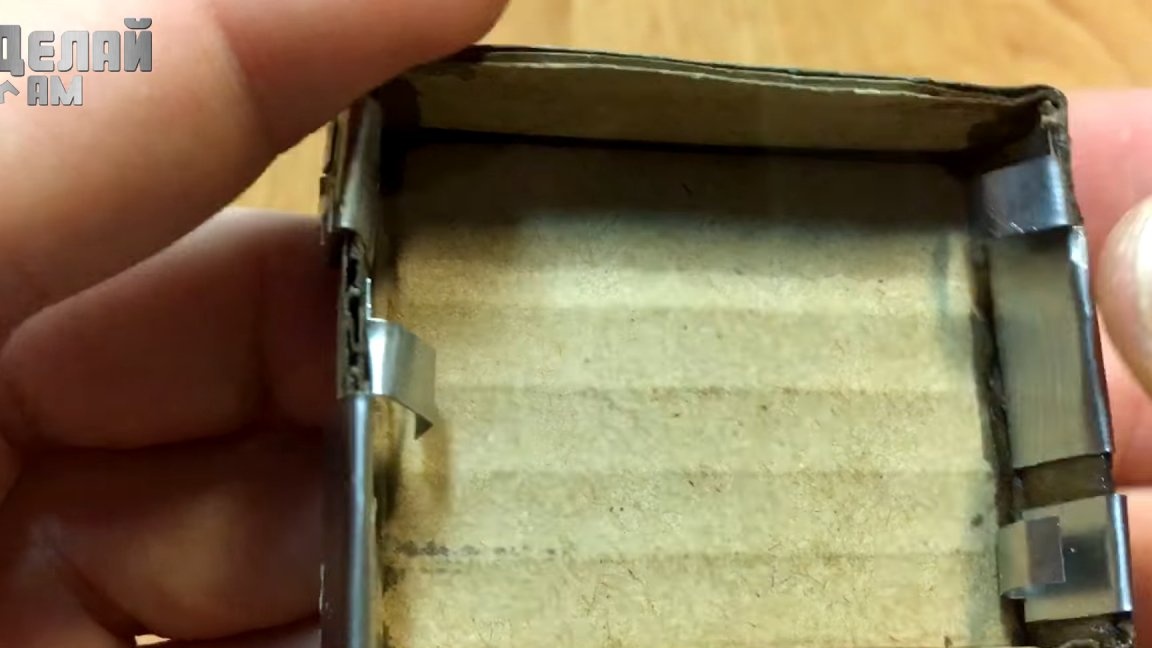
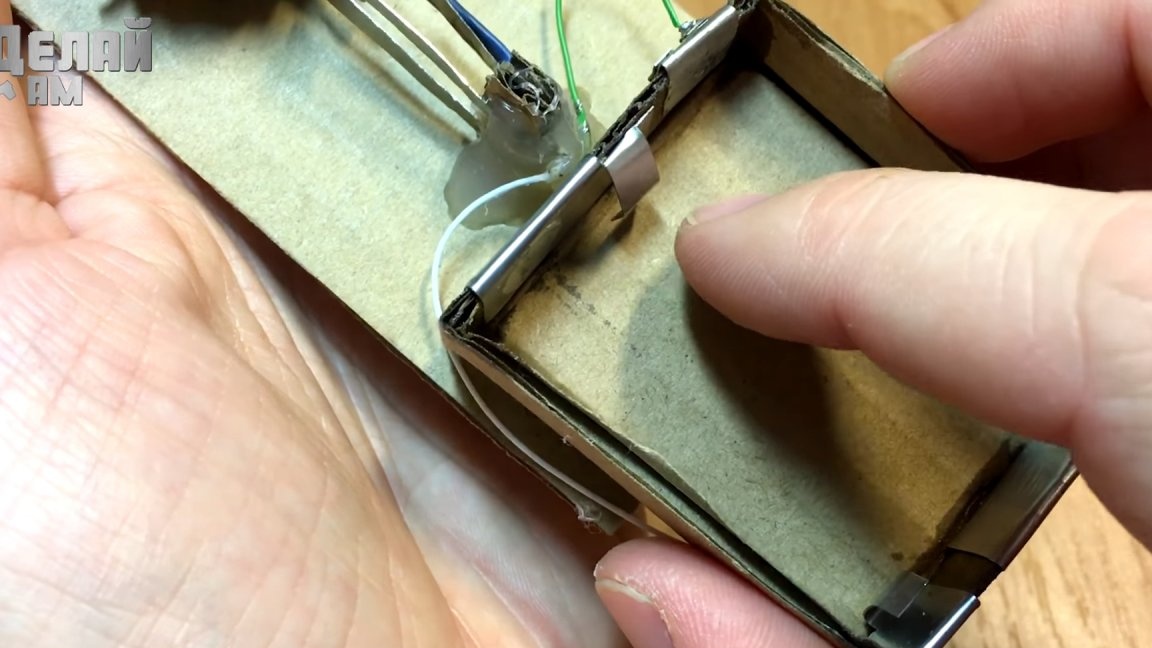
We make two sliding contacts from the wire, which will slide along the aluminum sleeves on the axis of the gearbox.
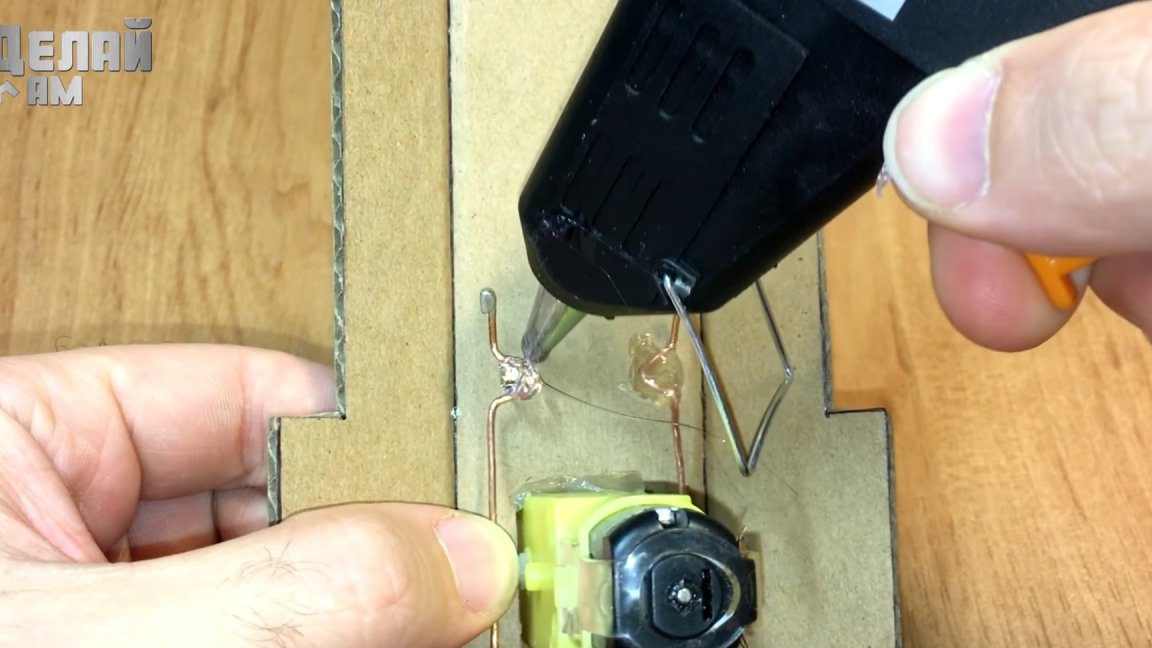
At the ends of the wire we make hooks and hook the elastic band so that there is good contact.
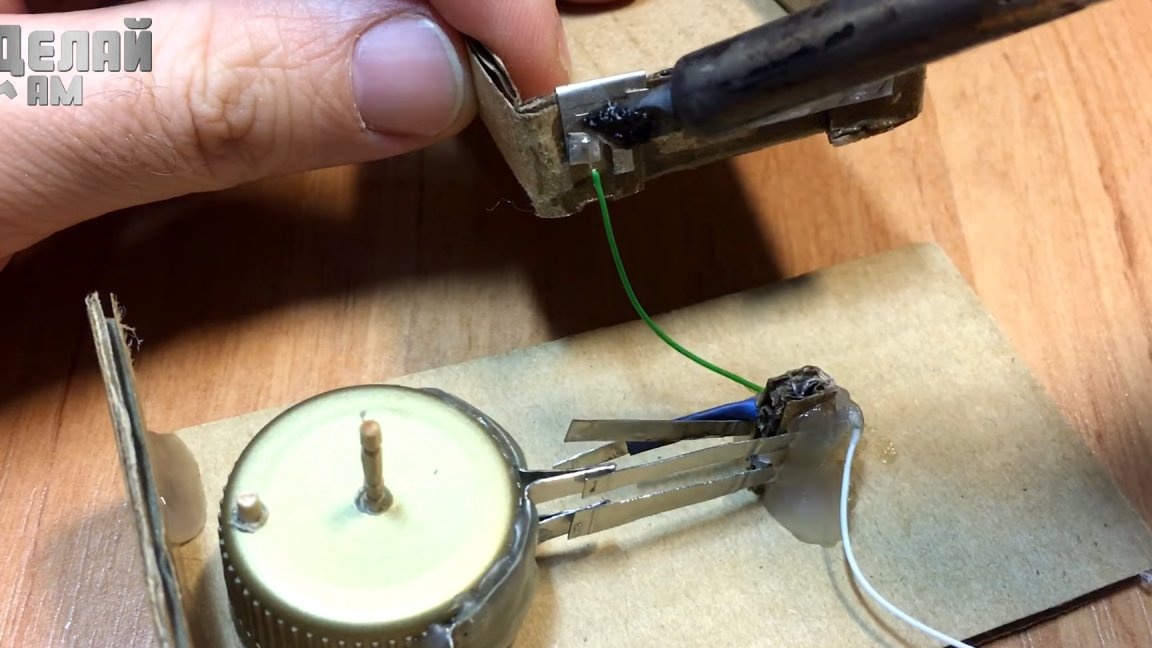
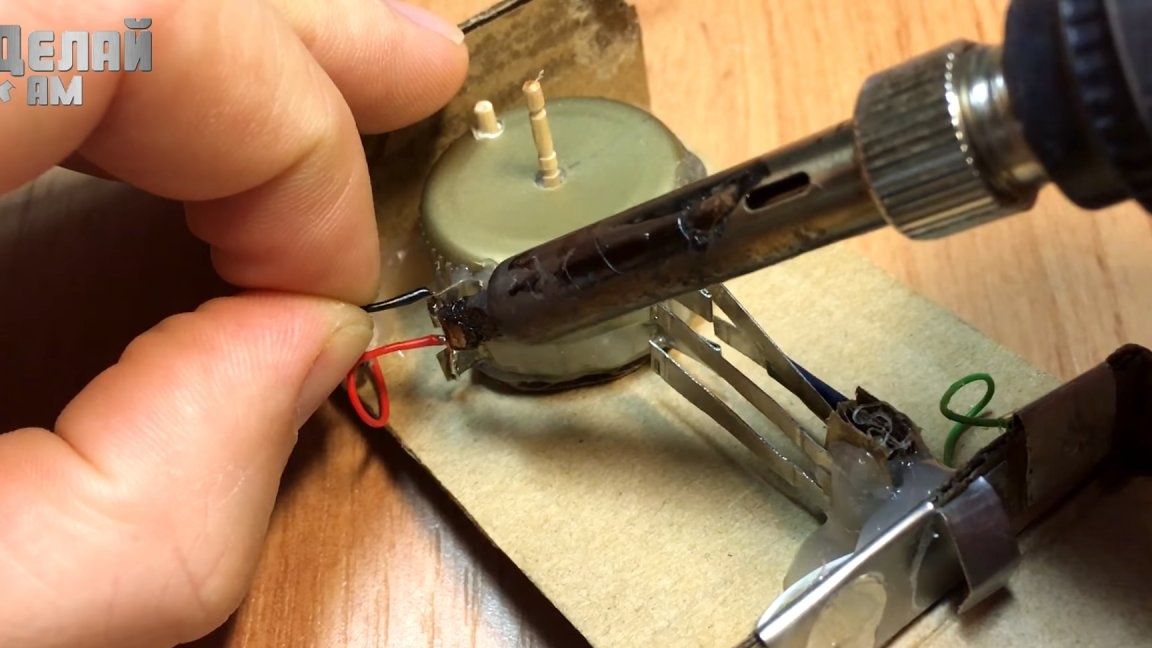
Solder the wires to the other end and connect to the motor.
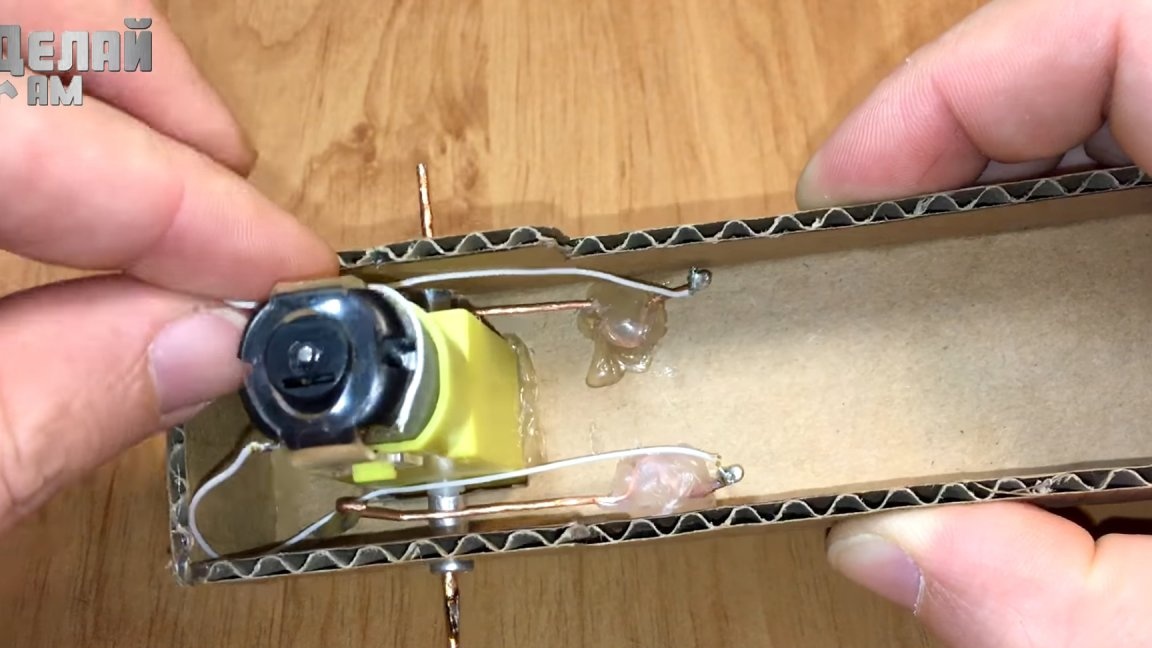
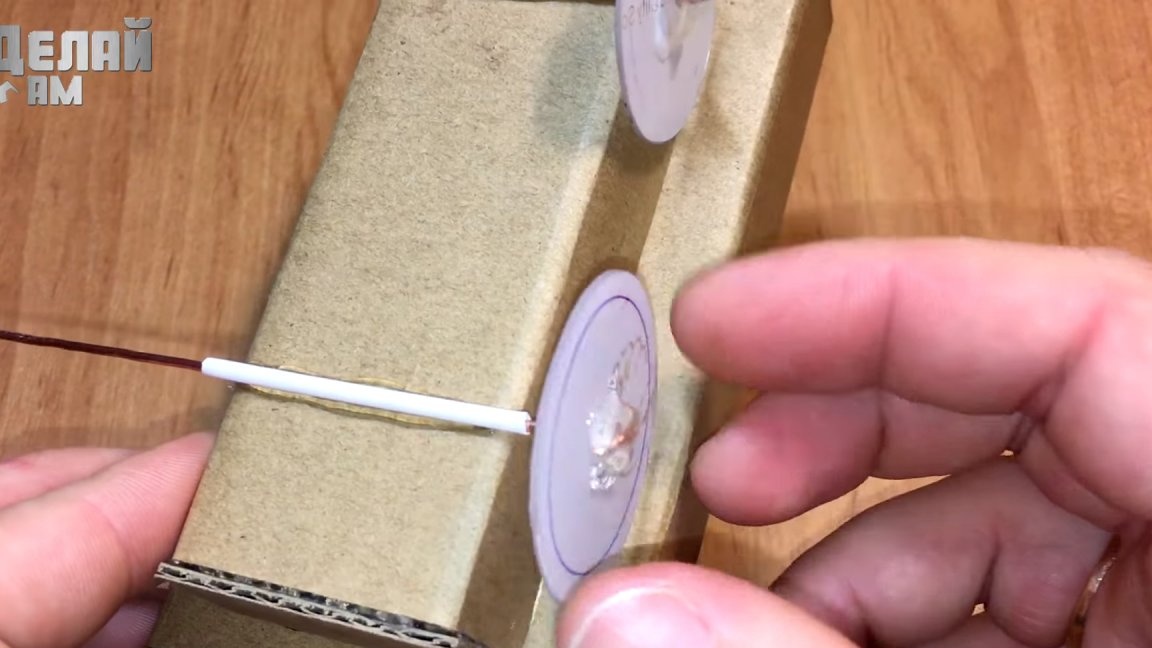
We solder the wires from the electric wheels to the axis, the plastic circle with glue also to the axis, and the lid to it, we make the rest of the wheels in a similar way only without electric contacts.
Putting the booth and the rest of the train.
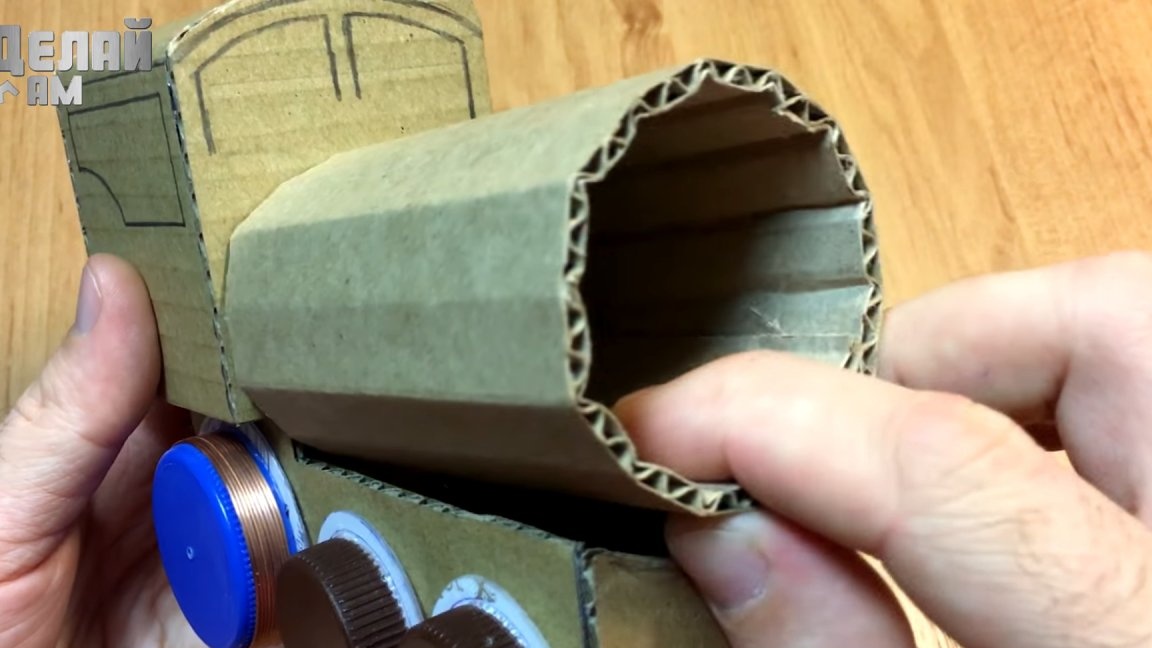
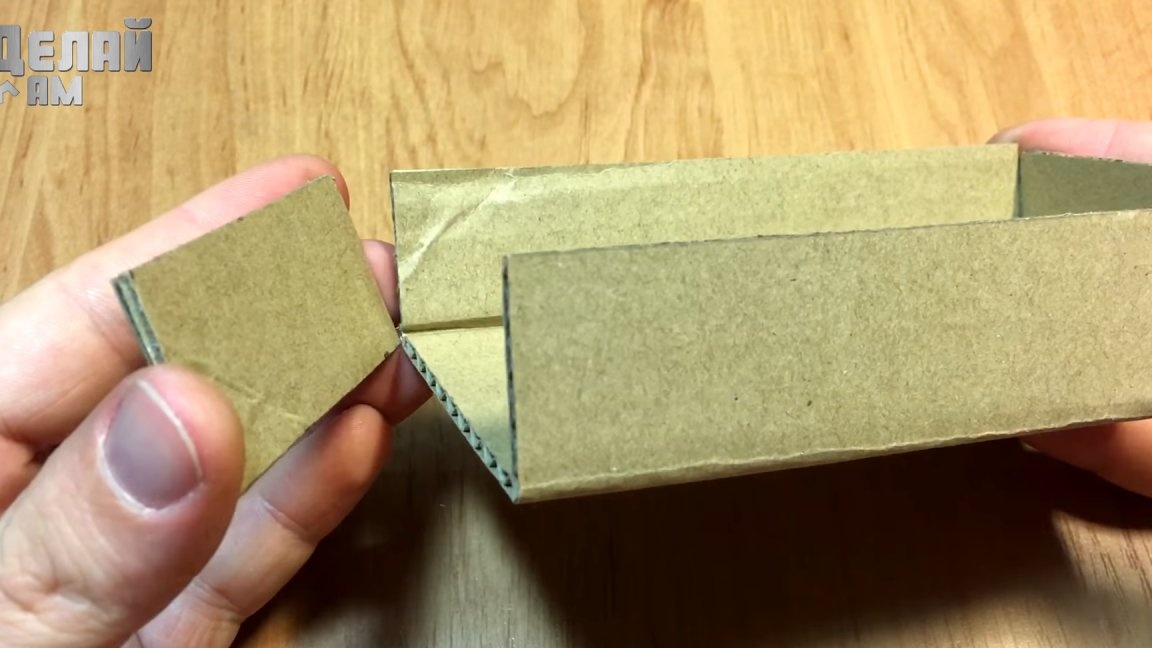
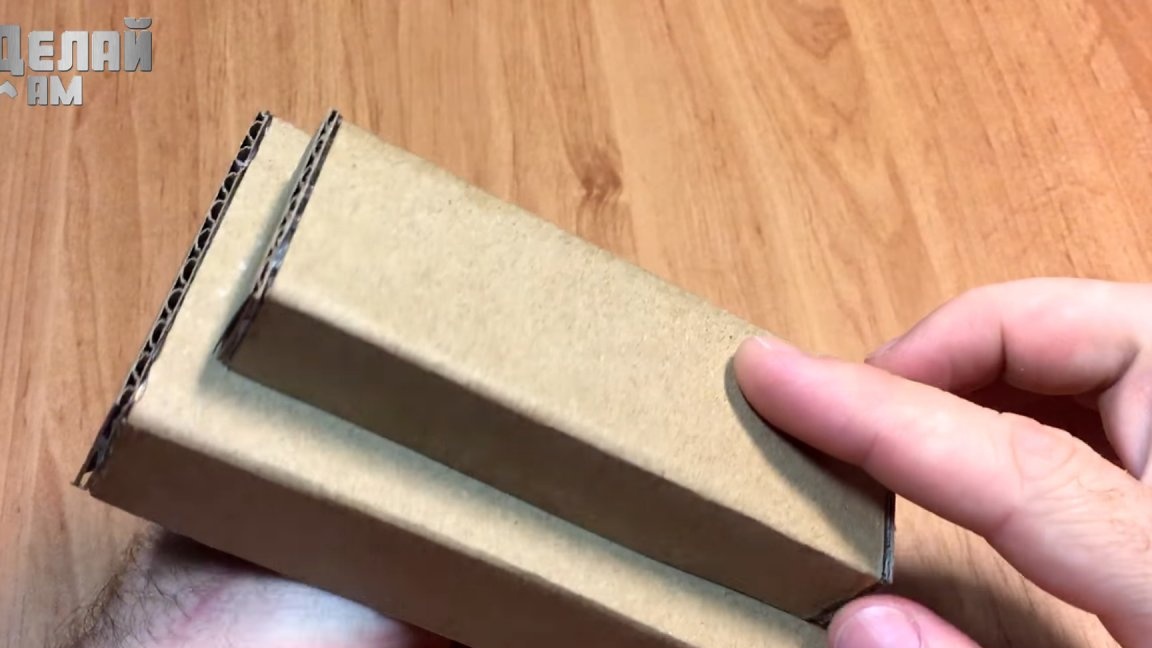
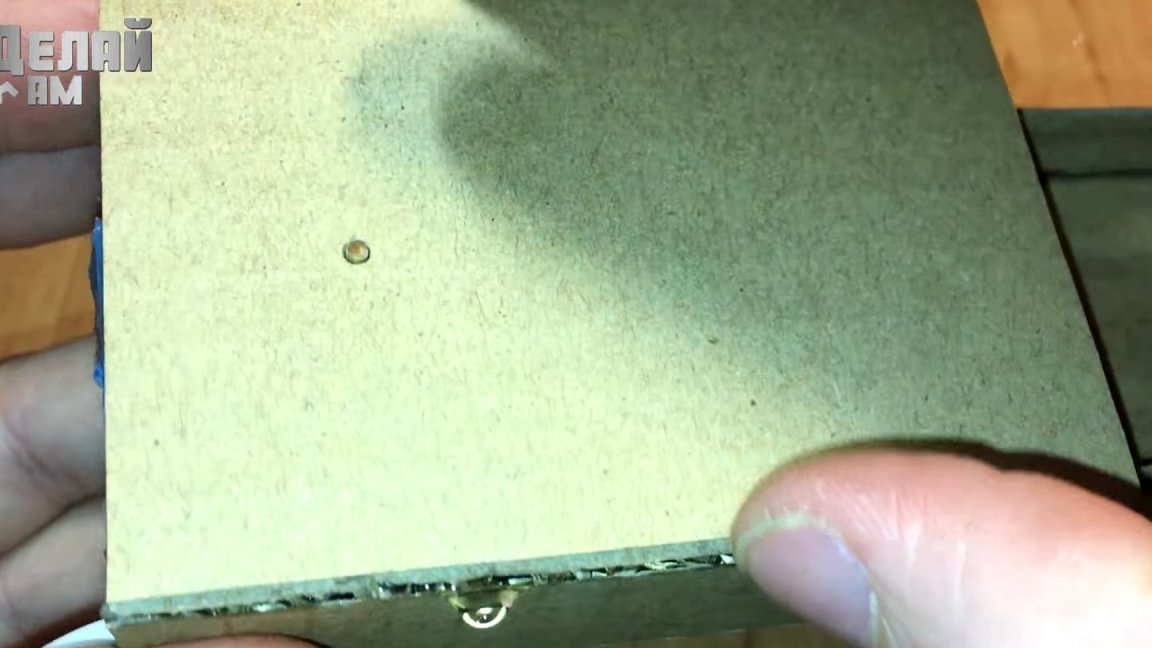
We glue two rectangular boxes, then glue them together, it will be a car.
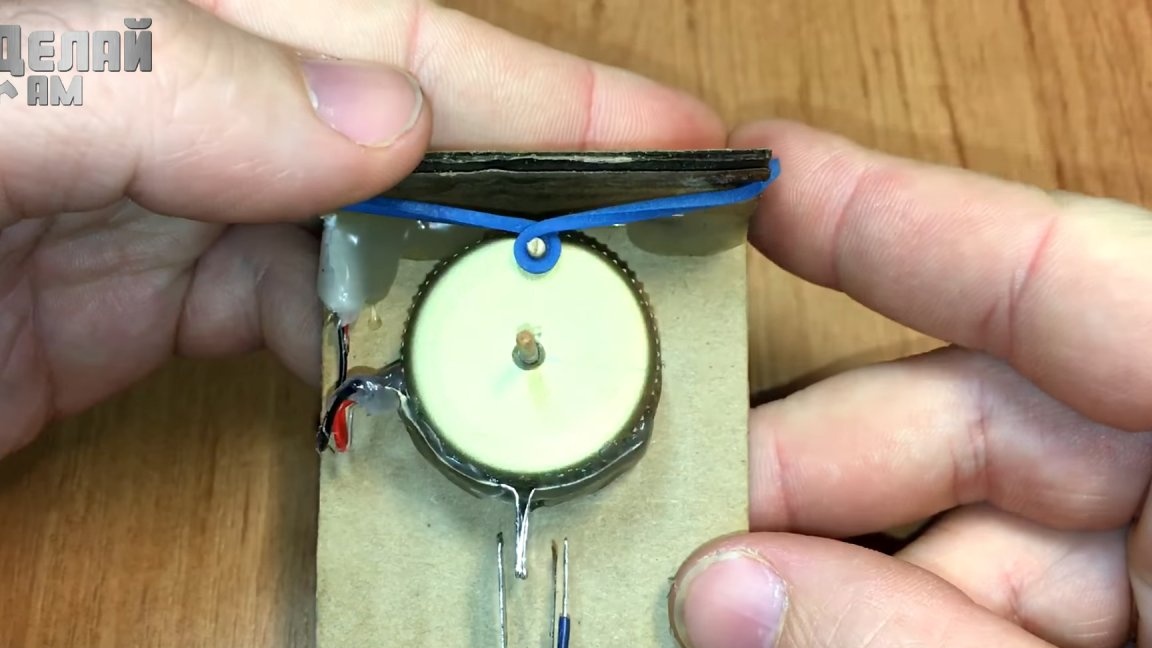
Glue two cut cotton buds to the smaller box, into which we install the axial wire with wheels.
2: Fabrication of the railway.
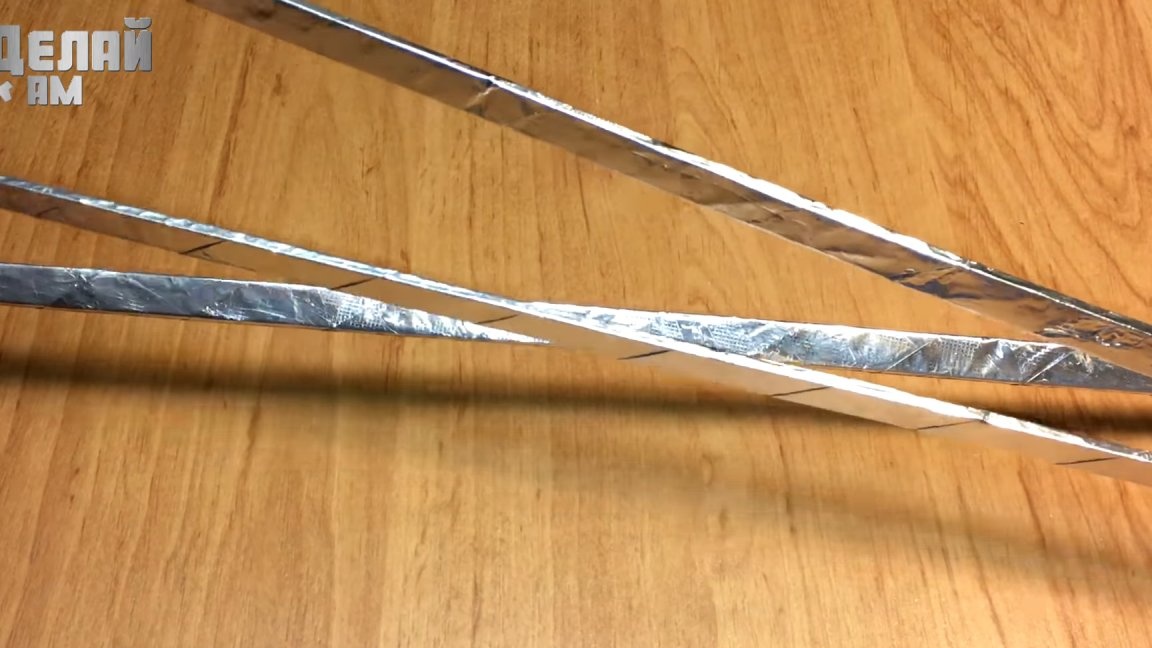
We cut cardboard into long strips, these will be rails and short for sleepers. Also cut out the connecting places as in the picture.
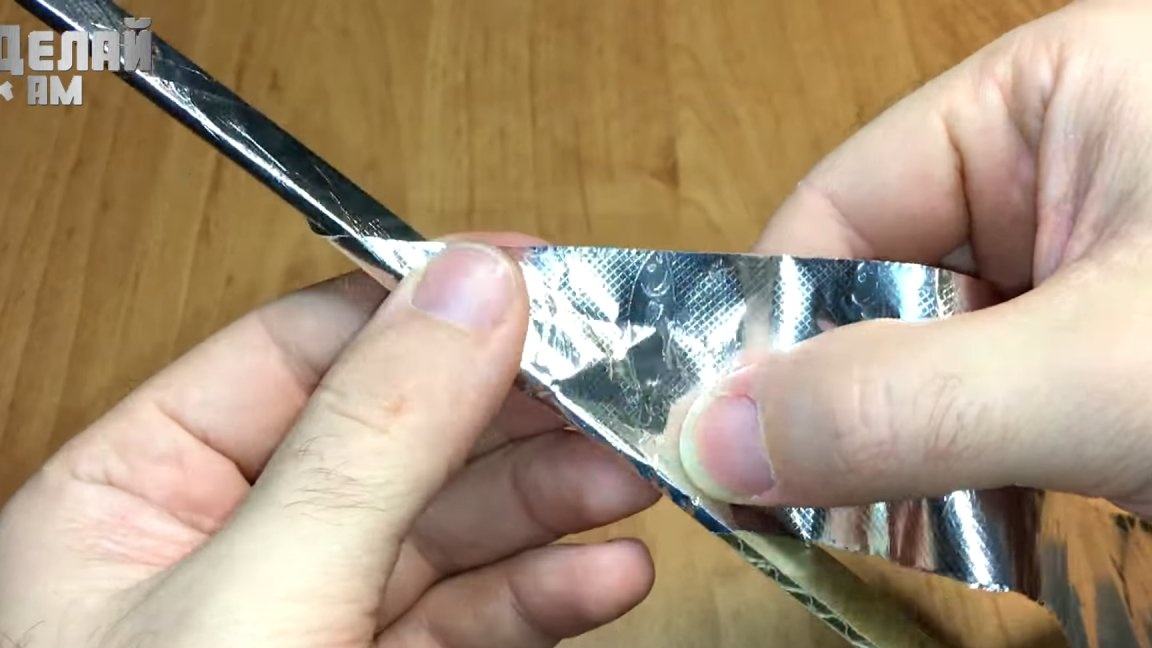
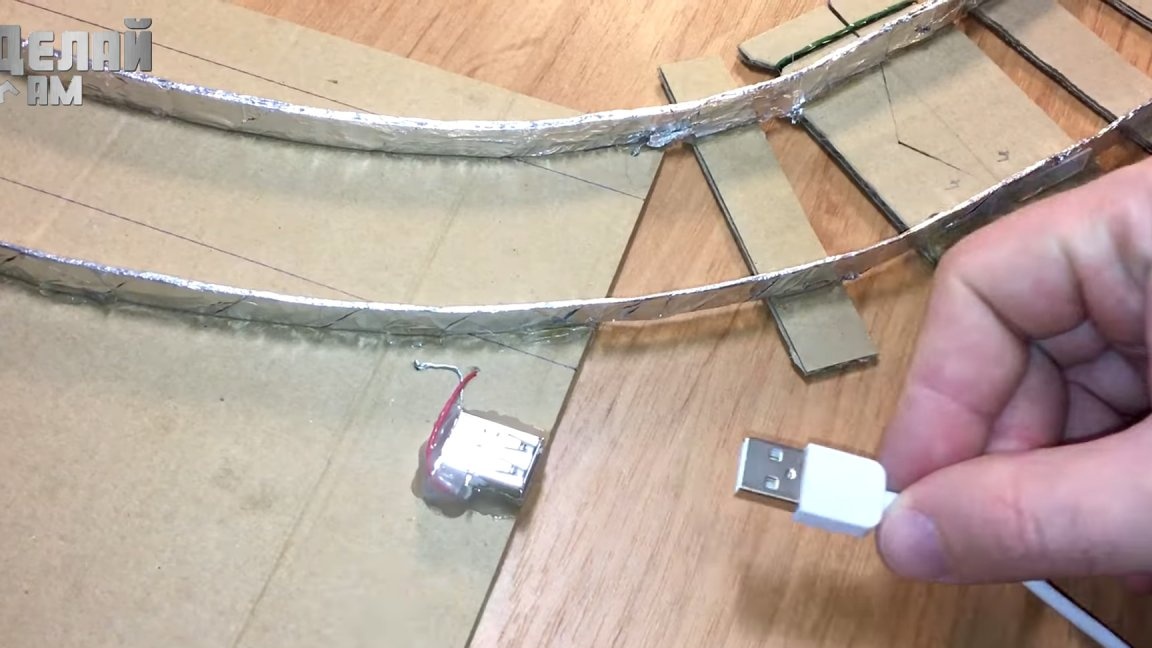
We tear off a strip of ordinary kitchen foil and wrap the rails with it.
We glue the rails wrapped in foil to the sleepers and connect. When gluing in the joints, we make a gap of about 3 mm, so that when collecting the road there is a better contact.
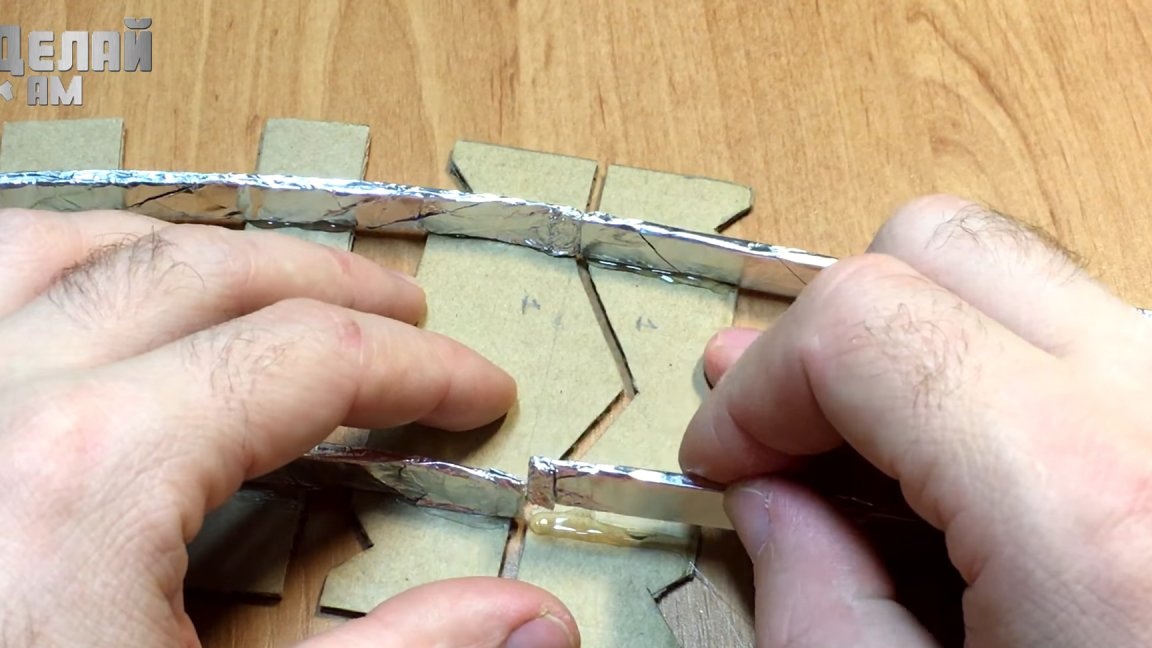
It should be something like in the photo. We try to make the road with a large diameter, so the train keeps on track better.
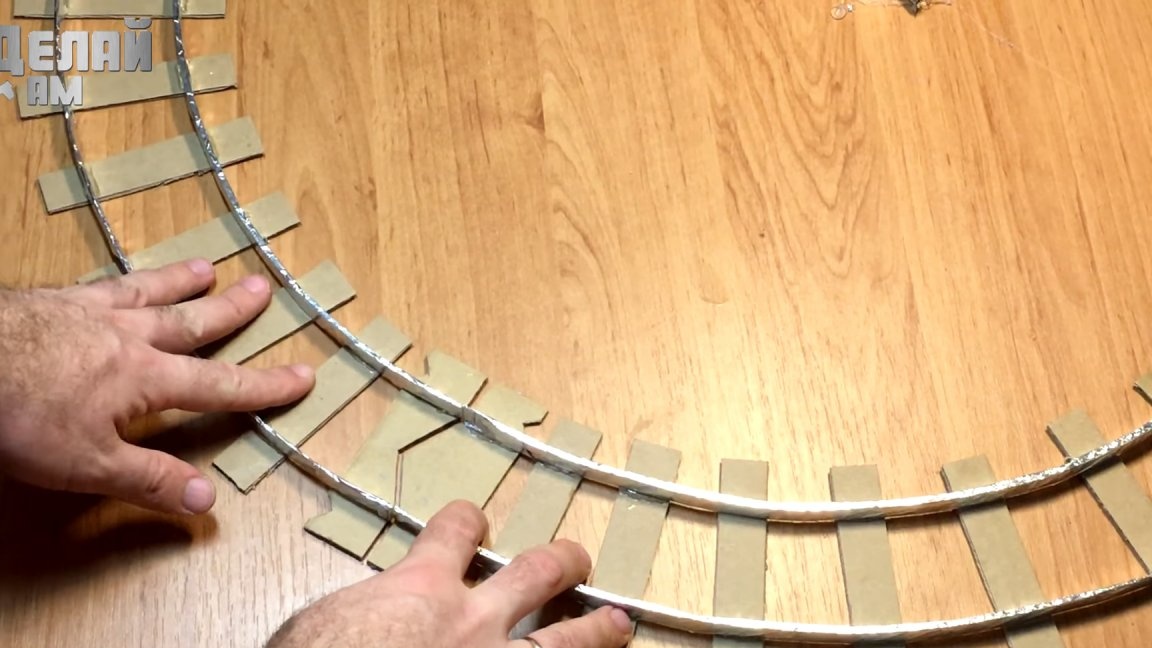
We glue auxiliary segments on the sides of the connecting sections so that the rails in these places do not go right and left.

Glue one section to a continuous cardboard, there will be a station. In the corner of the station near the rails we draw two wires and fasten them to the rails, wrap them with foil on top to hide the wires and better contact.

3: Making the remote.
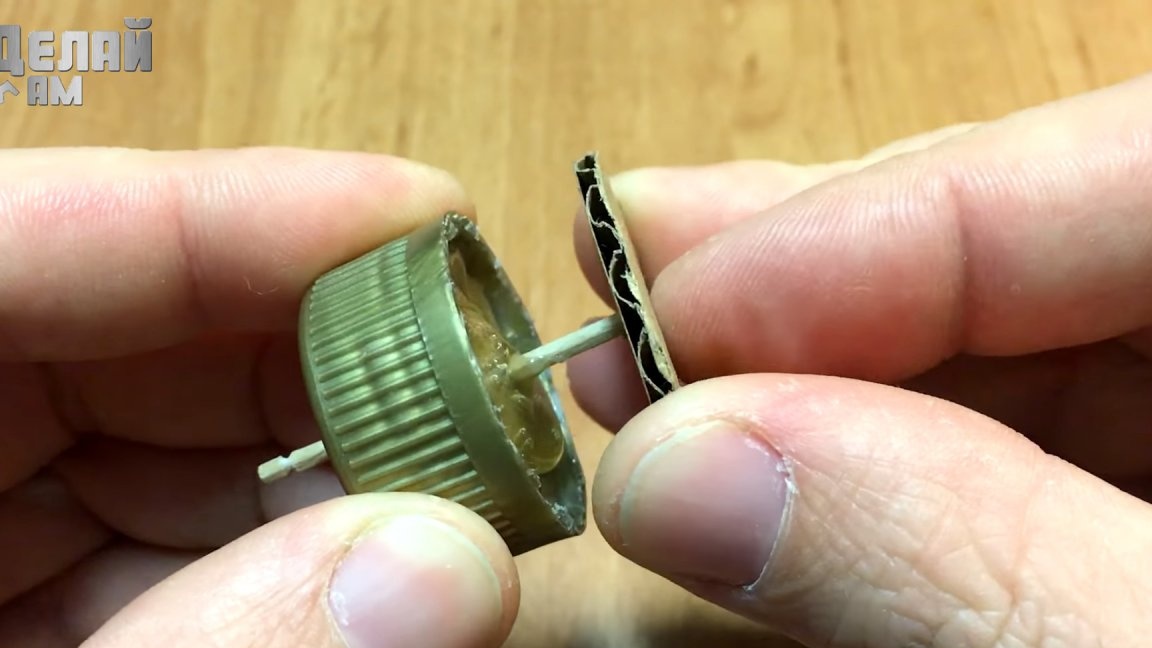
In the lid we make two holes for toothpicks. We put one toothpick in the center, and the second with the edge on the lid. We install the lateral toothpick so that it protrudes slightly by 5 mm, and bites off the rest.
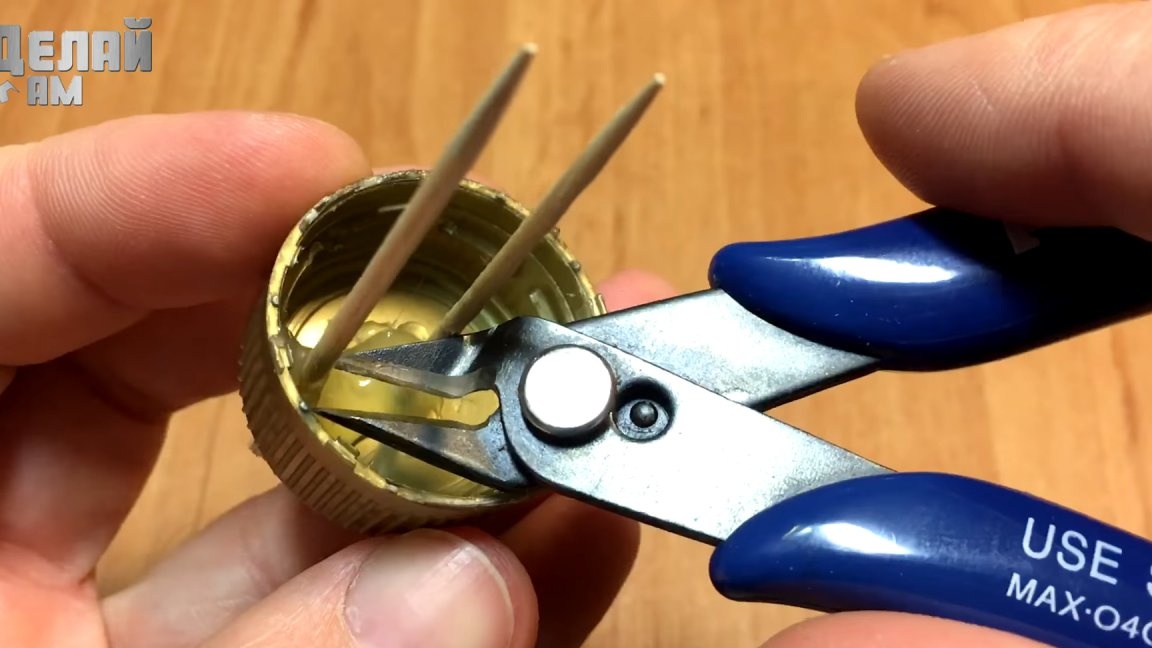
Glue paper caps on the inside of the lid and leave a toothpick stuck out on both sides.
We make rounded contacts with a metal contact ledge. And glue with hot glue to the lid.
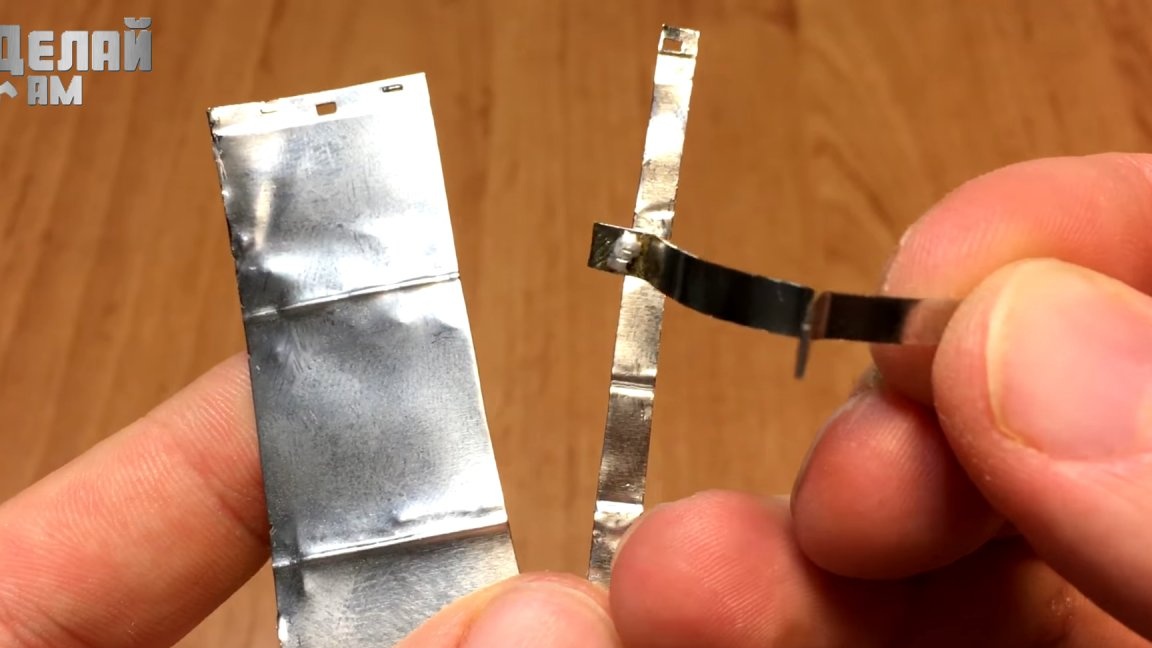
We also make a “P” - shaped contact and fasten the wire in the middle.
Putting them together so that one side is parallel, and the other is crosswise. The cross contact is insulated with heat shrink.
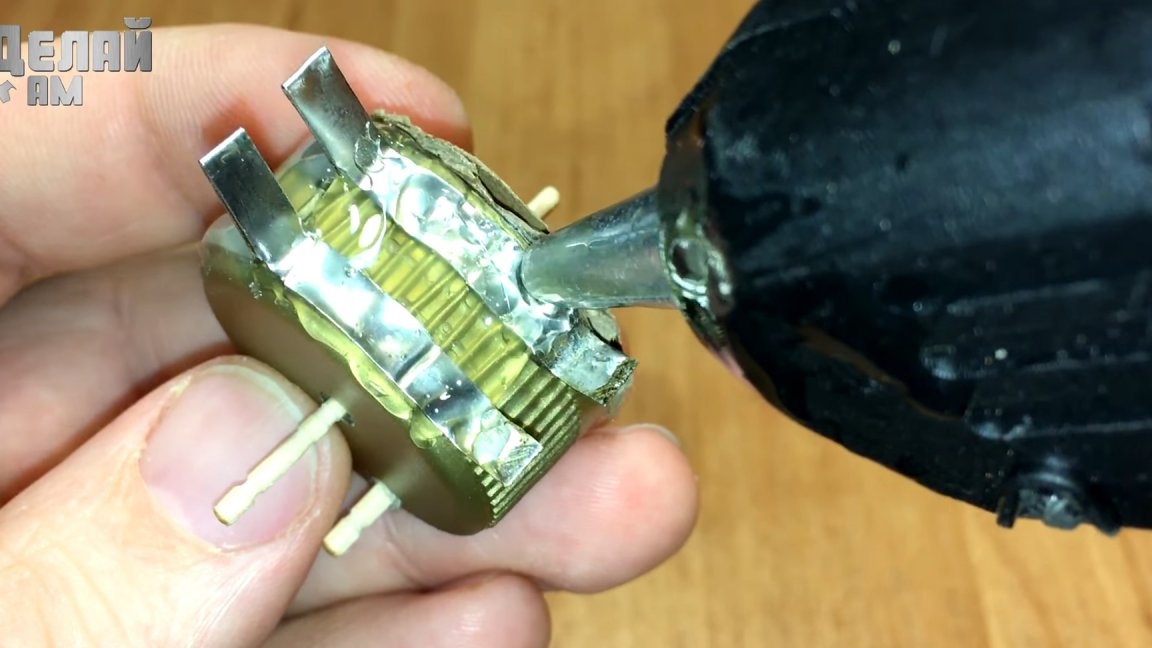
We glue the contacts and the cover to the base of the remote control so that the rotating contacts of the cover are inside the stationary ones.
We fix the rotary cover with a cardboard washer.
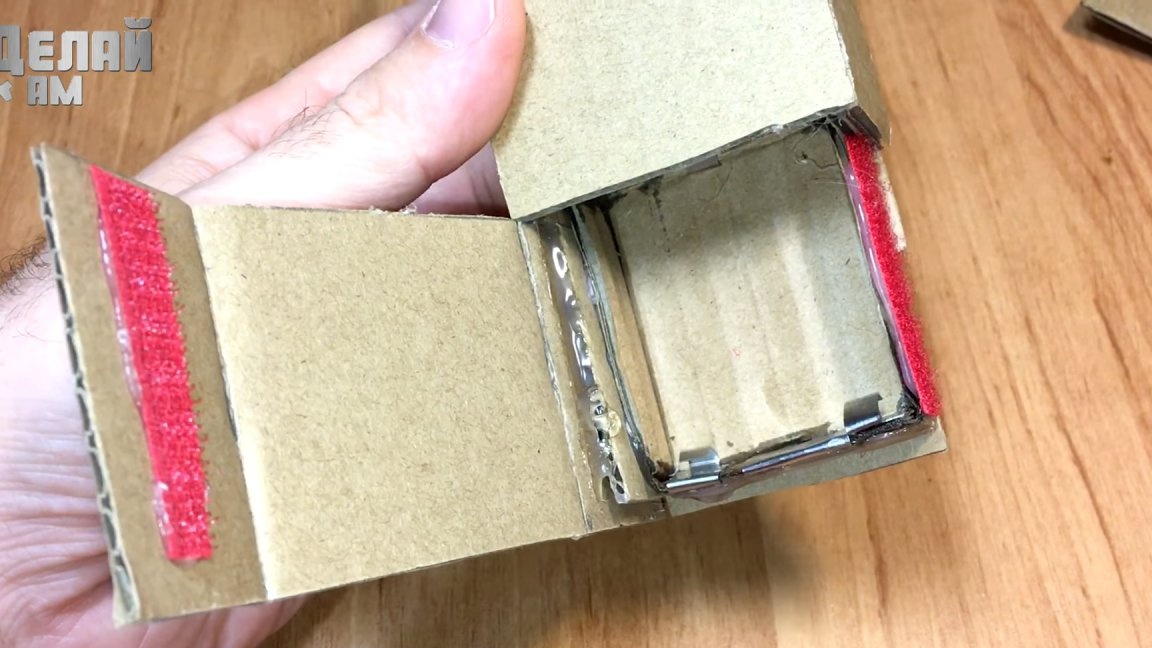
Cut and glue the compartment for three AA batteries
Also, we cut out the contacts for the batteries from elastic tin, and install them in their place.
We solder the wires to the battery compartment and glue it into its place in the remote control.
We fix the wire on the remote control and solder to the cover with contacts.
With a rubber band for money, we make a loop and glue it on the side protrusion of the cover, and fix the other two ends with thermo-glue on the remote control body. This is necessary so that when the gas is released, the train stops automatically.

From the ice cream sticks we make the forward and backward movement lever and collect the remaining parts of the body from the remote control.
We glue the battery cover on one side to the case, and fasten the Velcro on the other.
For convenience, we attach the thread to the battery compartment so that pulling it you can easily get the batteries.
4: Improving train contact and test.
During operation of the train, contact between the wheels and the rails may be lost and the toy will stop.
In order for the contact to be reliable under the train, two contacts must be made that will remove electricity from the rail.
Also, so that the train does not slip along the rails, it is necessary to put gum on the wheels, and attach some kind of load to the train itself.
We make hooks between the cars from the wire and glue them in their places.

We assemble the railway, at the junction we join and put on elastic bands.
We connect the remote control to the road, everything is ready.
We press on the gas and the engine starts moving along the rails.

Conclusion:
You get a fun paper rail do it yourself. All the kids will be happy to do it yourself. The manufacturing process requires a lot of perseverance and develops fine motor skills. And you need to play the crafts carefully, yet it is paper and fragile. Thanks for attention.